“Pay no attention to that man behind the curtain.” — Wizard of Oz
Back in May I spent a couple of days in Cincinnati Ohio on my way down to Harrodsburg Kentucky for the EAIA Annual Meeting and a quick stop in Covington Kentucky on my way home to visit with some of my woodworking friends in the area.
My first stop was at the Popular Woodworking offices and studio to see Megan Fitzpatrick and David Thiel who graciously showed me around.
Popular Woodworking Sign
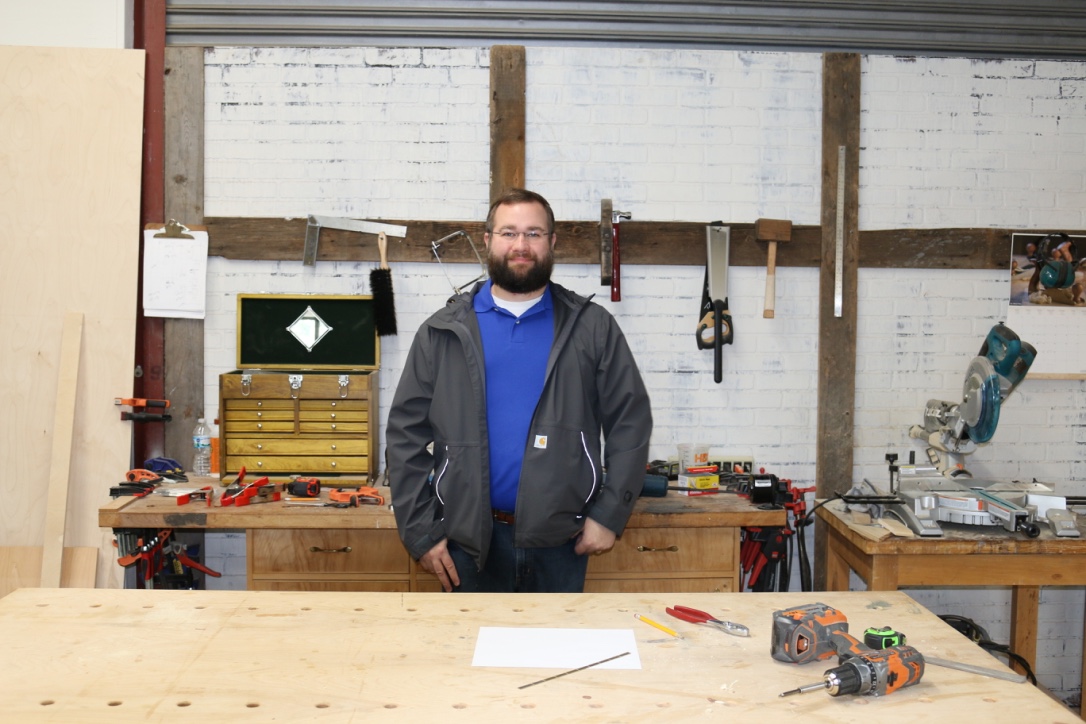
The office building while nondescript from the outside contained an interesting space on the inside. A mixture of office space, editing bays, studio/soundstage and a woodworking shop.
Me in one of the locations you’ve seen in Popular Woodworking videos
I visited the shop area with backdrop you may recognize from several woodworking videos. The timber framer in me wants to push up that simulated plate and add some braces. 🙂
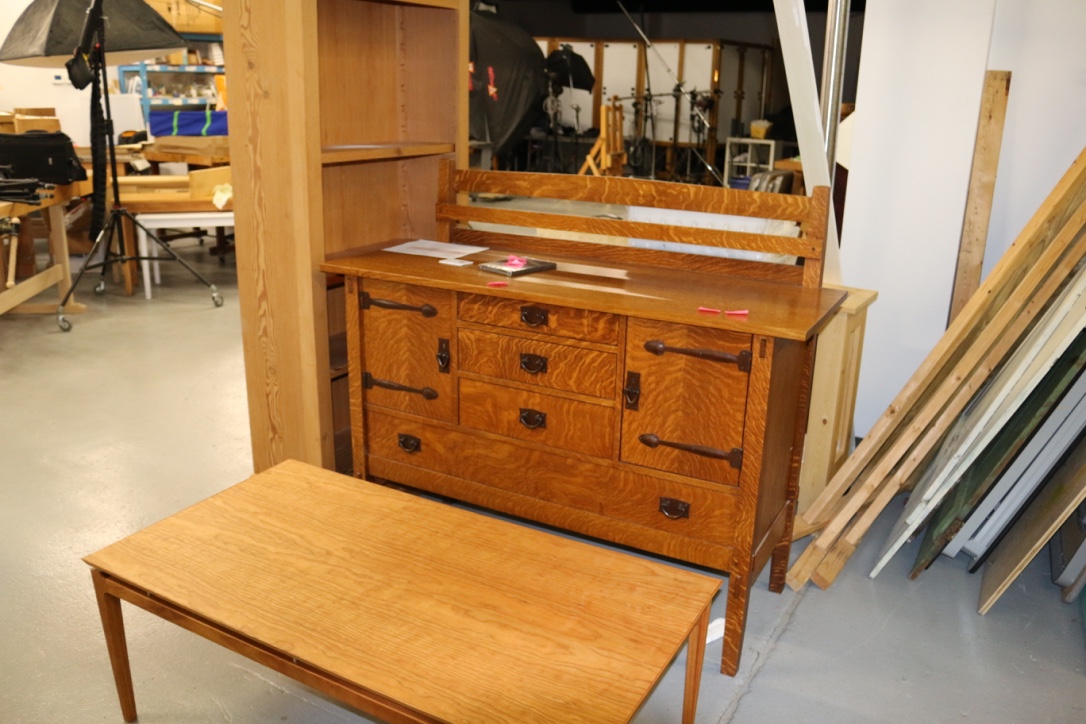
Furniture from earlier magazine projects
In the warehouse space you could see several projects from Popular Woodworking and American Woodworker magazine. If only we had room in the car to buy one and bring it home.
A live shoot & recording session in the studio
In the studio area I was able to see another F+W project video being recorded.
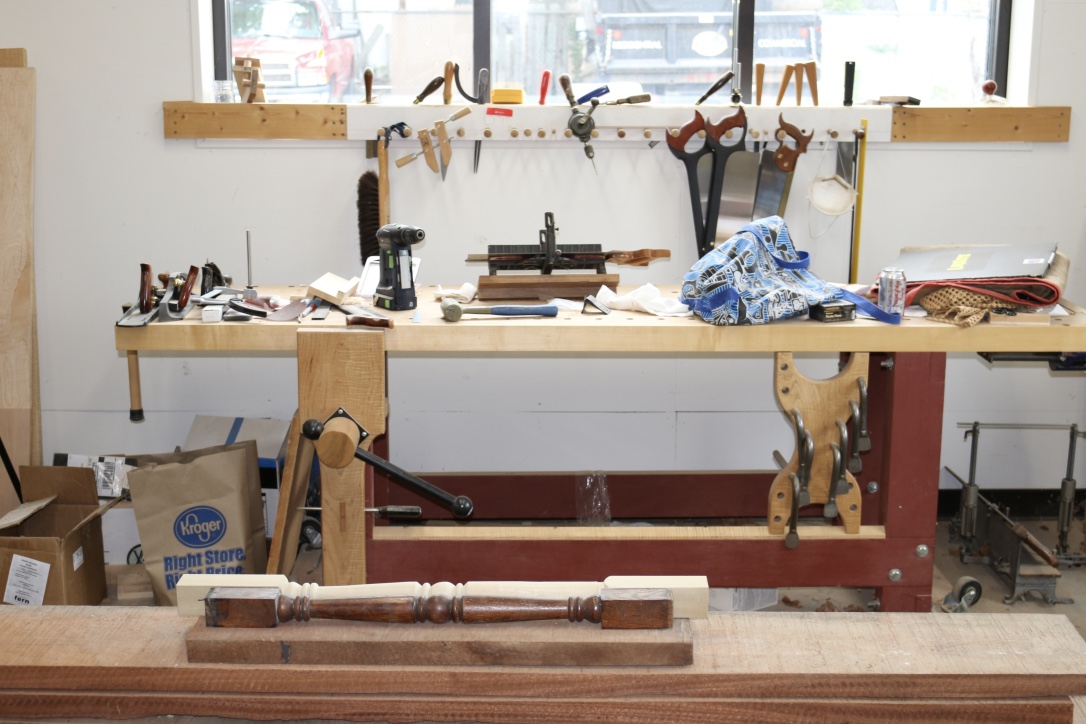
Megan’s workbench in the corner of the workshop
Out in the woodworking shop I felt right at home. There was a large machine and bench room. In the corner I could see Megan’s workbench and the windows you may recognize from many an article and post from Popular Woodworking over the years.
I was too busy talking David’s ear off and didn’t take a picture of him to include in the post, but I’ll make sure to take one next time I am in town.
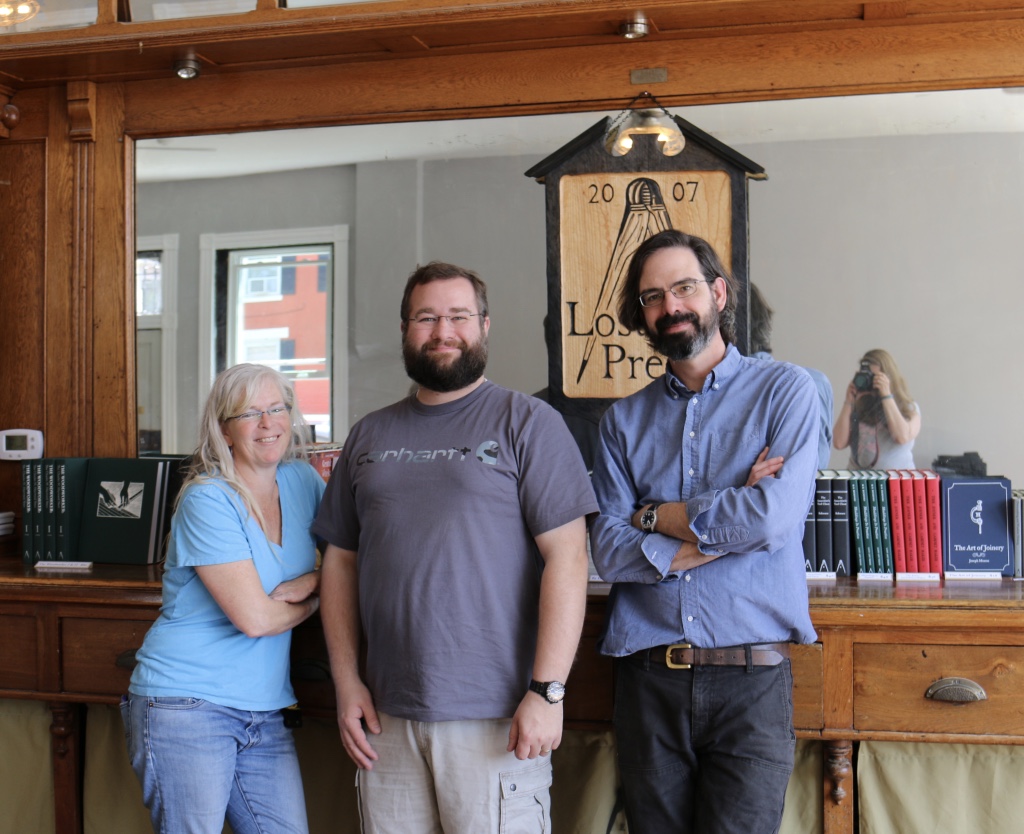
On the way home from our trip I also stopped in Covington KY (right across the Ohio river from Cincinnati OH) to visit Chris Schwarz at the Lost Art Press storefront. The storefront is a nice historic building that used to be a saloon in a part of Covington that reminds me a bit of Brooklyn — lots of history, artists, hipsters, good restaurants etc.
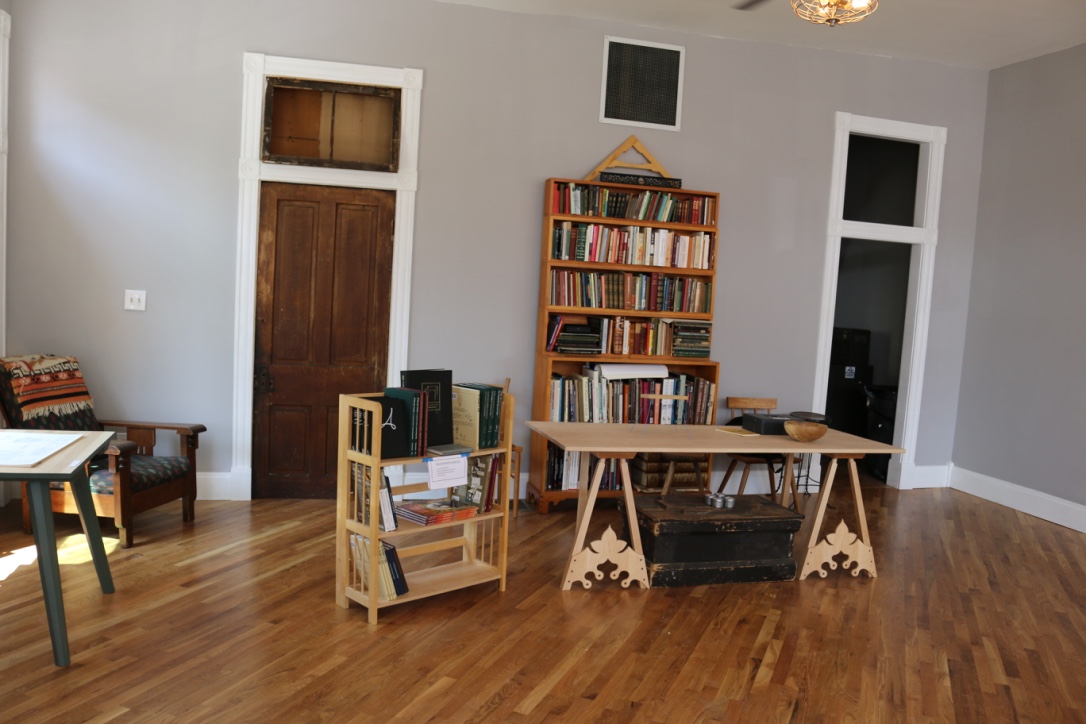
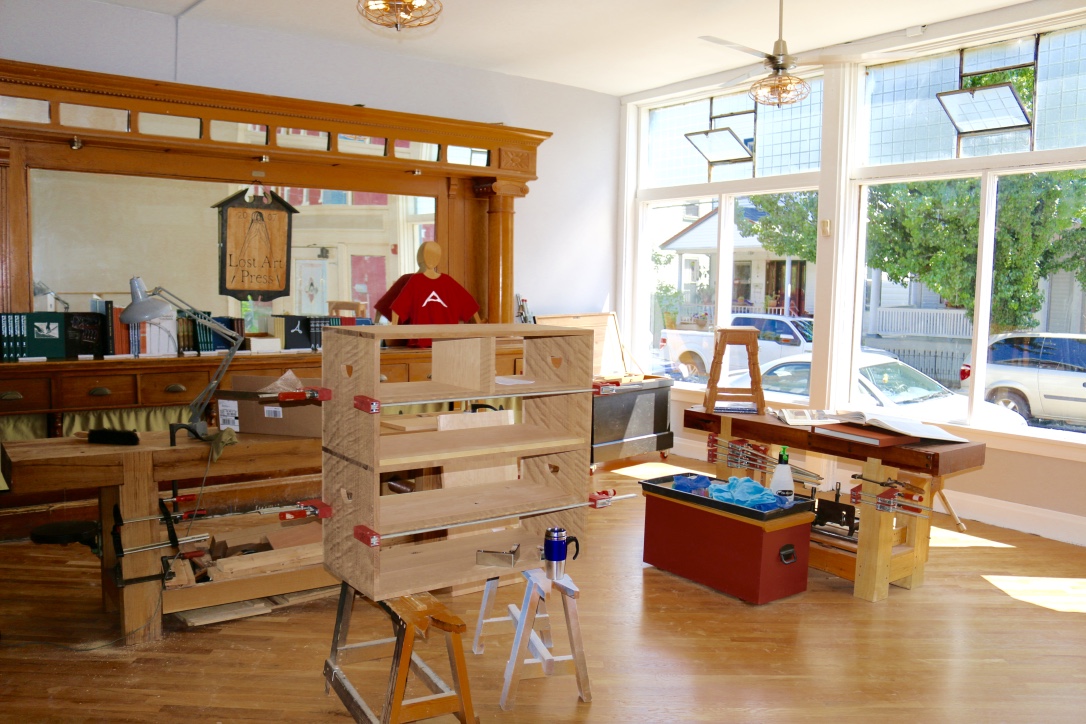
Inside of the Lost Art Press Storefront
After watching the build out via many of Chris’ blog posts it was neat to see it in person and to see several of Chris’ recent pieces in person.
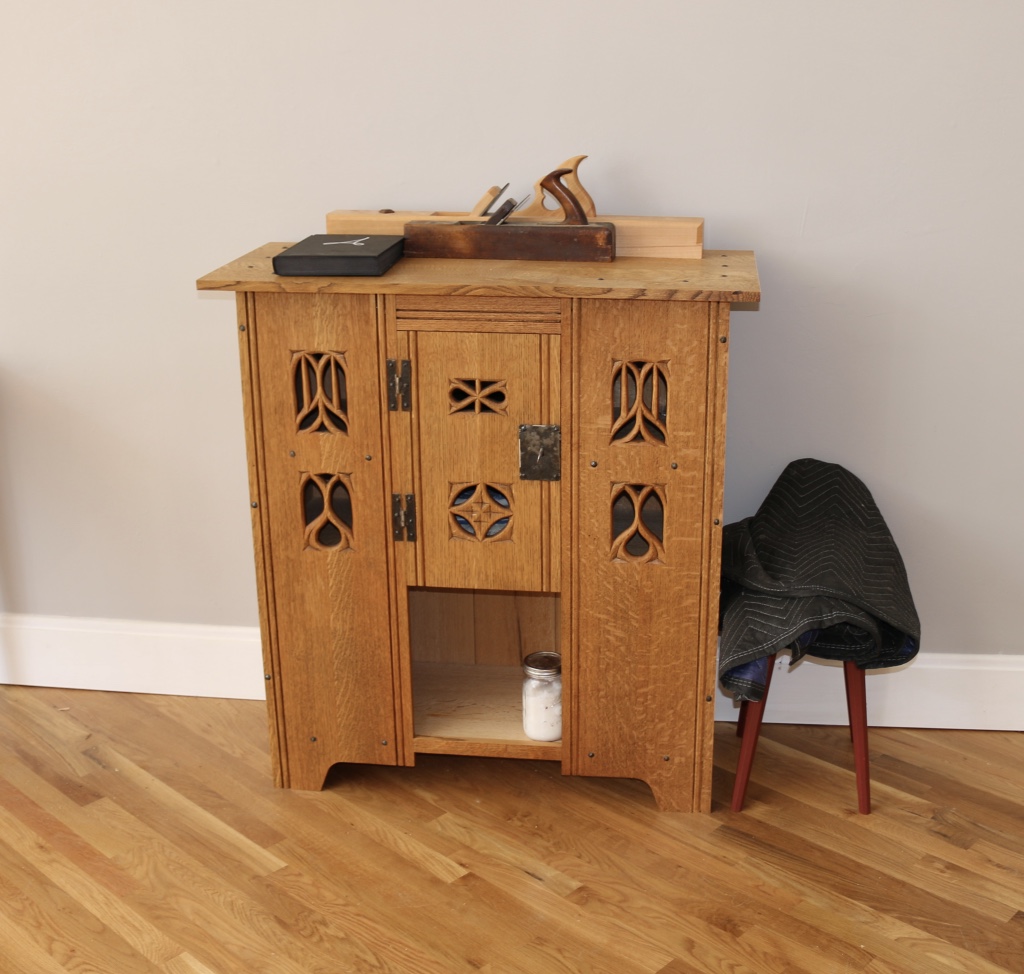
Aumbry from the Anarchist’s Design Book
You may recall the Aumbry above from the cover of a Popular Woodworking issue earlier this year and from the Anarchist’s Design Book.
I had fun talking shop with Chris and Megan and checking out some of the recent bits of hardware he picked up.
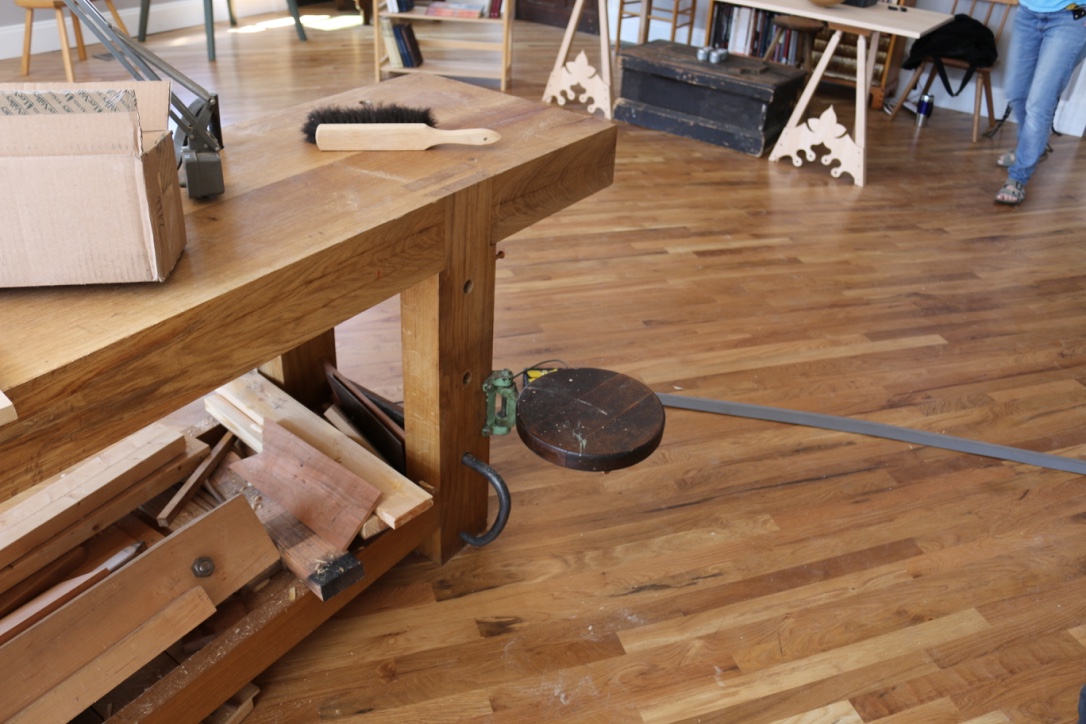
Nice swing out adjustable seat attached to the workbench leg
The adjustable swing out seat he added to his bench was a nice addition I’d love to have on my own bench someday for carving and other detail and design work on the bench.
Megan Fitzpatrick, Bill Rainford and Chris Schwarz
This was my first trip to Cincinnati and I had a great time exploring the city. In fact I’ll be in the area again in September for Popular Woodworking in America.
A big thank you to Chris, Megan and David for showing me around and a big thank you to my wife Alyssa for wrangling the babies while I geeked out with fellow woodworkers.
Take care,
-Bill
For more information on the Lost Art Press you can check out their website here.
For more information on Popular Woodworking you can check out the magazine’s website here.
For information on Popular Woodworking in American 2016 you can check out their site here.
I’ve always wanted to make some Shaker Oval Boxes. I love a good challenge and learning a new woodworking skill. Back in May I attended the Early American Industries Association (EAIA) annual meeting which was held at Pleasant Hill Shaker Village in Harrodsburg, KY.
In preparing for the meeting I figured a nice set of Shaker oval boxes would be a solid addition to the EAIA’s silent auction.
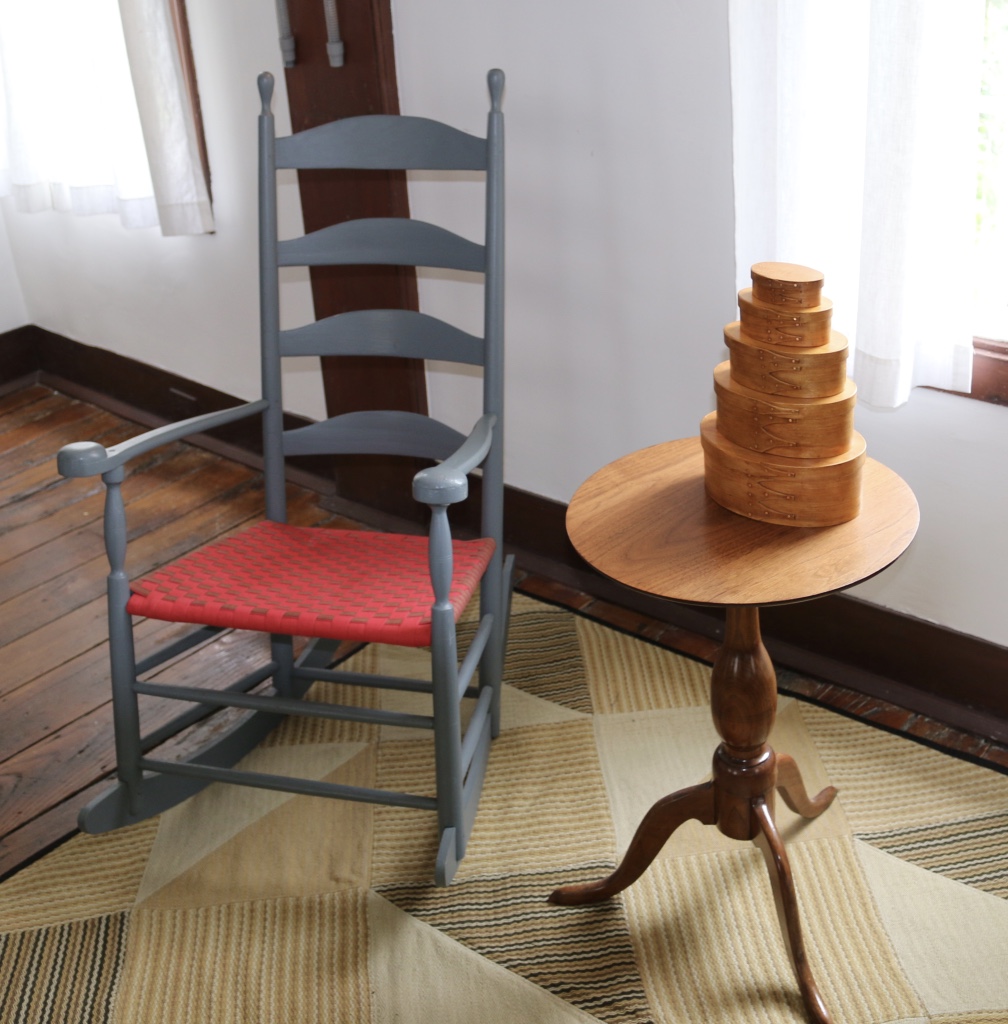
Shaker rocker, candle stand and boxes
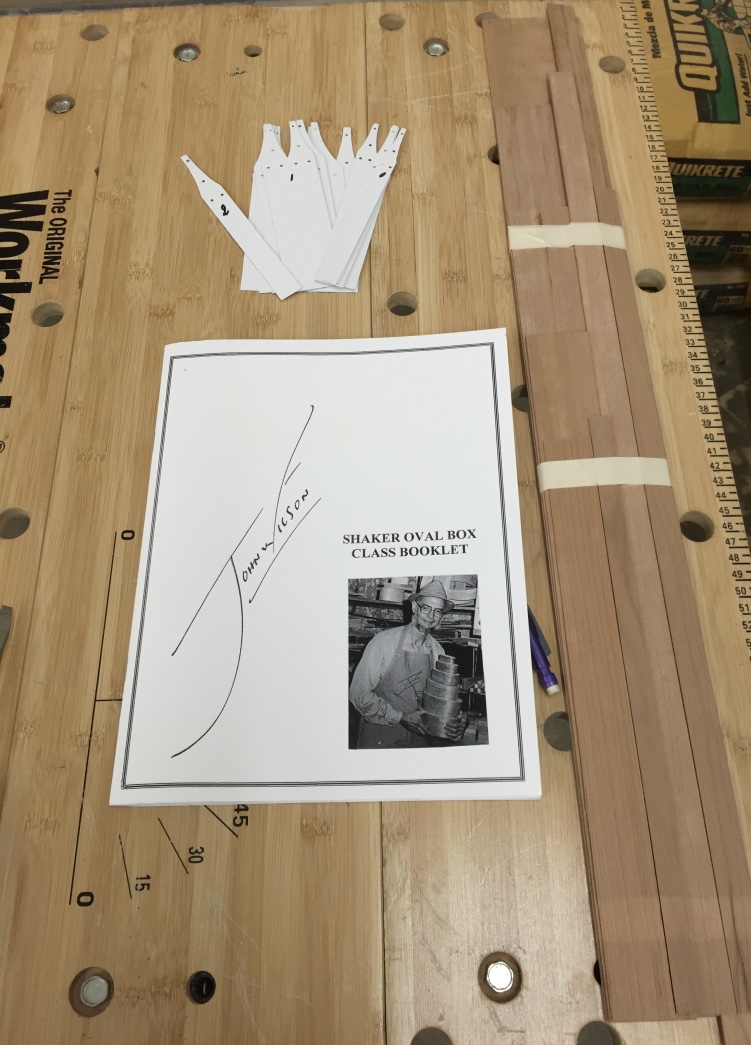
In order to gather up the correct supplies and learn how to make a proper oval box I reached out to John Wilson of Michigan who is a well known expert on making these boxes.
Templates, Guide Book and Band Stock
From John you can order an instructional DVD, book and templates along with supplies for the boxes and other related projects (baskets, trays etc). In this post I won’t go through all the steps necessary to make these boxes, but I will cover a highlight reel of some of the more interesting steps in the hopes it will whet your appetite for making some boxes yourself. (Links provided at the end of this post)
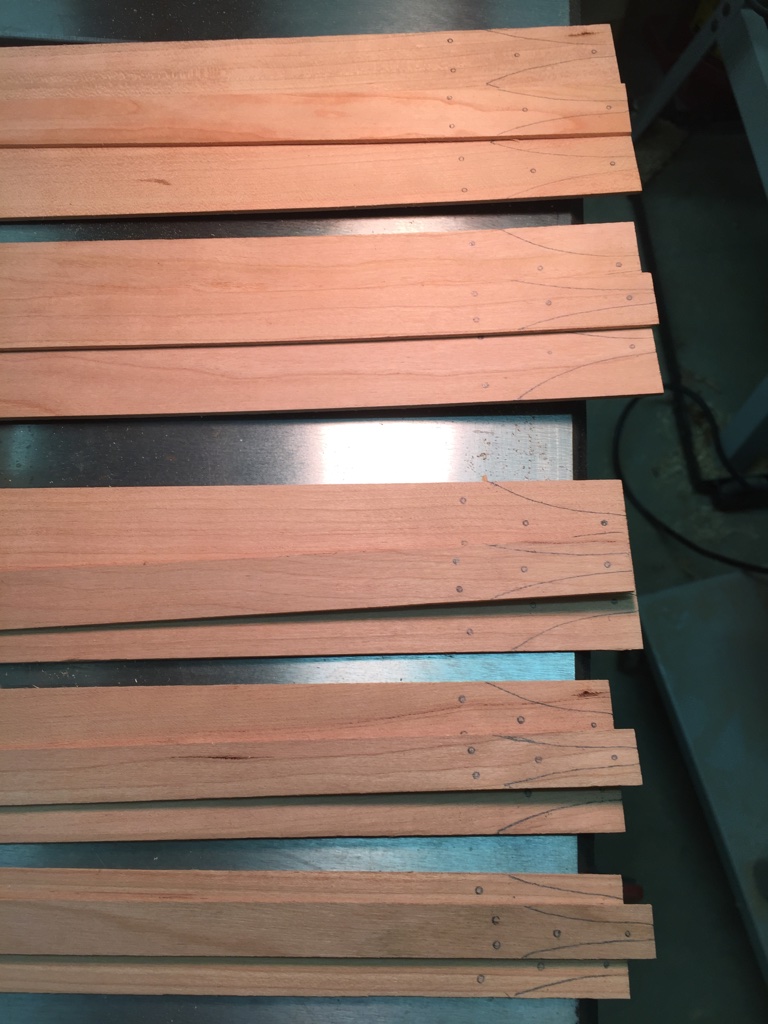
First off I laid out the templates for all the bands I wanted to bend into boxes and box tops. For this project I used Cherry. Then I pre-drilled the holes for the copper tacks.
Laying out template information on the band stock
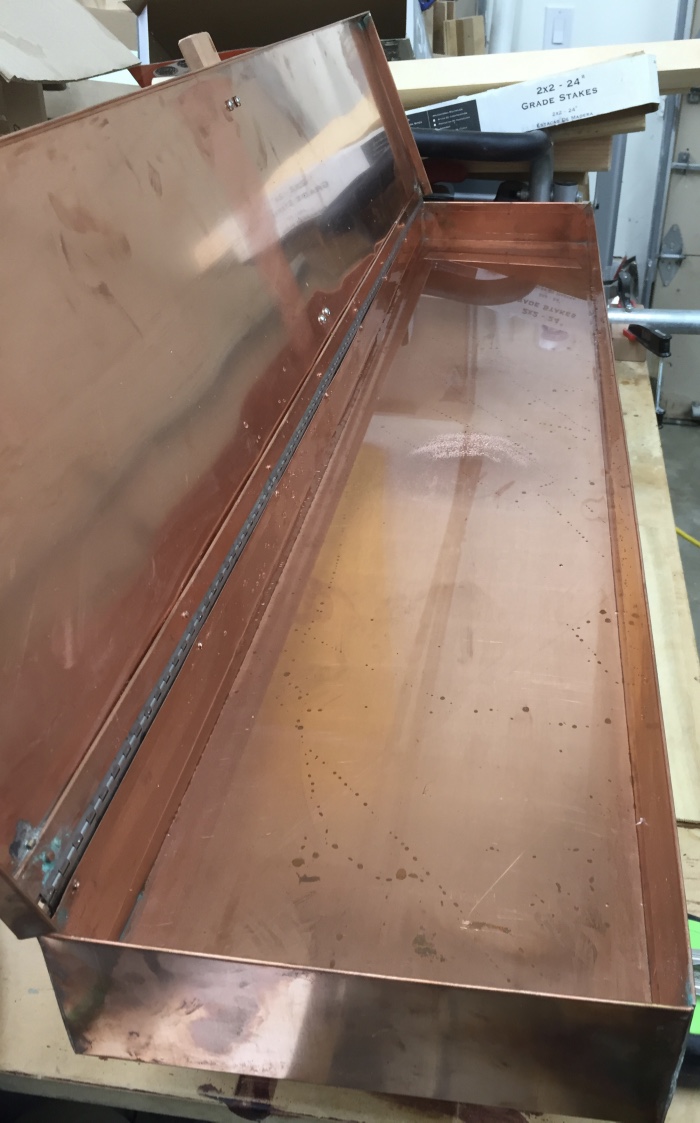
Next up was filling the copper steam box with water and heating it up. under the box is a double burner electric hotplate and blocks to keep the tray steady on the burners. When using Cherry you may also want to use distilled water as minerals in your tap water can leave some stains.
Copper steam tray
I then steam the ends of the bands, cut the tapers in the end with the tack holes and feathered the other end of the bands on the belt sander.
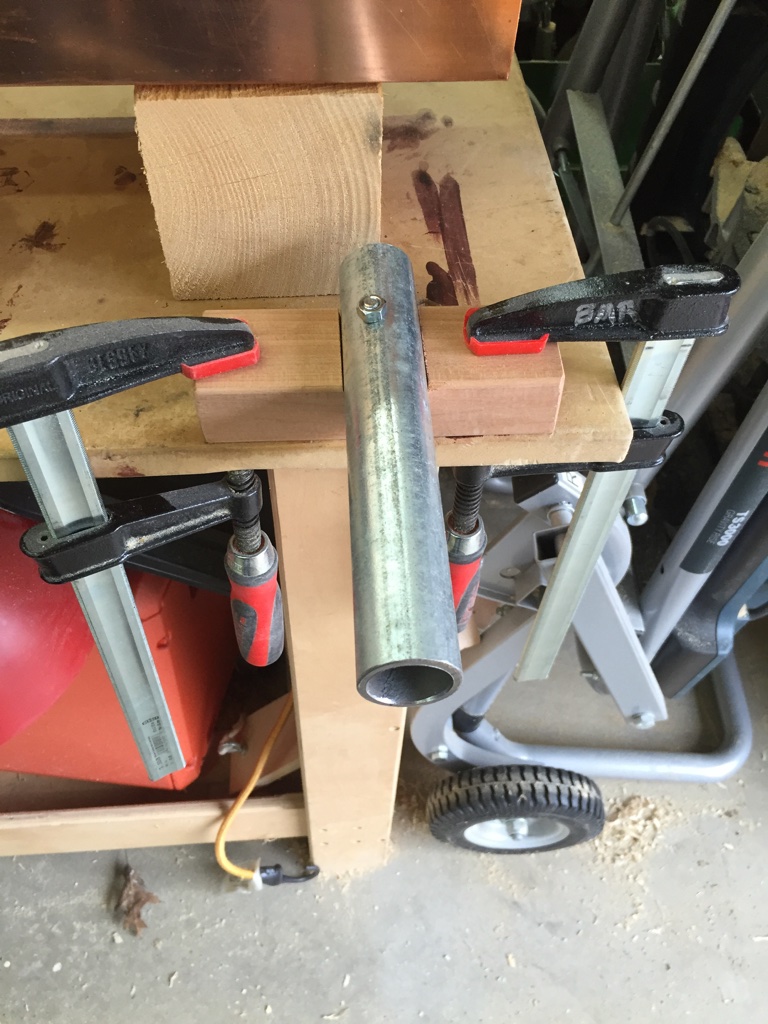
After letting the bands steam I pulled them out one at a time to wrap around the appropriate sized form and marking the overlap. Then remove it from the form and hold the band tightly in place at that same size marked while you take it over to the heavy round pipe anvil and clinch the tiny copper tacks in place to secure the band. This set of forms is a large block of basswood in the size and shape you want the box to be.
Bench mounted anvil for clinching the copper tacks.
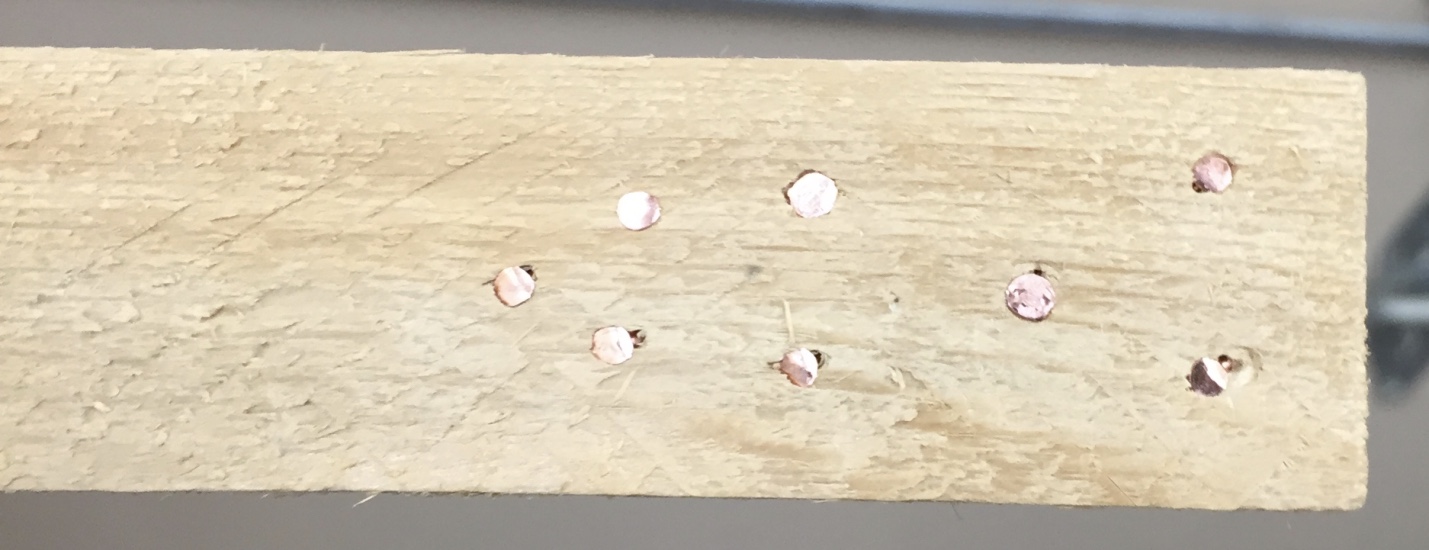
I had never clinched a tiny copper tack before so I grabbed a shim and practiced with a few tacks of each size on the anvil. After a tack or two you’ll get a good feel for it.
Practice strip of copper tacks
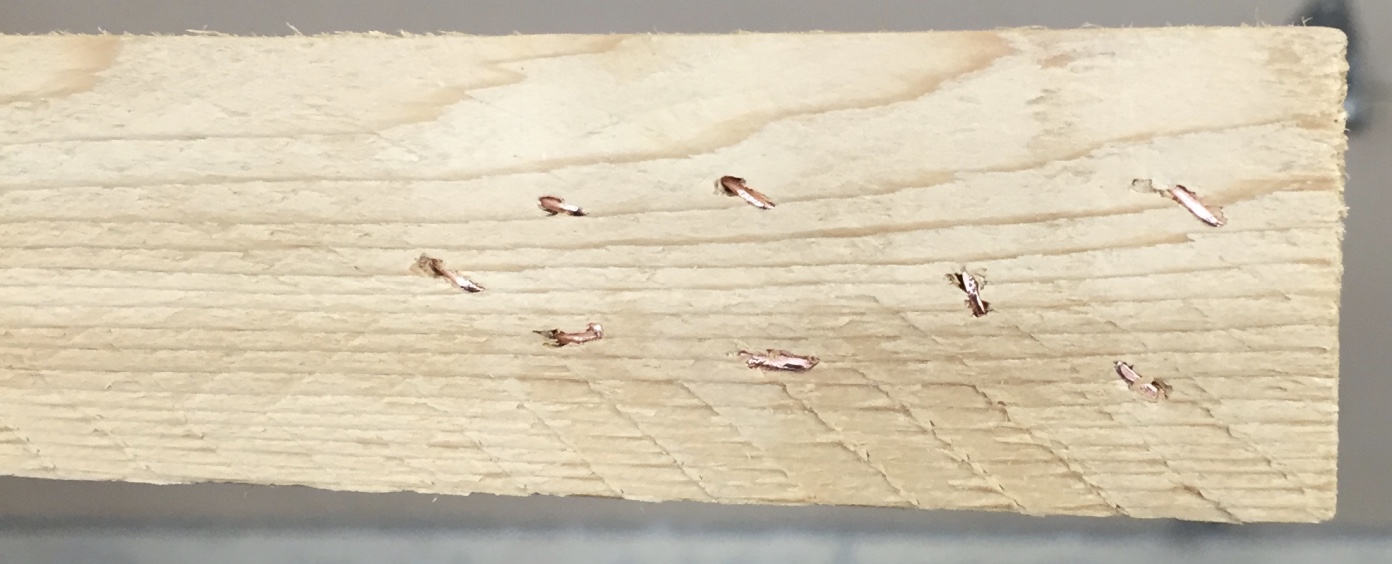
I got a rhythm going and could feel/read how the tack was going in and move it on the anvil relative to my hammering to make sure I got the tack head nice and even with the surface and got a nice clean clinch on the inside.
Clinched side of practice copper tacks
With the band tacked the next step was to get them over to the second set of forms to dry. These forms are two blocks of wood also in the shape of the box, similar to the first form, but these forms have a tapered edge profile and holes to let air/water in and out and give your fingers a place to pull the forms out from when they are dry.
The bottom band is steamed, tacked and setup on the second set of forms. The top band is wrapped around the bottom band on the form. The goal is to get a nice tight fit and line up the tack holes.
Bands steamed, bent around initial forms, then tacked and held in place to try by a second set of forms
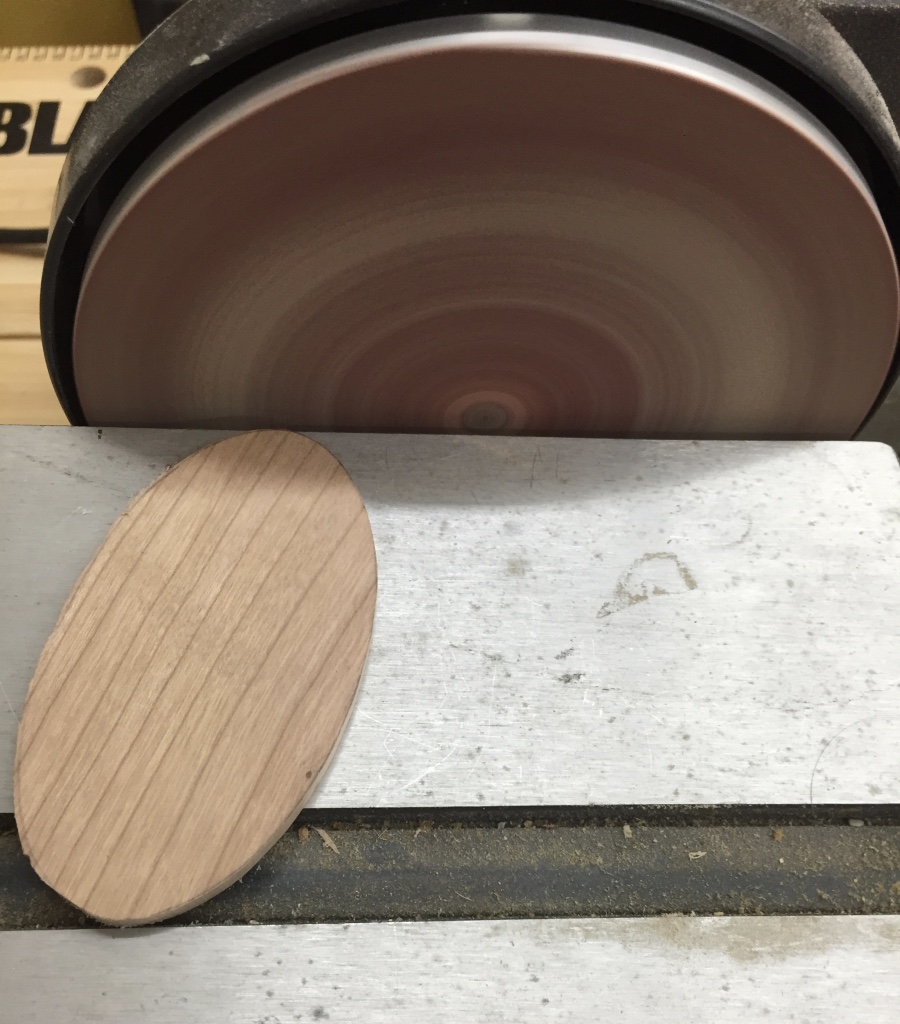
Let the bands dry for a day or two and then it is time to fit the tops and bottoms into the bands. Trace your band onto the top or bottom blank, cut it near the line on the bandsaw and then use a fixed disc sander with the table set at a few degrees under 90 and sand them to shape and test fit as you go. You don’t want any gaps or spaces between the band and the top or bottom.
The tops and bottoms are disc sanded at an angle and to the layout lines so they fit nice and tight
I got all the tops and bottoms fitted before moving on to the next step.
Fitted tops and bottoms
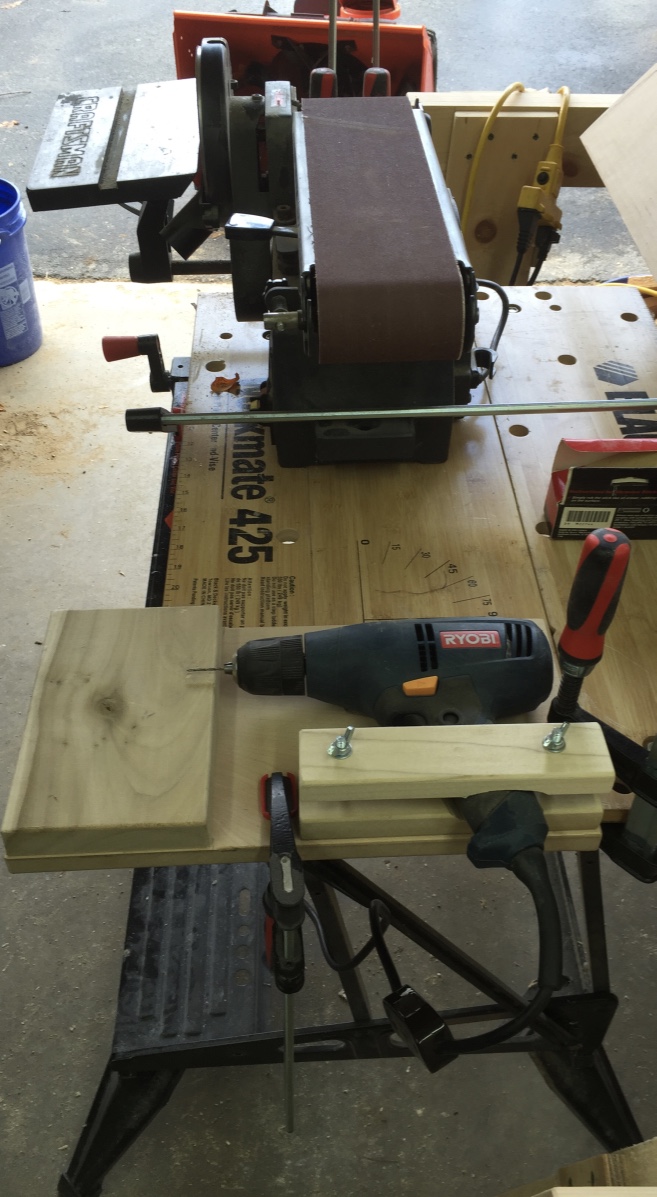
Next up was testing out a special drilling jig to make pin holes for attaching the tops and bottoms to the bands. There is no glue in these boxes.
Drilling jig for pins (Foreground). Belt sander and disc sander for cleaning up and fitting box tops and bottoms
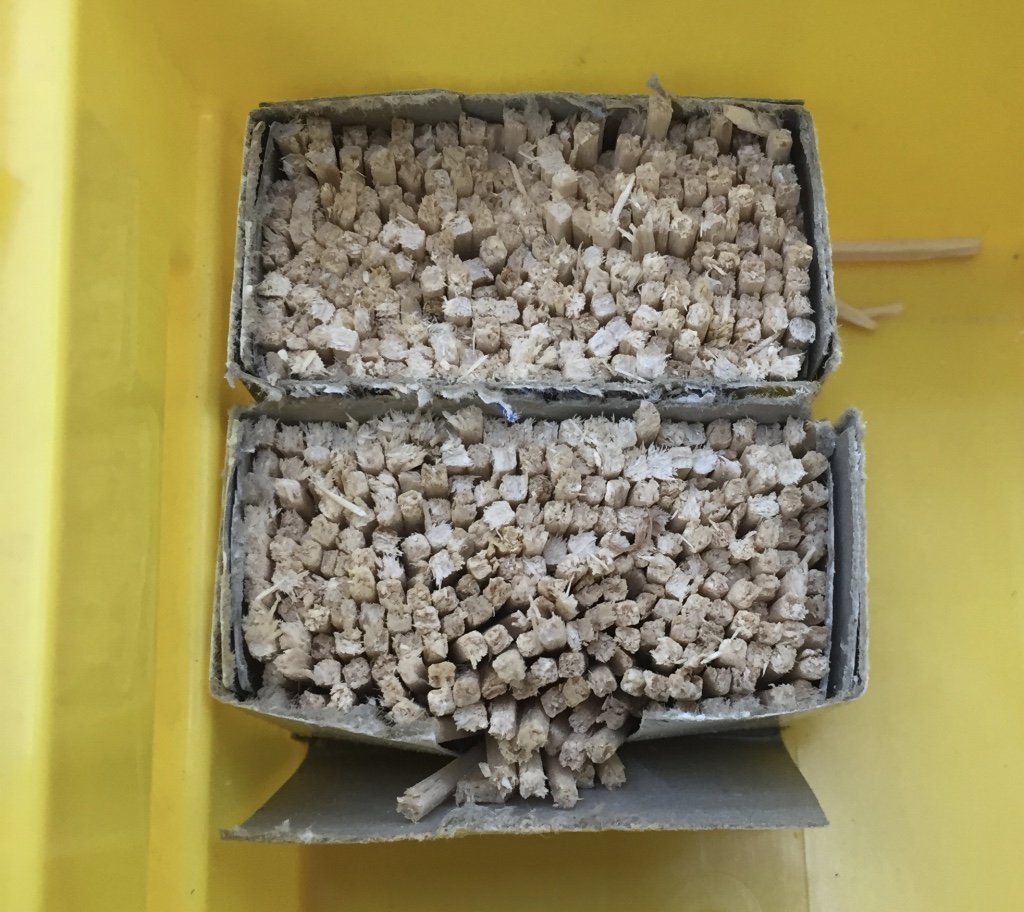
The pins that will secure the bands to the top and bottom blanks are made from hardwood toothpicks that are cut in half on a band saw.
Box of matches cut in half to be used as pins
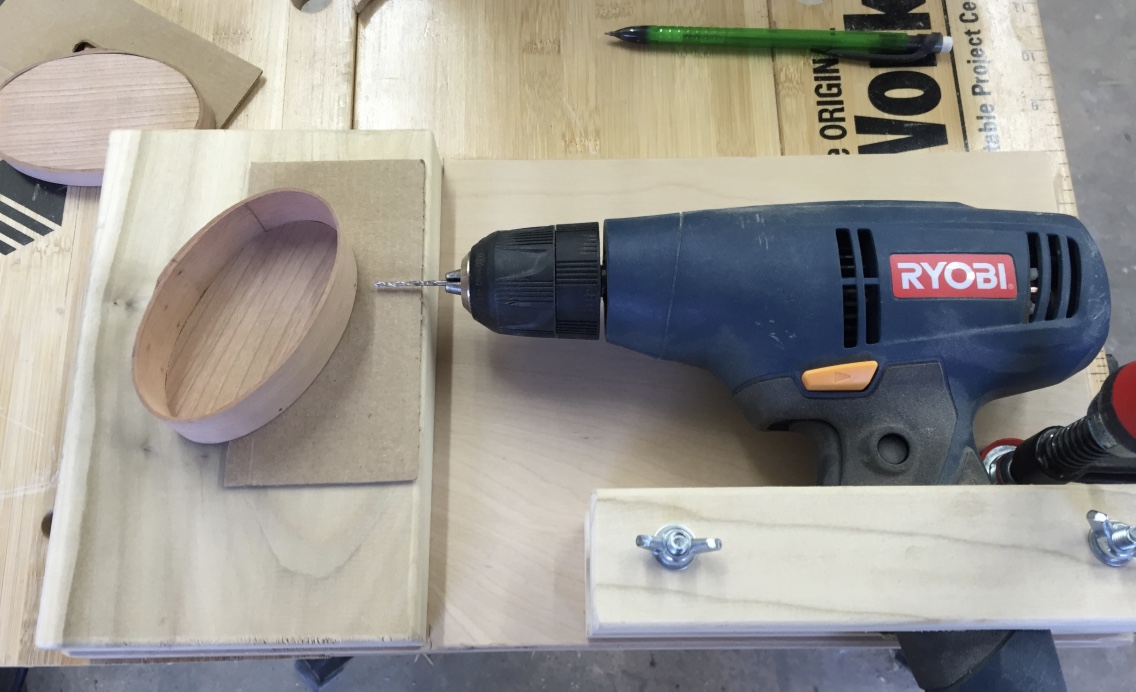
I made pencil dots where I wanted the pins to be, fired up the drill in this jig and made all the pin holes.
Using the drilling jig to make holes for the pins
For very tiny boxes with thin tops and bottoms I made a tape loop out of blue painters tape and taped some thin cardboard onto the face of the jig to center the holes in the thickness of the top or bottom of the box.
Fitting square pegs into round holes
The pins are then tapped into place, clipped off and then sanded on the belt sander to remove any protruding pin left and make sure the bands are level with the tops and bottoms.
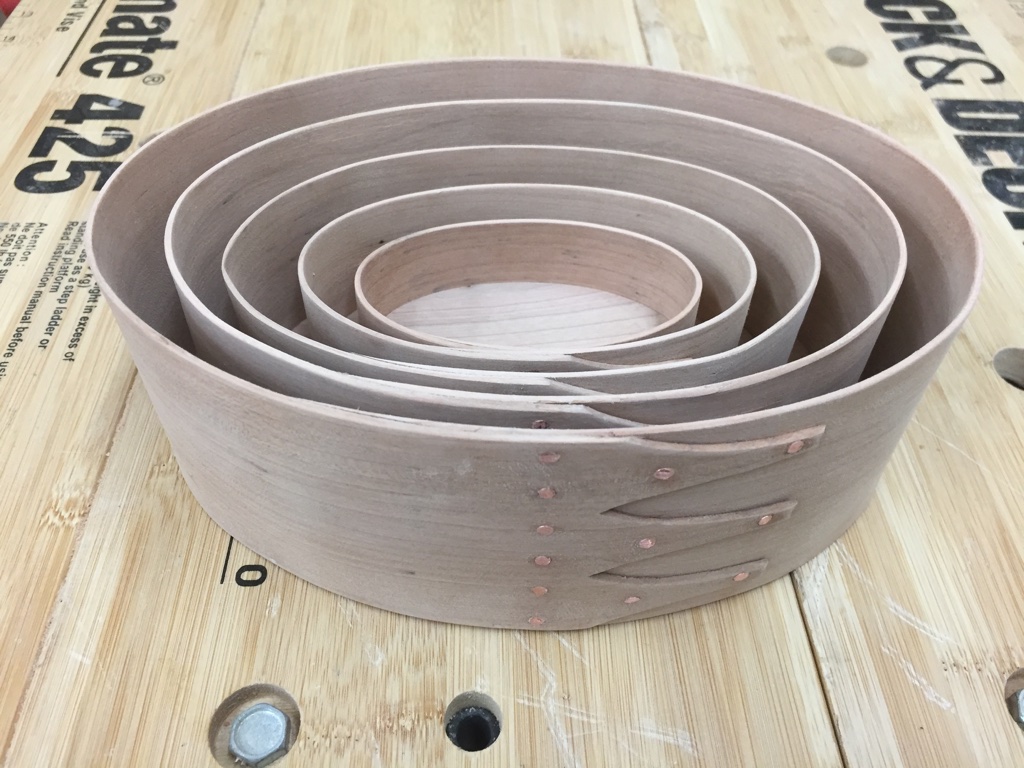
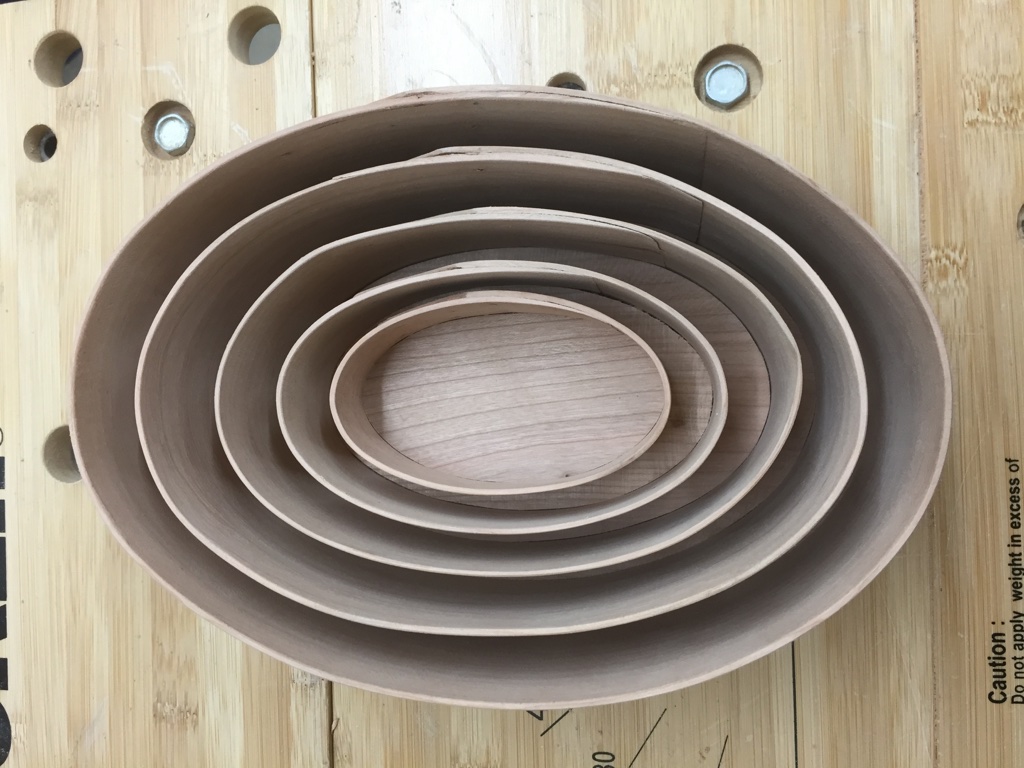
More Nesting
The boxes nest inside of each other similar to a Russian Nesting Doll. This made it easier to bring 5 boxes on the very long, and very full car ride from NH to KY with my wife, two babies and me.
Nested box bottoms
At this point the boxes all have a bit of a dull fuzzy look about them.
Fuzzy Boxes waiting for final cleanup
I gently hand sanded all the boxes and made sure the top and bottom fit the way I wanted. They should have a nice snug fit, but not too tight nor too loose.
Five boxes cleaned up and ready for finish
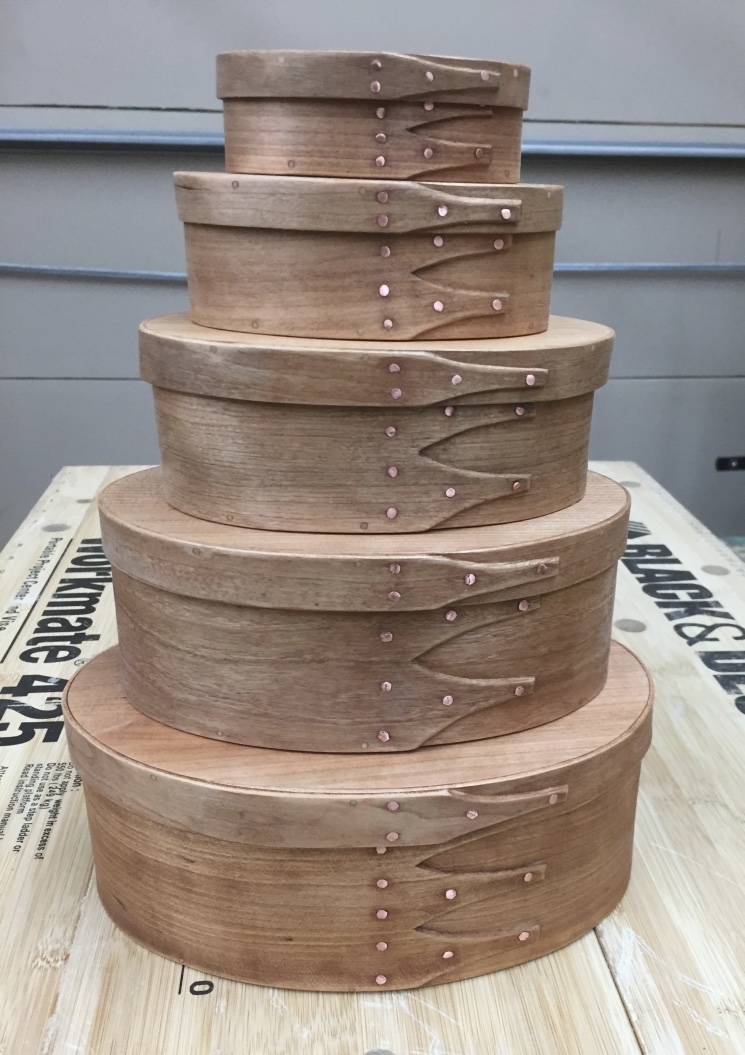
All the corner edges, and inside and out of the box get a final sanding and cleanup. Then time for the finish. I applied Tung Oil to the boxes to bring out the grain in the Cherry and finished it off with a couple of coats of amber shellac. Each box is also signed, dated and notes that they were part of the 2016 EAIA annual meeting.
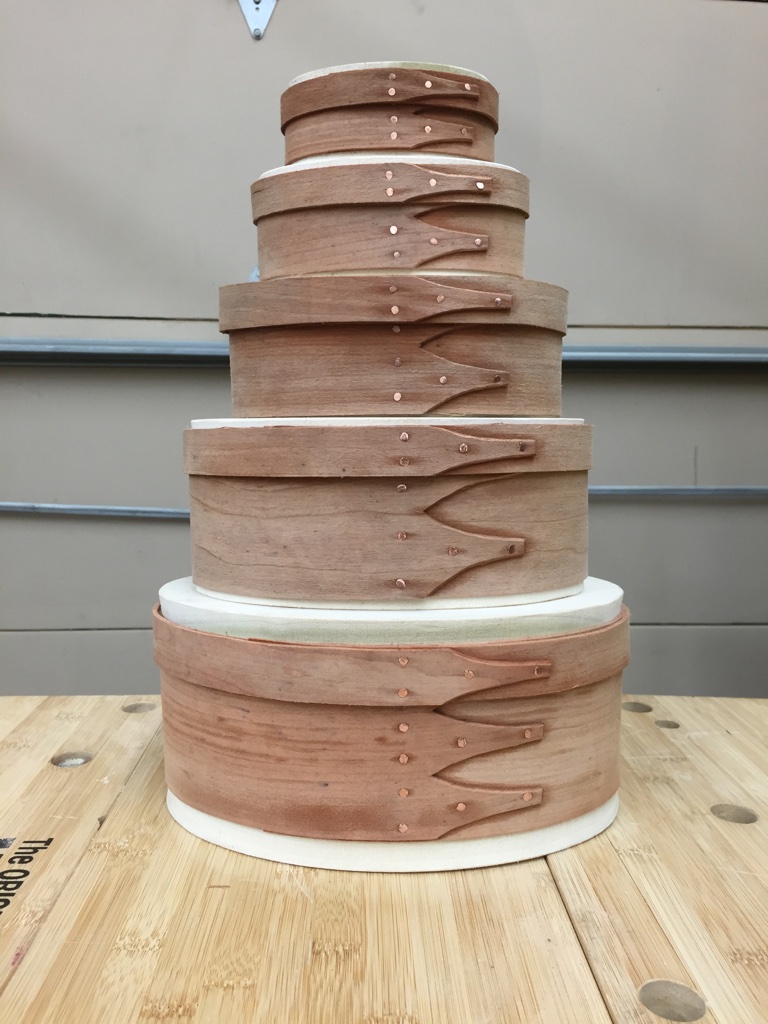
Finished set of boxes in sizes 0-4
I was very pleased with how well the boxes turned out especially given this was the first time I ever made shaker oval boxes.
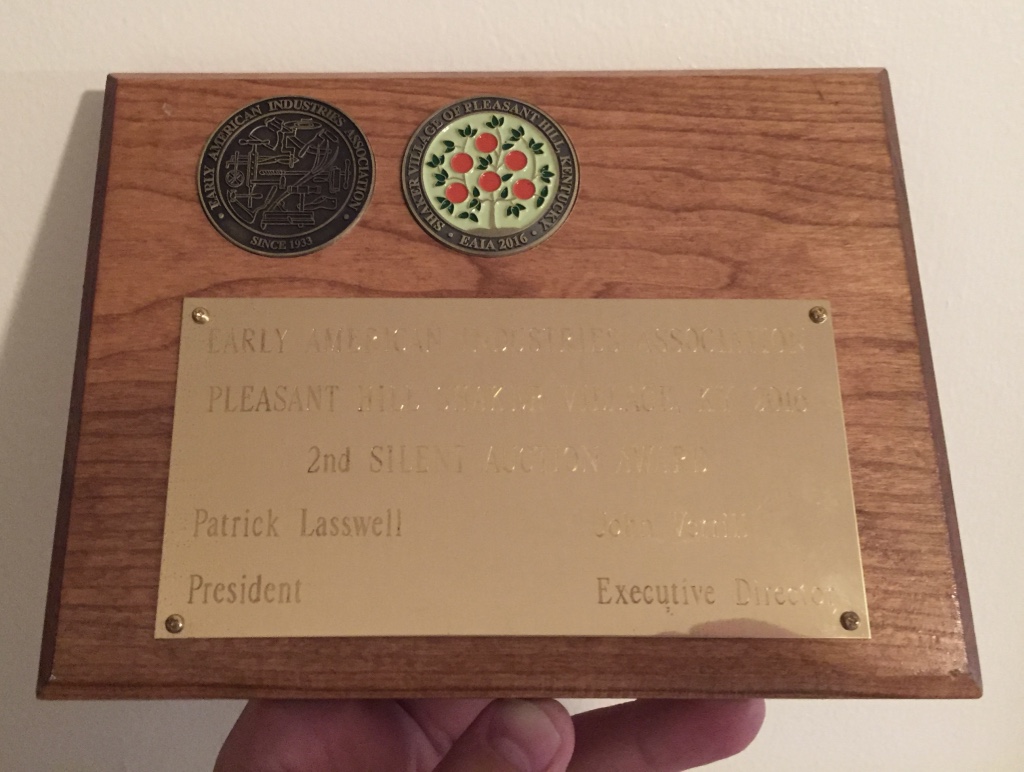
I was also glad to hear EAIA members also liked them as my set of boxes in sizes 0-4 turned out to be the second highest grossing item in the EAIA silent auction and I was humbled to receive the plaque below.
EAIA 2016 Annual Meeting Award, Second Place in the Silent Auction
I know they went to a good home, the home of Judy and Bill McMillen of Eastfield Village and Richmond Hill fame and good friends of mine. I’m also happy to report I was able to win the auction for some of the items Billy made as well including a Tin-Smithed dustpan my wife and I both had been wanting for a while when we saw one that Billy made at a prior event, but that is a post for another time.
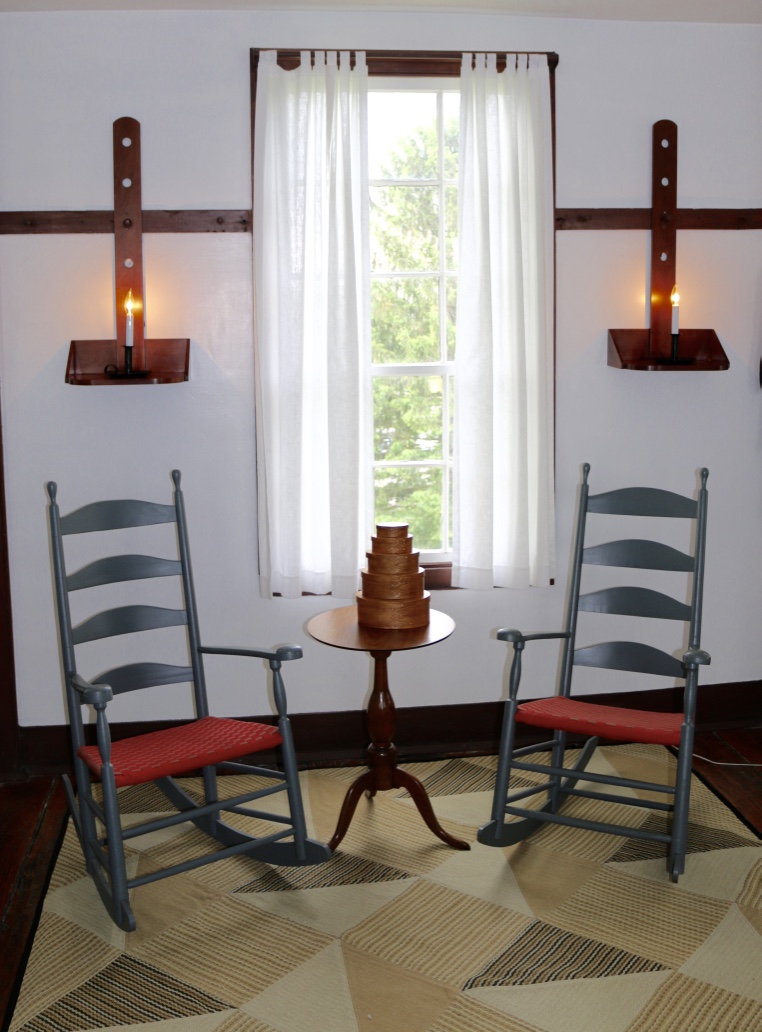
Completed boxes in their natural habitat
I had a great time making the boxes and we all had a great time at the annual meeting. I had wanted to visit Pleasant Hill Shaker Village for a long time and I’m glad I finally got to see it and spend the better part of a week living in the village.
If you’d like to make some Shaker Oval Boxes of your own, please check out the link to John Wilson’s website below along with links to more information on Pleasant Hill Shaker Village and the EAIA.