The Early Bird Doesn’t Always Get The Worm…

Every year the tool show gets earlier and earlier. I’m referring to the semi-annual ‘Live Free or Die Tool Show and Auction’ in Nashua New Hampshire which occurs every April and September. On Friday and Saturday the highlight for most folks is normally the tool auction at the Nashua Holiday Inn. Outside in the parking lot vendors setup to sell or swap tools — many fresh from the auction. That is where I spend my time and money — I’m into nice user tools.

Nice inlaid tool chest

Folks would get there earlier and earlier on Friday. Vendors started getting there on Thursday to be ready. Eventually those folks figured — well if I am already at the hotel on Thursday I might as well setup and sell what I can. This process repeated itself and now some folks are dealing tools on Wednesday afternoon.

Nice selection of sea chests, cabinets and small chests

This year I went on Thursday morning again and about 80% of the usual vendors I like to buy from were there and I figured I’d have an edge in getting whatever tool I was hunting for or whatever new treasure I didn’t know I needed until I saw it. Unfortunately the early bird did not get the worm this year — I only bought a couple of small items and only saw a few friends from NBSS. Normally the tool show is one of my favorite days of the years but the meager haul left me wanting more —  so I decided to go on Friday morning to see a lot of my friends from NBSS and meet some more of the new students.

Interesting painted tool chest lid

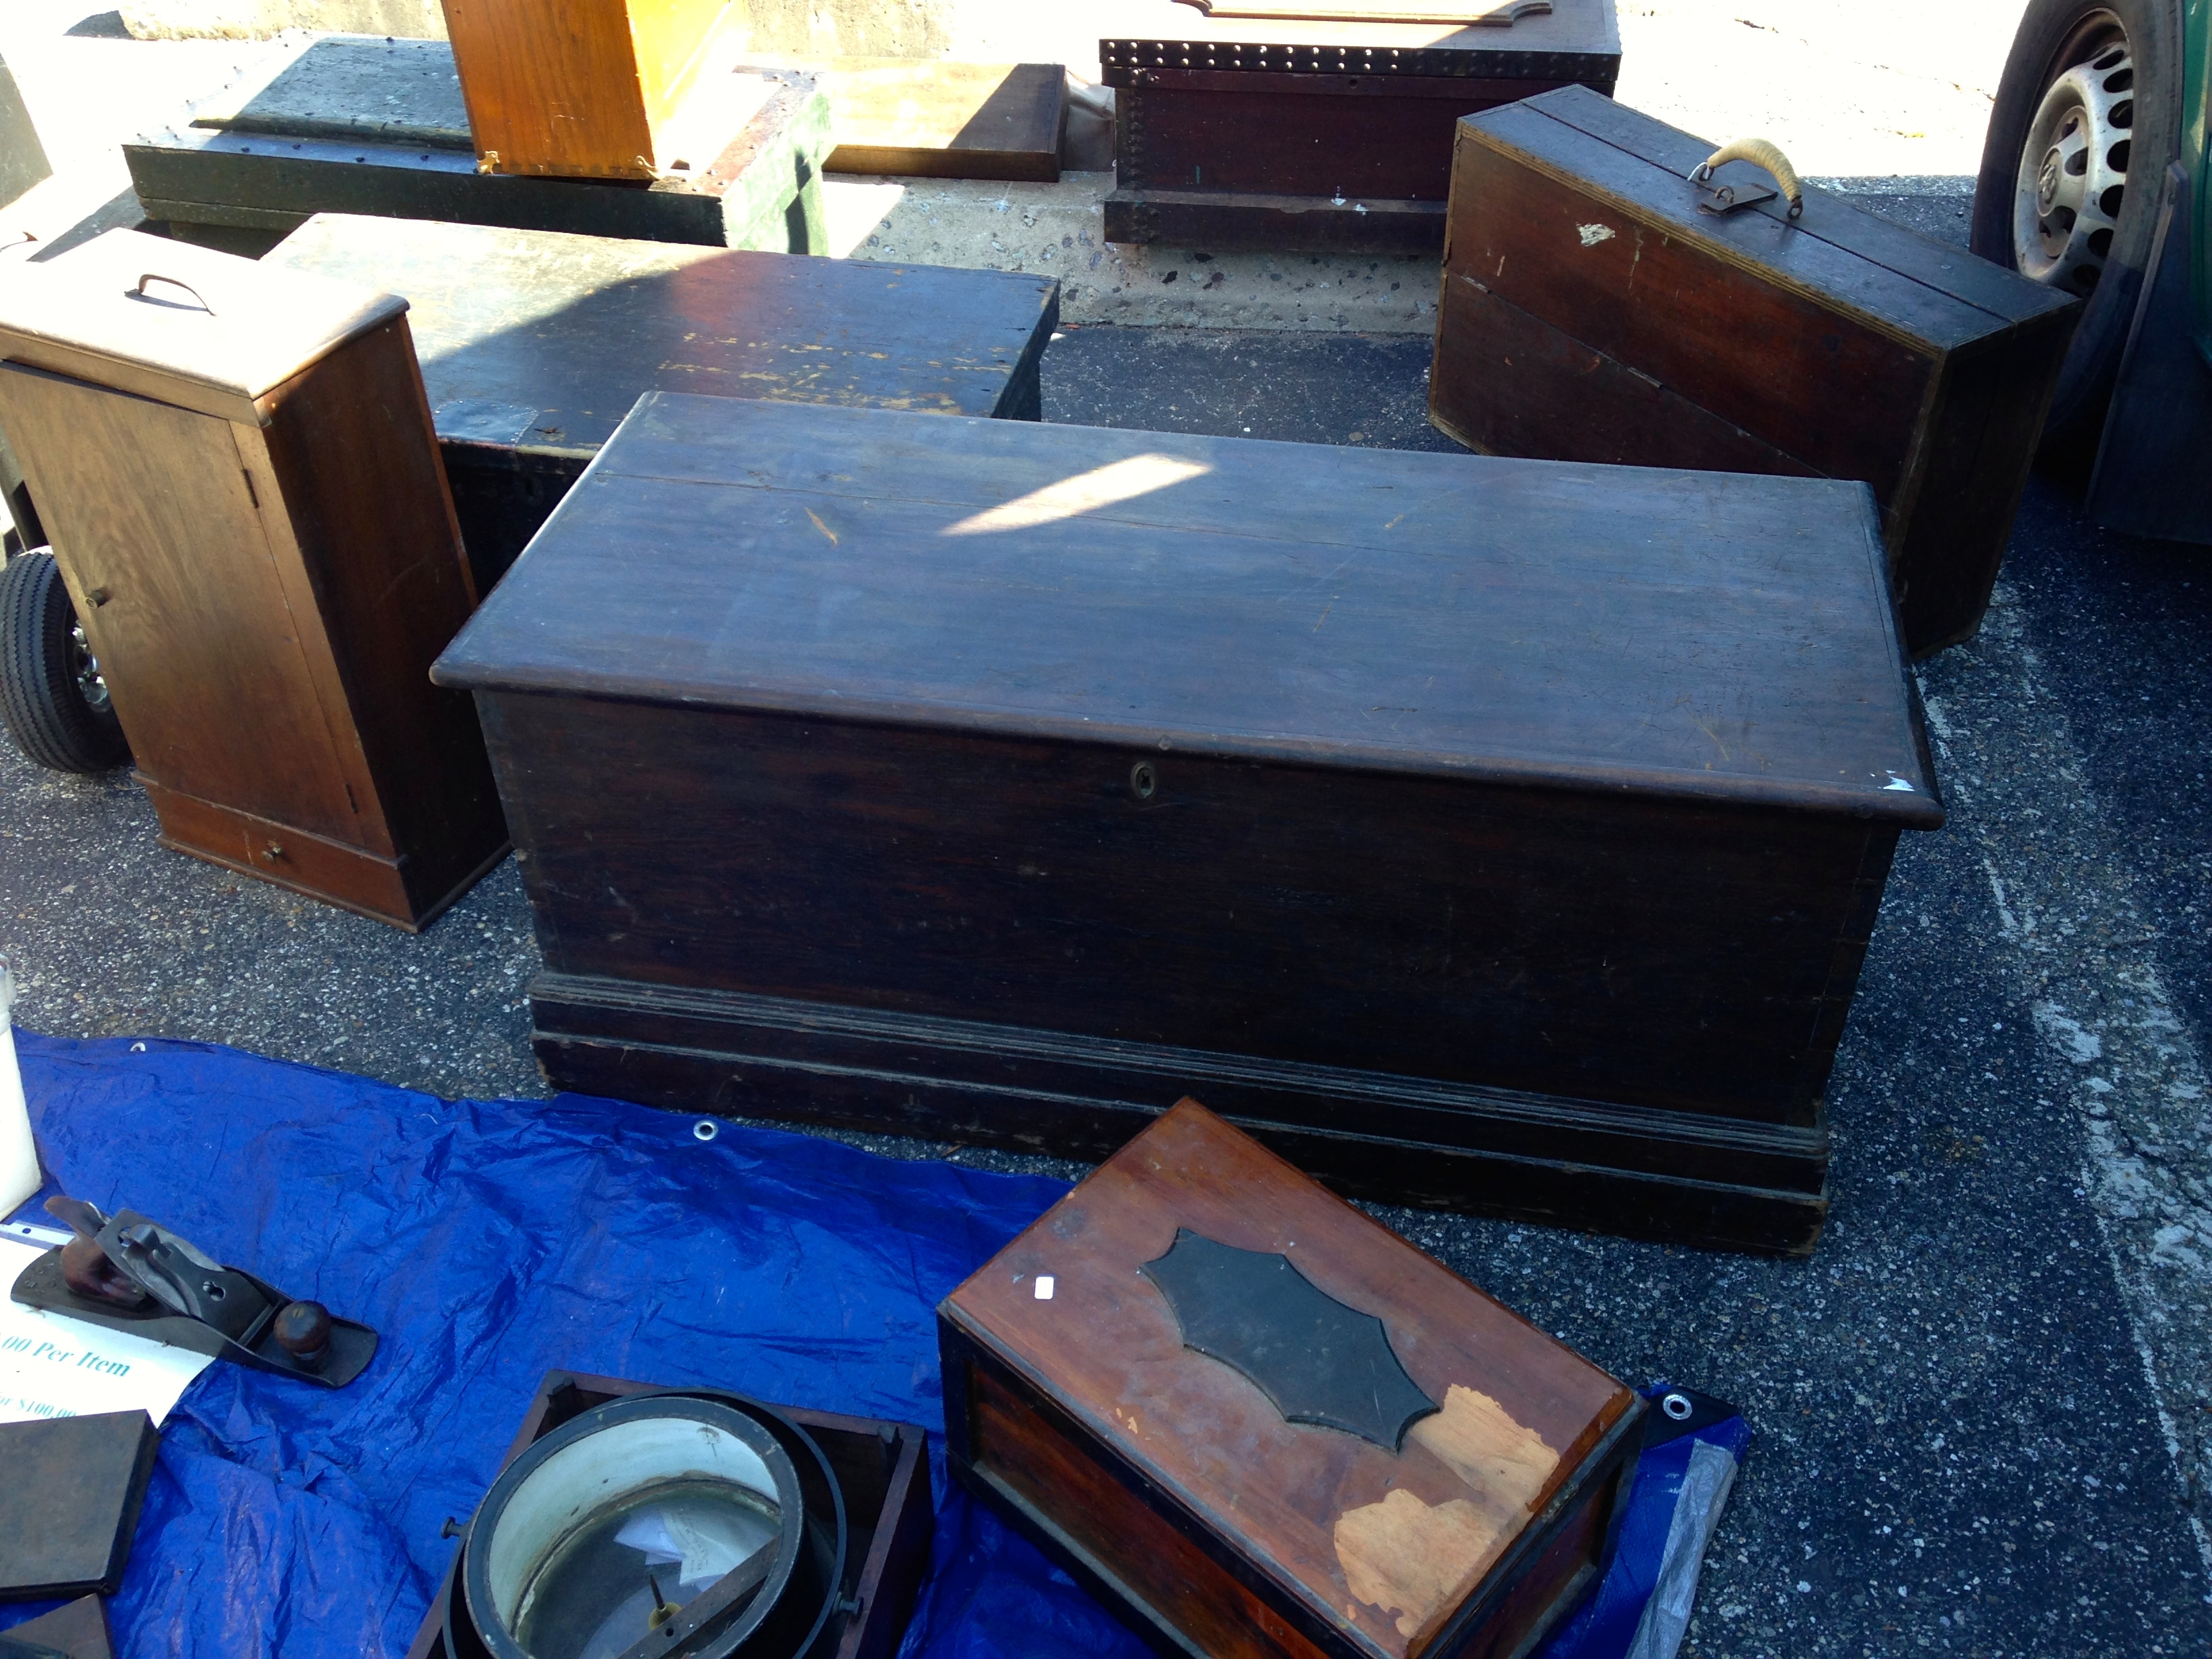
Friday was a much better day — less wind and a little sunnier. It was great to see lots of old friends and the rest of the vendors I normally frequent.  I also found a couple of great items that made my day. Throughout this post you can see a sampling of some of the more interesting tool chests and cabinets at the show. It is interesting to see what has survived and how folks laid out their tills and decorated their tool chests.

Sloyd style youth workbench -- though not a Larsson bench
Sloyd style youth workbench — though not a Larsson bench

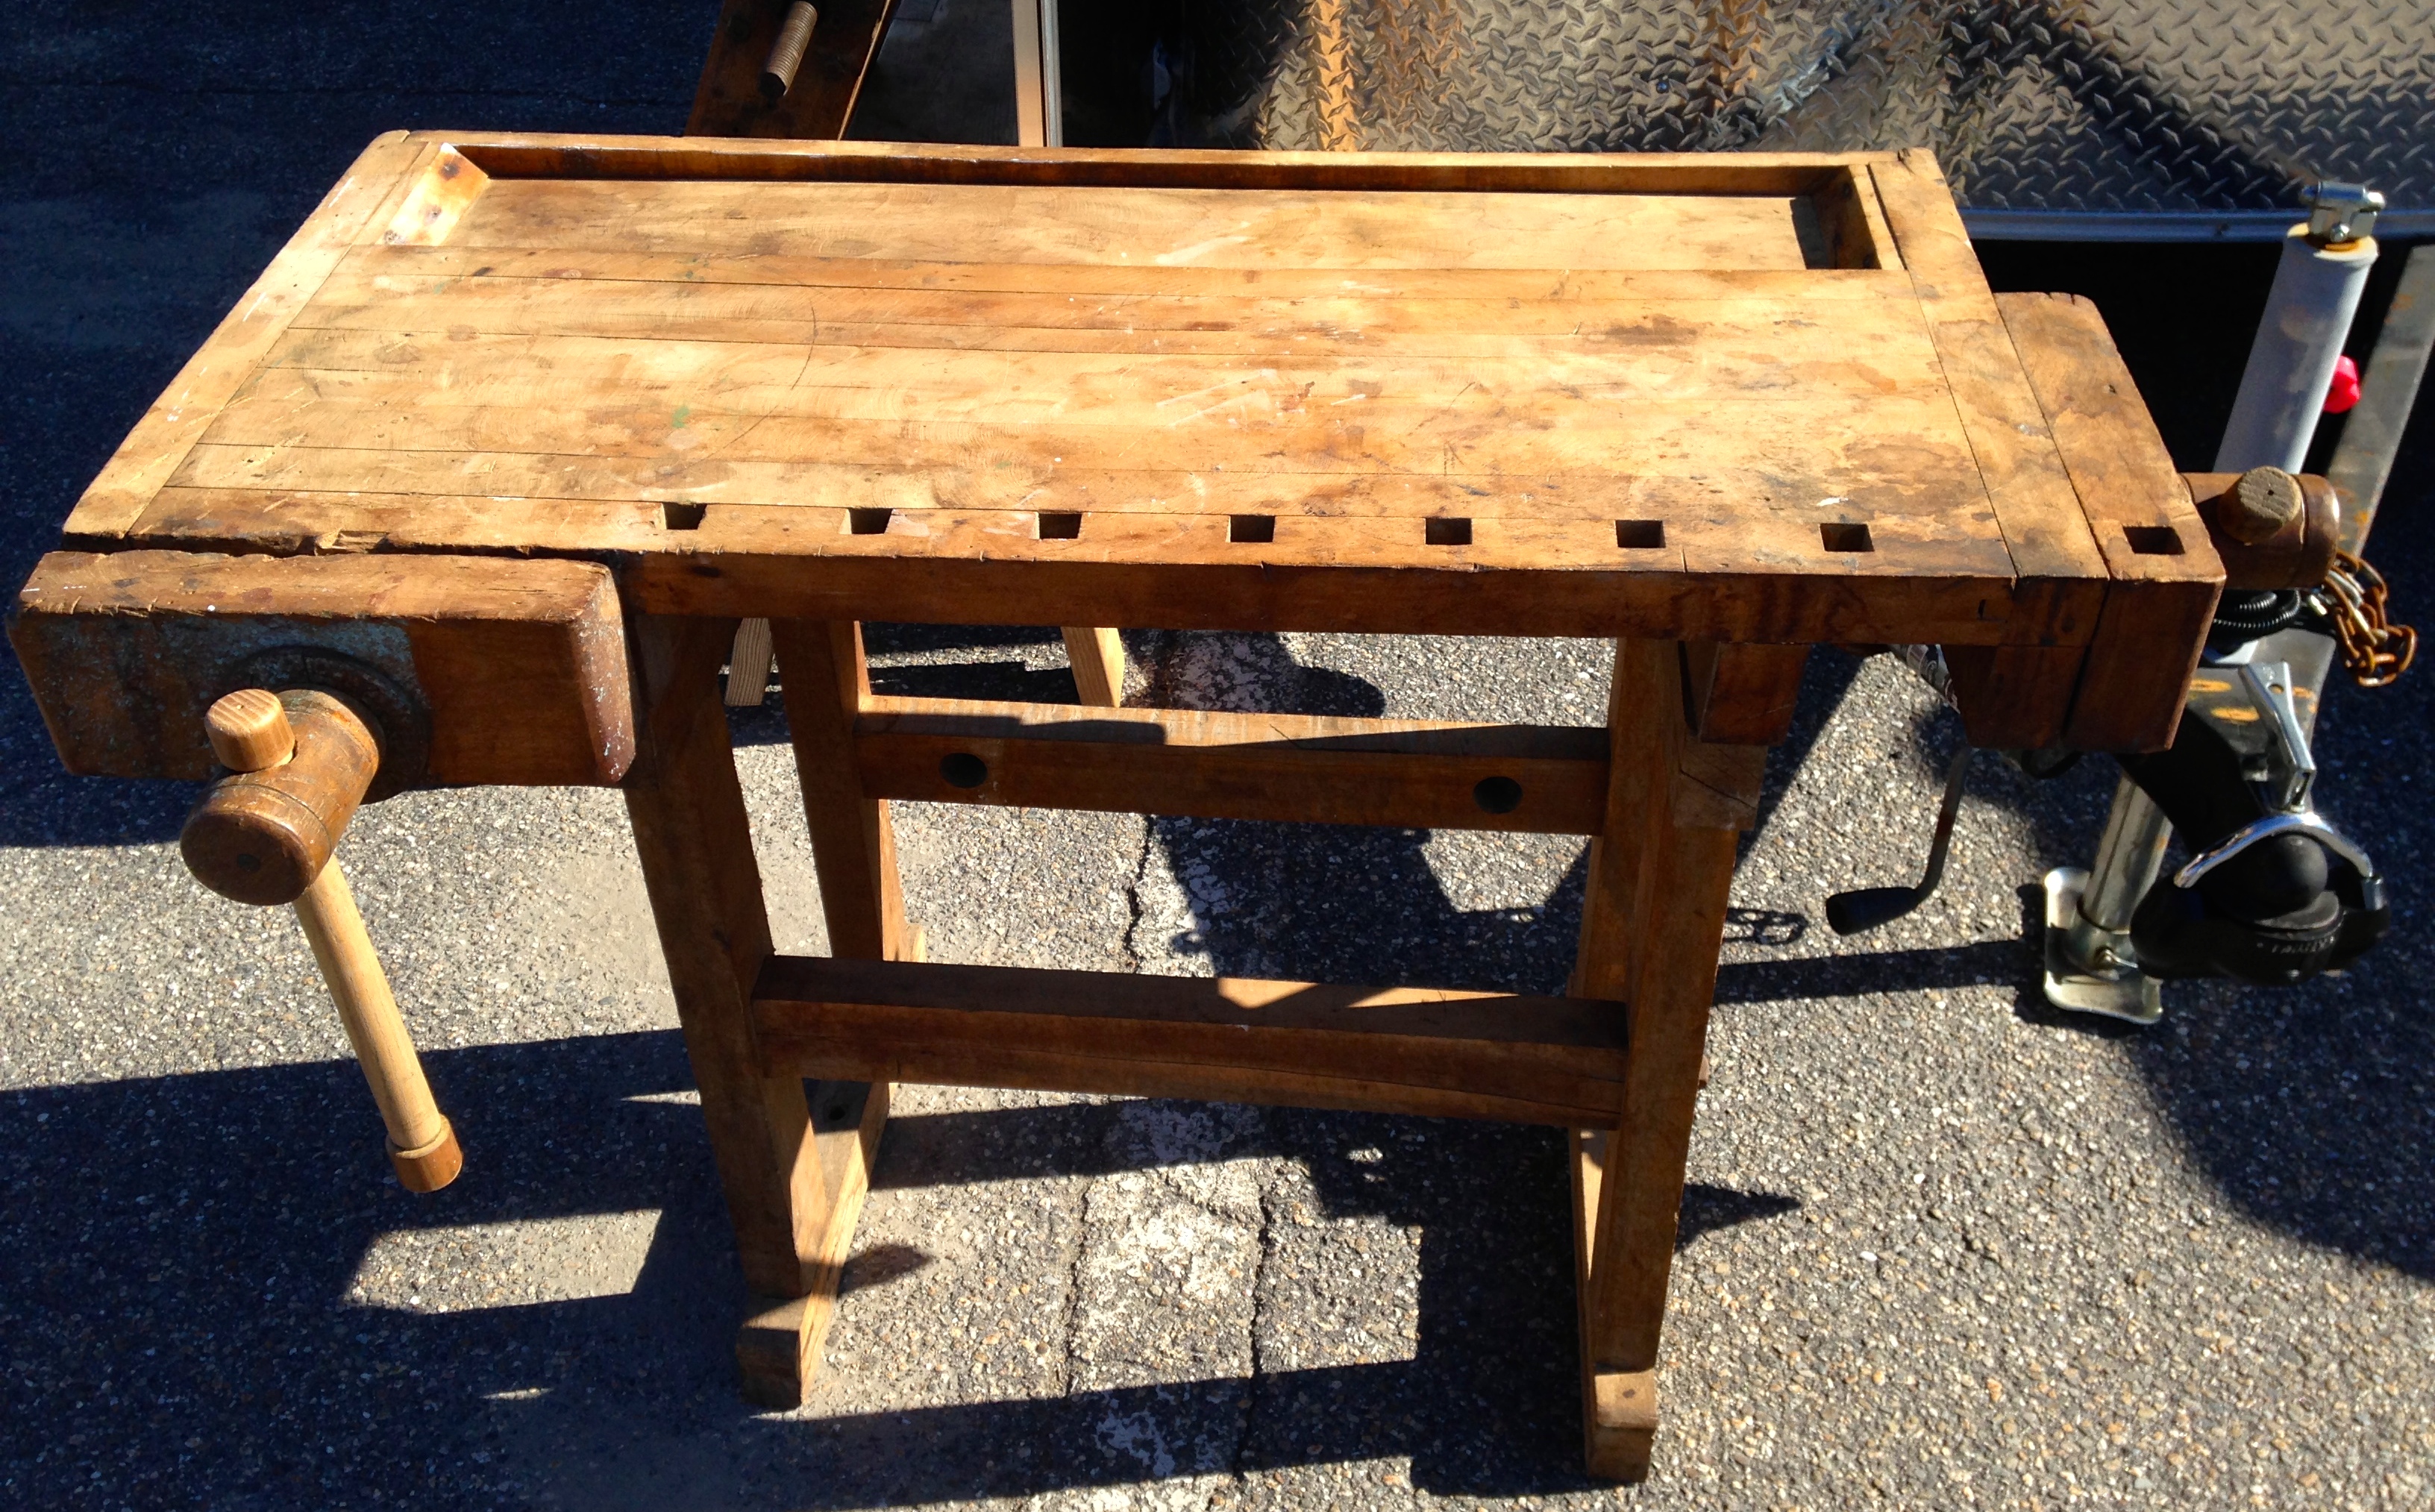
Directly above you can see an interesting workbench. Designed for manual training or a similar classroom setting, this bench looks like it was a competitor to the Larsson Improved workbench I wrote about here.

Great selection of molding and bench planes

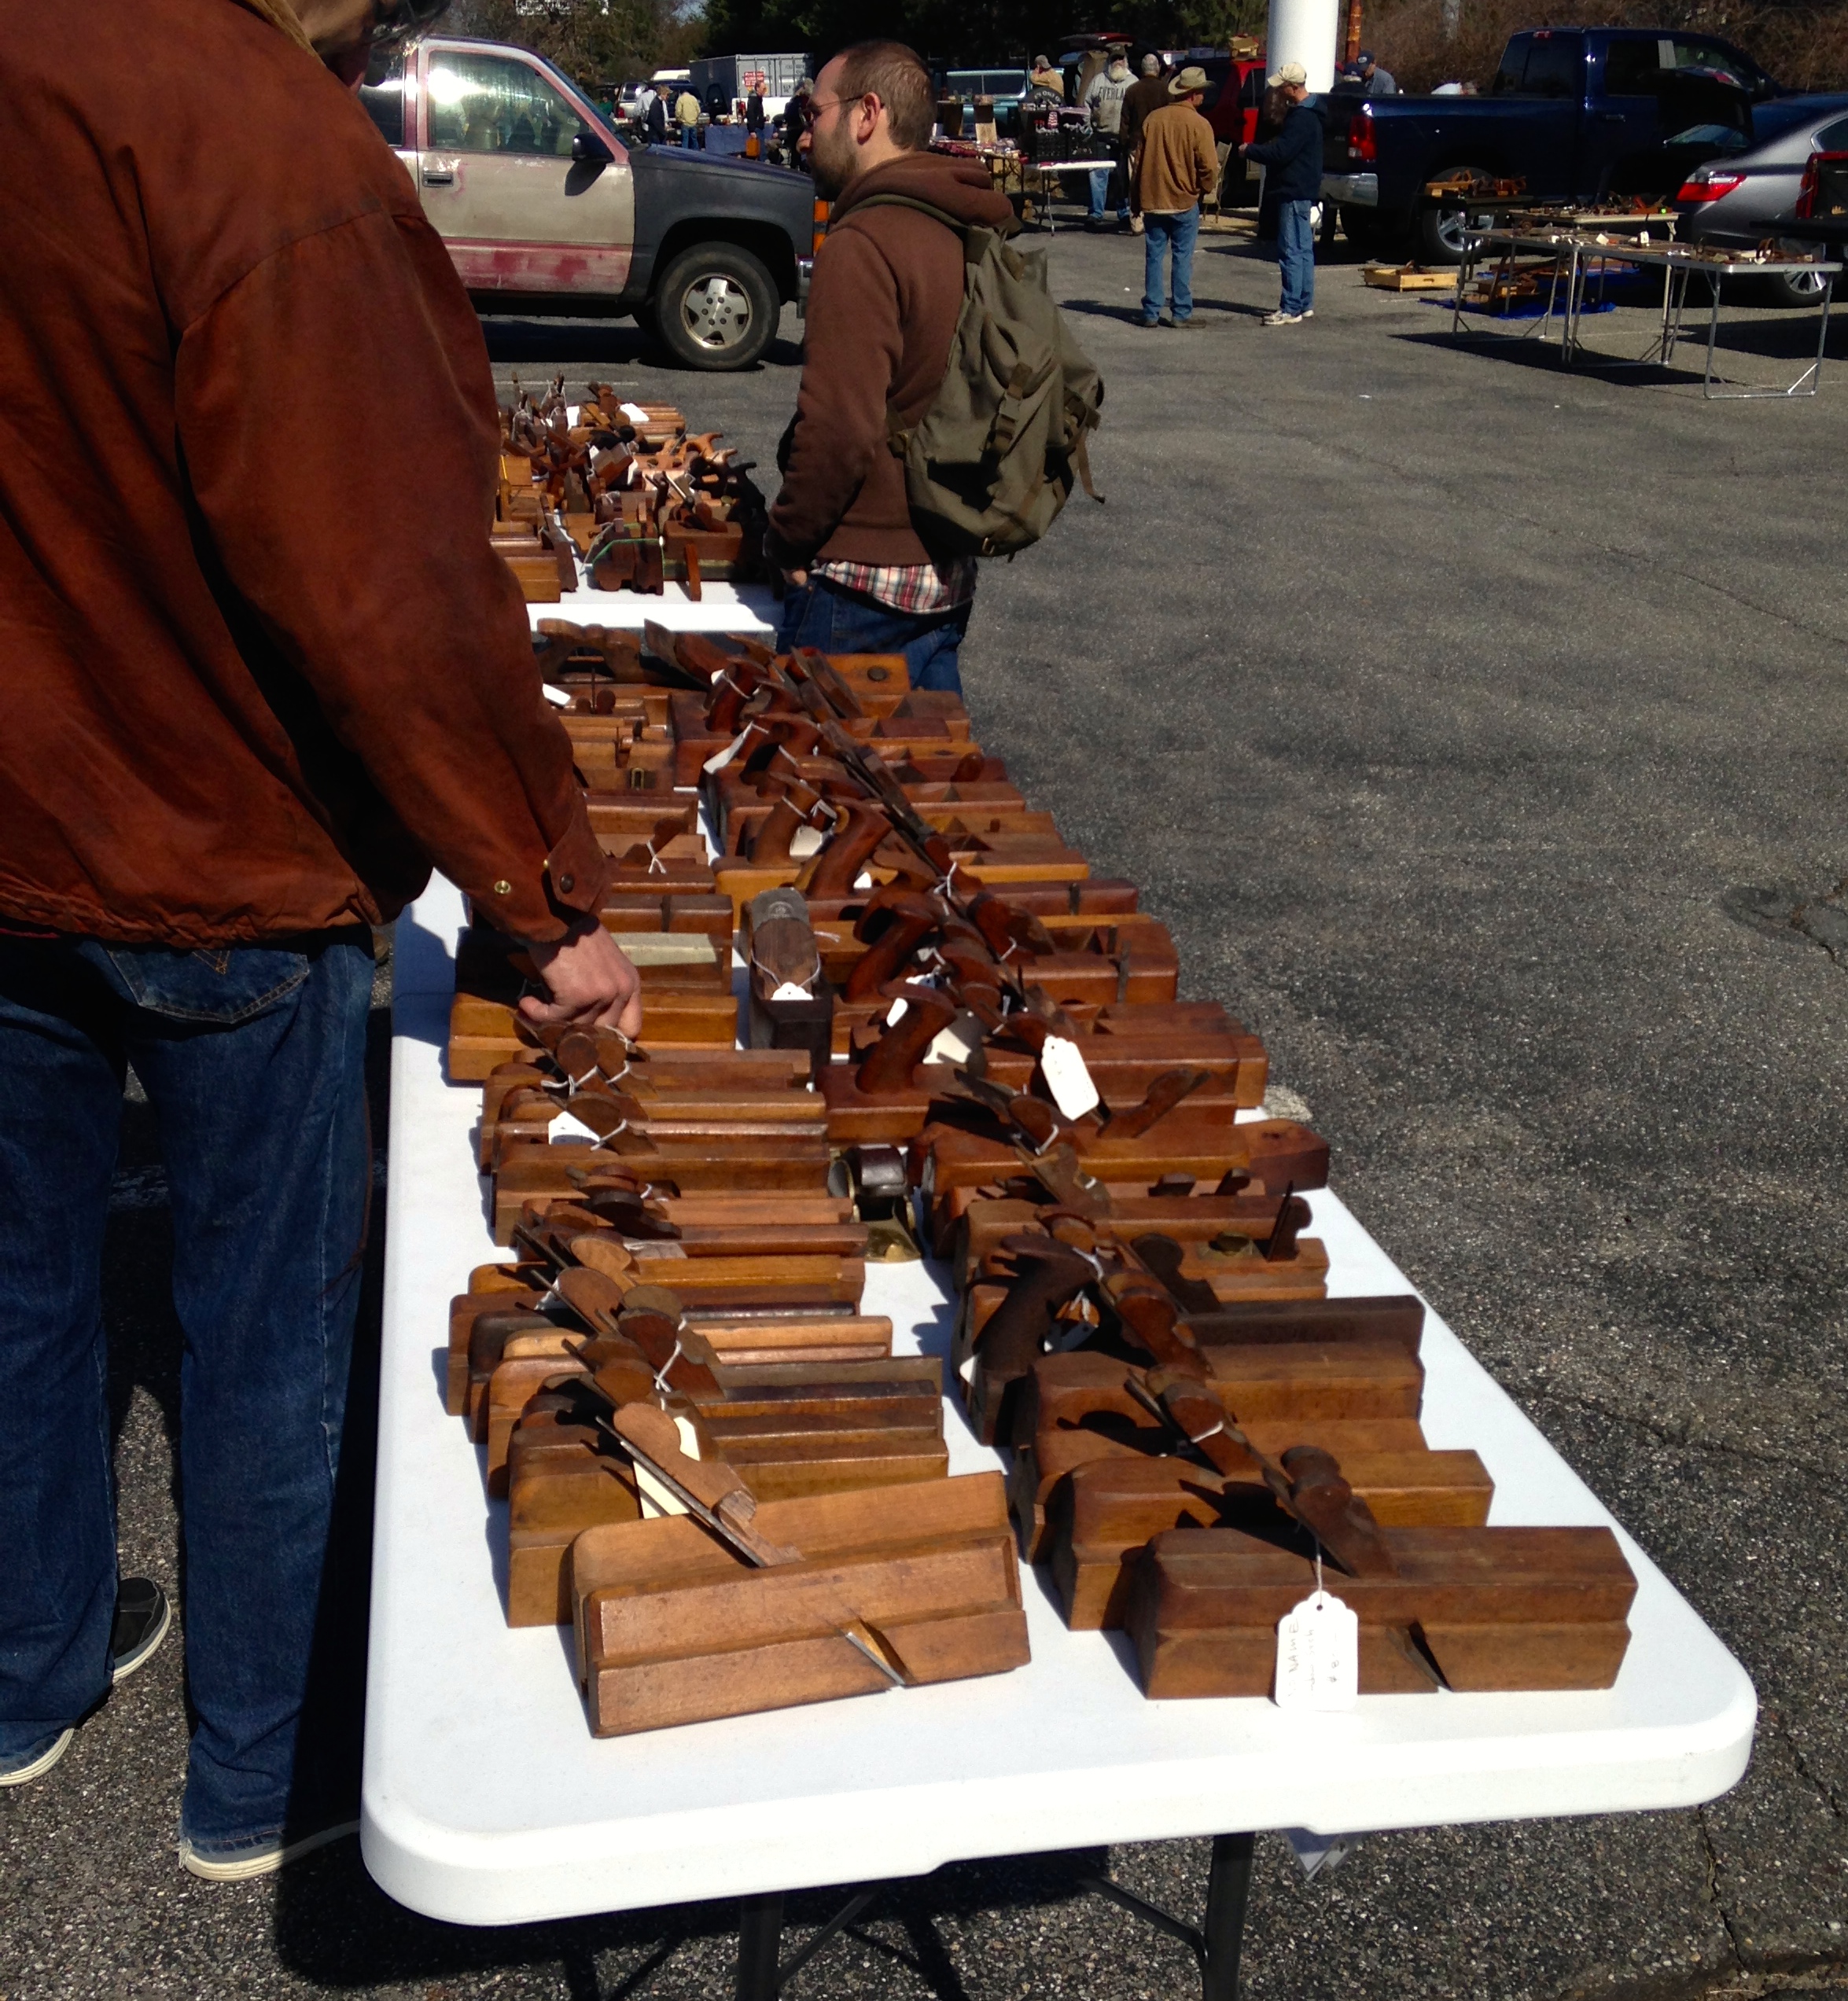
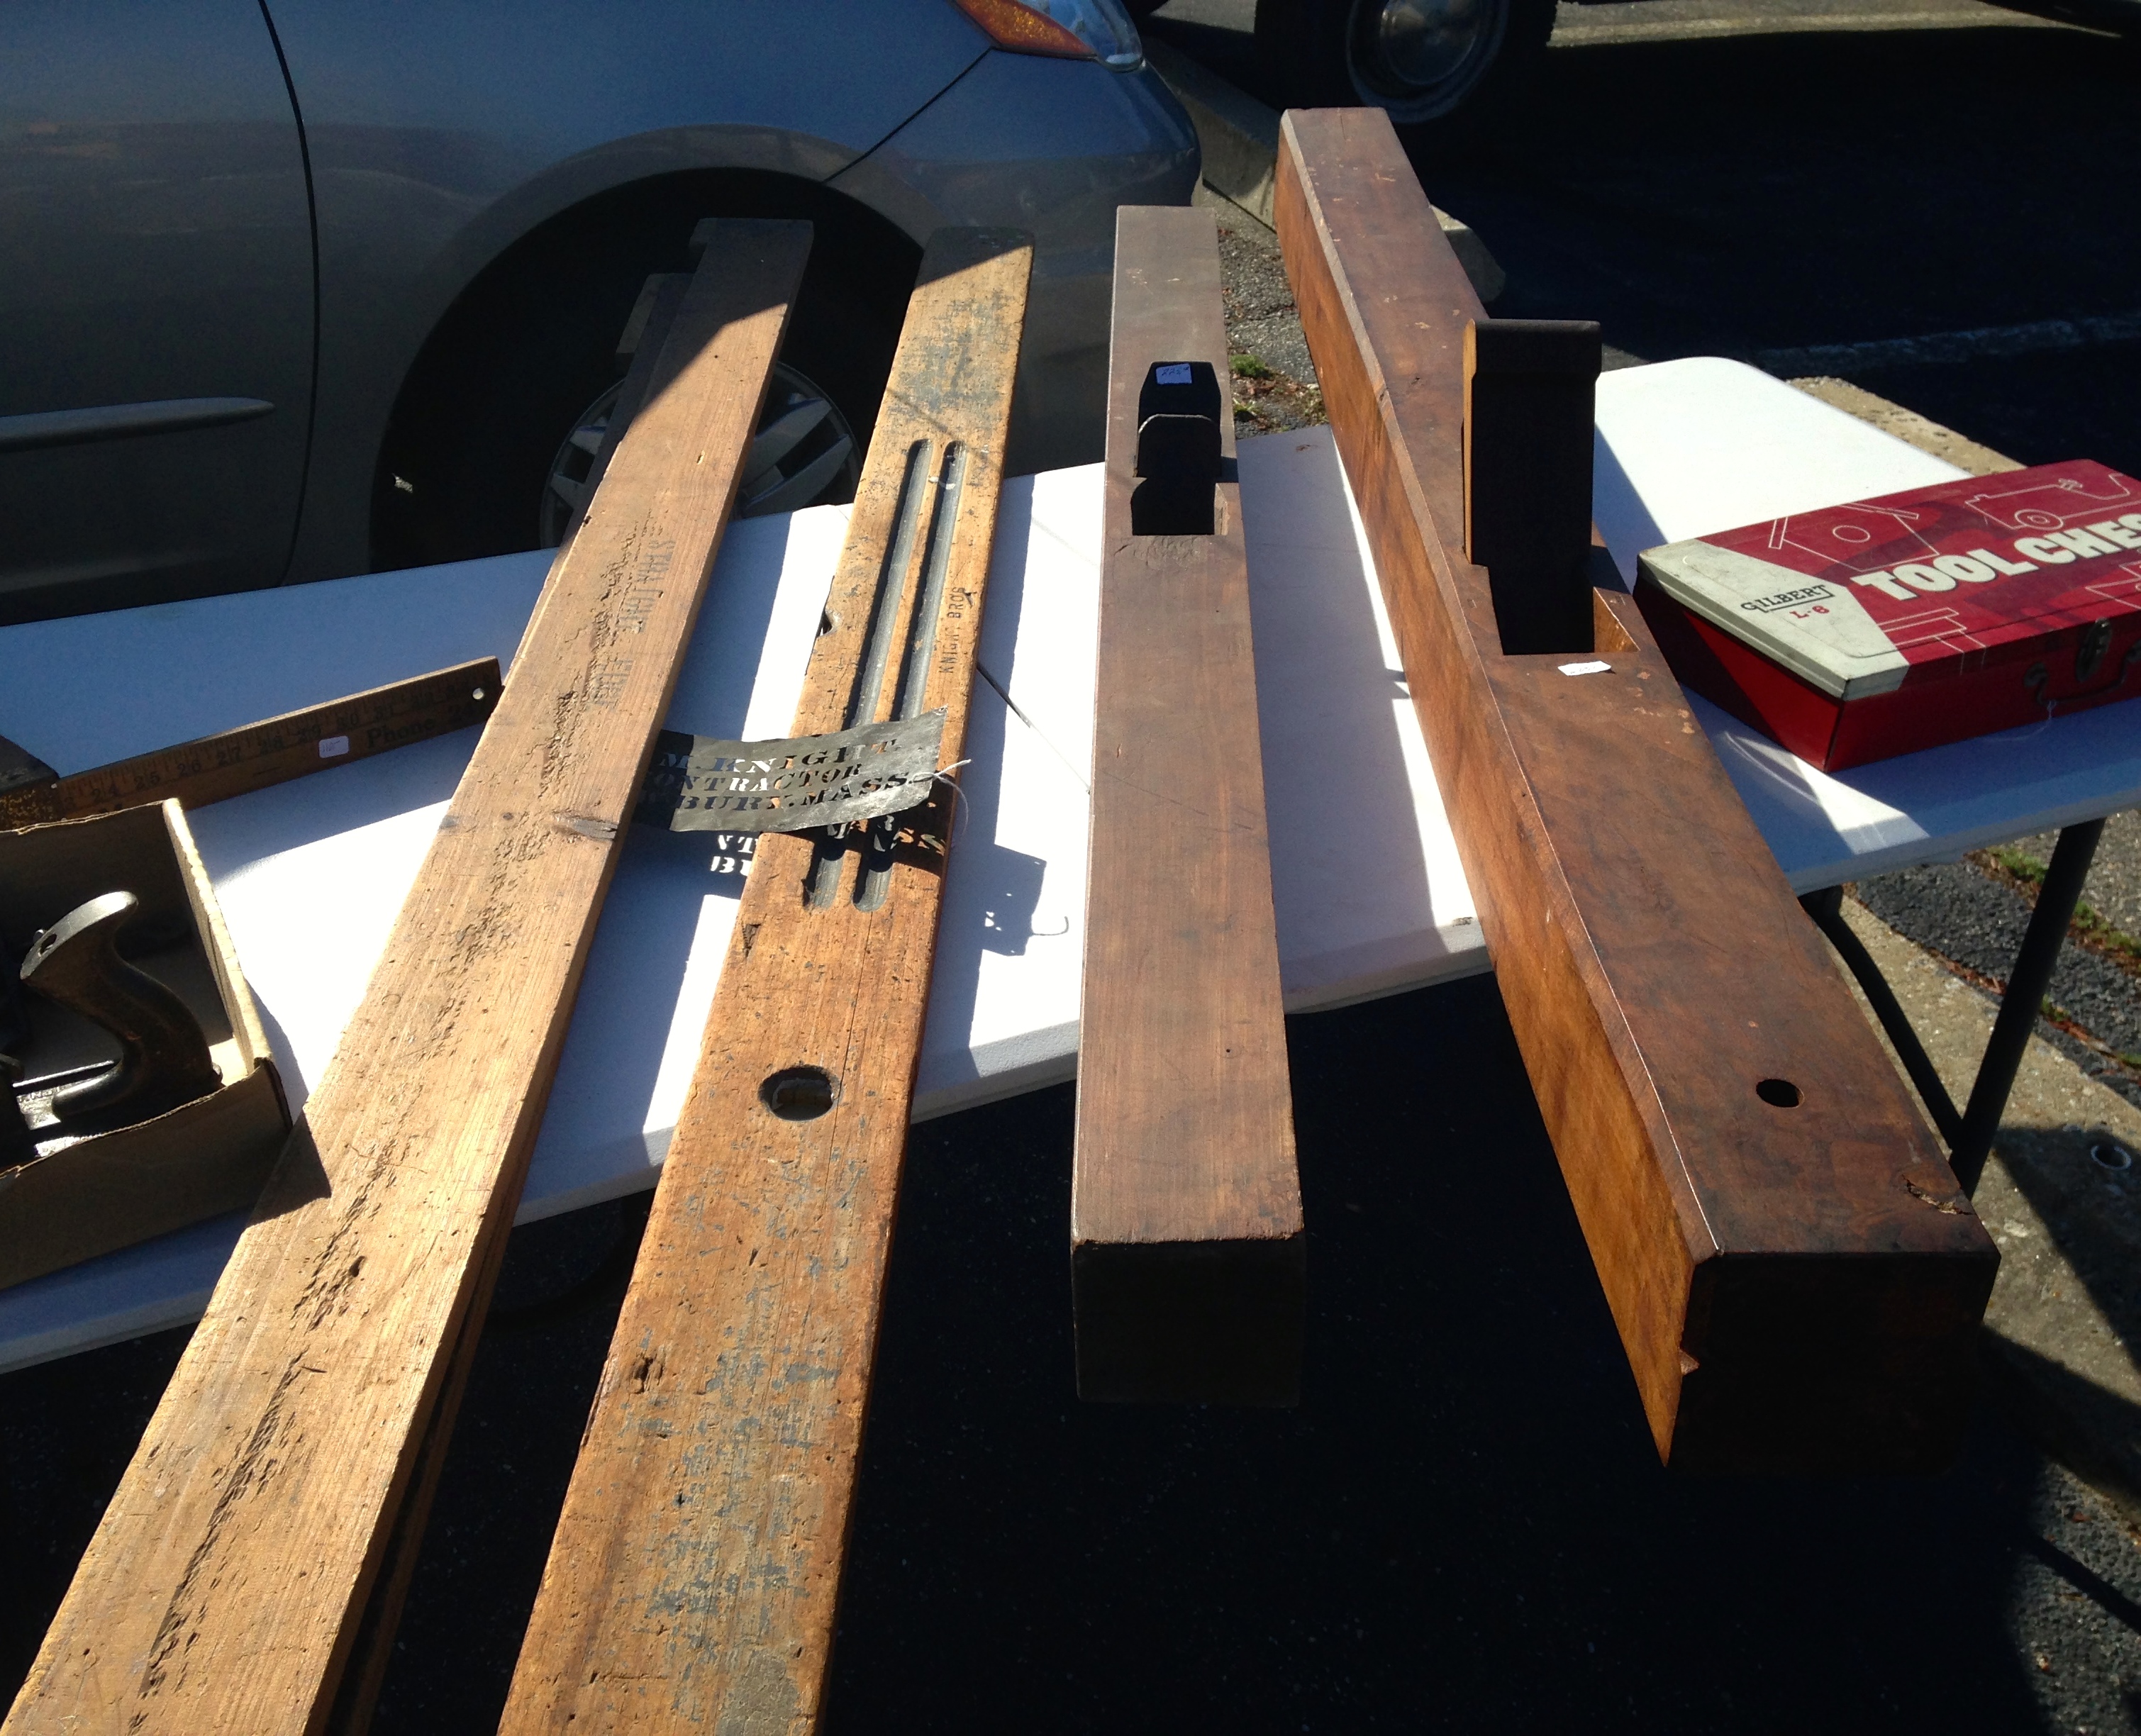
This year there were more vendors compared to recent years and there was a particularly great selection of molding planes and bench planes.

Classic tool tote
Classic tool tote

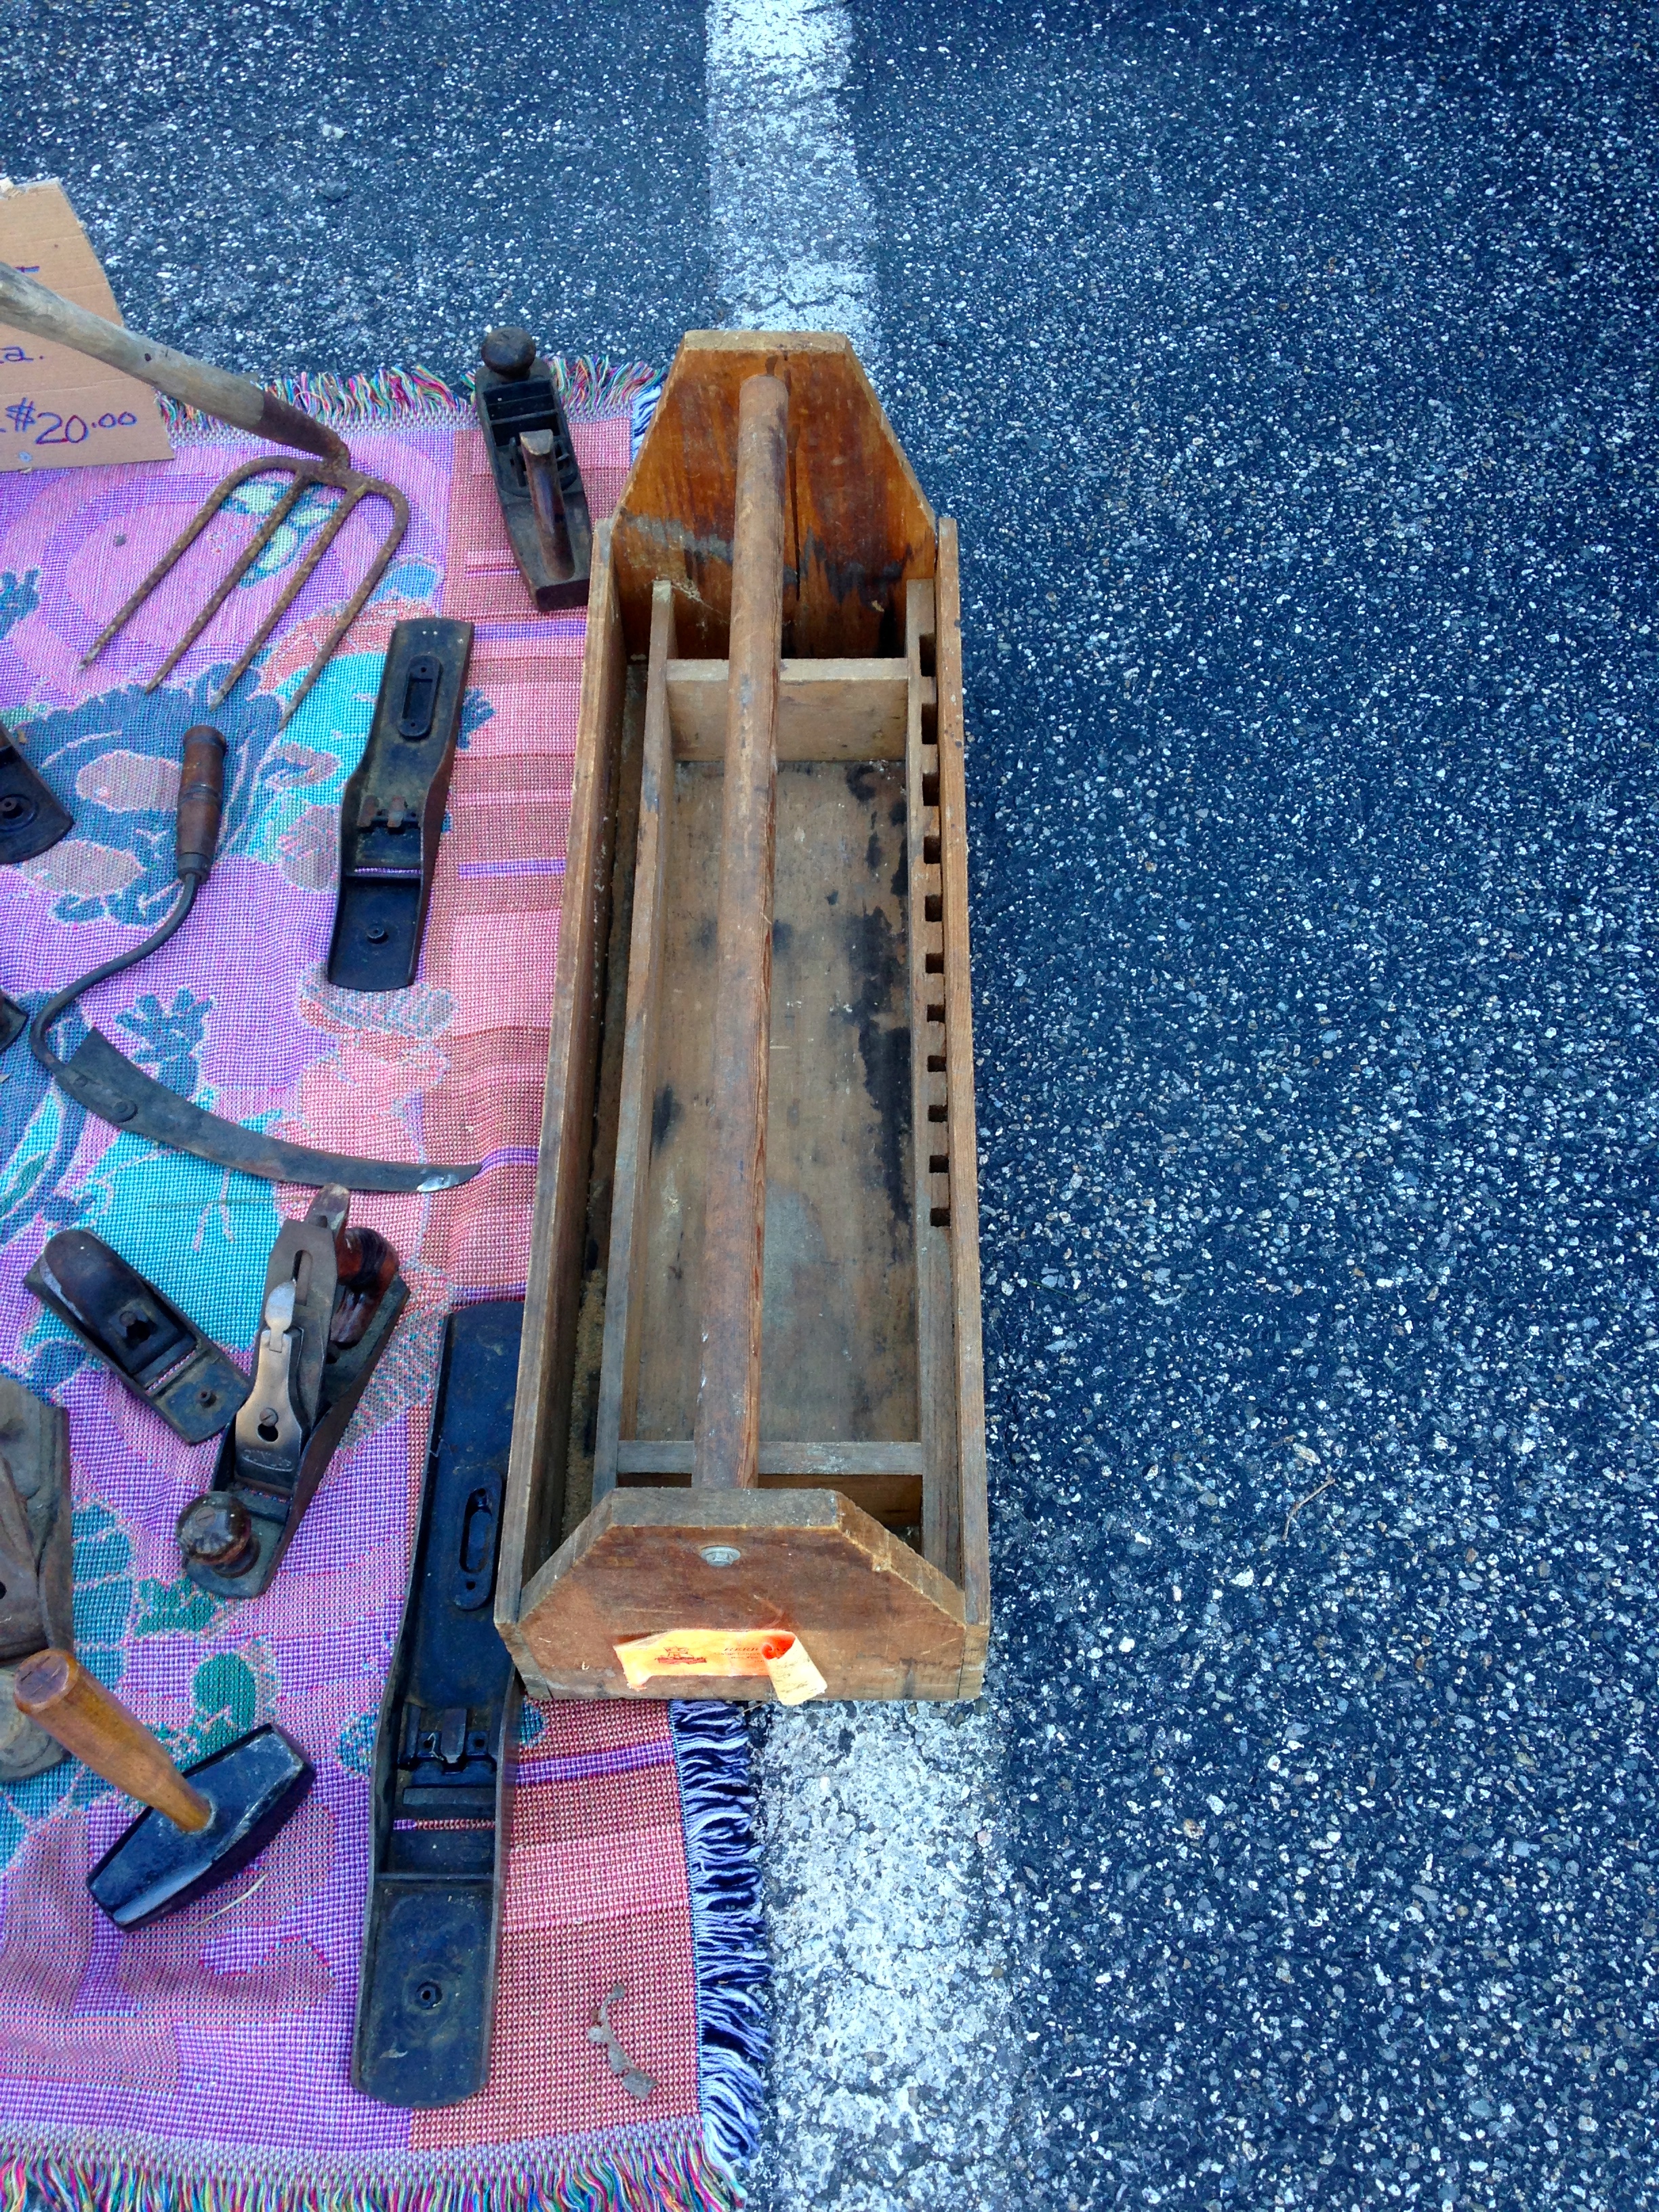
The iconic tool tote above looks like it had a long service life — hopefully it went to a new home where it will see some use.

Nice clean modern tool chest with finger joints

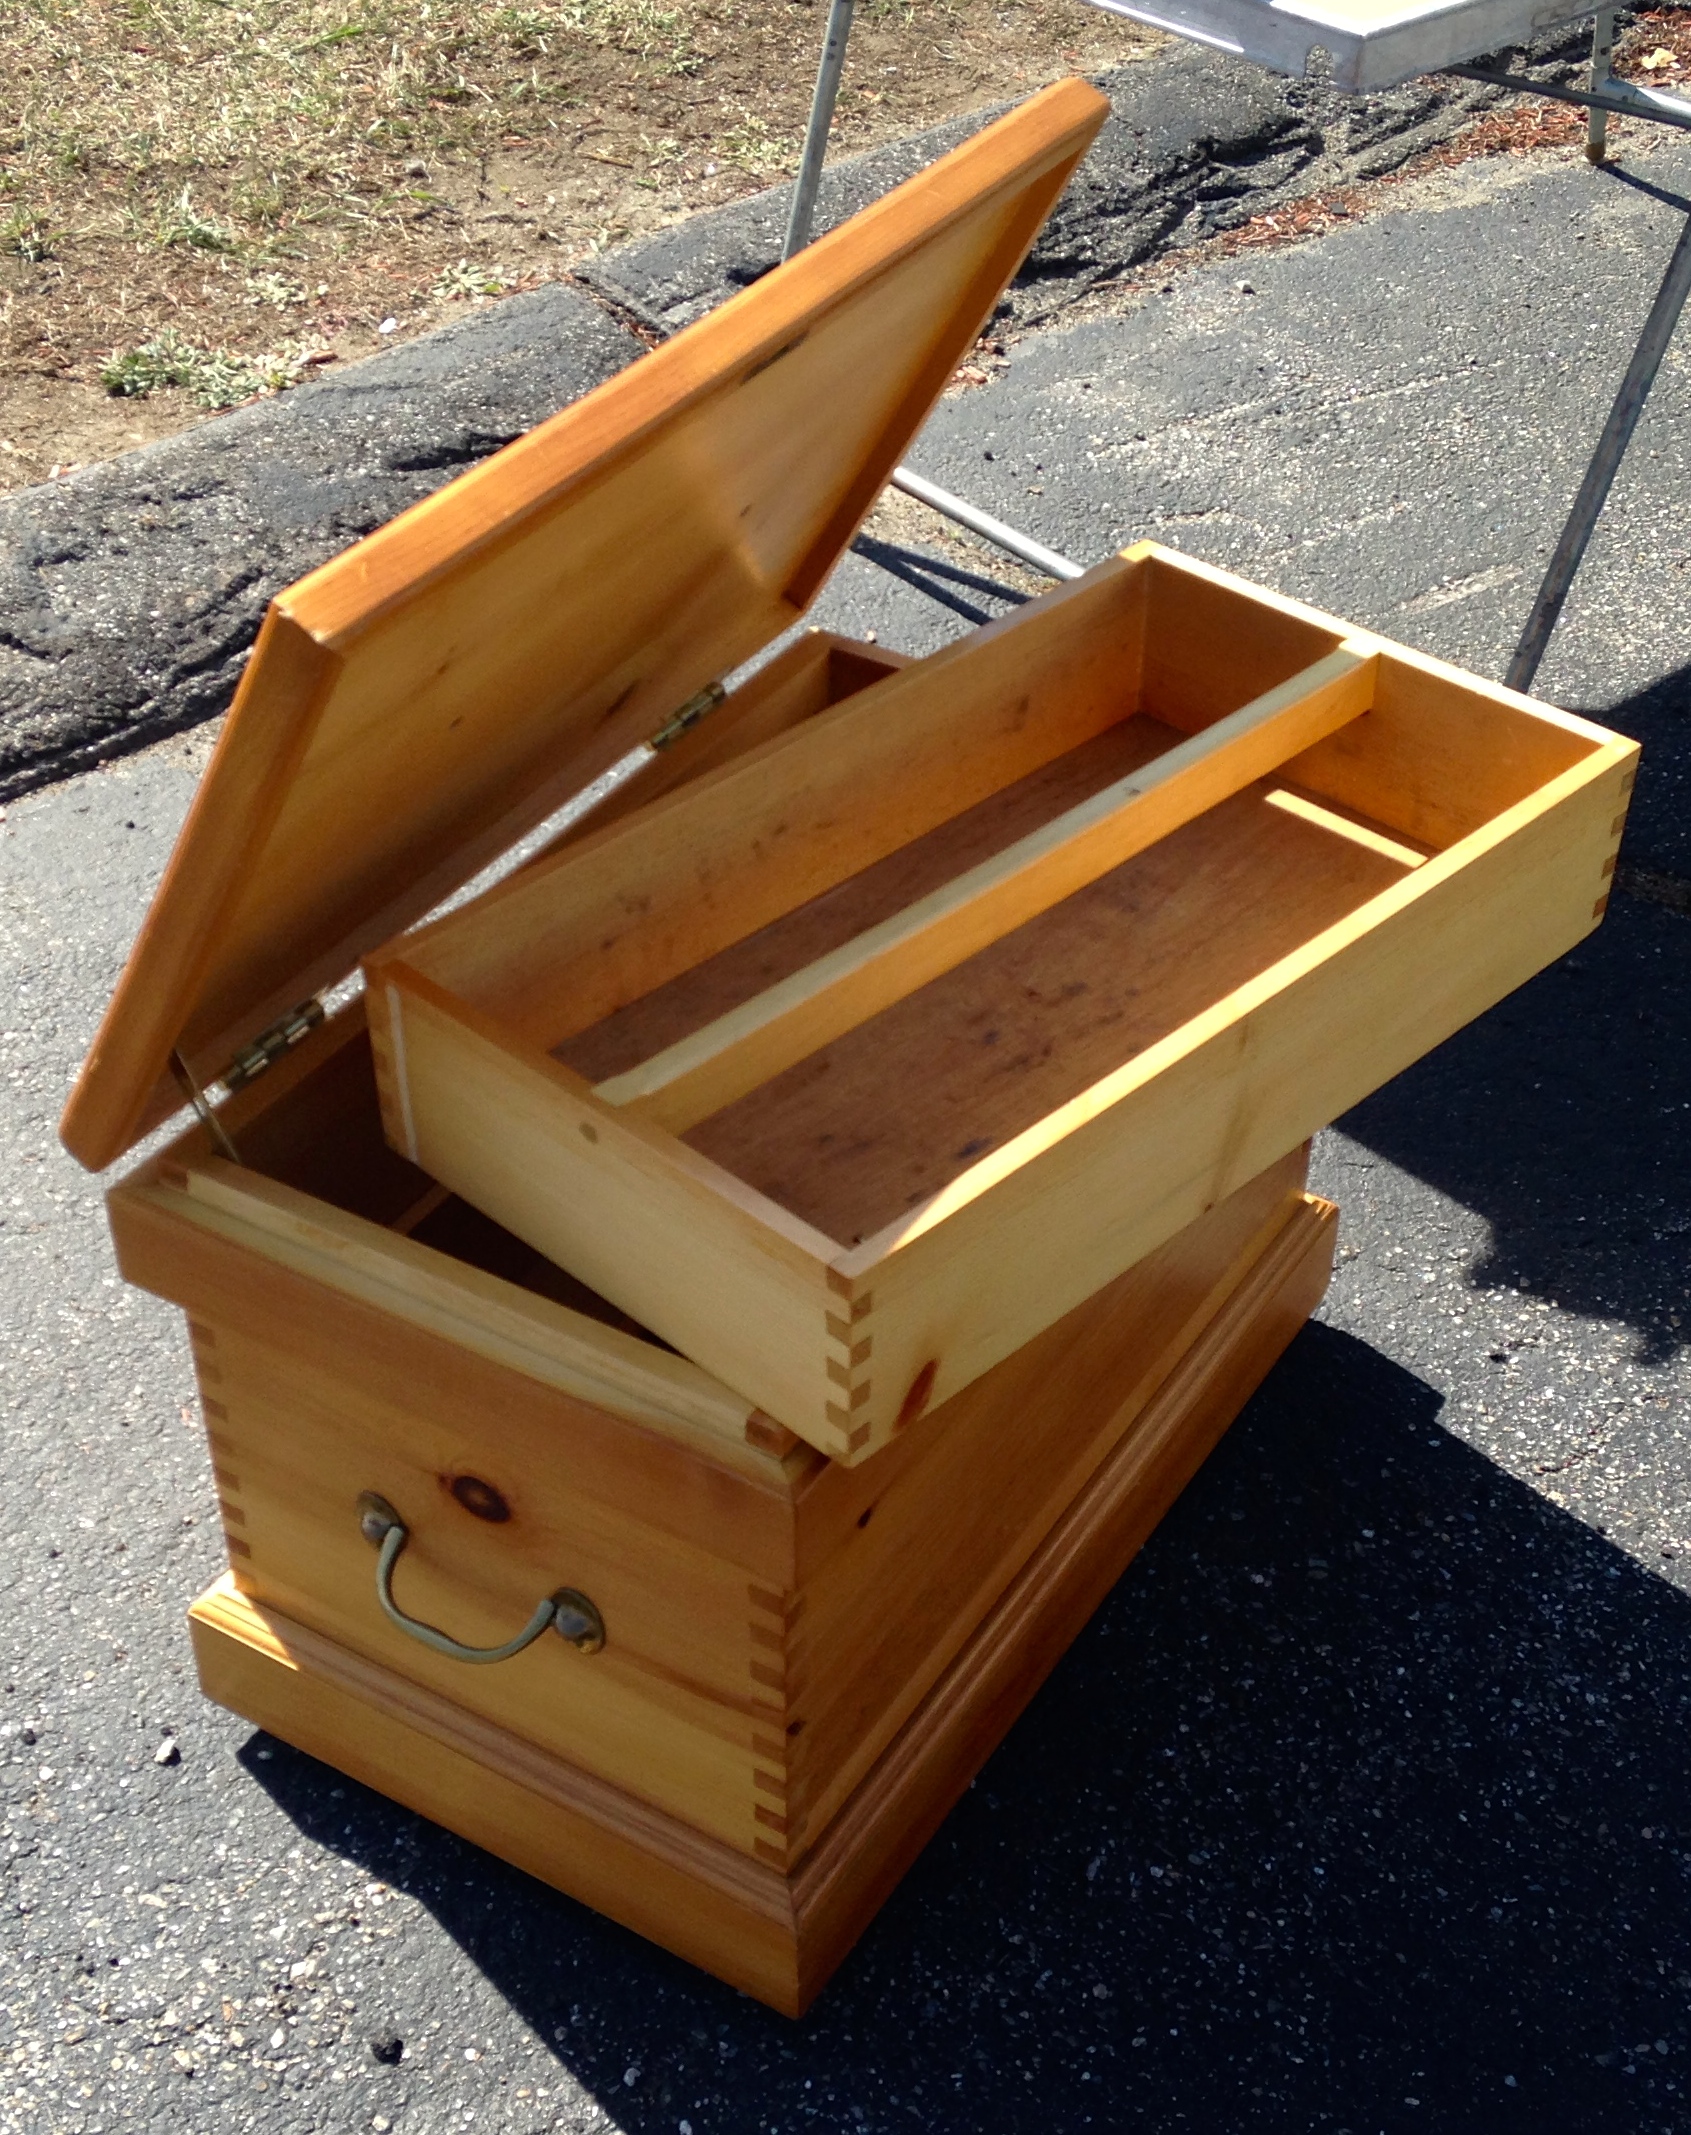
The tool chest above with simple finger joints and nice hardware looks pretty new, but I am glad to see some more recent projects circulating around.

Incredible telescoping tool chest (for sale by Patrick Leach)

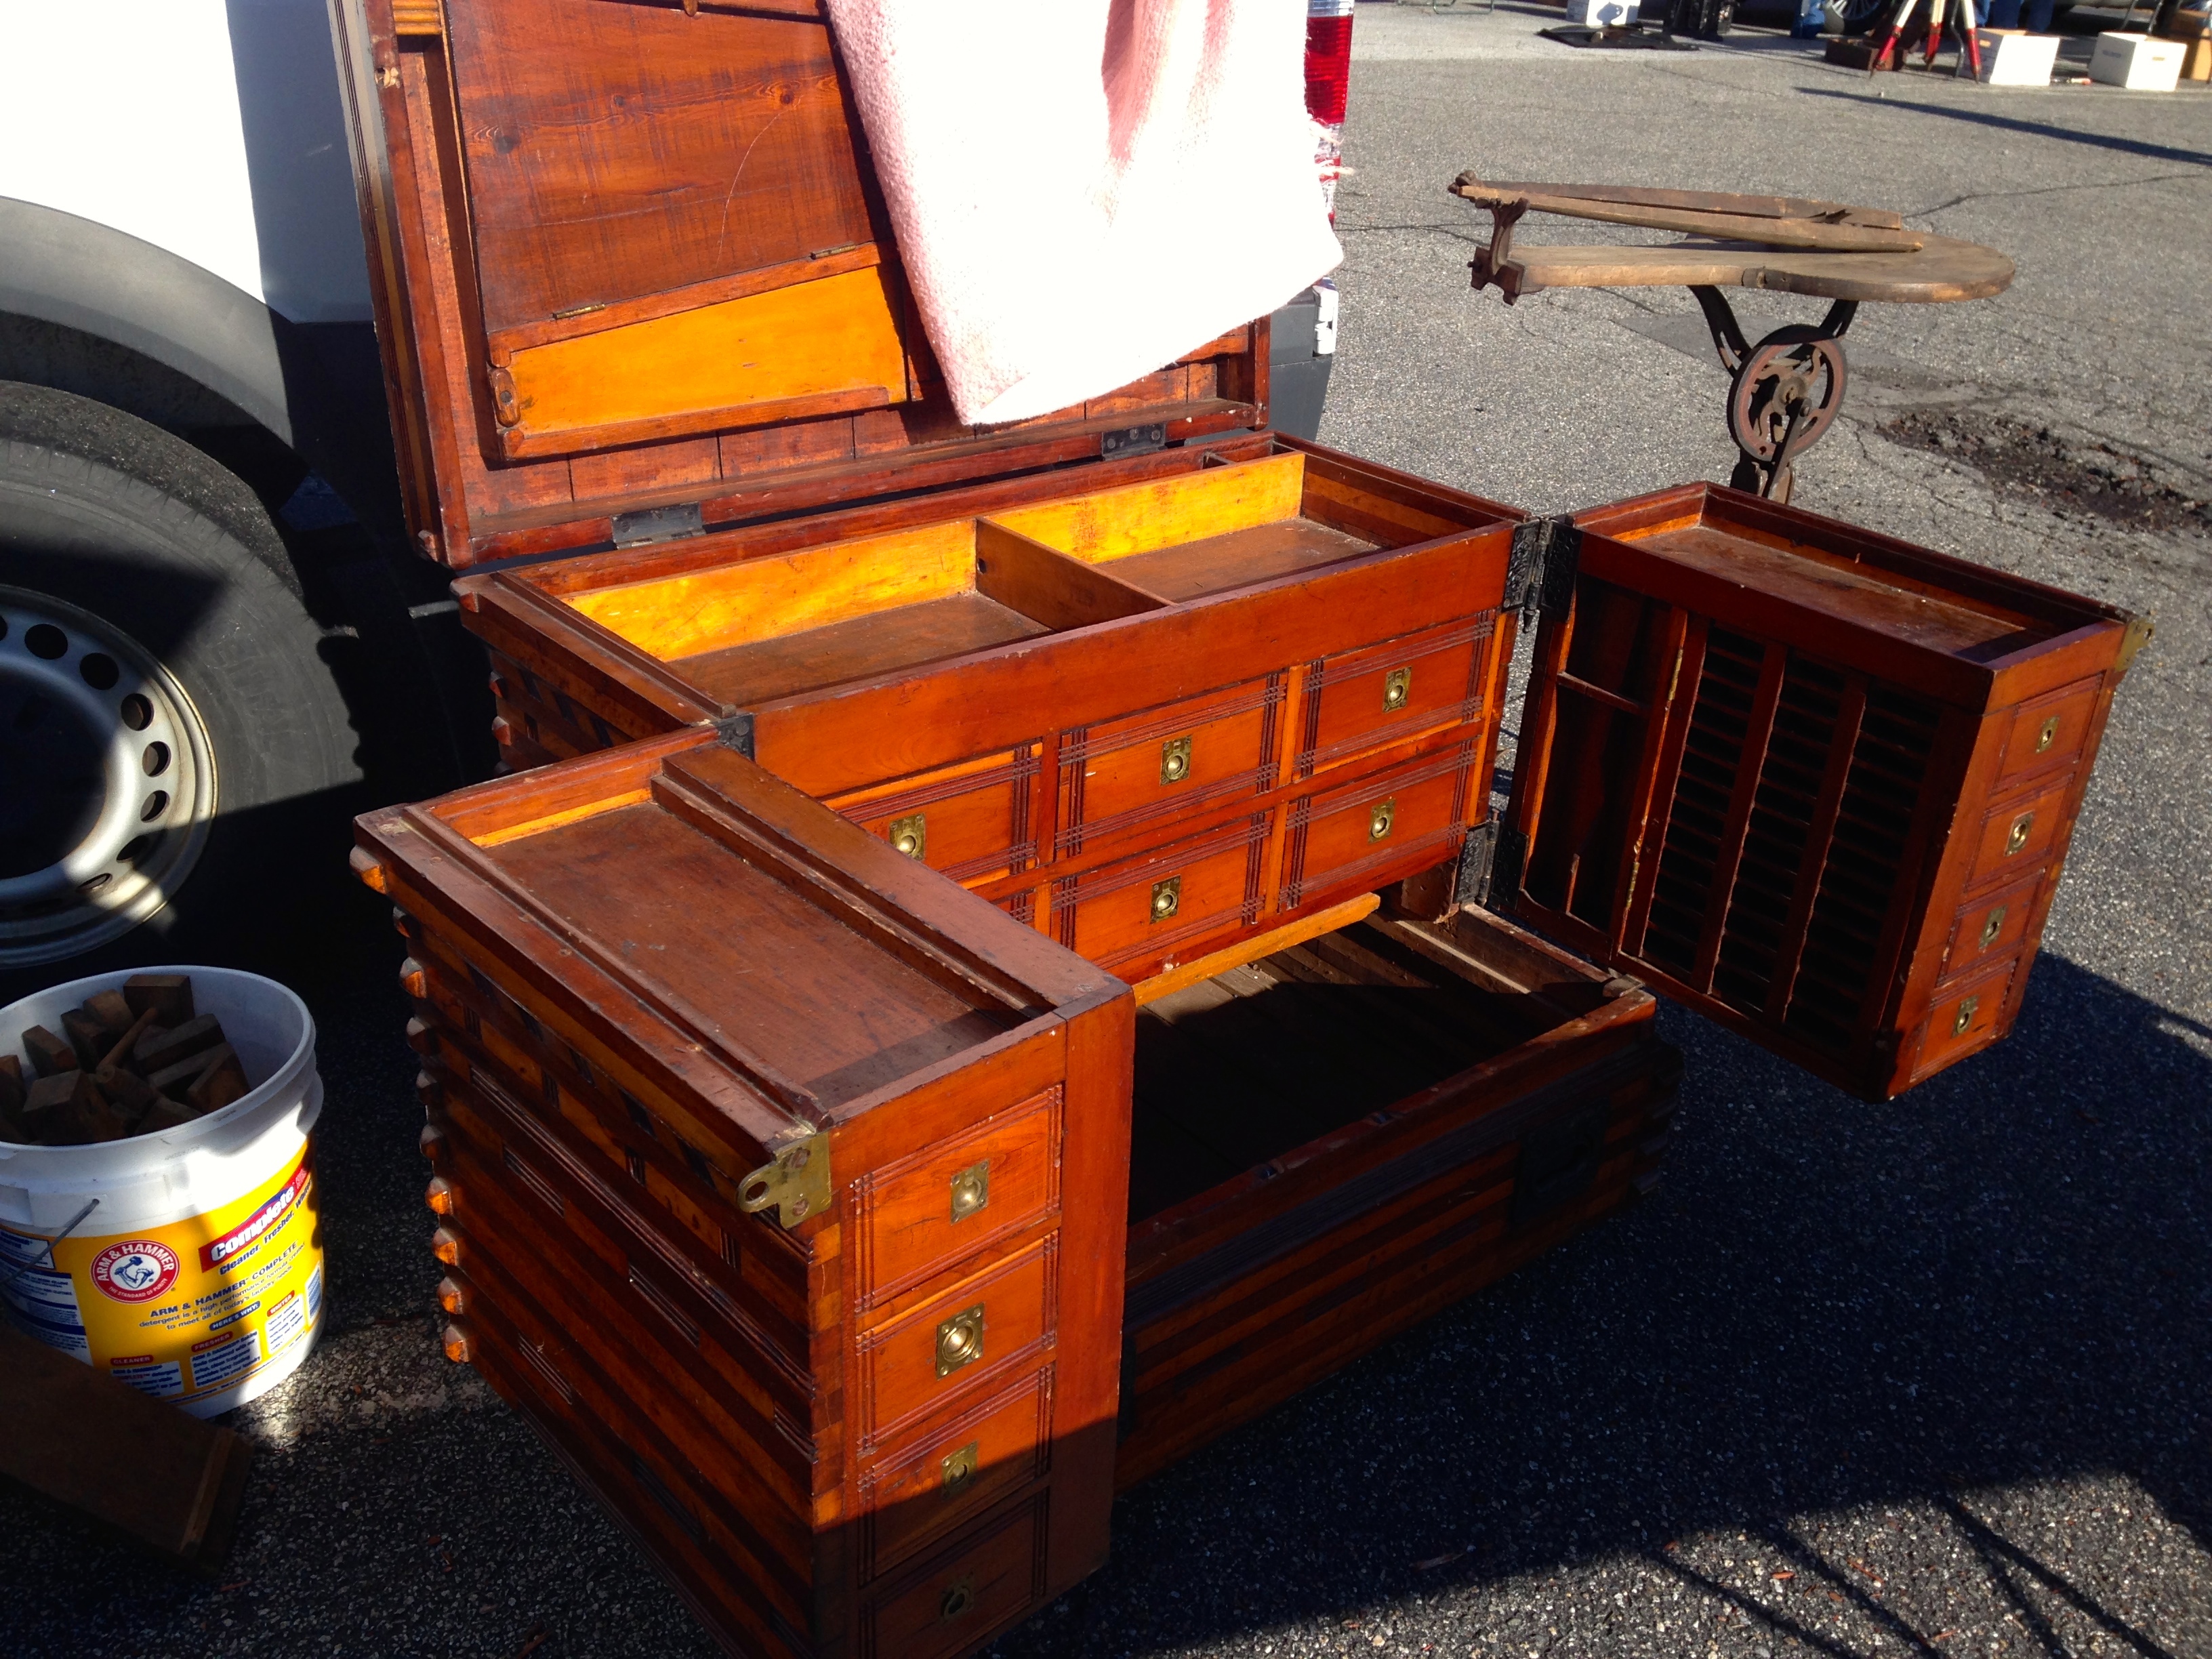
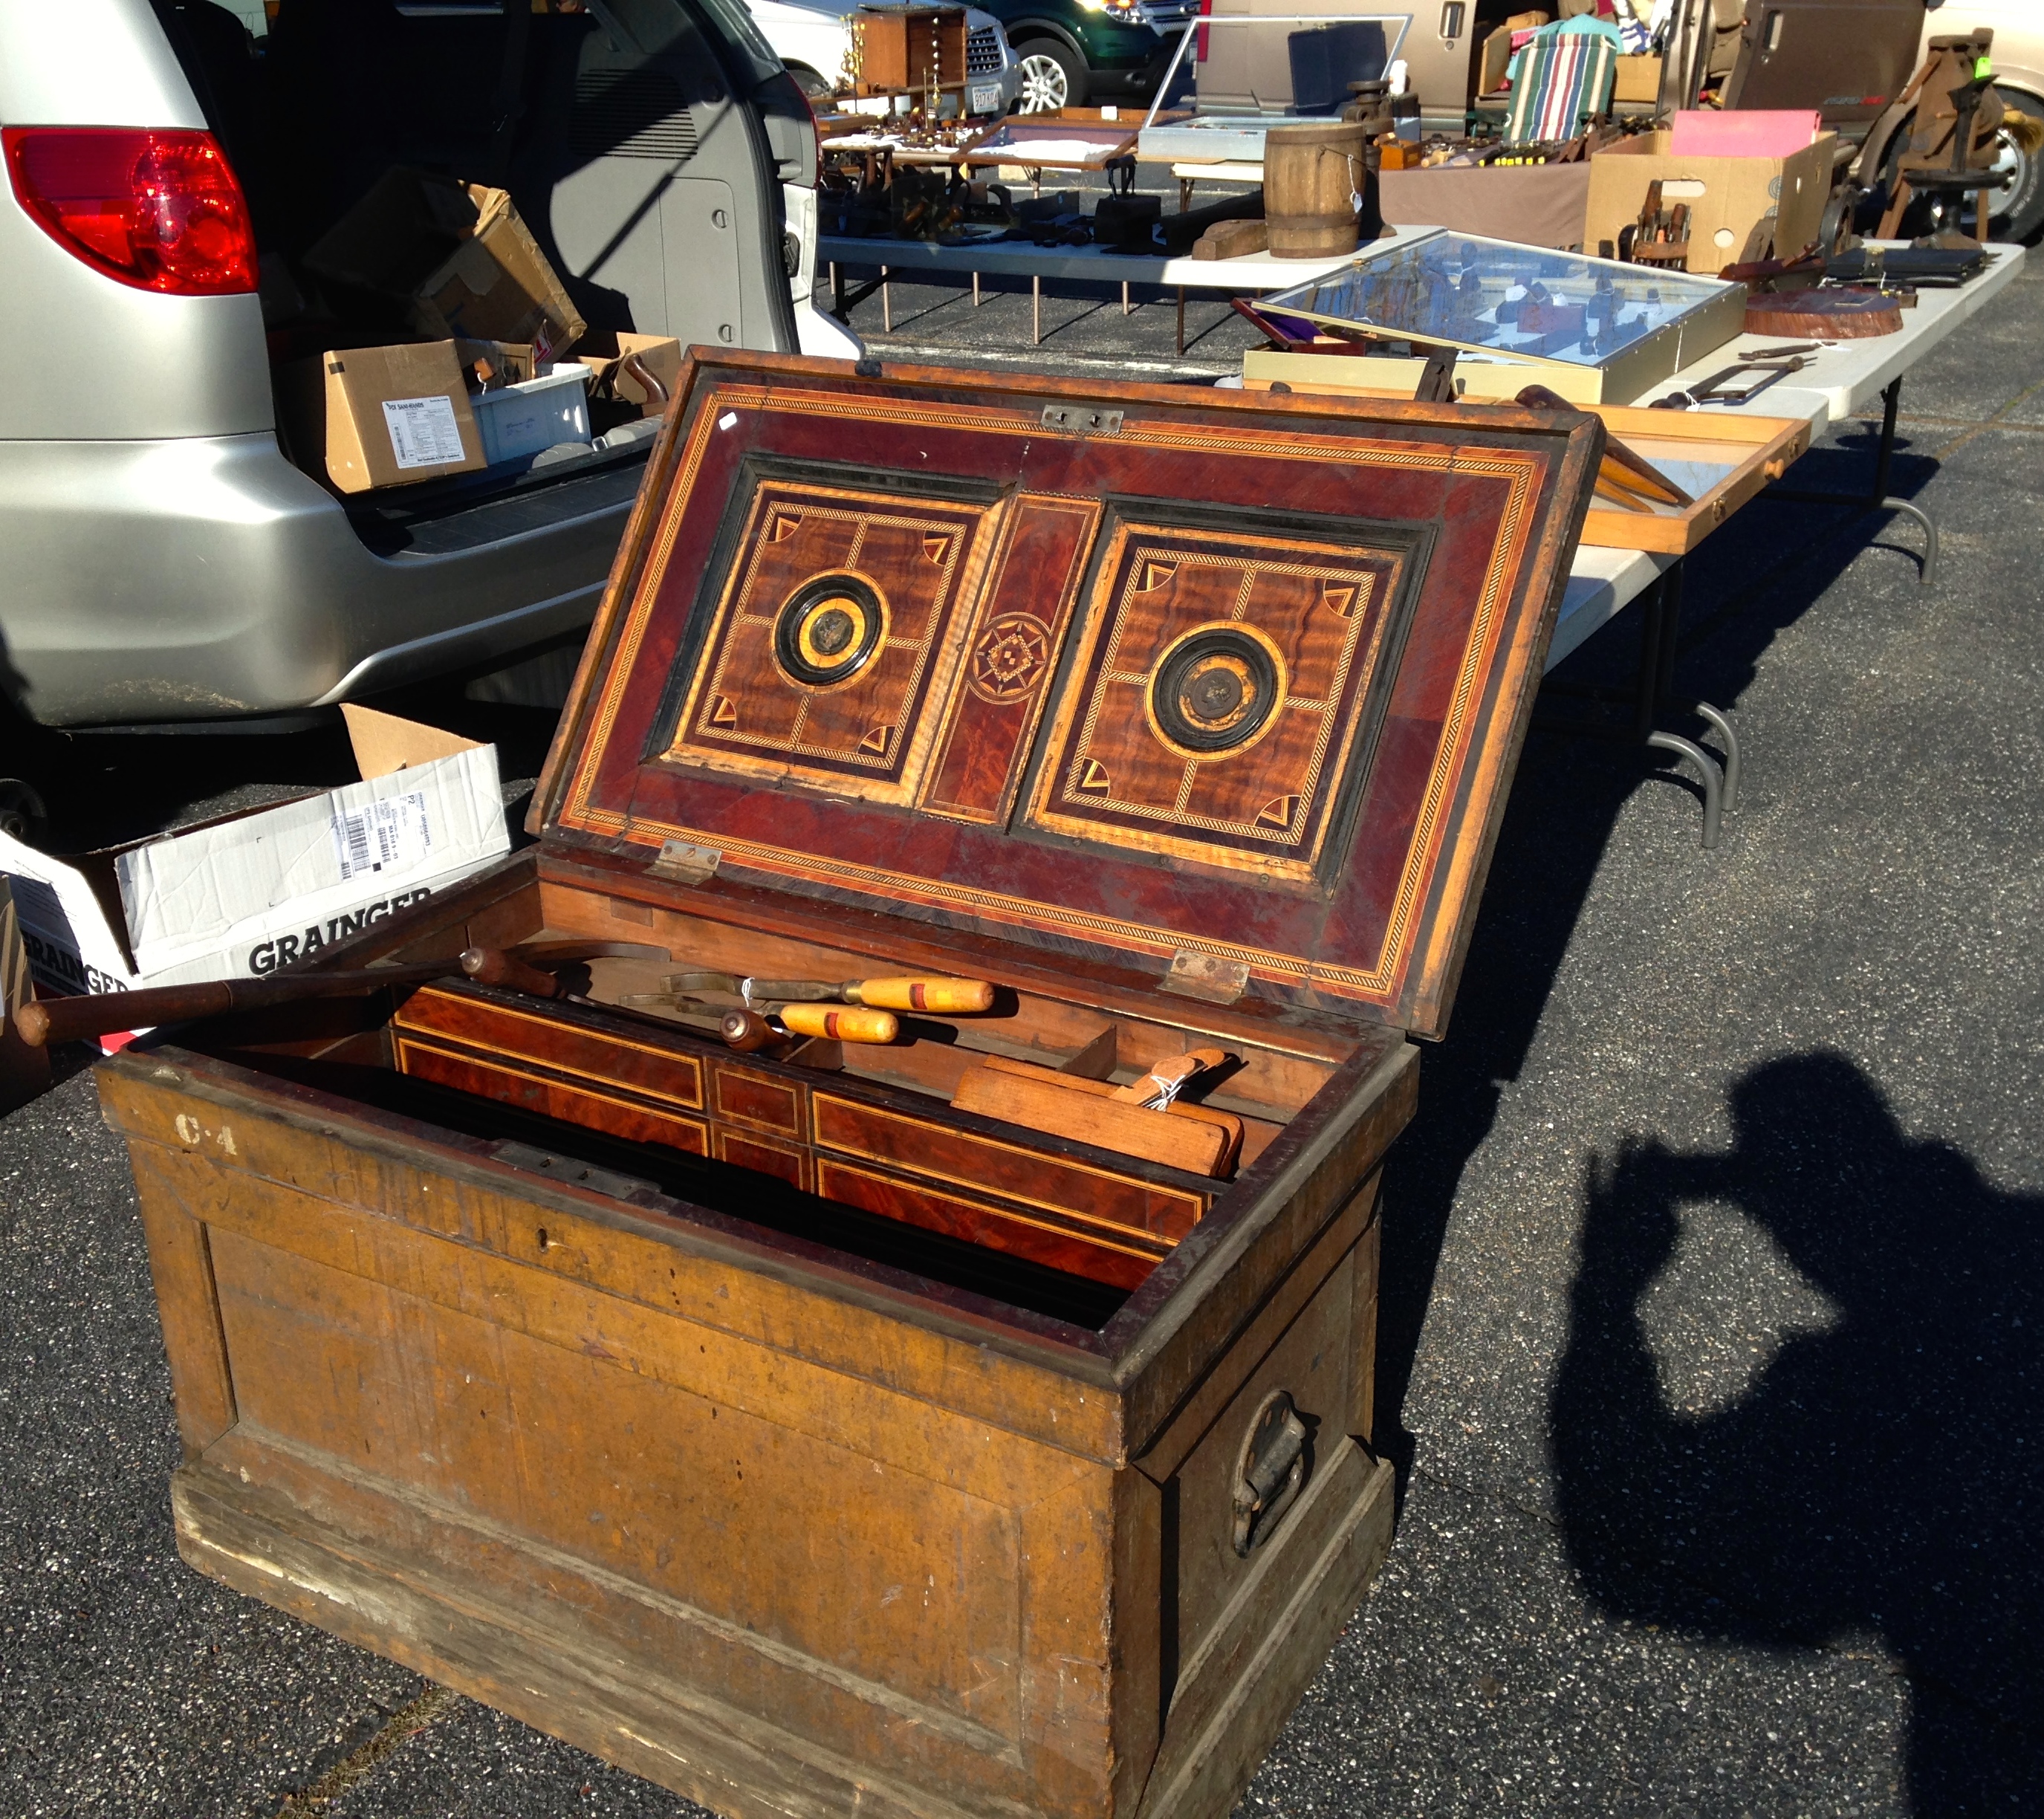
The chest above which I believe was being offered by Patrick Leach was an incredible piece. With multiple levels of till, some on hinges and some with telescoping elements this chest looked quite heavy even without any tools in it. It clearly showed off the skill and the massive tool set of its original owner.

Interesting hand drill

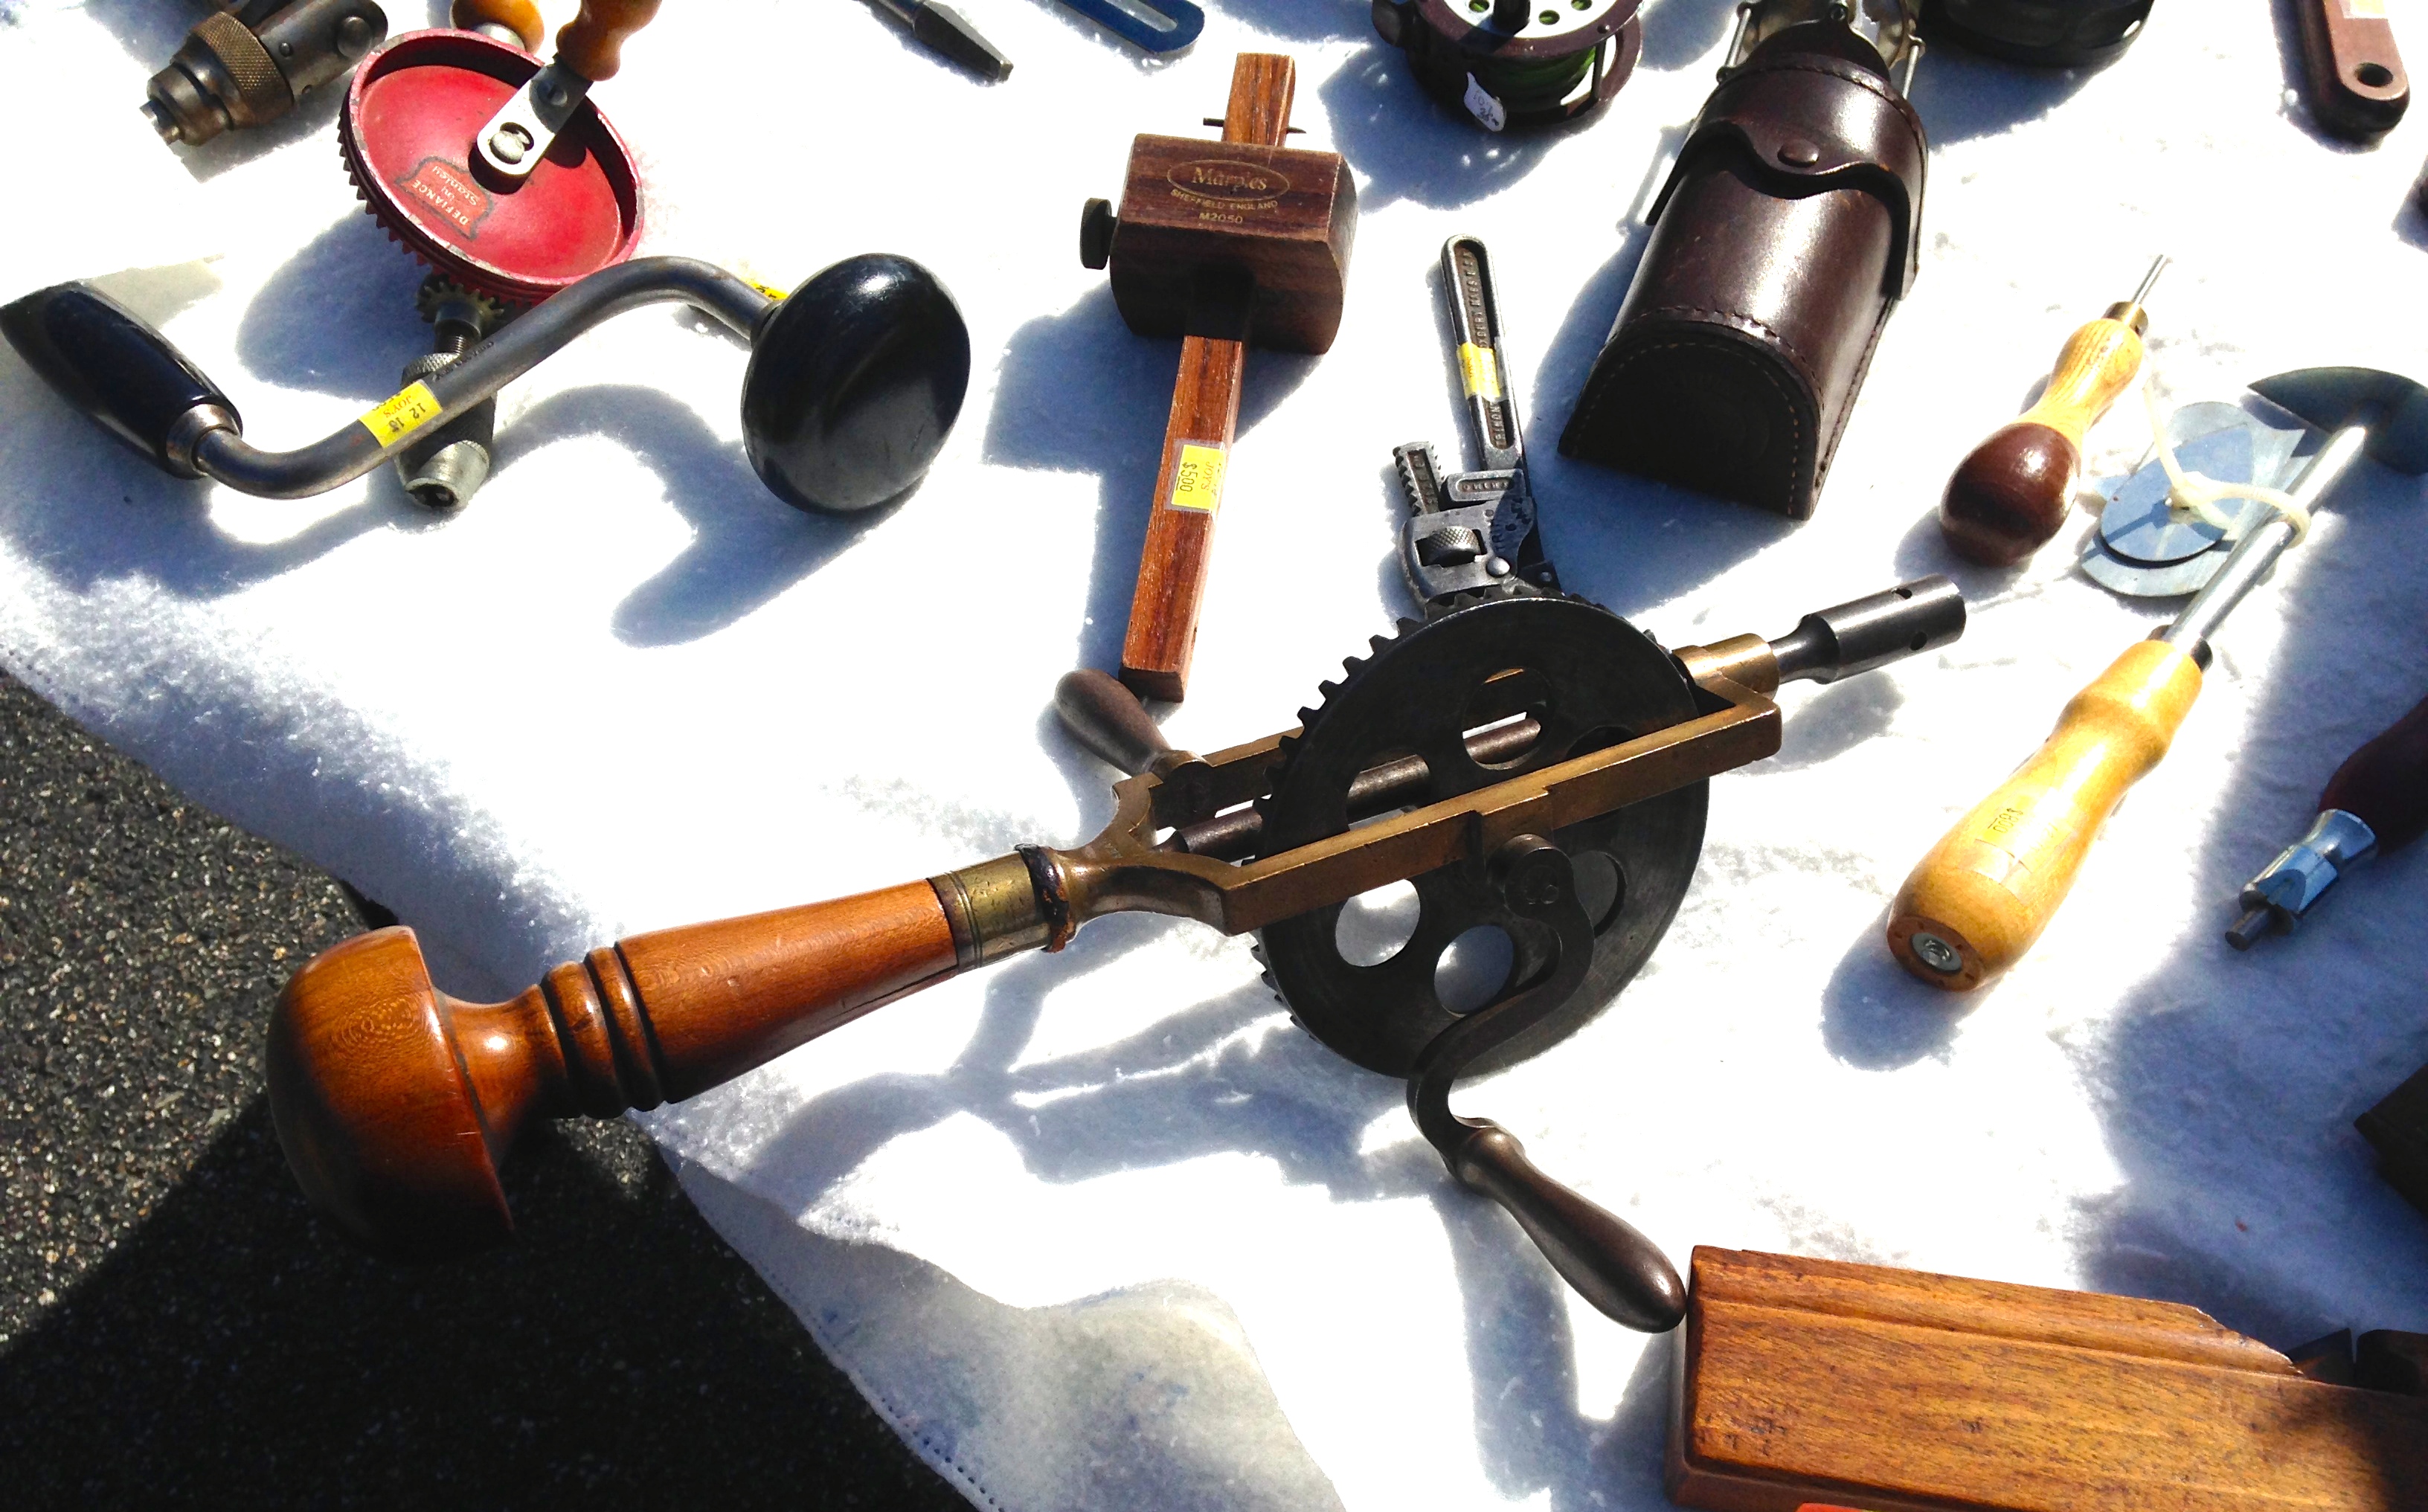
I was drawn to this interesting hand drill with a nice turned handle and unusual machined elements.

Cooper's planes
Cooper’s planes

Shown above are a nice selection of cooper’s planes — used to plane down staves — the plane is fixed and the stave is moved along the sole of the plane to make a shaving.

Nice plumb level
Nice plumb level

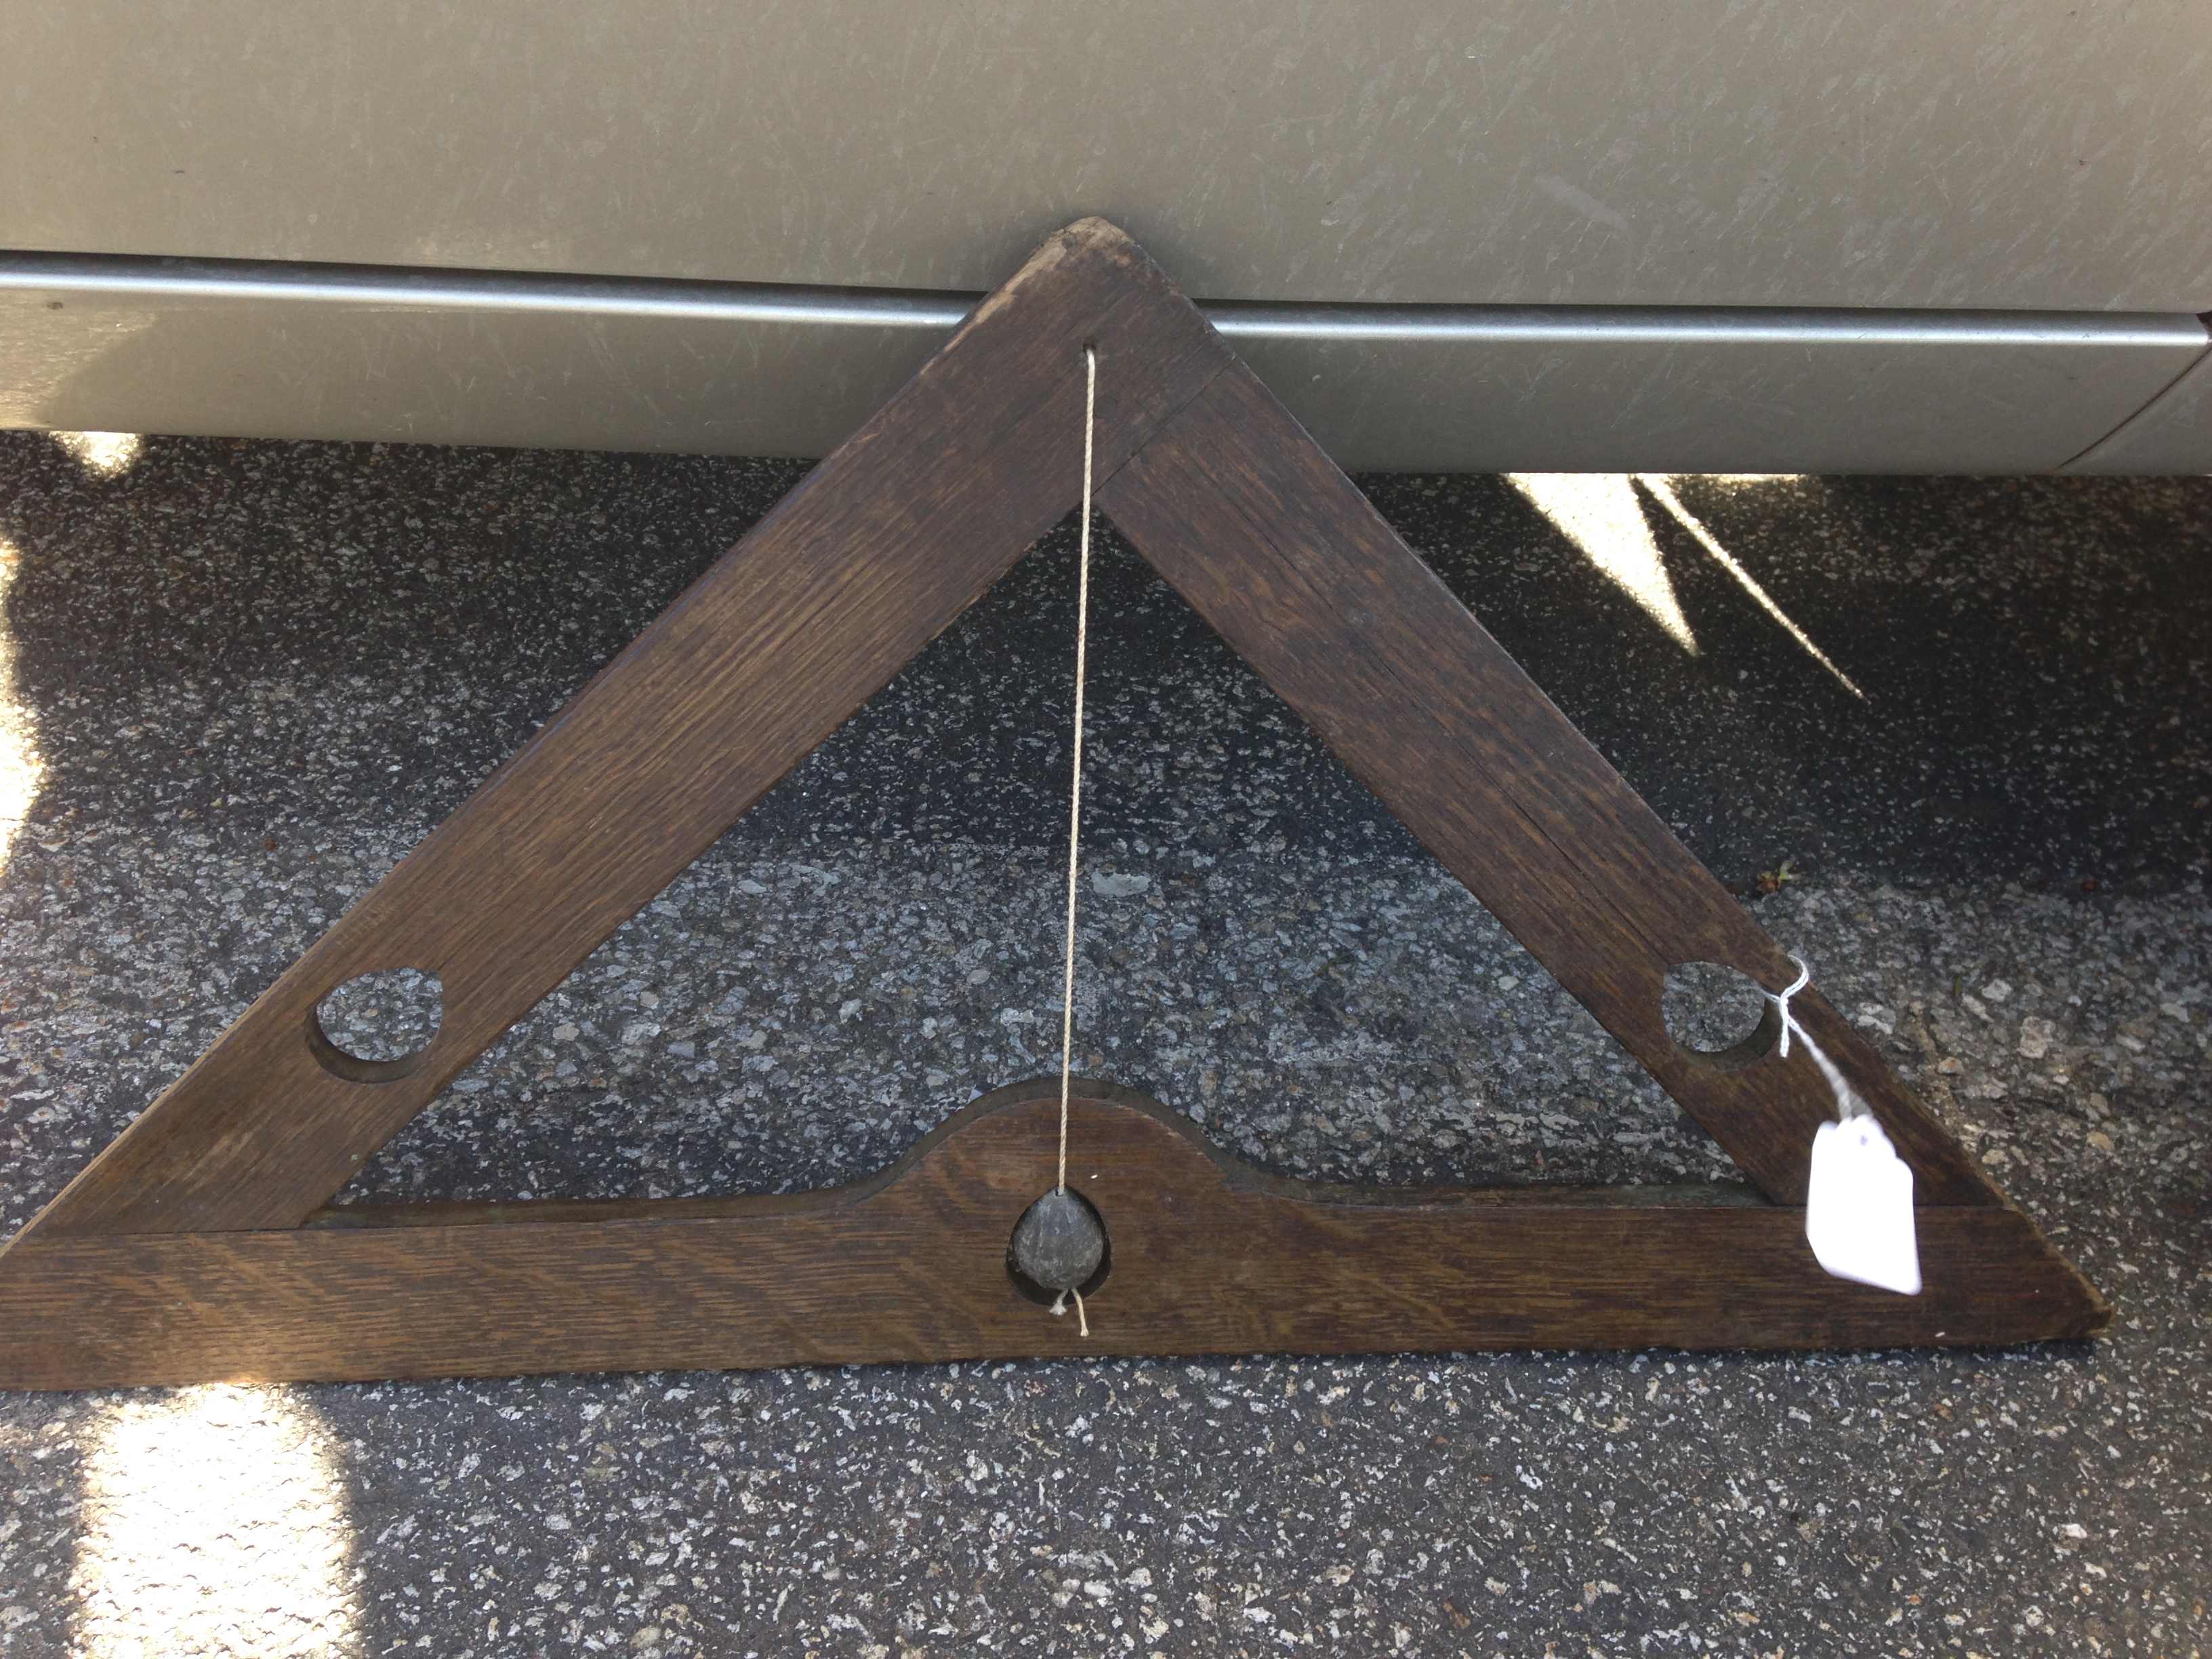
My friend Billy McMillen (Of Eastfield Village,  Historic Richmond Town, EAIA and CW Tinsmithing fame) had this nice plumb level for sale. The plumb bob and string is a age old way of determining level that dates back to ancient Egypt or earlier times.

One of two Hammacher Schlemmer tool cabinets for sale this year

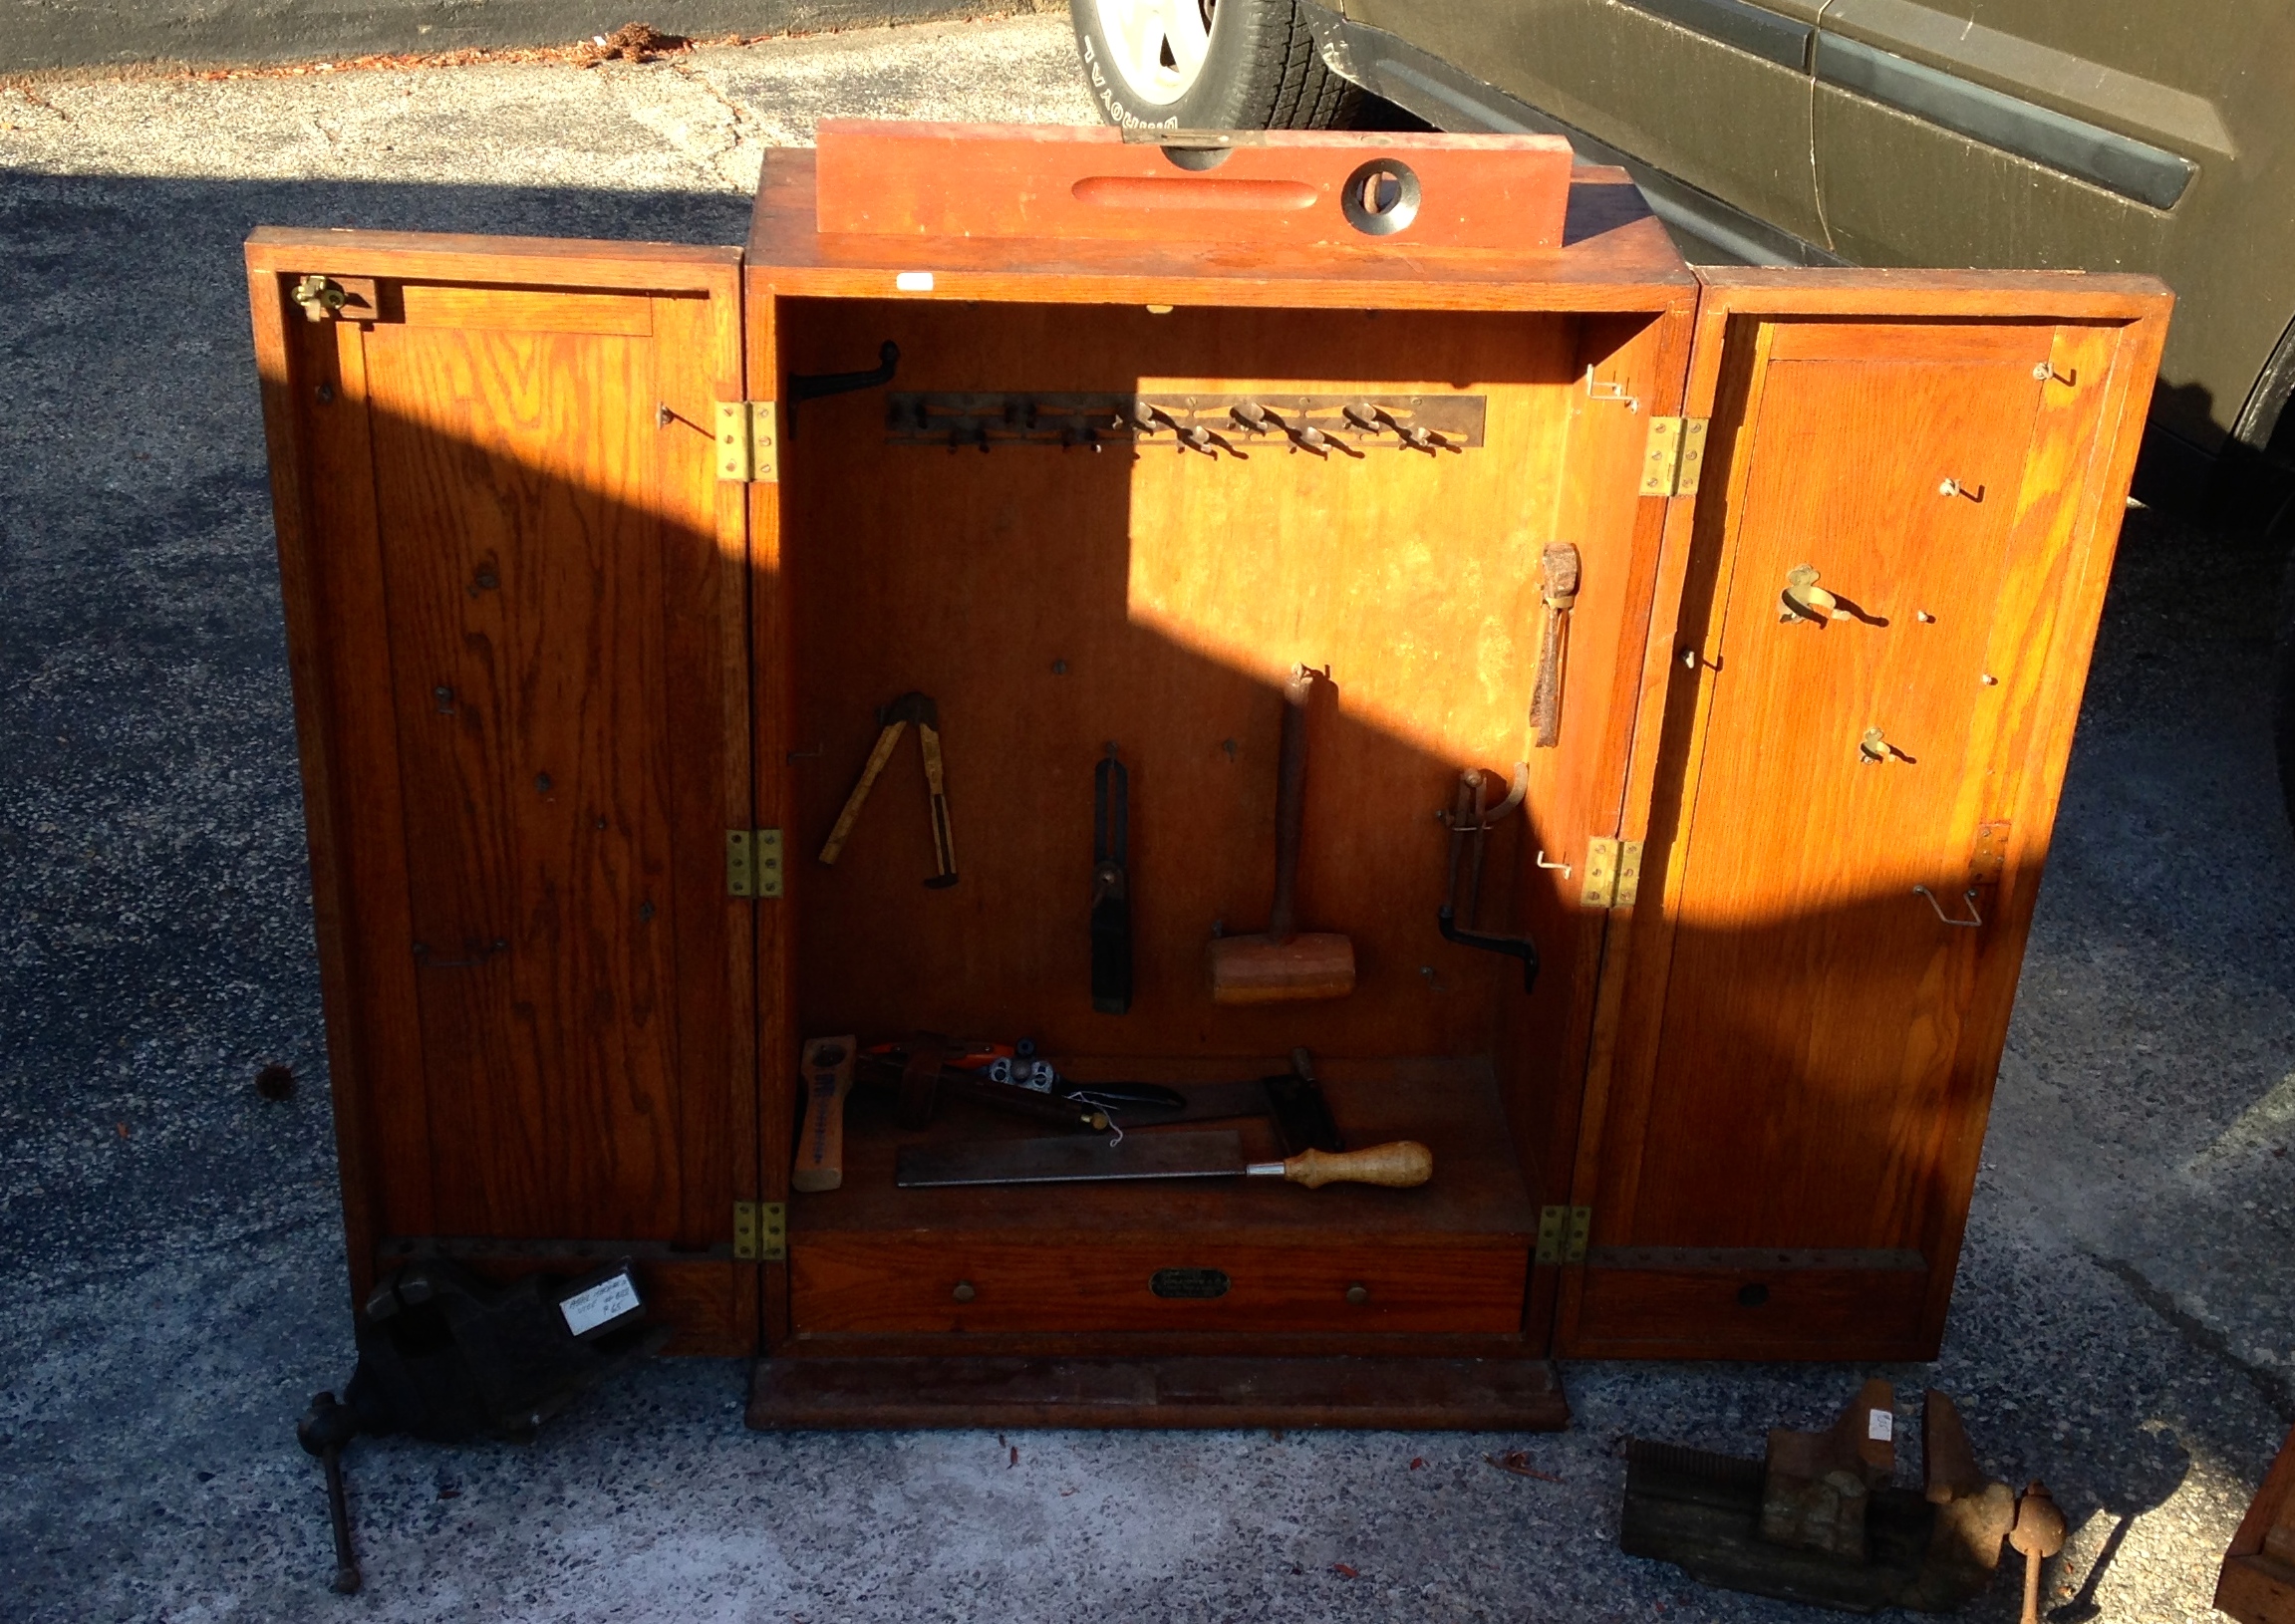
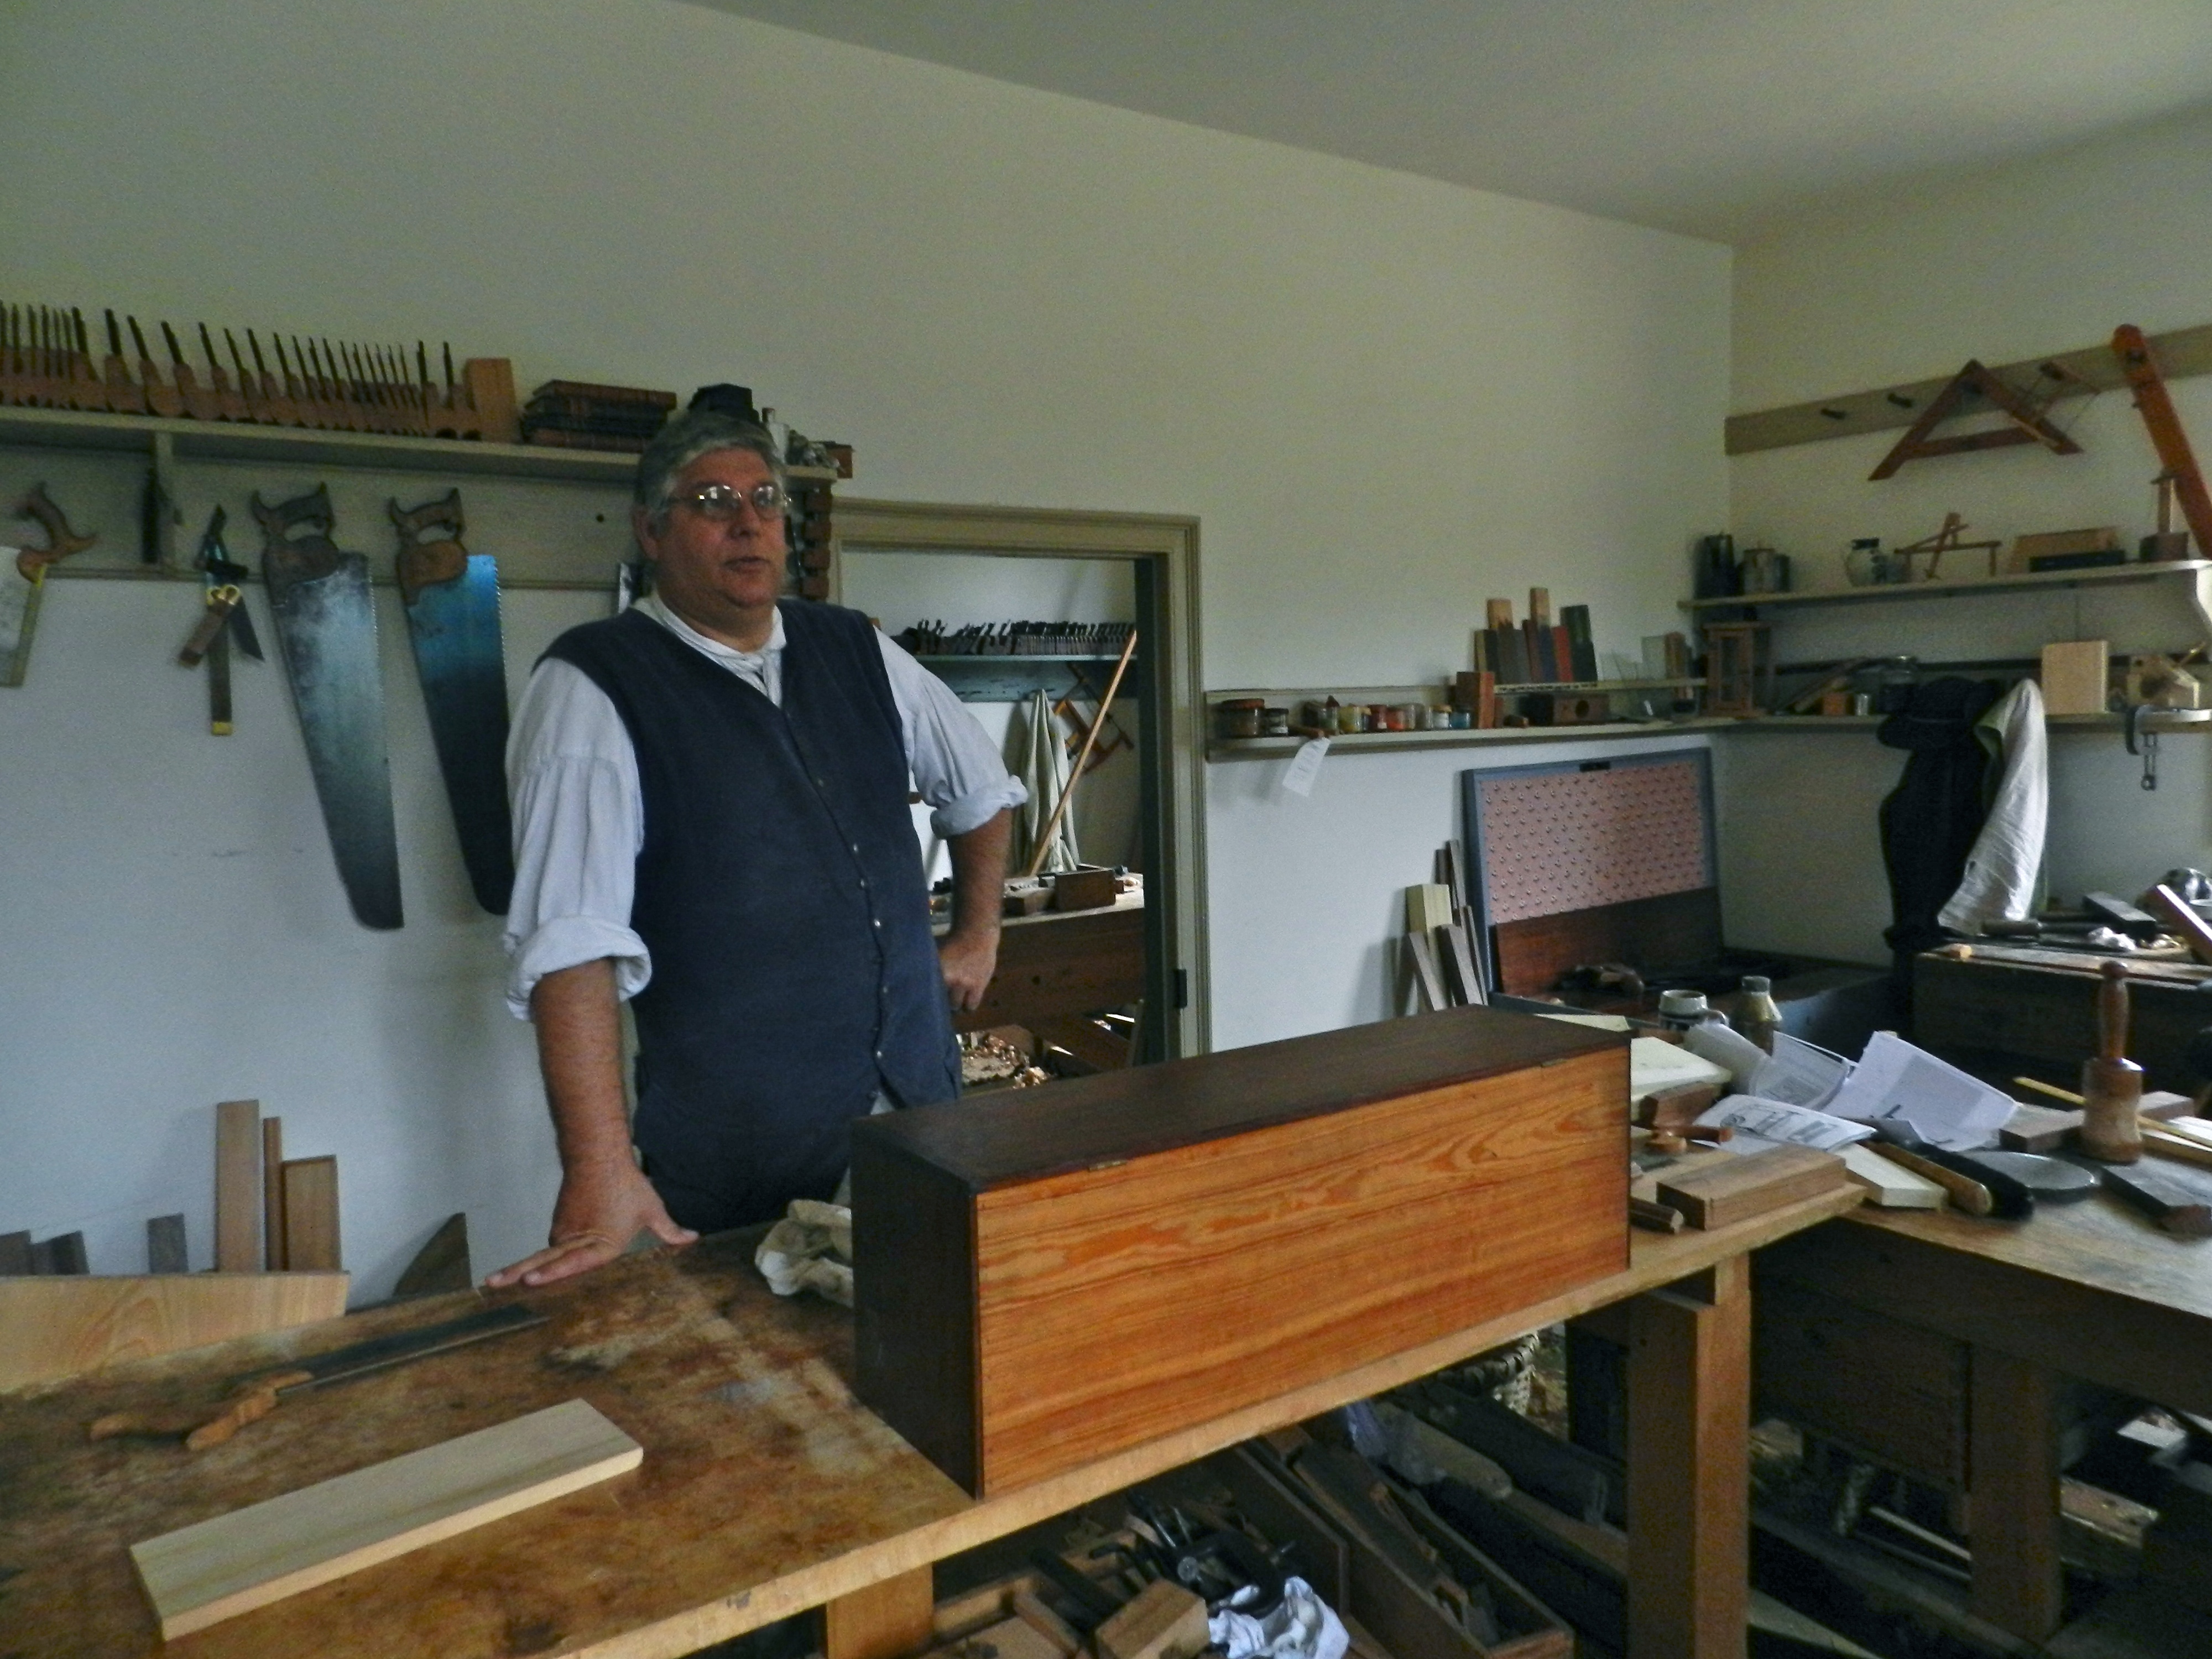
A larger cousin to the Sloyd Tool Cabinet — this Hammacher Schlemmer tool cabinet was home to a large set of tools targeting a high end home user market. I was surprised to see two of them for sale. One model was joined via finger joints and the other was held together via rabbets and nails. The cabinets had an austere look and did not seem to make good use of the space in the cabinets. I spent some time examining the hooks and clips that once held the tools in place, but most of of the clips and hooks were pretty simple and straightforward.

My finds this year -- Stanley 358 Miter Box _ Disston Saw, Carpenter and Joiner's Union Sign, Starret Rules and Dividers, Mini Framing Square, ECE Frame Saw, Heavy Duty Snatch Block, Auger Bit Handle
My finds this year — Stanley 358 Miter Box _ Disston Saw, Carpenter and Joiner’s Union Sign, Starret Rules and Dividers, Mini Framing Square, ECE Frame Saw, Heavy Duty Snatch Block, Auger Bit Handle

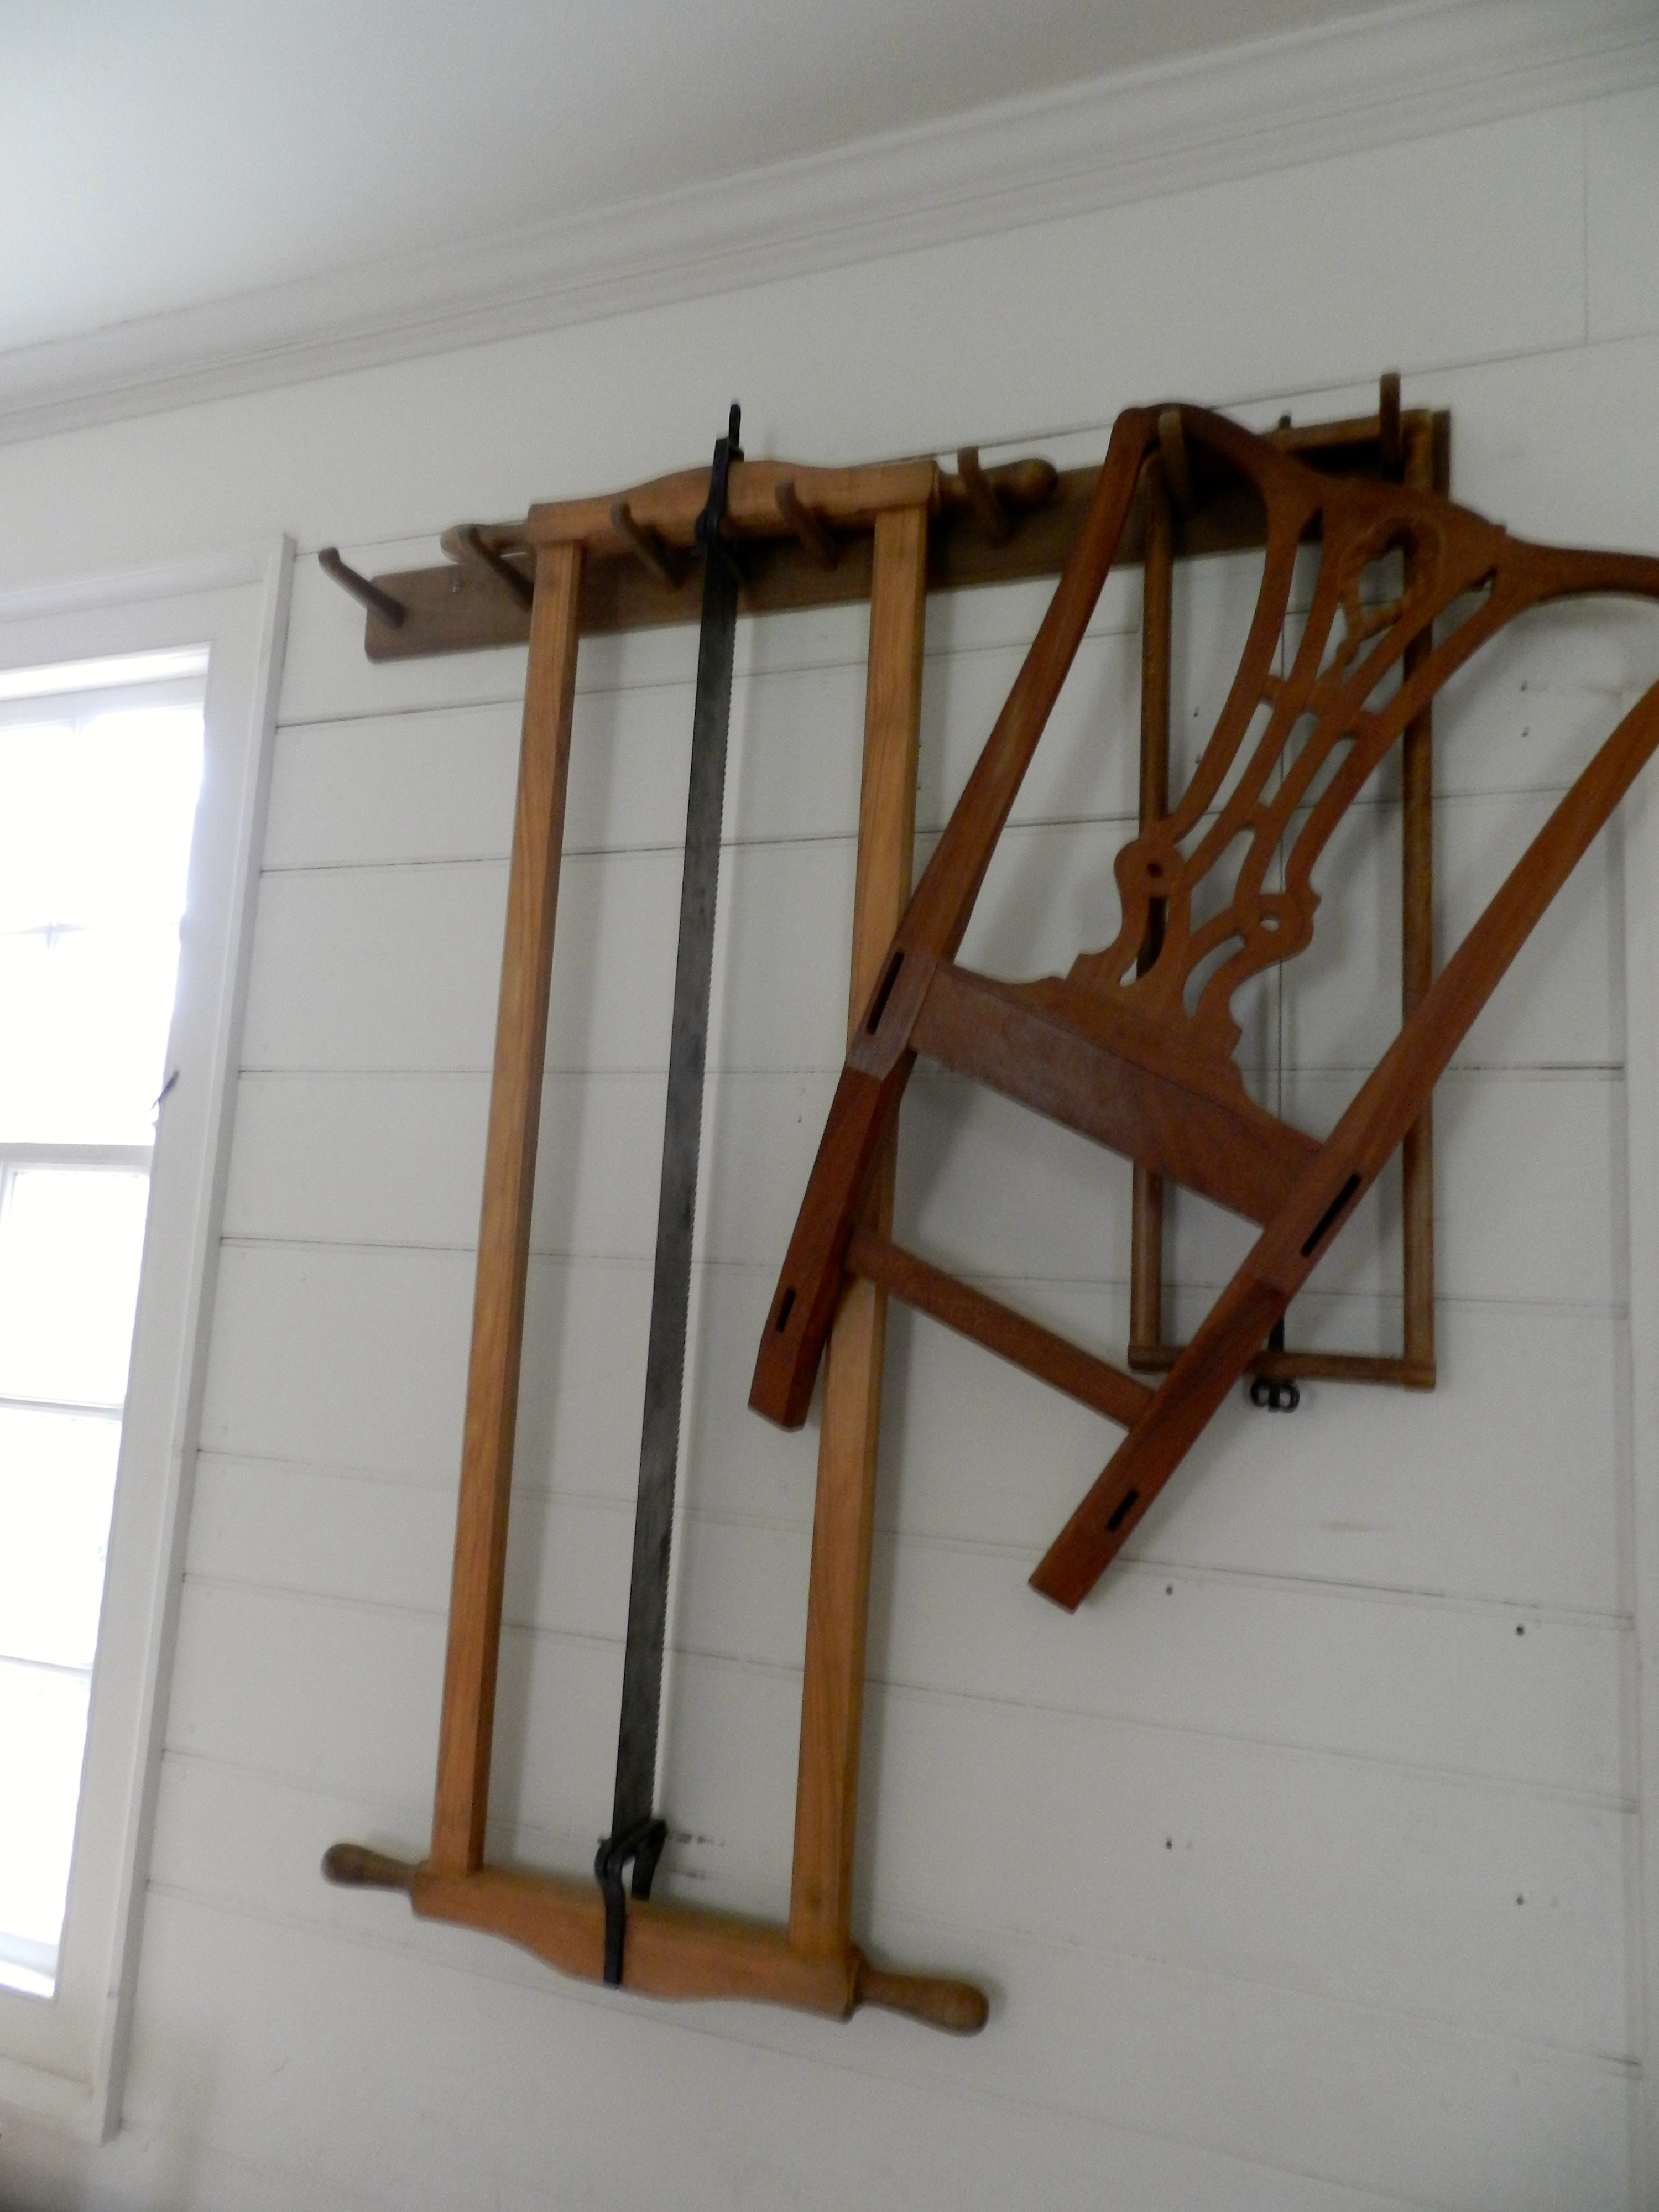
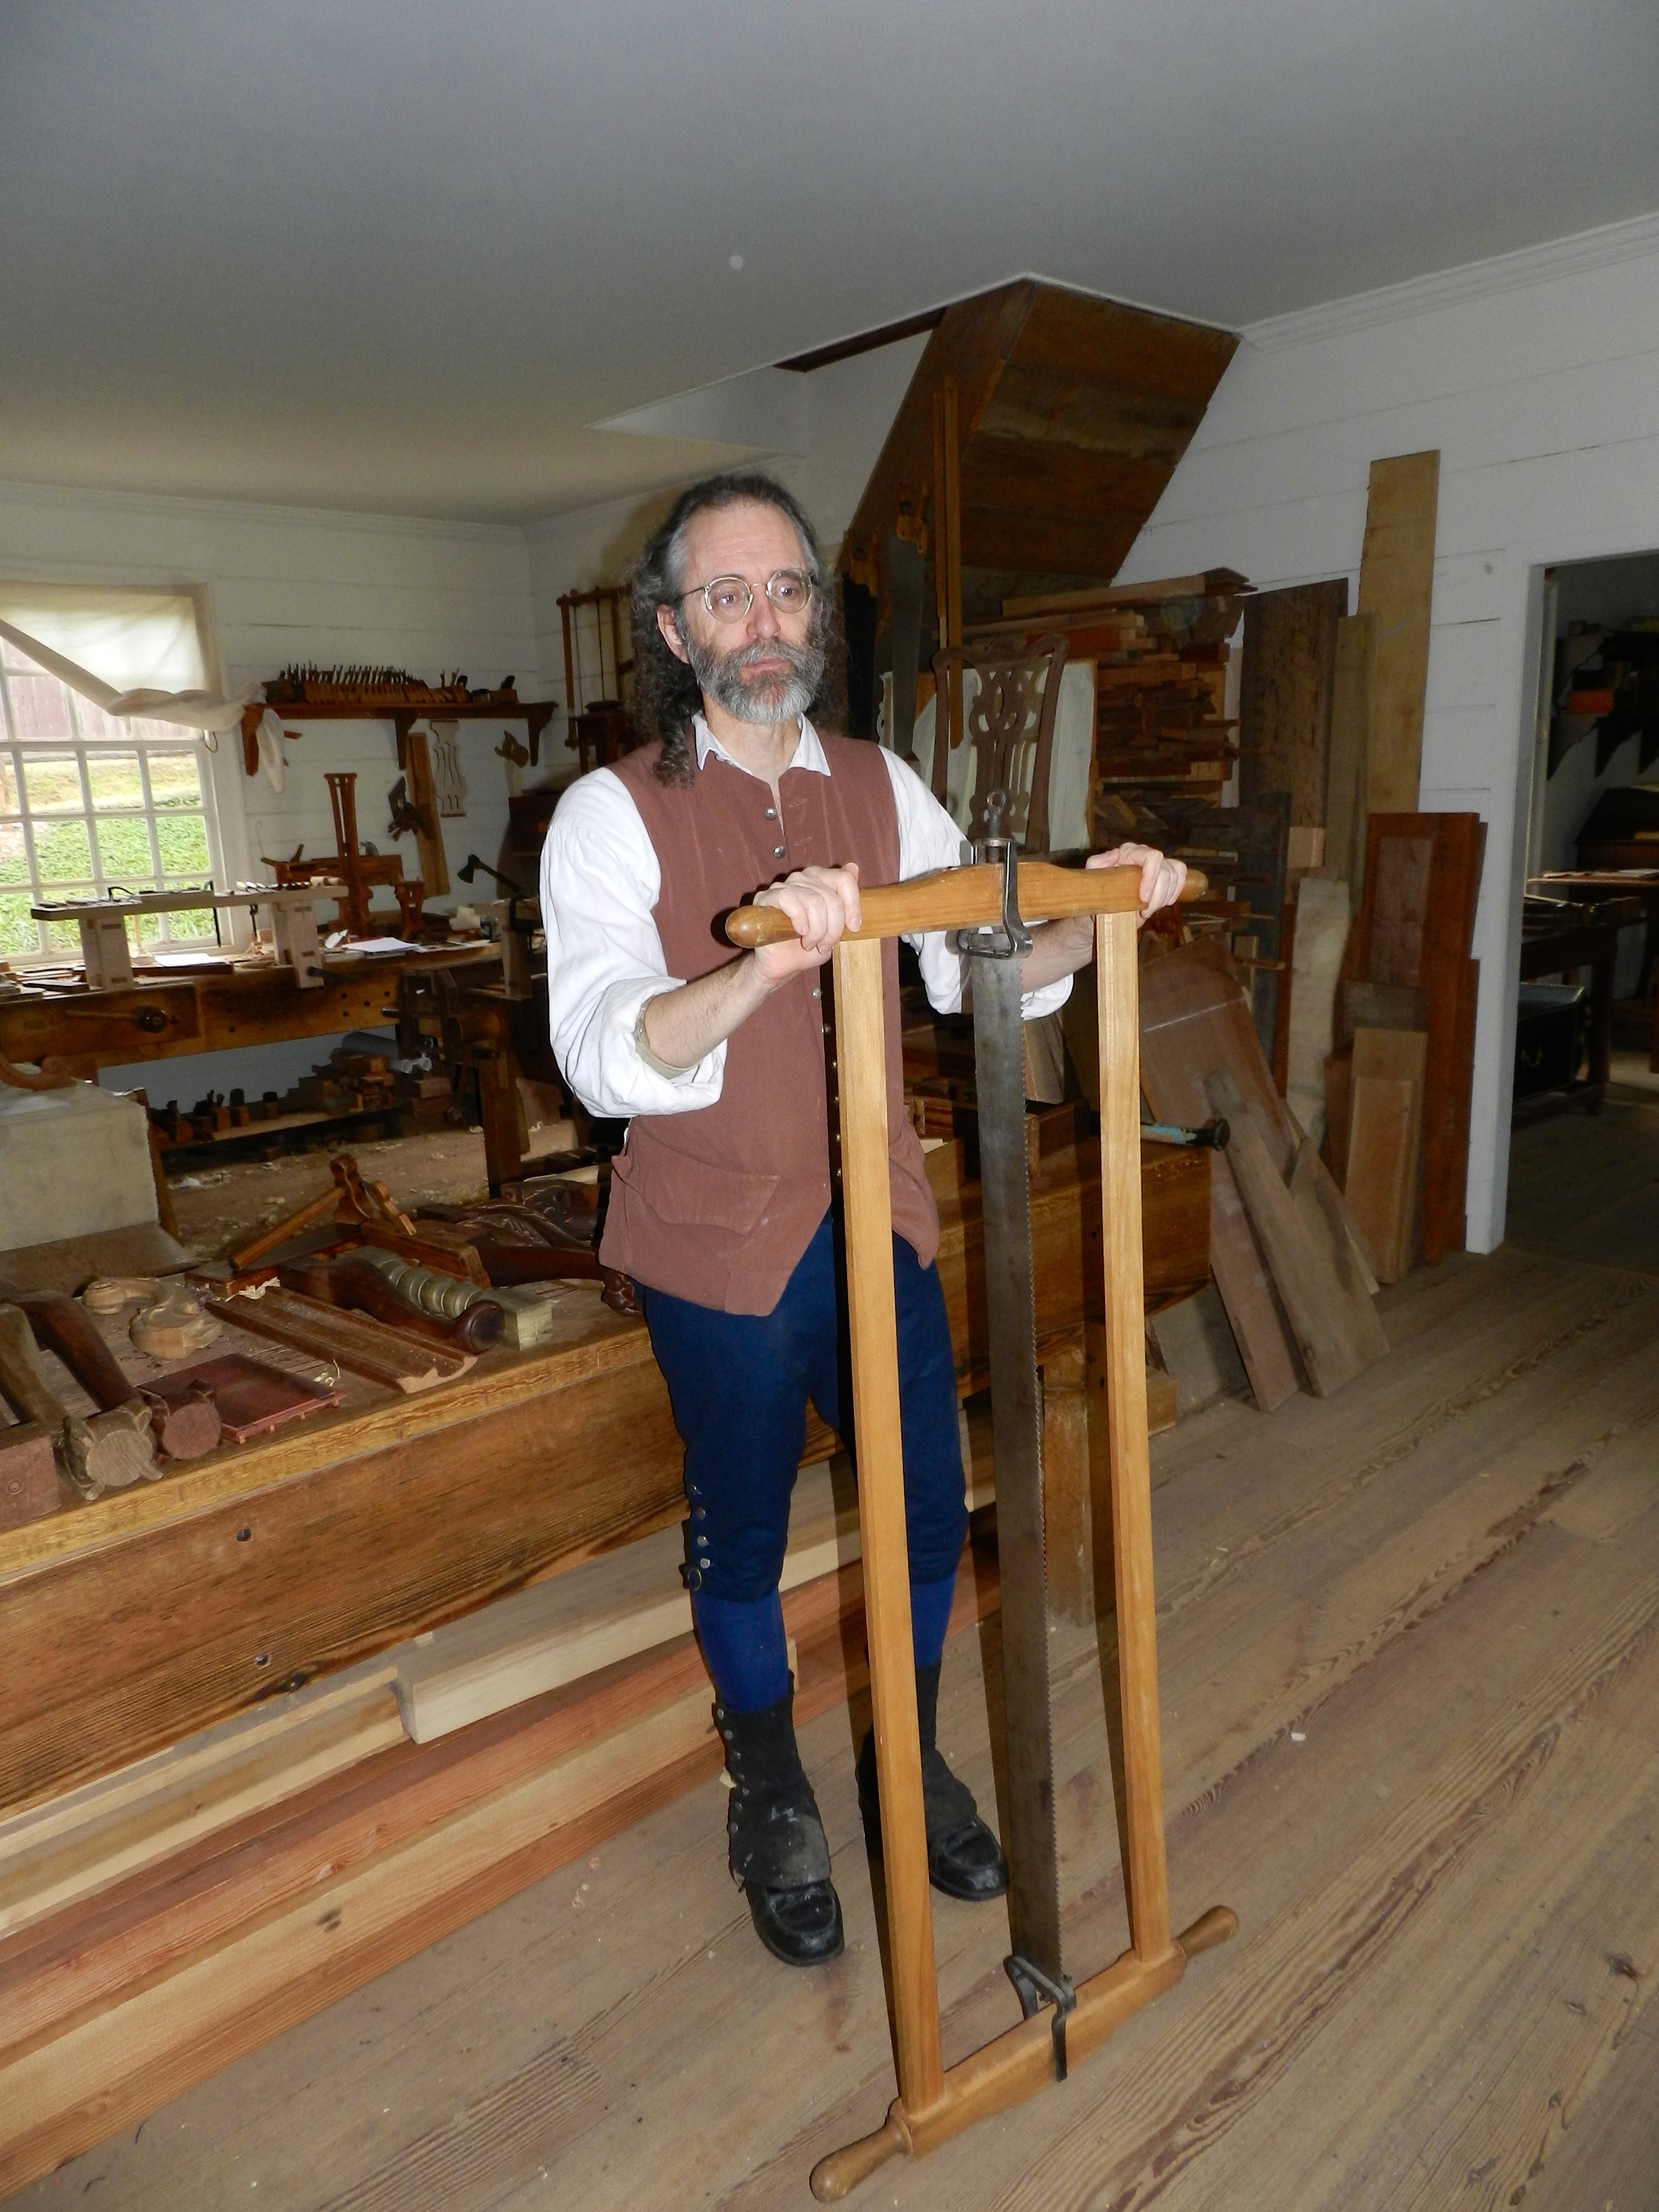
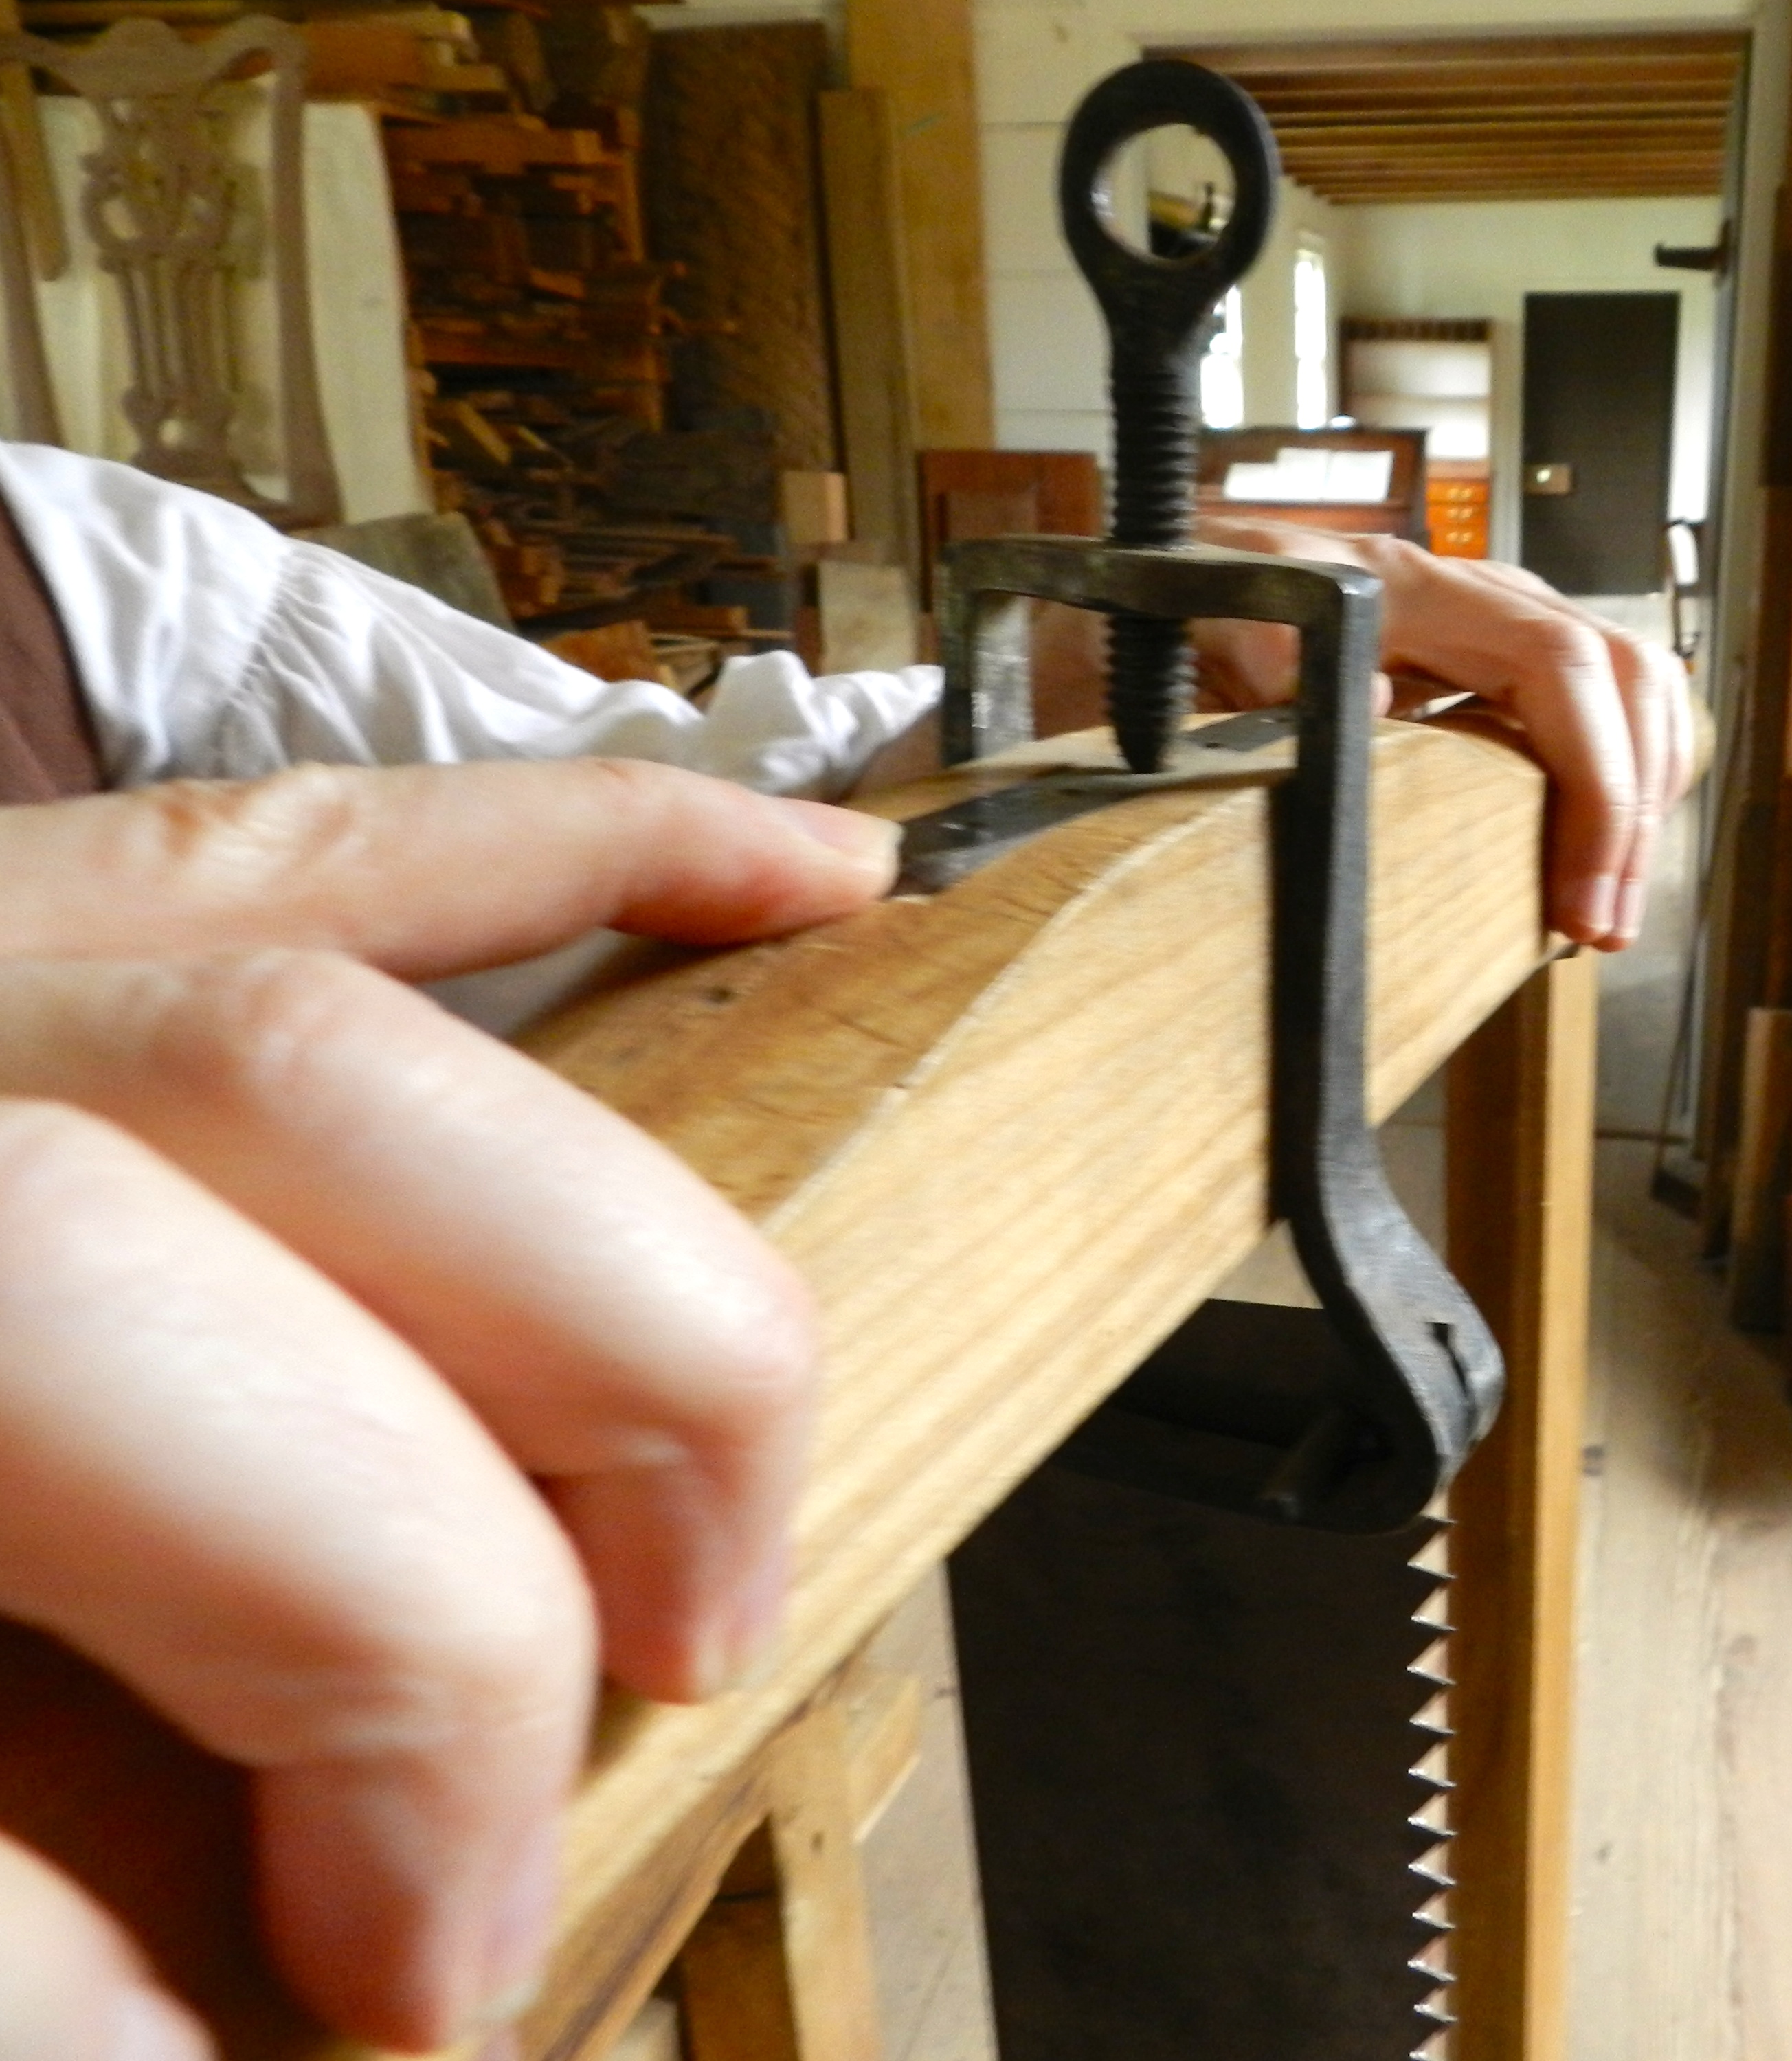
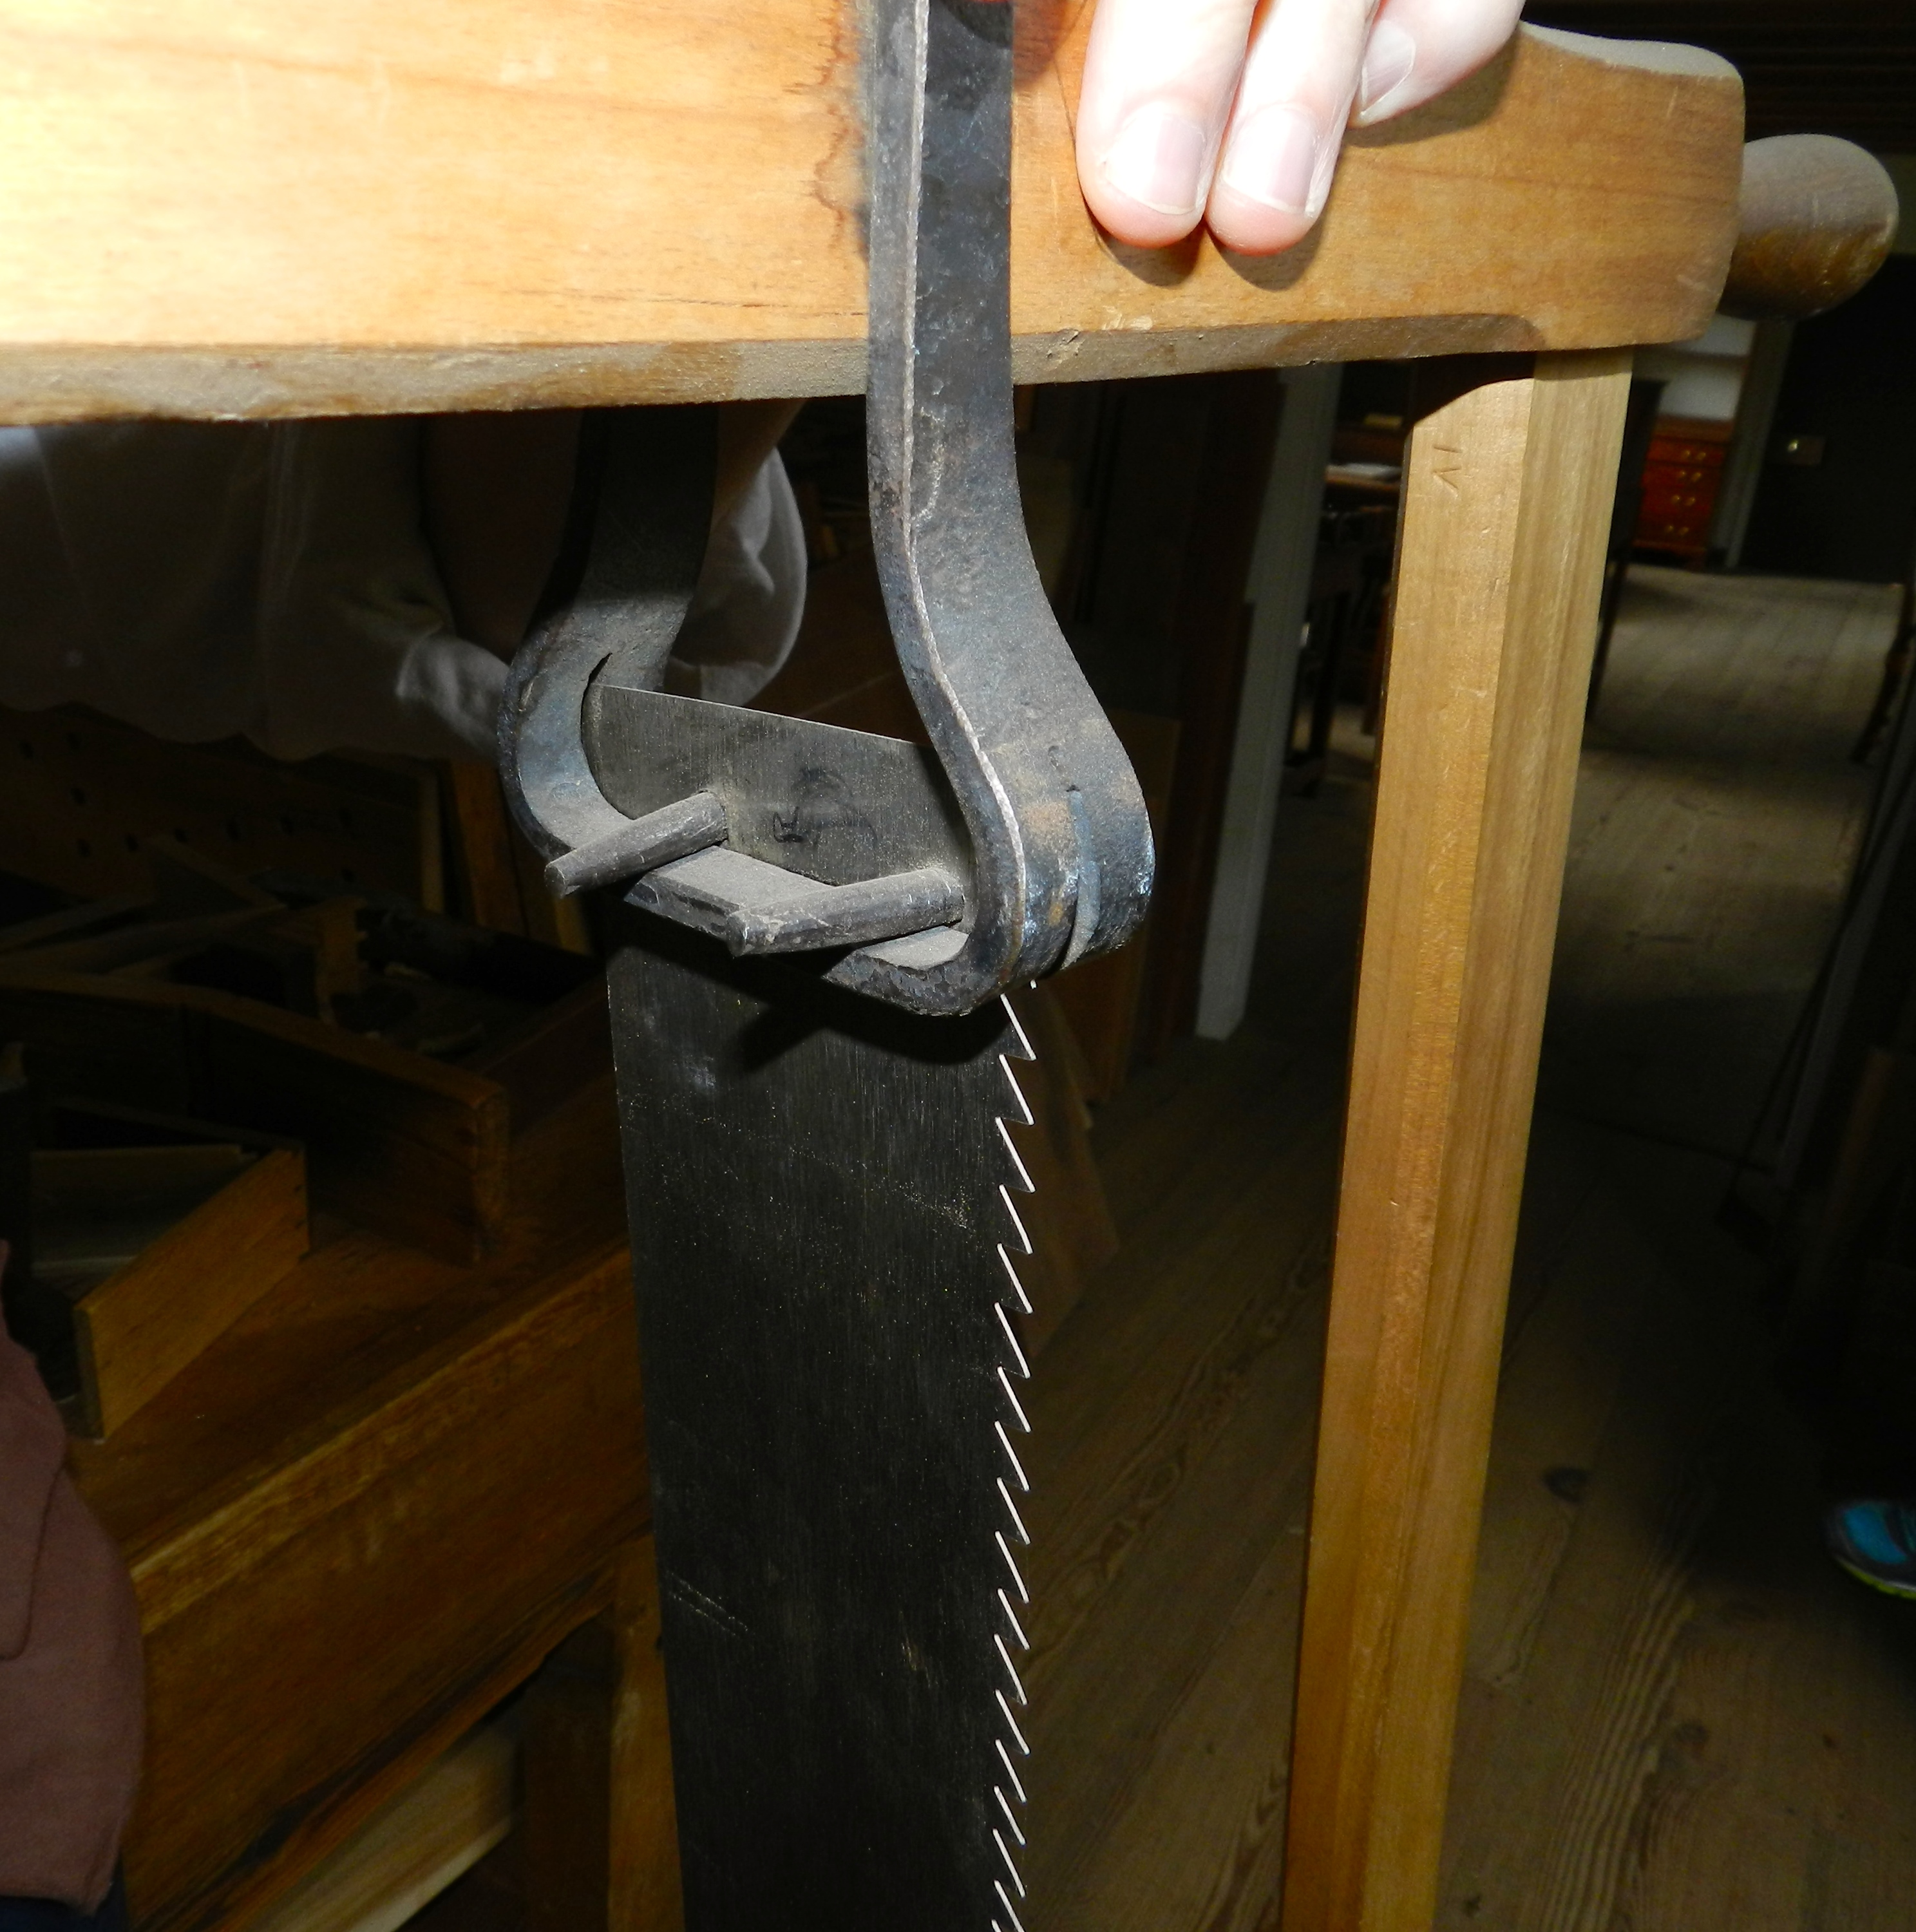
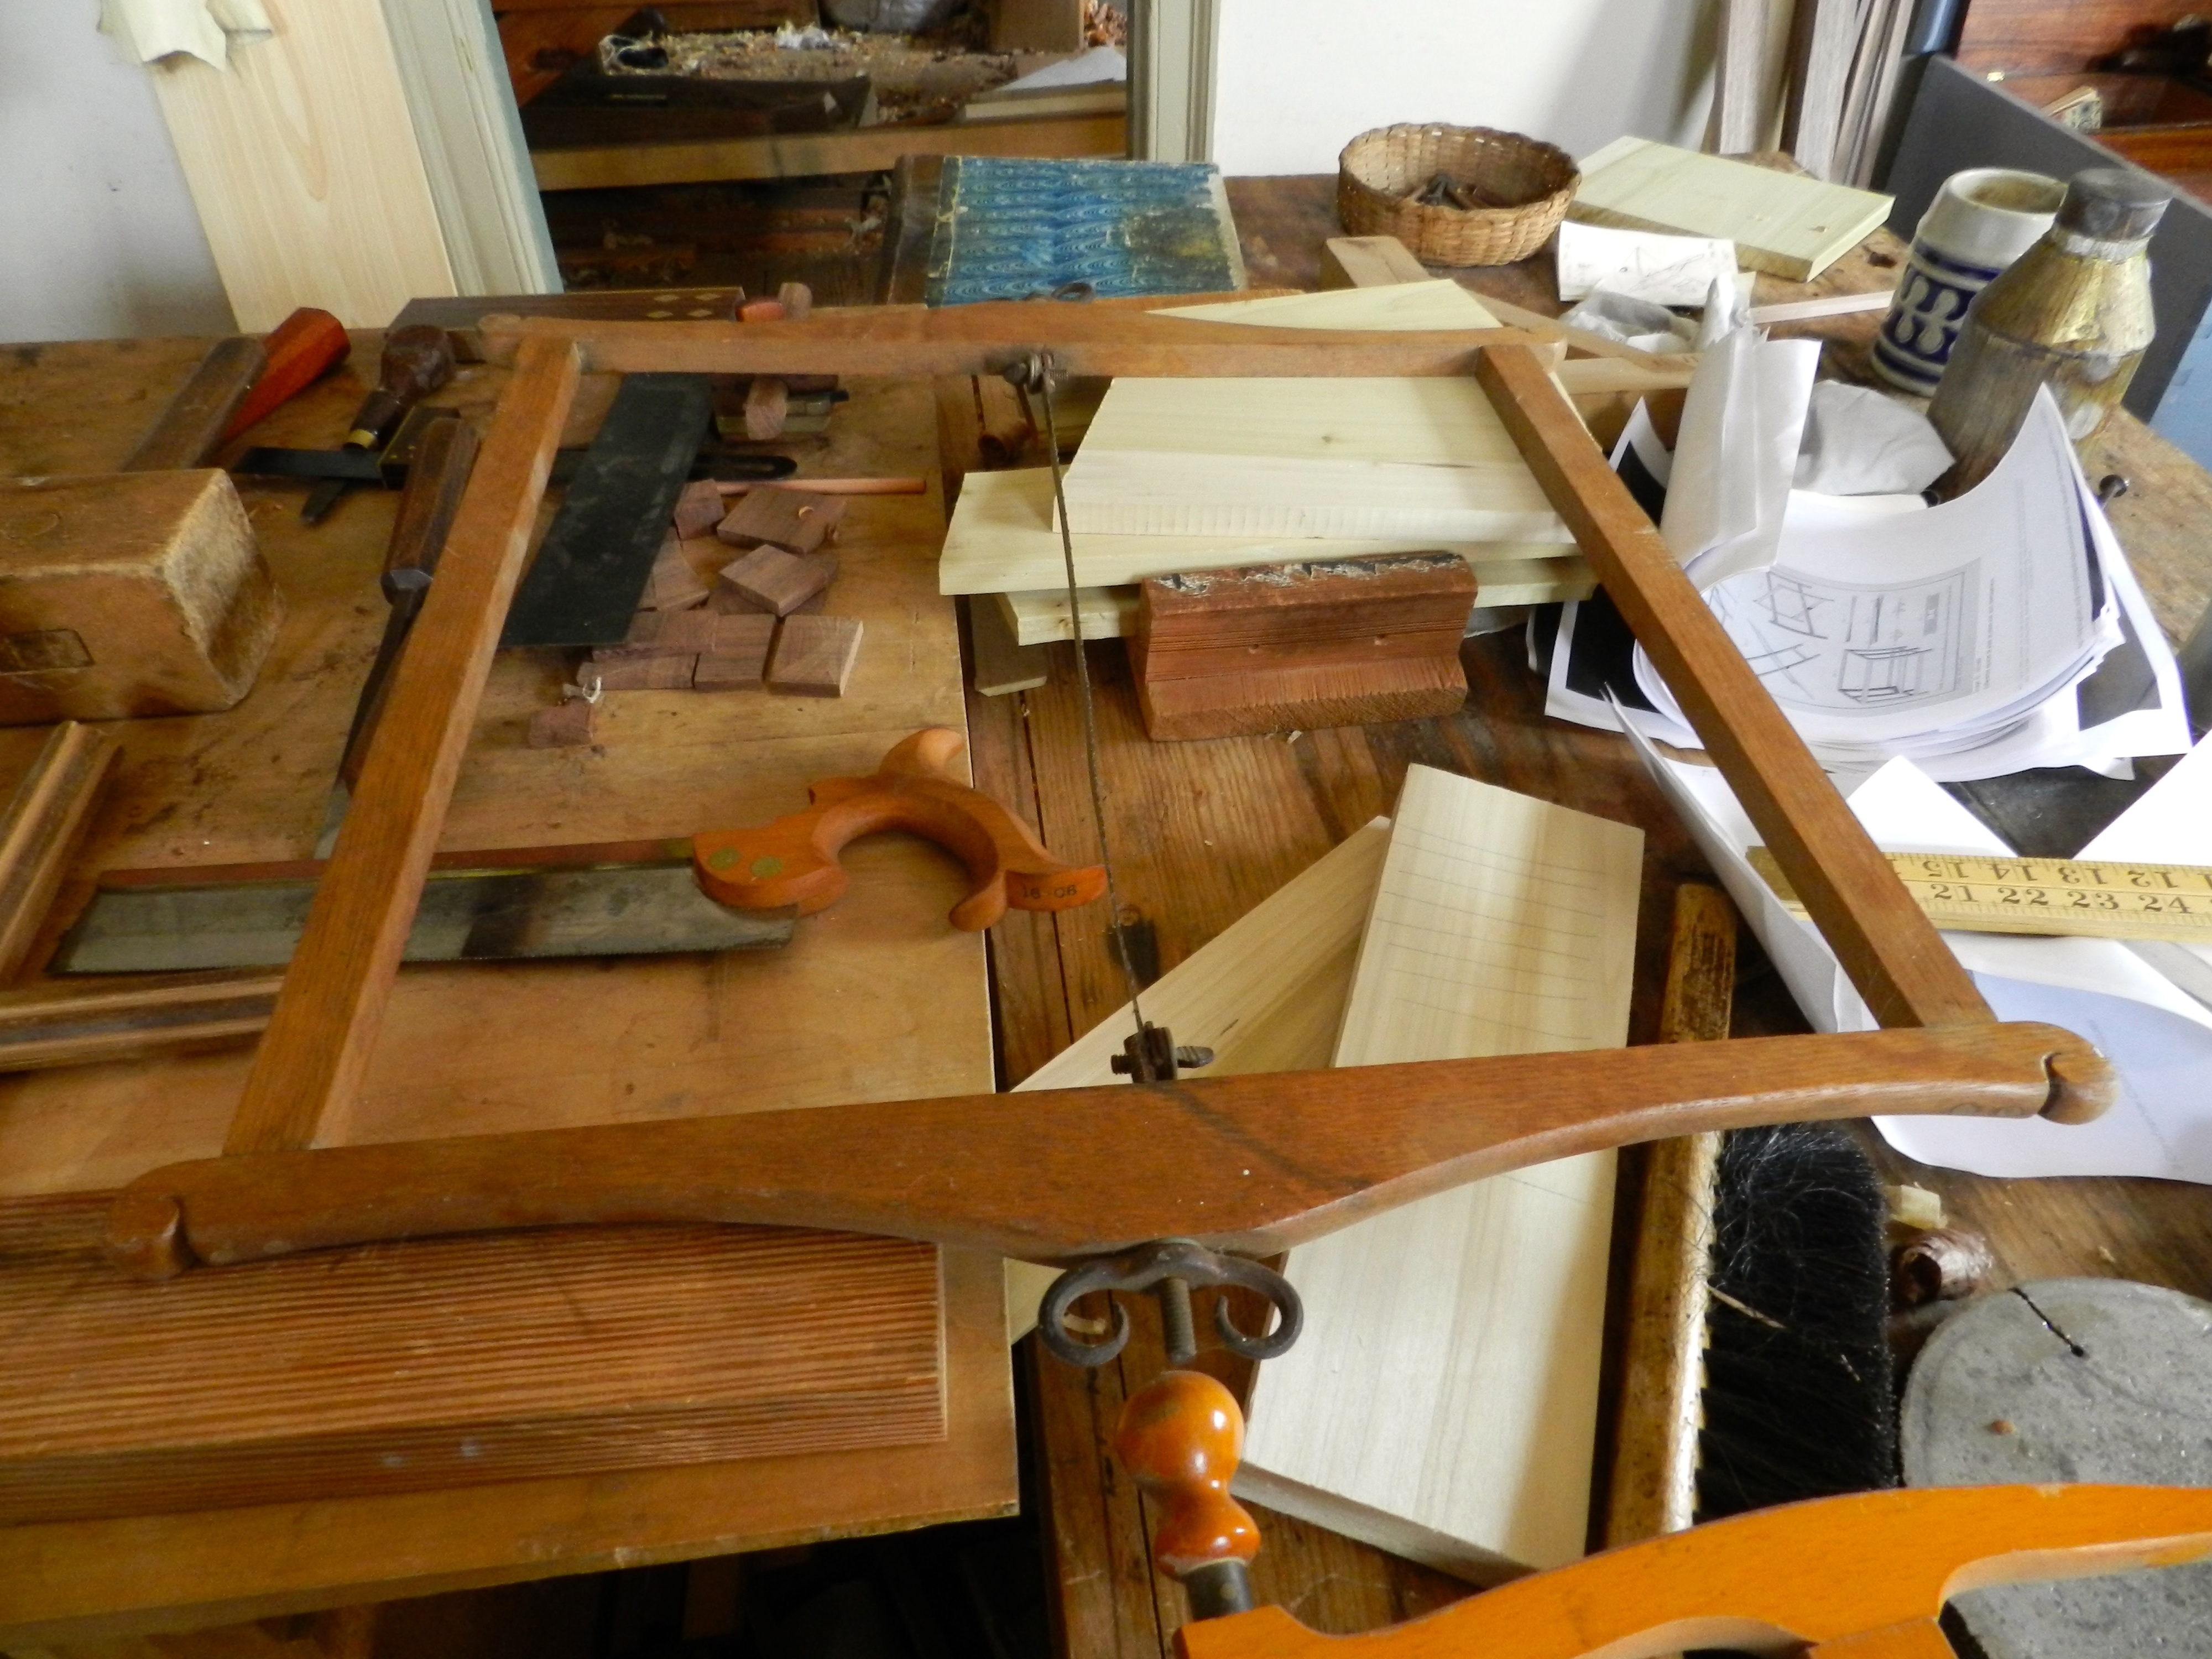
And now on to the big finale — what did I get this year? I got some nice items off the nice to have tools list in my head. I’m particularly excited about the large and complete Stanley 358 Miter Box and large Disston saw to use with it — I’ve wanted one of these boxes for a while. Once I clean it up and tune it, I’ll post about it. In the back of the photo you can see a round sign for the ‘United Brotherhood of Carpenters and Joiners’ that will look nice hanging in my shop. On the left side of the photo you’ll see a large and heavy duty snatch block that will come in handy when moving heavy timbers and the like around in the yard. On the miter box you’ll see a Stanley mini-framing square, a handle for square tanged auger bits, a Starret 12″ Satin Rule and a 12″ Starrett Rule that is metric on one site and 1/10ths of an inch on the other. In the foreground is a nice pair of Starrett loose leg dividers. On the right is an ECE/Ulmia frame saw — I seem to be going through a frame saw phase, and given I have more frame saw blades than frame saws I figured, what the heck. All in all, it was a good show. I look forward to putting these new tools to use in the shop. Now it’s time to start saving for the September show.

Take care,
-Bill

The Frame Saws of Colonial Williamsburg

Back in December 2013, I topped off the Mr. Fusion, warmed up the Flux Capacitor and headed back to the 1780s for our annual pilgrimage to Colonial Williamsburg Virginia. During this visit I wanted to check out some of the frame saws my friends are using and what they thought about the saws ahead of building my own.

My first stop was that Anthony Hay Cabinetmaker’ Shop…

The Anthony Hay Cabinetmaker's Shop at Colonial Williamsburg
The Anthony Hay Cabinetmaker’s Shop at Colonial Williamsburg

Hanging on the wall was a nice two man frame saw and a smaller veneer saw you may recall seeing in an episode of The Woodwright’s Shop. (Season 6, Episode 9 — Free Preview Here on YouTube )

Frame saws hanging on the wall of the Hay Shop

In talking to my friend Ed Wright, the master Harpsichord Maker in the Hay Shop, he showed me some of the finer details of the larger saw shown below.

Ed Wright with a frame saw in Anthony Hay Cabinetmaker's Shop
Ed Wright with a frame saw in Anthony Hay Cabinetmaker’s Shop

The saw’s size and details were derived from Roubo’s plates. The hardware was forged by Colonial Williamsburg’s Blacksmiths, not to be confused with Williamsburg Blacksmiths up in Williamsburg MA (I bought my hold fasts and log dogs from the former, and barn hardware from the latter and I am very happy with both). You can see the forged eye bolt below, passing through a threaded square section and pressing against a metal wear plate.

Close up detail of the tensioning mechanism of a frame saw

The saw deviates from the Roubo plate a bit with the offset turned handles shown below. (Check out Don’s post here — which includes a copy of the plate I am referring to and is related to the recent LAP reprint of Roubo on Marquetry which includes a nice translation of this plate and Don’s experiments with his own reproduction saw) Ed said that the turned handles worked well over the years even if they give the saw a slightly more modern (Say 19th century) appearance compared to the simple carved volutes in the Roubo print. If you were to use this saw all day long vigorously sawing fine veneers I could see wanting this sort of turned handle and it seems to be popular in other reproductions I’ve seen. While the carved volutes seem like they’d be tougher on the modern sawyers’ hands I suspect the likely simple volutes were contoured to fit in the sawyers hand and would have forced him to have a lighter grip on the saw which might have allowed him to react more directly to the wood and make fine adjustments as he goes. From examining Figure 10 of the Roubo print it looks to me like the sawyer on the right has a very light grip and is sighting down the saw to gently steer it on an appropriate course as the the left sawyer is sighting as well as pulling the saw through the cut. Don’s translation talks about the advantages of sawing on a slight incline and lifting the saw on the return stroke to clear sawdust and not bind the saw. Sawing with a second person can be like having a dance partner — if you are in sync and can communicate well verbally and non verbally you have a shot, if you are out of sync things can go south quick as the narrow blade is unforgiving and wants to follow the path of least resistance.

Close up detail of turned handles on the frame saw

The saw blade is held in place via pins that are held in tension, thus tensioning the blade. The blade shown here is quite wide, though not quite as wide as the ~4″ Roubo suggested. When using this type of saw you need to be careful not to over tension it as you can deform/stretch the holes in the blade. The impression I got was that this saw was a little slow cutting at times. A lot of folks online have experimented with saw tooth geometry and similar variations. Adam Cherubini had an interesting and somewhat controversial post regarding his experiences with frame saws which you can check out here.  (Be sure to read the comments as several other folks who have been experimenting in this space weighed in).

Close up detail of the pins the secure the blade to the frame

When using a frame saw to re-saw planks or make veneers you can see some of the telltale marks of the tool as it slices through the figured wood. (See below). In general the blade wants to follow the path of least resistance, so cutting in with another saw to start as Roubo describes or using a ‘kerfing plane’ as Tom Fidgen suggests are great ways to better your chance of success. If you’ve seen any of the many great projects to come out of the Hay Shop you’ll have no doubt Ed and the others in the shop have mastered many uses of the frame saw.

Panel that was cut with a frame saw -- shows the telltale pattern of tool marks showing how the saw progressed through the wood
Panel that was cut with a frame saw — shows the telltale pattern of tool marks showing how the saw progressed through the wood

My next stop was to visit Master Carpenter Garland Wood in the Joiner’s shop. Every time I visit I want to pull up a bench and take up residence in the shop as another member of the crew. The benches, tools and projects all feel like home.

Garland Wood in the Joiner's Shop
Garland Wood in the Joiner’s Shop

In the Joiner’s shop Garland showed me the frame saws he had on hand in the shop. Shown below is a nice felloe saw with its narrow blade used to cut curves. In the wheelwright’s shop you can see some larger versions of this style of saw. The example below has nice delicate lines, a simple volute detail, and nicely wrought wing nuts on both ends of the saw. In the foreground of the photo below you can see a tiny bit of a simple bow saw which we’ll talk about in a future post.

Small frame saw in the Joiner's Shop
Small frame saw, a ‘felloe saw’ used for cutting curves and the like, in the Joiner’s Shop

There are very few places you can drop by and pick the brains of talented folks who share the same level of enthusiasm for traditional woodworking and sharing the craft with others — Colonial Williamsburg is one of those places. I’m thankful to Ed and Garland for their time and advice. I look forward to putting some of it to use in building my own frame saw.

Take care,
-Bill

P.S. I’m of the mindset that we still have more to learn about these saws and look forward to experimenting a bit with my own. I ordered the first production frame saw kit blade from Bad Axe Toolworks based on a saw from Tom Fidgen’s Unplugged Woodshop and will be posting about that in the future.