Tag Archives: Sharpening

Stump Vise

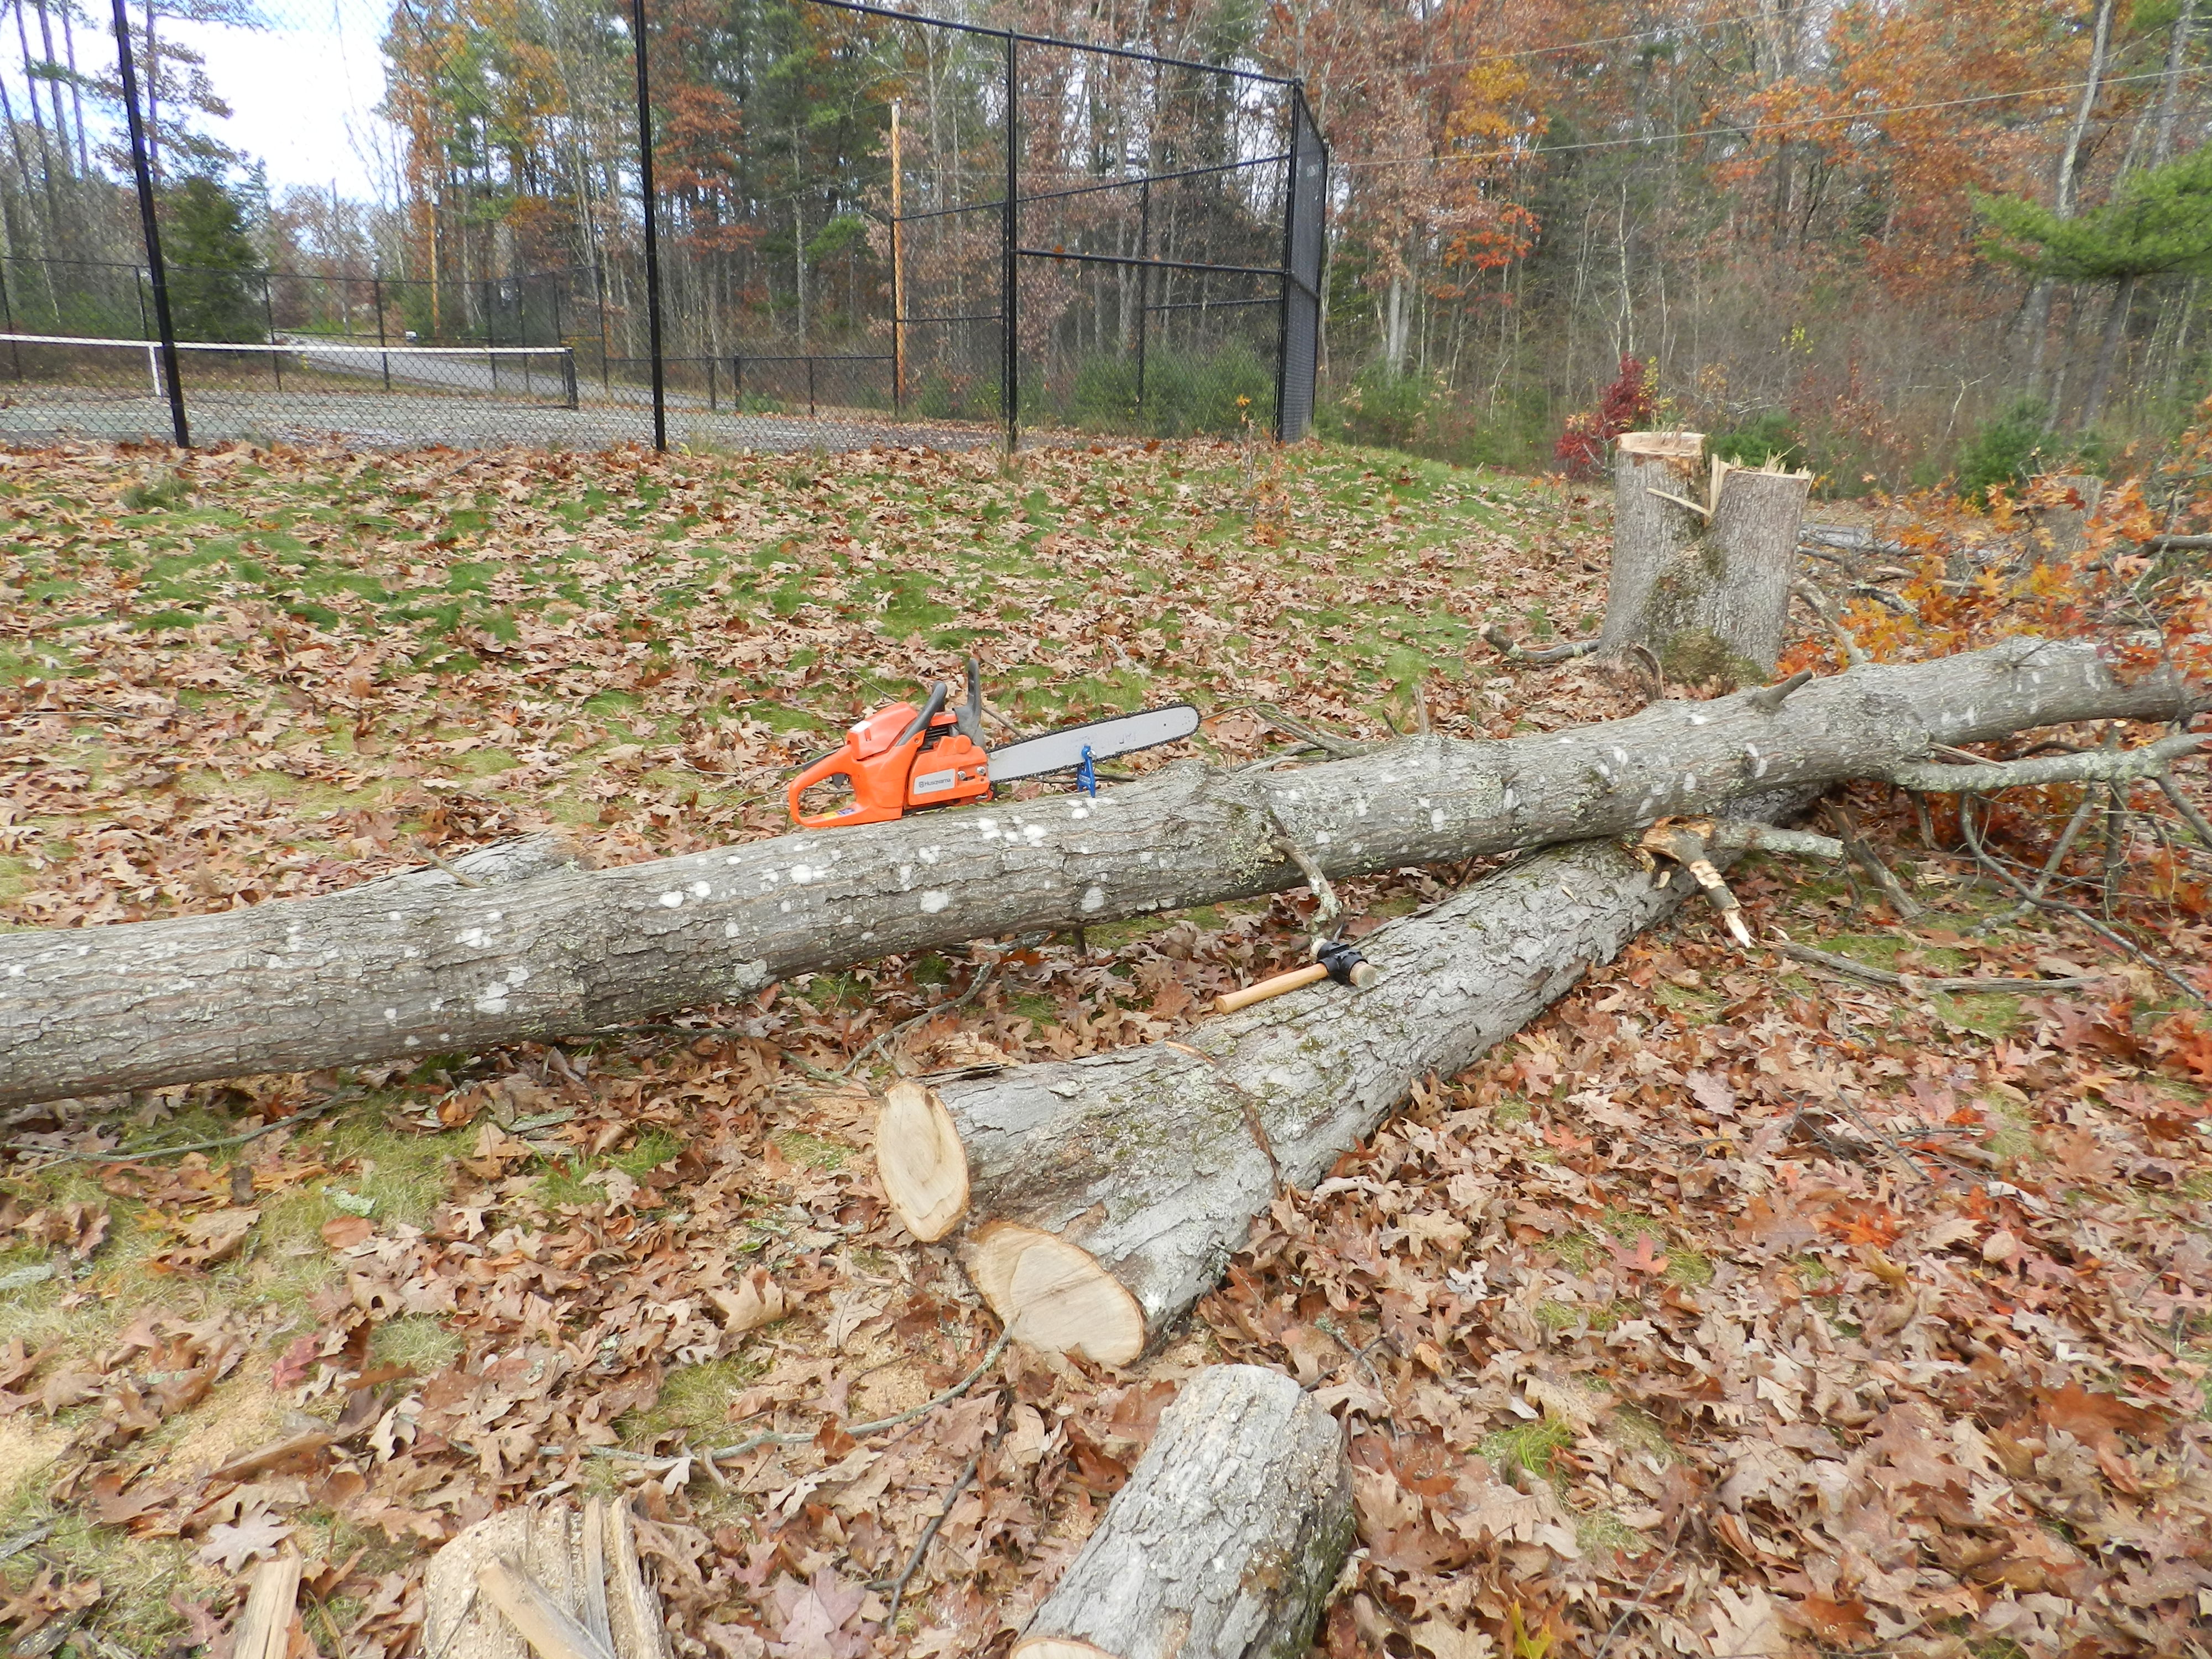
When a chainsaw is cutting well it is a joy to use — you can see shavings fly. When it gets dull and spits out dust it’s a slog at best and dangerous at worst. Working out in the field for an extended period is no excuse for not sharpening your chain. There is a great little accessory called a ‘stump vise’ that every chainsaw lumberjack should own. It allows you to quickly sharpen your chain in the field and get back to work.

Stump vise
Stump vise

How do you use this vise?

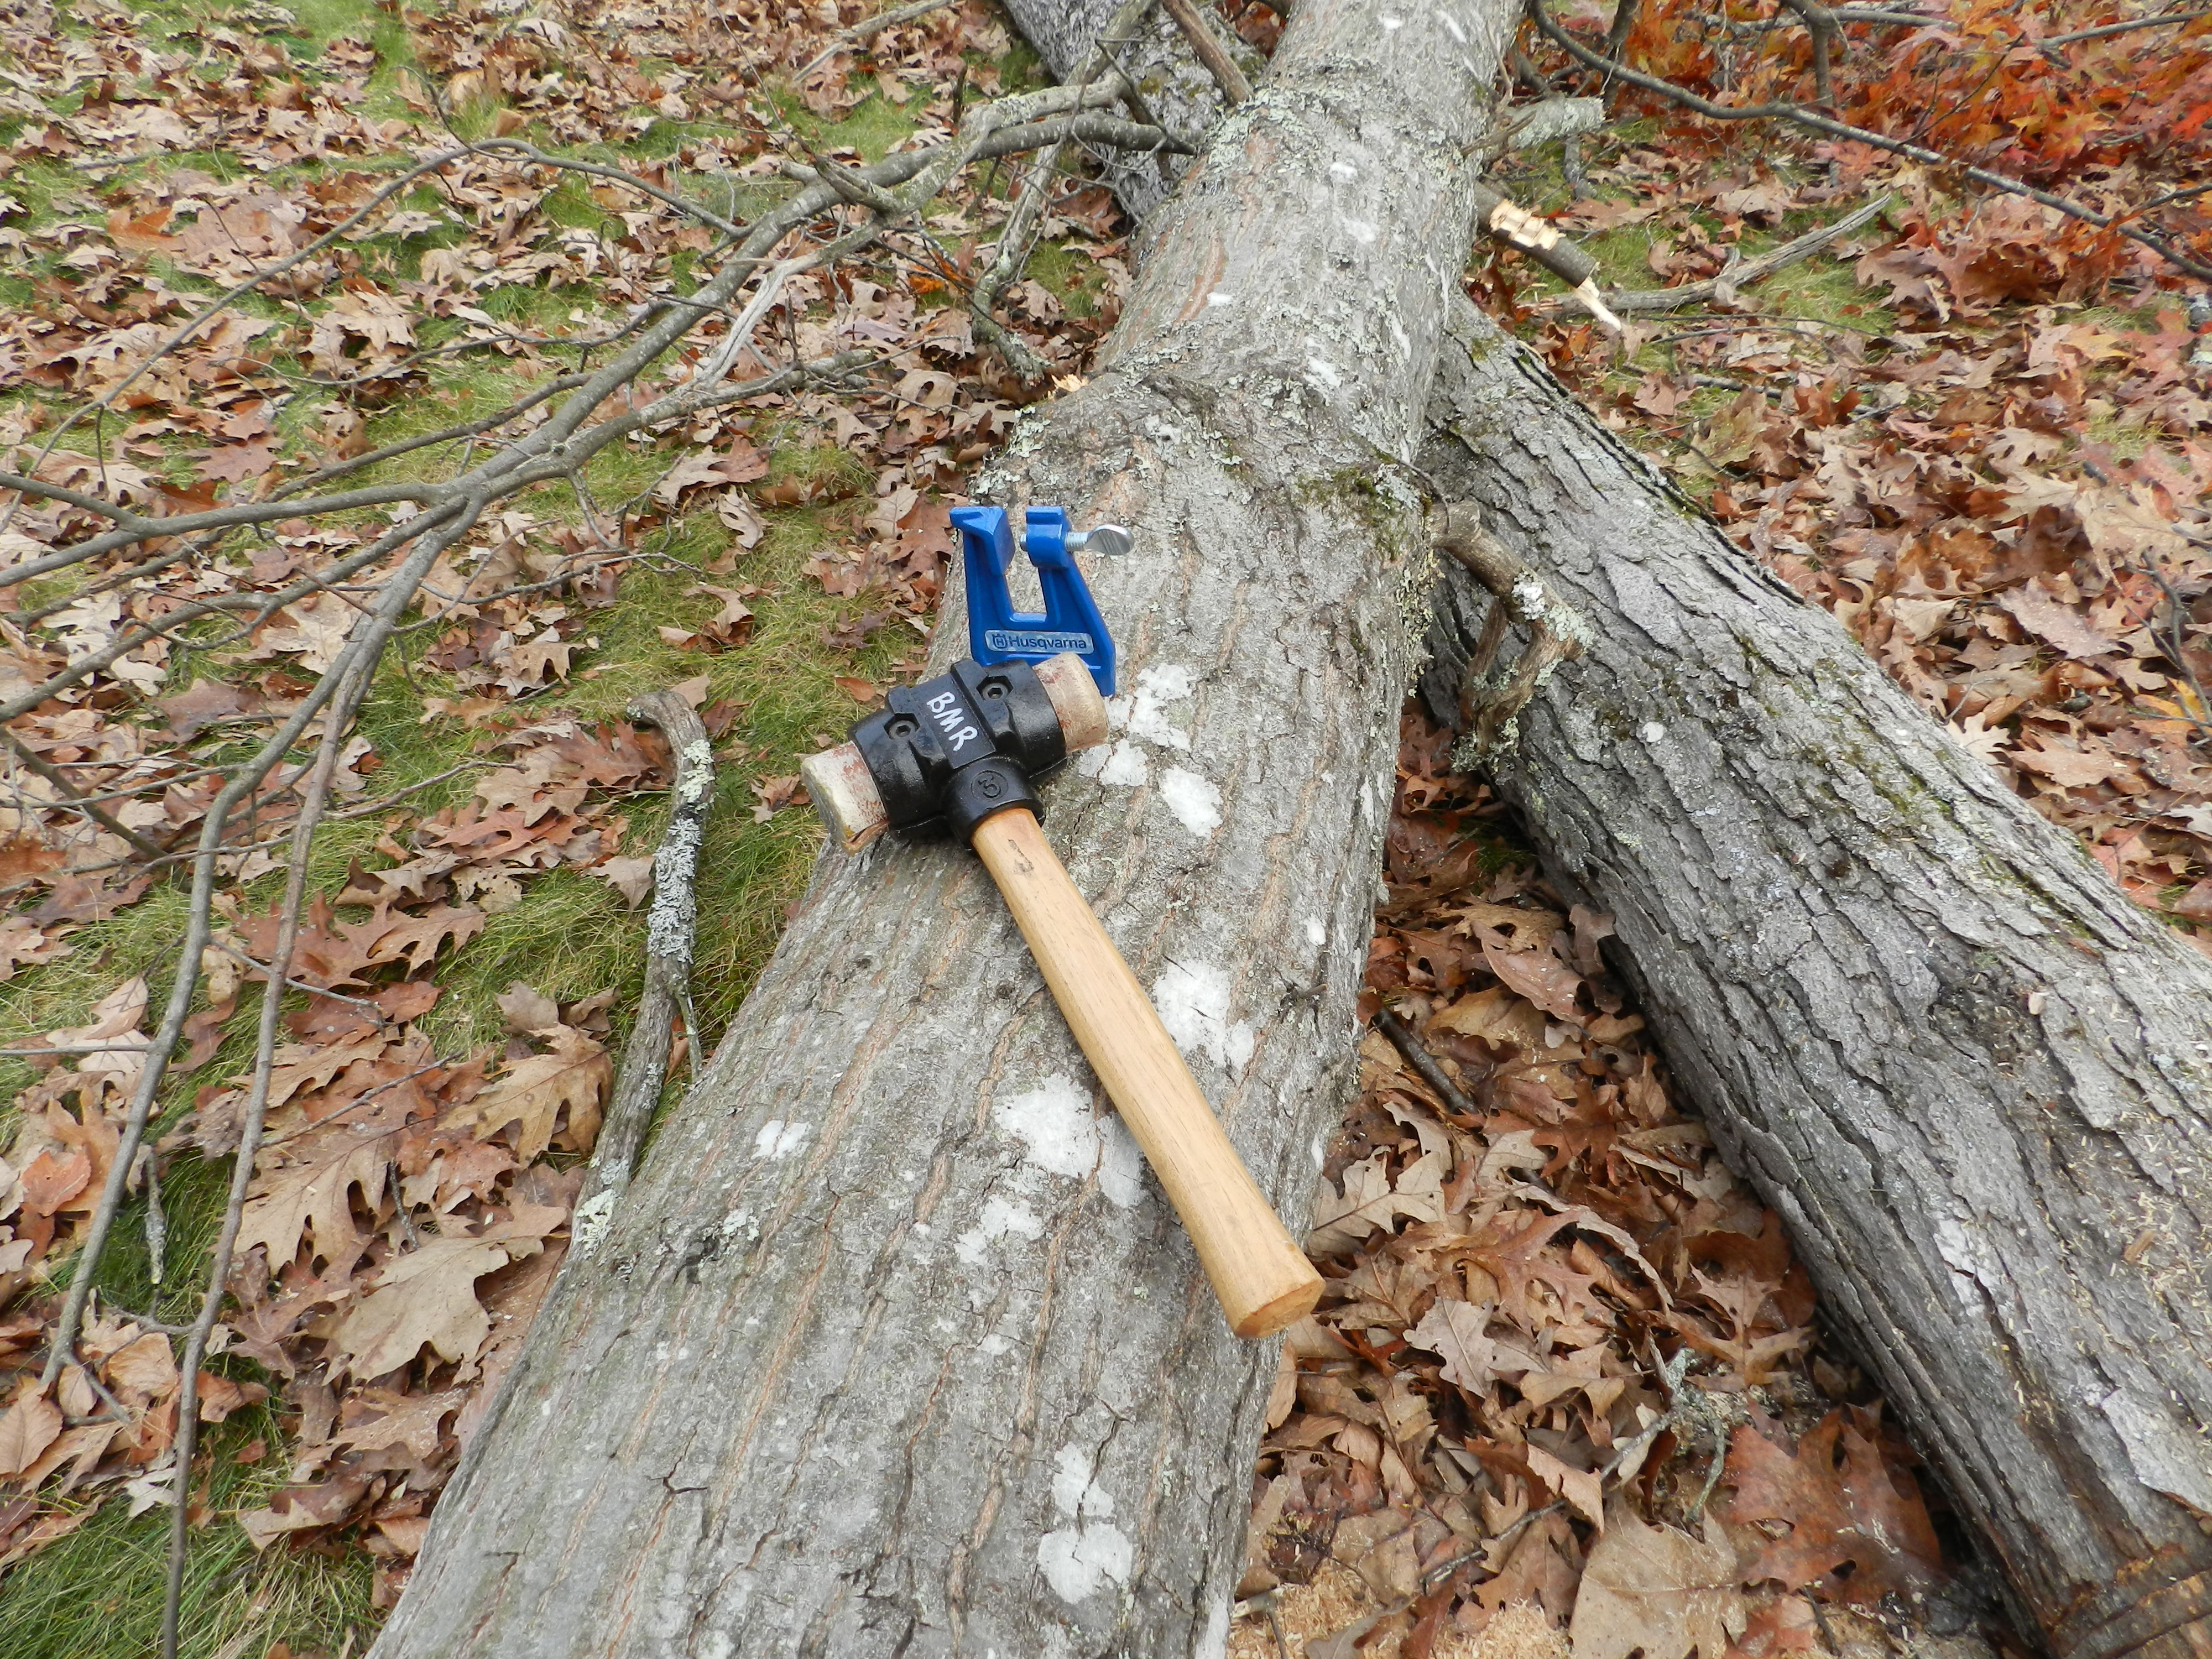
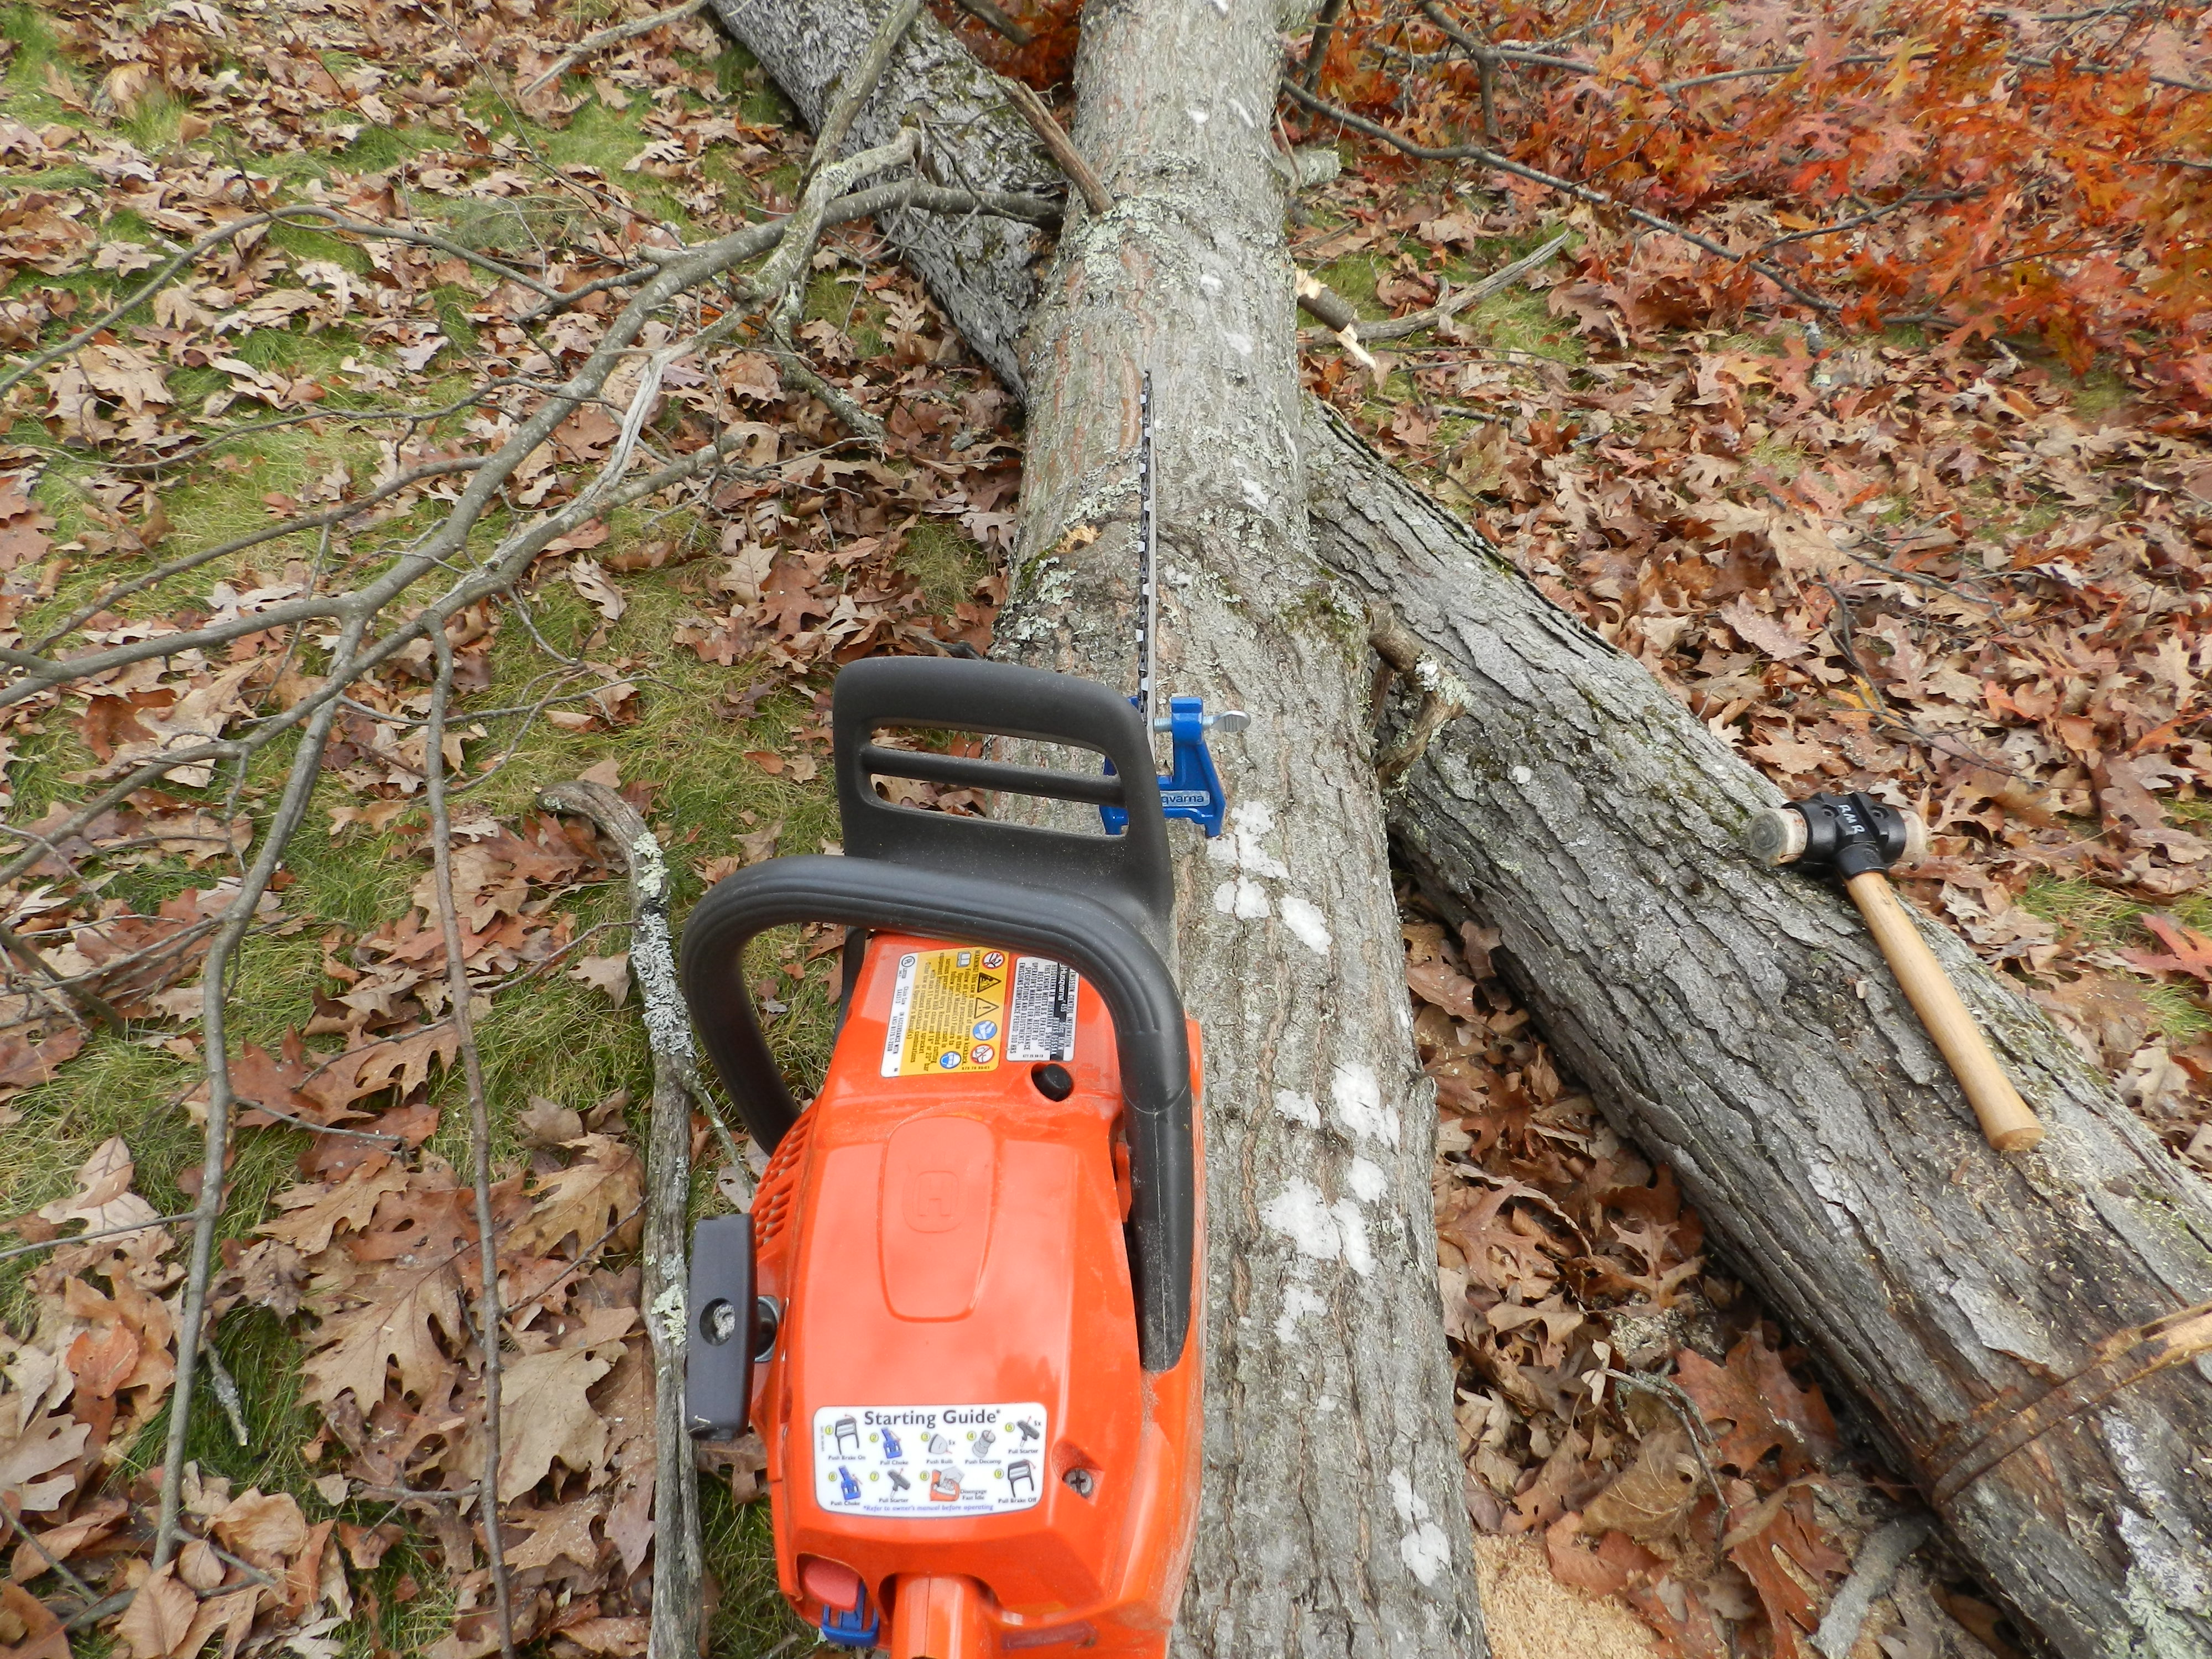
You hammer this little vise into a stump or log. Then you clamp the chain saw bar into the vise, being sure to make sure the bottom chain can clear the vise.

Chainsaw held in place on a tree trunk with a stump vise

Once the saw is secured you can mark the first tooth with a sharpie or similar marker and start filing. I usually do all the right teeth first taking advantage of muscle memory and using the same number of strokes. When I get back to the tooth with the sharpie mark I know I have made it all the way around the chain. Then I make a pass down the left teeth and sharpen each of them. I usually take 3 strokes with the file on each tooth.

Filing a chain saw chain out in the field

After 10 minutes out in the field with a file I am ready to get back to work and making more shavings.

Where can I find one of these vises?

The vise I have was made by Husqvarna and fits nicely into its own compartment inside the blow molded plastic case I keep my chainsaw in when it’s not in use. When you don’t need one of these vises they are easy to find — when you need one they can be hard to find. Last year when I bought a new chainsaw I went to the local Husqvarna dealer seeking one of these vises and he had no idea what I was talking about  — so I showed him the plastic case they sell which had a picture of it even and you’d think I had 2 heads the way he was looking at me telling me that is not something they ever made — clearly he had not done a lot of work out in the field as all the timber framers I knew had them. Needless to say I won’t be returning to that shop. The local True Value, big box stores and Tractor Supply didn’t have them even though I know there is a LOT of logging going on up here in NH. So I caved and bought mine online from a 3rd party outdoor equipment supplier on Amazon and have been very happy with the purchase. I bought the official Husqvarna branded vise for about $18, but the castings look near identical to the yellow model you often see branded as ‘General’ or other similar brands.

I hope you’ll treat yourself or the chainsaw operator in your life to one of these vises so they can get back to cutting up blanks for future projects.

Take care,

-Bill

Get to the point…

“Warning: Sharp chisels are dangerous and should be handled with care. Dull chisels are even more dangerous and should be sharpened.”

This timeless advice comes deep in the small print of the little card that comes with many Lie-Nielsen tools. Much like a shower or brushing your teeth, sharpening is a regular daily routine for most traditional woodworkers, and while it is amazing to see the lengths we go to be sharp, many of us often relegate this task to the end of the bench or tiny bits of counter space here and there.

Why all the fuss about about where to sharpen? How do I avoid this ‘dangerous’ situation?

For many years I was sharpening wherever I could find a bit of space yet knowing there was a better way to go about this. After moving last year I finally got around to re-arranging and re-imagining my workshop space and decided to do something about where I sharpen. Several years ago I went through a phase where I built a lot of New Yankee Workshop projects meant to organize the workshop and at that time I bought the supplies to build Norm’s Sharpening Station but never got around to building this one last project — I even had the top all laminated and ready to go since before the move. Now as I looked to make more room in my shop and move my 4’x8′ sheet goods cart out of the shop I needed to clear off that extra plywood and get some more storage space for all my sharpening paraphernalia.  Now that I’ve finished this project I don’t know how I lived without it for so long. I *finally* have all my sharpening gear in one place, I have a spot I can quickly sharpen at and get back to work. I also have waited way too long to finally have an actual paper towel holder in the shop — yes the simple pleasures in life — like not having sawdust all over a clean sheet from the roll that was bouncing around the shop.

The point? Keeping your tools sharp is a vital part of doing good work, so the investment in a dedicated sharpening space and a couple of weekends is a great way to keep your edges keen, your points sharp and your paper towels clean (especially if you don’t want to get caught stealing paper towels from the kitchen 😉 ).  Happy Sharpening….


Have Files, Will Sharpen

The bench planes and chisels are not the only tools that need regular sharpening…your handsaws will also benefit from a little TLC.

Below is a nice vintage saw sharpening vice I picked up years ago from a cabinetmaker in Newton who was retiring and moving south. It was in very good shape and had some very graceful lines in the casting, but the little vise screw was designed to only close up to about 1″ so I could never use it on my 3/4″ thick assembly table unless I wanted to shim it up with an extra block of wood. It now found its home on the edge of my sharpening station where it’s generally out of the way when I am sharpening on the stones.

Saw in Saw Vise
Saw in Saw Vise  (No, that Bachco saw for timber framing is not the most traditional saw for sharpening, but every now and then a quick touch up helps extend its life)

When looking for a saw sharpening vise, make sure you pick one where the inner jaw faces are smooth, the center of the jaws are open in the center when not under pressure — this way it evenly applies pressure when holding your saws — and has a solid clamping action both on the saw and onto the bench. If you cannot find one of these old vices, you can make your own jaws from wood and use it in your bench vise or check out the modern version of this vice from Gramercy Tools.

Space at center of the jaws

Now that you have a place to hold your saw, it’s time to start sharpening. I used to have a random assortment of files I bought from various machinist’s chests, flea markets and used tool dealers over the years and I got by with that.  The problem with that random assortment was if you wanted something just a little bigger or smaller or finer or at a different profile it was a lot of hunting around, I may not have what I was looking for and I do not believe all of them were necessarily meant for hand saw sharpening. Then a few weeks ago I saw Lee Valley started offering a Grobet Swiss files with a labeled tool roll and decided to give it a try. I’ve had other Grobet Swiss files in the past (for carving and similar applications) and been very happy with the quality.

Lee Valley Saw File Set + Tool Roll

So far it’s been a great little set and earned a place in my tool chest. I sprang for the ‘needle file’ which is used with very fine and progressive pitch saws and has a dedicated pocket in this tool roll. Online there are plenty of great articles on how to sharpen a saw so I won’t go into detail about how to do that here, but I will make a few high level suggestions. If you sharpen regularly and with a consistent motion you’ll likely have good results. If you have to joint and reset a saw, track down an old Stanley or similar saw set tool. I found an old one in the original box for < $10 and it looked almost new — these tools often do not see a ton of use, but when needed they work much better than the very old bending wrench style saw set.

Good luck and happy filing!