

When working with reclaimed wood you generally want to be extra cautious — you never know what you are going to find in the wood. Normally I visually inspect the wood, remove anything glaring (bits of old nails, stones, loose knots etc), then make a pass with a lumber wizard metal detector, remove what it finds and start working my way through the wood. Every so often something makes it through that system….
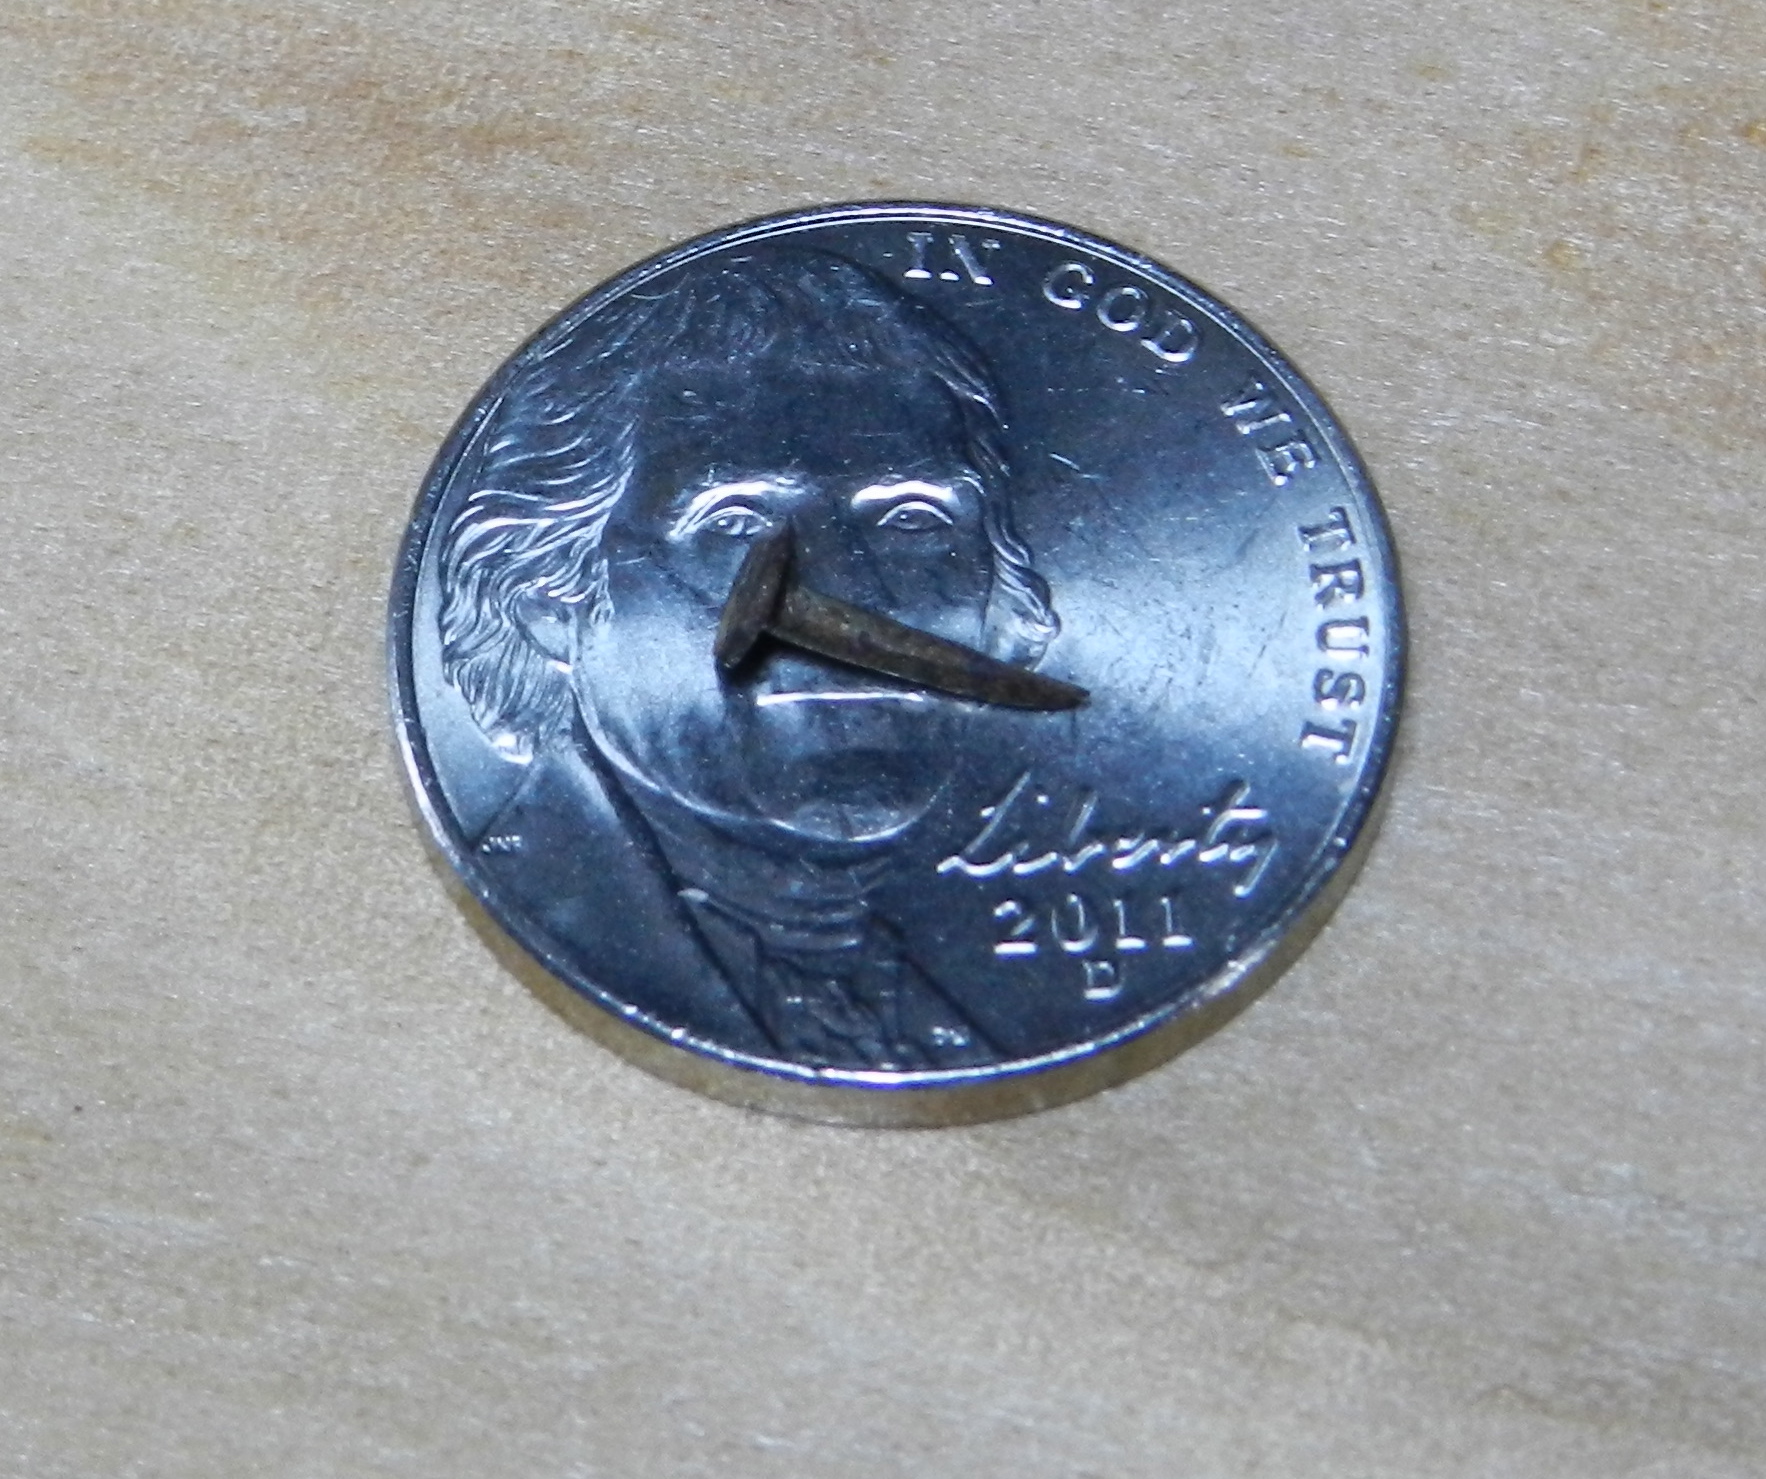
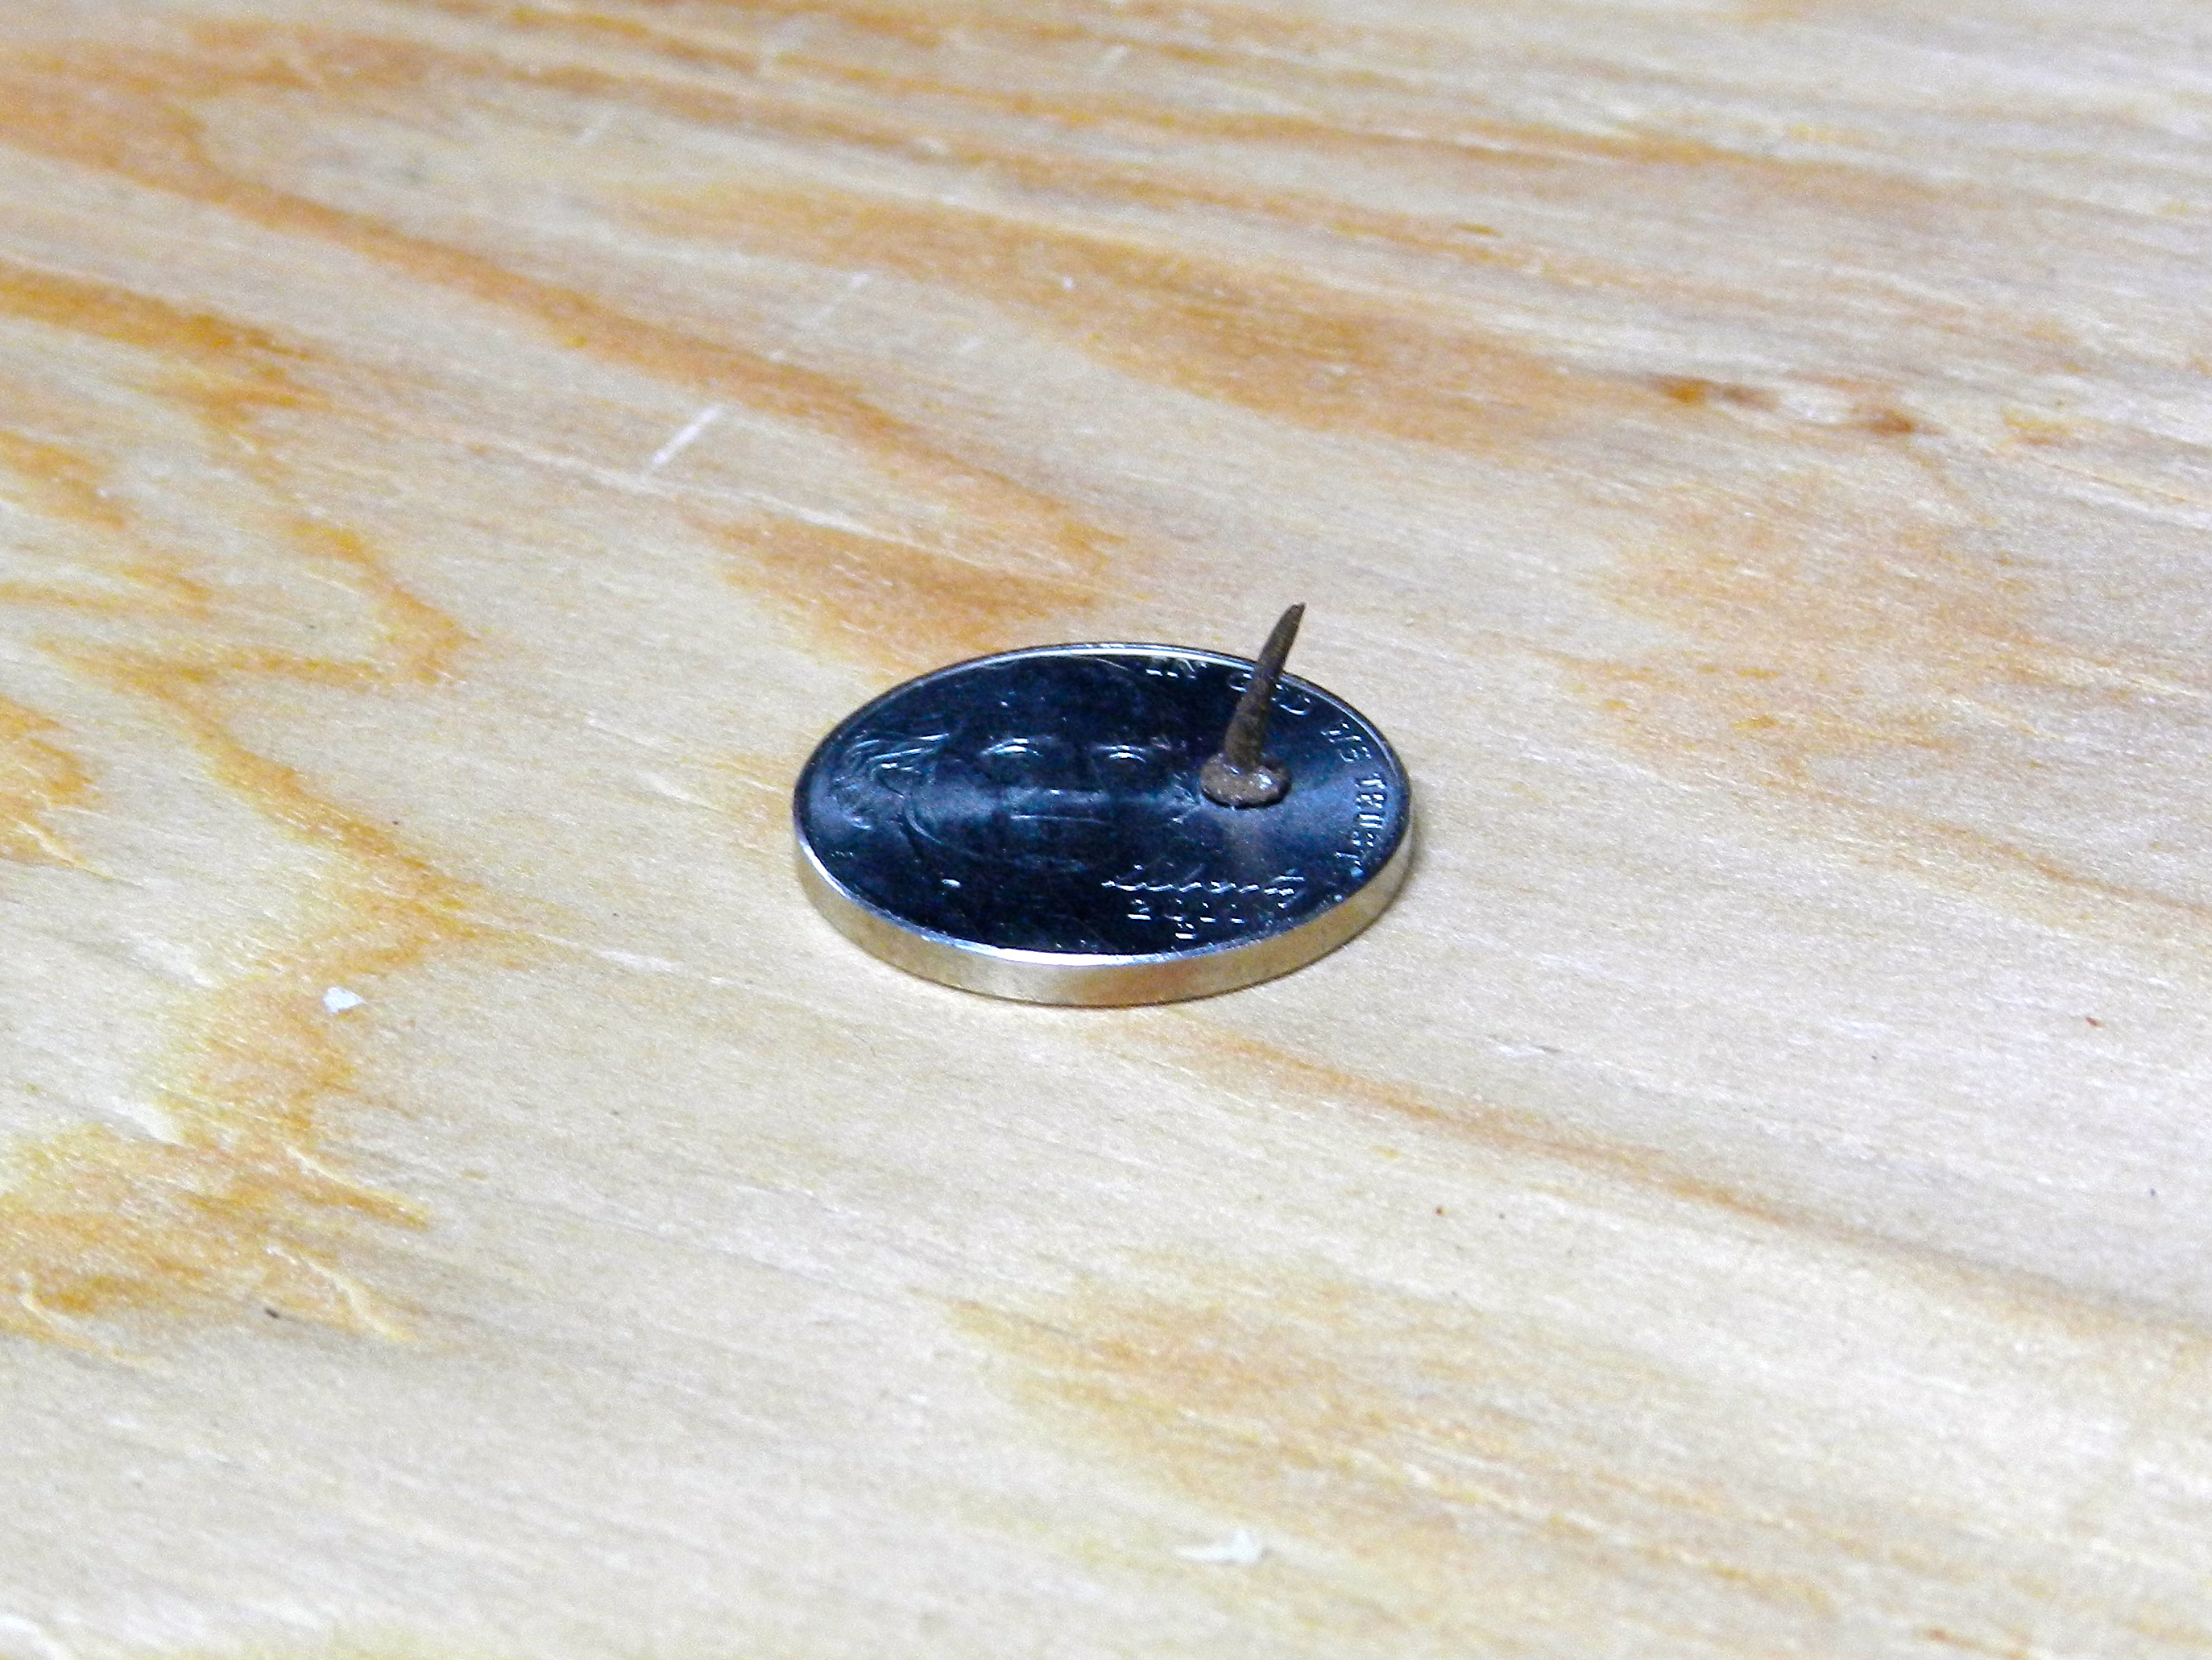
Above and below is a VERY tiny tack was embedded deep into an old barn board I was reclaiming. It must have been fairly deep into the board as the metal detector didn’t find it, but it sure found my planer knife.
But such is the price we sometimes have to pay in order to work with old growth timbers. On an 8-10″ wide board I was counting well over 150 years of growth rings and this pine often handles like hardwood.

For projects like this rustic headboard the trick is to stop milling before you lose all the history and character of the old wood.
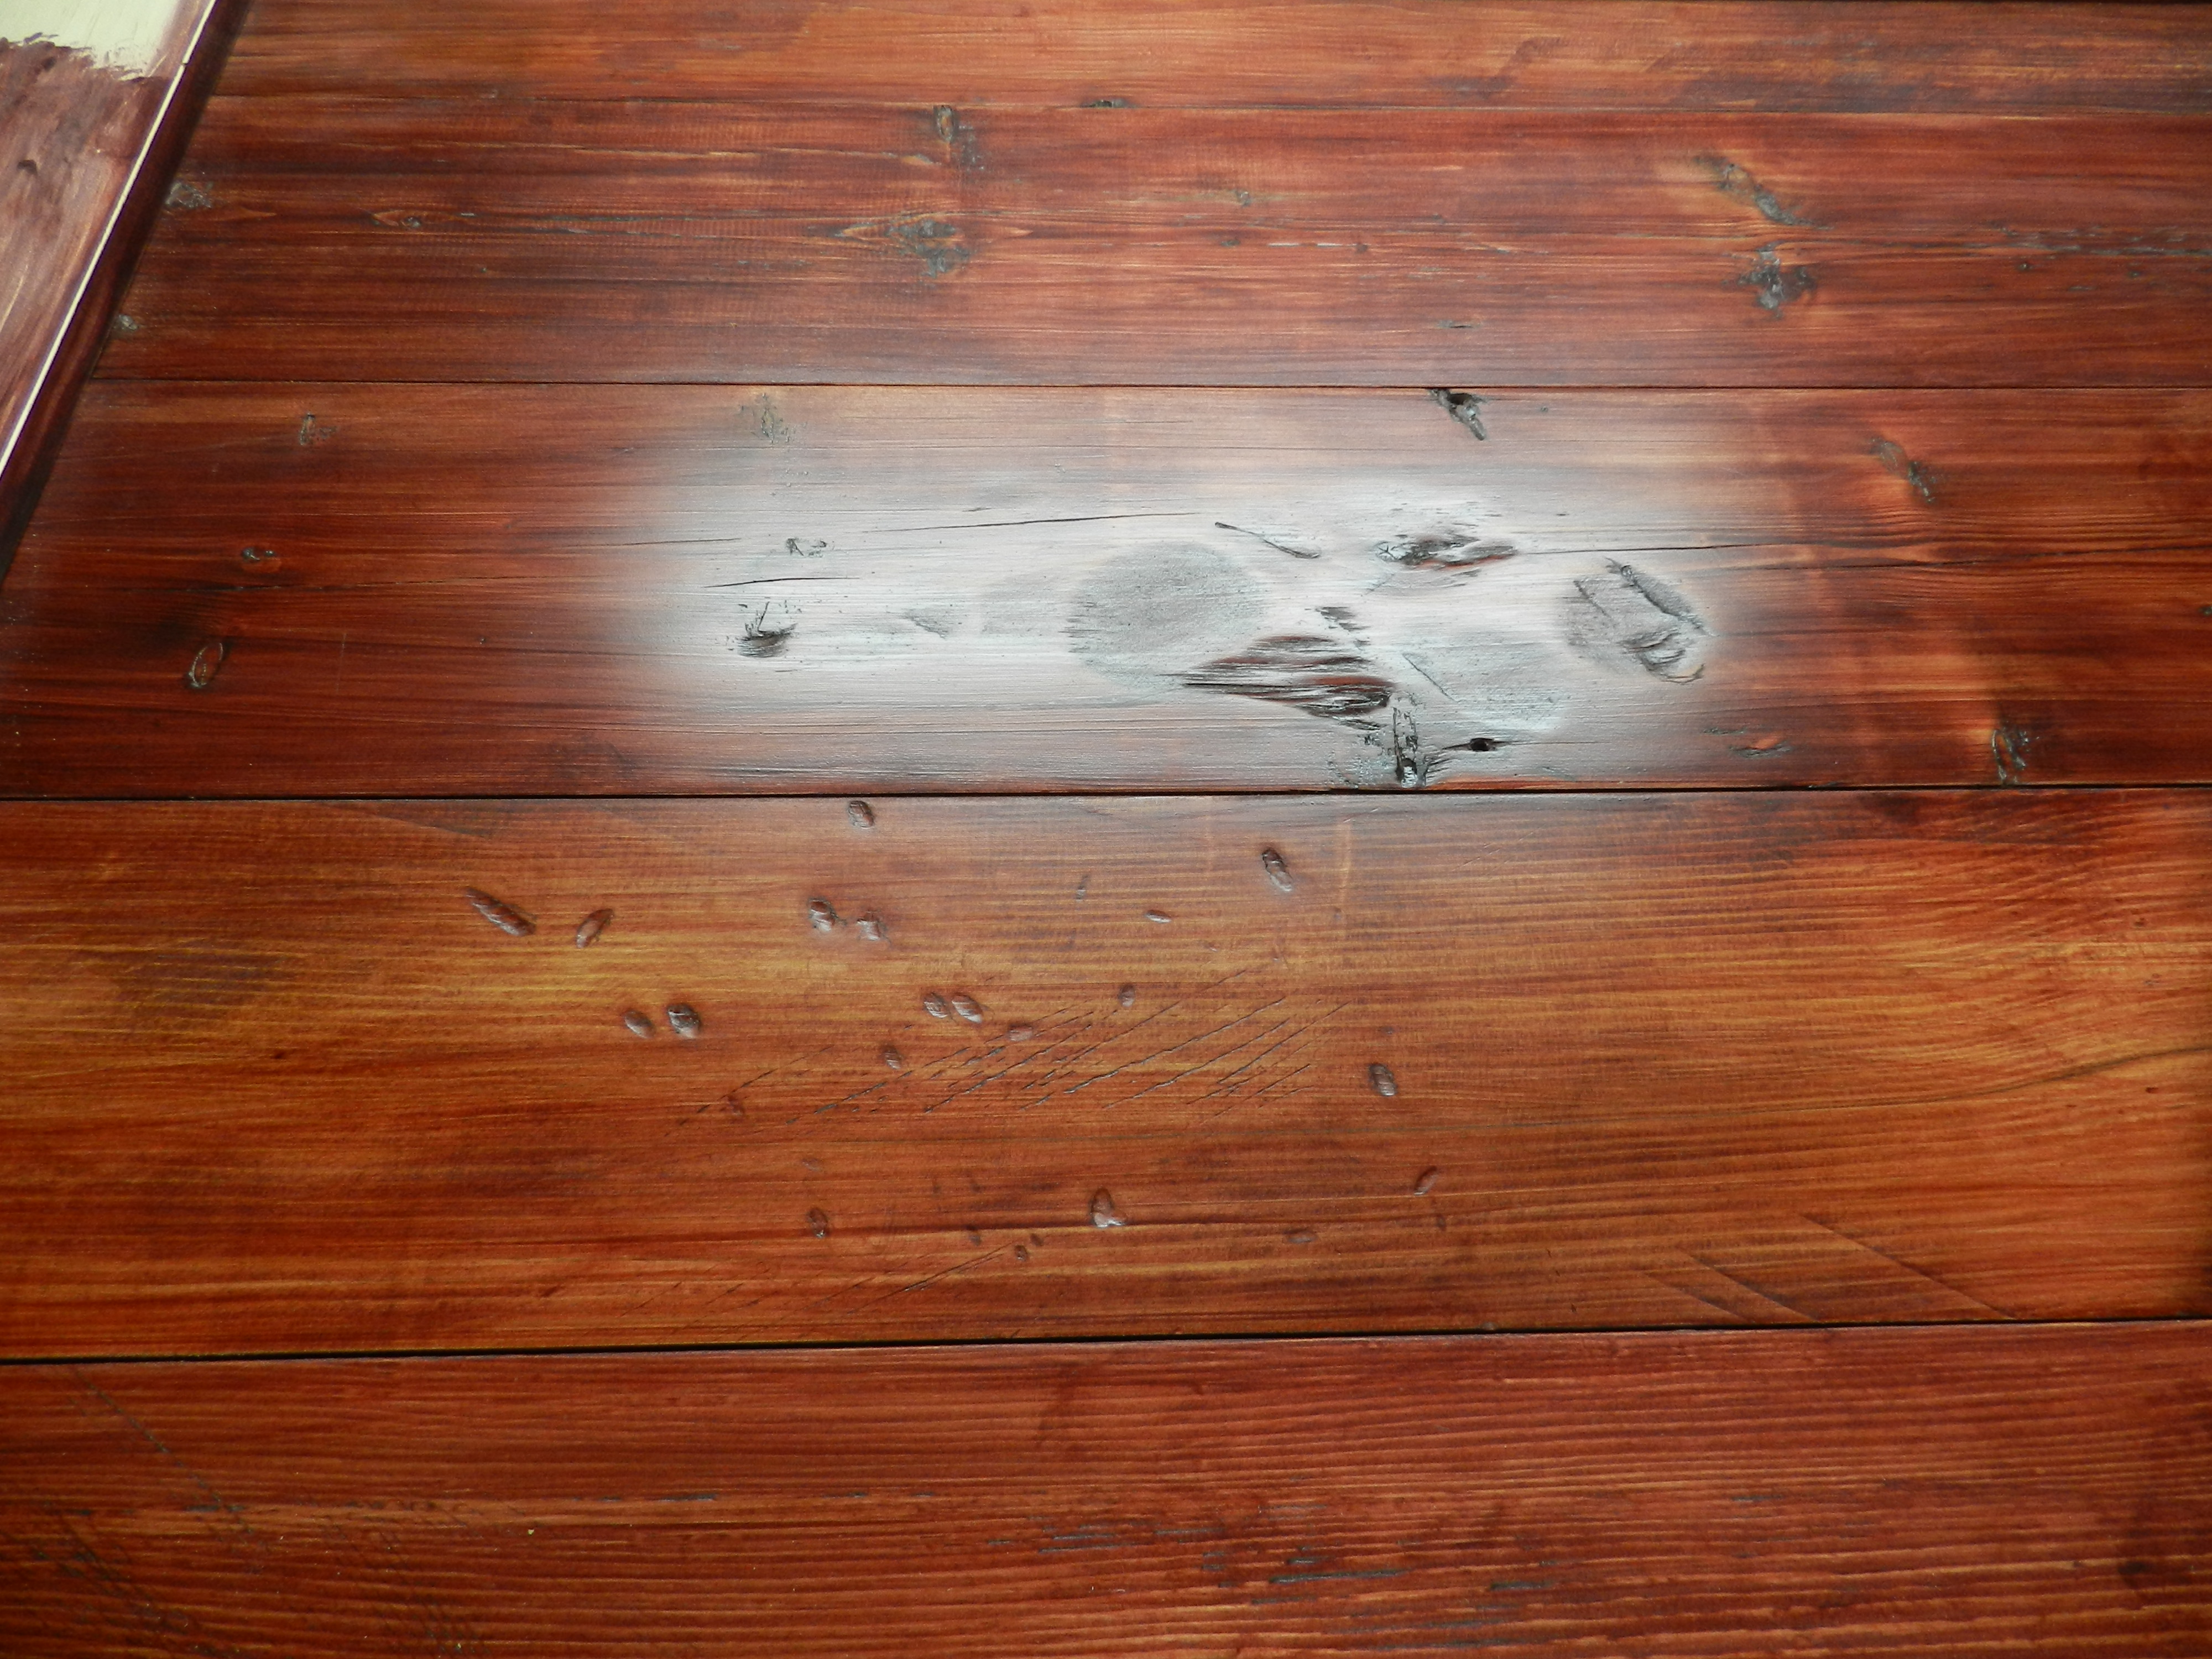
But in the end the extra effort is worth with for the results cannot be duplicated with modern woods and simulated aging techniques.

You can see a bit more of this project on an earlier post I made here.
Take care,
-Bill

Bill,
I’d like share a couple more tools to add to the toolbag for the fellow Preservation Carpenter, Joiner, Housewright, or Cabinet & Furniture maker when working with reclaimed wood with and without embedded debris. I agree setting about a systematic approach is a good one.
First Step Back:
Supplement your visual, tactile, and technical use of gadgetry with the thought of an craftsman in that century: without a mechanical planer…all too often…we and I …who does not own a planer…opt for expedience and employ Dr. Franklin’s and Mr.Edison’s inventions of electricity, because we can, “as time is money,” some say…and take a step back to your skills both pre-existing, from your mentor craftsmen and training at North Bennet. Appreciate the gifts of historic material with your historic training.
Visualize or Conceptualize:
For instance: only the worker of wood present in the moment can do this, or perhaps a thoughtfully guided apprentice: knowing and visualizing the end result or that object or use you are to skillfully craft is your best asset. And I simplify here a bit however these… ounces of prevention may be worth a pound of cure…in avoiding down time of your mechanized equipment.
I agree when rough material is reclaimed every piece can exhibit good: tightness of grain, visual appeal of grain pattern, and even iron stains in some instances can be found attractive, certainly hardness beyond that of the same species new growth.
Often, as we agree, the material may exhibit bad: dry and wet rot, insect remains-some with tunneling of a kind that is art in itself incapable of human duplication, iron and other metal fasteners and their stains of the fibers and holes from removal also a character adding feature.
Layout: chalk on wood and lead on paper
In my work at NBSS and Designs to Build, I have been known to write on the leather of my toolbelt and in lead or chalk on the wood, lead on the paper, all prior to handling any tool beyond measure or square. Why? All the buzz words apply here: conservation, reversability, give yourself options, etc.
Perhaps the most important step here is layout. You knew I would say this, however with reclaimed stock it takes on an added level of strategy and patience to step back not only from the work piece to review its surfaces, all 6 if previously milled boards or timbers, and with absence of knots,wane, or worls and imperfections often more. This is where the vision, sketch, piece diagram, modern-day:shop drawing, comes into play. This is where the chalk in each toolbox comes out and does more than inhibit oxidation of iron tools…it now marks the imperfections to avoid, keep and those to lose, details the rough cuts to be made with the hand saw, denotes the surfaces to hand plane complete with the strategy of avoiding potential embedded obstacles, and in planning ahead: locates joinery to layout with measure, square, and all prior to applying marking guage or knife.
I am often fallible in my work too…so craft on my friend…work the softwood softly…and the hardwood with a keen edge…D2B…and carry a big stick OF CHALK AND ONE OF LEAD! Chris Dowd