When working with reclaimed wood you generally want to be extra cautious — you never know what you are going to find in the wood. Normally I visually inspect the wood, remove anything glaring (bits of old nails, stones, loose knots etc), then make a pass with a lumber wizard metal detector, remove what it finds and start working my way through the wood. Every so often something makes it through that system….
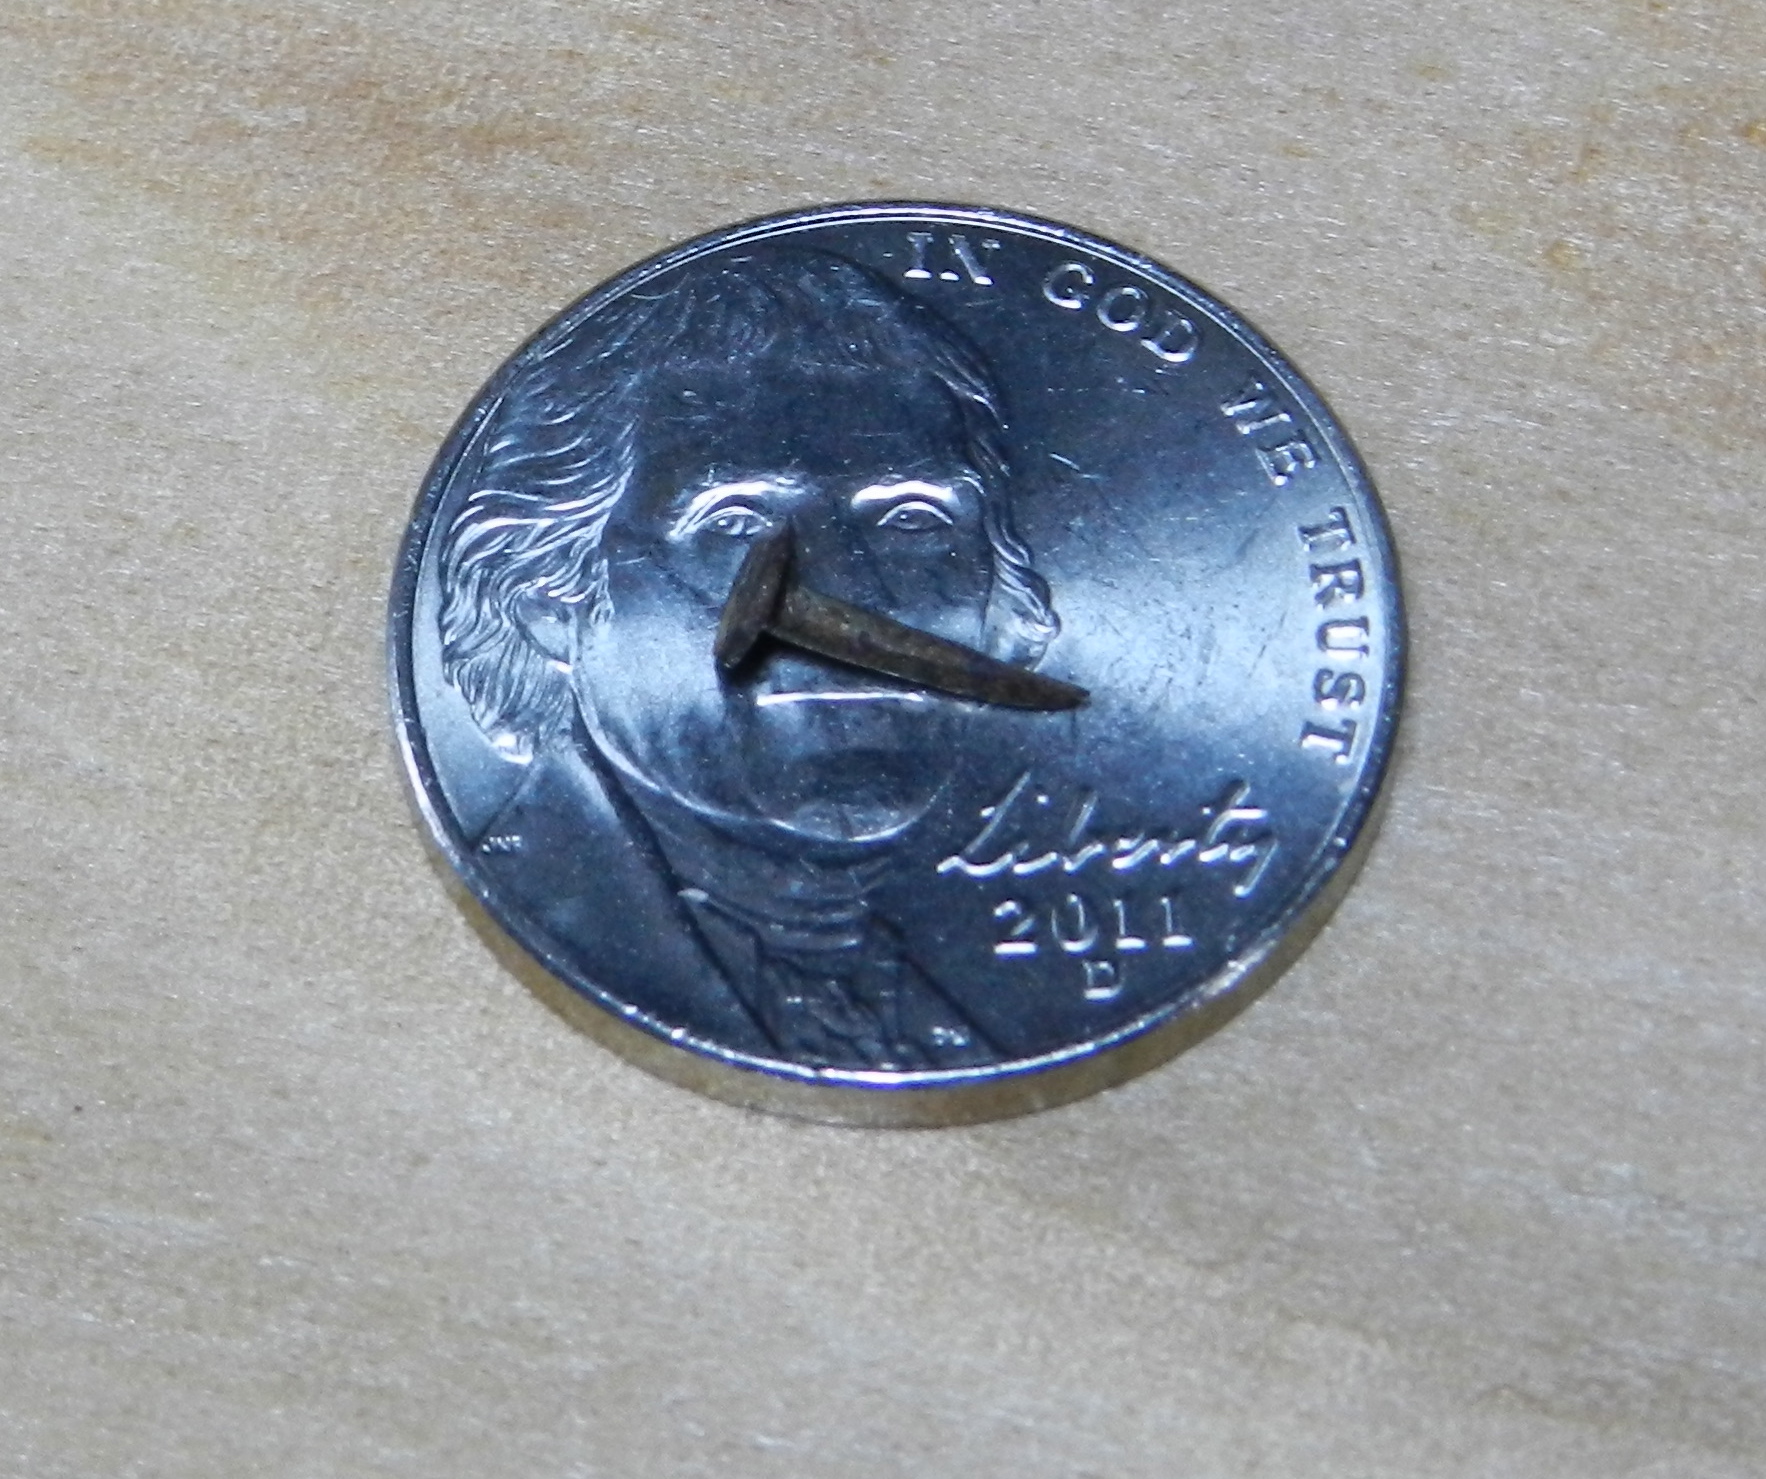
Tiny Tack
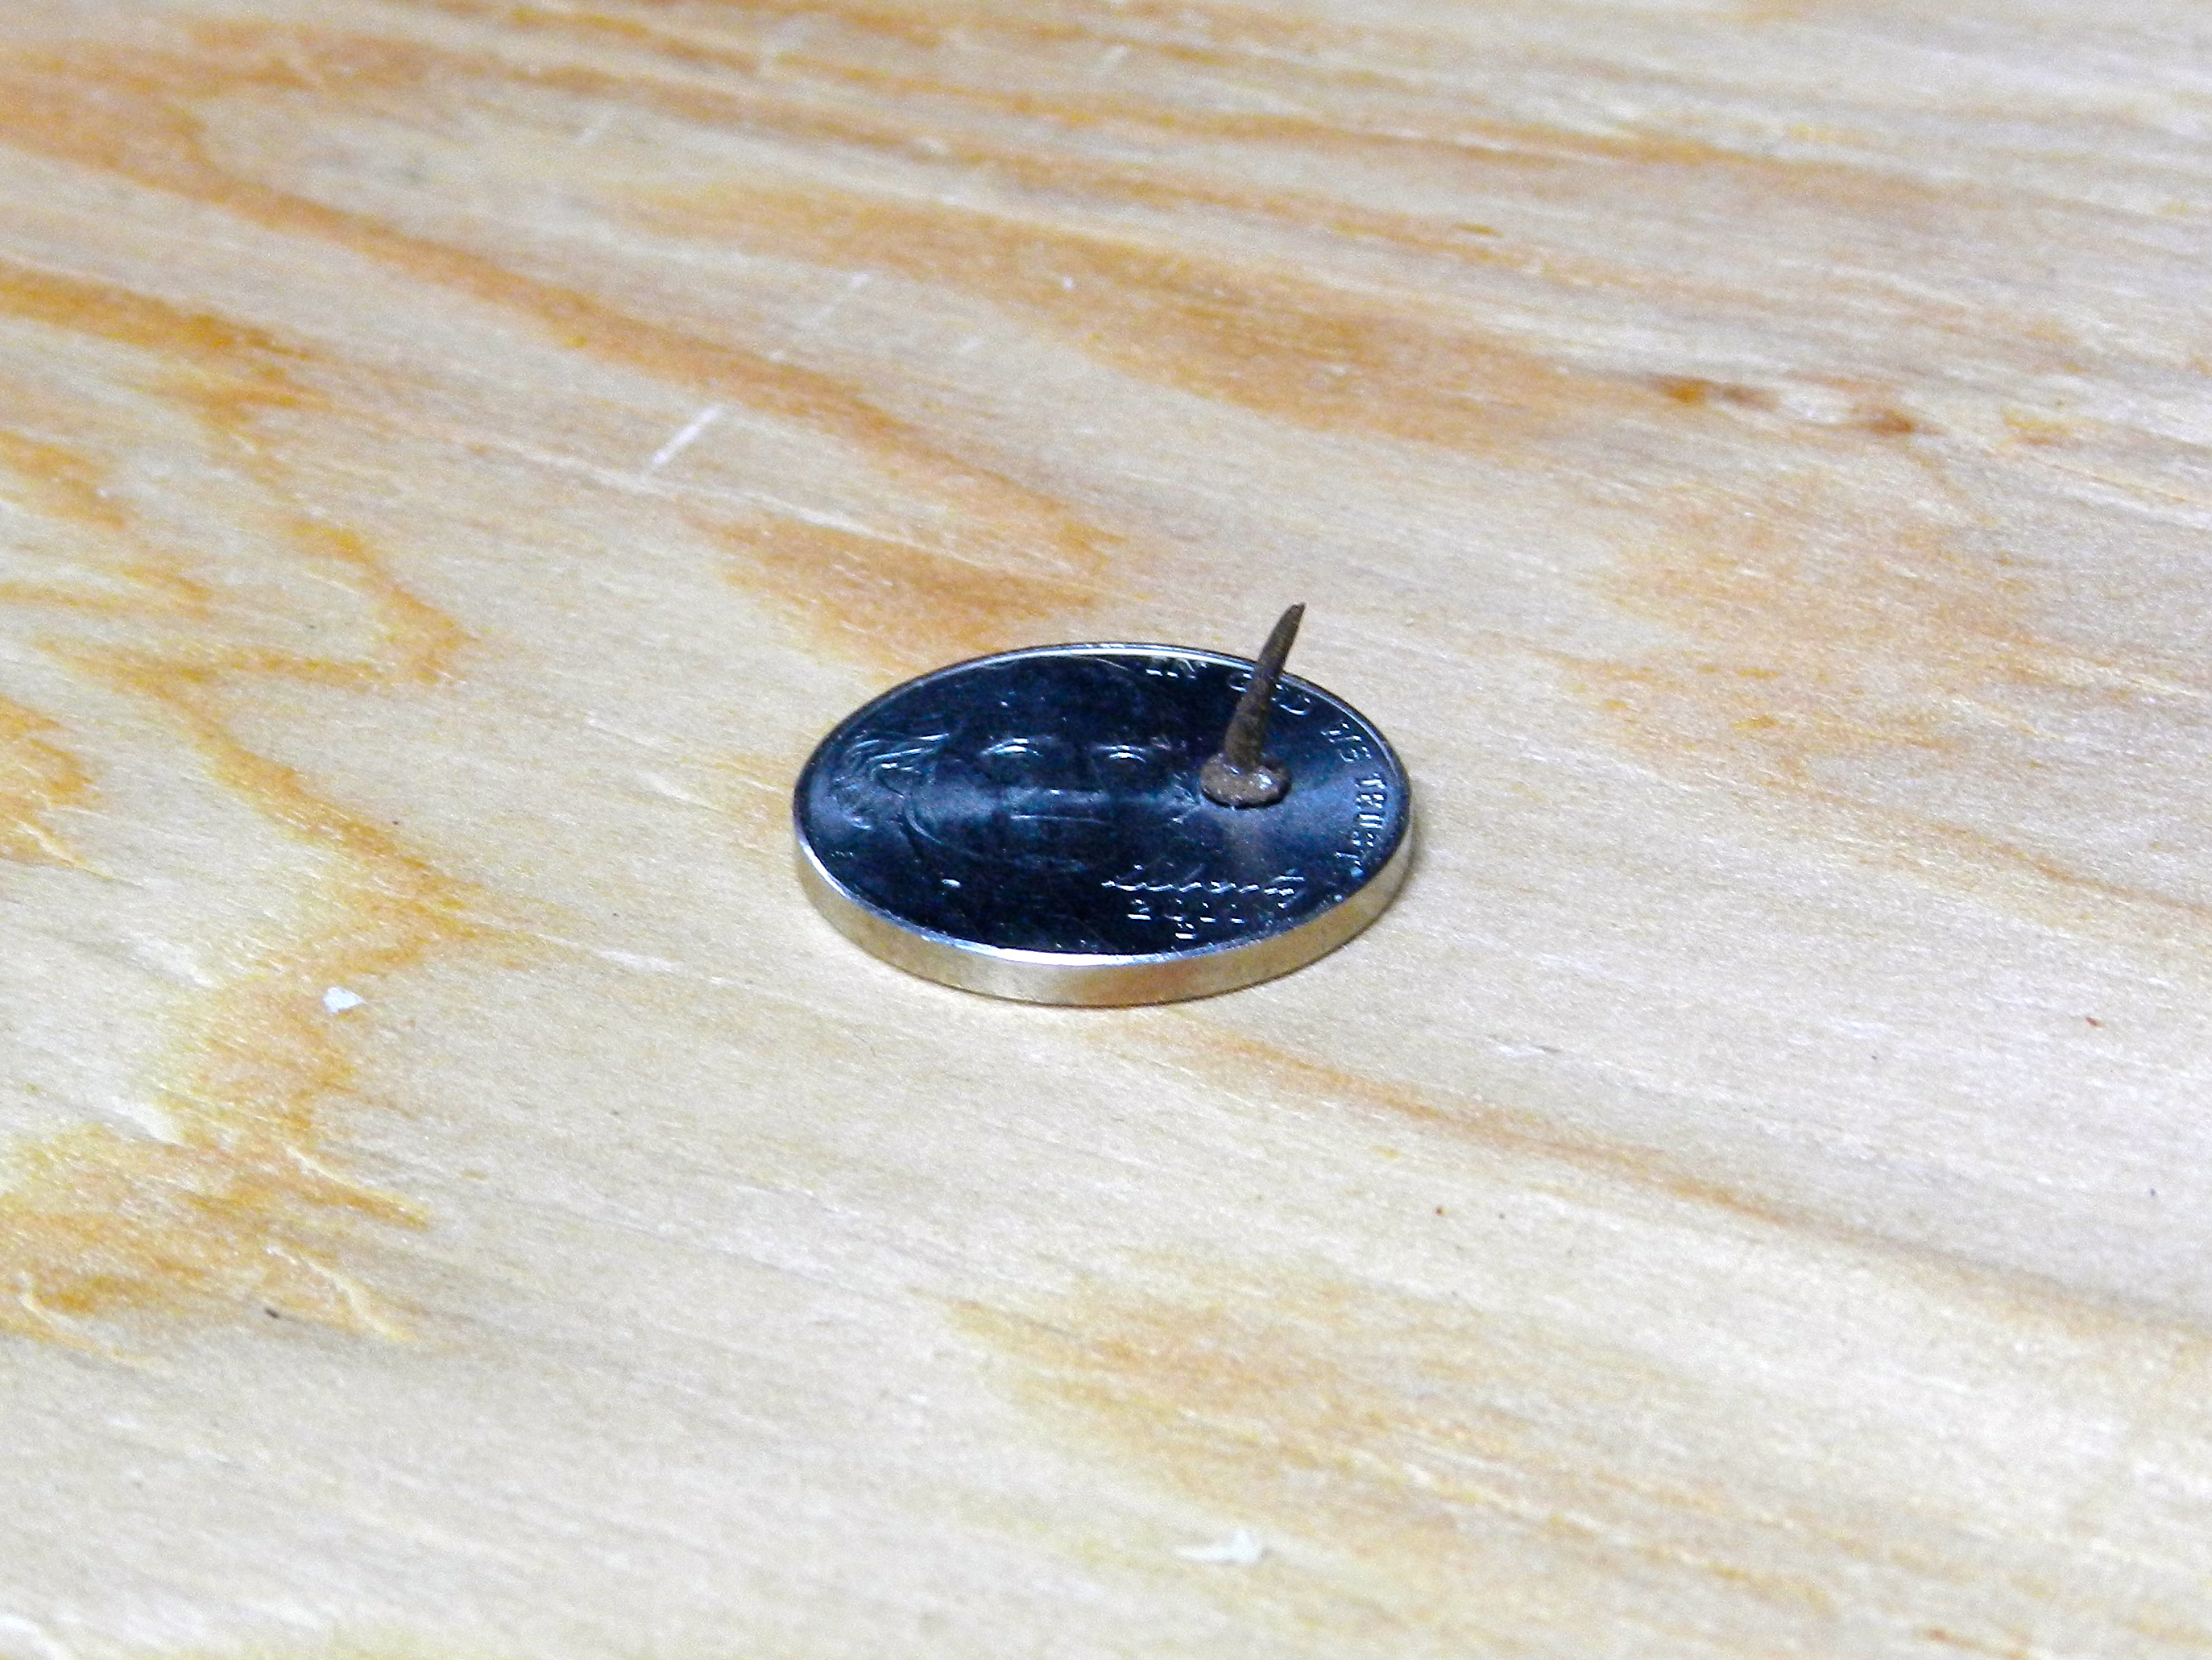
Above and below is a VERY tiny tack was embedded deep into an old barn board I was reclaiming. It must have been fairly deep into the board as the metal detector didn’t find it, but it sure found my planer knife.
Very Tiny Tack on End
But such is the price we sometimes have to pay in order to work with old growth timbers. On an 8-10″ wide board I was counting well over 150 years of growth rings and this pine often handles like hardwood.
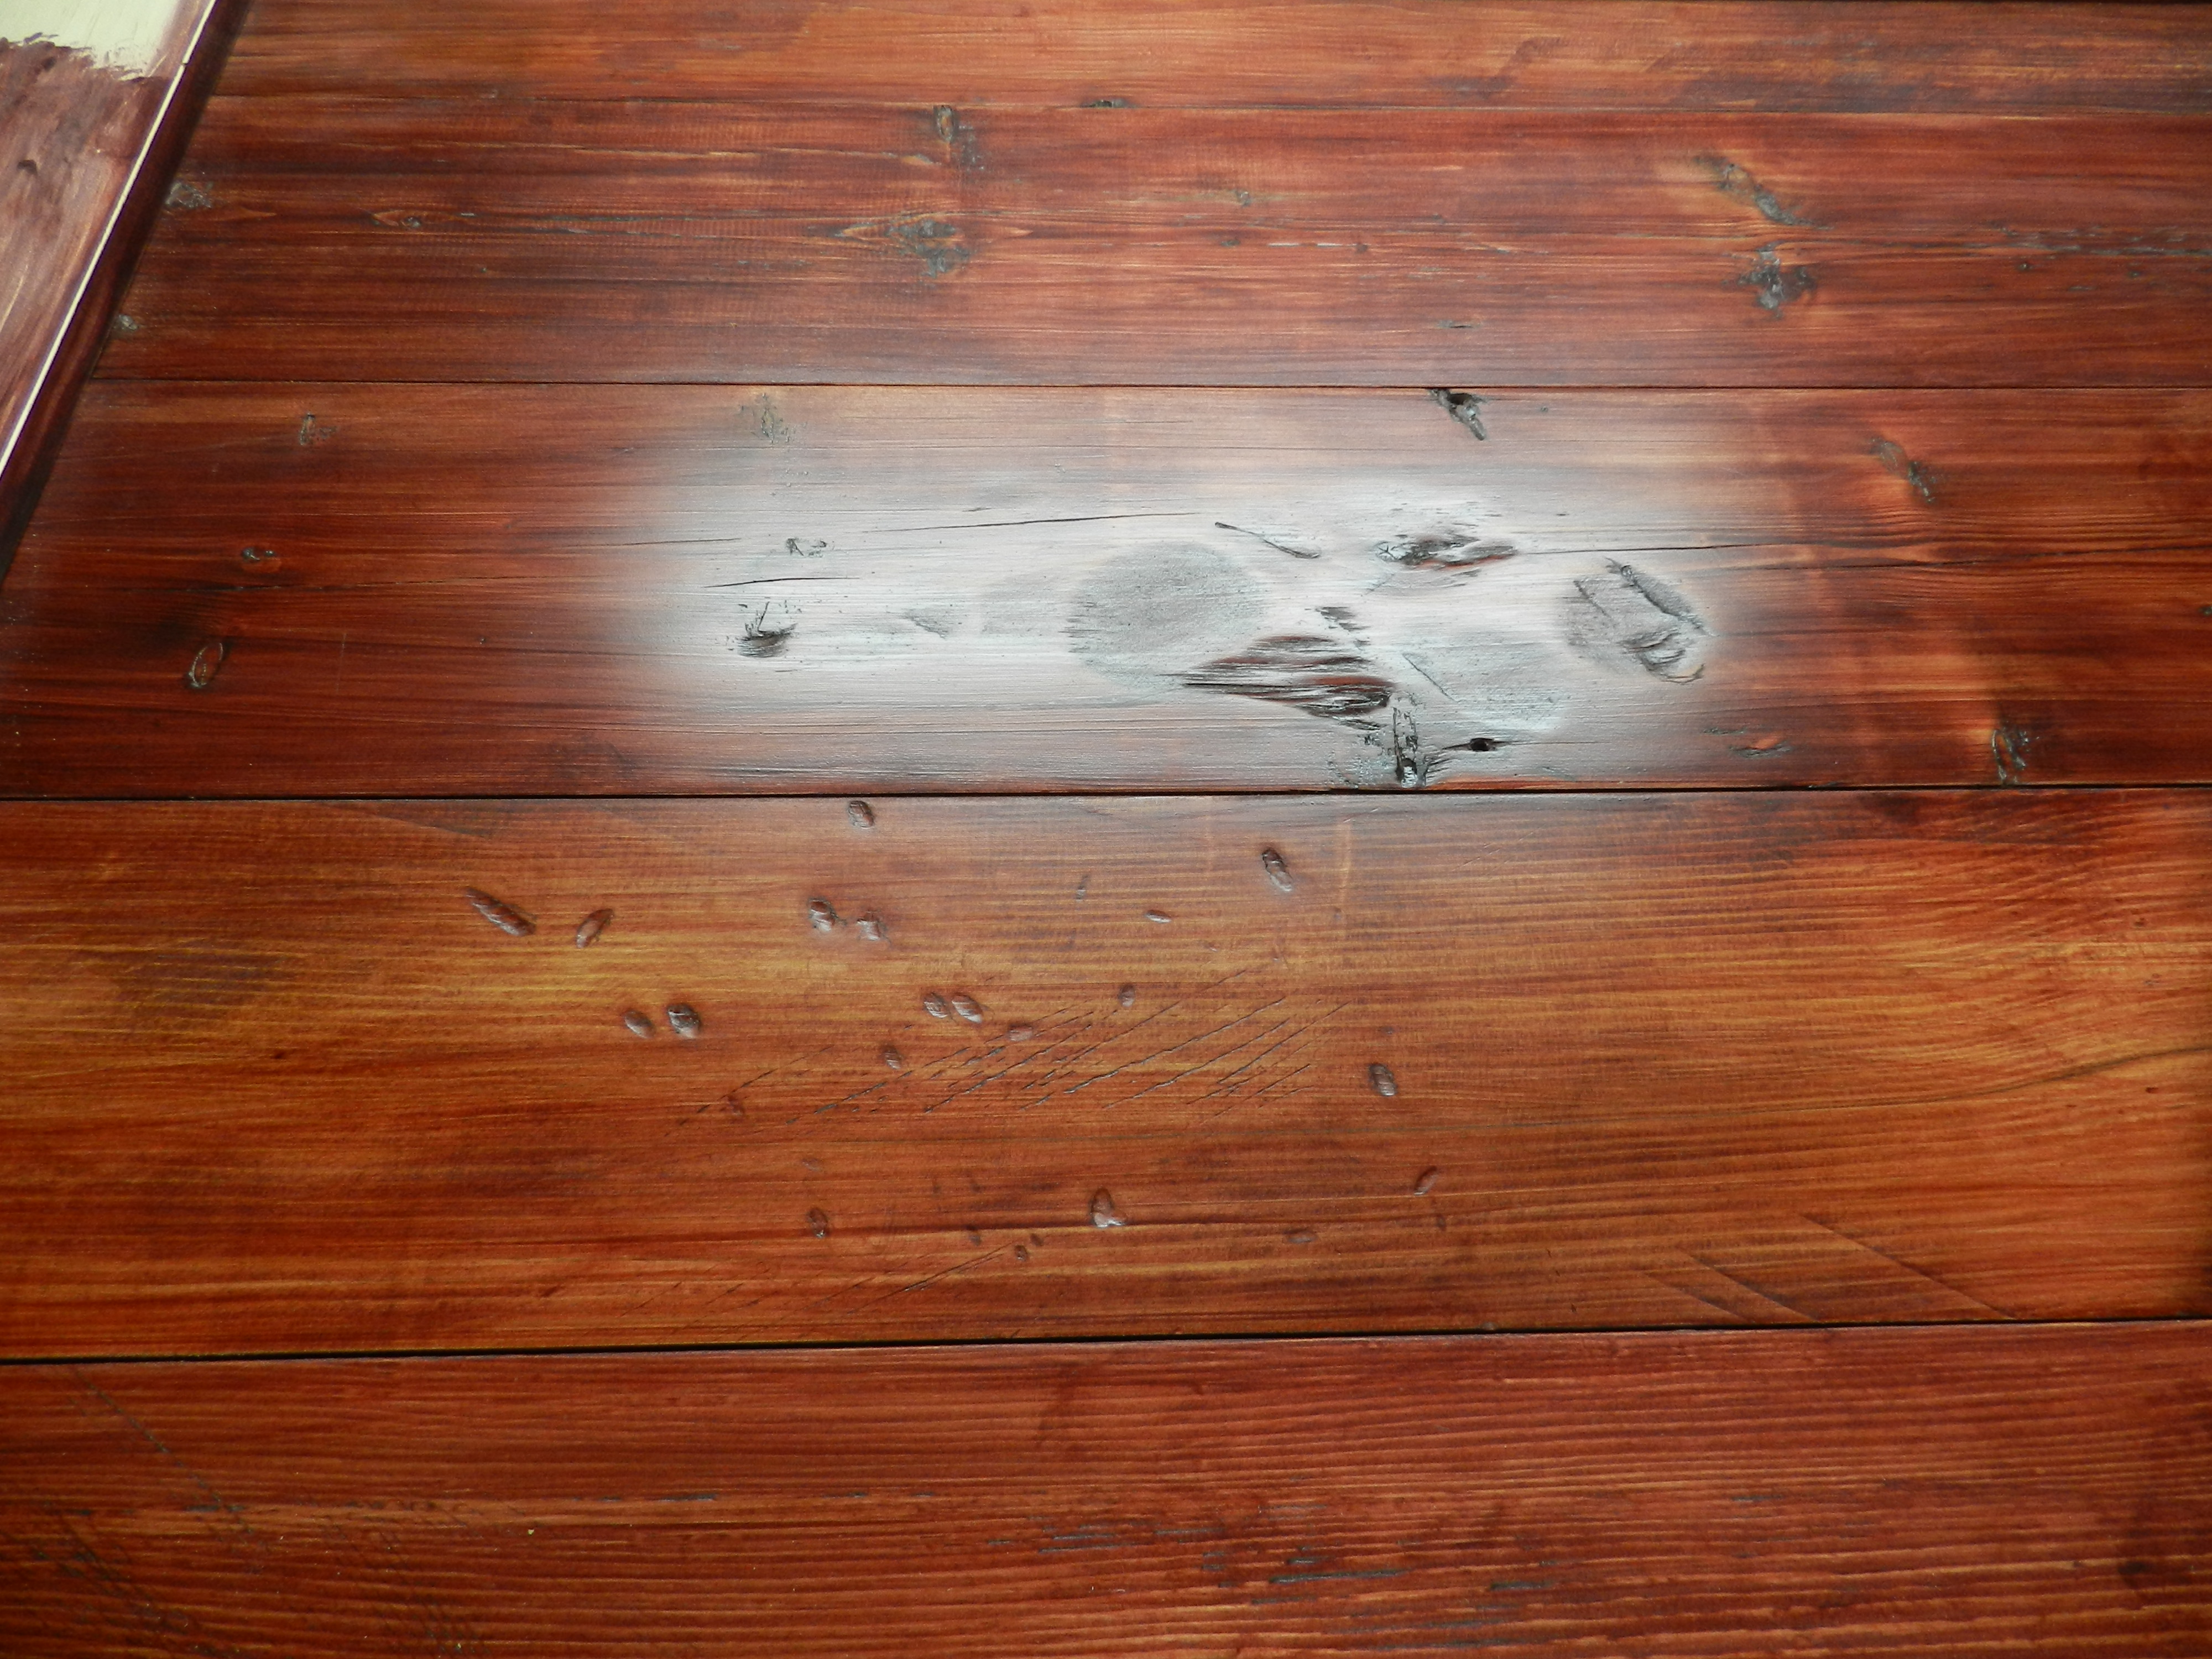
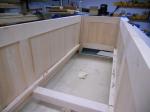
Laying out the boards to even out the texture and grain profile.
For projects like this rustic headboard the trick is to stop milling before you lose all the history and character of the old wood.
Texture detail
But in the end the extra effort is worth with for the results cannot be duplicated with modern woods and simulated aging techniques.
Finished Headboard
You can see a bit more of this project on an earlier post I made here.
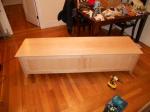
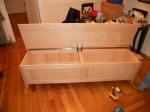
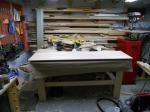
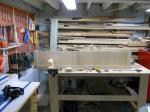
I fired up the way-back machine again to visit another project from the past — a solid hard maple kitchen bench. This was an interesting commission in that it had to fit a specific alcove in a new kitchen, stand up to life with a busy family and provide some additional storage. The other challenge was tying into the kitchen, keeping a shaker look and incorporating details from the room like beadboard.
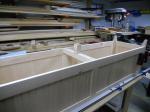
To protect the fingers of small children from the large lid I chose to use toybox/safety hinges which do not allow the lid to slam down. The unit also lives right in front of a large baseboard heating element so the bottom (inner shelf) of the bench’s storage area had sufficient spacing between the members and clearance off the ground to allow the heat to rise around the unit and leave sufficient room for the wood to move without checking or breaking.
The piece is constructed of hard maple and finished with water based poly and hand rubbed wax. The beadboard was solid maple as well and all made by hand and ship lapped — that was a LOT of work, but much better than pre-made or pressed panels.
In the summer of 2010 my father and my cousin Sue came to me with an interesting commission. My Aunt and Uncle’s 50th wedding anniversary was coming up and he wanted to something special to celebrate it. Uncle Bob and Aunty Betty had an interesting old revolving coffee table with book storage underneath it that all the kids in the family used over the years to play board games etc with their Grandpa (Uncle Bob to me). They all had fond memories of the table, but with advancing age it was hard to lean over the old table which was fairly low and a little on the small side. The challenge to me was to build the same table, but make it a little bigger and a little taller and keep it a surprise — so all I had to work from was the SINGLE picture below, a couple of dimensions and a rough guess on what it was made from. Working on a mid 20th century modern piece was a nice departure from my usual work which is more traditional pieces from the 18th and 19th century.
Original Table in an Old Photo
From the above information I decided to use solid cherry for the table, worked out the design in Autocad (first time and only time since I bothered to use Autocad instead of drafting by hand) It was neat to get used to that program, but I felt that it often slowed me down compared to my drafting board. My Dad also donated to the cause a nice and thick circular piece of glass that would protect the new table from the ravages of constant use by children.
Completed Reproduction
Above is the result of this effort. Each platter is larger than the original, the spindles are turned with shoulders and also wedged and glued into place. Under the top platter is a stretcher system that will allow for seasonal wood movement. The spindles form a series of book storage spaces and is a pretty neat design. I put a gentle radius on the edges of the discs which blended very well into the glass protective top. The legs/undercarriage is attached to the unit via a heavy duty lazy Susan mechanism that allows the whole table to rotate making it a great table for games and similar activities.
Upon delivery of the new table I was eager to get a look at the original. As it turns out the original was a made from pine and stained and from what I heard built from a kit in the late 1950s or early 1960s. The new table was a hit with everyone at the party and should last for many generations to come.
Below you can see the table being constructed and delivered:
A while back I completed a headboard and night stand for a friend of mine from NBSS — Erin who is a very talented jeweler. She made my dovetailed wedding band which I love. (You can check out some of Erin’s other work here http://erindeluca.com/ Tell her Bill sent you 🙂 )
I designed and built the project from reclaimed old growth eastern white pine which was previously a barn in CT. Reclaiming the wood and keeping the well earned patina of time took a lot longer than I originally anticipated, but I am very happy with the results.
Tips on reclaiming old wood:
Select wood with interesting character and tight/straight grain
Use a metal detector to search for nails or other metal which could damage your planer and jointer knives (and keep rechecking — cleared everything I could originally detect, but as I milled down a piece I found a deeper embedded piece of cut nail that took a big nick out of my planer knives) So from then on I make repeated passes with the metal detector even as I plane down the wood.
Be judicious with your planing — it would be very easy to just power through all the tool marks and character and lose a lot of the history of the wood
Use traditional joinery and woodworking techniques (I think reclaimed wood looks better with traditional designs)
Project highlights:
Old growth detail — some pieces had well over 150 years worth of tight growth rings and many well preserved hand tool marks, nail holes etc
Through mortise and tenon joinery that is draw bored and pinned
The piece had to make it through some very tight places and I built it in such a way that the legs could bolt off to make it through narrow places (See pics for more details of this)
I also concealed leveling feet to make it easier to stabilize on an uneven floor etc
Matching night stand has similar character and design to match the headboard. Still has great old saw marks in it
Finish included stain, dye for tinting, polyurethane and hand rubbed wax finish
This slideshow requires JavaScript.
A Joiner's Guide To Traditional Woodworking and Preservation