If you’ve watched Roy Underhill on the Woodwright’s Shop with any regularity then no doubt you’ve seen him using a hewing bench. It’s a great little bench made from half a log on 4 modest legs. Roy’s used it for hewing, trimming, holding, sitting and many other common shop uses. It’s a project you can complete in an afternoon and will serve you well for many years in the shop.
Why would anyone really want this rough little bench?
If you do any sort of green woodworking it’s nice to have a place you can quickly hew a blank in the shop with a hatchet or similar small ax. When the ax hits the long grain of the bench it will not dig in the way it would if you were using the end grain of a stump or similar log section. (It also protects the reference surfaces of your real workbench) For tapering the end of treenails, splitting wood or roughing a green turning blank it has been a priceless addition to the workshop. It also makes a nice place to sit when people visit the shop. 😉
How do I make one of these benches?
Like any good Roy anecdote it starts with “First you find a tree….”
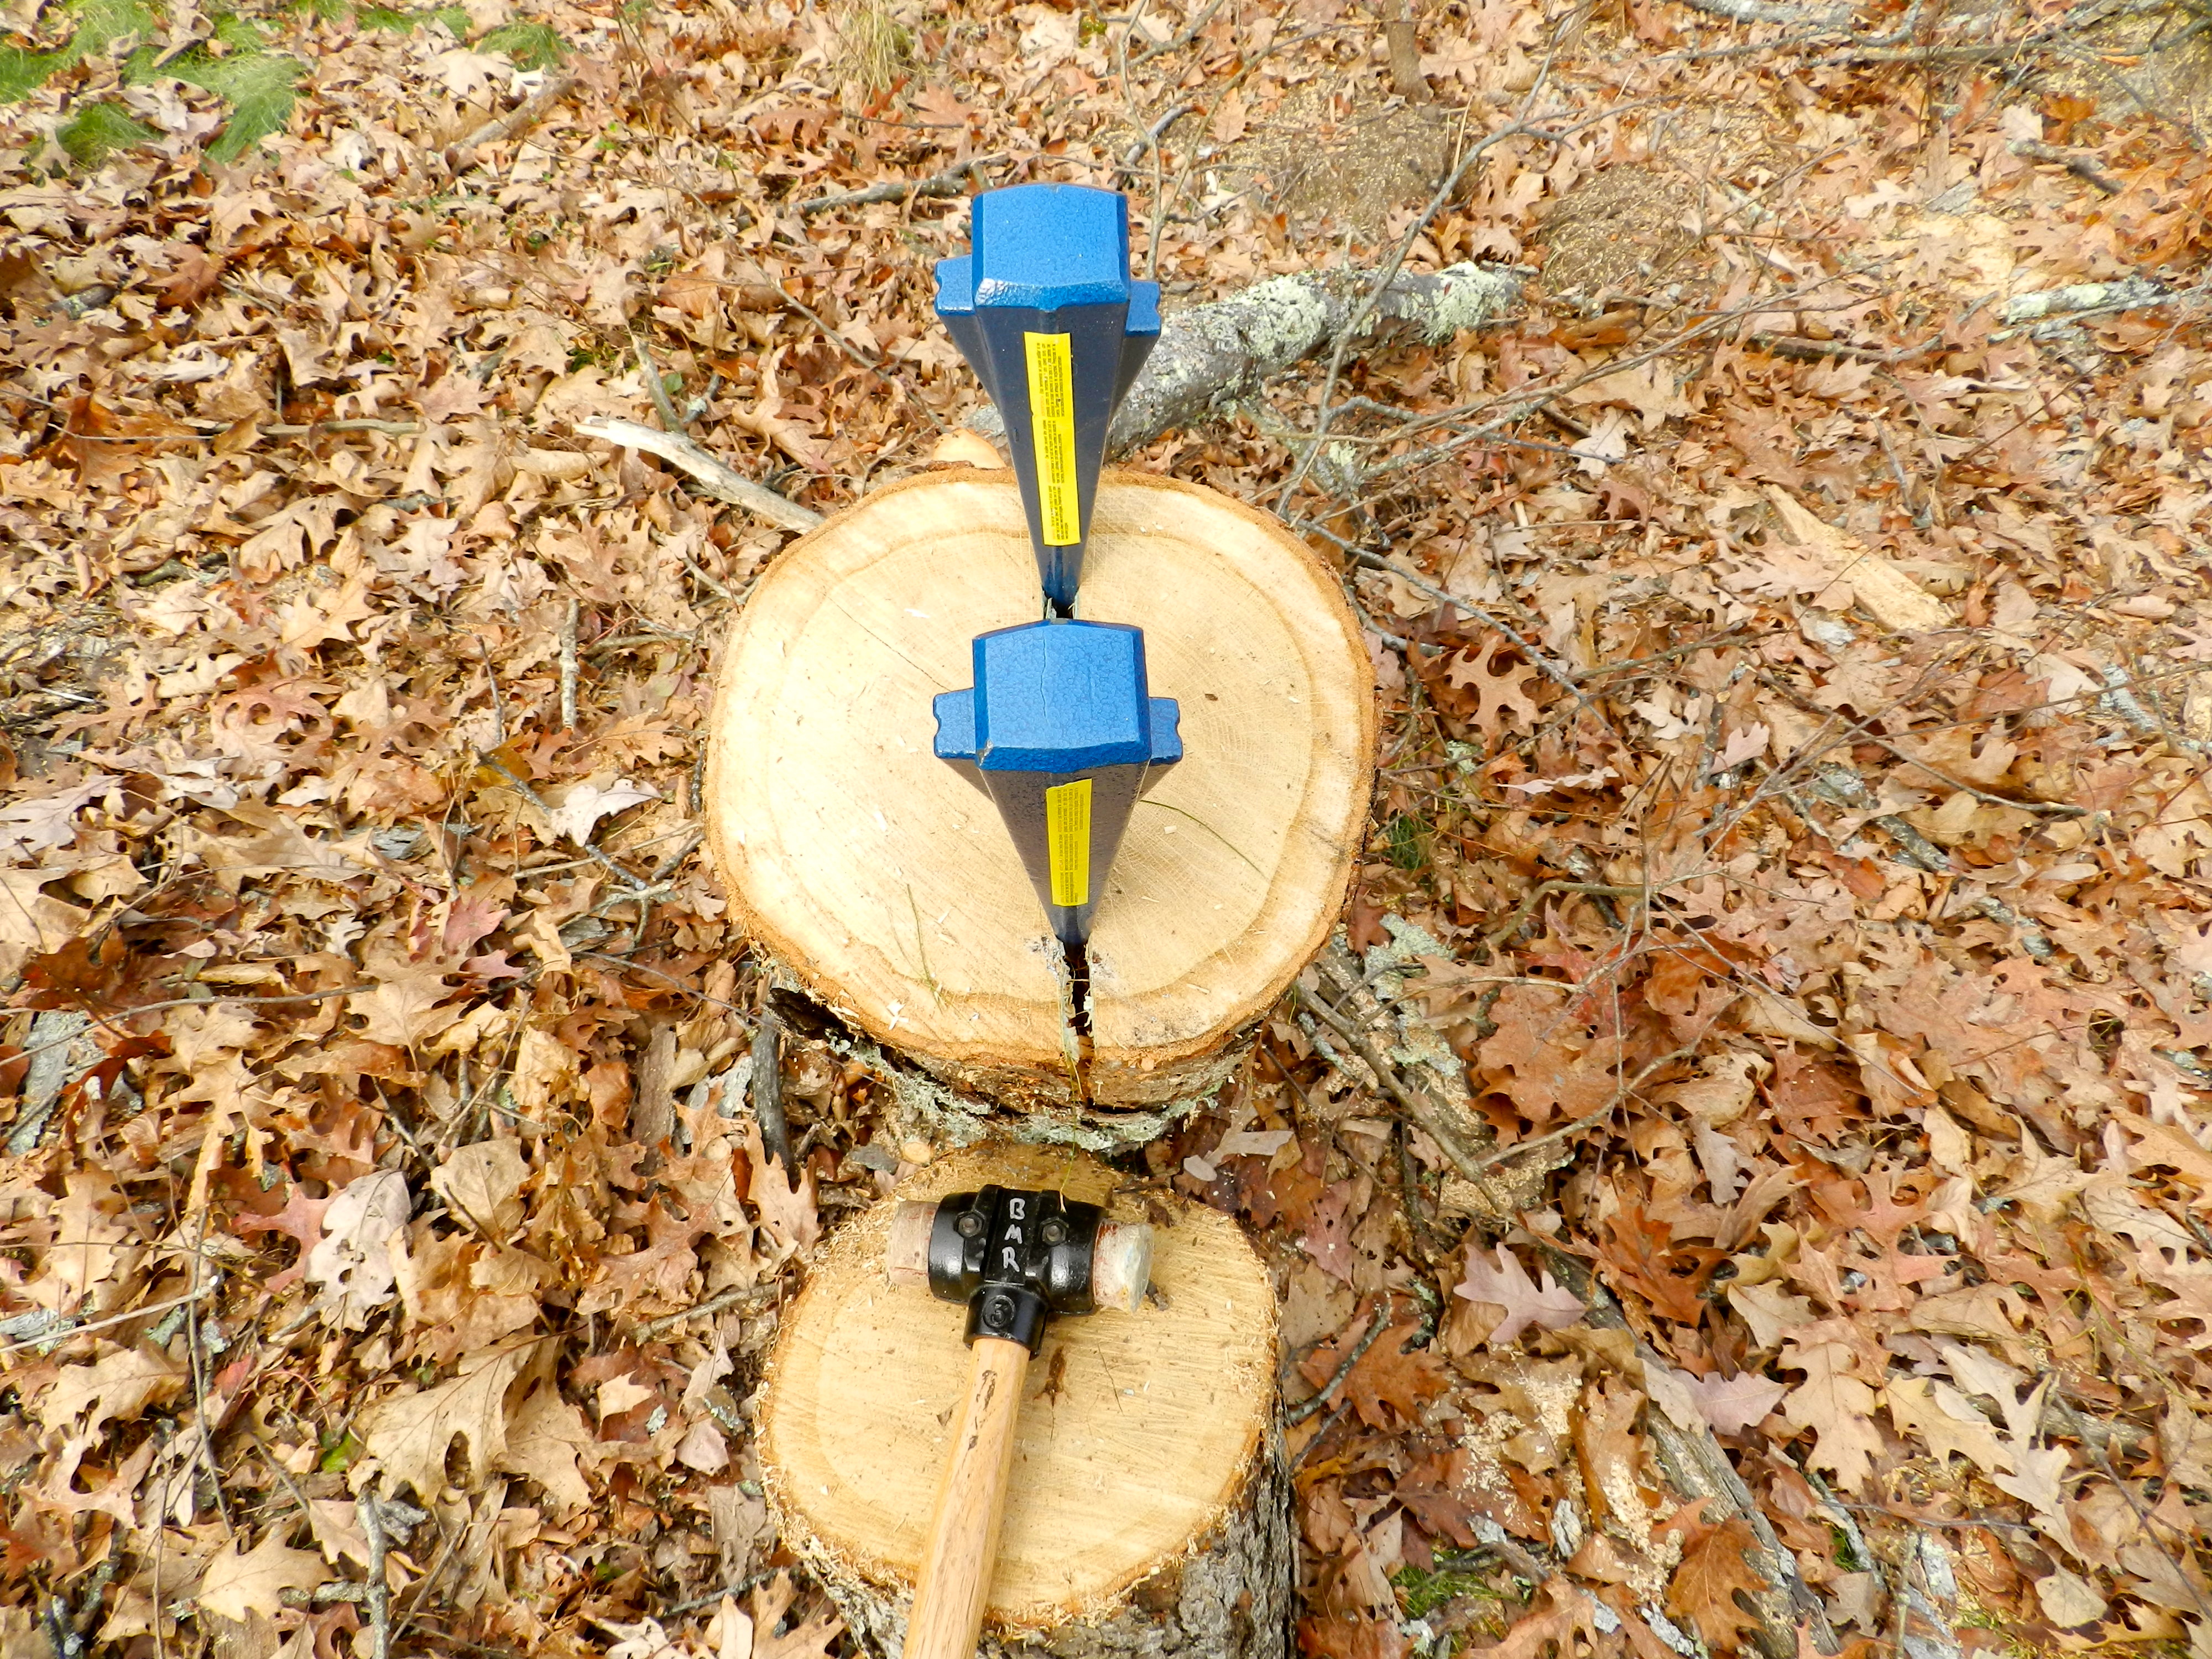
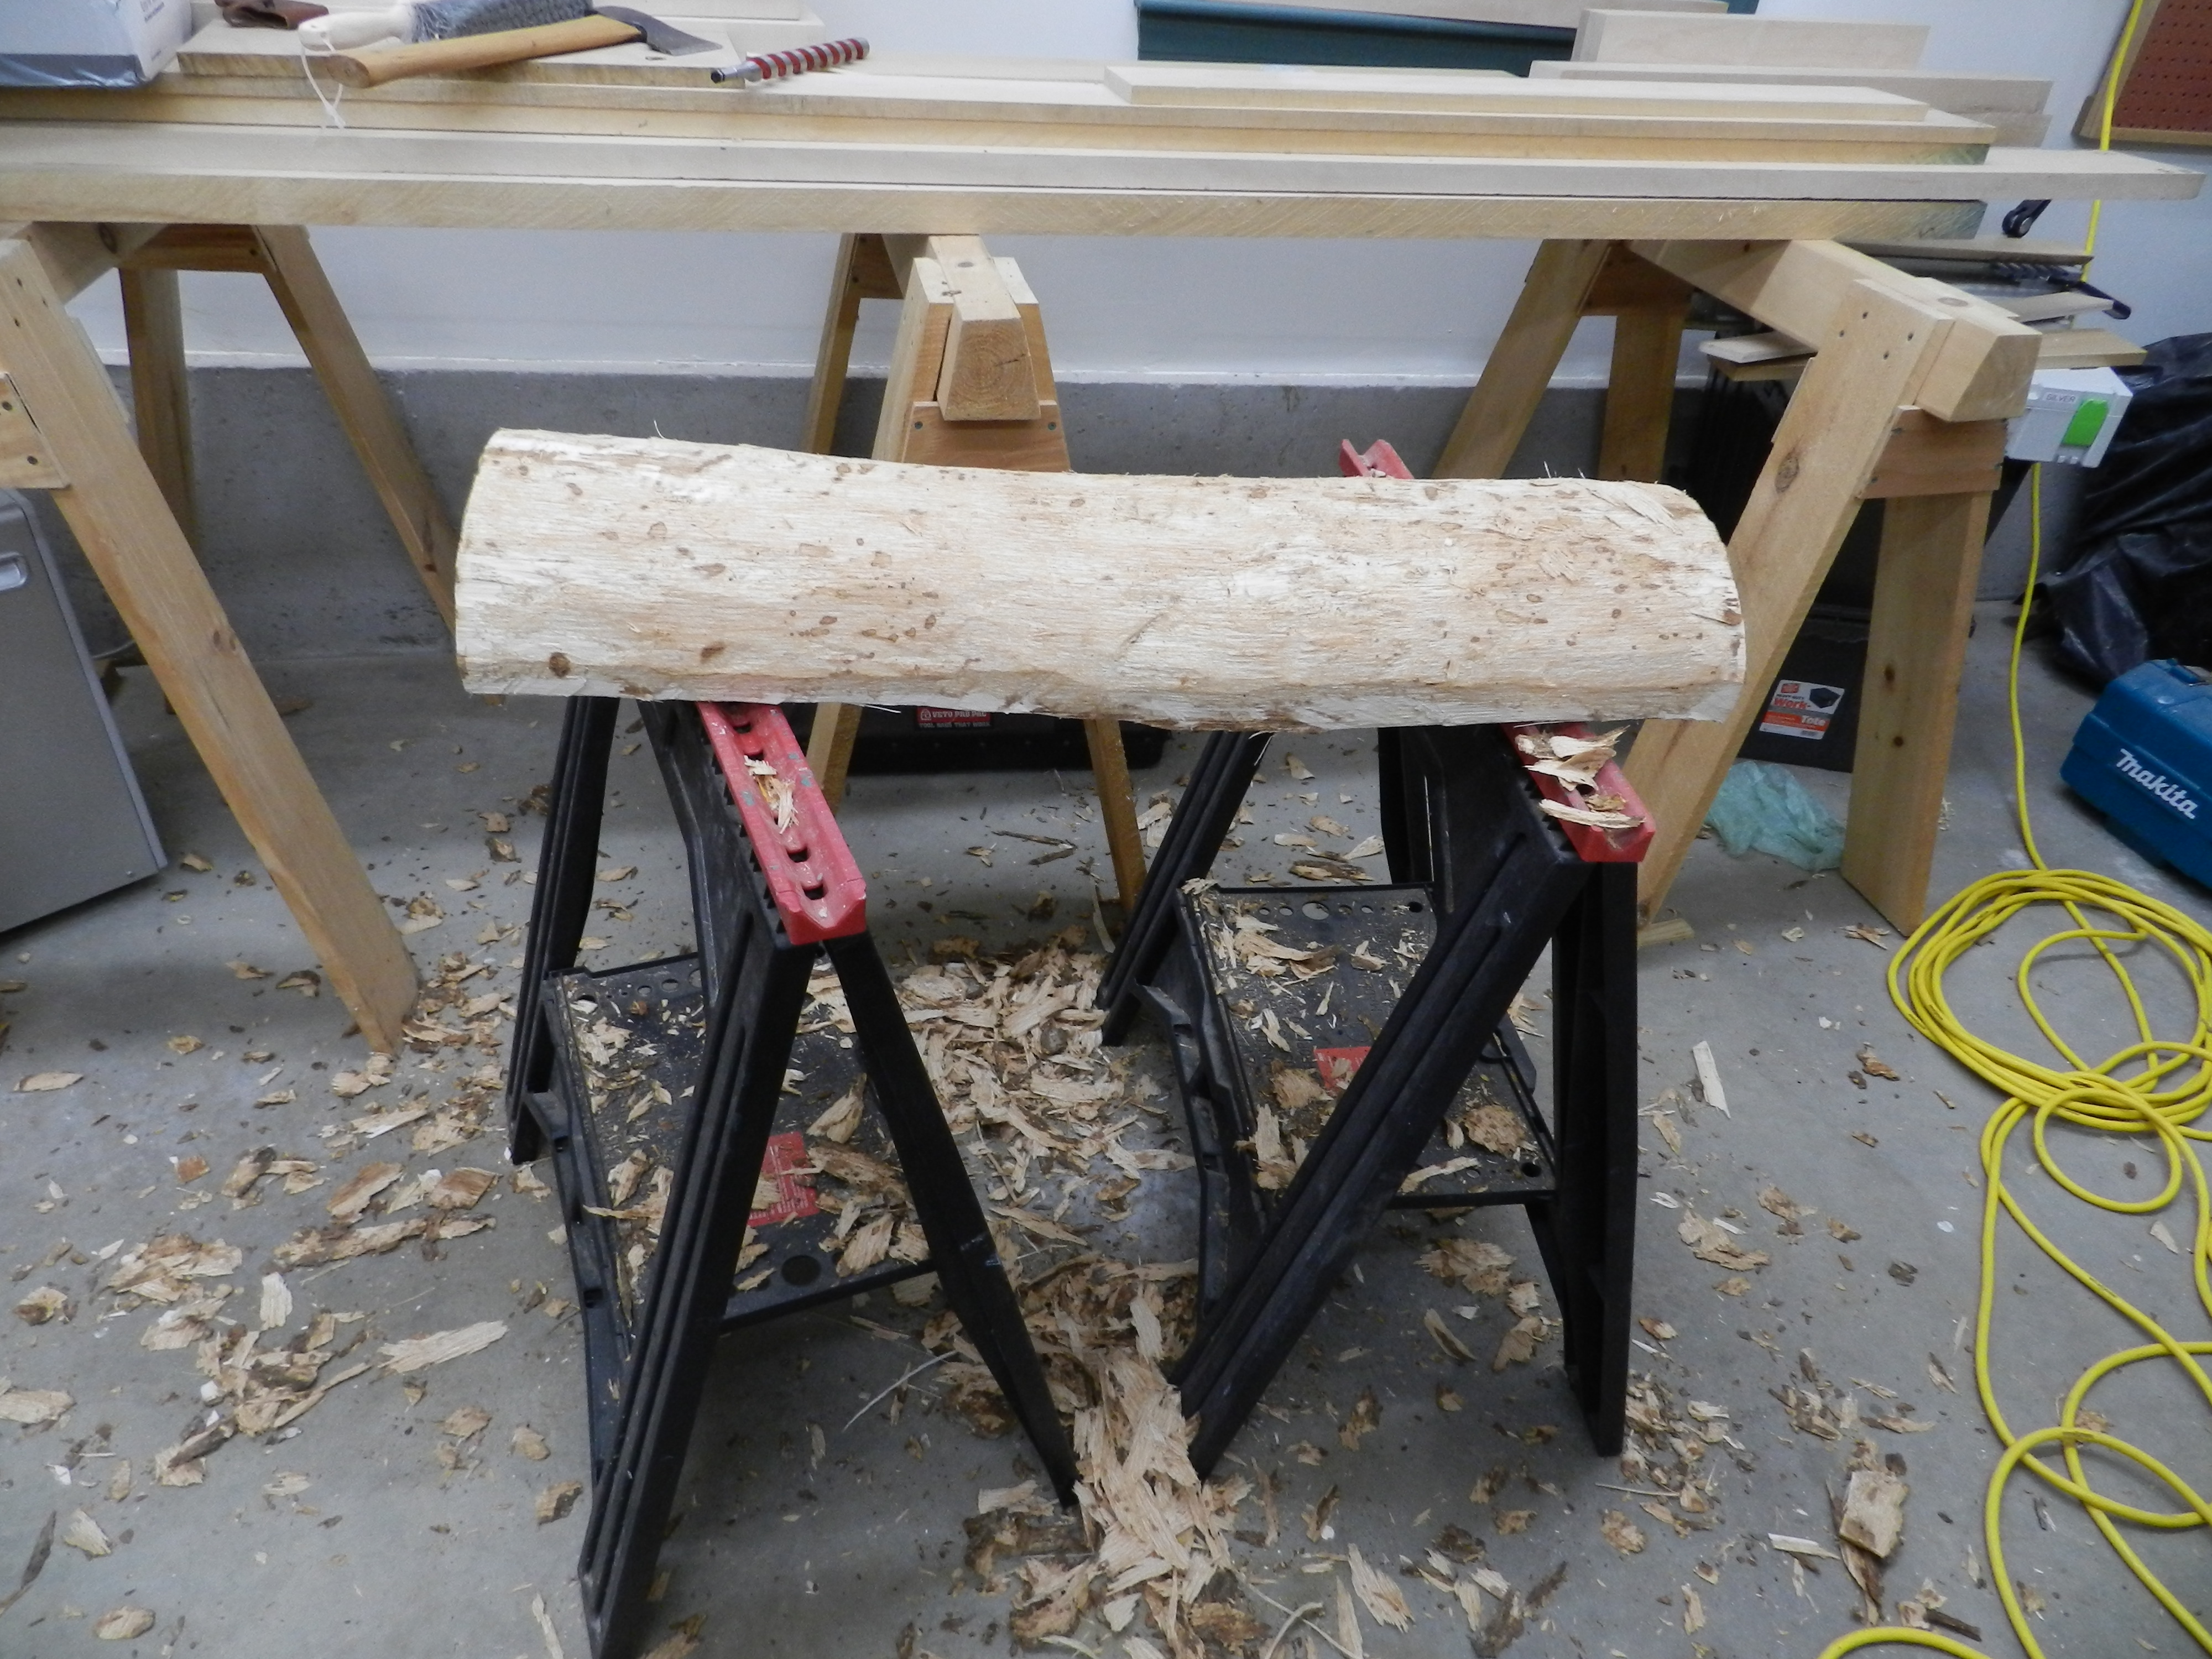
In this case I took a 12-15″ wide and 30″ long section of white oak from a large tree I recently felled in my yard. This tree was over 130 years old so the growth rings are nice and tight. Using metal wedges and a large leather faced mallet I use for my timber framing I split the log in half.
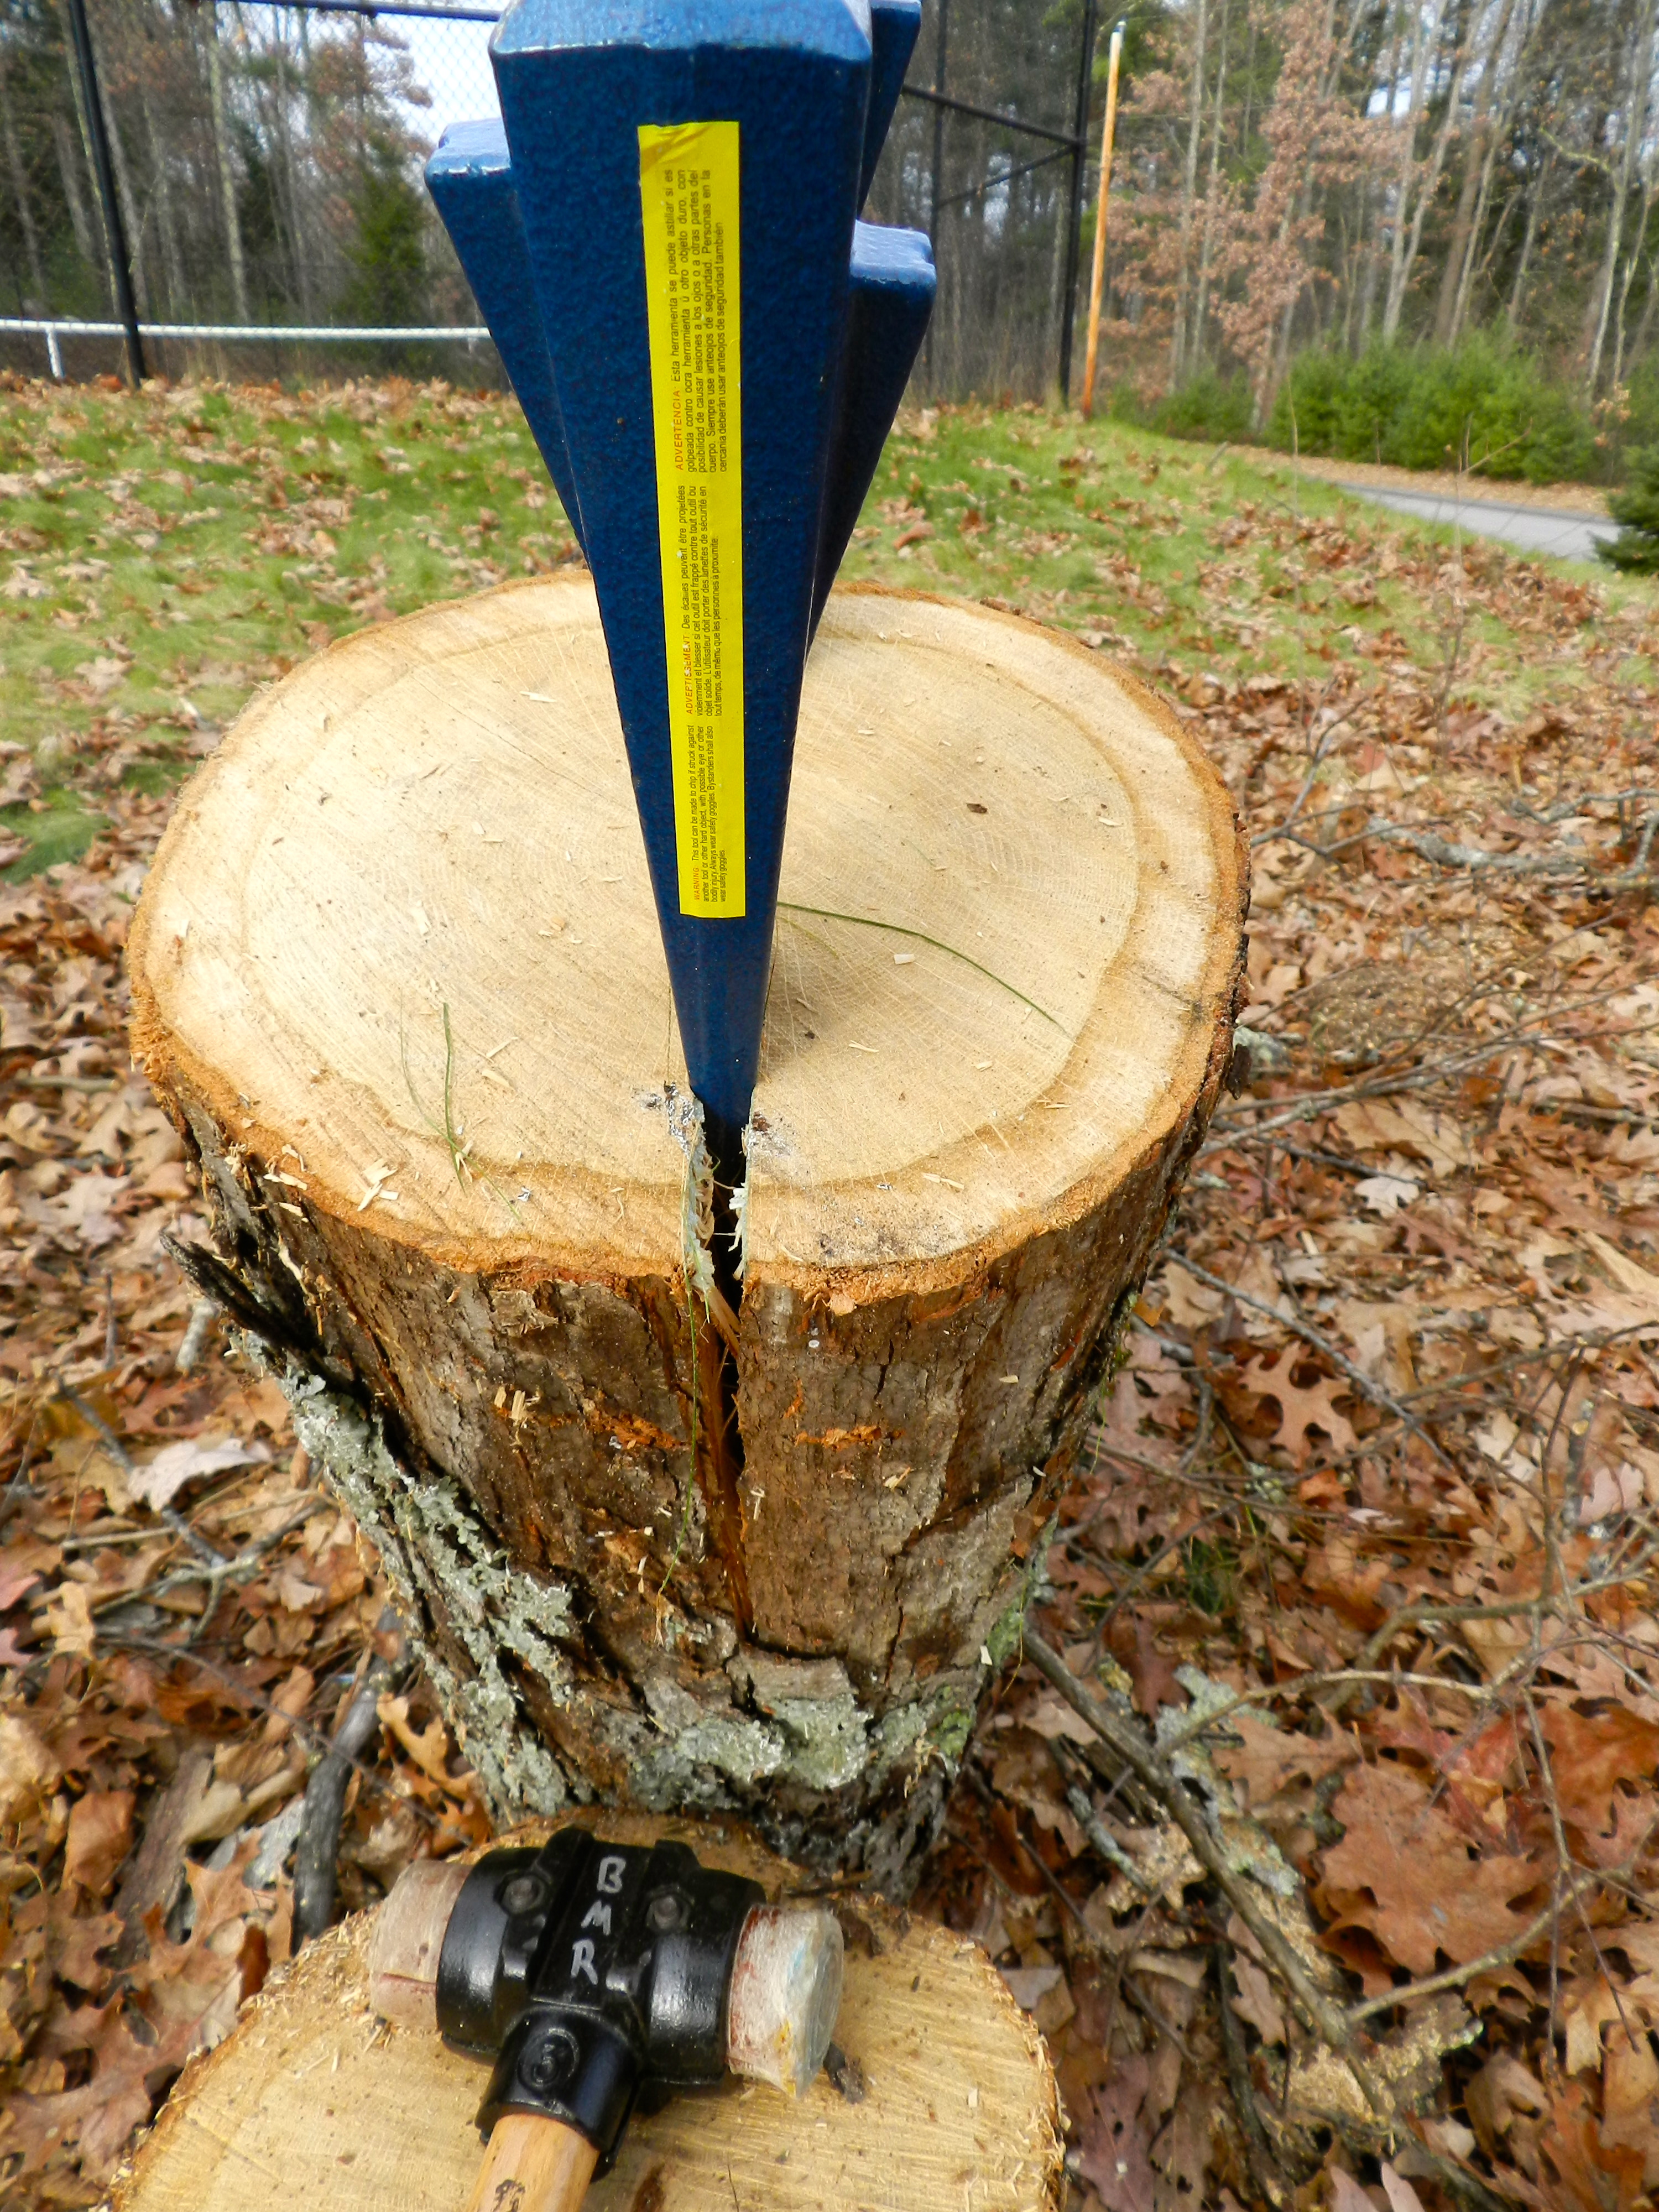
If the wedges alone cannot do the whole job of splitting for you, a froe can help it along.
After letting the slabs sit for a few days, it was time to de-bark the logs. If you don’t have a dedicated de-barking spud you can use any tough metal roughly chisel shaped tool or ax. In this case I used a 16lb post hold digger as shown below.
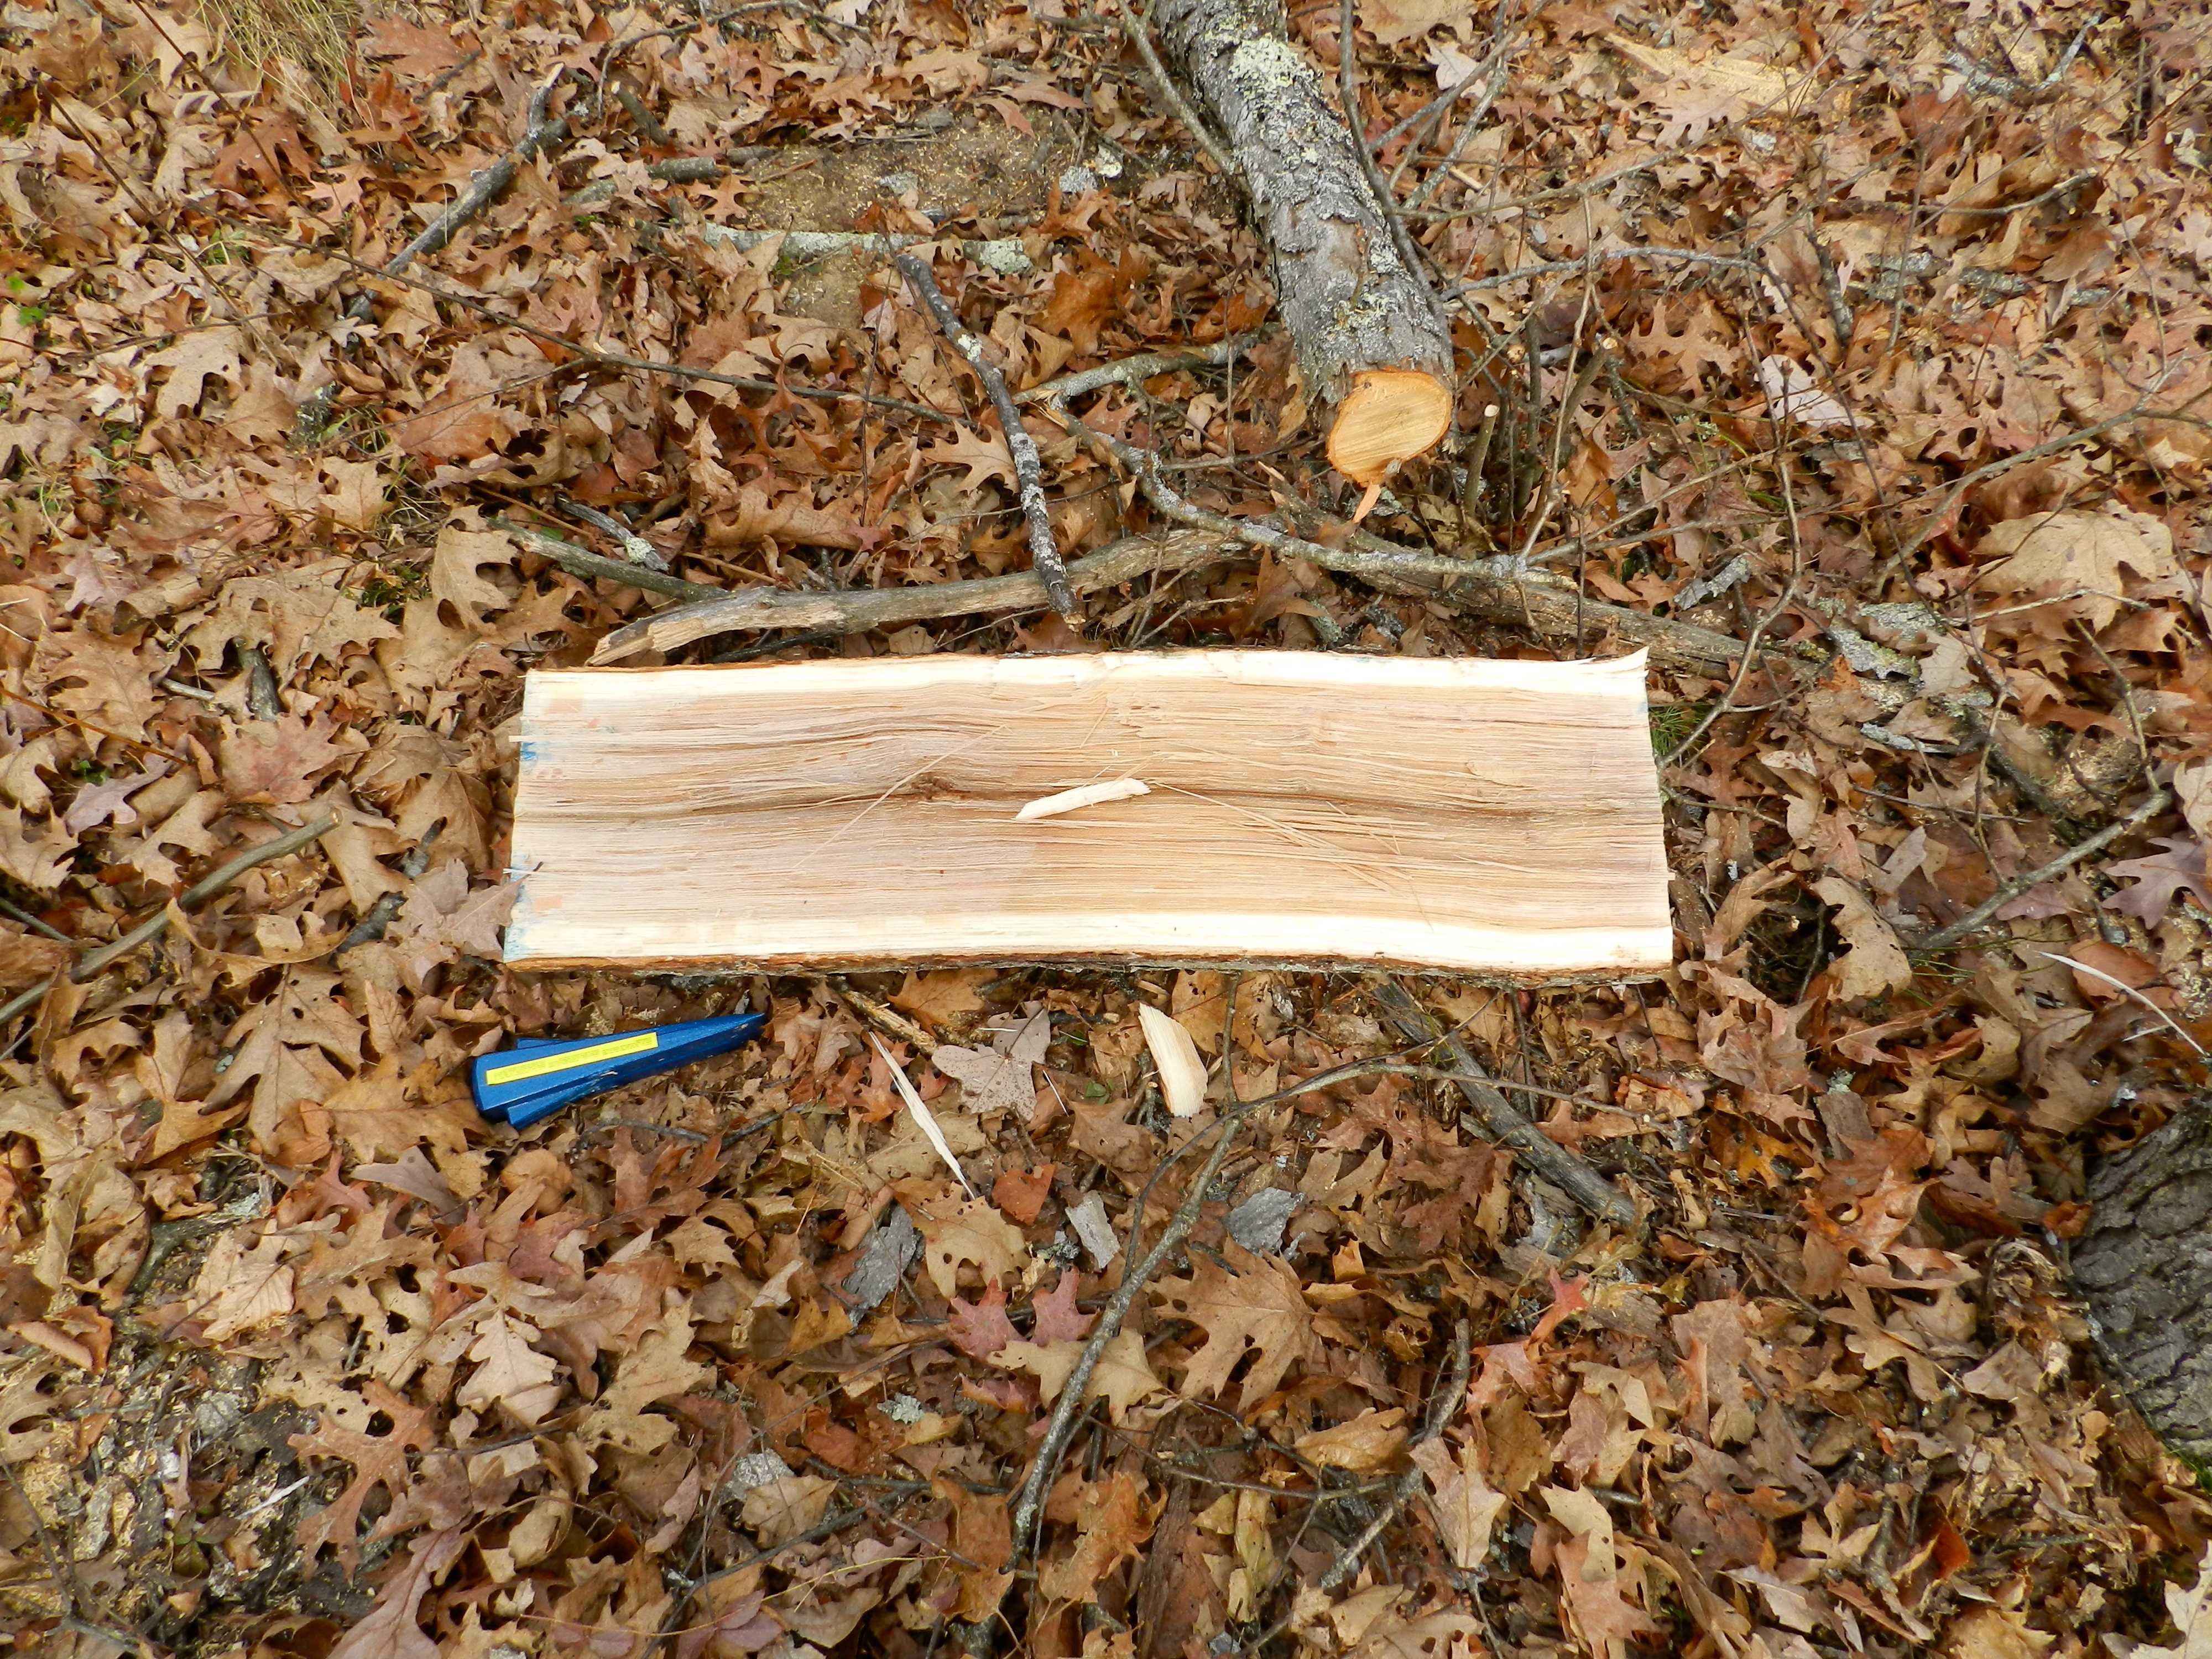
Back again in the shop I squared up the edges of the log with a hatchet. Being a green piece of wood this razor sharp ax made quick work of it.
I flipped the log over and removed any remaining bark.
Now time for the legs…
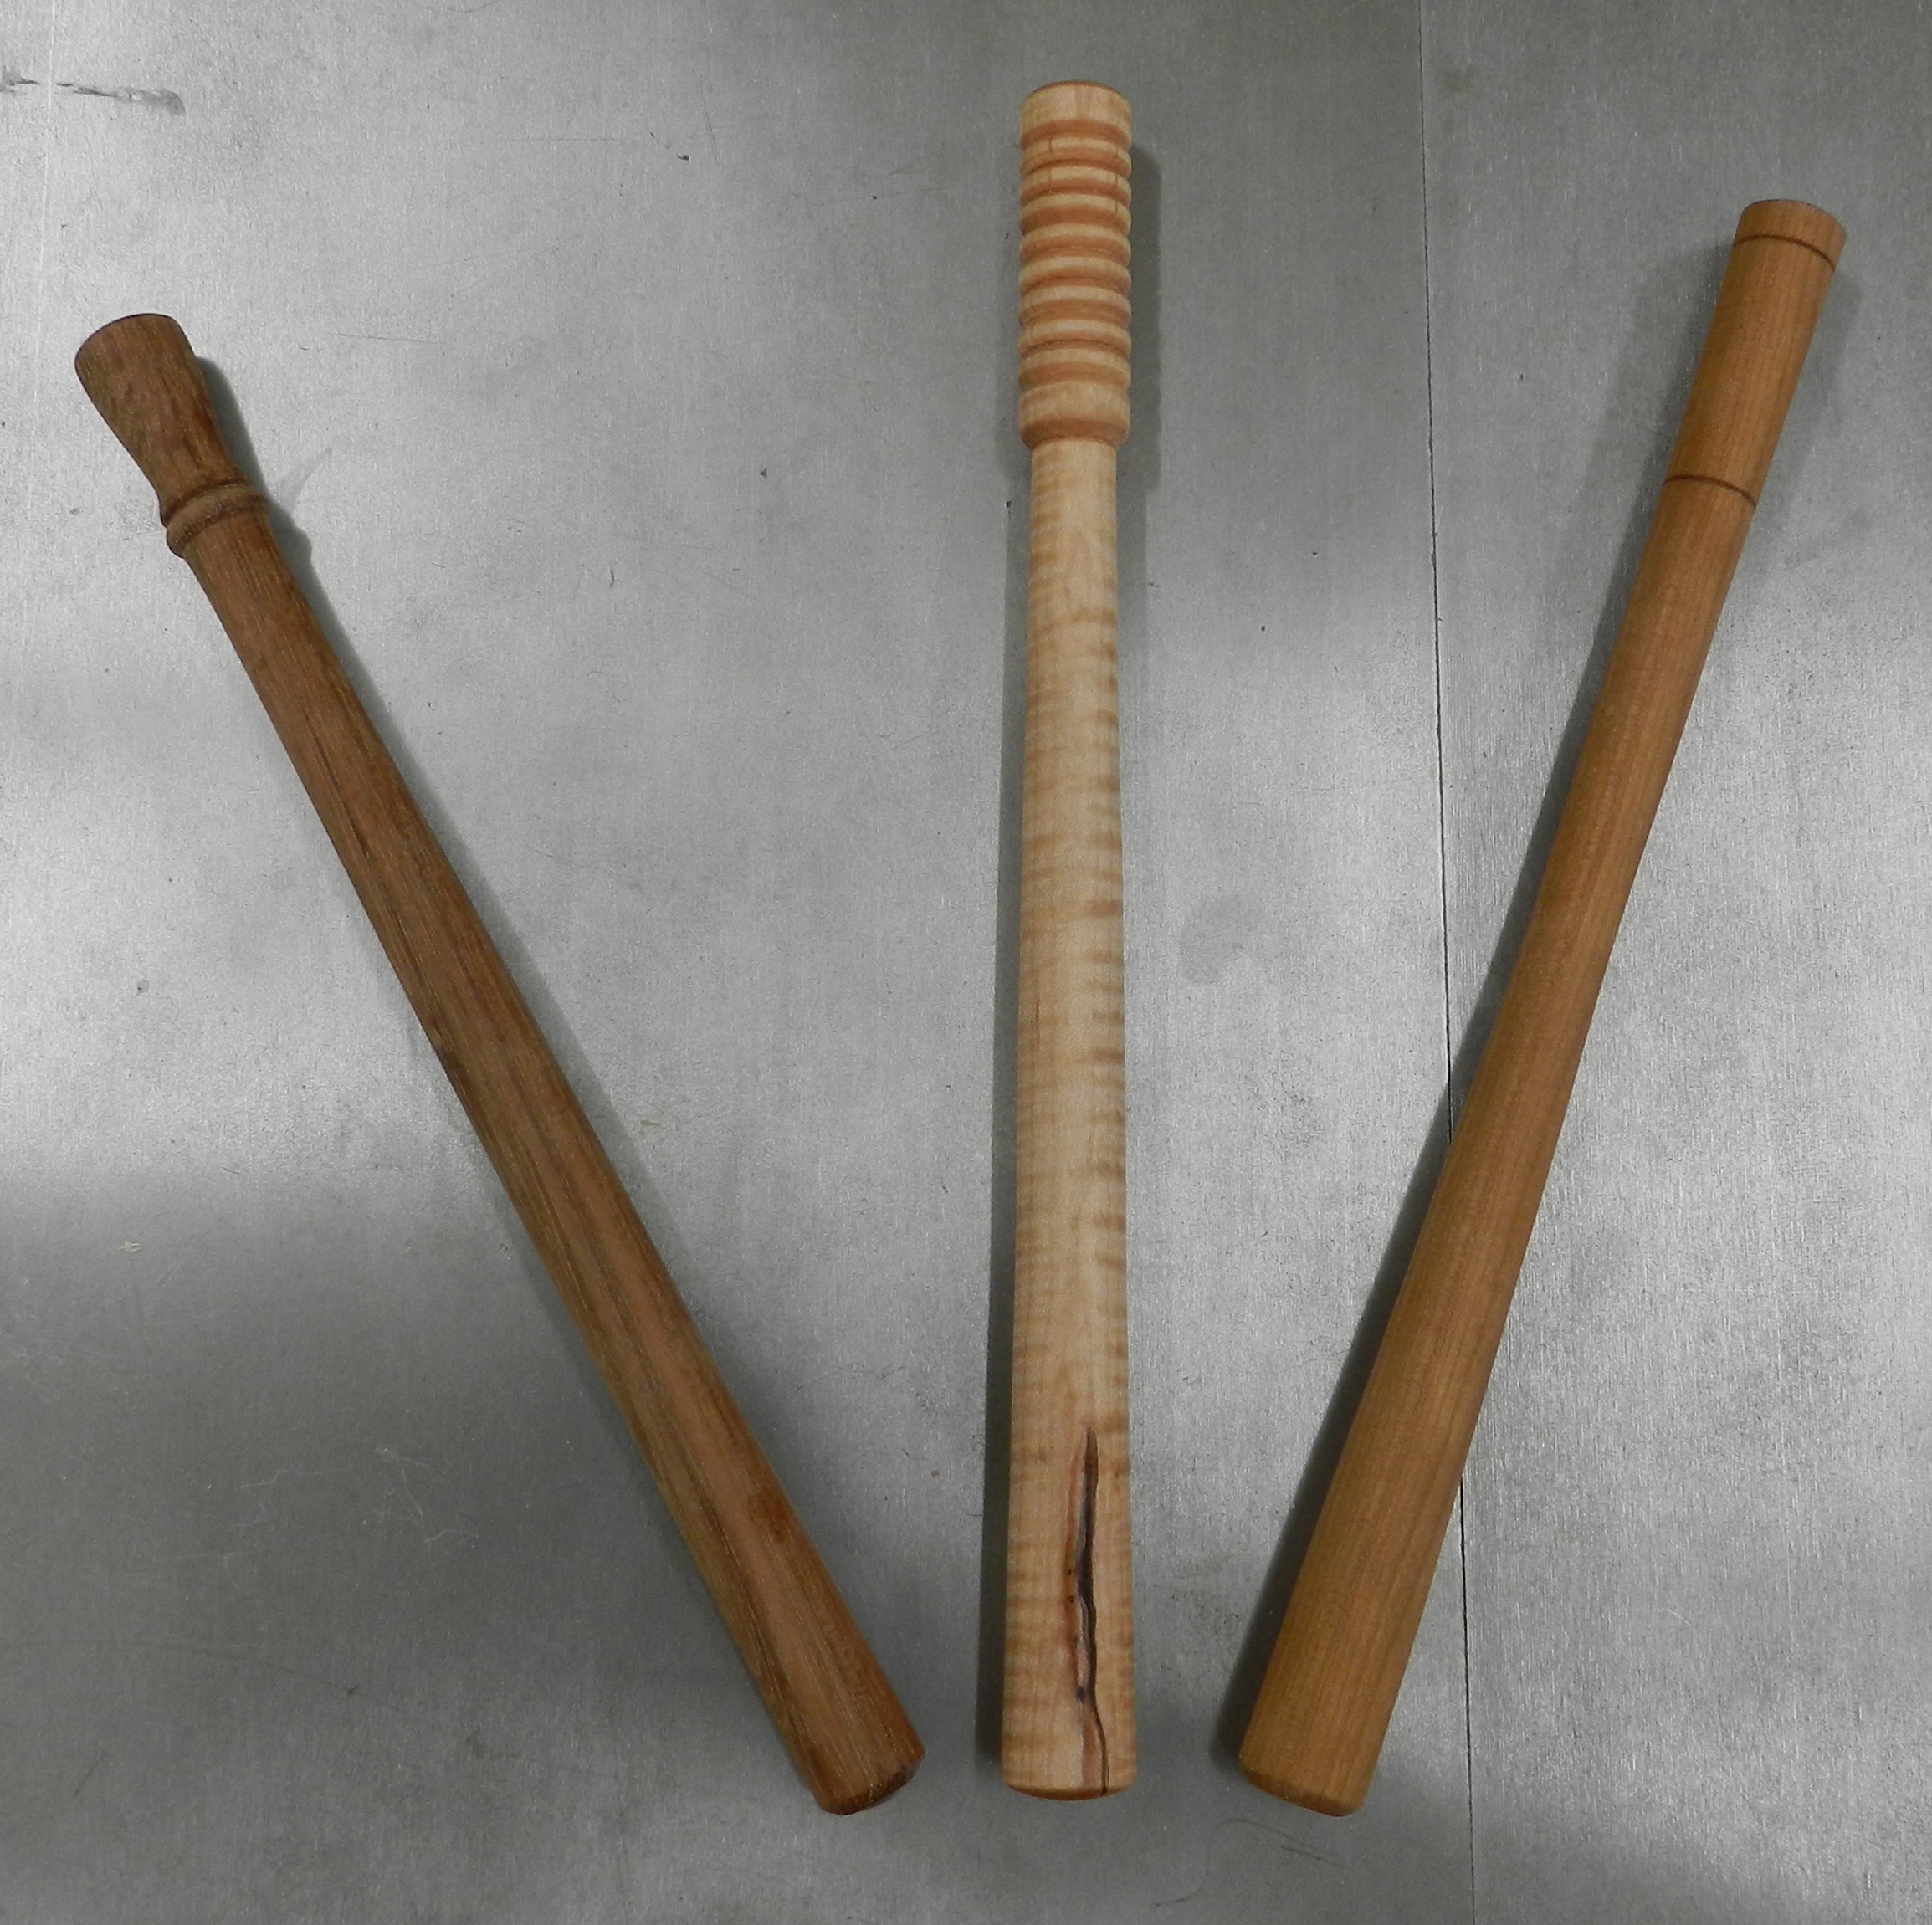
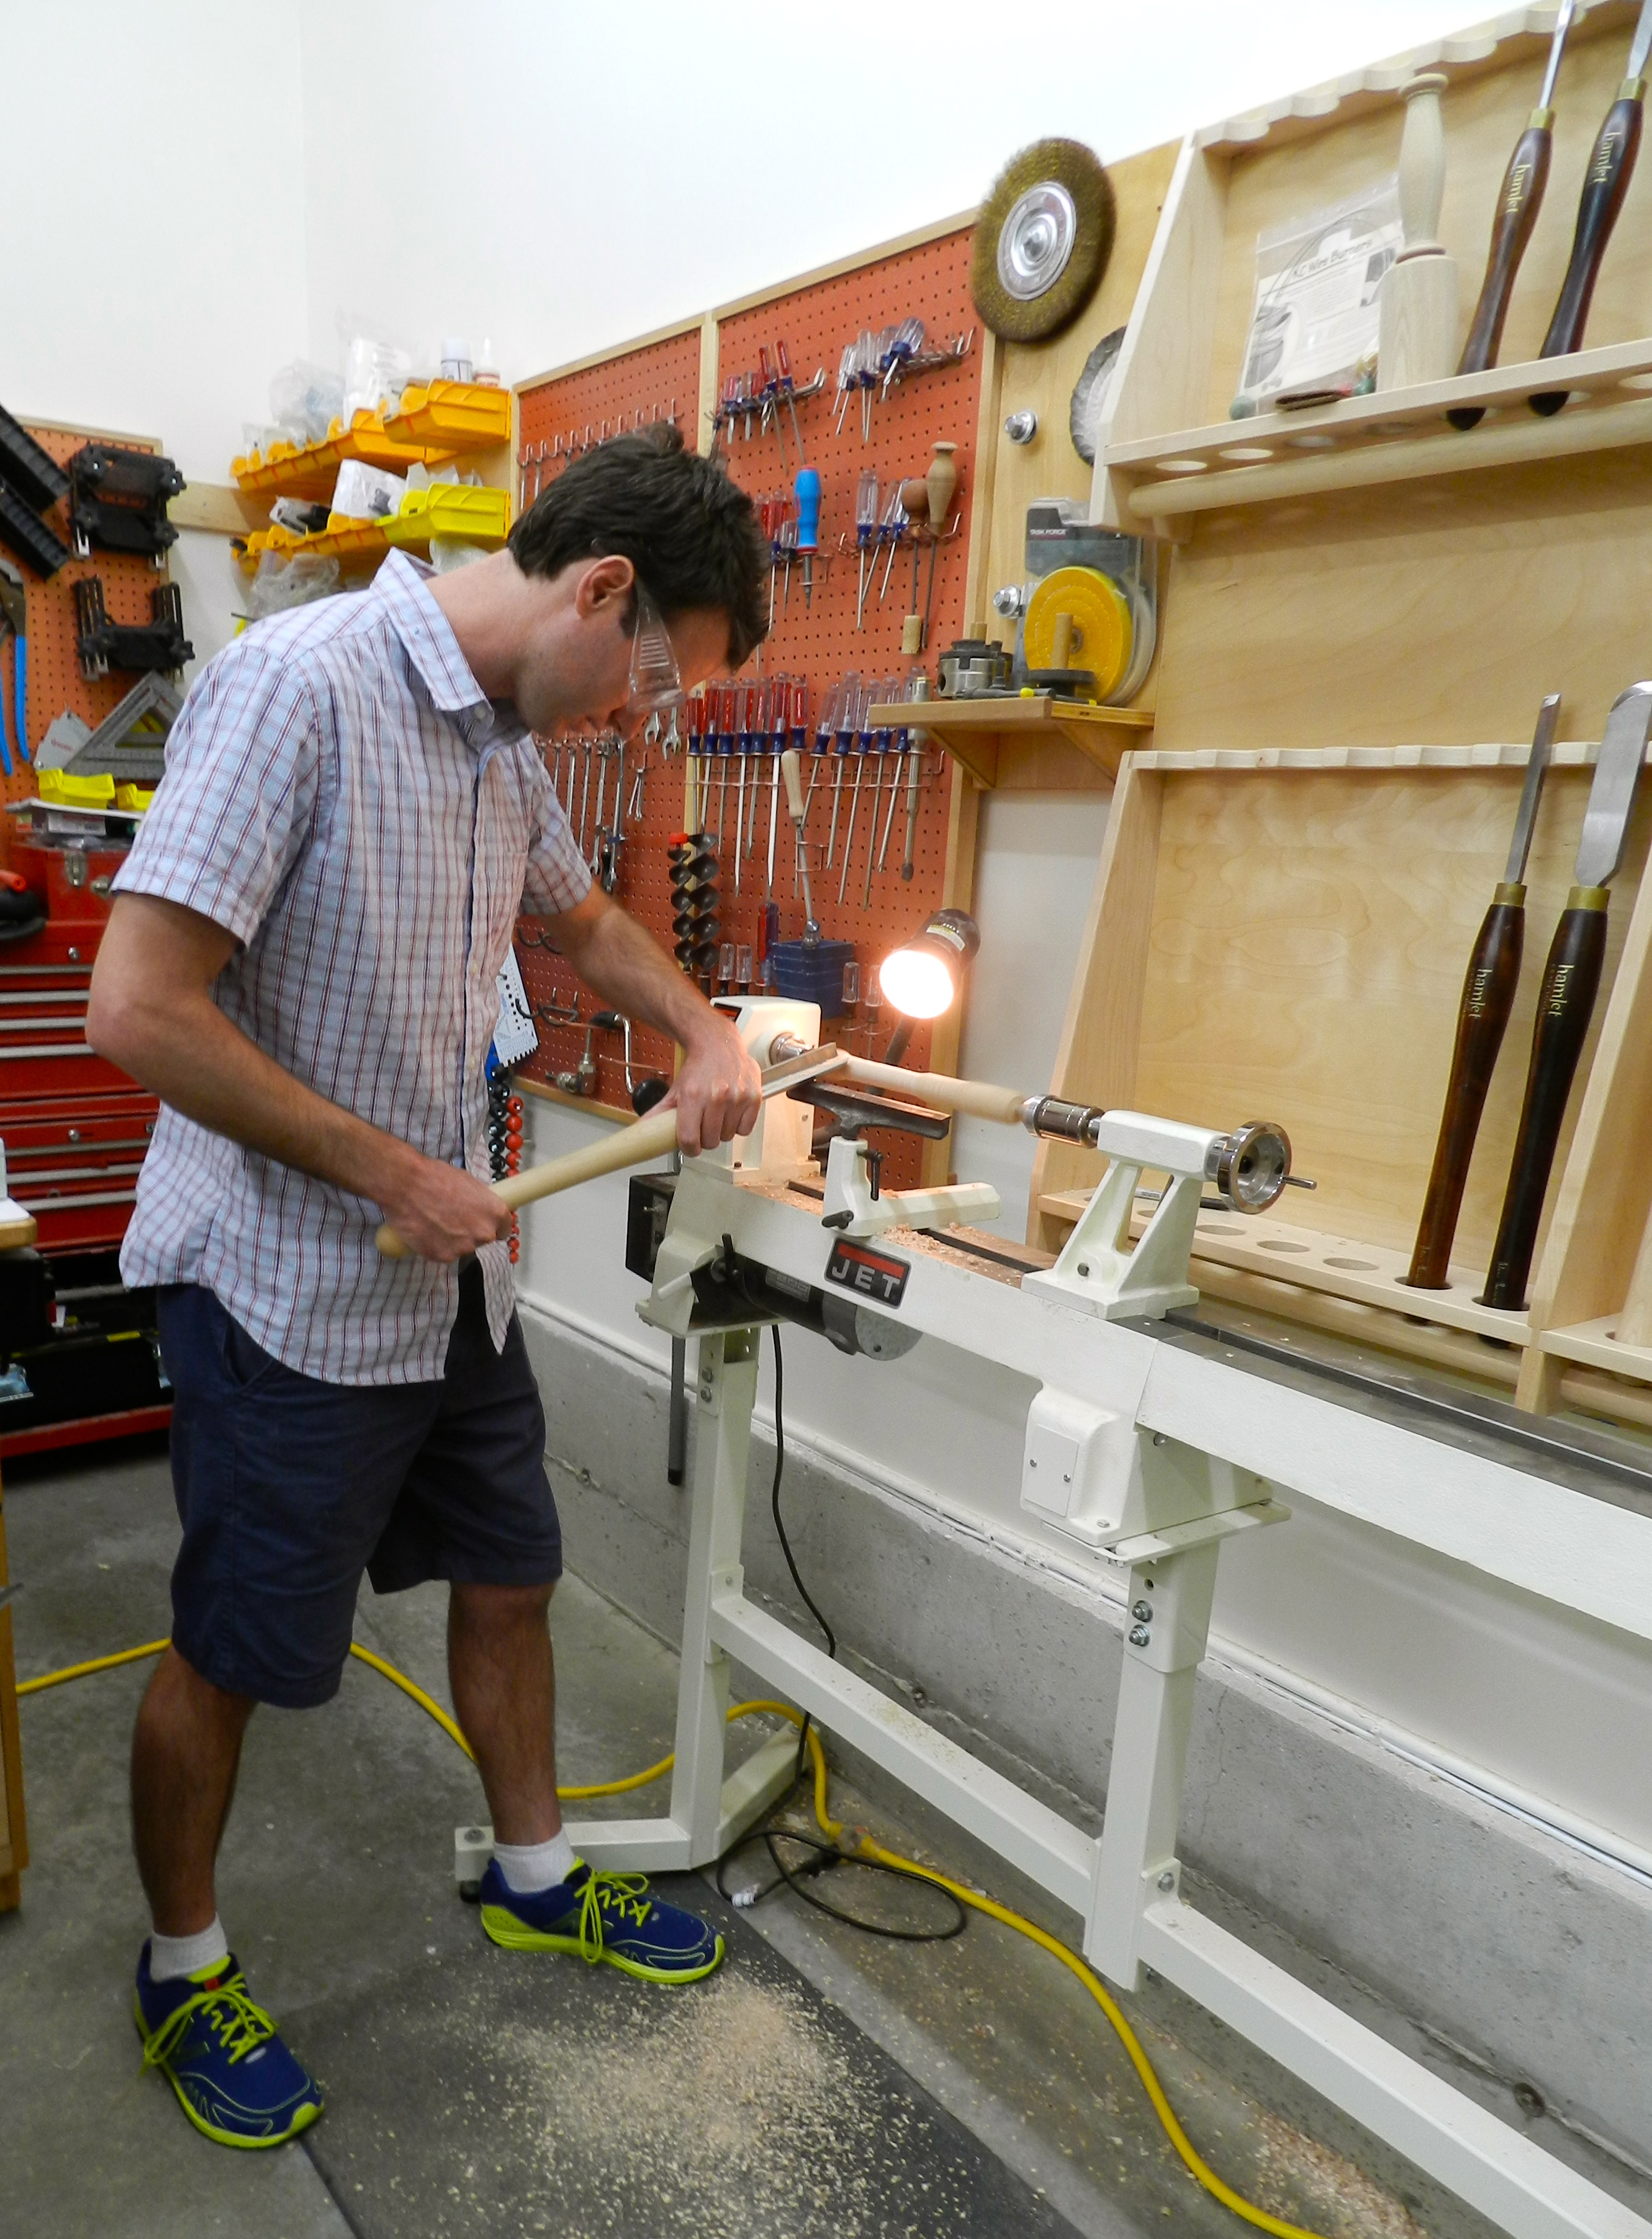
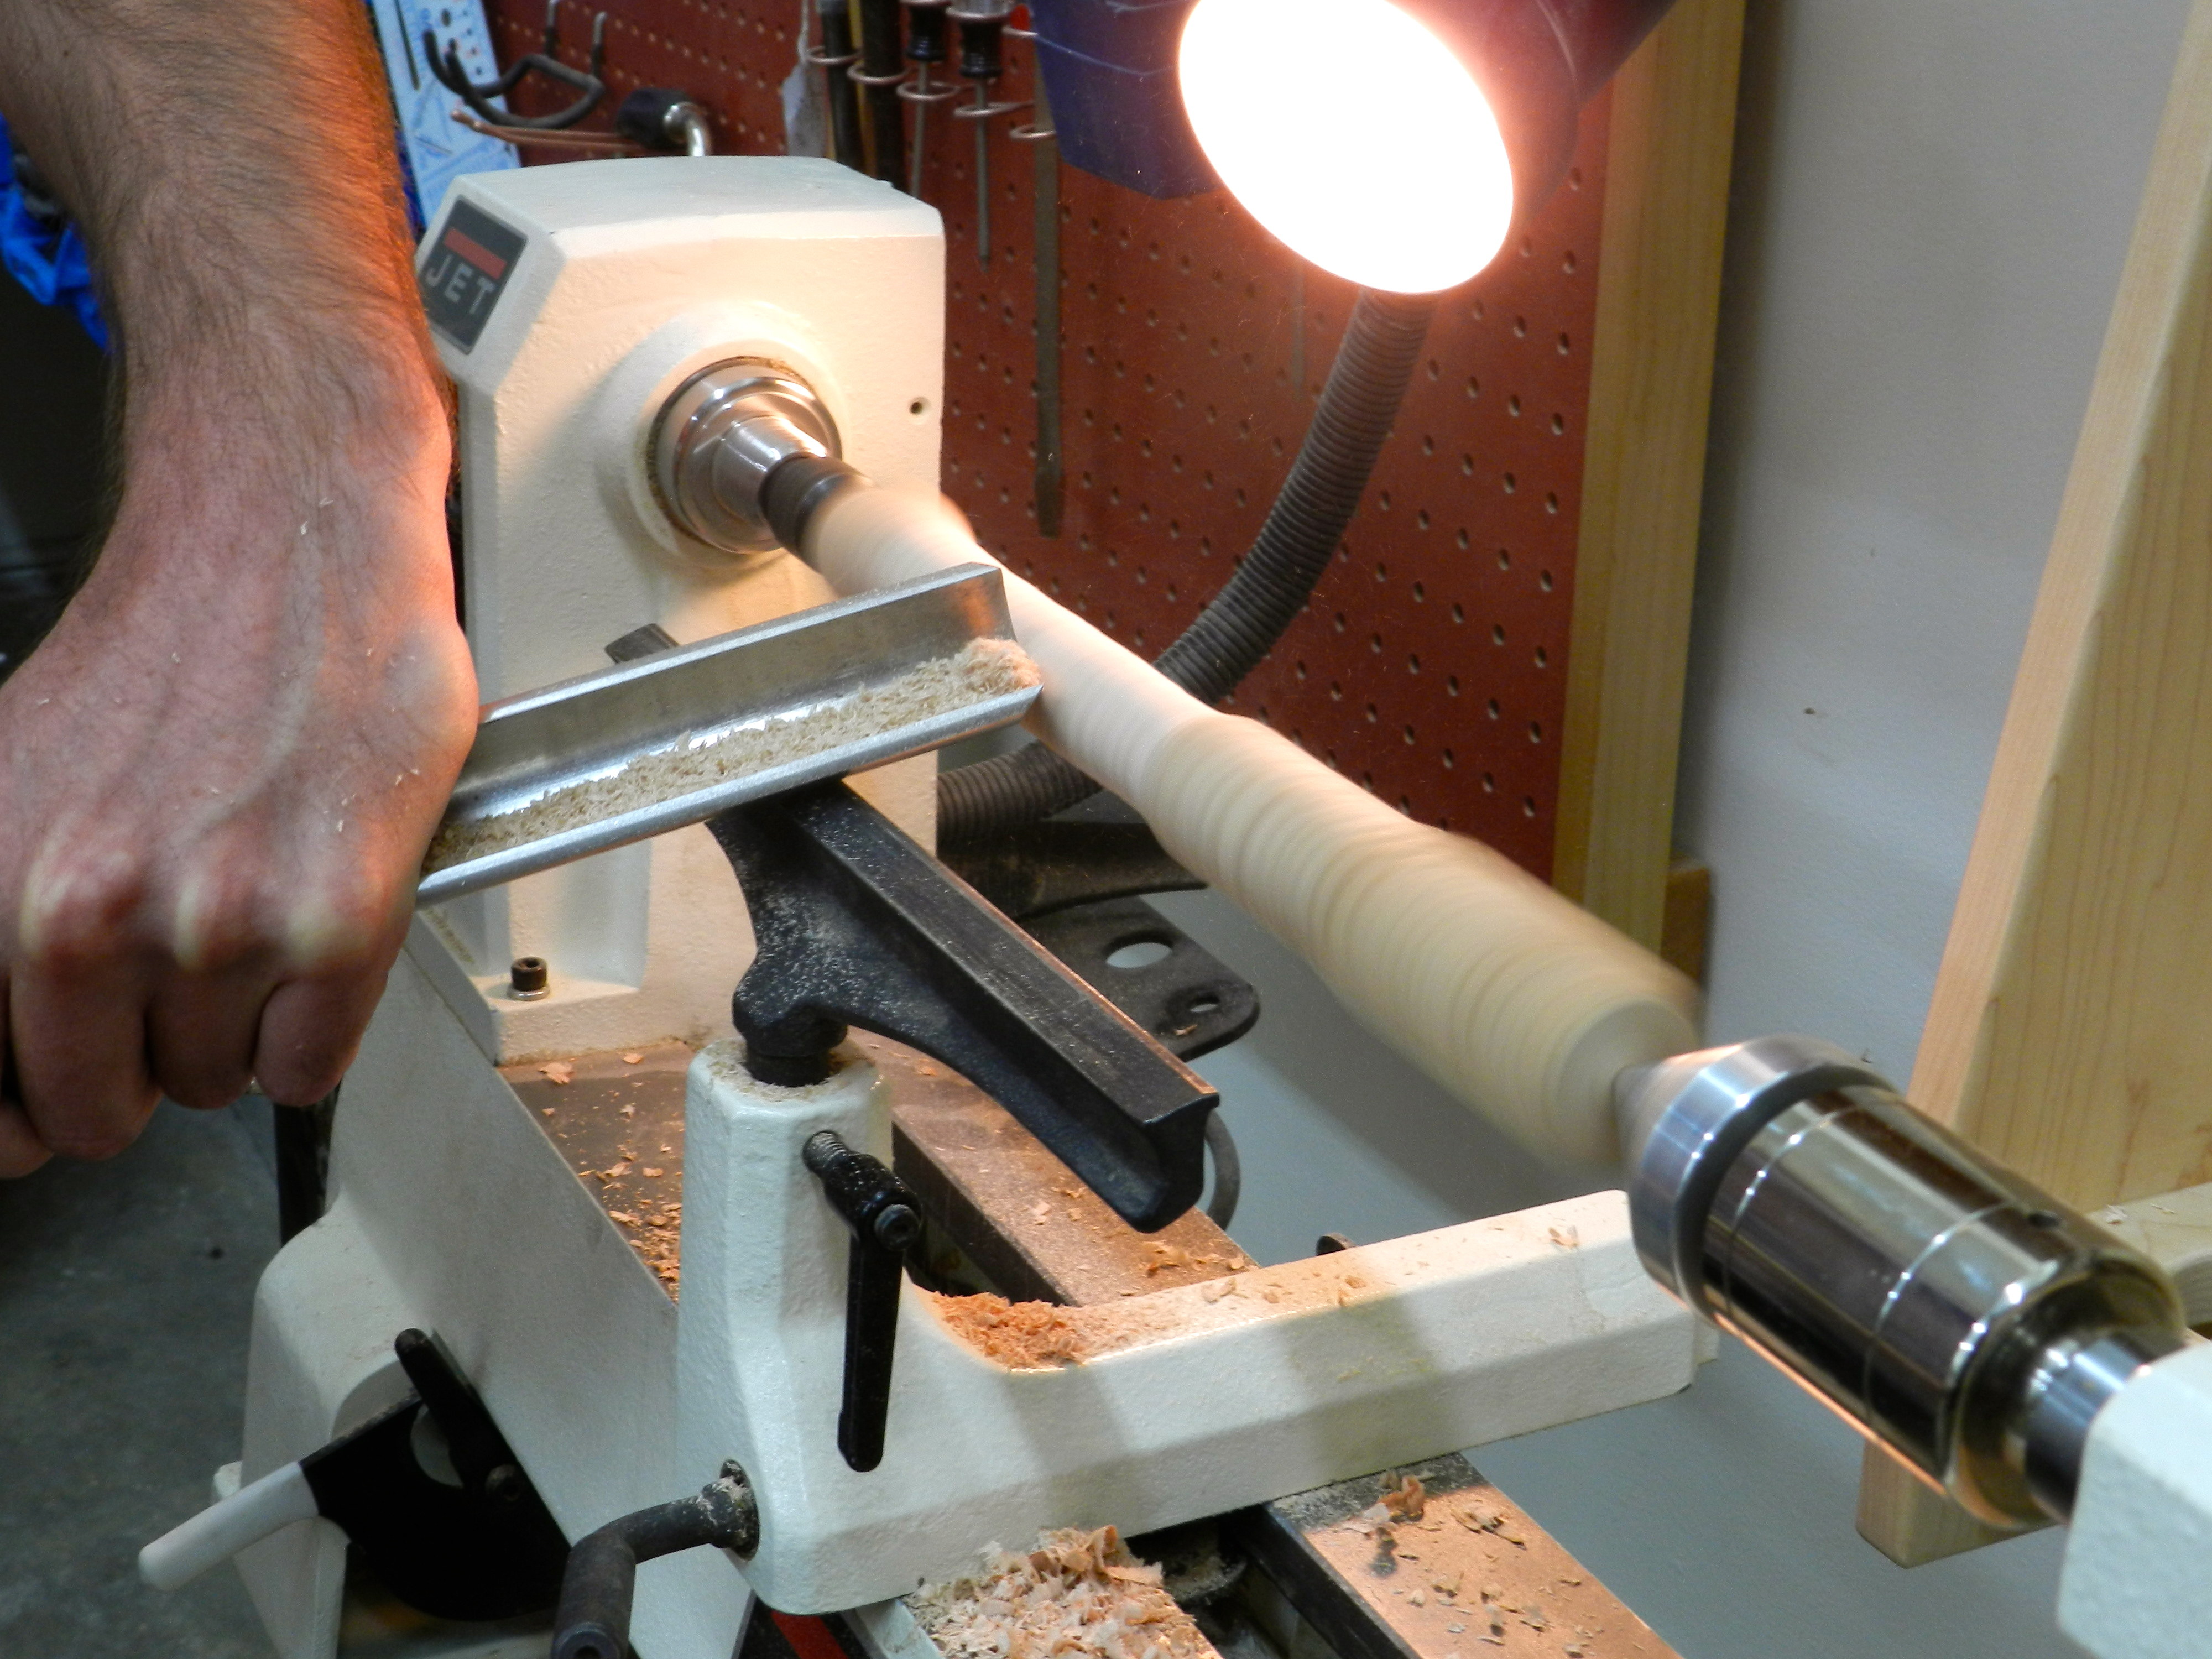
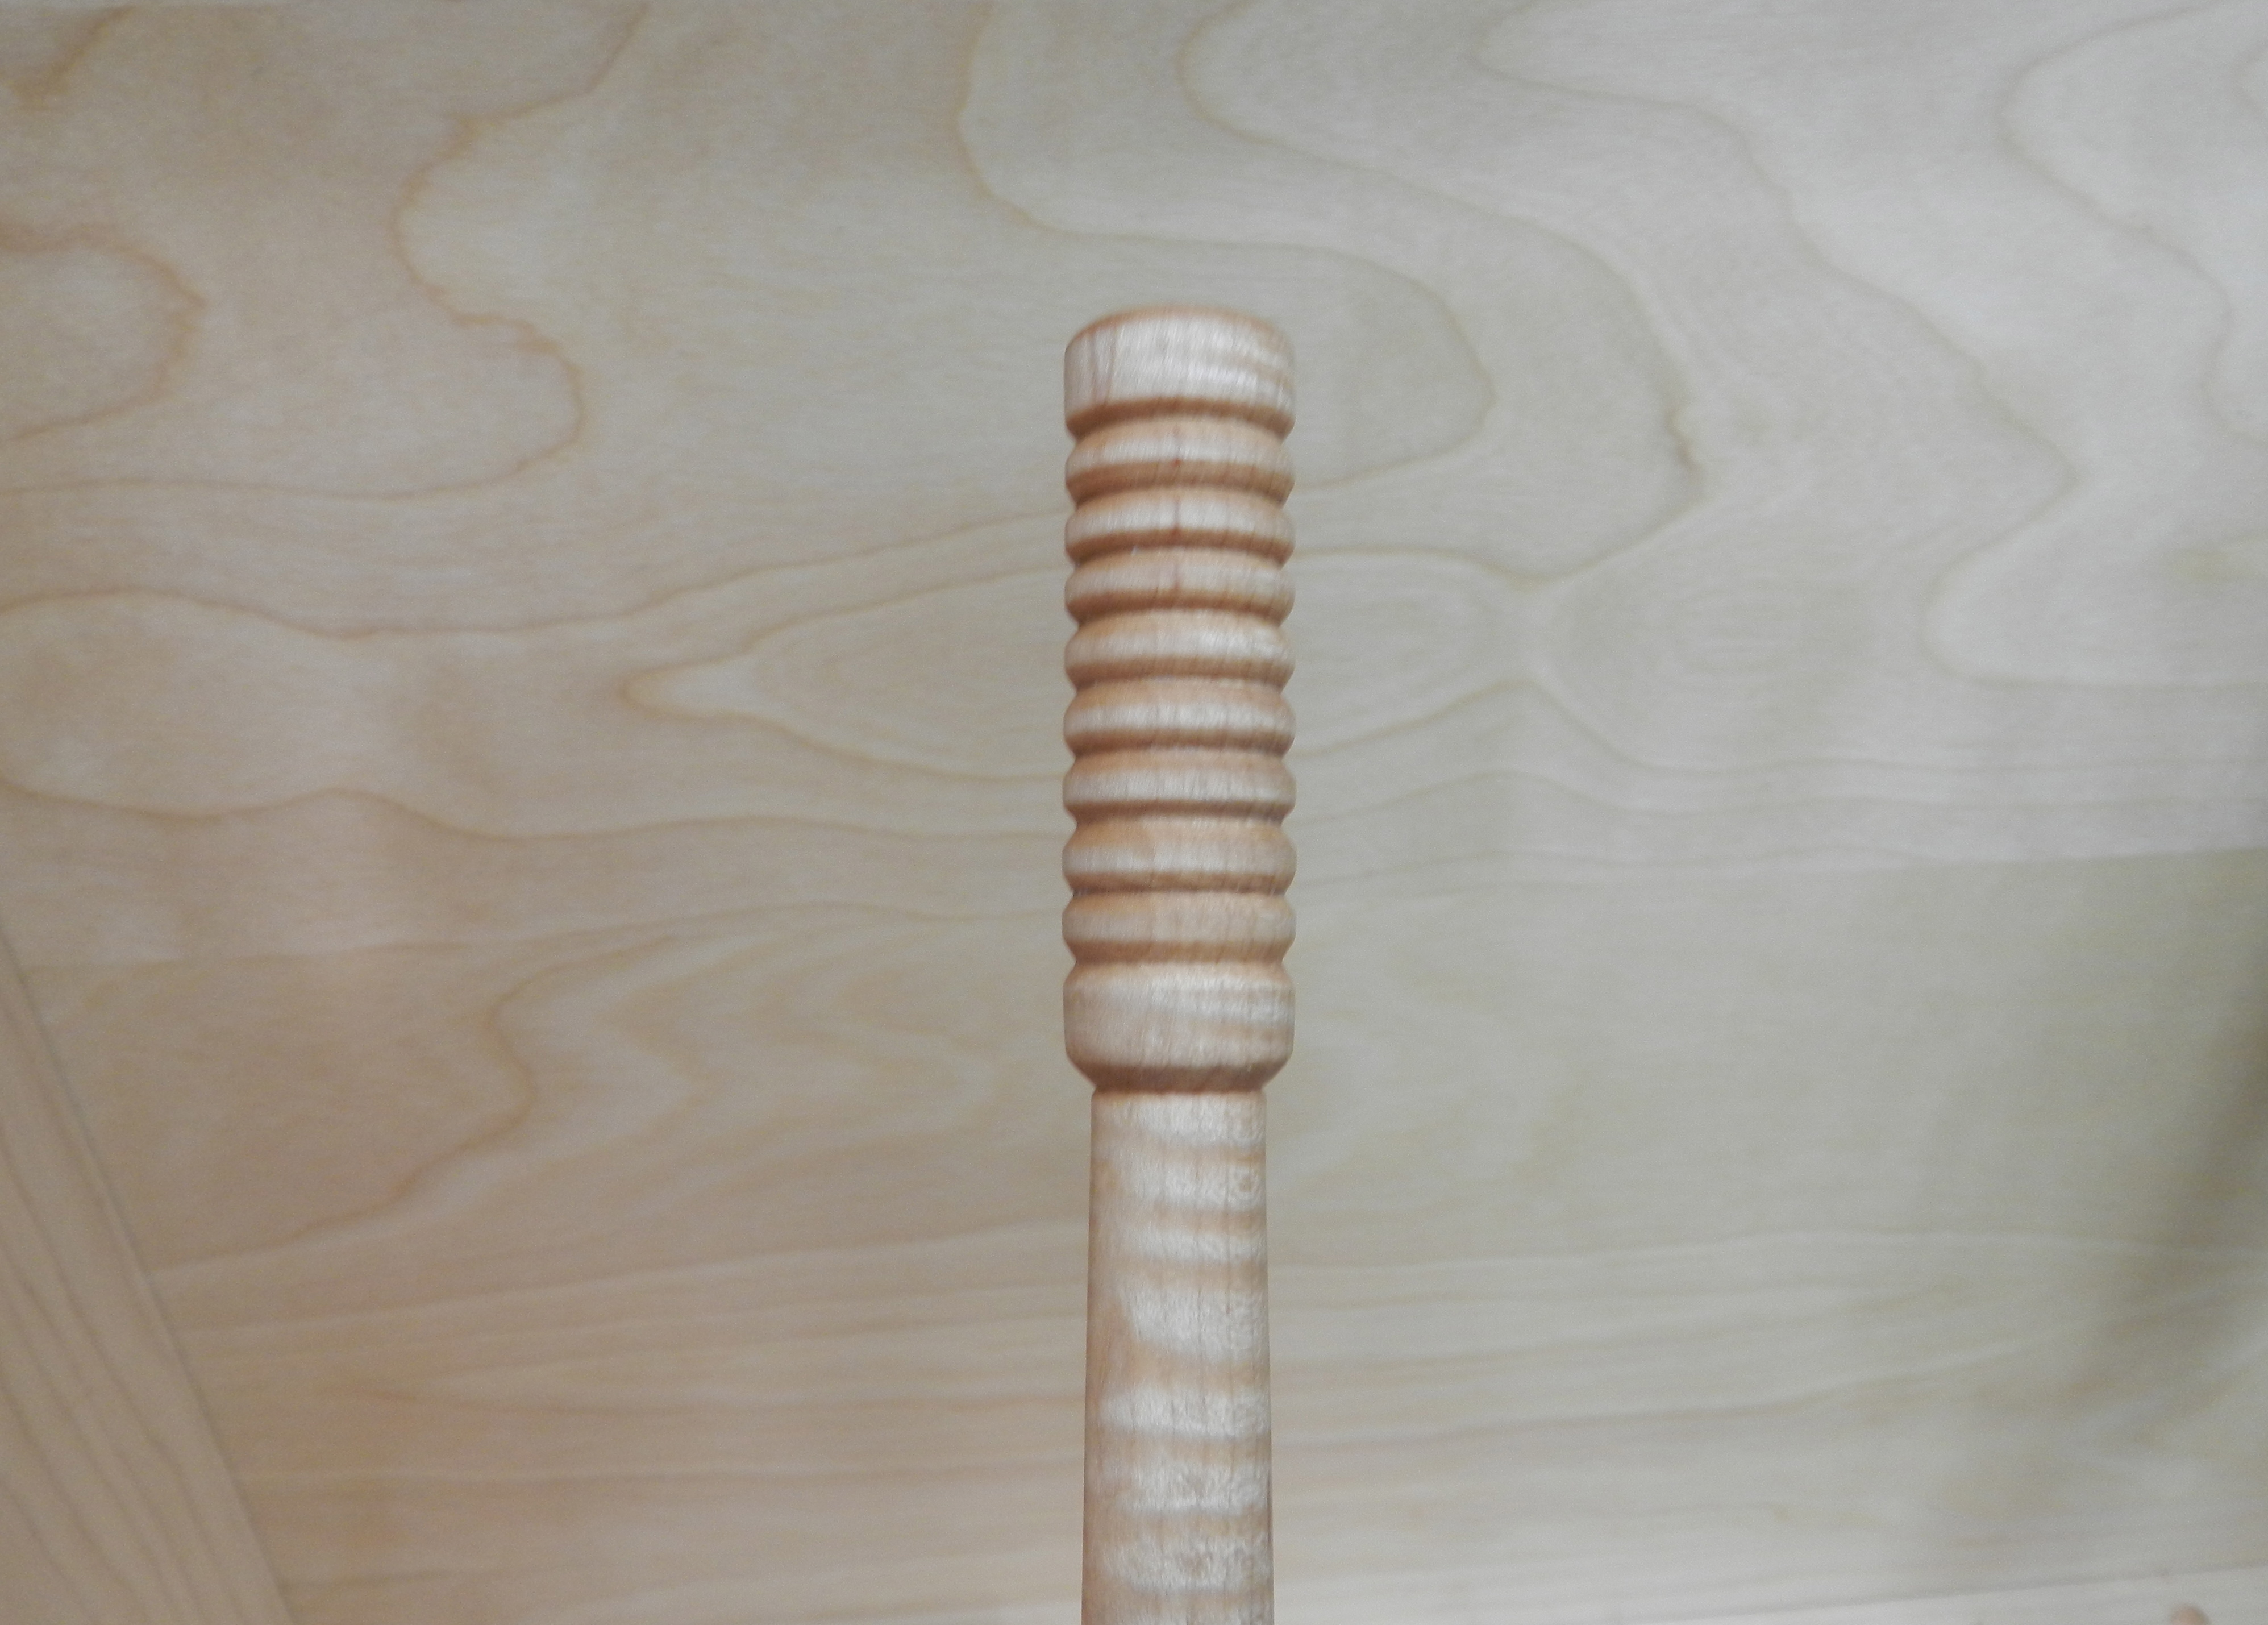
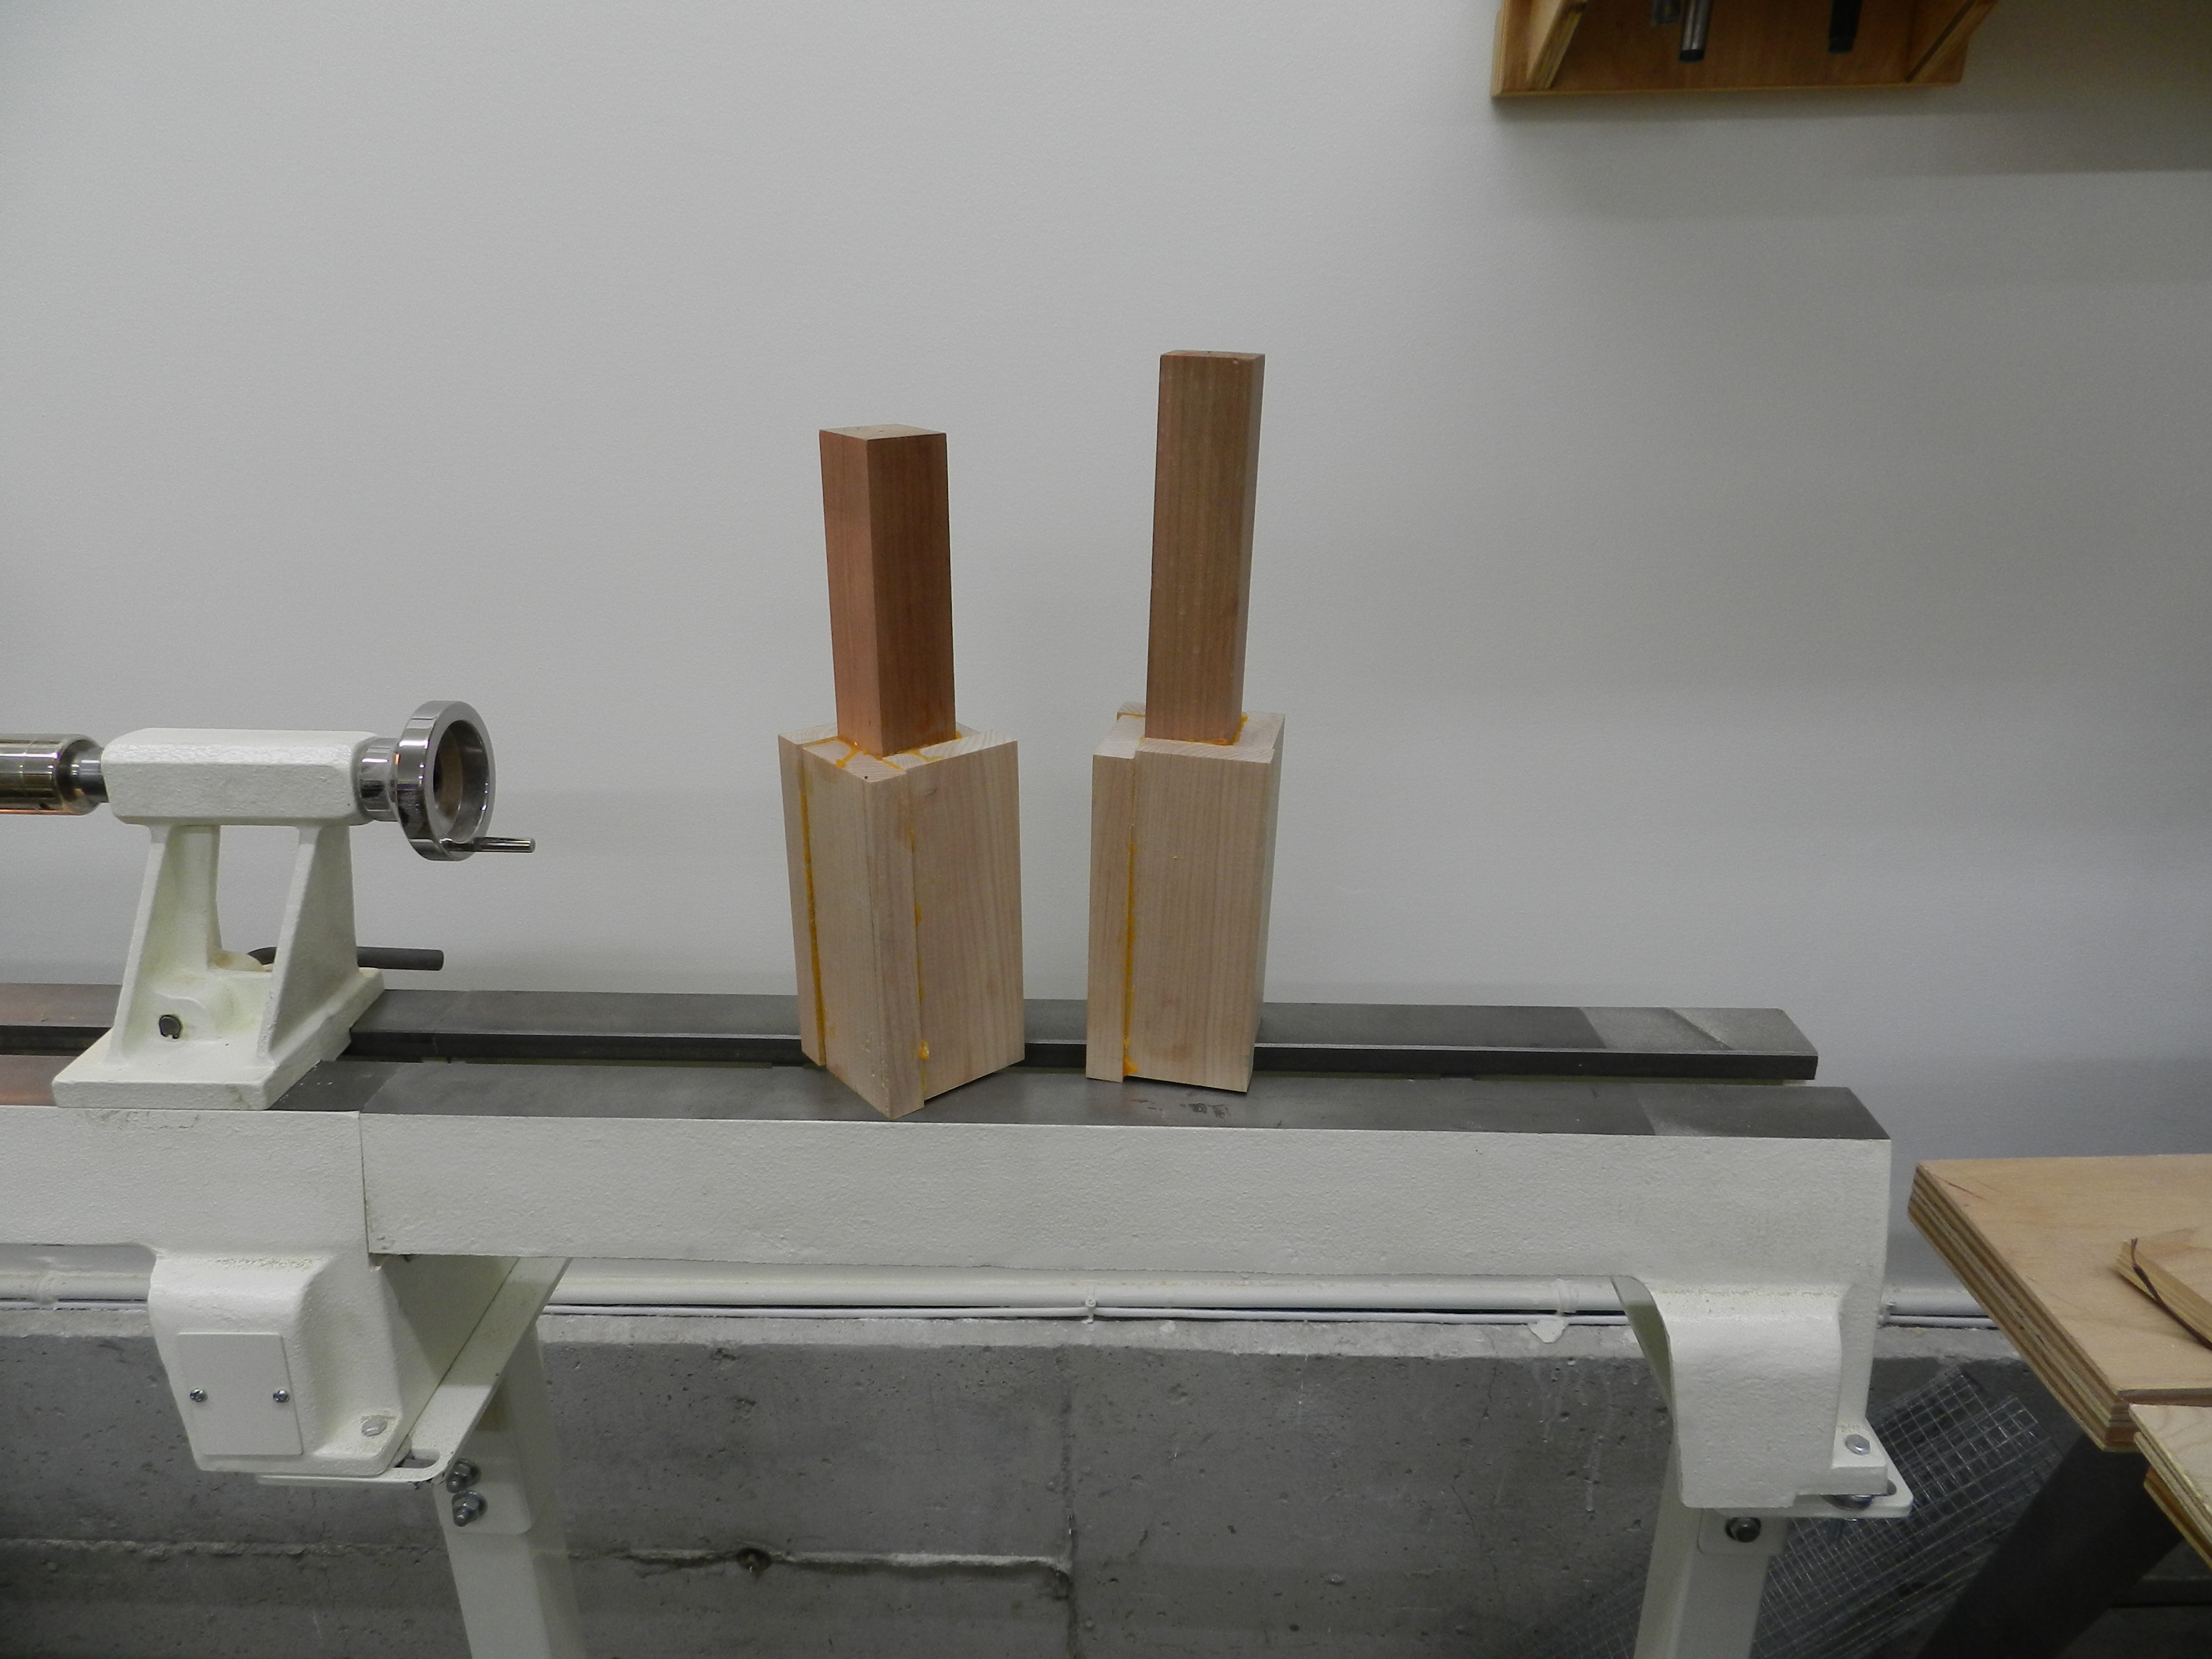
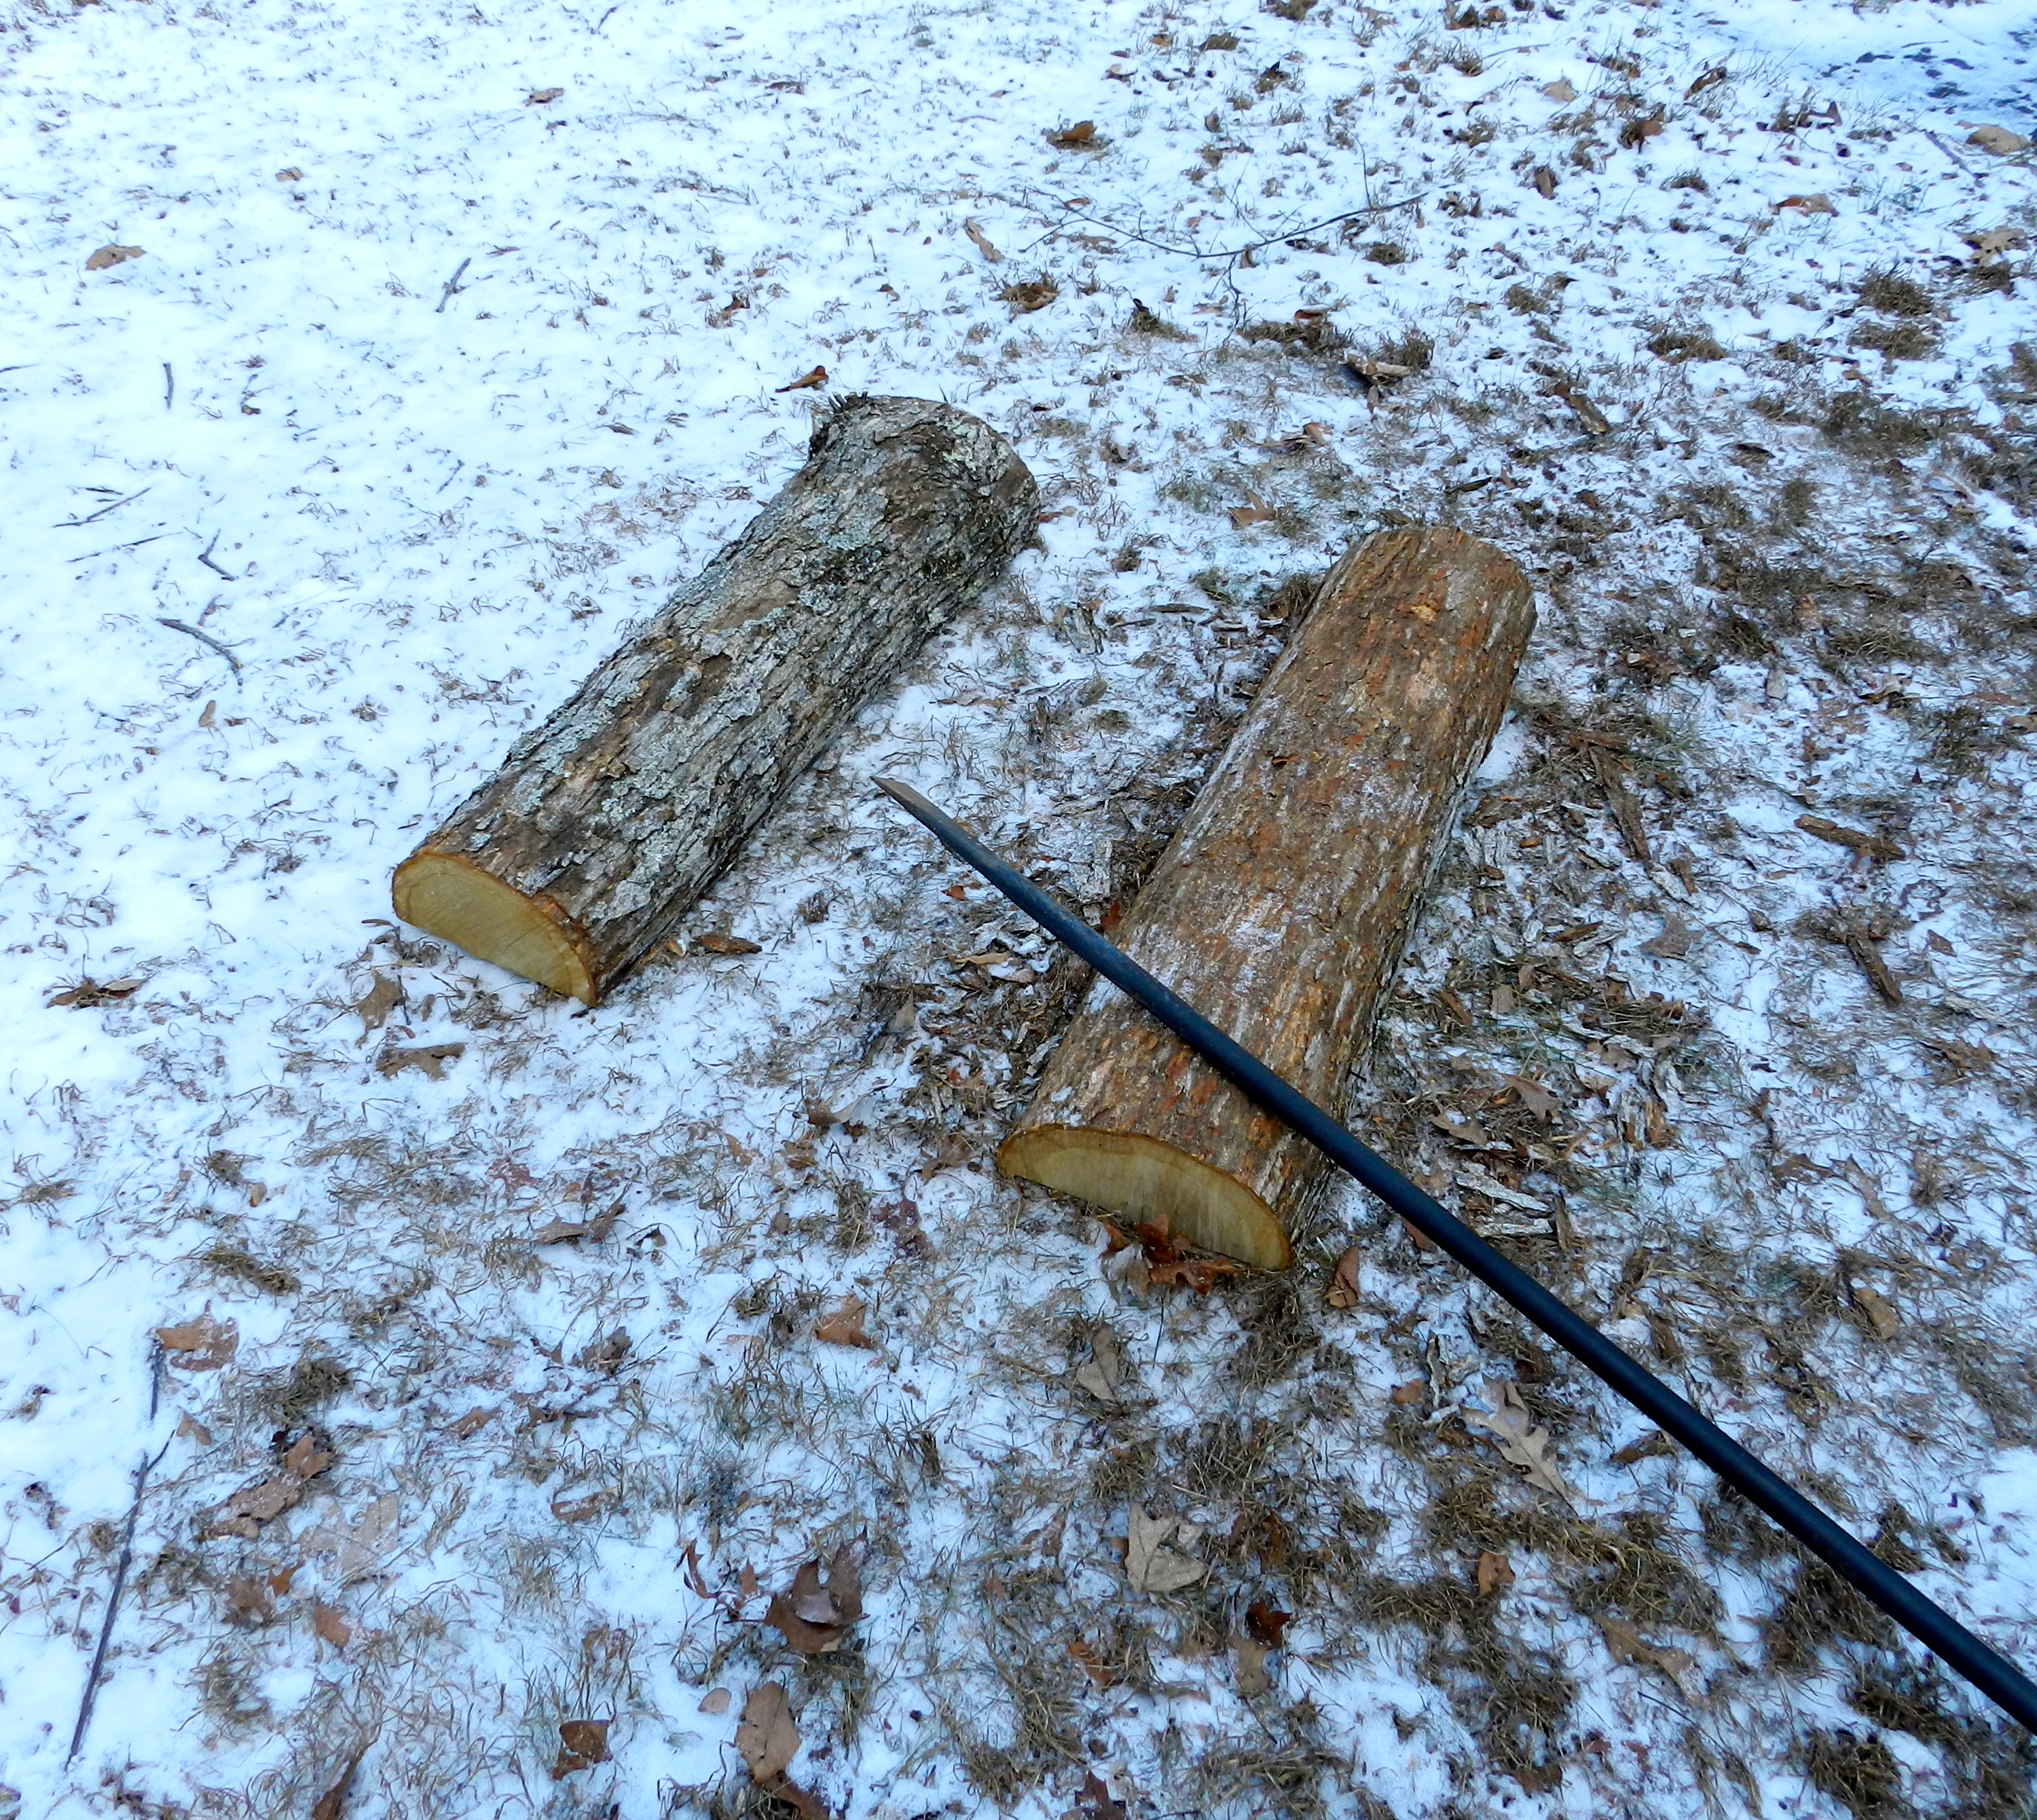
Ideally you want to split out some 1.5 inch diameter legs. In my case it was snowing and I didn’t have suitable wood on hand to do that, plus the largest ship auger bit I had on hand was 1″. I ripped down some nice straight grained 2x3s I had on hand to 1 1/4″ by 30″ long. I put them on the lathe and turned down the top 6″ to 1″ diameter. I then used a block plane to chamfer the edges.
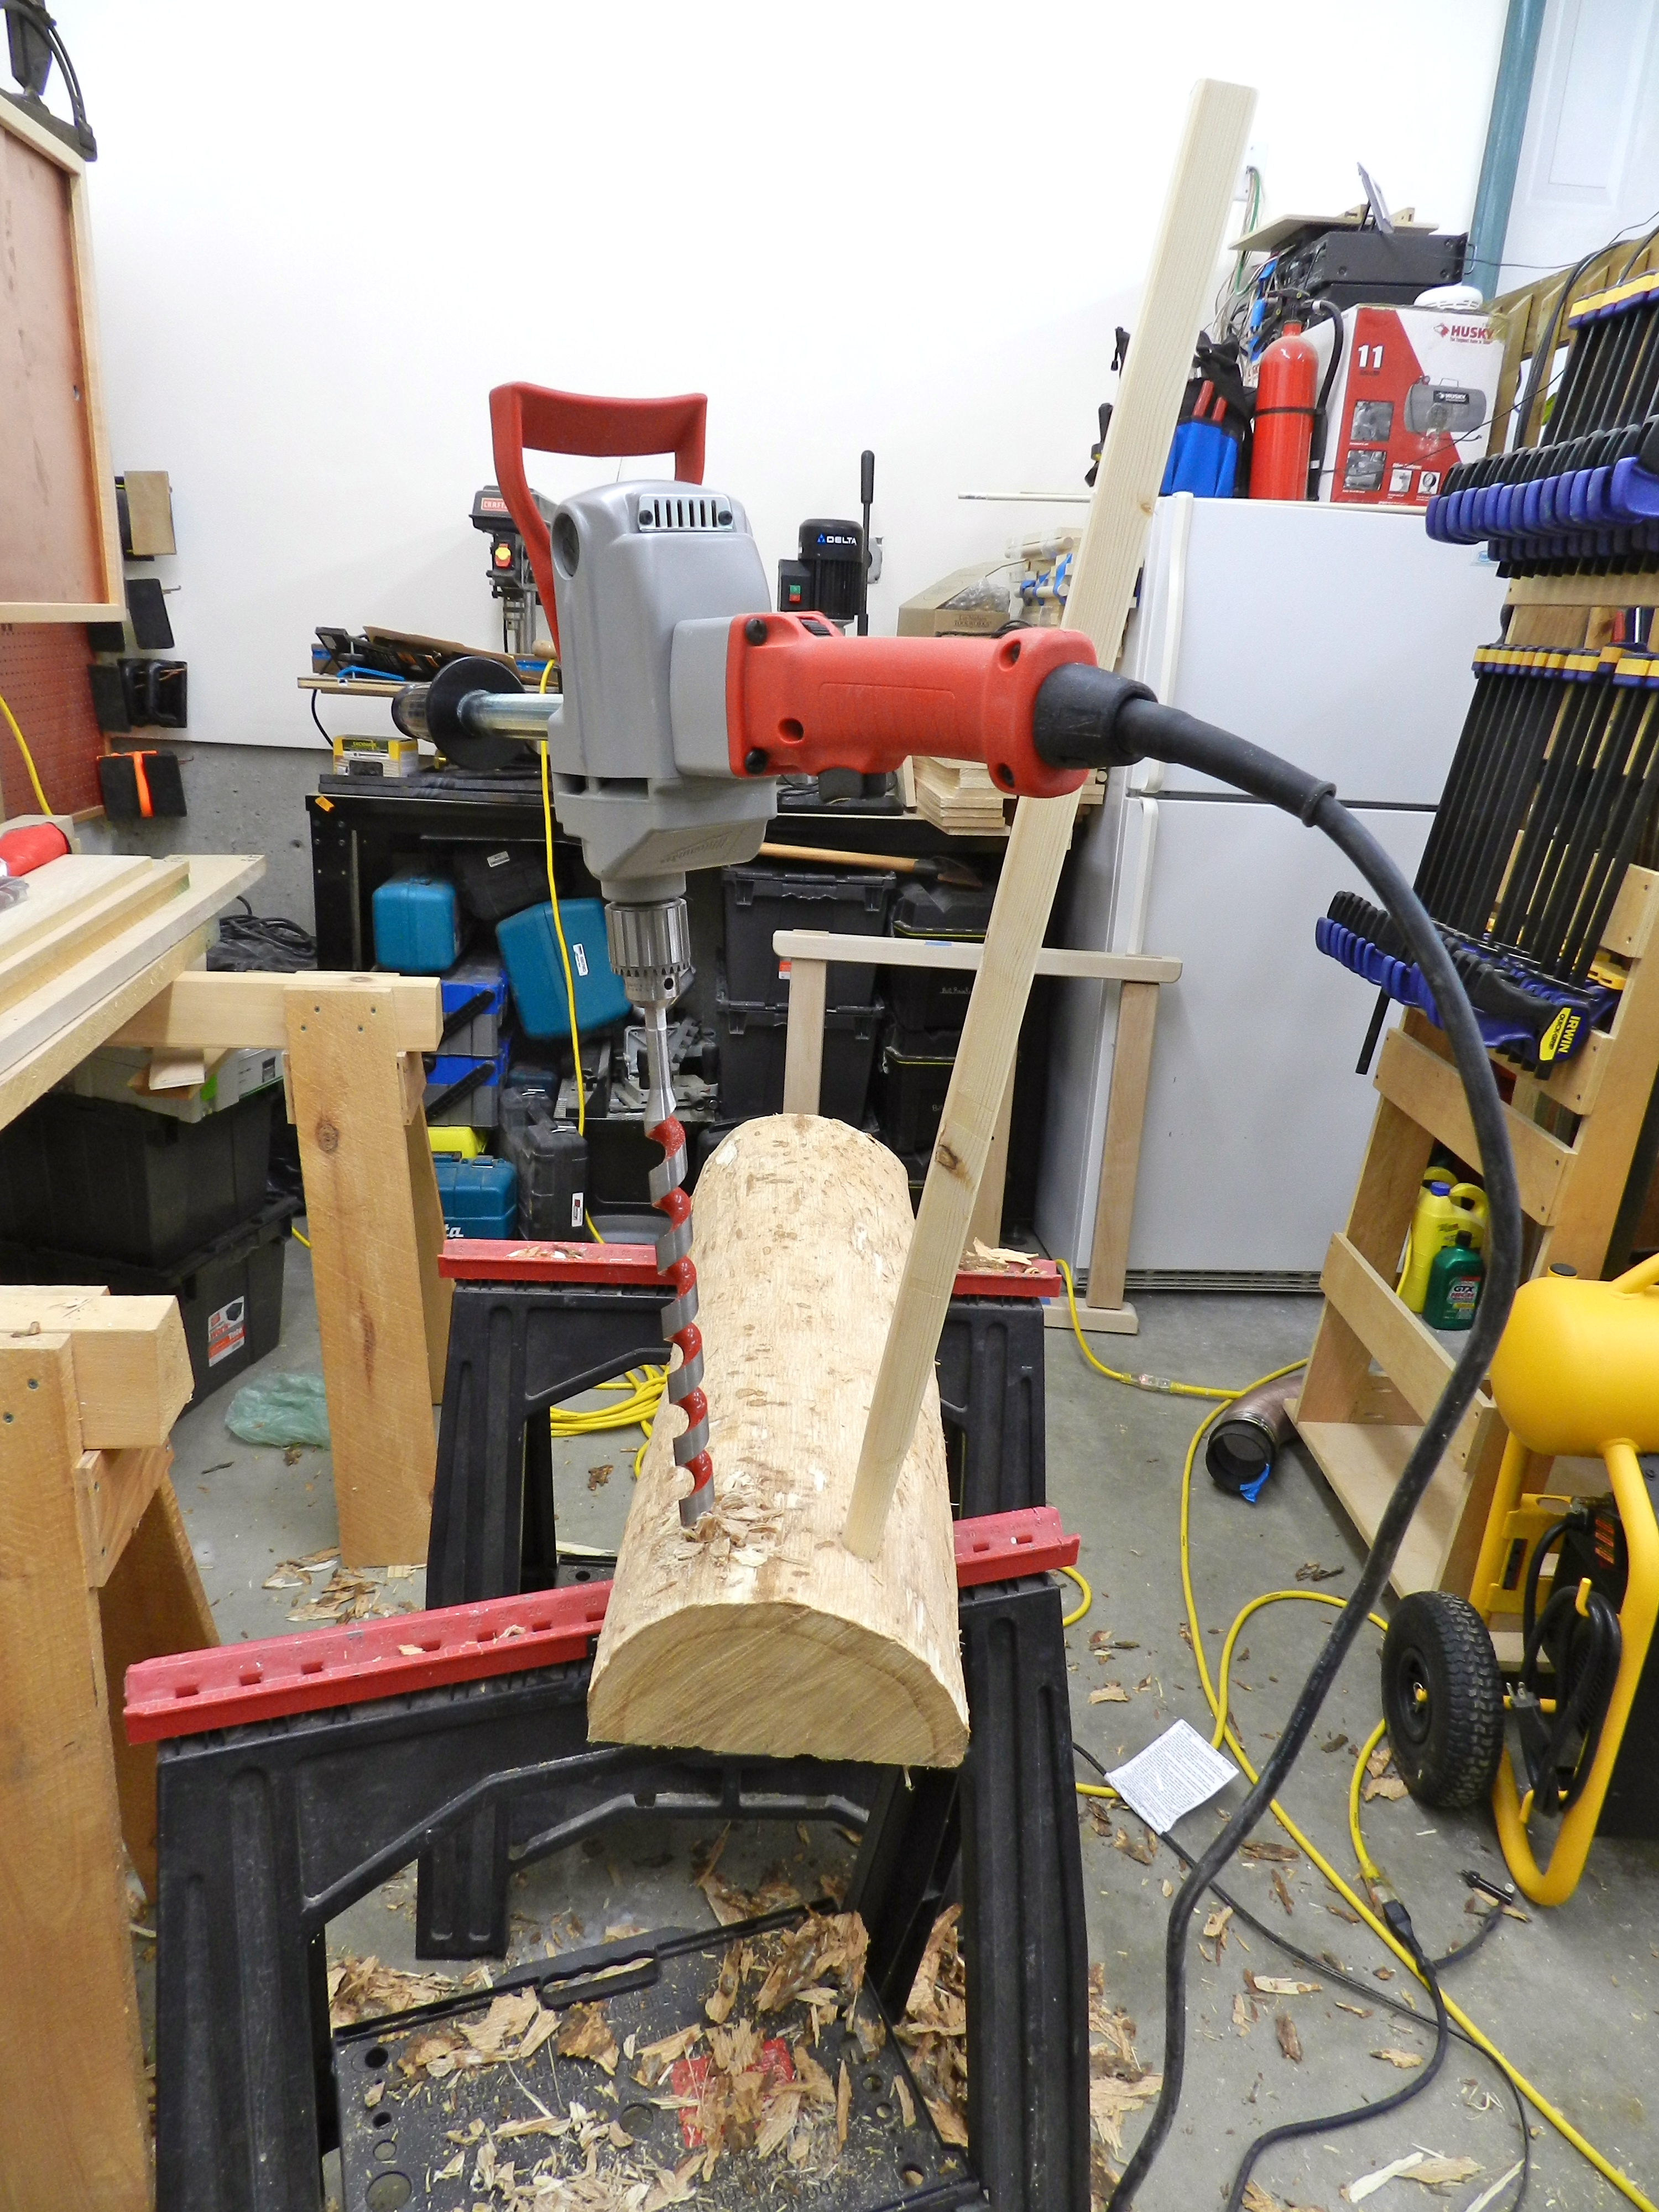
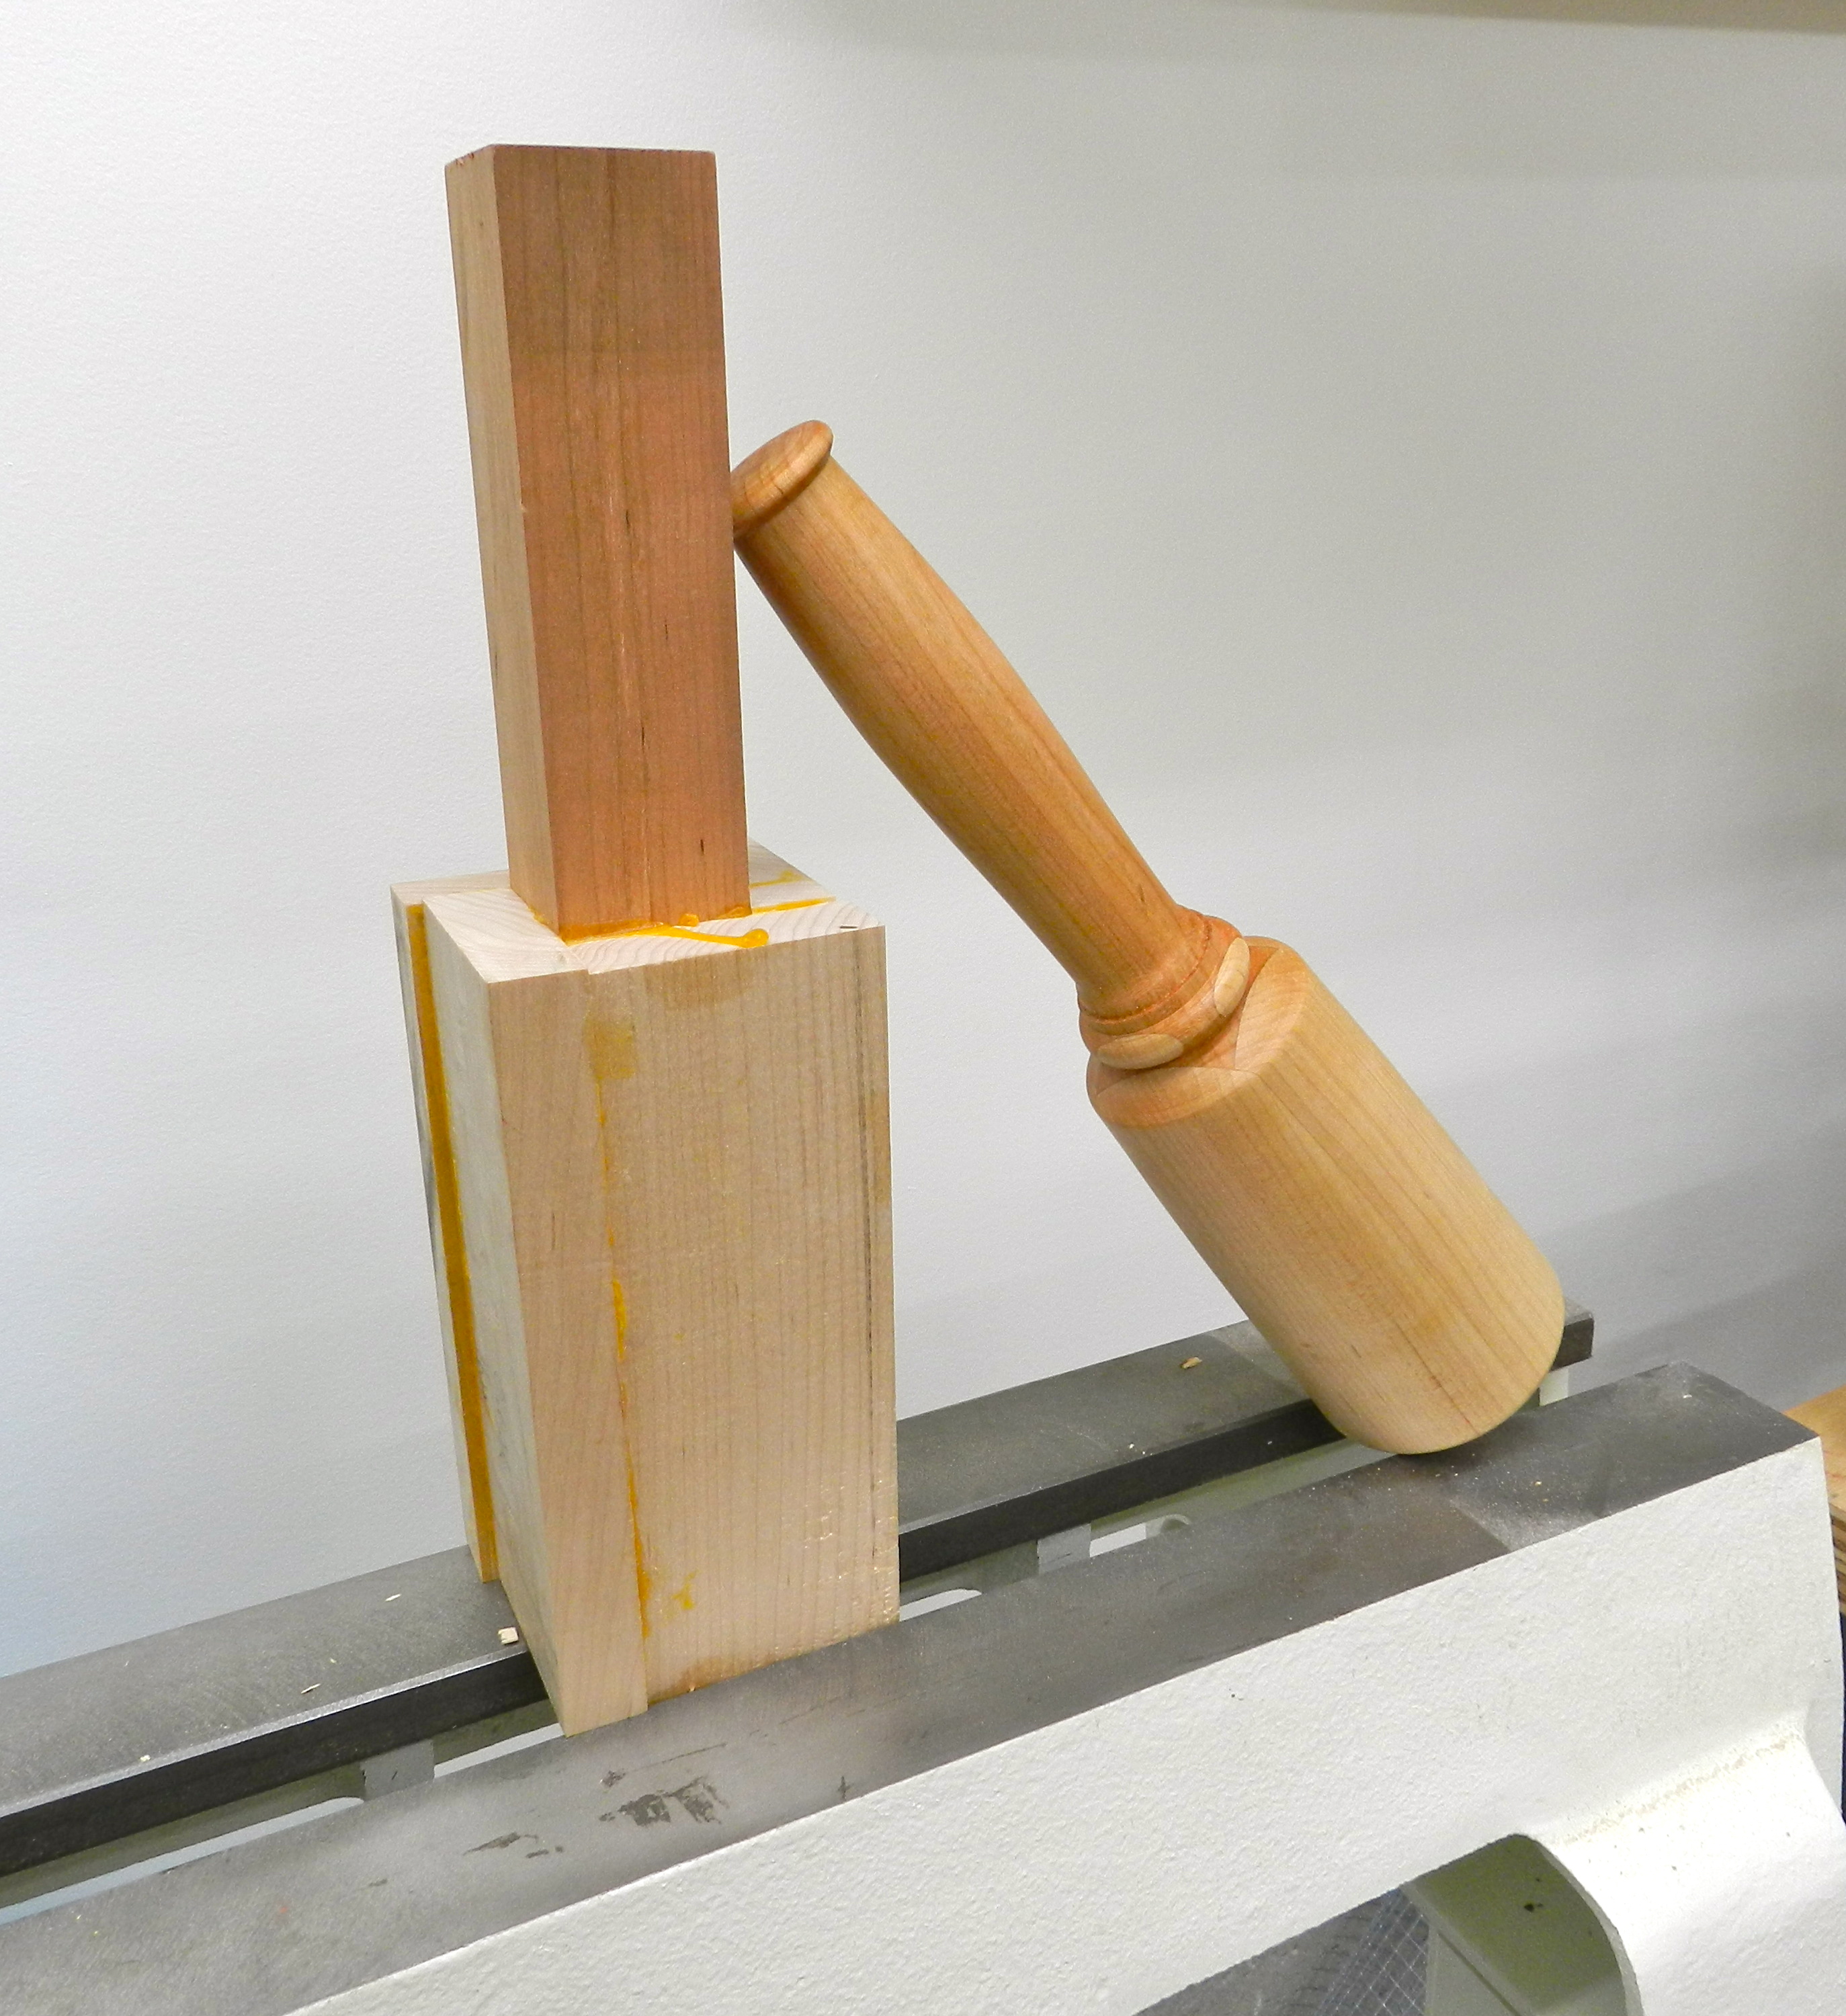
Using a ship auger bit I bored a through hole into the log to allow the legs to splay a bit in both directions. After you set the first leg you’ll want to visually reference that first leg when drilling the next leg. Repeat this process for all 4 legs. After test fitting you’ll want to cut a kerf in the end of each tenon and re-install the legs. Make sure those kerfs are perpendicular to the grain of the log so you don’t split it with the wedges. Then glue and wedge the tenons. If you have ever built a windsor chair, this is a cruder version of the same process you’d use to fit the legs and level the feet.
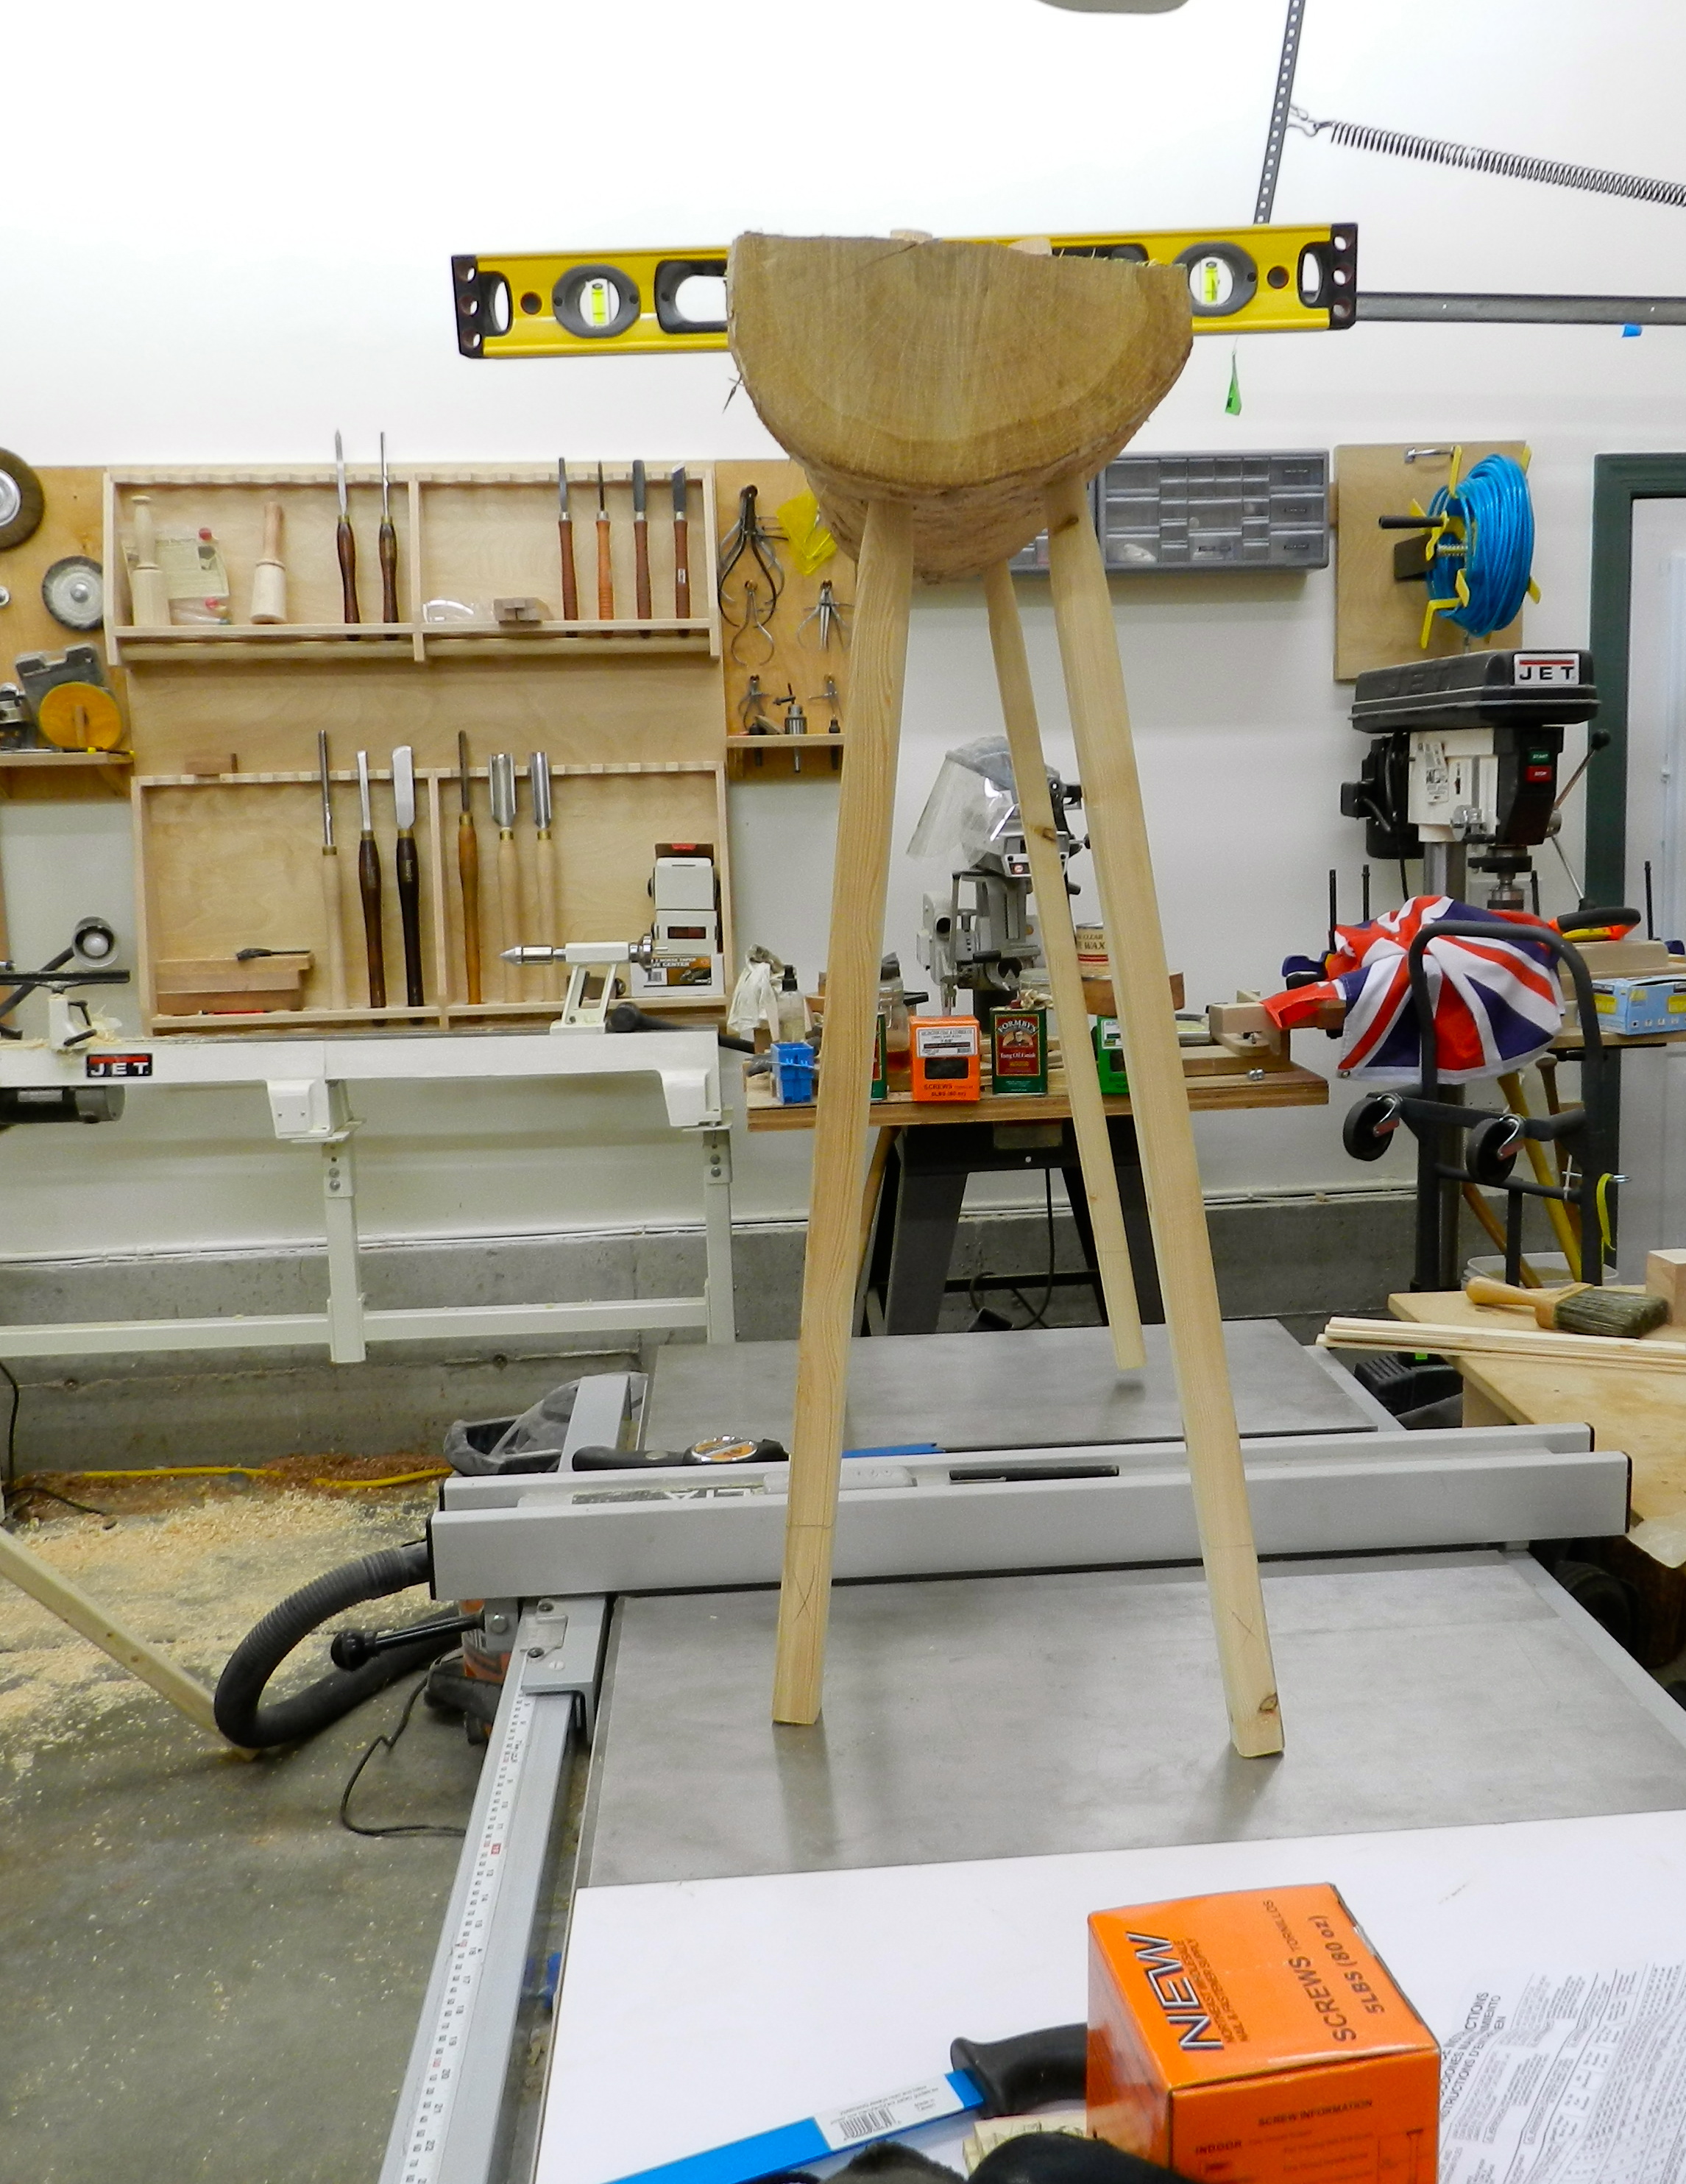
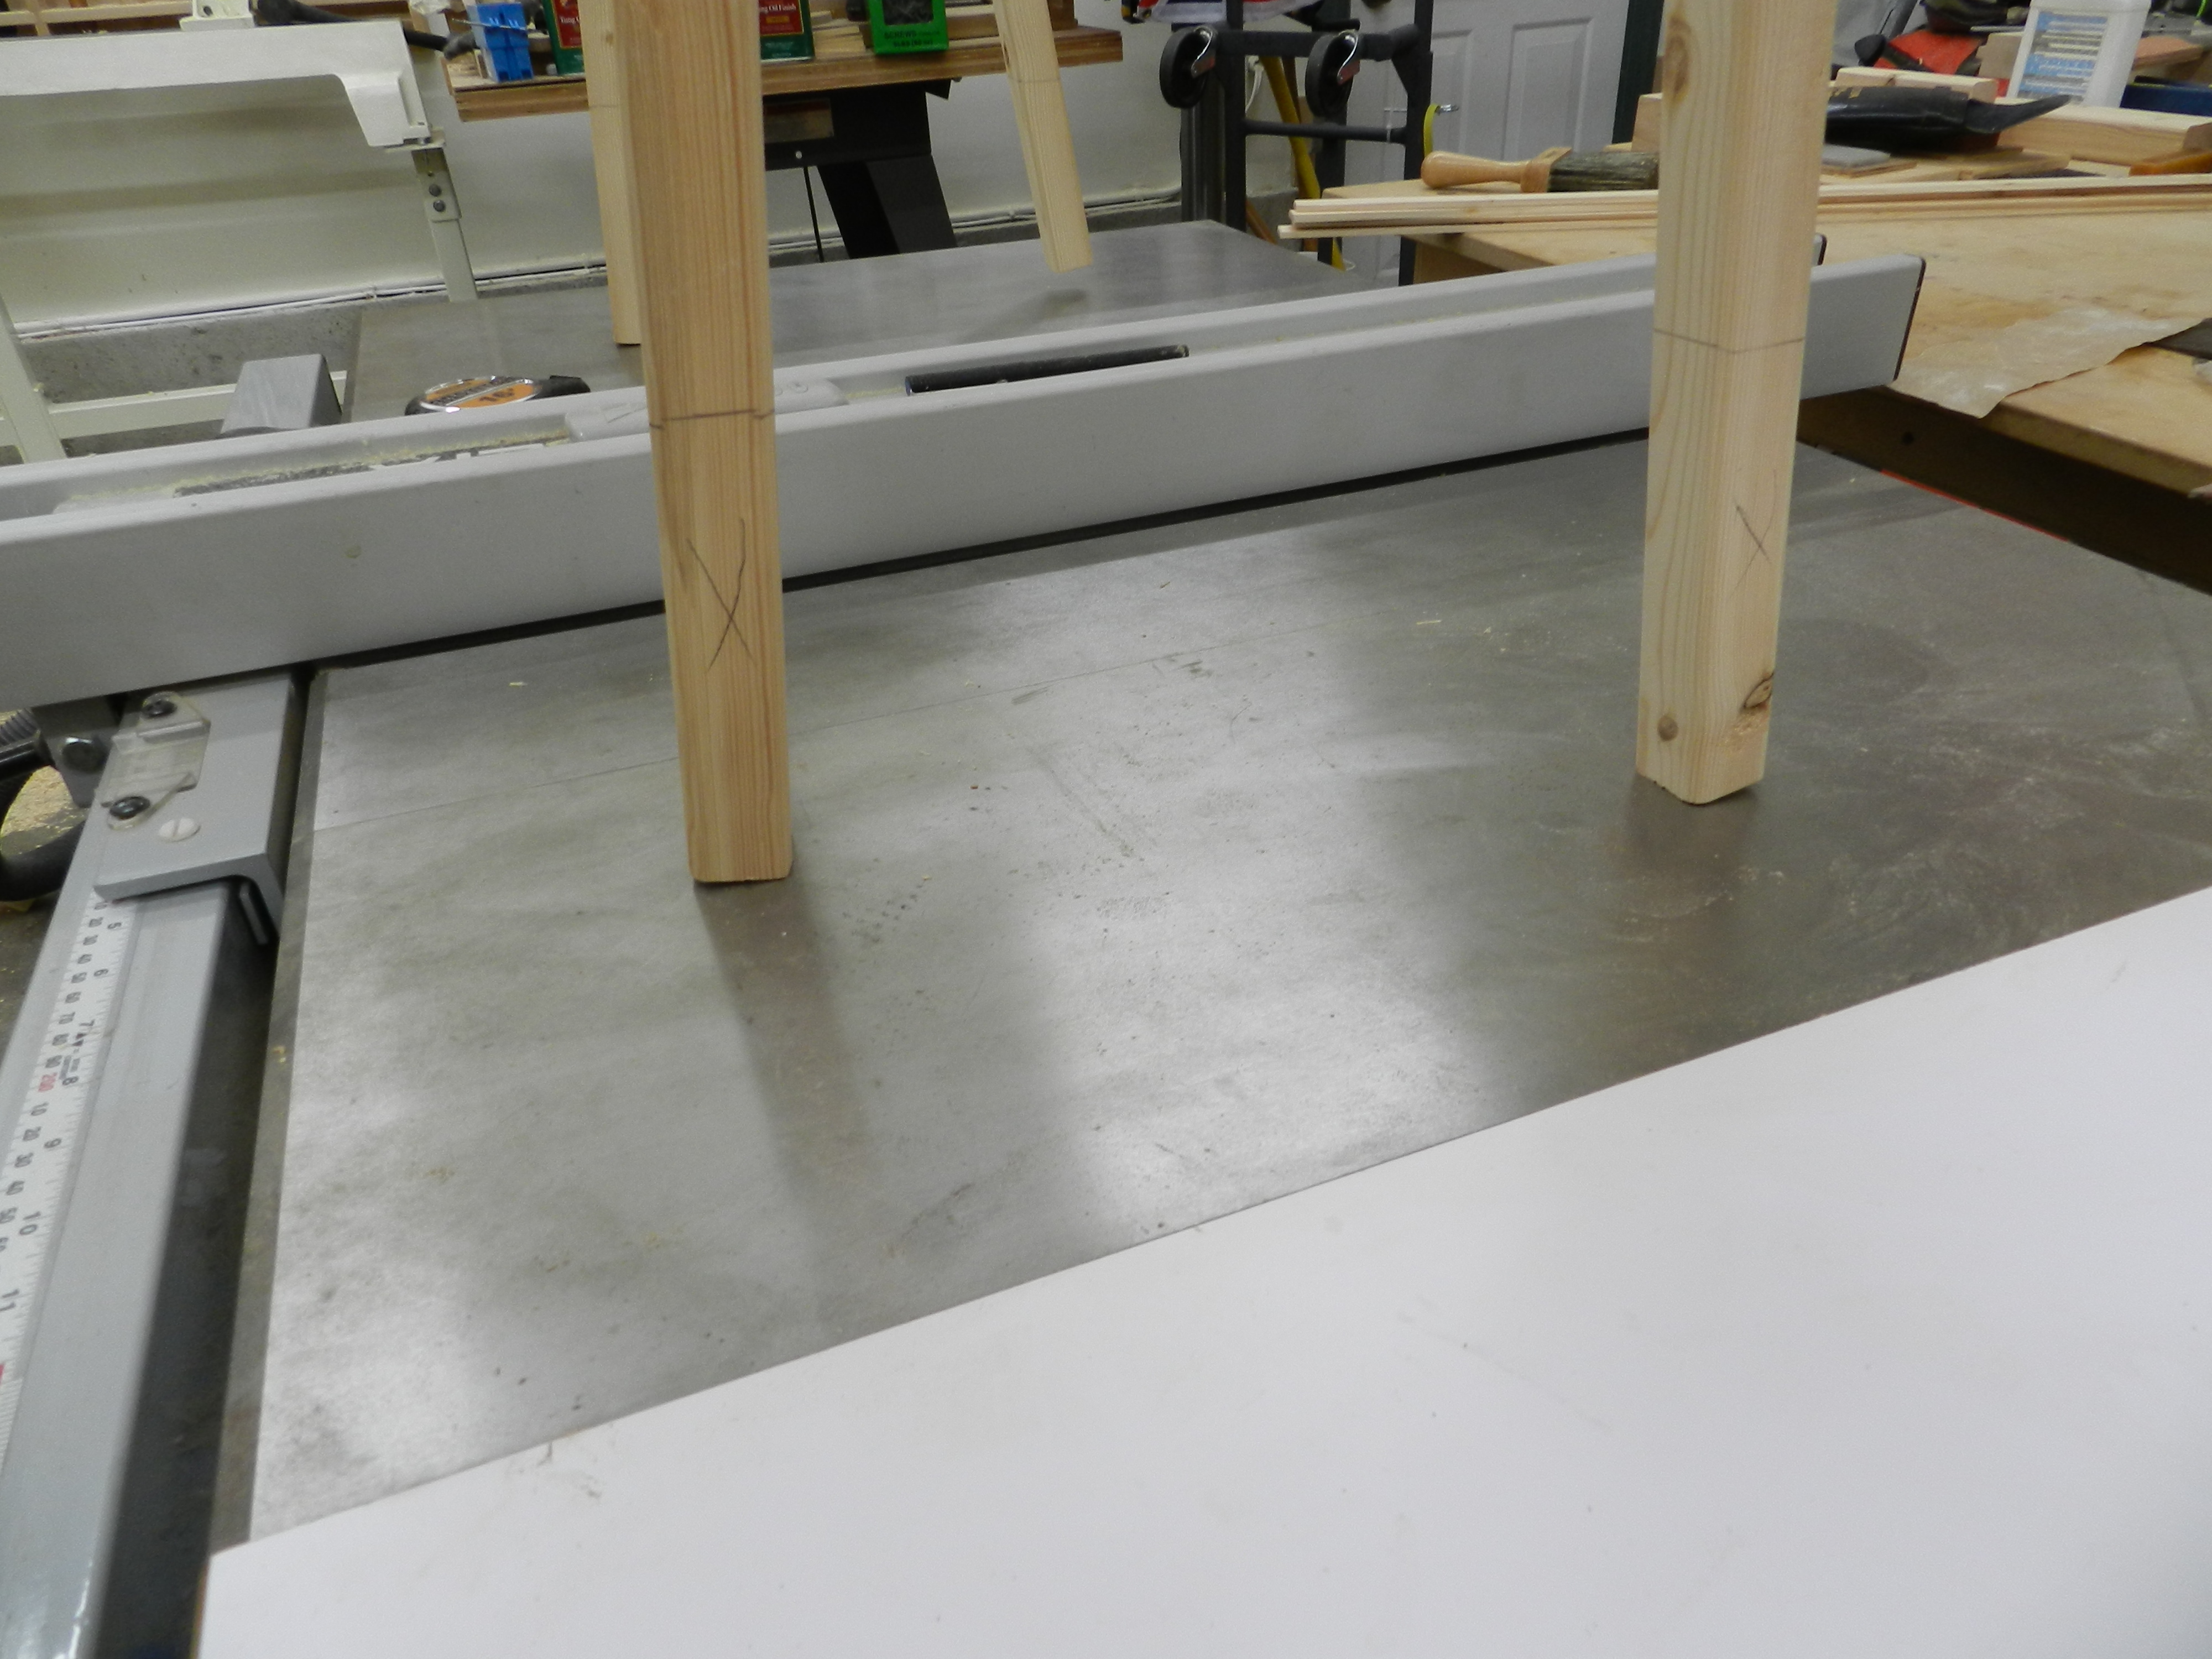
With the legs installed I put the bench on a known level surface, in this case my table saw. Using a compass or similar tool mark higher up on the legs and cut them where you marked them. Then chamfer the ends of the feet and you’re almost done.
Next I applied some end grain sealer (from Land Ark/Heritage Finishes) to reduce the likelihood of splitting in my heated shop. I also trimmed off the wedges and tenons.
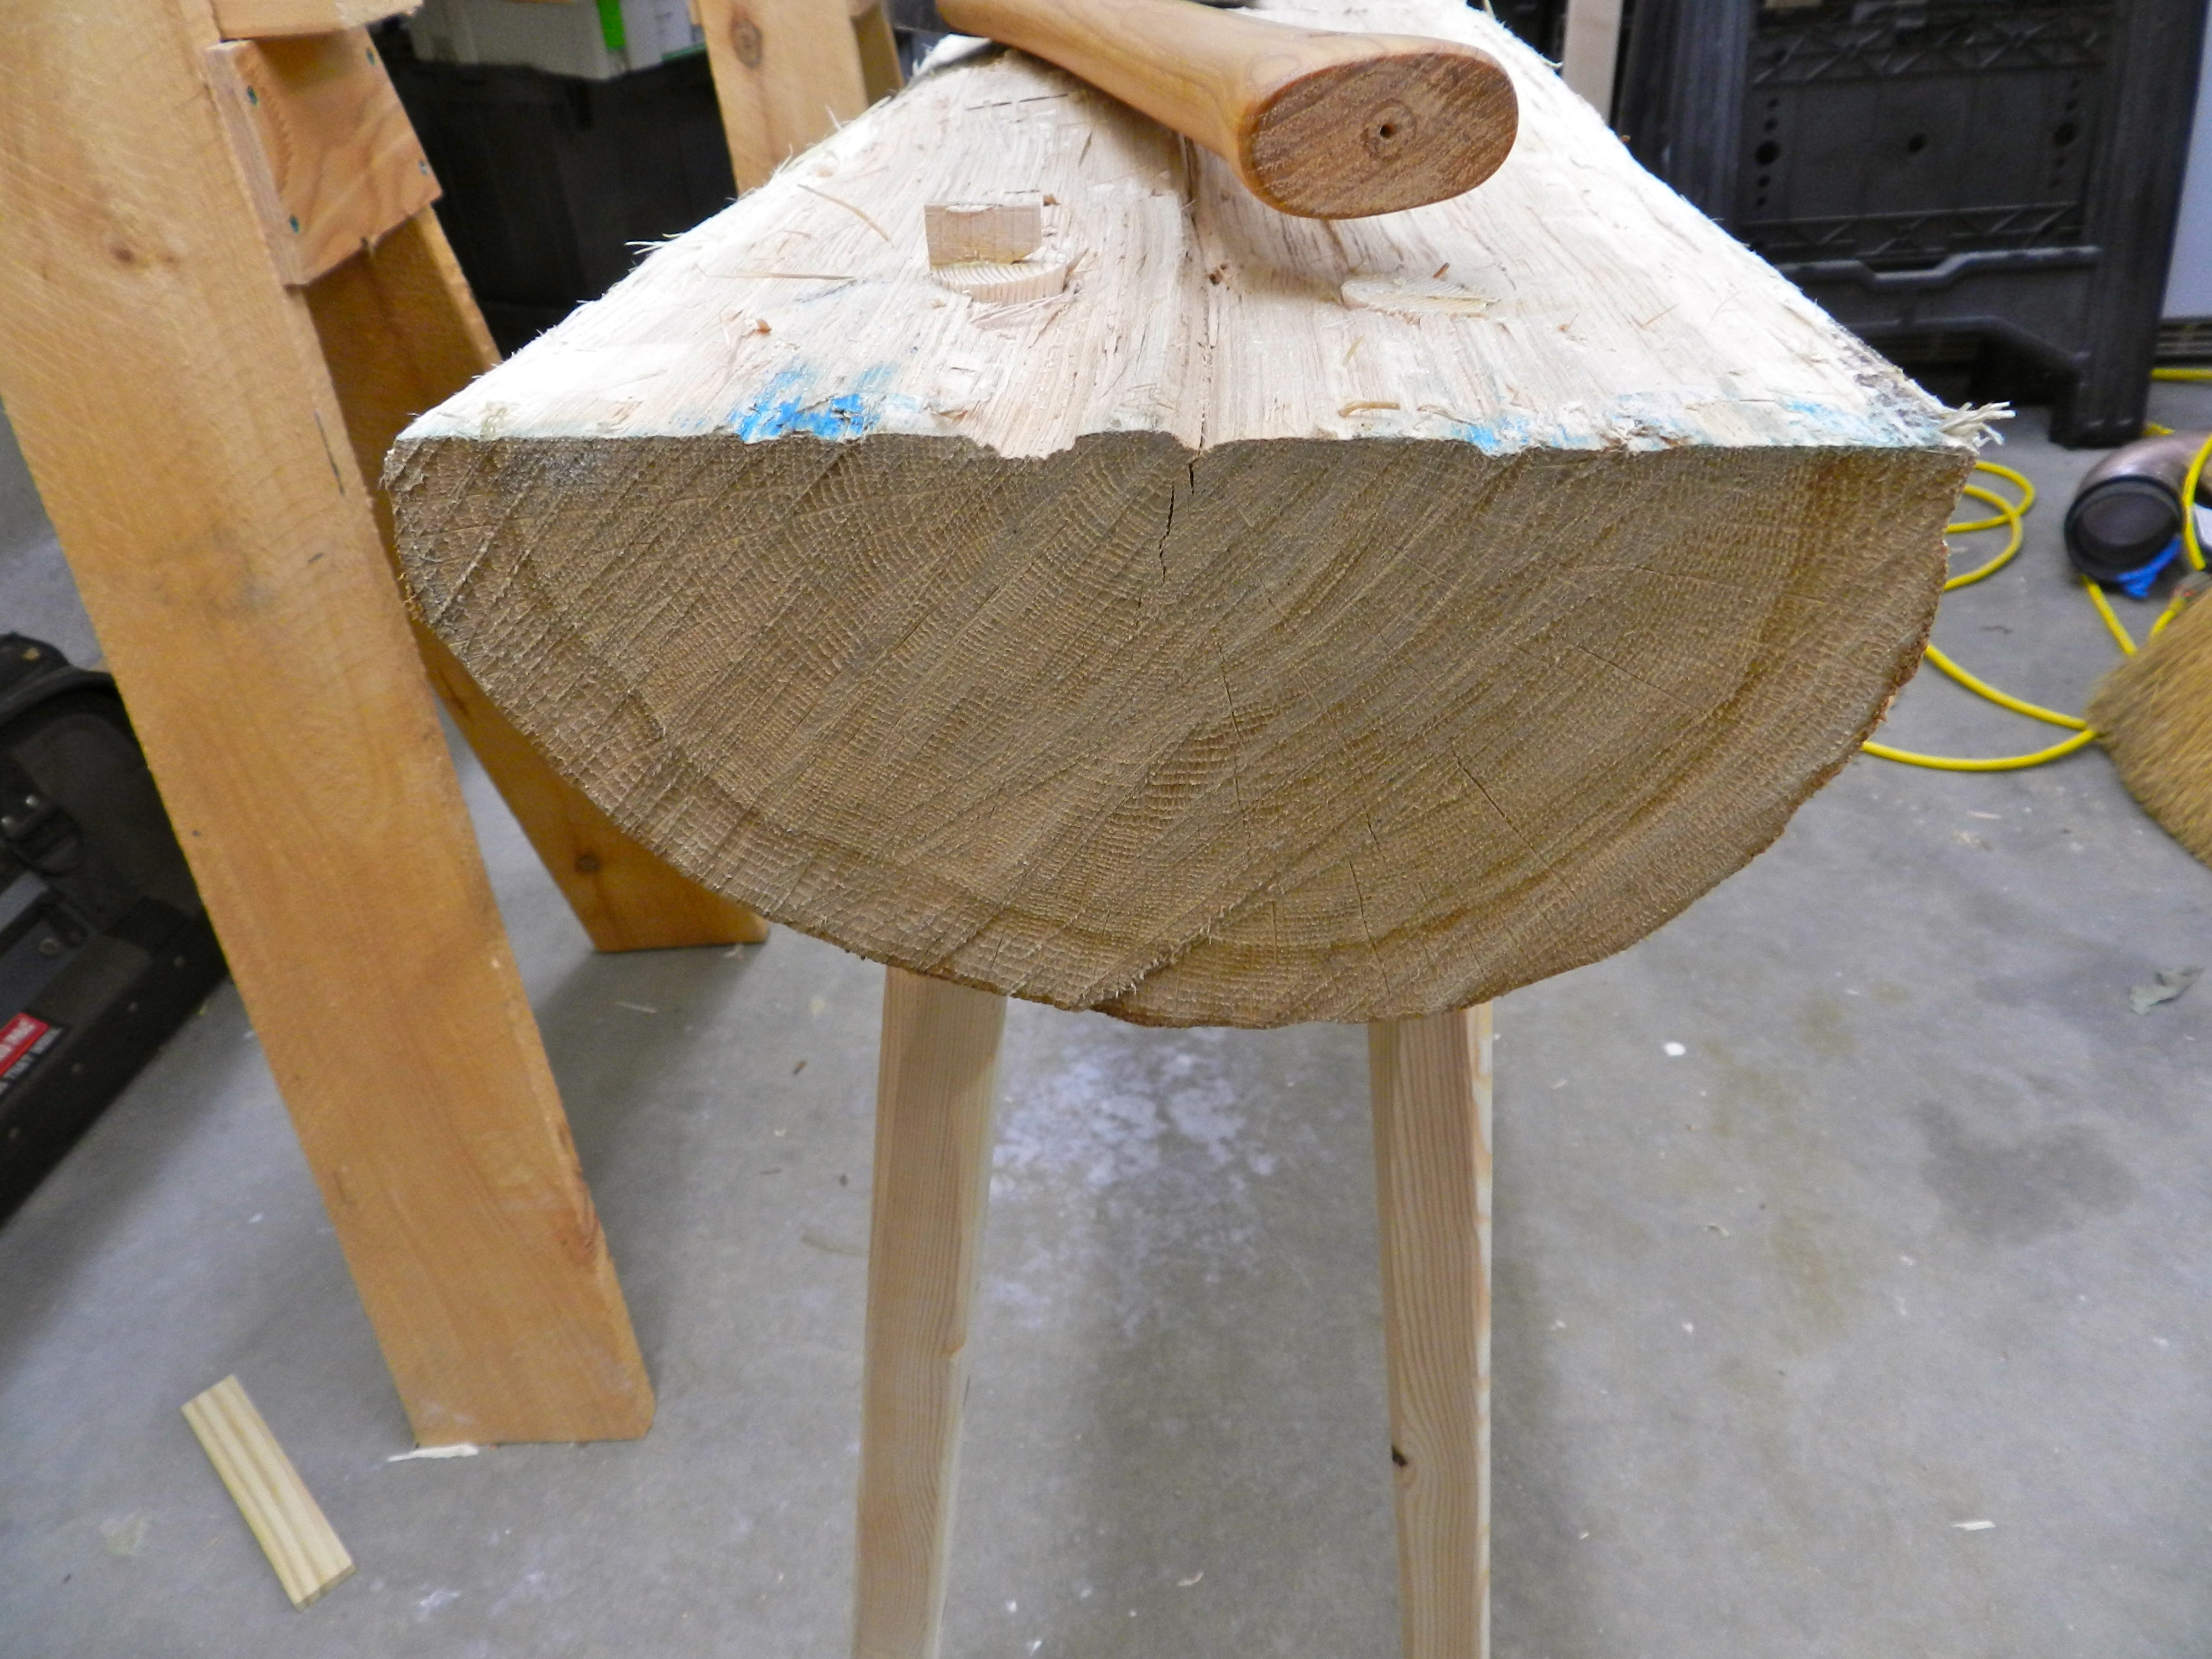
Now the bench is read for use in the shop. This bench, with it’s delicate looking legs, can hold me standing on it, so it should have no problem handling my in shop hewing needs.
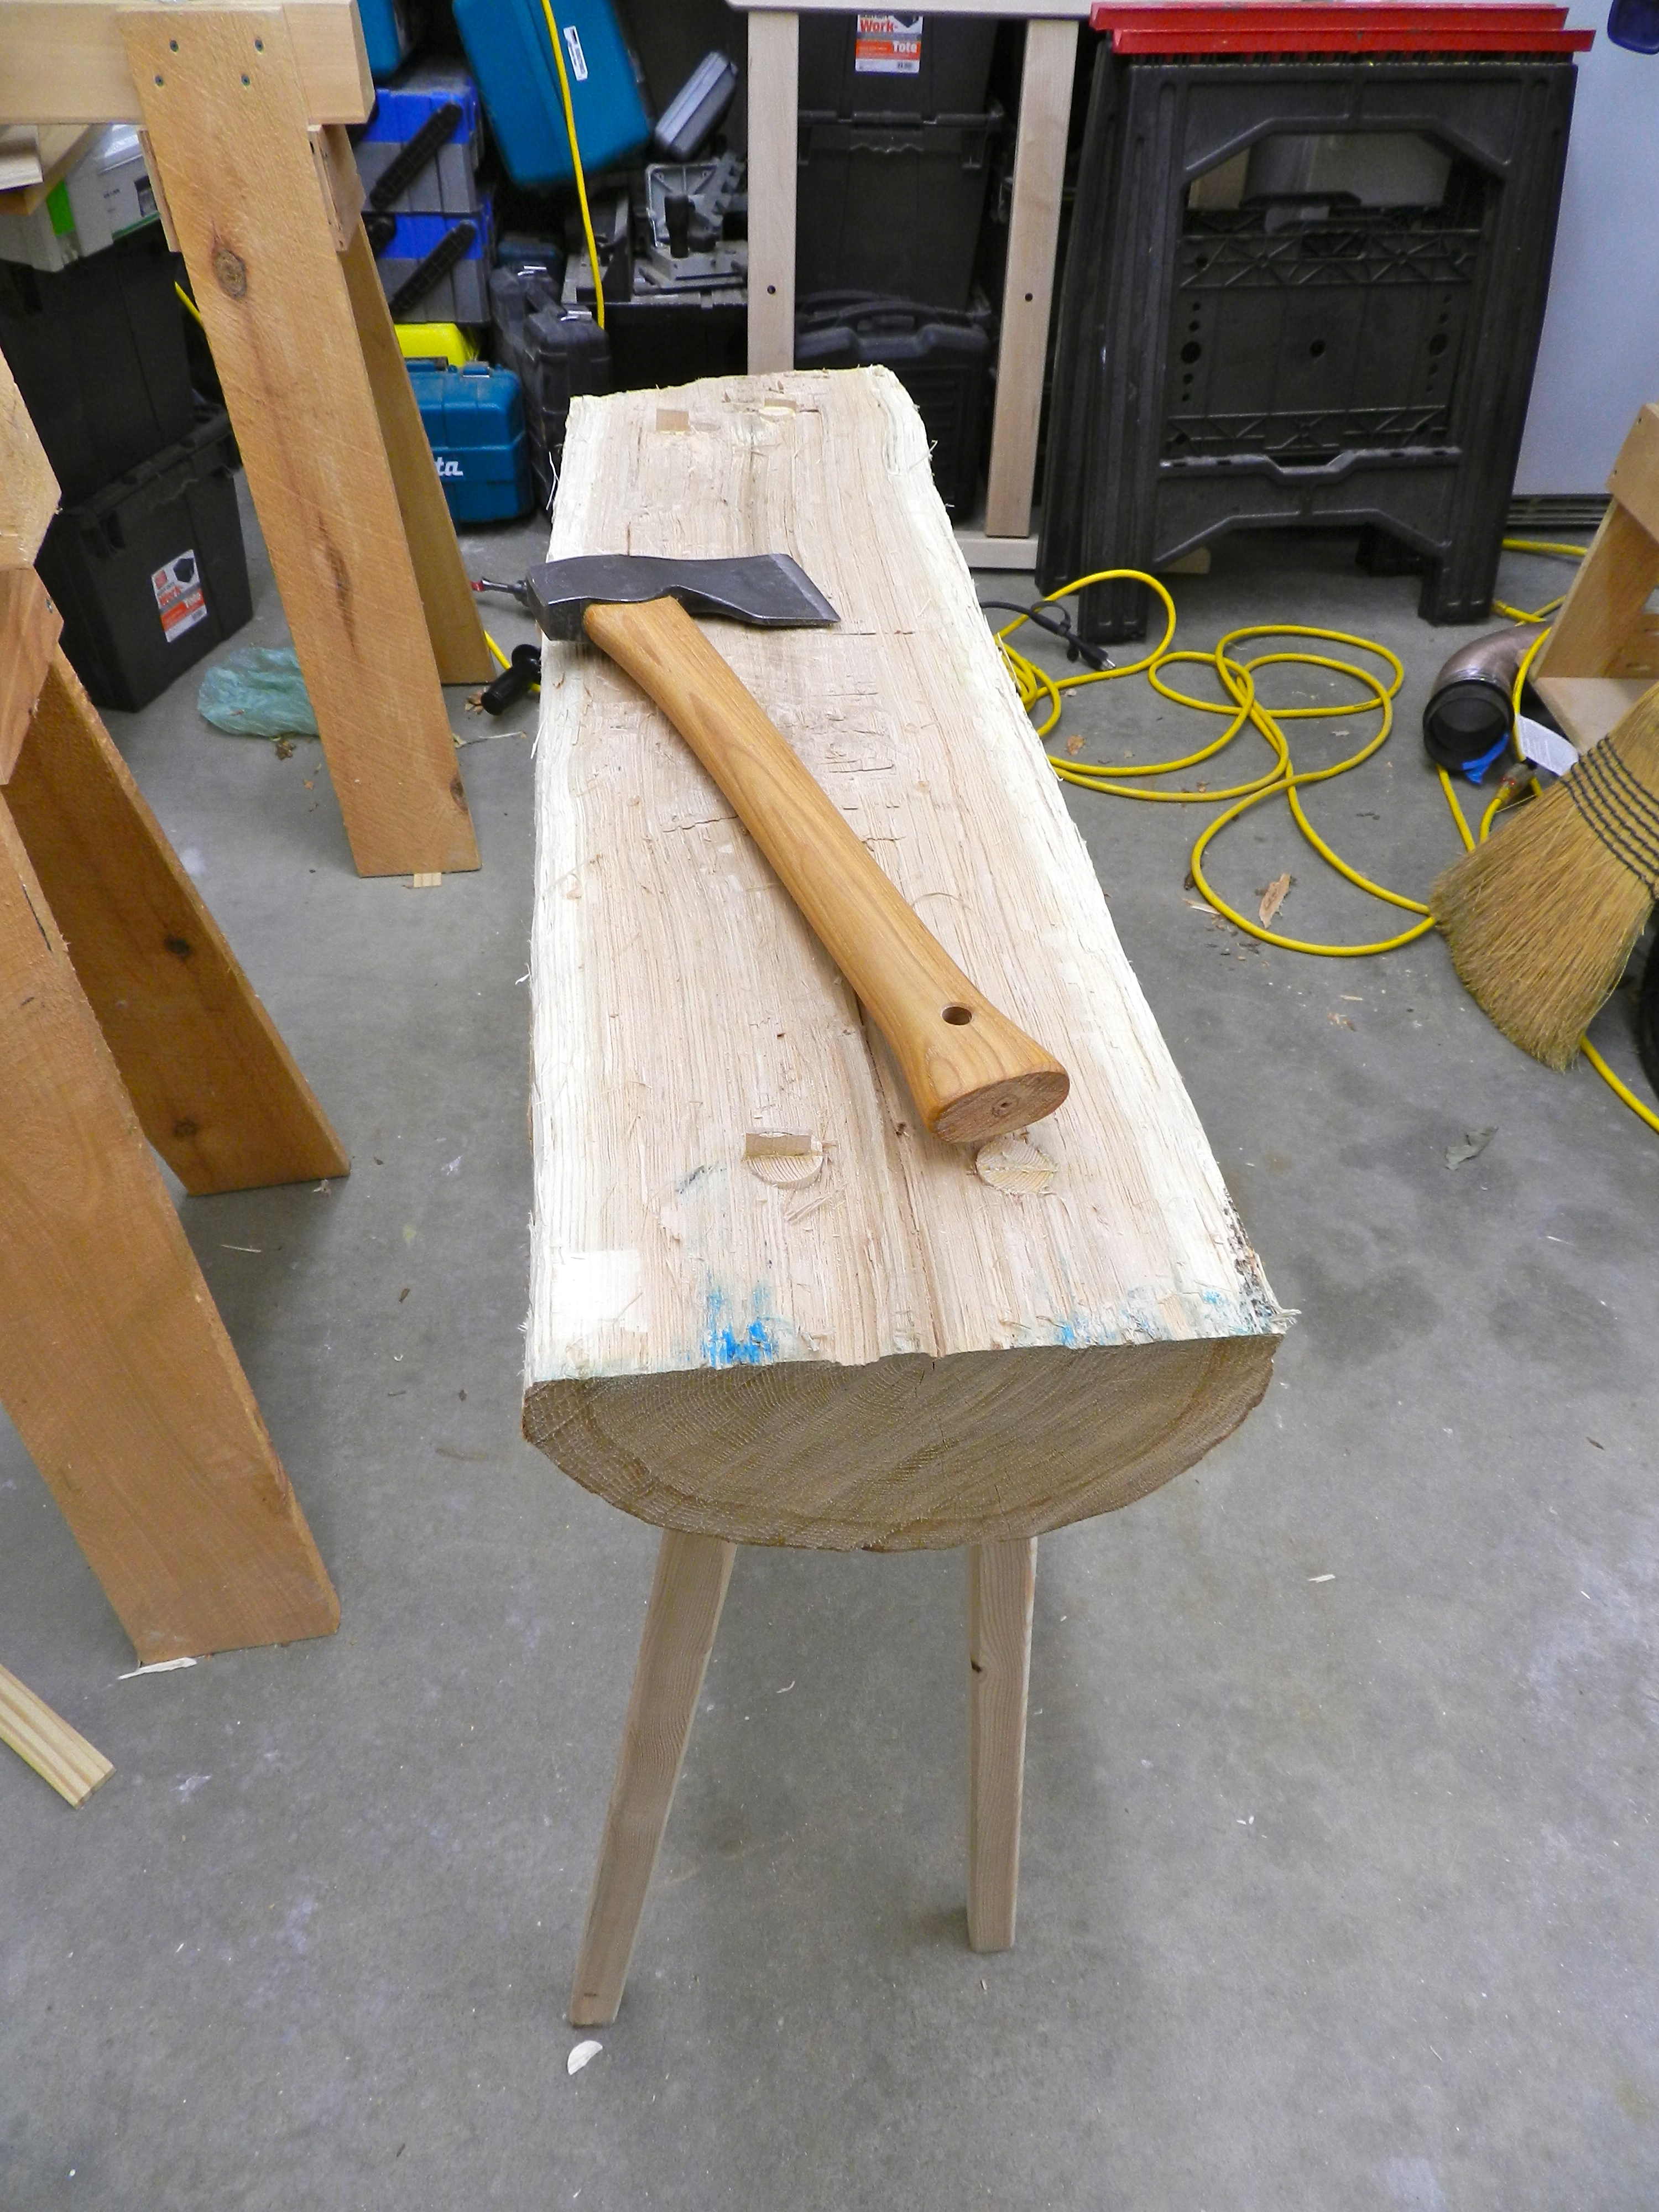
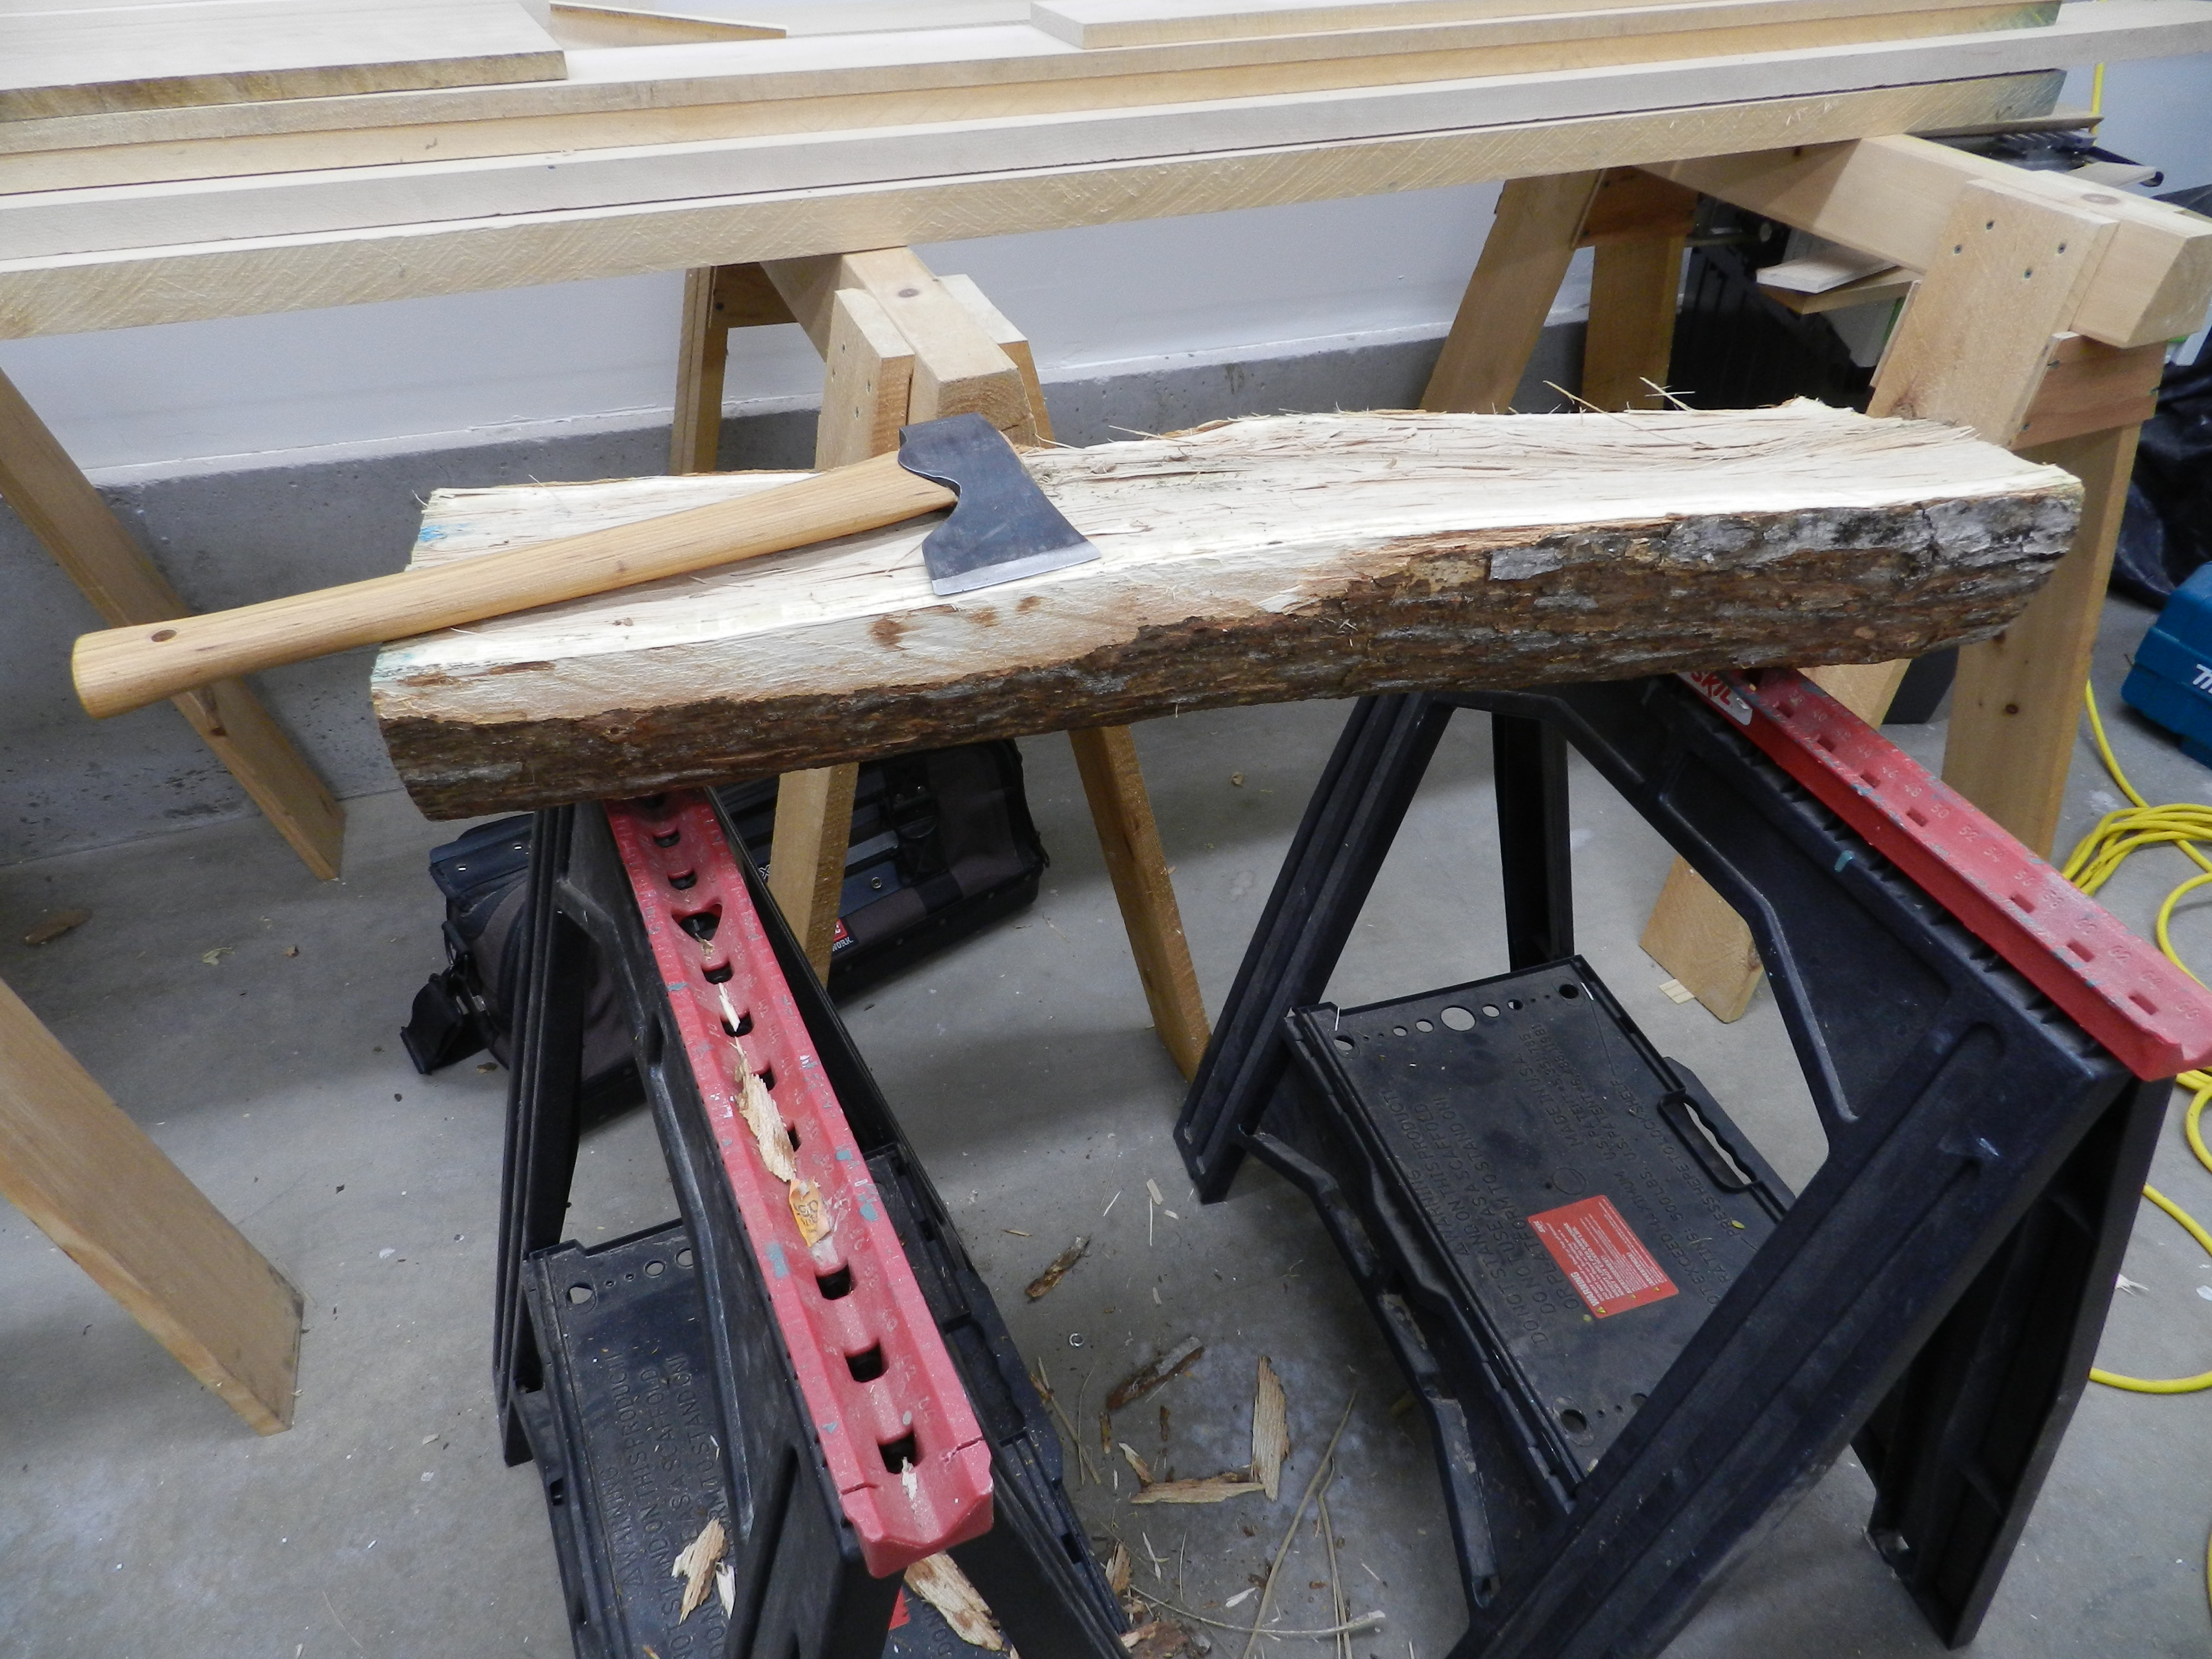
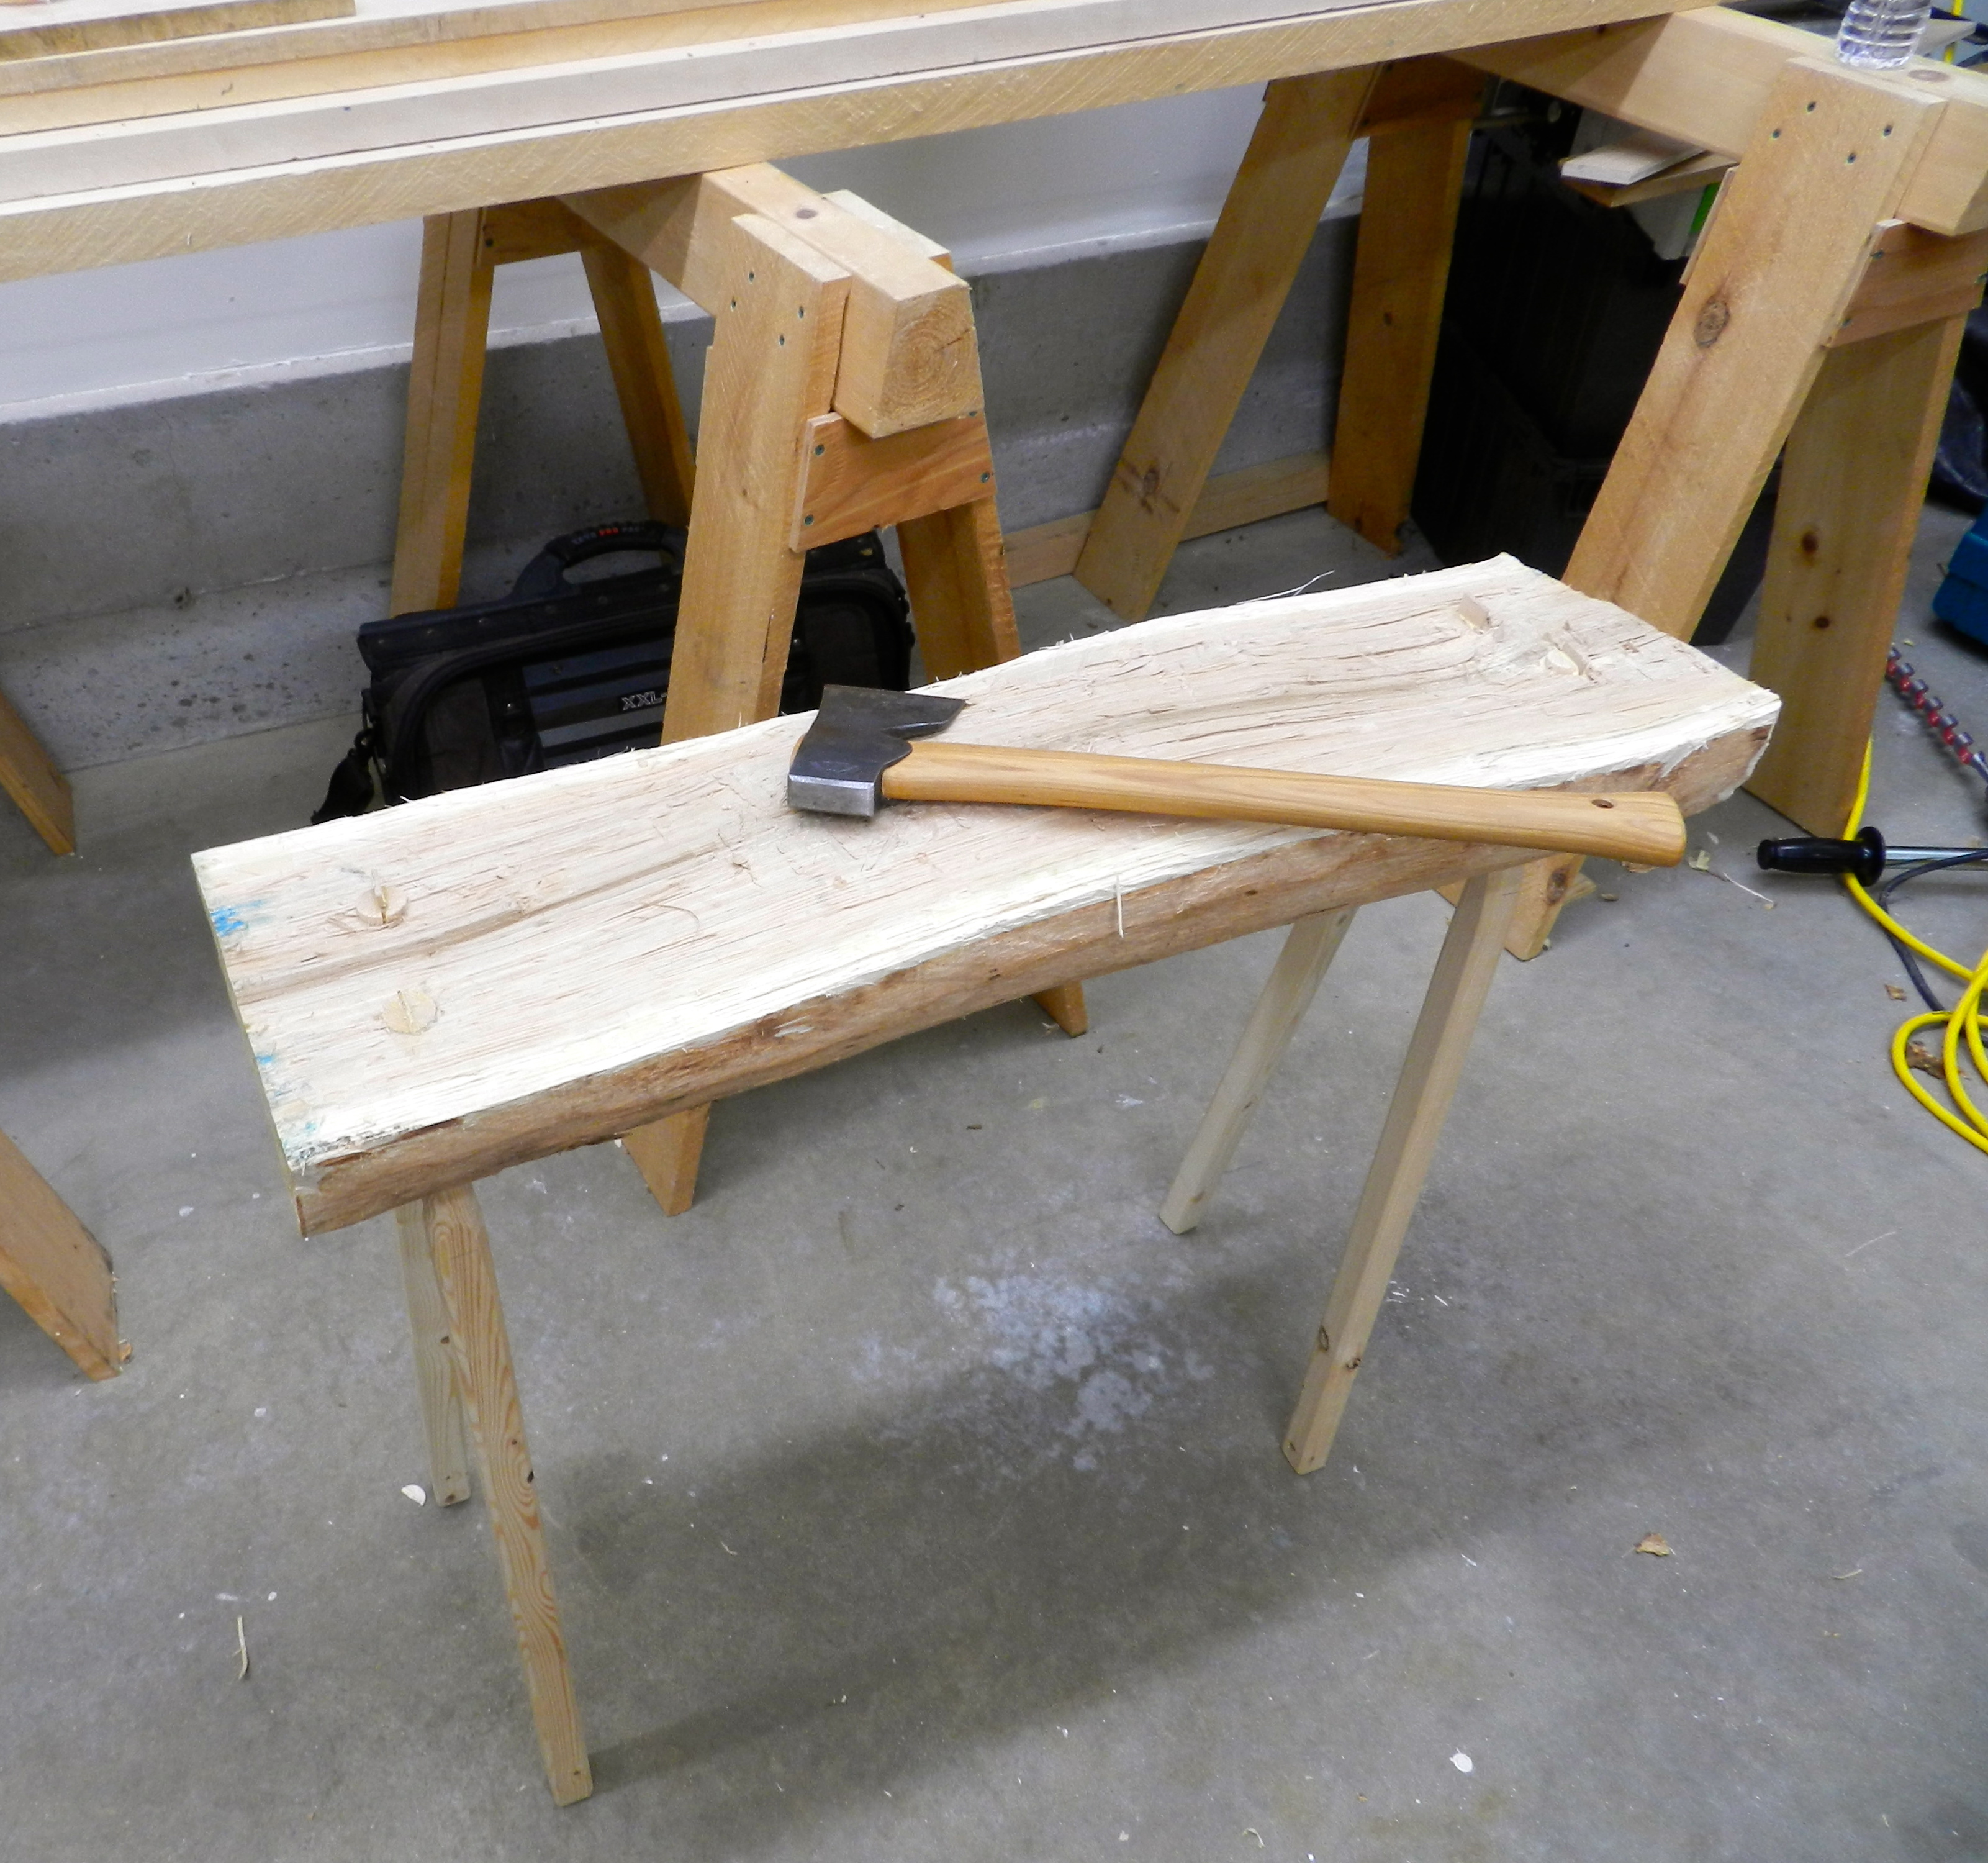
Shown here is a Gransfors Bruks hand made Swedish ax. This carpenter’s hatchet is my goto ax for small trimming work and is sharpened to the point of being able to shave with it. The poll (the other business end) of this ax is hardened and can be used like a hammer. The handle is carefully tapered to fit in the hand and without looking you know when your hand is at the end of the handle. The notch under the bit allows you to use this ax much like a large chisel or plane and can yield impressive results. I used this to quickly level bits of the bench surface.
For short cash, a few tools and an afternoon in the shop this project is well worth the effort.
Take care,
-Bill