The best saw horses cannot be bought in a store, you have to build them. I’ve seen plastic saw horses bend and buckle under < 200 pounds of load. I’ve seen 2×4 saw horses with sheet metal couplers deform and crush.
When I was a student at NBSS one of the first projects we completed was building a pair of solid wood saw horses that could meet the heavy demands of a preservation carpenter. The school would load them up with more material than I ever thought a simple horse could hold. I was so impressed with how well they turned out I built 10 more while I was there and they have served me well over the years.
Right now as I build a 24’x30′ timber framed barn out in the yard I built another 28 horses to hold all the timber off the ground for sorting and working through the piles. The post below covers how I built these heavy duty horses.
For a large run of horses like this it is important to run through each operation like a small assembly line, though at times it can feel like a slog — after cutting 112 legs you become a master at optimizing all of your operations.
The wood of choice is green eastern white pine we buy from a local sawyer/lumber company. (Copeland And Sons Lumber). The beams (the work surface of a horse) is cut from a 4x4x12′, the legs are made from 1x6x12′ boards and the gussets are made from 1/2″ CDX plywood. Buying rough green stock like this from a sawyer helps keep the price per horse reasonable and the wood is full size, not nominal, so my 4×4 is 4″x4″ when I get it. I estimate that they cost me < $10 each in terms of materials.
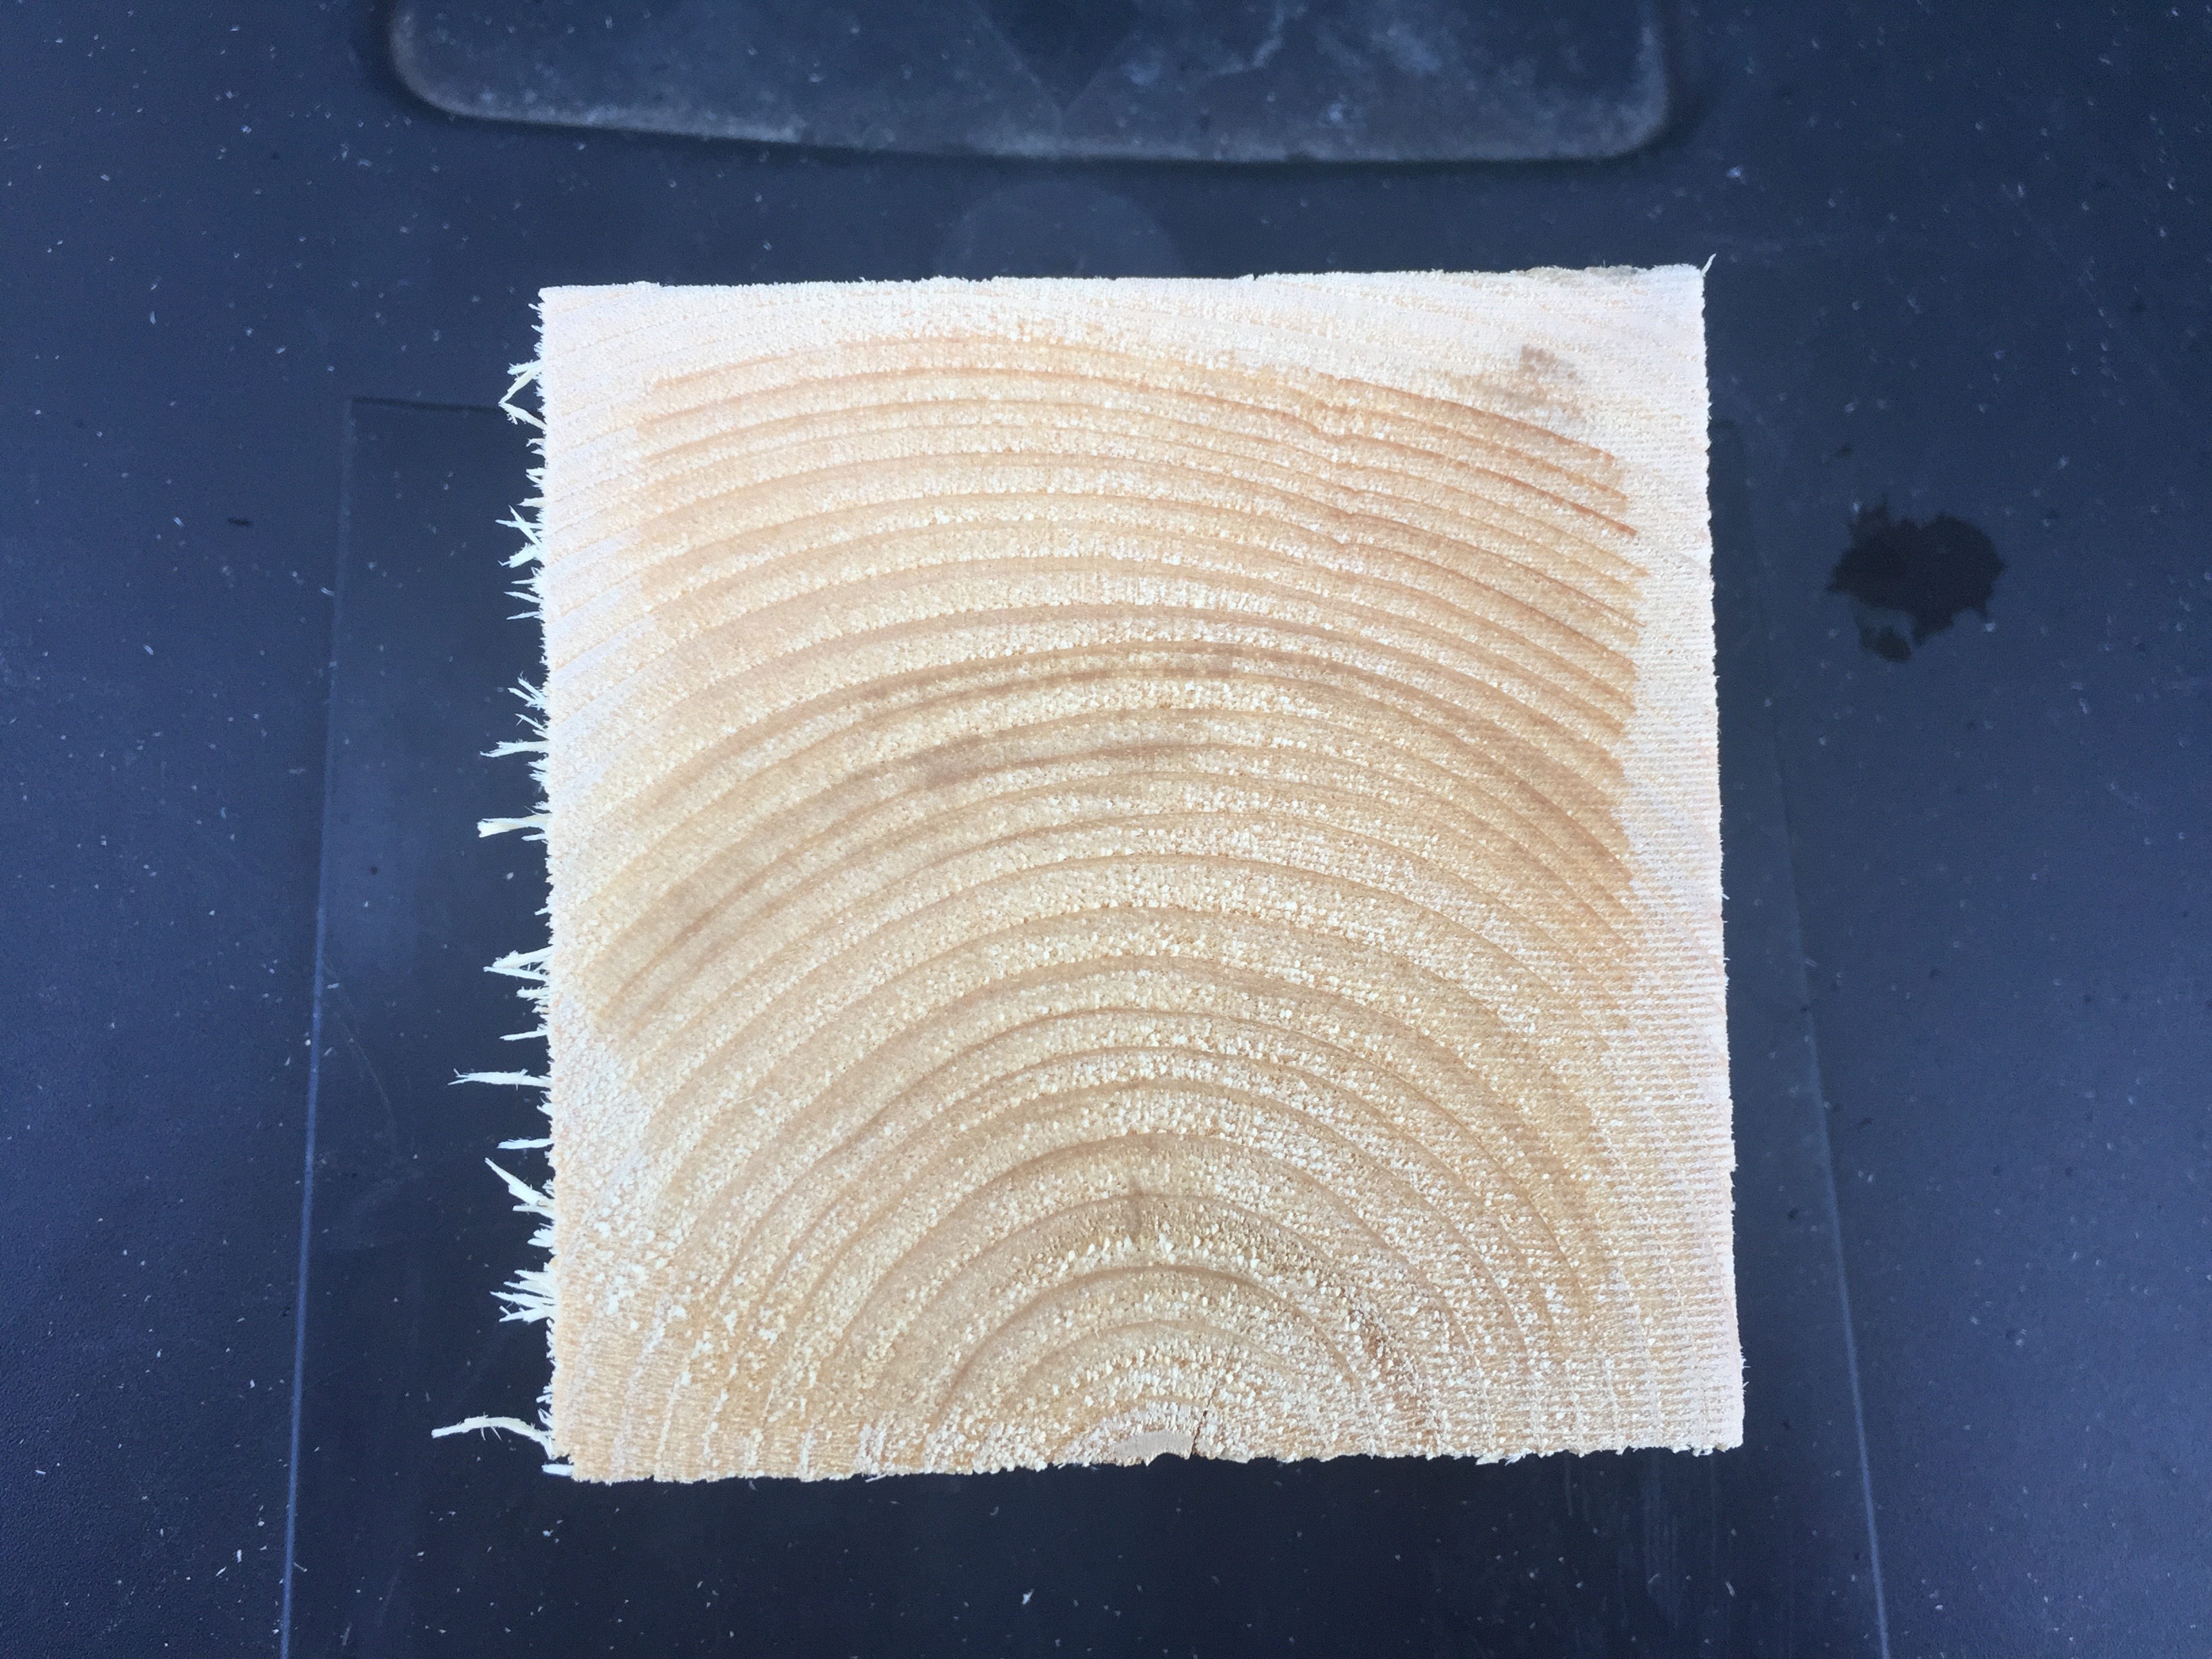
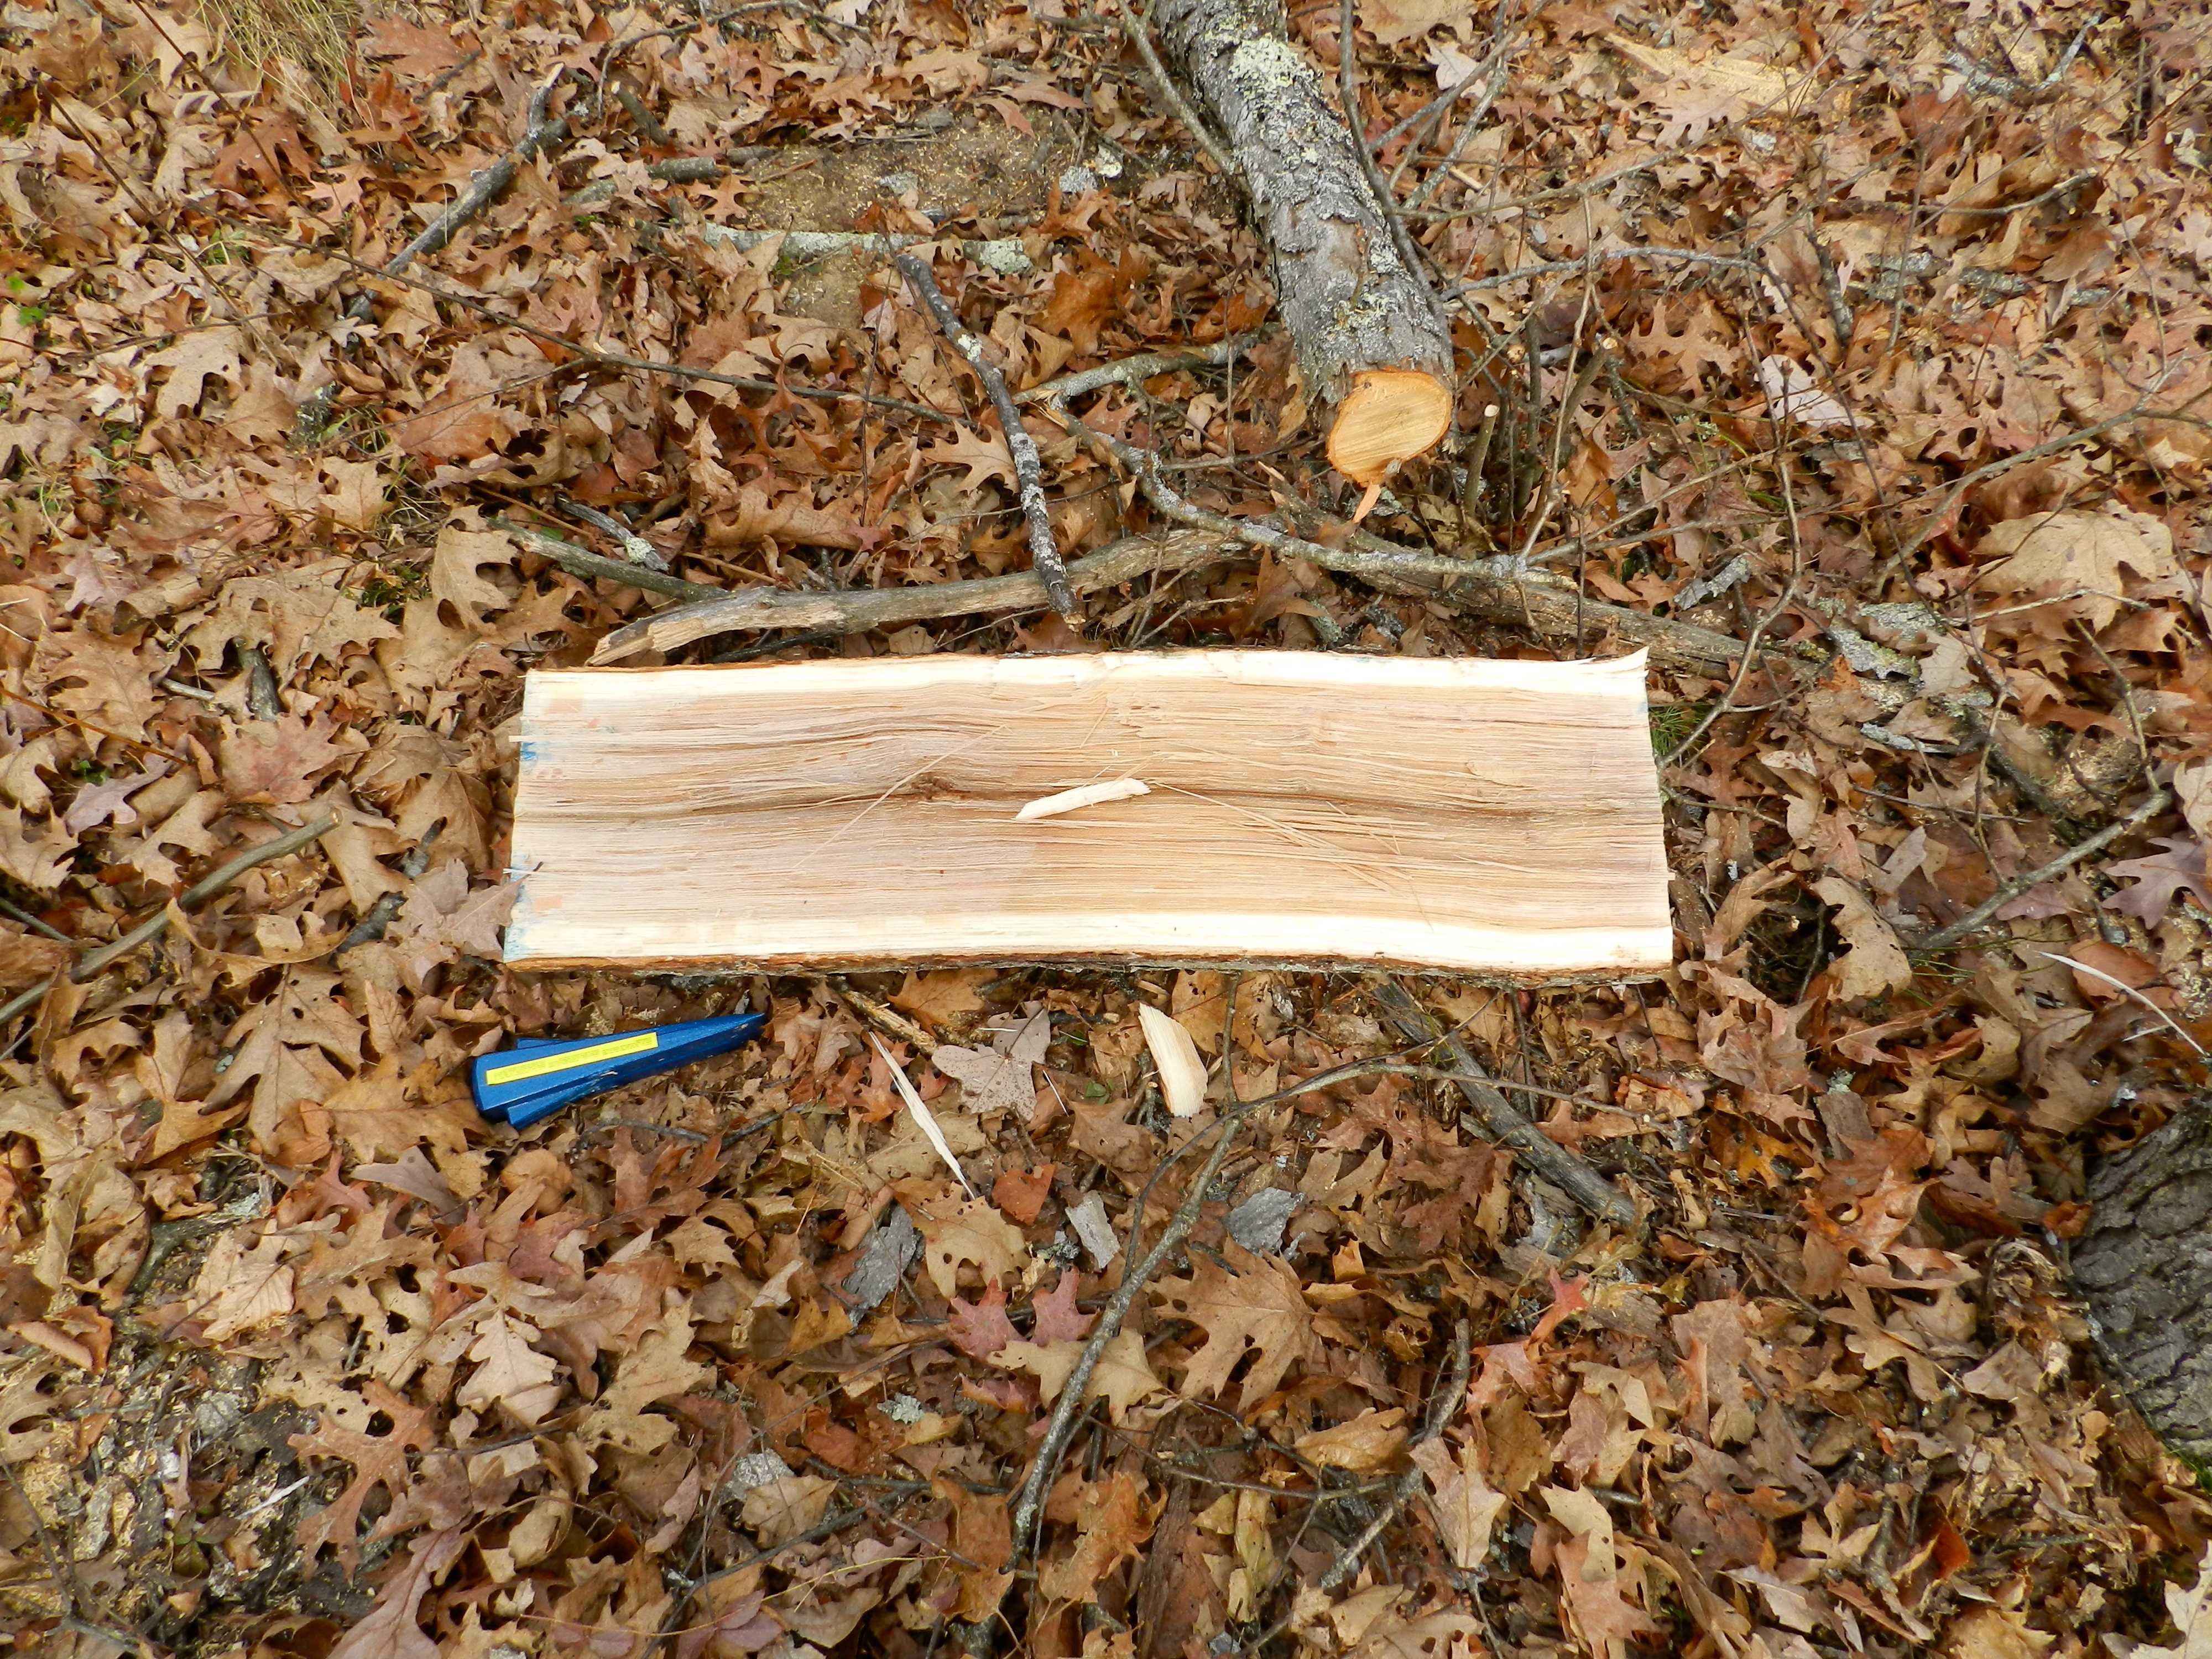
A note on working with green lumber, for horses or timber frames or similar projects — this wood was a tree possibly only a day or two before I get it, so if you use a power tool you may get some water spray on you. Be warned. Also make sure you wipe down and oil your tools appropriately so they do not rust. In the photo above you can see the outer 1/4″ or so that has dried a bit vs the wet center on this fresh cut off piece.
I start by cutting the beams to 36″ long. I then cut a 12 degree bevel on two sides. If your table saw cannot cut a full 4″ on an angle you can cut as much as you can, snap off most of the waste and then use a jointer or portable power planer (like 3-1/4″ Makita Door planer) to even out the side.
I also stamped my name into the end grain of each beam with my name stamp. It makes it easy to tell my horses apart from say another friend from the school.
Next up I ripped my 4×8 sheet of 1/2″ CDX plywood into ~4″ wide strips. I then took a second pass on each strip with the blade set to a 5 degree angle. This allows the gussets to nestle up tightly against the beam during final assembly.

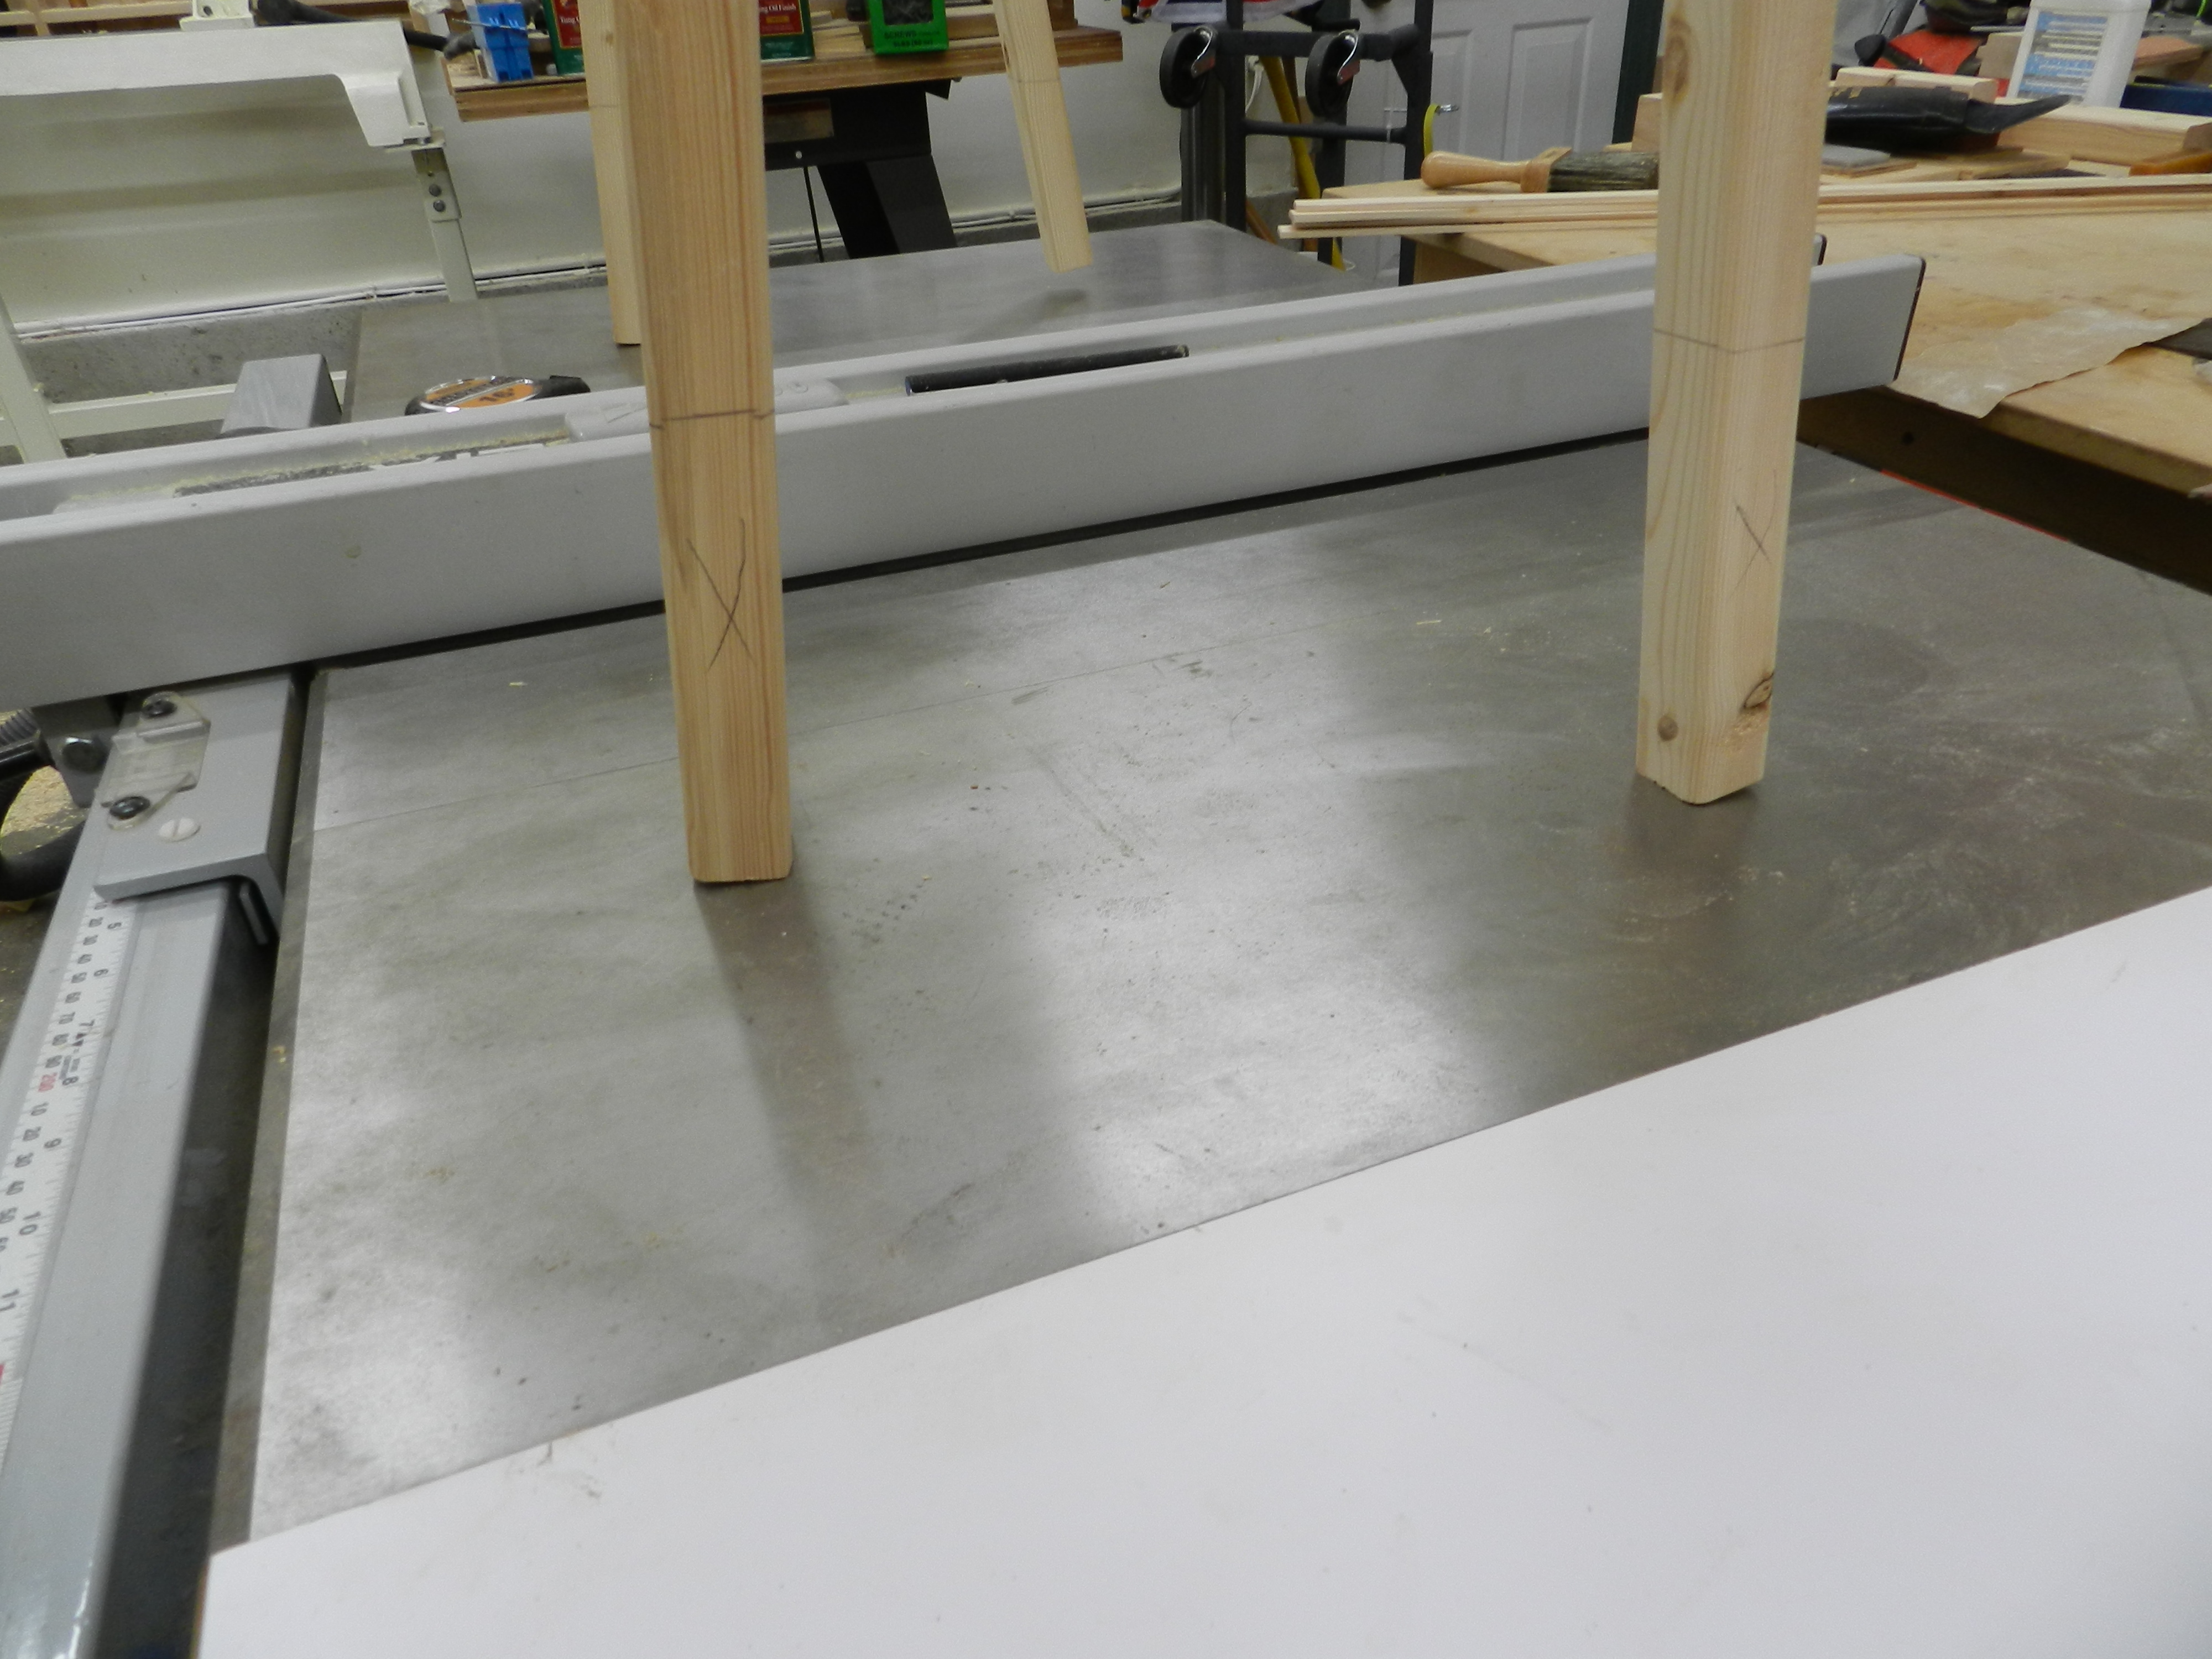
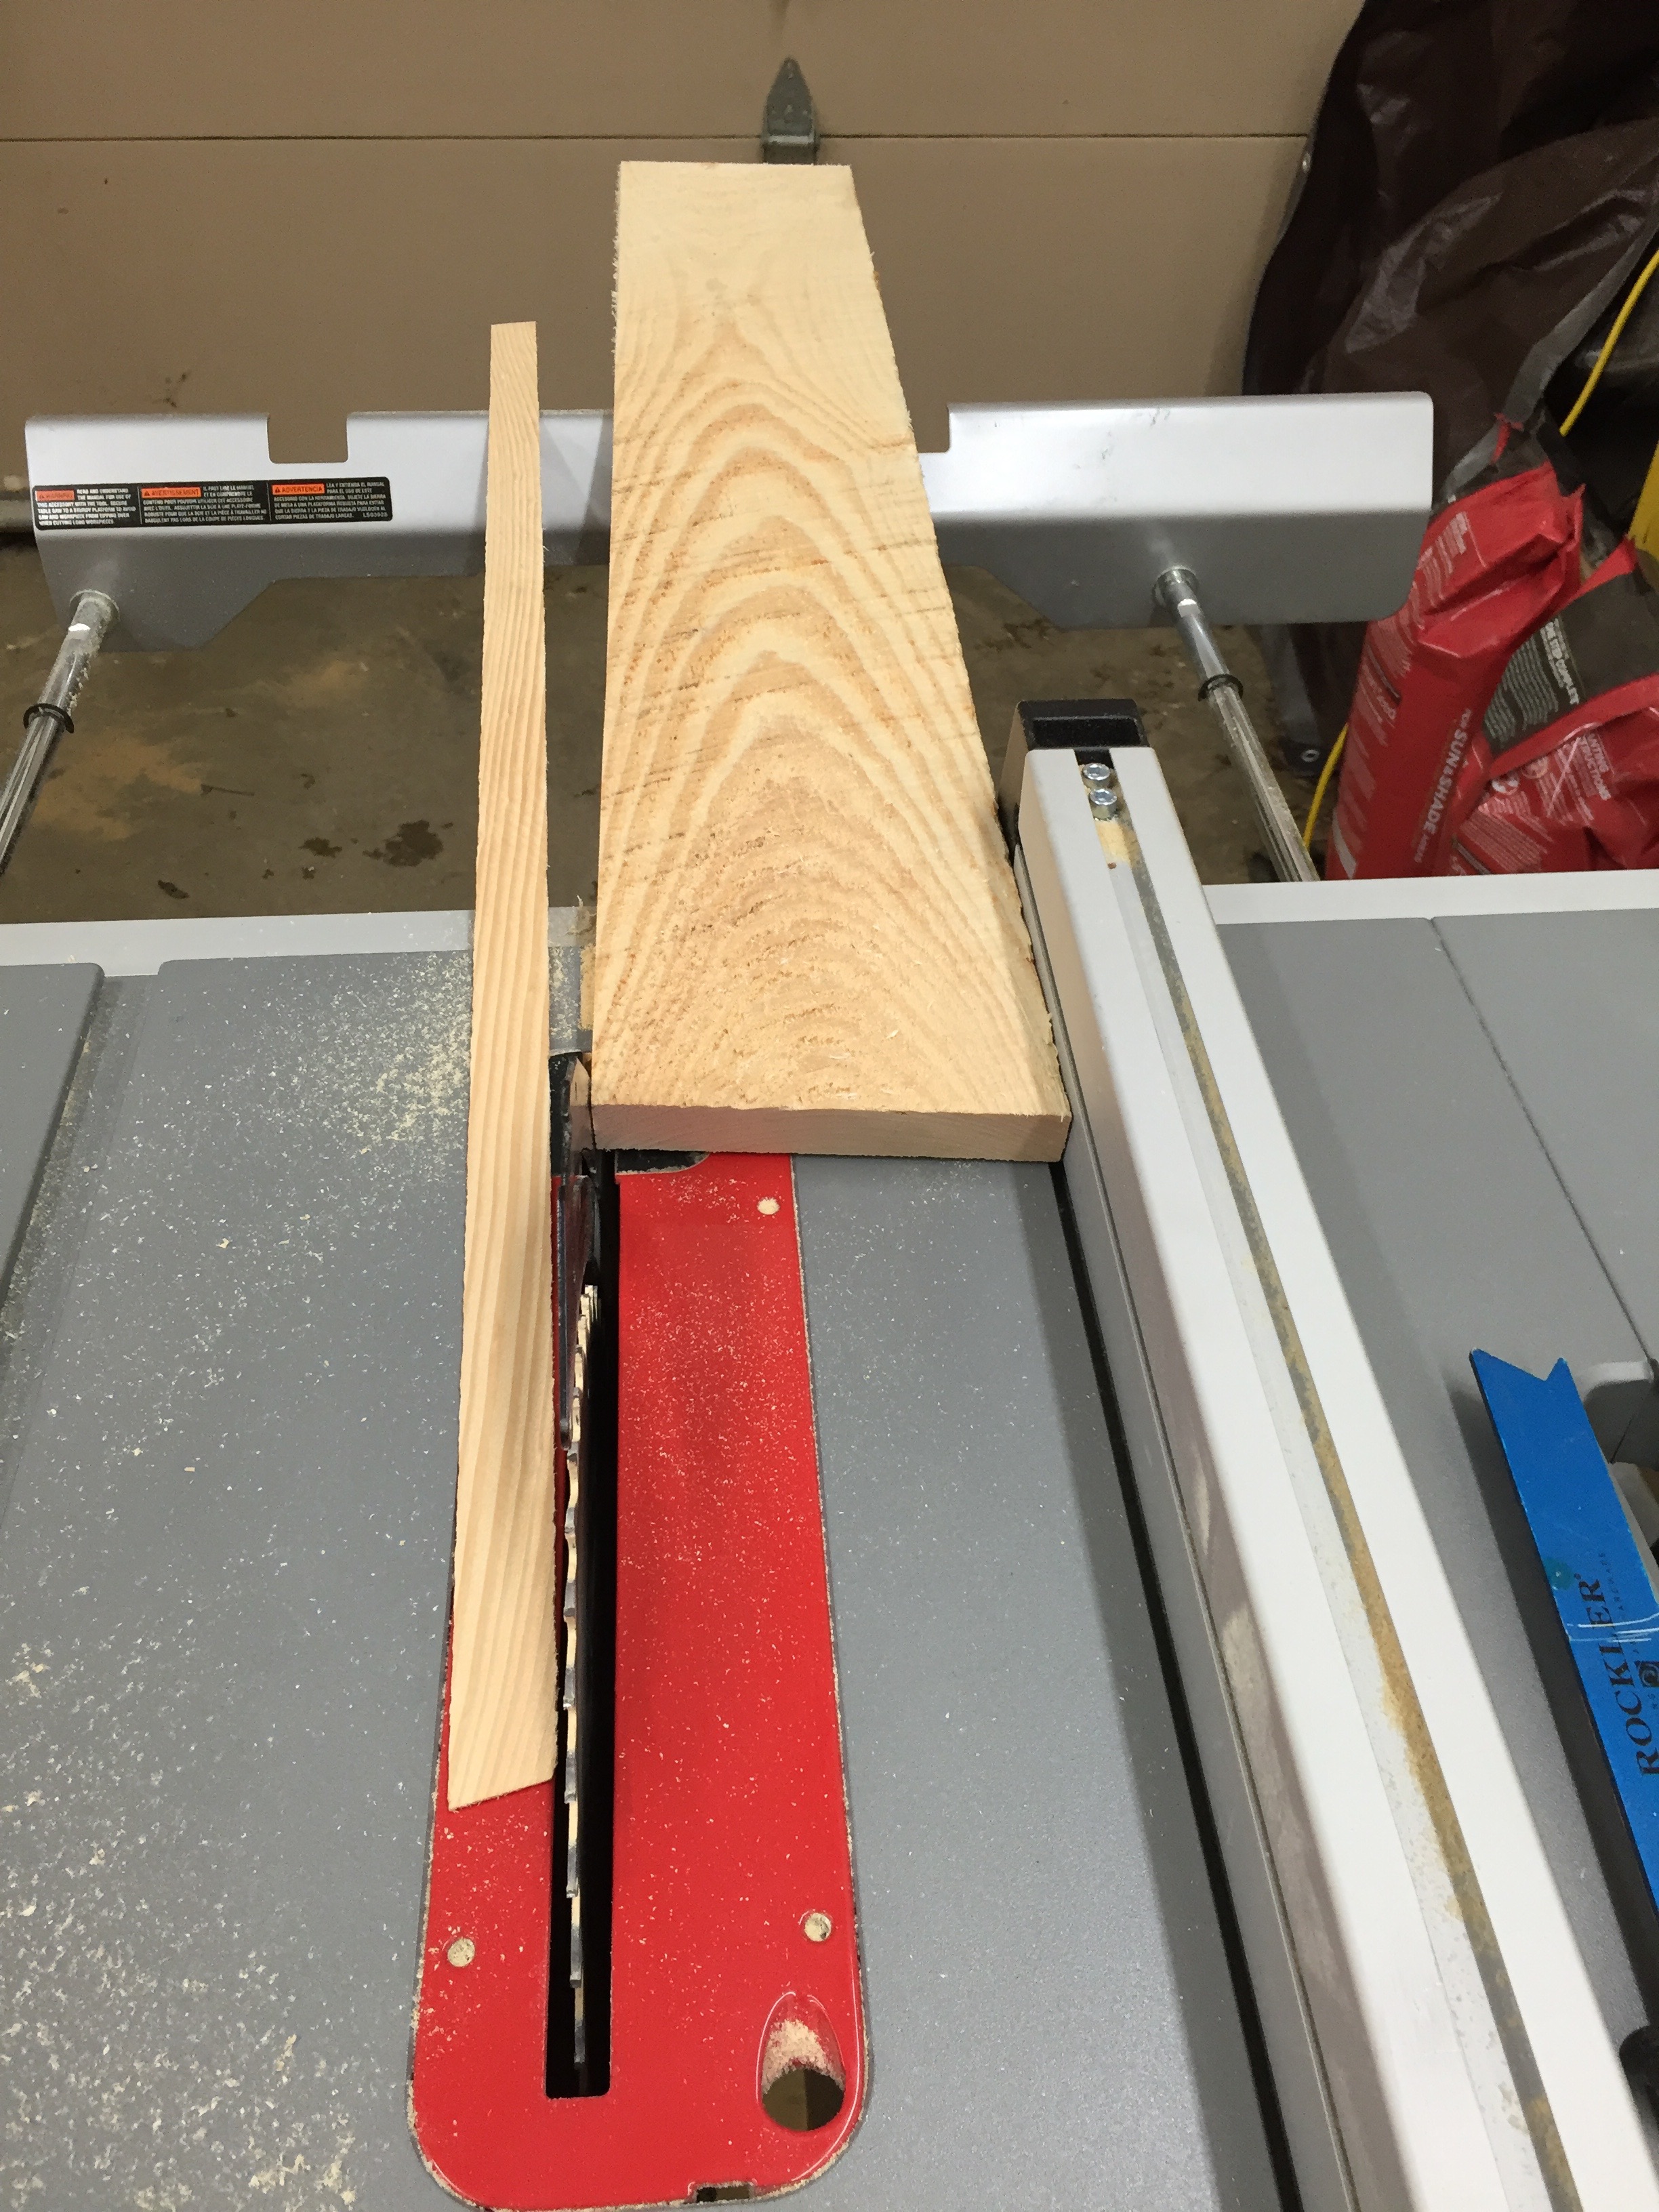
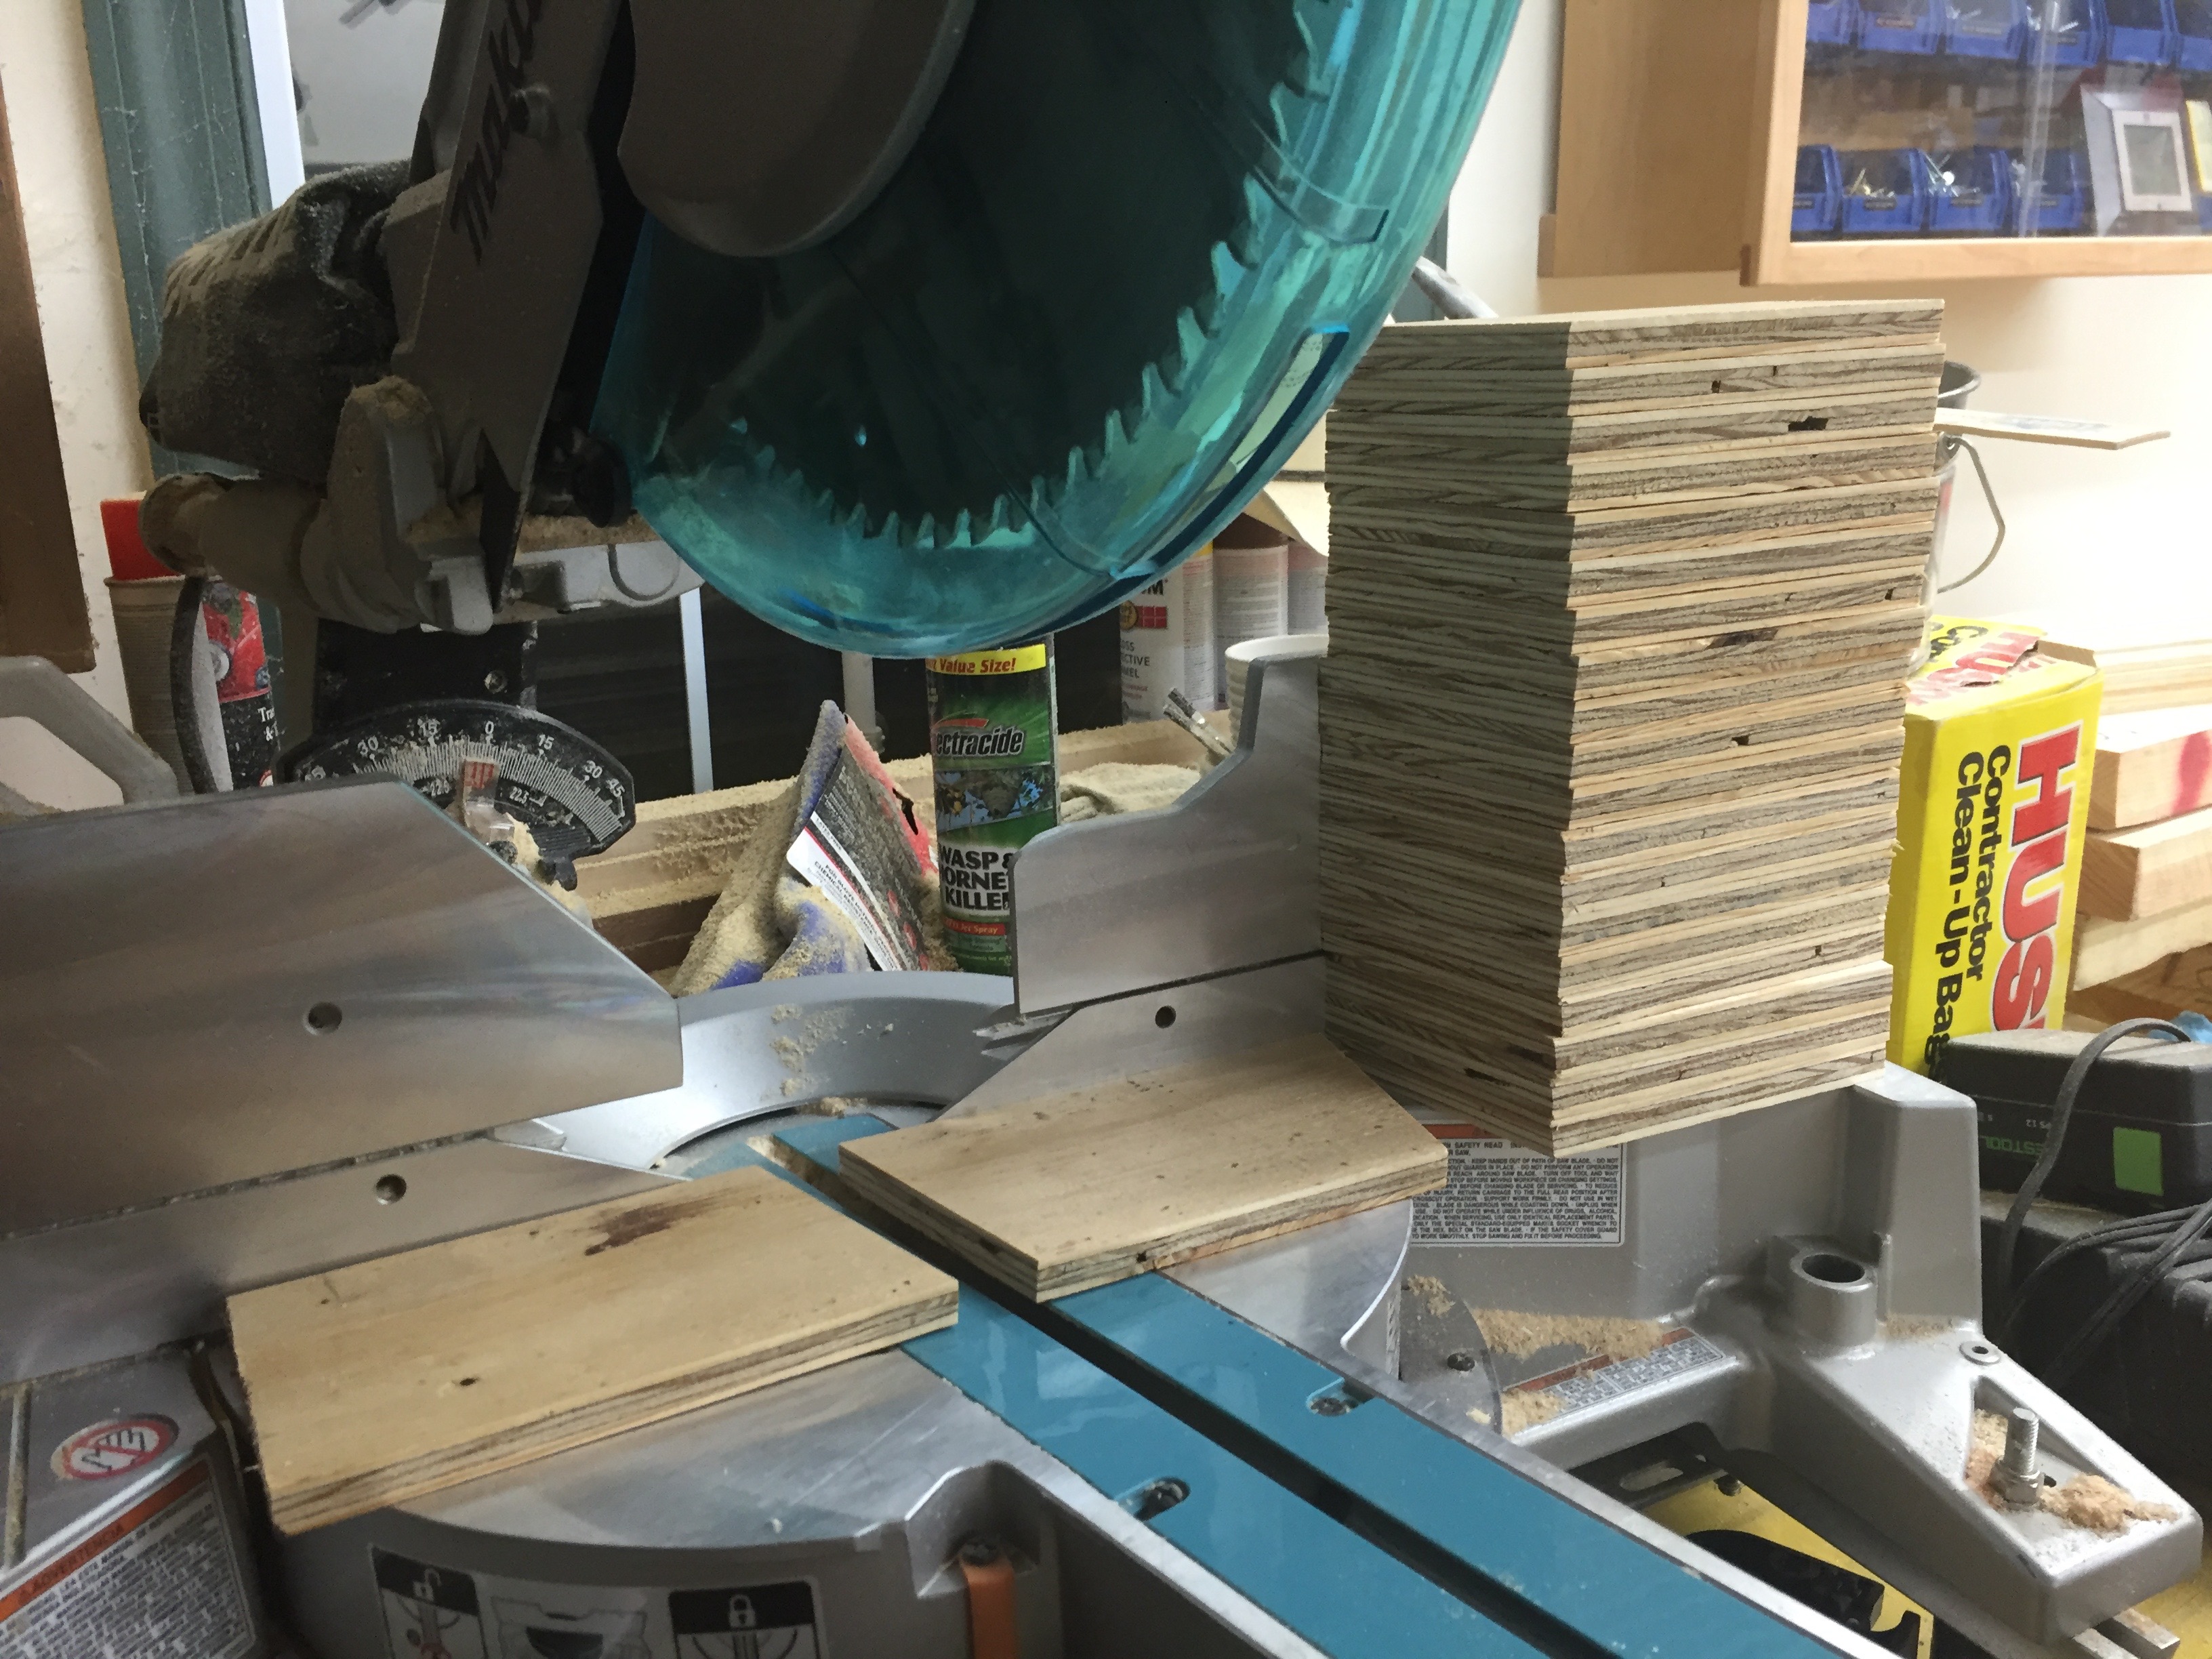
Next up I cut all the legs. I set the compound miter saw to cut at a left tilt of 5 degrees and a right rotation of 12 degrees. (See image above). The long side of each leg was cut to be 34.75″ long.
With all the legs cut I ripped the rough edge off of each board, then ripped the other side so all the boards landed at a consistent 5.5″ width.
You don’t have to plane the boards to thickness if you don’t want to. Leaving them as thick as possible added to the strength and I am not thrilled about passing green wood though my cast iron tools and into my dust collection system. My site chop saw and portable table saw both have aluminum tops which deal better with the wet wood.

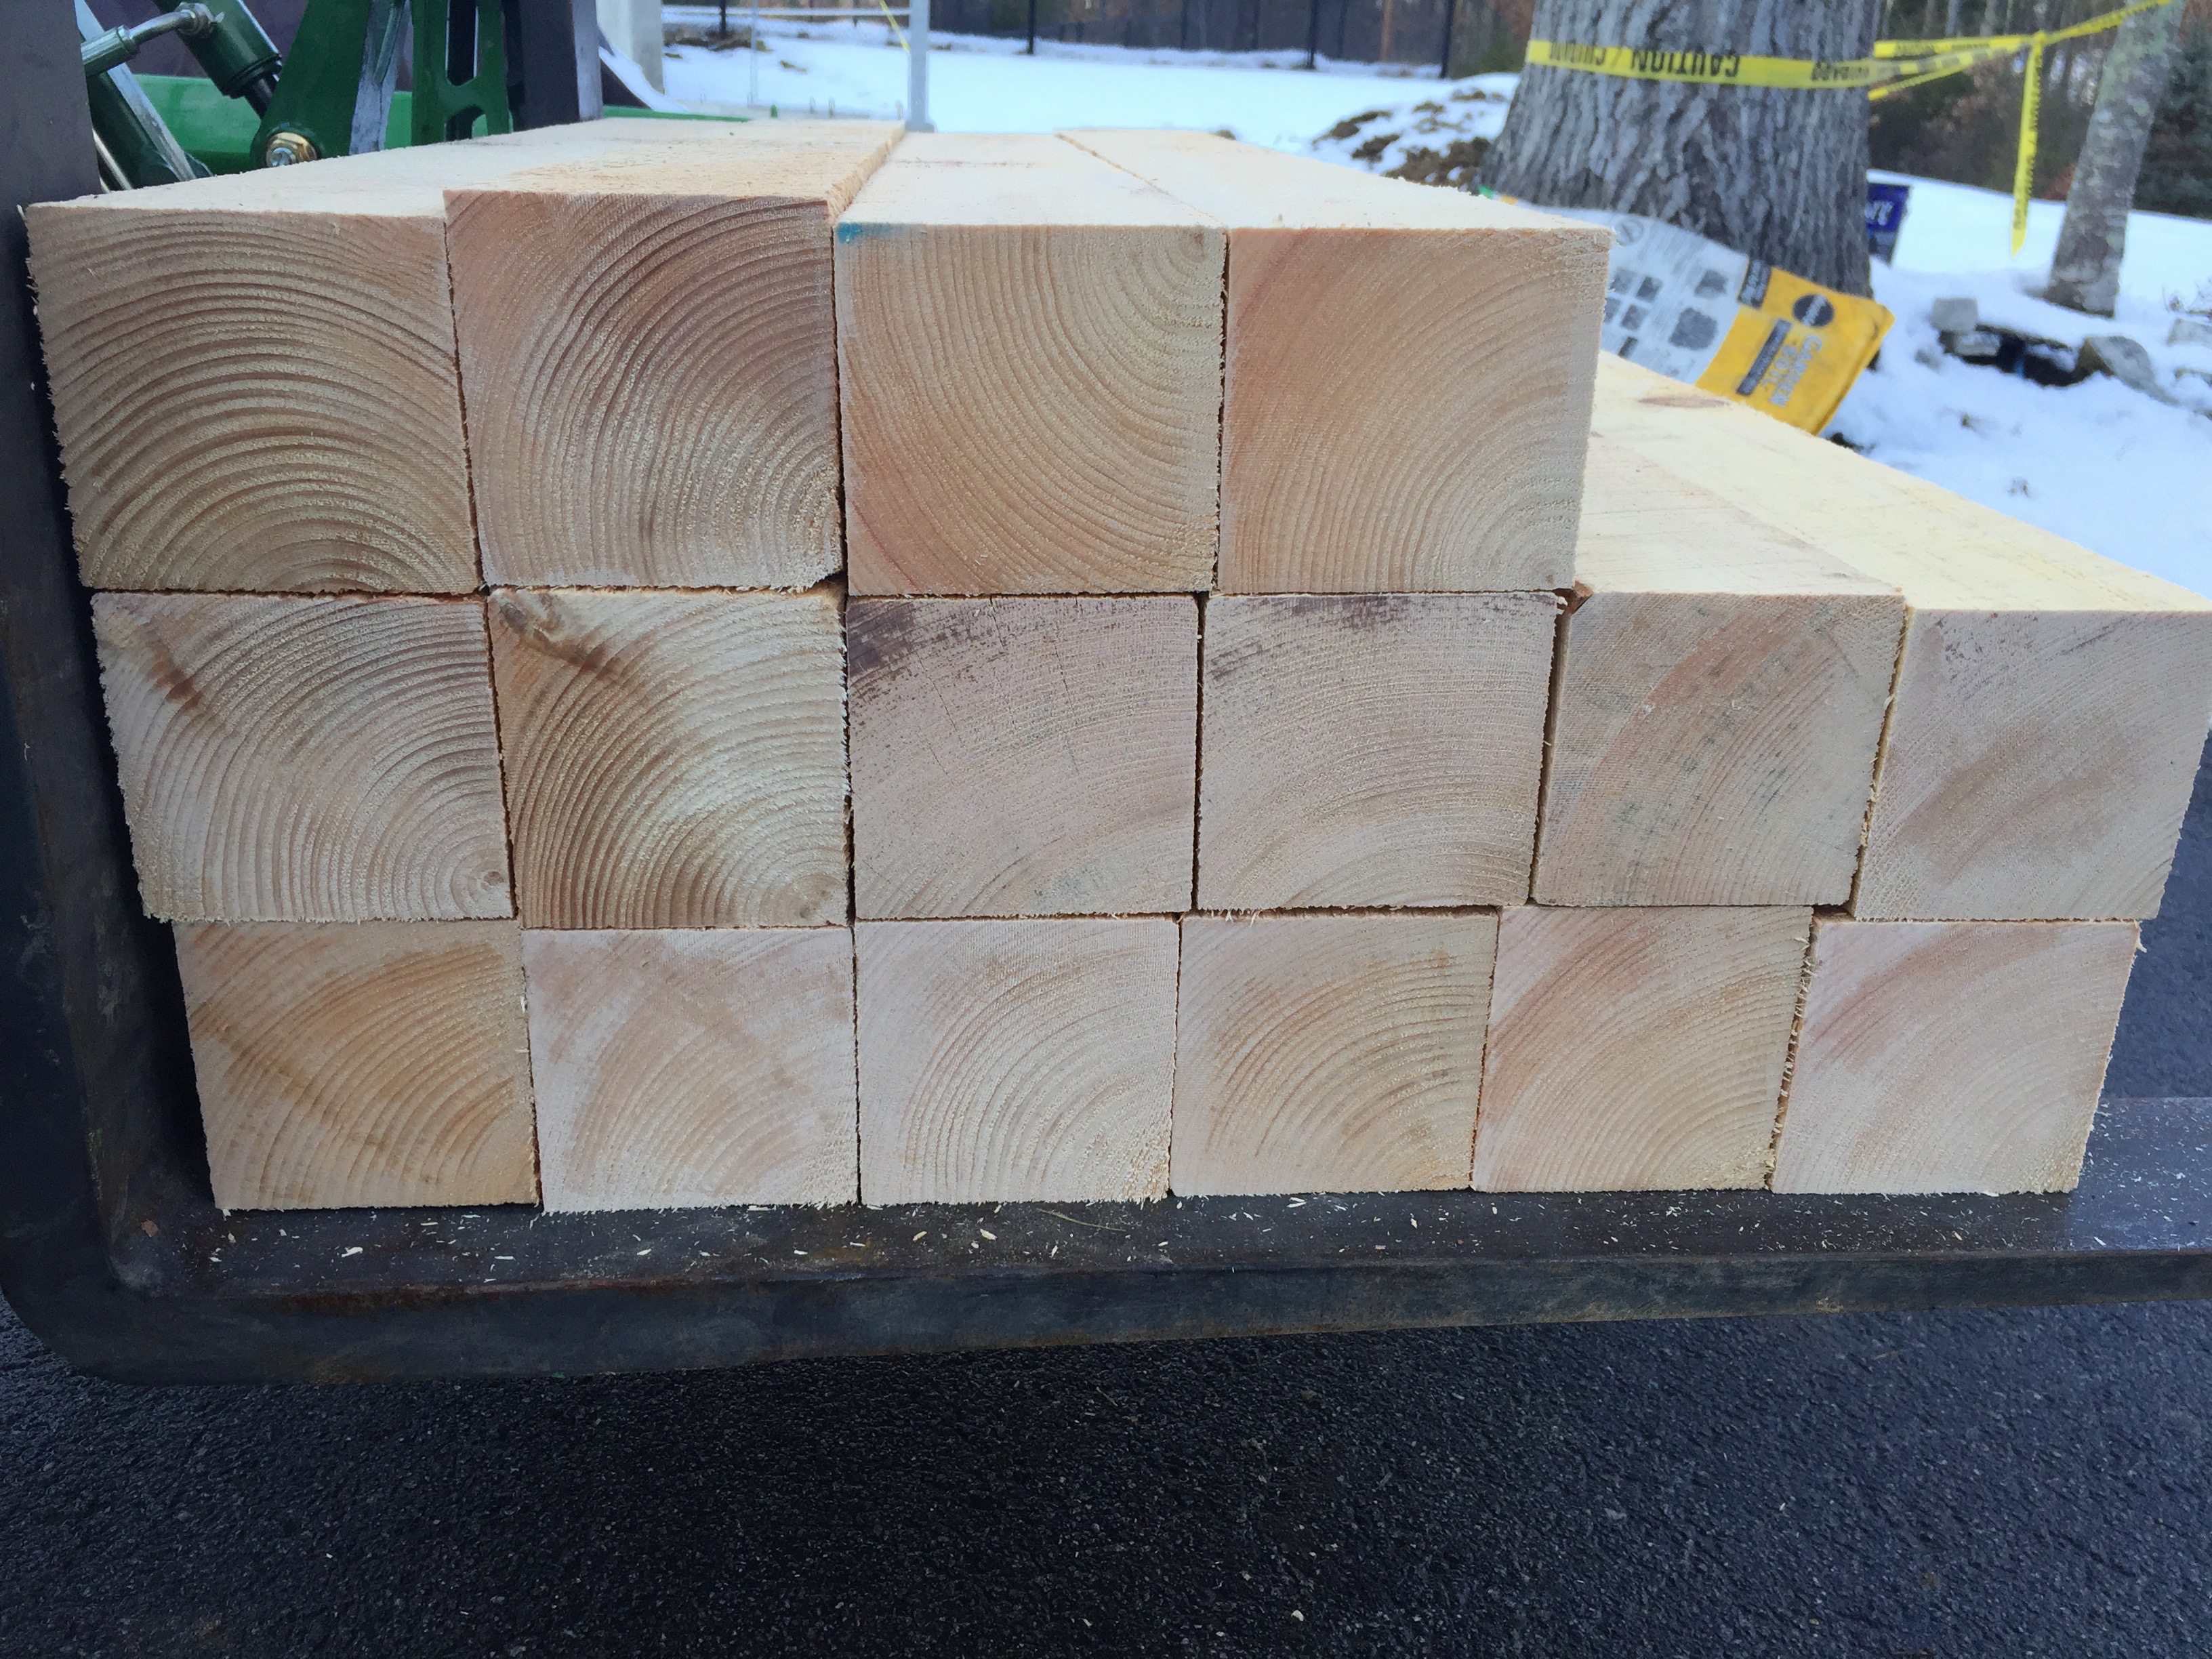
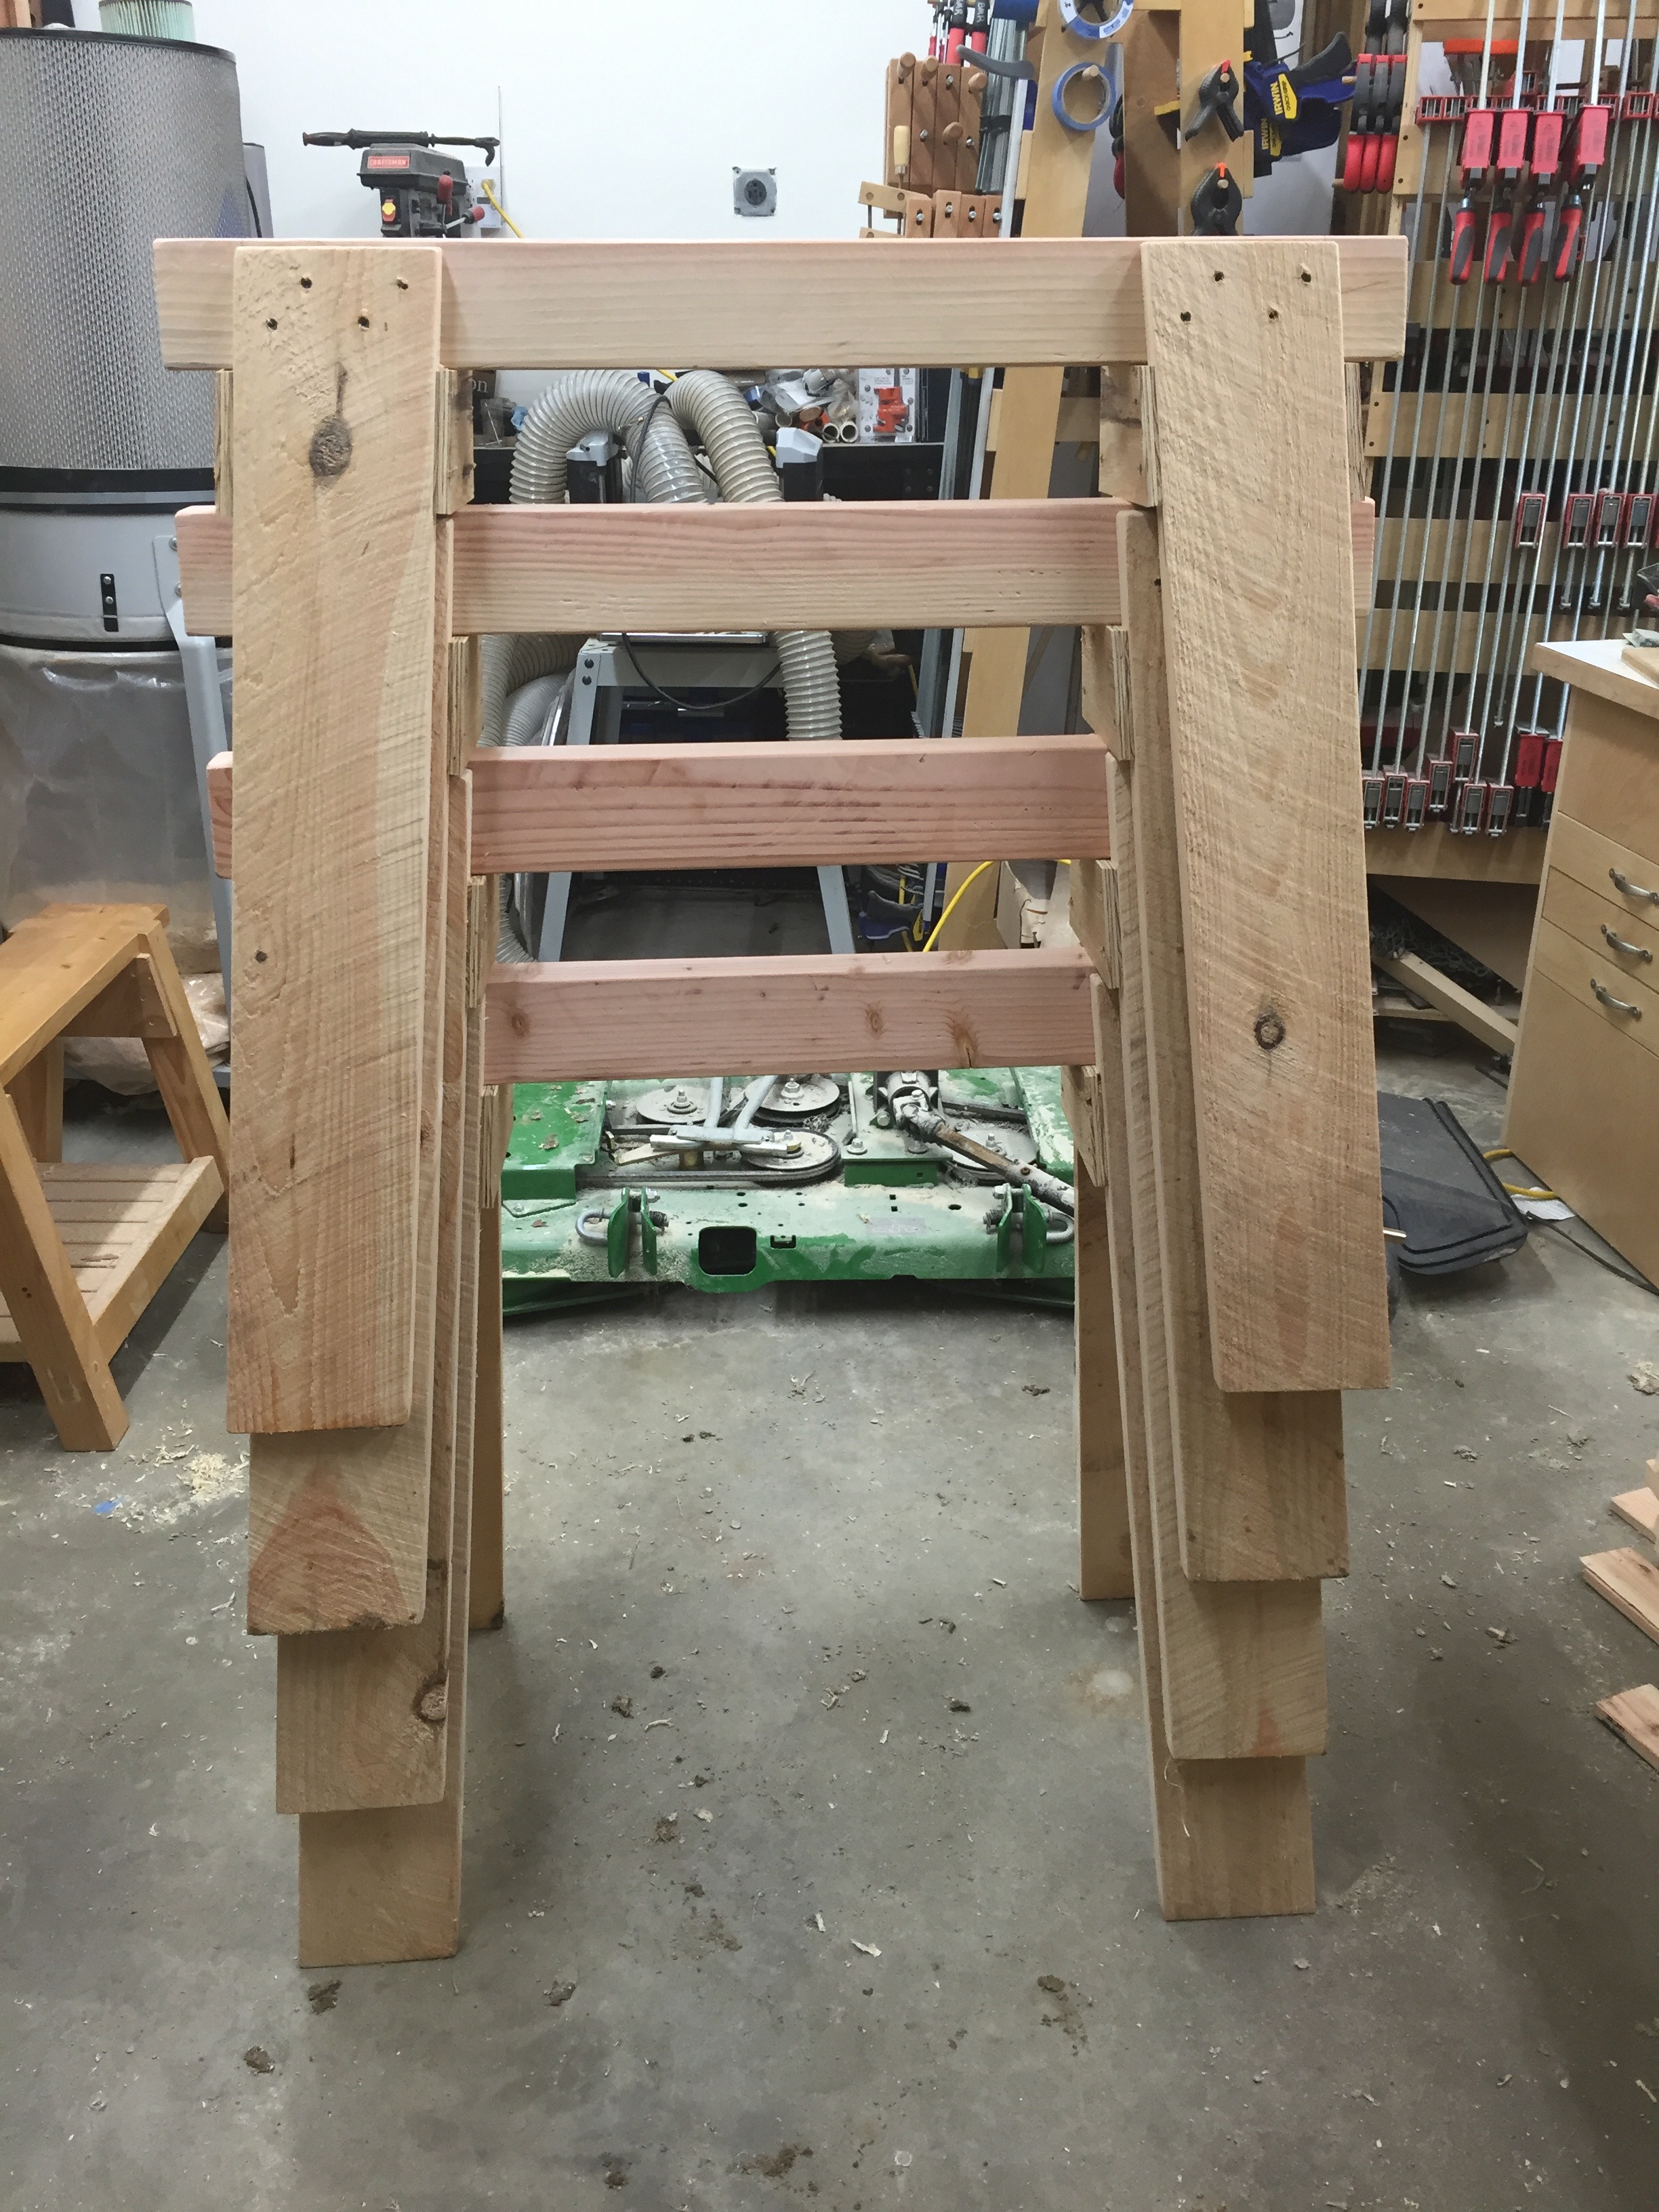
All the legs are the same, though above I stacked them to make sure I had a correct number for all the horses I planned to build. I also used a low angle block plane to break all the edges on the boards since they will be handled many times over the years and you don’t want any splinters.
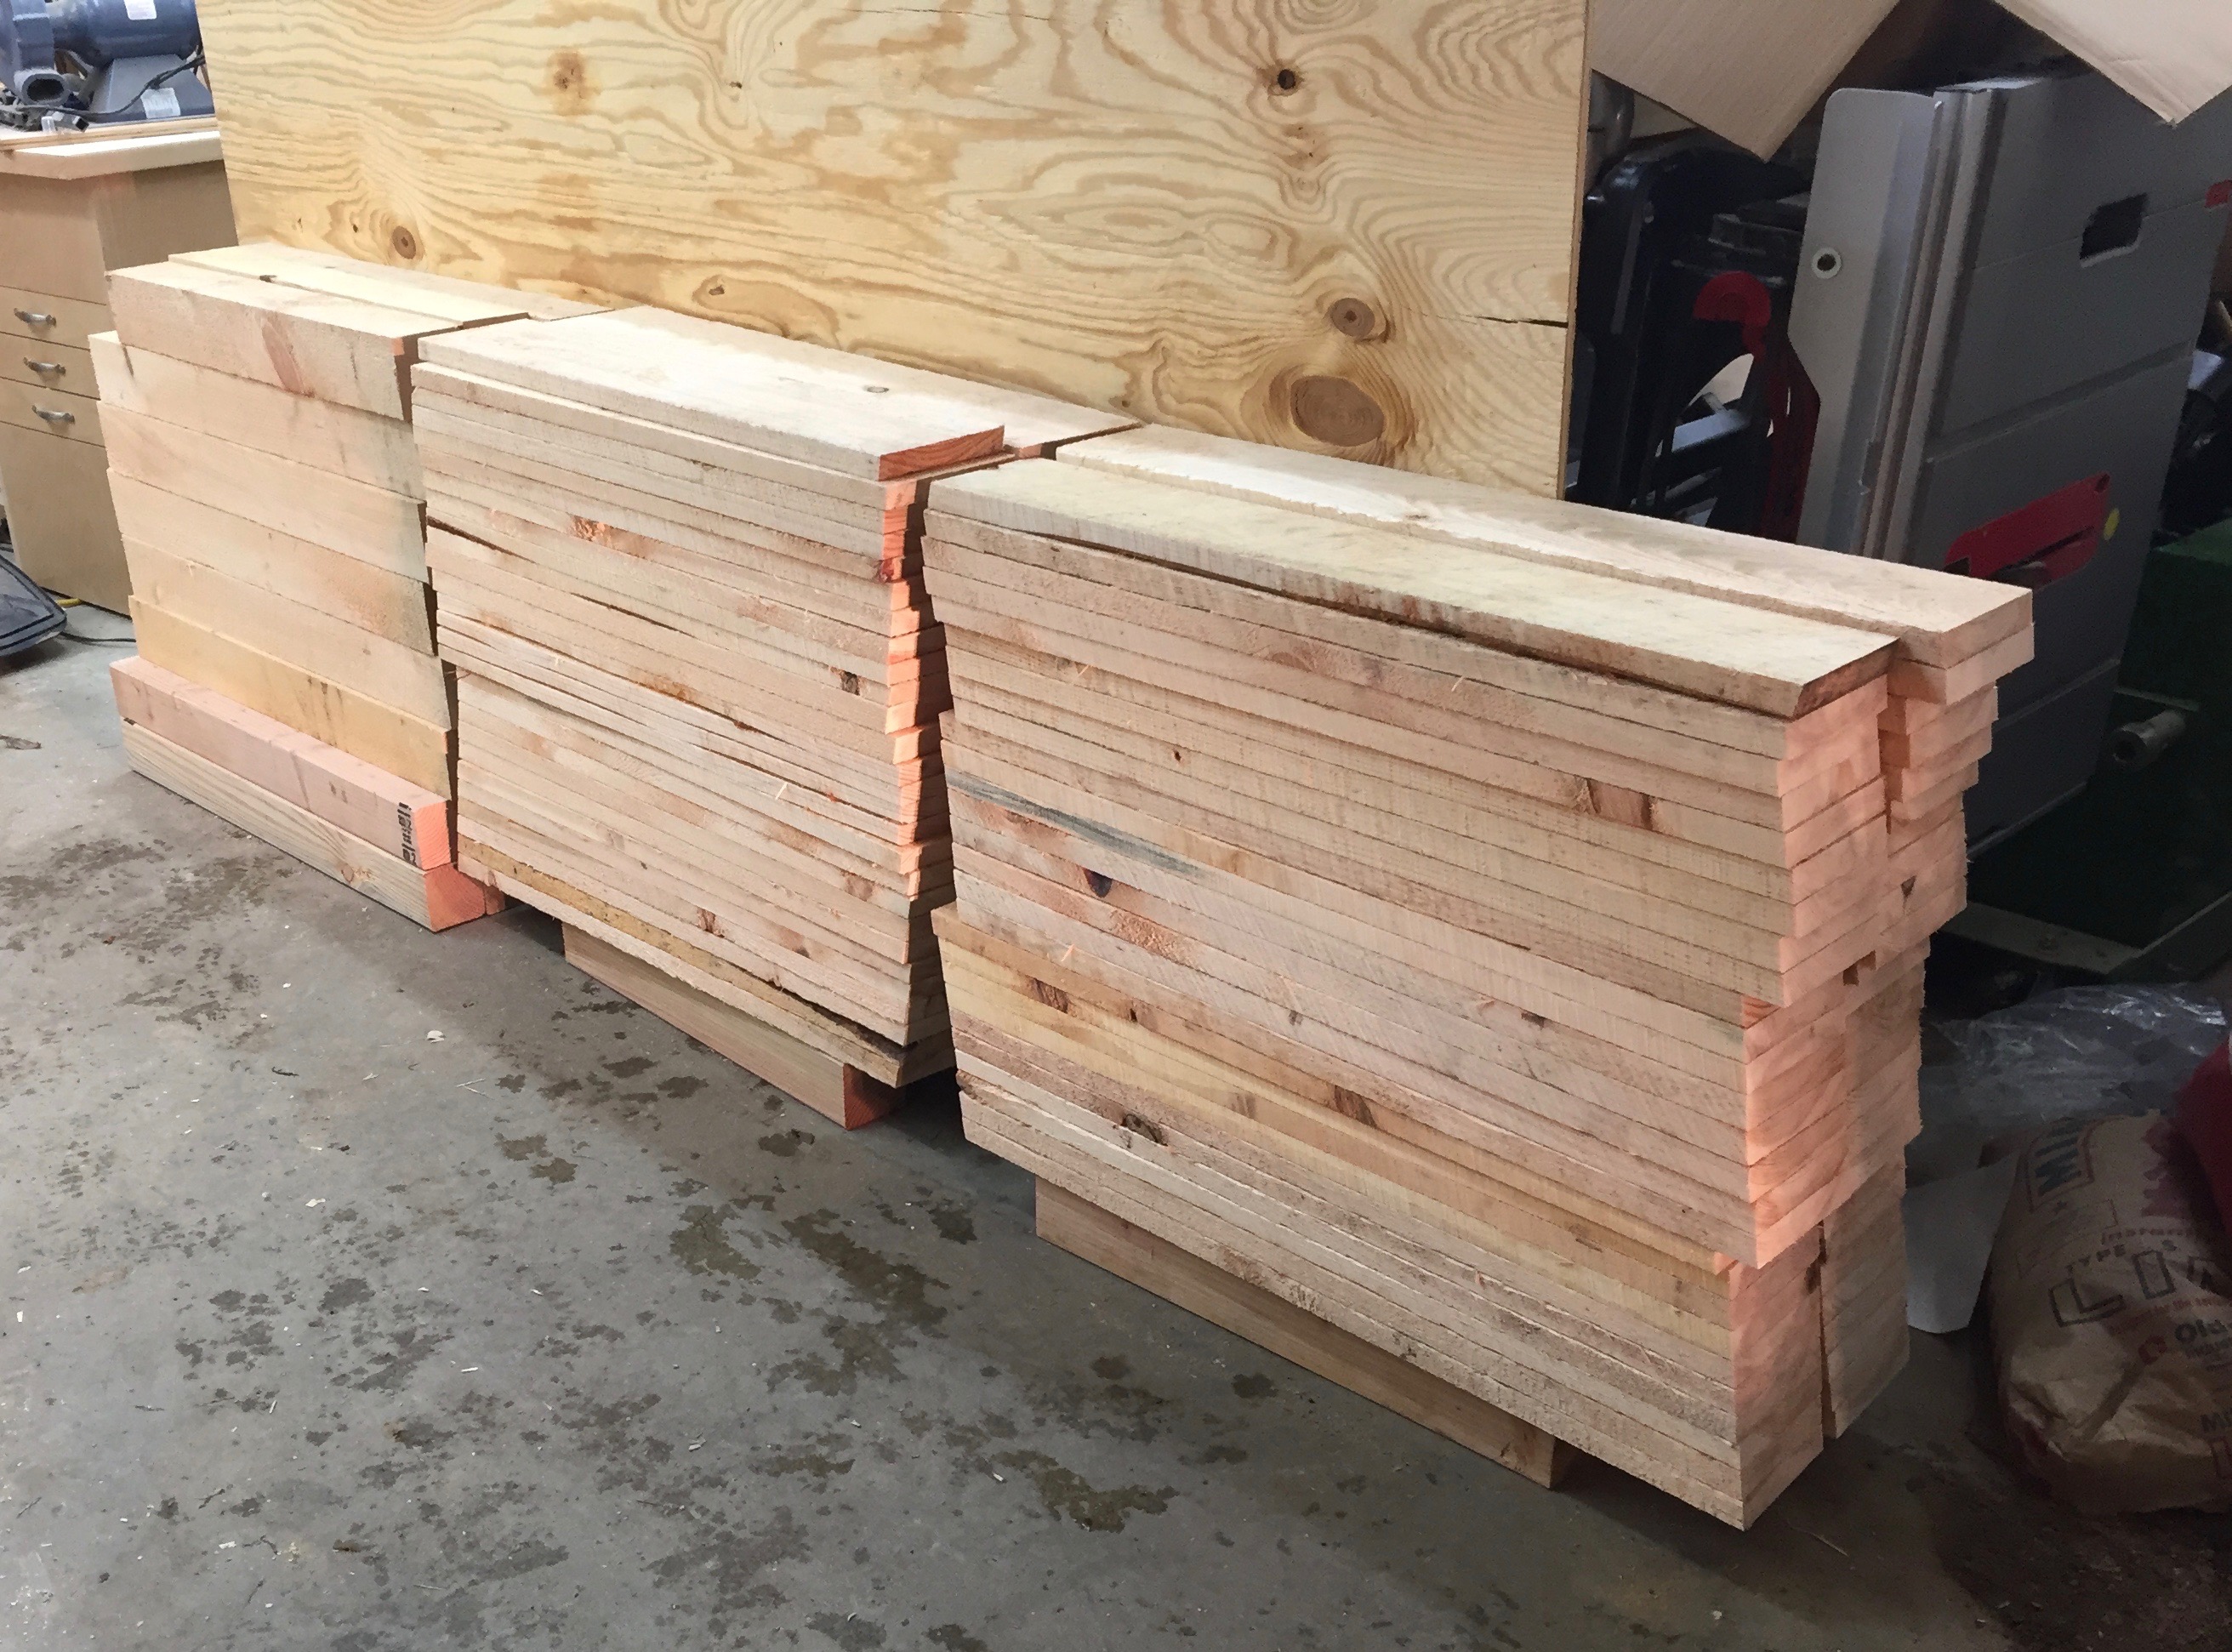
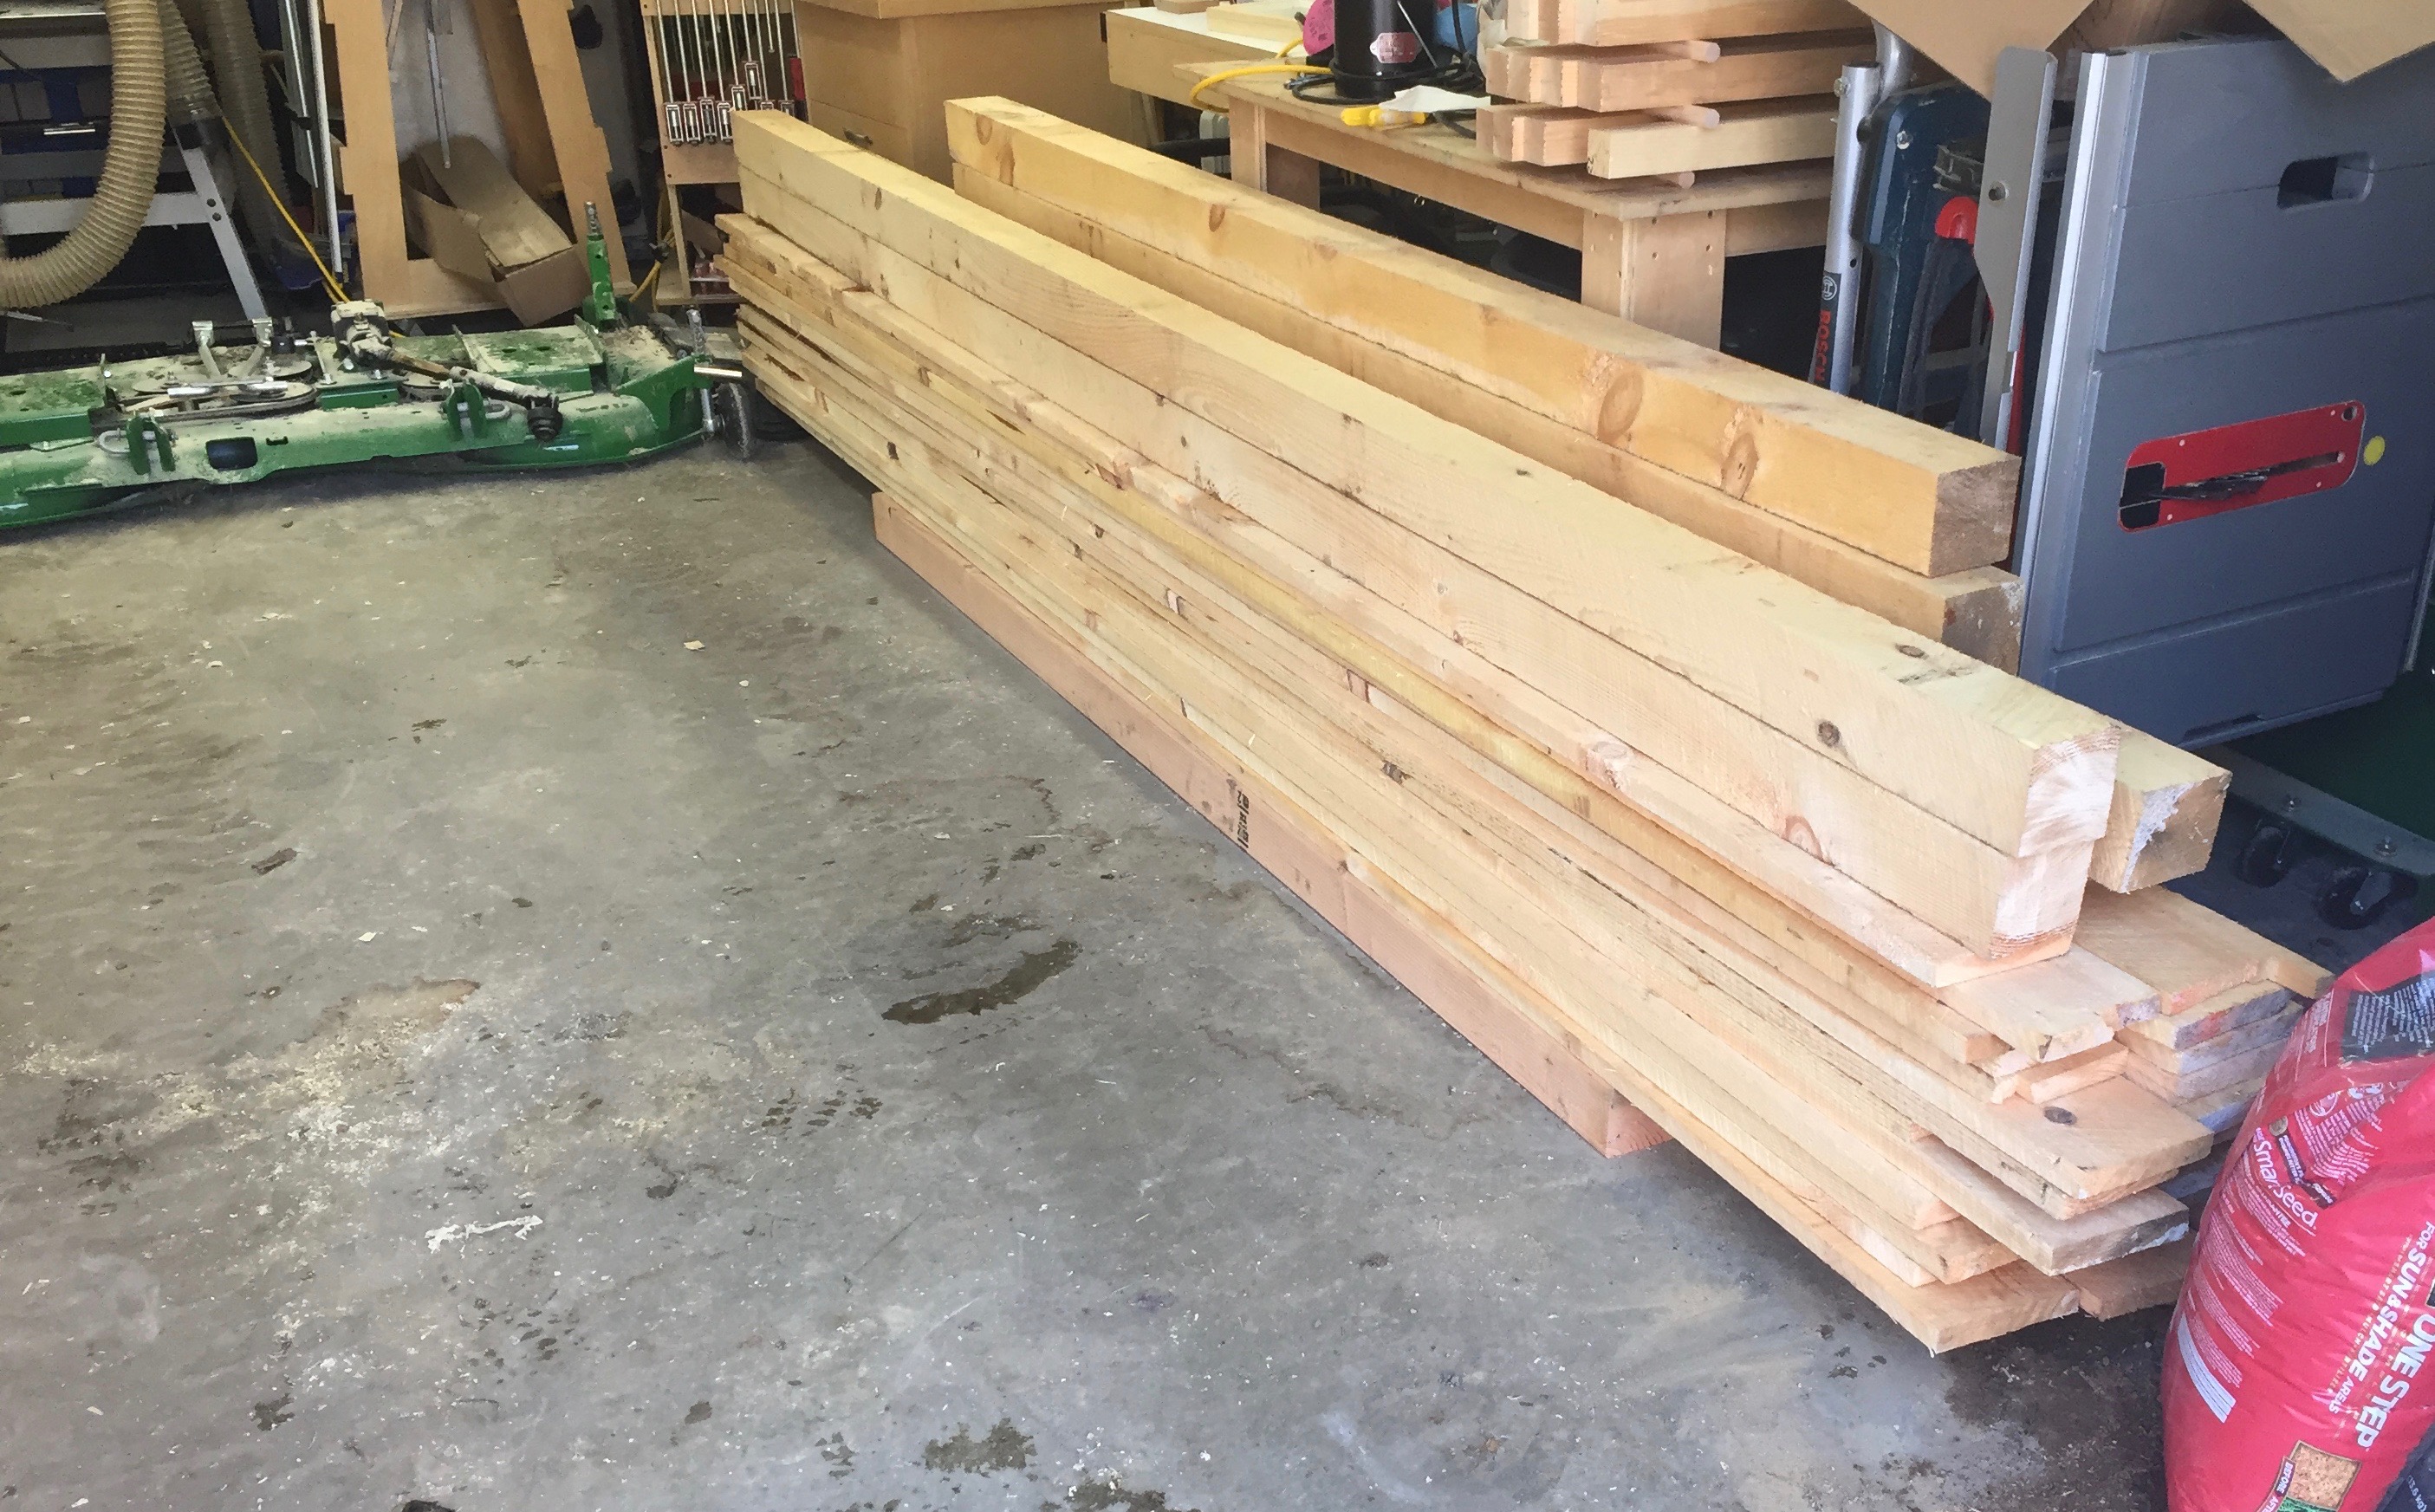
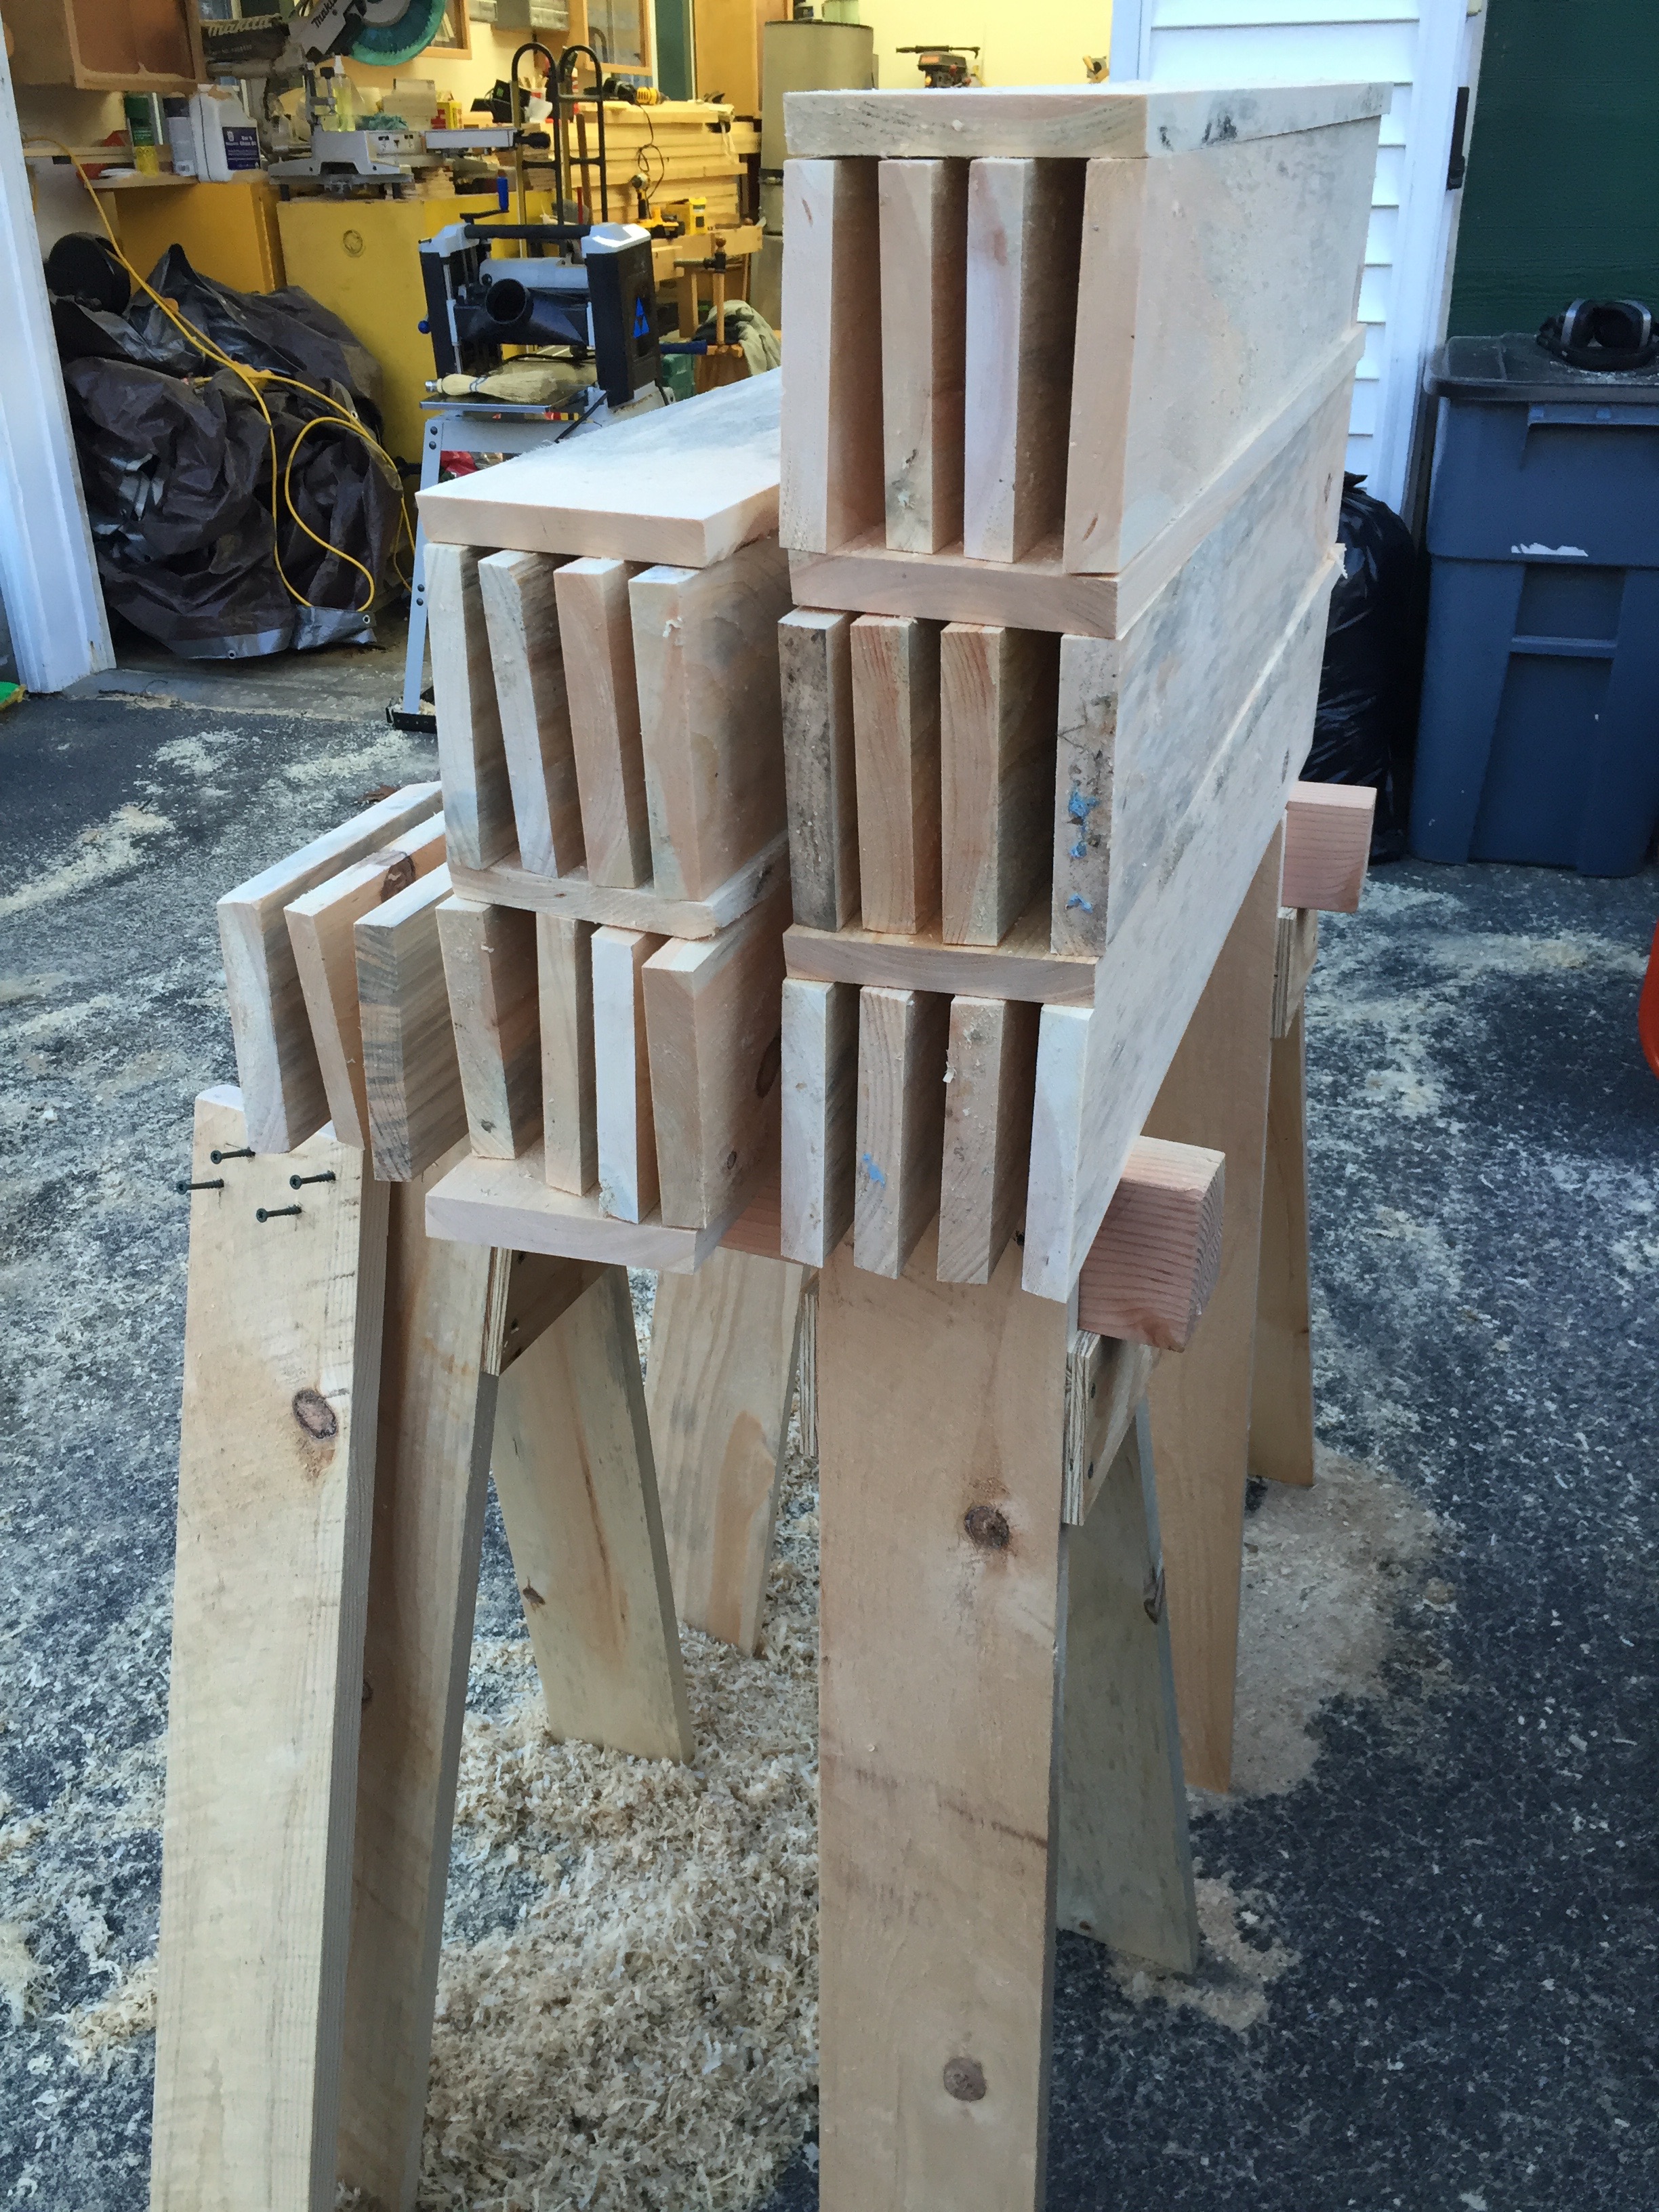
I then brought my wood into the heated shop as we were getting some snow and stacked them as you see above. This was a big mistake as I’ll describe later. I planned to be out there the next day but with snow and a baby in the house they sat out there for a week. If you bring sopping wet/green wood into a heated shop, make sure you sticker them so air can flow around all the edges and the wood can dry evenly.
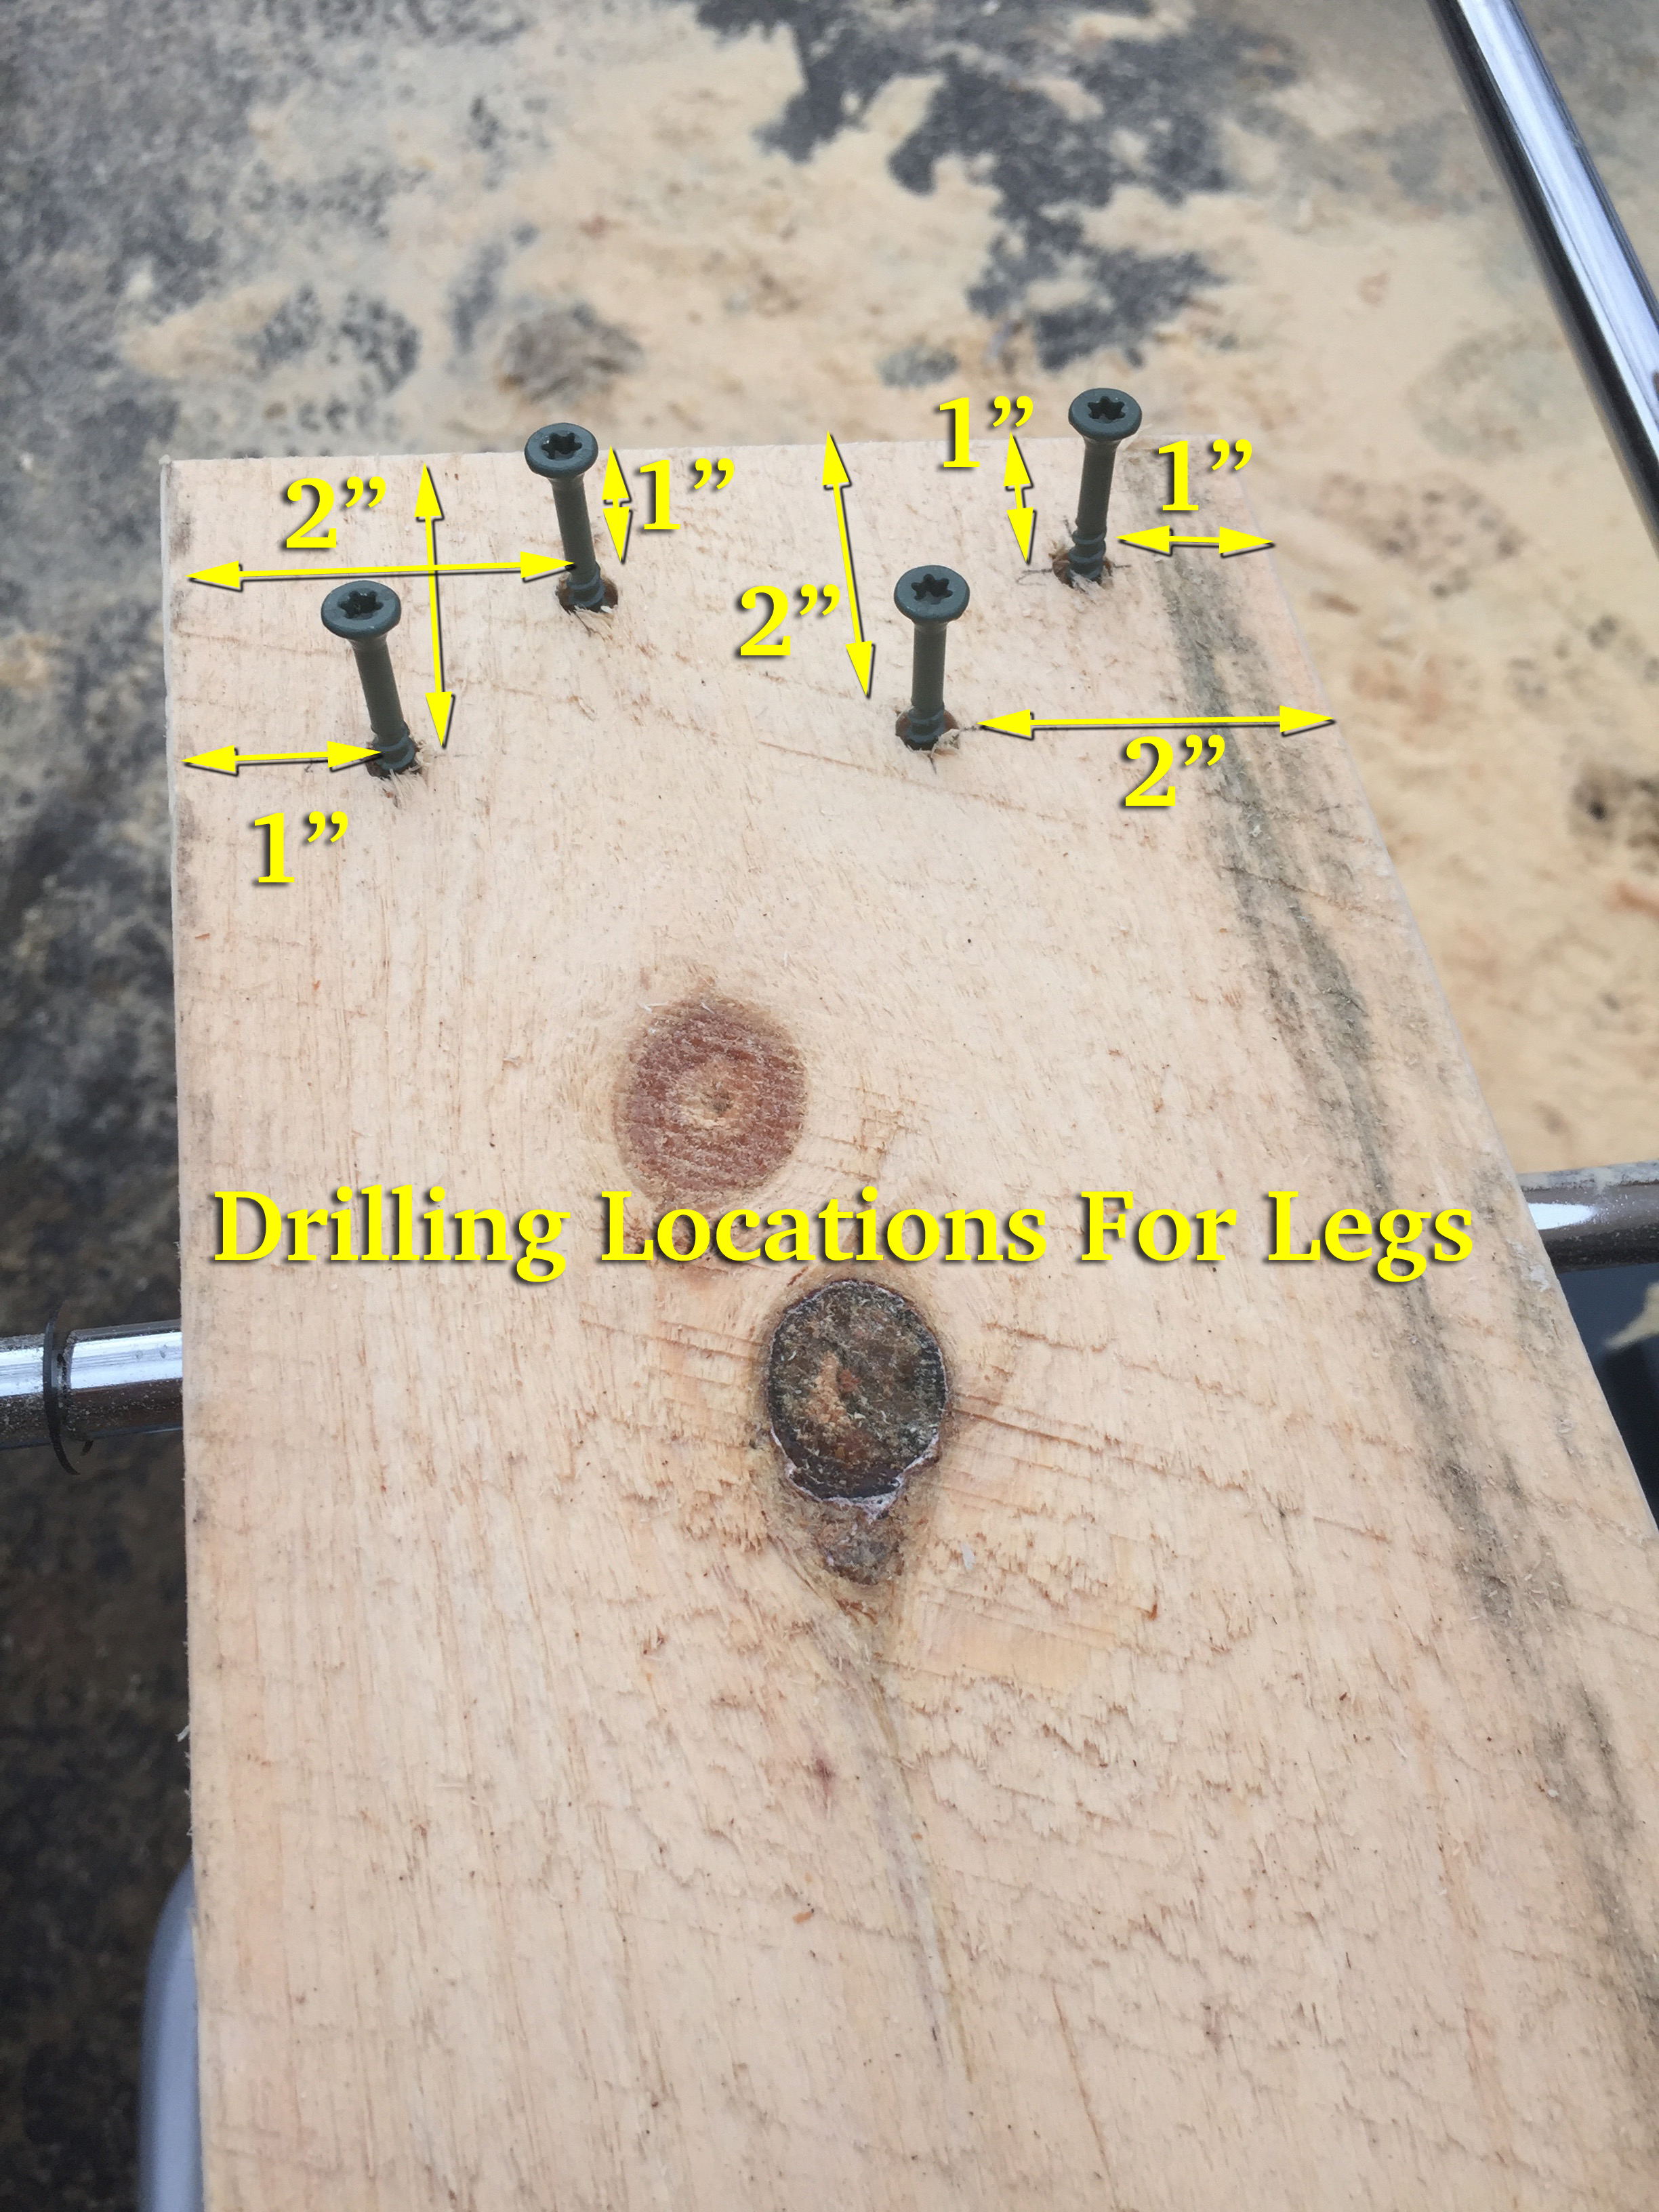
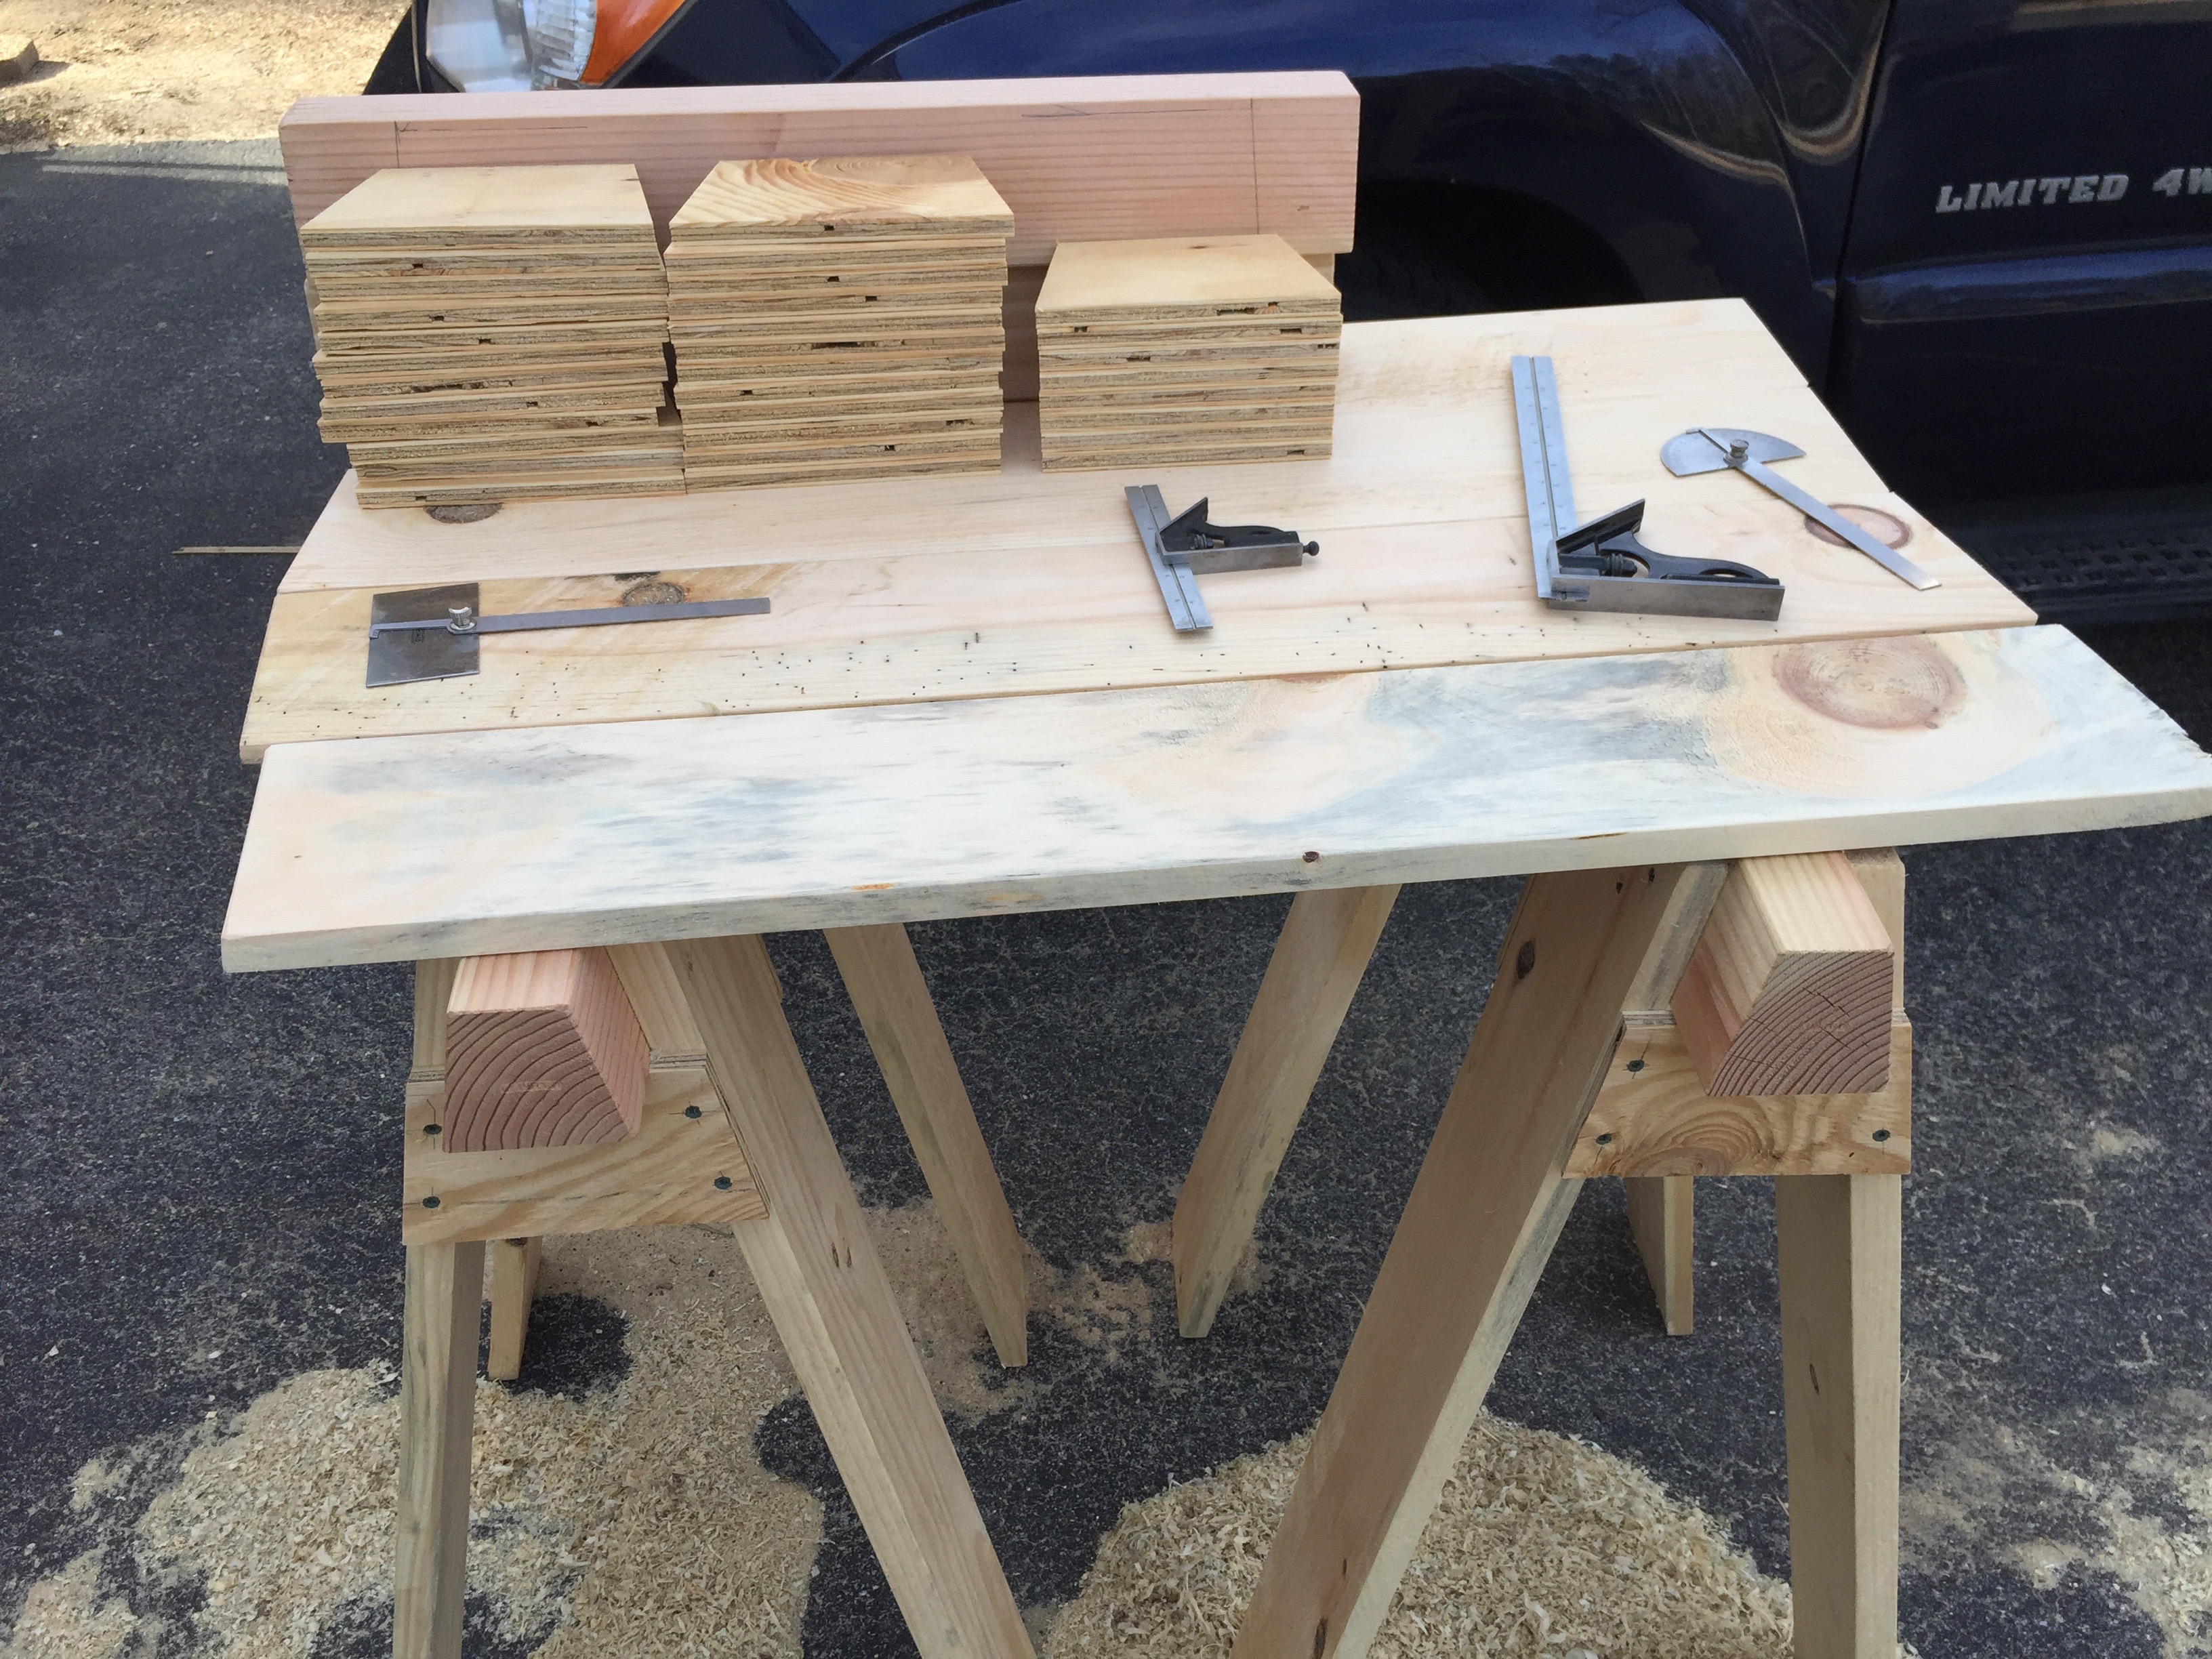
With all the legs cut I started to layout for the screws. I grab two combination squares and set one to be 1″ and set the other to 2″. This allows for fast/efficient layout. (see above image). Each of the screws is either 1″ or 2″ from the edge or top of the board. The screws are staggered to help avoid splitting the wood. I used DeckMate 2″ ceramic coated deck screws that have a nice thick shaft and are rated for outdoor structural use and do not rust. Do NOT use drywall screws on this sort of project, they are far too weak and not meant for the outdoors. One 5lb box of #8 2″ screws was enough to attach all the legs. After layout I pre-drill each of the holes and start the screws into the boards — this makes it a lot easier to assemble the horse later on.
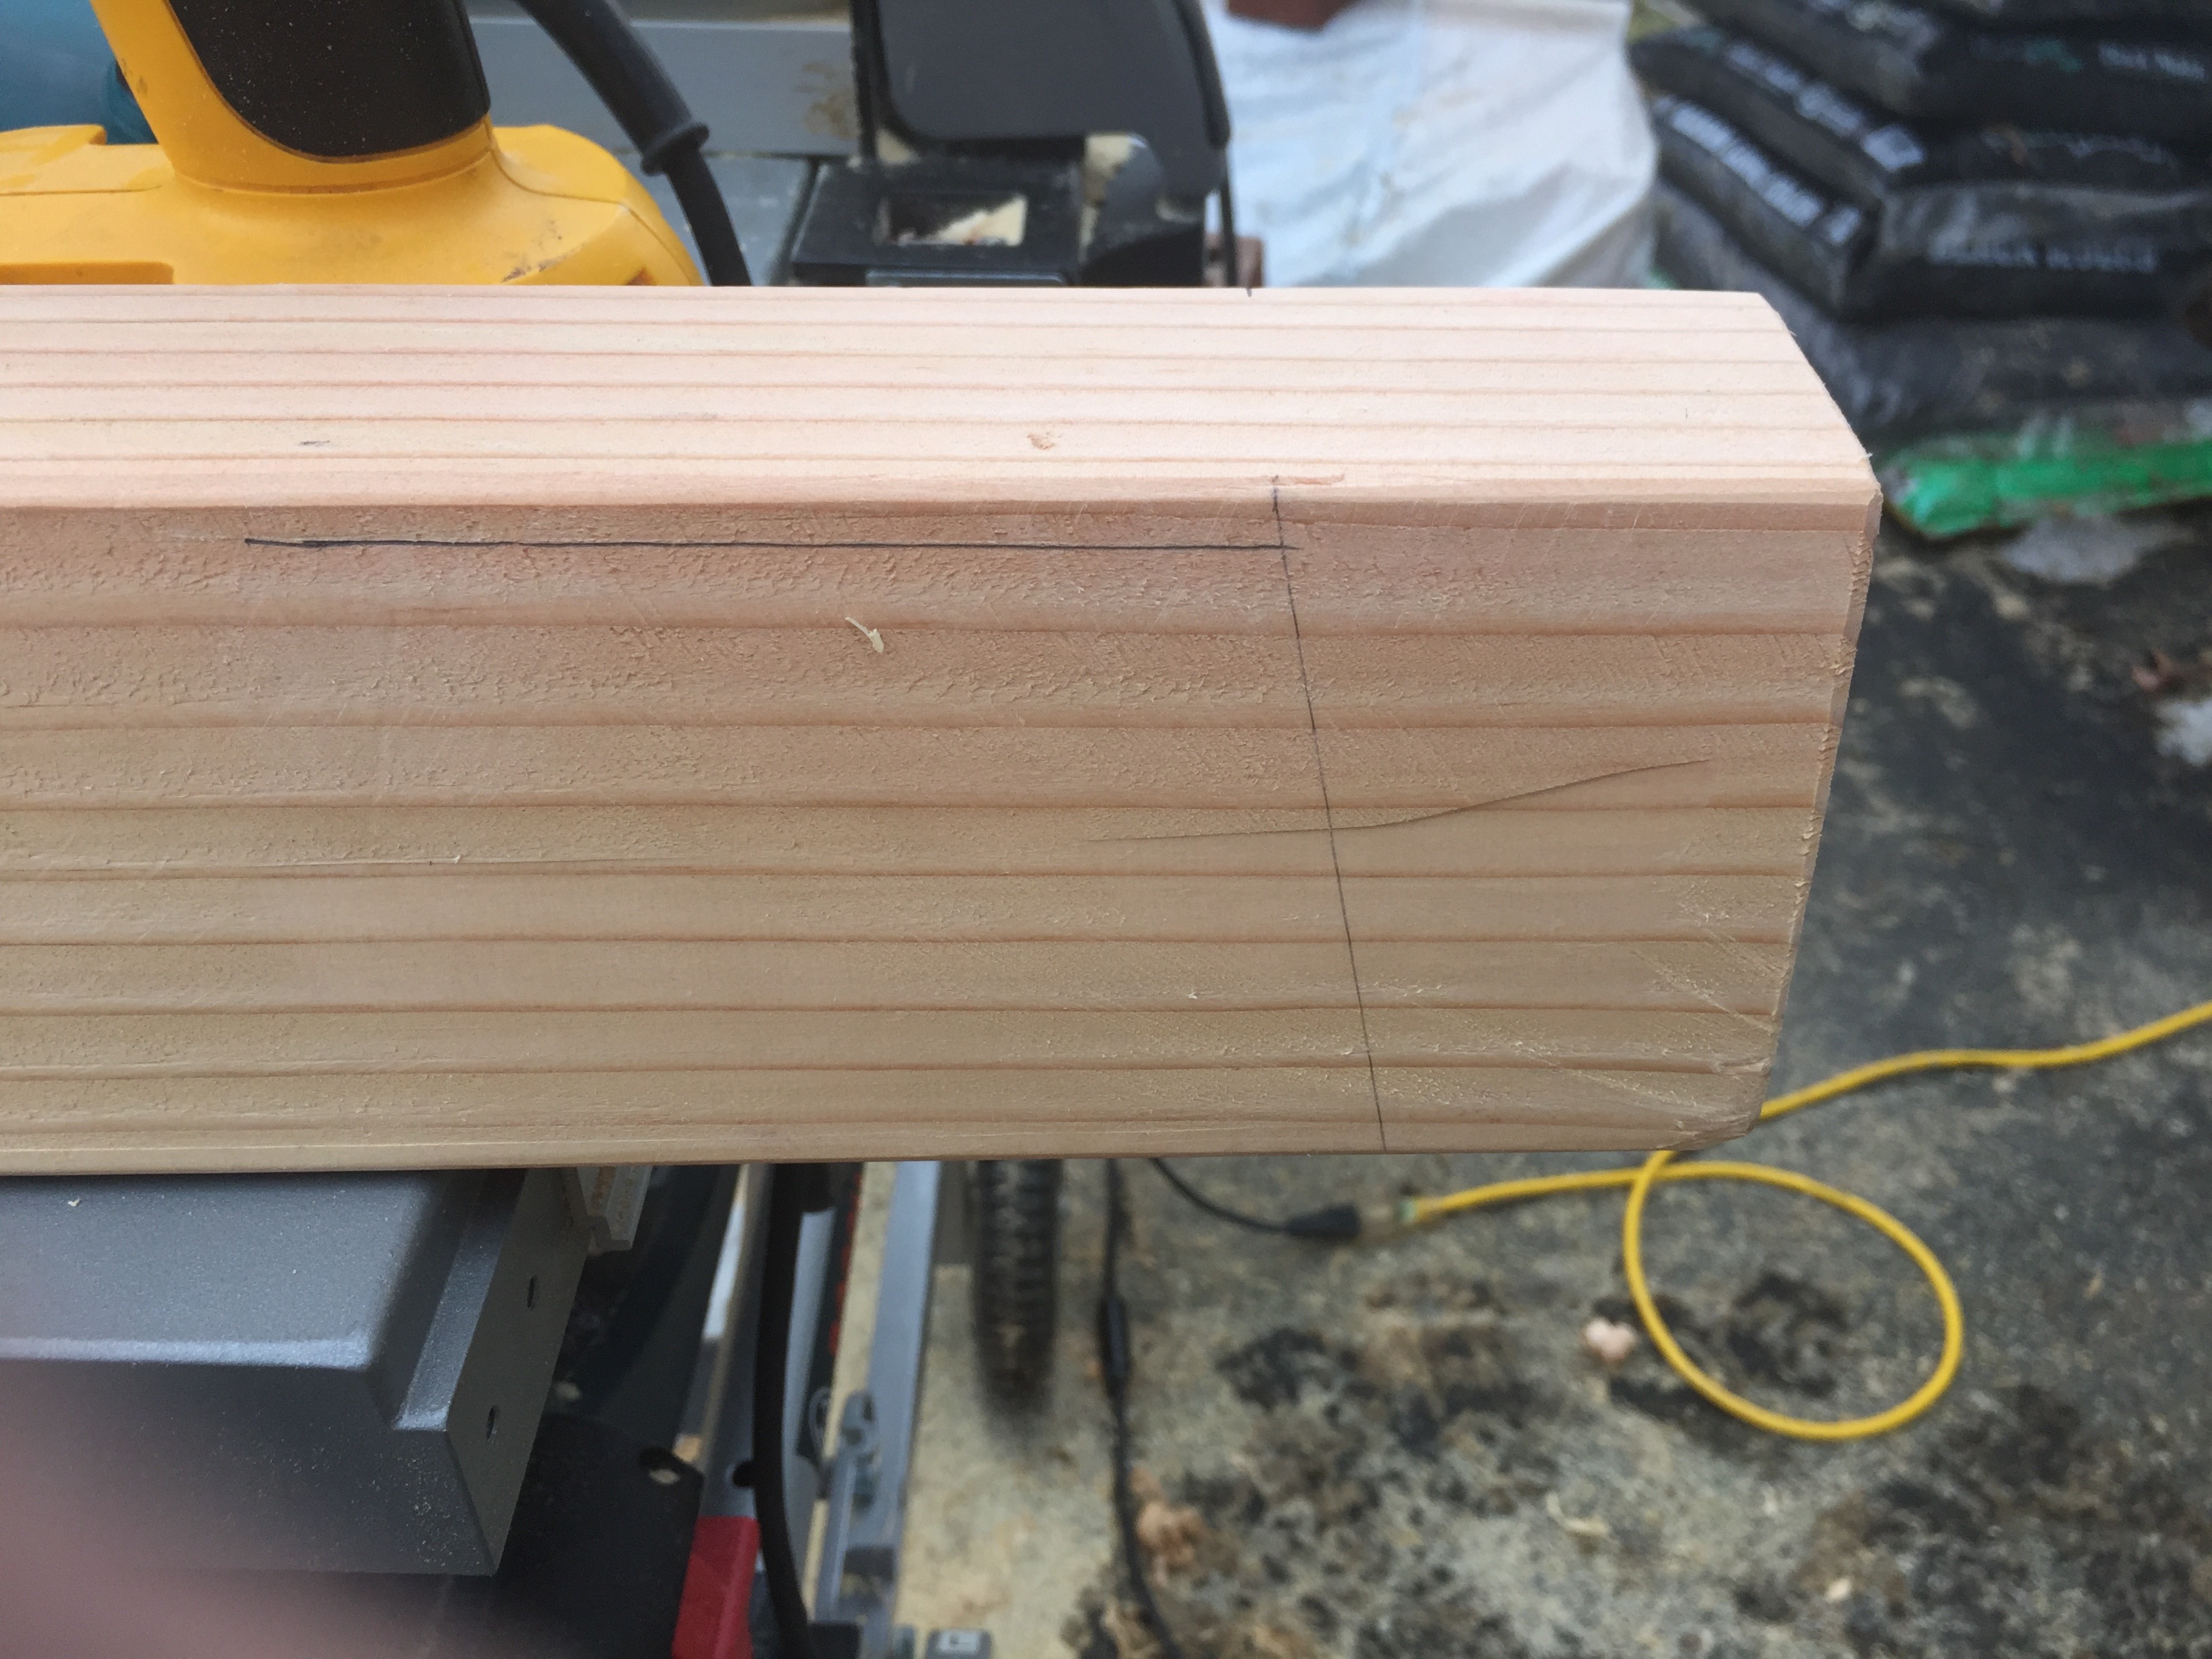
For the beams I make a tick mark 2.5″ in from each end on the top edge of the beam. Using a protractor I make a 5 degree line down the side of the beam — this splays the legs and gives use nice stable horse. Having two protractors on hand is nice as I have one set for the right and one set for the left. I then set a combination square to 1/4″ and make a line along the top edge of the beam — this allows me to line up the legs during assembly. I also broke all the edges with a block plane.
Early on I made a few pairs of saw horses to work from and did the majority of the horses as a large run.
Attaching the legs — I added one leg at a time, usually only sinking 2 or 3 of the pre-started screws into the beam. I add one leg, then add the second leg on the same side of the beam. This makes it easier to stand the horse on those two legs and add the third leg. When adding the 4th leg you’ll want to make sure all 4 legs are properly resting on the ground. If your horse wobbles this is your chance to adjust the legs. When the horse is standing the way you want you can sink the rest of the screws on the legs. When using an impact gun you don’t want to sink the screws any further into the wood than you absolutely have to. Ideally the screw heads should come to rest in the same plane as the surface of the wood, but green pine can be a bit soft so some of them may go deeper before they have enough grip to pull the leg tight to the beam.
With a beam and set of legs ready to go and standing nicely you can take a plywood gusset blank, bring it over to the partially assembled horse and trace where it meets the legs. Ideally the gussets should not stick out farther than the legs, otherwise they might catch on things. Making them say 1/32″ inside of the surface of the legs is what I shoot for. Using that traced piece I cut it and label it as a the template and use that for laying out each of the subsequent gussets
Important Notes About Gussets:
1.) When cutting the gusset the beveled end is always ‘up’ on the installed gusset — it mates nicely to the underside of the beam.
2.) When installing a gusset make sure the 5 degree bevel is facing the correct way so that it rest tightly up against the beam.
With a few horses pressed into early service I was able to make a makeshift table that allowed me to layout/mark all the of the gussets. Each one is secured with 4 screws. I made a mark for each screw to be 1″ down from the top or the bottom of the gusset and centered on the thickness of the leg, so for most that would be ~3/8″ in from the mitered edge. I turn a horse on its side and place the marked gusset where it is going to go. I then pre-drill the gusset in place and drive the screws. I used #8 1-5/8″ Deckmate Ceramic Star-drive screws and again a 5lb box was enough for this project.
Each horse required 16 2″ screws and 16 1-5/8″ screws.

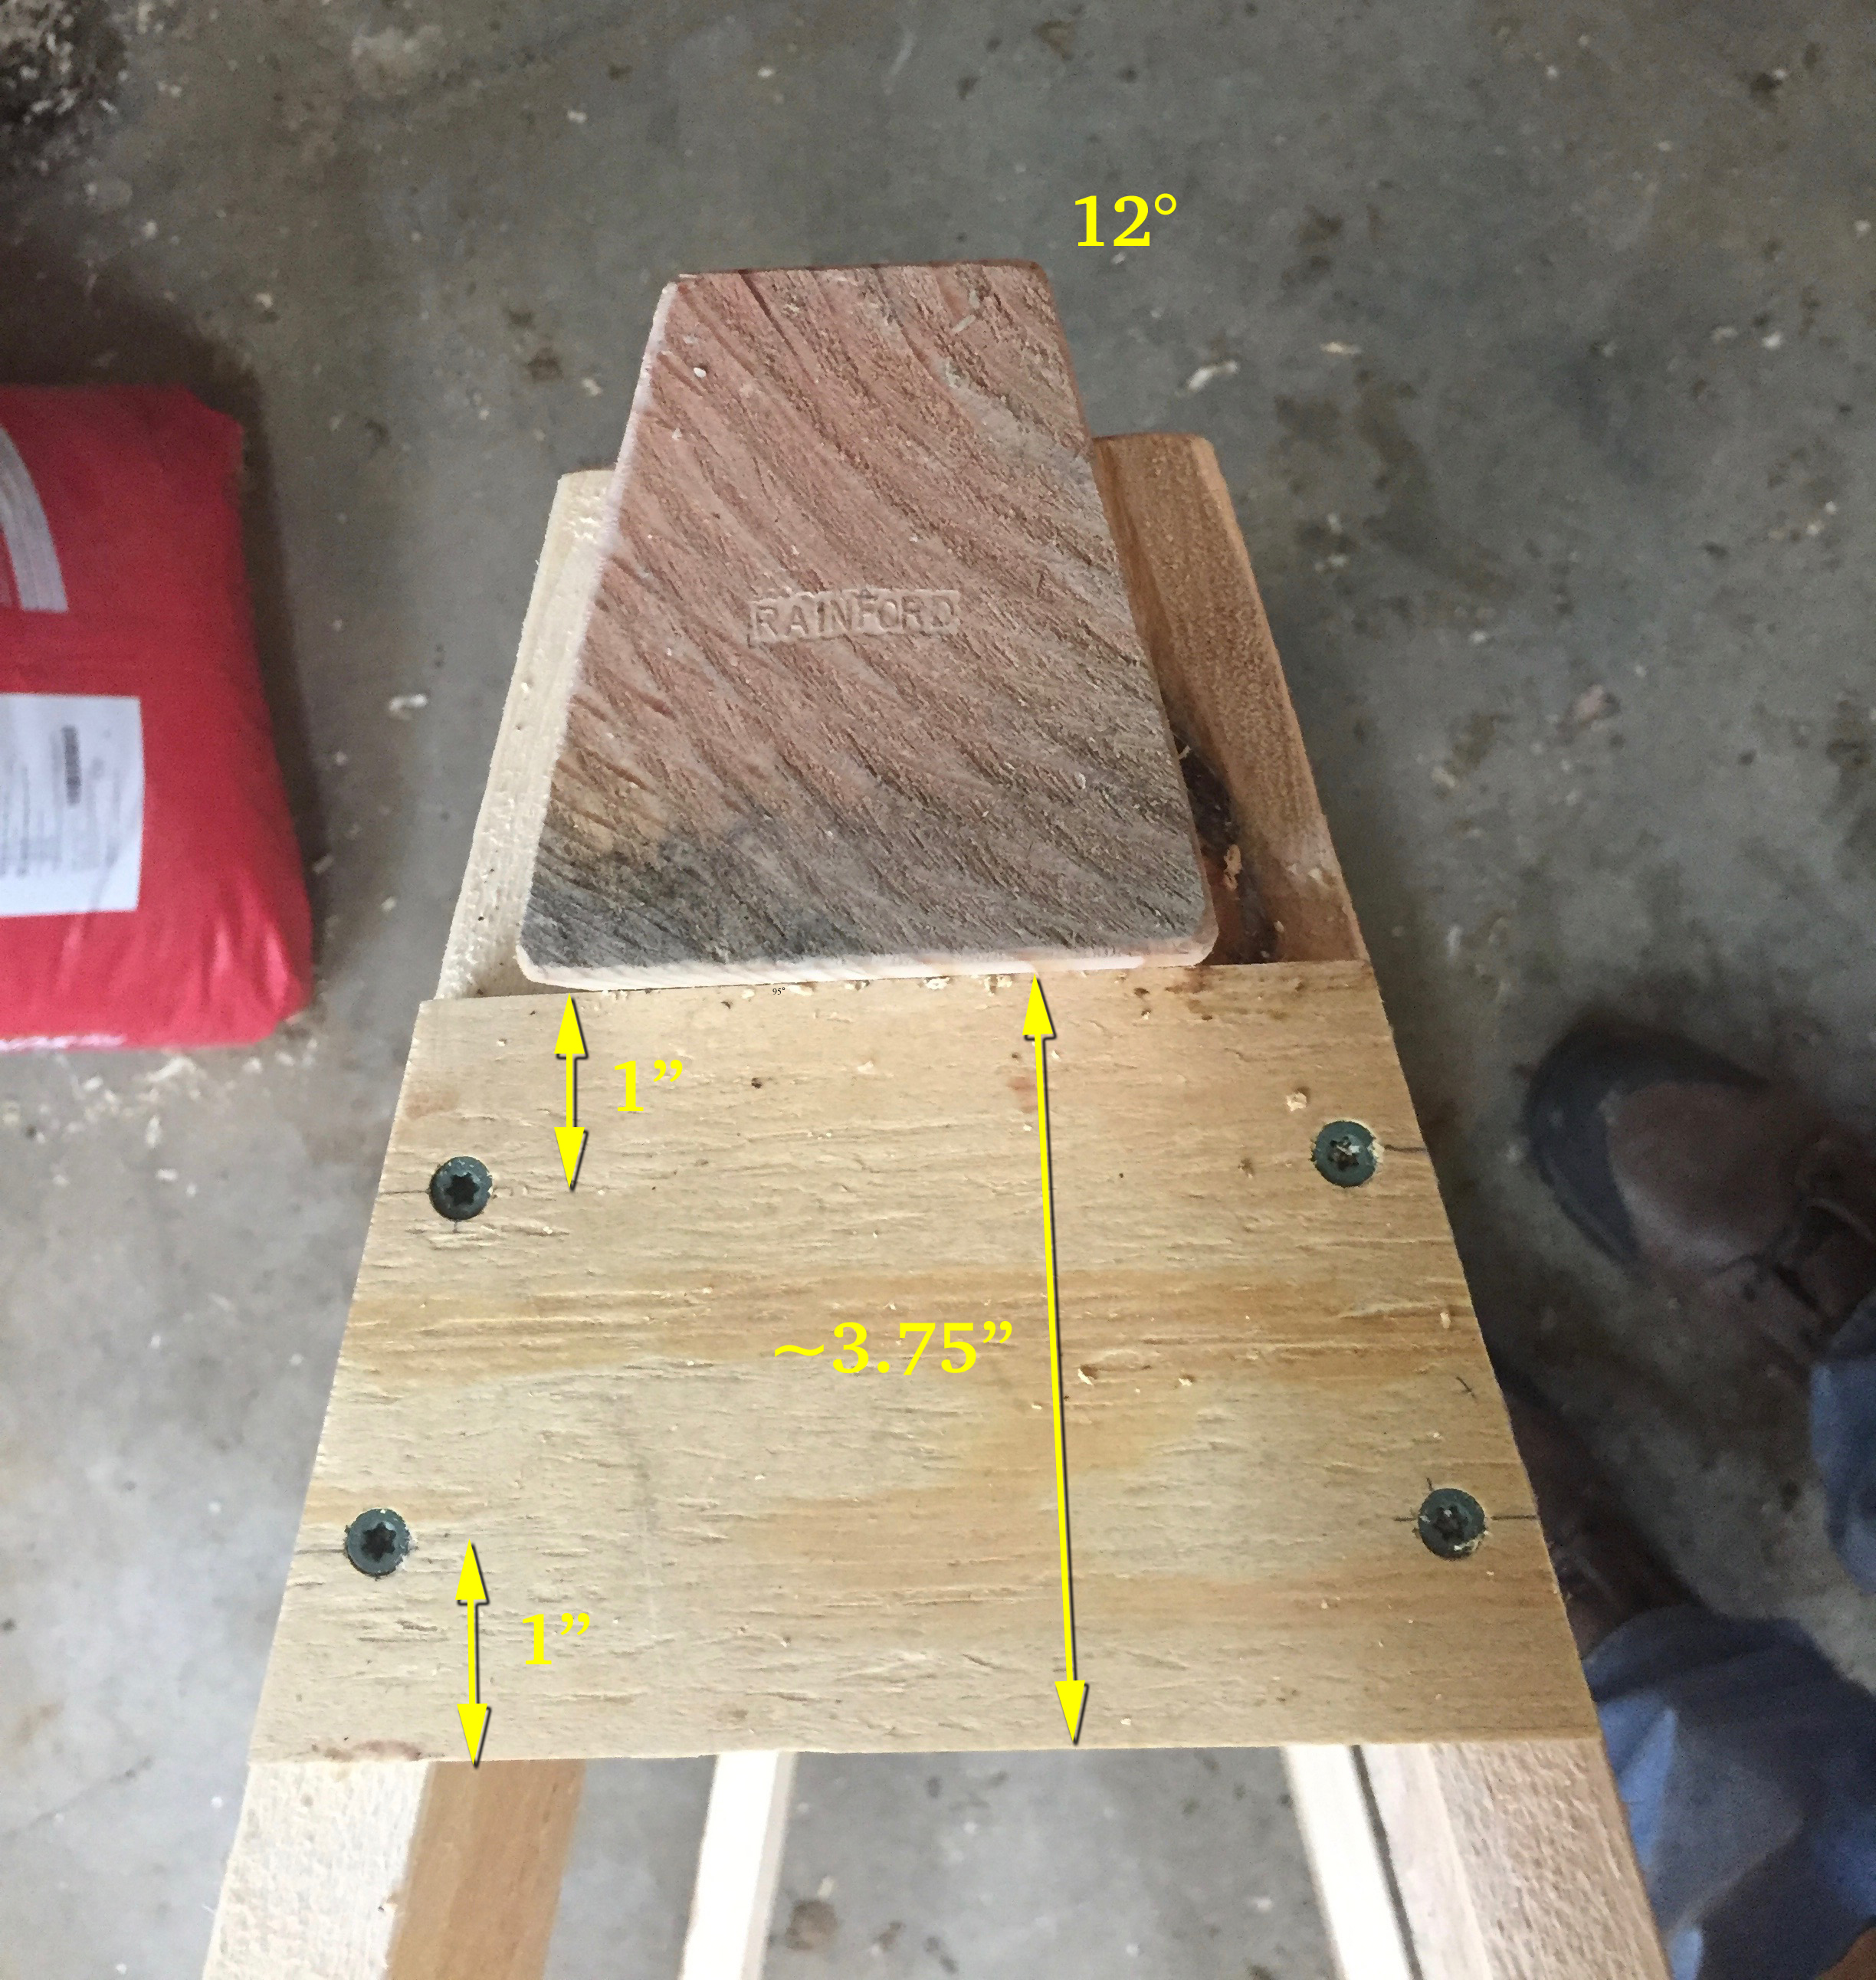
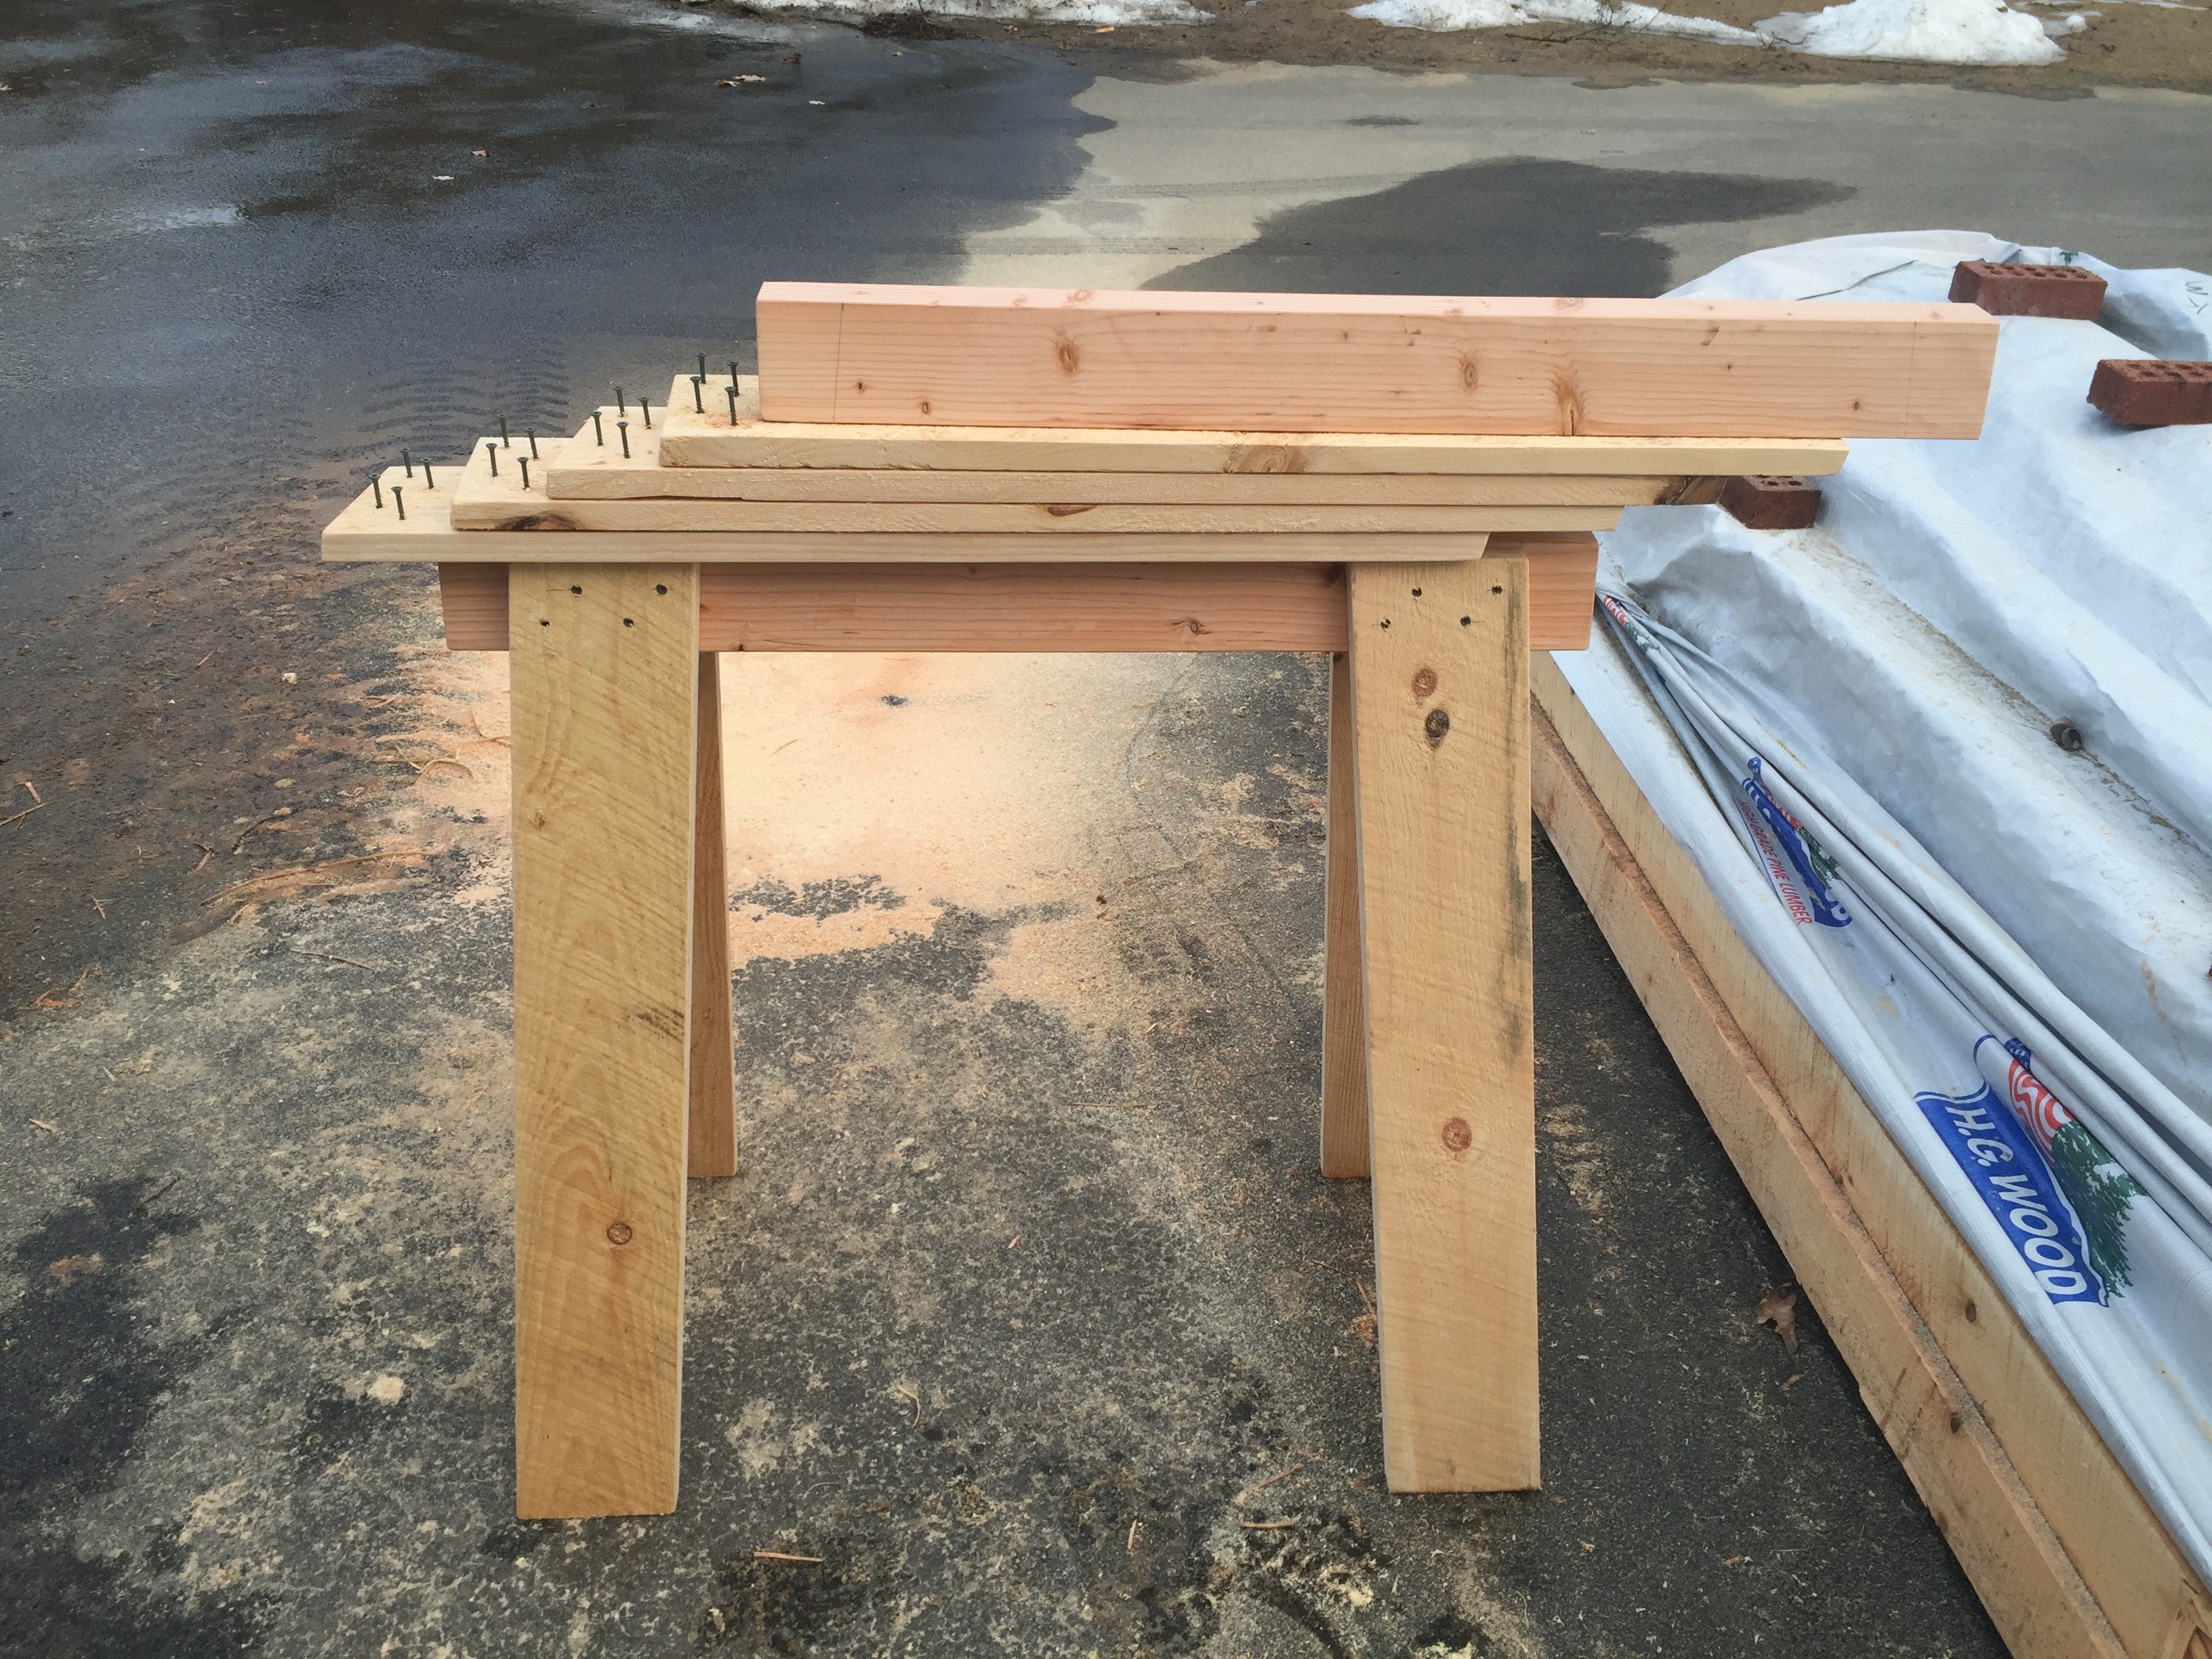
And now we have a completed horse! The image above has some more dimensional information for quick reference.
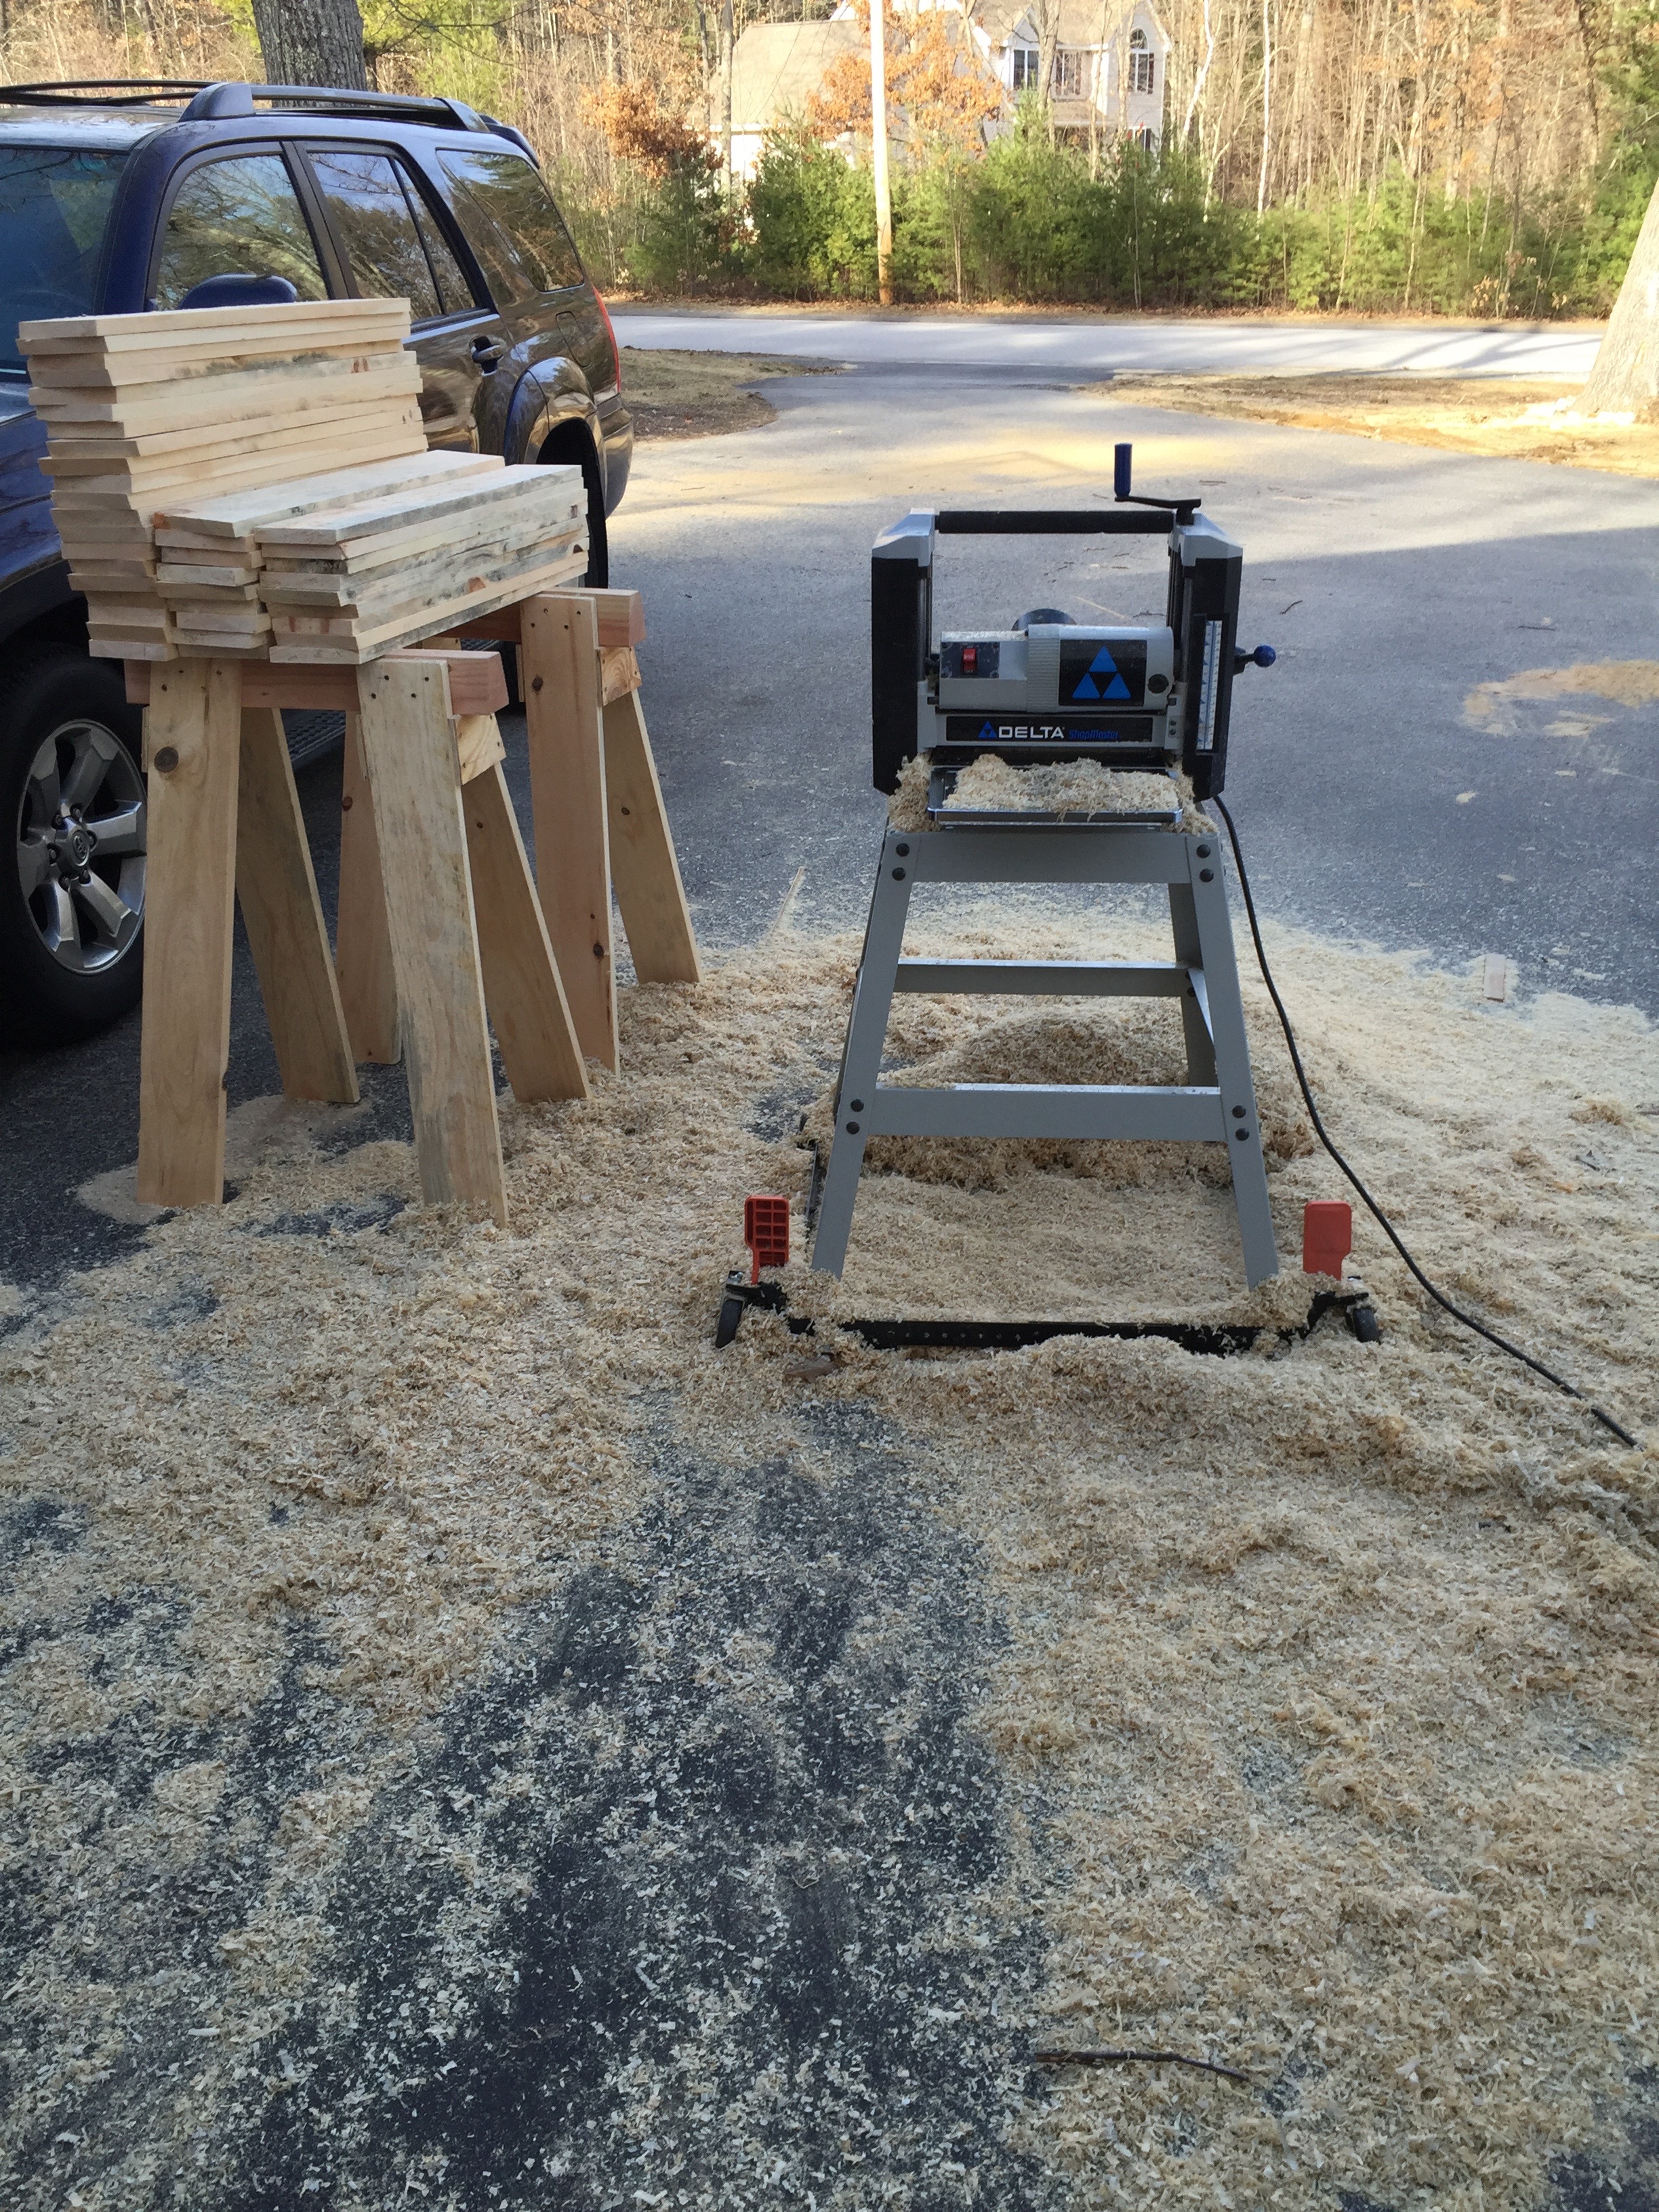
Now back to that mistake I mentioned earlier. By leaving the cut wet boards tightly stacked a mold/fungus quickly bloomed on half of the boards. I have a lot of allergies so I didn’t want to handle those boards any more than I’d have to, and it was unsightly, so I suited up and with my dust mask and fed them through my lunchbox planer. I also didn’t use my dust collector as I don’t want that wet fungus living in my filter. I planed the rough boards smooth and stickered them up to dry in the sun as I worked on other horses.
That little mistake accidentally created ‘Denim Pine’ — pine boards with a blue tint that results from that fungus blooming and is desirable to some folks, presumably non-workers that like the look of it. (See above and below). With the mold/spores/fungus/grossness removed and stickered the legs will dry and be fine to use. As I completed each horse it will live out side where it can dry at a steady rate until the barn gets finished.
How do you store all of these horses?
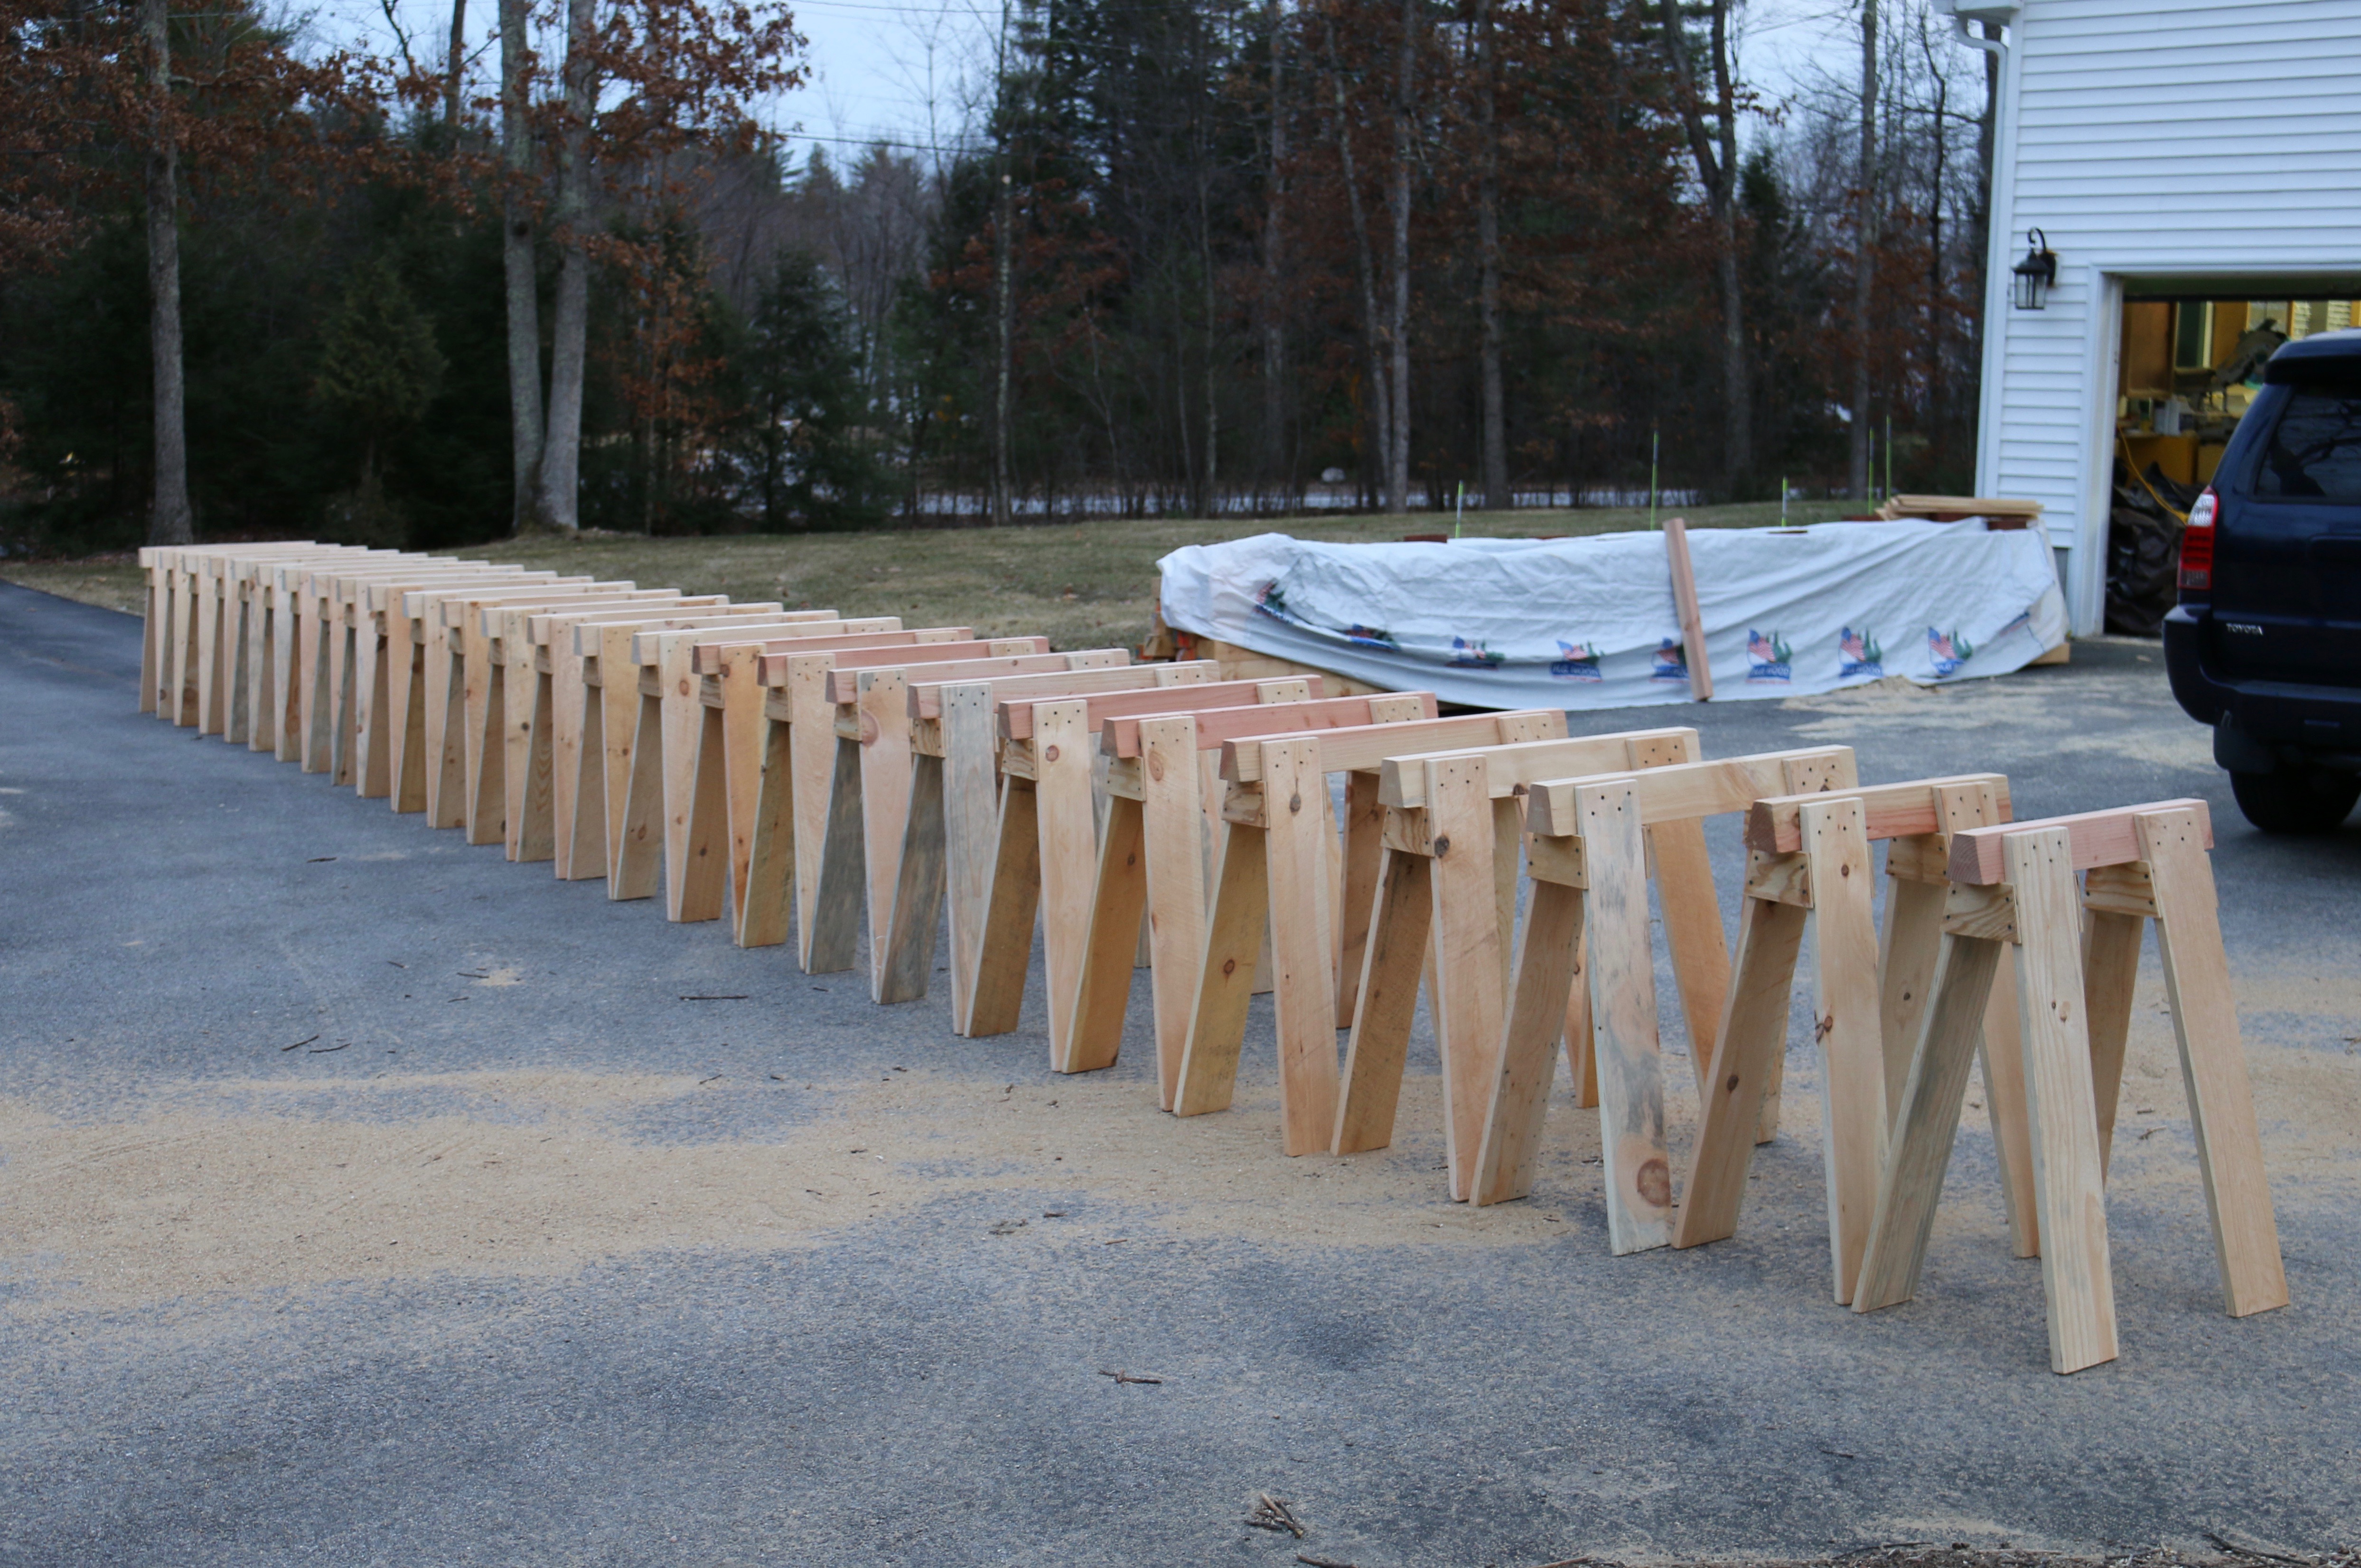
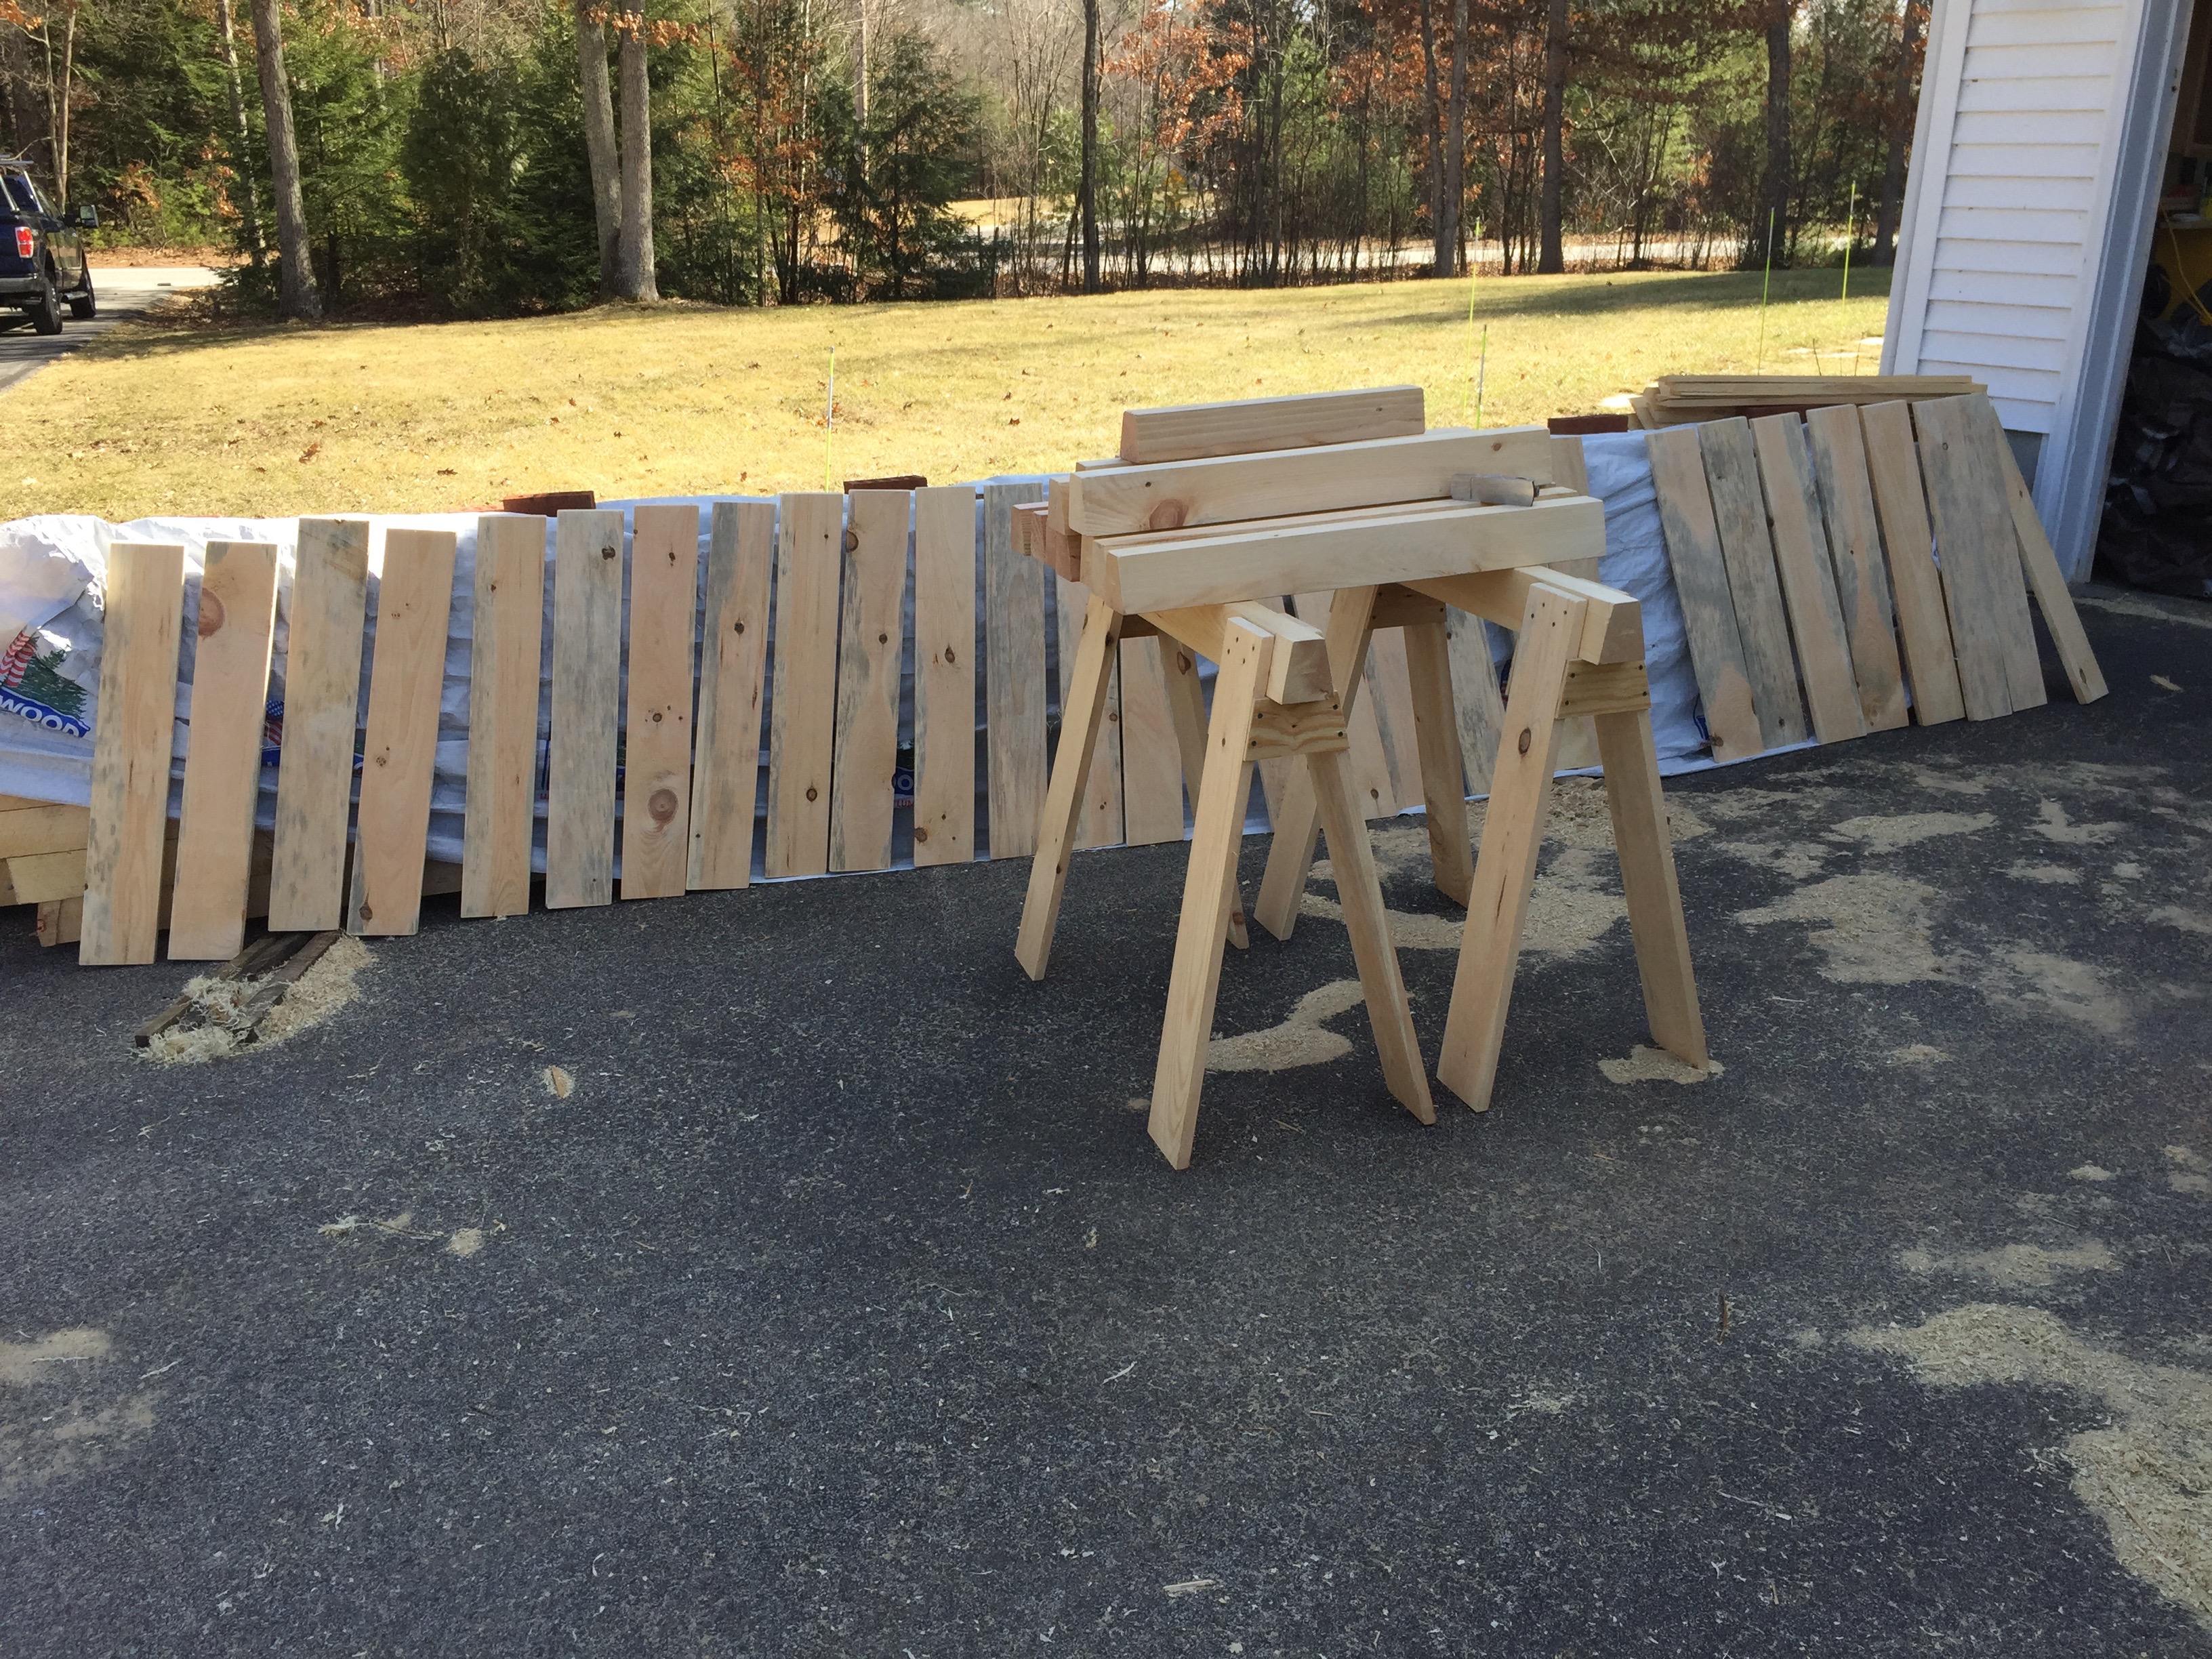
The horses stack nicely and even when stacked all the wood can dry nicely.
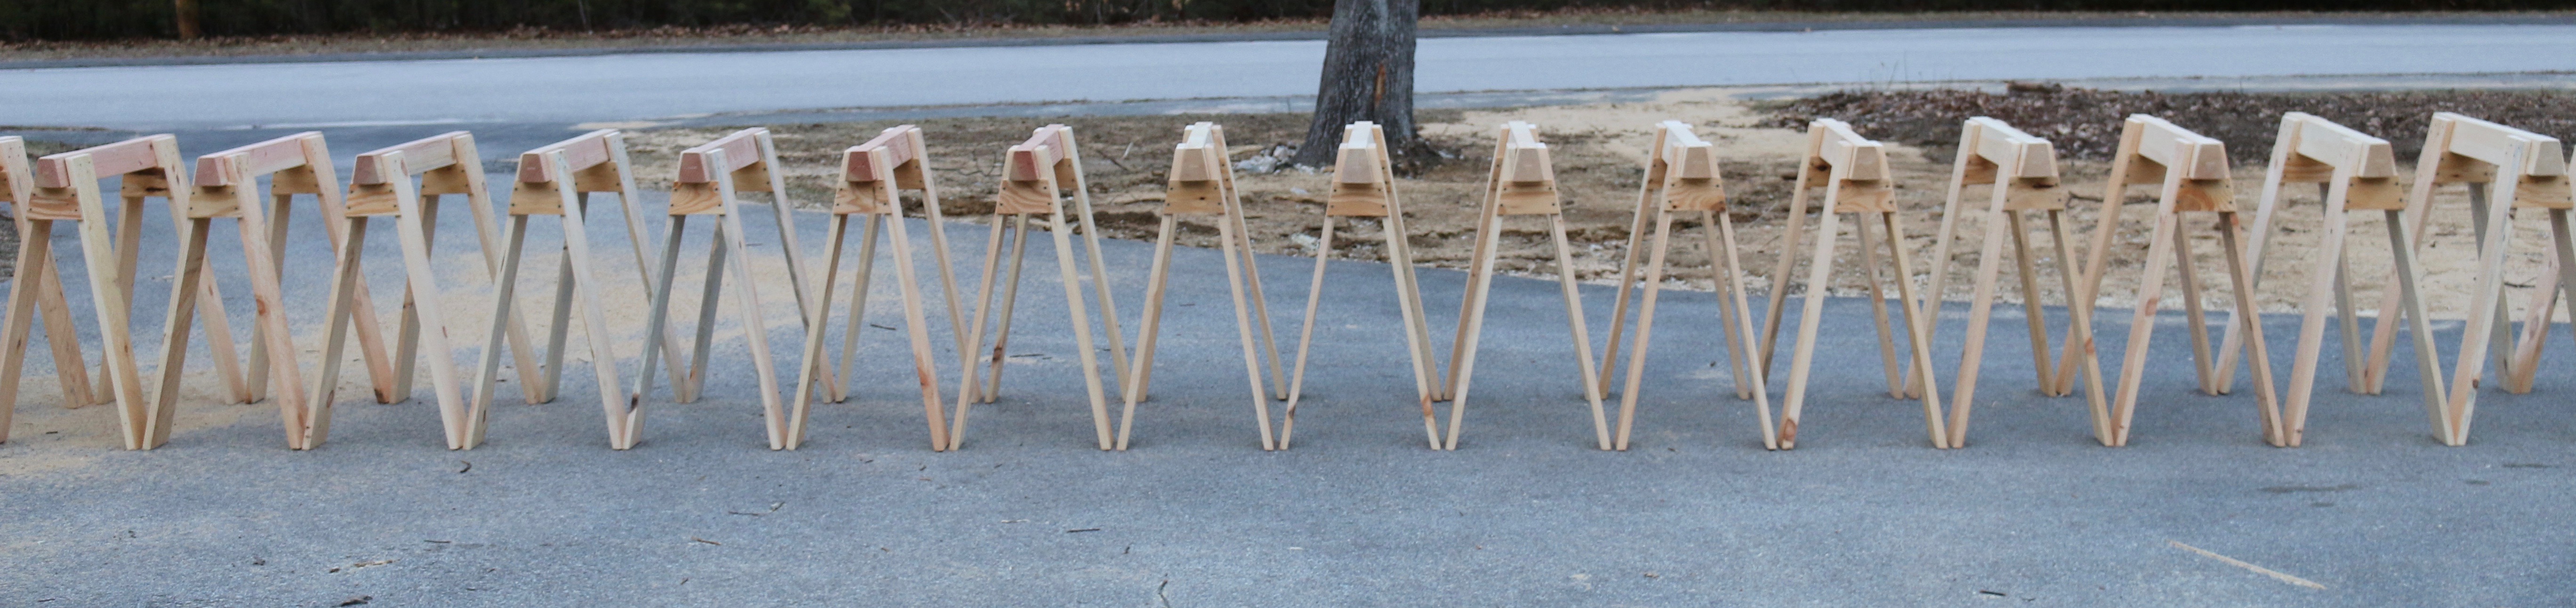
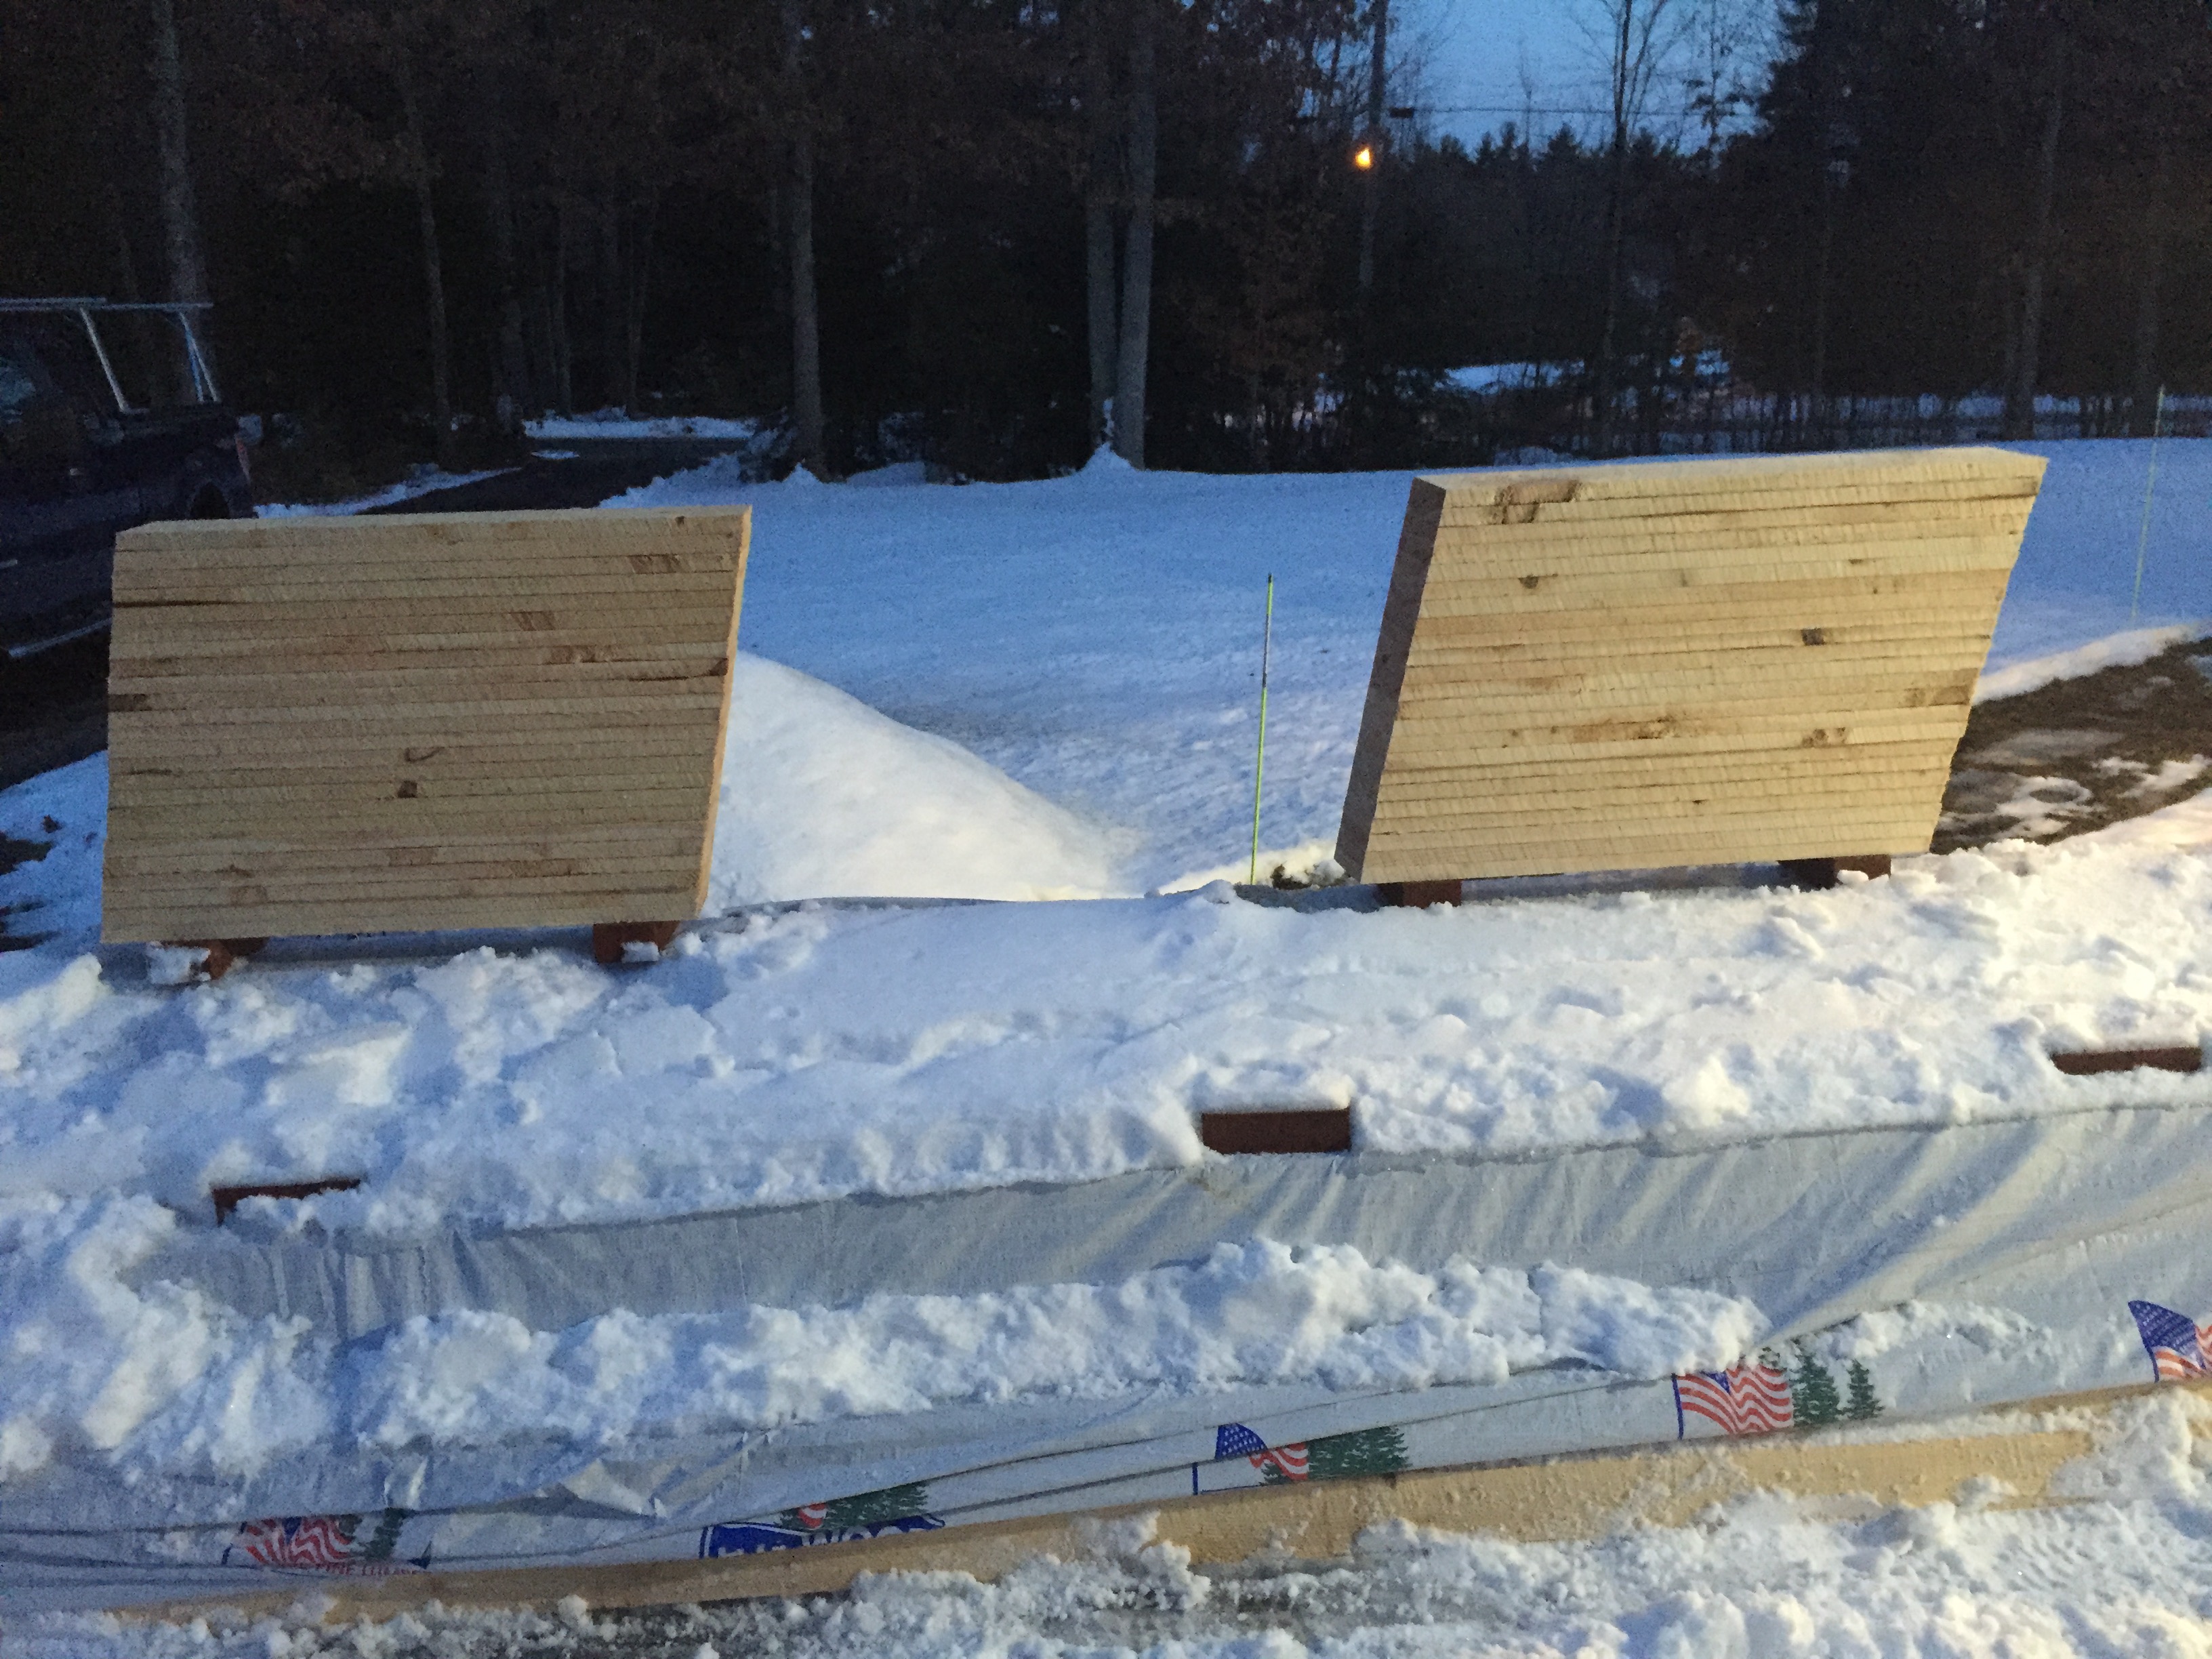
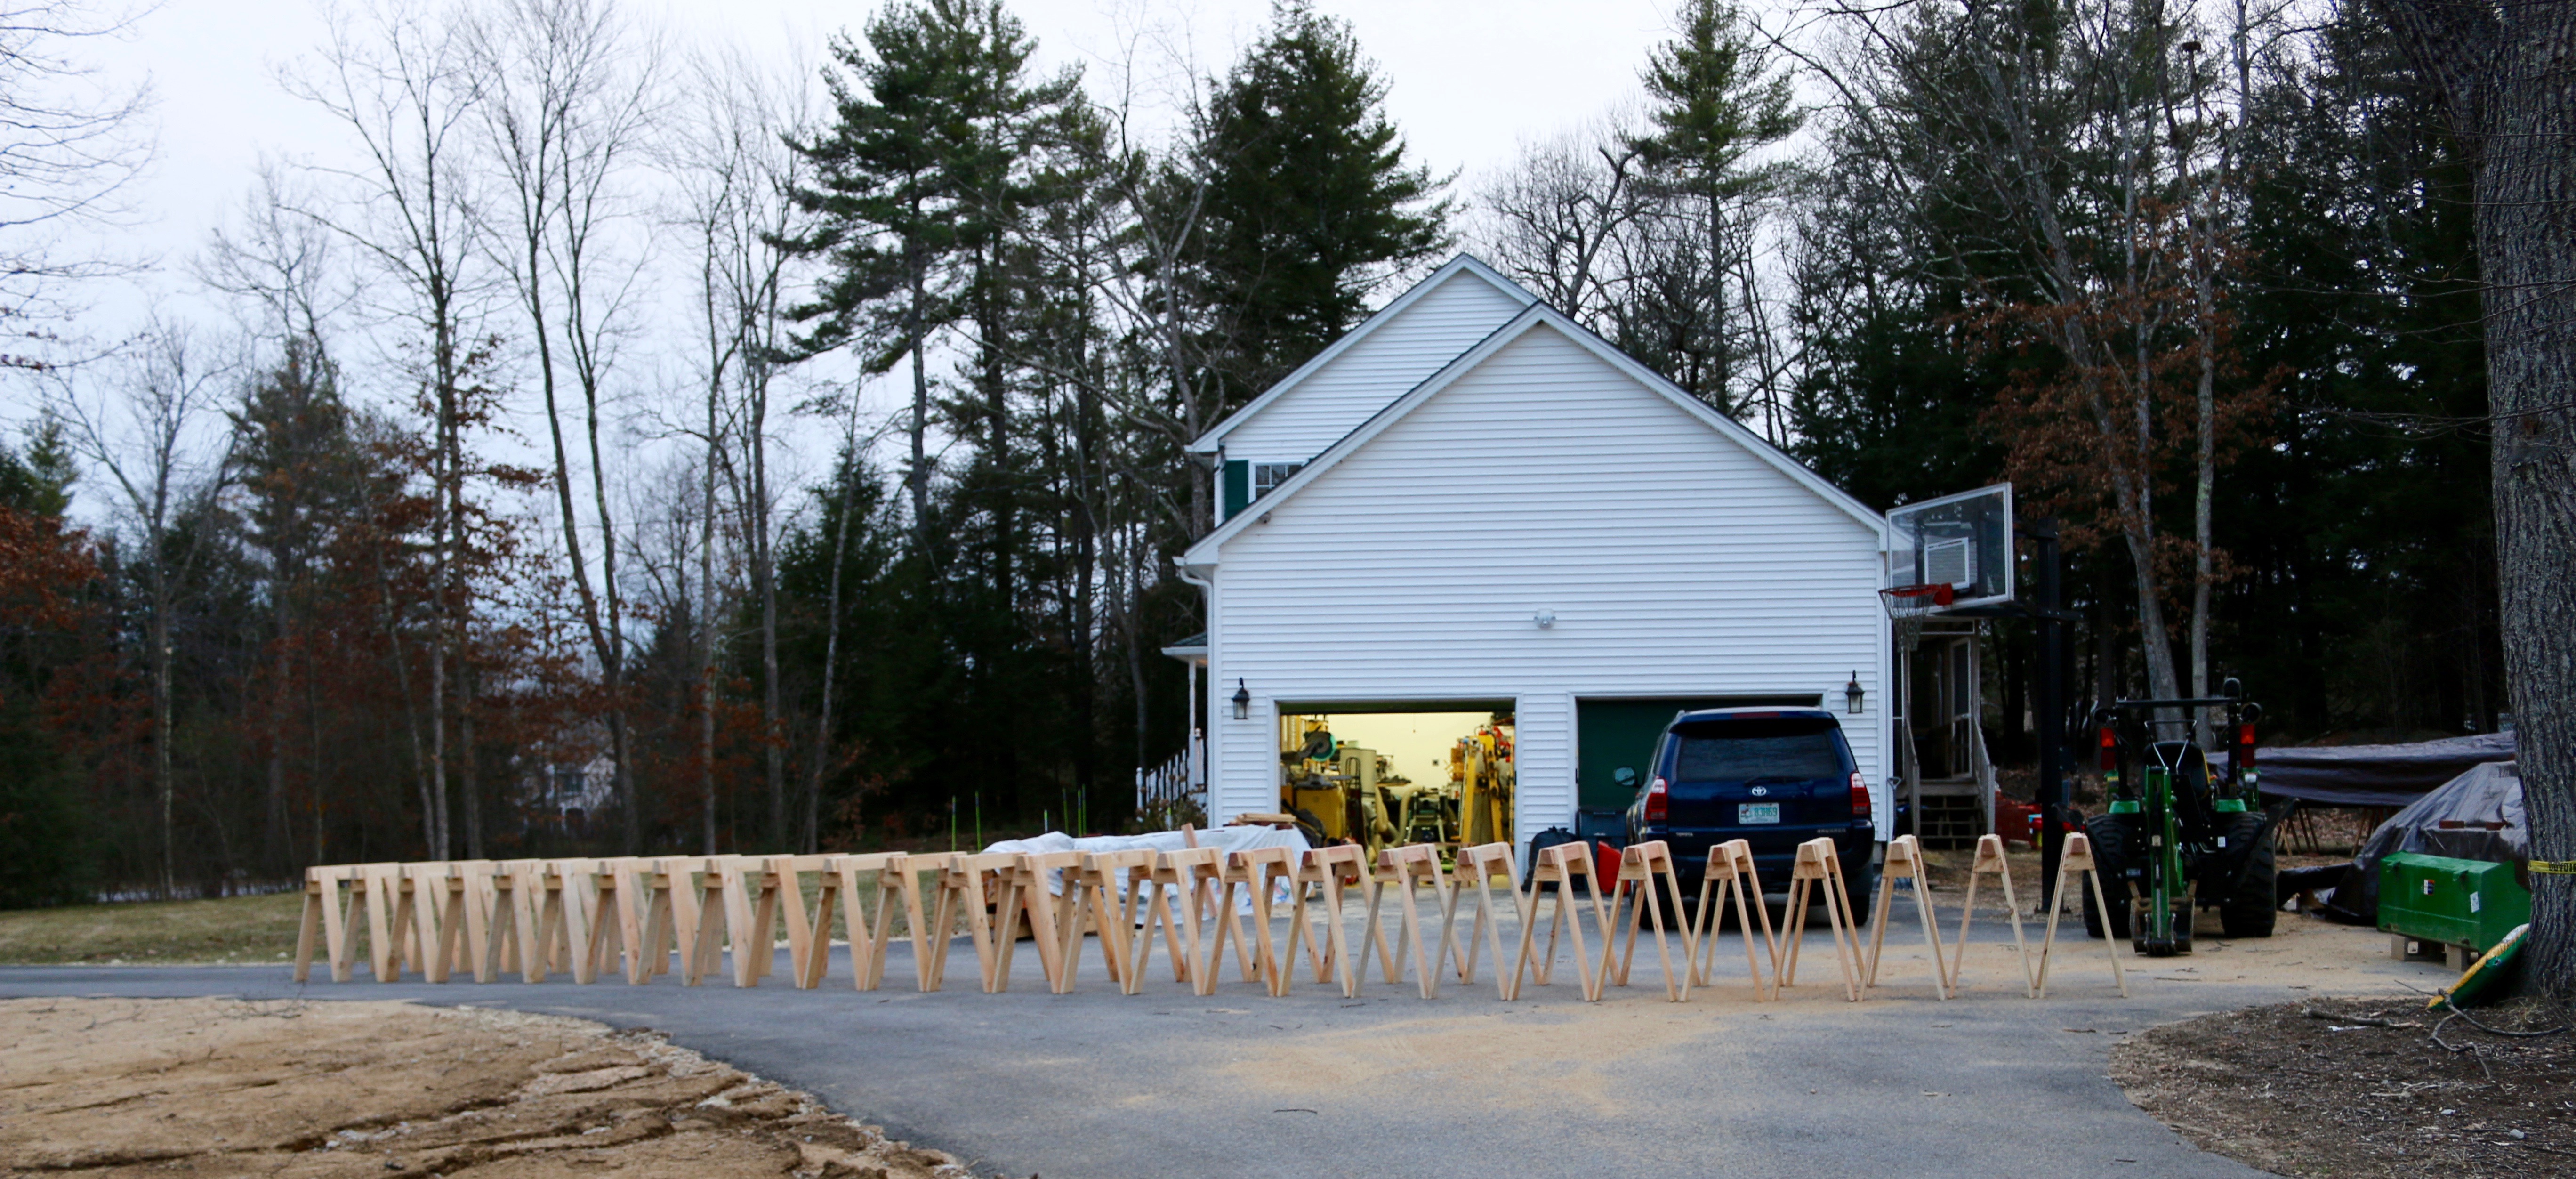
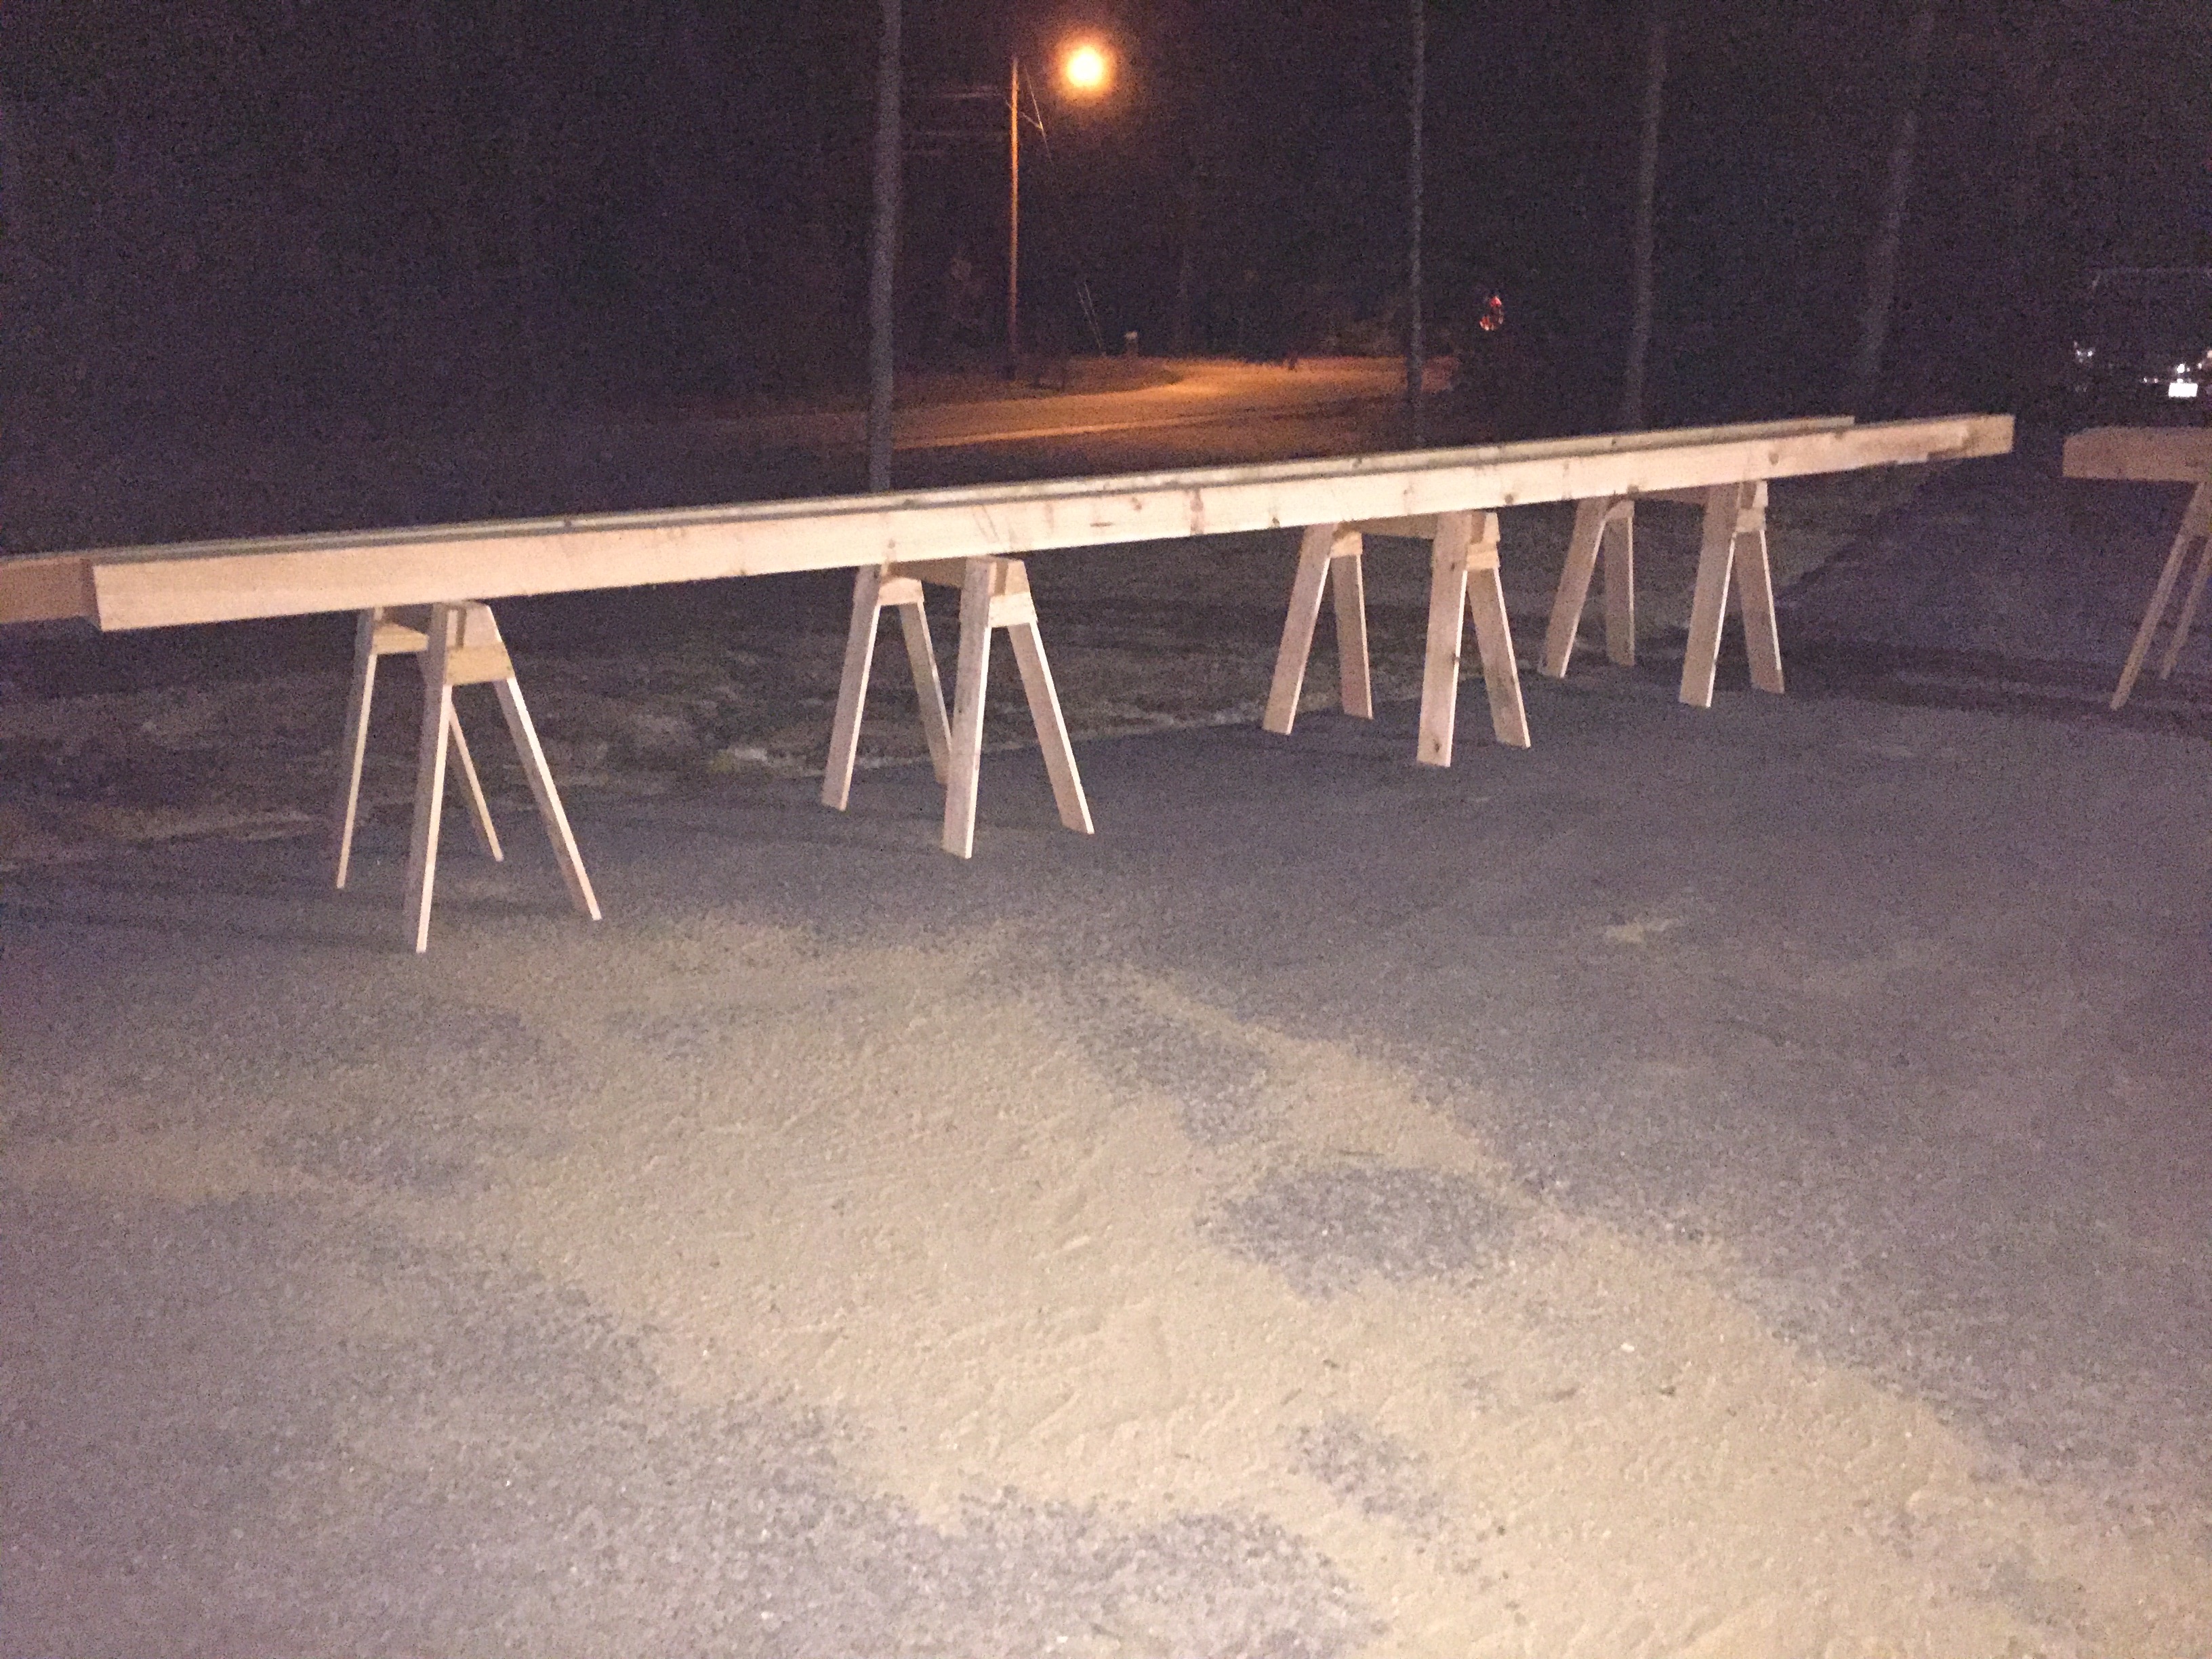
This was the largest run of horses I’ve made to date so I set them all up out in the driveway just to see them all in one place.
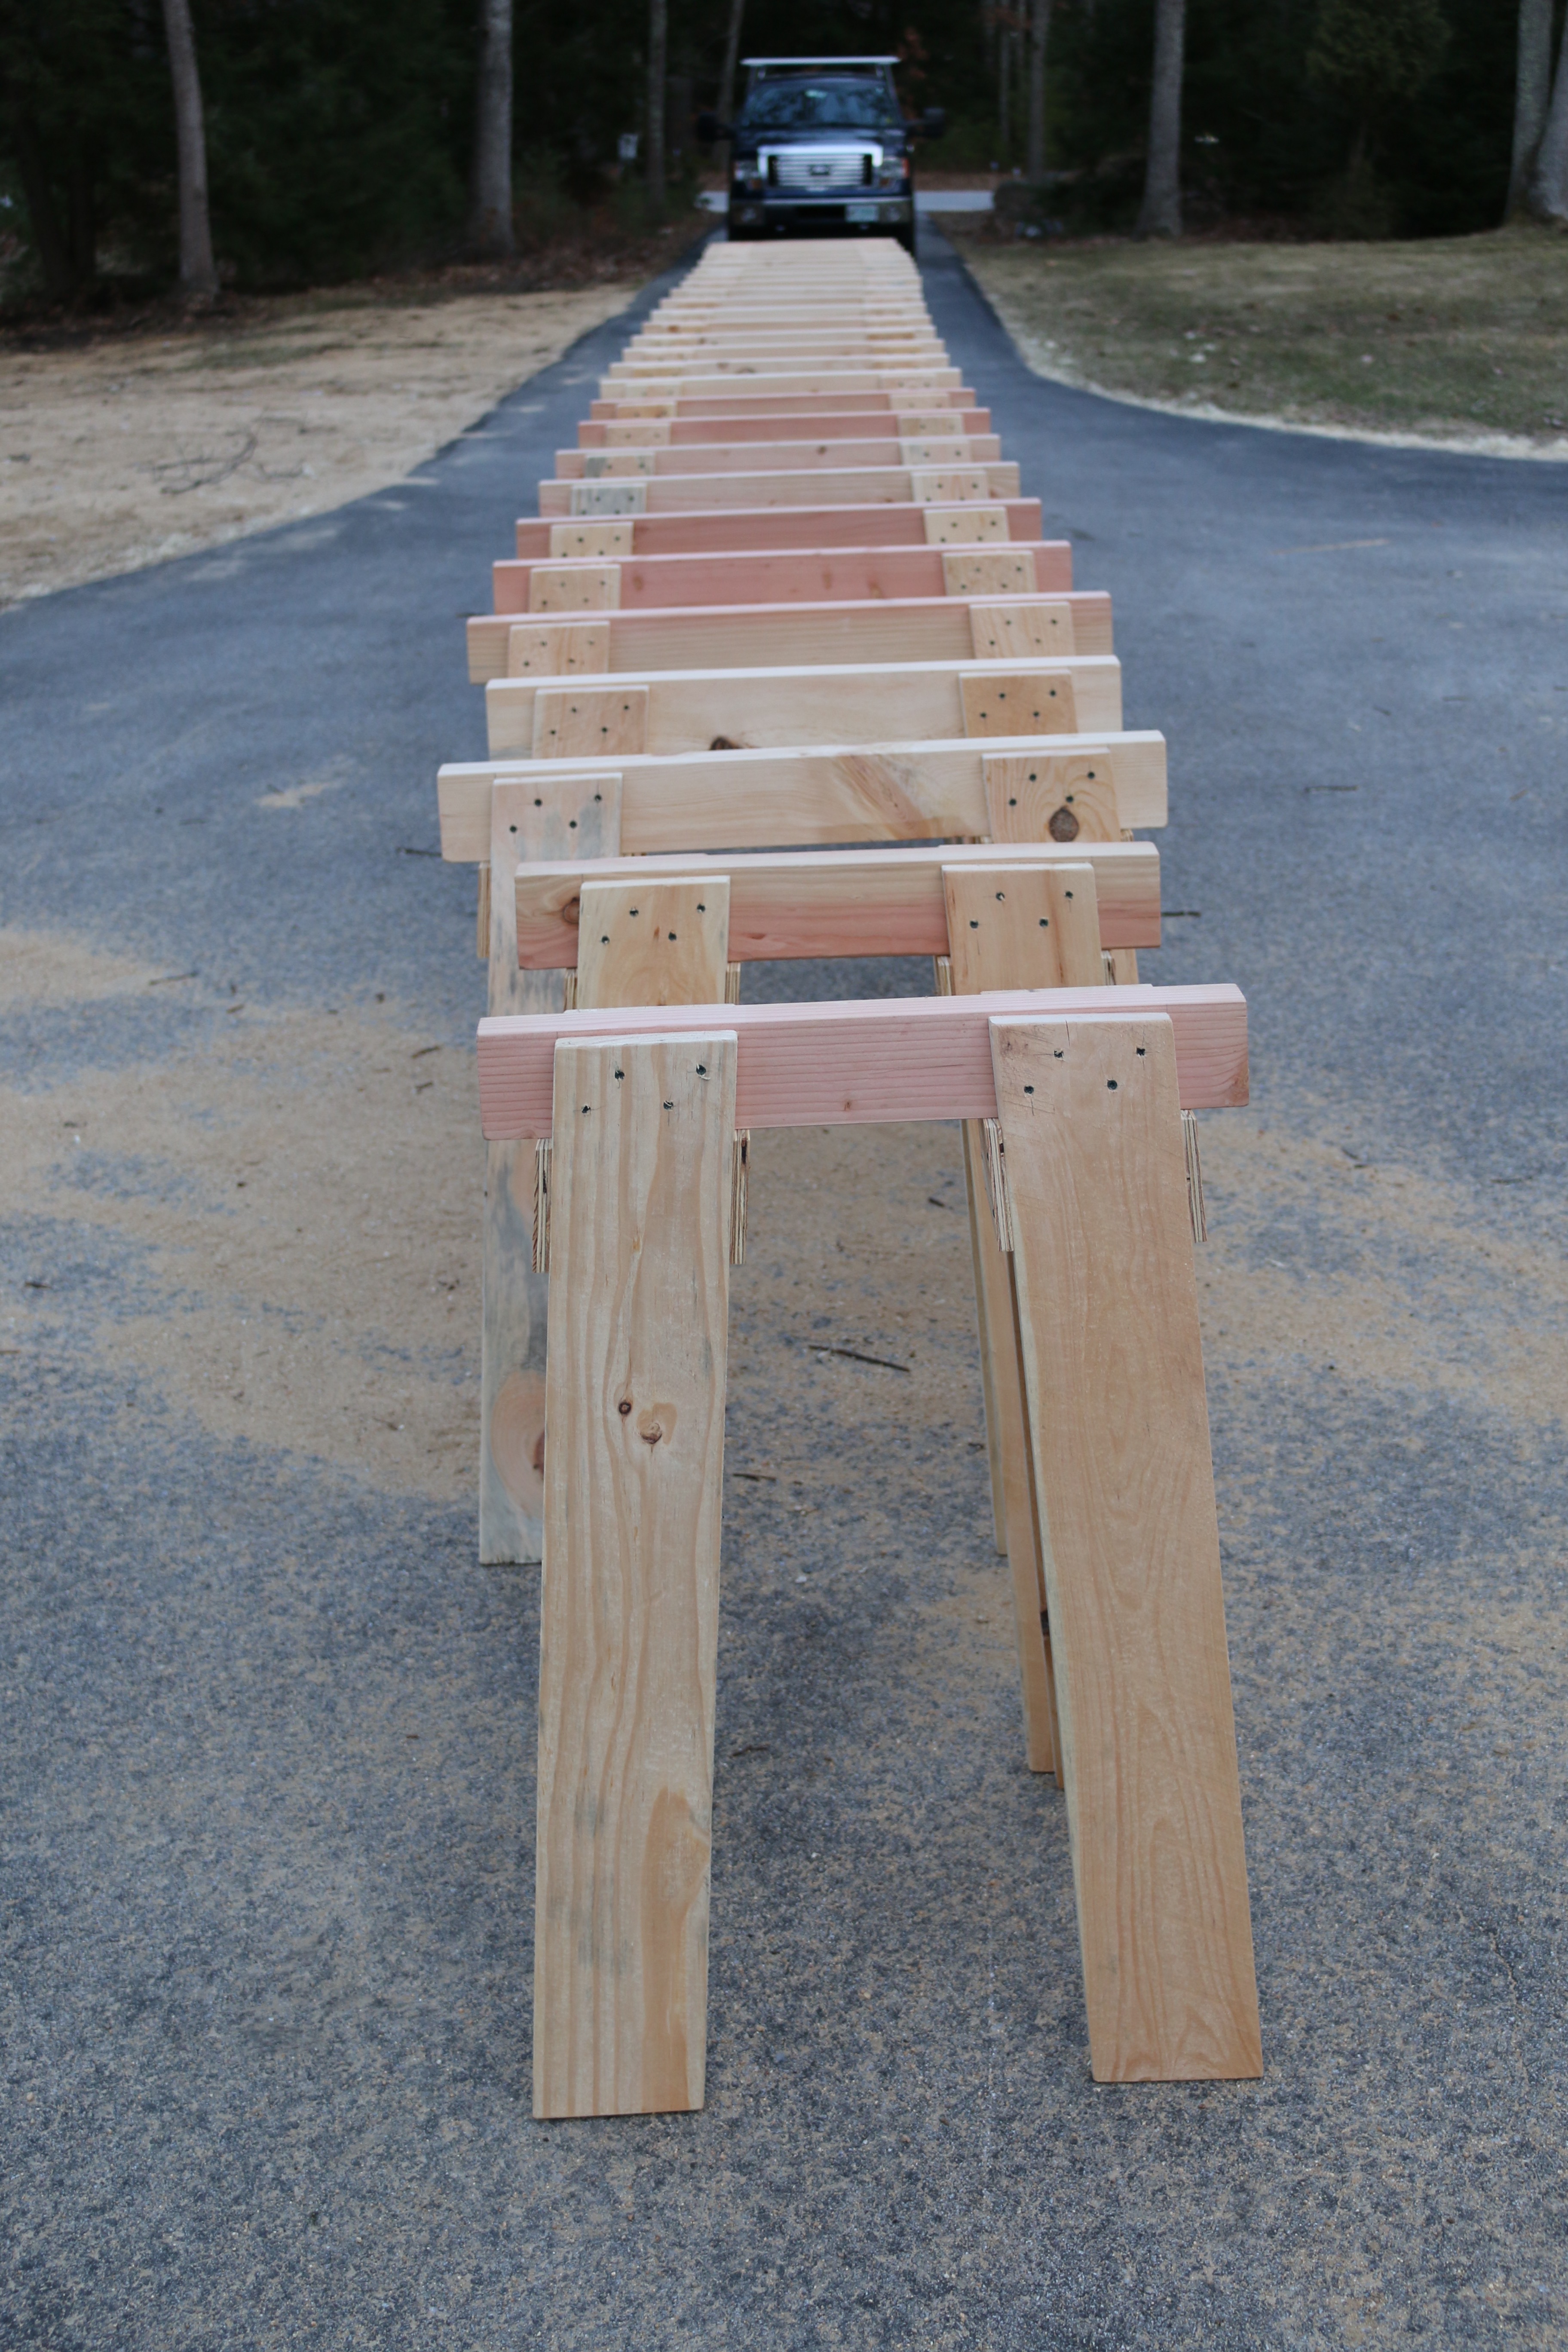
Two of the horses, my ponies, had a 24″ beam as two of the 4x4s were a little short and I thought it would be nice to have a set that can fit into a tight place.
What do you plan to do with all these horses?
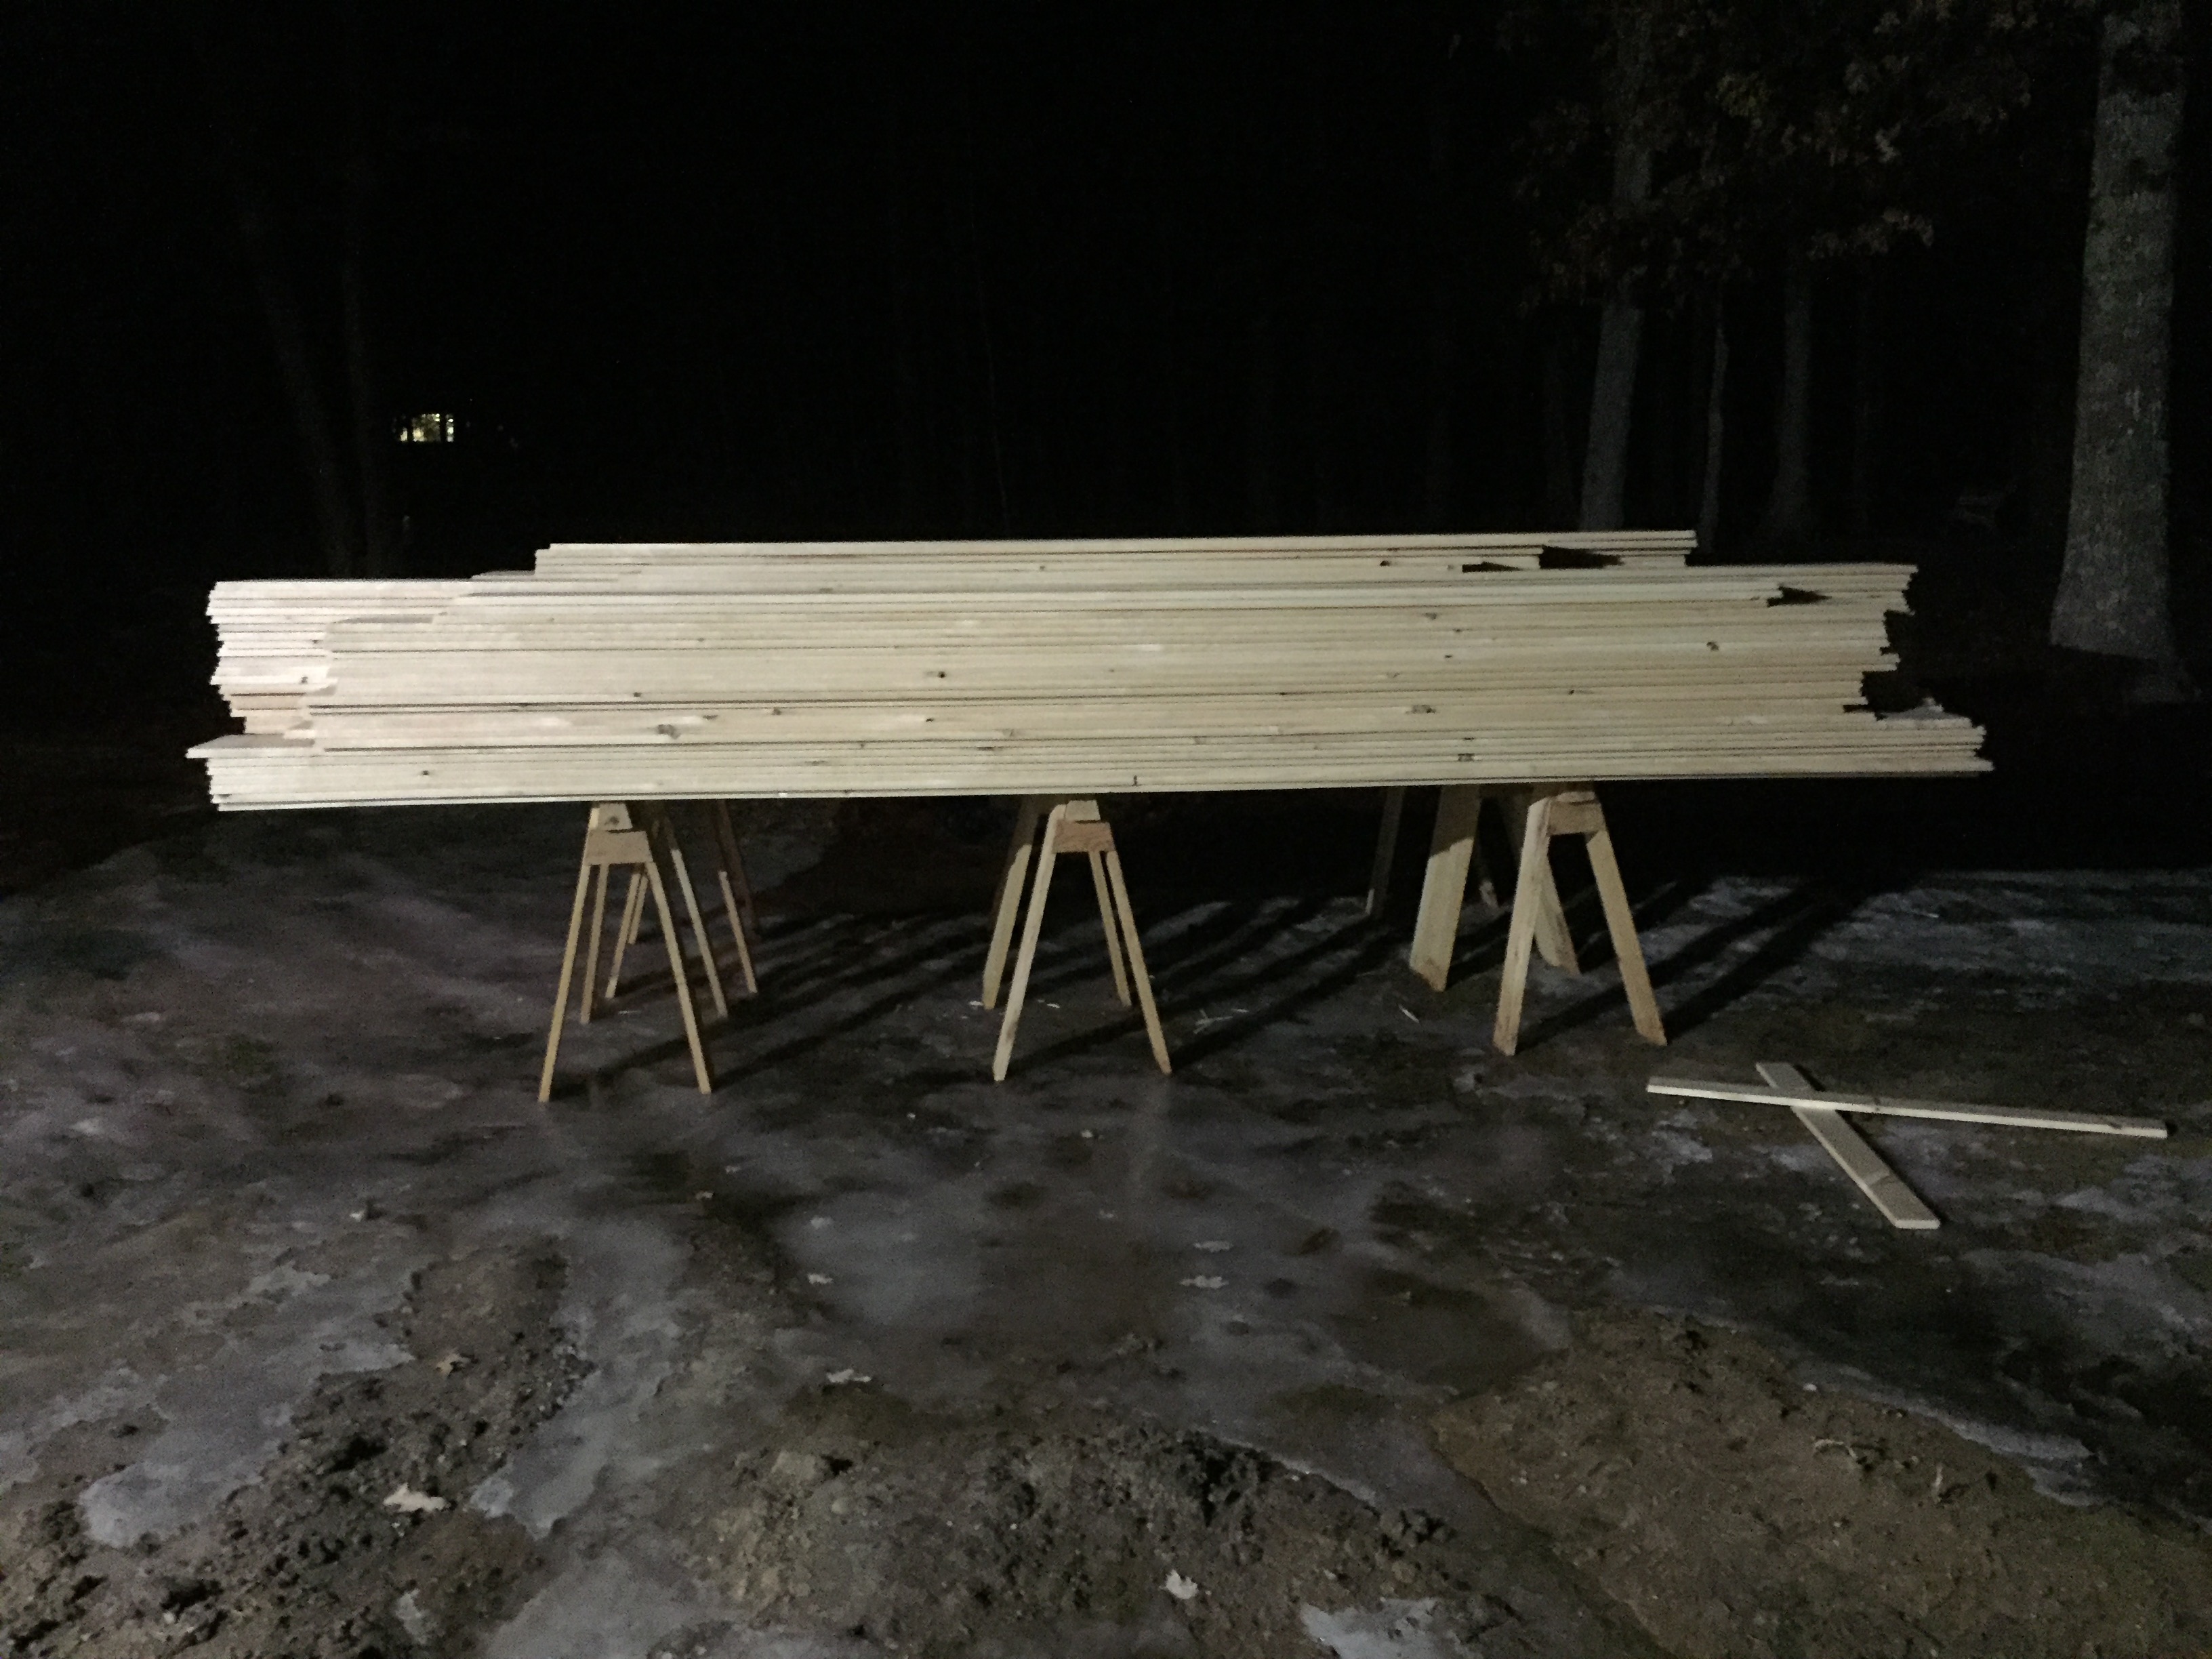
Above and below you can see a couple thousand linear feet of 16′ shiplapped pine sheathing held with ease by these horses.

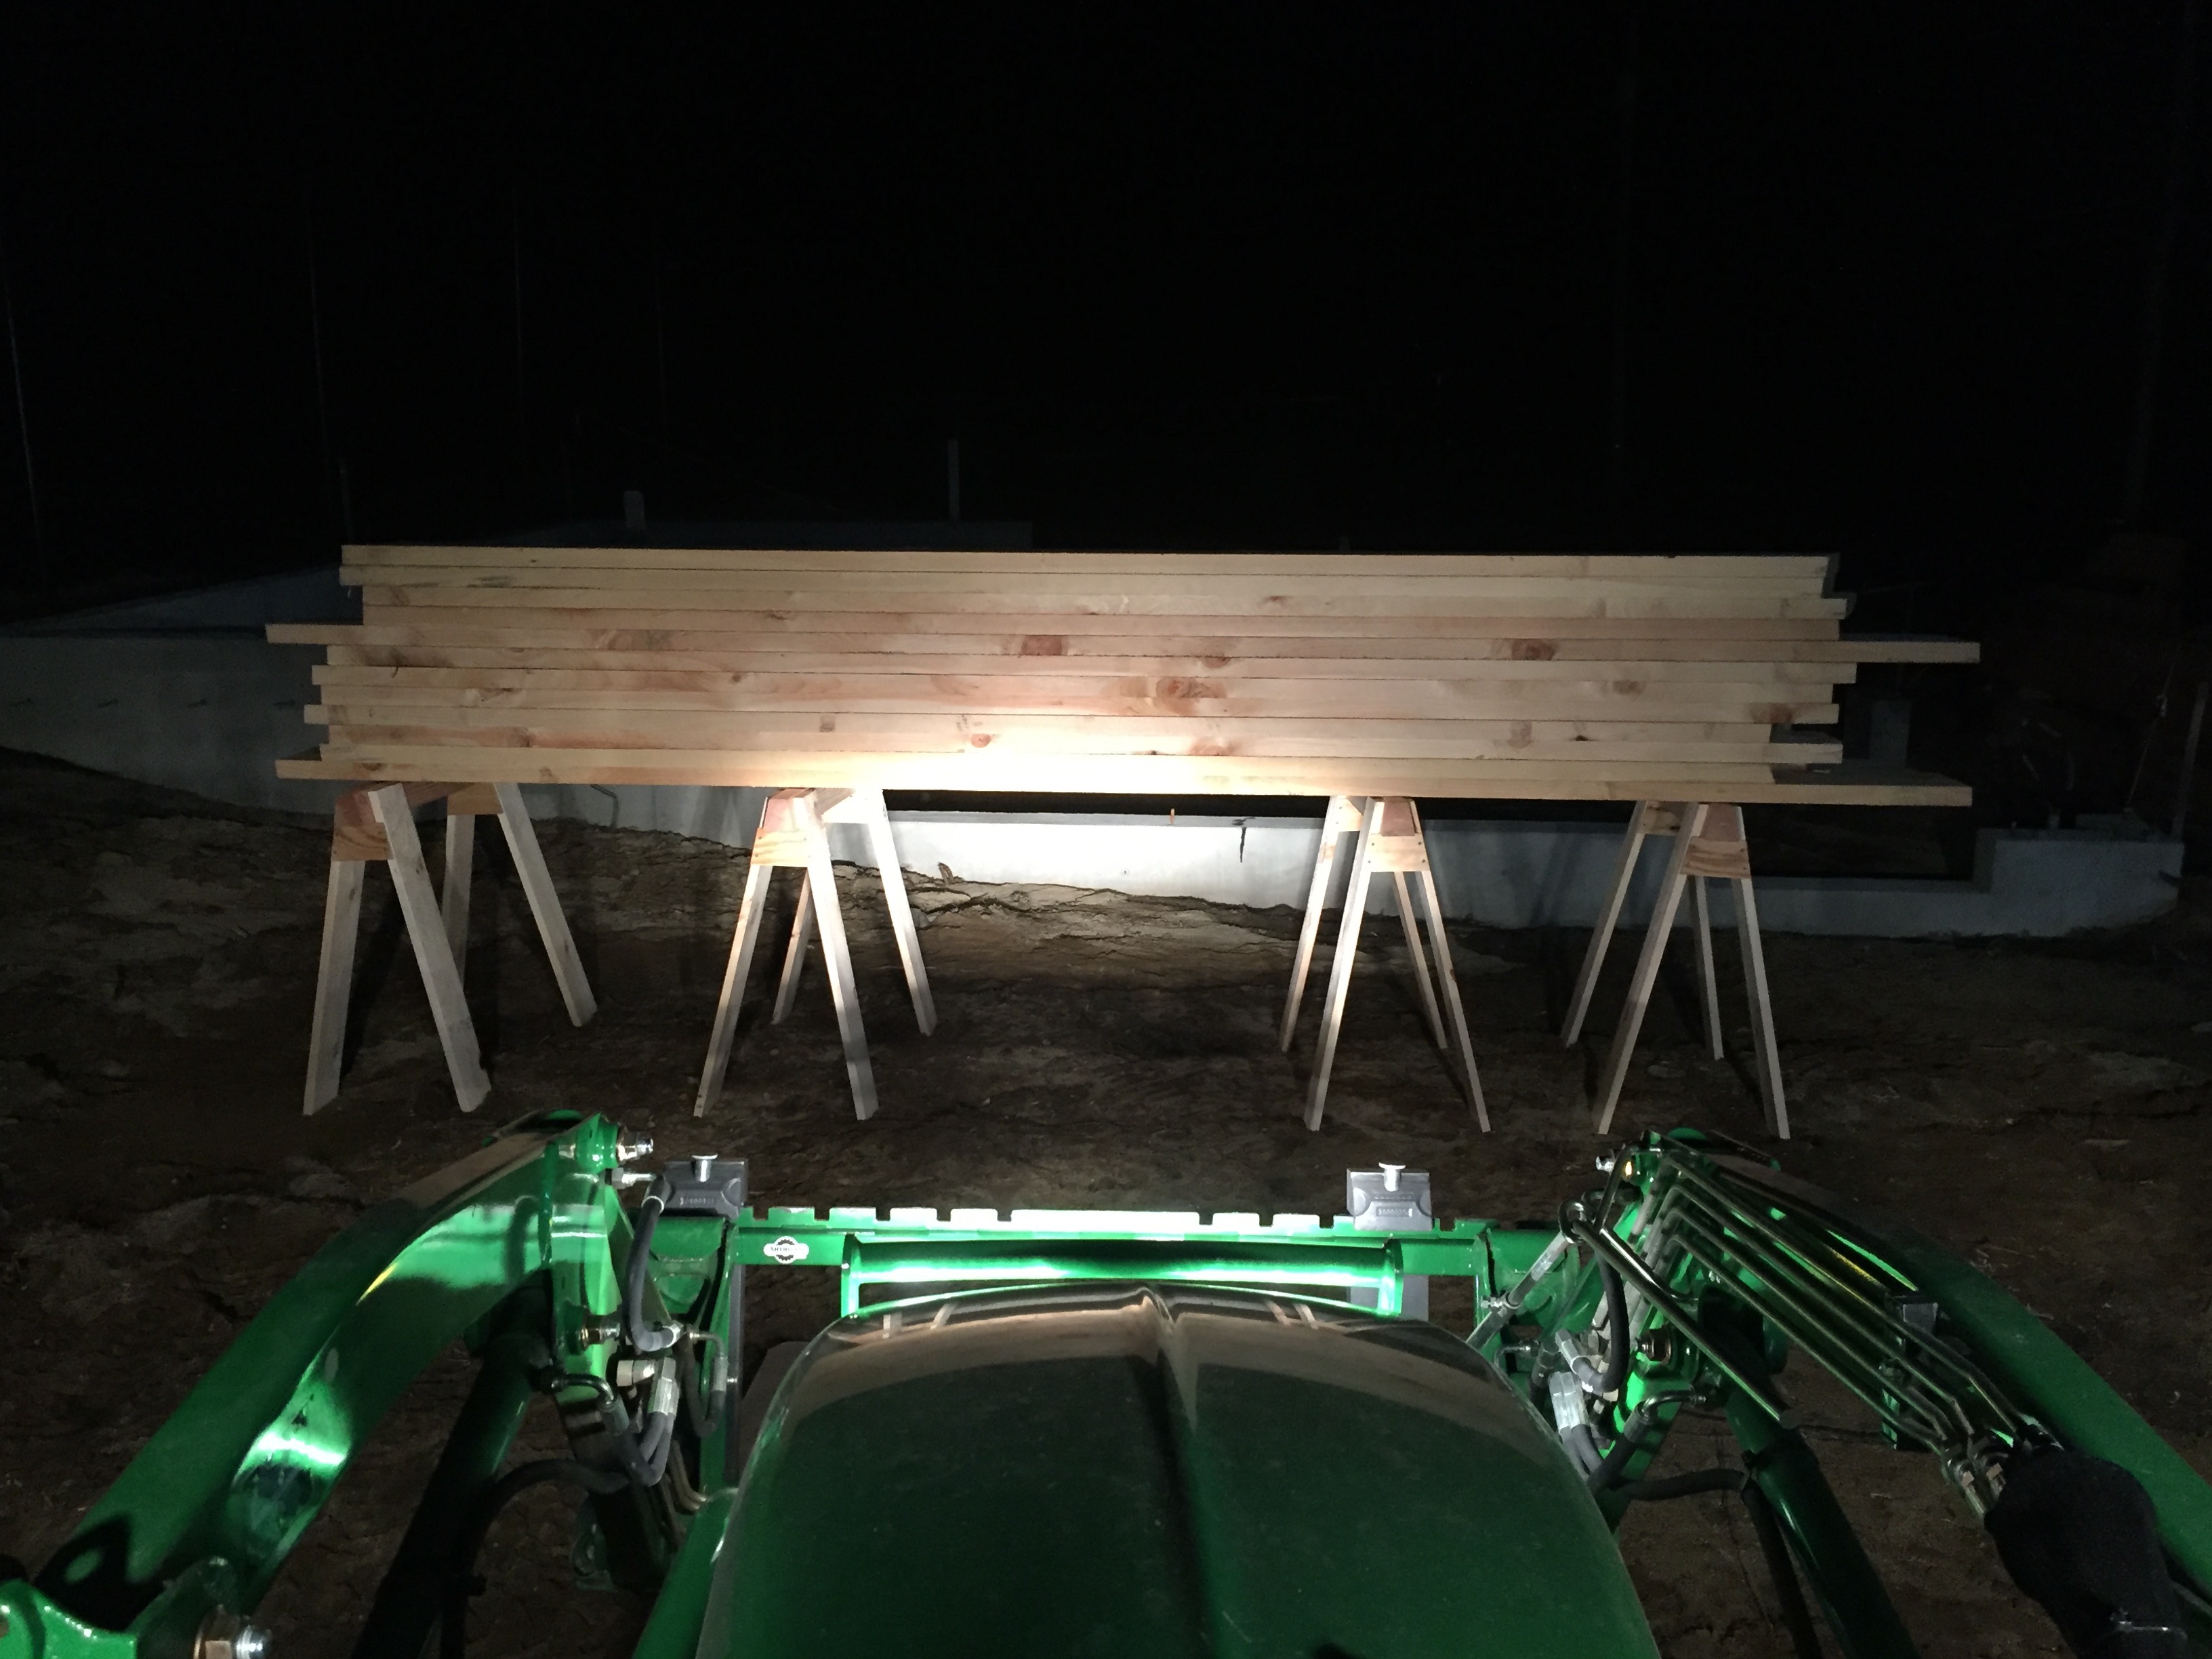
In the photo below are 24 2″ thick 12″ wide green pine planks that will be used in the barn loft. I estimated this wood to weigh 1800lbs and the 4 horses below seem to hold it with ease.
And below are some 6×9 25′ long timbers.
As you can see these versatile horses are at home in the shop or out on a worksite and I hope that you’ll build a few pairs for yourself. If you do, please let me know in the comments.
Take care,
-Bill