An early lesson in carpentry or woodworking in general is to take all of your measurements from a single reference face — this way you don’t get a bunch of accumulated errors that will throw everything off. It makes sense, but what do you do when measuring long distances? or uneven surfaces?
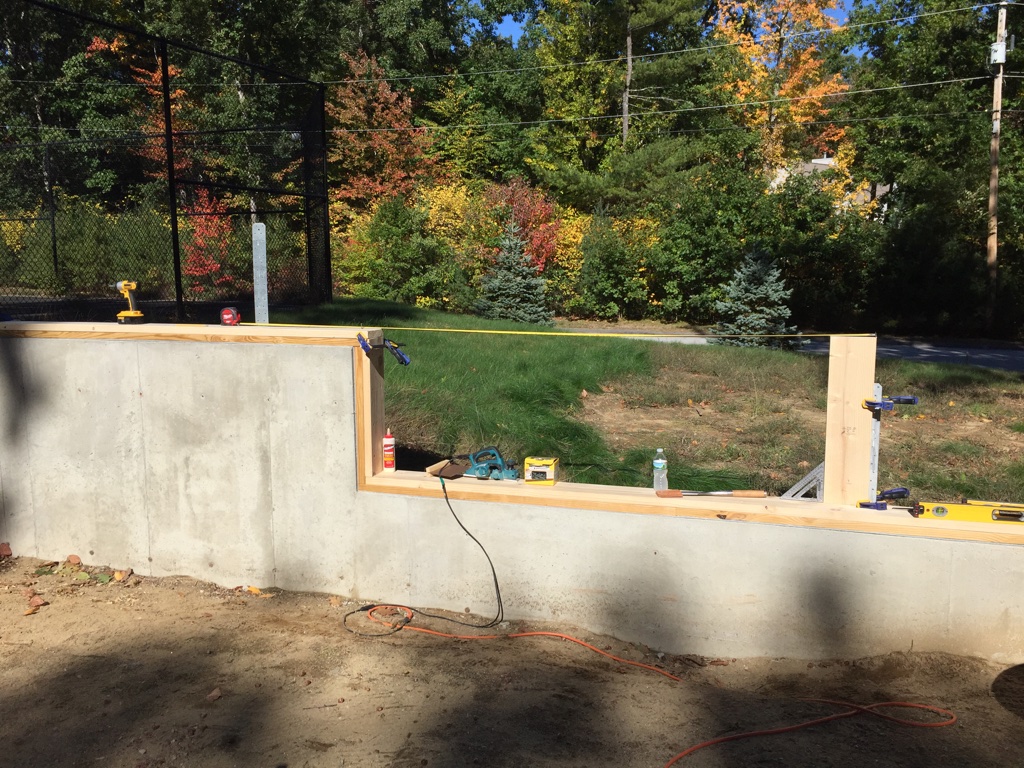
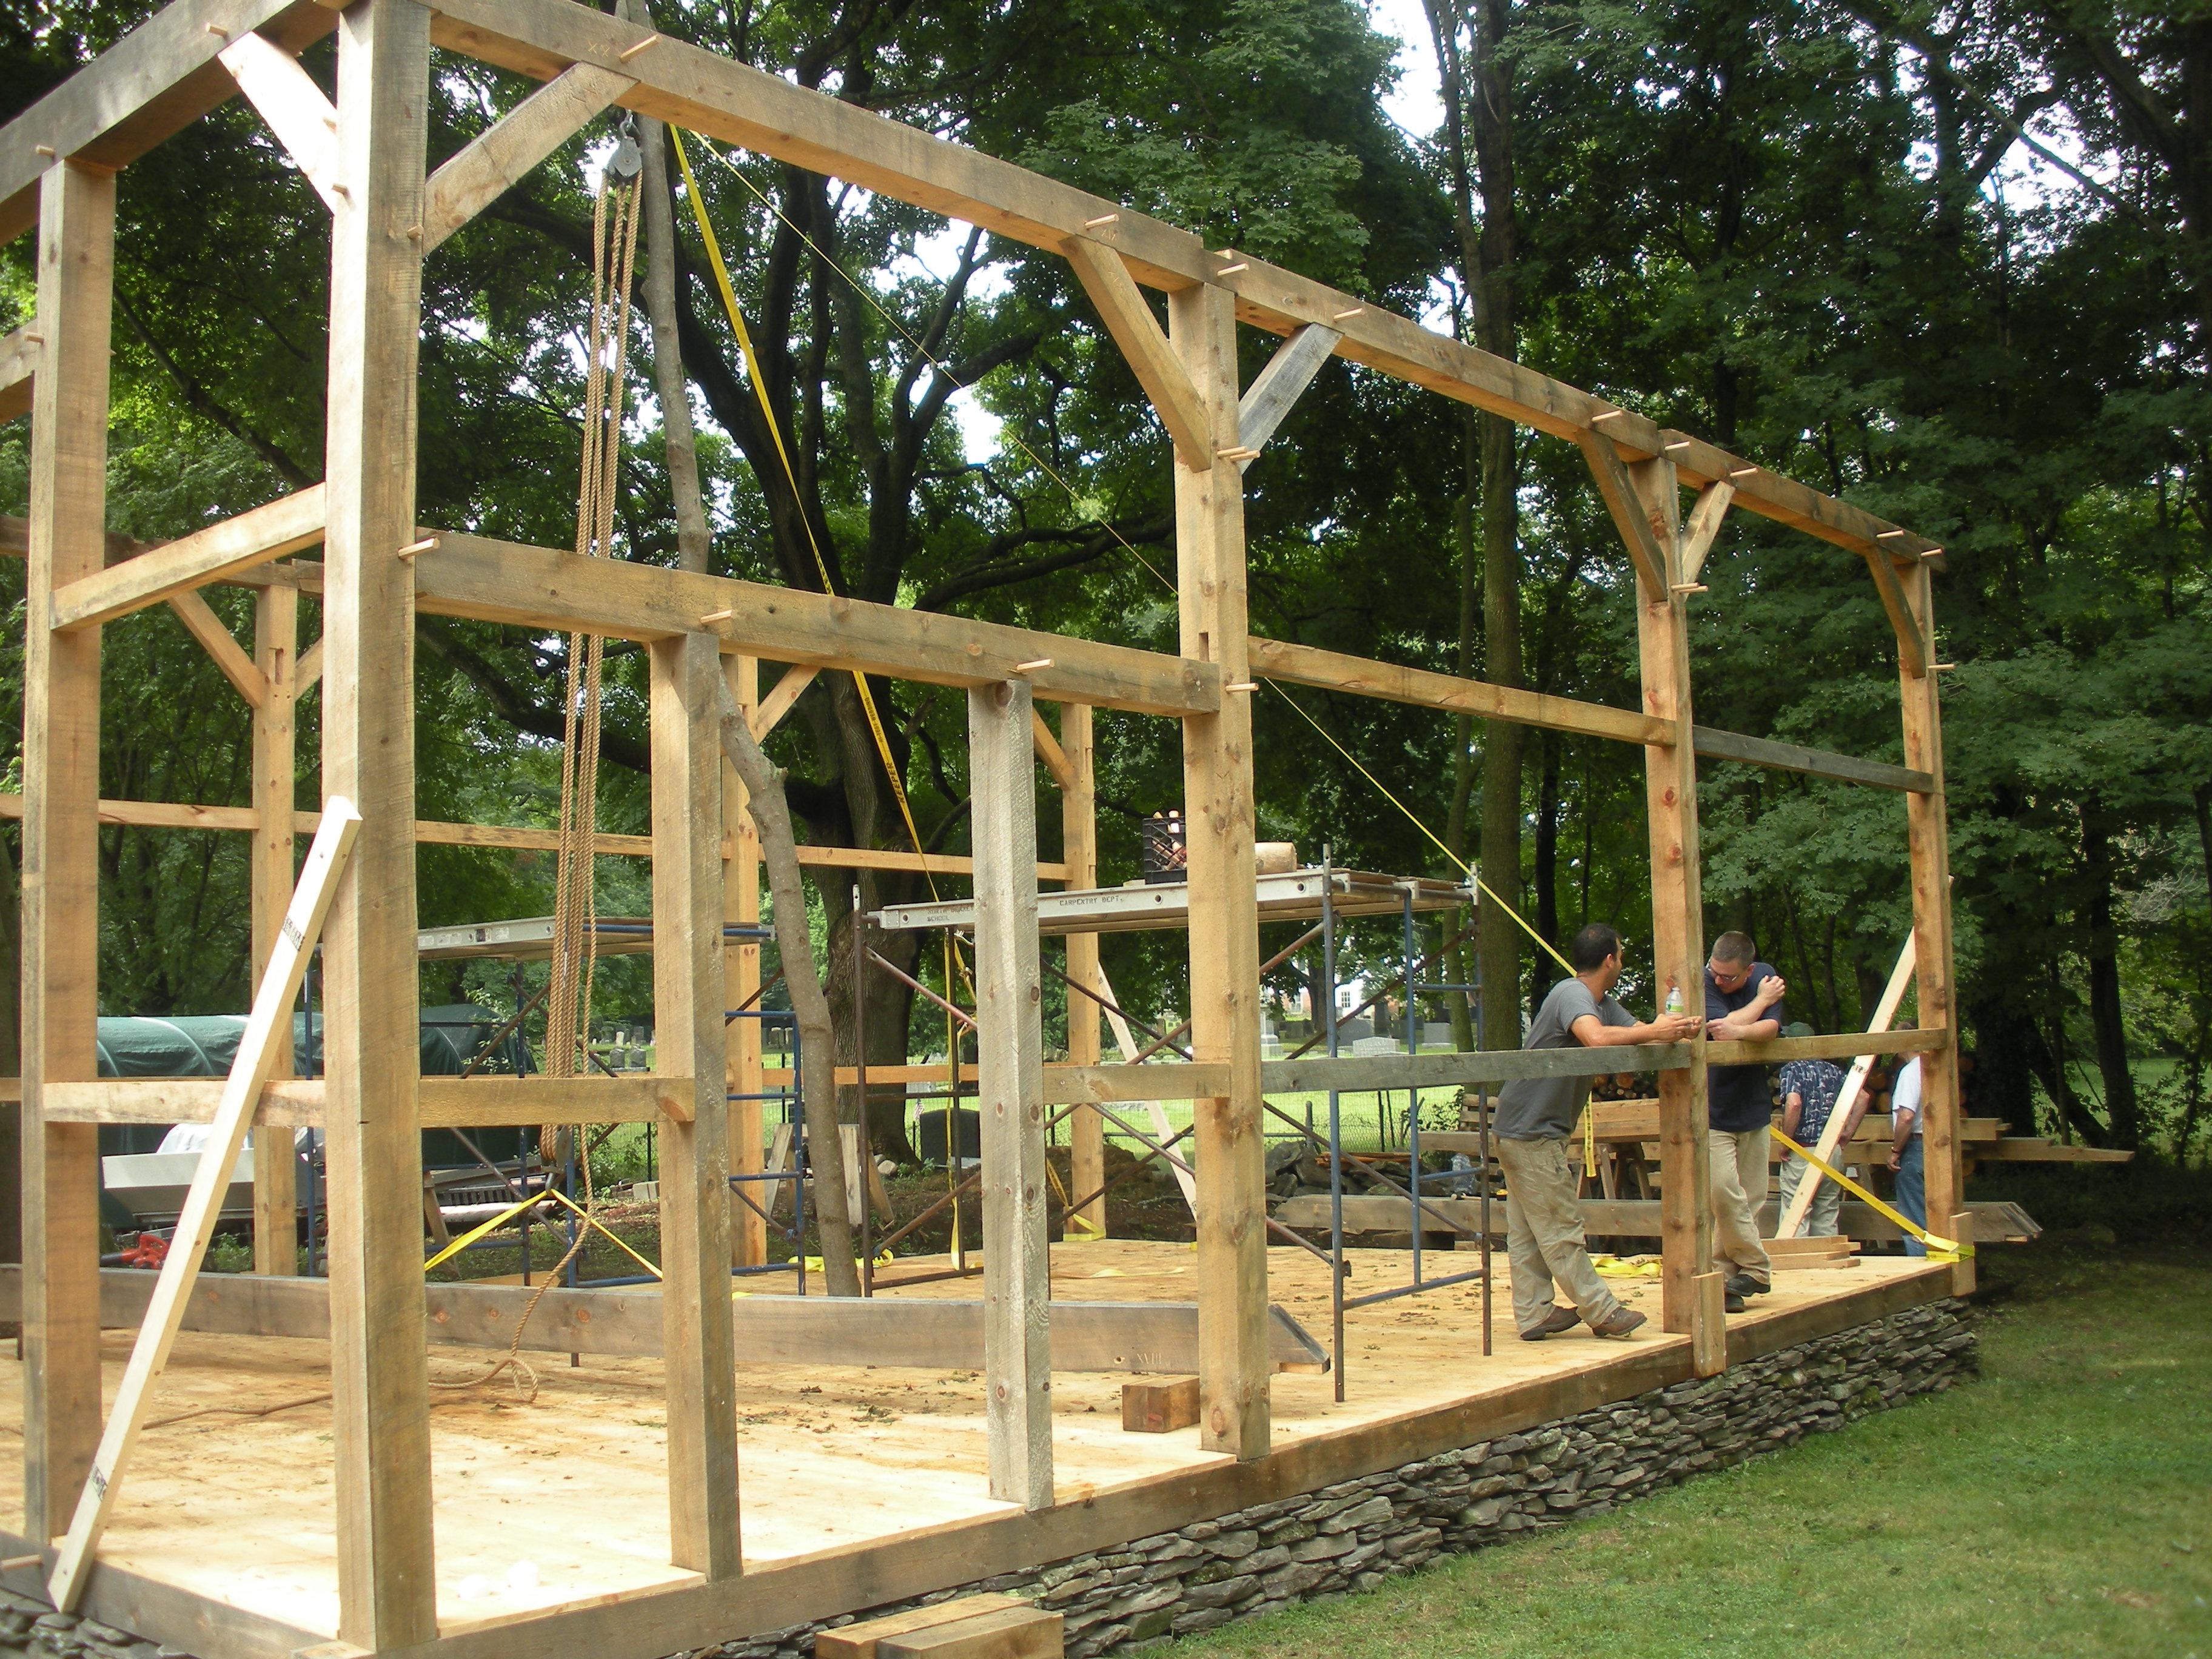
Let’s take a look at this 30 foot long foundation wall I am working on:
A view of the tiered foundation
In order to lay out the mortises in the sills for the posts I needed to make sure they are in the correct location which was a bit of a challenge.
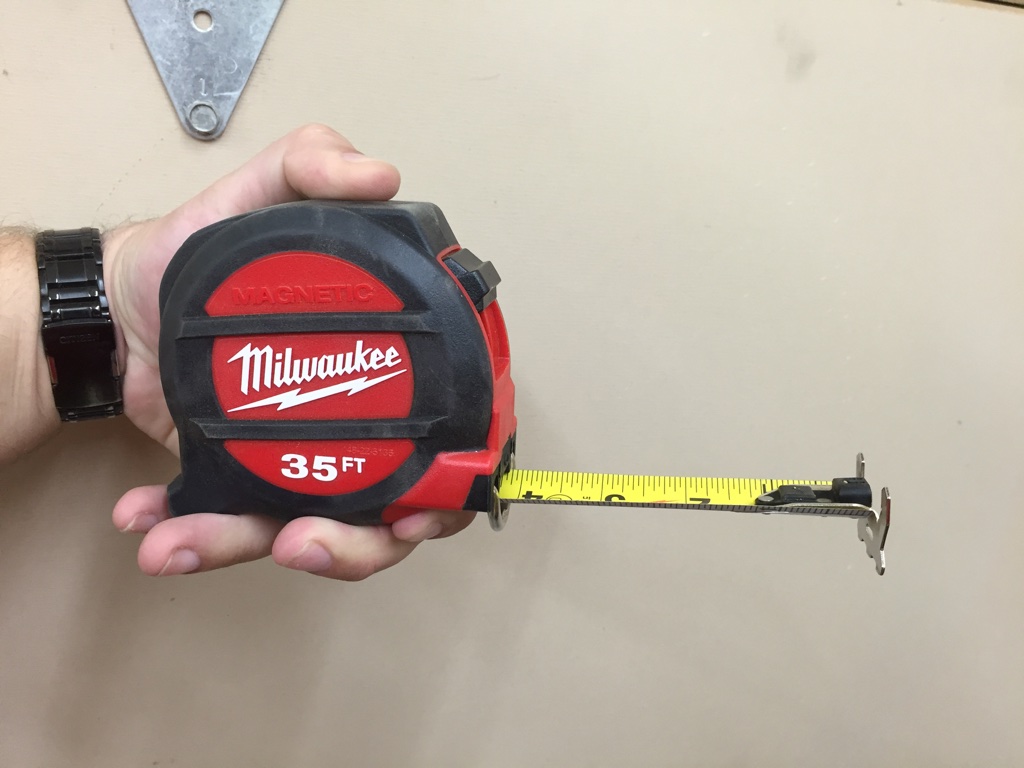
First off I had to go out and get a 35′ long tape measure. I bought a Milwaukee 35′ Magnetic Tape Measure from Home Depot.
35 Foot Milwaukee Magnetic Tape Measure
Beyond the length this model has a few nice features I really liked. First and foremost it has a finger protecting stop which is great for people like me that tend to use a thumb as the brake and occasionally get pinched by the end of the tape slamming back into the case. It also has an 8-9′ standoff (distance tape can hold itself out before it bends), a magnet in the end, large hooks and an architect scale (total inches rather than feet) on the bottom of the tape and a supposedly limited lifetime warranty.
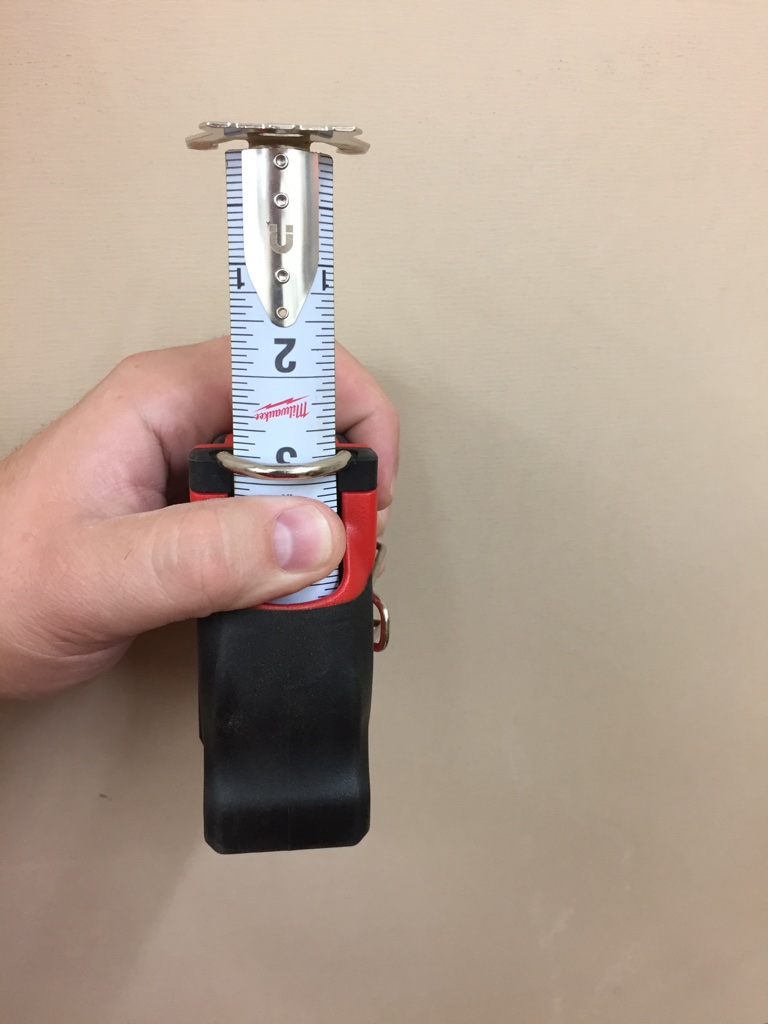
Love that metal finger protector
I liked it so much I hope to get the 25′ model soon and will retire my Stanley and Stanley Bostitch tapes. You can find the 35′ model here. It’s a bit of a beast, so for everyday use I think the 25′ model will fit better in my tool belt.
In measuring the foundation I found out that its about 1/2″ shy of 30 feet. Other than that I’ve been very happy with how the foundation came out and across its width its consistently 24′ wide as expected.
Laying out the first two sets of mortises from the front of the building was easy and straight forward. The 3rd set is where it got tough as I’d have to bridge the vertical step in the foundation. In order to make that jump I cut a piece of scrap 2×8 and using a level and a square set it exactly on top of the center line for the 2nd set of mortises and clamped it firmly to the cast in place straps.
Measuring and compensating for the different levels of the foundation
I could then pull the tape and lay out where that third set of mortises should be and also measure to the end of the building to confirm it matched what I got when just measuring the side of the foundation in a single pull. All the measurements lined up with what I expected, so that was good.
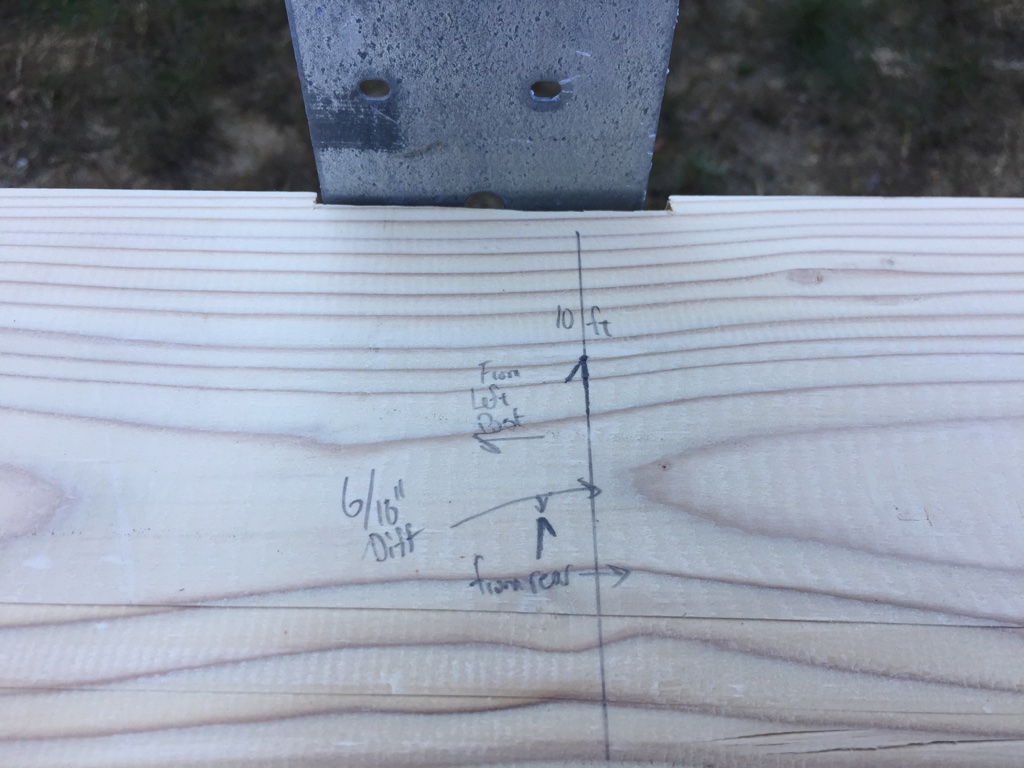
Figuring our the difference between measuring off the common reference face vs from each end of the foundation
It looks like when the straps were cast in place the concrete contractor measured from the back wall of the building rather than a single reference face and I could see the 1/2″ off they were due to the overall length of the building being off. Thankfully the posts are sufficiently large (6×6) that this won’t be a visible issue.
This all goes to show the value of taking your time and measuring as described above, for if I didn’t do this and laid out the top plates as if the building was an even 30′ long and if I laid out that 3rd set of posts 10′ off the back wall there would be some major problems during the barn raising.
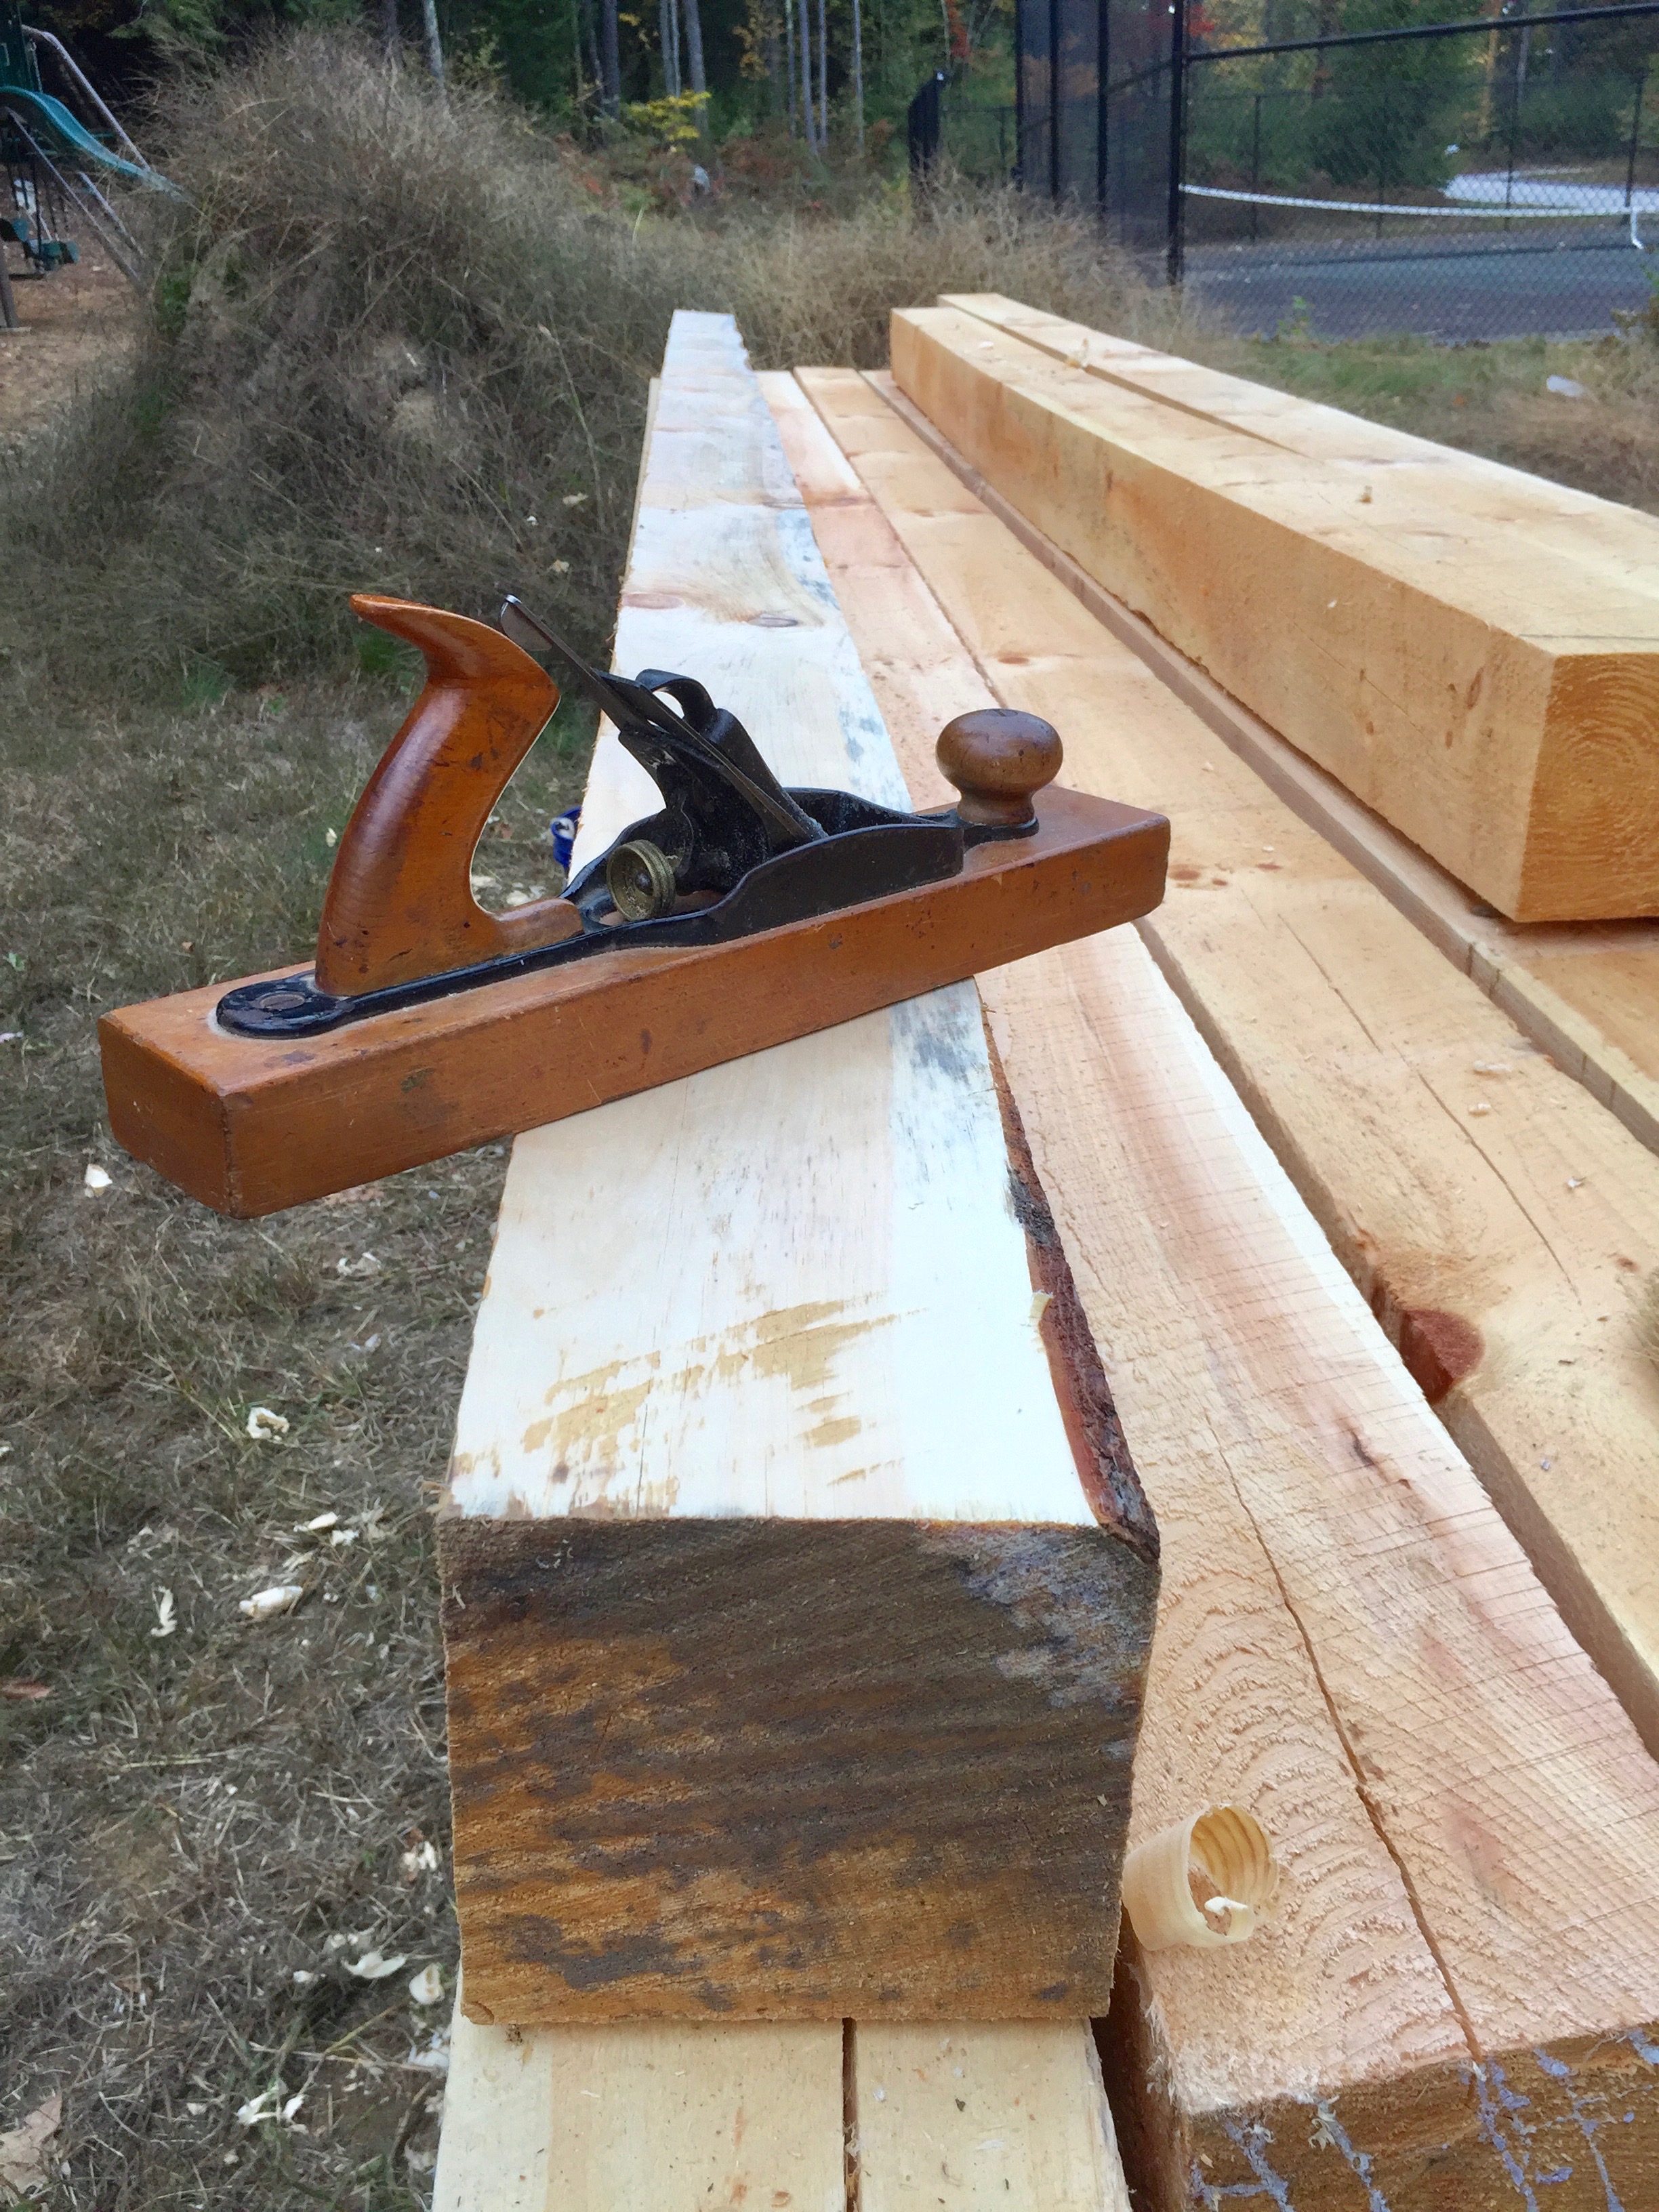
Transitional planes are the pariahs of the woodworking world. The tool collectors don’t want them. Patrick Leach burns them in a funeral pyre. I’ve had a few over the years I got for a song and kept in the shop mostly for decoration.
Cleaned up timber frame post
As I got more into timber framing and working with green timbers it dawned on me that these transitional planes — at least in the jack and jointer sizes might be useful for cleaning up timbers. The large wooden sole doesn’t rust the way a metal plane would when exposed to wet wood for long periods of time and you have a more or less modern Bailey style mechanism. The one annoying thing about the mechanism on a transitional plane is the blade advancement wheel spins the opposite way a metal plane works, but after a few minutes you get used to it.
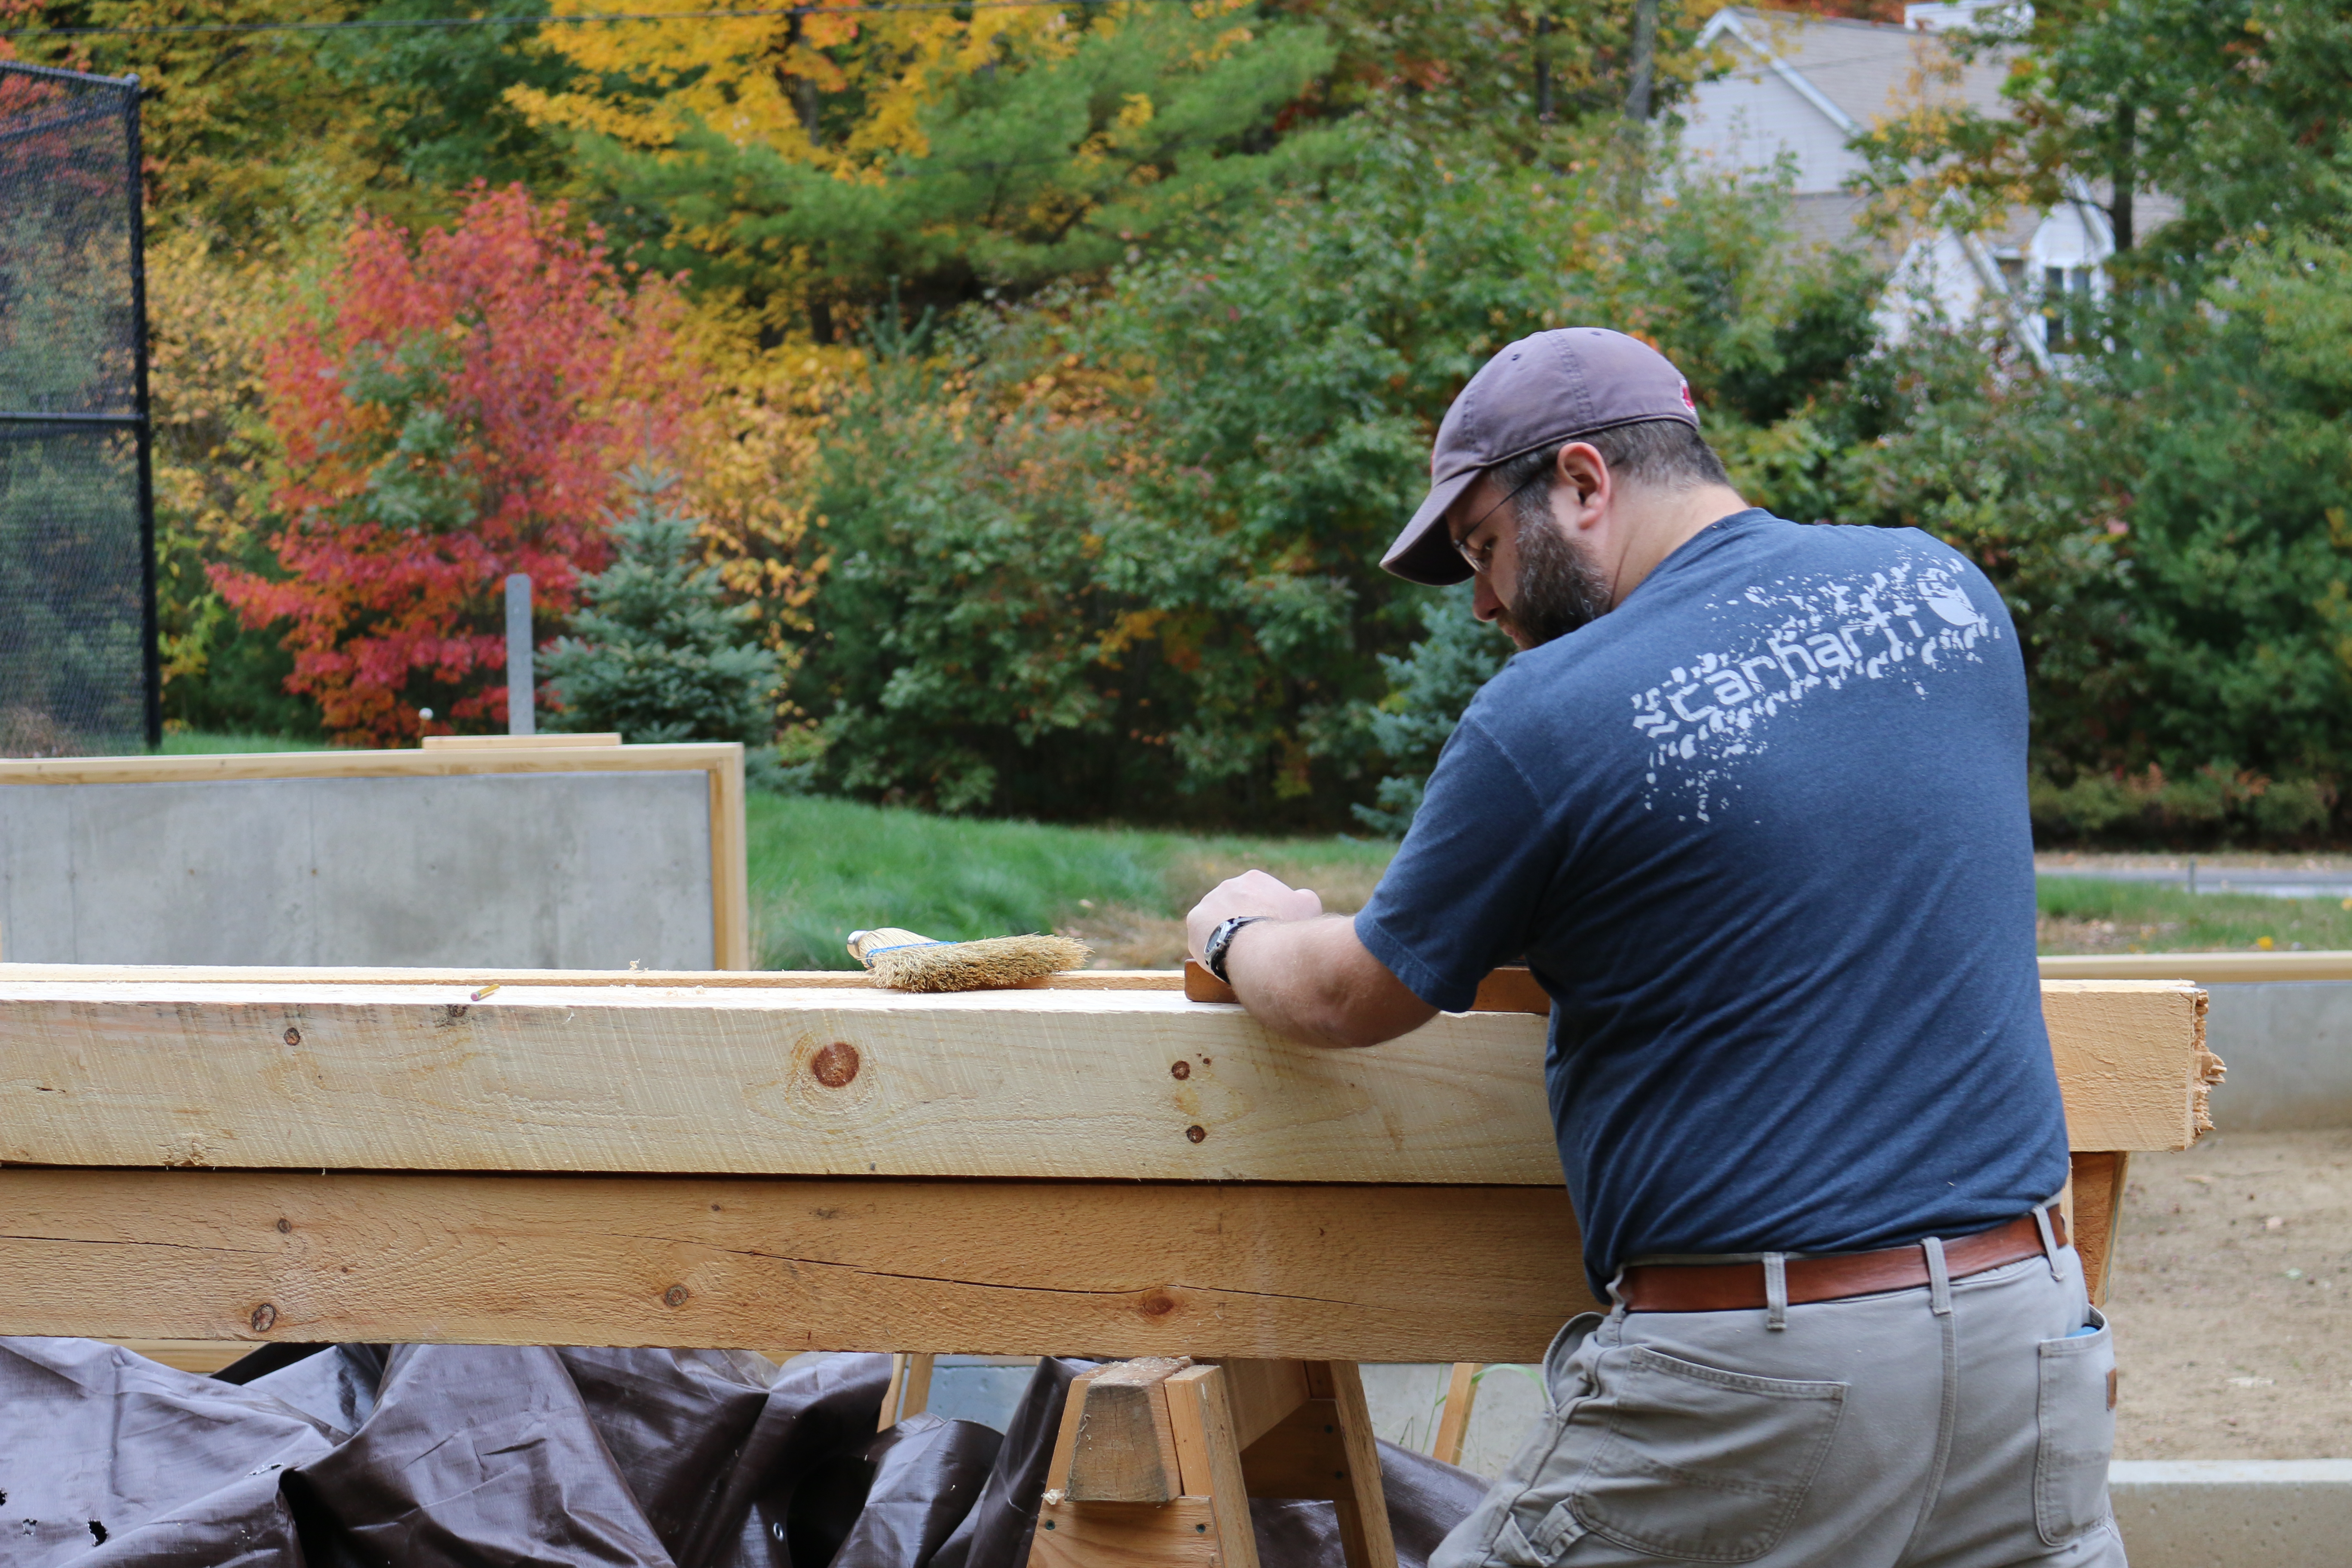
Bill using a traditional jack plane to clean up timber
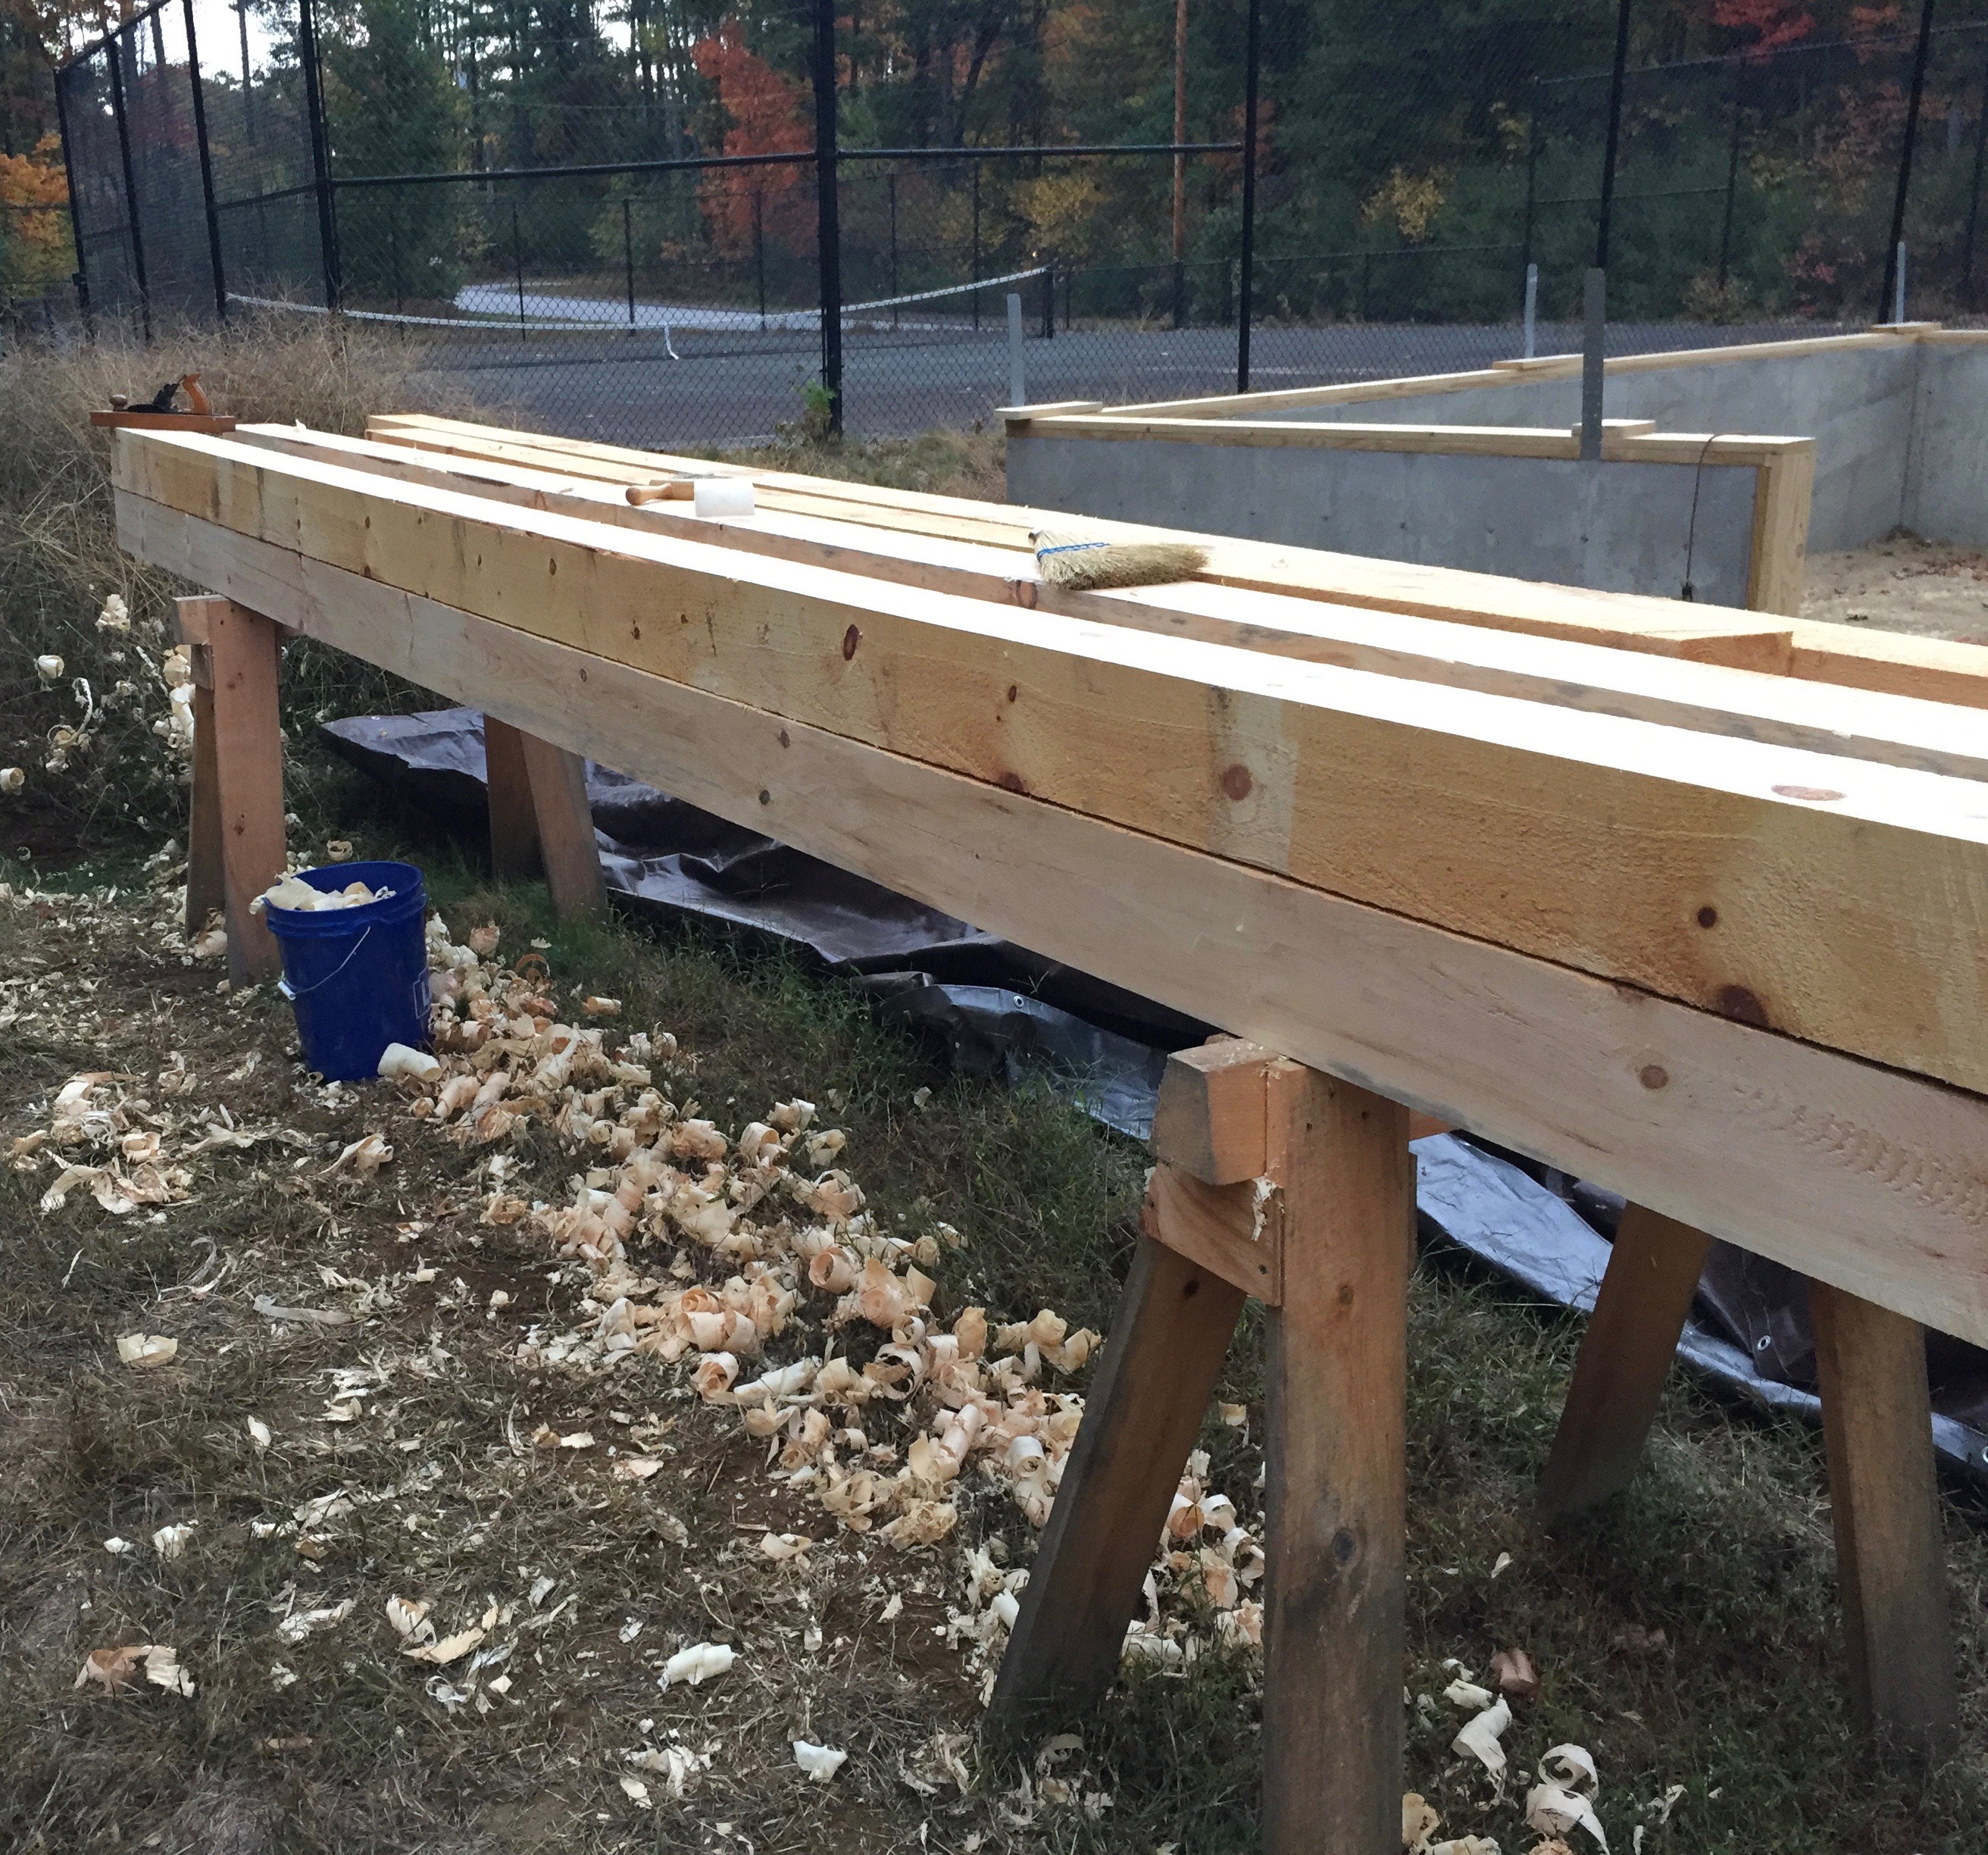
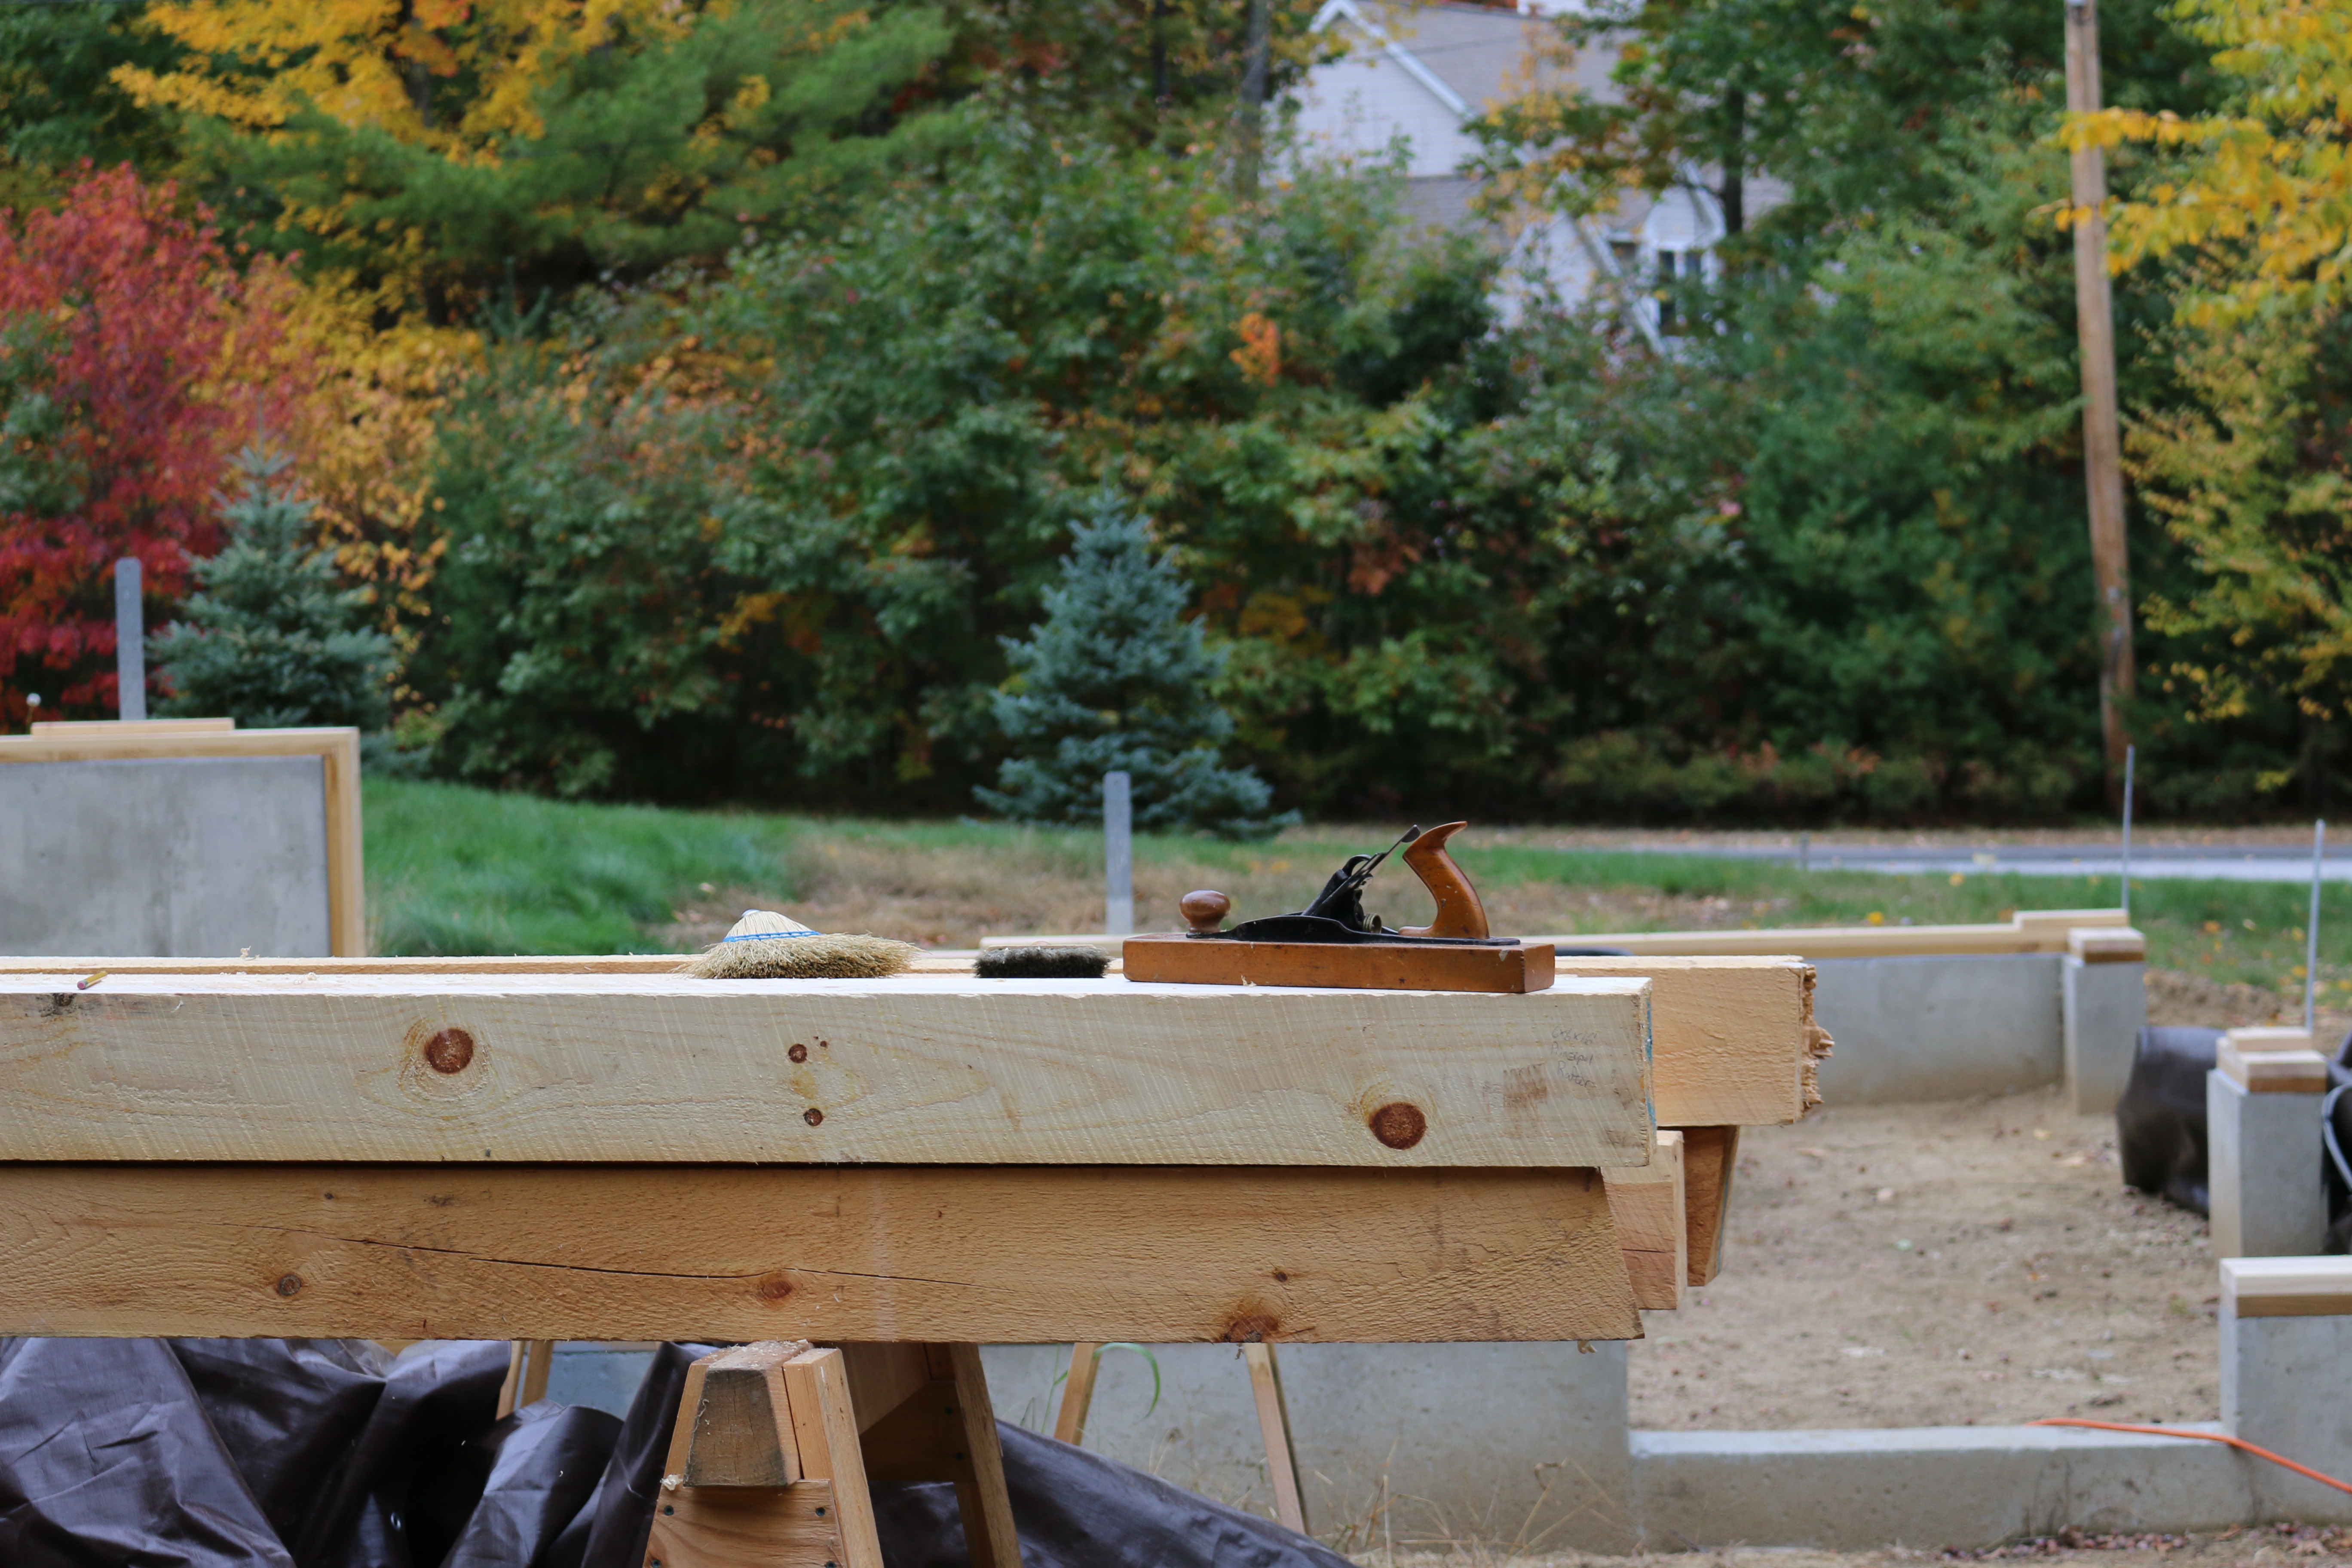
For some timber frames I need to clean up and remove all the large circular saw or bandsaw marks. In a workshop or outbuilding being fresh from the mill is fine, but in a house all those rough surfaces can be a dust magnet or source of splinters.
With a nice camber it makes quick work of dressing a green eastern white pine timber
On my jack plane I’ve ground a camber appropriate to a jack plane and take a reasonably heavy shaving. The work goes fast and I admit its fun to make a 25′ foot long shaving on some of the largest timbers.
At first I felt bad about using a plane from the 1870s for this sort of work, but if properly maintained it will have a surprisingly long life and I’d rather see this plane get used as opposed to being in a pyre or on a shelf.
At the end of the day I make sure to remove the iron and wipe it down with oil so it does not rust and I’ll usually give the sole a little more wax.
Transitional Jack Plane in its new habitat
I can usually find these planes in surprisingly good shape for $10-35. If you’re willing to take one with more rust on the mechanism or a replacement sole you can likely get it for even less or even free from some dealers if you buy a few other items. The next time you are at a tool swap you may want to take a second look at a transitional plane and score yourself a good deal on a solid workhorse for your own timber framing or green woodworking projects.
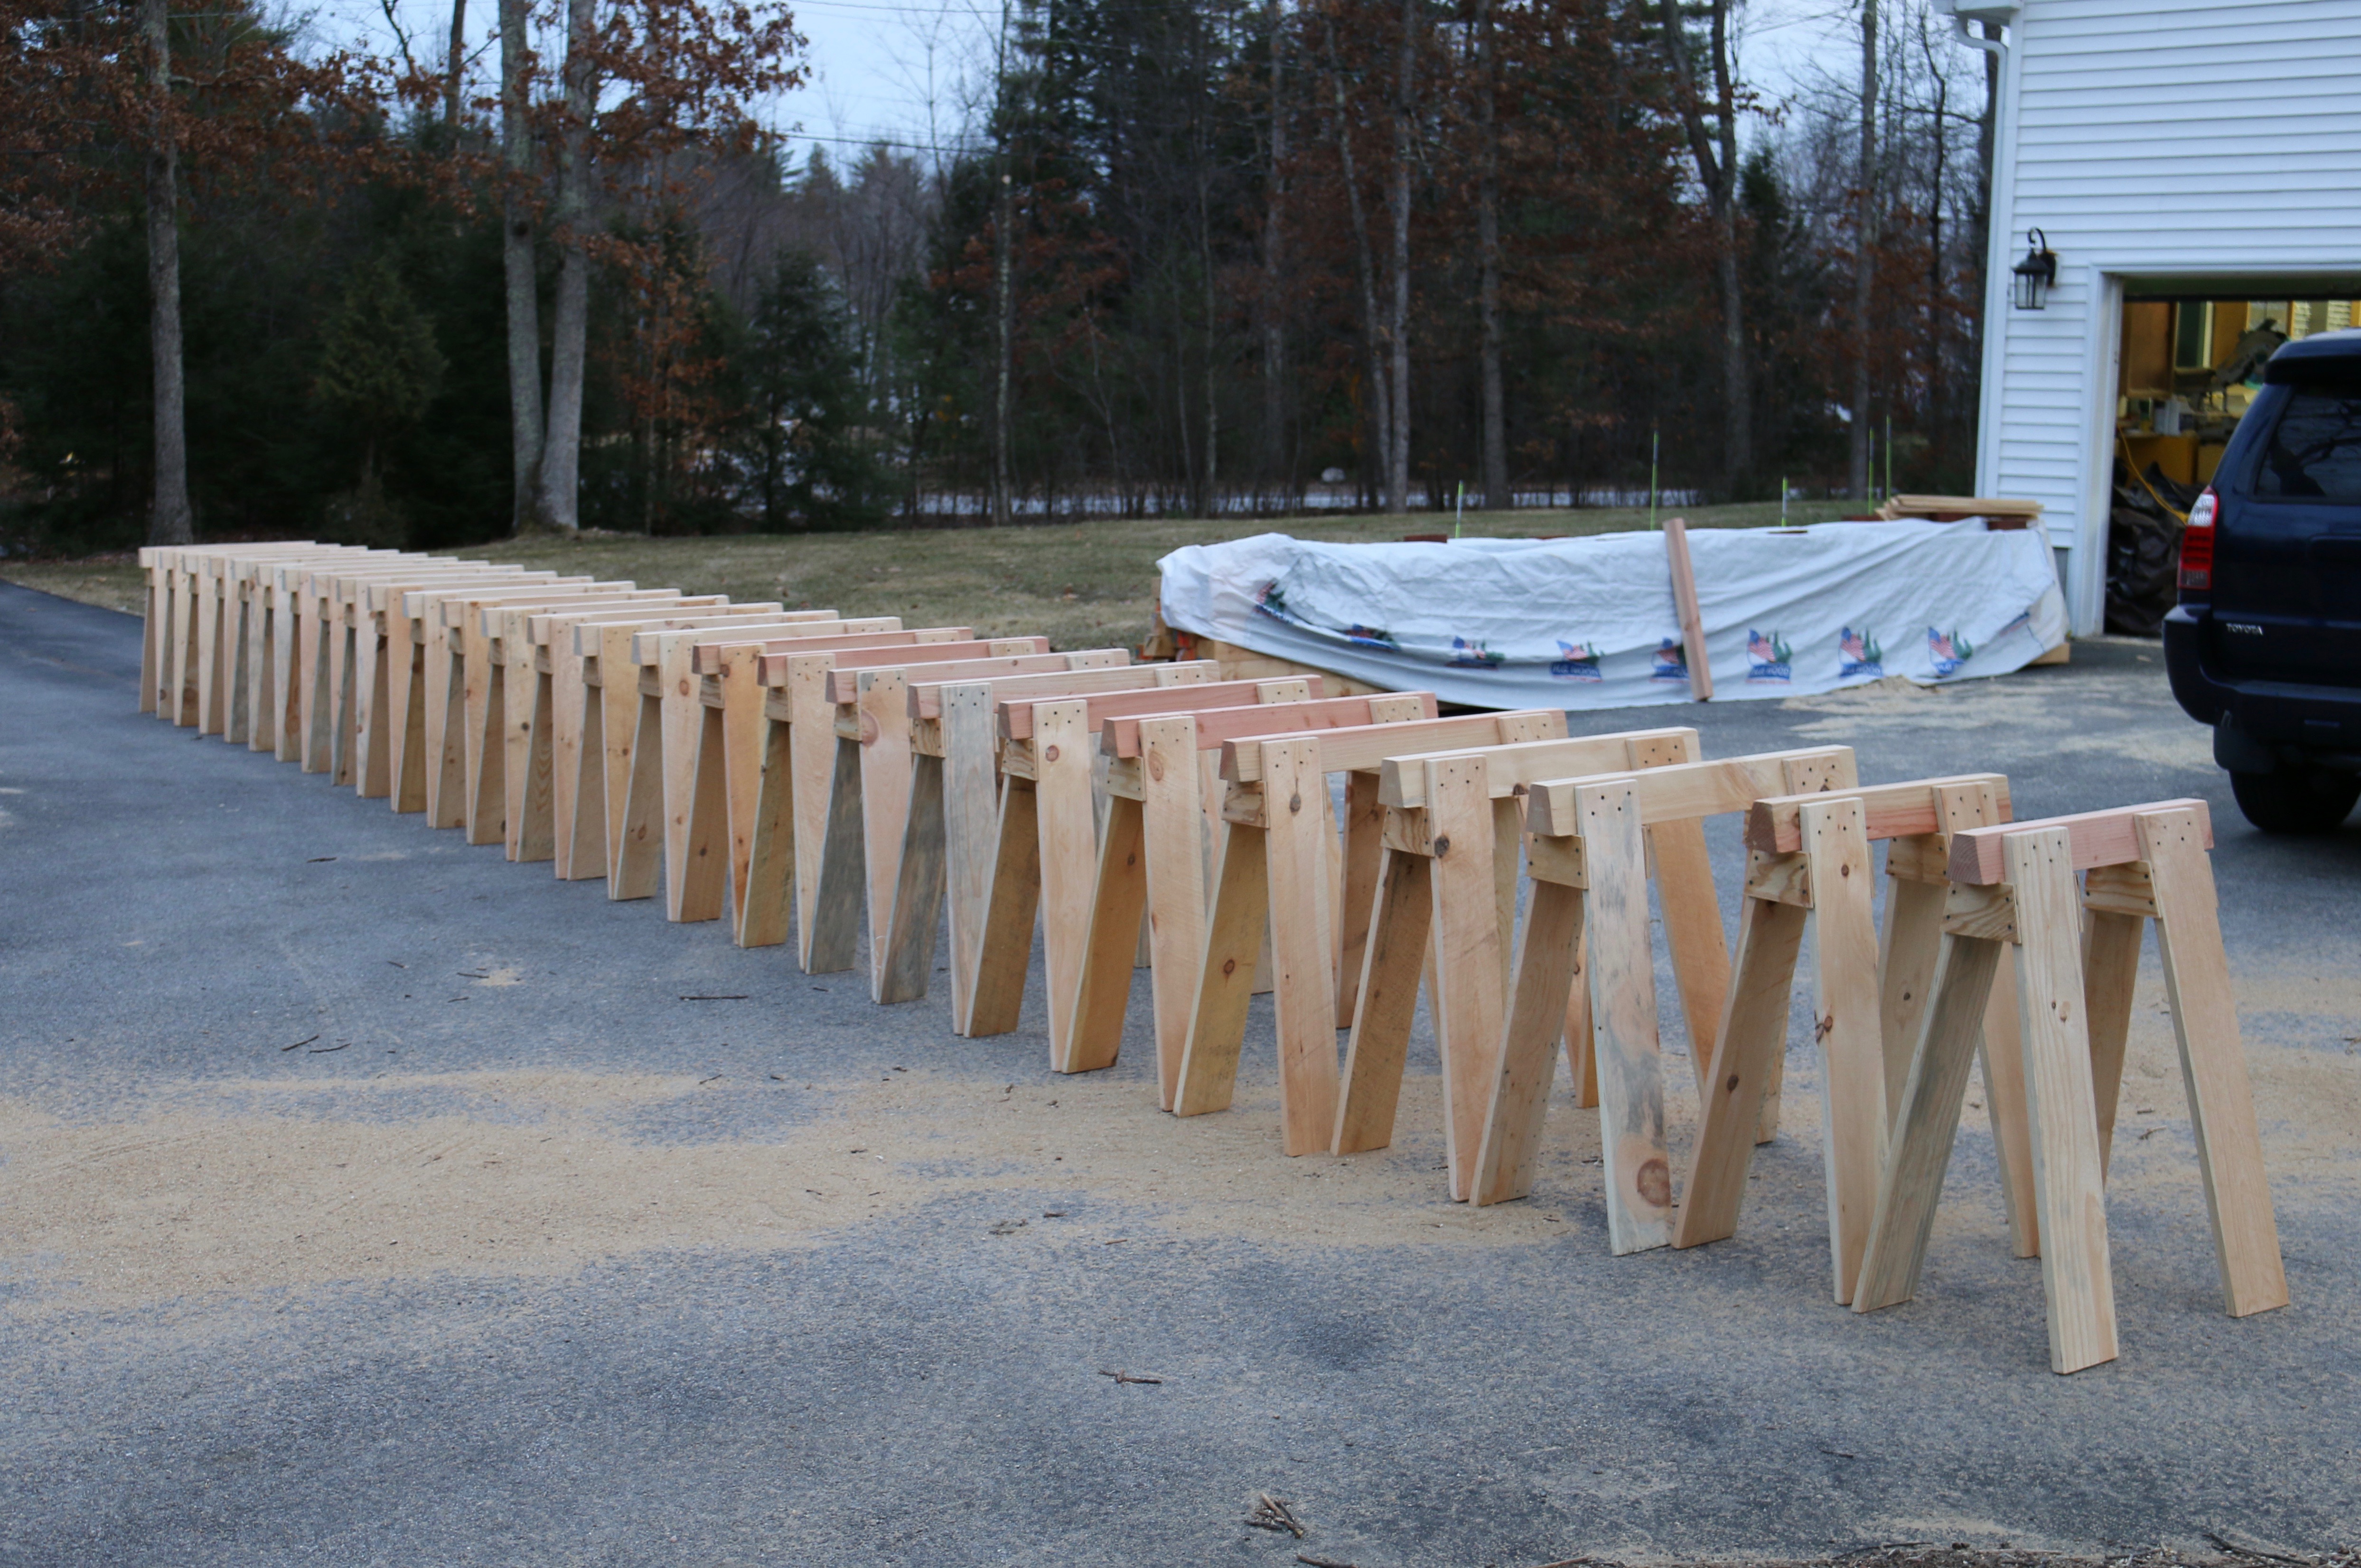
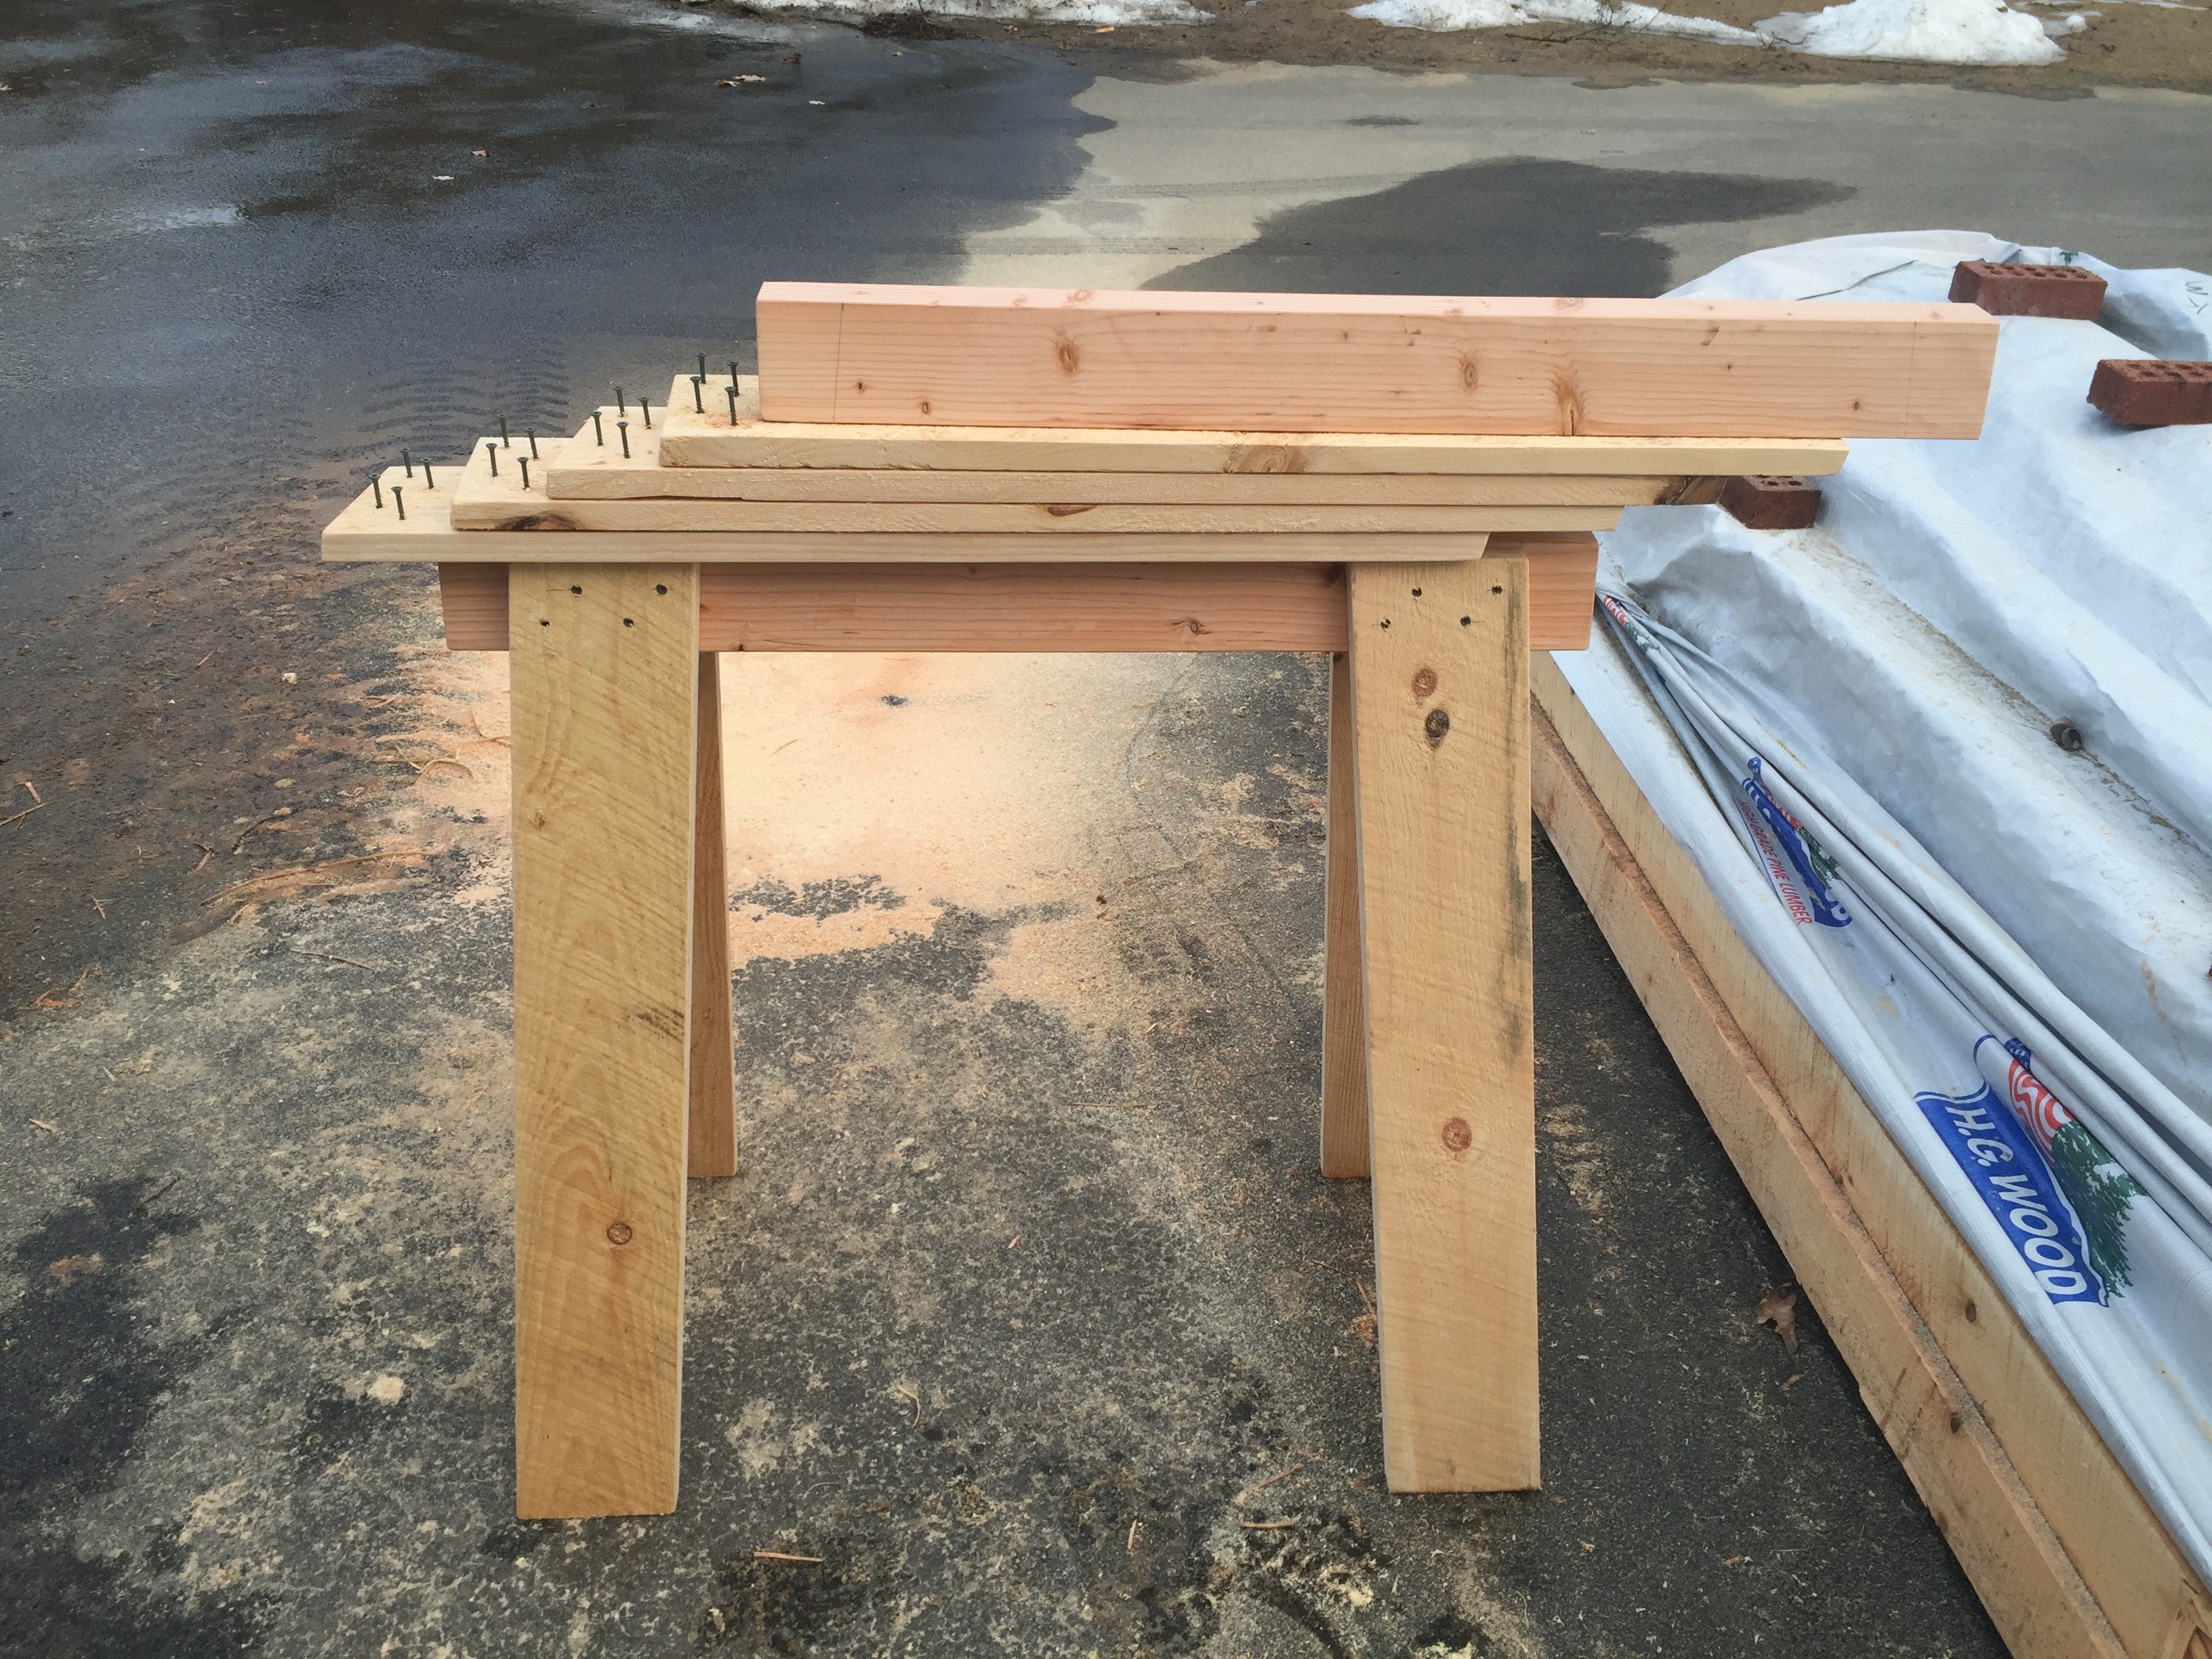
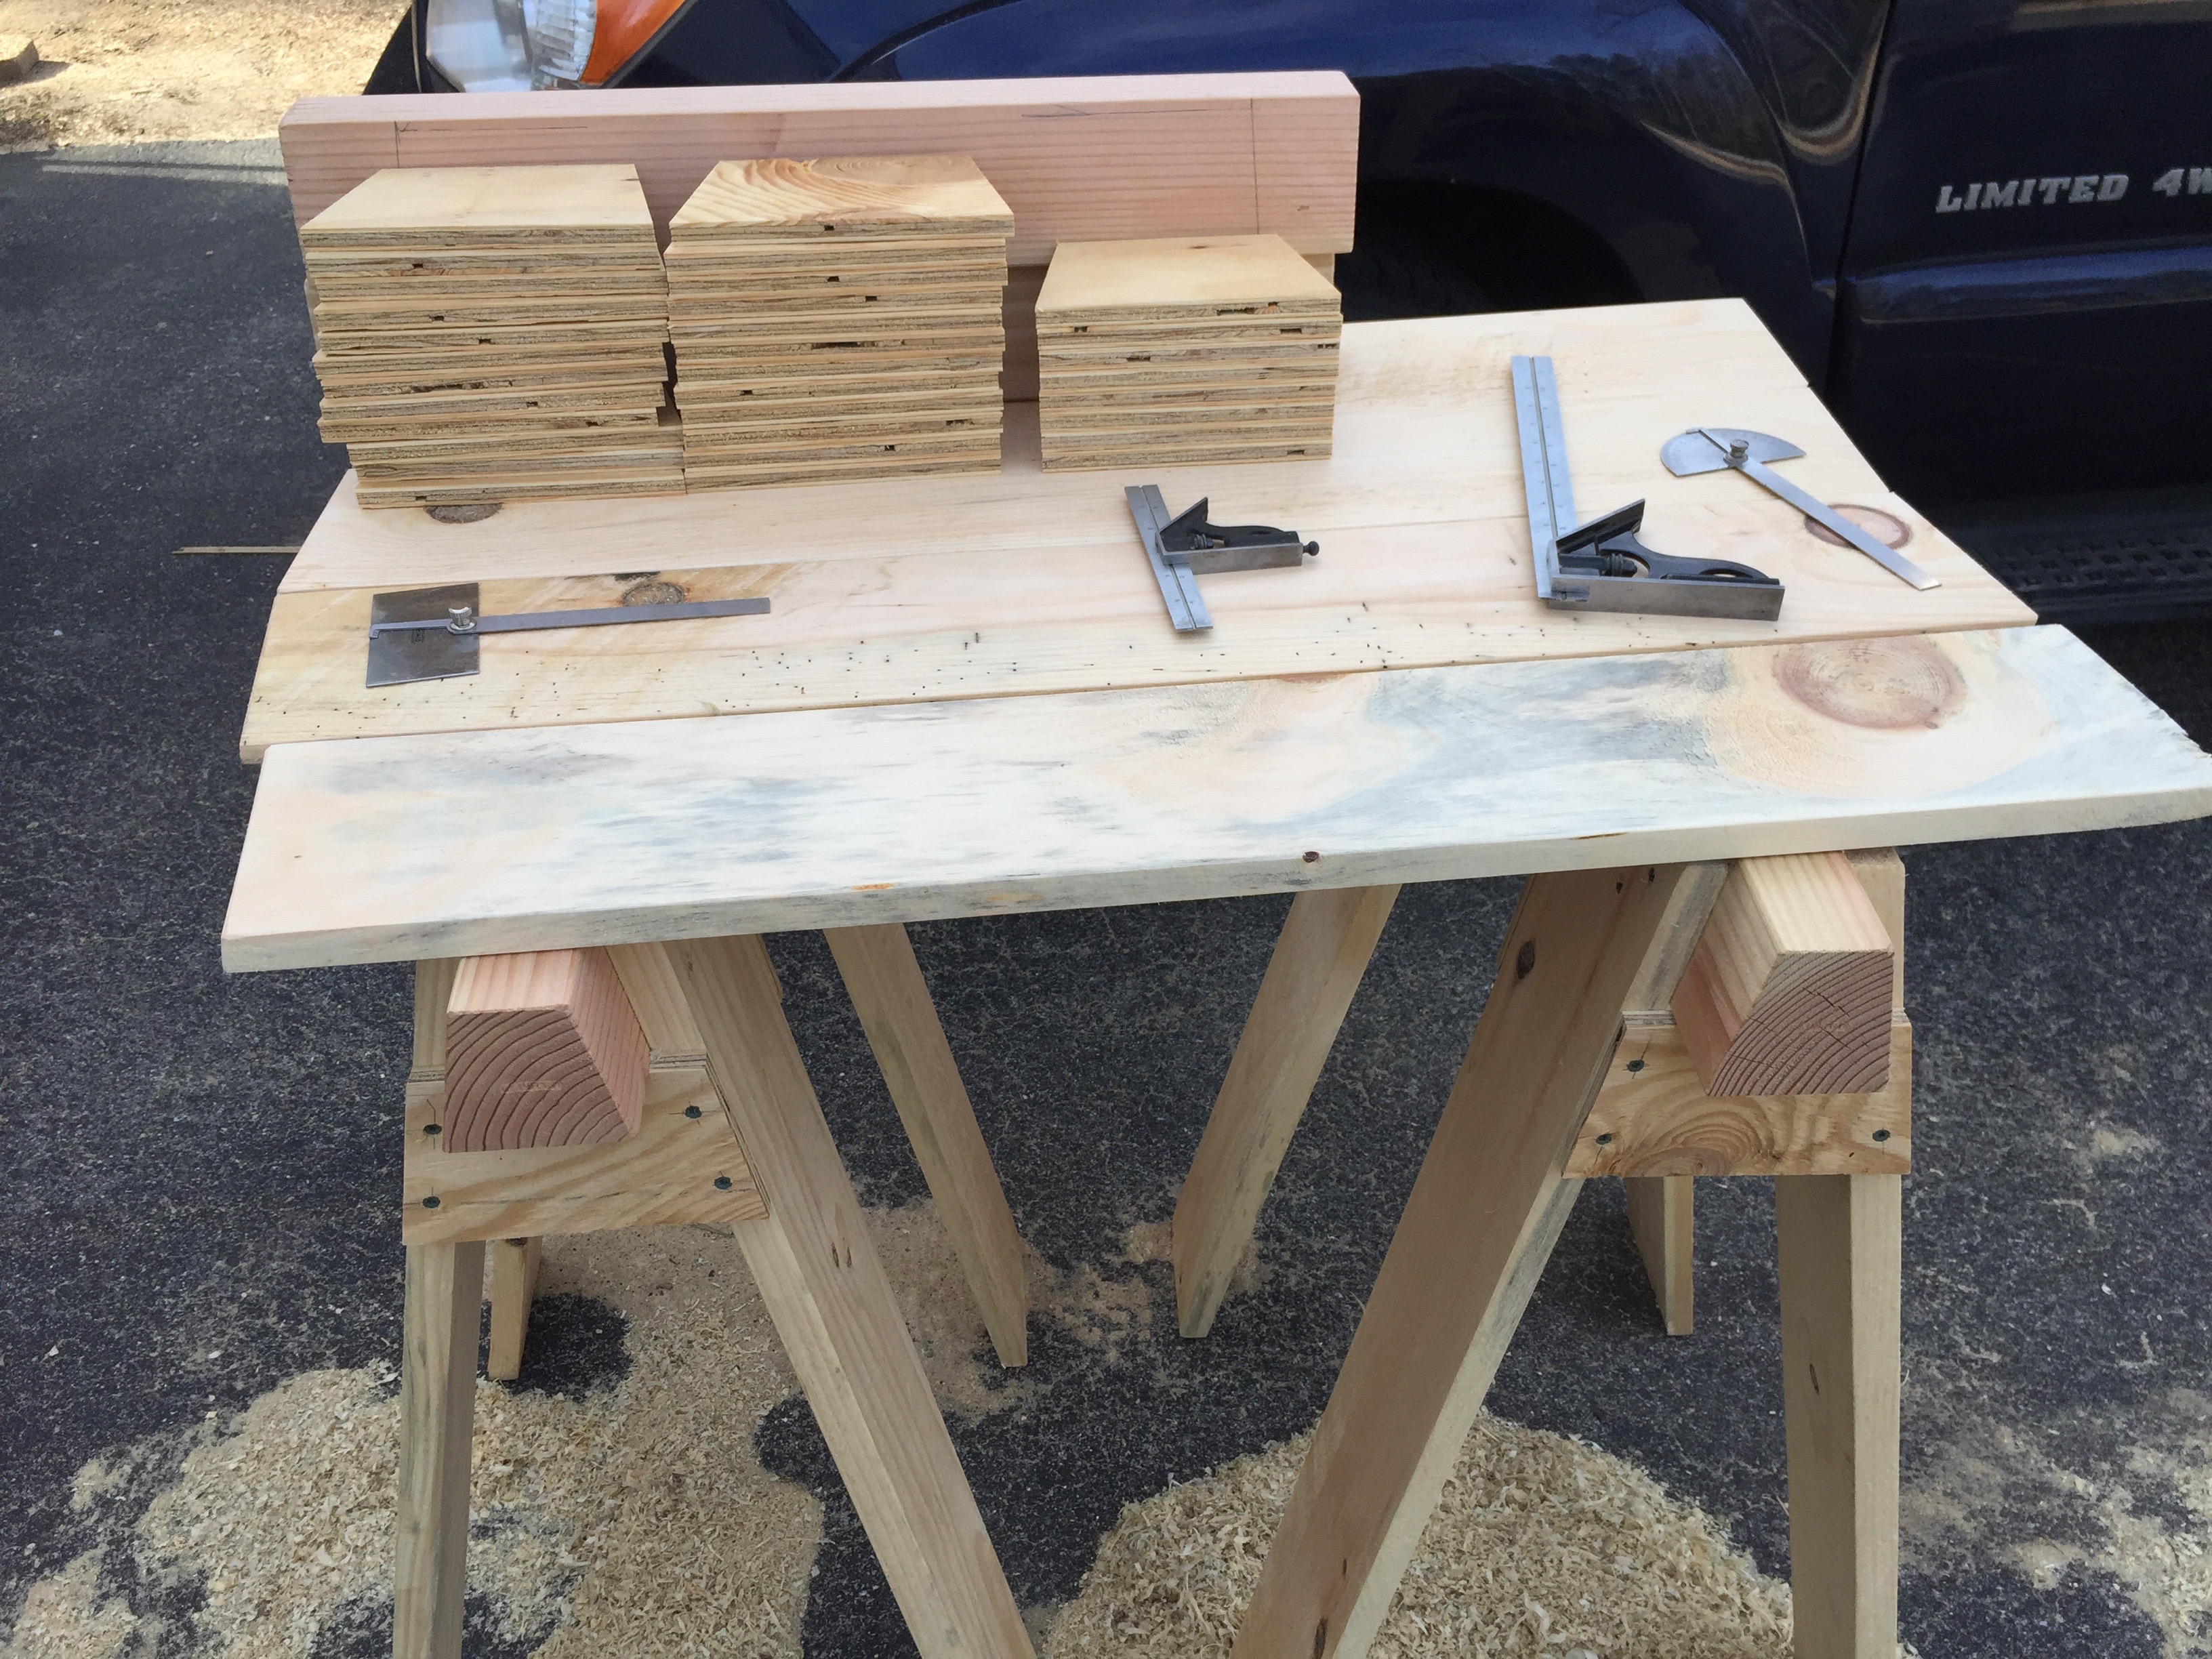
The best saw horses cannot be bought in a store, you have to build them. I’ve seen plastic saw horses bend and buckle under < 200 pounds of load. I’ve seen 2×4 saw horses with sheet metal couplers deform and crush.
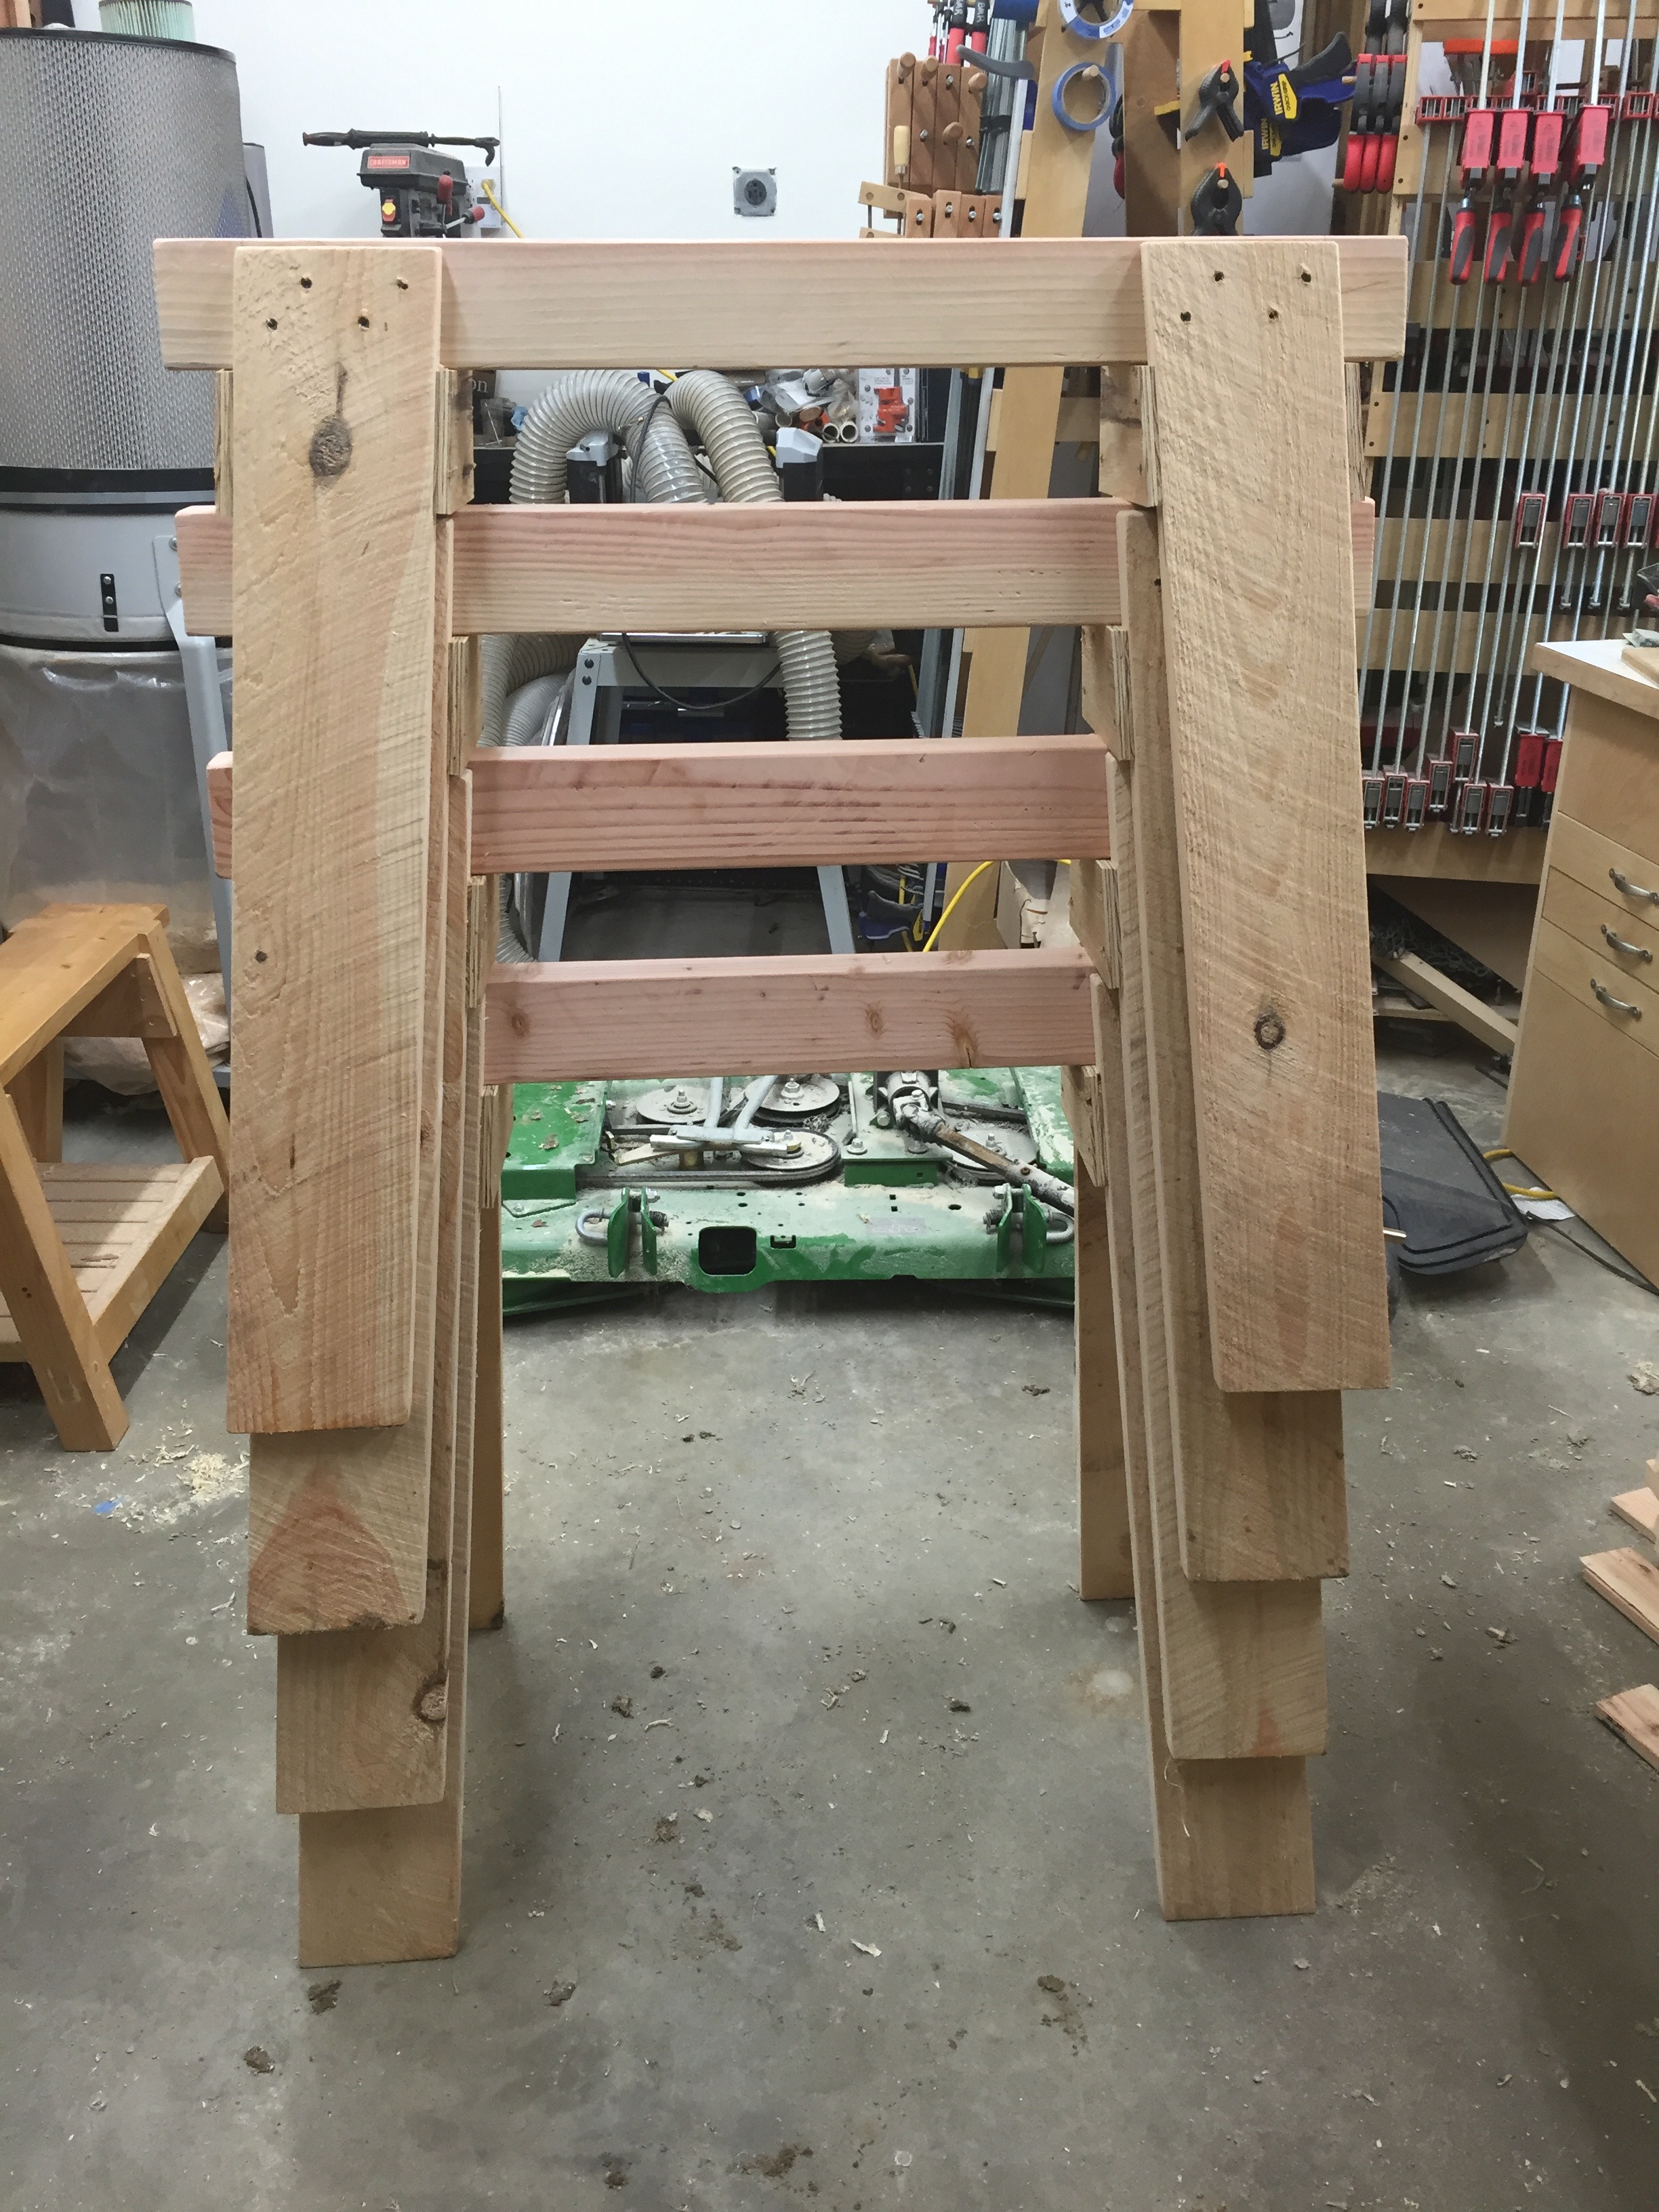
When I was a student at NBSS one of the first projects we completed was building a pair of solid wood saw horses that could meet the heavy demands of a preservation carpenter. The school would load them up with more material than I ever thought a simple horse could hold. I was so impressed with how well they turned out I built 10 more while I was there and they have served me well over the years.
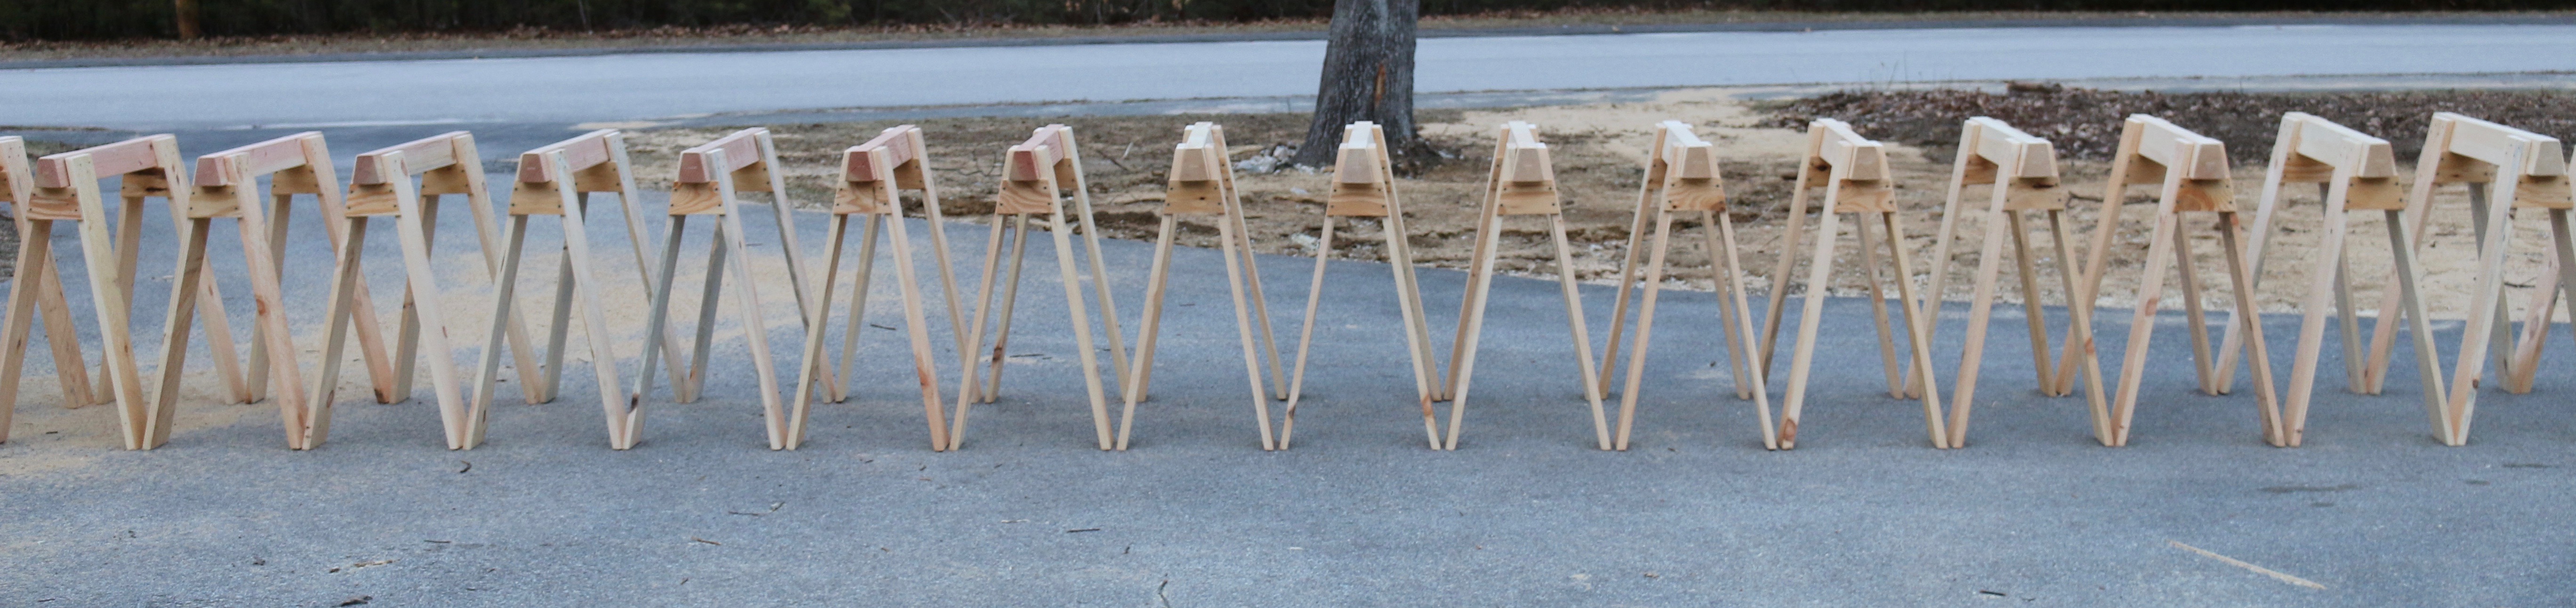
28 horses out on parade
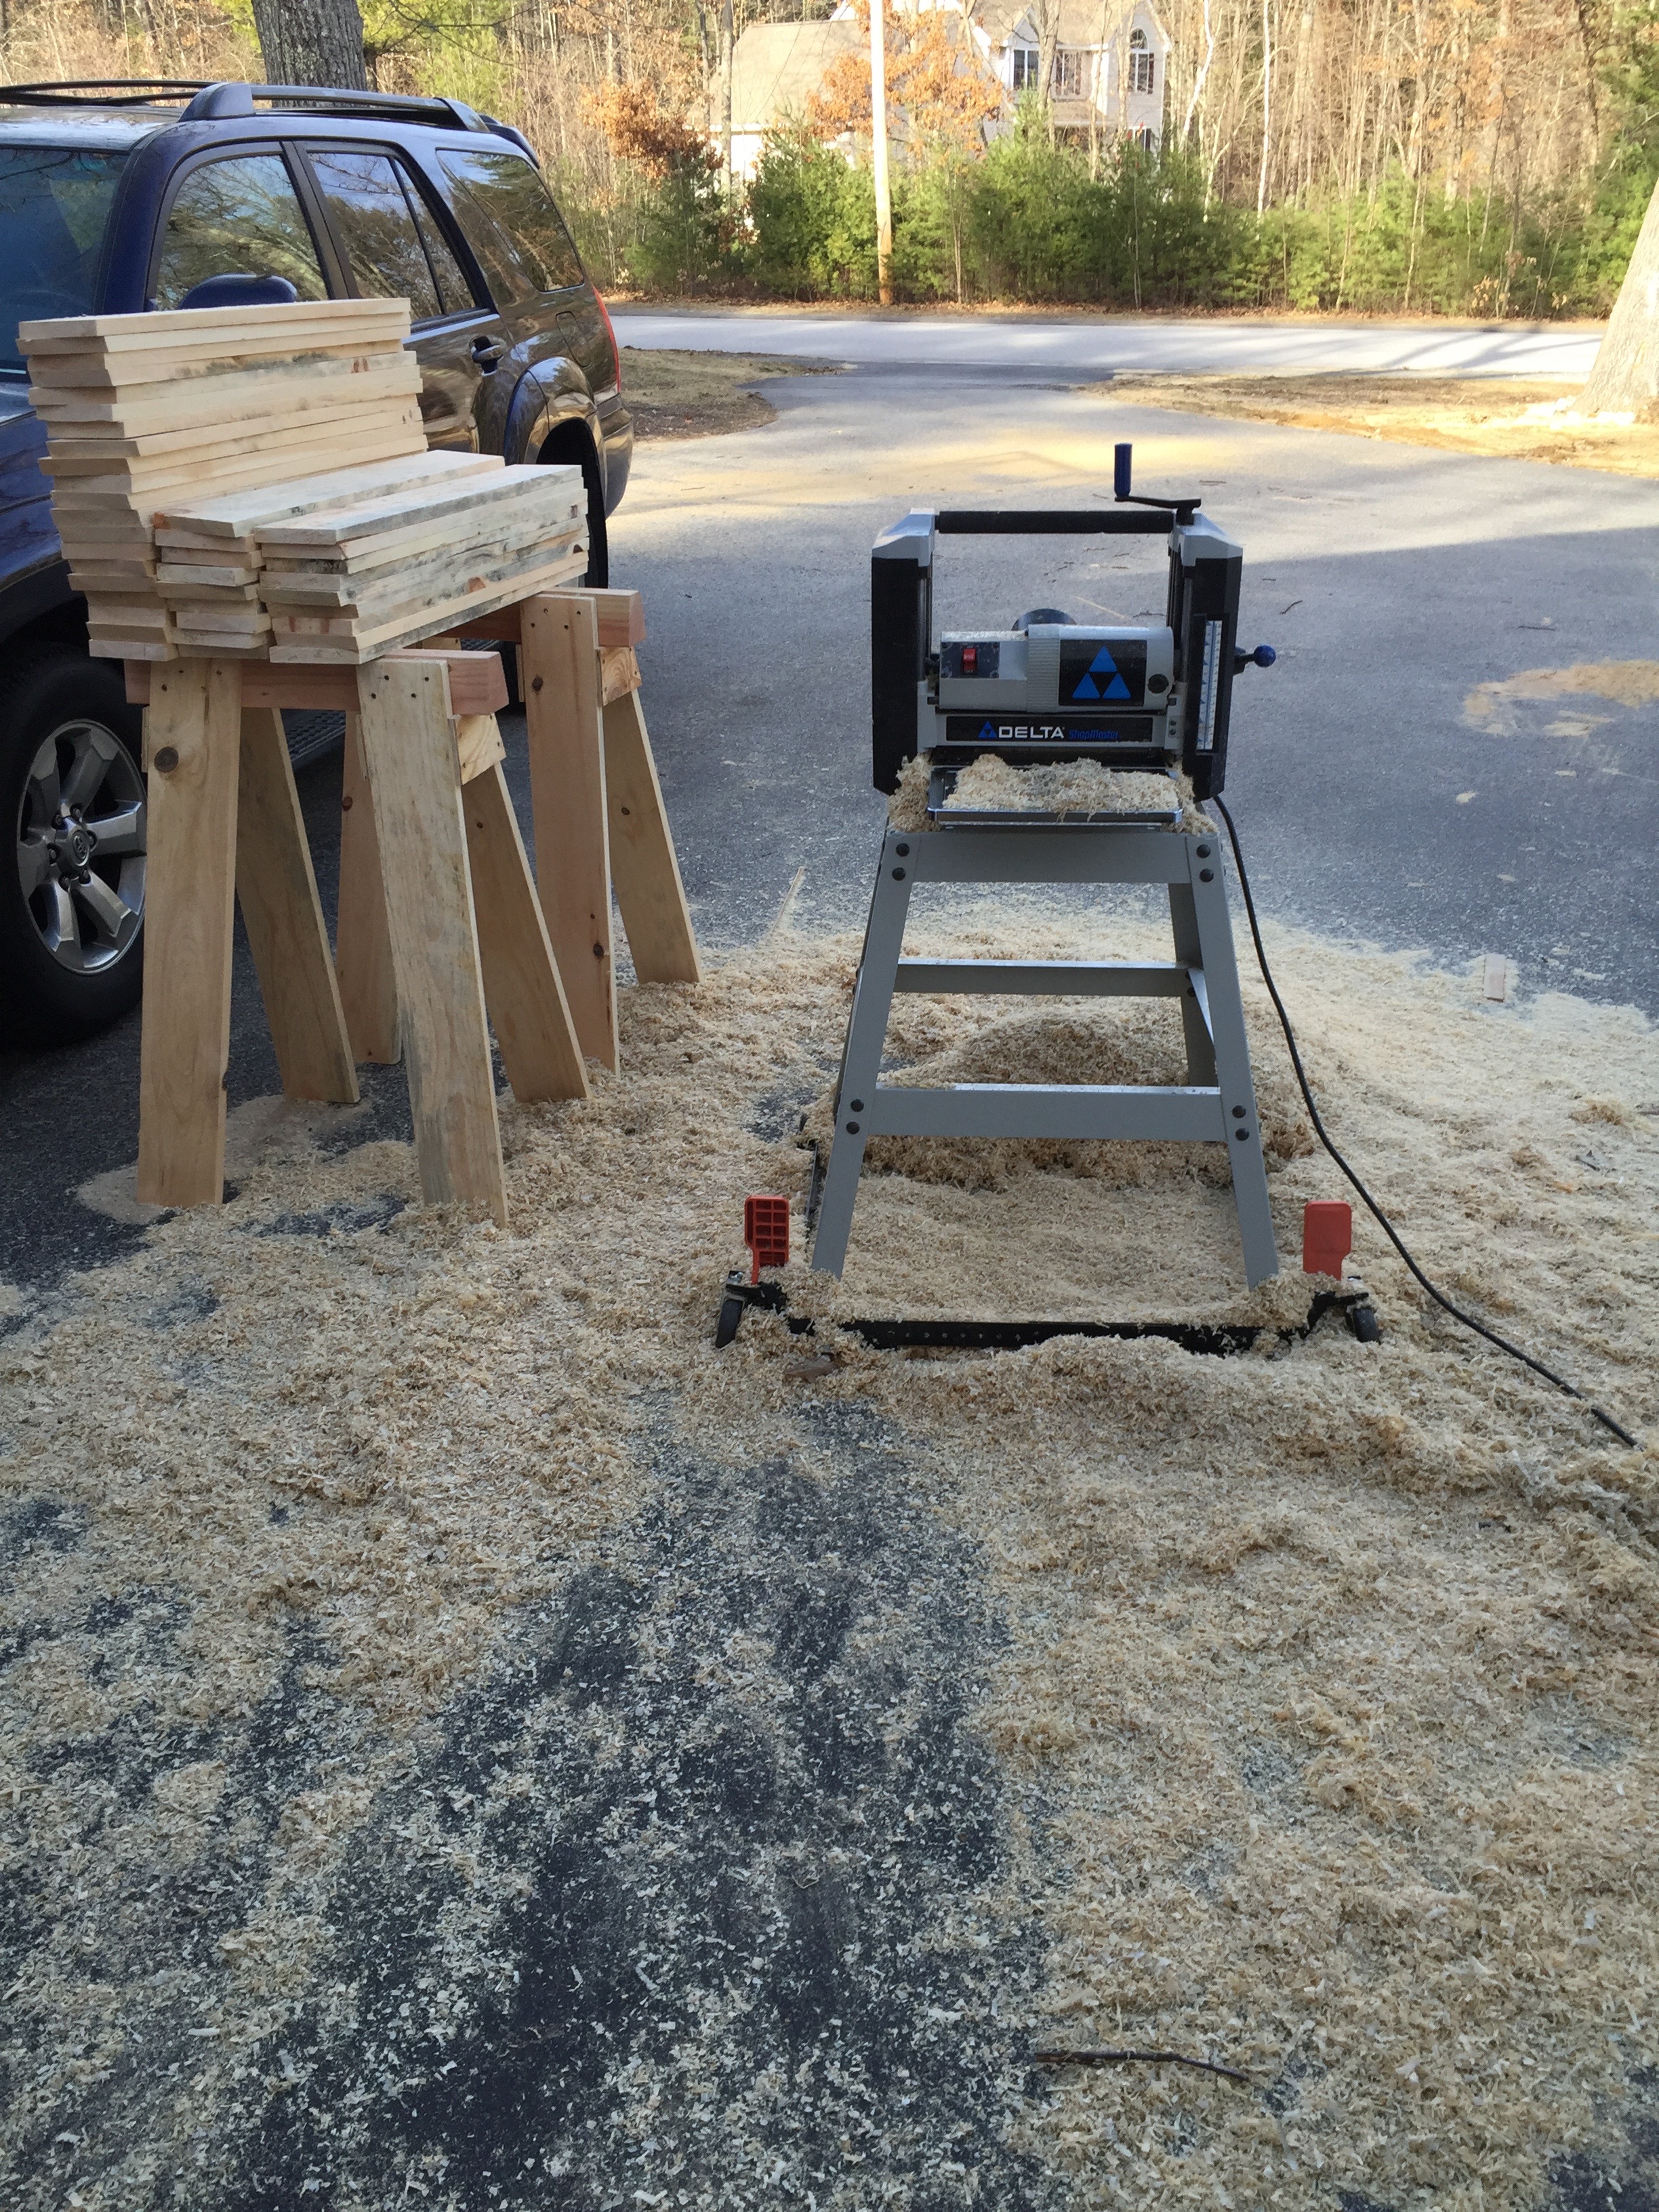
Right now as I build a 24’x30′ timber framed barn out in the yard I built another 28 horses to hold all the timber off the ground for sorting and working through the piles. The post below covers how I built these heavy duty horses.
For a large run of horses like this it is important to run through each operation like a small assembly line, though at times it can feel like a slog — after cutting 112 legs you become a master at optimizing all of your operations.
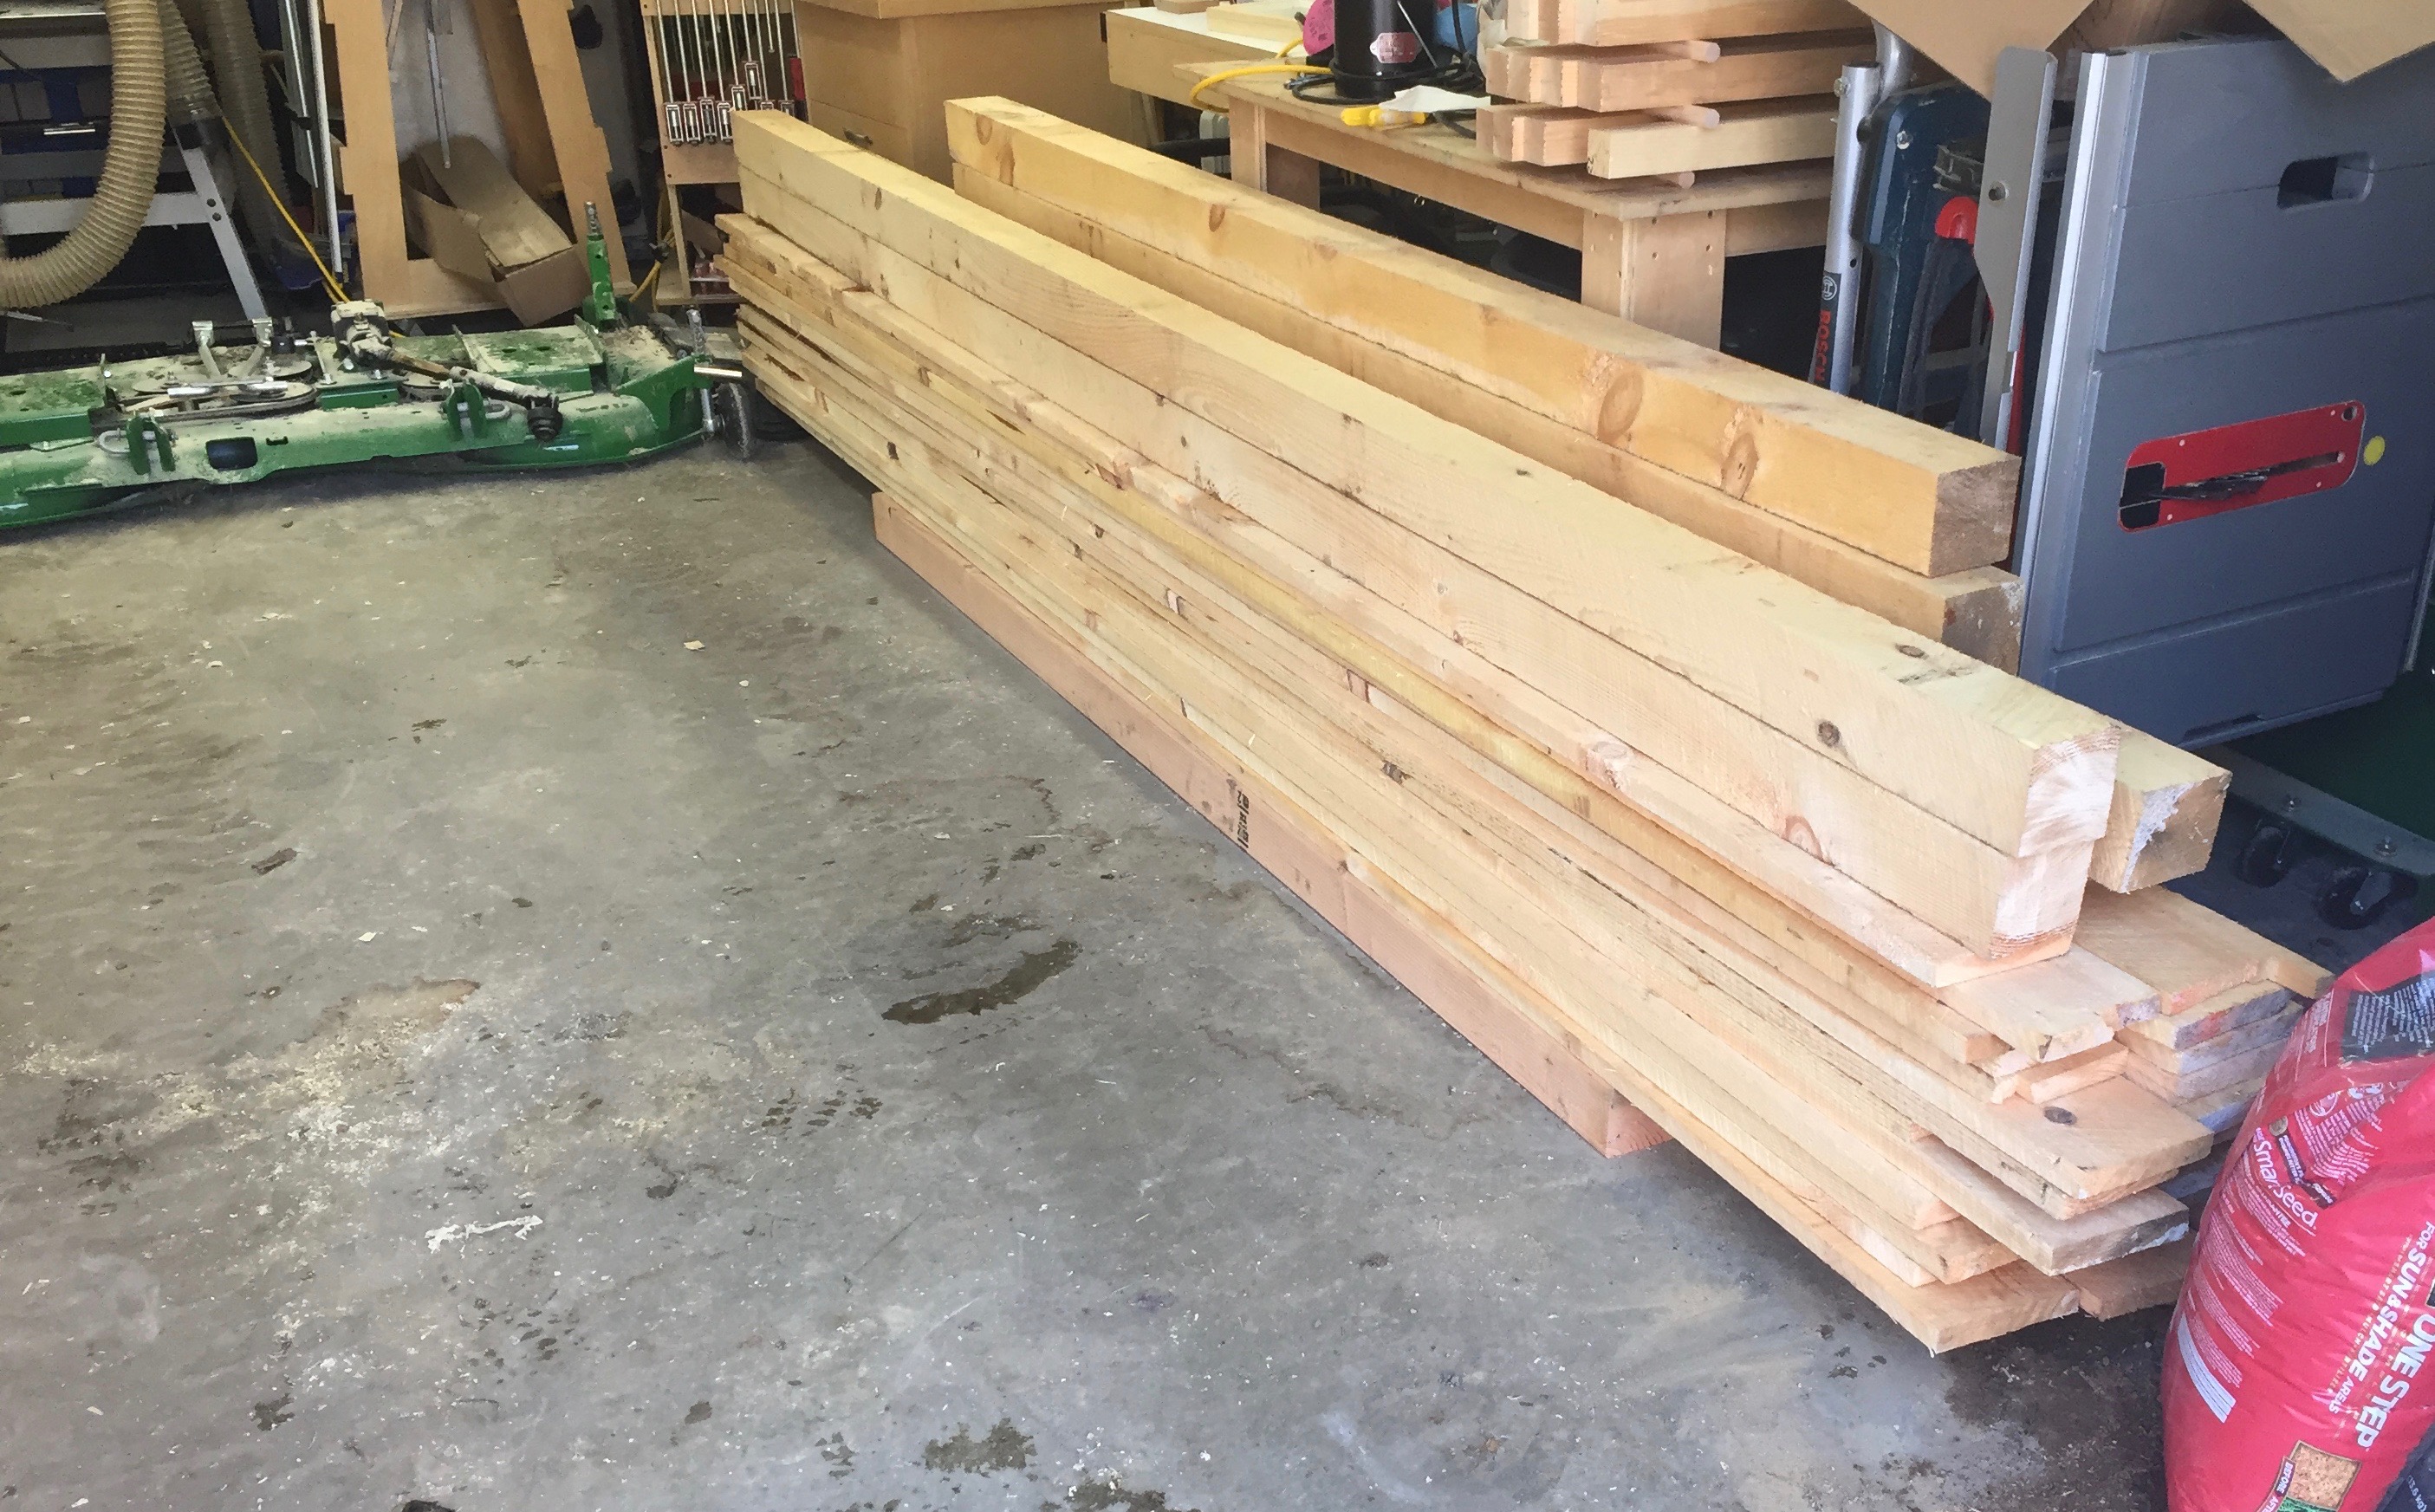
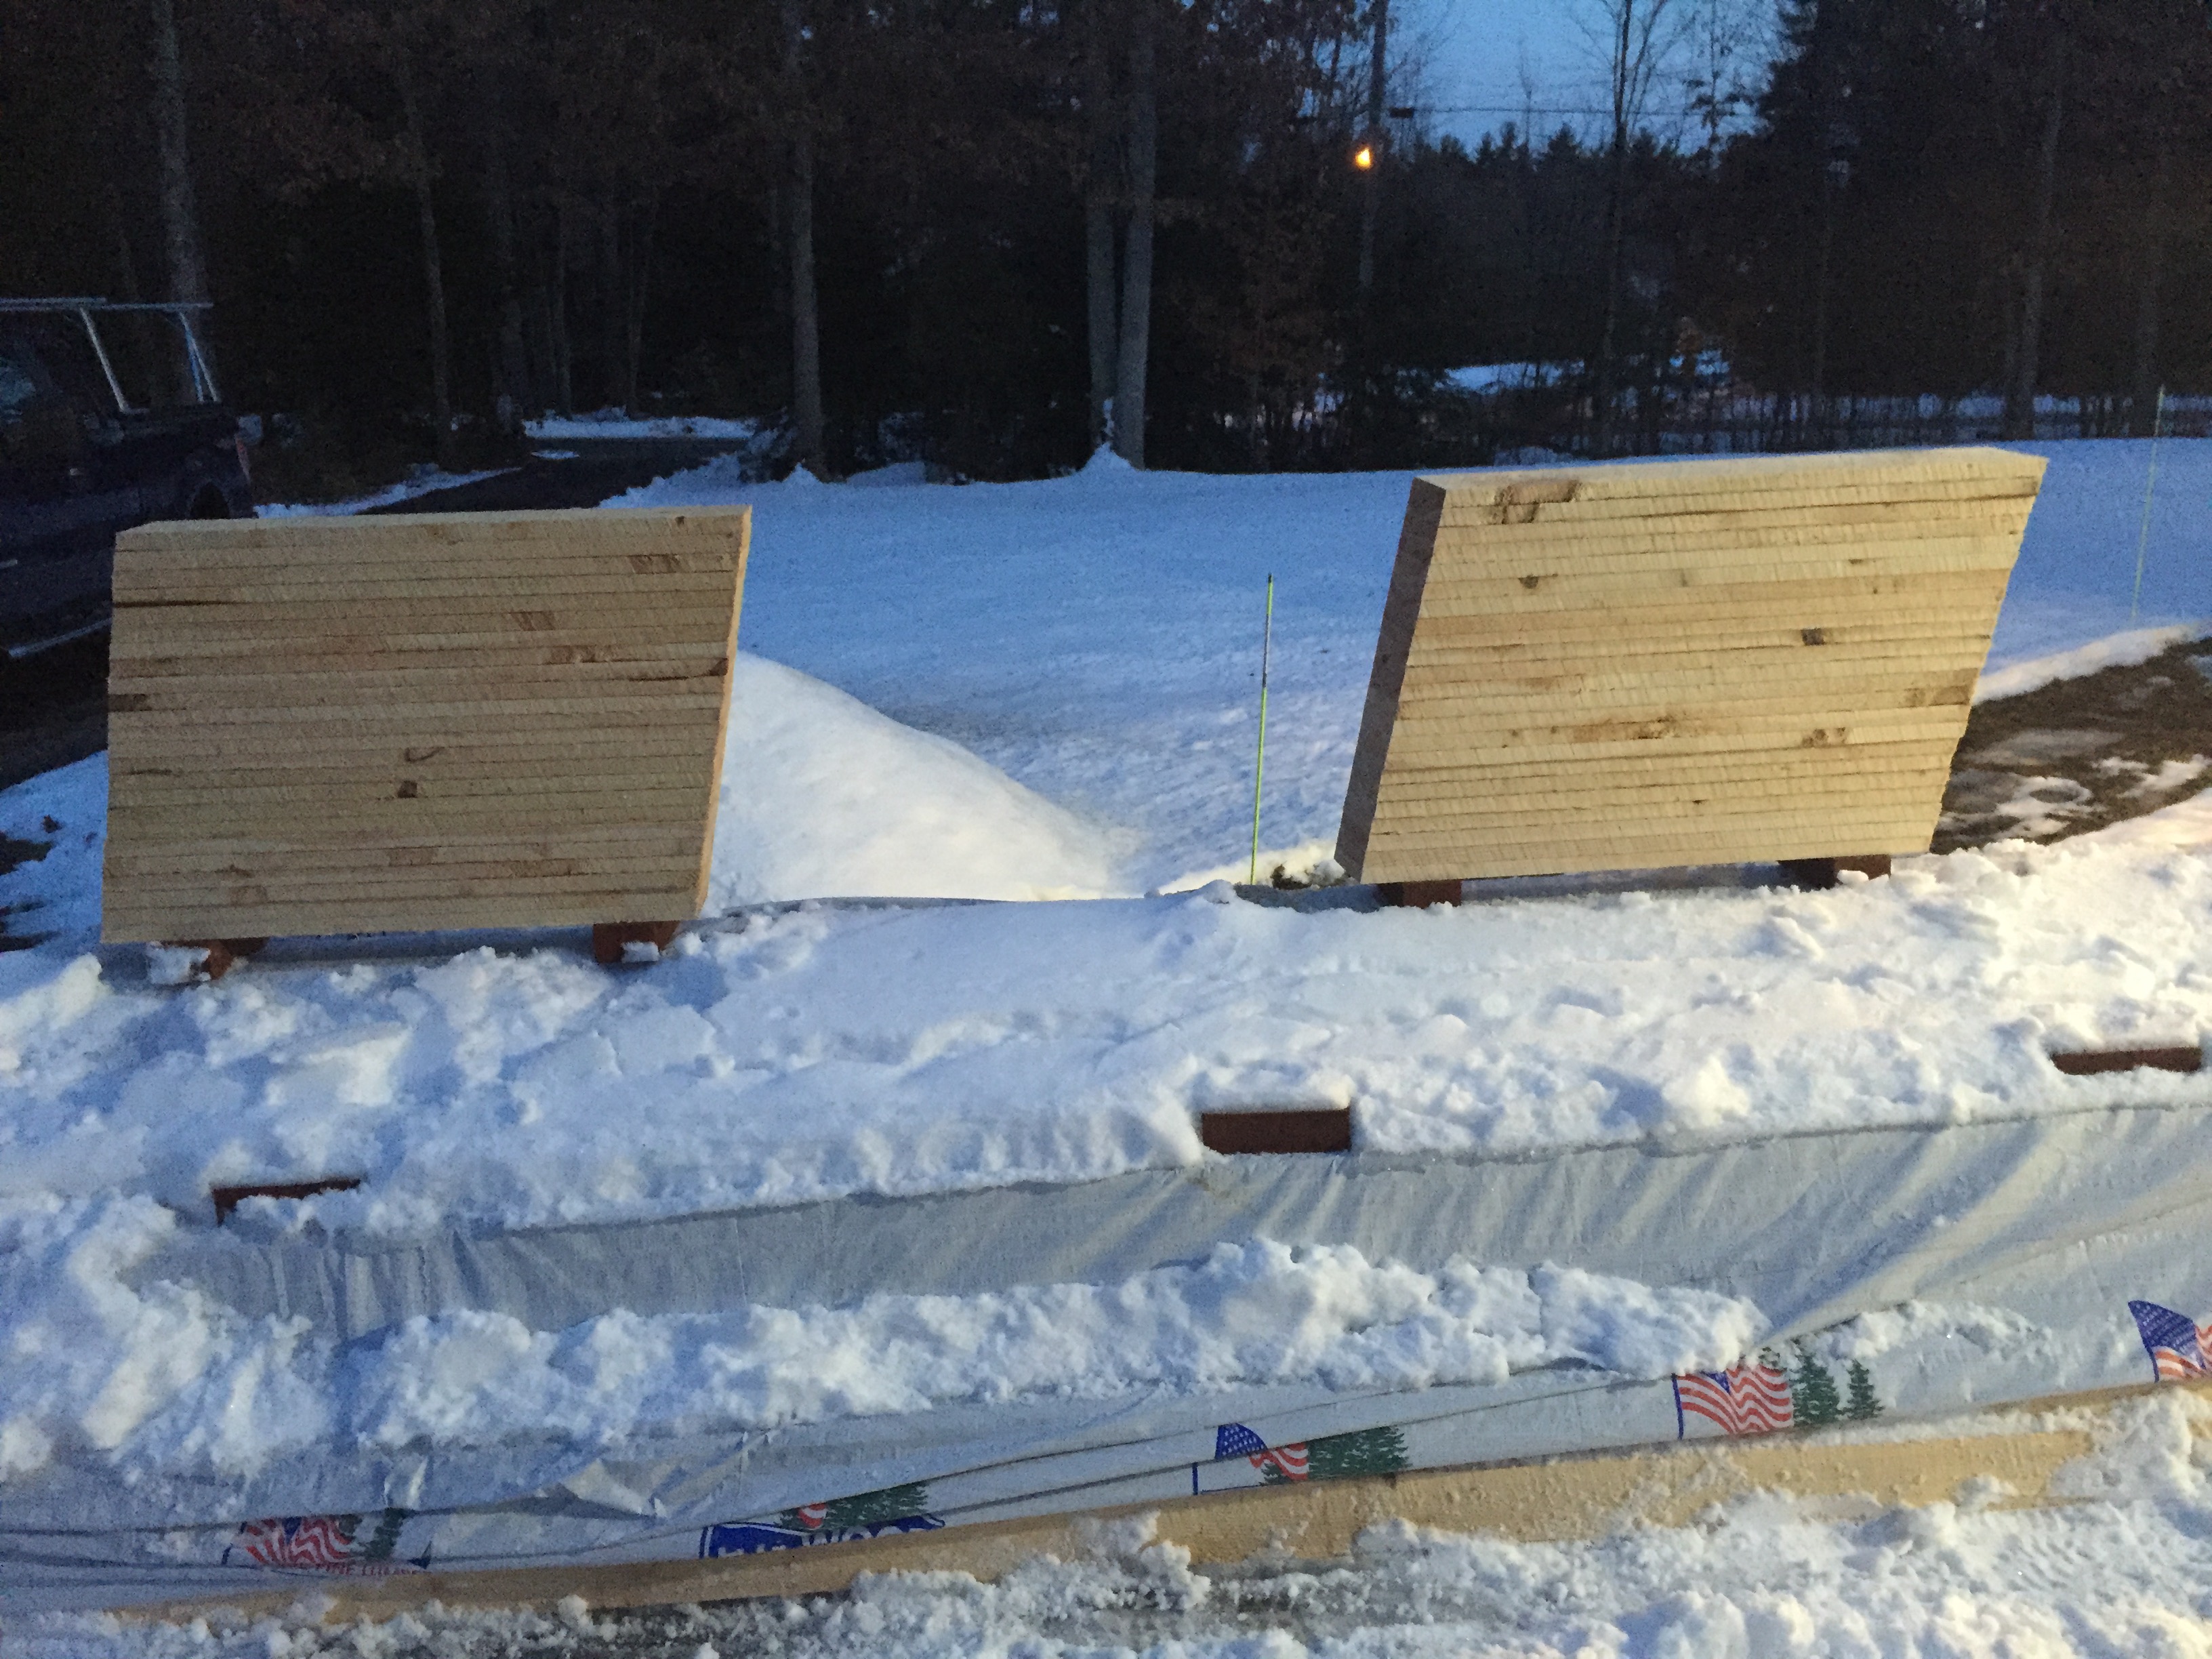
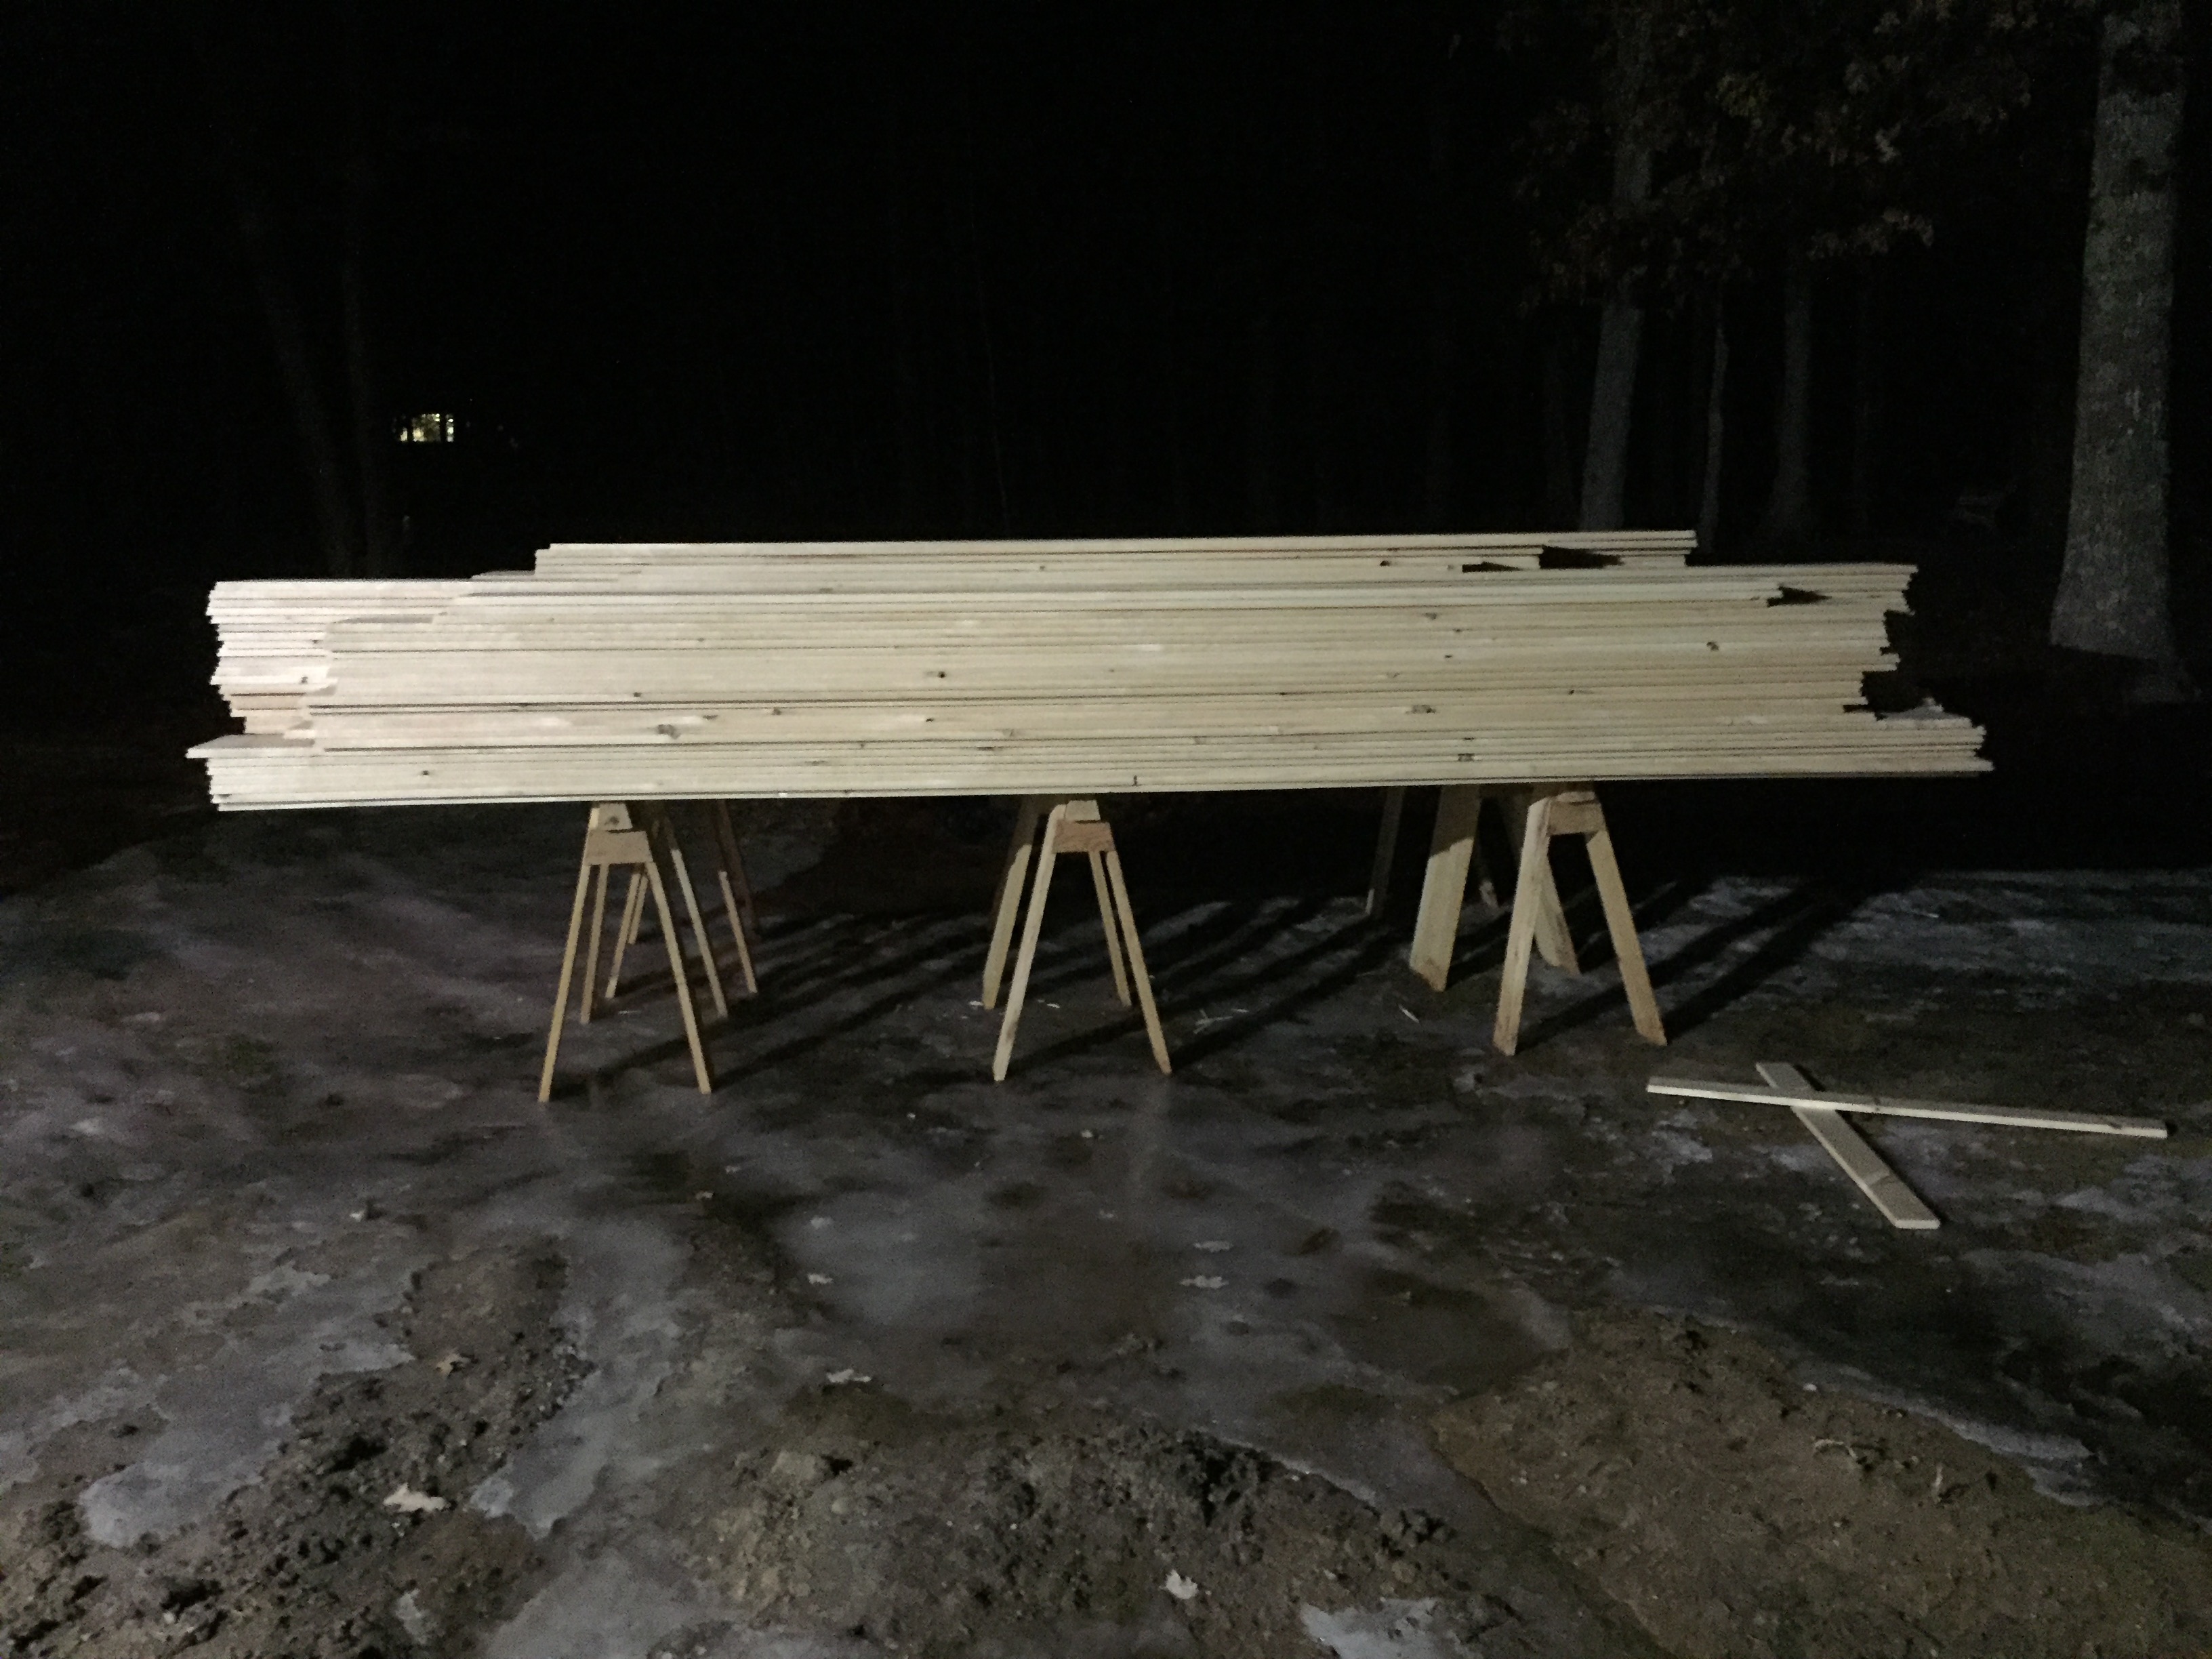
Large pile of green eastern white pine ready to go.
The wood of choice is green eastern white pine we buy from a local sawyer/lumber company. (Copeland And Sons Lumber). The beams (the work surface of a horse) is cut from a 4x4x12′, the legs are made from 1x6x12′ boards and the gussets are made from 1/2″ CDX plywood. Buying rough green stock like this from a sawyer helps keep the price per horse reasonable and the wood is full size, not nominal, so my 4×4 is 4″x4″ when I get it. I estimate that they cost me < $10 each in terms of materials.
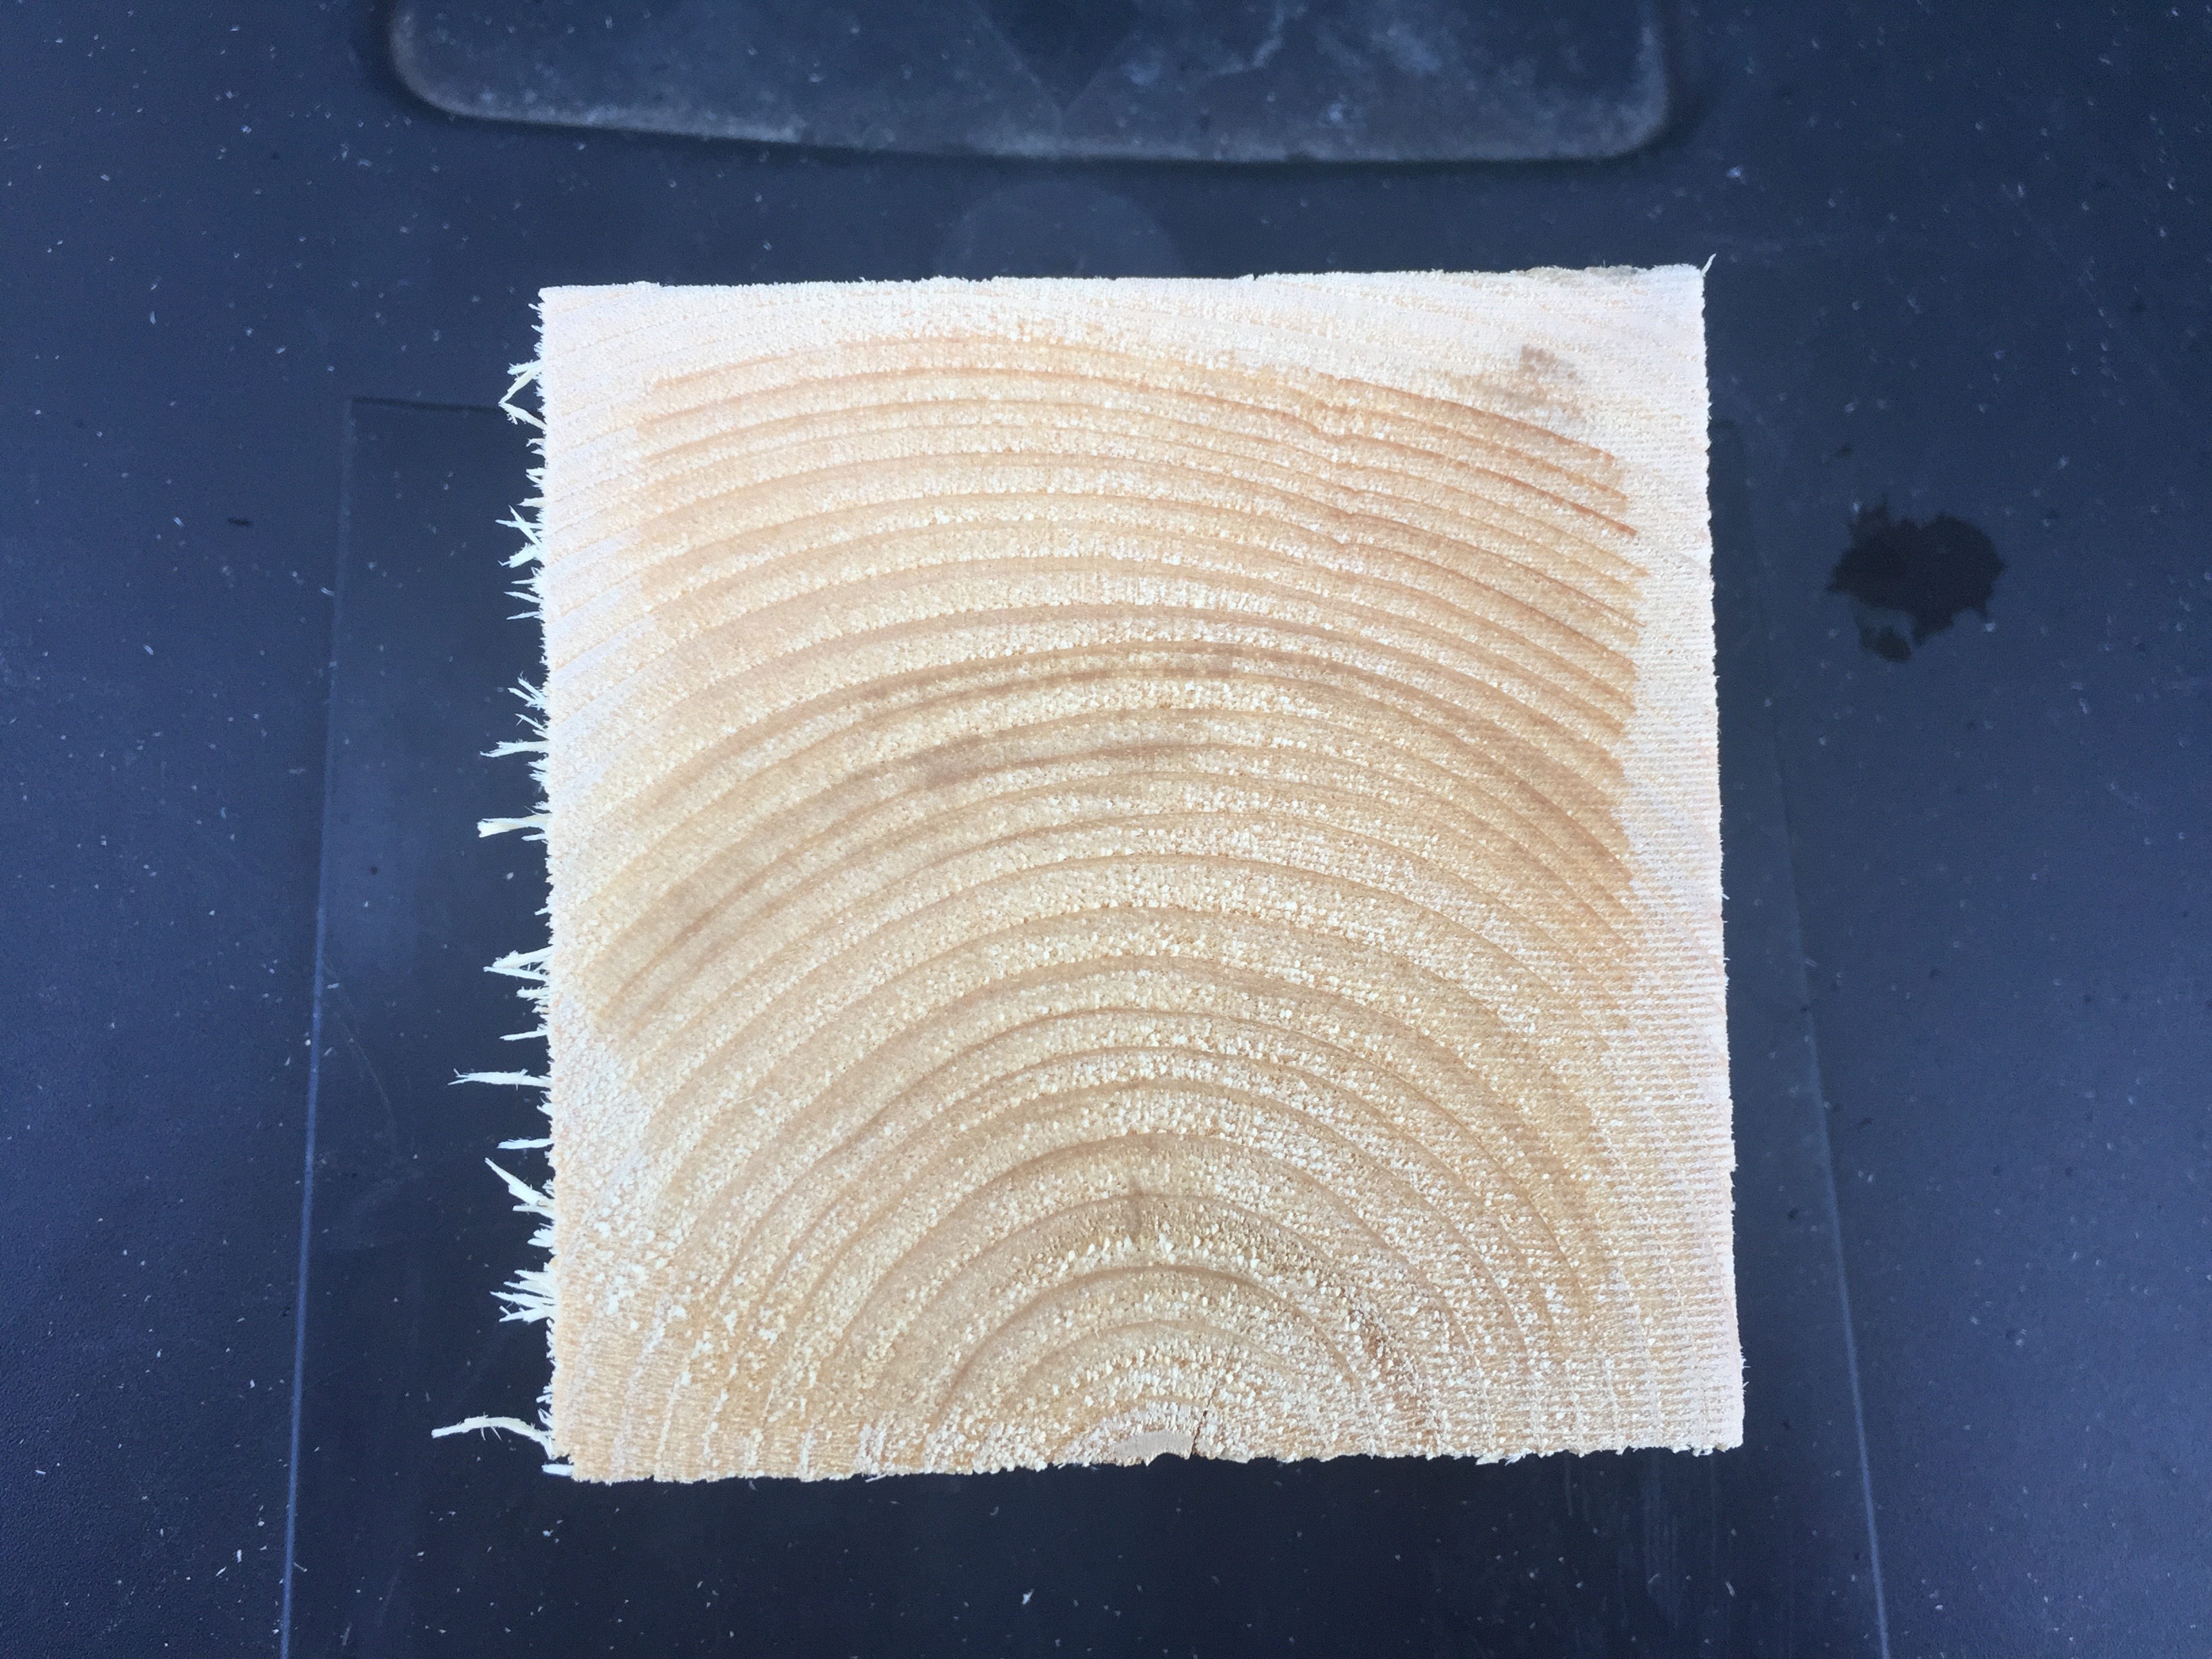
You can see how much moisture is still in the 4x4s
A note on working with green lumber, for horses or timber frames or similar projects — this wood was a tree possibly only a day or two before I get it, so if you use a power tool you may get some water spray on you. Be warned. Also make sure you wipe down and oil your tools appropriately so they do not rust. In the photo above you can see the outer 1/4″ or so that has dried a bit vs the wet center on this fresh cut off piece.
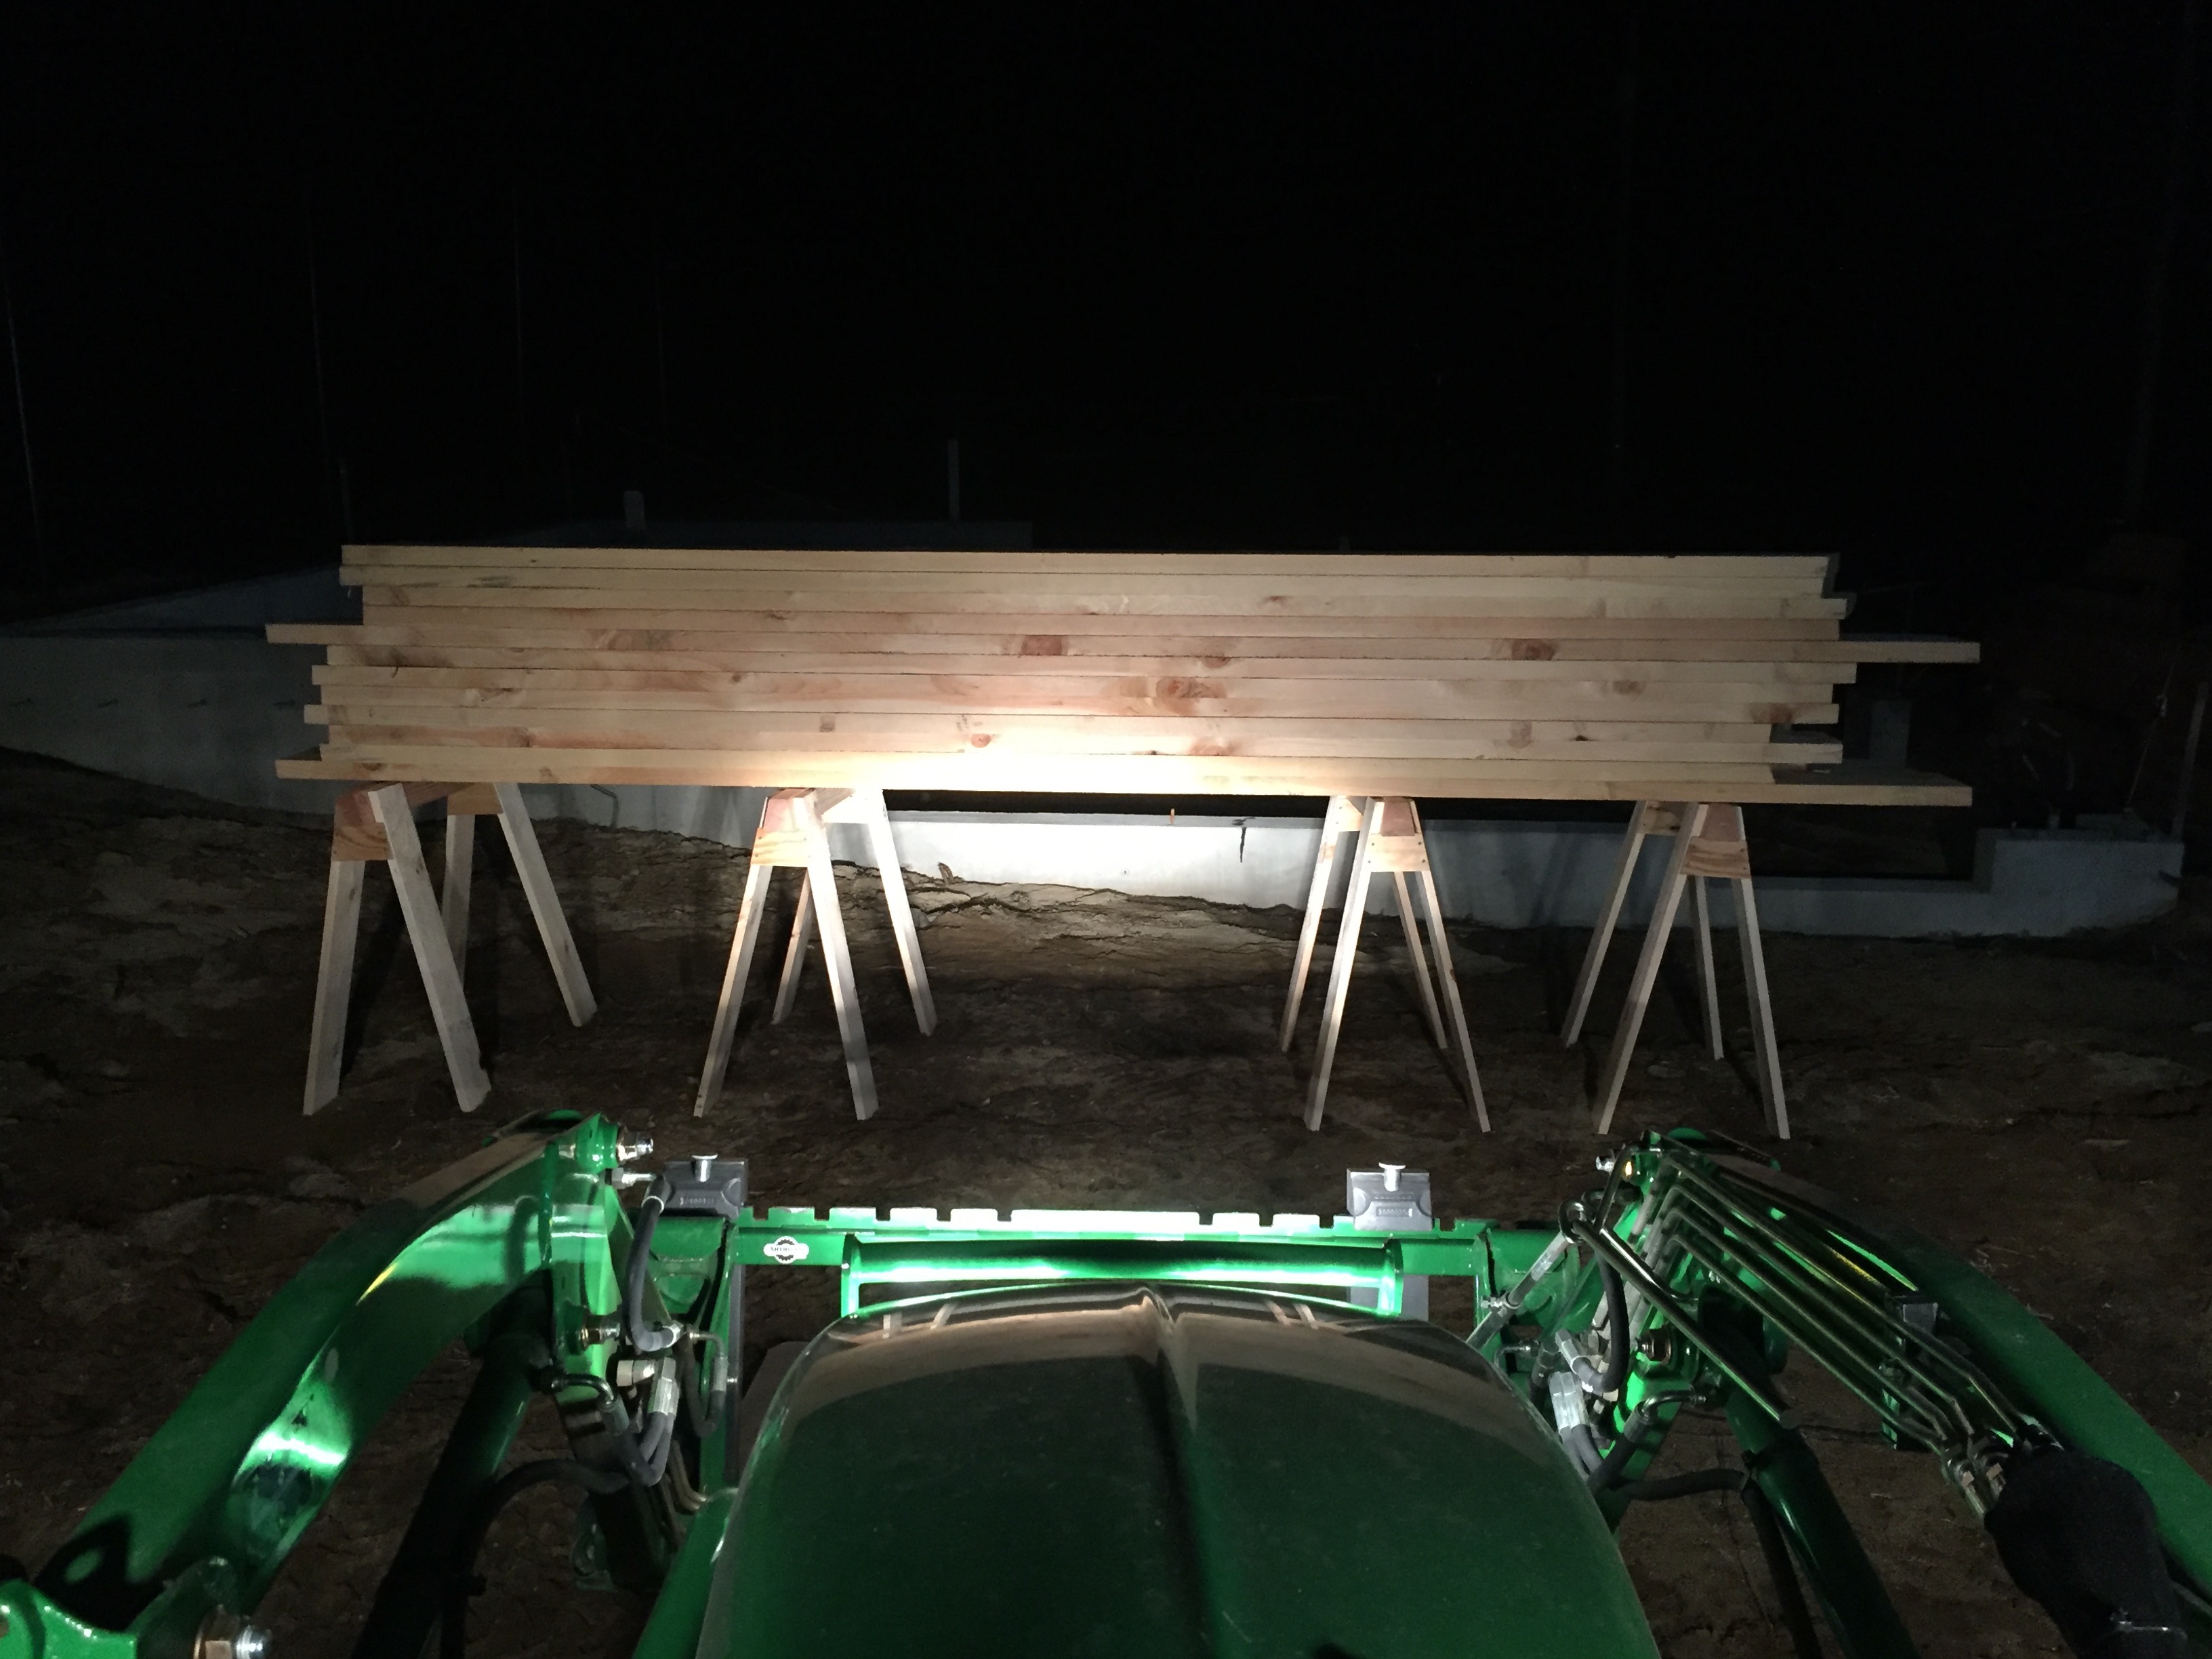
Stack of cut beams
I start by cutting the beams to 36″ long. I then cut a 12 degree bevel on two sides. If your table saw cannot cut a full 4″ on an angle you can cut as much as you can, snap off most of the waste and then use a jointer or portable power planer (like 3-1/4″ Makita Door planer) to even out the side.
I also stamped my name into the end grain of each beam with my name stamp. It makes it easy to tell my horses apart from say another friend from the school.
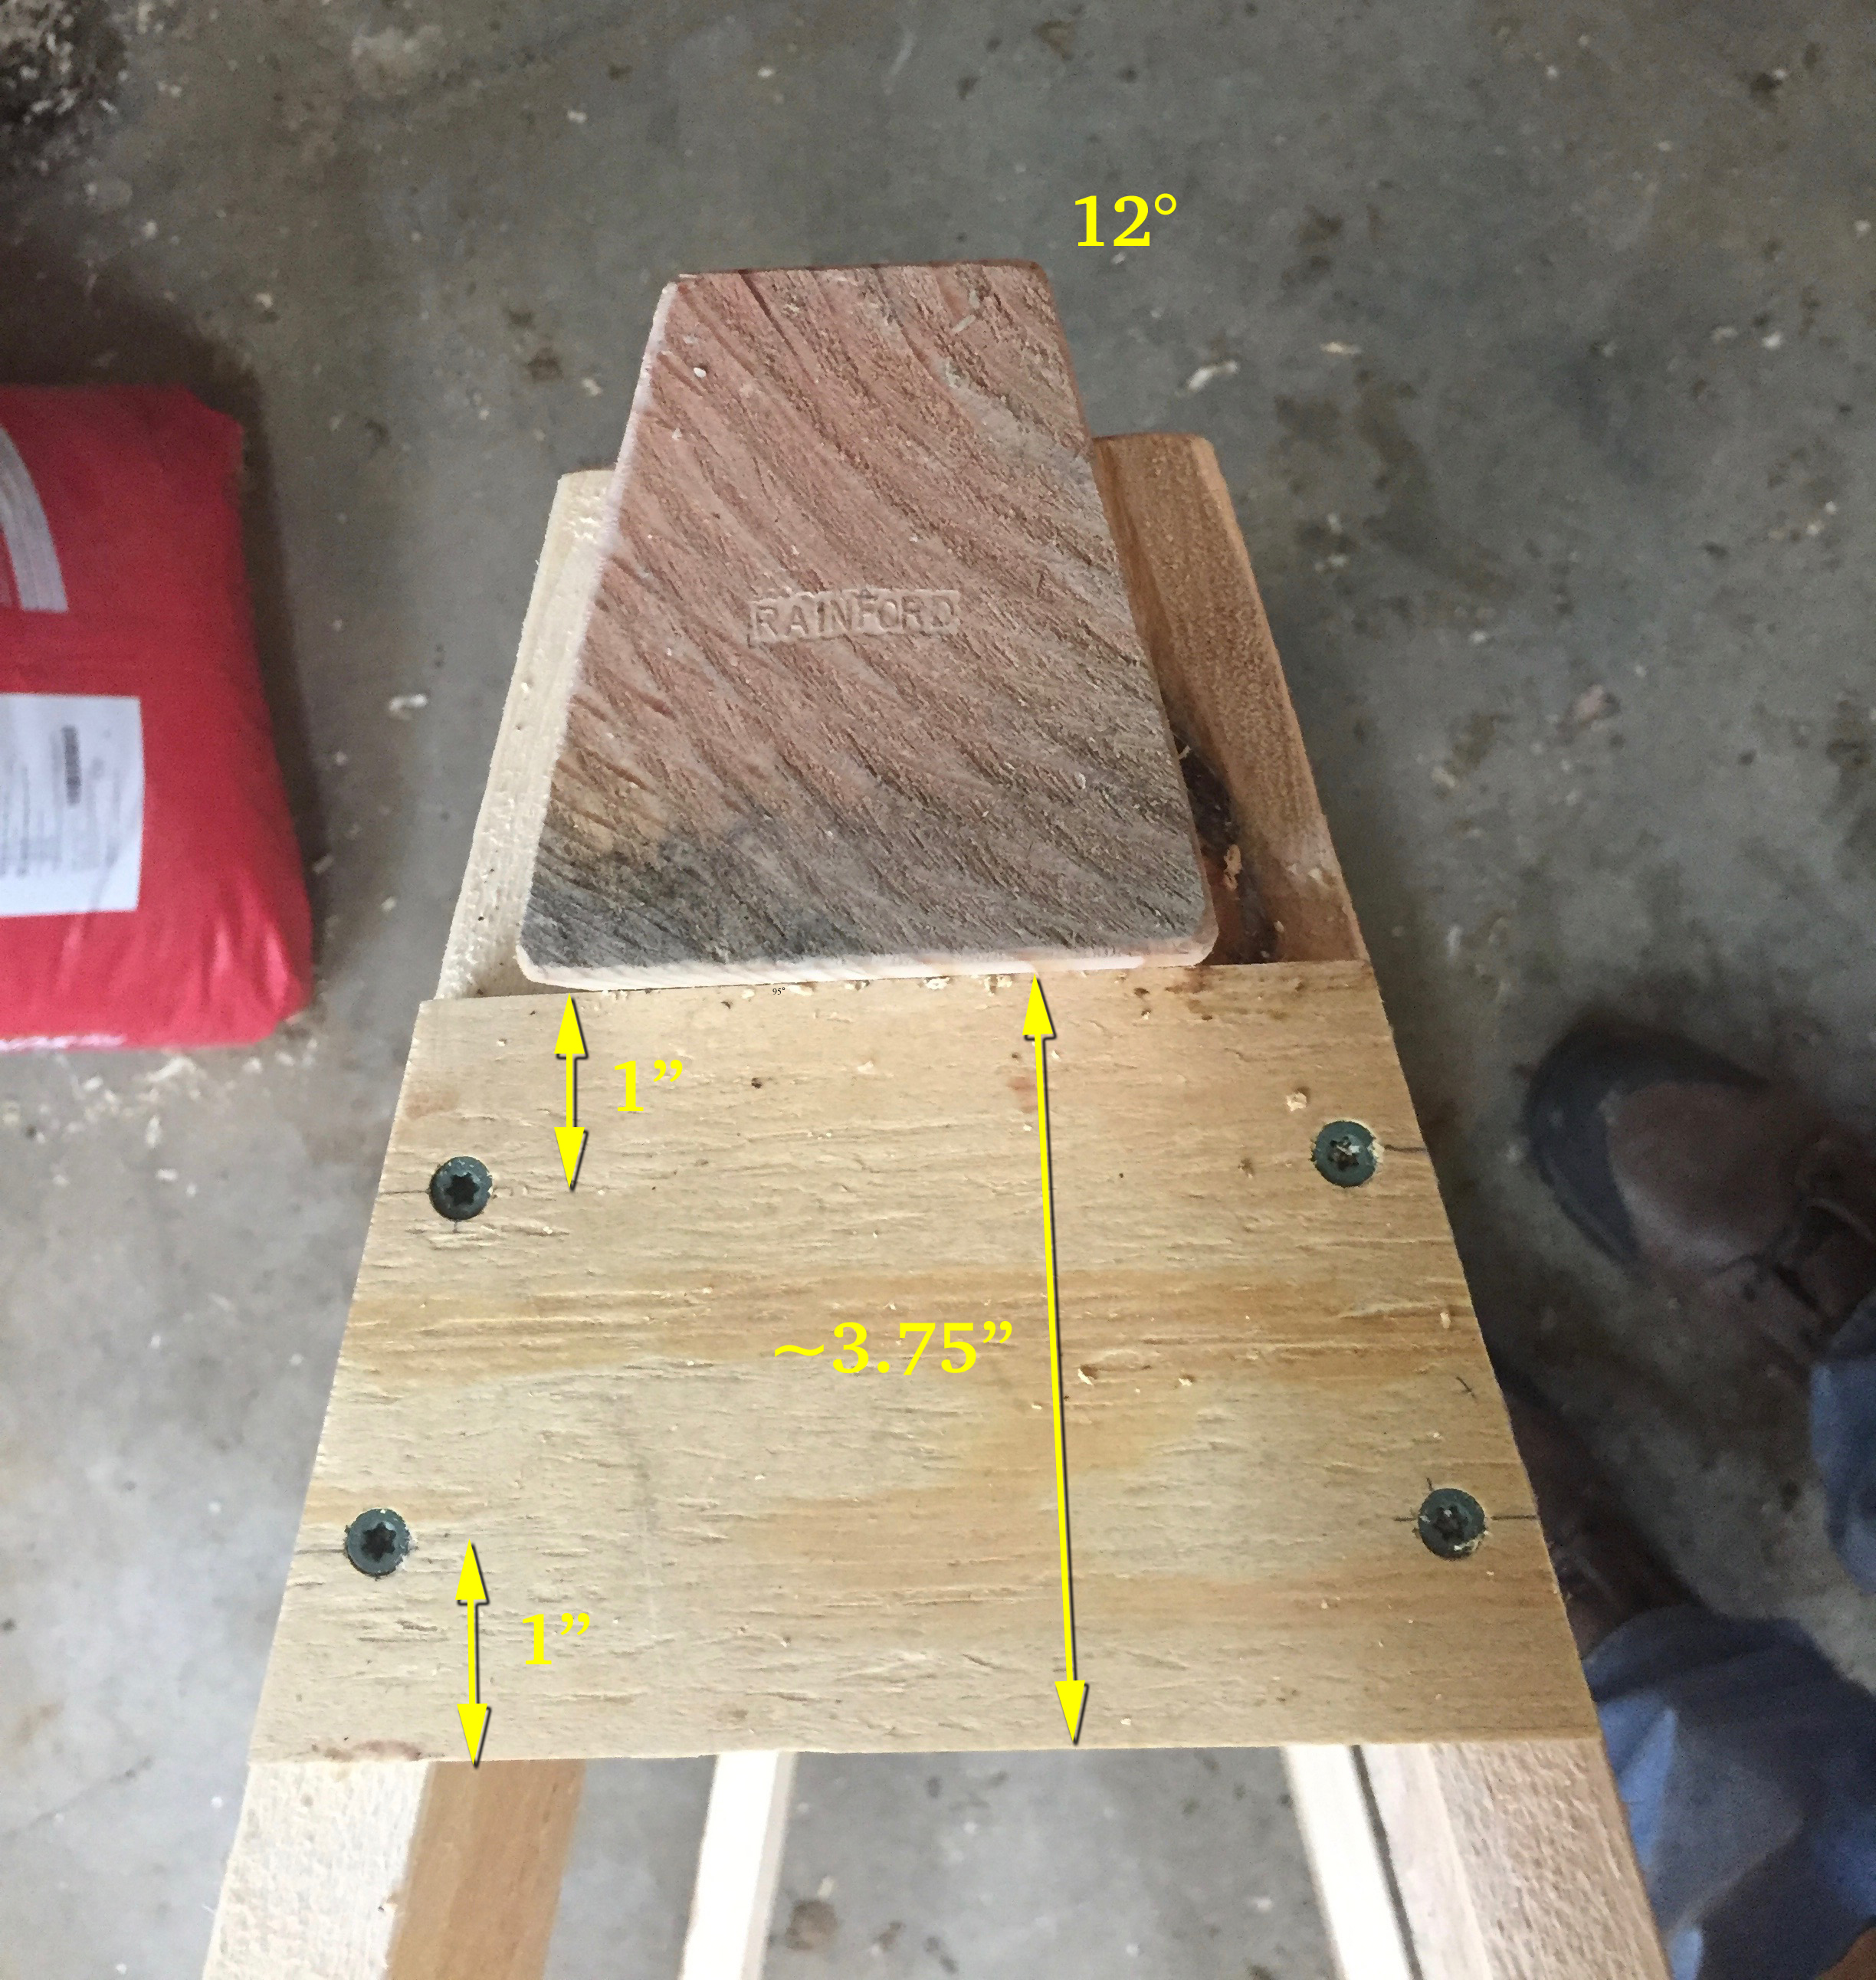
Beam and gusset with dimensions. I also used my namespace on the beam end grain.
Next up I ripped my 4×8 sheet of 1/2″ CDX plywood into ~4″ wide strips. I then took a second pass on each strip with the blade set to a 5 degree angle. This allows the gussets to nestle up tightly against the beam during final assembly.
Cutting compound angles for the legs. 5 degrees and 12 degrees.
Next up I cut all the legs. I set the compound miter saw to cut at a left tilt of 5 degrees and a right rotation of 12 degrees. (See image above). The long side of each leg was cut to be 34.75″ long.
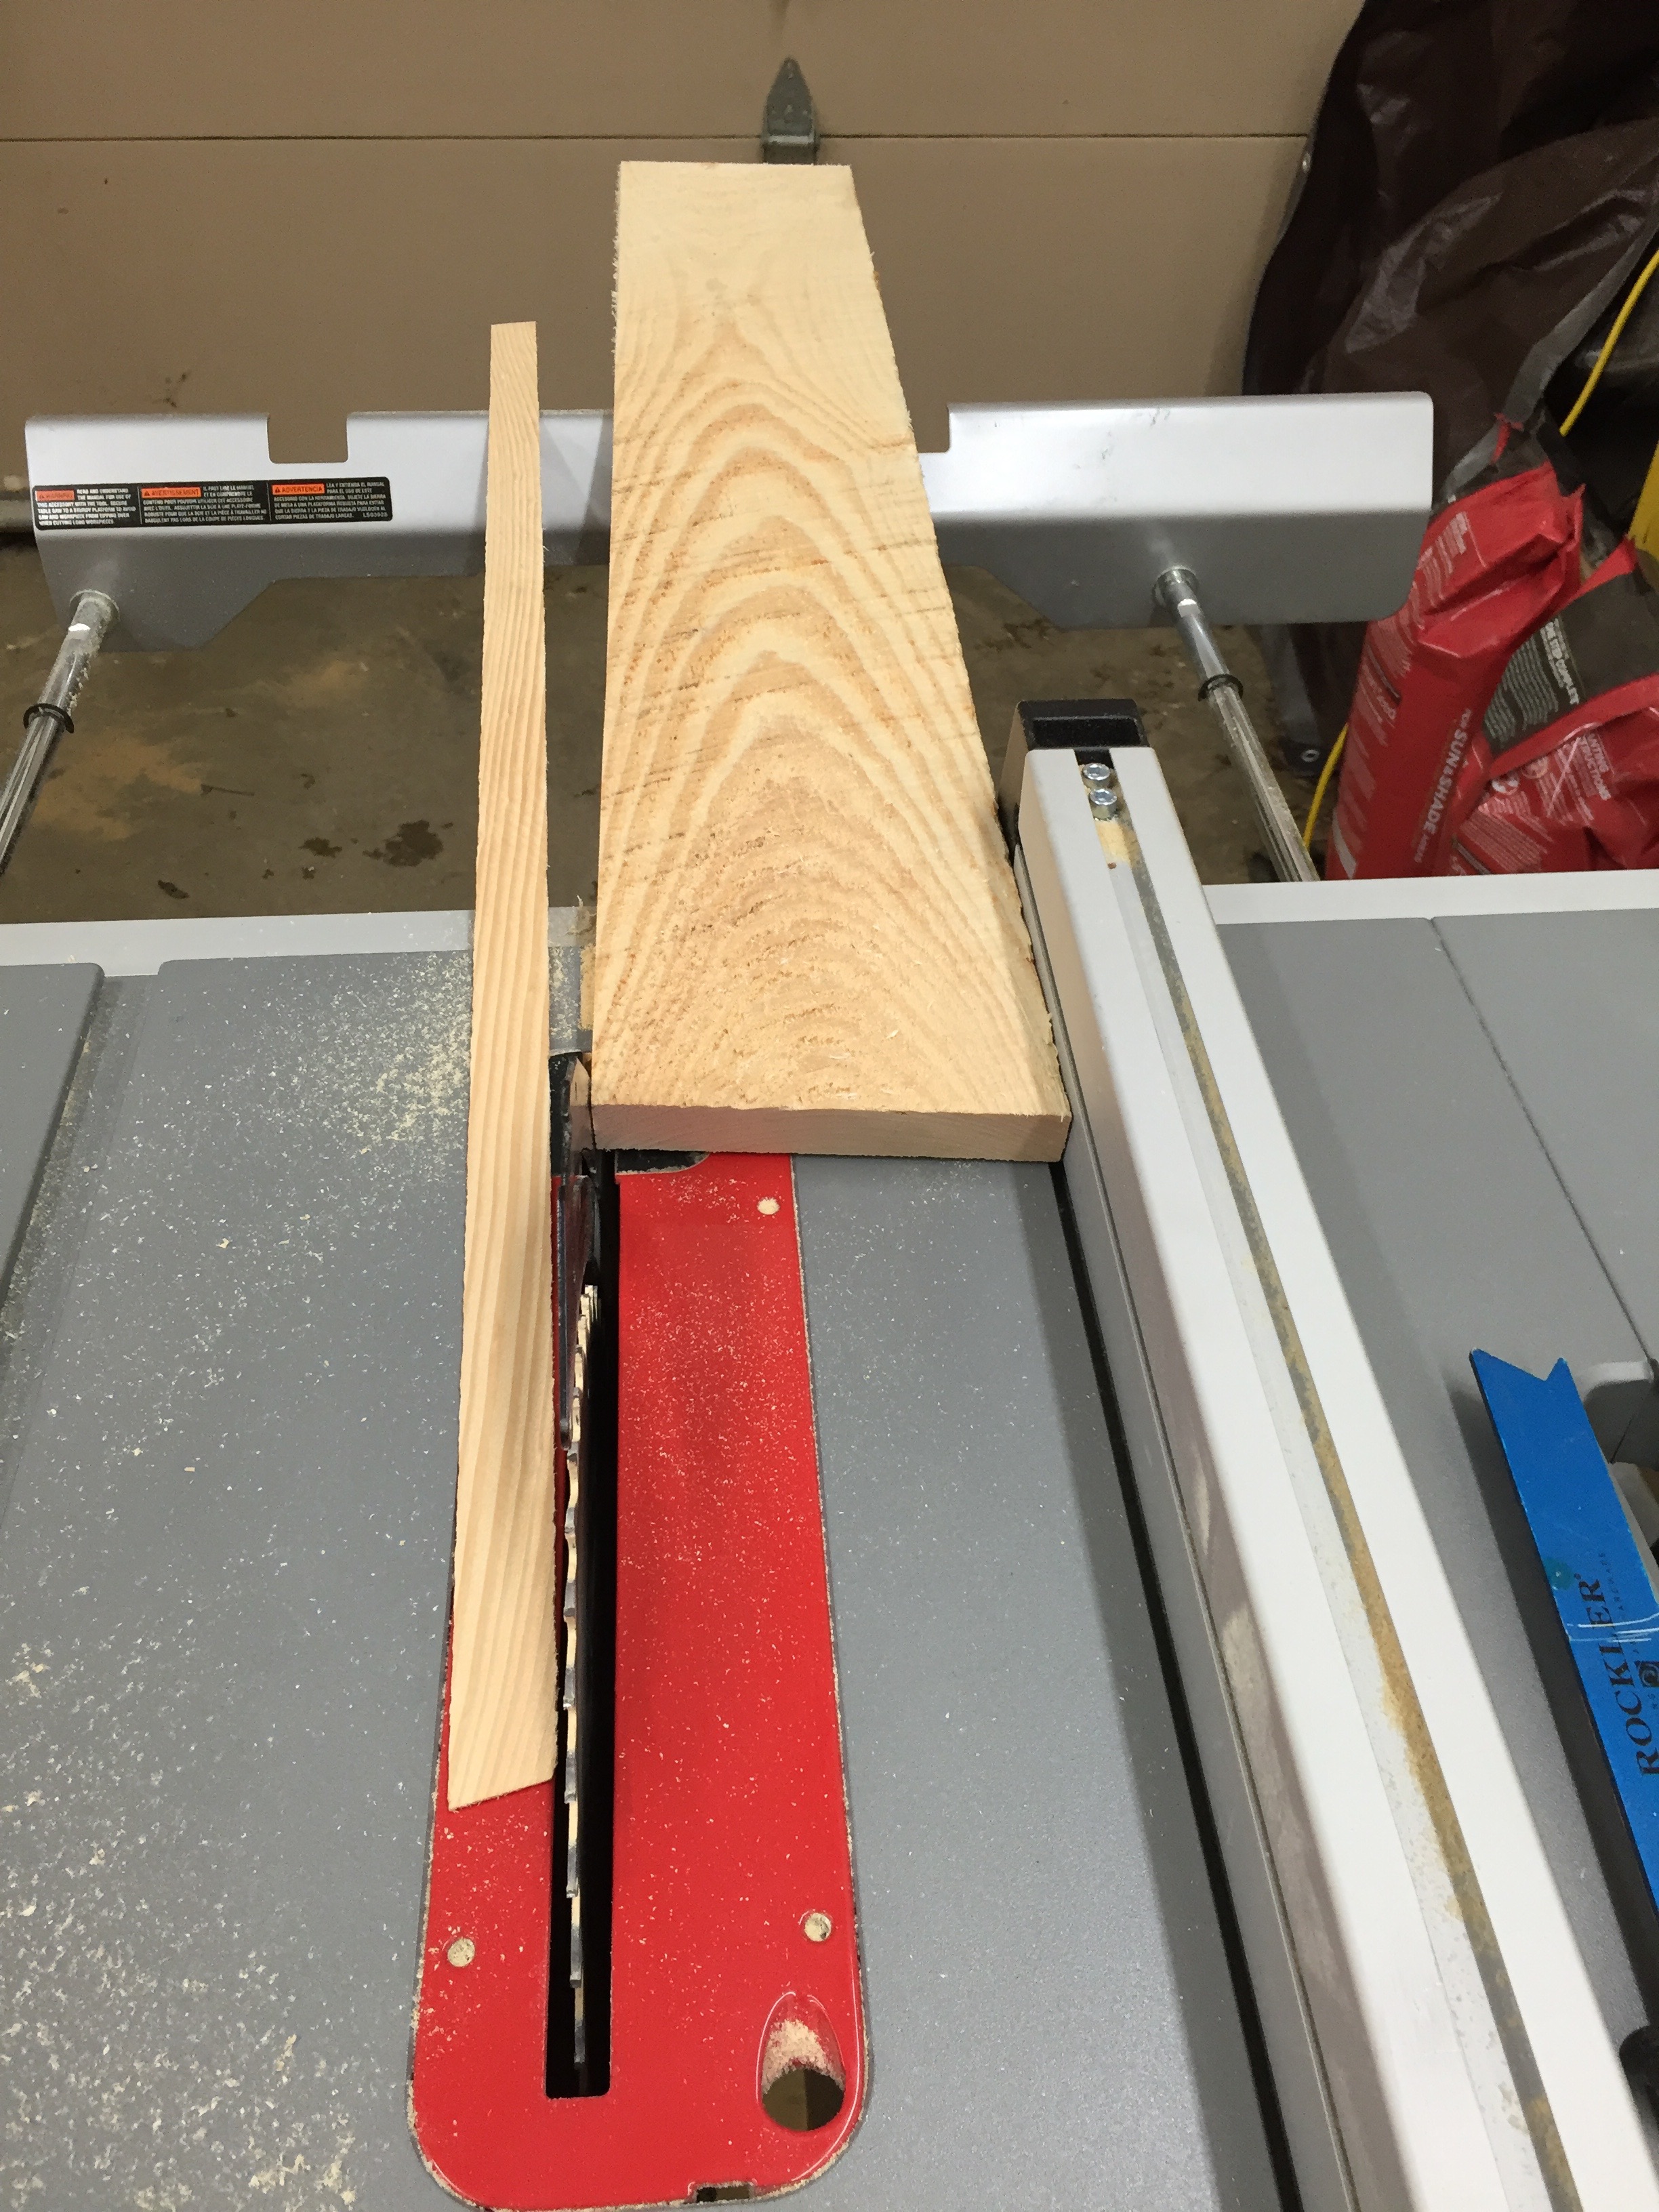
Ripping the legs to a consistent width
With all the legs cut I ripped the rough edge off of each board, then ripped the other side so all the boards landed at a consistent 5.5″ width.
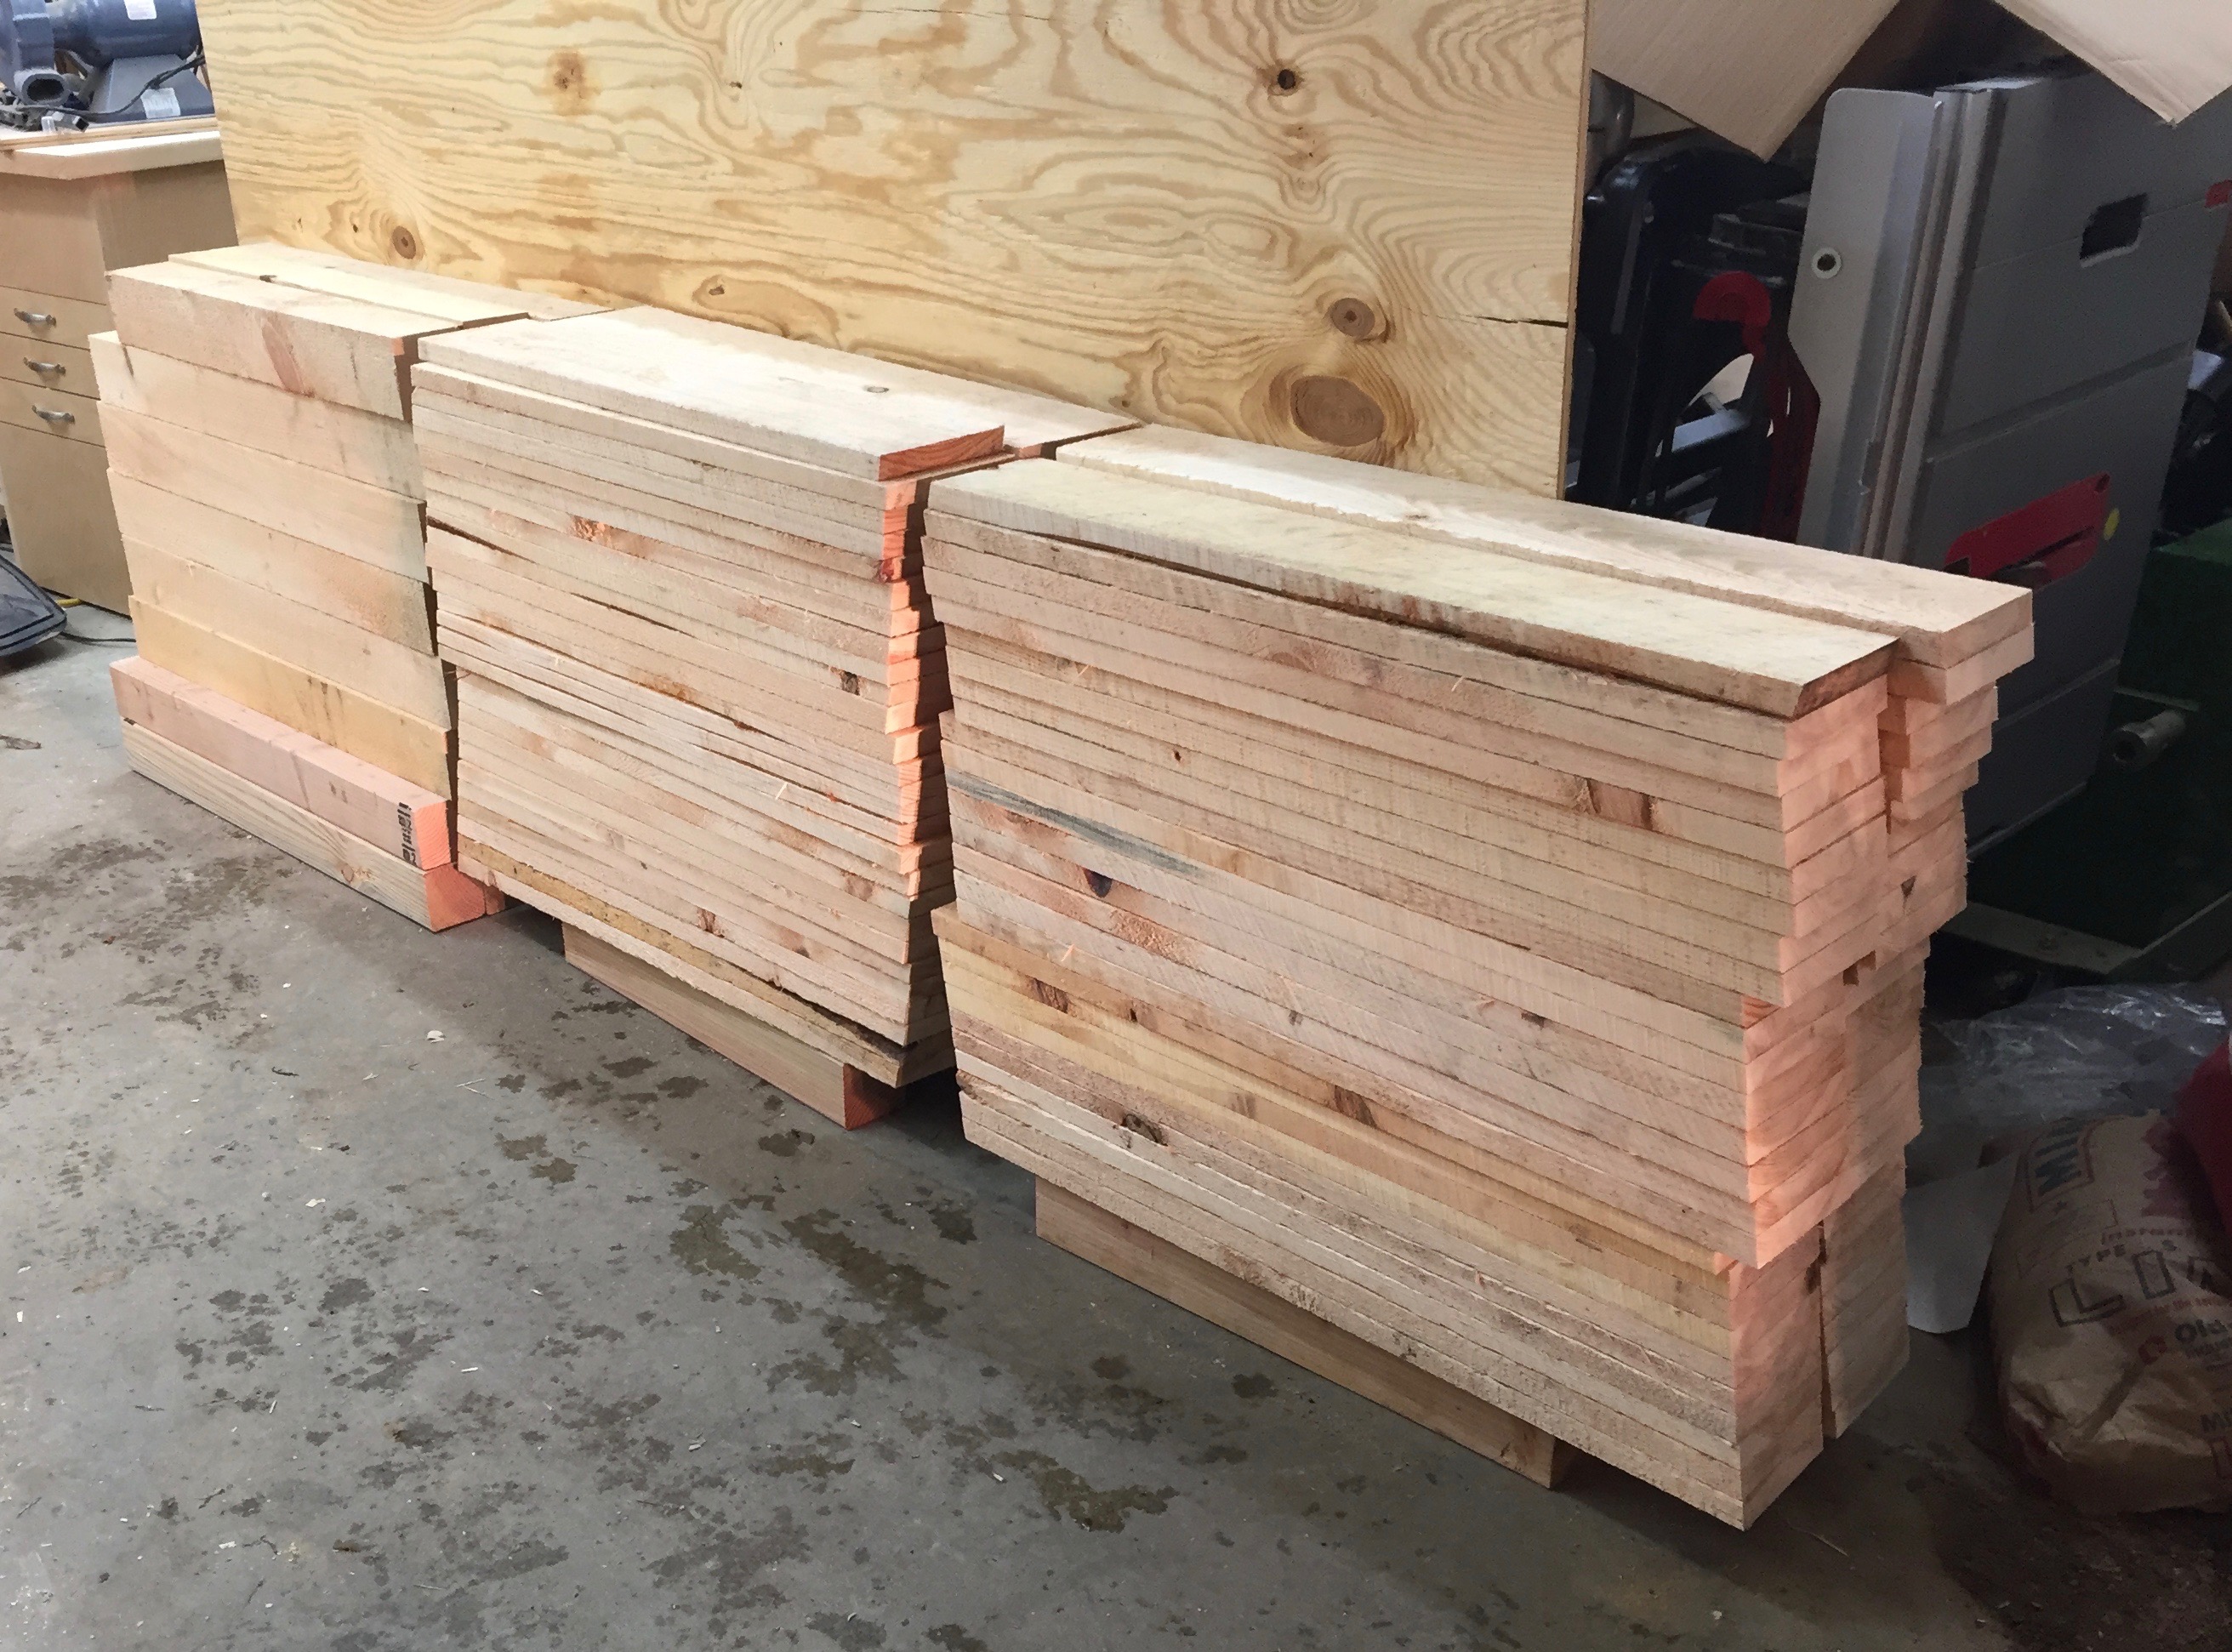
Stacks of cut legs
You don’t have to plane the boards to thickness if you don’t want to. Leaving them as thick as possible added to the strength and I am not thrilled about passing green wood though my cast iron tools and into my dust collection system. My site chop saw and portable table saw both have aluminum tops which deal better with the wet wood.
112 legs ready to go
All the legs are the same, though above I stacked them to make sure I had a correct number for all the horses I planned to build. I also used a low angle block plane to break all the edges on the boards since they will be handled many times over the years and you don’t want any splinters.
Stacks of cut legs and beams back in the shop
I then brought my wood into the heated shop as we were getting some snow and stacked them as you see above. This was a big mistake as I’ll describe later. I planned to be out there the next day but with snow and a baby in the house they sat out there for a week. If you bring sopping wet/green wood into a heated shop, make sure you sticker them so air can flow around all the edges and the wood can dry evenly.
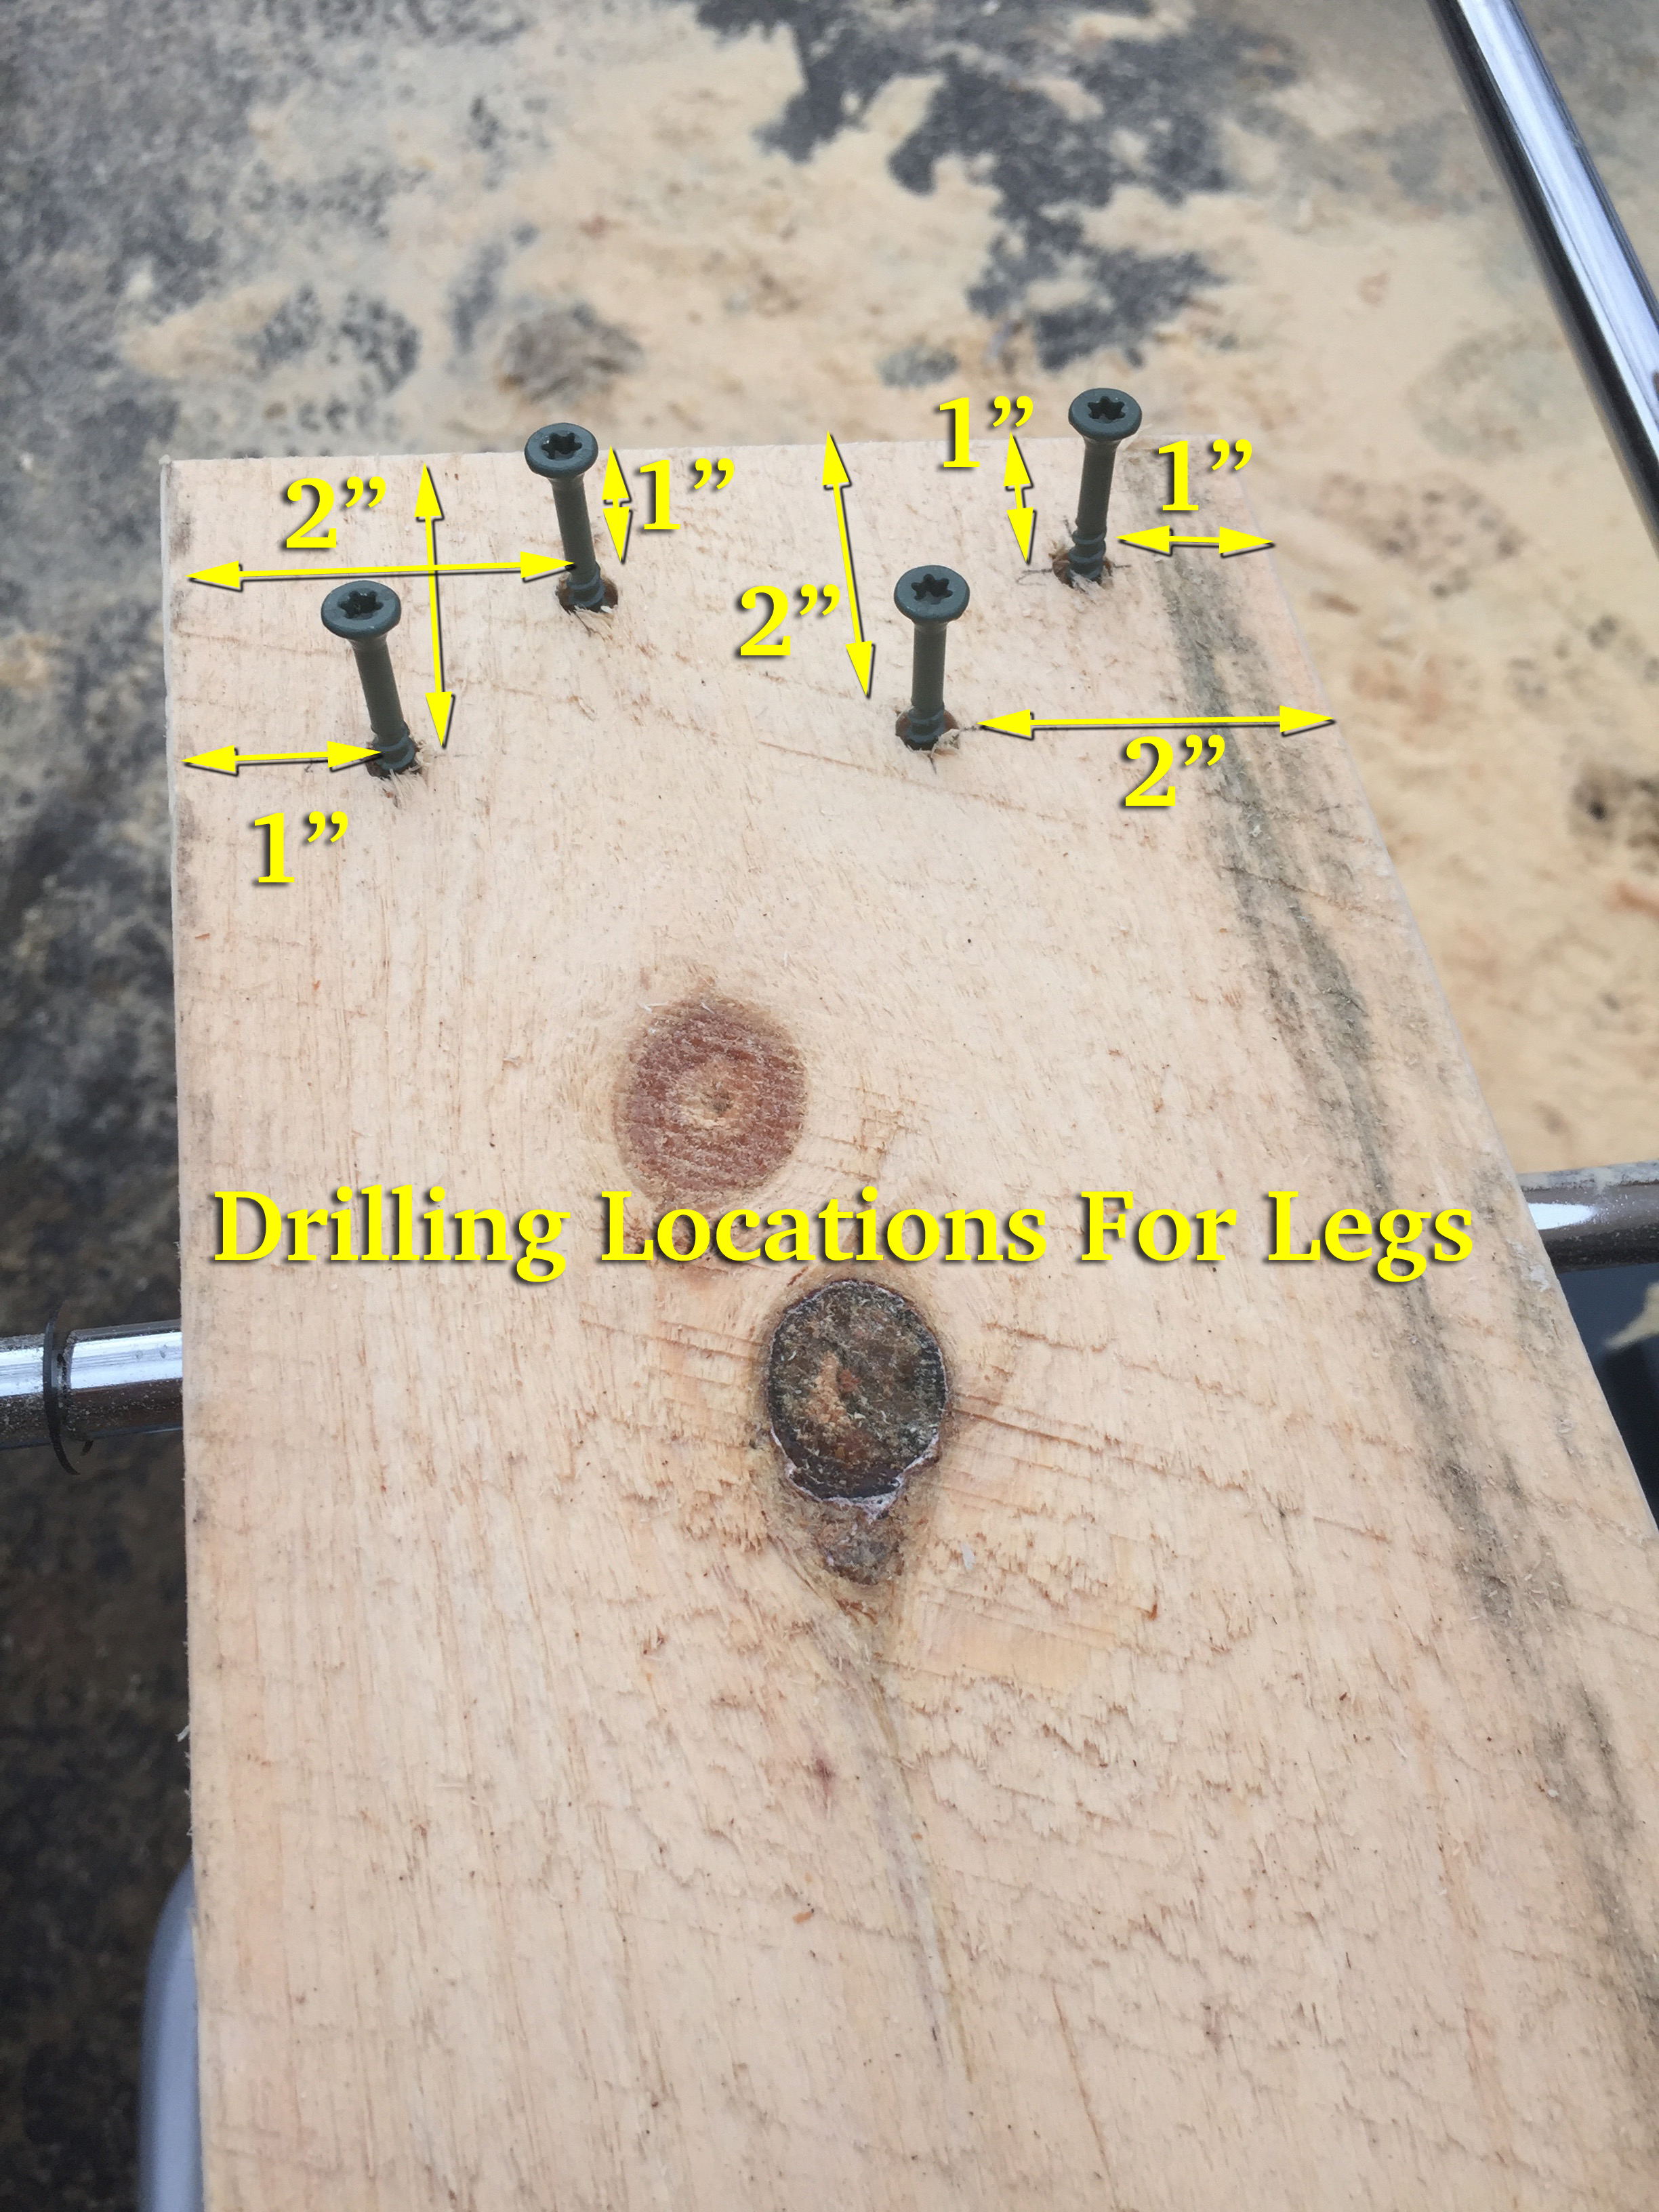
Layout for the 2″ ceramic star drive deck screws.
With all the legs cut I started to layout for the screws. I grab two combination squares and set one to be 1″ and set the other to 2″. This allows for fast/efficient layout. (see above image). Each of the screws is either 1″ or 2″ from the edge or top of the board. The screws are staggered to help avoid splitting the wood. I used DeckMate 2″ ceramic coated deck screws that have a nice thick shaft and are rated for outdoor structural use and do not rust. Do NOT use drywall screws on this sort of project, they are far too weak and not meant for the outdoors. One 5lb box of #8 2″ screws was enough to attach all the legs. After layout I pre-drill each of the holes and start the screws into the boards — this makes it a lot easier to assemble the horse later on.
Laying out the beam. 5 degree angle is set in 2.5″ from the end. The top of the legs should be 1/4″ below the top of the beam.
For the beams I make a tick mark 2.5″ in from each end on the top edge of the beam. Using a protractor I make a 5 degree line down the side of the beam — this splays the legs and gives use nice stable horse. Having two protractors on hand is nice as I have one set for the right and one set for the left. I then set a combination square to 1/4″ and make a line along the top edge of the beam — this allows me to line up the legs during assembly. I also broke all the edges with a block plane.
Another horse ready to be assembled
Early on I made a few pairs of saw horses to work from and did the majority of the horses as a large run.
Attaching the legs — I added one leg at a time, usually only sinking 2 or 3 of the pre-started screws into the beam. I add one leg, then add the second leg on the same side of the beam. This makes it easier to stand the horse on those two legs and add the third leg. When adding the 4th leg you’ll want to make sure all 4 legs are properly resting on the ground. If your horse wobbles this is your chance to adjust the legs. When the horse is standing the way you want you can sink the rest of the screws on the legs. When using an impact gun you don’t want to sink the screws any further into the wood than you absolutely have to. Ideally the screw heads should come to rest in the same plane as the surface of the wood, but green pine can be a bit soft so some of them may go deeper before they have enough grip to pull the leg tight to the beam.
Mass producing gusset plates.
With a beam and set of legs ready to go and standing nicely you can take a plywood gusset blank, bring it over to the partially assembled horse and trace where it meets the legs. Ideally the gussets should not stick out farther than the legs, otherwise they might catch on things. Making them say 1/32″ inside of the surface of the legs is what I shoot for. Using that traced piece I cut it and label it as a the template and use that for laying out each of the subsequent gussets
Important Notes About Gussets:
1.) When cutting the gusset the beveled end is always ‘up’ on the installed gusset — it mates nicely to the underside of the beam.
2.) When installing a gusset make sure the 5 degree bevel is facing the correct way so that it rest tightly up against the beam.
Impromptu work table
With a few horses pressed into early service I was able to make a makeshift table that allowed me to layout/mark all the of the gussets. Each one is secured with 4 screws. I made a mark for each screw to be 1″ down from the top or the bottom of the gusset and centered on the thickness of the leg, so for most that would be ~3/8″ in from the mitered edge. I turn a horse on its side and place the marked gusset where it is going to go. I then pre-drill the gusset in place and drive the screws. I used #8 1-5/8″ Deckmate Ceramic Star-drive screws and again a 5lb box was enough for this project.
Each horse required 16 2″ screws and 16 1-5/8″ screws.
Saw horse with dimensions.
And now we have a completed horse! The image above has some more dimensional information for quick reference.
Lunchbox planer getting a workout
Now back to that mistake I mentioned earlier. By leaving the cut wet boards tightly stacked a mold/fungus quickly bloomed on half of the boards. I have a lot of allergies so I didn’t want to handle those boards any more than I’d have to, and it was unsightly, so I suited up and with my dust mask and fed them through my lunchbox planer. I also didn’t use my dust collector as I don’t want that wet fungus living in my filter. I planed the rough boards smooth and stickered them up to dry in the sun as I worked on other horses.
Letting the legs air dry a bit
That little mistake accidentally created ‘Denim Pine’ — pine boards with a blue tint that results from that fungus blooming and is desirable to some folks, presumably non-workers that like the look of it. (See above and below). With the mold/spores/fungus/grossness removed and stickered the legs will dry and be fine to use. As I completed each horse it will live out side where it can dry at a steady rate until the barn gets finished.
Some ‘Denim Pine’ Legs
How do you store all of these horses?
Stacked horses.
The horses stack nicely and even when stacked all the wood can dry nicely.
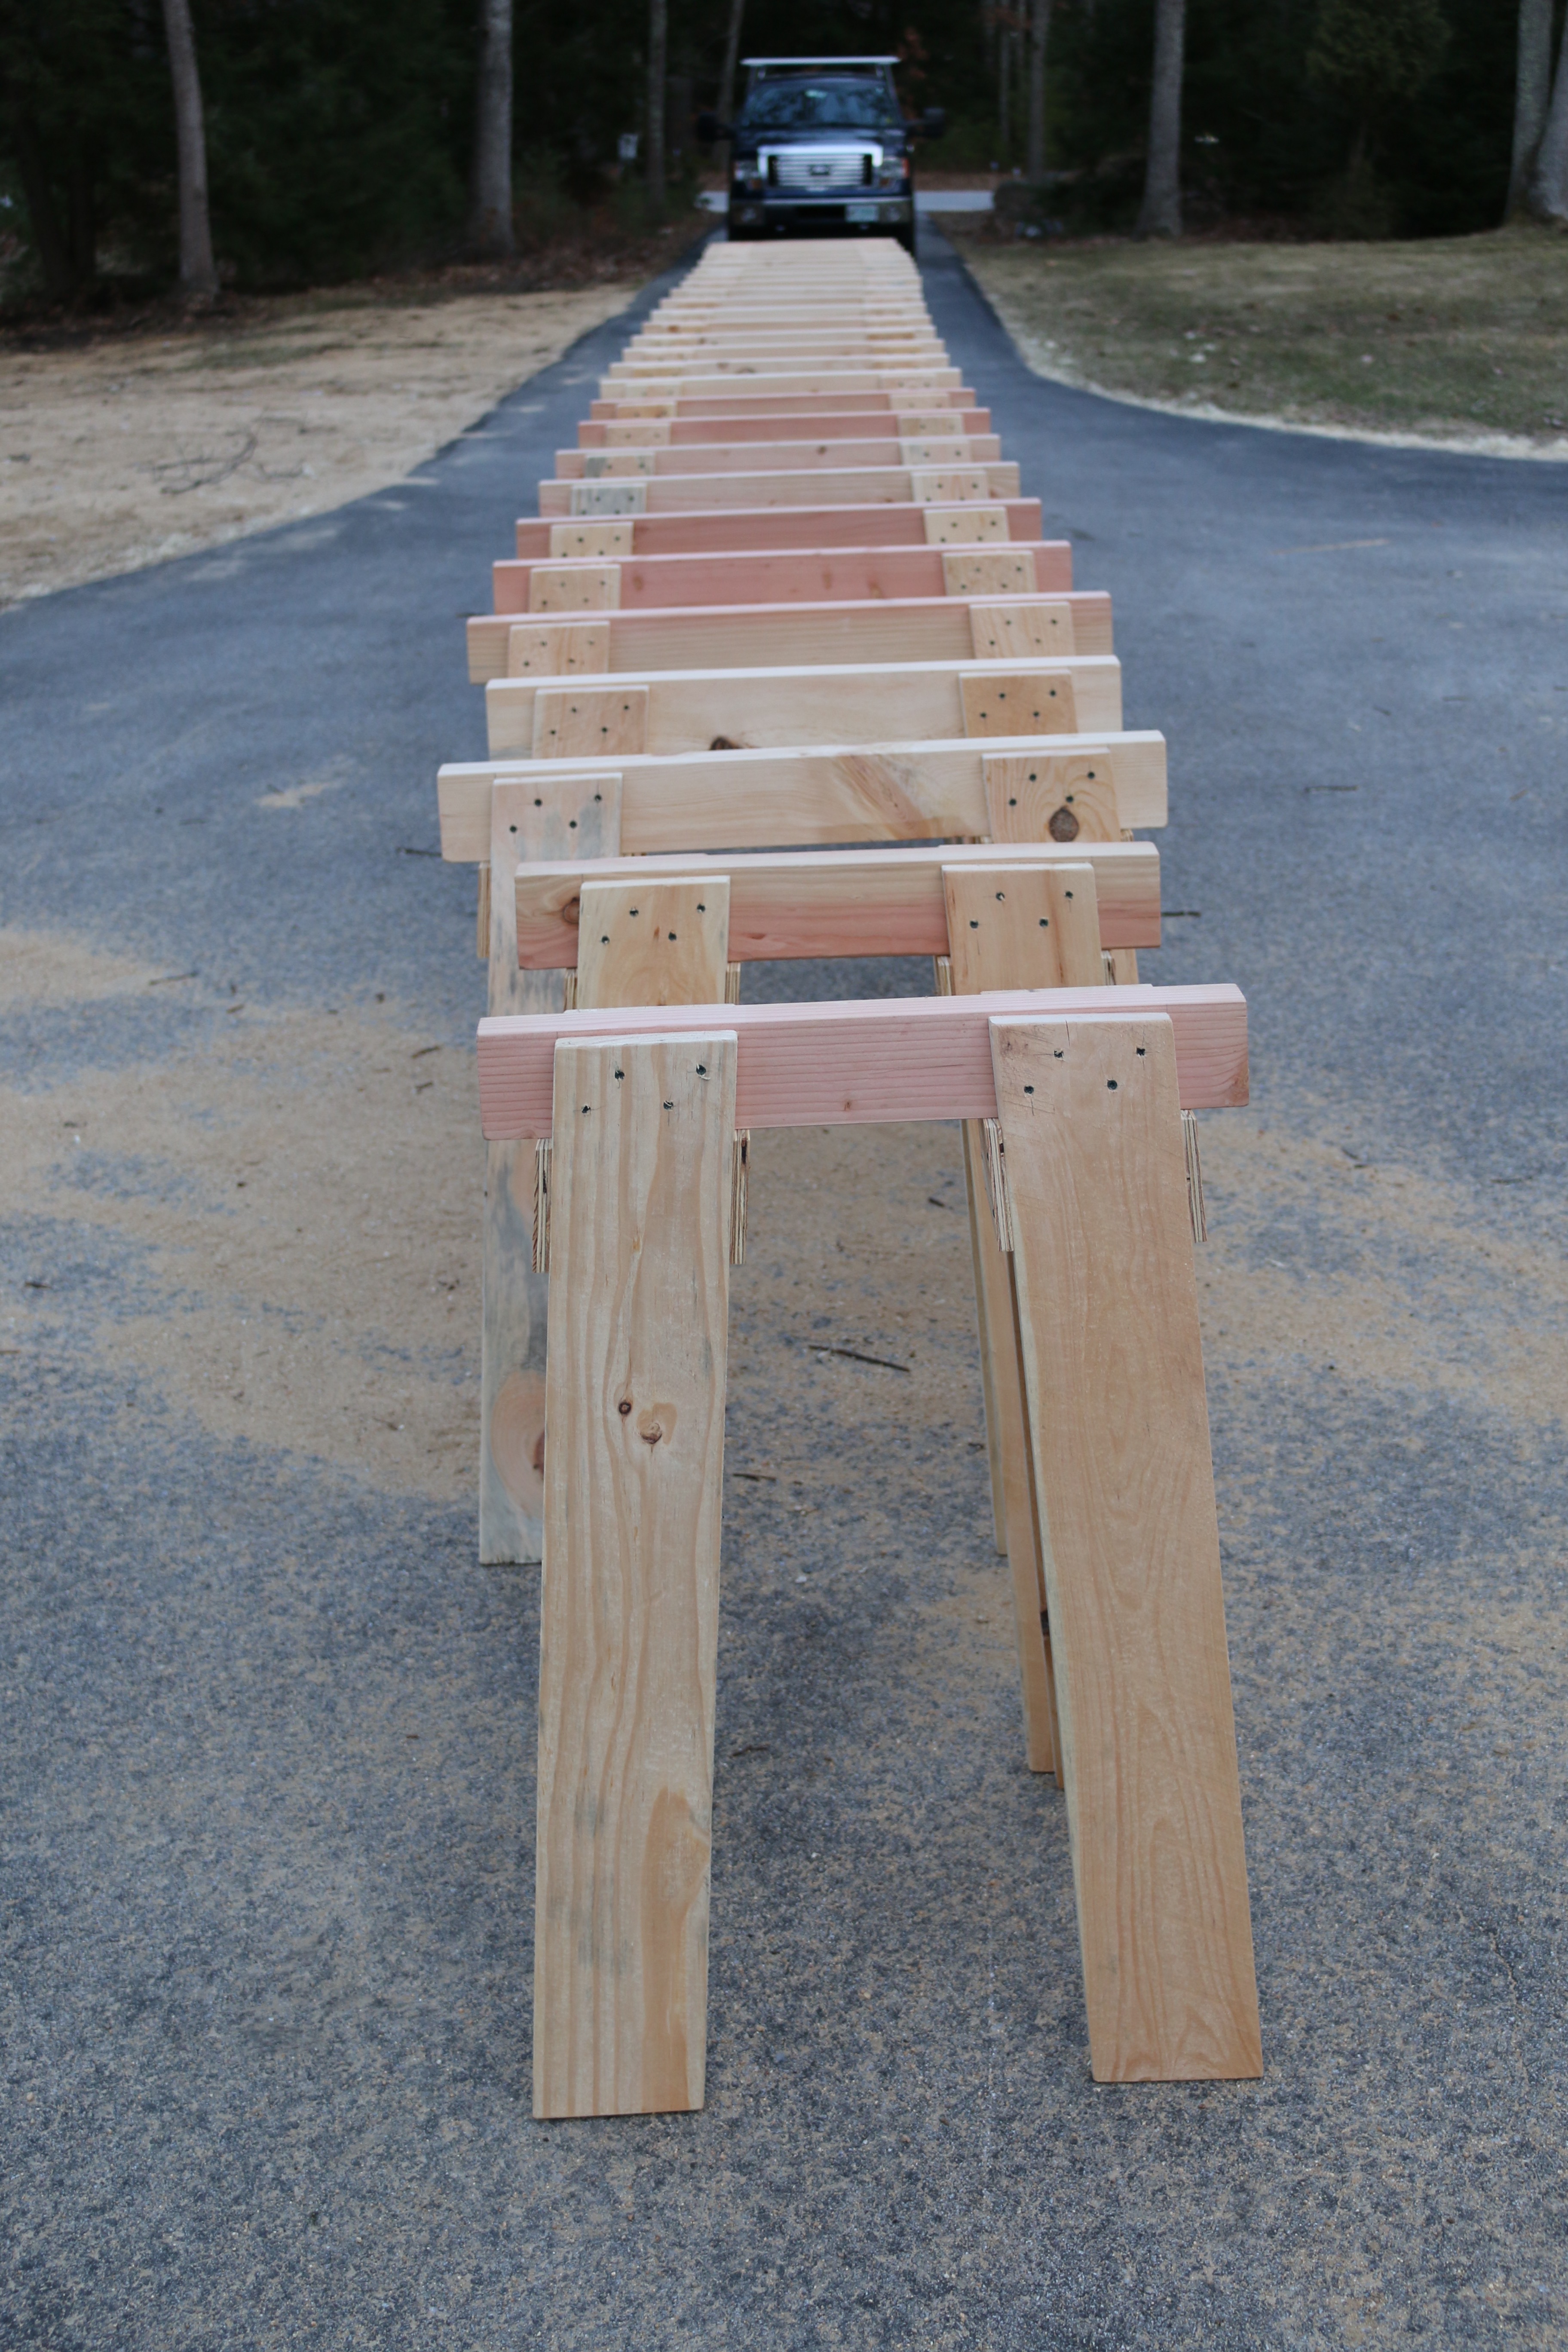
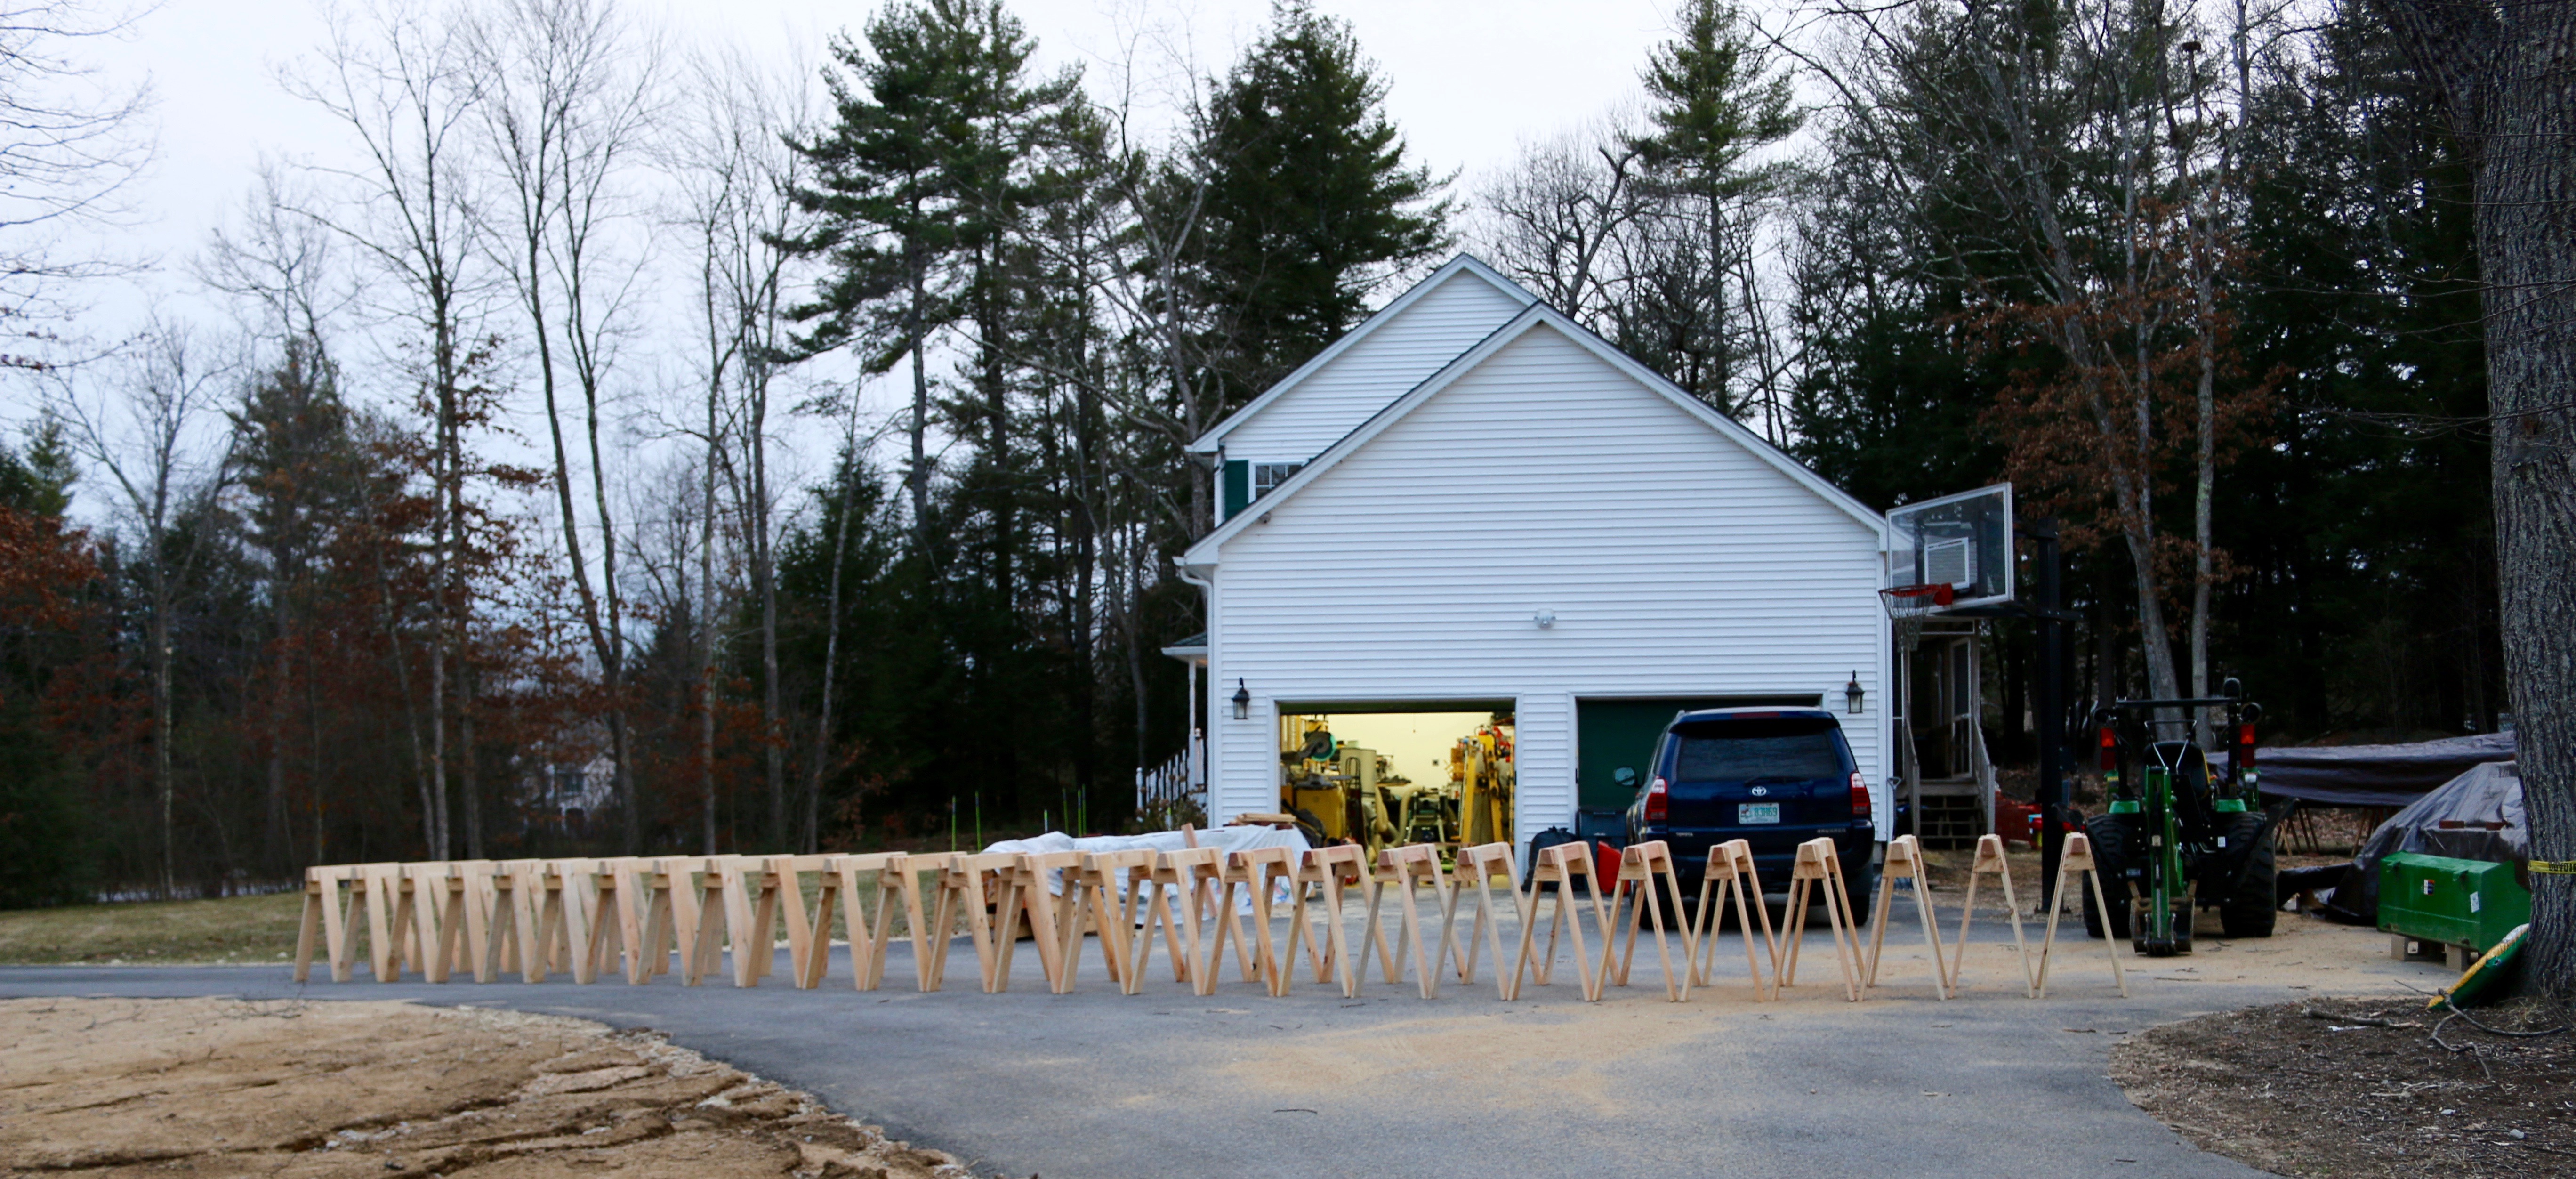
Wide angle view of the horses
This was the largest run of horses I’ve made to date so I set them all up out in the driveway just to see them all in one place.
2 ponies in the foreground 26 horses in the background
Two of the horses, my ponies, had a 24″ beam as two of the 4x4s were a little short and I thought it would be nice to have a set that can fit into a tight place.
It looks like a TON of horses, but these 12, plus the 12 I already had will just barely be enough for the barn build.
What do you plan to do with all these horses?
A LOT of shiplap siding on horses. 10-12″ wide 16′ long pieces
Above and below you can see a couple thousand linear feet of 16′ shiplapped pine sheathing held with ease by these horses.
A LOT of shiplap siding on horses
In the photo below are 24 2″ thick 12″ wide green pine planks that will be used in the barn loft. I estimated this wood to weigh 1800lbs and the 4 horses below seem to hold it with ease.
4 horses holding over 1850+lbs of green pine planking
And below are some 6×9 25′ long timbers.
Horses holding 6″x9″x25′ timbers
As you can see these versatile horses are at home in the shop or out on a worksite and I hope that you’ll build a few pairs for yourself. If you do, please let me know in the comments.
Woodworkers often pride themselves on their knowledge of trees and wood. Most folks simply go to the lumber yard or big box store to pick up wood that has been processed by others. Some have felled their own trees and dried their own wood. But for many once the body of the tree hits the ground they are left with a large unsightly stump.
What do you do with your larger stumps?
Small stumps can be dug out by hand. Larger stumps can be left to rot (or accelerated via chemicals or bacteria), burned out in a controlled burn, ground down below the surface with a large stump grinder, blown out with explosives or dug out by hand or machine.
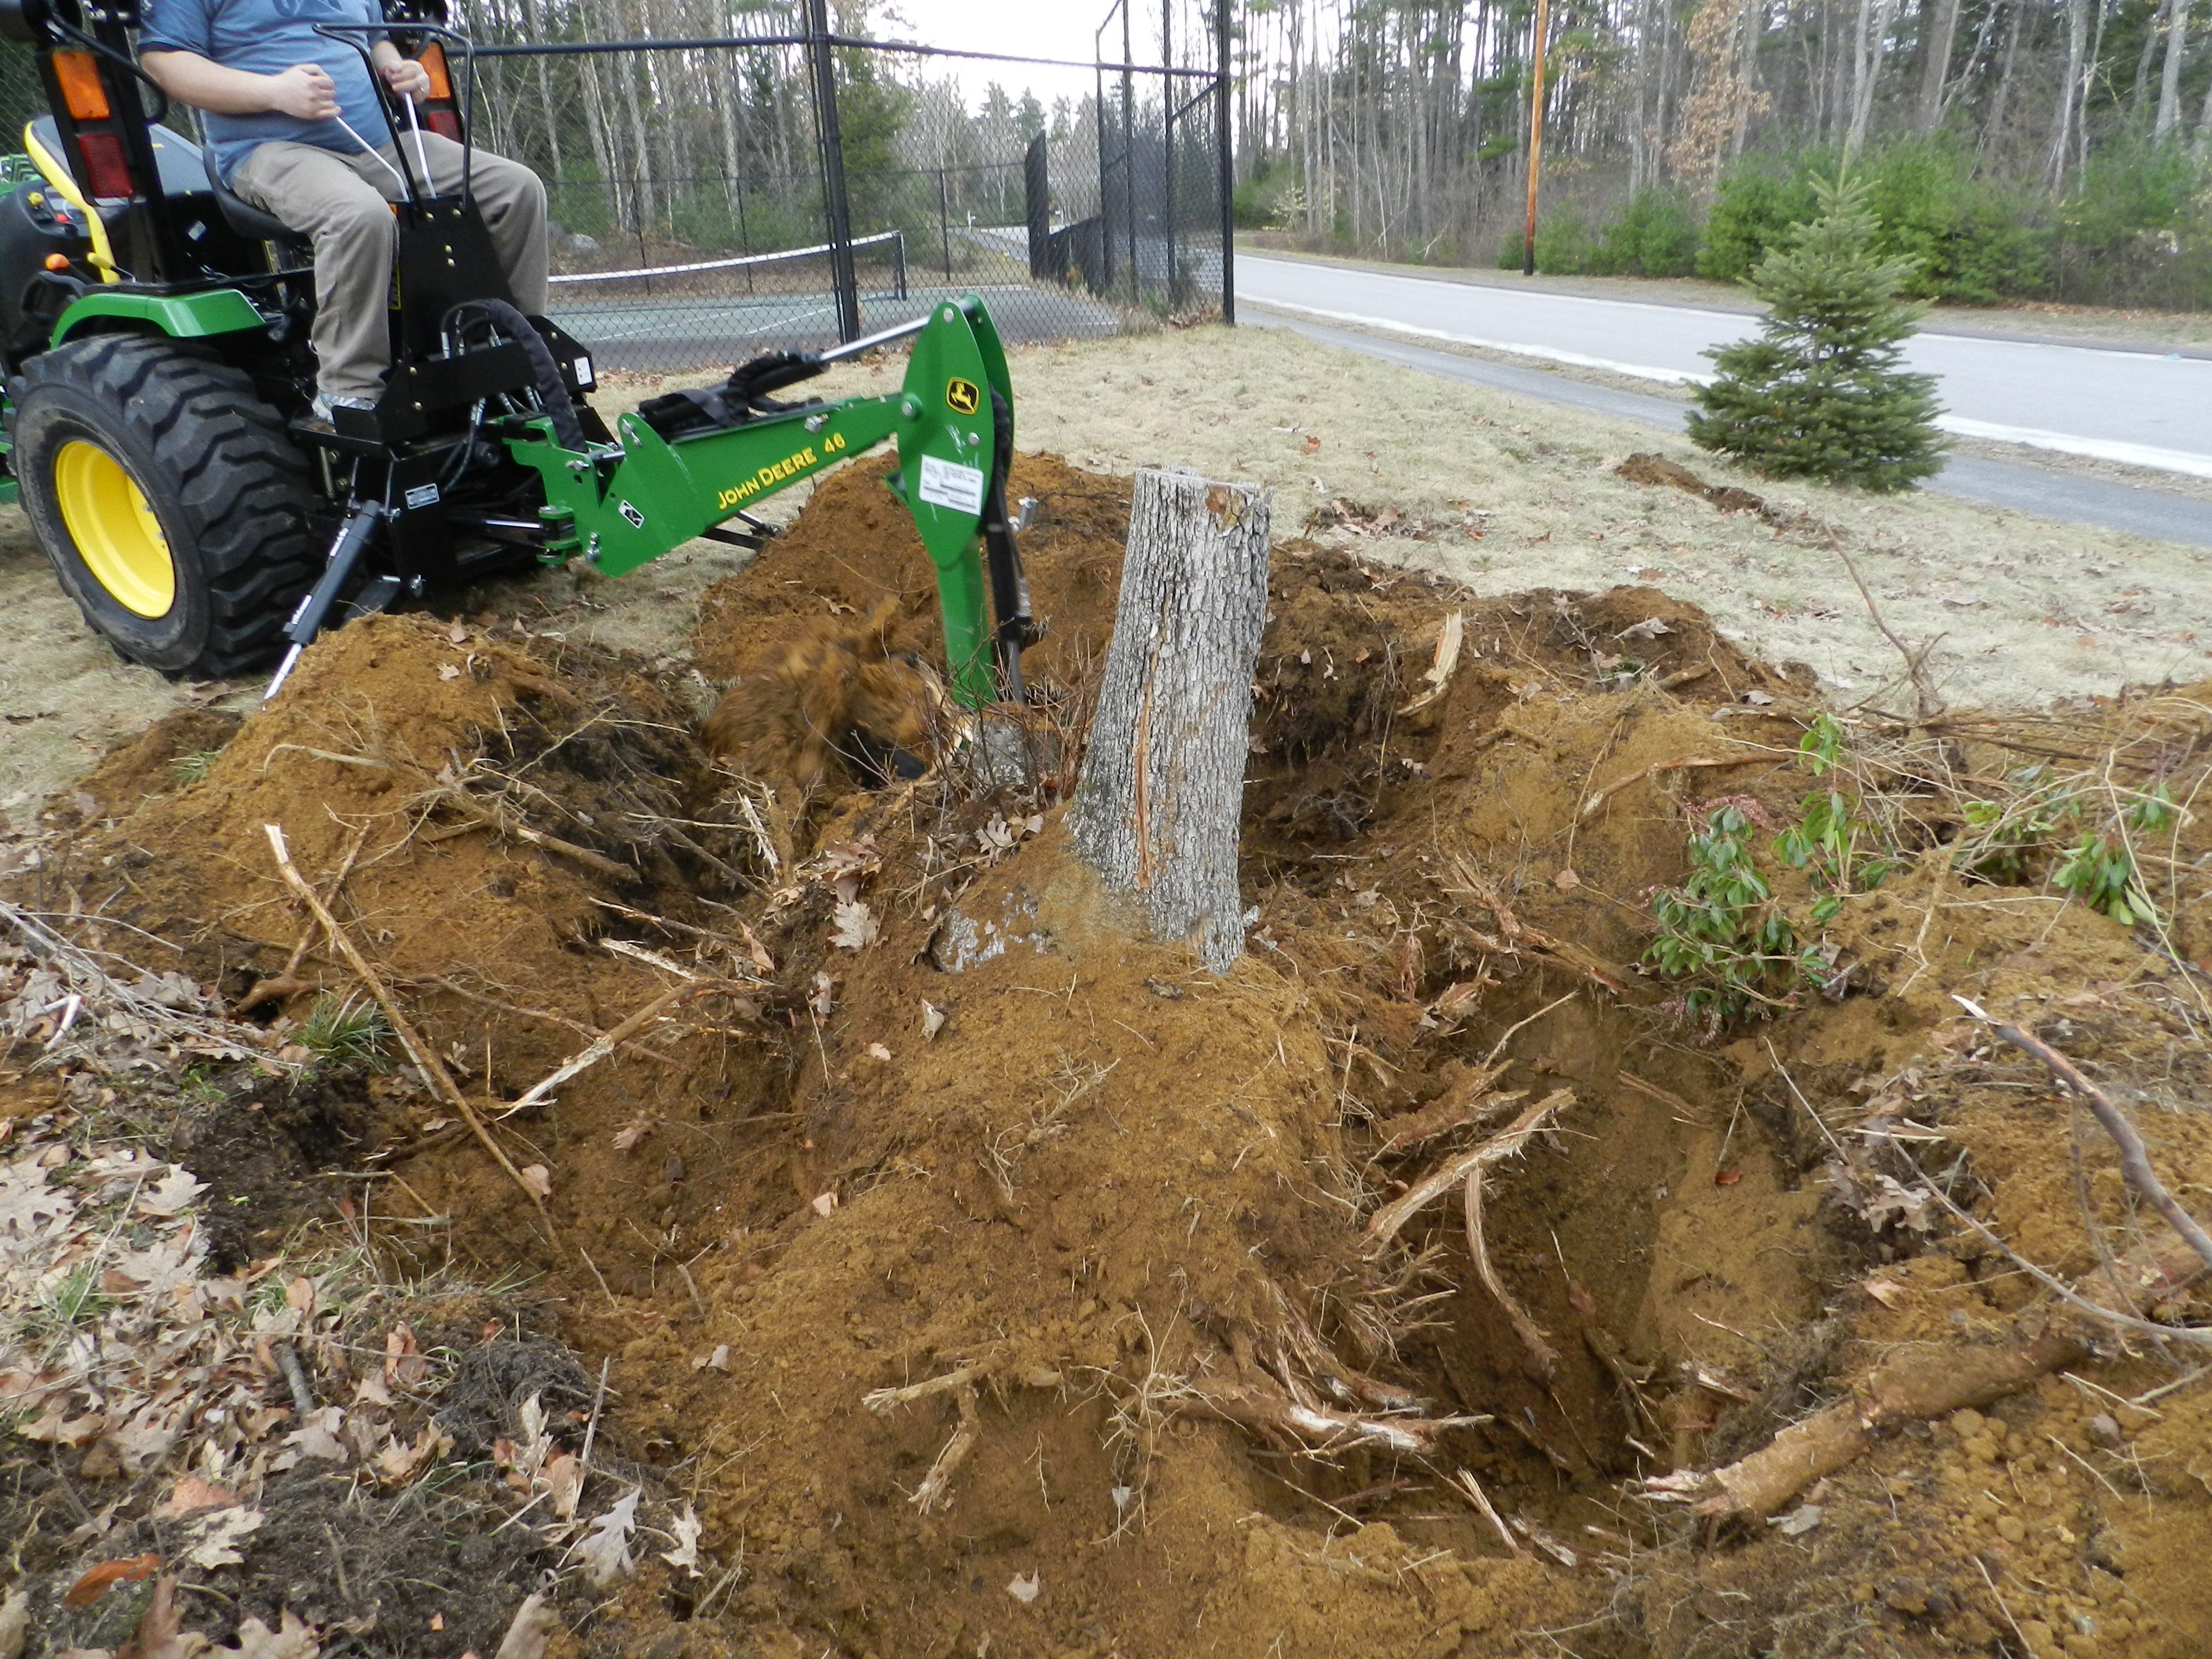
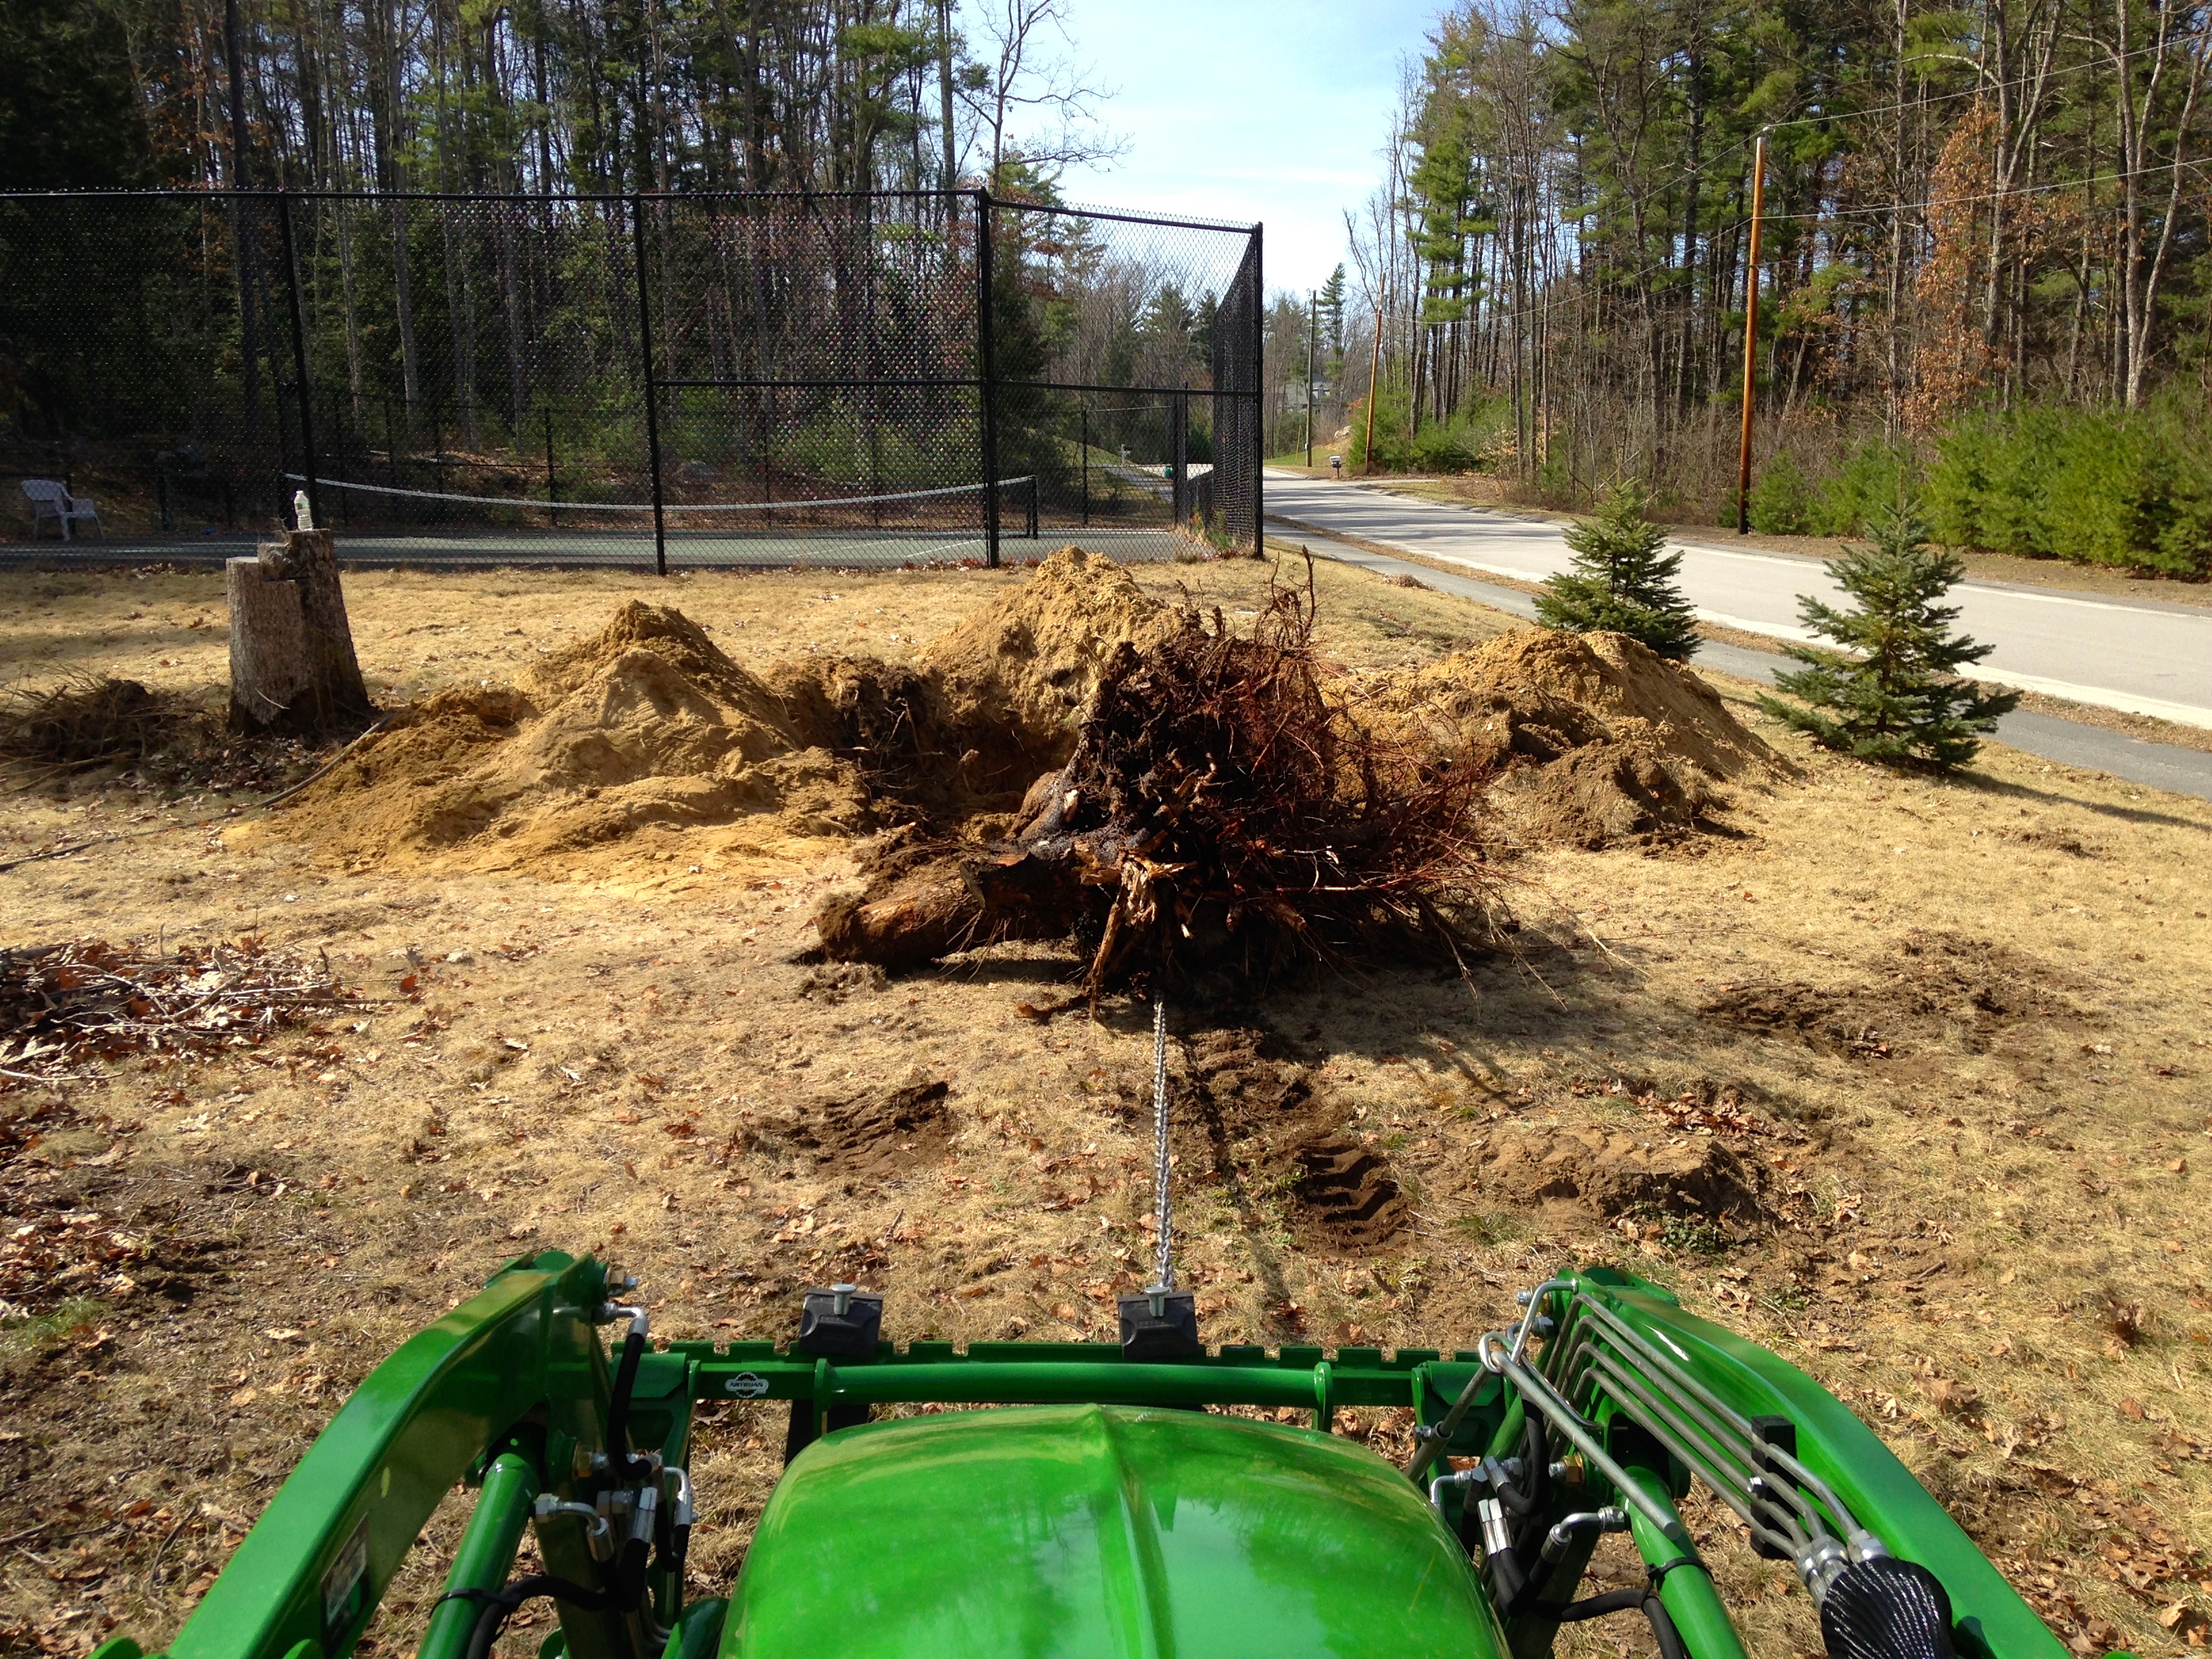
Digging around the root ball
I needed to clear some of my yard for an upcoming barn build and after trying to get out some larger stumps by hand last year I decided the best avenue for me would be to enlist the help of a tractor with a backhoe. If you don’t have a tractor you may have a neighbor, local machine rental store or landscaping company that can help you out. I prefer this method of removing a stump by digging it out as I know when it’s completely out I won’t have sink holes or obstacles during future digging at this location.
How do I remove a large stump?
Testing to see if the root ball is free
I start by digging around the base of the stump to see where the major roots are. If they are too big for the back-hoe to directly rip through I will move further out away from the stump until I can rip them out with the bucket. I’ll work my way around the root ball until I can knock it over with the backhoe.
Root ball
If the stump is still too big/heavy I’ll spray down the stump with water to remove dirt, grit and weight. (Thank you Dad for that idea as it saved the day on some of the real big stumps that maxed out what the tractor could lift and pull). If the watering doesn’t work you can let it dry out a bit and cut the freed stump into more manageable pieces. (Make sure to take all necessary safety precautions when attempting that)
Water your stump…
Next up, I got out my hefty 3/8″ thick logging chain and secured it to the stump. The trick for me was to get it around the roots in such a way that pulling up makes the stump tumble end over end and thus make its way out of the hole with minimal friction. If I tried to just drag it up on its own the friction makes it almost impossible to get out.
Pulling the stump with a logging chain
Each time a stump clears the pit it’s a mini celebration as even with a big machine stump removal can be a lot of work.
What do you do with the stump once you have it out of the ground?
Some town transfer stations will accept them and grind them up. Some folks will let them dry out and cut them up to burn as part of a bonfire. A last resort is hiring someone to come take them away — this option still a lot cheaper than paying for digging it out and grinding estimates were coming in at $100/stump so things can add up fast. I don’t recommend re-burying them elsewhere as they take a LONG time to rot on their own and buried stumps often lead to sink holes.
I know I flew through the above steps in this post, so if you’d like to see a video of some of these techniques in action in the removal of another stump, please check out my new YouTube video which you can watch by clicking the link here or by clicking on the image of the tractor below.
Tractor with back-hoe ready to go.
Now it’s time to be back out into the yard — there are still a LOT of sizable stumps left to clear out….
Treenails, Trunnels, Pins and Pegs — all terms used to describe the wooden nail-like fastener used in timber frame construction. I needed to make a large number of them for an upcoming project and thought you might also enjoy seeing what it takes to make these deceptively simple looking pins.
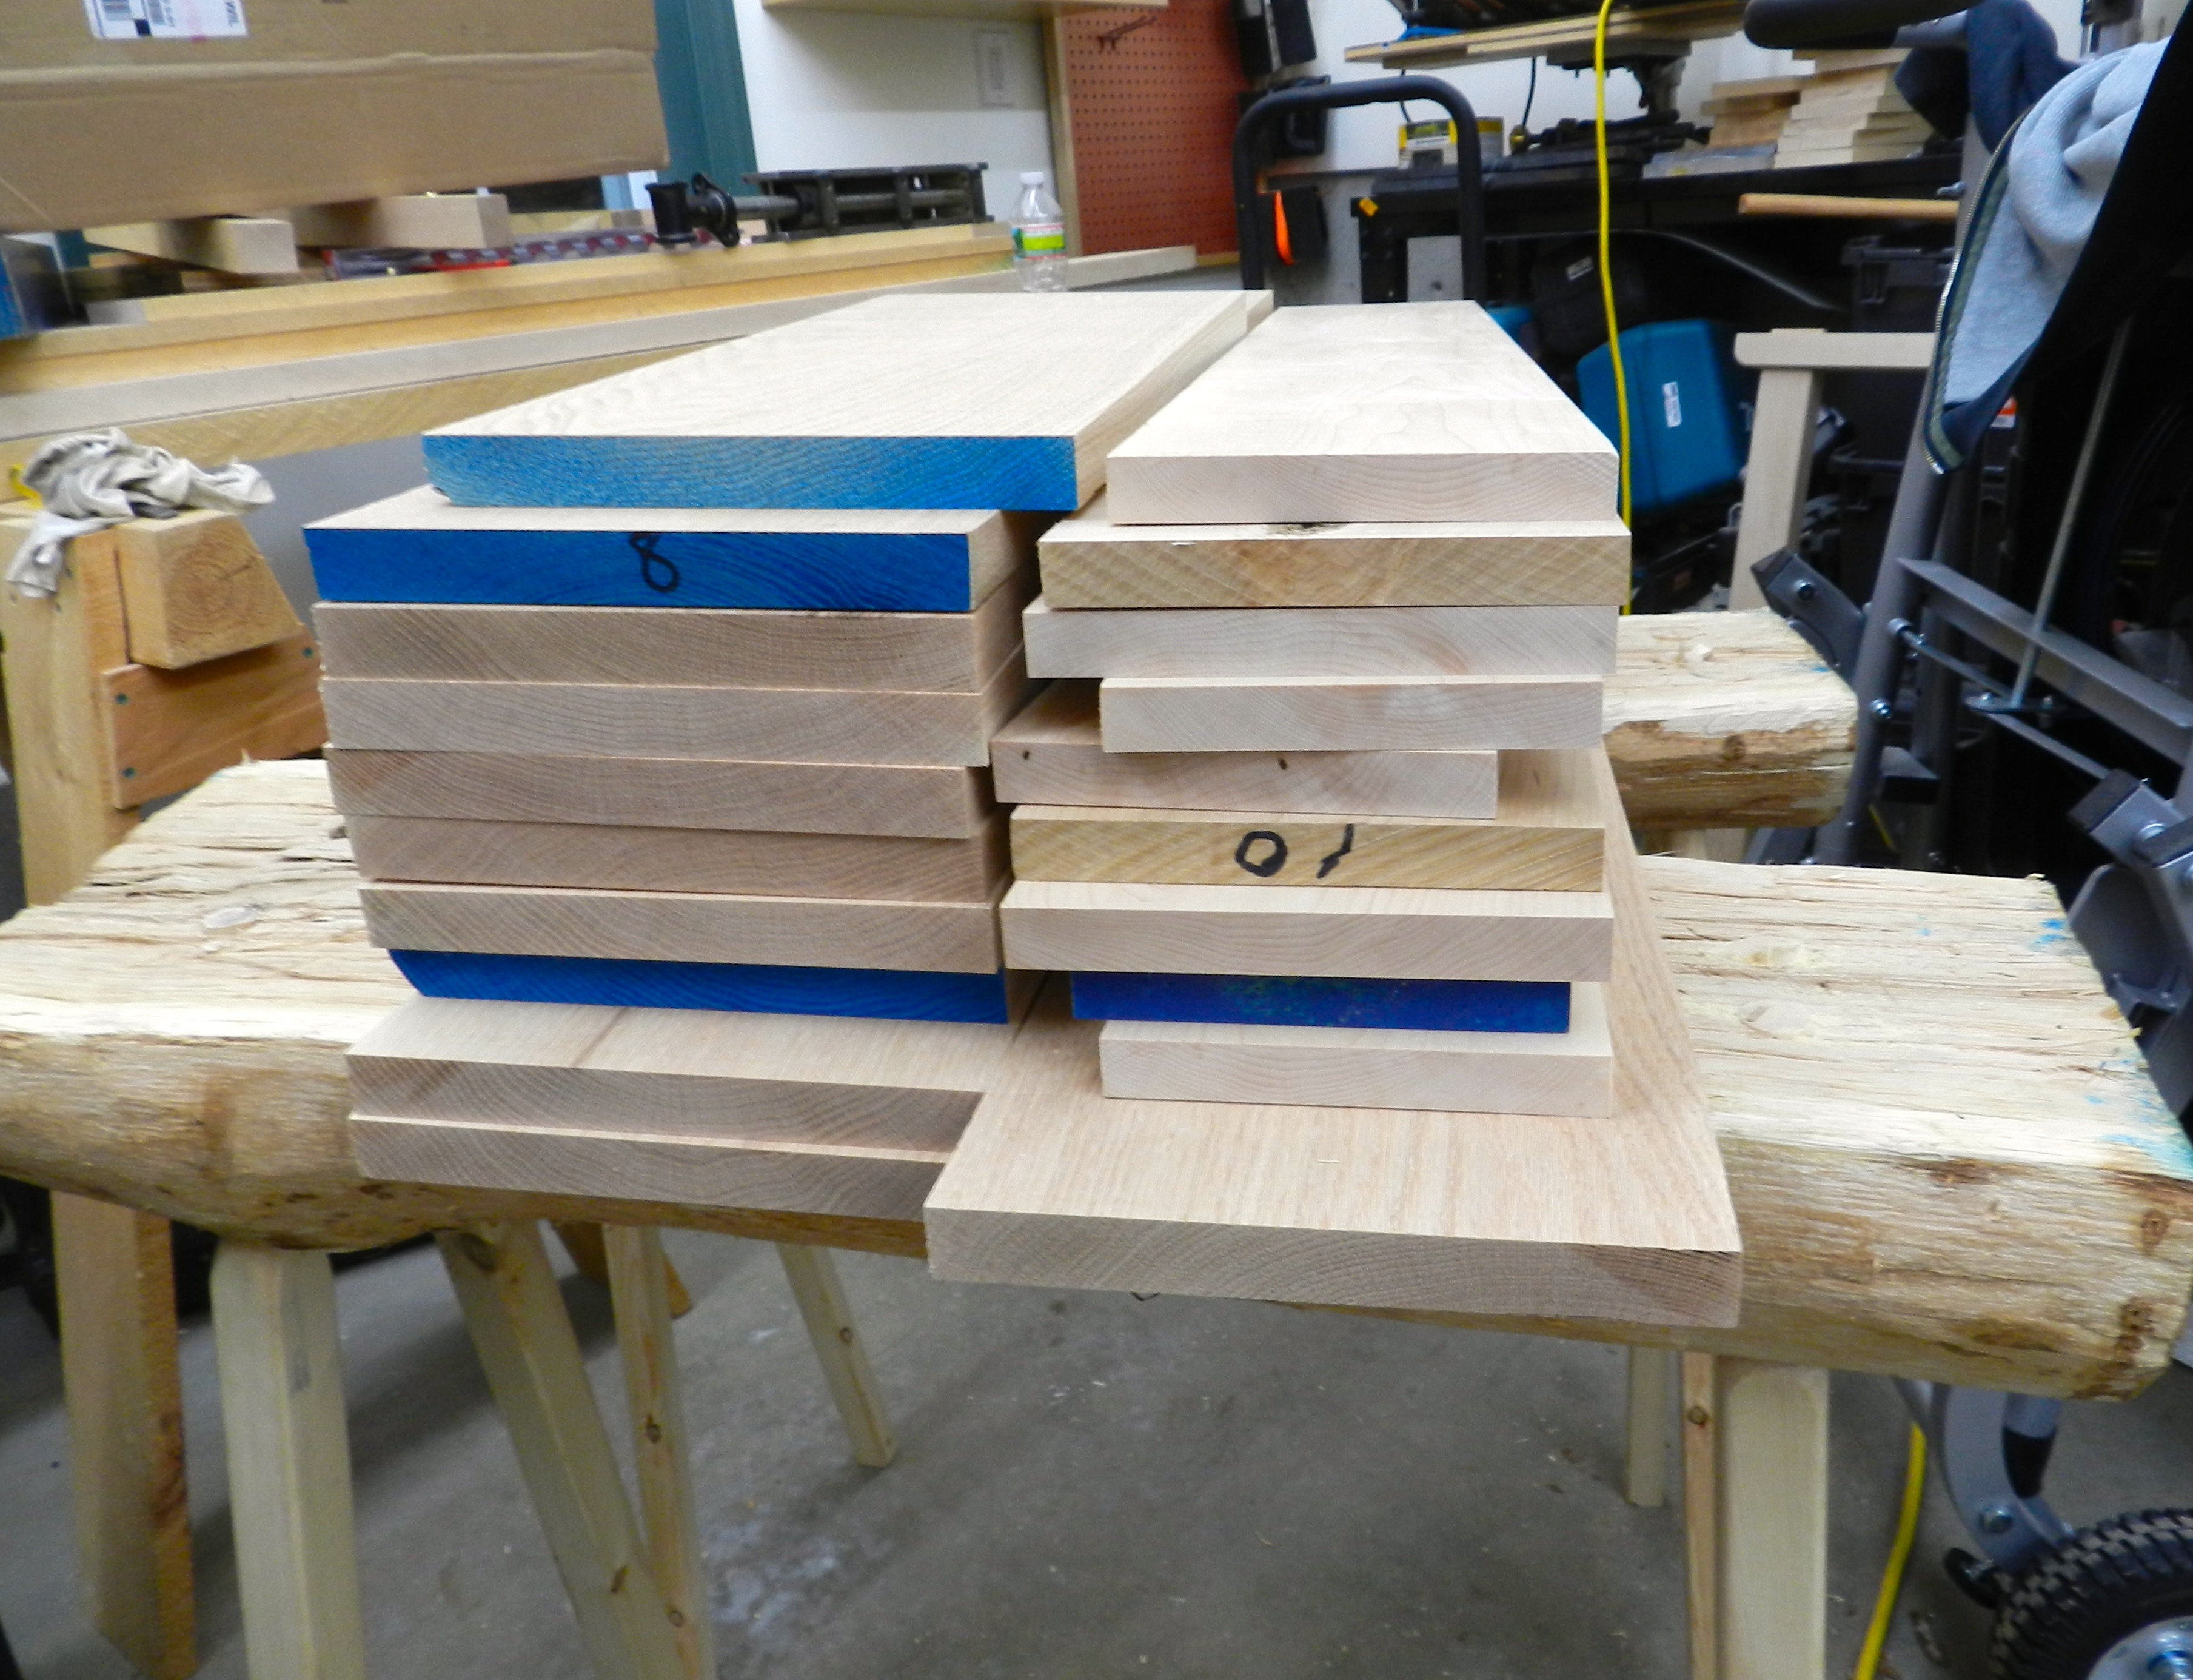
(1) White Oak and Hard Maple stock ripped, thickness planed and jointed
Where did all those names come from?
Like most things that predate modern recorded history I’ve read many conflicting theories on where these terms came from, so what I relay here is based on my own experiences in this field; your mileage may vary. Timber framing dates back thousands of years and can be found in early civilizations around the world in many different forms. What all these structures had in common was the joining of heavy timbers using traditional joinery and large mortise an tenon joints that were pinned together using large wood fasteners.
These fasteners are known by a lot of colloquial names, the most common of which I describe in this post. Most literally treenails (or trenails in some places) is the term for nails made from a tree. Trunnels is derived from the pronunciation of treenails and at times reserved for larger treenails used in very large buildings or ships, sometimes even wedged so they do not back out. Pegs tends to be a more modern term for treenails and pins tends to be used for smaller scale work though many timber framers I know today use it regularly. Having said all this I’ve heard all of these terms used inter-changeably at times by both novices and seasoned professionals, so feel free to use the term(s) that best suit your work and locale.
The bottom line is ‘a pin by any other name will hold your building together just as well.‘ (provided you heed my tips below 😉 )
(2) Stock ripped down into square blanks
How do you go about making these pins?
Traditionally pins were split out of green wood, shaved down with a draw knife and shave horse and allowed to season. Then touched up again when dry. Since I have to make a few hundred of these, being a practical modern joiner I will make use of my table saw and some high quality kiln dried lumber. Most of the stresses in a timber frame are carried by the joints and not the pins, and white oak is very resistant to shearing forces so I am not worried about the wood not being split out for this usage. (I’m building a square rule, late 19th century style frame from milled eastern white pine, so by that point the pins likely were made the same way I go about it)
For the scale of timber framed buildings I generally work on — homes, barns and sheds, I’m usually using a 7/8″ ships auger bit to drill holes for pins. Most tenons I work with are generally 1.5″-2″ thick eastern white pine and based on experience and reference tables I’ve found this size to work well for me.
I learned to timber frame while at NBSS and with that my framing has a proclivity for historic precedents. The historic buildings I work on all had octagoned pegs which worked well for hundreds of years and can be made more easily when compared to the expensive turned pegs you see some modern supply houses offer for upwards of $2 each. For a draw bored joint, I feel the octagon pegs look better and hold better compared to the CNC turned pins. (More on that later)
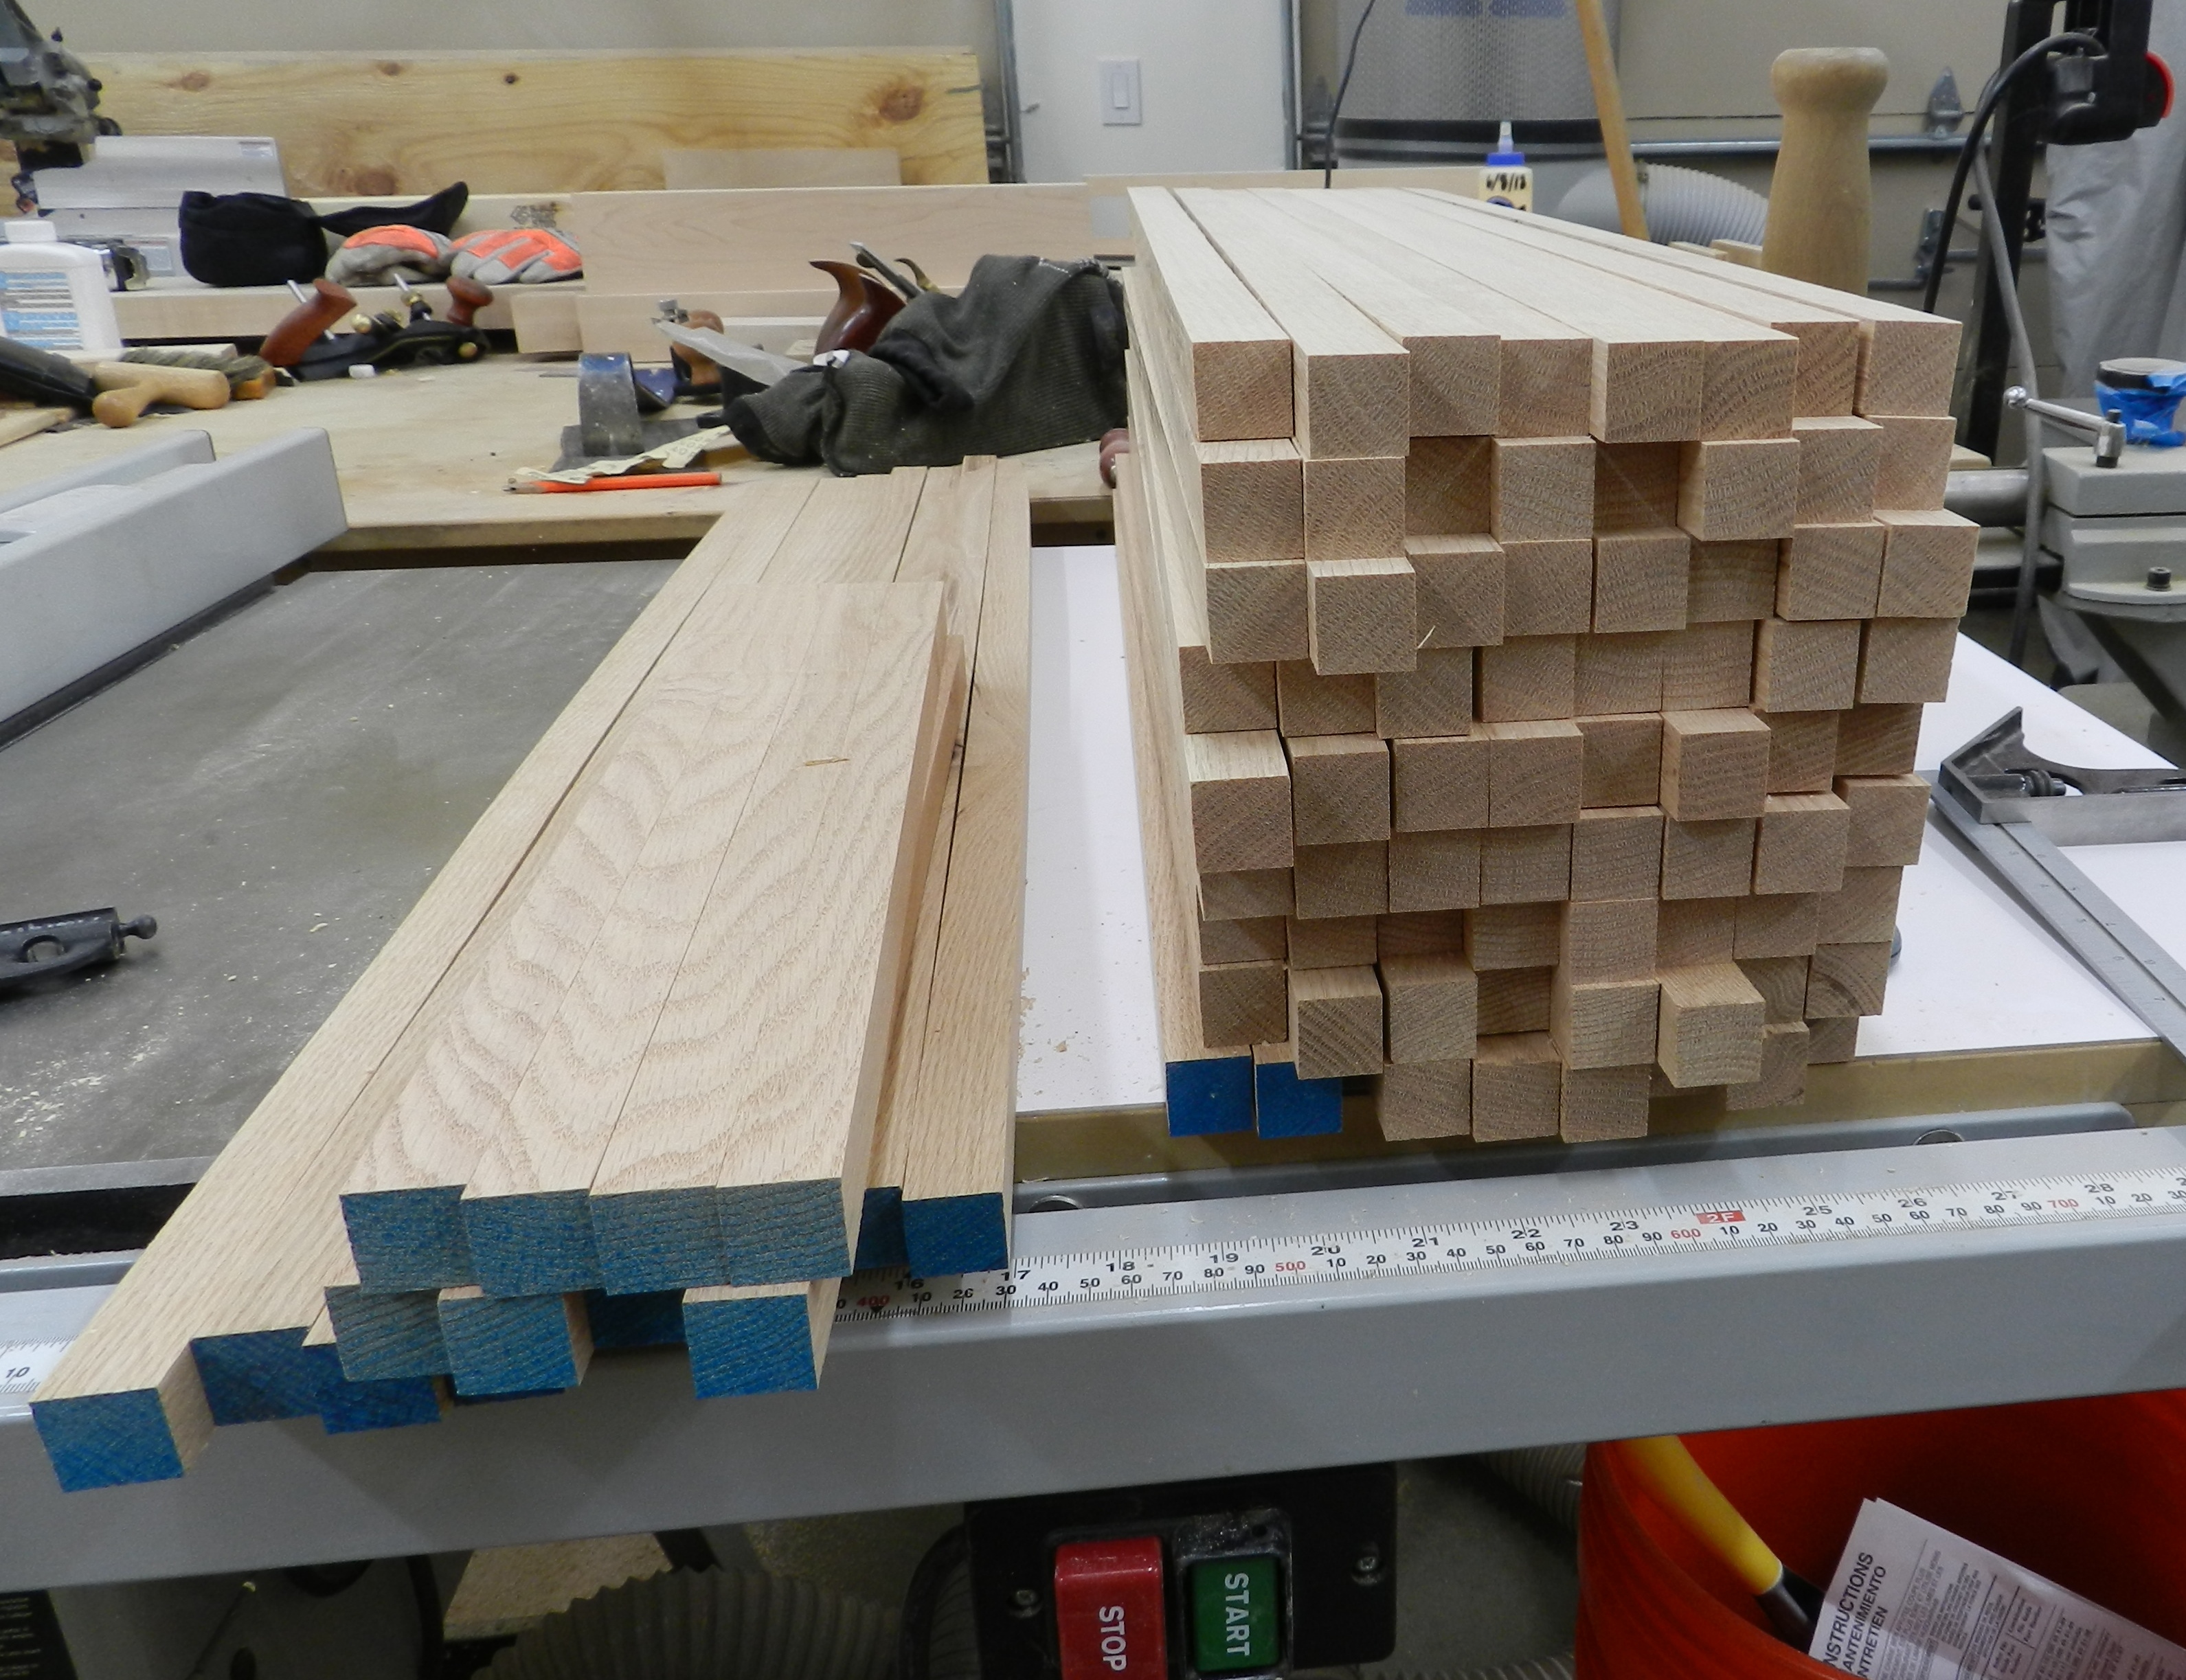
(3) Making octagons out of the square blanks
1.) I start off by milling down my rough 4/4 white oak stock to be 7/8″ thick, then I joint an edge on each board (See photo 1). I then crosscut each board to be about 30-3/8″ long. (Each of these boards should yield 3 sets of 10″ long pegs)
2.) Next I rip each of those boards into 7/8″ square sticks (See photo 2)
3.) Tilt the blade on your table to 45″ and turn each of those square blanks into an octagon. The use of feather-boards will help you be consistent. (See photo 3)
(4) Chopping several blanks at a time on the chop saw using a stop block
4.) I set a stop block on the chop saw at 10″ and gang chop (cut several at a time) for the sake of efficiency (See photo 4)
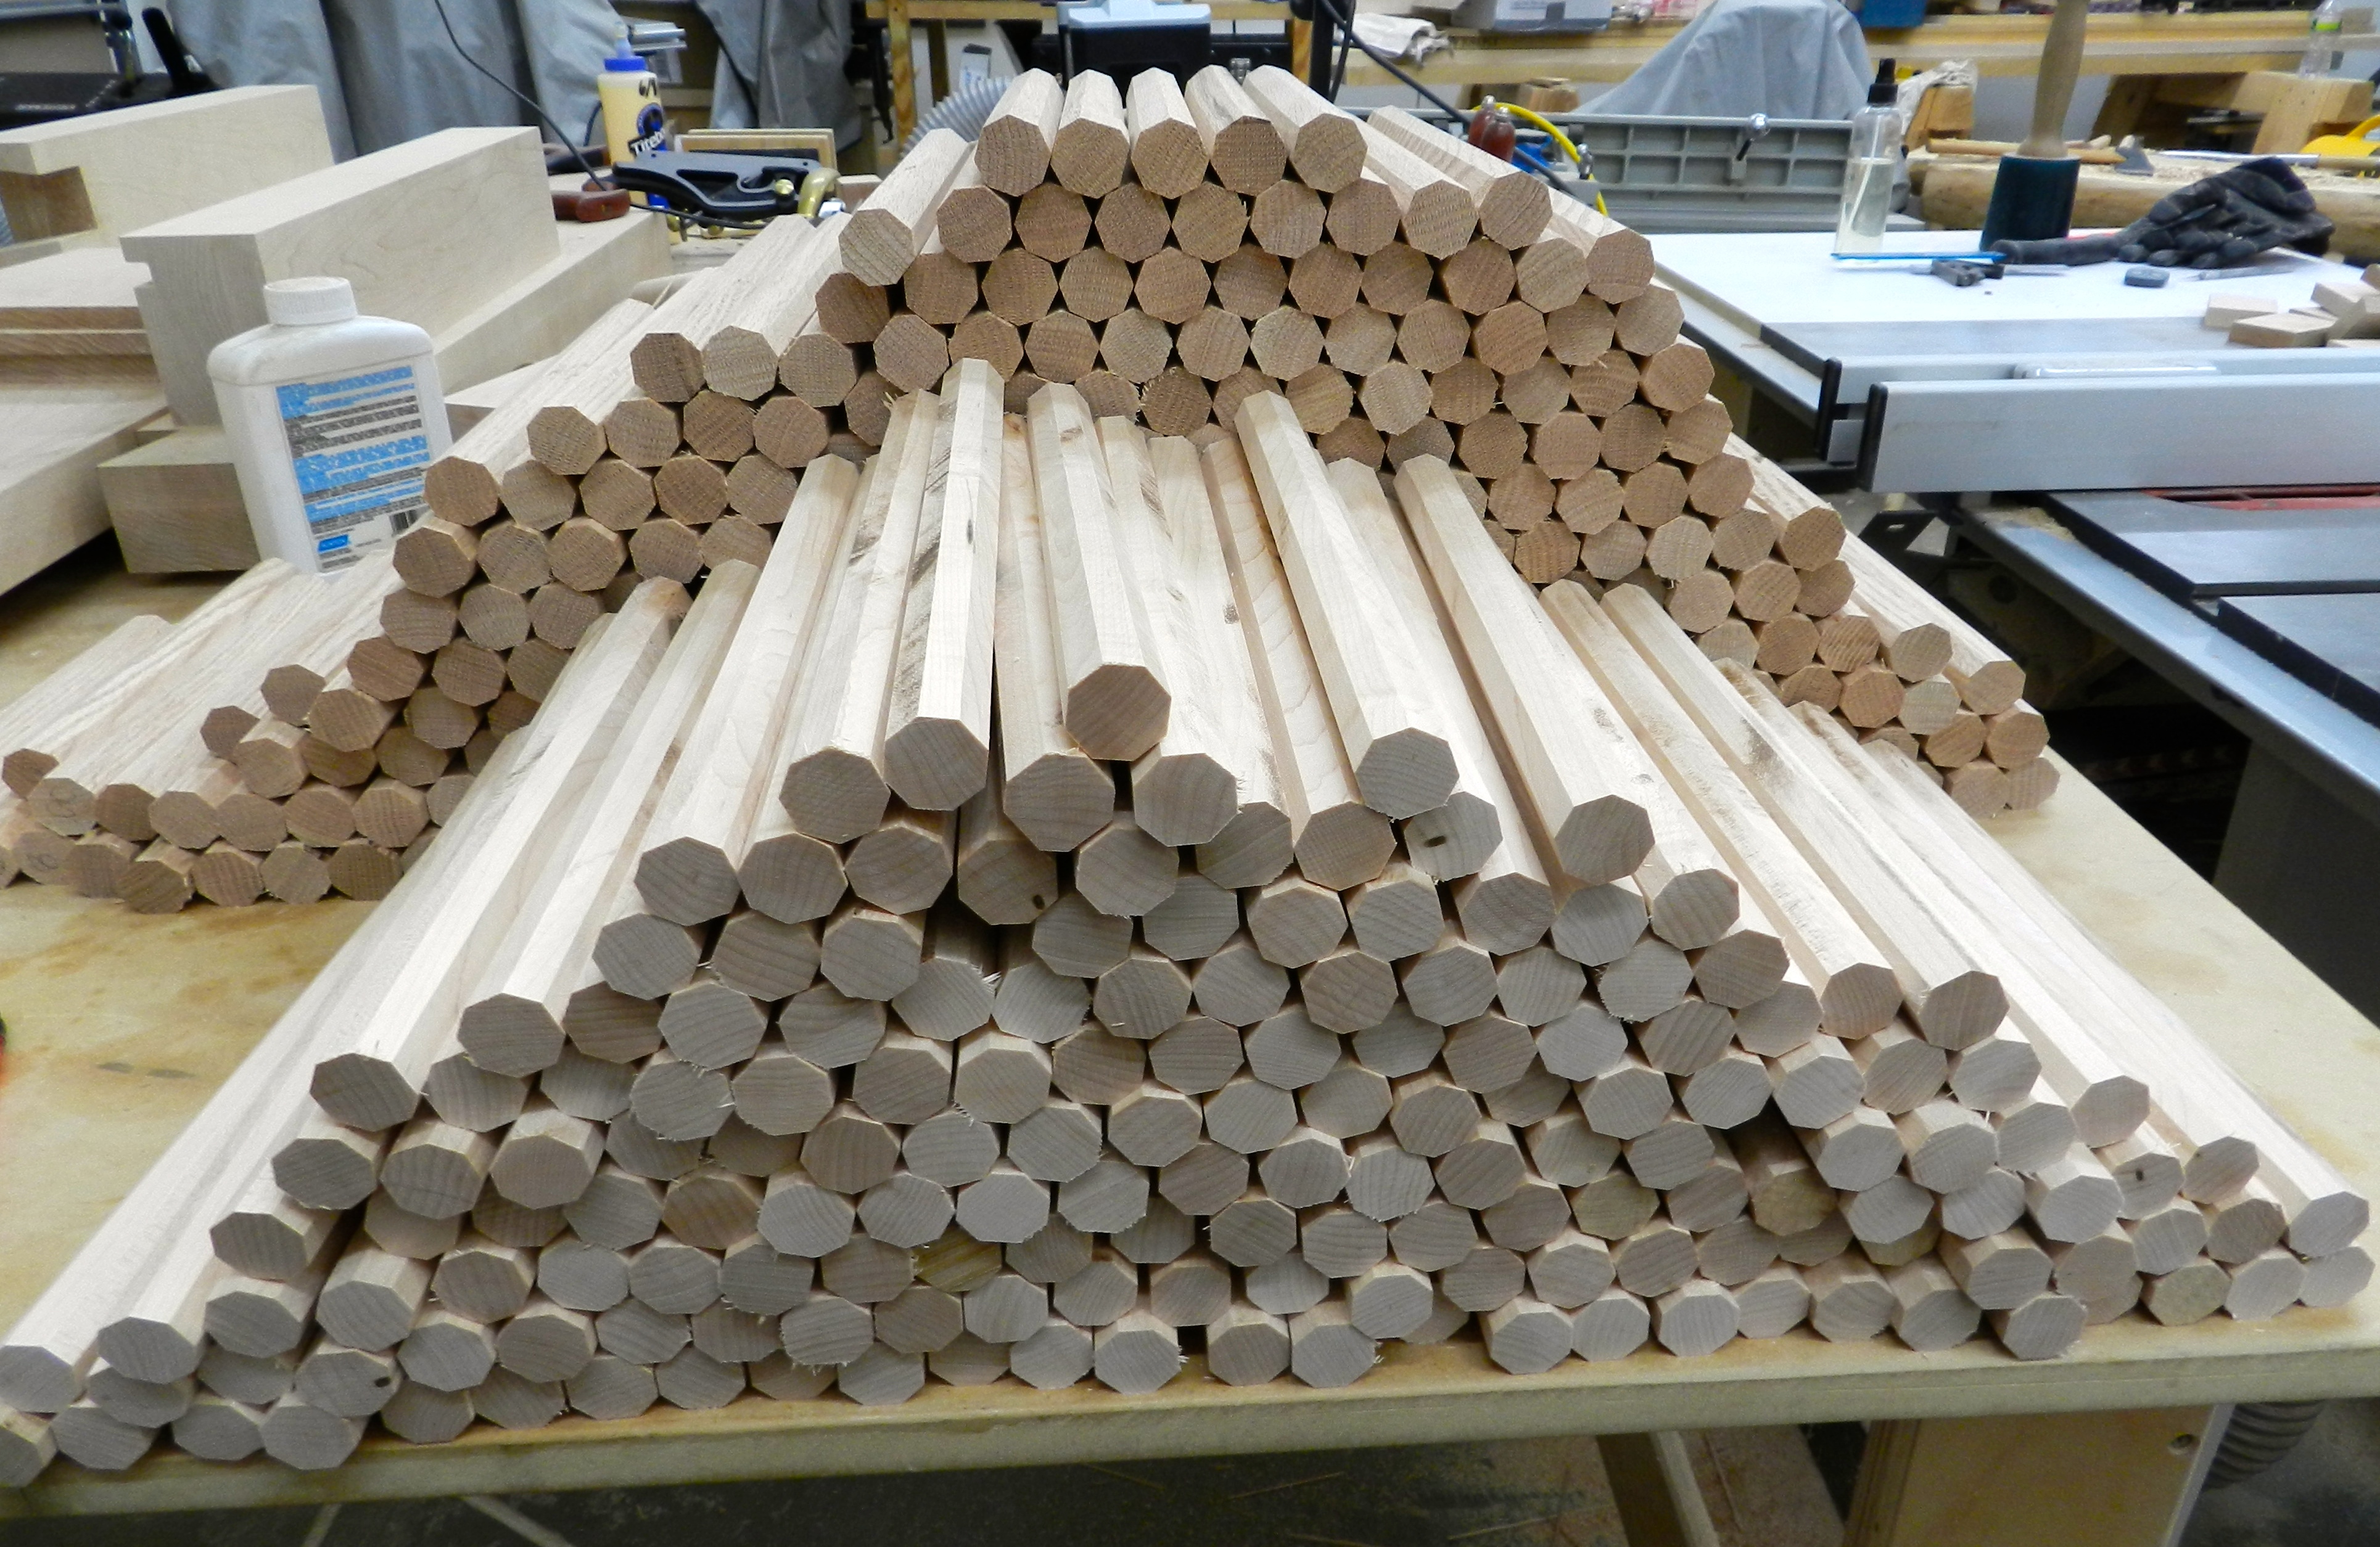
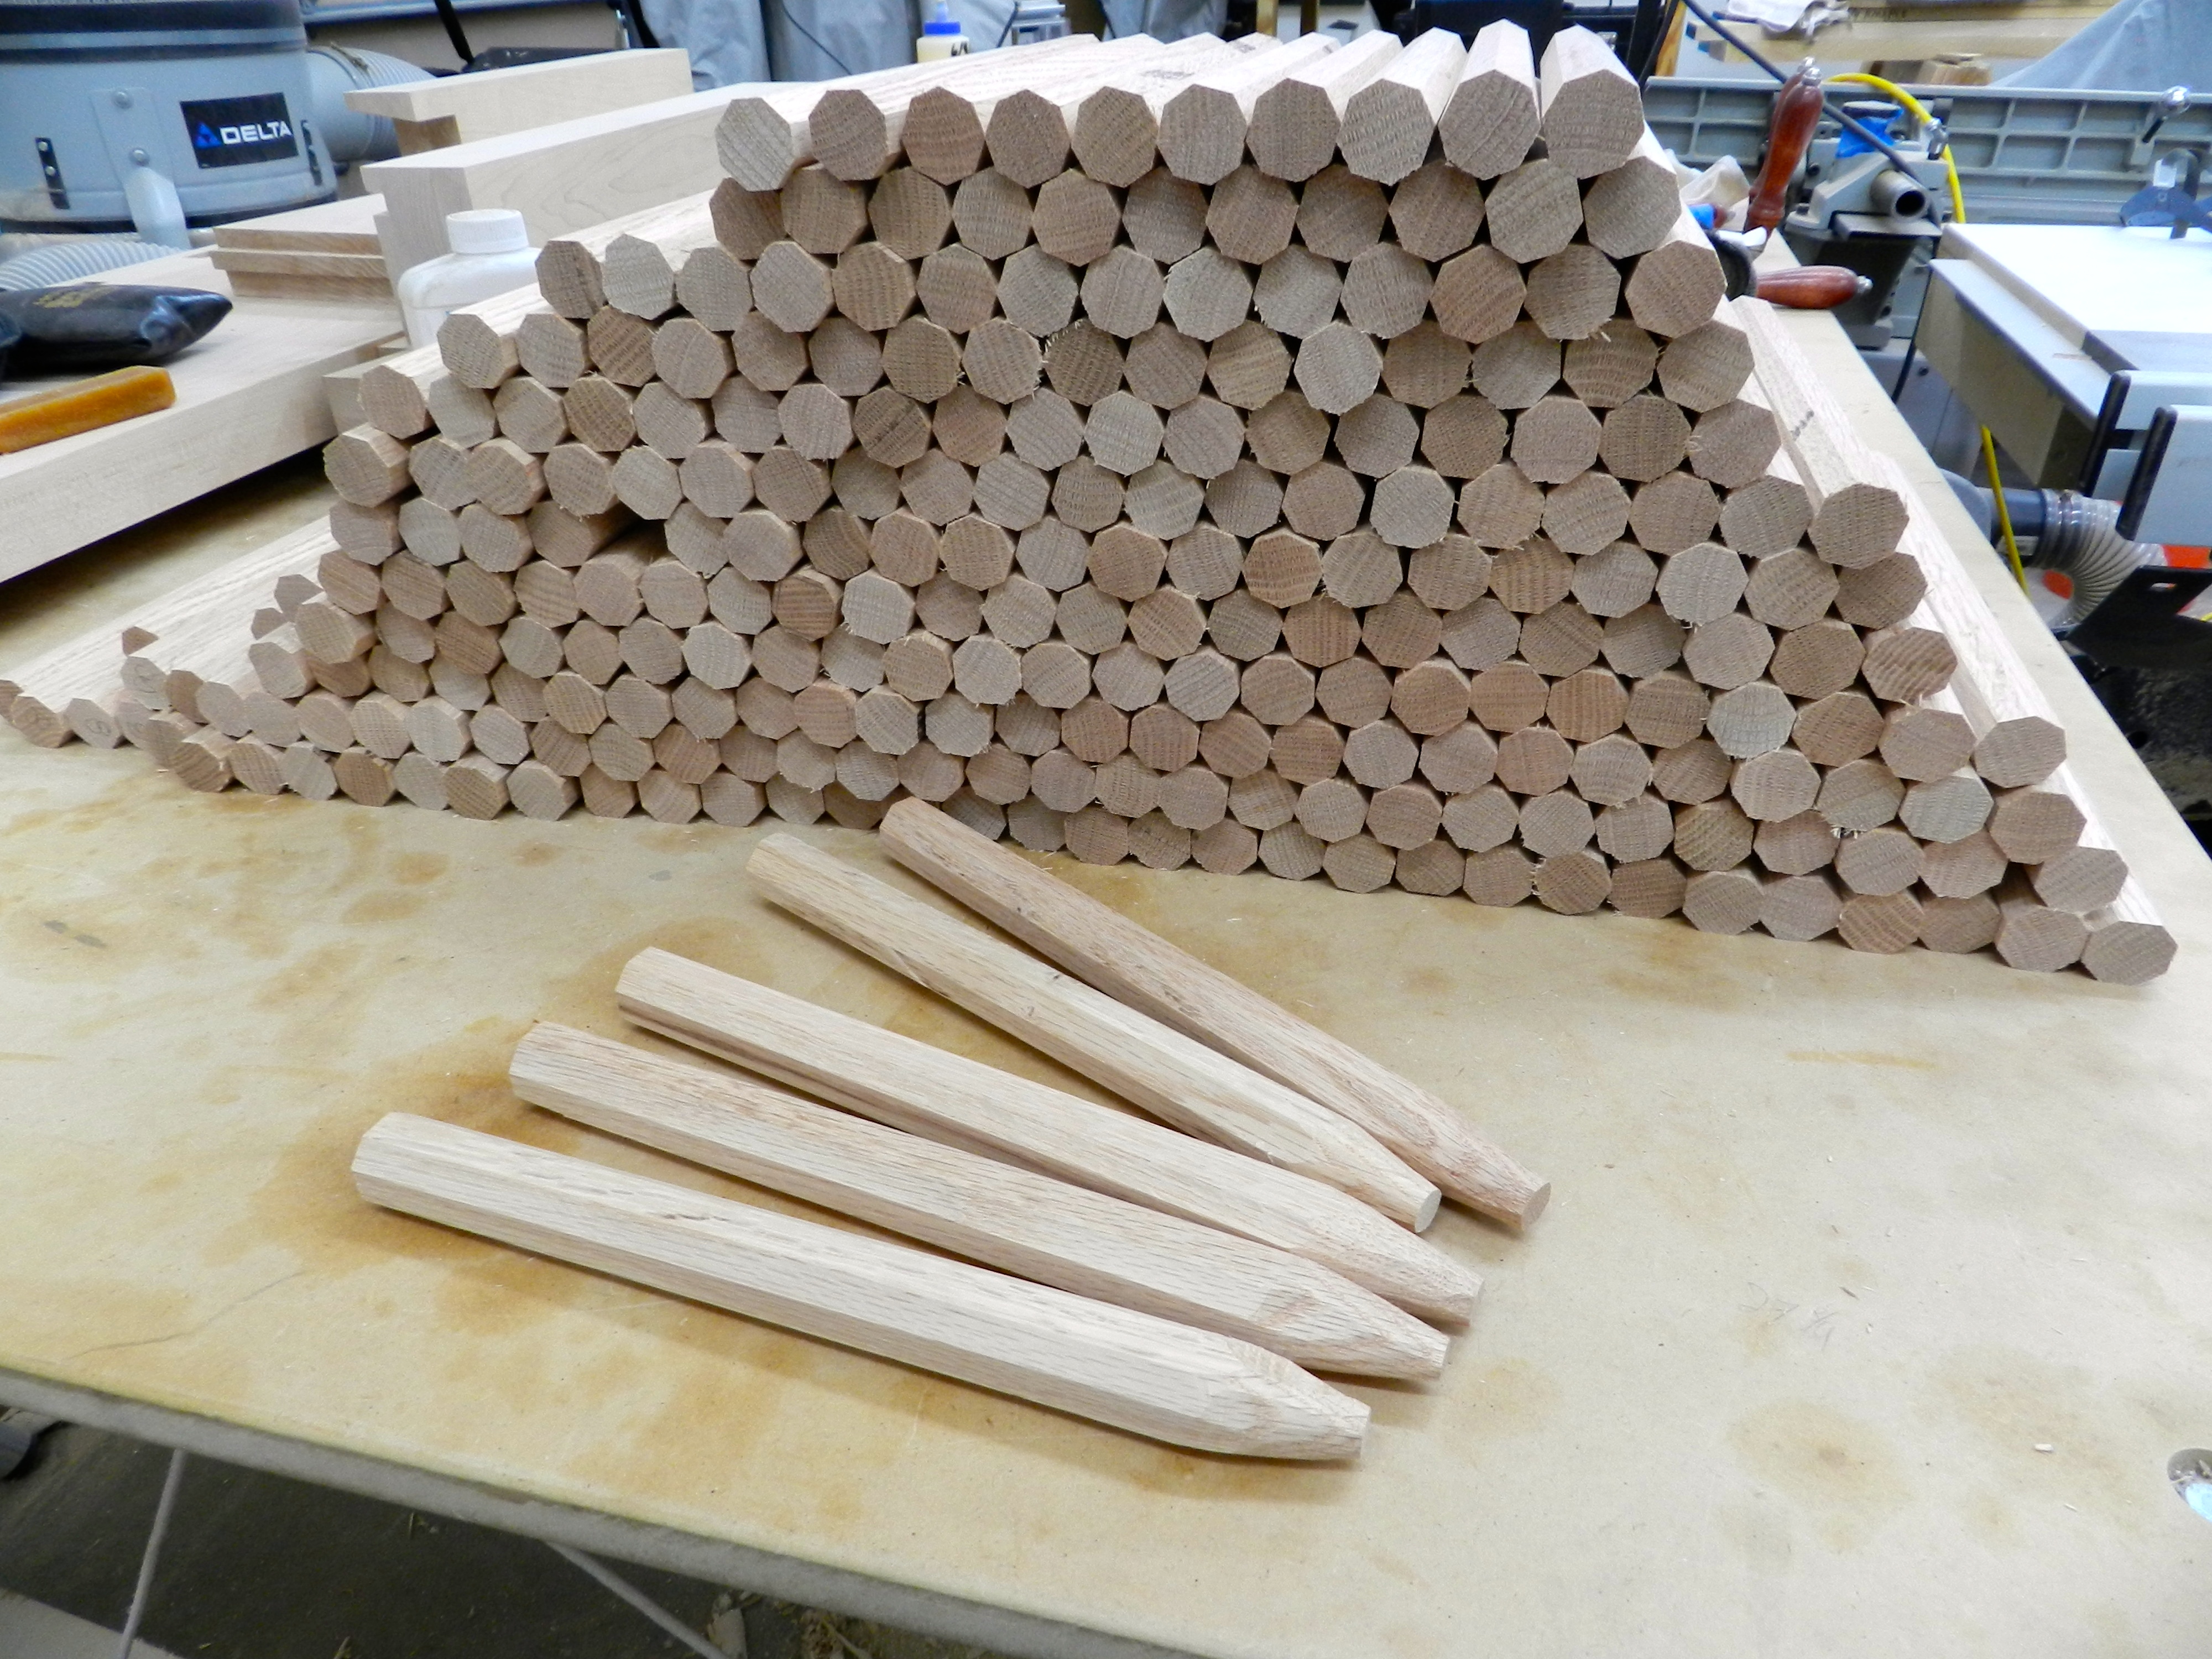
(5) 248 Oak Treenails and 166 Hard Maple Try Pins
5.) At this point you’ll quickly see how many pin blanks it takes to make even a modest building. (In this case a 12’x24′ large shed/small barn) (See photo 5)
(6) Using the hewing bench, carpenter’s axe and timber framing chisel to taper the ends of each pin
6.) Now it’s over to the hewing bench to taper the leading ends of the pin blanks. I usually rough off the wood with my capenter’s axe and touch things up with a timber framing chisel. I find it helps to get the cut started with the tool and bang them both (peg and tool) in unison on the hewing bench. The downward momentum drives the tool through the wood with a minimal expenditure of energy — important when you have a few hundred of these to complete.
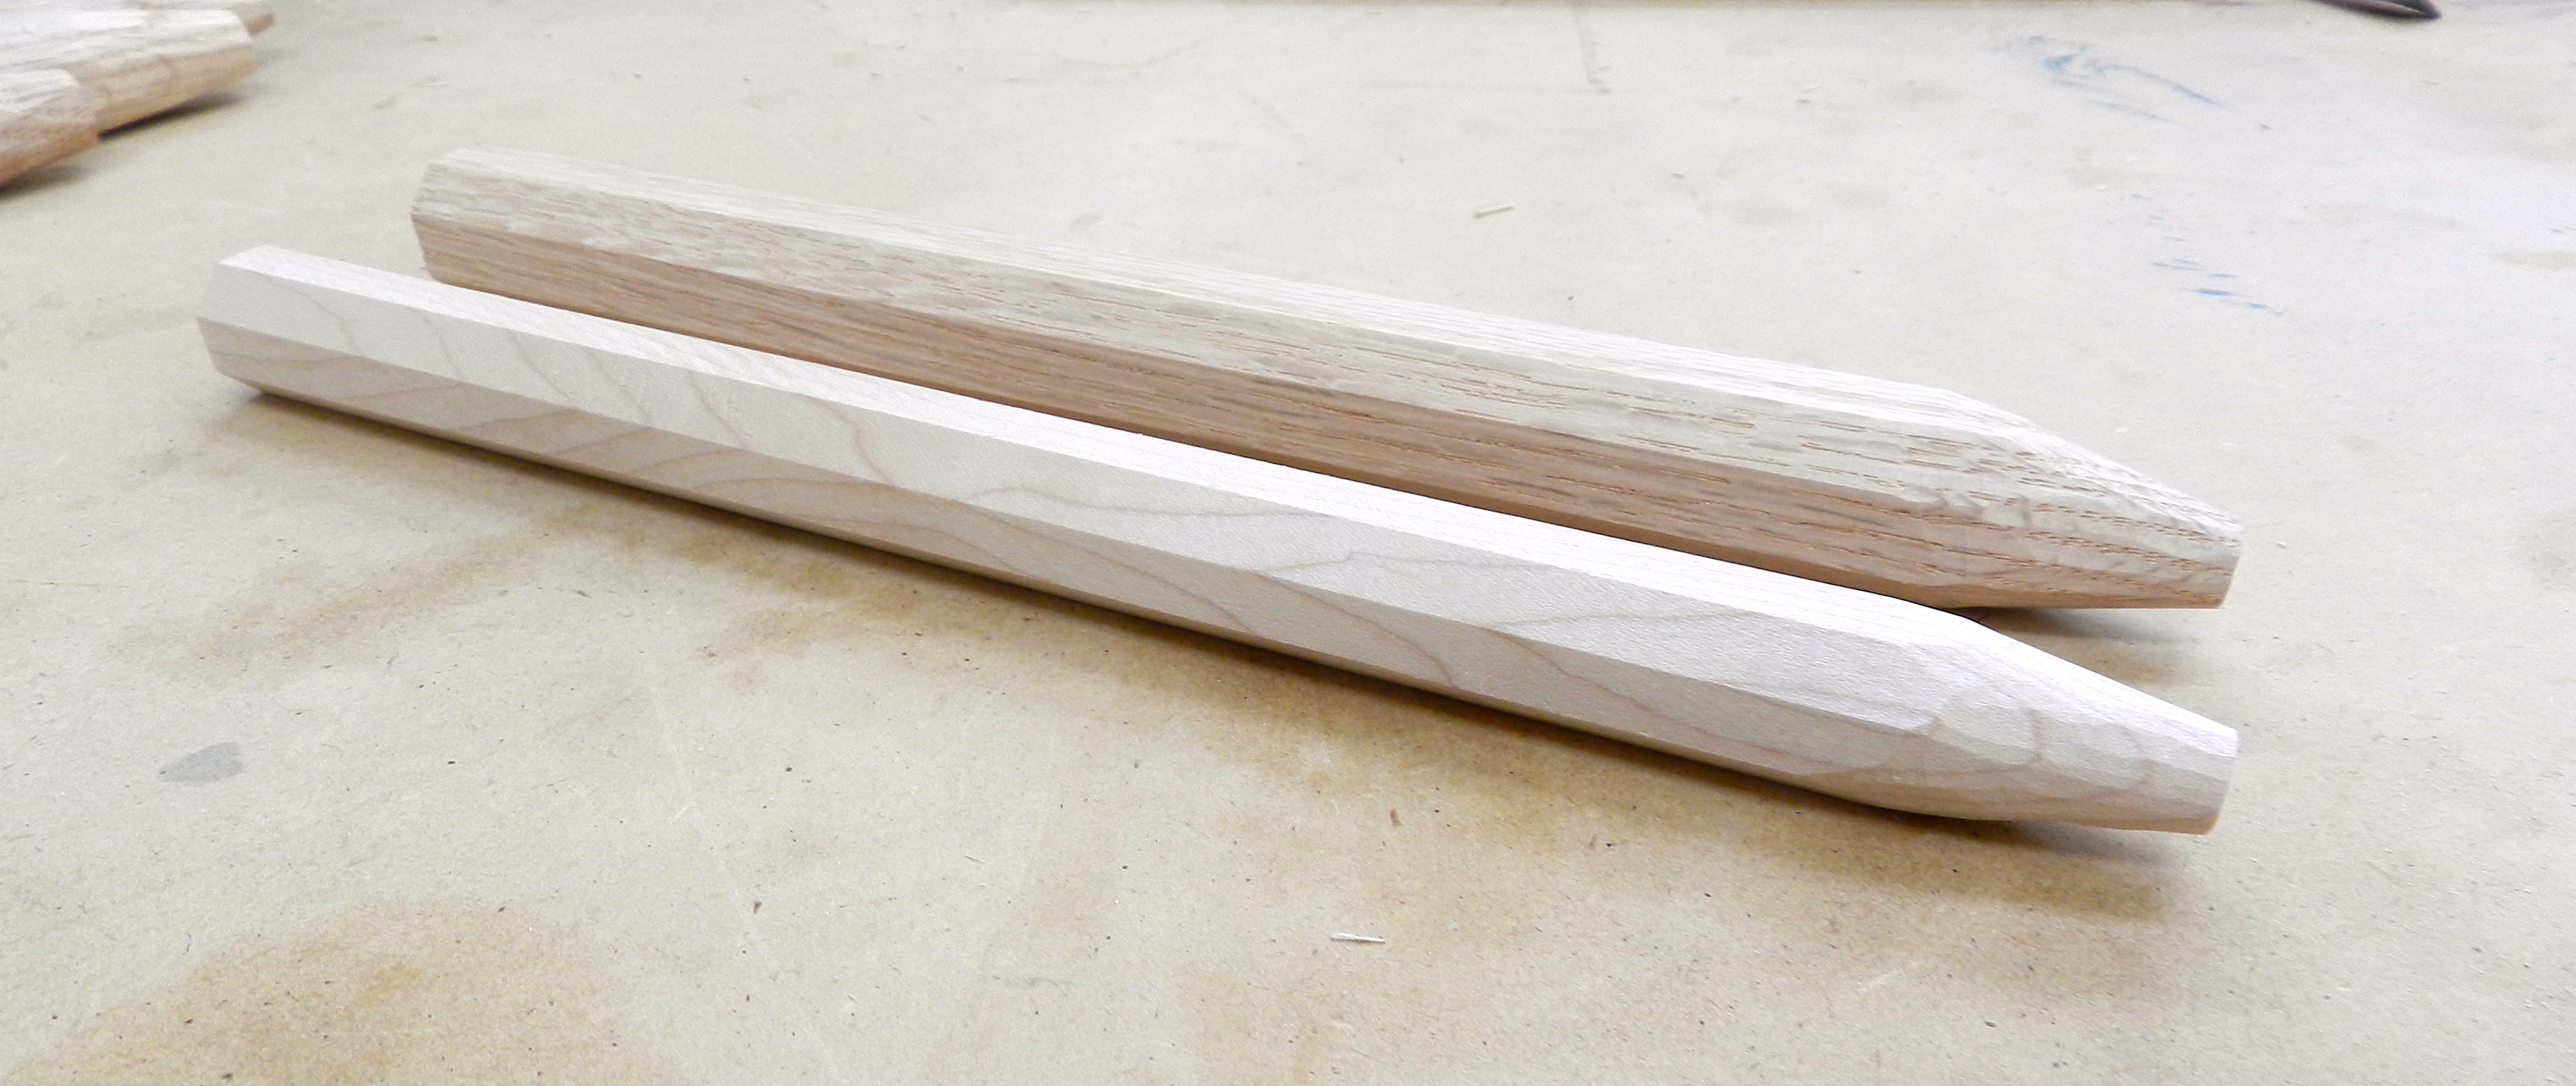
(7) Completed pins
7.) I usually taper the first 2″ or so of the pin. You do not need to be overly concerned with trying to make the pins look like a sharpened pencil. You just need to knock off the corners to help guide the pin through the draw-bored joint. Anything beyond that is to suit the design aesthetic you are going for. (Some folks will want to cut the ends off a pin in the house, so all the more reason to only do what you need to do with them)
(8) Foreground — 3/4″ Hard Maple Try Pins; Background 7/8″ White Oak Treenails
8.) Sit back and enjoy your work. Take a deep breath and repeat steps 1-7 all over again to make try pins. Try pins are slightly thinner pins used when test fitting your timber frame. I make them from hard maple for two reasons — I can visually differentiate them from the oak and the smooth hard maple is easily removed when the test fitting is complete. For this frame using 7/8″ Oak pins I make the try pins from 3/4″ hard maple stock. They are made the same way as their larger brethren.
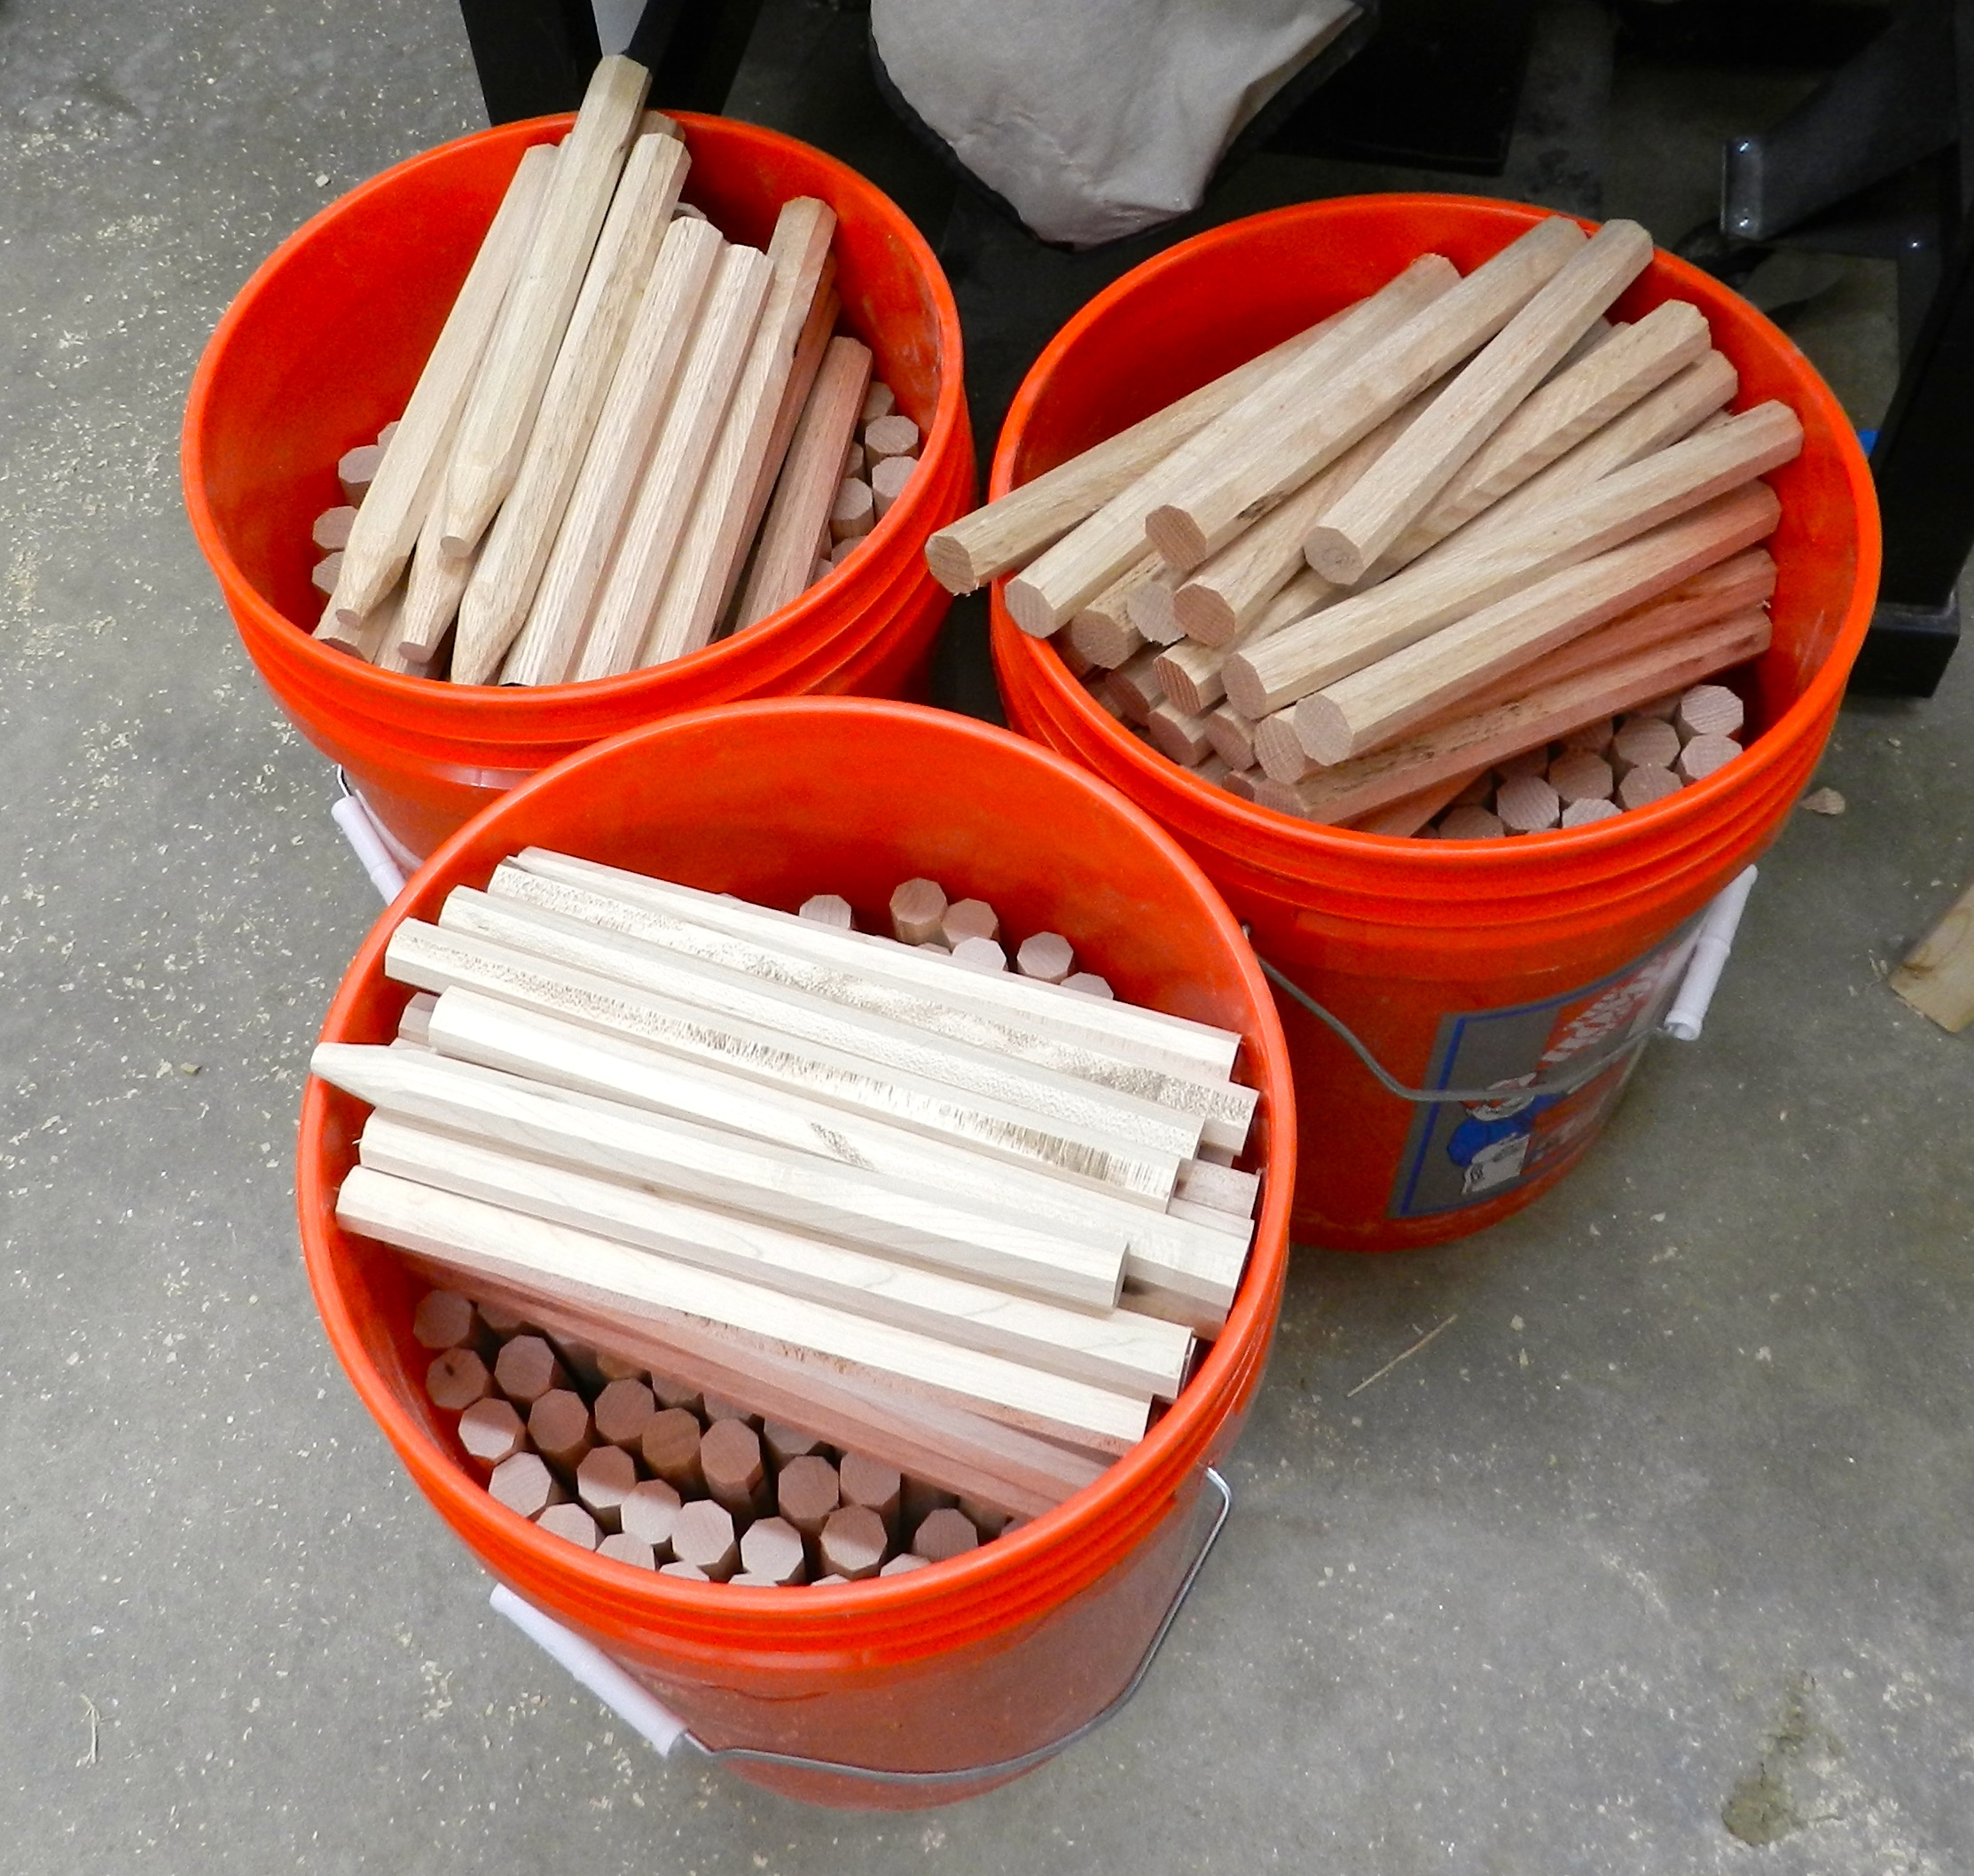
Full buckets of pins
Why are they octagons?
By making a 7/8″ octagon pin and driving it into a 7/8″ round hole the corners will bite into the wood and keep the the pin securely seated. (The diagonals across the 7/8″ octagon are slightly longer than 7/8″.) This is why you want to use smaller try-pins during test fitting, this way you are not deforming/stretching the holes before the frame is raised.
Driving in the pegs
Tips for a high quality timber framing pin:
Use kiln dried pins with a green wood frame. Use green pins with a dried frame
I use most often use White Oak pins with green Eastern White Pine frames
I use Hard Maple Try Pins during test fittings (try pins should be 1/8″ smaller than your final pins)
Octagon your pin stock so that it properly bites into the joint
Taper the ends of your pins so they will easily enter the draw bored joints
Don’t stress too much about the tapering
Avoid the machine turned pins — I dislike the look, the cost (~$2 each), holding power, fact that they are not historical etc
Many pegs in a timber frame
Where can I learn more about timber framing?
Join the Timber Framer’s Guild (www.tfguild.org) and read the many good publications they have
Read any of the books by Jack Sobon, Ted Benson or Ed Levin on the topic of Timber Framing
Take a class in timber framing at The North Bennet Street School (with Rich Friberg or me), or at the Heartwood School in Western MA
The next time you are in a barn or timber framed building I hope that you will take a moment to examine the pins holding the joinery together.
-Bill
A Joiner's Guide To Traditional Woodworking and Preservation