

Treenails, Trunnels, Pins and Pegs — all terms used to describe the wooden nail-like fastener used in timber frame construction. I needed to make a large number of them for an upcoming project and thought you might also enjoy seeing what it takes to make these deceptively simple looking pins.
Where did all those names come from?
Like most things that predate modern recorded history I’ve read many conflicting theories on where these terms came from, so what I relay here is based on my own experiences in this field; your mileage may vary. Timber framing dates back thousands of years and can be found in early civilizations around the world in many different forms. What all these structures had in common was the joining of heavy timbers using traditional joinery and large mortise an tenon joints that were pinned together using large wood fasteners.
These fasteners are known by a lot of colloquial names, the most common of which I describe in this post. Most literally treenails (or trenails in some places) is the term for nails made from a tree. Trunnels is derived from the pronunciation of treenails and at times reserved for larger treenails used in very large buildings or ships, sometimes even wedged so they do not back out. Pegs tends to be a more modern term for treenails and pins tends to be used for smaller scale work though many timber framers I know today use it regularly. Having said all this I’ve heard all of these terms used inter-changeably at times by both novices and seasoned professionals, so feel free to use the term(s) that best suit your work and locale.
The bottom line is ‘a pin by any other name will hold your building together just as well.‘ (provided you heed my tips below 😉 )
How do you go about making these pins?
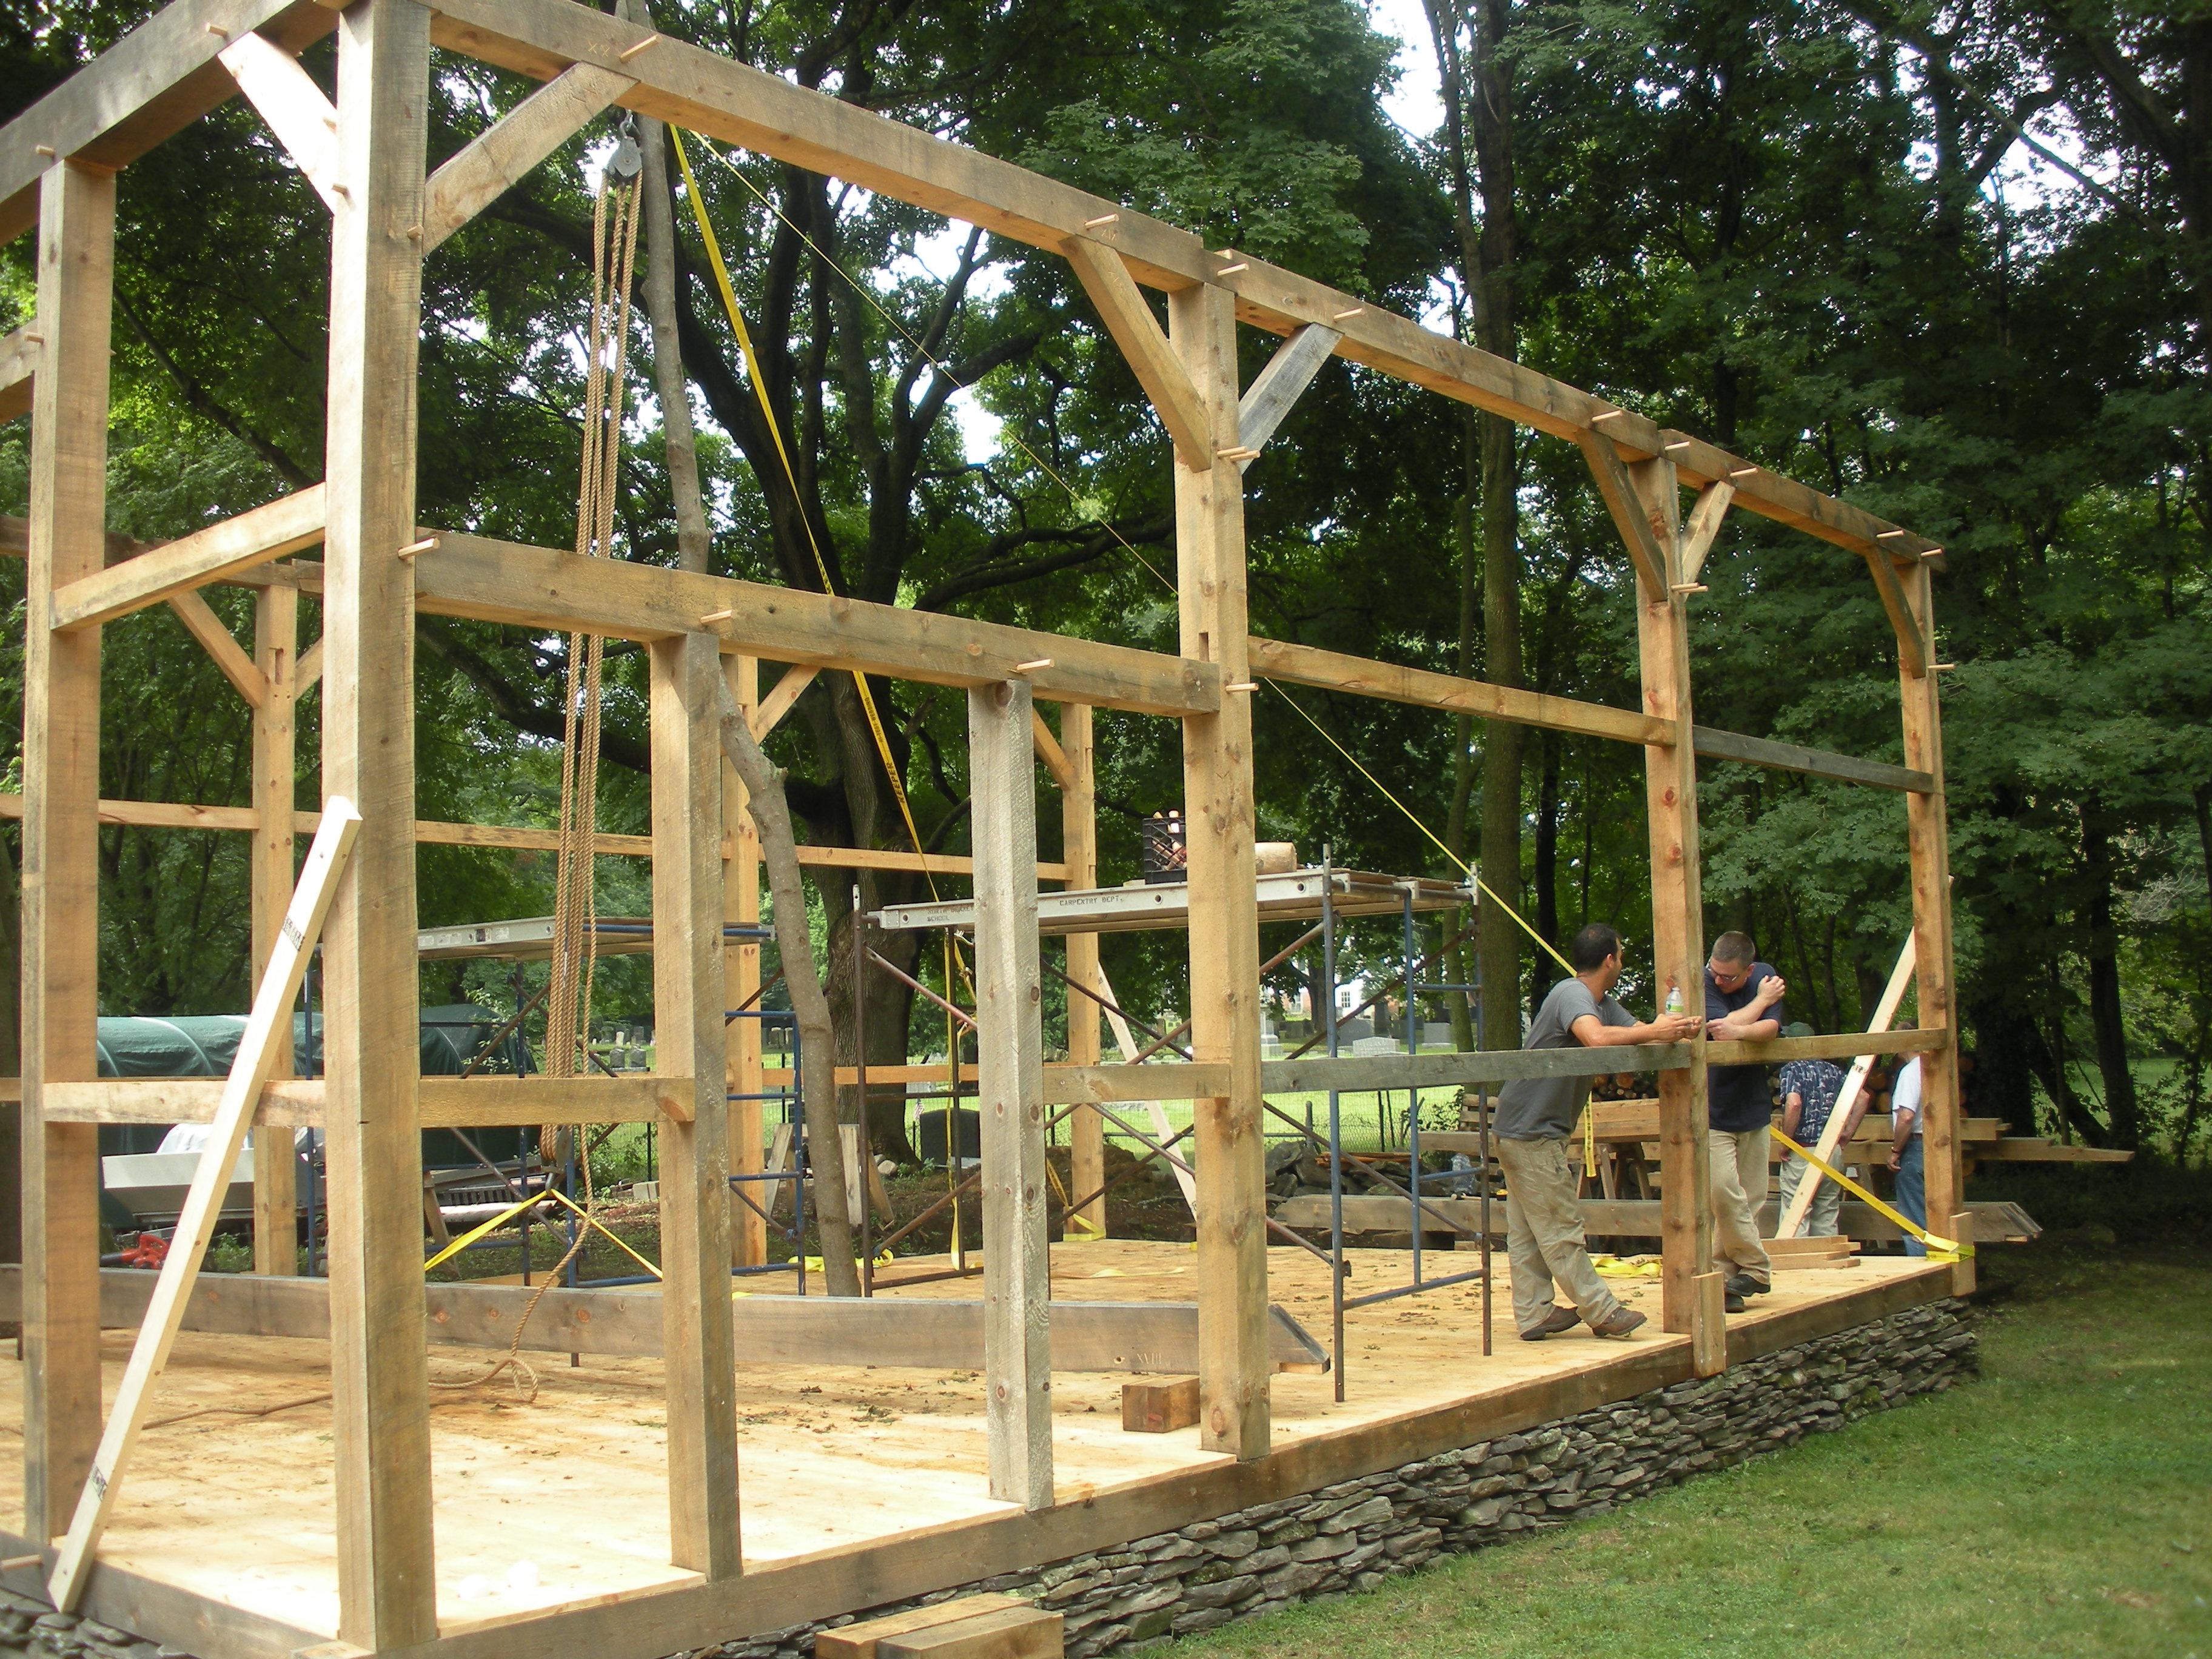
Traditionally pins were split out of green wood, shaved down with a draw knife and shave horse and allowed to season. Then touched up again when dry. Since I have to make a few hundred of these, being a practical modern joiner I will make use of my table saw and some high quality kiln dried lumber. Most of the stresses in a timber frame are carried by the joints and not the pins, and white oak is very resistant to shearing forces so I am not worried about the wood not being split out for this usage. (I’m building a square rule, late 19th century style frame from milled eastern white pine, so by that point the pins likely were made the same way I go about it)
For the scale of timber framed buildings I generally work on — homes, barns and sheds, I’m usually using a 7/8″ ships auger bit to drill holes for pins. Most tenons I work with are generally 1.5″-2″ thick eastern white pine and based on experience and reference tables I’ve found this size to work well for me.
I learned to timber frame while at NBSS and with that my framing has a proclivity for historic precedents. The historic buildings I work on all had octagoned pegs which worked well for hundreds of years and can be made more easily when compared to the expensive turned pegs you see some modern supply houses offer for upwards of $2 each. For a draw bored joint, I feel the octagon pegs look better and hold better compared to the CNC turned pins. (More on that later)

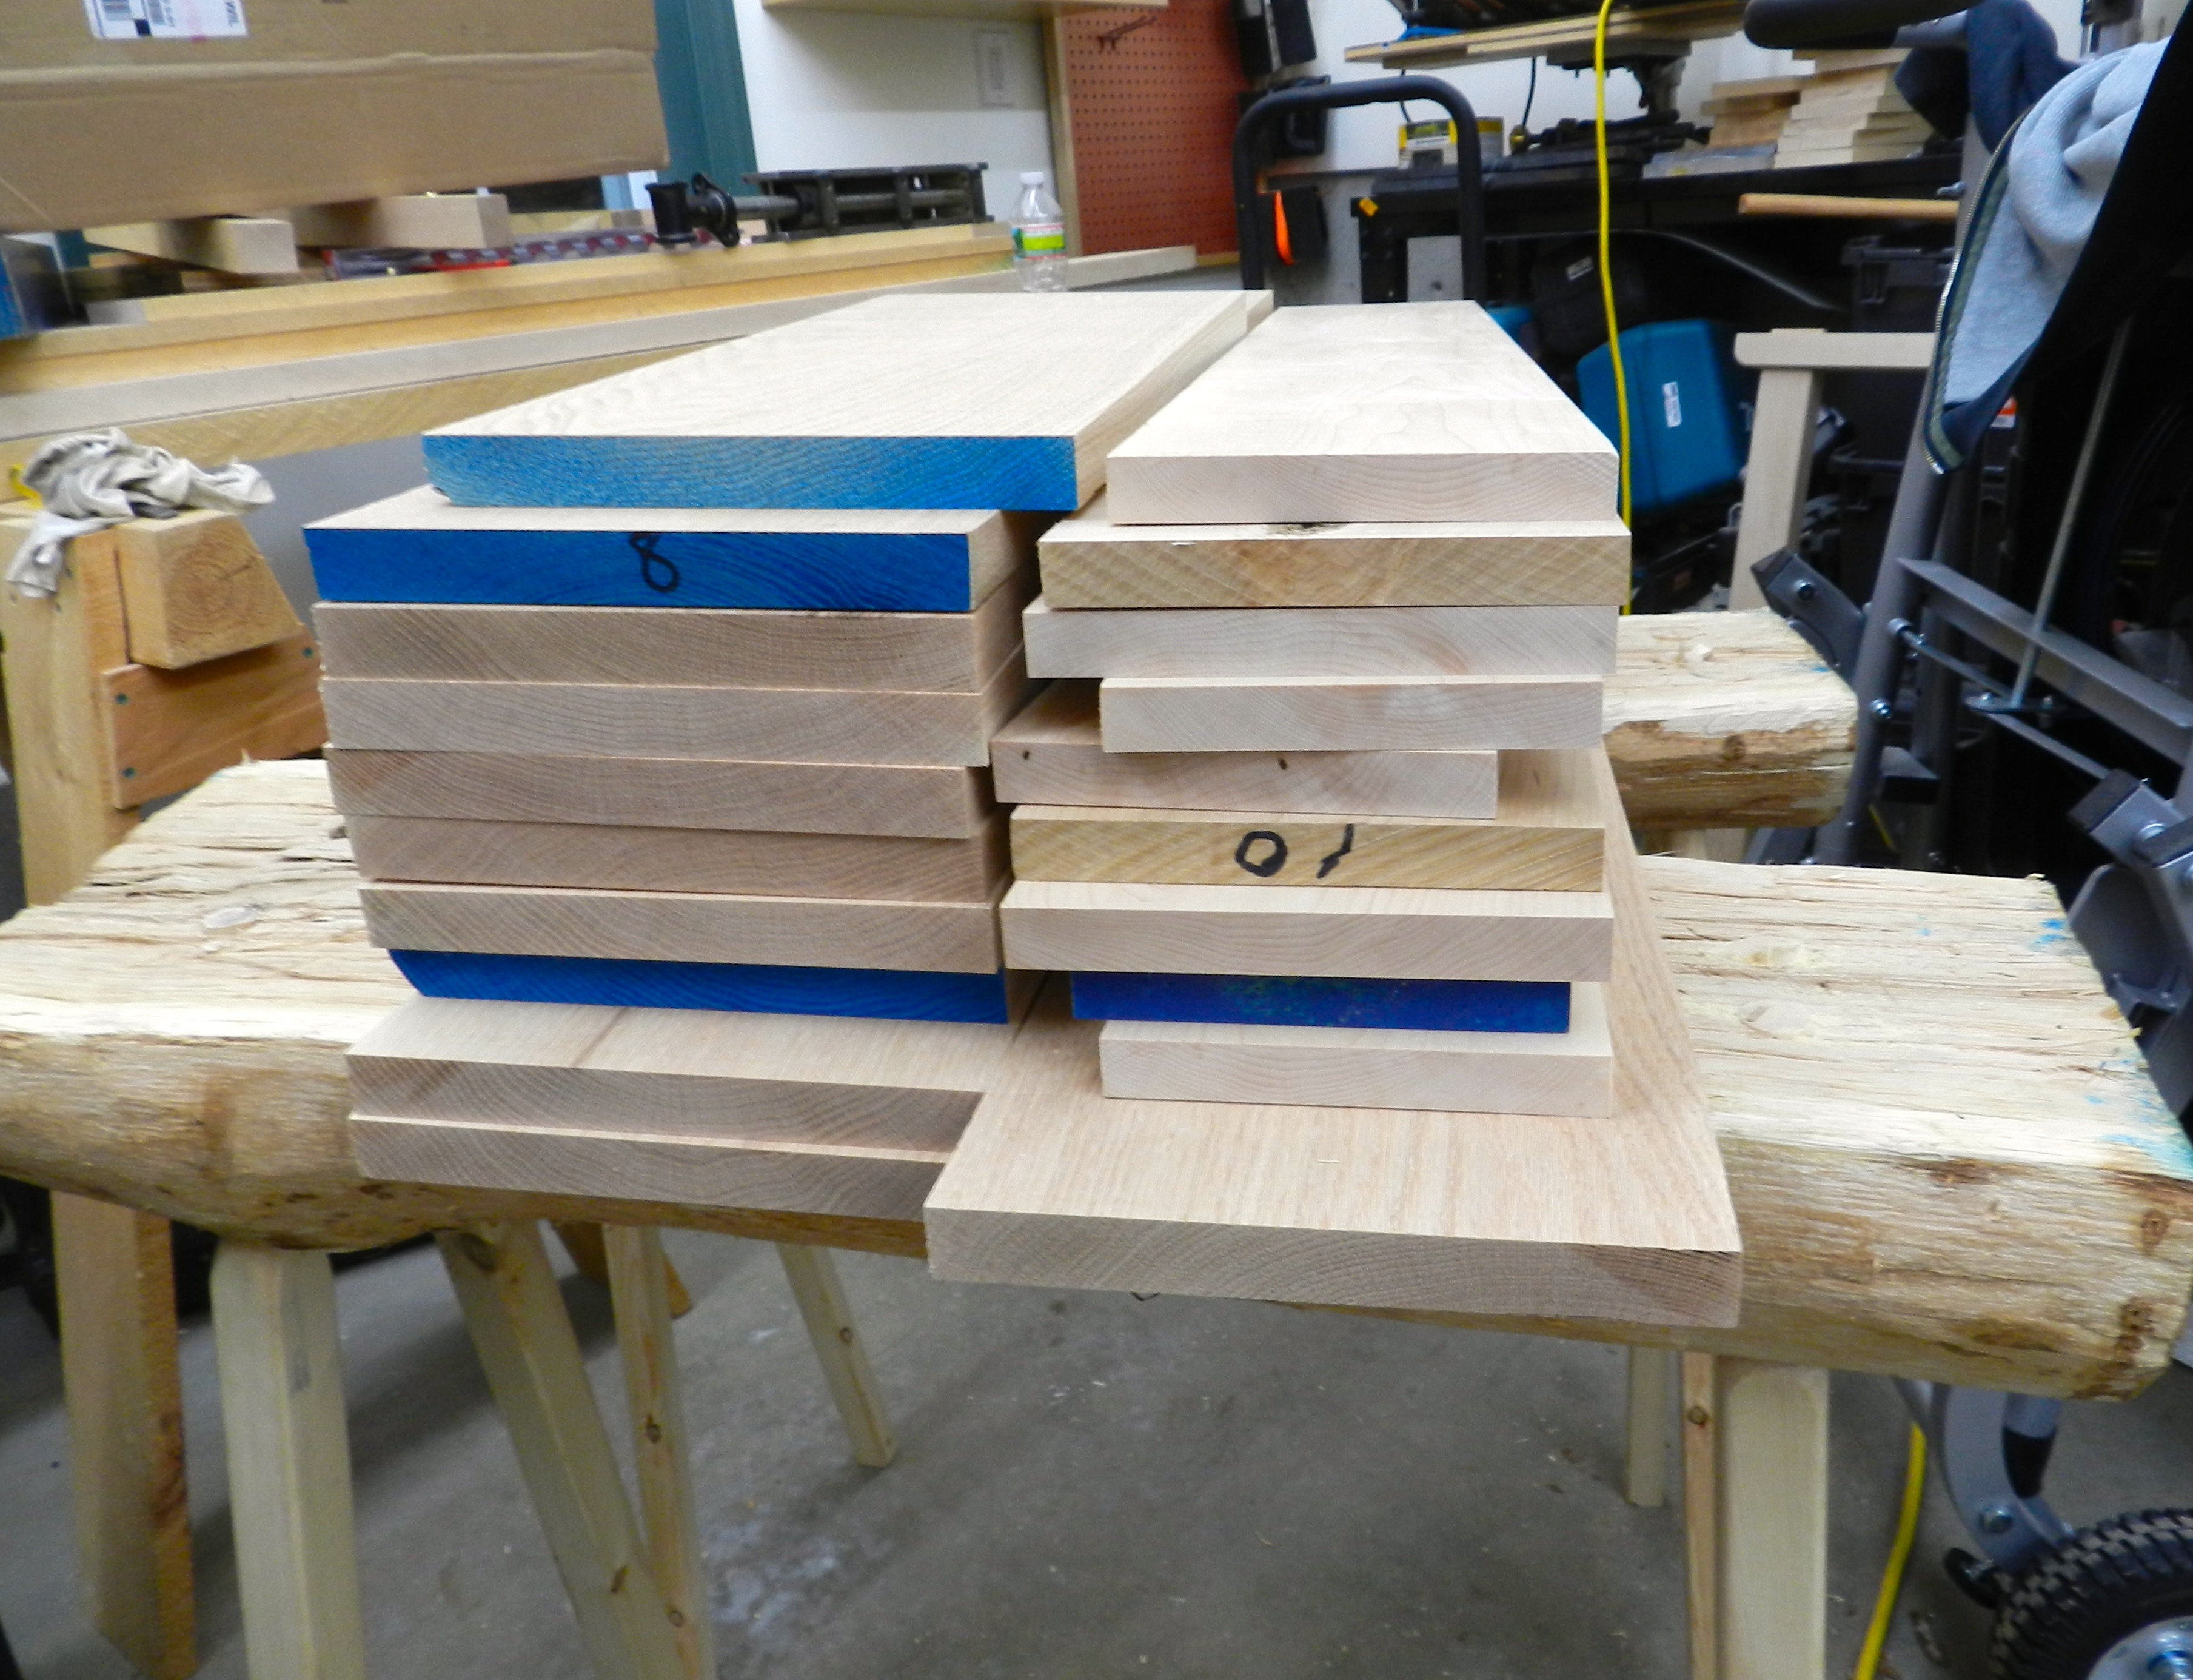
1.) I start off by milling down my rough 4/4 white oak stock to be 7/8″ thick, then I joint an edge on each board (See photo 1). I then crosscut each board to be about 30-3/8″ long. (Each of these boards should yield 3 sets of 10″ long pegs)
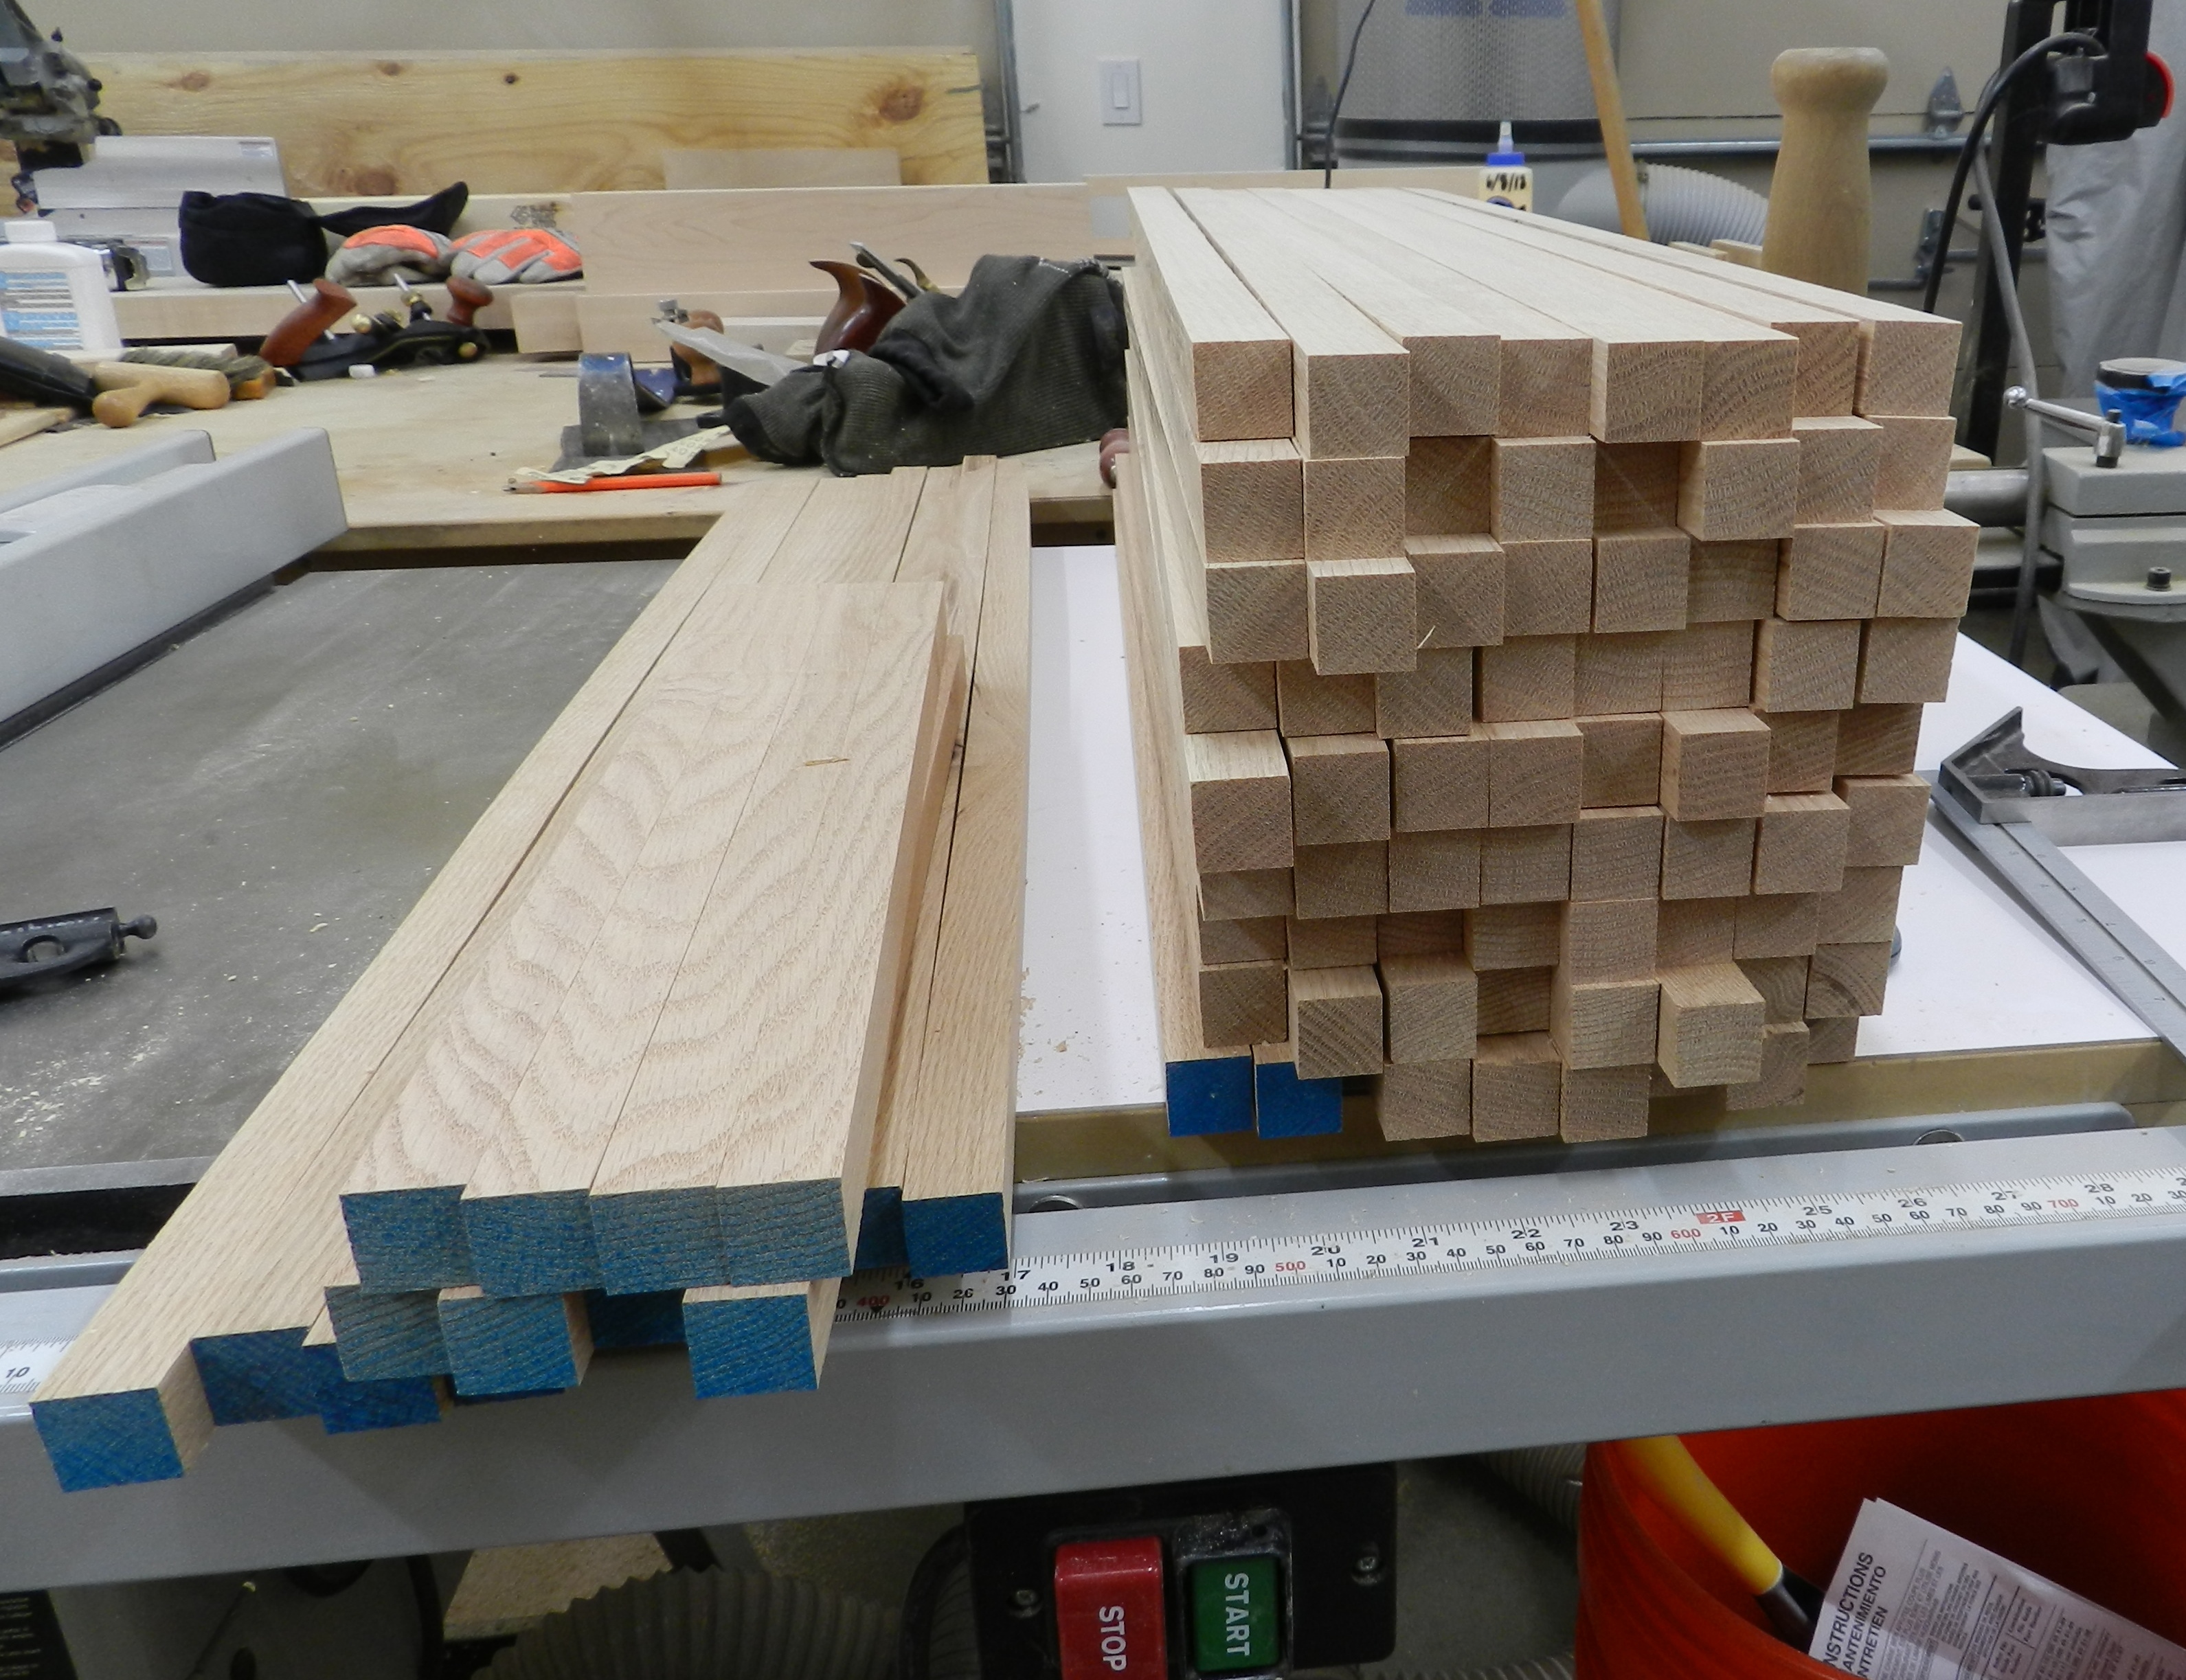
2.) Next I rip each of those boards into 7/8″ square sticks (See photo 2)
3.) Tilt the blade on your table to 45″ and turn each of those square blanks into an octagon. The use of feather-boards will help you be consistent. (See photo 3)

4.) I set a stop block on the chop saw at 10″ and gang chop (cut several at a time) for the sake of efficiency (See photo 4)
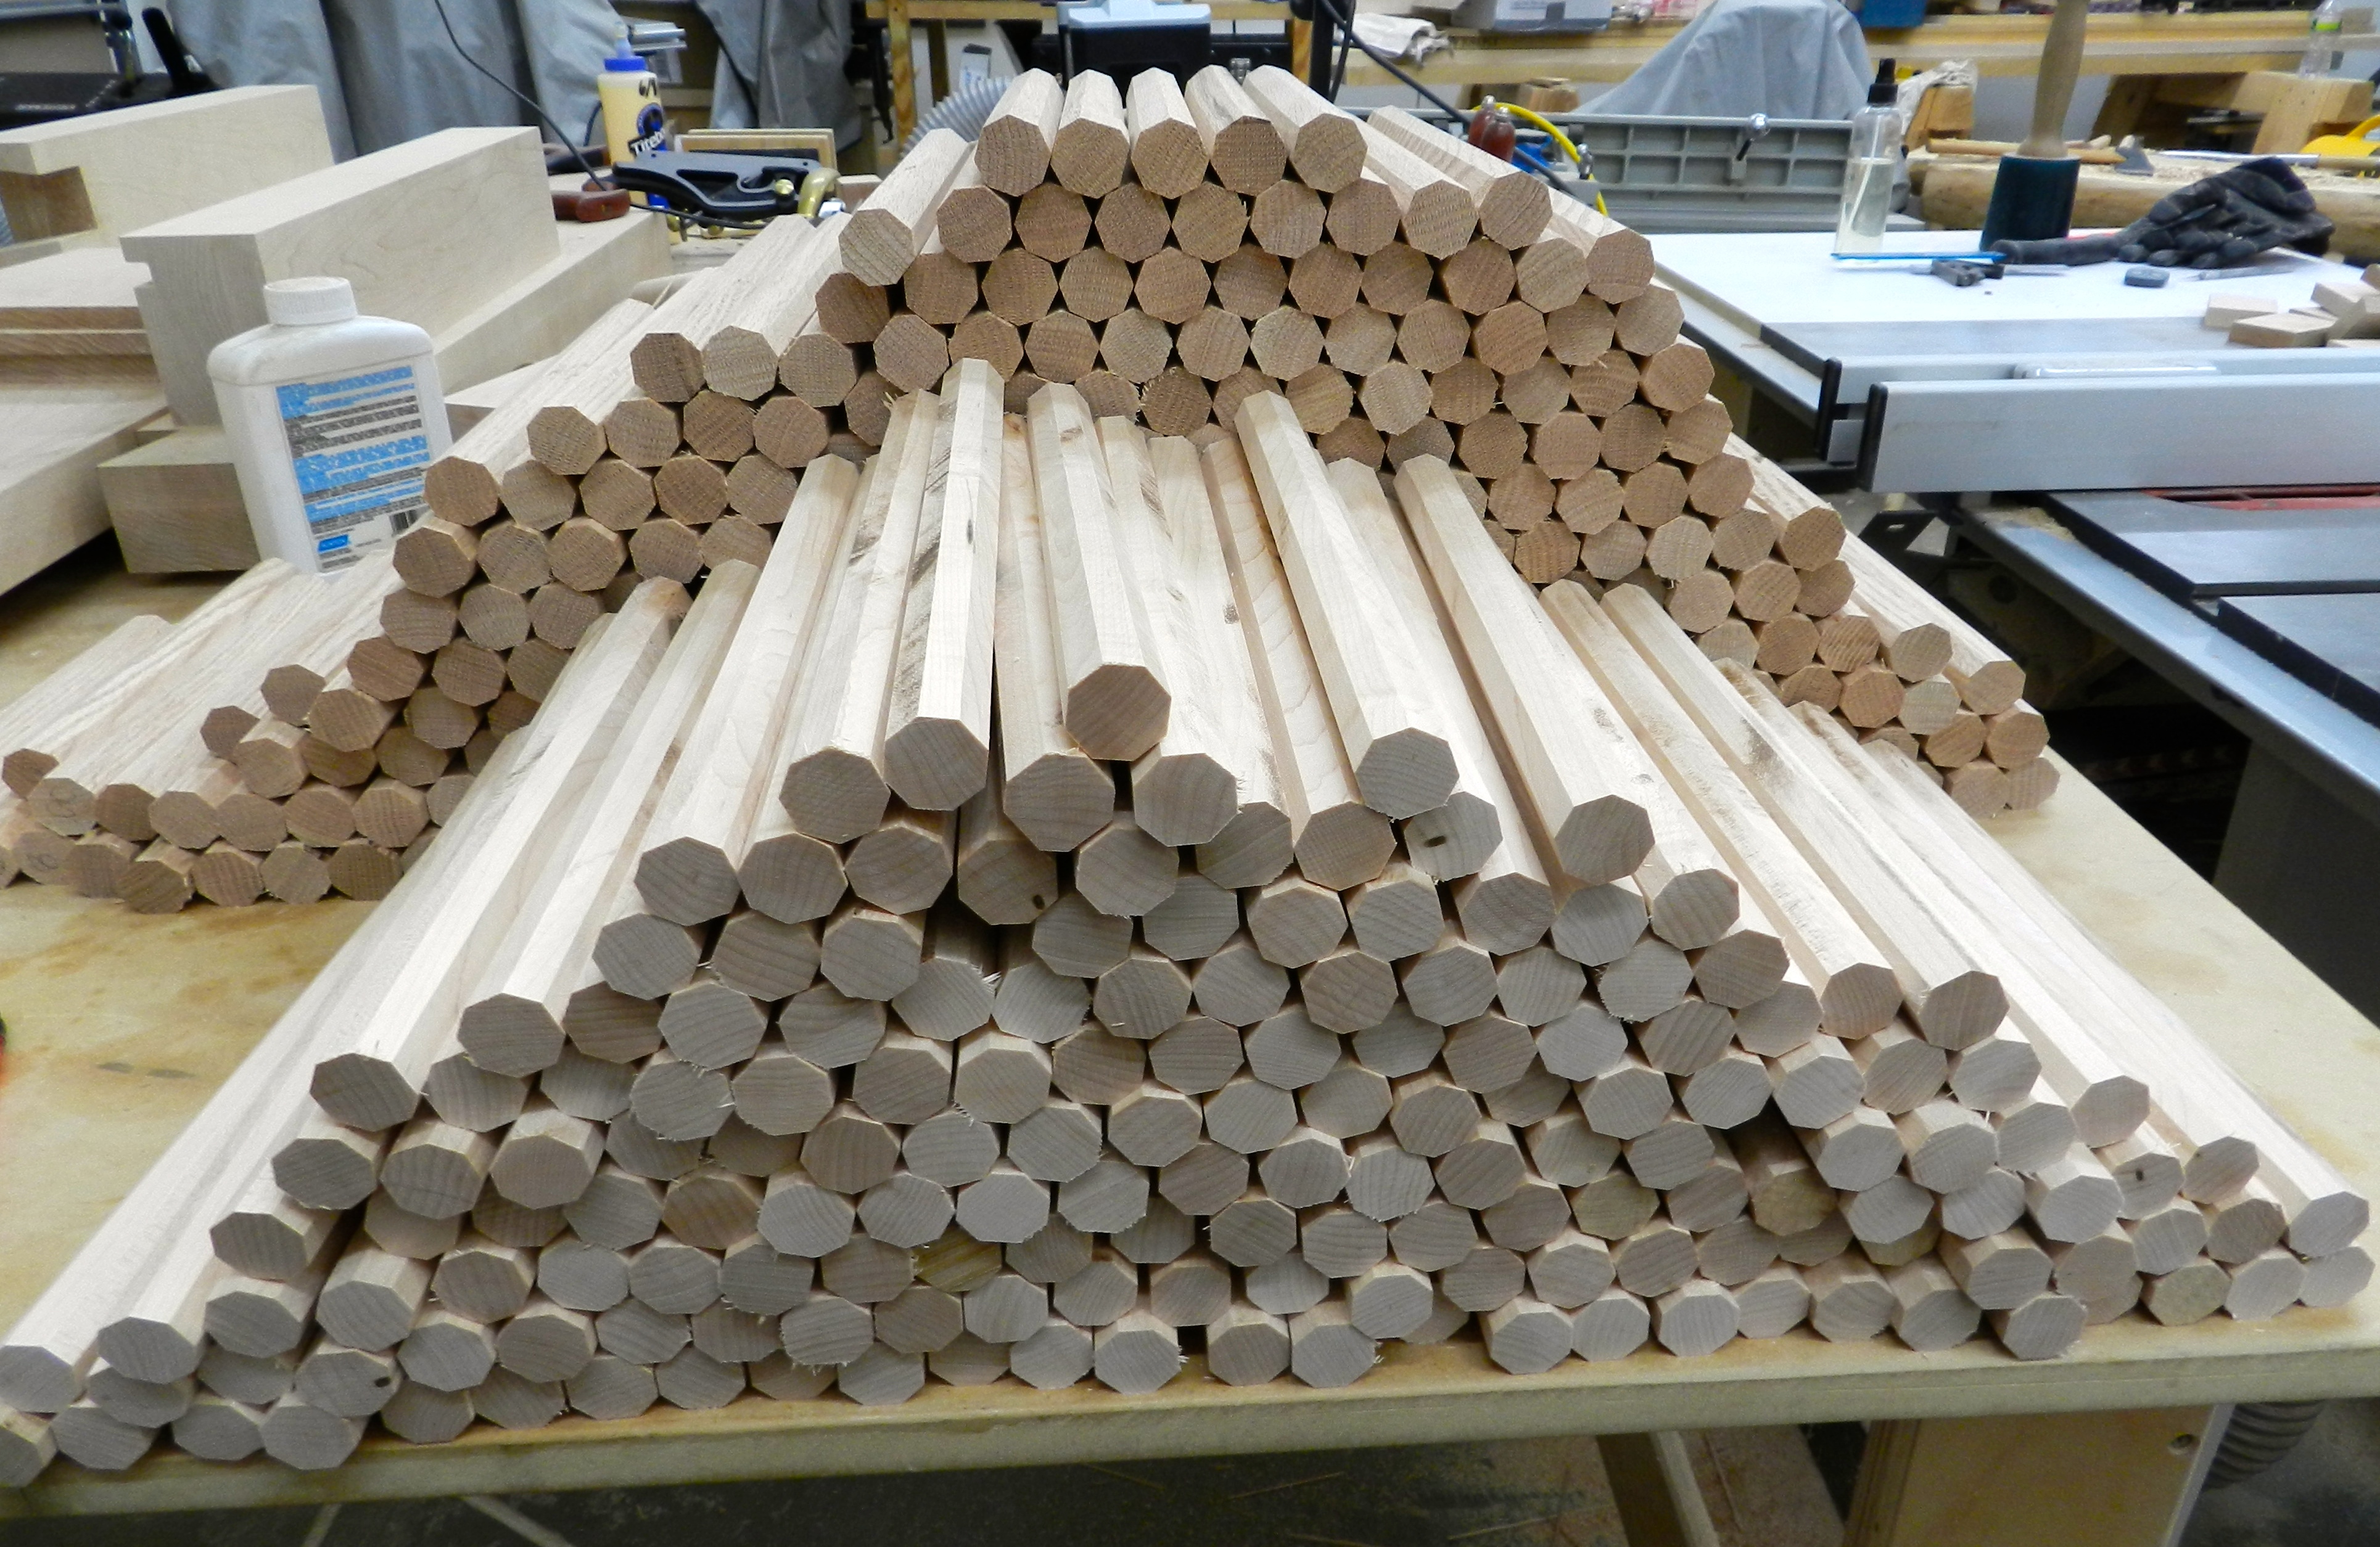
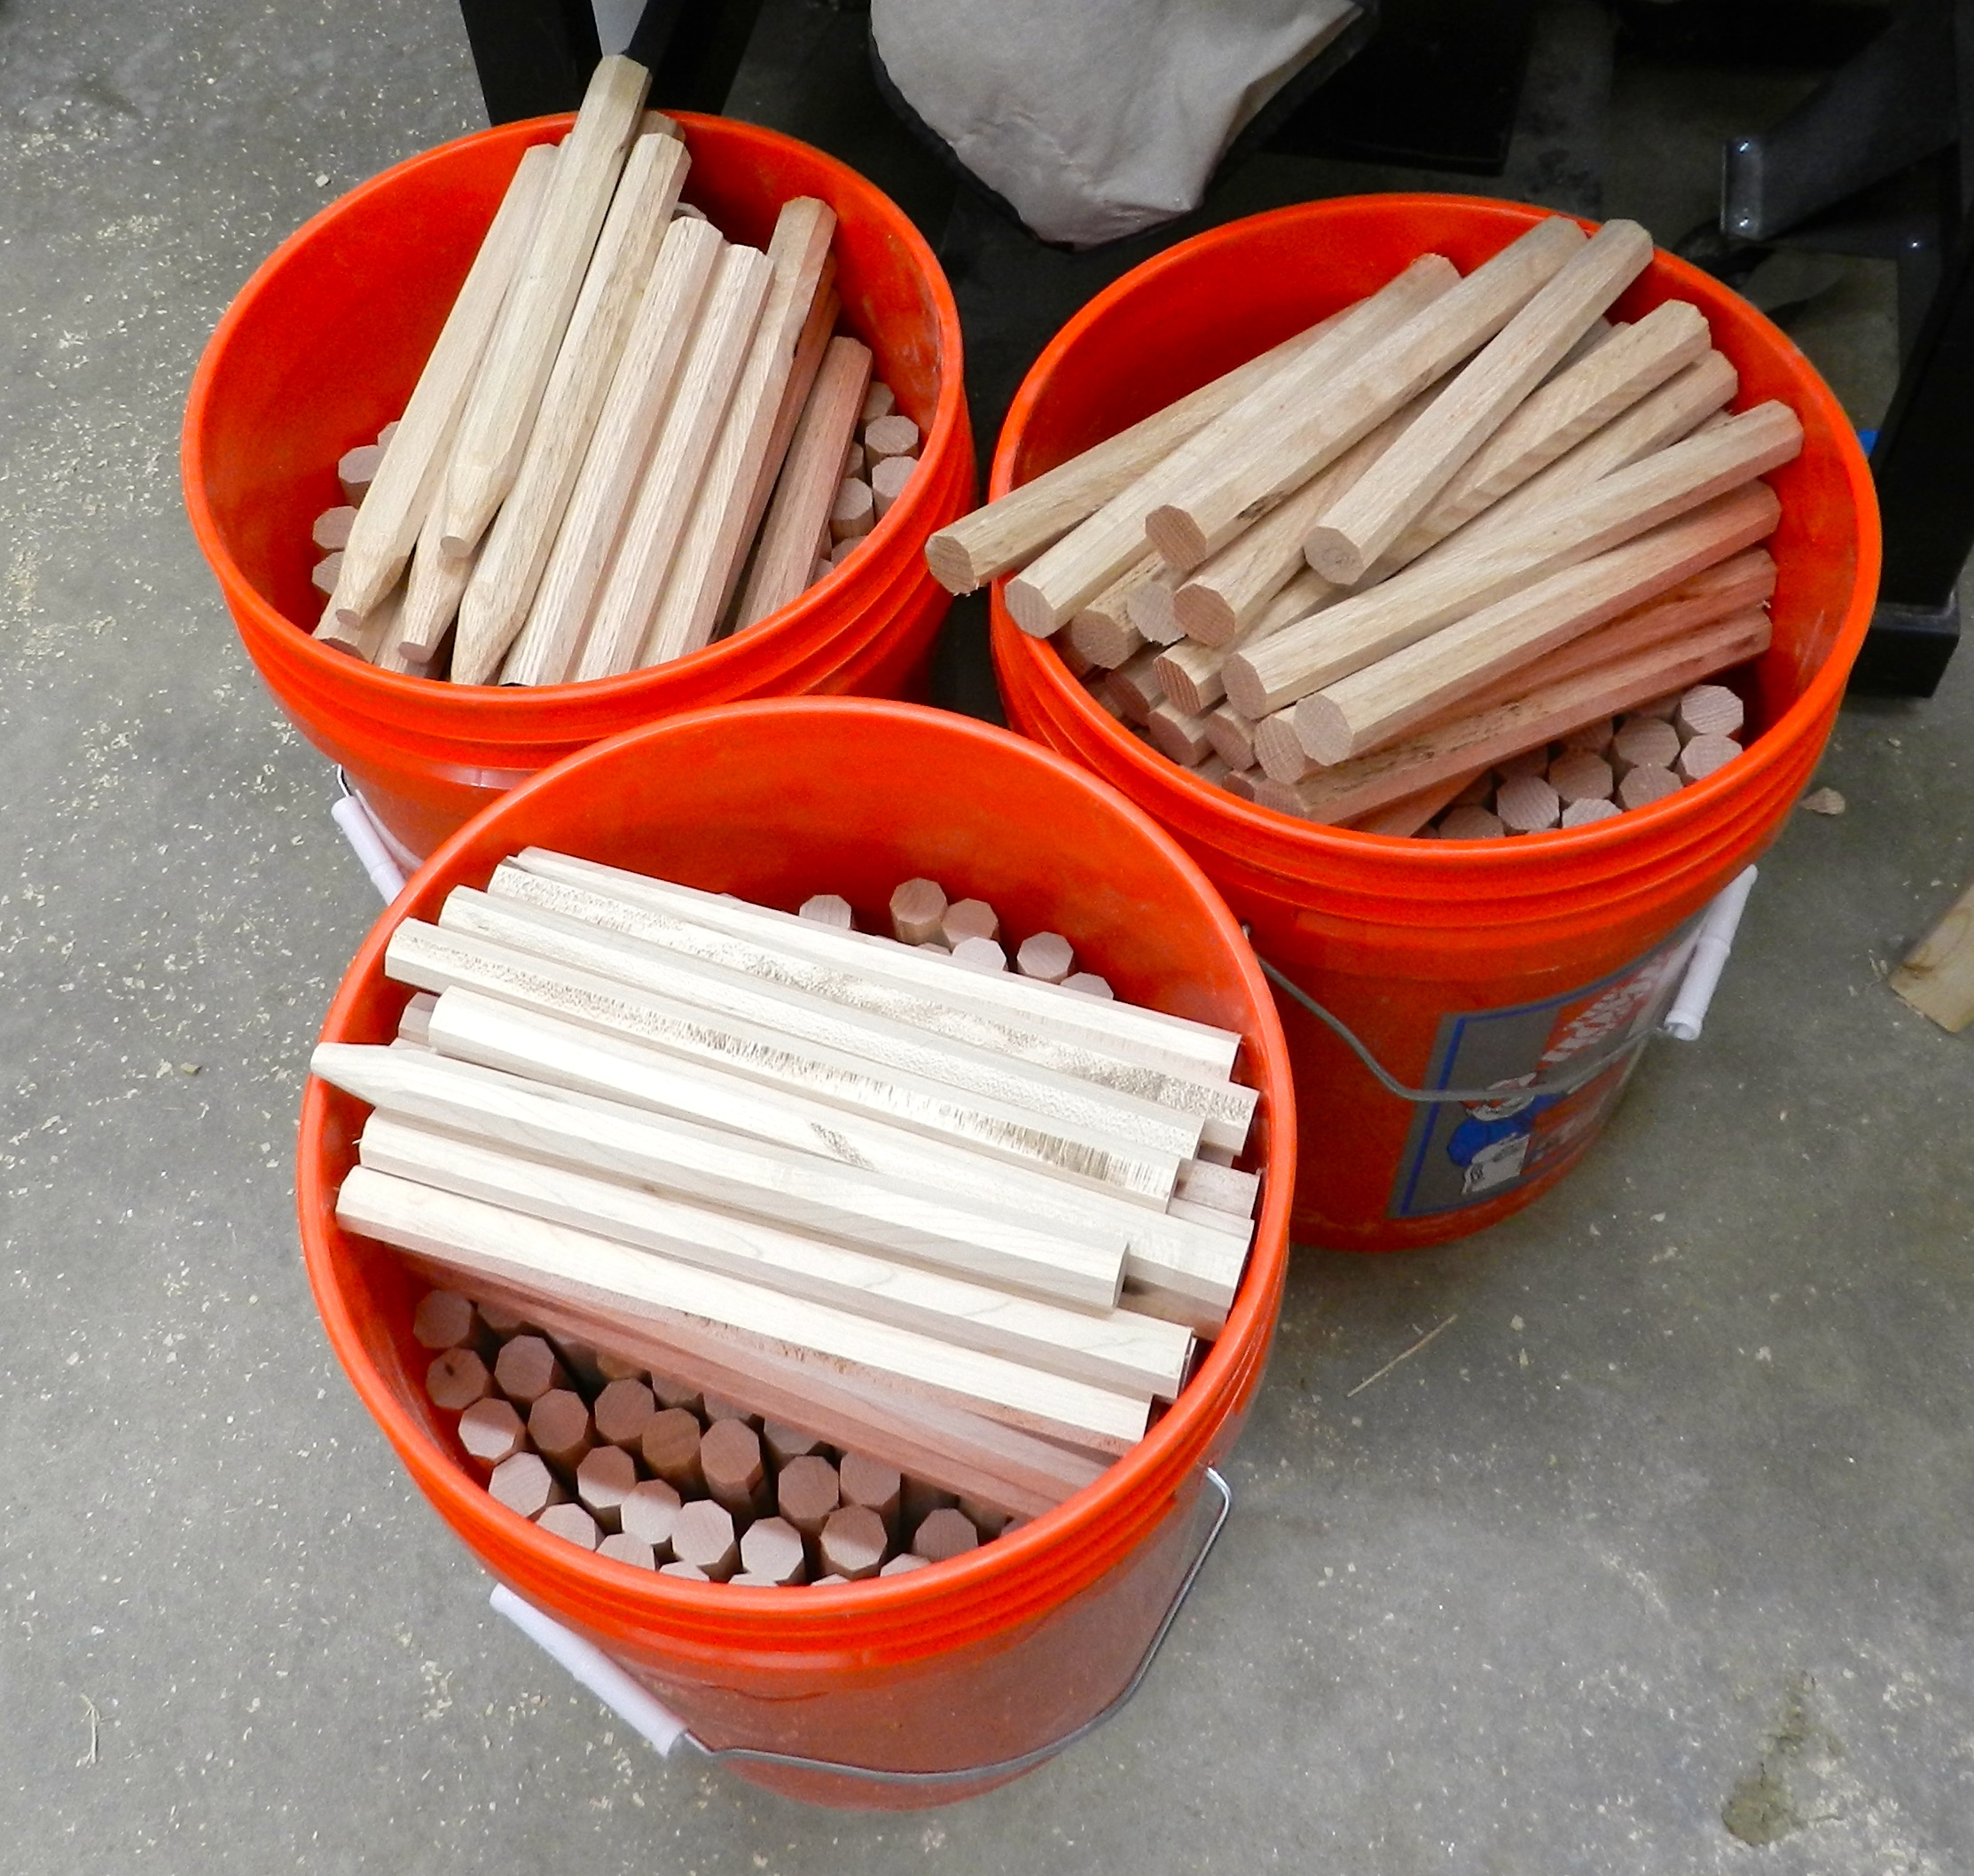
5.) At this point you’ll quickly see how many pin blanks it takes to make even a modest building. (In this case a 12’x24′ large shed/small barn) (See photo 5)

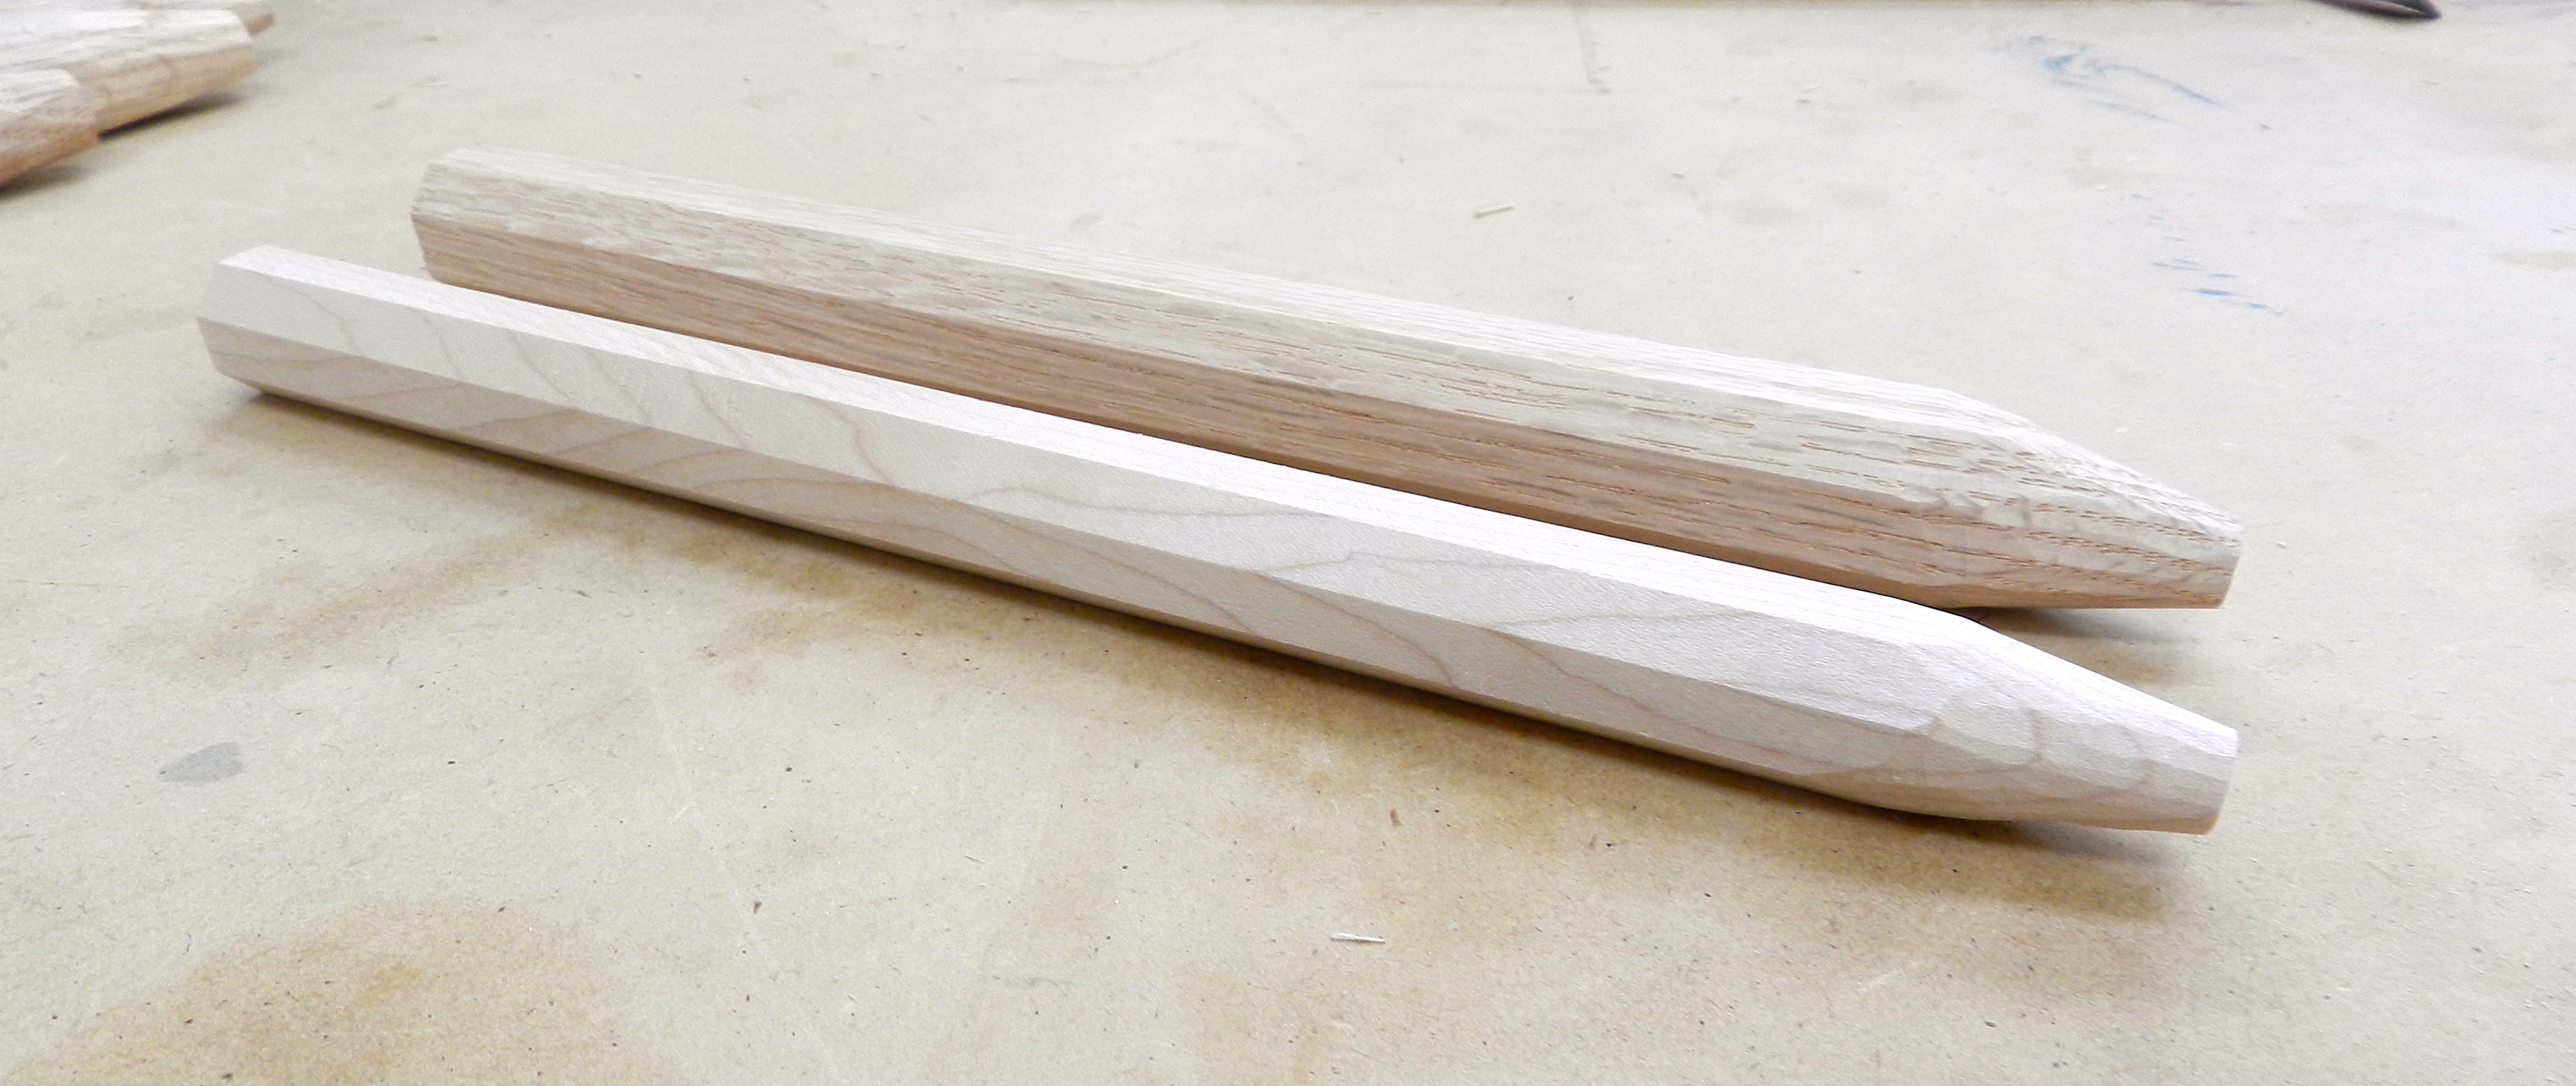
6.) Now it’s over to the hewing bench to taper the leading ends of the pin blanks. I usually rough off the wood with my capenter’s axe and touch things up with a timber framing chisel. I find it helps to get the cut started with the tool and bang them both (peg and tool) in unison on the hewing bench. The downward momentum drives the tool through the wood with a minimal expenditure of energy — important when you have a few hundred of these to complete.
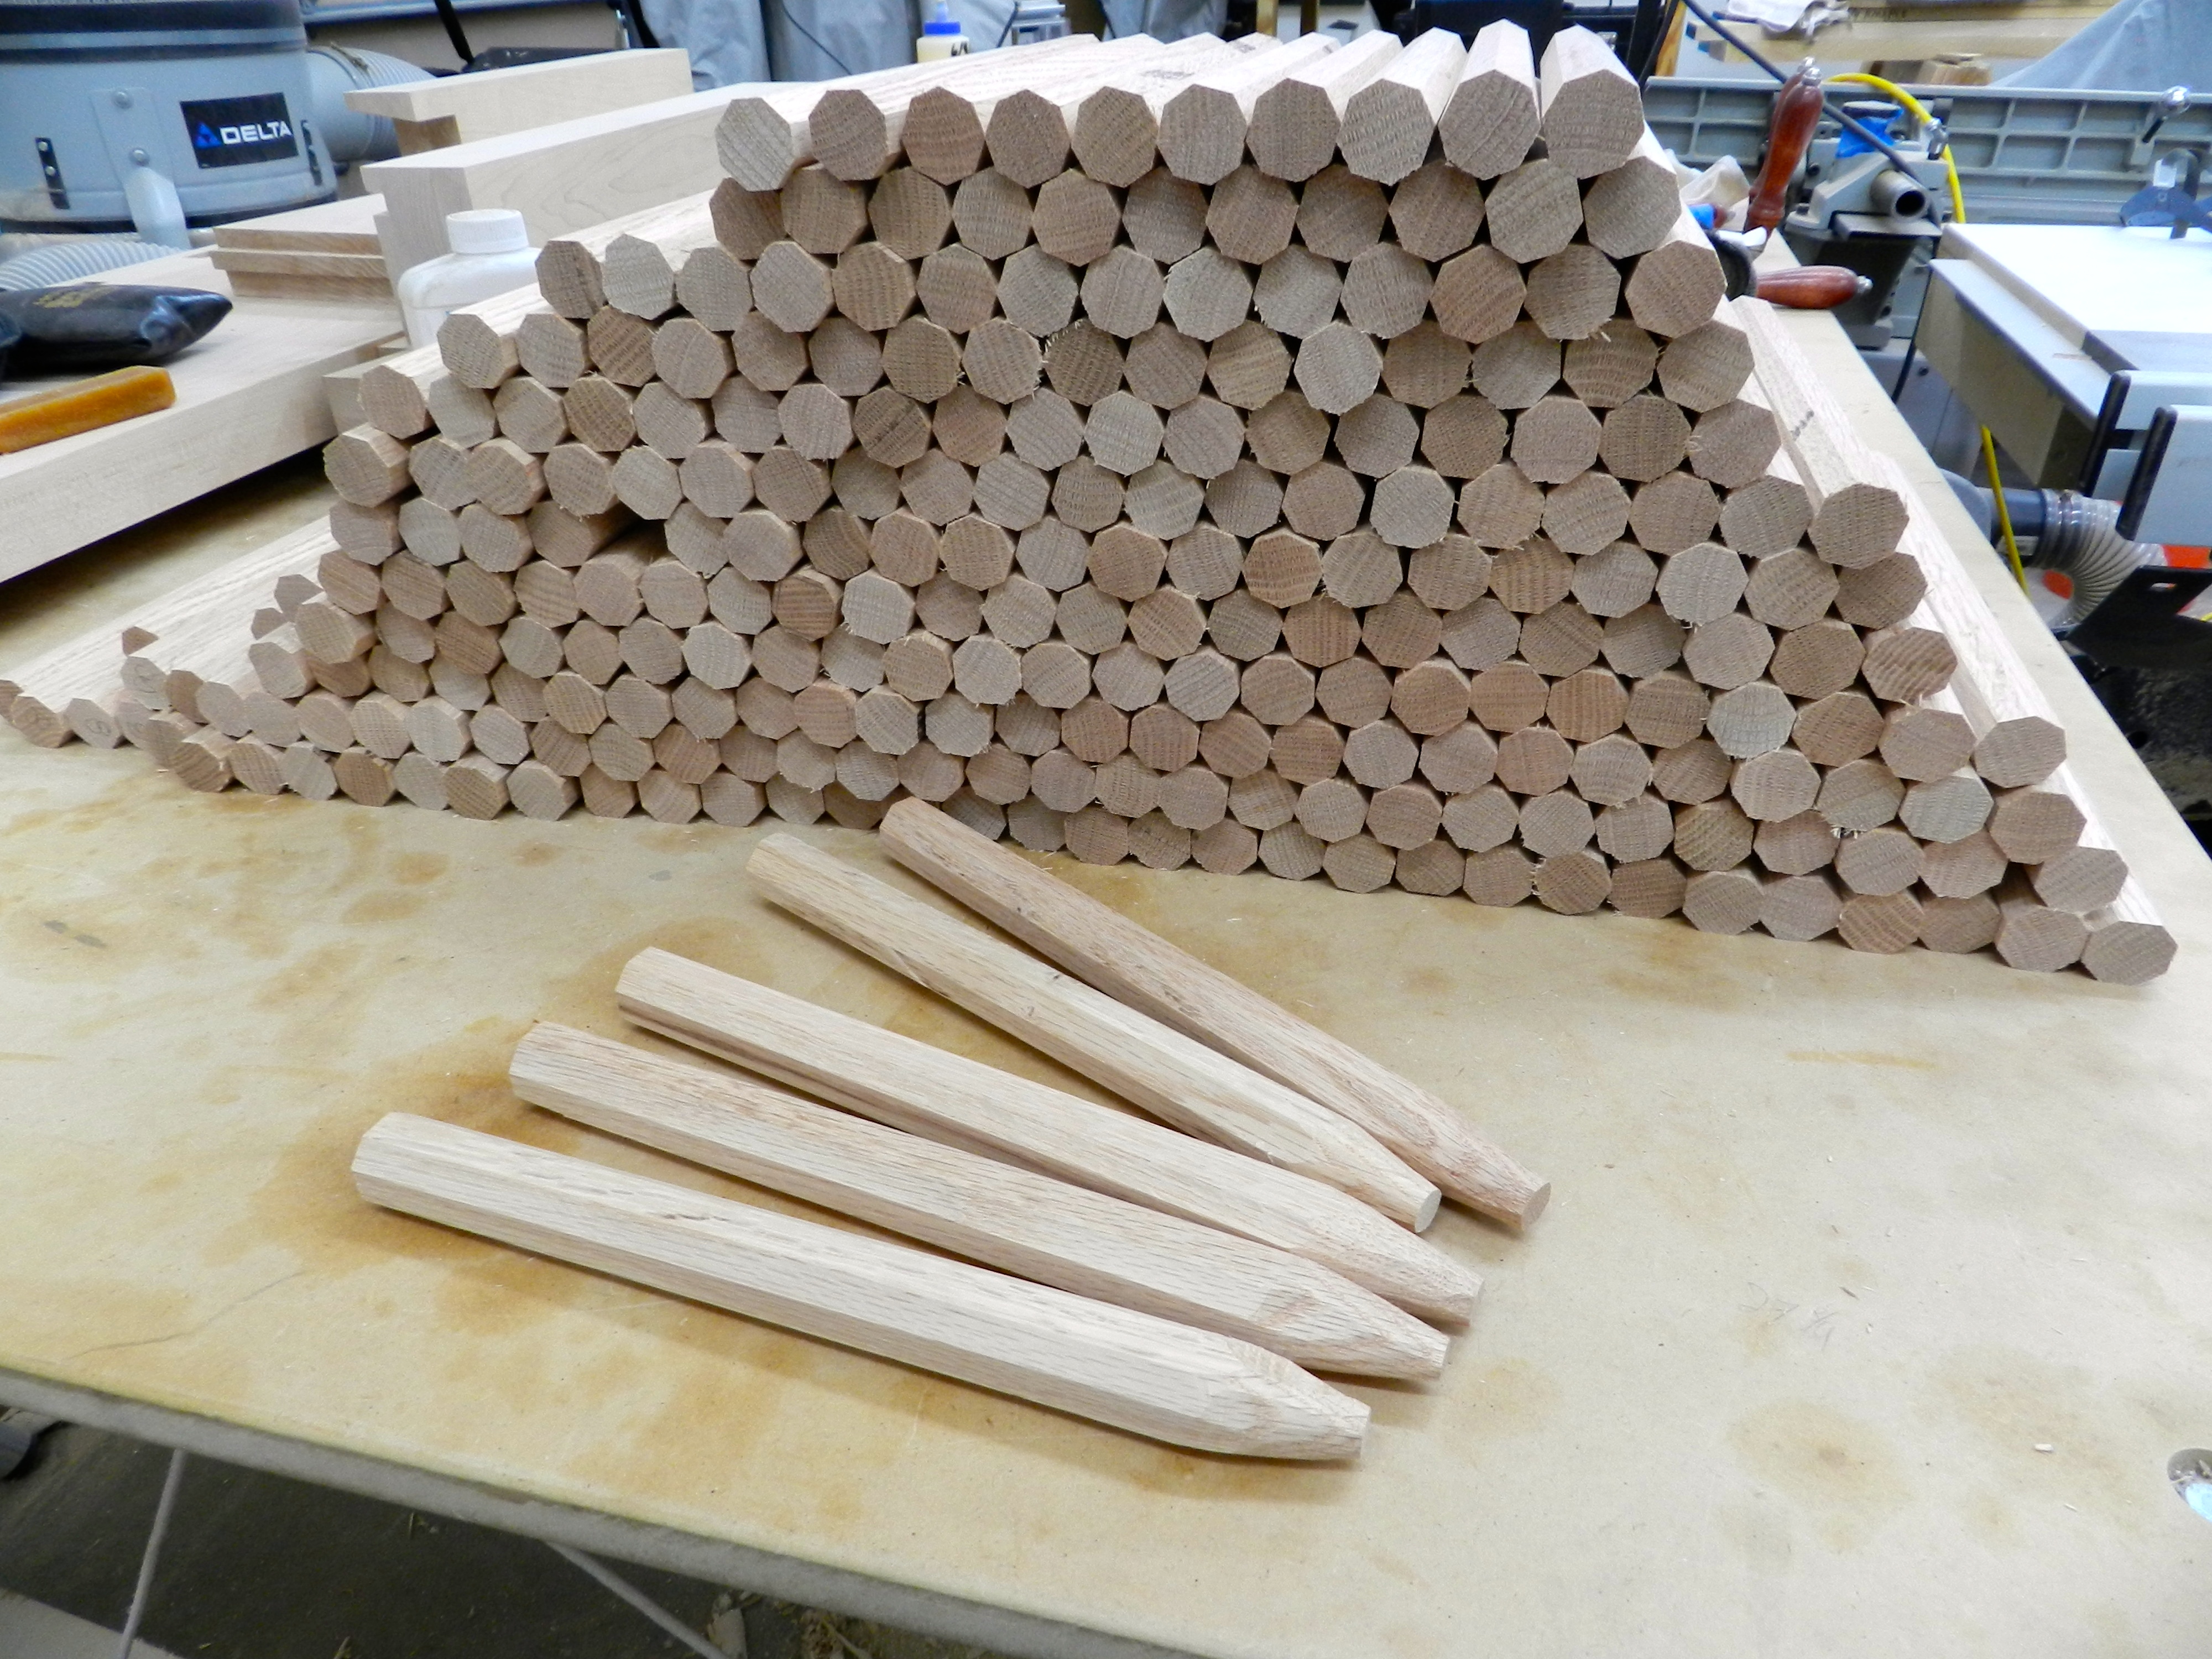
7.) I usually taper the first 2″ or so of the pin. You do not need to be overly concerned with trying to make the pins look like a sharpened pencil. You just need to knock off the corners to help guide the pin through the draw-bored joint. Anything beyond that is to suit the design aesthetic you are going for. (Some folks will want to cut the ends off a pin in the house, so all the more reason to only do what you need to do with them)
8.) Sit back and enjoy your work. Take a deep breath and repeat steps 1-7 all over again to make try pins. Try pins are slightly thinner pins used when test fitting your timber frame. I make them from hard maple for two reasons — I can visually differentiate them from the oak and the smooth hard maple is easily removed when the test fitting is complete. For this frame using 7/8″ Oak pins I make the try pins from 3/4″ hard maple stock. They are made the same way as their larger brethren.
Why are they octagons?
By making a 7/8″ octagon pin and driving it into a 7/8″ round hole the corners will bite into the wood and keep the the pin securely seated. (The diagonals across the 7/8″ octagon are slightly longer than 7/8″.) This is why you want to use smaller try-pins during test fitting, this way you are not deforming/stretching the holes before the frame is raised.
Tips for a high quality timber framing pin:
- Use kiln dried pins with a green wood frame. Use green pins with a dried frame
- I use most often use White Oak pins with green Eastern White Pine frames
- I use Hard Maple Try Pins during test fittings (try pins should be 1/8″ smaller than your final pins)
- Octagon your pin stock so that it properly bites into the joint
- Taper the ends of your pins so they will easily enter the draw bored joints
- Don’t stress too much about the tapering
- Avoid the machine turned pins — I dislike the look, the cost (~$2 each), holding power, fact that they are not historical etc
Where can I learn more about timber framing?
- Join the Timber Framer’s Guild (www.tfguild.org) and read the many good publications they have
- Read any of the books by Jack Sobon, Ted Benson or Ed Levin on the topic of Timber Framing
- Take a class in timber framing at The North Bennet Street School (with Rich Friberg or me), or at the Heartwood School in Western MA
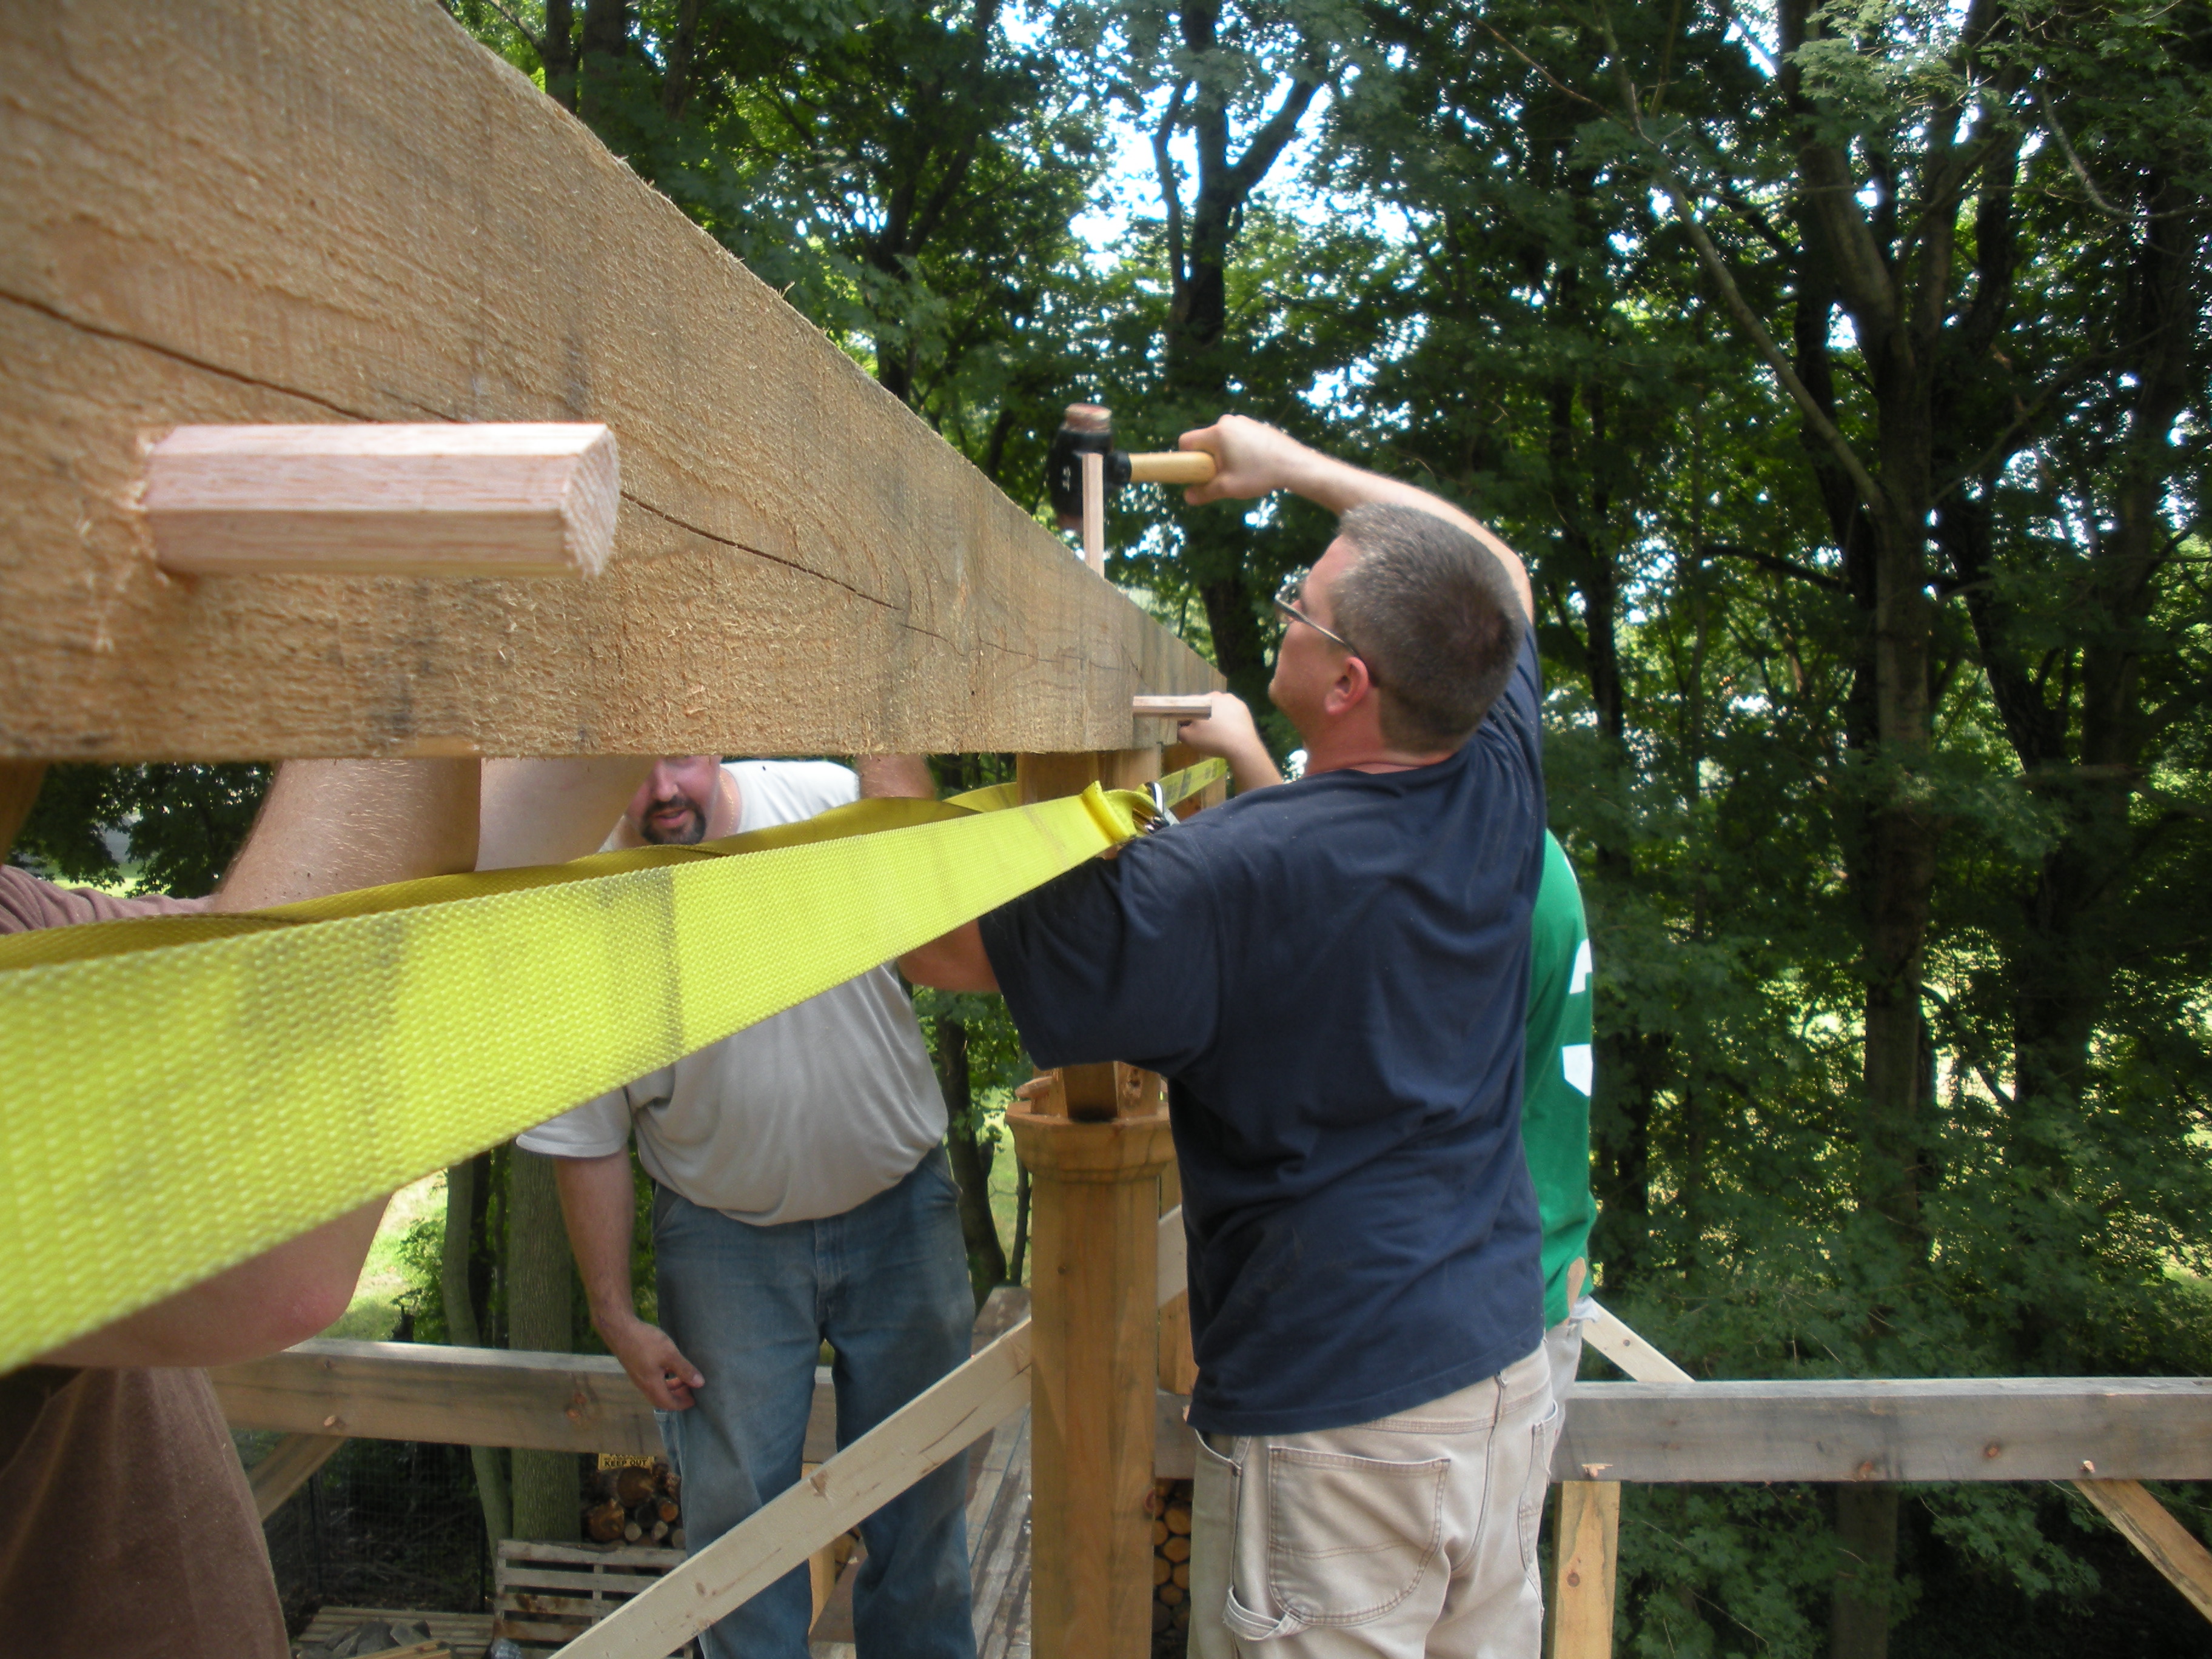
The next time you are in a barn or timber framed building I hope that you will take a moment to examine the pins holding the joinery together.
-Bill
