The ax is a noble tool. One of, if not the earliest tools used by man it has been by our side since time immemorial. Different cultures mythologize different axes as part of their cultural heritage, from prehistoric cave drawings, to vikings to Native Americans to western pioneers but at their core the ax and its purpose is the same. All of these cultures had similar needs– to provide food, shelter, and protection for its citizens.
Over time this commonality seemed to fade away, relegated to a cob-webbed corner of the barn or missing from the home altogether as many people live in a world where providing for food, shelter, protection etc is derived from modern trade and conveniences. For those that remember their father or grandfather using an ax and want to re-capture that piece of their heritage, even finding a decent ax in a modern store will often only turn up cheap caricatures of what an ax used to be.
Rather than lament this loss I fell down the hand-tool rabbet hole many years ago and I have no intention of returning to ignorant life I led when I thought power tools and jigs were the best way forward. Sure I still have plenty of power tools for some mundane tasks like thicknessing wood in volume, but more often than not I reach for a hand tool — to enjoy the relative quiet (always good as their is a baby in the house), the energy efficiency (I can stand to lose more weight so burning calories is better than burning kilowatts), the speed, the accuracy and connection to the past.
Nothing I wax on about in this post is new or novel in the woodworking community, but it strikes a nerve for me that can at times be hard to articulate. A quote from early in Roy’s first book aptly summarizes a core bit of his philosophy that is near and dear to my own heart:
“I teach traditional hand-tool woodworking — how to start with a tree and an axe and make one thing after another until you have a house and everything in it. The satisfactions of this work are immediate and personal. You find the tree, fell it, shape the wood, and join it together. The mistakes and successes, the accidents and discoveries are between you and the tree.” — Roy Underhill ‘The Woodwright’s Shop: A Practical Guide to Traditional Woodcraft’
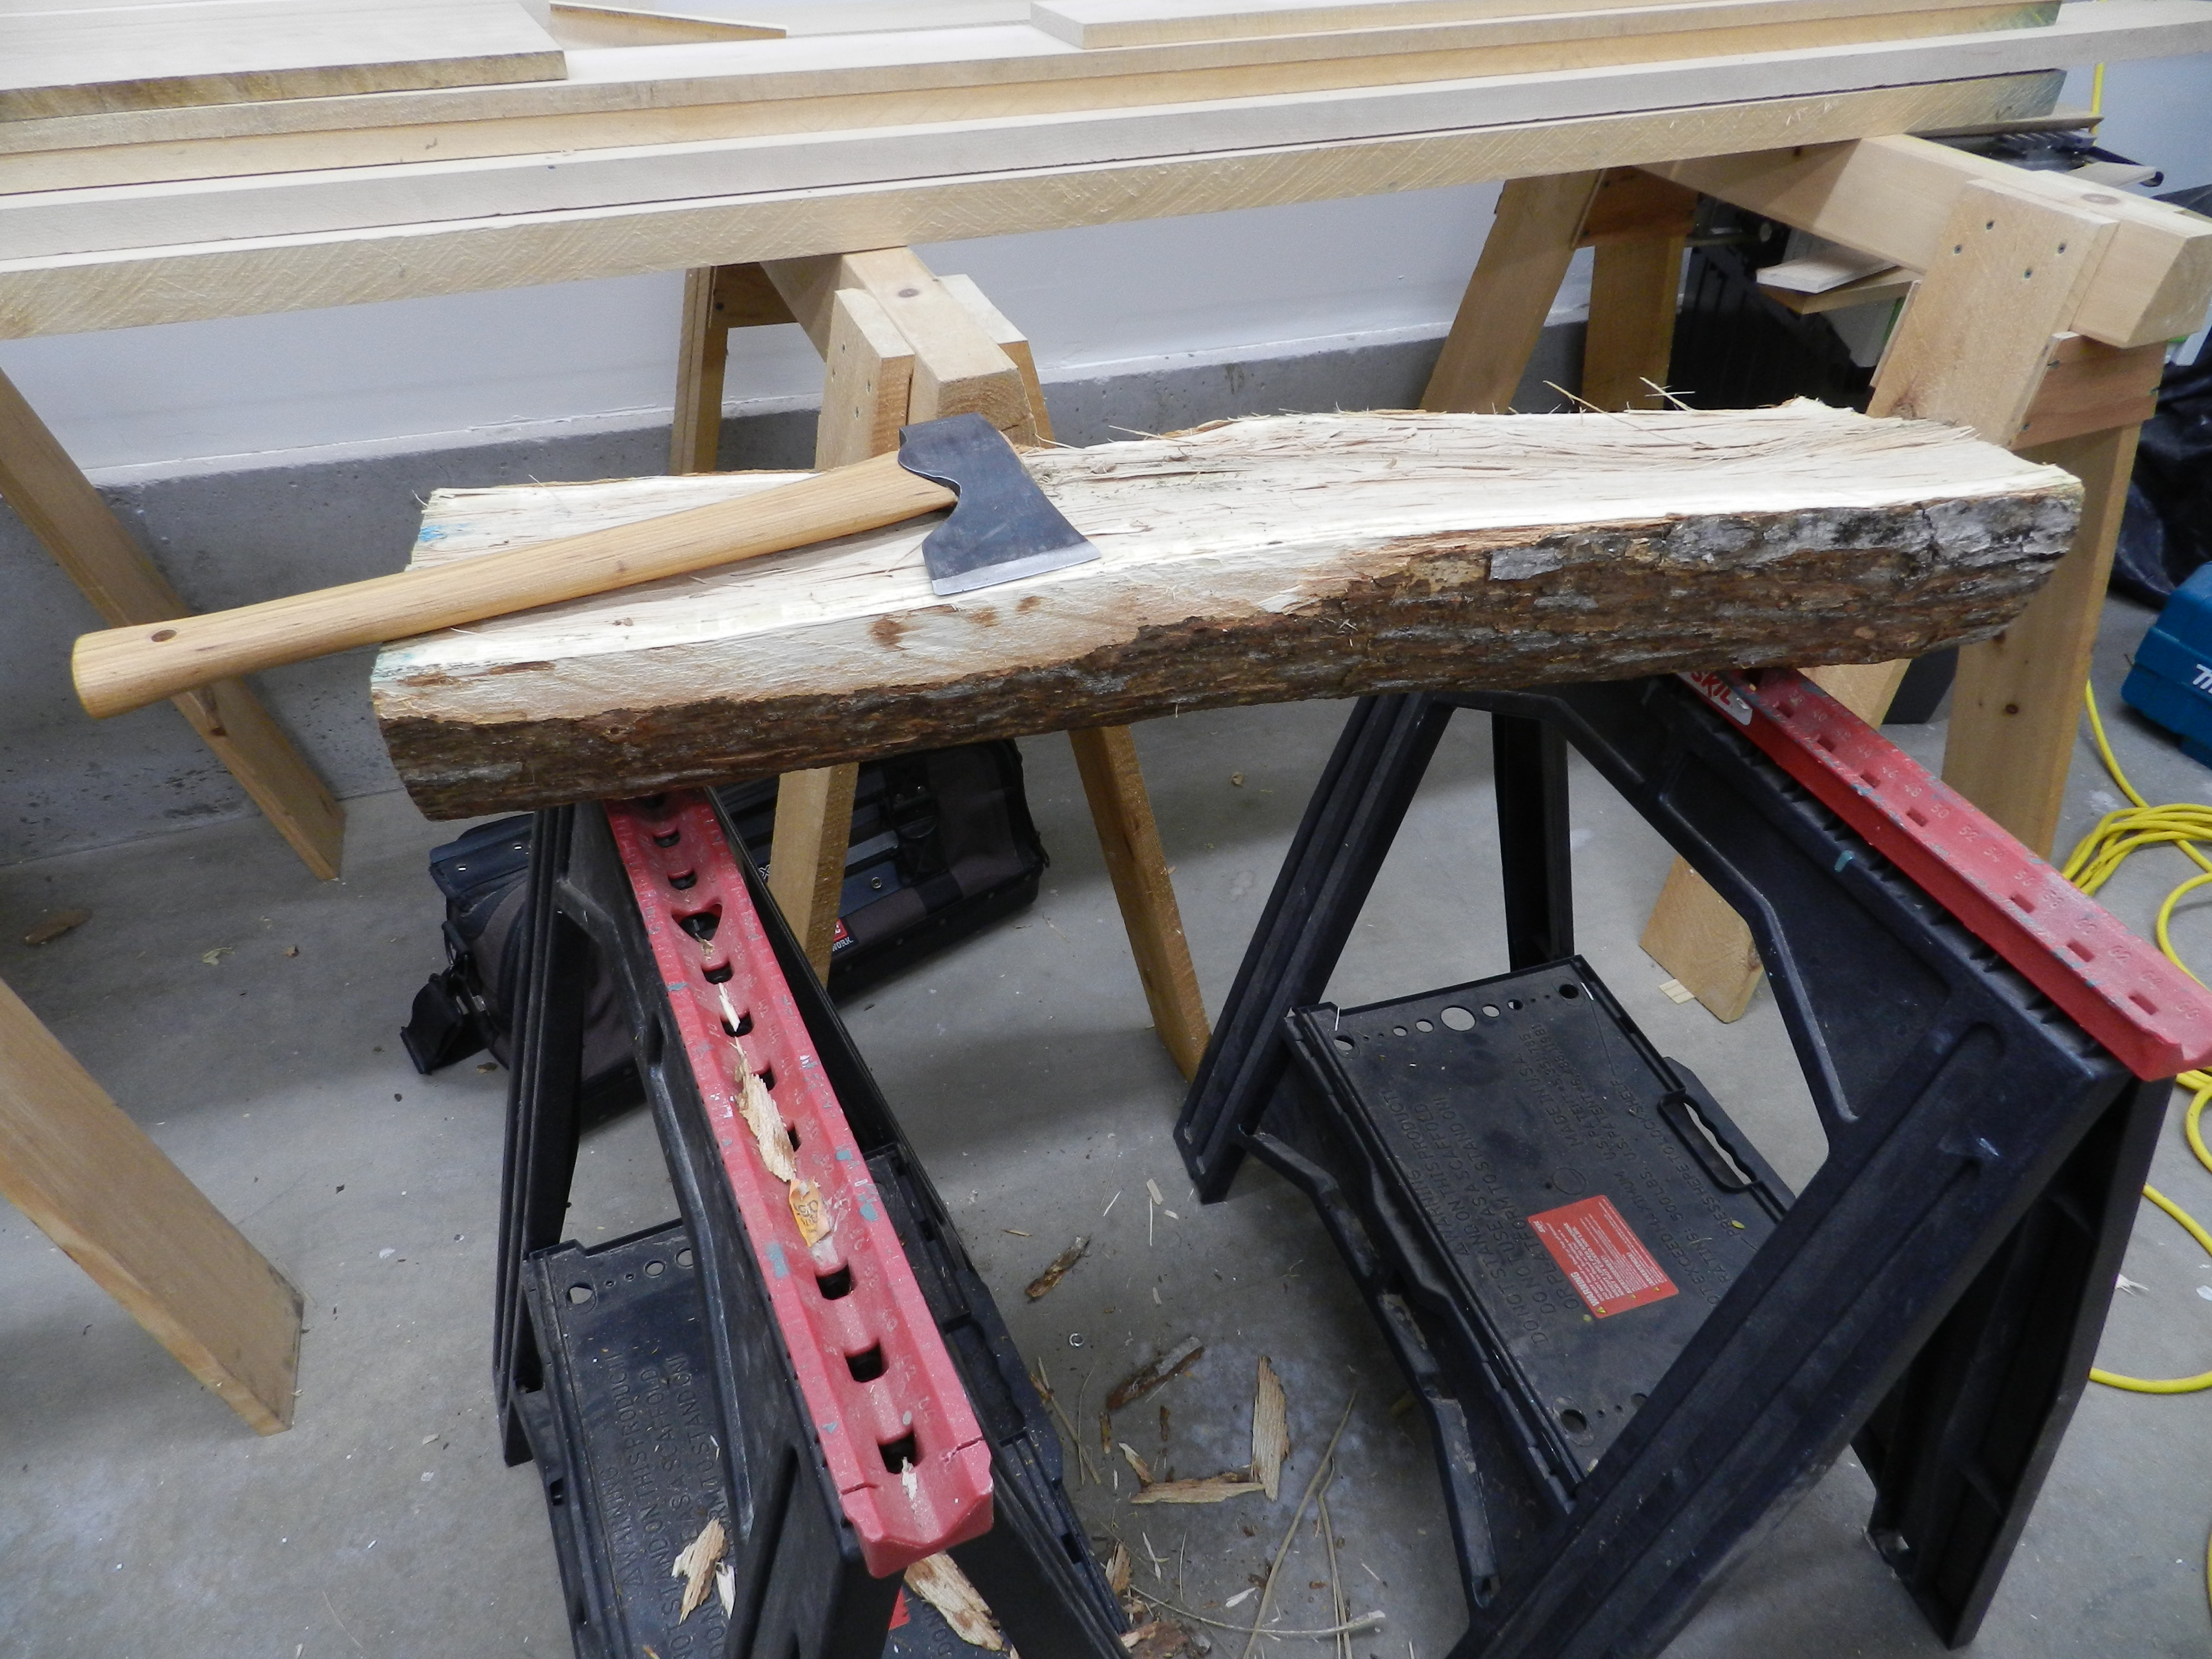
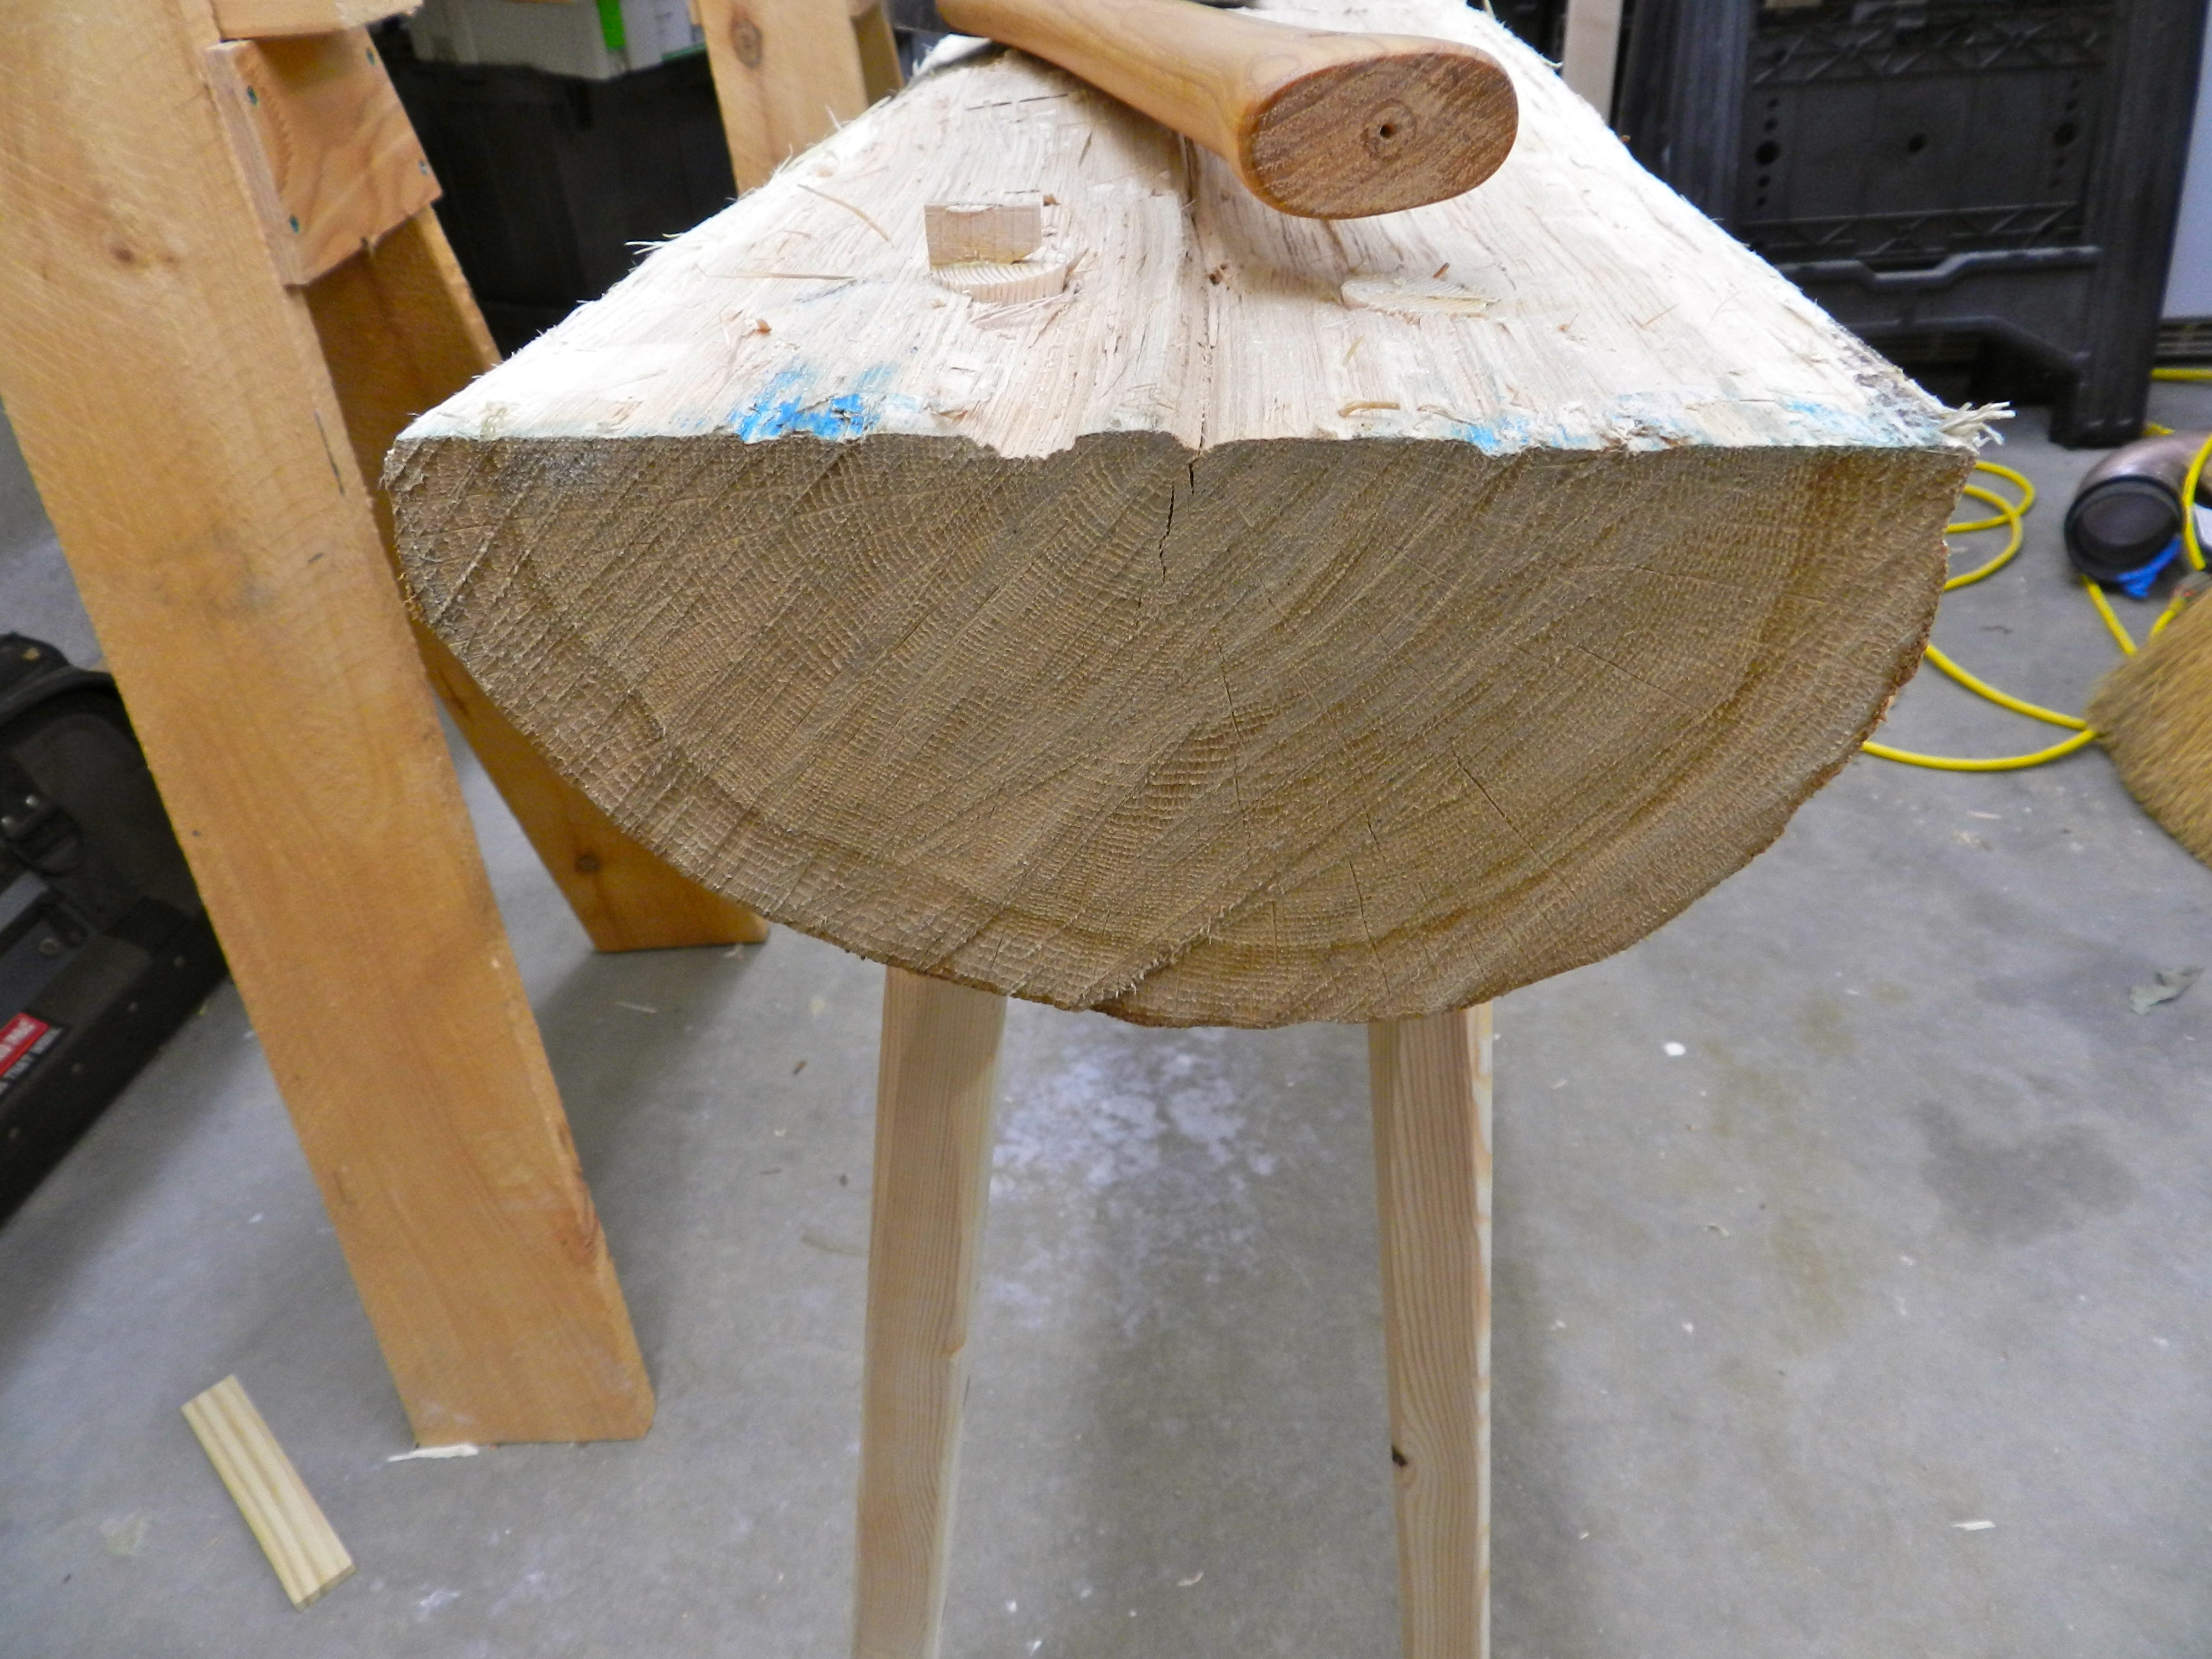
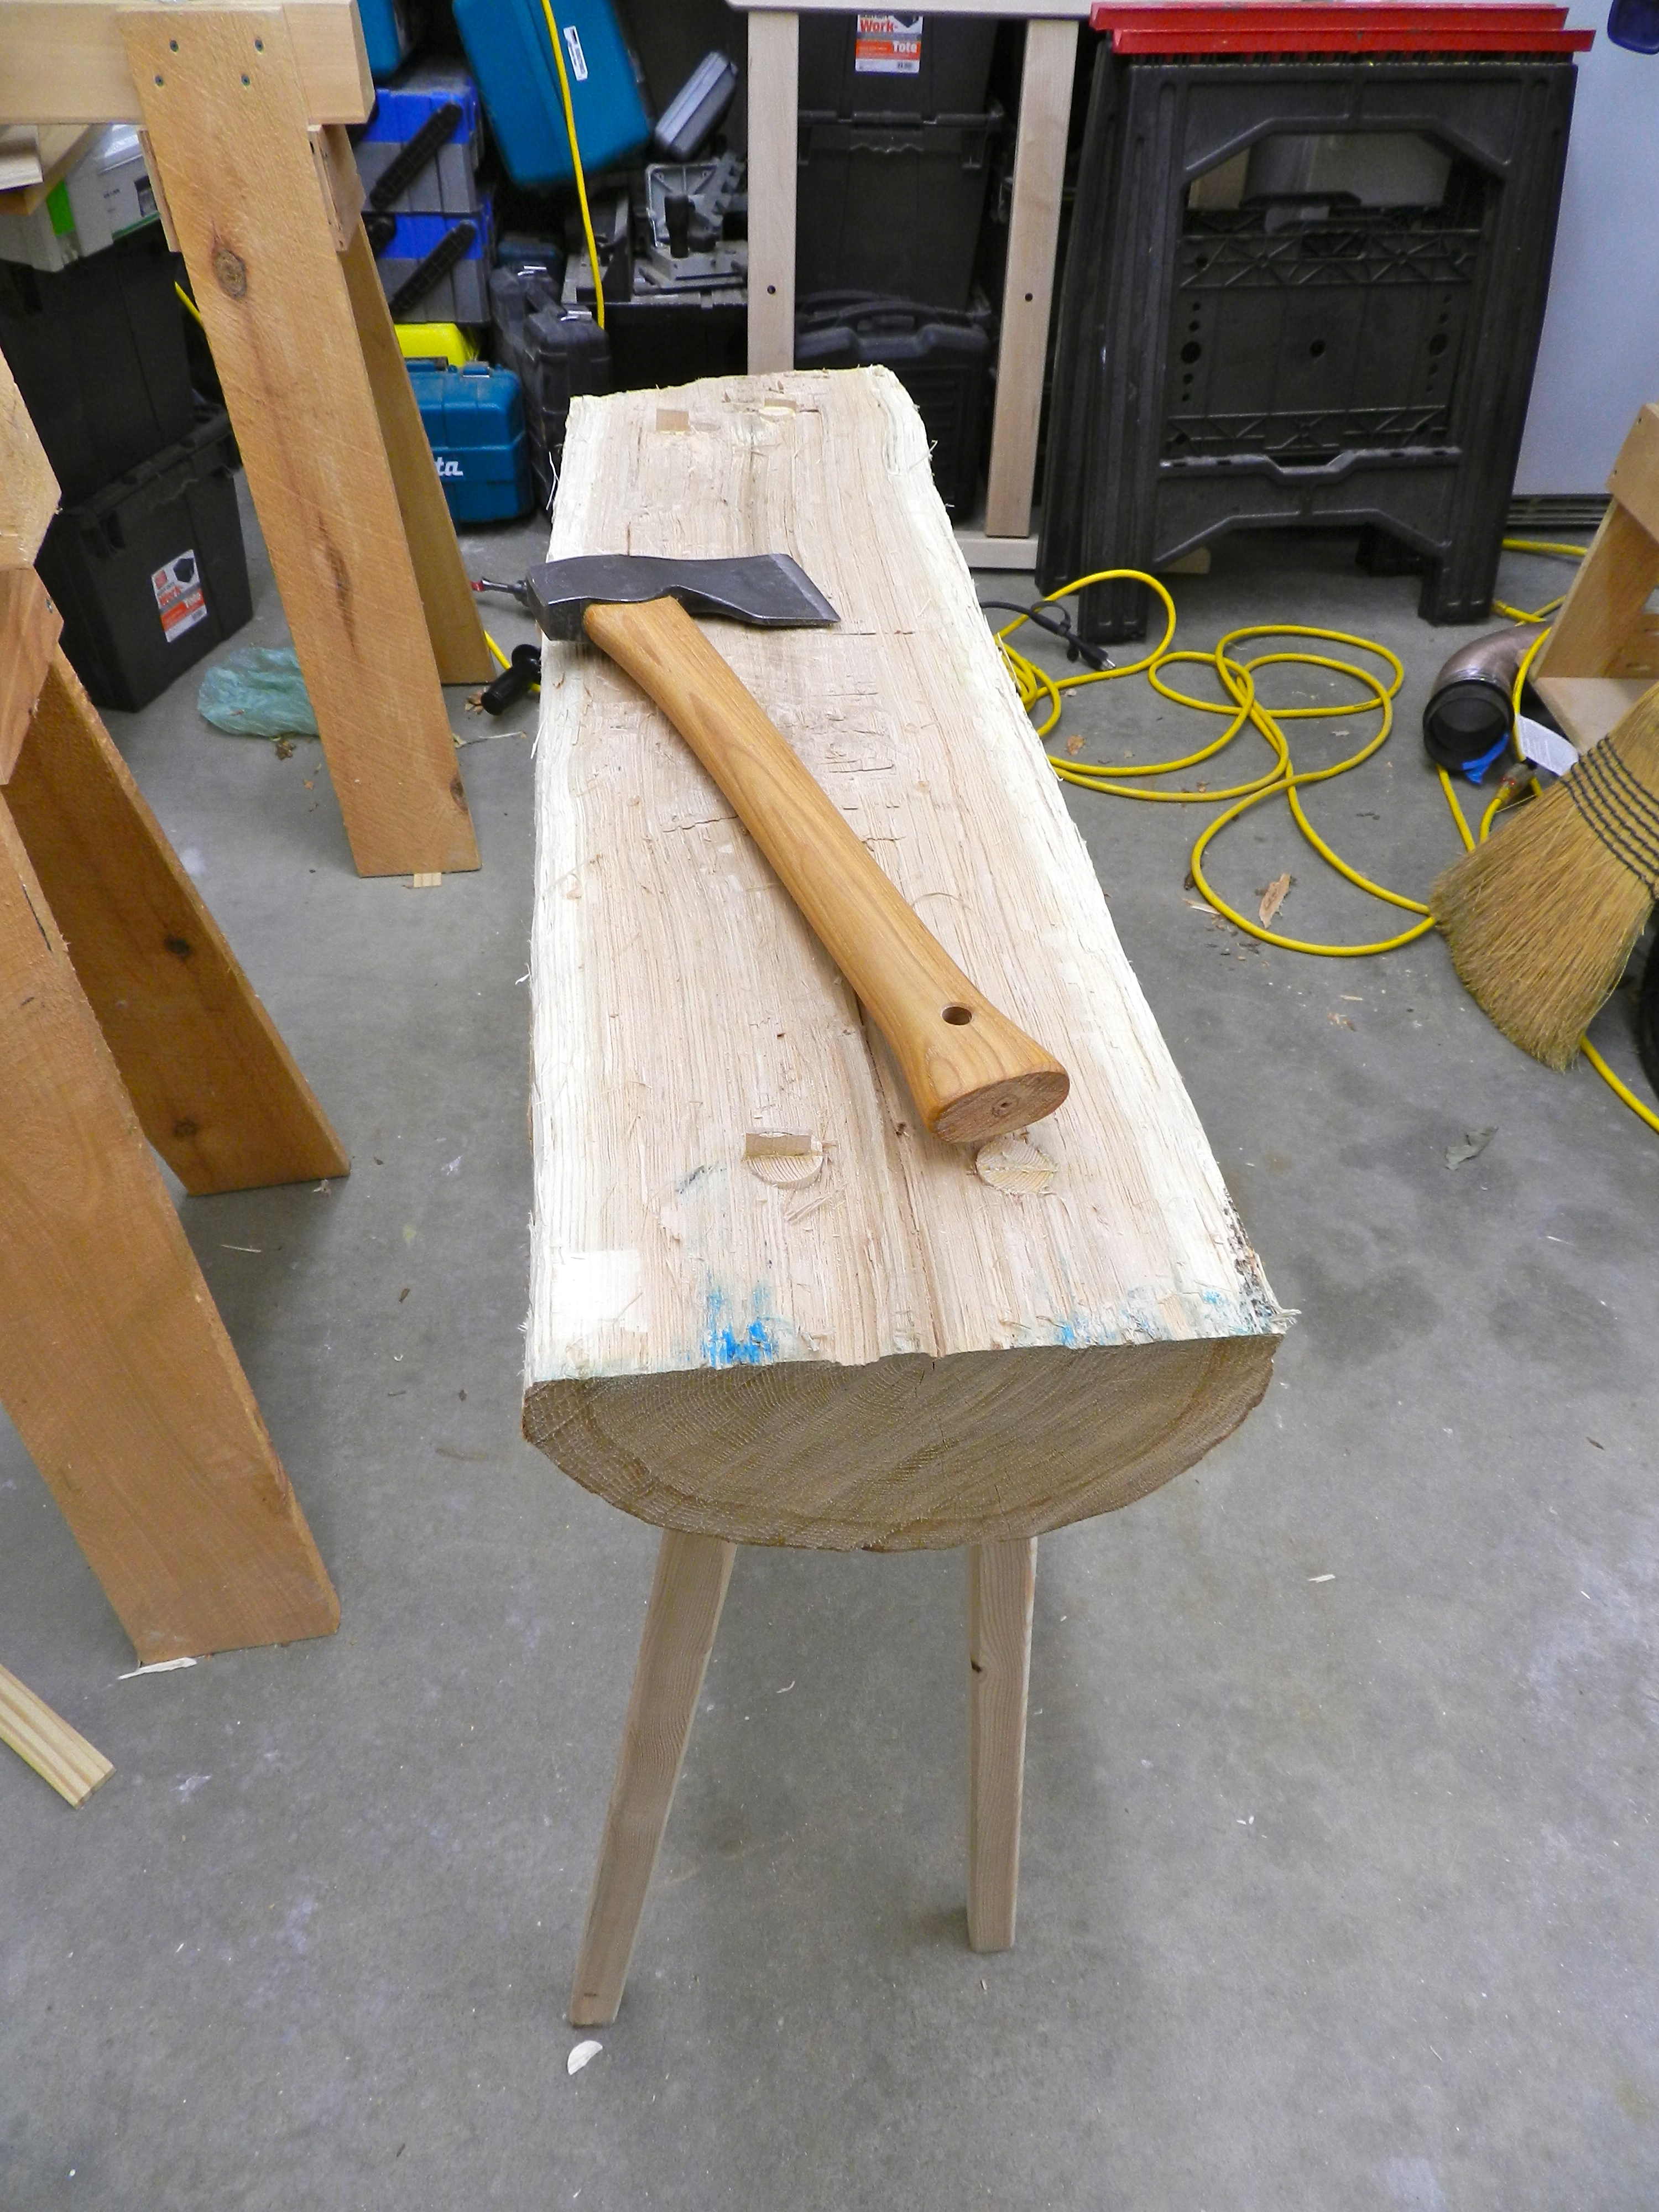
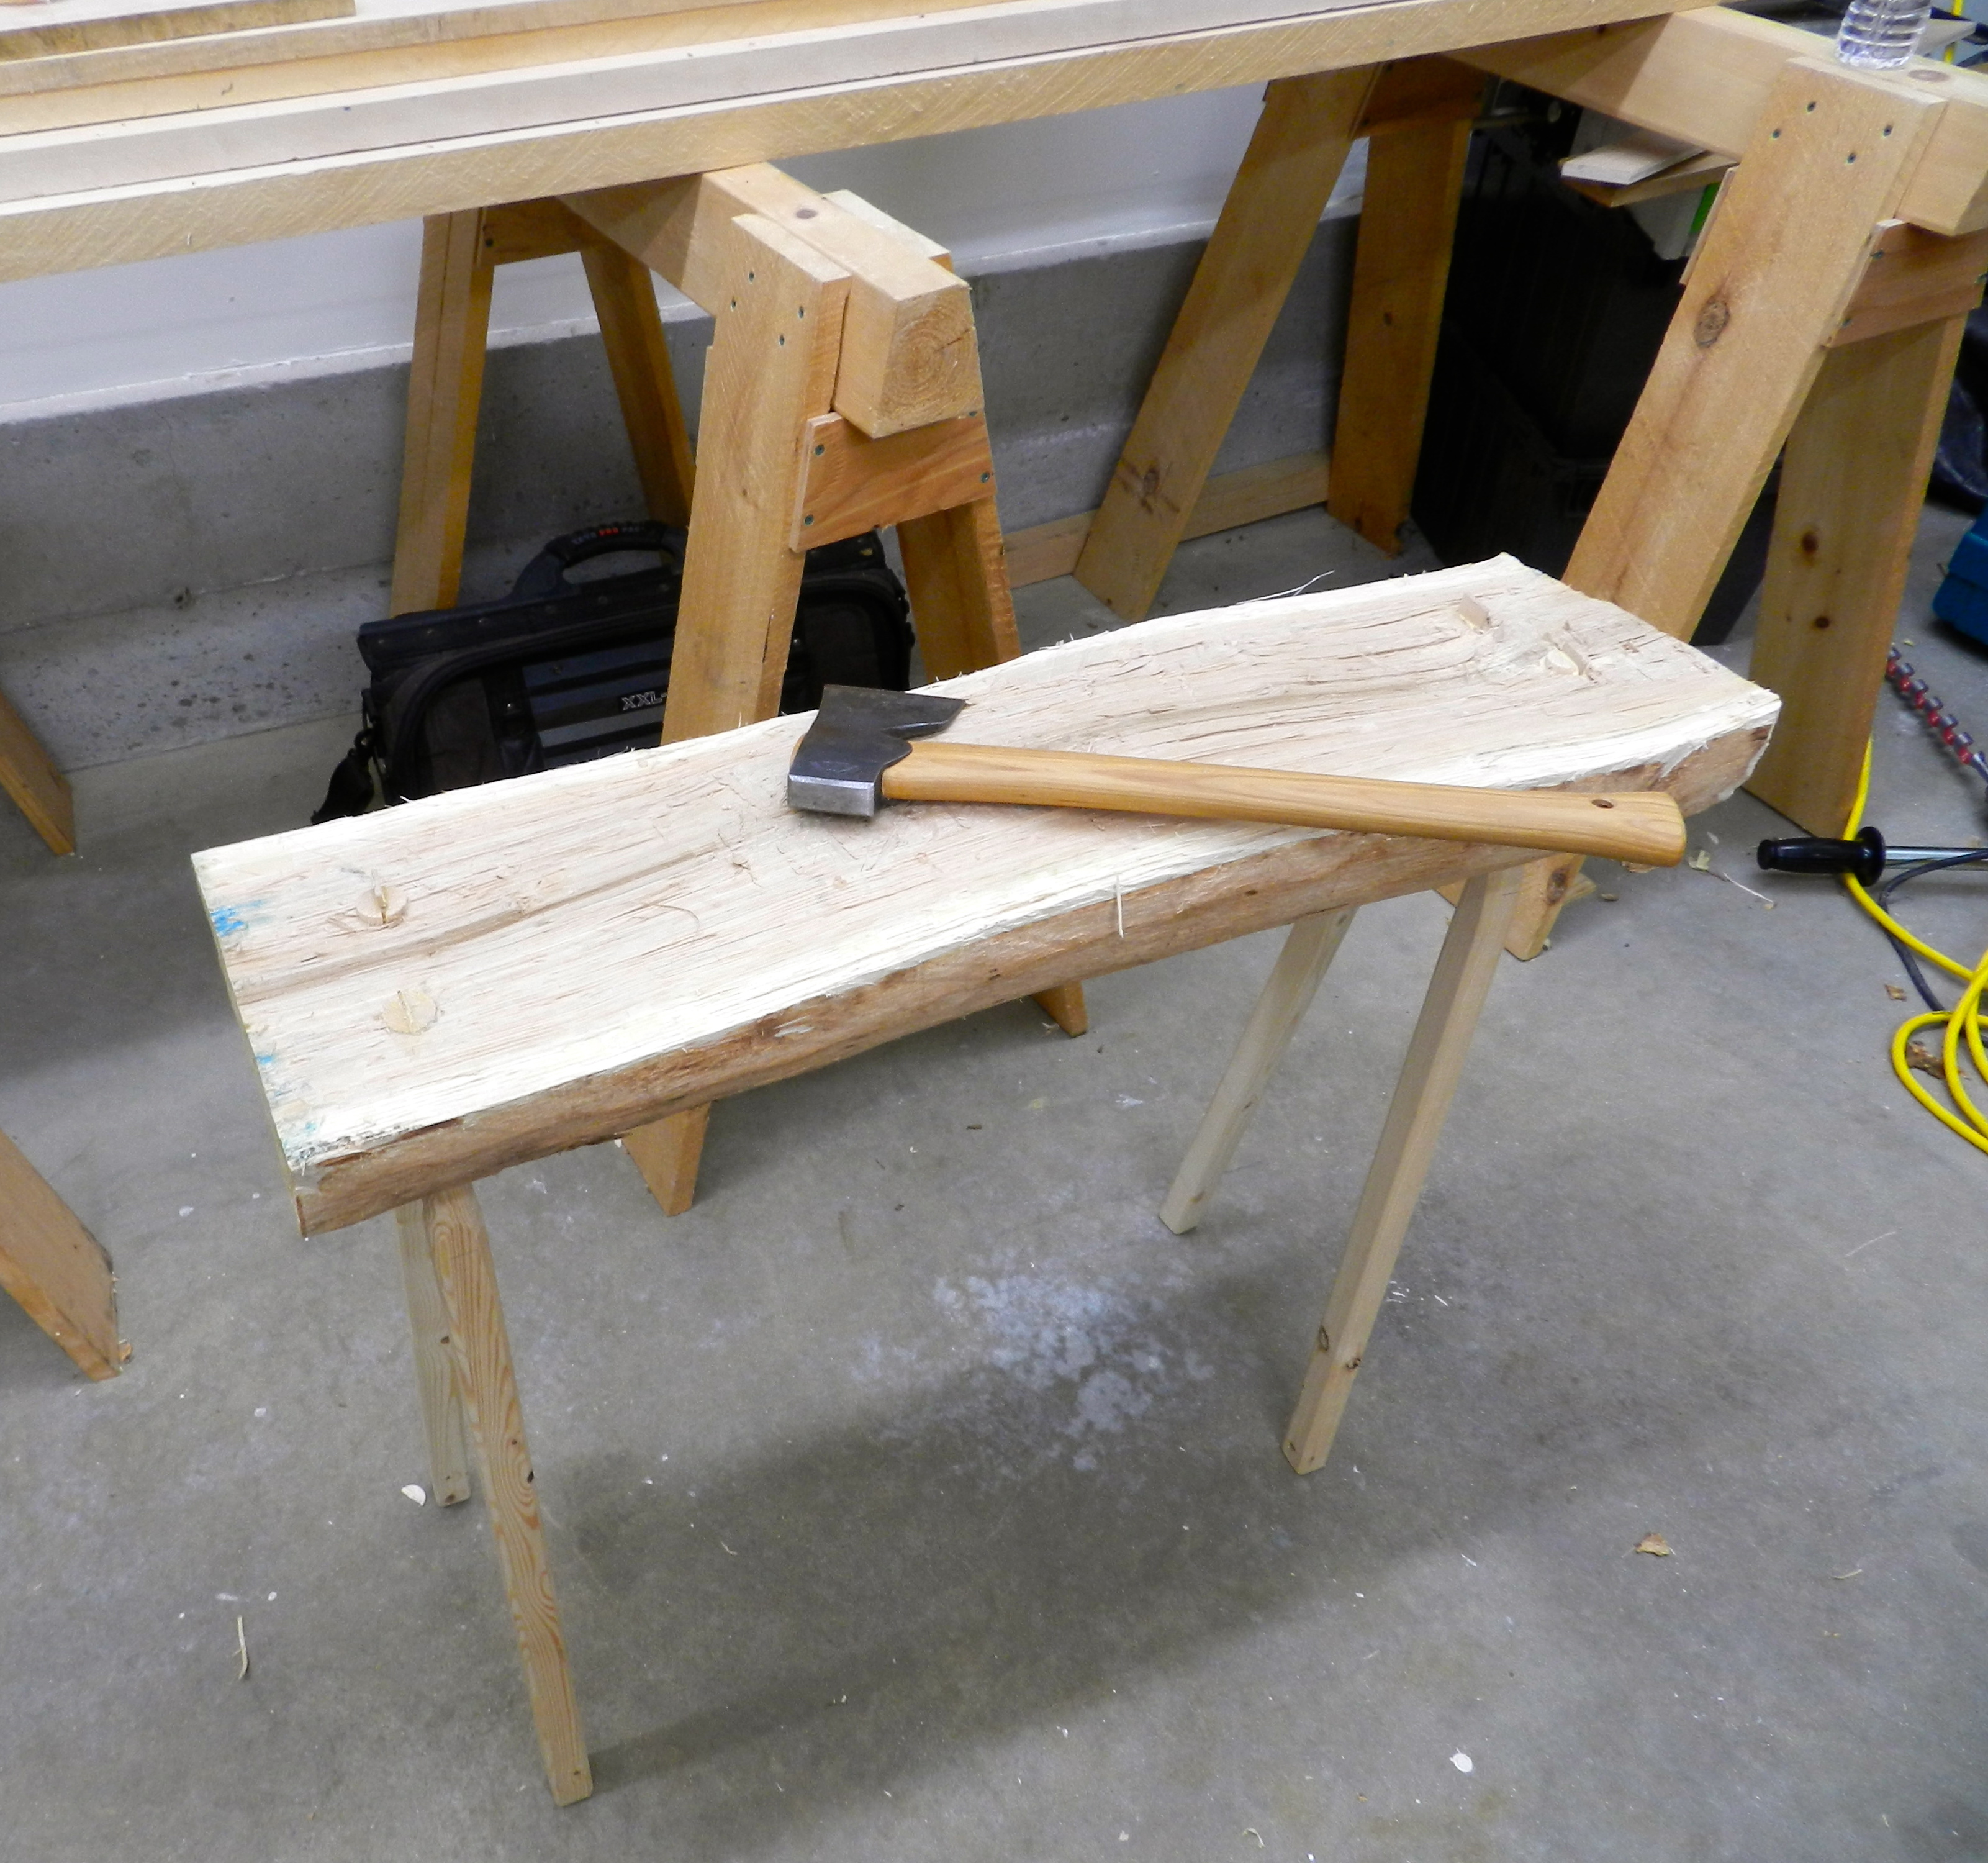
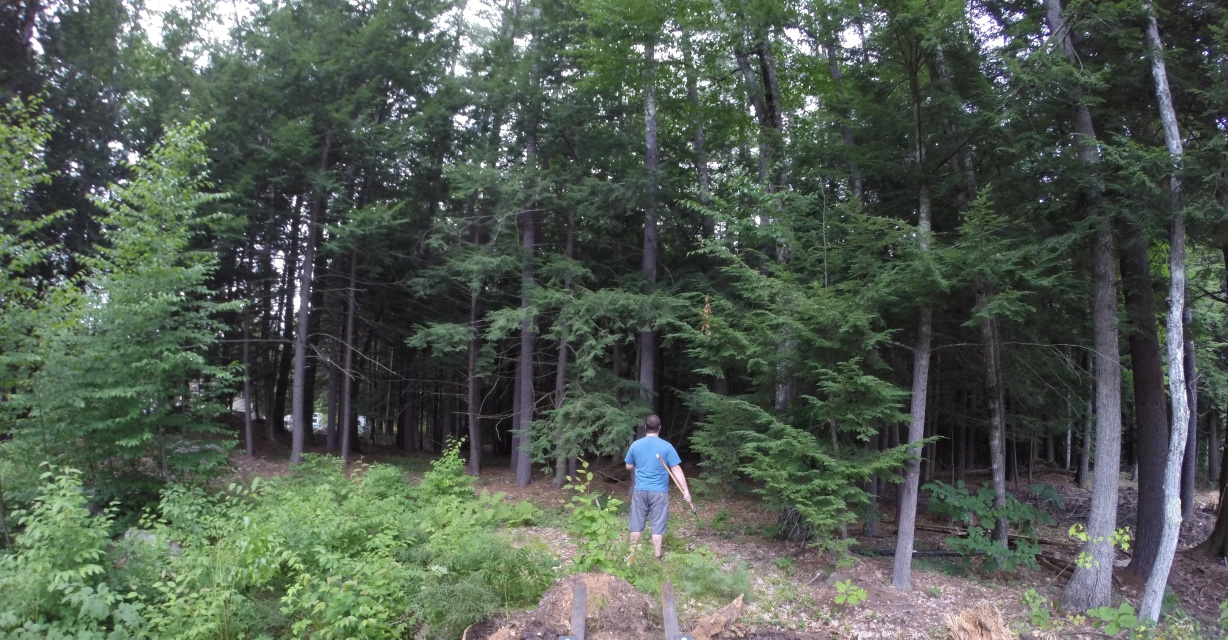
I owe a big debt of gratitude to Roy Underhill for helping me get in touch with my inner Carpenter/Joyner via his show, his books and in person classes. At NBSS I got real familiar with a felling ax and a hewing ax for hewing timbers, but I never took down a tree by hand using an ax. Even though I had the axes on hand I always used my trusty chainsaw. On a recent weekend of clearing trees in the yard I decided to get an item off my bucket list, grab my trusty Gransfors Bruks felling ax (sharpened/maintained so that I could shave with it if need be), and fell a tree by hand.
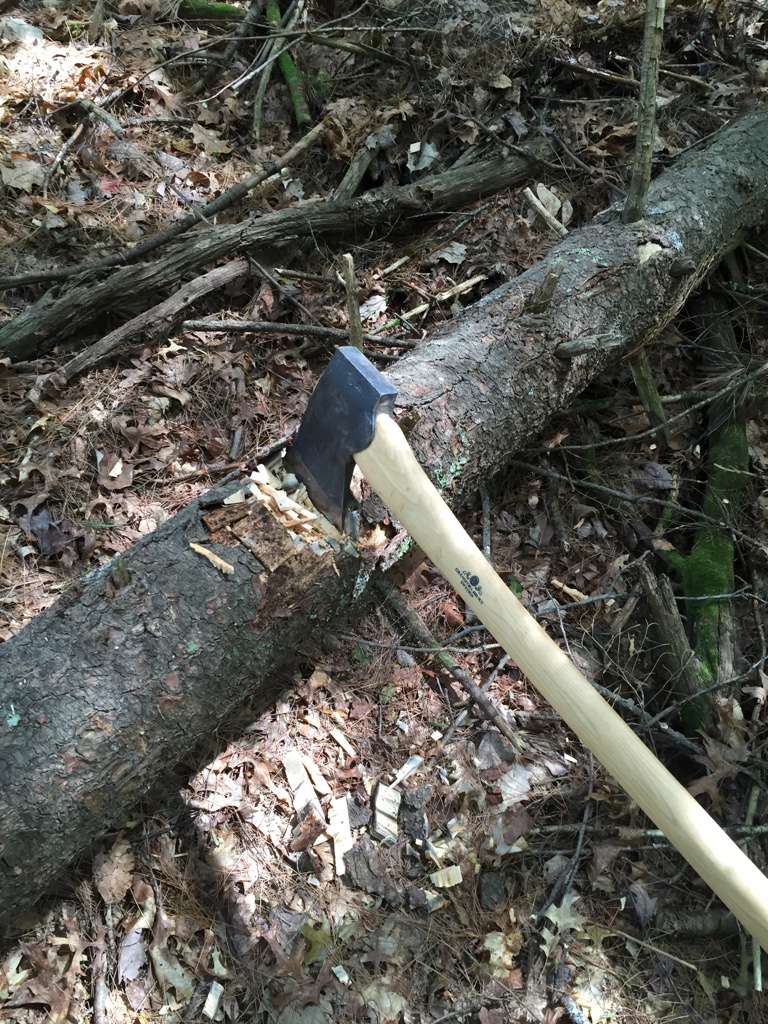
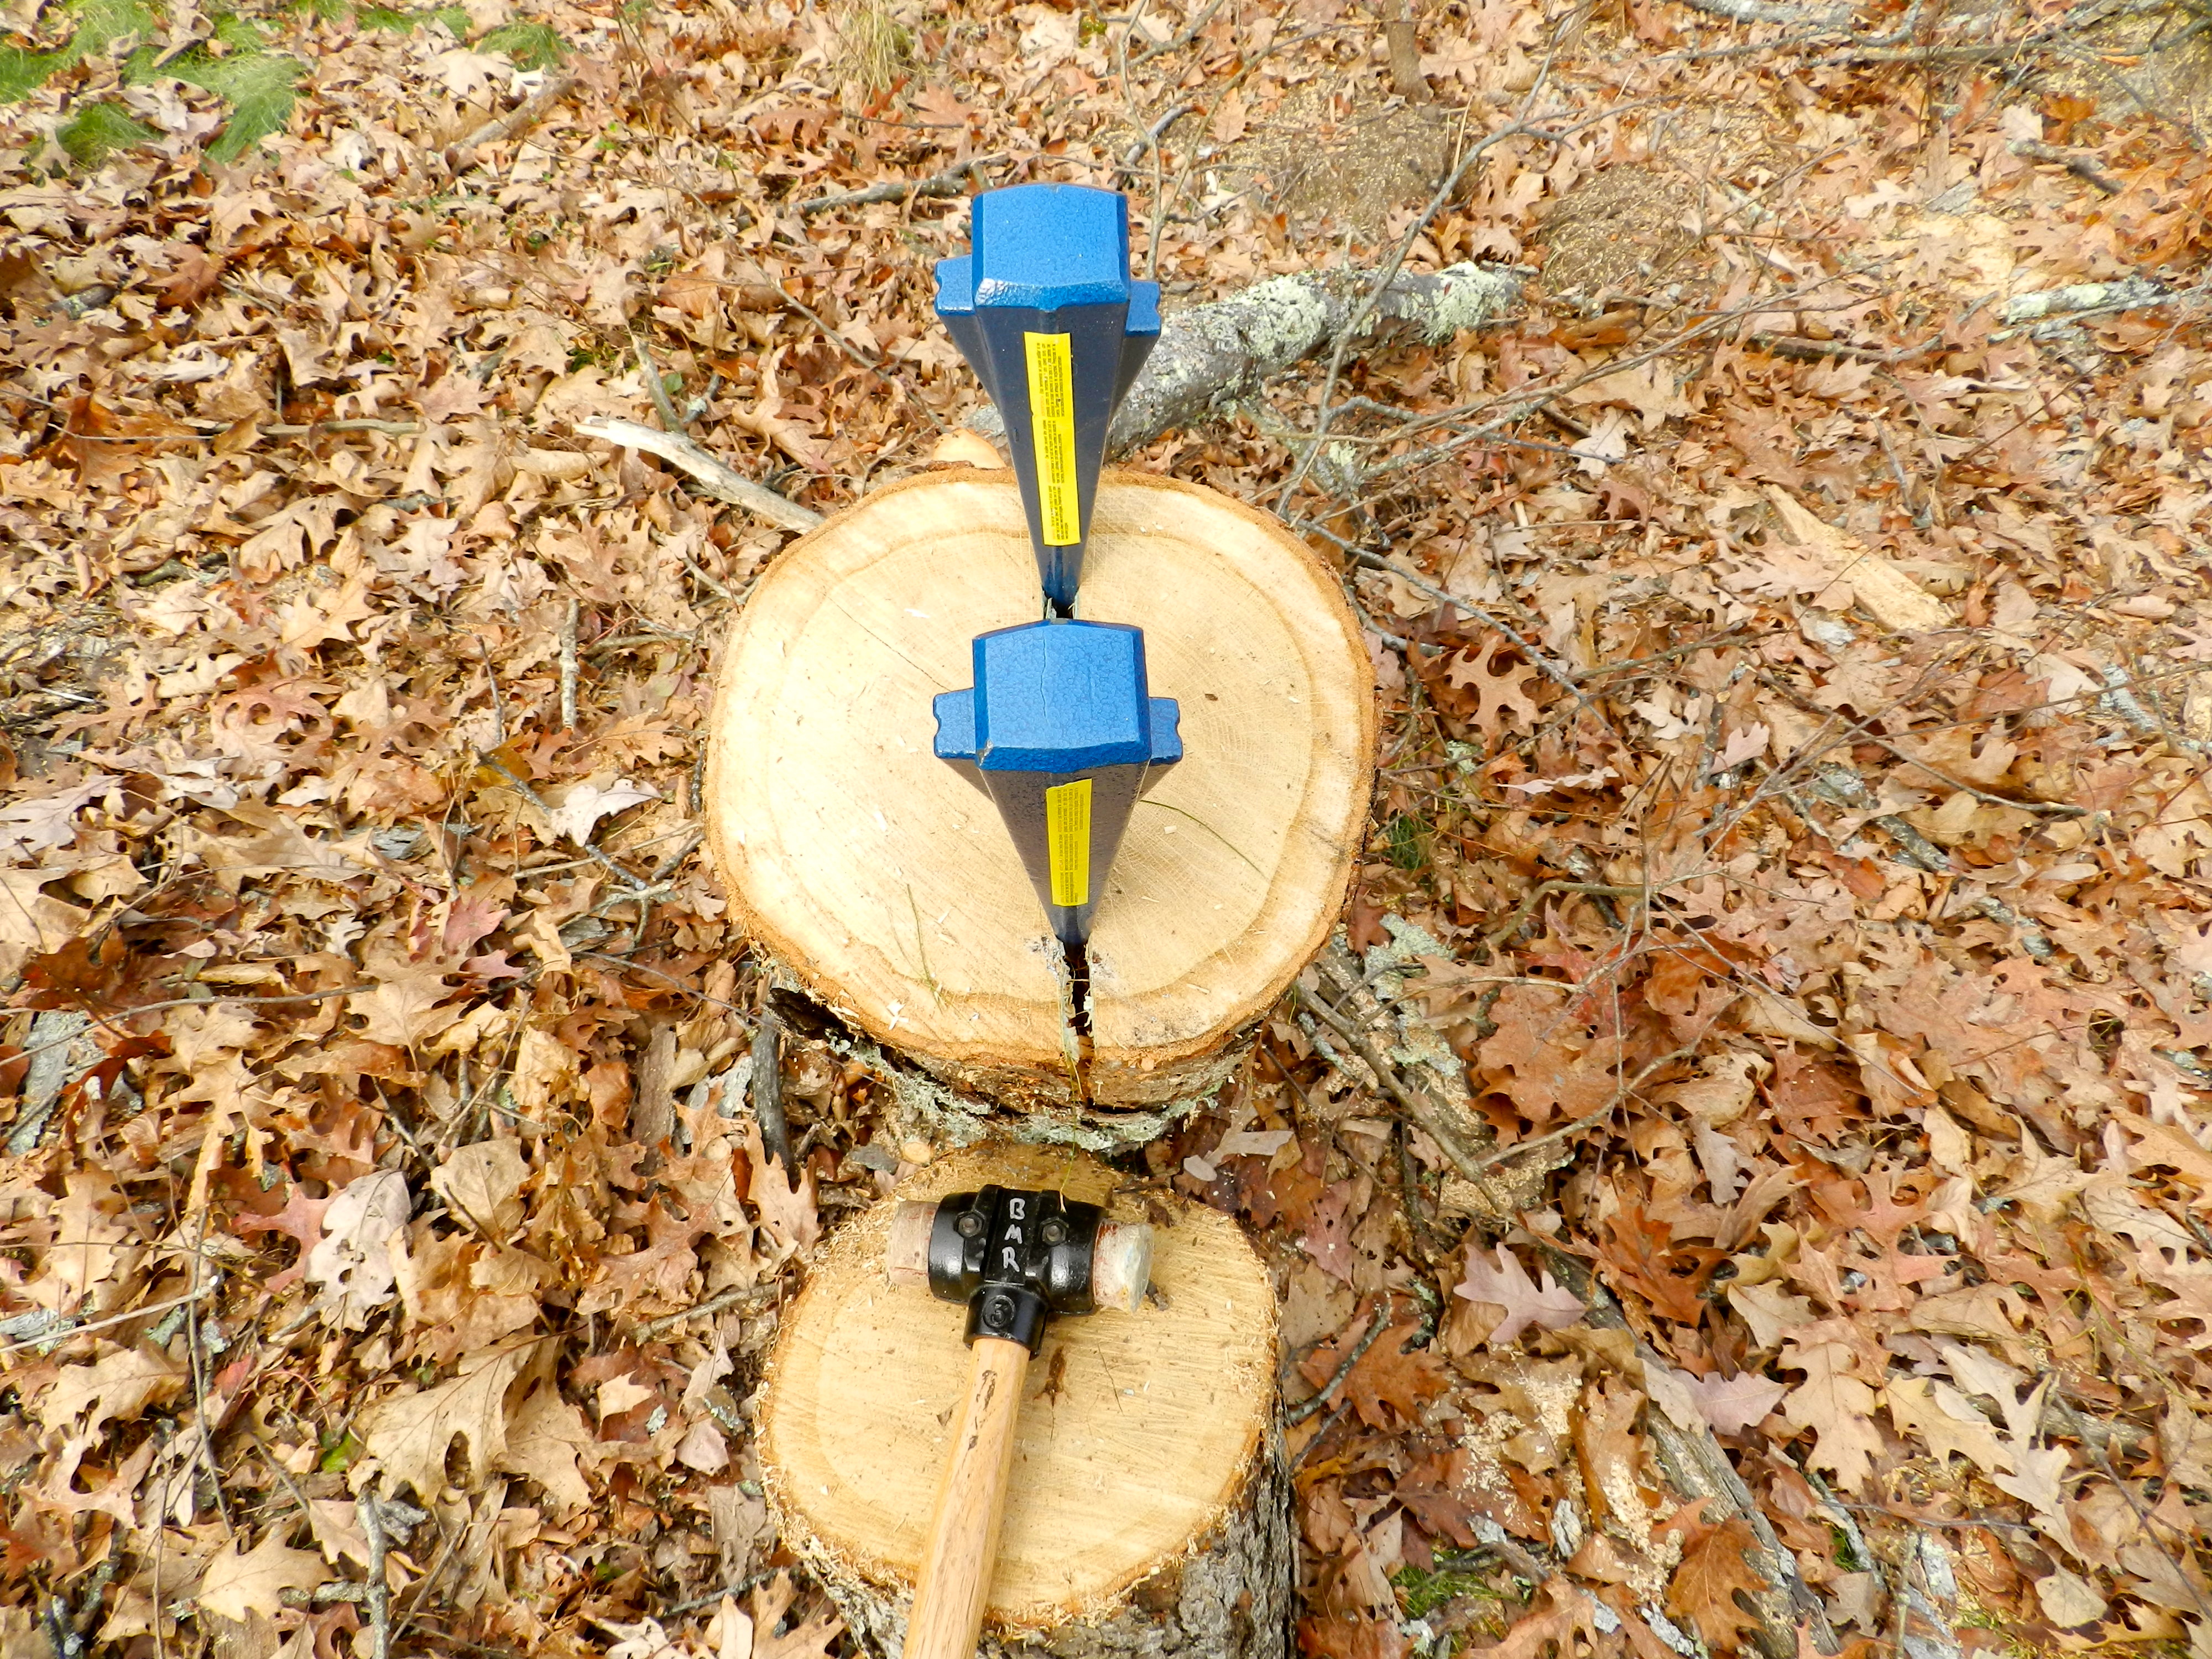
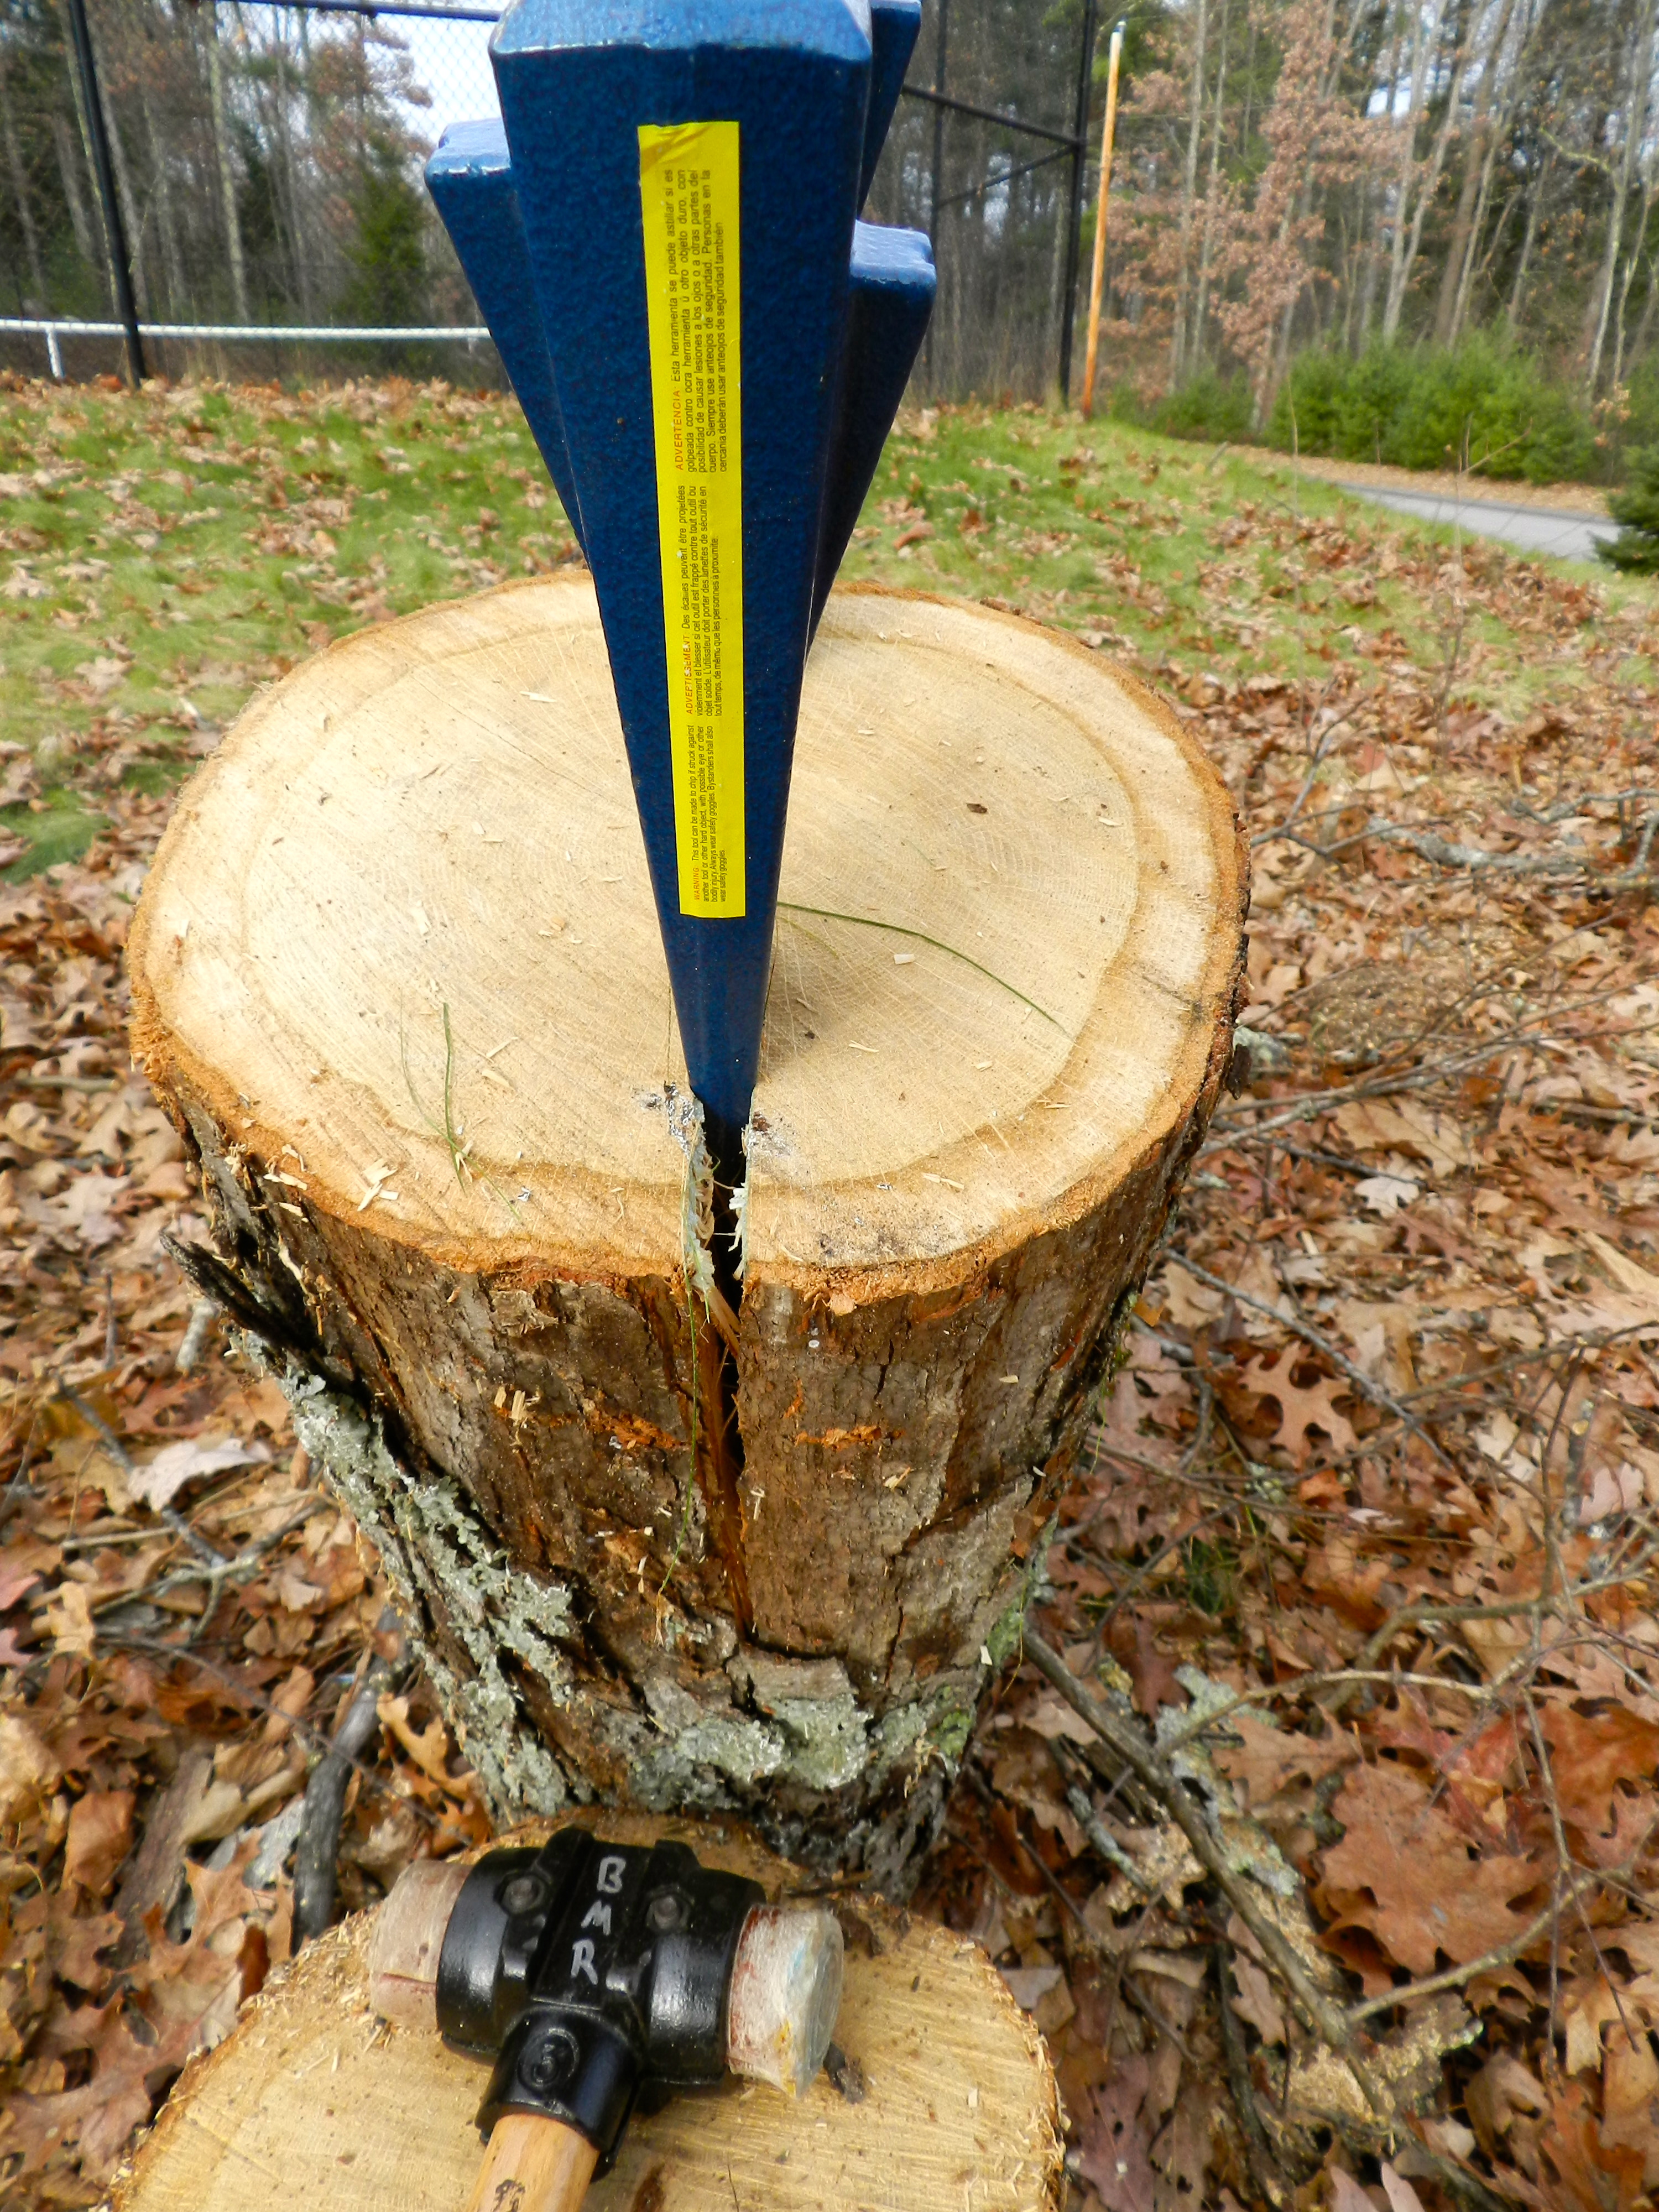
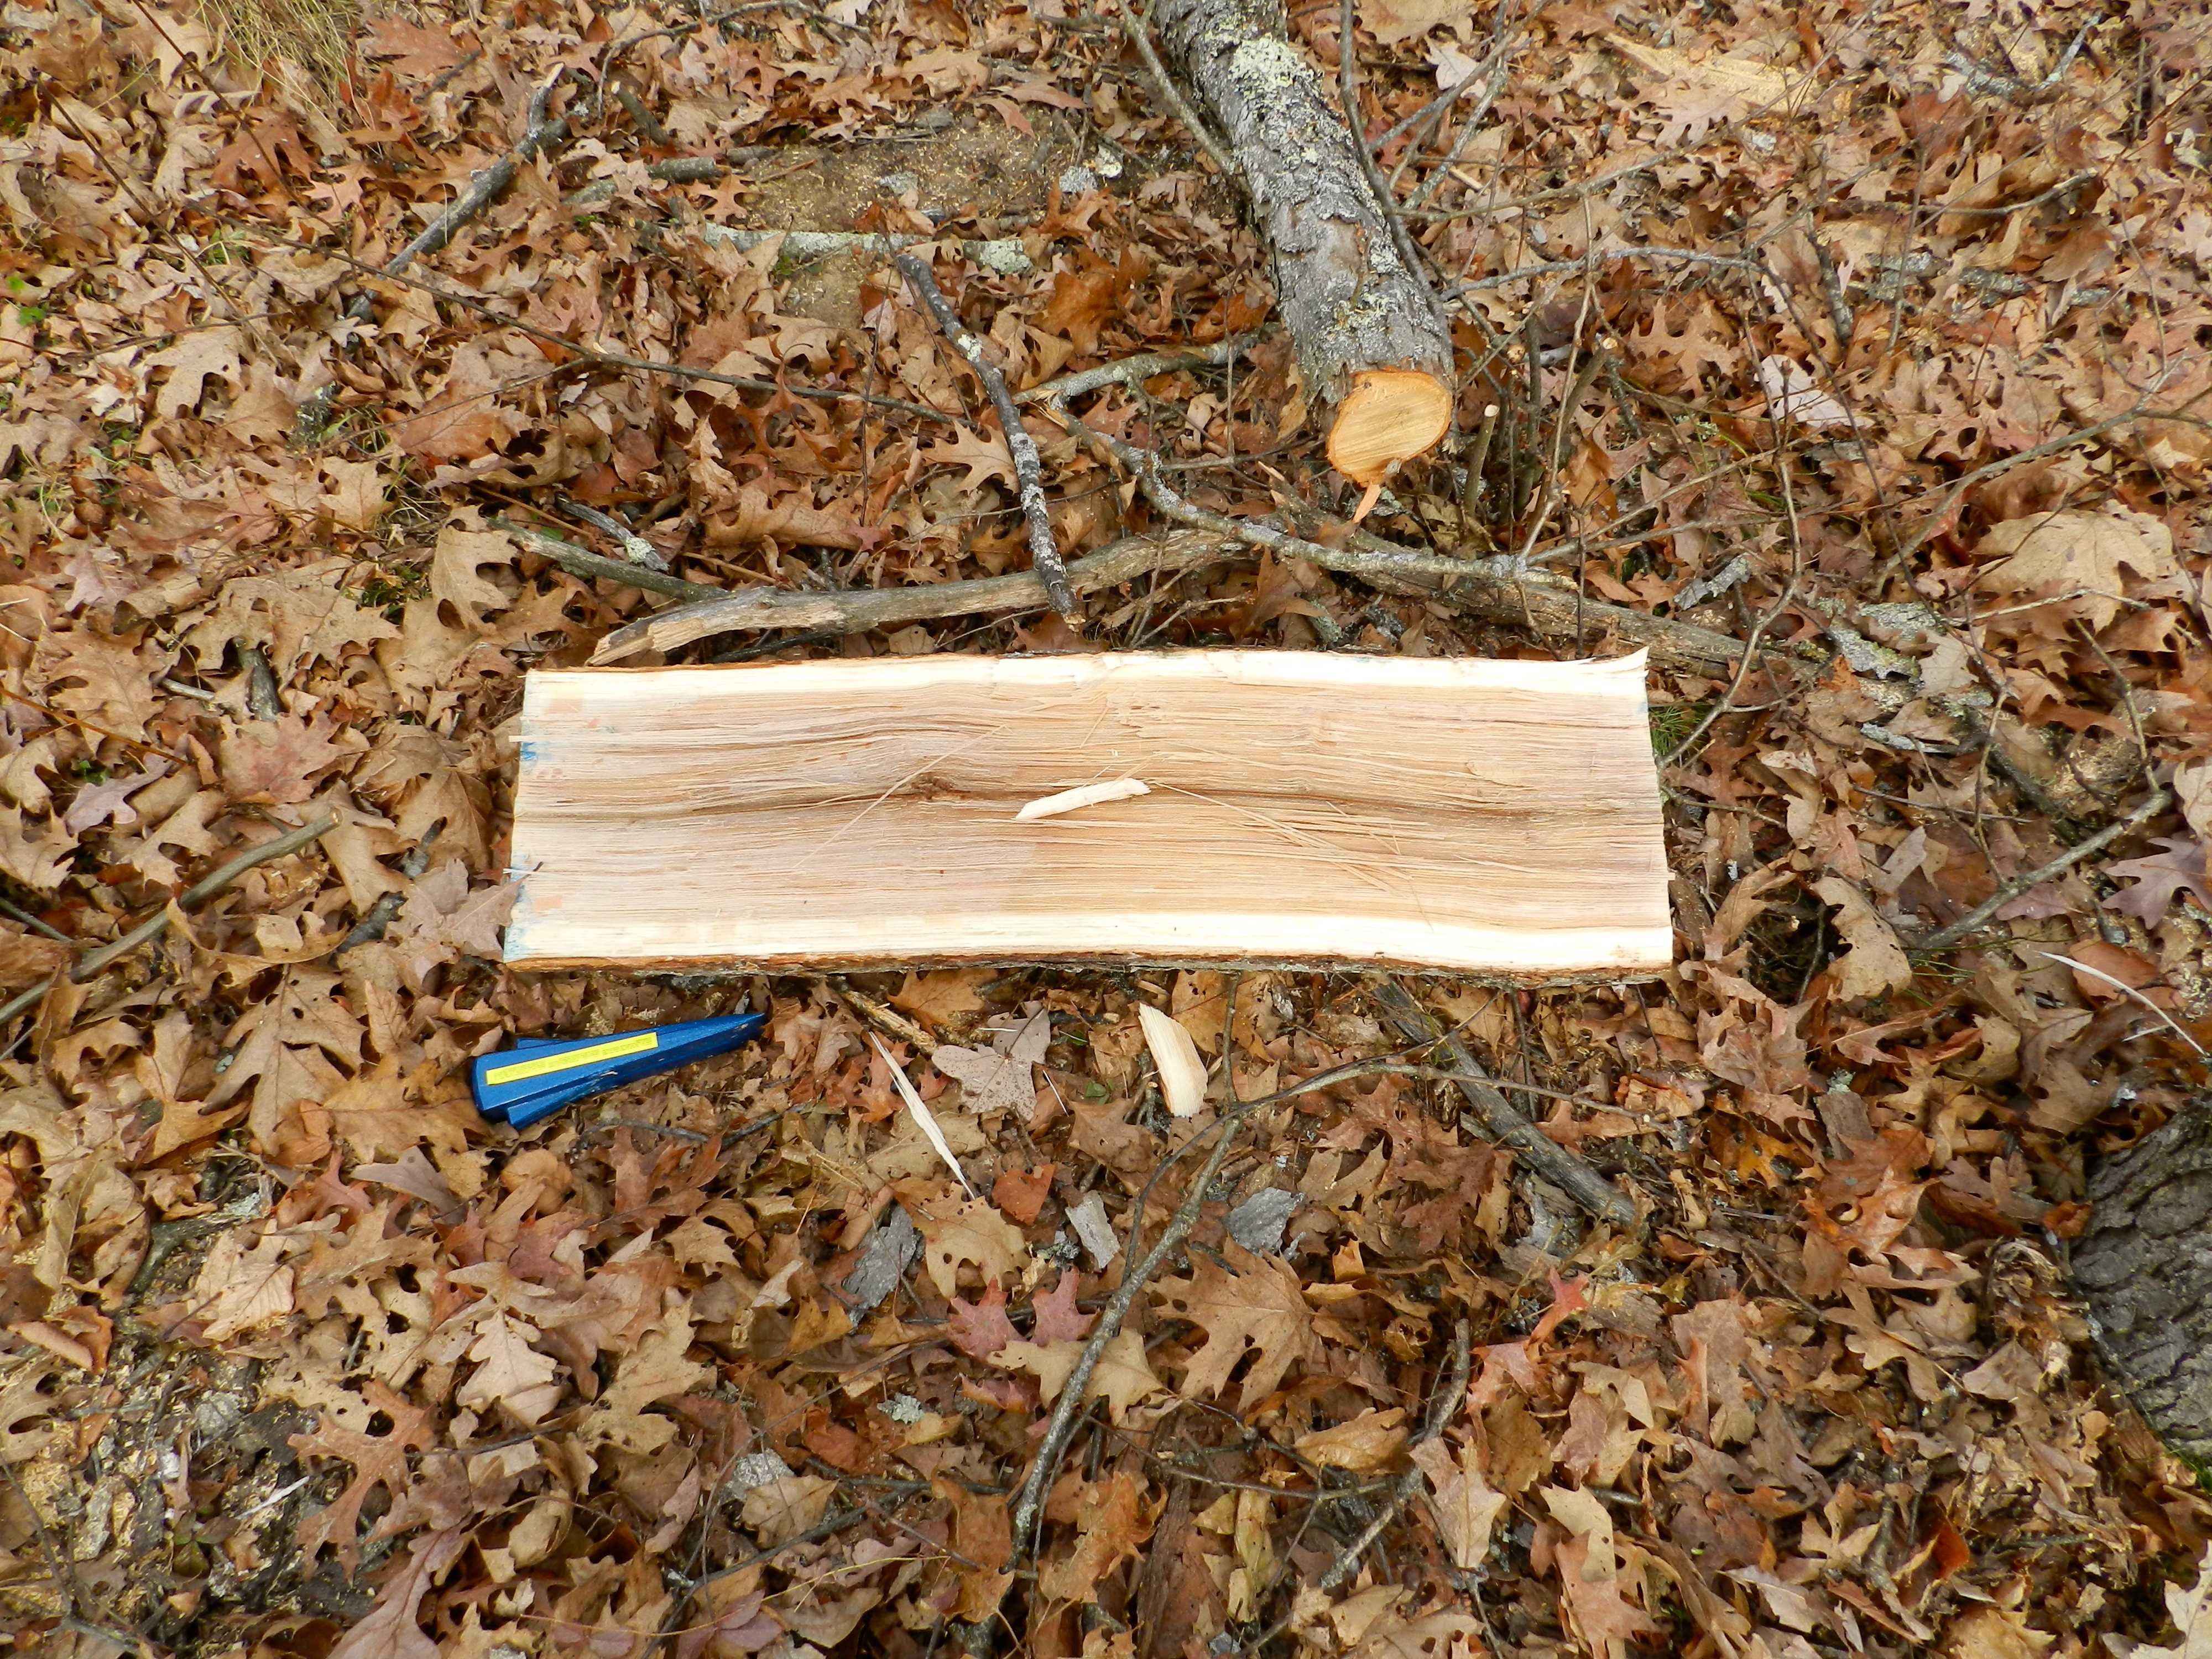
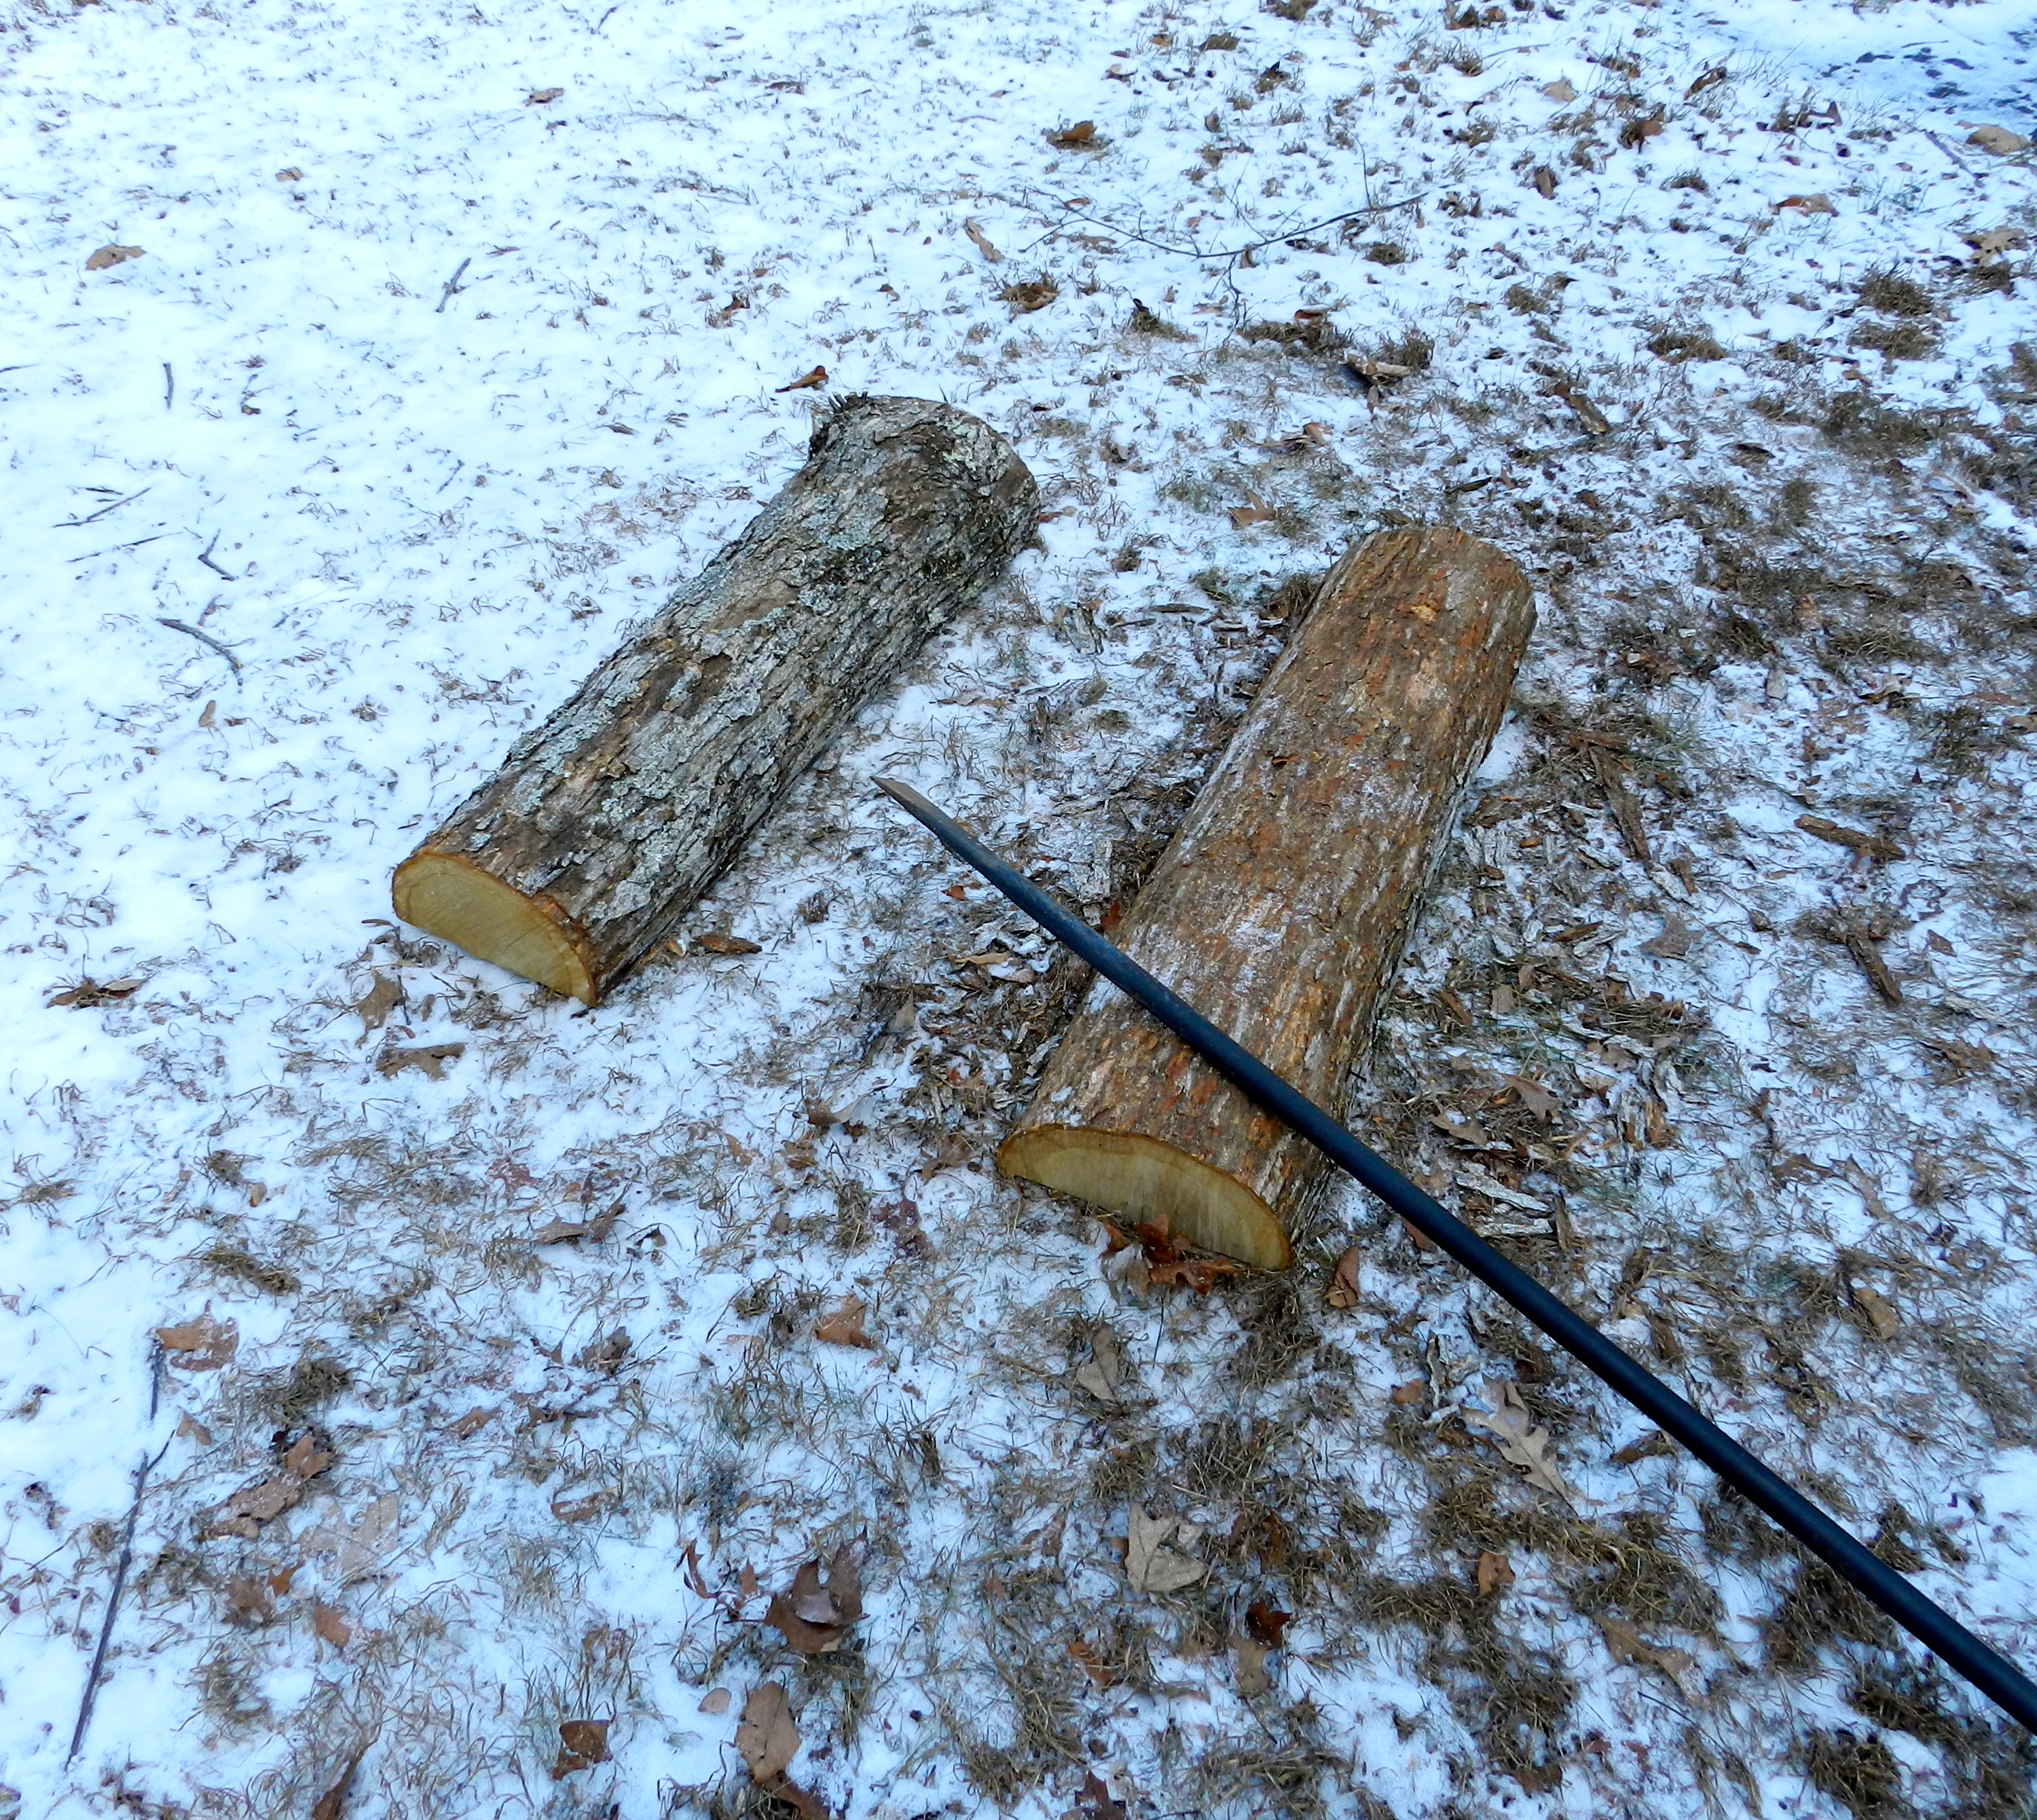
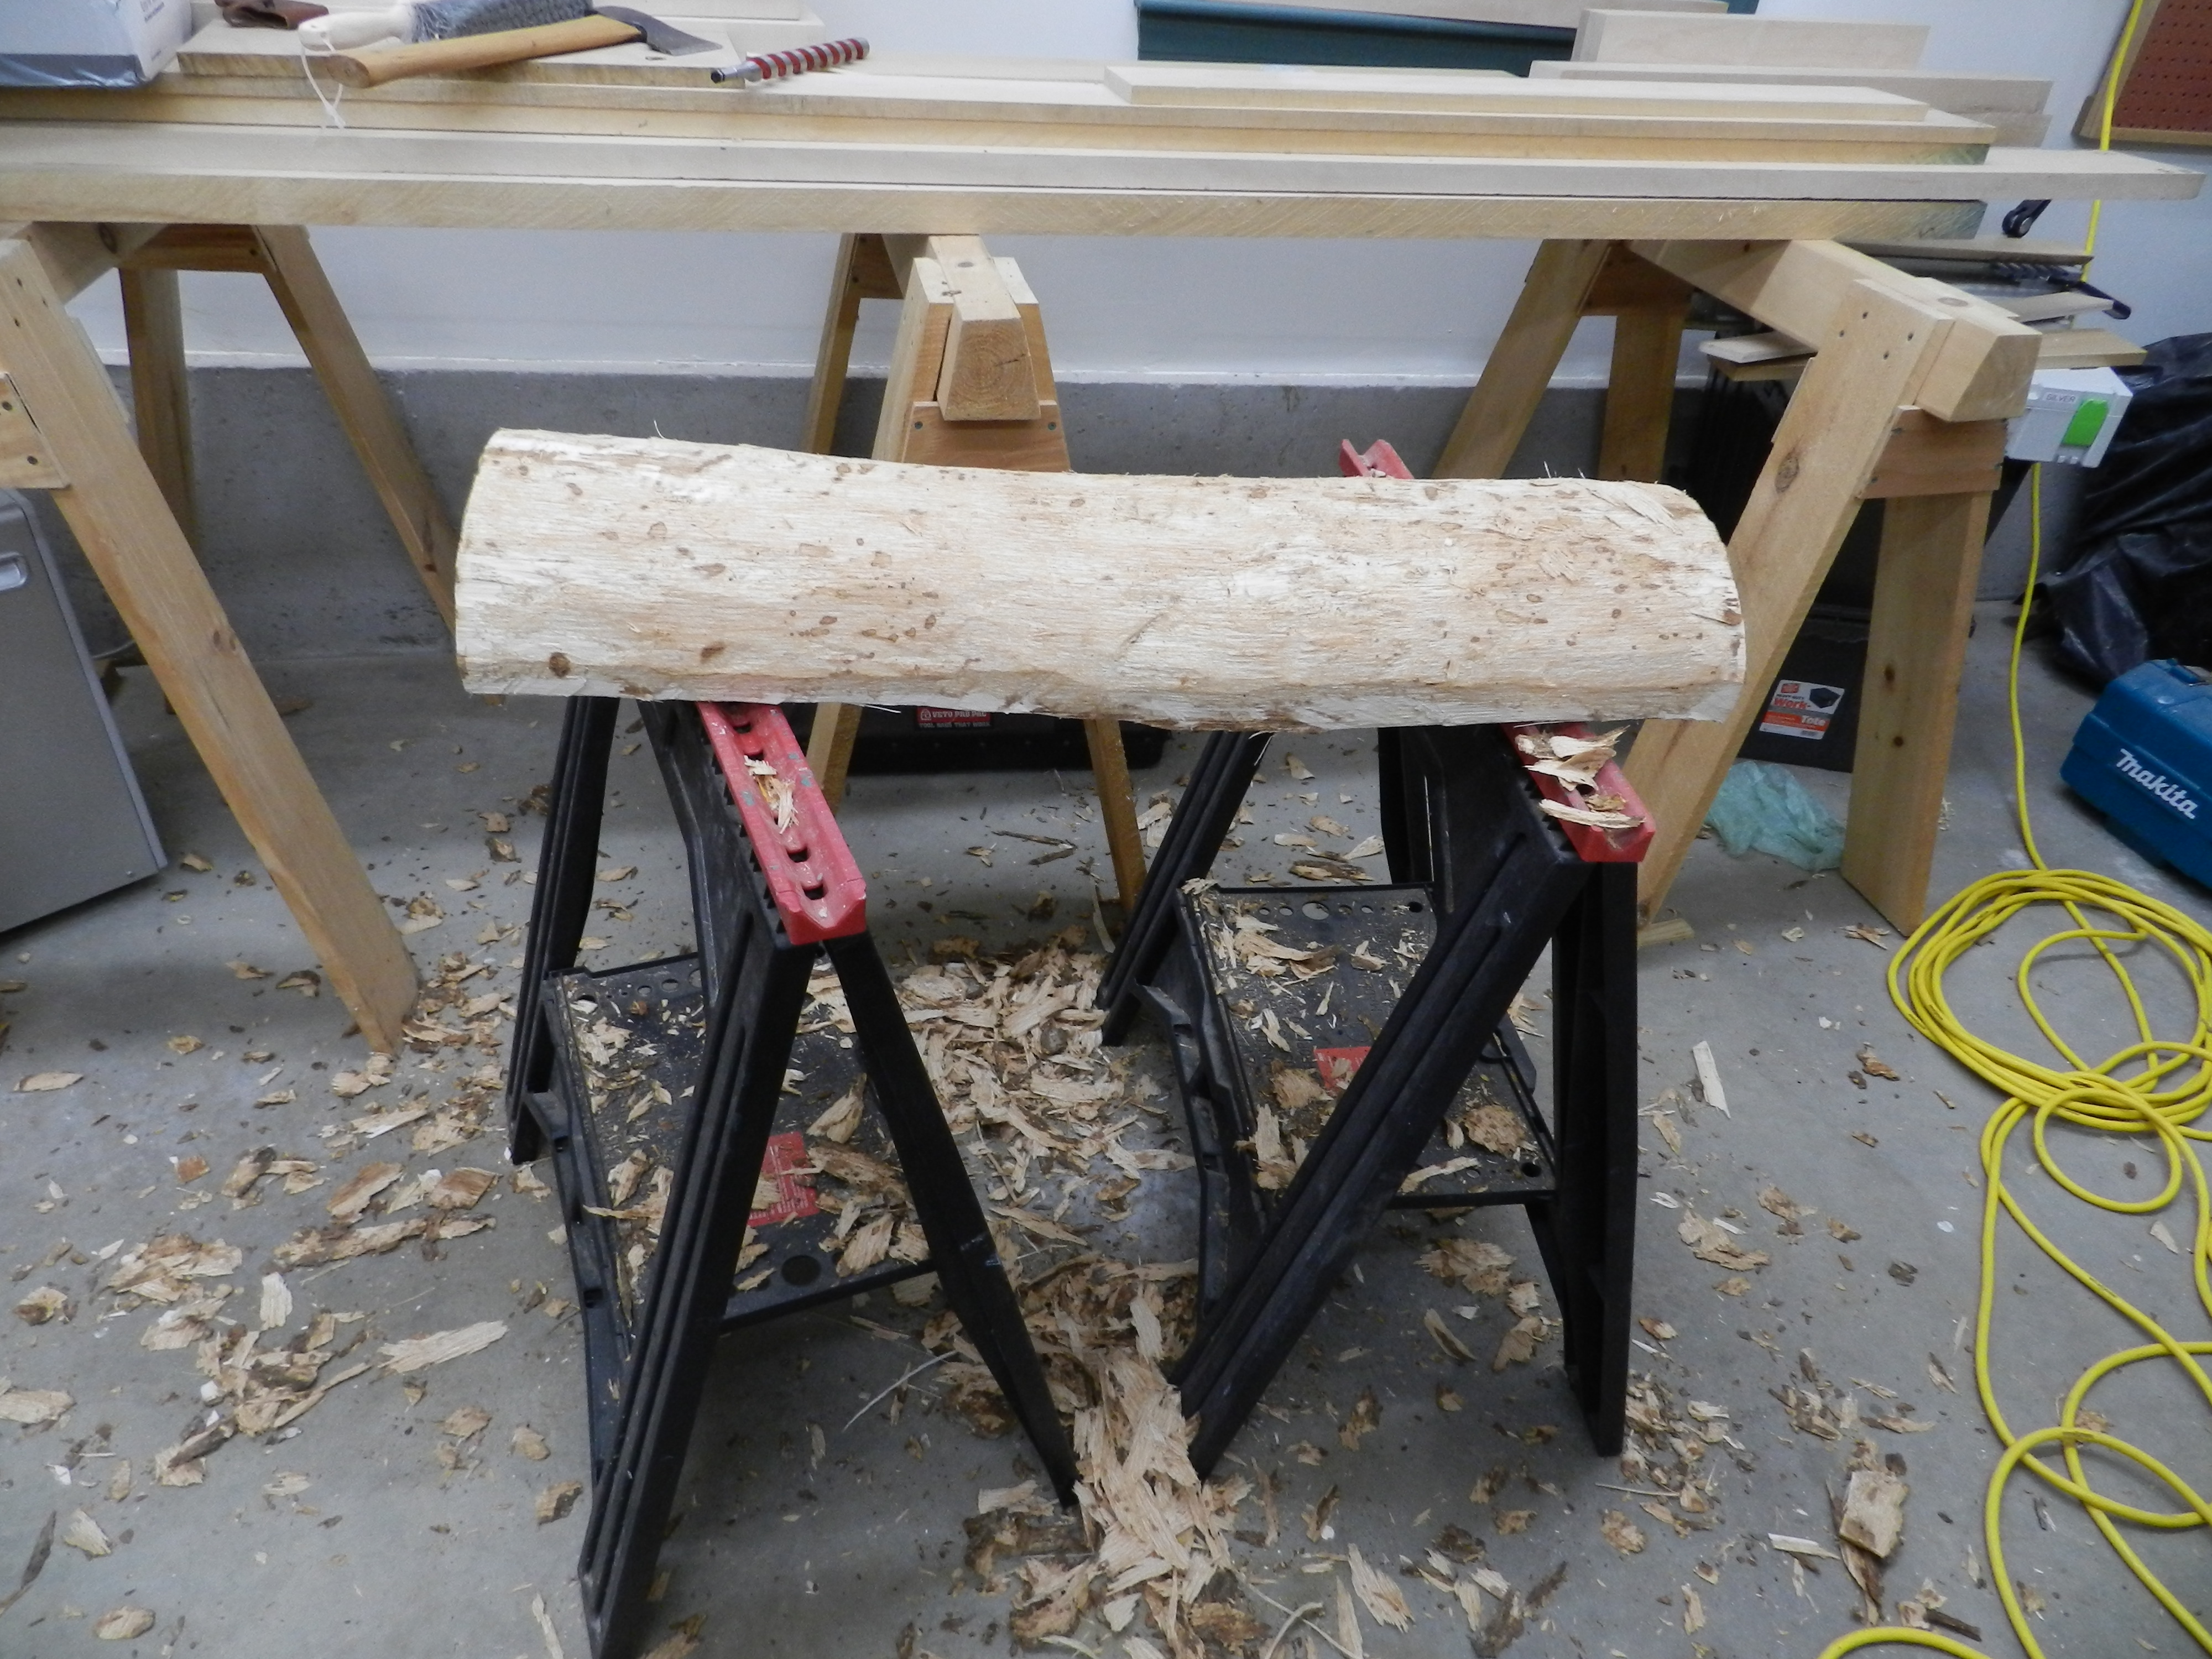
I wandered out in the woods and trimmed some dead branches to clear a bit of a path. Whack — nice clean cut and a lot less work compared to my tree saw on a pole. Let’s go bigger. I took down a small pine tree about 8′ tall. In a few minutes the tree was down. Still too easy. Let’s go bigger. A standing dead remnant of a tree. Now the blood is flowing and adrenaline is kicking in, but apparently there was no fear of death by crushing. Let’s go for something bigger still. I found a medium sized (~40′ tall) eastern white pine that was between me and where I wanted to dump some stumps in the back acreage. I notched in where I wanted the tree to fall. Each strike with the ax severed fibers or popped out chunks as I worked my way into the tree. I then notched in from the opposite side, though higher, so the tree would hinge over where I wanted. Timber! Down it went. Time to de-limb it and buck it into a movable log size. Bucking the tree into logs was a similar process of working through the tree as I did when felling it, though this time I was going completely through rather than creating notches to pivot on. Once I got the logs down to about 8′ sections I was able to drag them out of the way, put them up on some rocks to keep them off the ground and make use of this newly created path. The logs will start to season over the dry winter and we’ll see if they become firewood or maybe some other use around the house or yard.
It was a great workout and came with a sense of accomplishment that stayed with me along with the realization that there are some muscles in my back and shoulders that clearly are not getting enough use. 😉 I felt more a part of a continuum dating back to those earlier generations who started at the tree and made all the items they needed to survive and eventually thrive. It also gave me a new appreciation for the amount of human energy invested in a lot of those earlier buildings.
If you have the opportunity to take down a tree by hand, I encourage you to learn how to do it safely and then give it a try and make something from some of that wood once it is seasoned. It’s good for the mind, the body and the environment.
If you’d like to learn more about the proper use of the ax or see the more eloquent and entertaining philosophizing of Roy Underhill you may want to check out some of these videos:
- Great Video Clip of Roy Underhill in Philosopher Mode talking about historic Axes. (I agree with Chris that Roy should have decimated that podium here.)
- Roy’s Ted talk — ‘Have Broad Ax, Will Travel’ here.
What have I been up to when I haven’t been swinging an ax?
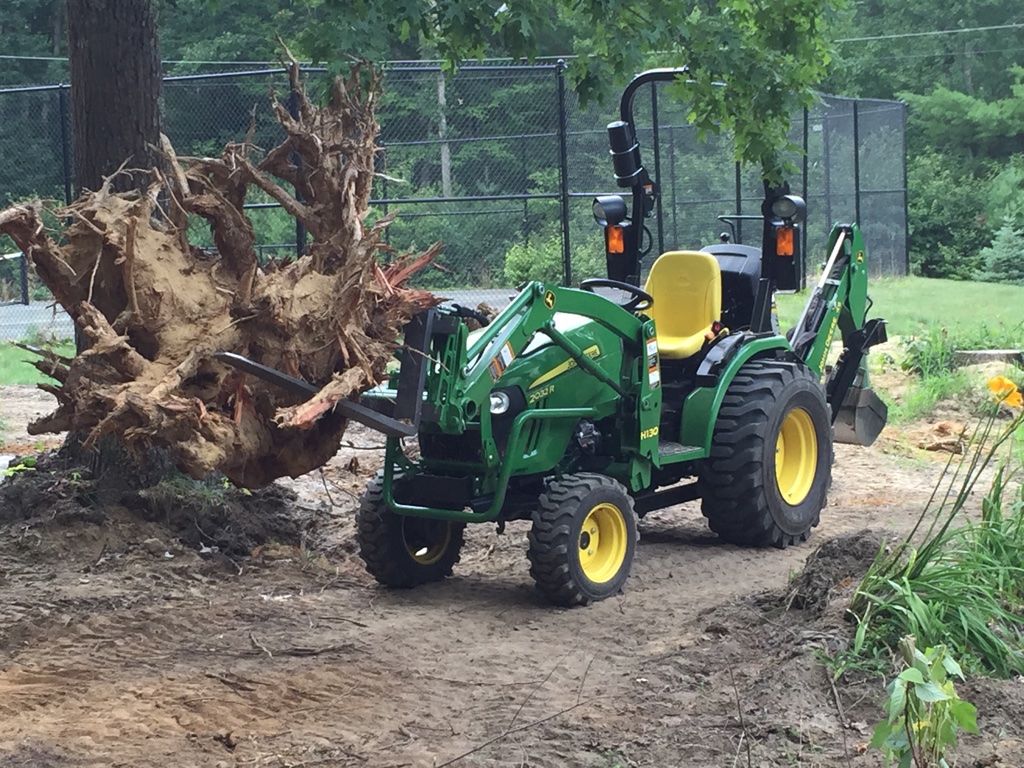
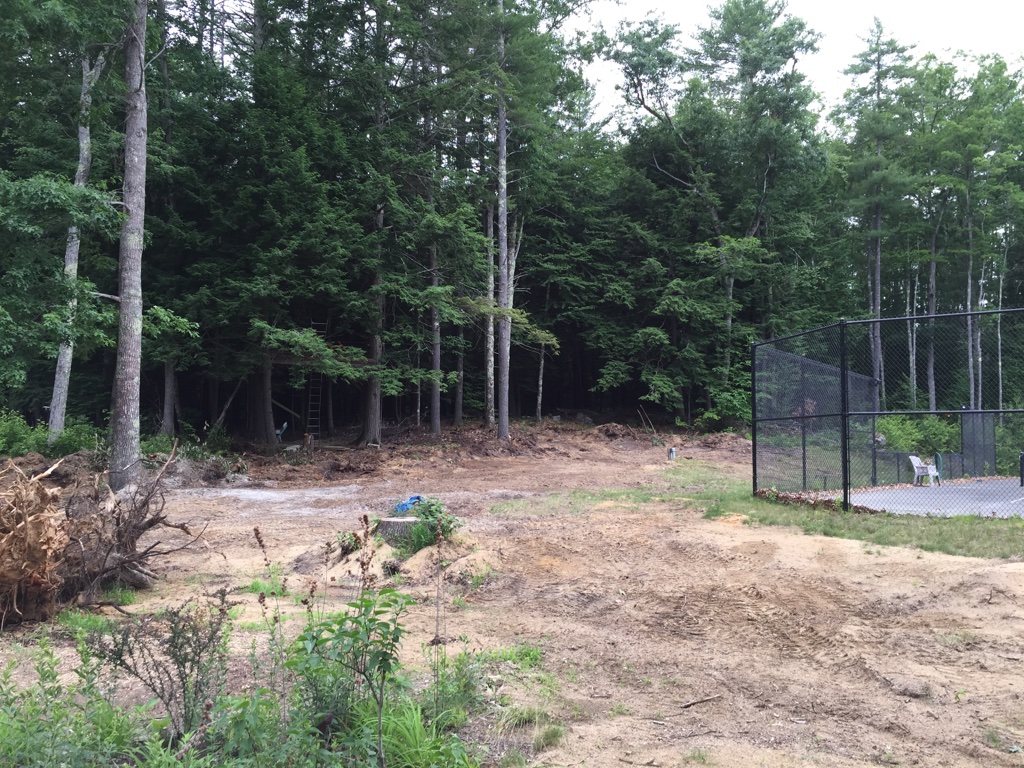
I apologize that I have not been blogging as much this summer as I have in the past, but with work, teaching, a < 1 year old baby and a big project in the works I’ve been spread thin. My free time has been spent on a different sort of project — one that will have been worth the wait. Since April I’ve been spending most of my free time, nights and weekends clearing land out in the back yard to make room for a timber framed shed/barn and I am finally in the home stretch. I’ve removed about 50 stumps, some of them as heavy as the tractor I used to dig them out with and I have cleared about a quarter of an acre of dense woods. It was a LOT more work than I thought, but similar to tree felling experience has been good exercise and a personal accomplishment I am proud of. A little more grading/leveling and blending the transition from yard to woods and I’ll be ready to break ground on a barn/outbuilding.
I’ll be documenting the process from beginning to end in video, in photos on the blog and with some content partners so I hope you will stay tuned for that along with the regular stream of blog posts.
I hope everyone is enjoying the warm weather.
Take care,
-Bill