Tag Archives: Walnut

A Visit with the Frid Family

This past weekend I had an amazing opportunity to visit the home of Peter Frid — Tage’s son, and visit with his family.  Beyond seeing some of the many items Tage made it was great to hear stories of what life was like with Tage and Emma from Peter, his wife Kathy, their son Oliver and his wife Cherie.

Tage Frid's iconic 3 legged stools and natural edge coffee table
Tage Frid’s iconic 3 legged stools and natural edge coffee table

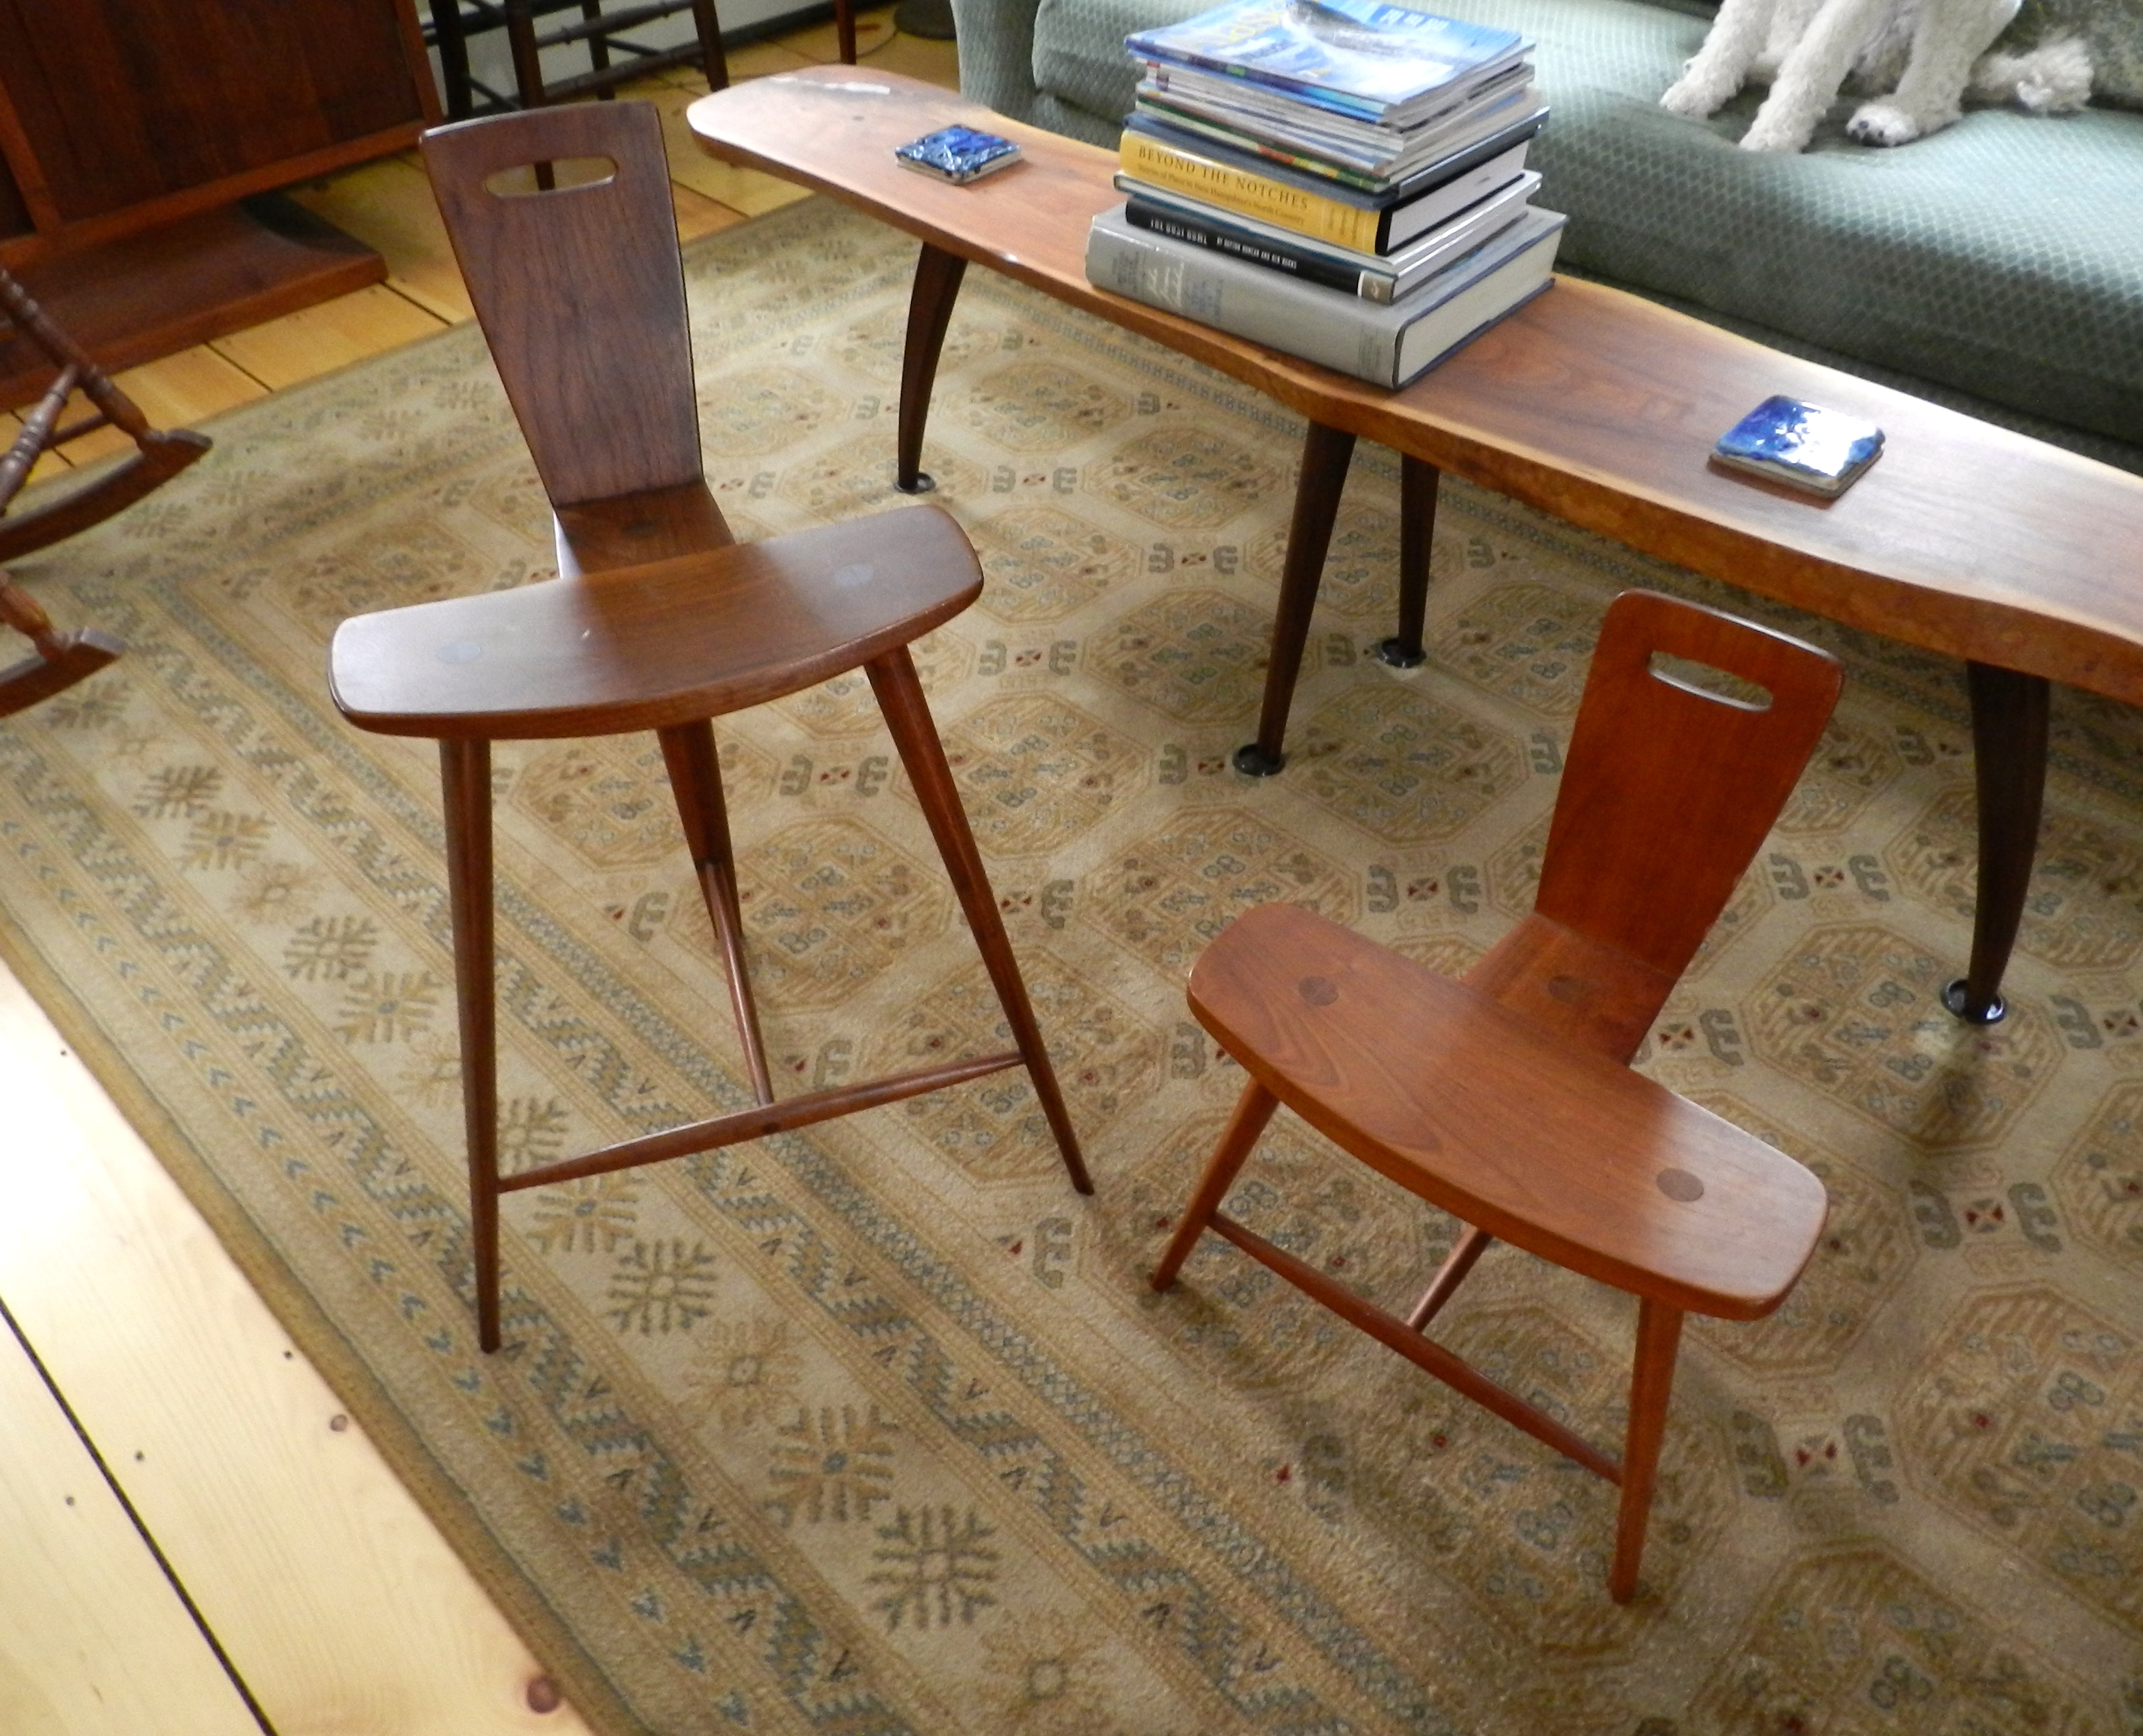
I was very exited to see Tage’s iconic 3 legged stools in person — building a pair has been on my mile long todo list since I first learned about them years ago. I tried unsuccessfully to see these chairs at the MFA and RISD museum but every time I went they were not on display. Not only did I get to see them, but I got the chance to sit on one of them as well. The stool is very stable and surprisingly supportive given its seemingly diminutive stature. It was also just as comfortable to sit in it facing forward as it was to sit in it backwards. I had read the story about how Tage came up with the idea for the stool while sitting on a fence at a horse show, but it was neat to hear that the reason Tage and Emma were at the show was because Peter and his sister were riding in that very show.

Also shown in the picture above is a very nice natural edge coffee table with inlaid metal that is seen in the Gallery section of Tage’s 3rd book.

Tage Frid's Grandmother Clock
Tage Frid’s Grandmother Clock

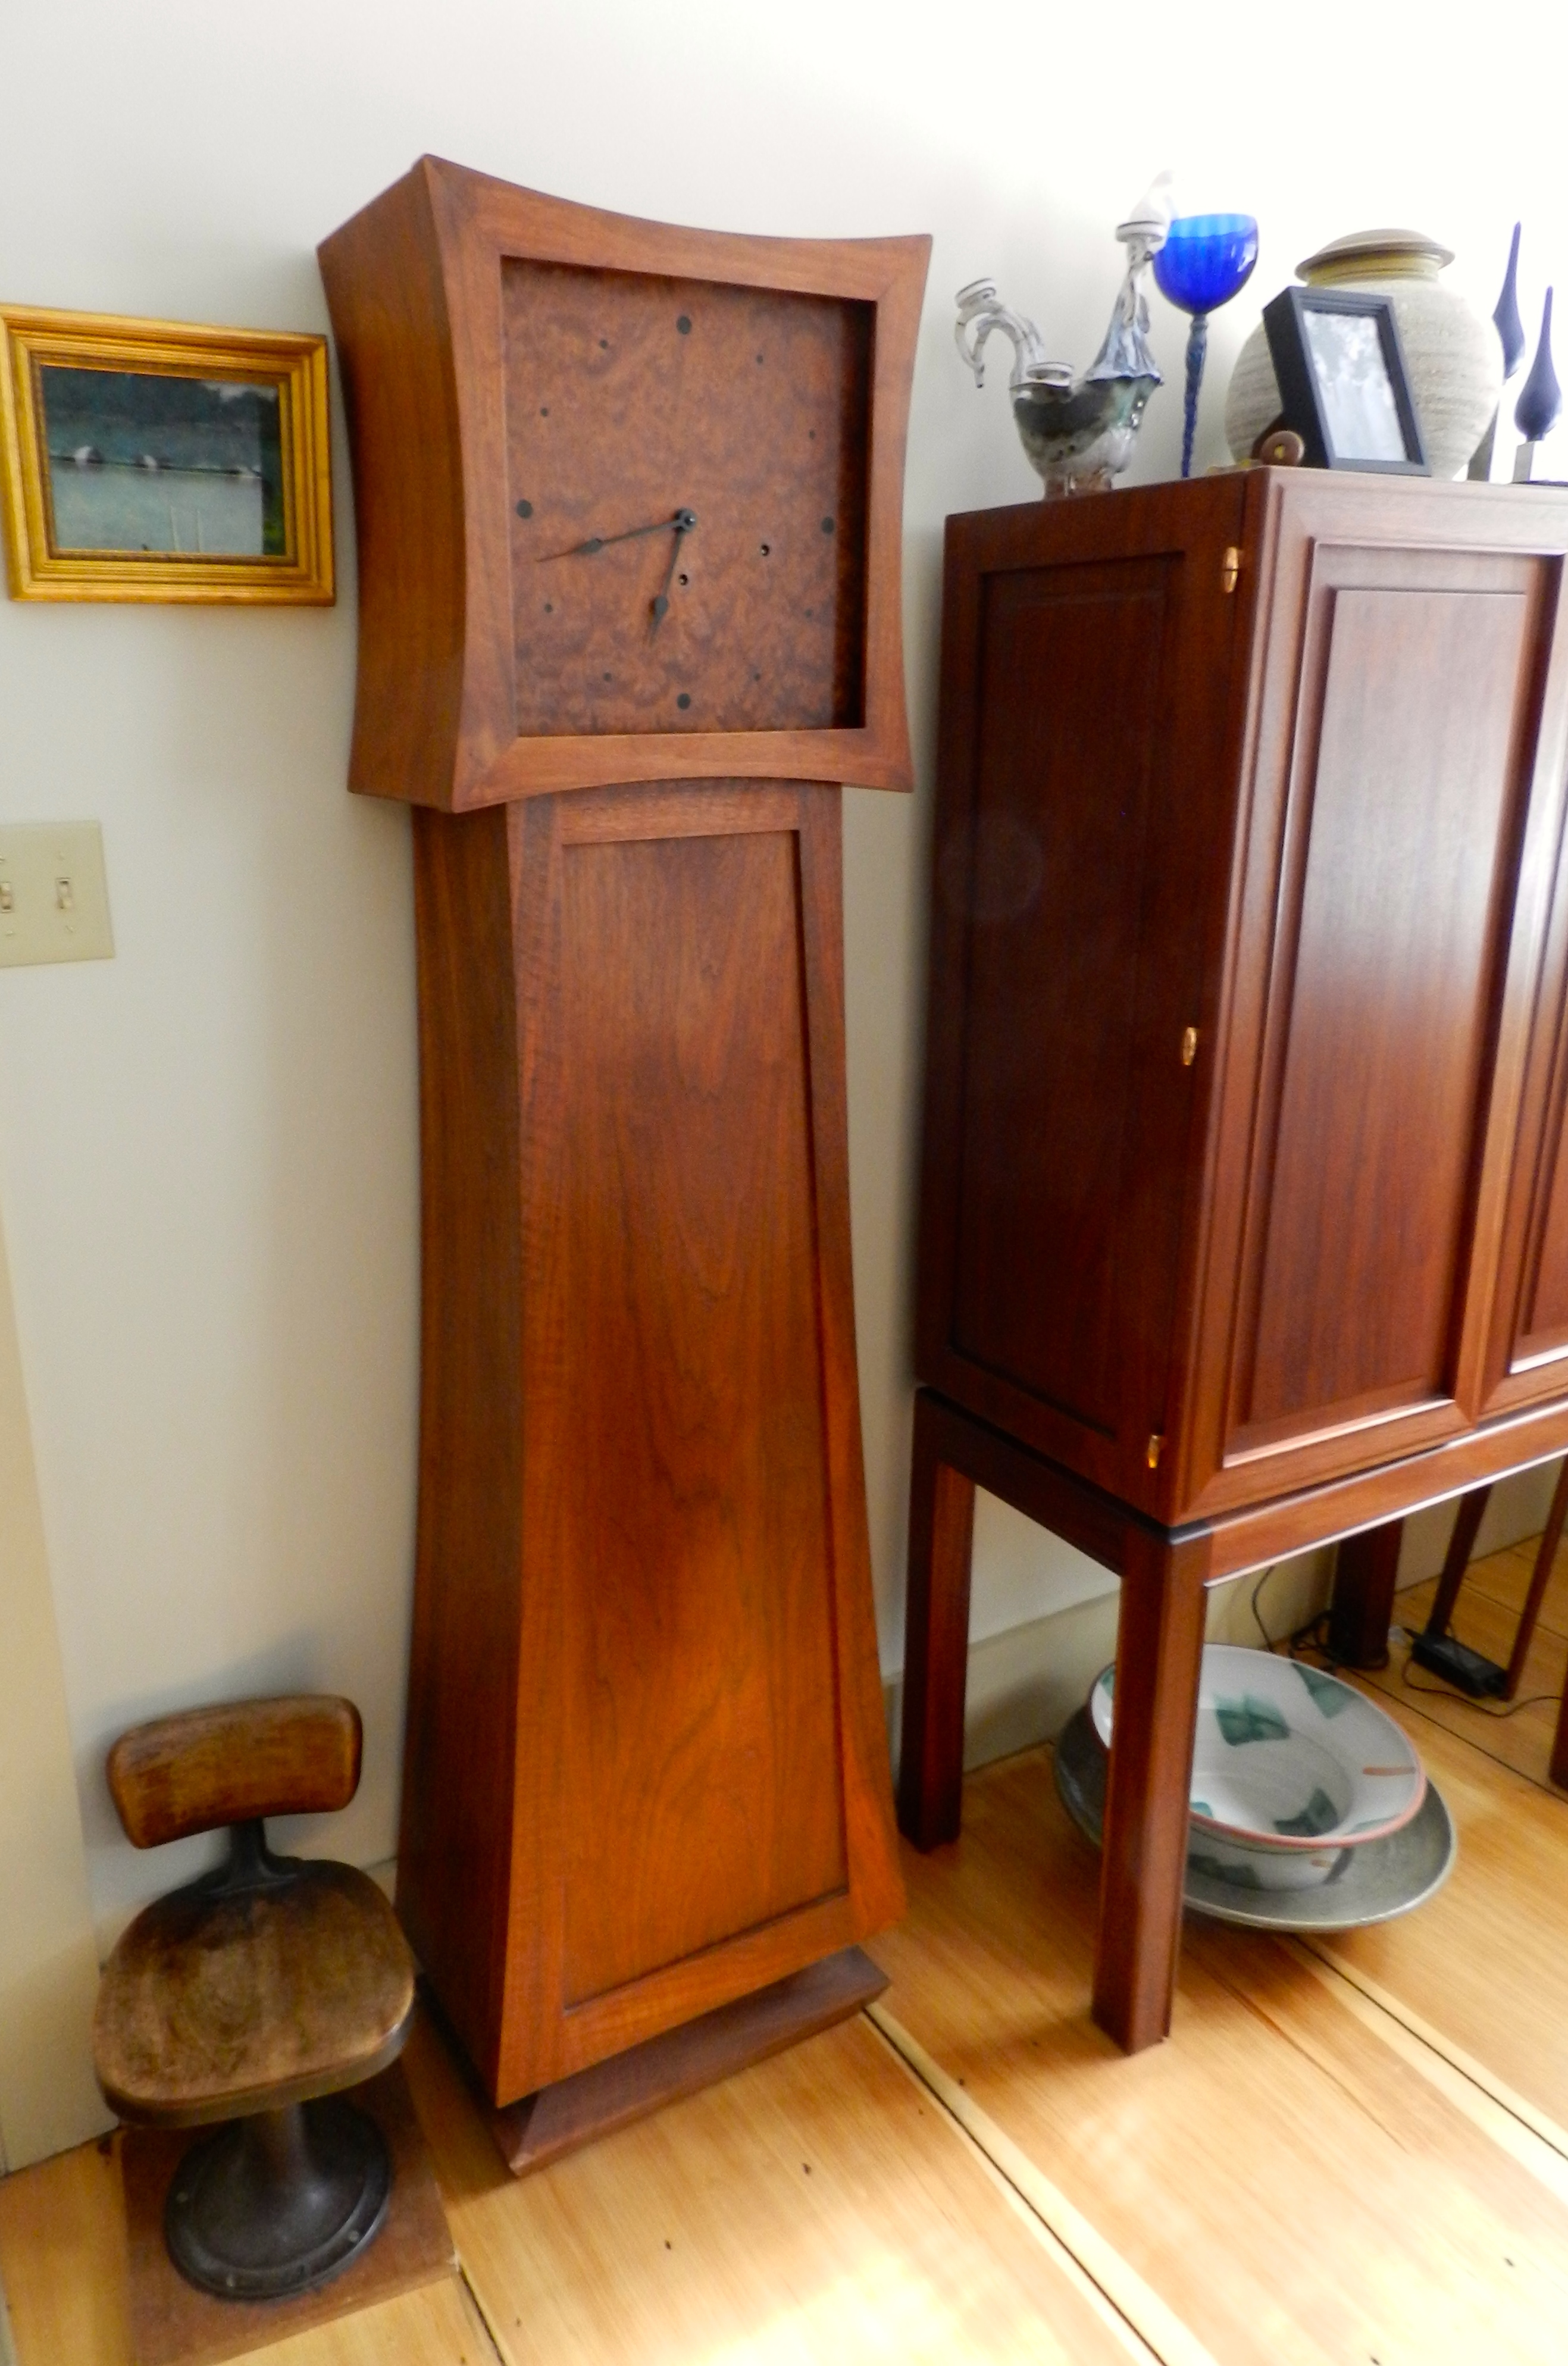
In another room was Tage’s famous ‘Grandmother Clock.’ The black and white photos of Volume 3 of Tage Frid Teaches Woodworking do not do it justice as the wood has aged beautifully. Inside the case are all the traditional polished brass movements you would expect to find in a large case clock.

Grandmother Clock and Bar Cabinet

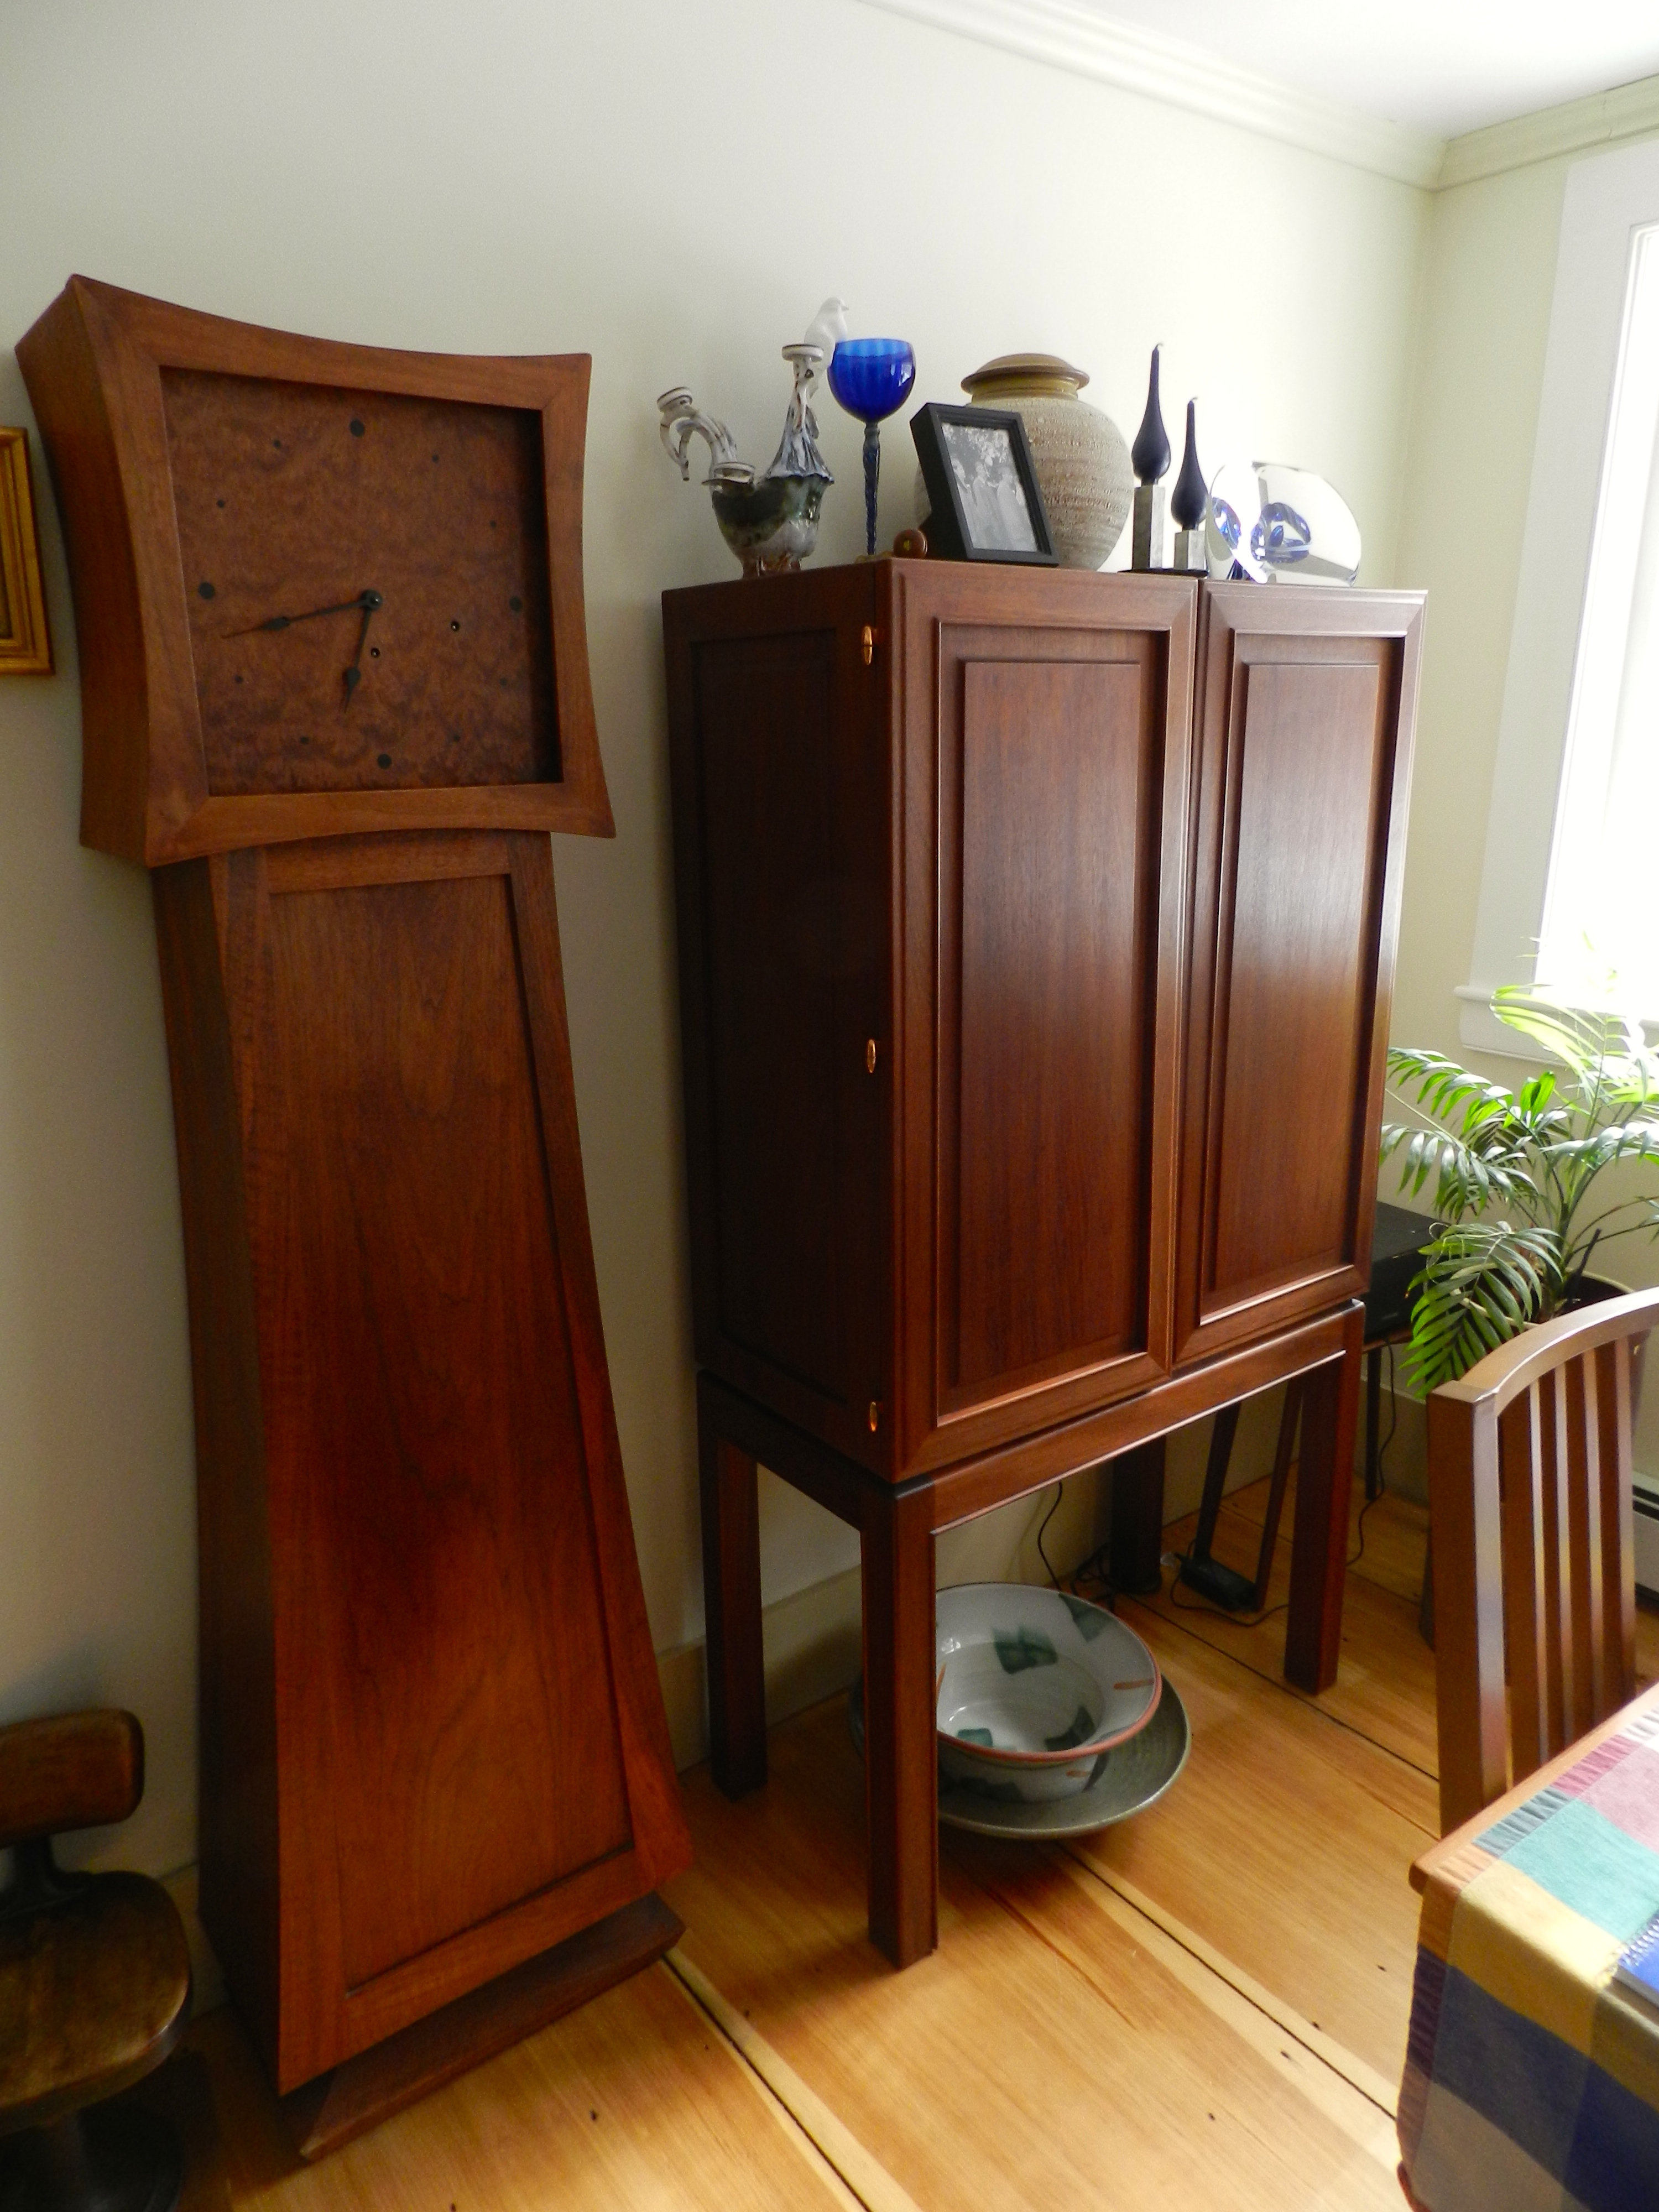
Adjacent to the clock is a beautiful liquor cabinet that is also from the Gallery section of Volume 3. It is made from mahogany and the panel details on the side and top are carved in. The cabinet also has beautiful copper/bronze hinges that pivot on an egg shaped knuckle.

Tage's favorite chair to sit in
Tage’s favorite chair to sit in

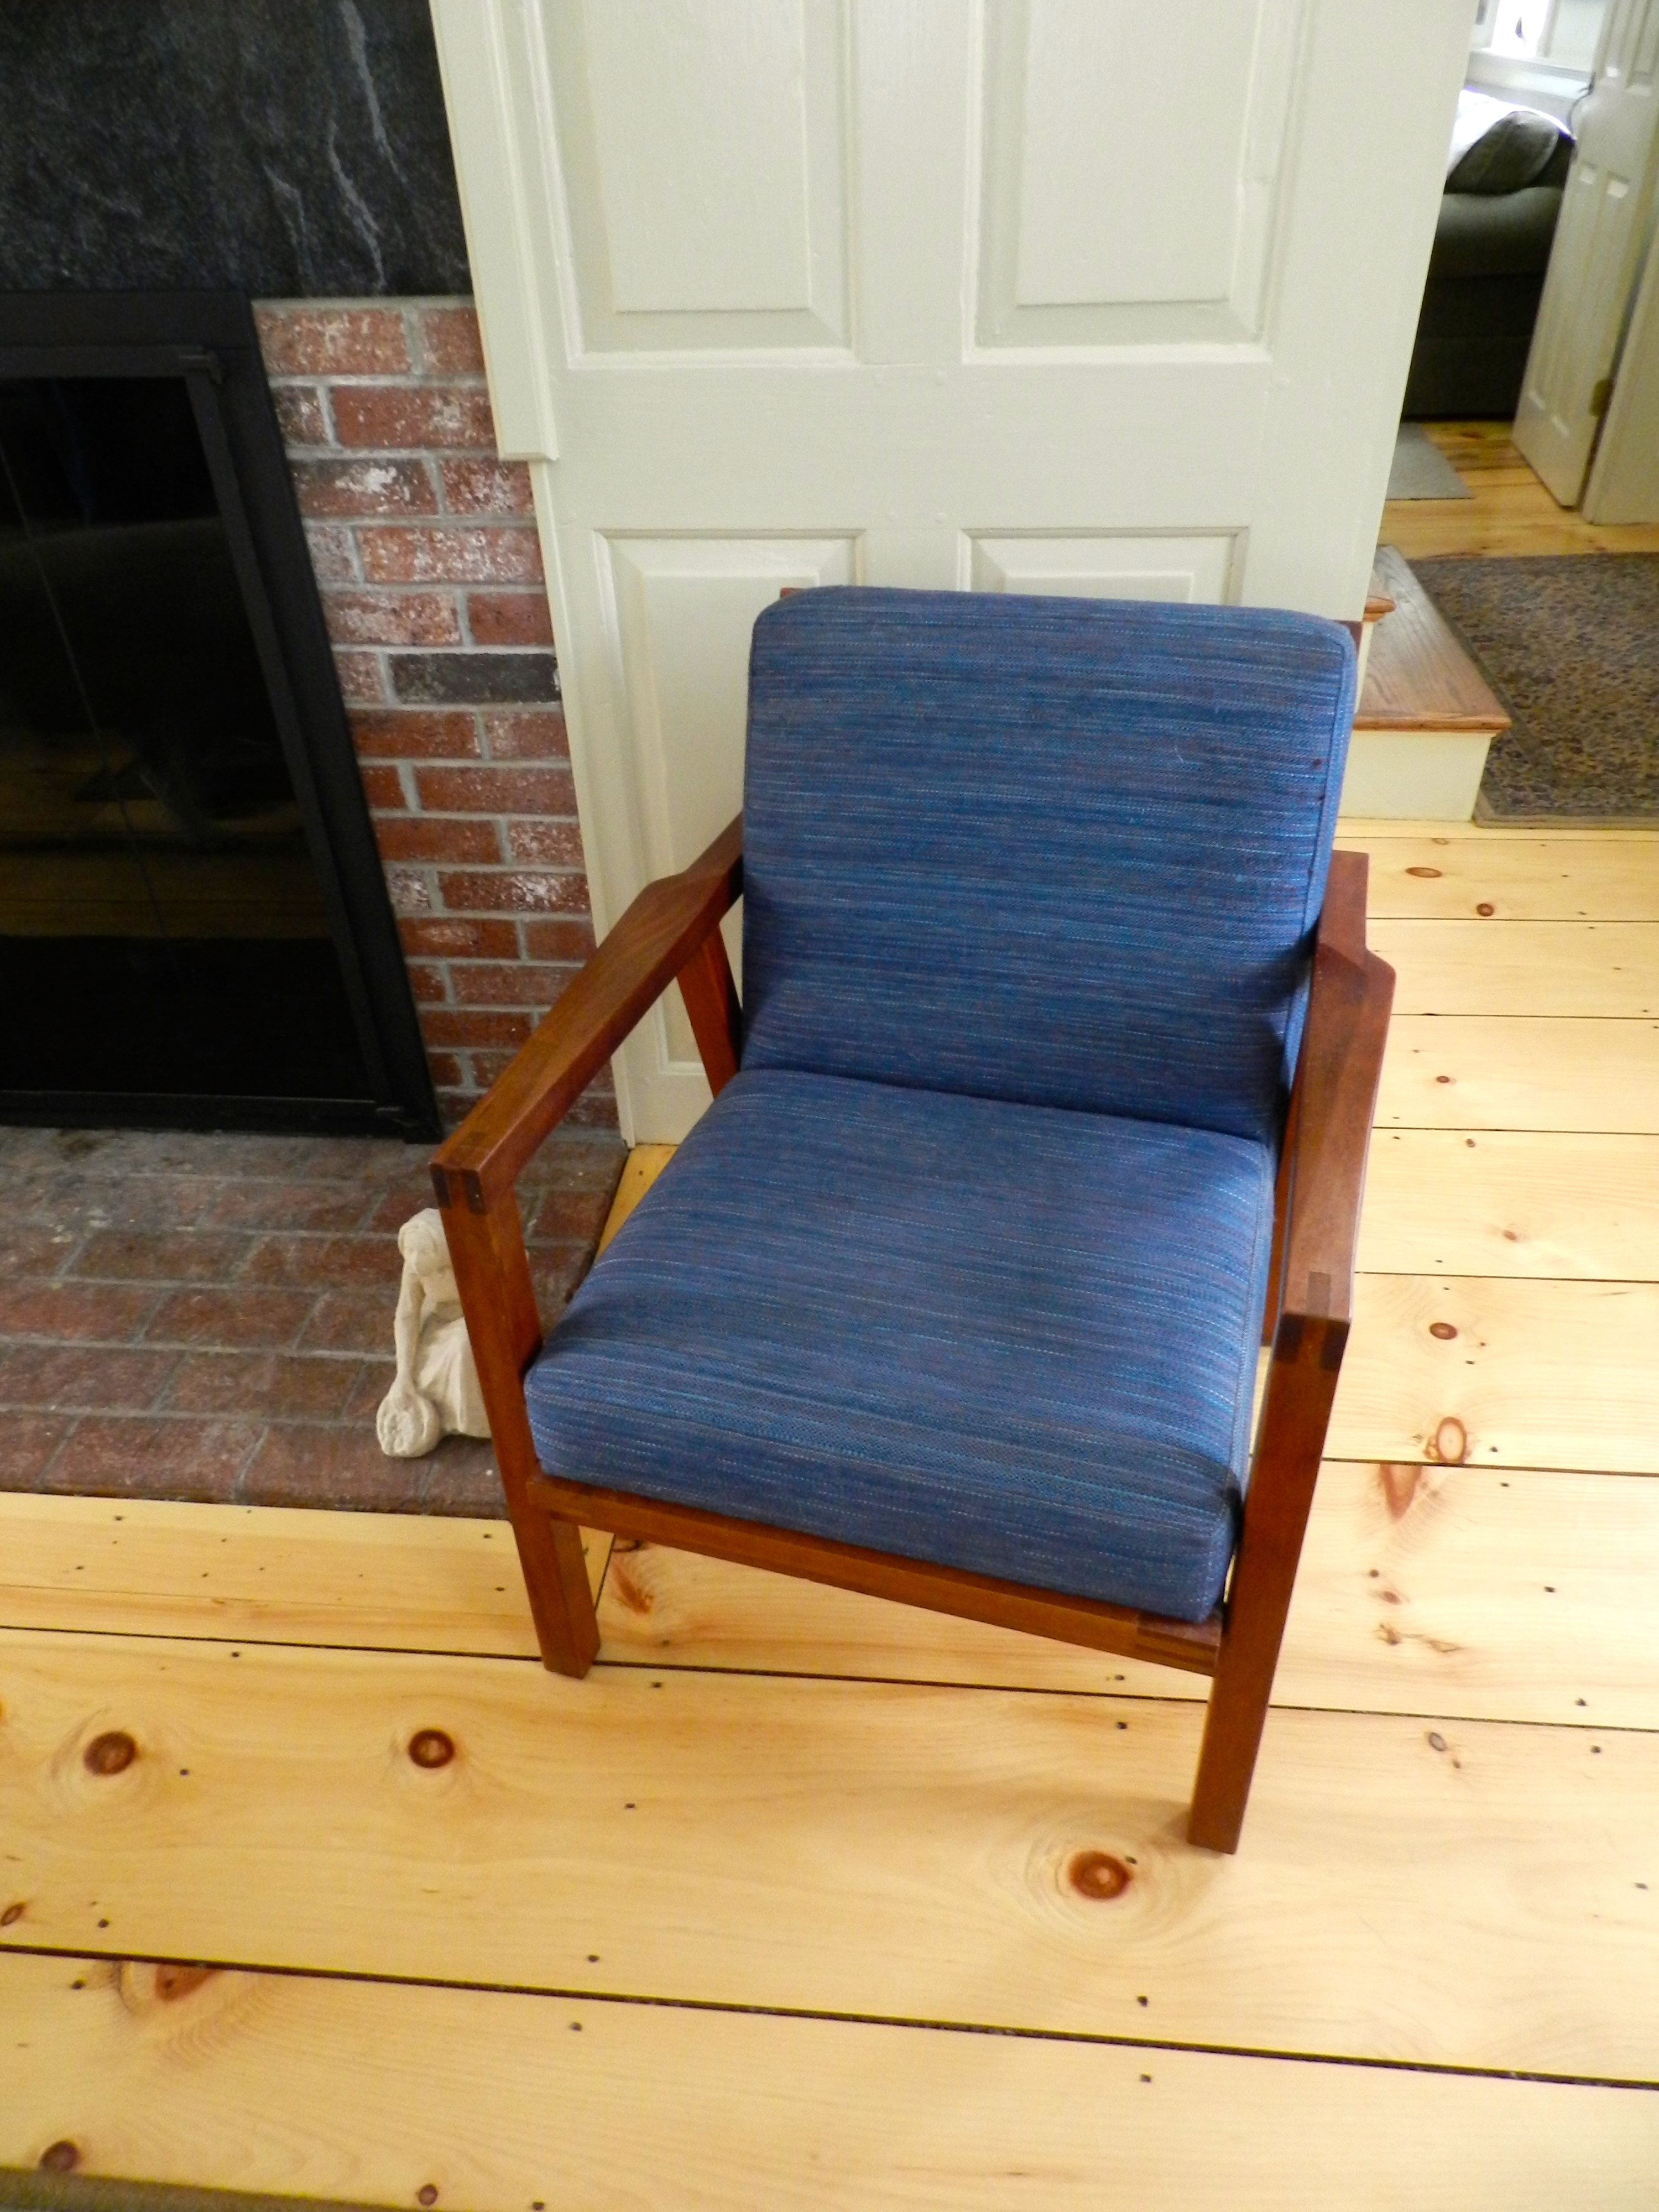
Shown above and below is Tage’s favorite chair to sit in. With clean lines, expressed construction, and thickly upholstered cushions I can see why he liked this chair a lot. Like most Danish modern furniture the lines are clean, the details are subtle and piece has a visually light feel.

Expressed joinery and clean lines on this comfortable chair

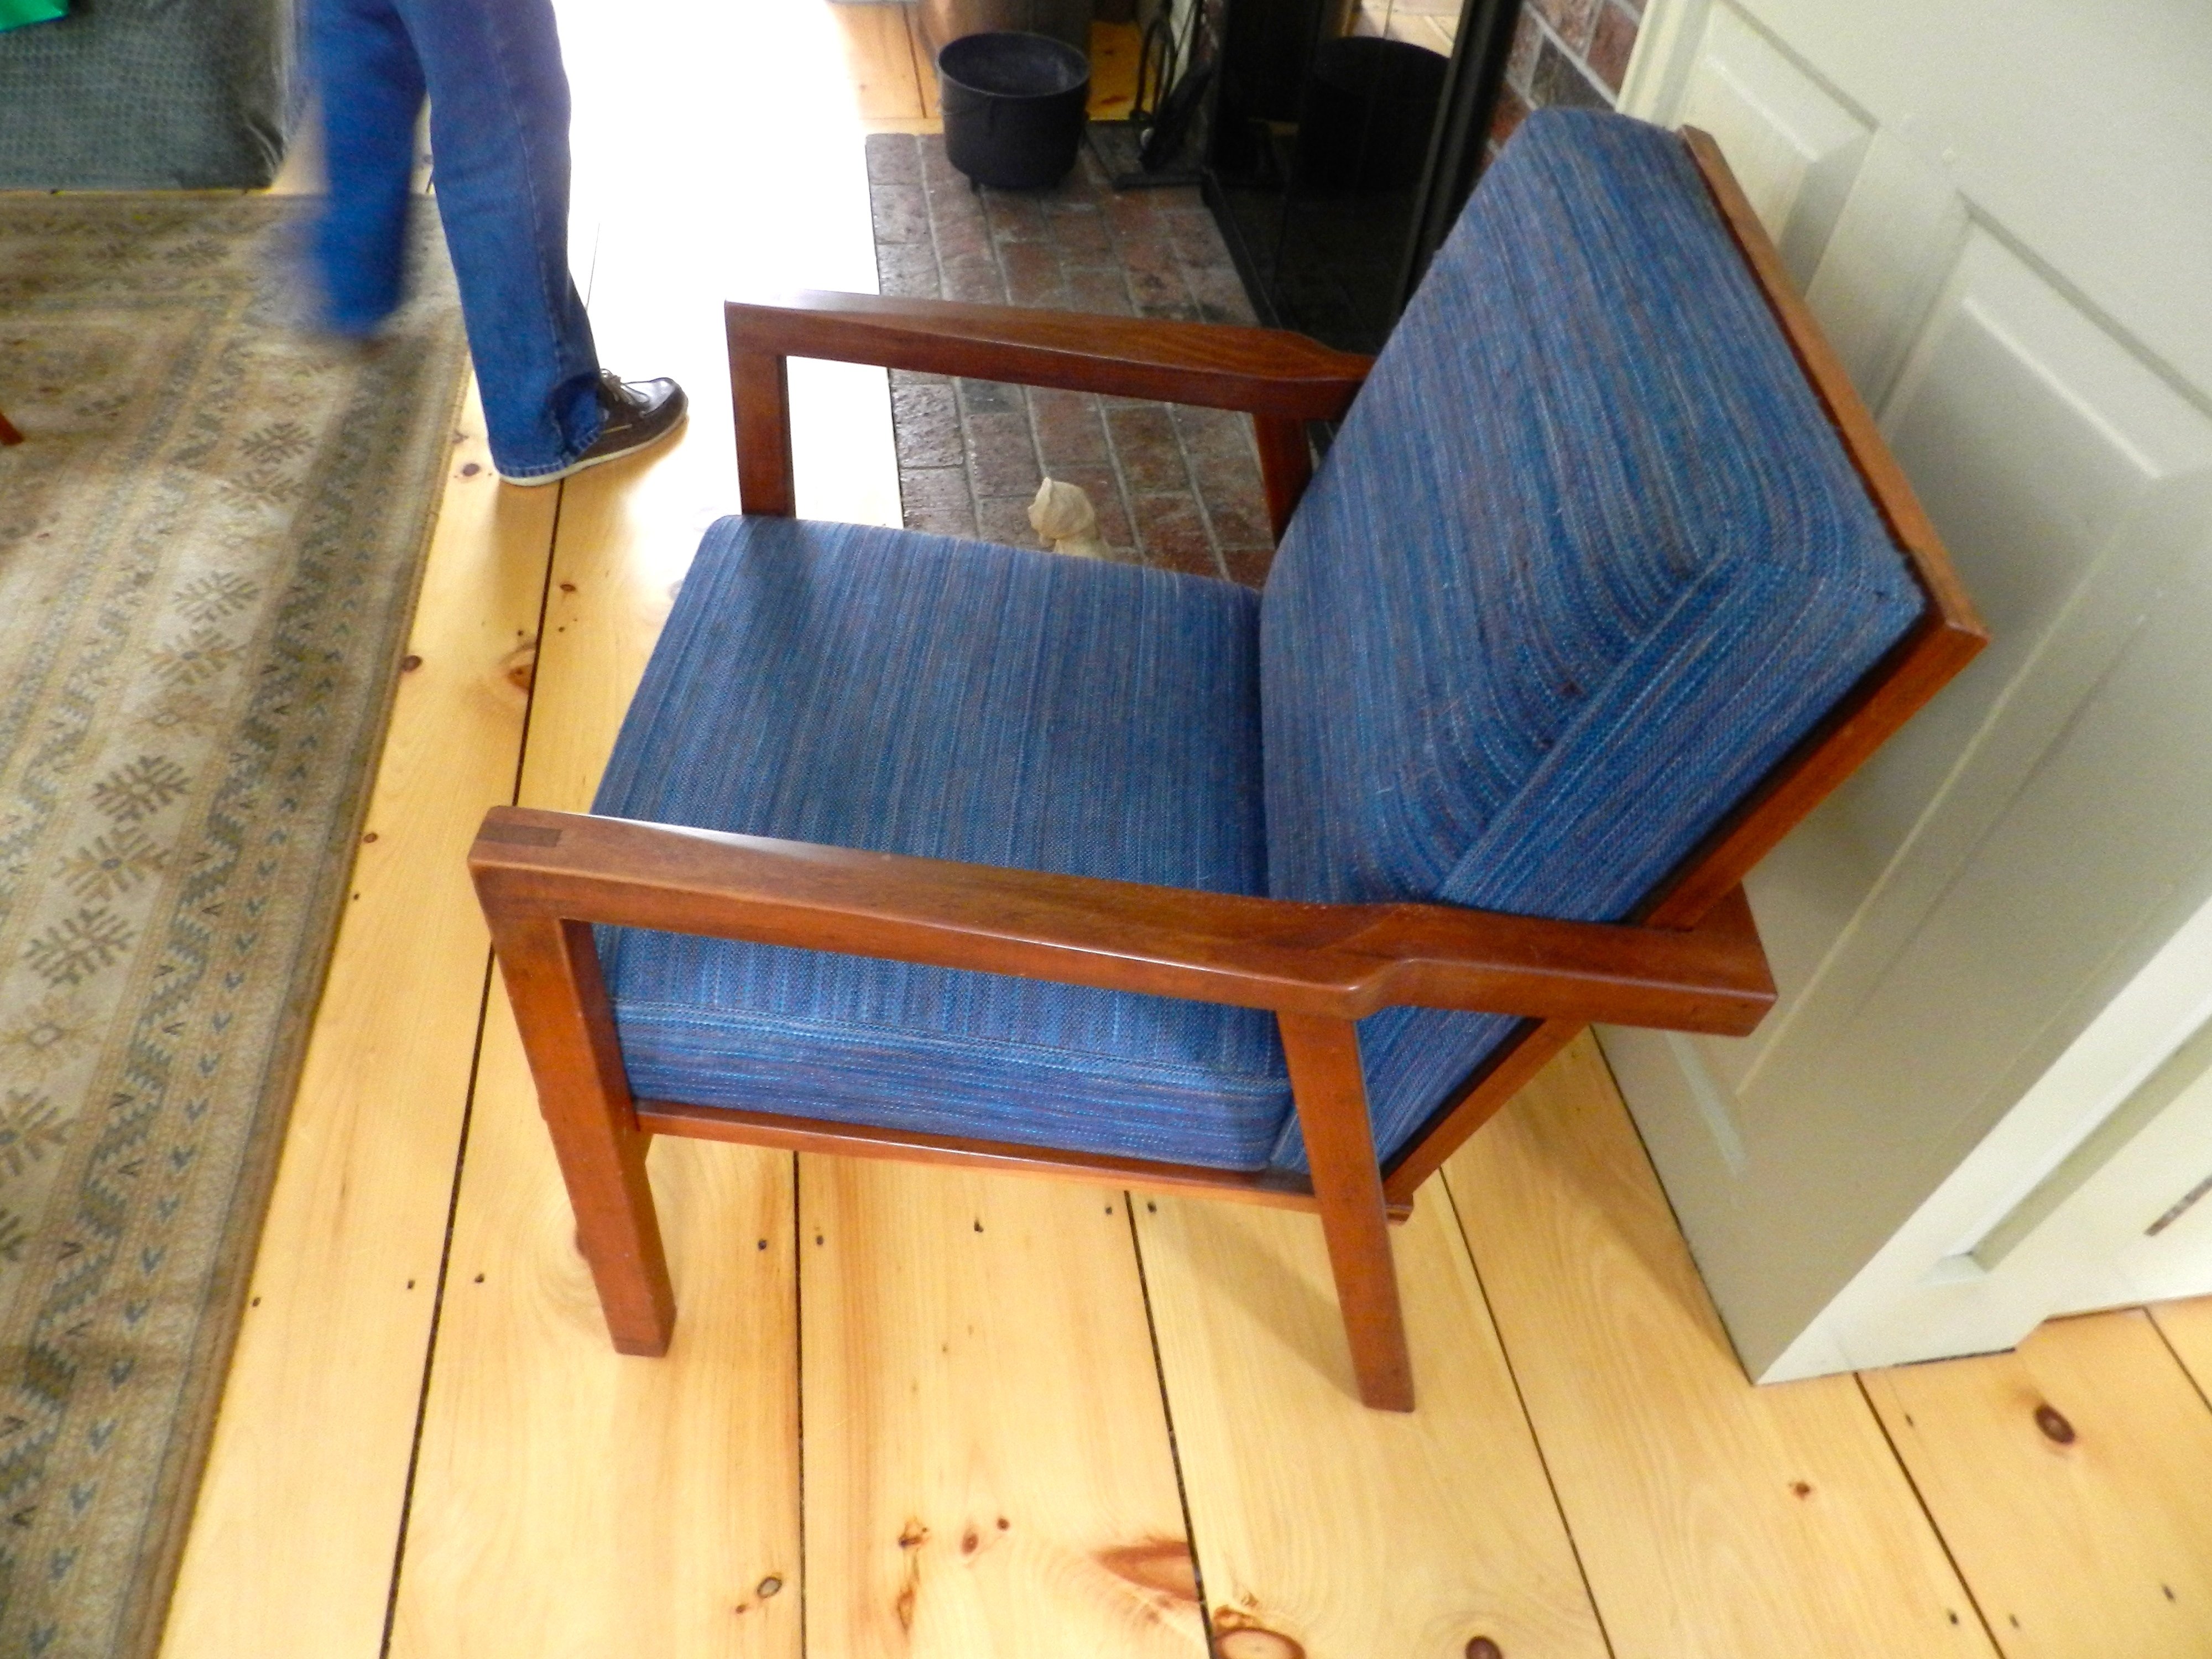
The profile view reminds me of some cues from a morris chair and the forward lean of the legs reminds me of some of the chrome accents on cars from the 1950s — even while standing still it wants to be moving.

Tage Frid End Table
Tage Frid End Table

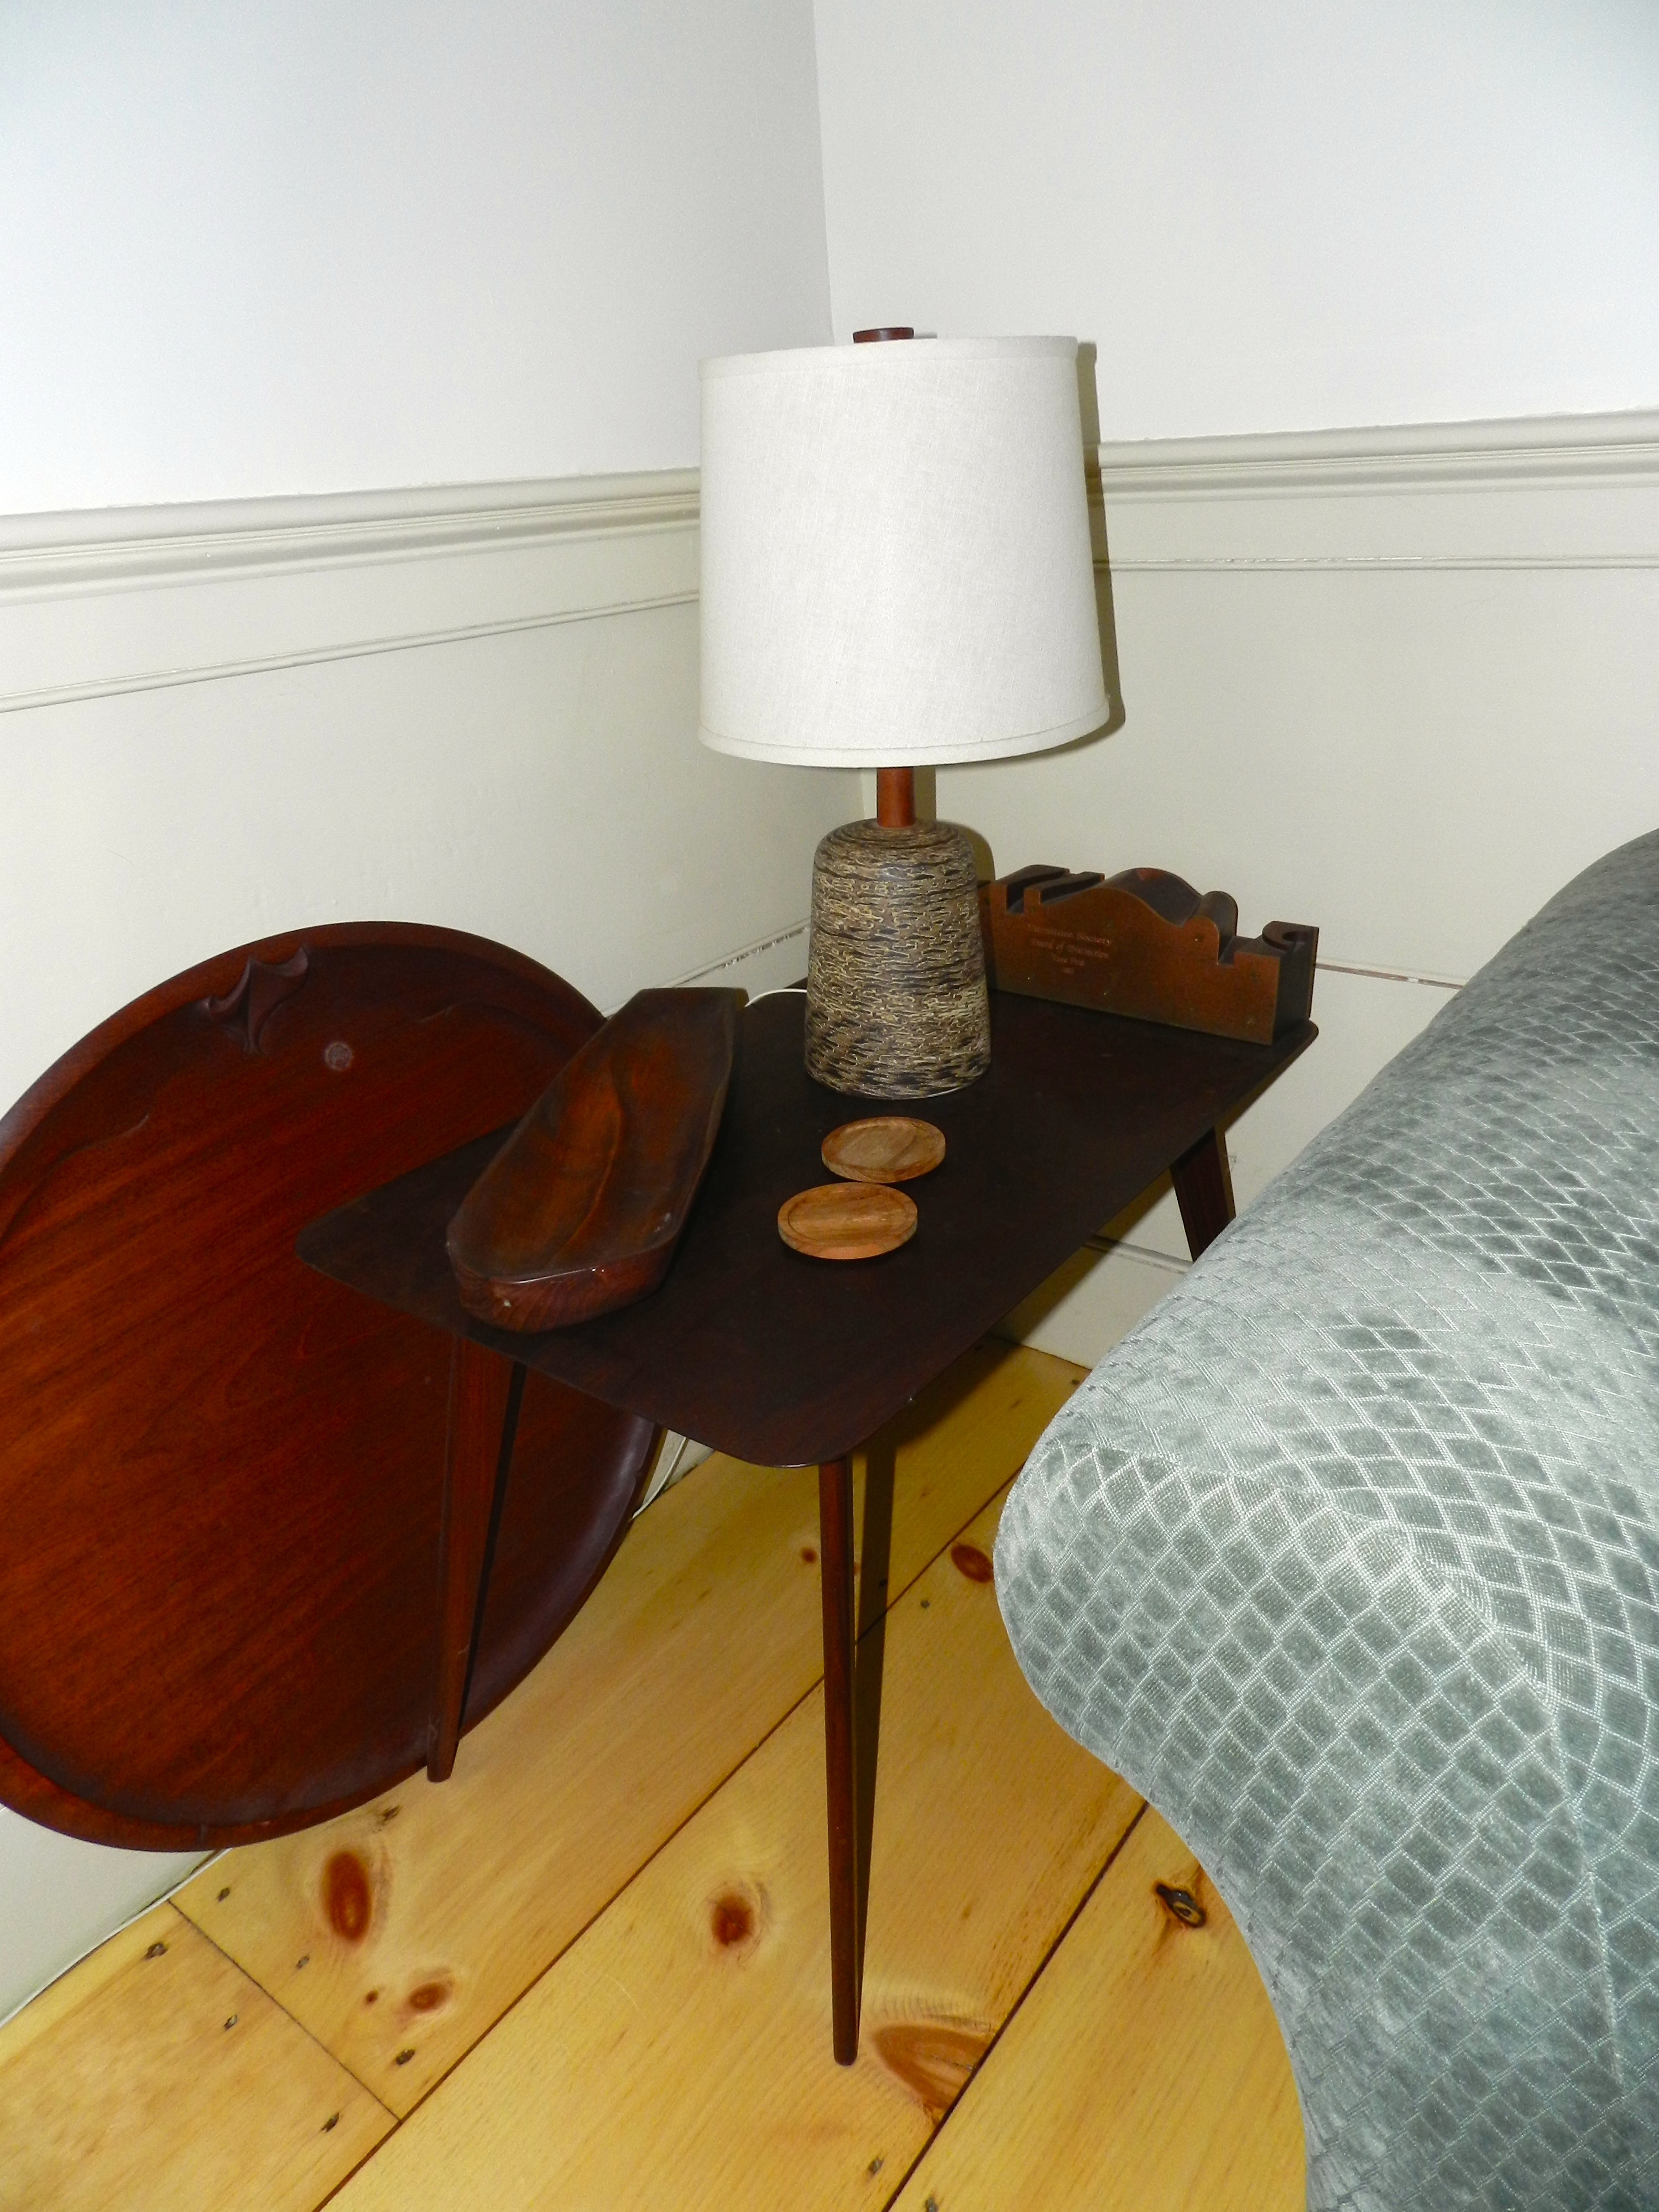
The end table above has another great story behind it. In some of Tage’s writings and articles he mentioned the rocky start he had when first arriving at the School for American Craftsmen wherein the facilities were not well setup and some folks were not eager to hear what Tage had to say. One morning while the students were attending lectures with another instructor Tage took a large board and started milling and working it. By mid-day he finished construction of the table and by the end of the day he even applied a scraped lacquer finish. This feat caused quite the sensation at the school and suddenly a lot more folks wanted to hear what Tage had to say as the existing way the program operated would have taken about 2 weeks for students to carry out this work and with inferior finish results. (You can read more about this story and many others in the Smithsonian interview of Tage Frid available online here.). The table has a delicate look that was ahead of its time and has aged well.

Round pedestal table and corner chairs
Circular pedestal pull-out table and corner chairs

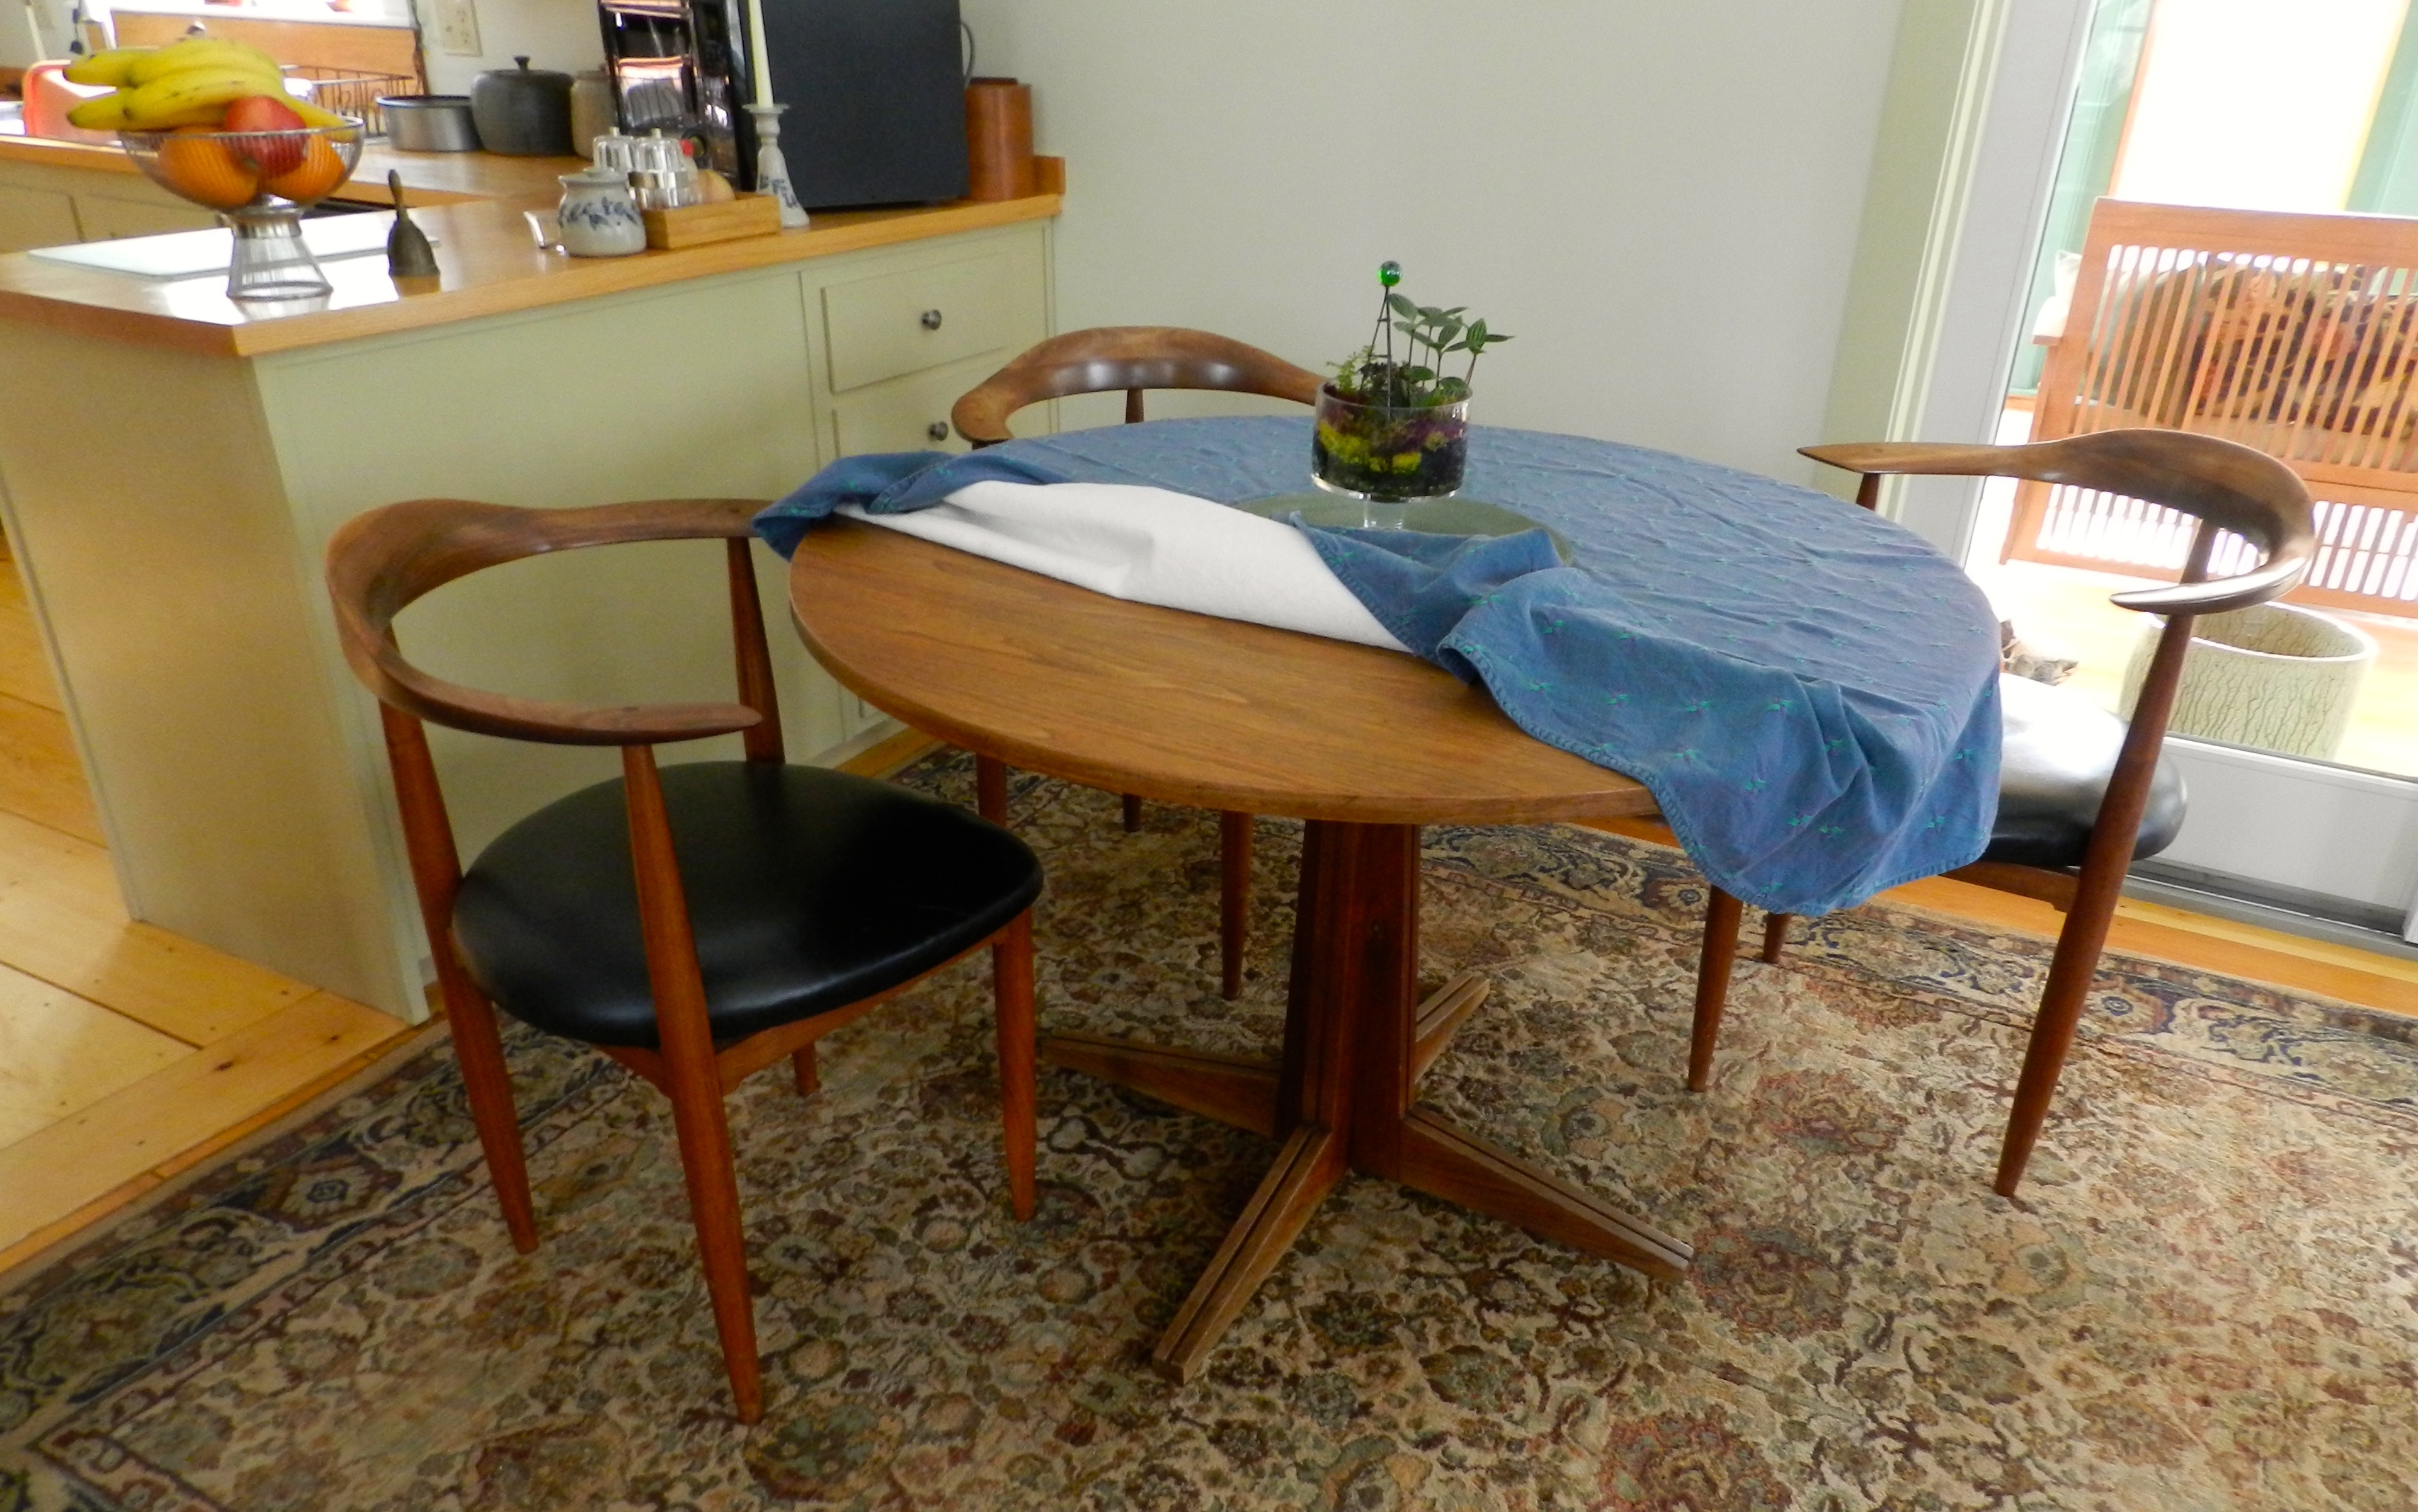
In the above photo you can see the circular pedestal pull out table Tage made in Chapter 4 of Volume 3 of his book. The table base has some interesting design details that hide where the table expands from. The book details the intricate and interesting sliding mechanism that supports the removable table leaf. Also shown are some corner chairs with upholstered seats. They are comfortable when sitting upright and support you well even if you sit with a more relaxed or slouched posture.

While not a cabinetmaker by trade I suspect the knack for woodworking and artistic creativity is in the genes as Peter built numerous very nice cabinets and built-ins around the house, including the kitchen cabinets and tops shown in the background of the above photo and a very nice computer desk. Oliver is an art teacher and accomplished painter and you can see some of his work here.

A sampling of Tage's bowl turning
A sampling of Tage’s bowl turning

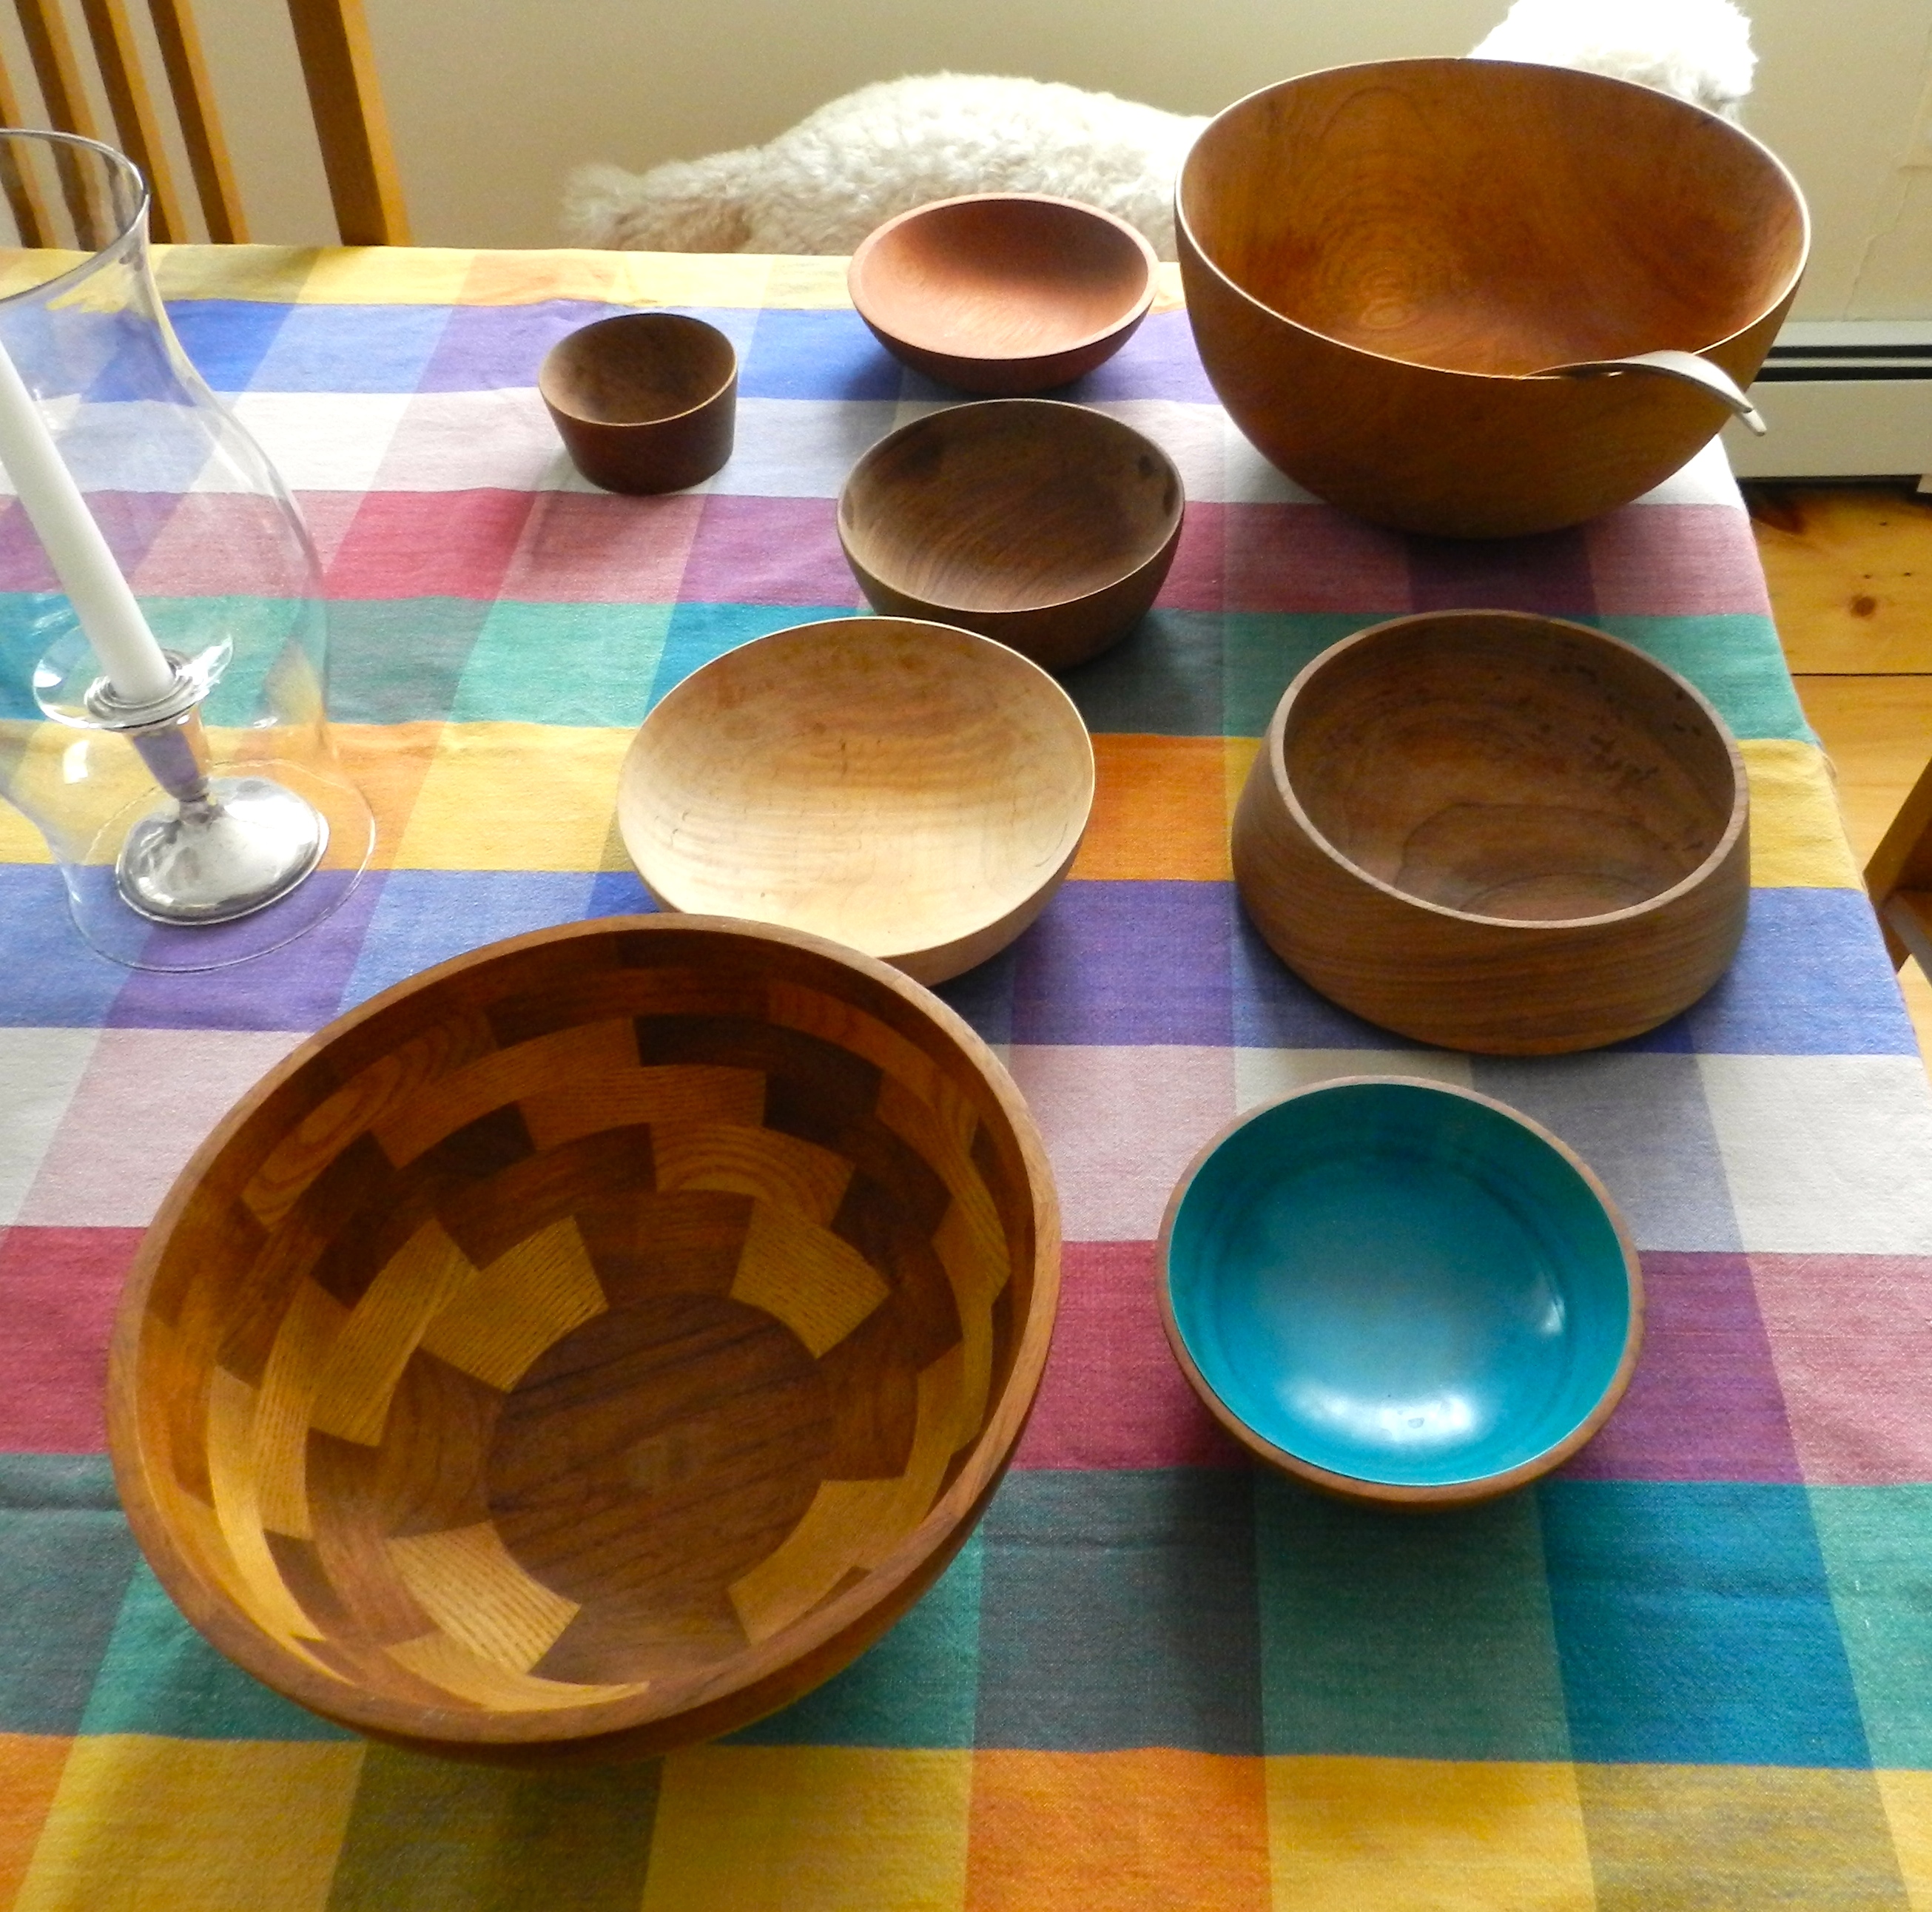
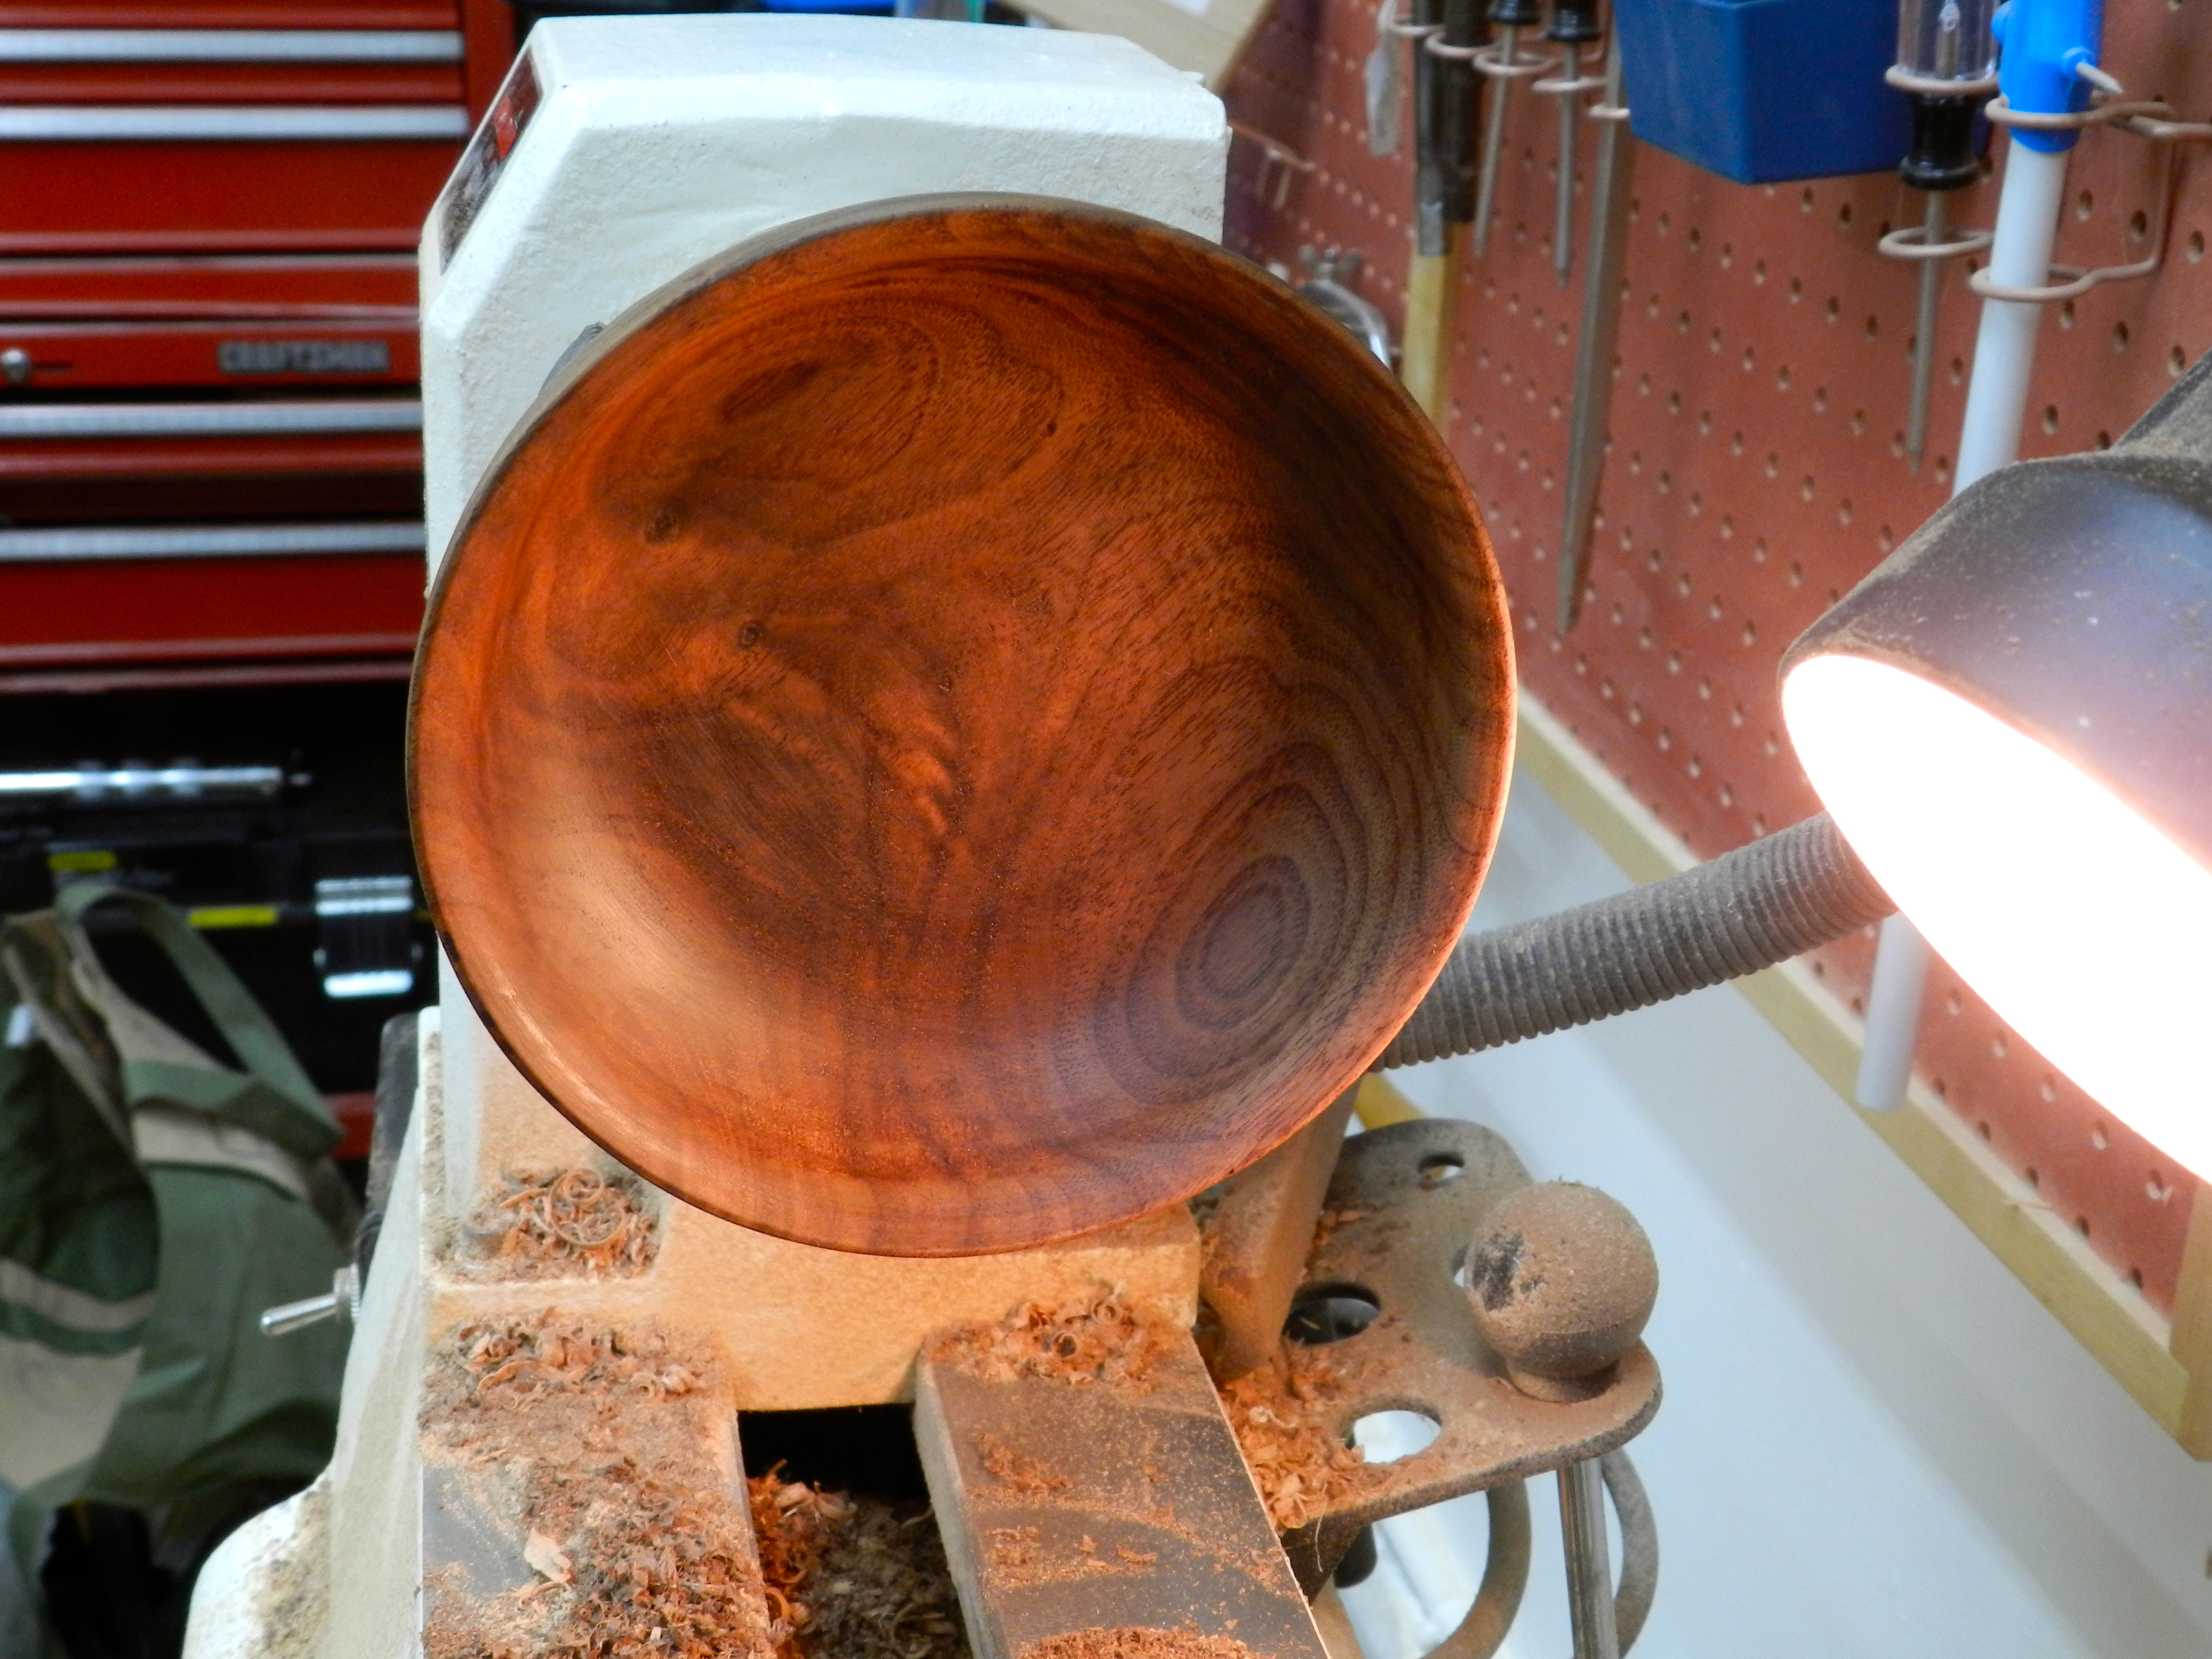
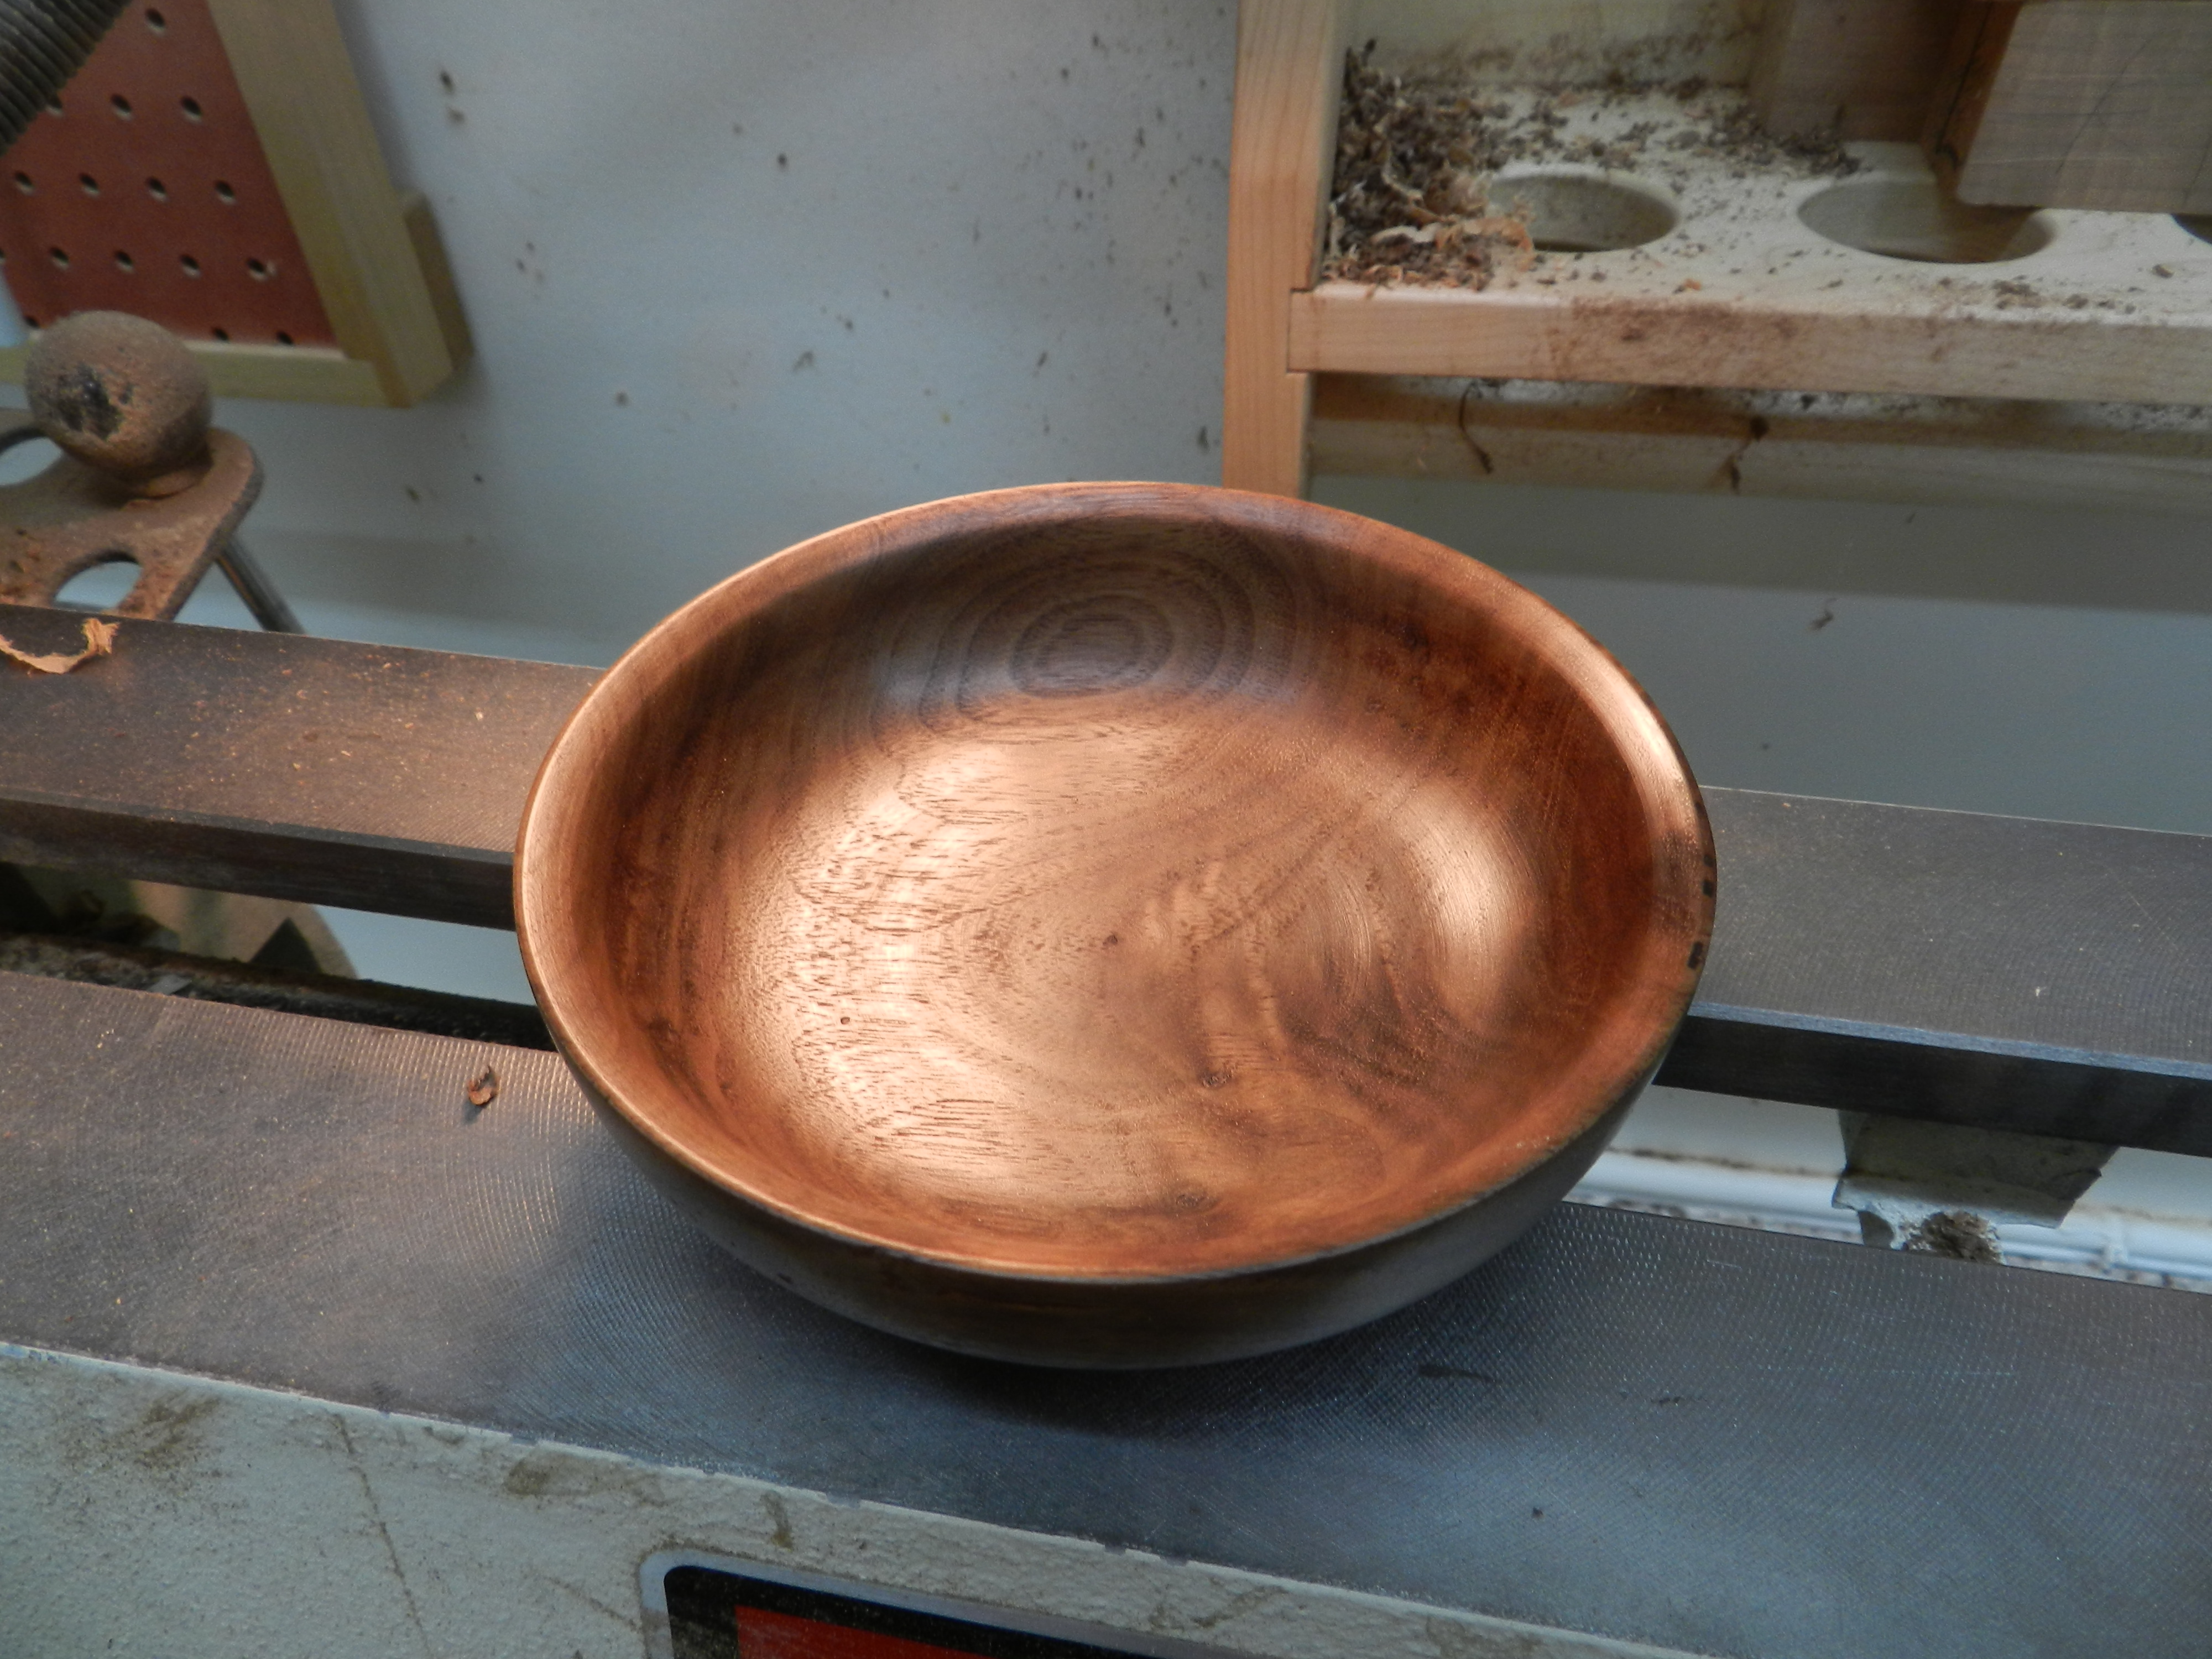
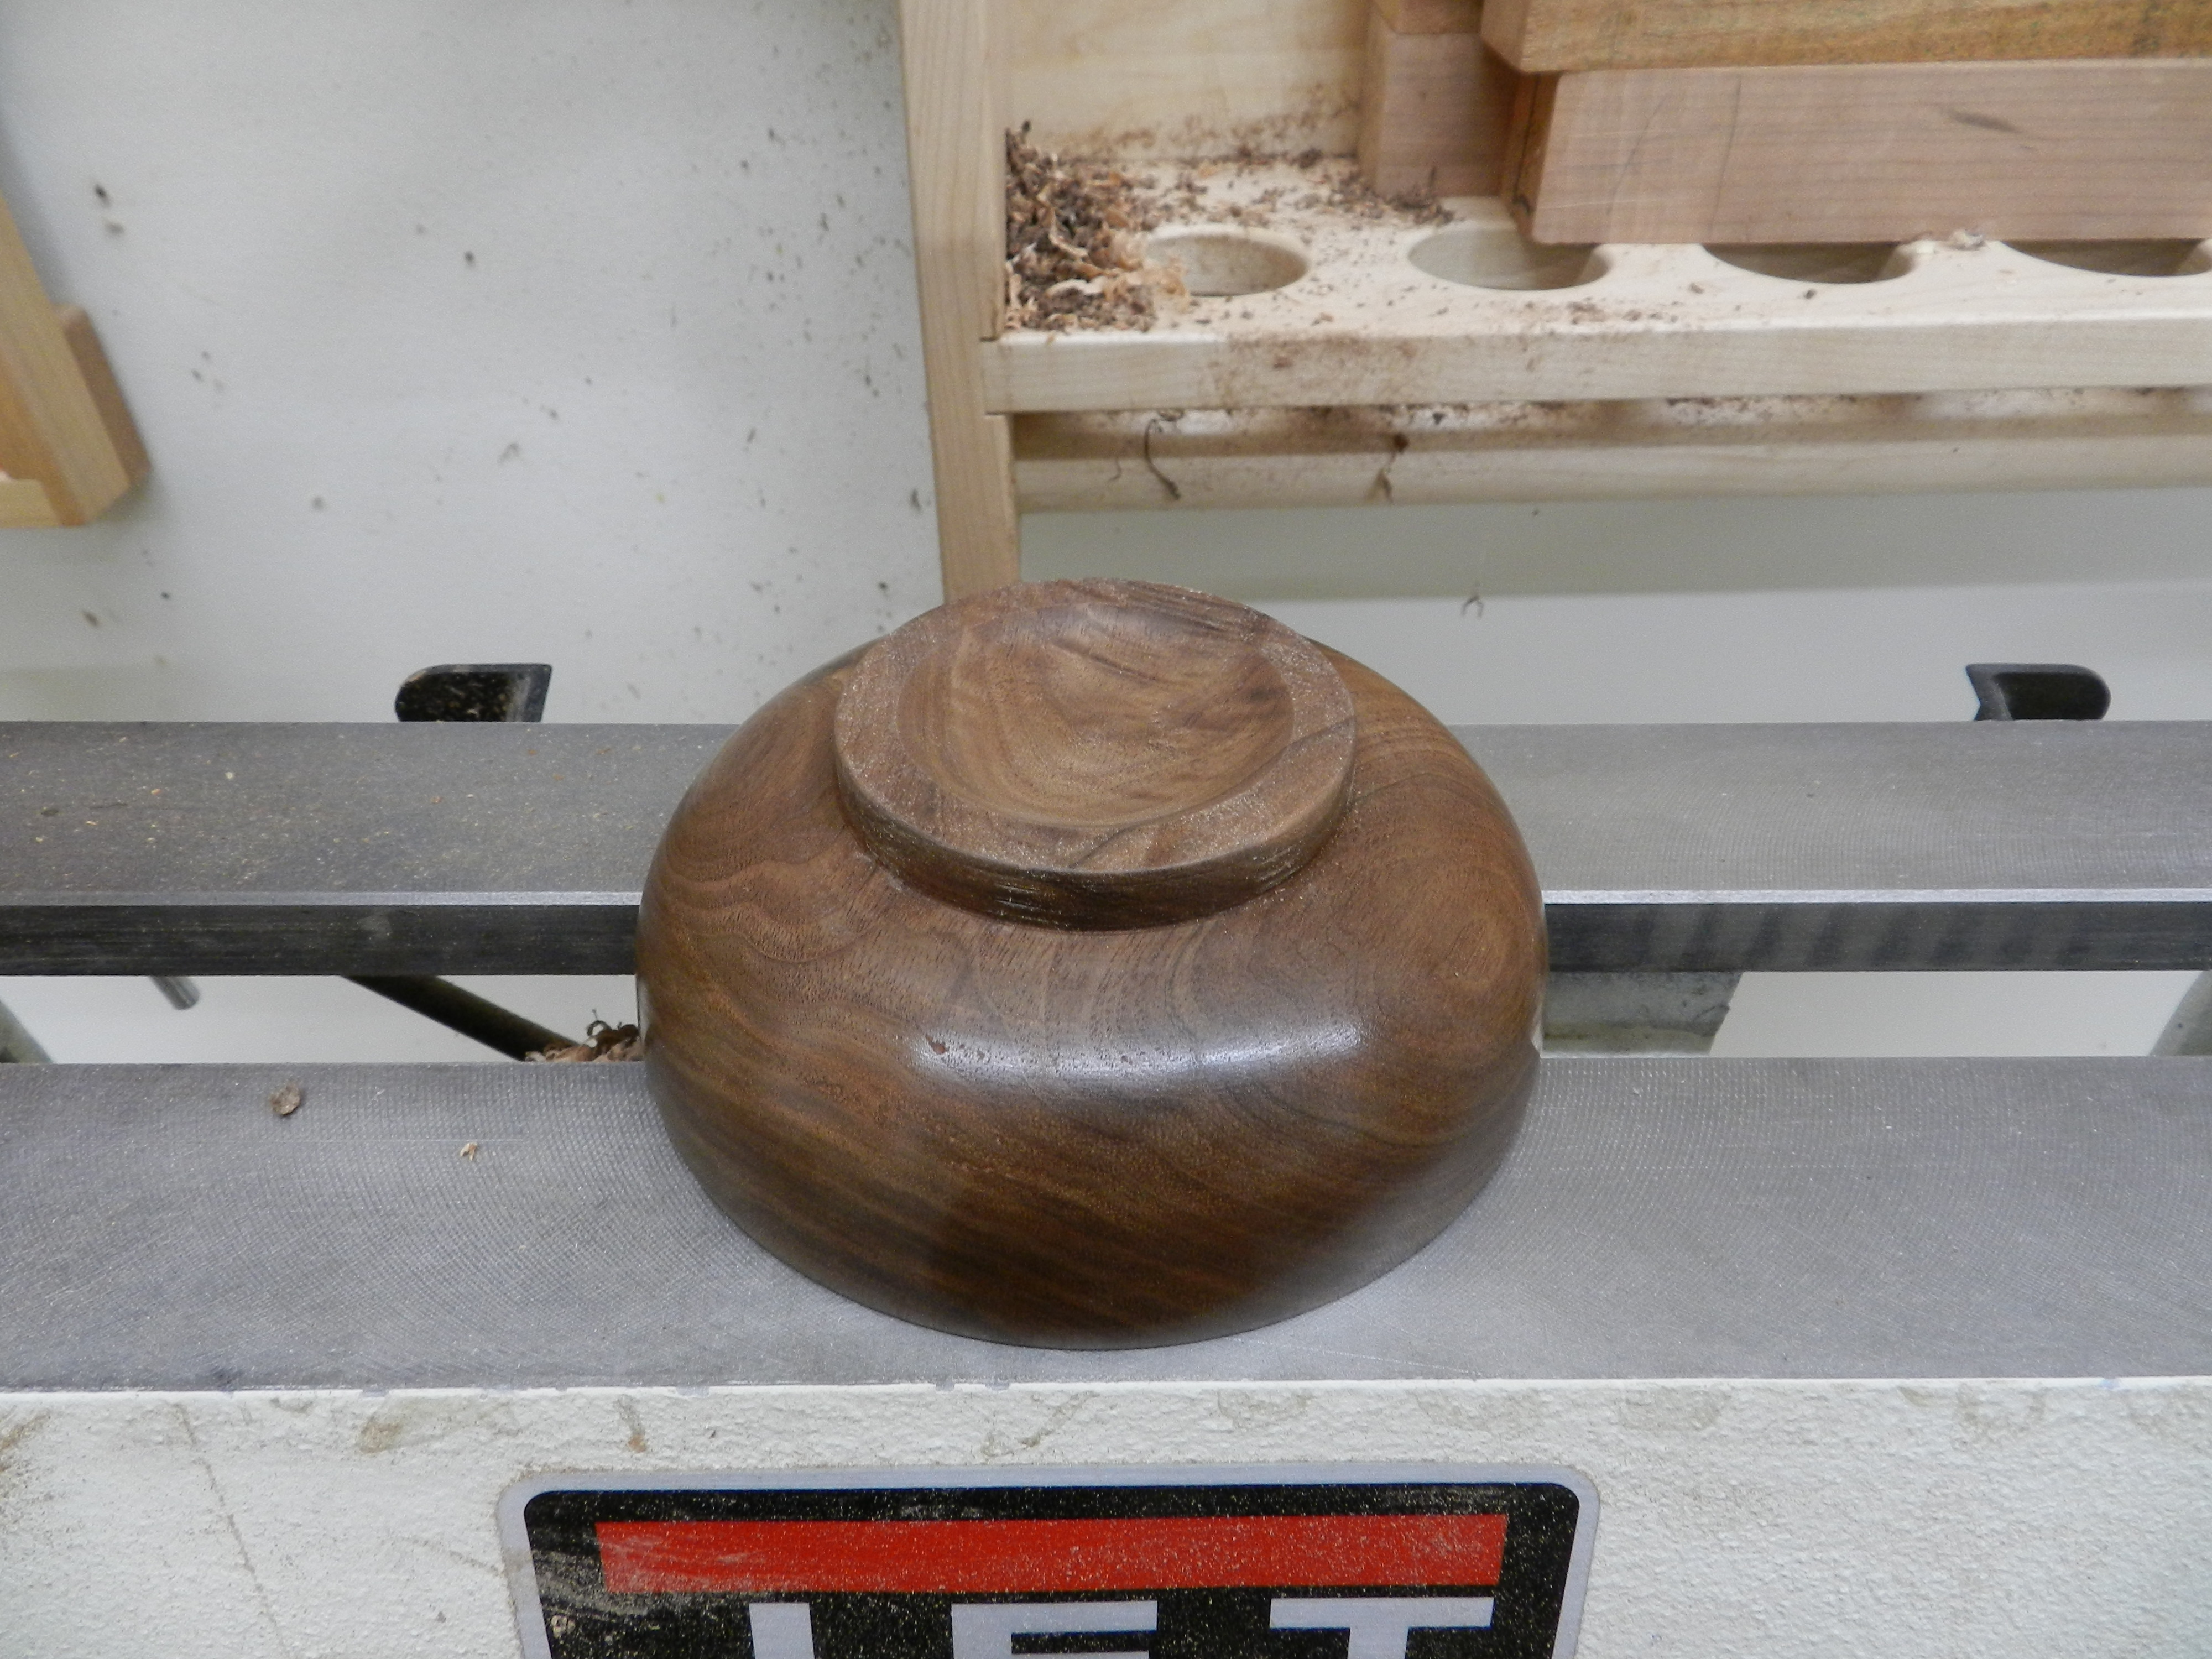
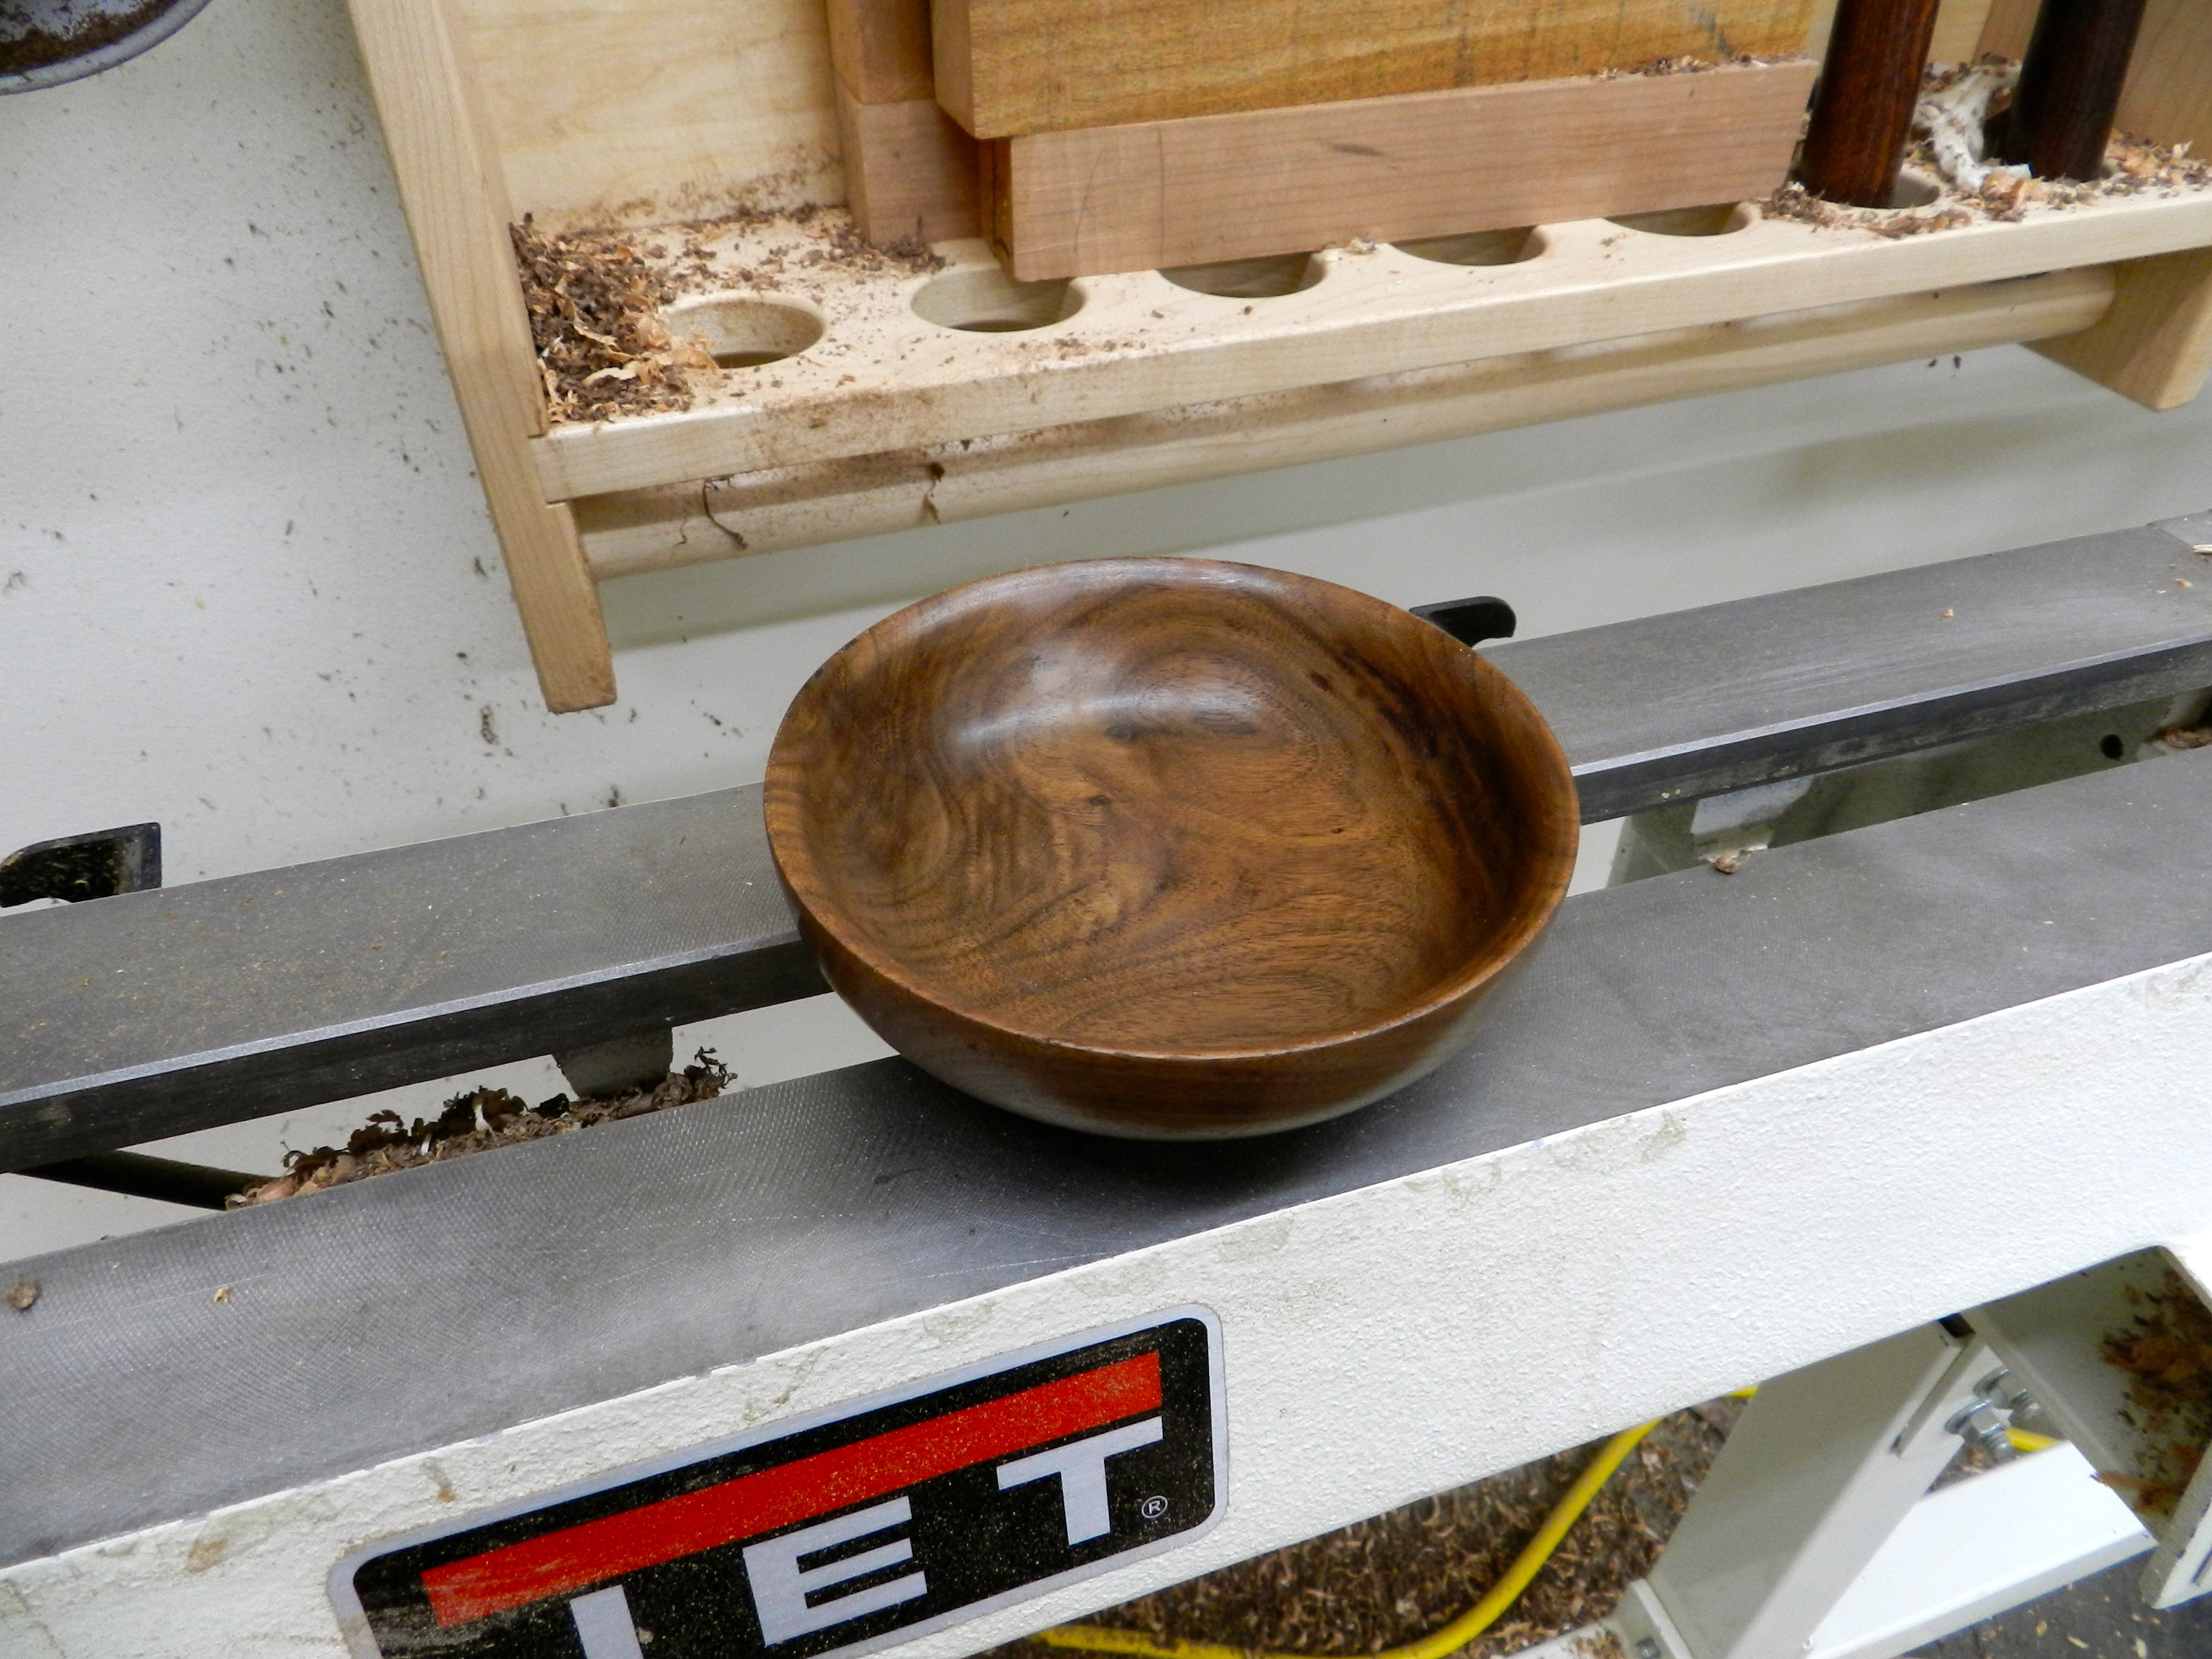
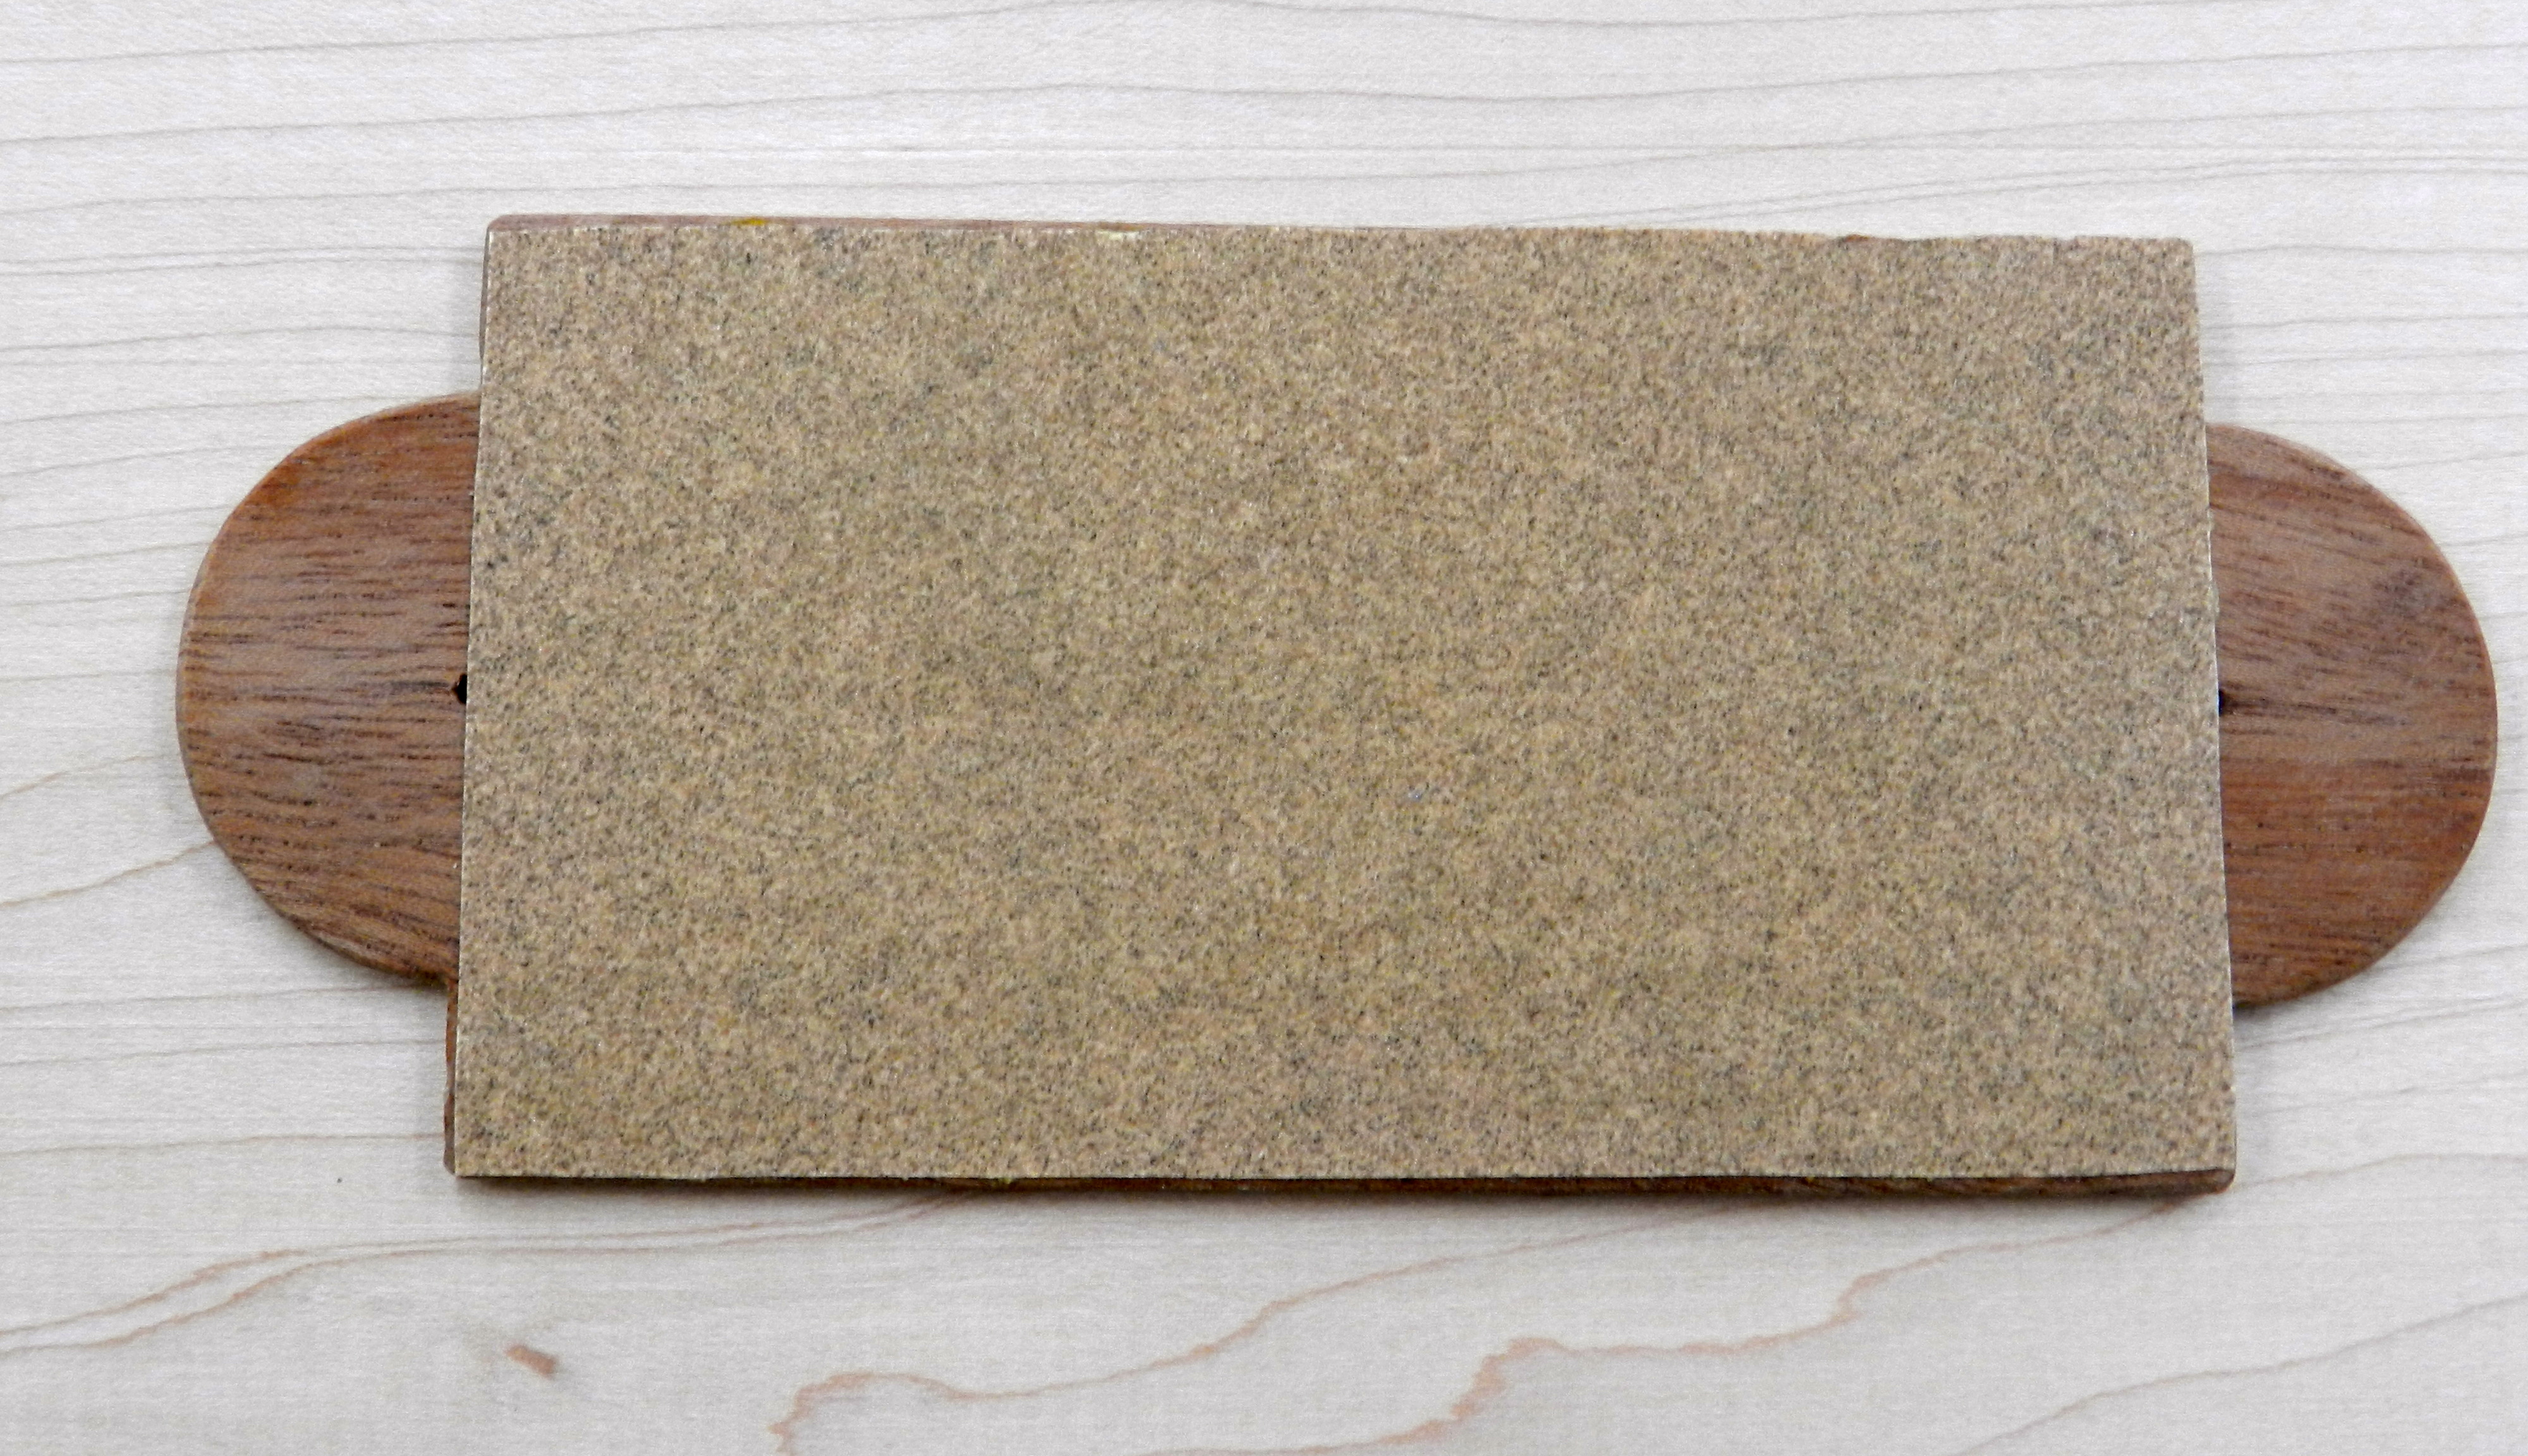
Tage also did a fair amount of bowl turning especially in his later years. Above are a few samples of his turning work. The large checkered/segmented bowl and blue lacquered bowl in the foreground were two of my favorites. The large salad bow near the top of the photo is also interesting. Rather than create a large tenon or undercut a tenon for use with a bowl chuck it seems that Tage used 4 wood dowels to presumably affix the large bowl blank to a faceplate or similar — thus maximizing the size of the bowl he could get from the blank and also allowing him to easily cut it off of the faceplate when the turning was completed.

Peter Frid (Left) and Oliver Frid (Right)
Peter Frid (Right) and Oliver Frid (Left)

Pictured in this last photo are Peter Frid (Tage’s Son) on the right, and Oliver Frid (Tage’s Grandson) on the left. I want to thank Peter for opening up his home to me, a thank you to Oliver for the introduction and a big thanks to Kathy and Cherie and the whole Frid family for their hospitality and allowing me to poke around admire some of Tage’s work. It was an inspirational visit and reminds me how I need to get back out into the workshop and finish off my Frid inspired workbench.

Take care,
-Bill

P.S. If you’d like to learn more about Tage Frid and his work, please check out my earlier post about him here.

P.P.S I also got to see some of Tage Frid’s workbenches and will be exploring those more in a future post.

Boxes for every occasion…

Building customized storage solutions is one of the joys of being a woodworker. I never seem to have enough storage at home or in the shop. On days when I don’t have a lot of time in the shop, when I have some nice scraps I want to use or when I want a quick warm-up, I often find myself making boxes and other storage solutions for items I want to take care of. Below are three posts I recently made for Popular Woodworking on their ‘Woodworking Daily’ blog to explore some of my thoughts on this topic. I hope that they will inspire you to get out into the shop and make something today.

Aging 100 Years in a Day

Sliding top timber framing chisel box

You can check out this post on making a sliding top timber framing chisel box from eastern white pine, simple rabbet joints and cut nails. It features a weathered finish made from milk paint and wax that will only look better with age and use. You can read the post here.

Working in the Round

Turned Box
Turned Box

This turned cherry box is a great way to start turning round boxes. The hollowing is done via a large Forstner bit. You can learn more about how to do this here.

A Great Box to Have Dinner With

Dovetailed Candle Box

This walnut candle box was one of the first projects I built as a student at NBSS and we still use it today. I’ve seen similar boxes for sale at Colonial Williamsburg (Prentis Store) and various Shaker Villages, so even in our modern times there is apparently still some demand for candle boxes. Learn about some of the details you can apply to your own shop built version. You can read more about it here.

Take care,
-Bill

Working in the round…

Bowl blanks waiting to be turned

Yesterday I had a rare day off and some time to work in my shop. With the holidays and cold weather fast approaching I am trying to get through my mile long TODO list. One of the items on my list was to make good use of some turning blanks I had on hand. (Last weekend I cleaned up the basement and organized my wood rack so now things are nice and neat)

Mallet blank
Mallet blank

Before tearing into a bowl blank I wanted to warm up with a spindle project and I’ve had a nice mallet blank sitting in my tool rack for the last year (literally).

Turning the mallet
Turning the mallet

You may recognize this style mallet from an earlier post I made last year on my blog here. The handle is made from cherry and the striking face is quarter-sawn hard maple. The concept here is that a mallet made from a single piece of wood usually loses some of the long grain sections that come flying off over its service life. By using quarter-sawn wood on all 4 sides you are not exposing any of the grain that is likely going to fly off. This also assumes that the Titebond glue joint is stronger than any movement in the handle.  We’ll see how well this one lasts in my own shop. (The first one was a gift for a friend)

Finished Mallet
Finished Mallet

A few changes I made in the design is I made the top a tiny bit concave so I can stand the mallet on its end and I simplified the handle a bit as it will likely have a hard life in the shop. I do however really like how the bead makes a pattern with the contrasting wood species.

Turning tools in the rack

Now that the tools are all warmed up, it’s time to start making some bowls.

Bowl blank mounted on a face plate

After roughing the blanks round on the band saw I secure the blank to a faceplate using good quality wood screws. (The screw holes disappear as that wood is removed from the inside of the bowl)

Bowl blank ready for turning

The first step is to turn the bottom of the bowl. I elected to make a chunky Asian feeling bowl from a small walnut blank I had on hand.

Turning the bottom and making a foot for the bowl chuck to grab onto

The bowl chuck grabs onto the foot (or base) of the bowl and allows me to hollow out the inside of the bowl.

Hollowing the bowl, knee deep in shavings
Hollowing the bowl, ankle deep in shavings

You know it’s a good day at the lathe when you are completely covered in shavings and standing ankle deep in shavings.

Hollowed out bowl, finishing the edge detail

Once I got the wall thickness and profile into a form I liked, I apply the finish right on the lathe. This allows for easier buffing etc.

Finished bowl
Finished bowl

I liked the figure of this piece and how it came out.

Underside of bowl
Underside of bowl

The bowl is finished with Tung Oil and Wax and likely will be a place for my wife to put her keys or watch or similar items at the end of a day.

Turned walnut bowl. Finished with tung oil and wax

On a cold day like today, I hope that you will get out to the workshop and make something new.  Time for me to get back into the shop myself….

Take care,
-Bill

Striking Out With Sloyd

Sloyd is tool work so arranged and employed as to stimulate and promote vigorous, intelligent self-activity for a purpose which the worker recognizes as good” — Gustaf Larsson, Principal of the Boston Sloyd School (1906)

To explore the world of Sloyd training is to roll up your sleeves and get some time at the workbench building your skills. A core component of Sloyd based training is building a series of models which increase in scope and skills required to execute them. Let’s explore one of those skill building exercises from the series of models described in Gustaf Larsson’s 1906 book “Elementary Sloyd and Whittling: With Drawings and Working Directions”.

We’ll take a look at the ‘Match Striker’:

Match Scratcher in action....
Match Scratcher in action….

A Match Striker?!

Yep, a key tenet of these models is for the students to make something they can use in their day to day life. Living with items you make yourself will help further refine your ability to judge the quality and completeness of your own work. But why would a child want this? 1906 was a different time — maybe after a long day of 4th grade schooling the students liked to go home for a quick smoke? Probably not. Most likely this item was affixed near a fireplace or stove and provided a nice place to strike a match from — rather than directly on the mantel etc.

Sloyd Match Scratcher by Gustaf Larsson
Sloyd Match Scratcher Model Plans by Gustaf Larsson

While the models were designed to be generally completed in order, the sloyd teacher was encouraged to experiment a bit and design models that would appeal to the actual students in the class. While it is possible that someone could build all the models from a Sloyd book or program and still not be much of a woodworker, the physical and life lessons learned were always considered to be more important than the accuracy of the model though clean and quality work was certainly the goal to strive for. Even if woodworking was not the students’ eventual vocation, it certainly helped them to judge the quality of and respect the work that went into this kind of work.

Above is the description of the exercise we’ll work through today…

Practice whittling with some Eastern White Pine

I started off by sharpening my Sloyd knife (The Hyde Sloyd Knife is actually still made in the USA but takes a bit of sharpening to be useful) and practice a bit on some eastern white pine scrap. Tip: When whittling you want to use the full length of the blade taking a shearing cut and generally cut away from yourself.

Getting ready to lay out

After some practice it was time to move on to the real stock. In this case the only thing I had handy that was 1/8″ thick was some walnut I bought years ago and never found a good use for — unfortunately walnut is not great for whittling — so I’d recommend Whitewood, Eastern White Pine or Basswood as better choices for the new woodworker.

Planing the stock to width

Crosscut the blank to length, then rip it to rough width. With a block plane, trim the piece to width.

Lay out the design on the wood blank

Next up is laying out the design using a compass and a square as called out in the plans.

Cut out the semi-circle. Use a coping or jeweler's saw to hog out most and clean up with the Sloyd knife, or just use the knife to do all the work
Cut out the semi-circle. Use a coping or jeweler’s saw to hog out most and clean up with the Sloyd knife, or just use the knife to do all the work

To cut the semi-circle you can use the sloyd knife to do all the work while holding the piece in your hands and whittling. If whittling is not your thing you can rough out the curve using a jeweler’s saw or fine coping saw and then clean up the edge using the sloyd knife.

Clean up the curves with the Sloyd knife, then break the edges with the sanding block.

Once you are happy with the general shape you’ll want to take a sanding block and fine sandpaper to break the edges.

Drill mounting holes with a brad awl

At the center of the semi-circles you’ll want to make a hole using a brad awl. In this case I am used a chisel edge brad awl. It drills a tiny hole by simply applying downward pressure and rotating your wrist back and forth until you get to through the piece or do the depth you want. (Note: I am used a shim to protect the bench surface) These holes are used to mount the striker to the wall or some similar surface.

Completed match scratcher with 'No. 1' sandpaper (aka Fine Sandpaper)
Completed match scratcher with ‘No. 1’ sandpaper (aka Fine Sandpaper)

To complete the project, apply a coat of wax and glue a piece of ‘No. 1’ Fine Sandpaper to the surface. After the glue dries this match scratcher is ready to be used.  Time to break out the matches and celebrate….

Behind the scenes....
Behind the scenes….

Turns out that most modern wood kitchen matches will NOT light on sandpaper or similar surfaces. So you need to either buy some ‘strike anywhere’ matches or find another use for this model. Don’t worry, if you flip back a few pages in the Larsson’s book you’ll see the the first model was a ‘pencil sharpener’ which is effectively a square strip of wood with the same sandpaper glued to it — and you’d rub a traditional wood pencil on this to sharpen/adjust the point. So now I have a very fancy yet simple pencil sharpener which will live out in the shop.

Wow, that was a lot of work for a modest item — yep, but the item was not the point — it’s a side effect of the intellectual and physical exercise. I am now able to whittle a nice curve and learned a new way to sharpen a pencil on the job site if I need something more refined than a crude chisel tip on a carpenter’s pencil made with a utility knife.

If you’d like to learn a bit more about Sloyd, please check out some of my other posts here and you can read Gustaf Larsson’s “Elementary Sloyd and Whittling: With Drawings and Working Directions” here.  If you try out a sloyd model based exercise on your own, please share your experiences here.

Happy Sloyding!

A Staircase for Very Skinny People

As a student at the North Bennet Street School, one of the many projects Preservation Carpentry students have to complete is the staircase model. The project is a great exercise for students as they each get to walk through the process of building a staircase from end to end. The only caveat is that the stair treads are only about 18″ wide since going full size in width does not add much to the learning experience and makes it feasible to have 10+ staircases in a single classroom.

Rough stringers in place

Above we start off laying out and cutting the rough stringers and then move through each stage until we have a completed staircase. This is one of the projects wherein the students have some design freedom in how they want to trim out the staircase. Some were very modern and minimalist, some very plain vanilla with all square stock, some very traditional.

Turned walnut ballusters
Turned walnut balusters

I am an avid turner and had done a lot of finish carpentry before coming to the school so as a challenge to myself I decided I wanted to turn my own newel posts and balusters and finish off the piece as if it was installed in a house. It was a lot of extra effort, but a great experience. Once completed my staircase model was on display as part of the NBSS annual student works show and exhibit.

You can see the completed project here:

Completed staircase model

If you are interested in seeing a time lapse of how this staircase was built, please check out the slide show below:

This slideshow requires JavaScript.