Tag Archives: Gustaf Larsson

How many tools do I really need? — Sloyd Tool List

Hello Fellow Sloyders,

The post below is an expanded version of a recent post I made for my friends at Popular Woodworking which can be found here. For the sake of continuity on the series related to Sloyd on this blog I am providing an extended look at this topic.

In honor of American Independence day this past week, why not do something that makes you a little more independent?

When I started out woodworking I’d watch television shows and read magazines pushing all kinds of fancy new tools and think ‘If only I had a shop full of those tools I could build anything’. I spent a long time saving my pennies, reading the reviews and trying out the latest tools. The models seemed to change with the seasons. New project? Time for a new bit or jig or gizmo. Realizing that earlier craftsmen didn’t have access to all of these modern wonders yet they produced far more intricate work, I went in search of the hand cut dovetail and the arts and mysteries of our ancient craft.

Sloyd Tool Cabinet
Sloyd Tool Cabinet & Tool Set — Makes a great gift for the Sloyder in your life

I quickly found that power equipment was not broadening my capabilities as much as it was like an anchor tethering me to a limited band of work and taking up valuable shop space. I also didn’t like wearing the requisite dust mask, hearing protection and safety glasses all the time — it was like a mini sensory deprivation chamber. When I asked master cabinetmaker Dan Faia (NBSS) what he does for dust protection in his own shop, his succinct reply was “I never coughed up a curl“. That pithy remark reflected the very different view traditional woodworkers have — without all the big machines, the dust and noise,  you can focus on the work, invest in a smaller set of high quality tools that should last a lifetime and enjoy the process as much as the result.

Sloyd Tool Cabinet Ad -- From Chandler and Barber
Sloyd Tool Cabinet Ad — From Chandler and Barber (Photo Courtesy of John Pirie)

If you are looking to downsize your powered shop, get into more traditional woodworking or just starting out the questions that often come up are —

What is a good minimum set of tools I need to get started? How much is this all going to cost me?

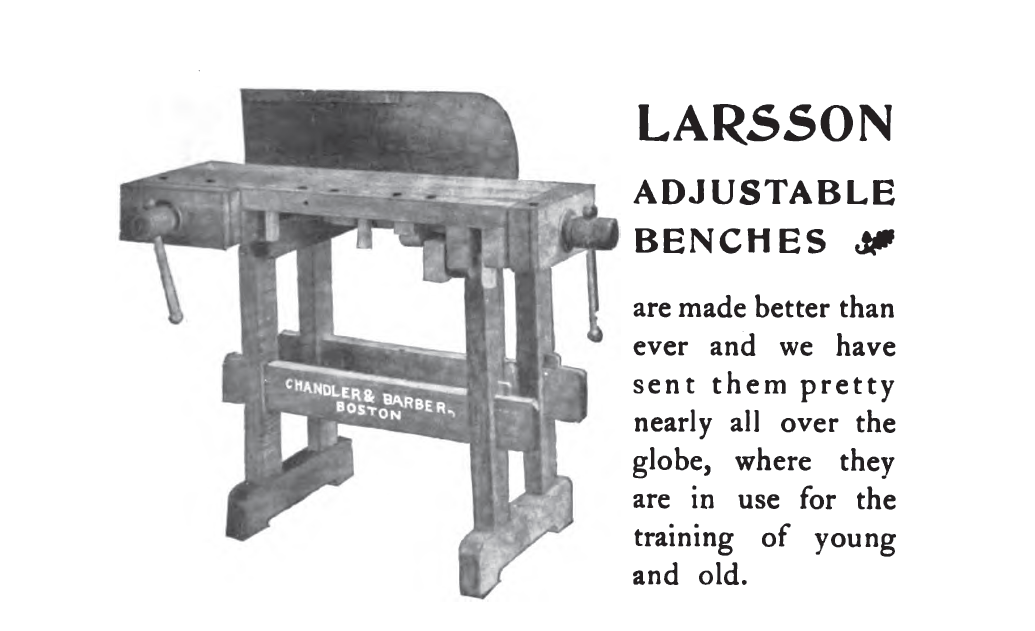
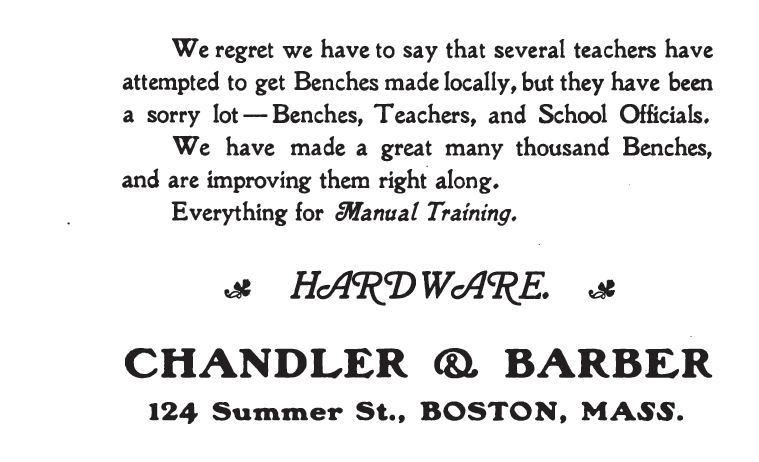
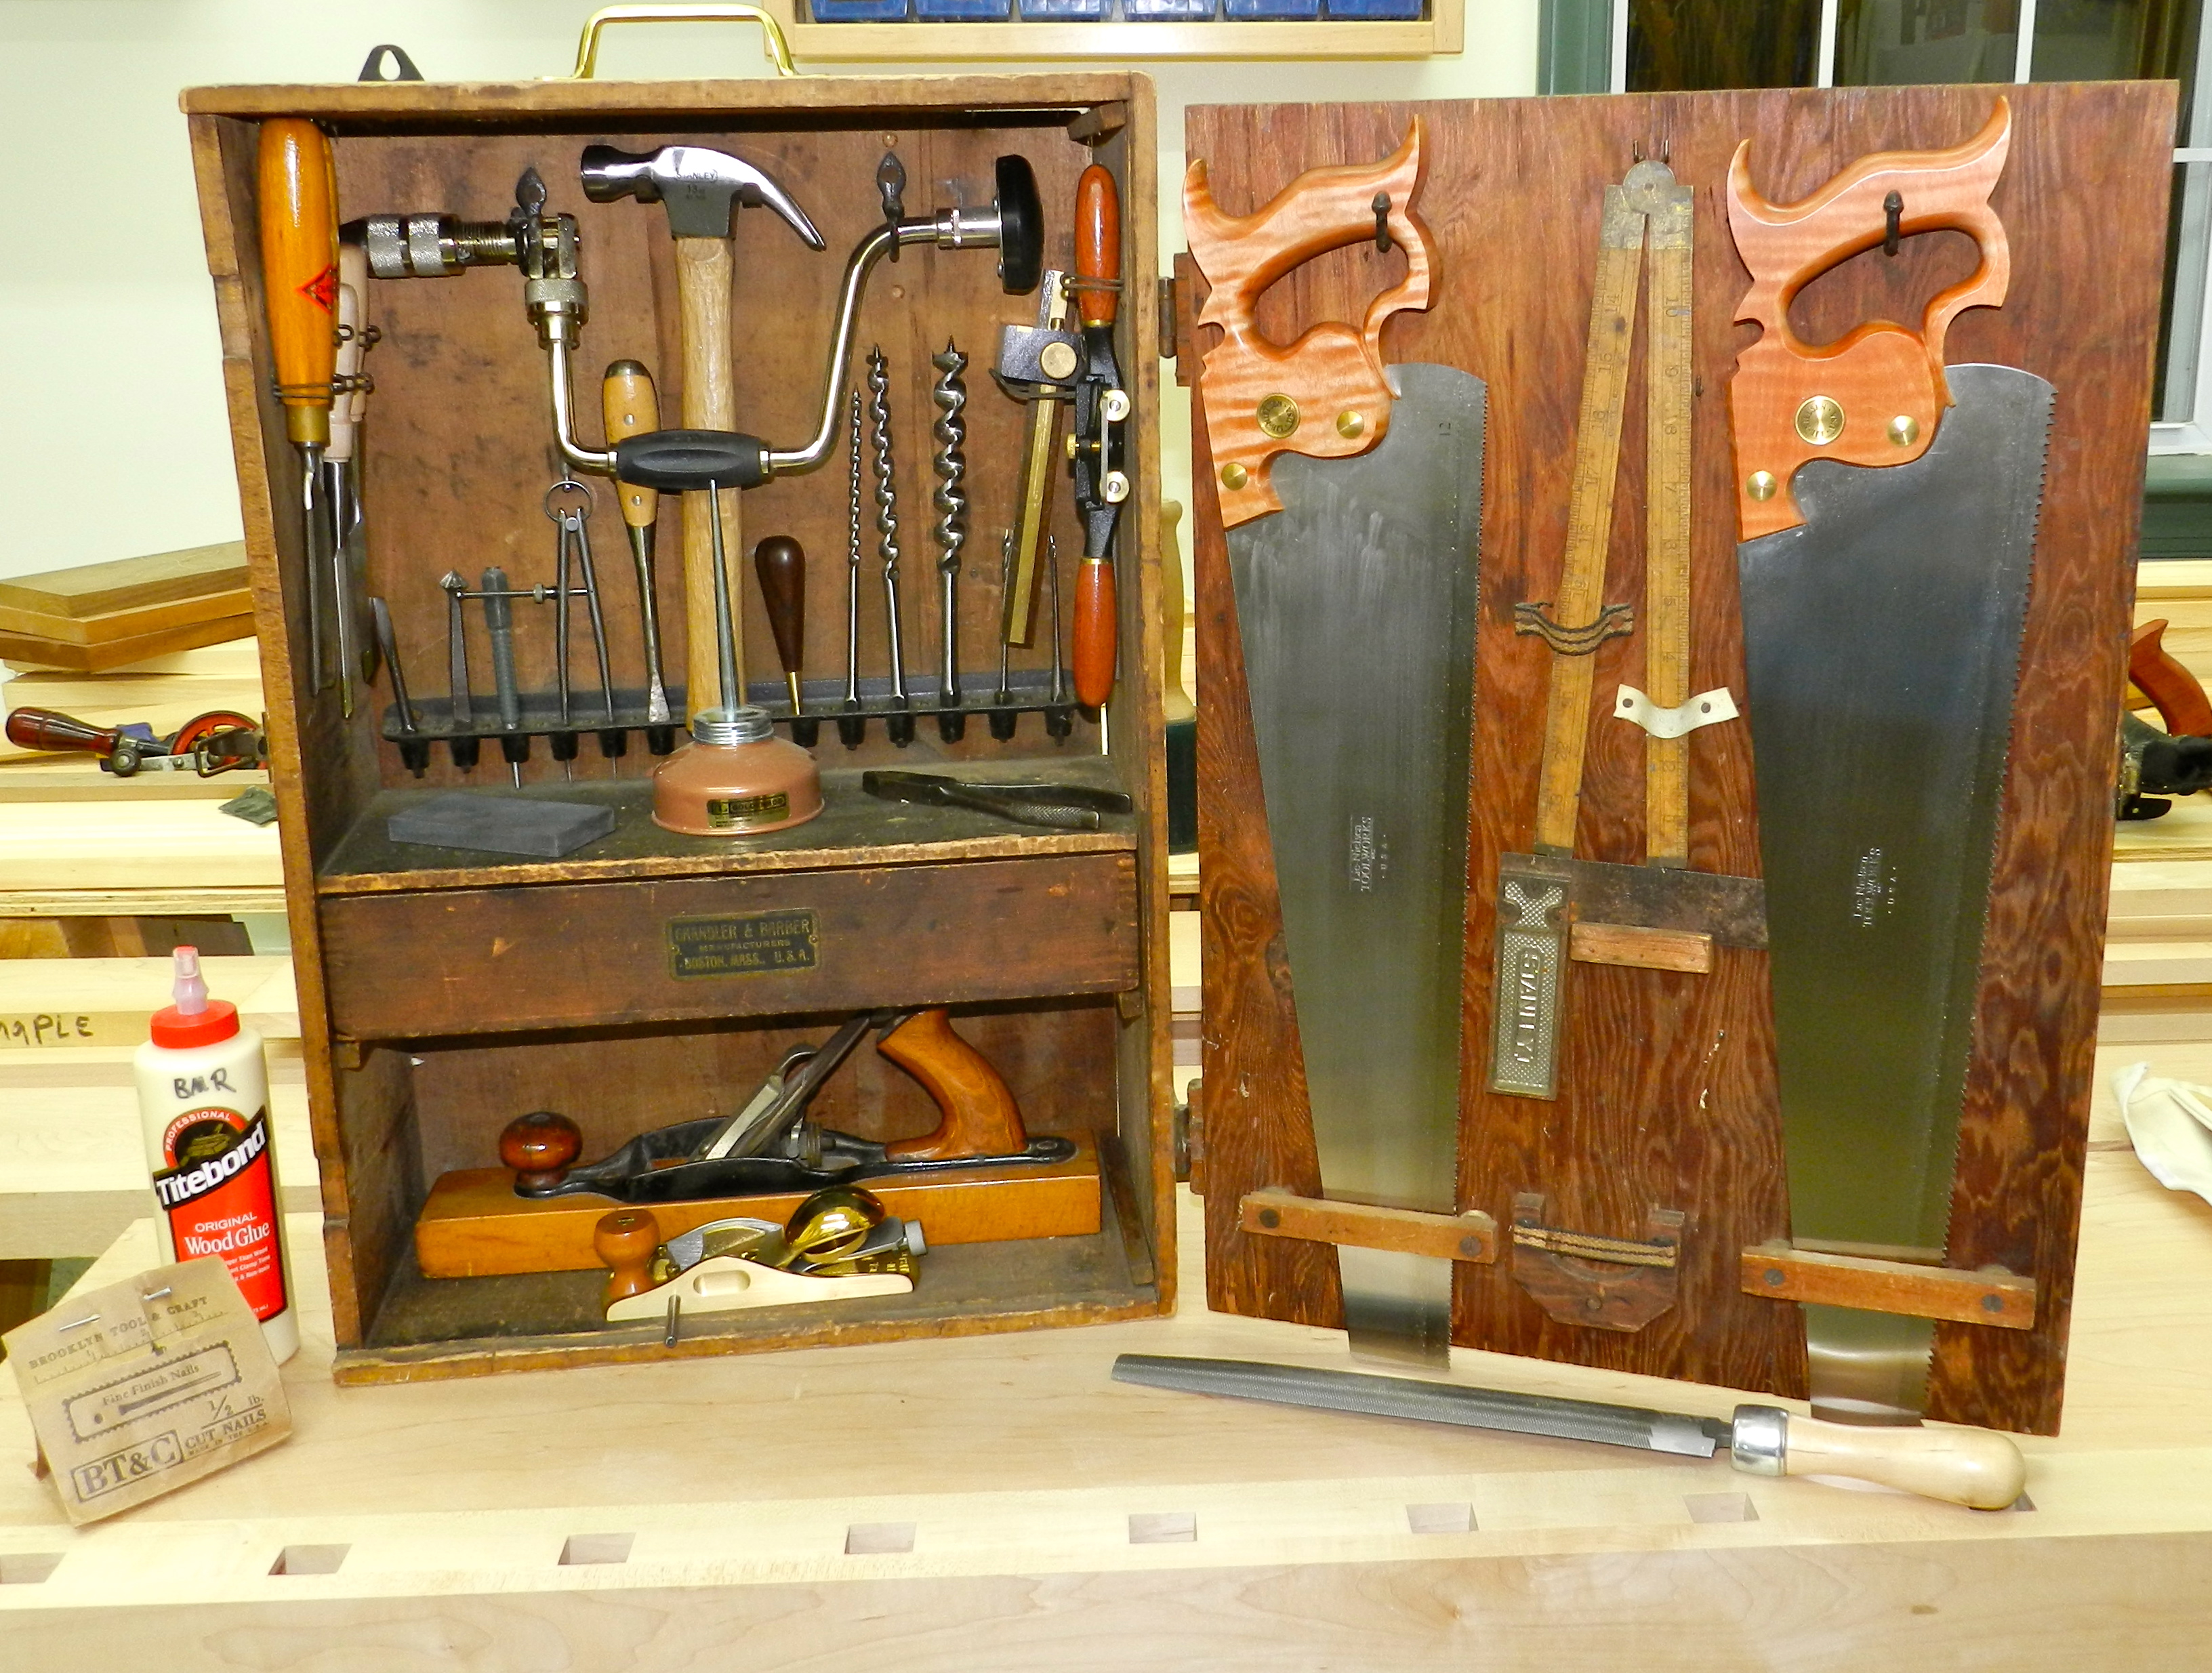
In researching the Sloyd tool cabinet shown above I found some old tool catalogs from Chandler and Barber of Boston (a primary supplier of Sloyd paraphernalia including the Larsson benches etc ) including one from 1900 complete with a listing of and pricing for all the tools in the cabinet.  According to the Federal Reserve’s website $1 in 1900 that should be worth about $27 today. A straight monetary conversion doesn’t paint a complete picture since some tools that were common back then are a specialty today and vice versa so I also included a column showing what an equivalent quality tool would cost new today.

In 1900,  just as it was when I was a student over 100 years later, the view is that it is better to buy a quality tool once that will last a lifetime than buy something of poor quality which will not serve you well in your work. Keep that in mind as you review the list — since the tools were not the cheapest back then and surely are not the cheapest today. But with this modest set of tools you can build an amazing array of projects just as many ‘Sloyders’ (Sloyd school students) have done before us.

Tool Original Price Original Price in Today’s $ Today’s Price Notes
2′ Folding Wood Rule $0.15 $4.05 $24.00 Bi-fold Rule from Garret Wade
6″ Metal Blade Try Square $0.25 $6.75 $13.65 Swanson Try Square On Amazon
Marking Gauge $0.25 $6.75 $30.00 Robert Larson Marking Gauge on Amazon
Bevel Gauge $0.25 $6.75 $22.50 Shinwa (Japanese) Lee Valley or Amazon
Pair Dividers, 5 inch $0.30 $8.10 $49.50 Starrett 4″ or 6″ on Amazon
Screw Driver, 4 inch $0.15 $4.05 $13.95 Marples, from Tools For Working Wood
13 oz. Claw Hammer $0.42 $11.34 $9.97 Stanley 13 oz Hammer, Walmart
Block and Rabbet Plane $1.00 $27.00 $175.00 Lie Nielsen Block Rabbet Plane
Bailey Jack Plane $1.13 $30.51 $93.00 Stanley Bailey Jack, from Rockler
Cross-cut Saw, 20 inch $1.37 $36.99 $96.00 Pax Handsaw, from Lee Valley
Splitting Saw (Rip), 20 inch $1.37 $36.99 $96.00 Pax Handsaw, from Lee Valley
Keyhole Saw $0.20 $5.40 $18.00 Japanese Keyhole Saw, from Lee Valley
Firmer Chisel, 1/4 inch $0.25 $6.75 $28.95 Henry Taylor, from Traditional Woodworker
Firmer Chisel, 3/4 inch $0.32 $8.64 $30.95 Henry Taylor, from Traditional Woodworker
Firmer Gouge, 3/8 inch $0.29 $7.83 $40.95 Henry Taylor, from Traditional Woodworker
Firmer Gouge, 3/4 inch $0.34 $9.18 $44.95 Henry Taylor, from Traditional Woodworker
Bit Brace $0.50 $13.50 $69.50 French Bit Brace, from Lee Valley
Jennings Pattern Bits, 1/4,1/2,3/4in. $0.78 $21.06 $54.00 Auger Bits, from Traditional Woodworker
2 Gimlet Bits $0.20 $5.40 $16.00 7 Piece Set, from Garret Wade
Screwdriver Bit $0.15 $4.05 $11.50 Driver Adapter Bit, from Lee Valley
Countersink $0.20 $5.40 $19.50 Hand Countersink, from Lee Valley
Spoke Shave $0.15 $4.05 $34.99 Stanley Spoke Shave, from Rockler
Brad Awl $0.05 $1.35 $19.95 Brad Awl, from Lee Valley
Nail Set $0.10 $2.70 $3.15 Stanley Nail Set, from Amazon
Half Round File $0.34 $9.18 $9.97 Nicholson Half Round File, from Home Depot
Oil Stone $0.50 $13.50 $18.99 Norton Combo Oil Stone, from Amazon
Oil Can $0.10 $2.70 $7.11 Goldenrod Oil Can, from Amazon
Pair Combination Pliers $0.50 $13.50 $8.60 Crescent H26N, from Amazon
Can Glue $0.15 $4.05 $5.88 Titebond, from Amazon
Assorted Brads $0.05 $1.35 $7.23 Crown Bolt brad and nail assortment, from Amazon
Assorted Screws $0.10 $2.70 $8.10 Maxcraft woodscrew assortment, from Amazon
Total: $11.91 $321.57 $1081.84

If your wallet still cringes at the totals above, fear not, for the totals above are for all brand new tools. The one luxury we have in our modern day of hand tools falling out of favor is the large secondhand market where you might be able to scoop up some great tools — possibly even some of the actual tools that once inhabited these cabinets for the original price in today’s dollars or less.

Fully Stocked Sloyd Tool Cabinet

So before you break out the barbeque, give some thought to how you can free yourself from a mountain of modern tools and invest in a modest set of traditional hand tools that will get you started on the path to more enjoyable woodworking.

-Bill

P.S. Extended Content For Readers of My Blog:

Note, the table above is expanded to show what sources I pulled my current pricing data from — which may be controversial to some — but was a best effort to identify similar makes, brands, qualities and countries of origin to be the same as what was in the original cabinet. For items no longer made in the U.S.A. I tried to find the next closest replacement.

P.P.S Why did the relative price of new tools go up so much?

This is a topic we’ll explore more in a future post, but for all the armchair economists looking to convert see what a dollar was worth in the past, this site from the FED was interesting.

Sloyd Workbench — Larsson Adjustable Workbench

Hello My Fellow Sloyders,

Recently we’ve talked a bit about the Sloyd Tool Cabinet and it’s contents — but with all these tools on hand and a book full of models to build, where do you actually build them?

I’d like to introduce you to a slightly more famous cousin to the Sloyd Tool Cabinet — the ‘Larsson Improved Adjustable Workbench’ or more commonly known as a ‘Sloyd Bench’.

Larsson Adjustable Bench from November 1908 Sloyd Record

This workbench was designed by Gustaf Larsson the principal of the Boston Sloyd School in the late 19th and early 20th centuries and manufactured by Chandler and Barber to Larsson’s specifications.  The bench was the result of Larsson’s experiences at Naas, at the Boston Sloyd School and at  the North Bennet Street Industrial School. It draws upon design elements found in traditional continental European benches but was scaled to the needs of a classroom setting and had to accommodate both children and adults.

The Sloyd Record: Issue No.1 January 1904 -- Boston Sloyd School Alumni Newsletter
The Sloyd Record: Issue No.1 January 1904 — Boston Sloyd School Alumni Newsletter

How do we know so much about this bench?

In some ways it is fairly well documented in old tool catalogs, like those of Chandler and Barber — the premier supplier of ‘Sloyd System’ benches, tools and supplies and in other advertising. In addition, a fair number of these benches still survive which is a testament to how well they were built and how many of them were produced. While the North Bennet Street Industrial School catered to training immigrants and younger students in its earliest days, the Boston Sloyd School focused on teaching the teachers of Sloyd. Teachers would come to the school, learn how to teach Sloyd to students and then go back to their municipalities to teach Sloyd to the local population. So with diplomas in hand these new teachers often wanted to order the same or very similar setups to what they learned on. This was the genesis of many manual training programs in the United States.

Chandler and Barber Sloyd System Supplier Ad from January 1904 Sloyd Record

Above you can see one of the many ads Chandler and Barber took out in Sloyd related publications — in this case the ‘Sloyd Record’ which was the alumni newsletter of the Boston Sloyd School. Chandler and Barber seemed to be the most prolific dealer in this space, but just like today there was a lot of competition. You’ll see ads from Hammacher Schlemmer (they used to specialize mostly in tools and hardware back then), lumber dealers, publishers and other similar companies trying to get a piece of the apparently semi-lucrative Sloyd pie.

Buy the best -- buy a Larsson Bench from Chandler and Barber
Buy the best — buy a Larsson Bench from Chandler and Barber

The competition got so fierce that some of the Chandler and Barber felt it was worth mentioning how others got burned trying to save a few dollars going with a competitor’s bench of inferior quality. Don’t be a part of that sorry lot…..

Larsson IMproved Adjustable Sloyd Bench as seen in 'A Textbook Of Working Models Of Sloyd' By Gustaf Larsson
Larsson Improved Adjustable Sloyd Bench as seen in ‘A Textbook Of Working Models Of Sloyd’ By Gustaf Larsson

What made this bench so special?

Beyond being the brand name bench associated with Sloyd pioneer Gustaf Larsson the bench did have some novel features. If you look carefully in the picture above you can see a set of hinges on the cross member of the base (near where you see the word Pat.Aplc..). Why would anyone want hinges on their bench? Essentially you could take the top of the bench off, flip up or down those blocks, re-install the bench top and be able to accommodate both children and adults in the same workspace. Over the years several models of bench were associated with Larsson’s name, including the popular No. 5 model shown here, another larger model designed for 2 students to share a workspace, and even a clamp on vise which could be used for light work when attached to a sturdy table.

Beyond being a reasonably stout bench, it could be ordered with wood or metal vise screws, a few variants of removable tool rack (which made it easy for instructors to see if all the tools were put back in their proper place and in good condition), vise and dog hole configurations and similar tweaks.

Larsson Improved Adjustable Bench as Seen on Craigslist (Thanks to Gary Roberts for the link)
Larsson Improved Adjustable Bench as Seen on Craigslist (Thanks to my friend Gary Roberts for the link)

During my time at NBSS over the years I’ve had the chance to work at some of these benches a few of which seemed to survive in the darker corners of the workshop department. At the time I didn’t realize the history of what I working on — I thought it was just another old workbench which had seen better days and was propped up to accommodate taller students. At this sort of old bench I first learned to layout and cut a proper dovetail and it was well suited for the task and you could fit a fair number of them in a modest sized classroom. The benches were commonly bolted down into the floor which made up for the lack of mass when compared to a full sized bench. As a joiner these days I am used to working from a much larger bench as I work on a bigger scale, but if you are tight on space or find a good deal on a used model, it would be a great place to start on your path to more enjoyable woodworking.

In your travels, if you see any of these benches, tool cabinets or Chandler and Barber catalogs from the early 1900s, I’d be interested to see or hear about your findings here on the blog or via email.

Take care,
-Bill

Striking Out With Sloyd

Sloyd is tool work so arranged and employed as to stimulate and promote vigorous, intelligent self-activity for a purpose which the worker recognizes as good” — Gustaf Larsson, Principal of the Boston Sloyd School (1906)

To explore the world of Sloyd training is to roll up your sleeves and get some time at the workbench building your skills. A core component of Sloyd based training is building a series of models which increase in scope and skills required to execute them. Let’s explore one of those skill building exercises from the series of models described in Gustaf Larsson’s 1906 book “Elementary Sloyd and Whittling: With Drawings and Working Directions”.

We’ll take a look at the ‘Match Striker’:

Match Scratcher in action....
Match Scratcher in action….

A Match Striker?!

Yep, a key tenet of these models is for the students to make something they can use in their day to day life. Living with items you make yourself will help further refine your ability to judge the quality and completeness of your own work. But why would a child want this? 1906 was a different time — maybe after a long day of 4th grade schooling the students liked to go home for a quick smoke? Probably not. Most likely this item was affixed near a fireplace or stove and provided a nice place to strike a match from — rather than directly on the mantel etc.

Sloyd Match Scratcher by Gustaf Larsson
Sloyd Match Scratcher Model Plans by Gustaf Larsson

While the models were designed to be generally completed in order, the sloyd teacher was encouraged to experiment a bit and design models that would appeal to the actual students in the class. While it is possible that someone could build all the models from a Sloyd book or program and still not be much of a woodworker, the physical and life lessons learned were always considered to be more important than the accuracy of the model though clean and quality work was certainly the goal to strive for. Even if woodworking was not the students’ eventual vocation, it certainly helped them to judge the quality of and respect the work that went into this kind of work.

Above is the description of the exercise we’ll work through today…

Practice whittling with some Eastern White Pine

I started off by sharpening my Sloyd knife (The Hyde Sloyd Knife is actually still made in the USA but takes a bit of sharpening to be useful) and practice a bit on some eastern white pine scrap. Tip: When whittling you want to use the full length of the blade taking a shearing cut and generally cut away from yourself.

Getting ready to lay out

After some practice it was time to move on to the real stock. In this case the only thing I had handy that was 1/8″ thick was some walnut I bought years ago and never found a good use for — unfortunately walnut is not great for whittling — so I’d recommend Whitewood, Eastern White Pine or Basswood as better choices for the new woodworker.

Planing the stock to width

Crosscut the blank to length, then rip it to rough width. With a block plane, trim the piece to width.

Lay out the design on the wood blank

Next up is laying out the design using a compass and a square as called out in the plans.

Cut out the semi-circle. Use a coping or jeweler's saw to hog out most and clean up with the Sloyd knife, or just use the knife to do all the work
Cut out the semi-circle. Use a coping or jeweler’s saw to hog out most and clean up with the Sloyd knife, or just use the knife to do all the work

To cut the semi-circle you can use the sloyd knife to do all the work while holding the piece in your hands and whittling. If whittling is not your thing you can rough out the curve using a jeweler’s saw or fine coping saw and then clean up the edge using the sloyd knife.

Clean up the curves with the Sloyd knife, then break the edges with the sanding block.

Once you are happy with the general shape you’ll want to take a sanding block and fine sandpaper to break the edges.

Drill mounting holes with a brad awl

At the center of the semi-circles you’ll want to make a hole using a brad awl. In this case I am used a chisel edge brad awl. It drills a tiny hole by simply applying downward pressure and rotating your wrist back and forth until you get to through the piece or do the depth you want. (Note: I am used a shim to protect the bench surface) These holes are used to mount the striker to the wall or some similar surface.

Completed match scratcher with 'No. 1' sandpaper (aka Fine Sandpaper)
Completed match scratcher with ‘No. 1’ sandpaper (aka Fine Sandpaper)

To complete the project, apply a coat of wax and glue a piece of ‘No. 1’ Fine Sandpaper to the surface. After the glue dries this match scratcher is ready to be used.  Time to break out the matches and celebrate….

Behind the scenes....
Behind the scenes….

Turns out that most modern wood kitchen matches will NOT light on sandpaper or similar surfaces. So you need to either buy some ‘strike anywhere’ matches or find another use for this model. Don’t worry, if you flip back a few pages in the Larsson’s book you’ll see the the first model was a ‘pencil sharpener’ which is effectively a square strip of wood with the same sandpaper glued to it — and you’d rub a traditional wood pencil on this to sharpen/adjust the point. So now I have a very fancy yet simple pencil sharpener which will live out in the shop.

Wow, that was a lot of work for a modest item — yep, but the item was not the point — it’s a side effect of the intellectual and physical exercise. I am now able to whittle a nice curve and learned a new way to sharpen a pencil on the job site if I need something more refined than a crude chisel tip on a carpenter’s pencil made with a utility knife.

If you’d like to learn a bit more about Sloyd, please check out some of my other posts here and you can read Gustaf Larsson’s “Elementary Sloyd and Whittling: With Drawings and Working Directions” here.  If you try out a sloyd model based exercise on your own, please share your experiences here.

Happy Sloyding!