Some woodworking projects are for fun, some are skill builders, some are to keep the lights on and some are for necessity. As they say “necessity is the mother of invention.” When taking a woodworking workshop at the North Bennet Street School one of the challenges is often lugging all your tools to class. The school is set in the North End of Boston and most folks take public transportation to get to the school as parking in that area is expensive and in short supply. I’ve seen folks use bags, backpacks, plastic toolboxes, 5 gallon buckets, rolling carts, suitcases, you name it. I can still remember lugging big toolboxes on the subway when I was student.
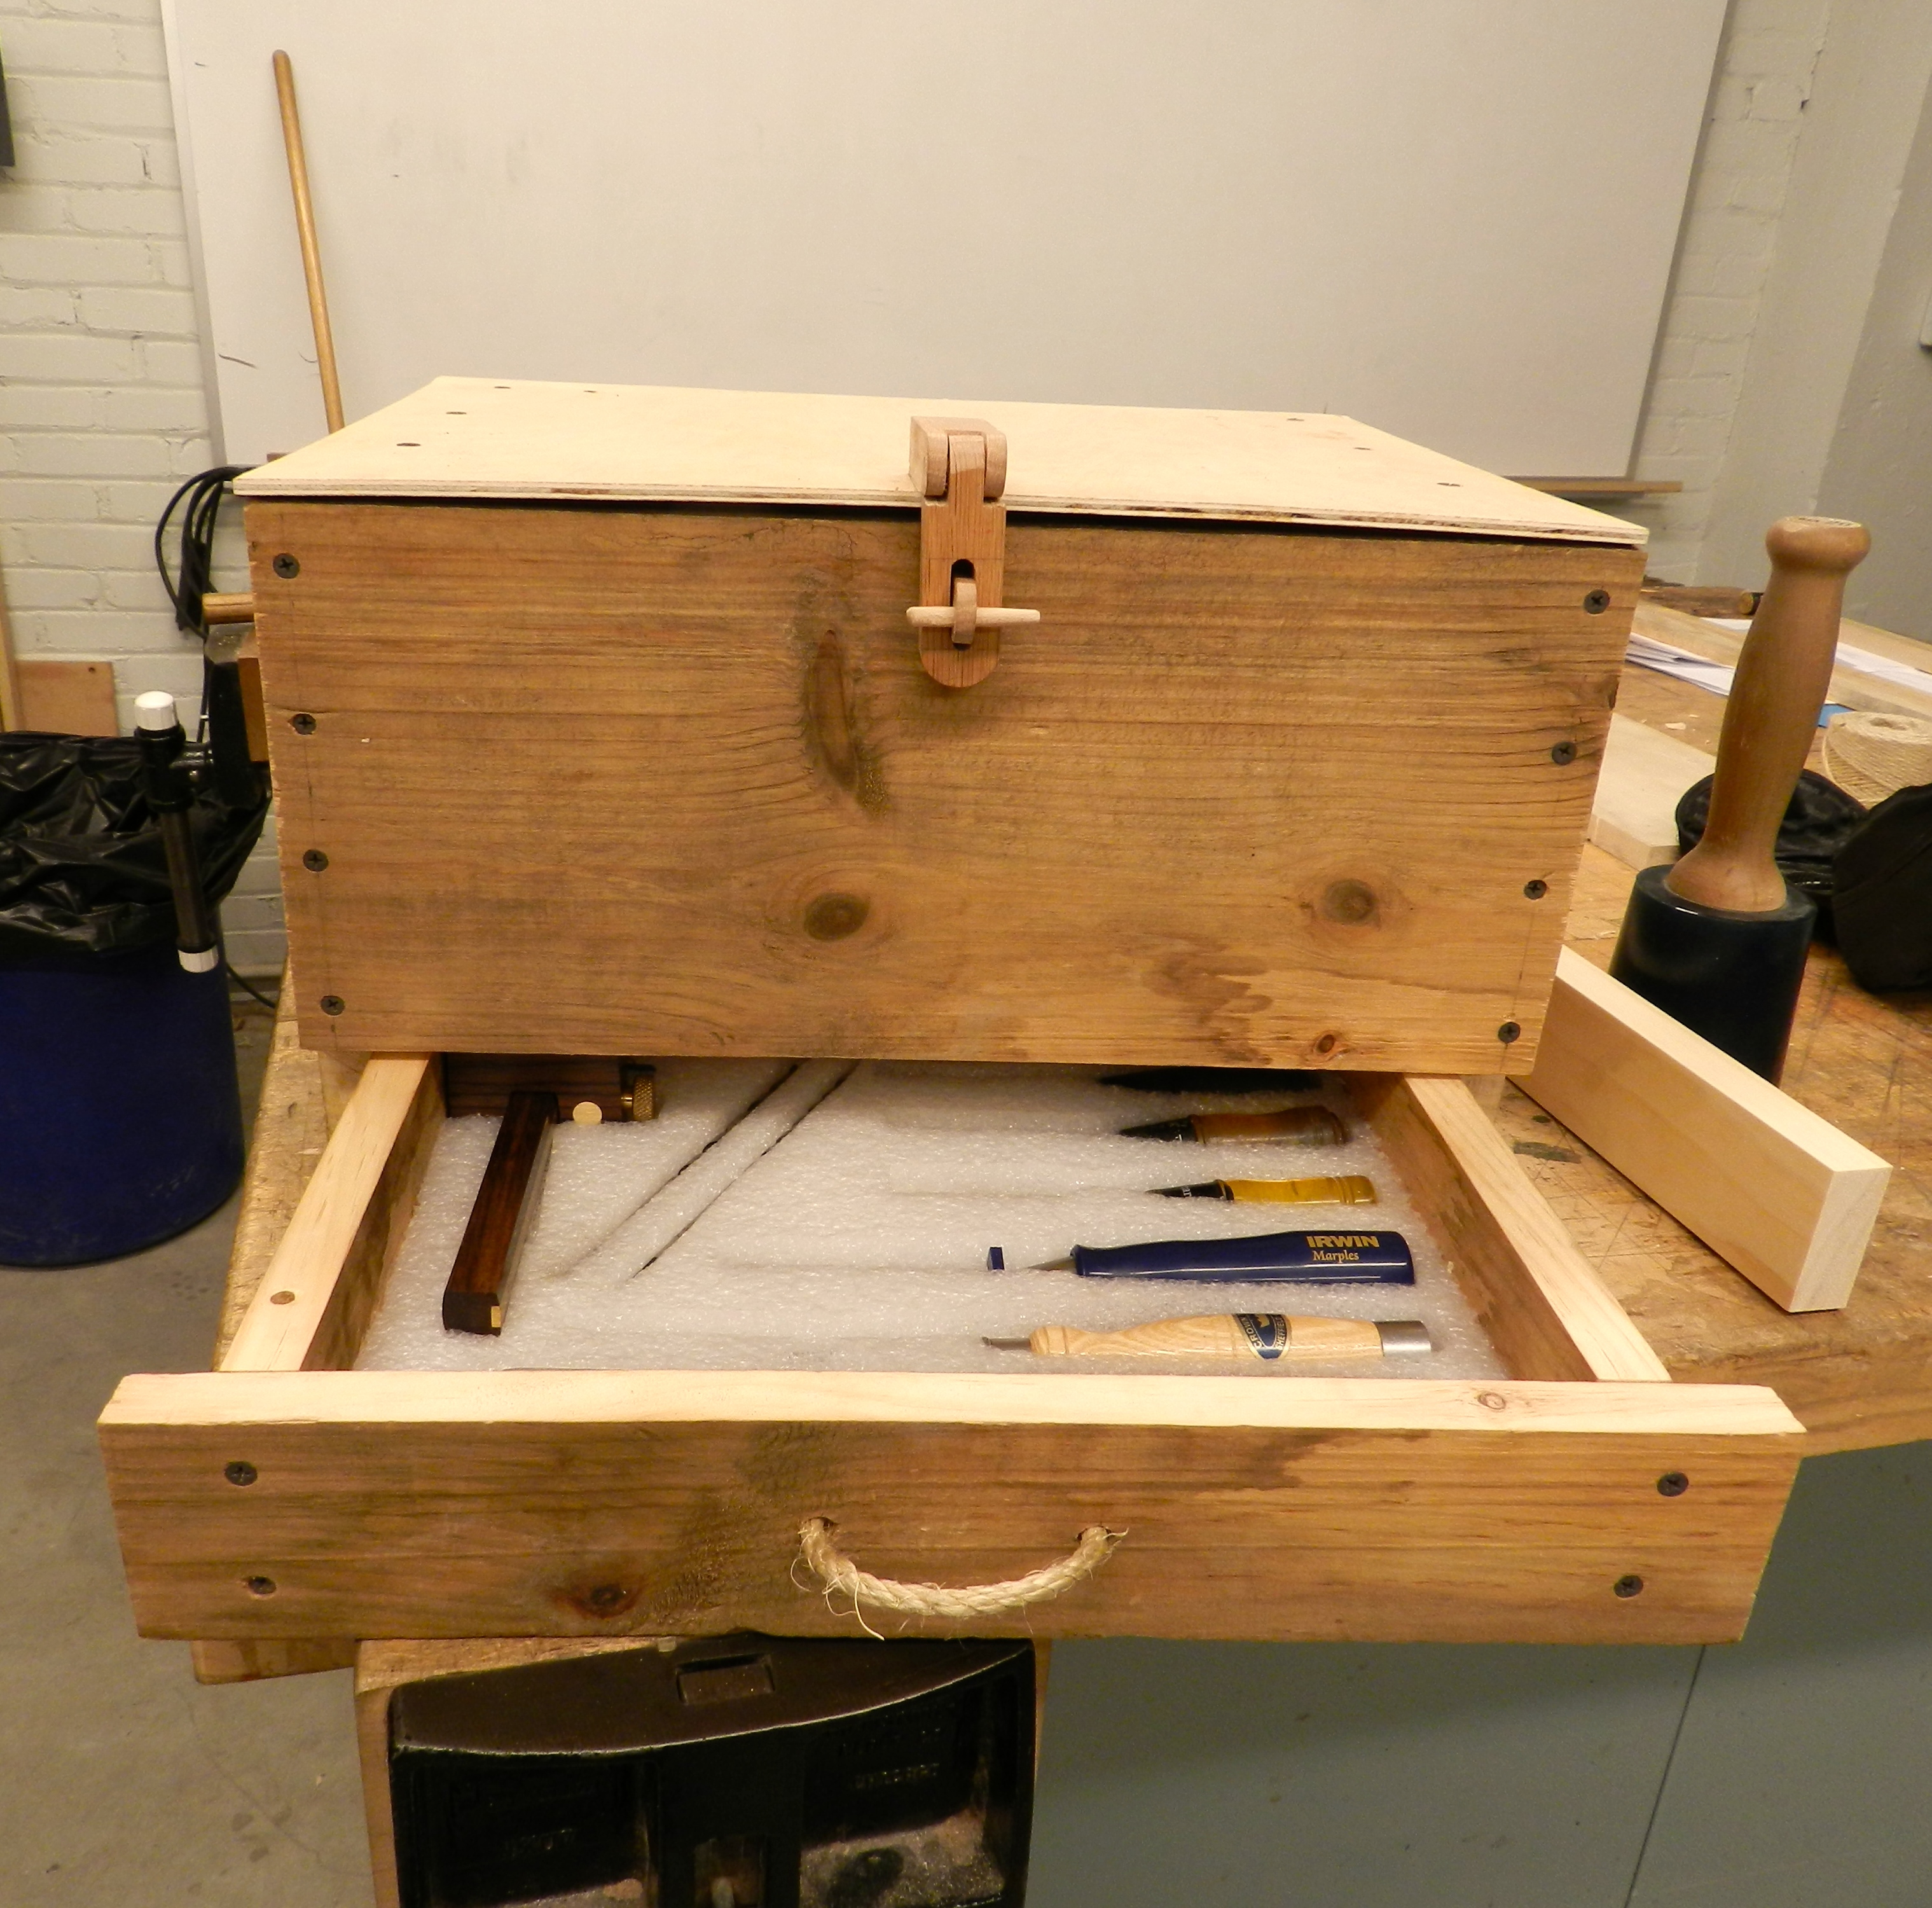
This past weekend one of my students, Jordan Ruiz, showed up to my Introduction To Shutters Workshop with the toolbox you see below:
Closed toolbox with oak hasp
He designed it off the top of his head and made it mostly from a single pine board.
Open drawer
What I like about his utilitarian design is how he translated a lot of the traditional hardware needs into wooden or other natural equivalents. Note the oak hasp which is articulated and secured with wooden pins. A hemp rope drawer pull. Dowels to secure the moving wooden tote handle, sliding top secured by a captured dowel etc.
French fitted packing foam to keep the tools in place
I also like how Jordan used some packing foam to ‘French Fit’ all of the tools into his toolbox.
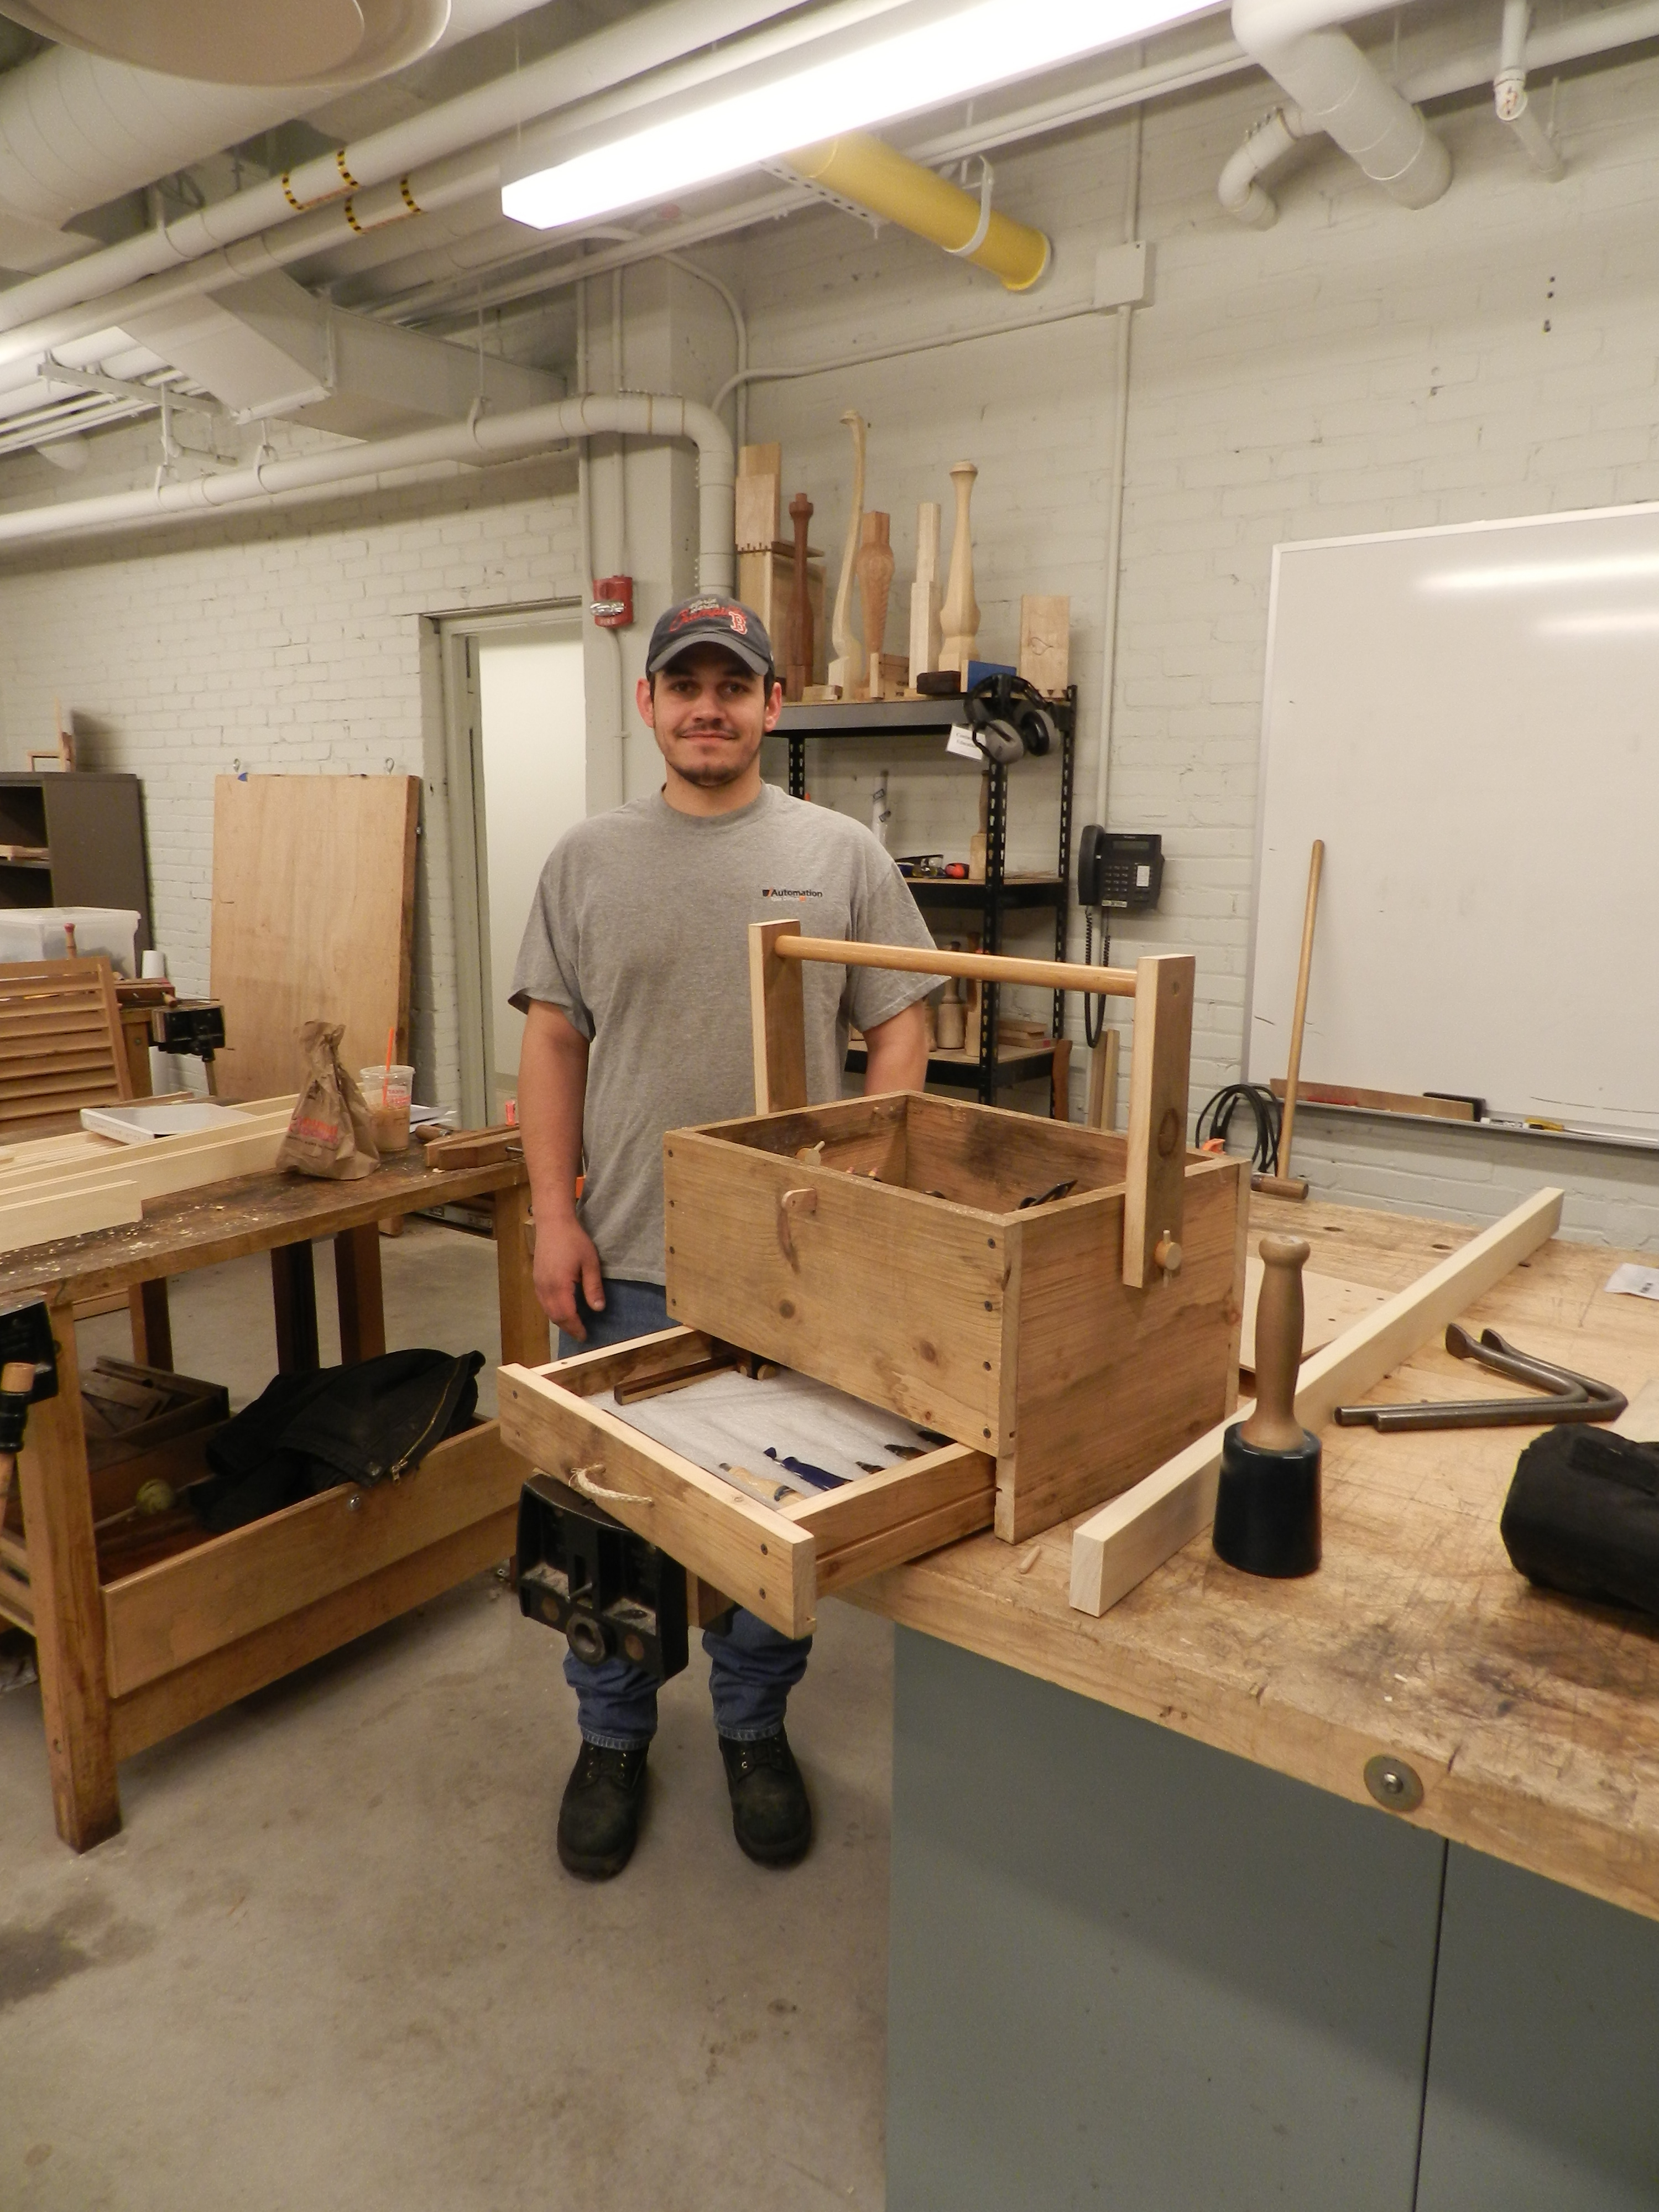
Jordan Ruiz with his toolbox
If he’s willing to do all that work to prepare for a workshop I can only imagine the dedication and creativity he’ll have at the job site. I think Jordan has a bright future ahead of him in the woodworking field. (He also made a very nice shutter as seen in the previous post)
“The Oriental philosophy of contemplation involves forsaking all work; the European does his meditating while relaxing from work, but the American seems to think things out best while working. So the stone walls of New England may be thought of as monuments to the thoughts that occurred while they were being built, for those were the days of great decisions and profound planning. The thoughts one thinks while sawing a tree or making a stone wall are surprising. It is almost as if the mind becomes ashamed of the work the body is doing and starts doing a little “showing off” by itself. Lincoln said he did some of his deepest thinking while splitting rails. The plain farmer of two hundred years ago was weaving the fabric of a new nation and although there are no marble statues to his patriotism now, there are still his stone walls.” — Eric Sloane American Barns and Covered Bridges, 1954
Oak trees in the way of my barn…
I live on a heavily wooded street in New Hampshire that is lined with stone walls. As I pass them each day I think about what it took to clear all this land and build those walls. While most of the neighborhood is covered with second and third growth trees that were not actively managed, and new housing developments, there are still a few pockets of small family farms with cleared farmland that looks like an idealistic painting of yesteryear and reminds us how this was all farmland about 100 years ago. As the leaves changed this season I found it amusing to see tourists snapping pictures in front of some of these farms with their stone walls and weathered barns. In the book referenced above Sloane encouraged his readers to keep an eye out for early barns also made several interesting observations about stone walls. They were designed to keep animals in and not to keep humans out. When a wall fell over you had all the stones needed to rebuild it as opposed to a wooden fence that could have rotted away. I like the sense of inviting simplicity, using what you had on hand and building for the long term.
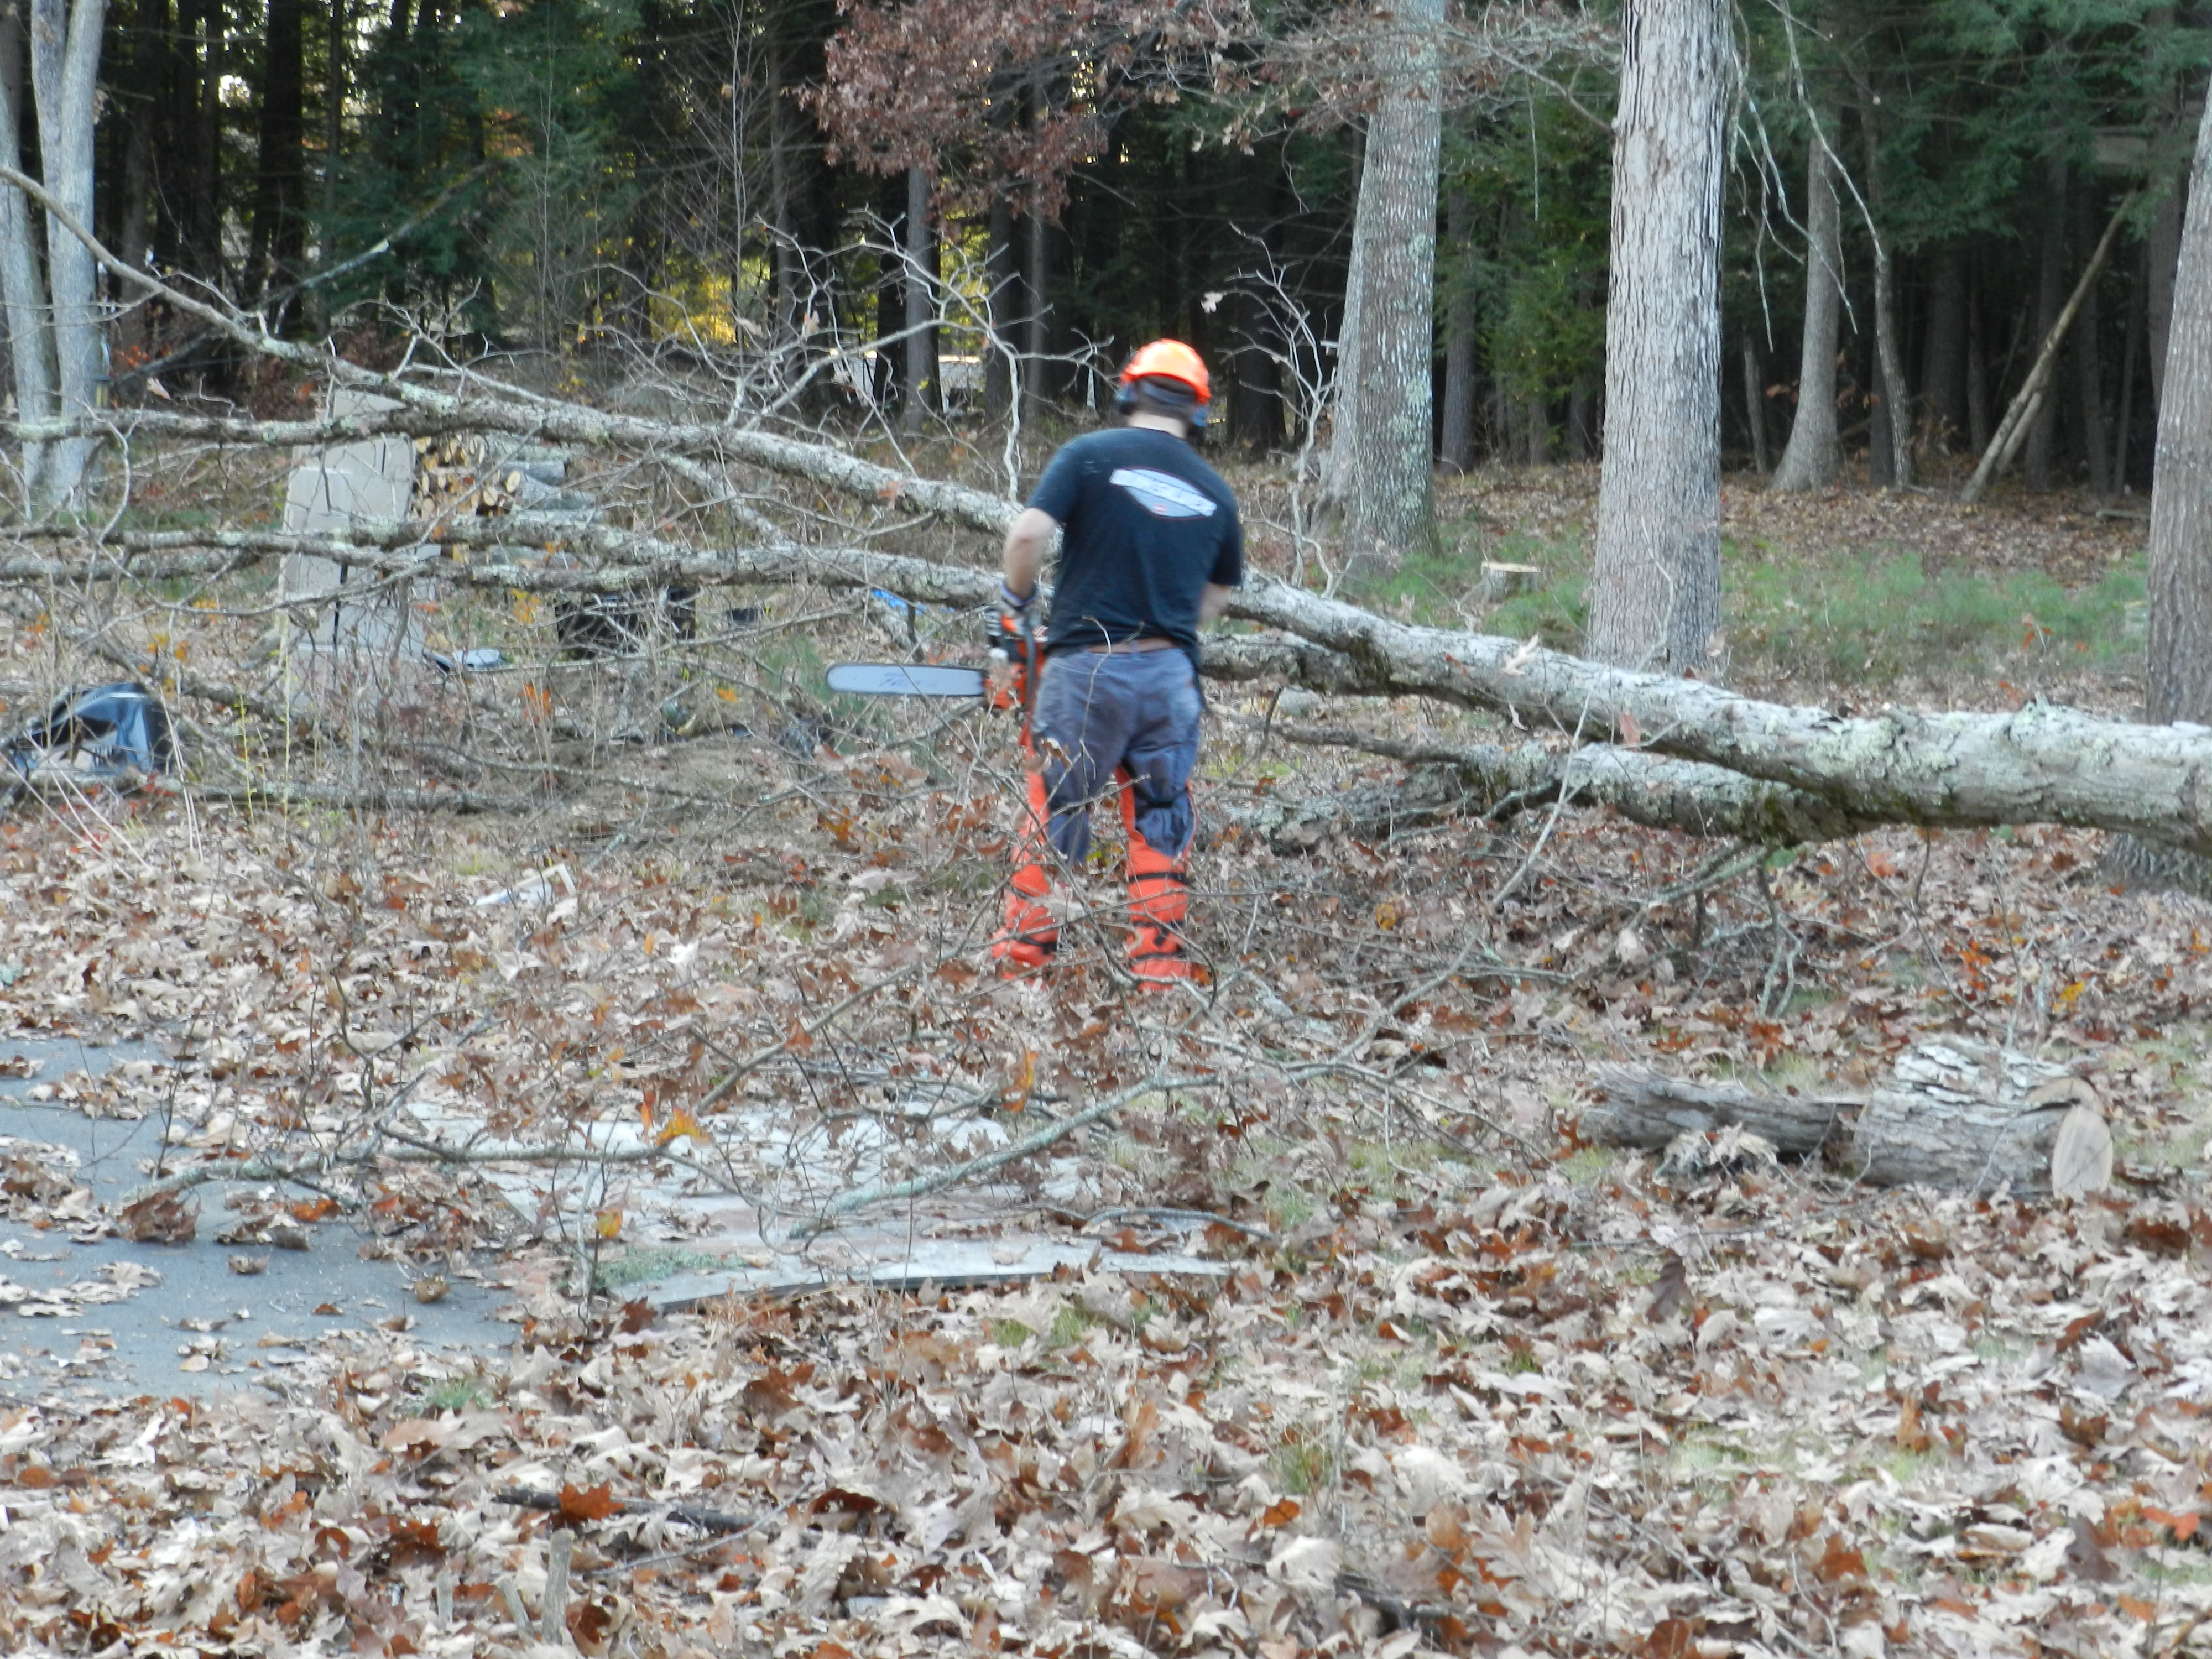
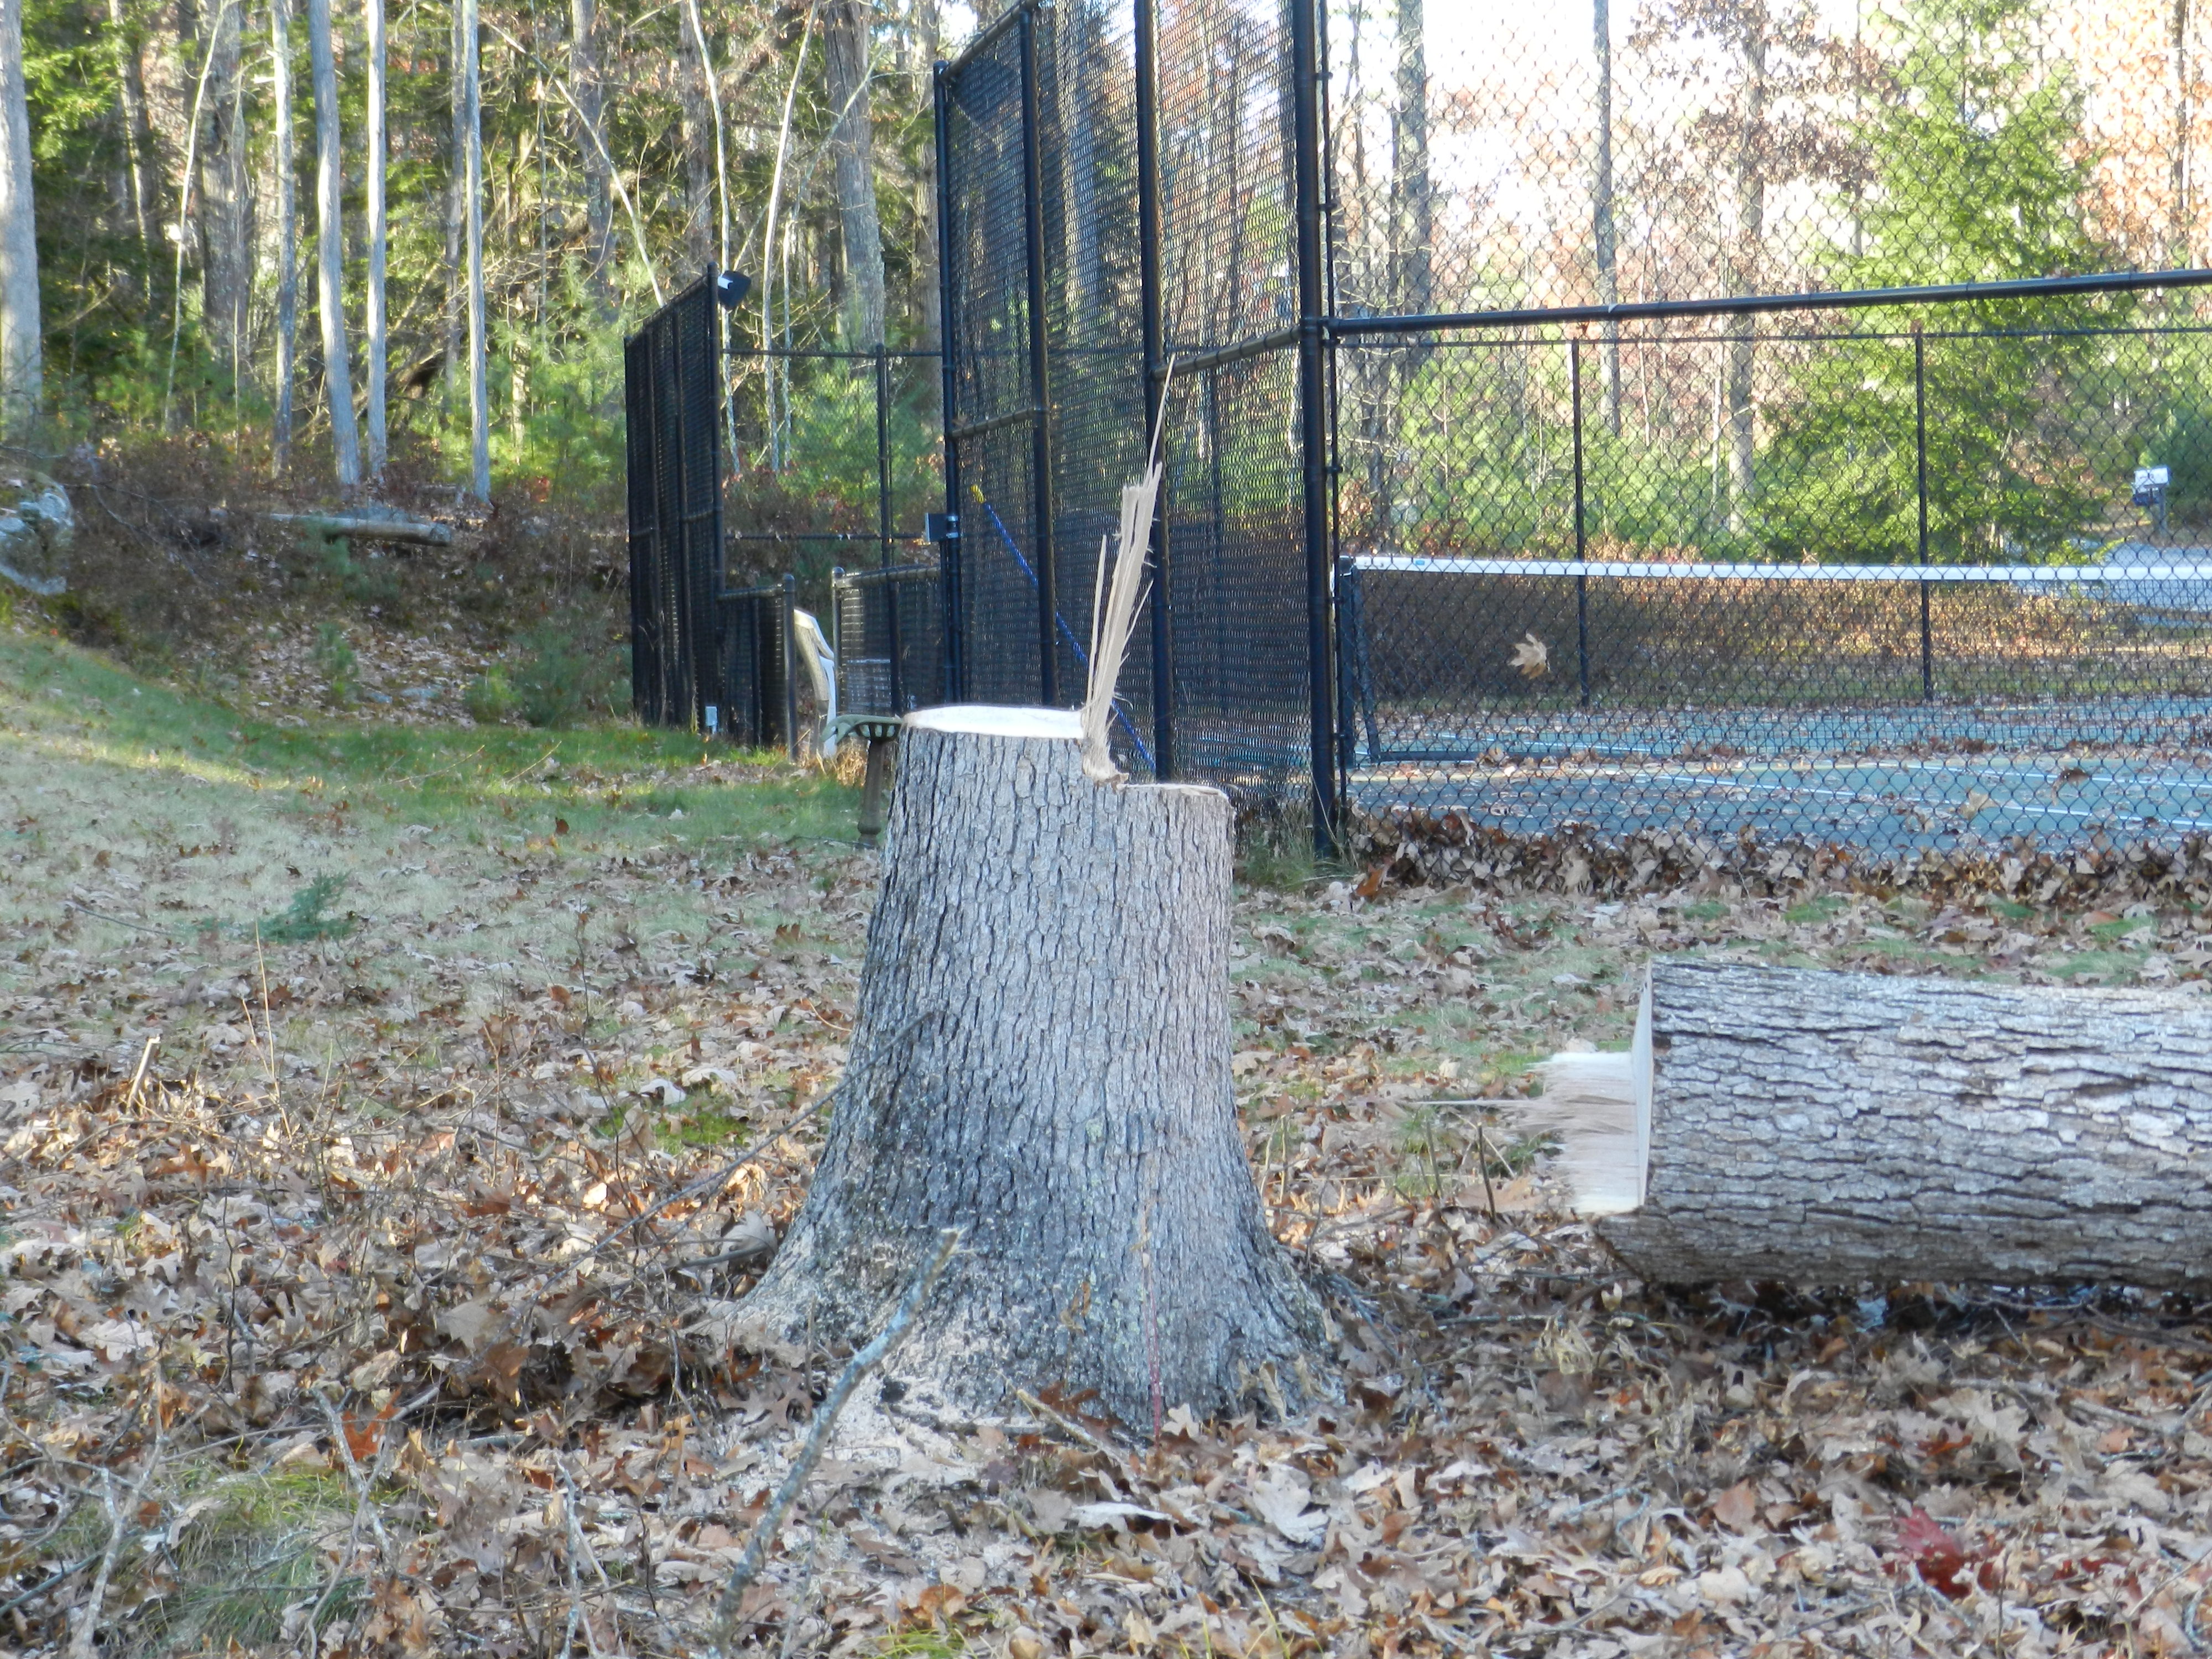
I recently set out to clear some trees out of my backyard and make room for a 12’x24′ timber framed shed/small barn to store extra wood and yard equipment. I’ve cleared about 35 trees so far, knocked off a bucket list item — taking down a full size tree with a felling axe, and still have a few more to go.
Felling oak trees
Safety Tip:
When working with large trees and high powered saw, make sure to ALWAYS wear the appropriate safety gear. Above you can see me wearing my steel toe boots, Kevlar chaps, eye protection, helmet with hearing protection and face shield and Kevlar reinforced gloves. The chaps are like wearing an insulating blanket and rough to wear in the summer, but in cooler months they help you stay warm.
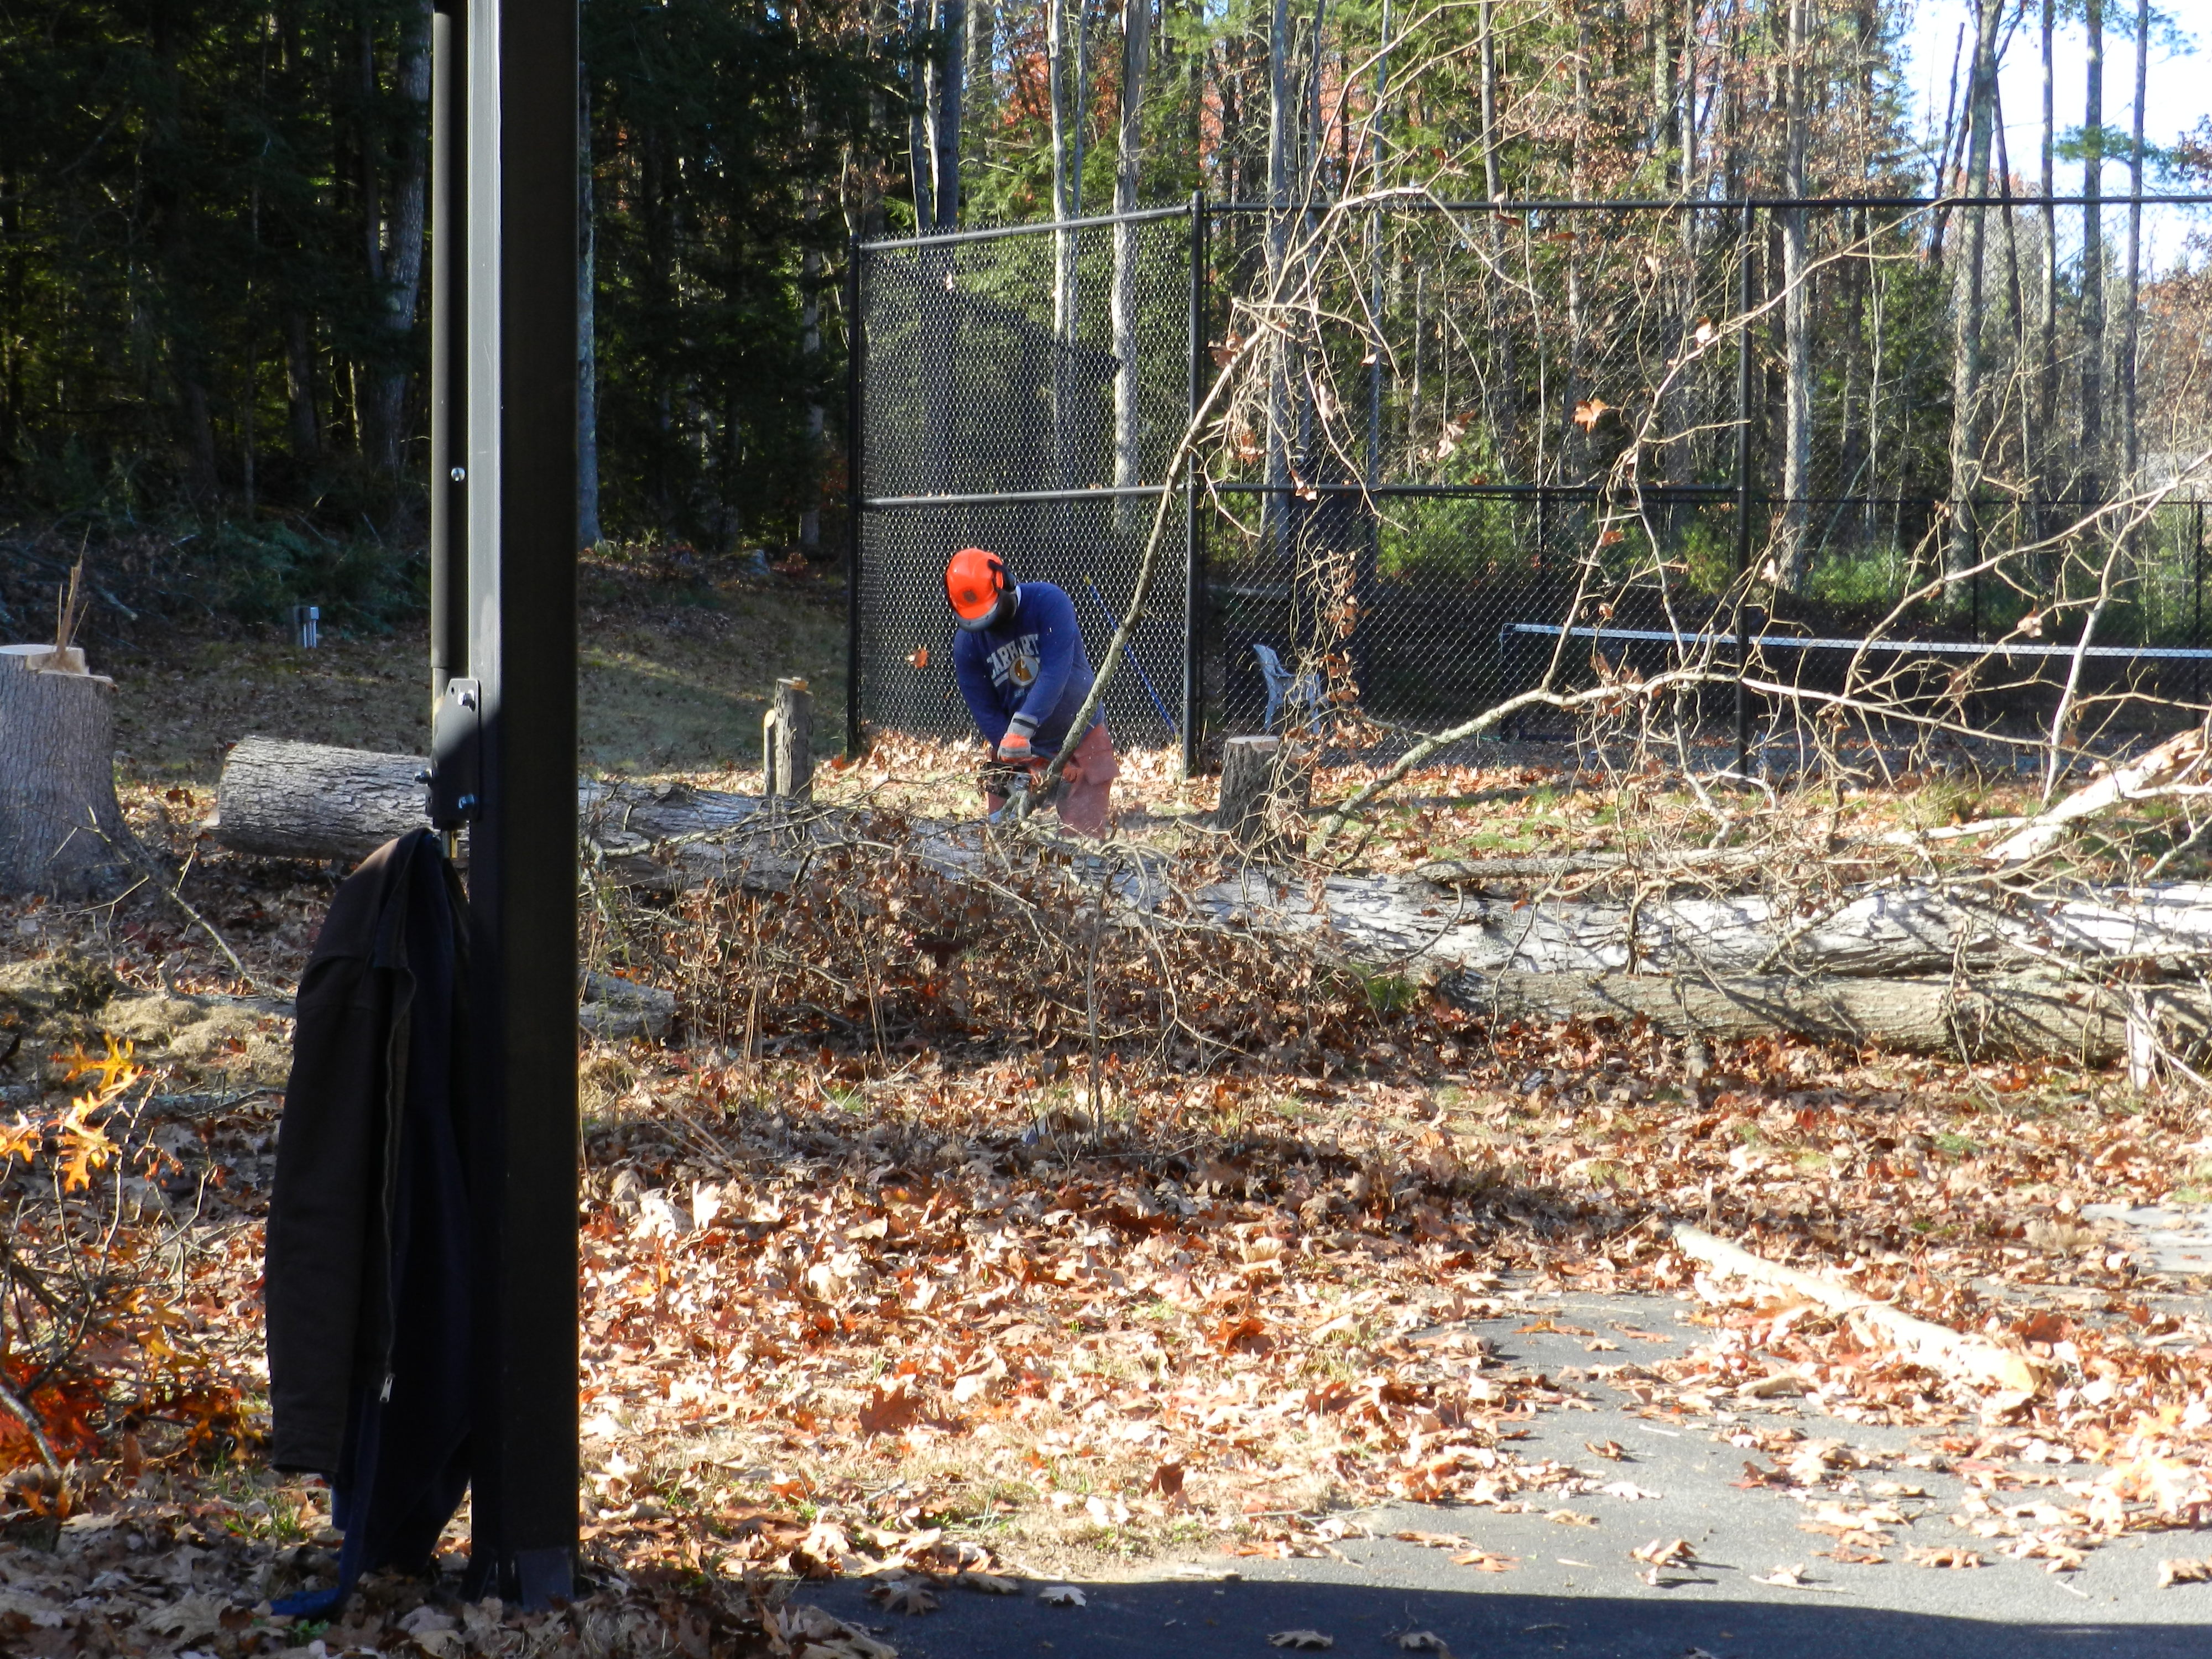
Limbing the tree
How do I cut down a larger tree?
I start by walking around the tree from all sides, sighting up at it to see what way it leans and were the mass is held by the limbs. I then mentally think about what direction I have enough space to drop to the tree without hitting houses, other trees, people or fences. With a plan in place I set about felling the tree. The process is much the same whether I use an axe or a chainsaw. I cut in at an angle on the side of the tree facing the way I want it to fall. I then make a horizontal cut to remove that wedge of wood. It should only be about 1/3 of the way through the tree. You want the intersection of those two cuts to land right on each other so you have a smooth hinging surface and a controlled drop.
90 Foot tall oak trees take a LOT of work to break down
I then come from behind the tree and make a horizontal cut until I leave about a 1.5″” wide hinge of wood that will help control the fall. This cut should be about 2″ above the bottom of the wedge cut (As seen in the photo below). If done properly the tree should slowly start to fall over exactly where you want it. The tree shown here was a 90 foot tall oak, so when it hit the ground it shook the ground with an incredible thud — anything in it’s path will get crushed. When cutting a tree like this make sure you have a clear retreat path, usually 45 degree from the way you expected the tree to fall, that way you are not in the path of a falling or splitting tree or anything it kicks up.
Notch cut and hinge used for a controlled drop
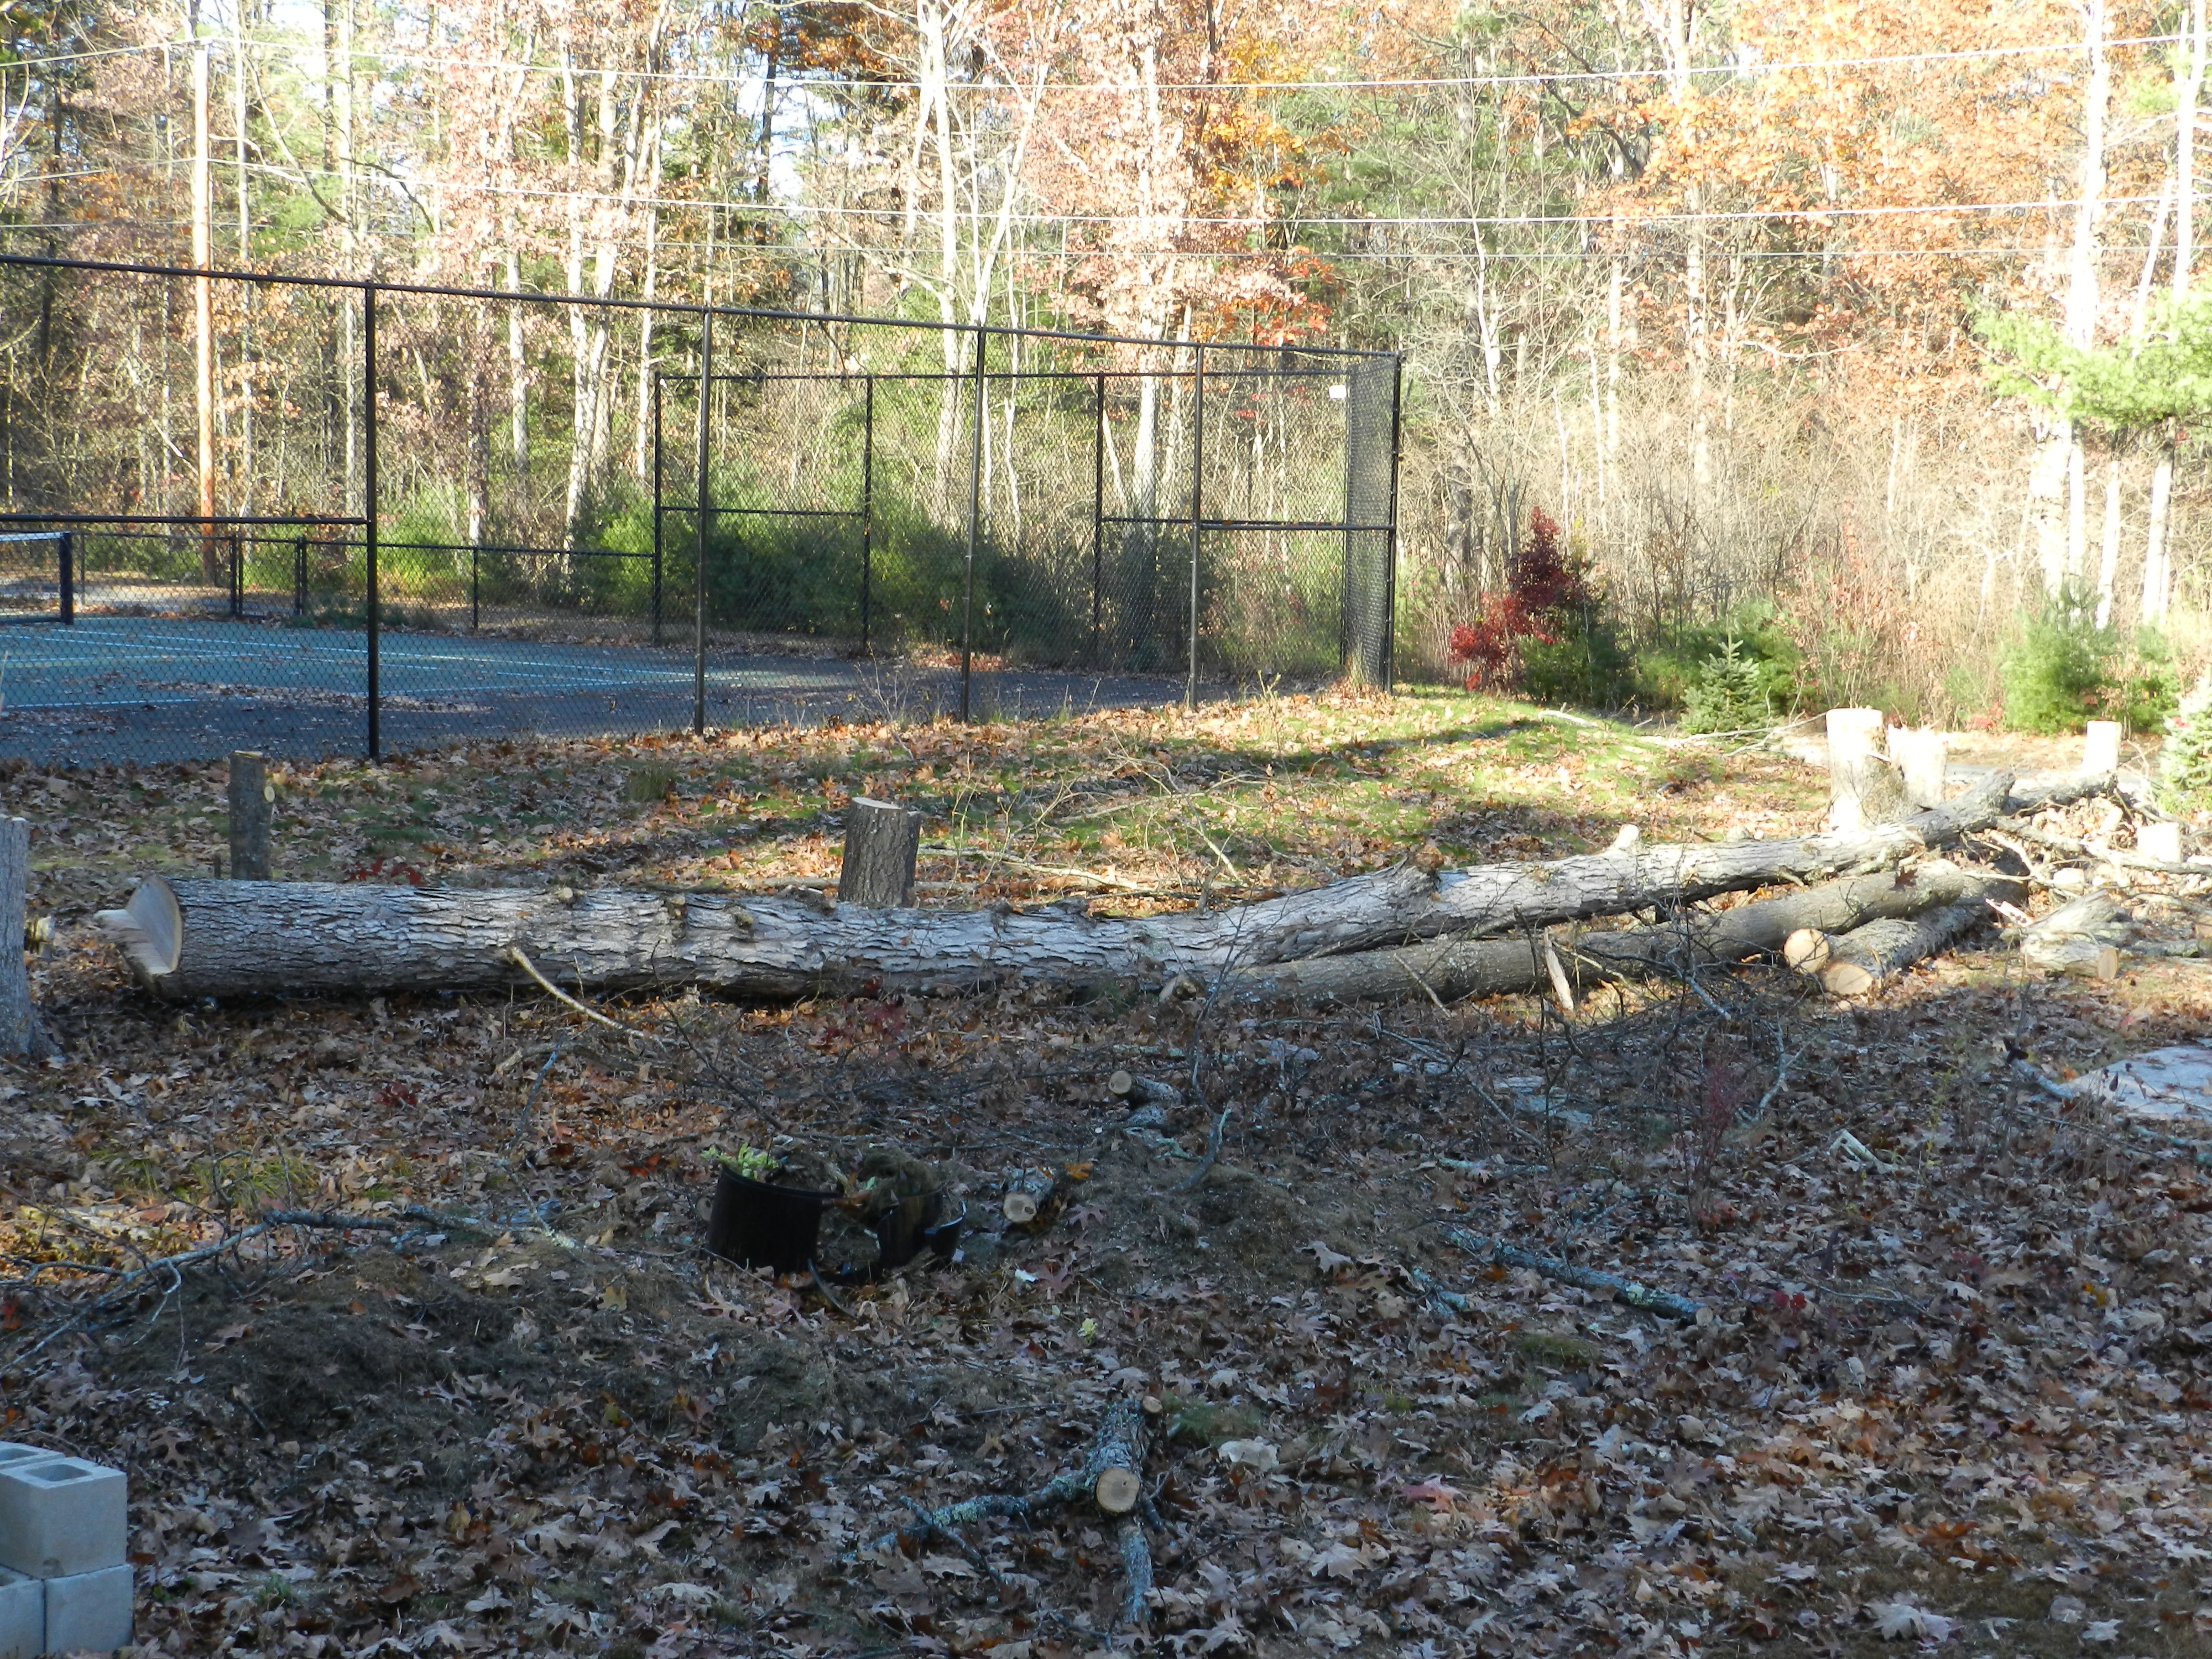
Once on the ground I start removing all the limbs from the tree. I start with all the limbs that are not holding the trunk up off the ground to make room to better access the trunk. Any limbs or branches that are holding up the trunk are likely going to bind on your chainsaw if you are not careful. Being mindful of where the tree may move as you release that tension you can use a sharp axe to remove these limbs or careful wedge cuts that will not bind the saw. When doing this sort of work you need to be thinking about where the trunk is likely to fall after removing this limb, so you’ll want to mind your legs and feet.
Breaking down the de-limbed tree into firewood
Once the limbs are removed I break the tree trunk down into either firewood or whatever I am looking to use the wood for. These trees will be processed down into several projects — a few bowl blanks, a new base for my anvil, a few chopping benches for the shop, a stump to split firewood on and of course firewood. The incredible amount of brush and branches will be ground up into chips and distributed elsewhere on the property.
More Tips on cutting trees:
Try to cut tree during the colder months or winter as there will be less sap and thus less weight and cleaner cuts
Use plastic wedges when cutting a larger stump so that it does not bind on your saw’s bar and the wedge will not damage the chain
Use plastic or even larger metal wedges to help a cut tree (notched and ready to hinge) that is not falling. You can use a large mallet or beetle to drive in a wedge and help give it that little push it needs to start going over.
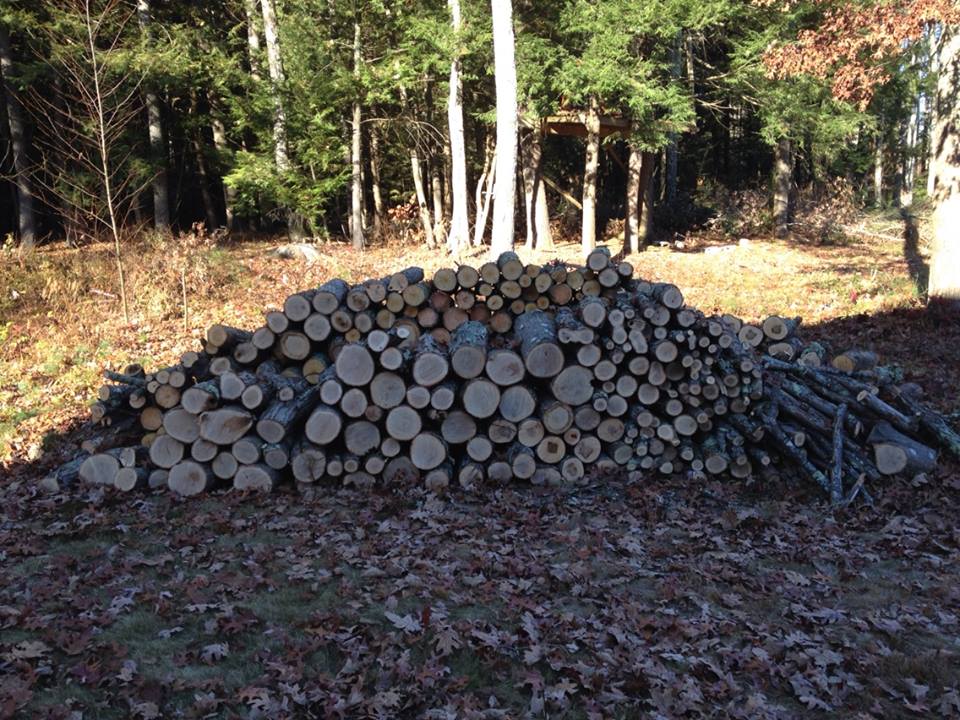
The result of a weekend of hard work
Even with all of the above information running through my head, and the sometimes backbreaking labor to break down these trees, there was still a lot of time to think. As I was doing the above work I was building the timber framed barn over and over again in my head, so by the time I actually get around to cutting the frame it will be like second nature. Unfortunately the snowy weather is creeping up on me fast, so it will be a race to see if I can get the shed put up this fall/winter or if it will get delayed until spring.
As a student at the North Bennet Street School, one of the many projects Preservation Carpentry students have to complete is the staircase model. The project is a great exercise for students as they each get to walk through the process of building a staircase from end to end. The only caveat is that the stair treads are only about 18″ wide since going full size in width does not add much to the learning experience and makes it feasible to have 10+ staircases in a single classroom.
Rough stringers in place
Above we start off laying out and cutting the rough stringers and then move through each stage until we have a completed staircase. This is one of the projects wherein the students have some design freedom in how they want to trim out the staircase. Some were very modern and minimalist, some very plain vanilla with all square stock, some very traditional.
Turned walnut balusters
I am an avid turner and had done a lot of finish carpentry before coming to the school so as a challenge to myself I decided I wanted to turn my own newel posts and balusters and finish off the piece as if it was installed in a house. It was a lot of extra effort, but a great experience. Once completed my staircase model was on display as part of the NBSS annual student works show and exhibit.
You can see the completed project here:
Completed staircase model
If you are interested in seeing a time lapse of how this staircase was built, please check out the slide show below:
A while back I completed a headboard and night stand for a friend of mine from NBSS — Erin who is a very talented jeweler. She made my dovetailed wedding band which I love. (You can check out some of Erin’s other work here http://erindeluca.com/ Tell her Bill sent you 🙂 )
I designed and built the project from reclaimed old growth eastern white pine which was previously a barn in CT. Reclaiming the wood and keeping the well earned patina of time took a lot longer than I originally anticipated, but I am very happy with the results.
Tips on reclaiming old wood:
Select wood with interesting character and tight/straight grain
Use a metal detector to search for nails or other metal which could damage your planer and jointer knives (and keep rechecking — cleared everything I could originally detect, but as I milled down a piece I found a deeper embedded piece of cut nail that took a big nick out of my planer knives) So from then on I make repeated passes with the metal detector even as I plane down the wood.
Be judicious with your planing — it would be very easy to just power through all the tool marks and character and lose a lot of the history of the wood
Use traditional joinery and woodworking techniques (I think reclaimed wood looks better with traditional designs)
Project highlights:
Old growth detail — some pieces had well over 150 years worth of tight growth rings and many well preserved hand tool marks, nail holes etc
Through mortise and tenon joinery that is draw bored and pinned
The piece had to make it through some very tight places and I built it in such a way that the legs could bolt off to make it through narrow places (See pics for more details of this)
I also concealed leveling feet to make it easier to stabilize on an uneven floor etc
Matching night stand has similar character and design to match the headboard. Still has great old saw marks in it
Finish included stain, dye for tinting, polyurethane and hand rubbed wax finish
This slideshow requires JavaScript.
A Joiner's Guide To Traditional Woodworking and Preservation