The weather is finally starting to warm up and it’s time from some summer workshops at The North Bennet Street School and Historic Eastfield Village.
As always you can find my teaching schedule on the ‘Instruction‘ page at the top of this blog.
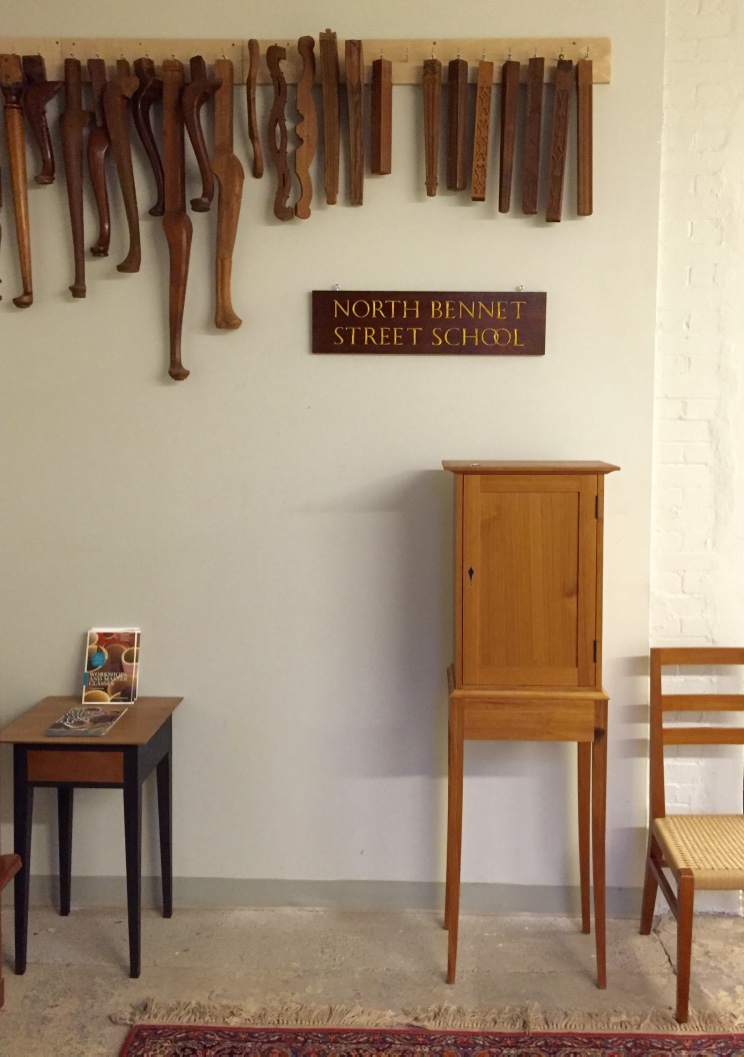
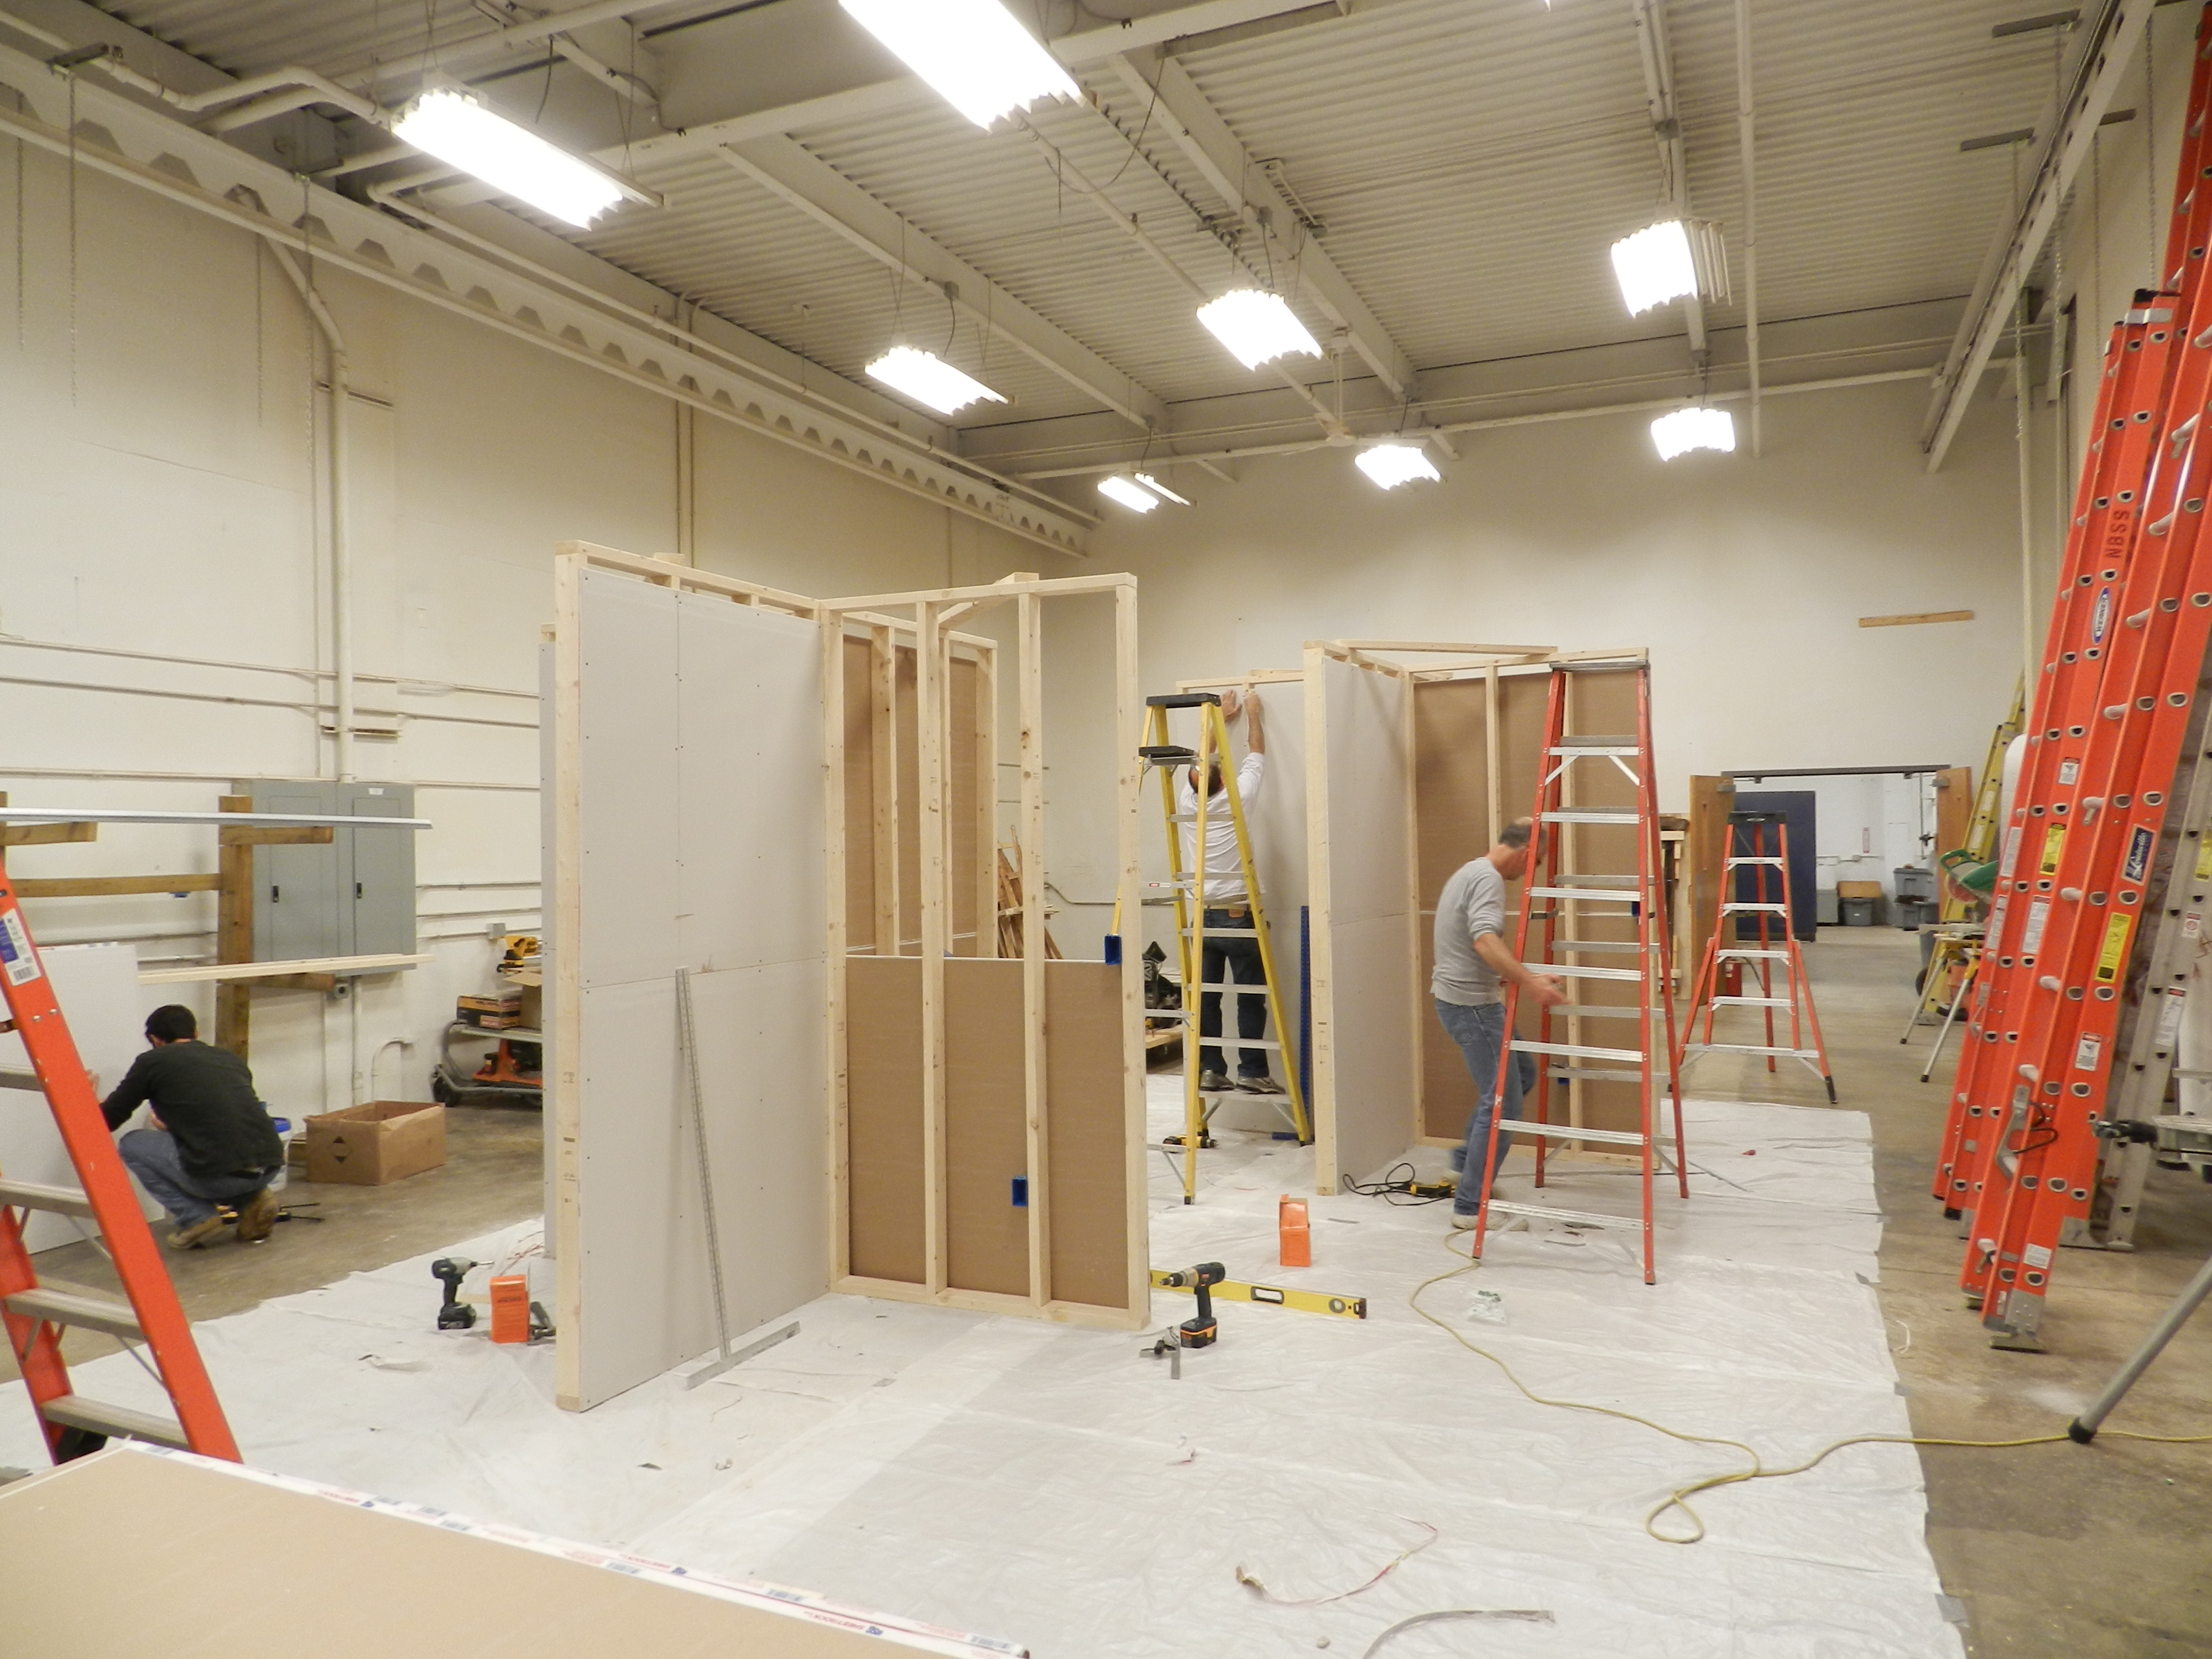
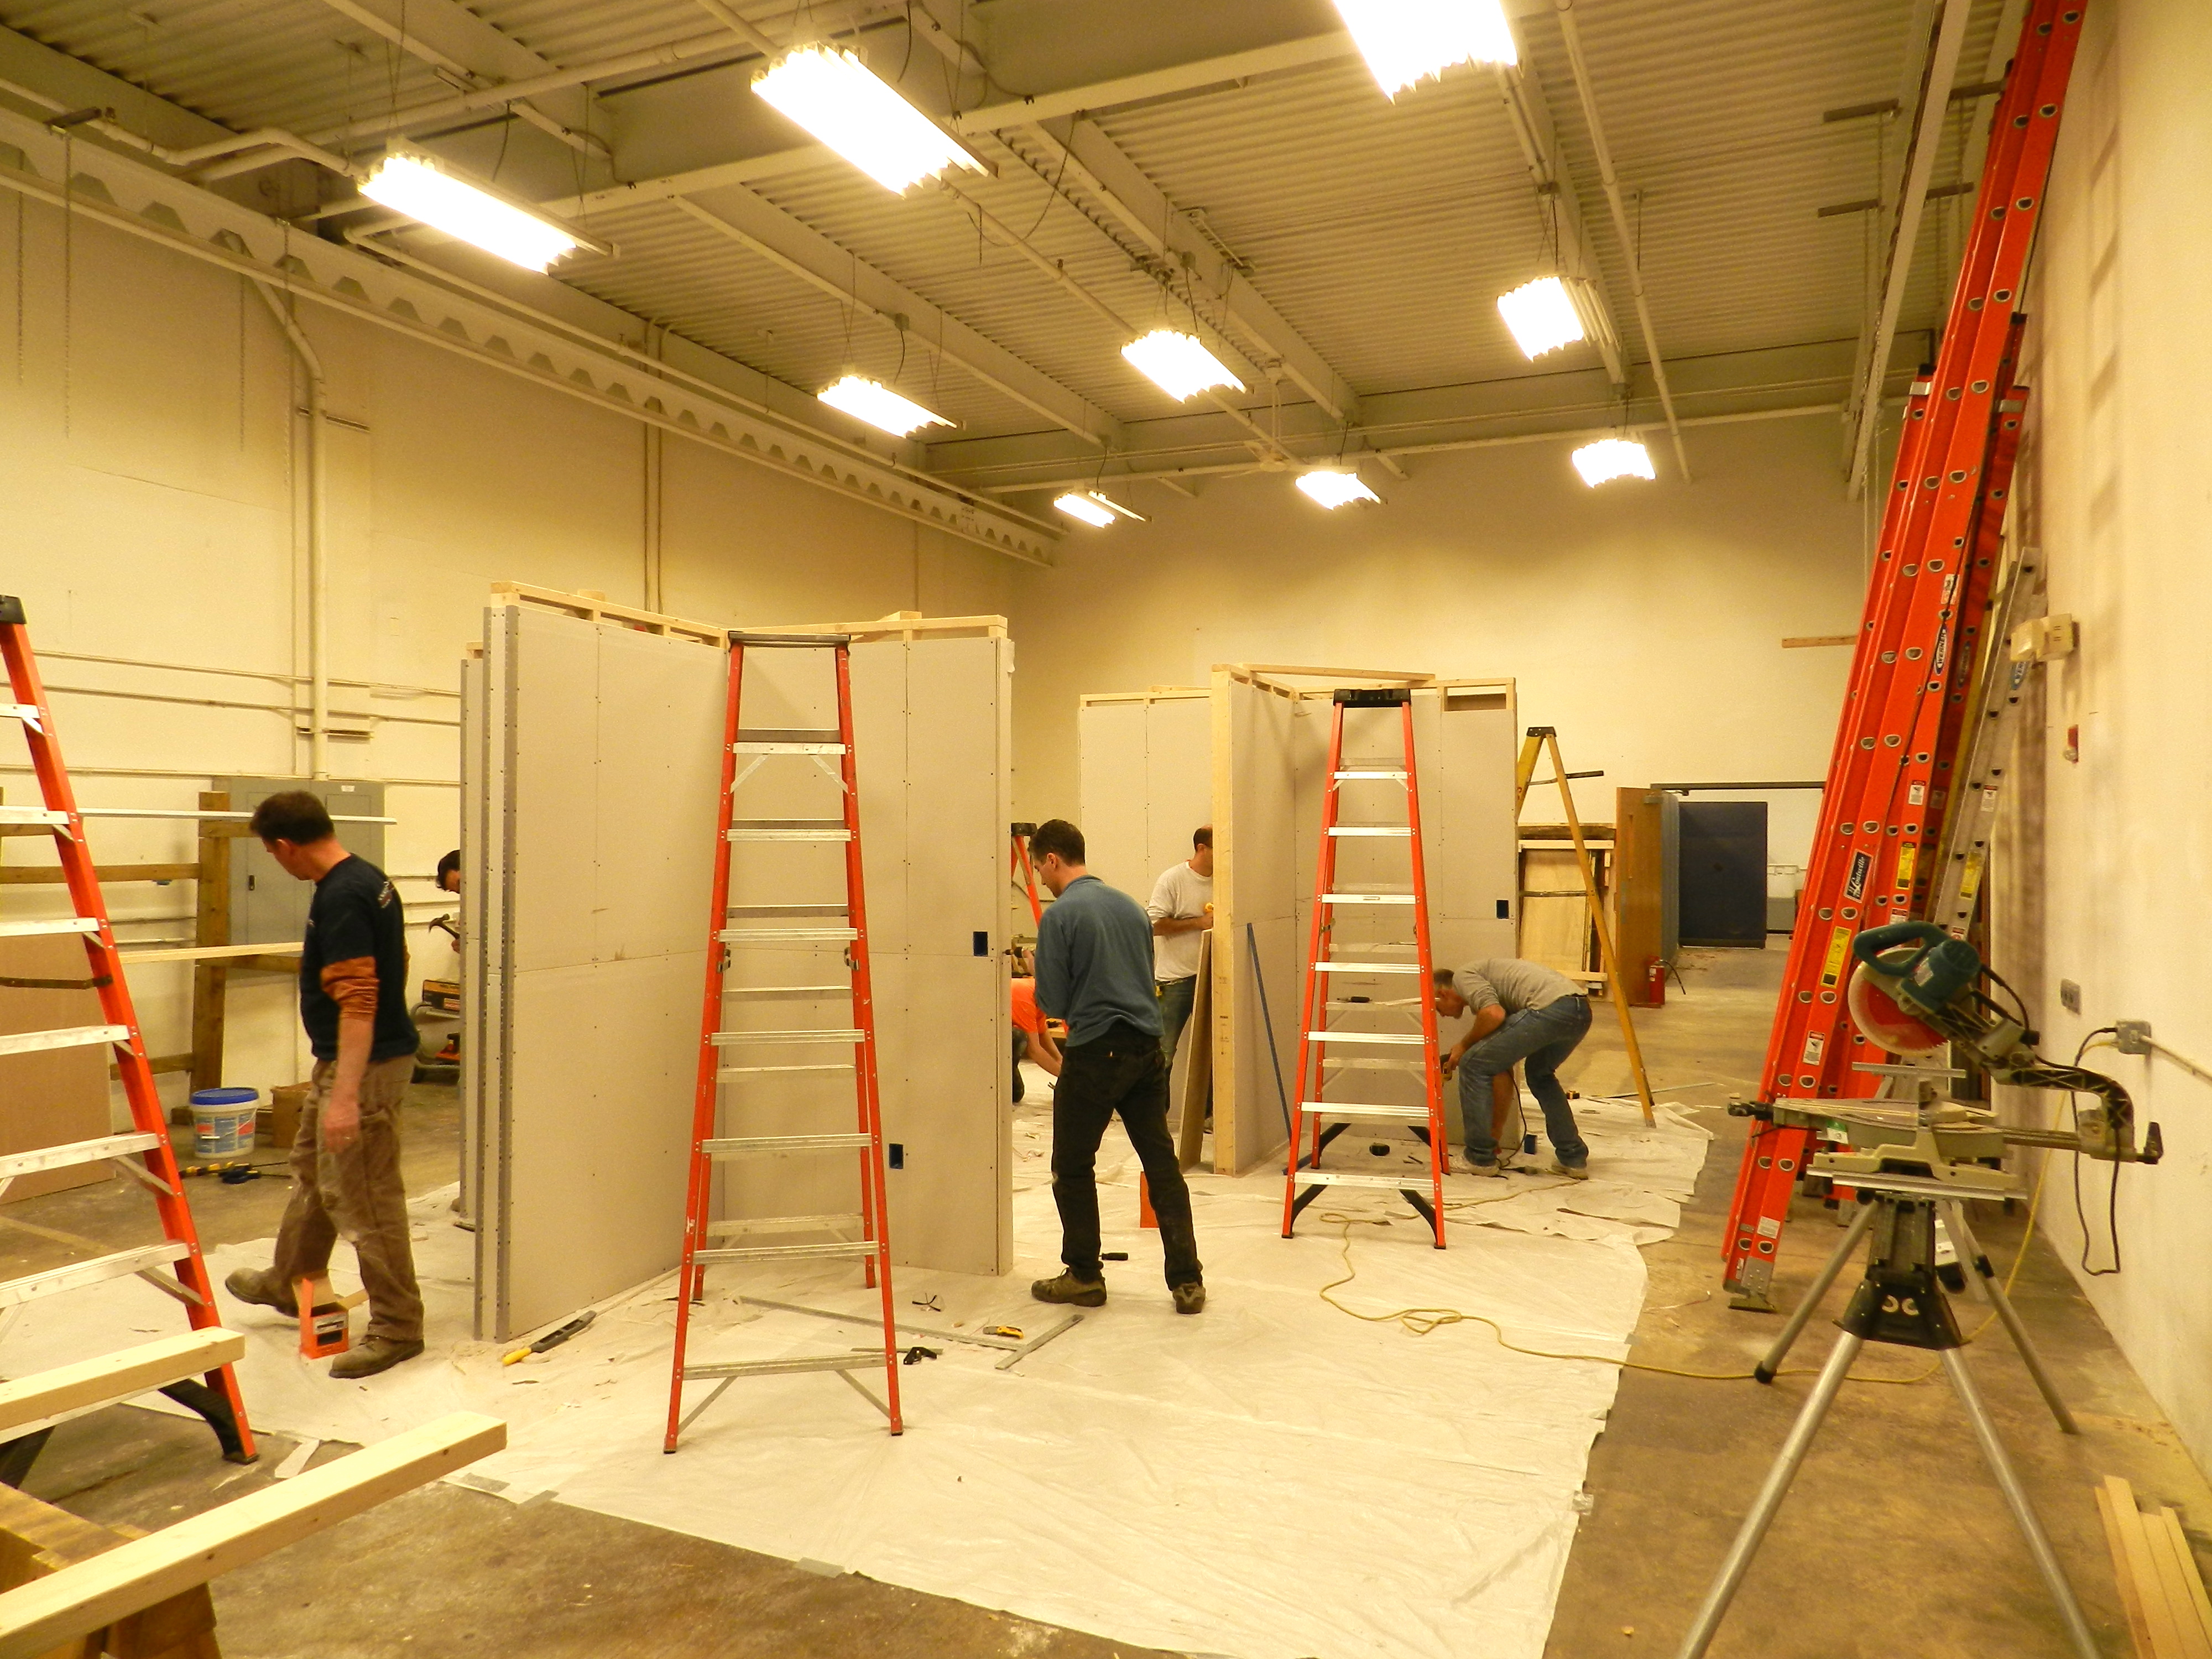
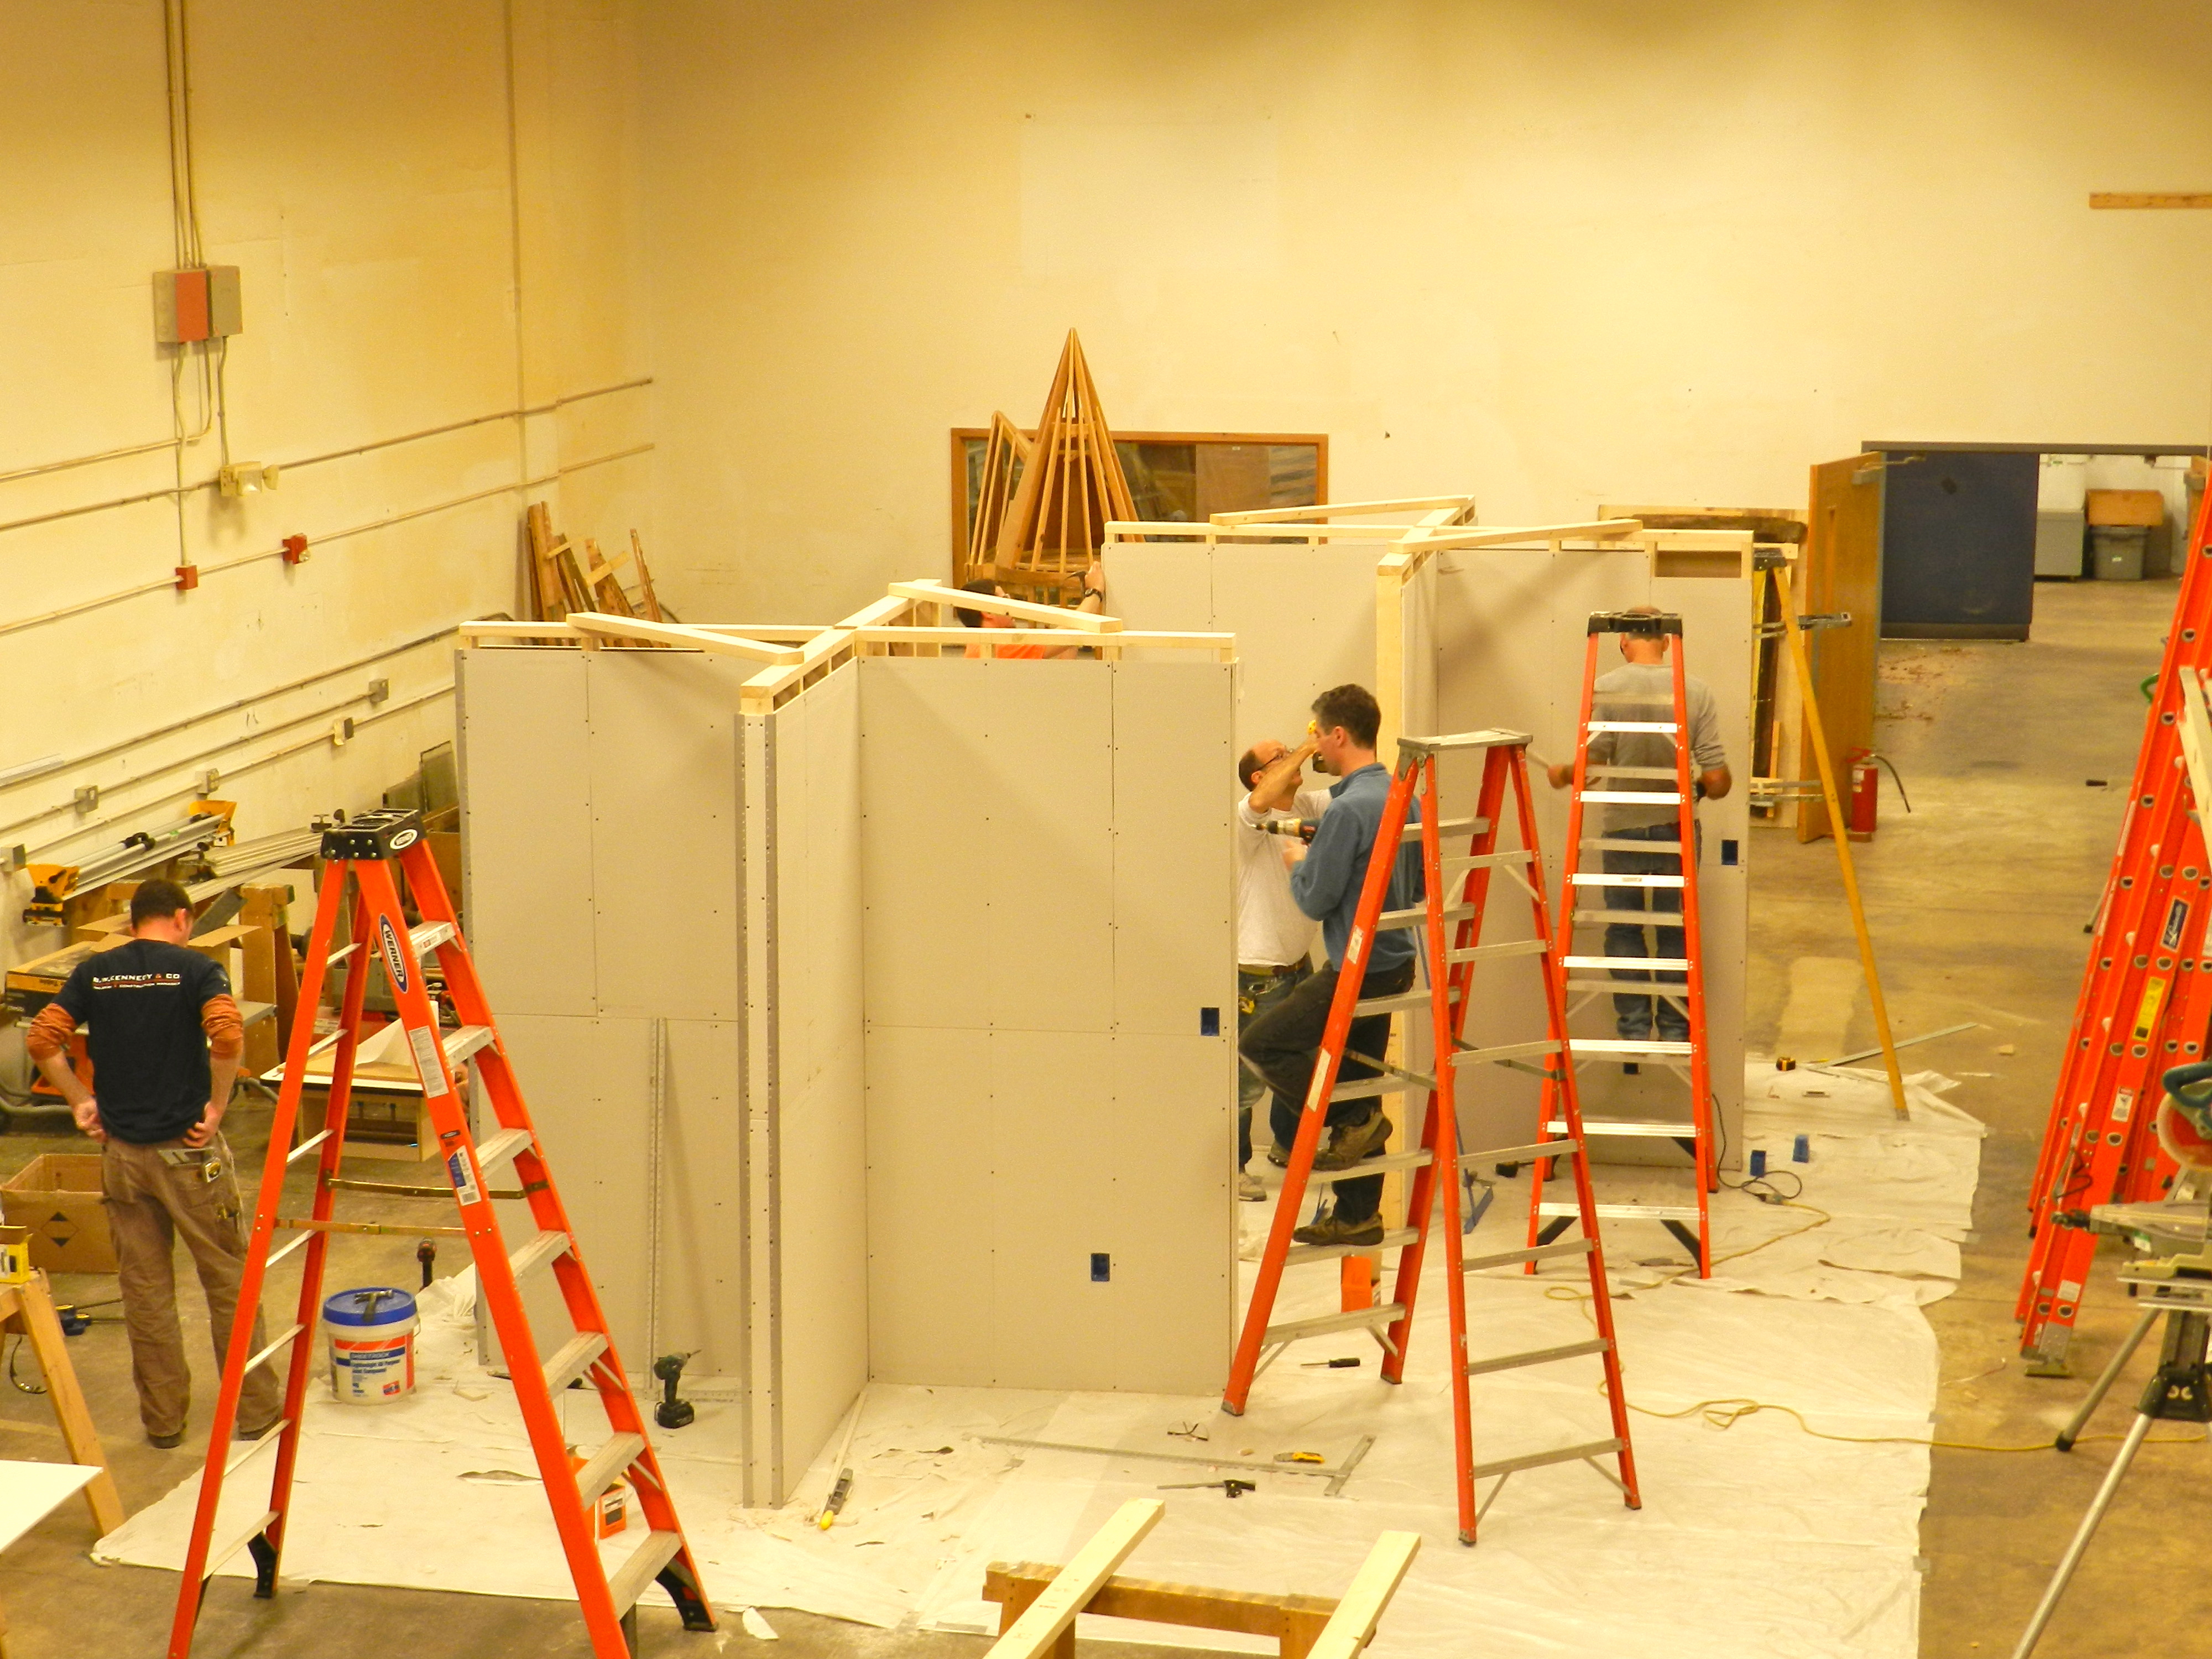
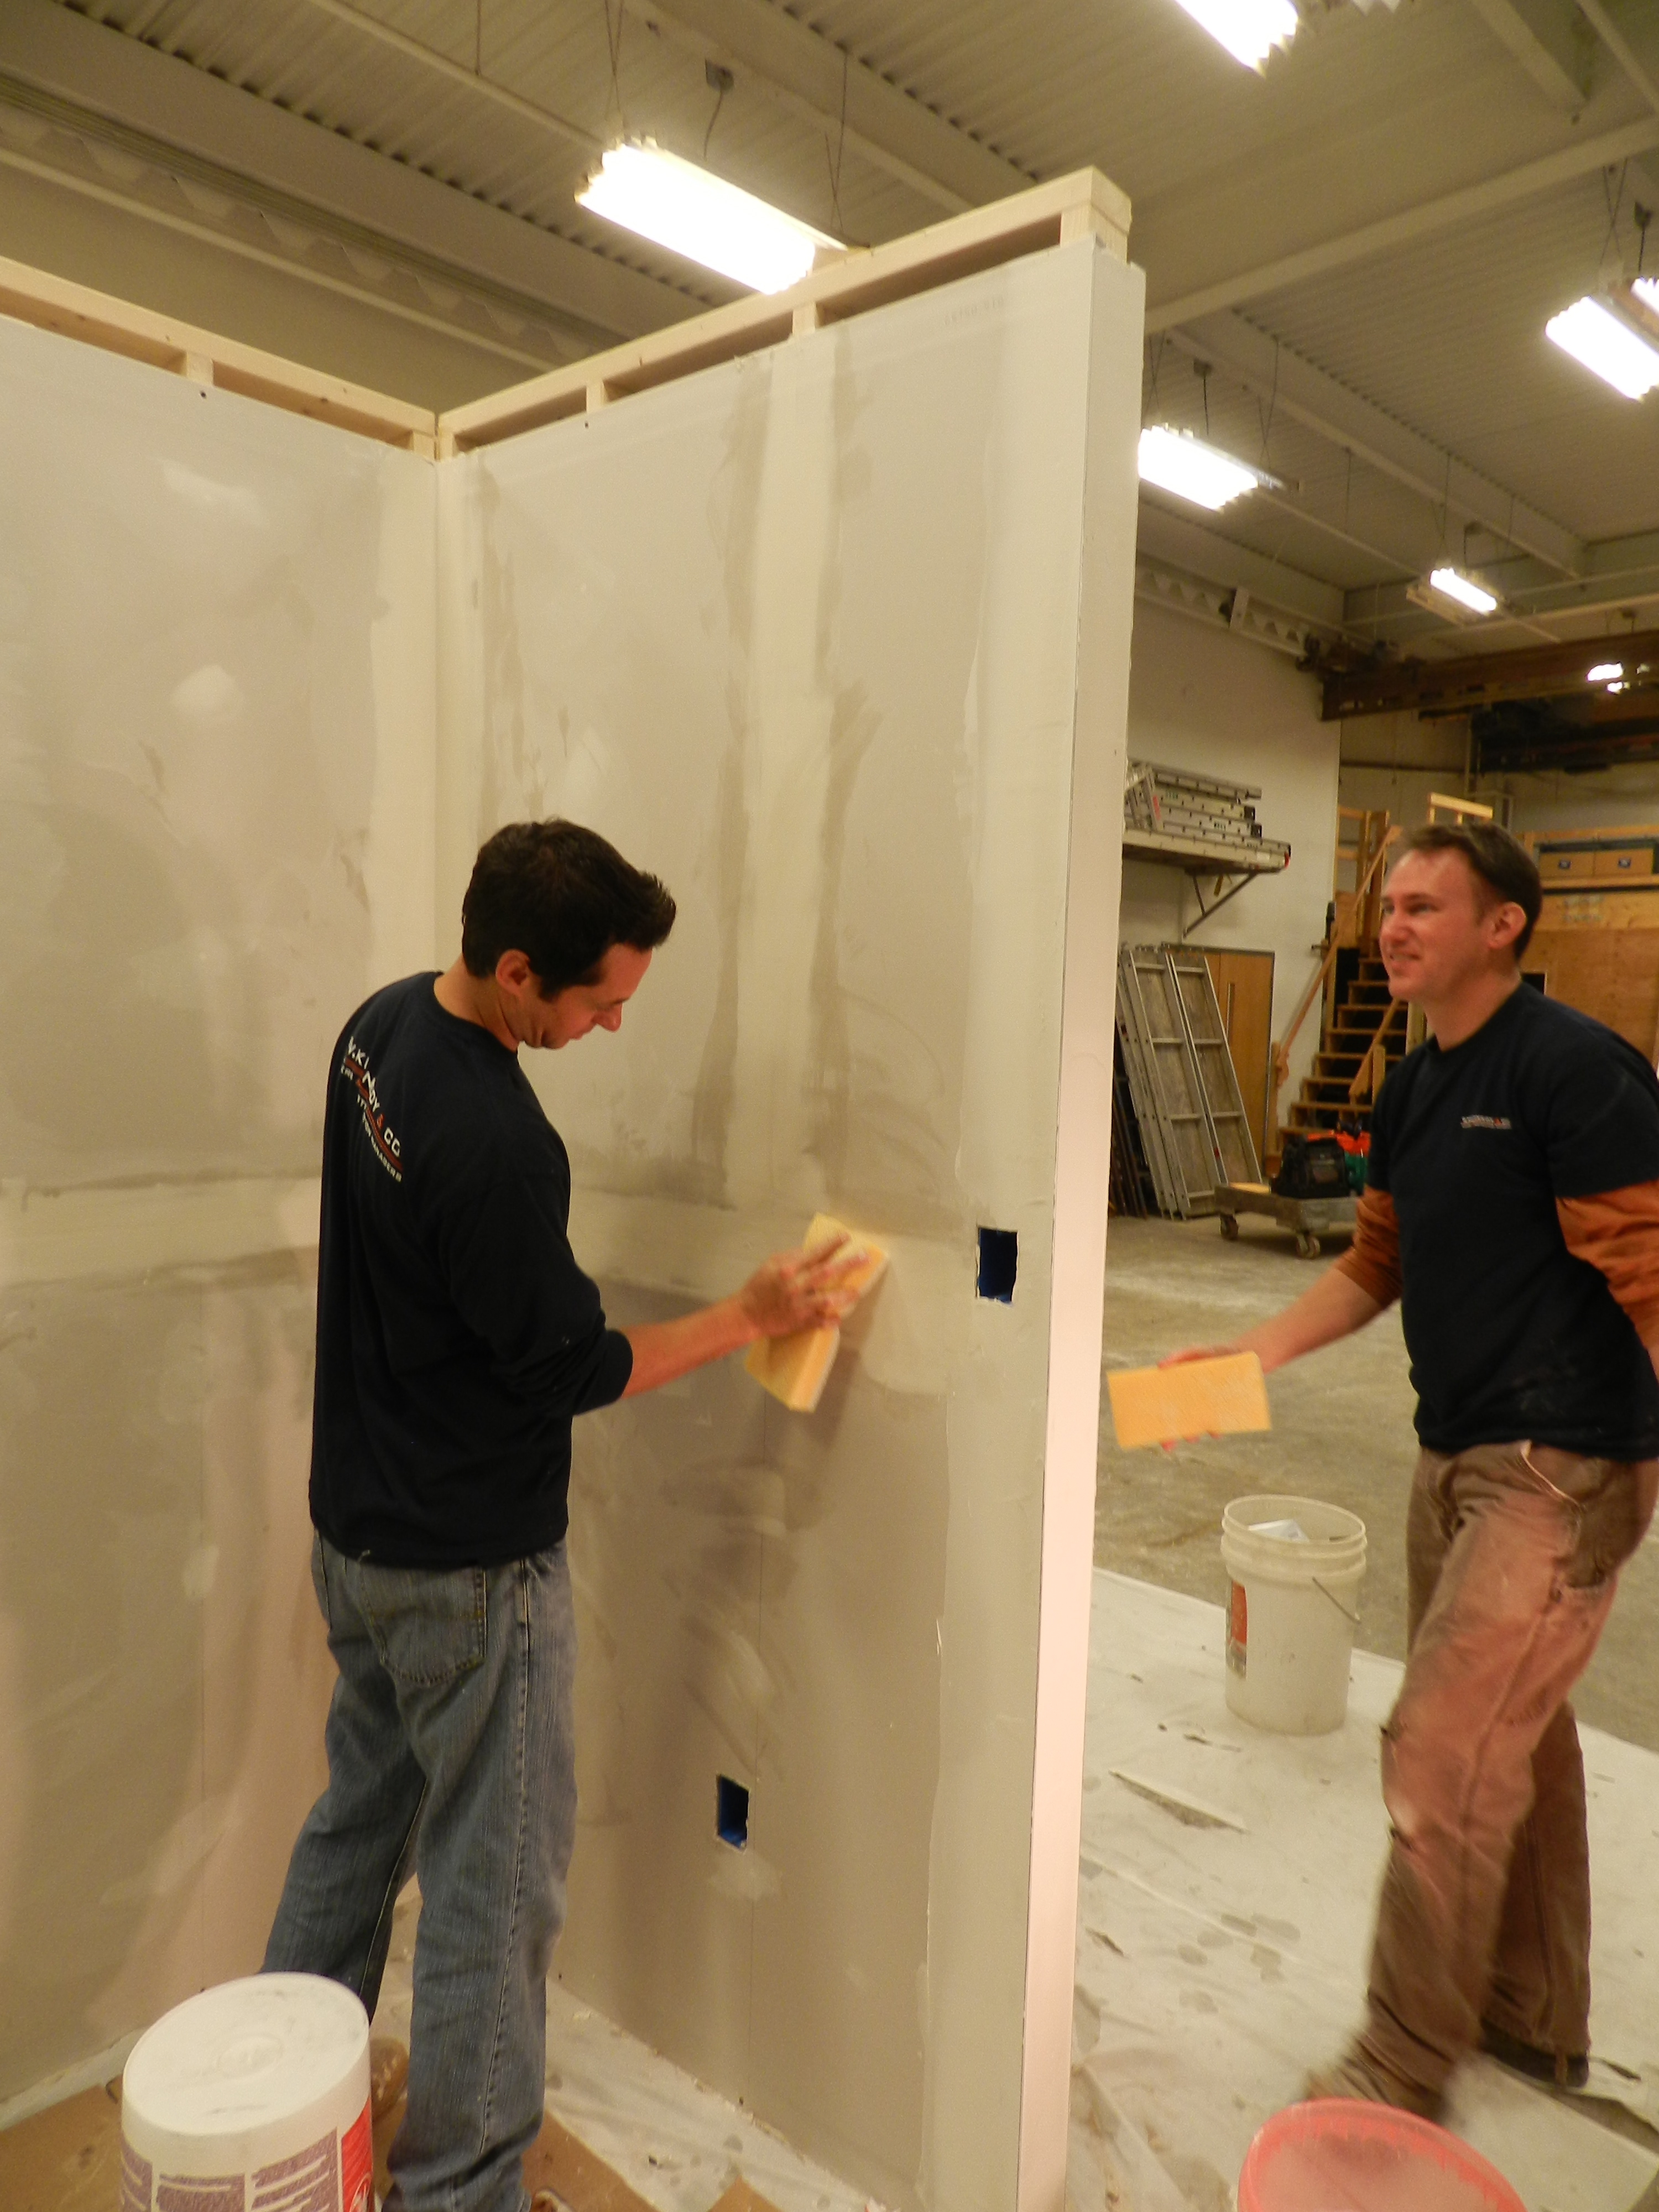
First up is the ever popular ‘Drywall for Beginners‘ course at NBSS. There are a couple of seats left and registration closes soon, so if you are interested, please sign up ASAP. In past offerings of this course I posted about it here and here if you’d like to see what it looks like. It’s an excellent opportunity to learn how to hang drywall, tape, mud and texture it.
Drywall for Beginners @ North Bennet Street School
Saturday-Sunday, June 25-26 (2 Sessions)
8:30am-4:30pm
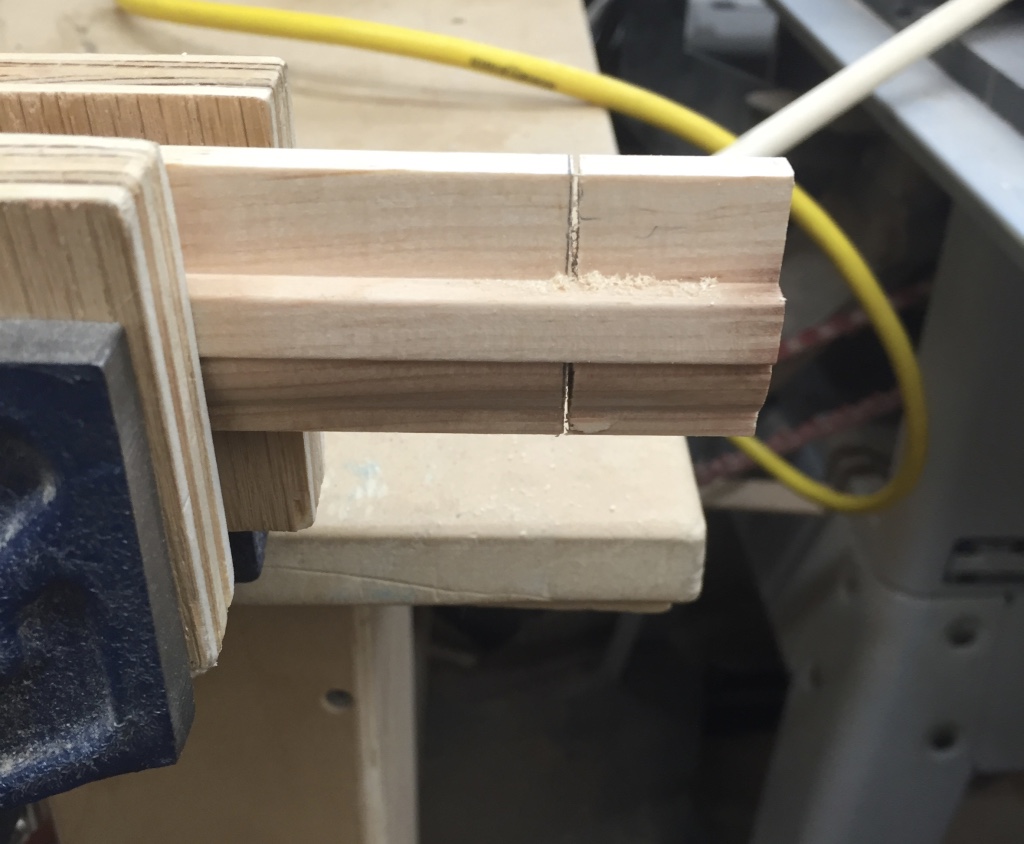
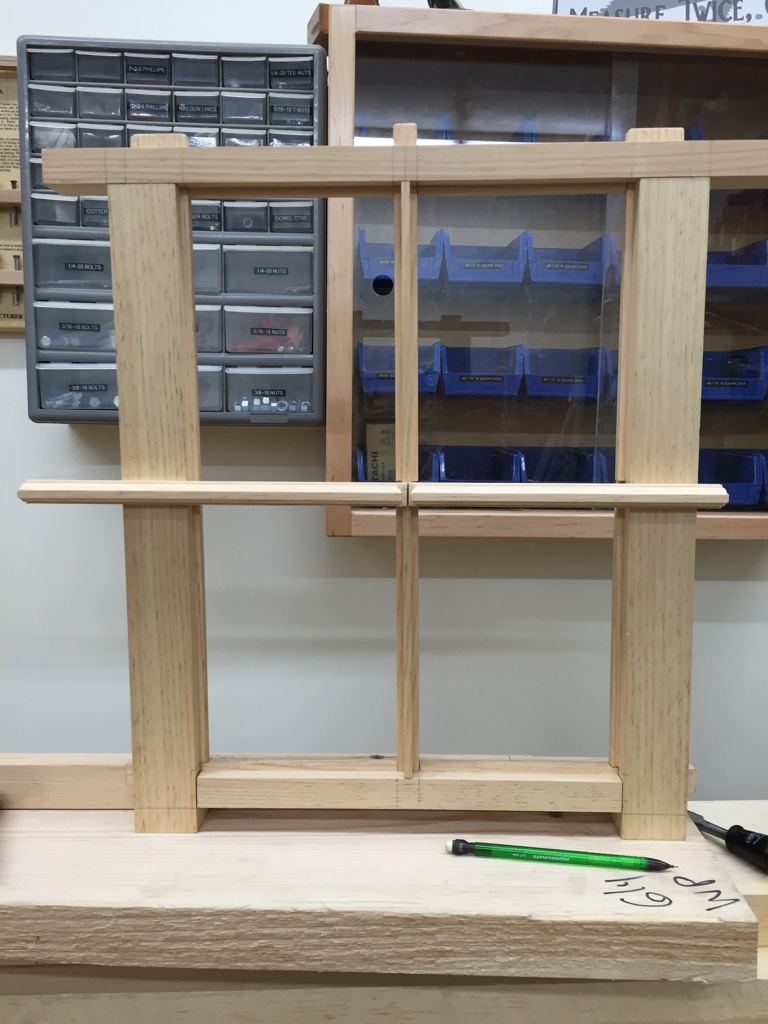
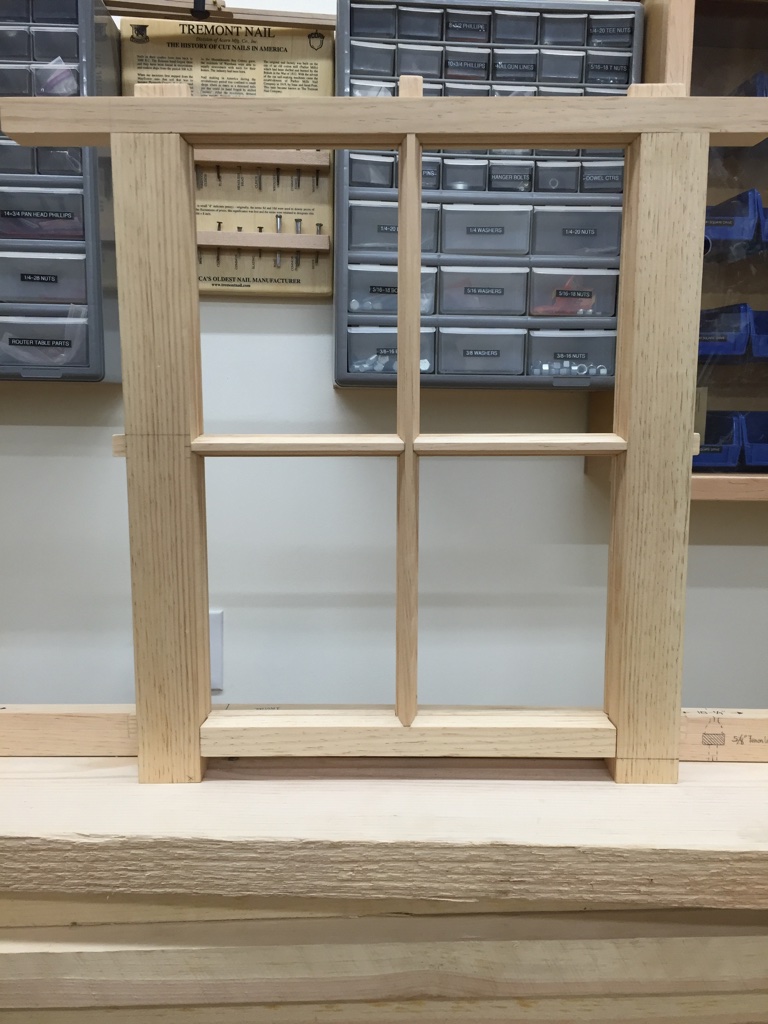
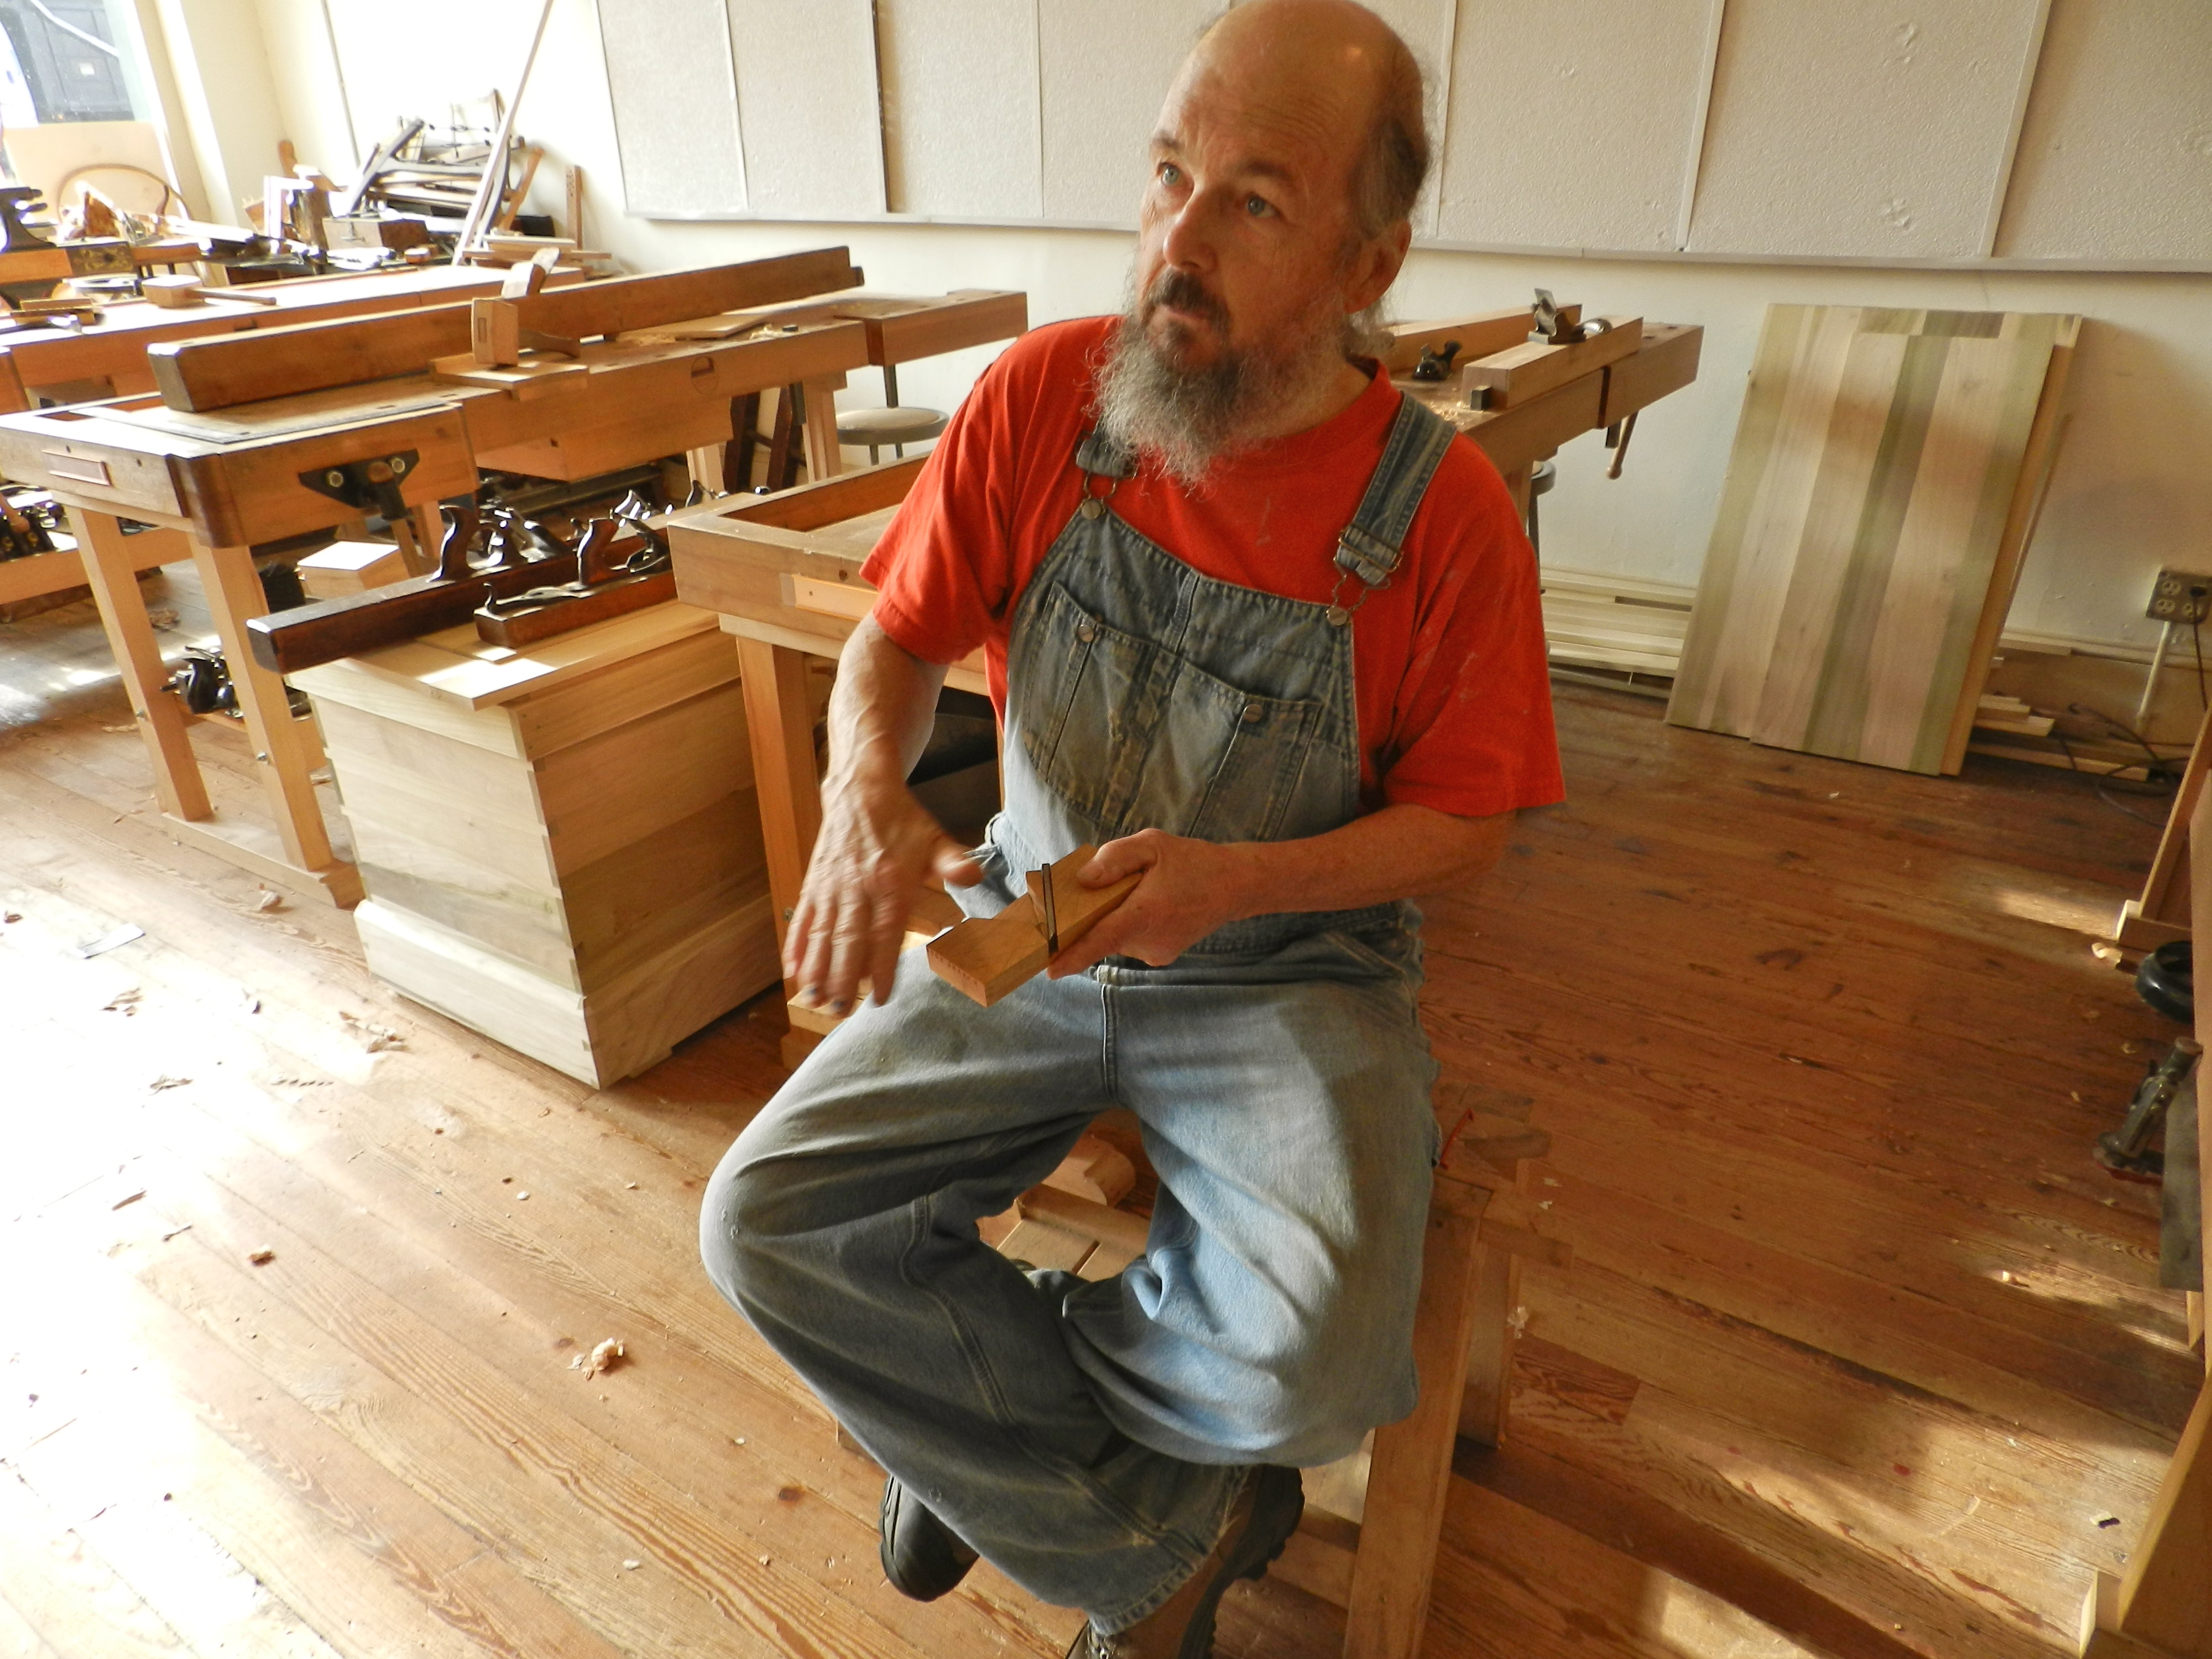
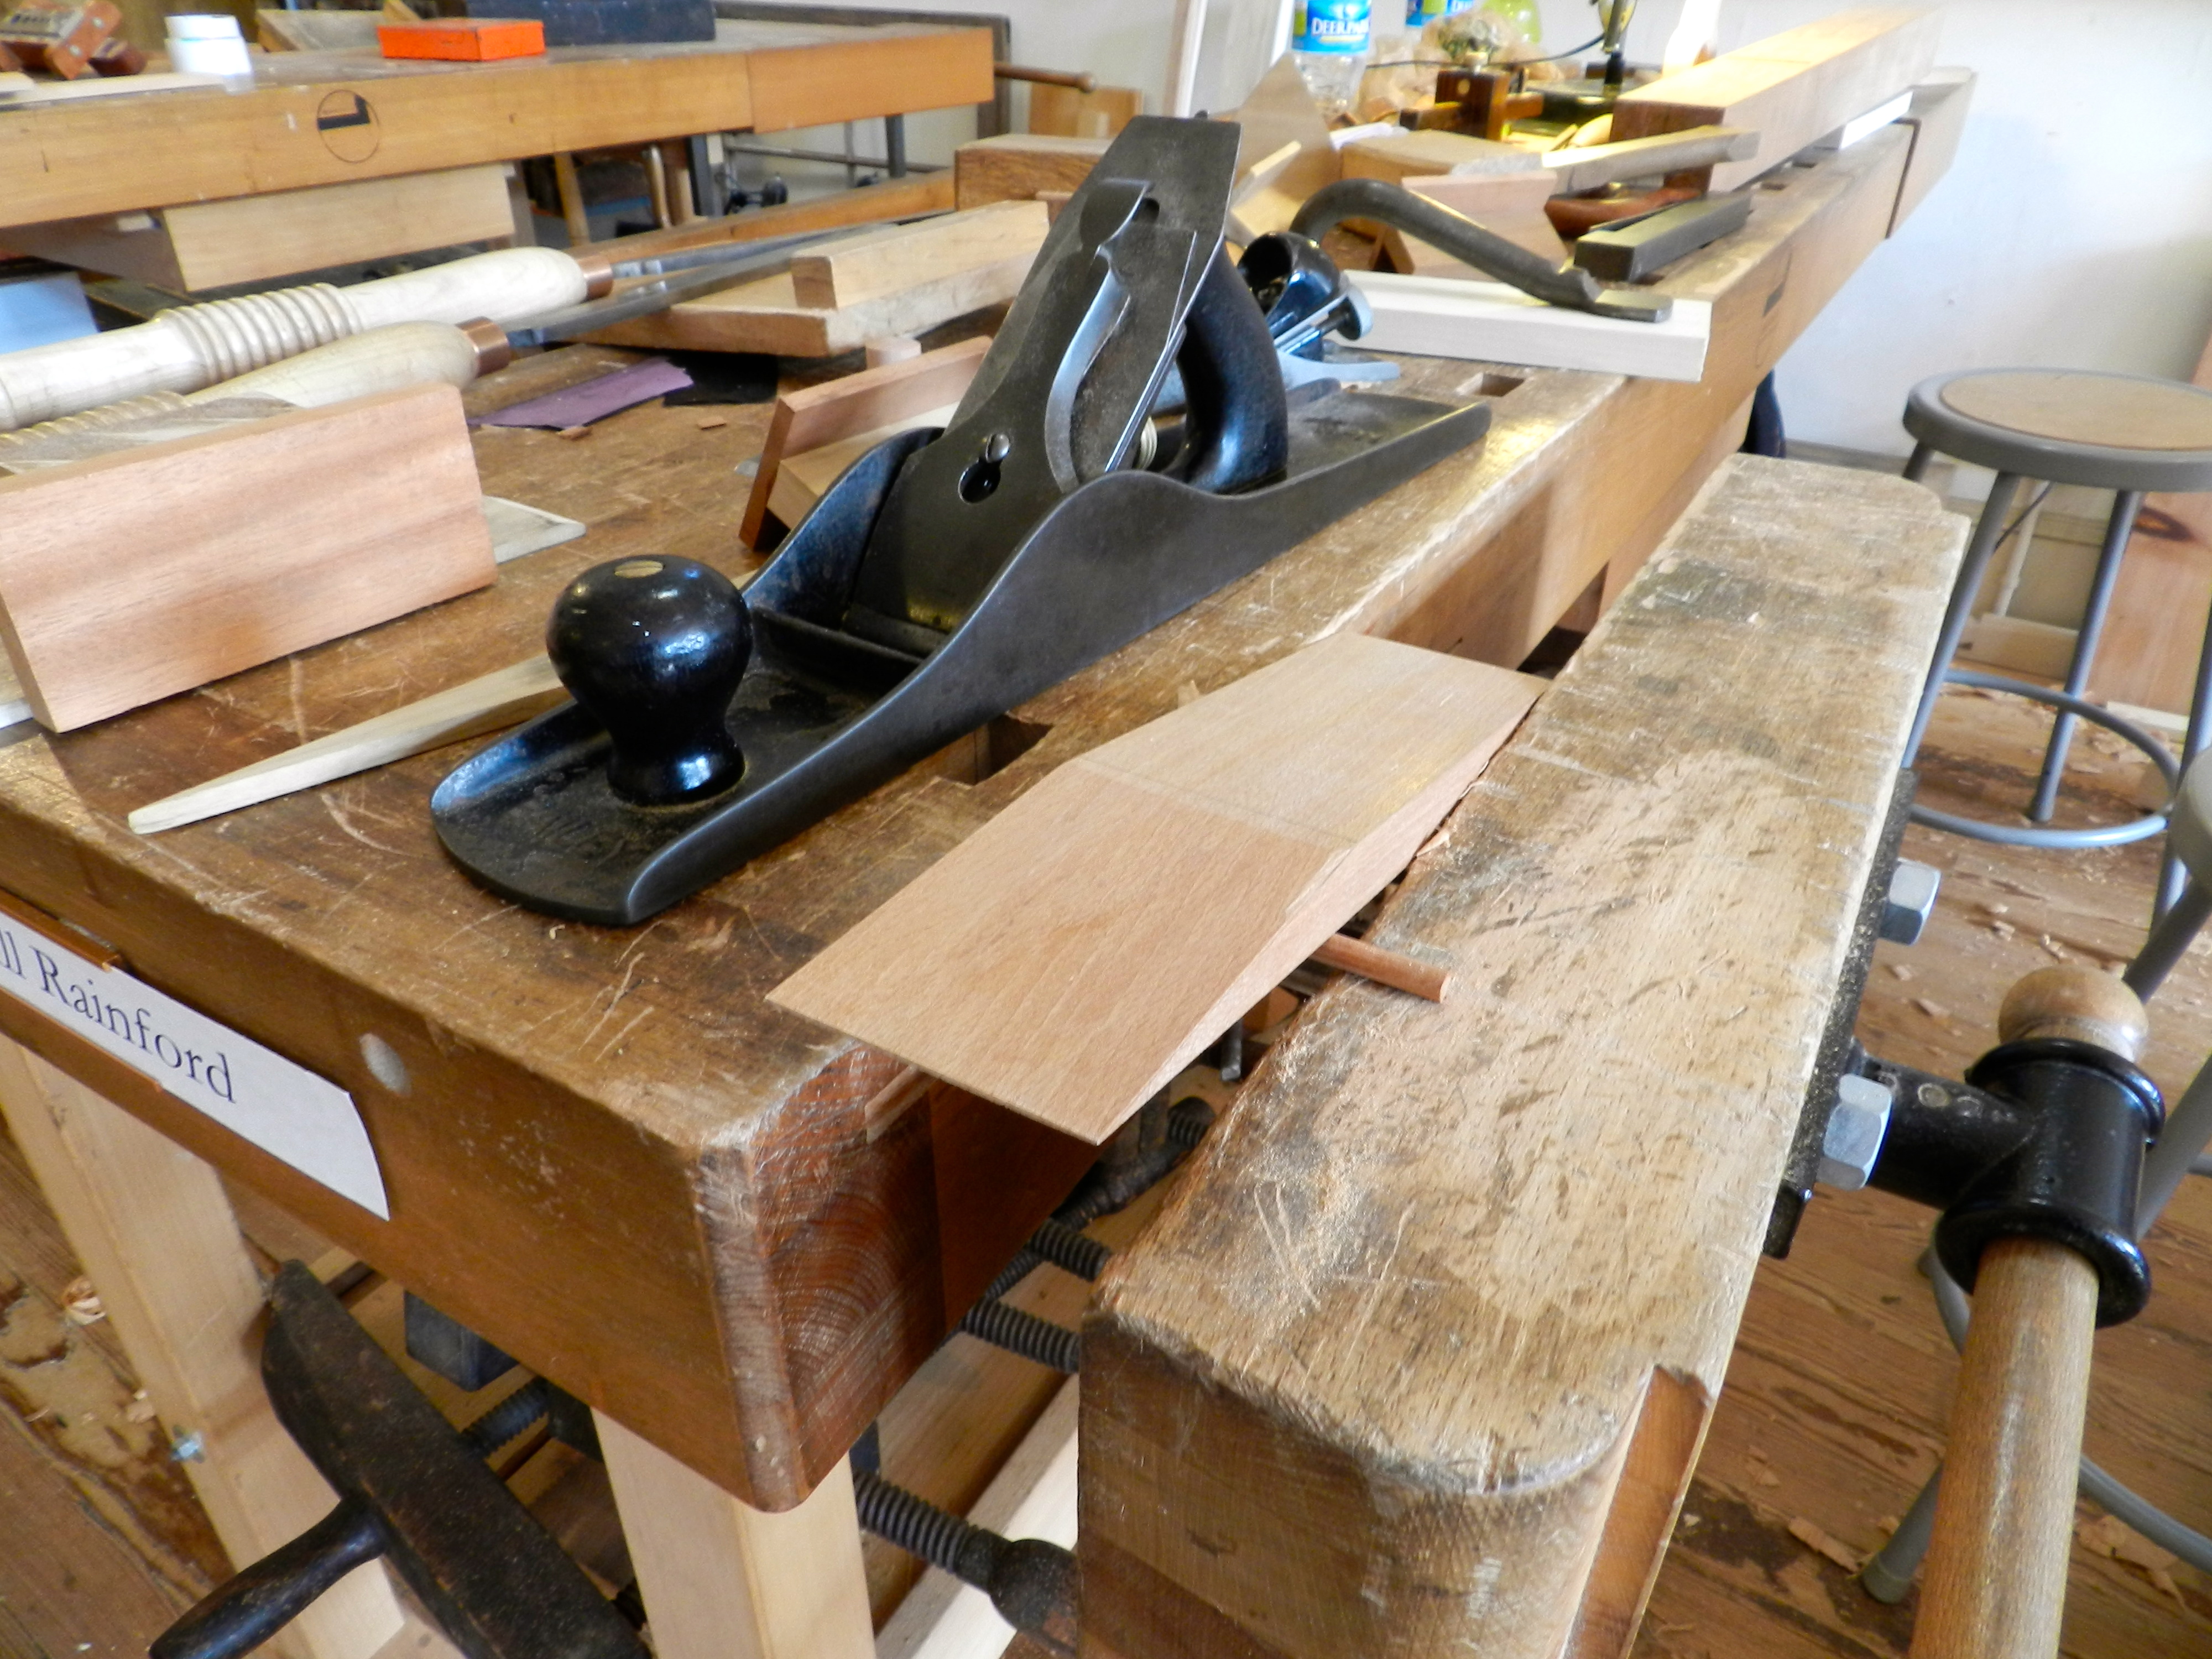
Instructor: Bill RainfordStudents learn how to hang drywall, tape seams, work with mud, sanding (wet and dry), and how to work with corners. Additional topics covered include light framing overview, repairing holes, working around outlet boxes and fixtures, repairing damage, finishing the surface, painting tips and, if time allows, the basics of texturing. Students assemble and work from full-size model wall sections which include an inside and outside corner and opportunity to work with stud bays. This class is intended for homeowners, DIY enthusiasts and carpenters/contractors. Basic carpentry or handy skills are a plus.
Students are responsible for supplying their own tools. A tool list will be sent at least 2 weeks prior to class start.
Please review our Registration Policies before registering.
Registration closes 7 days prior to workshop start.
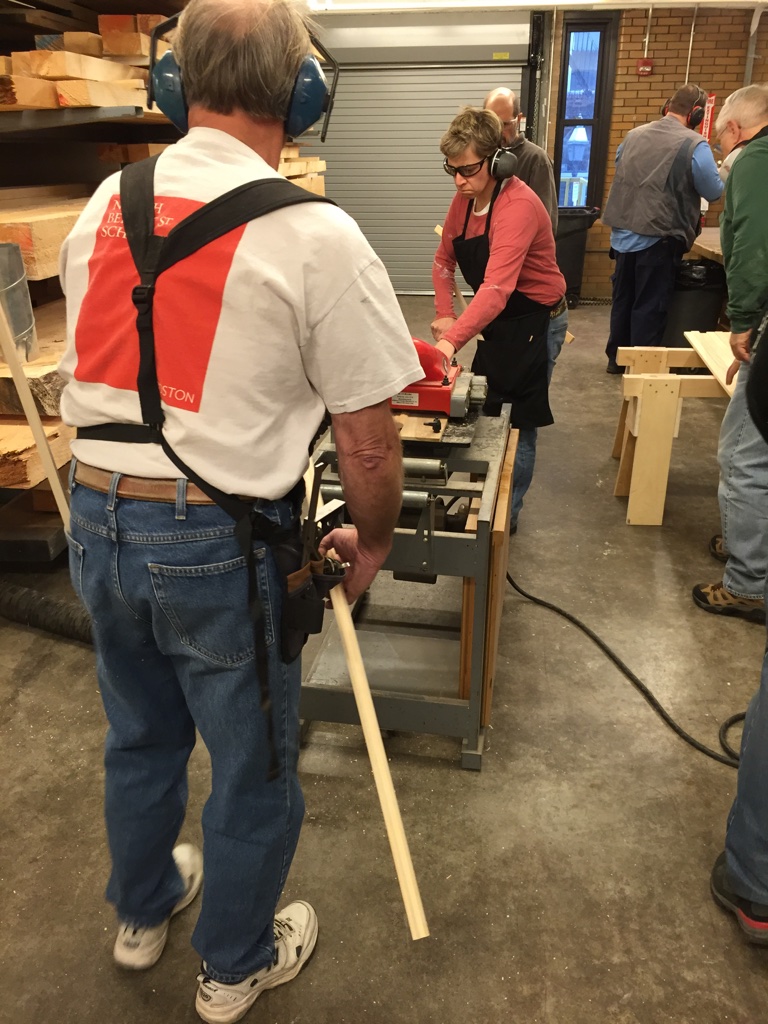
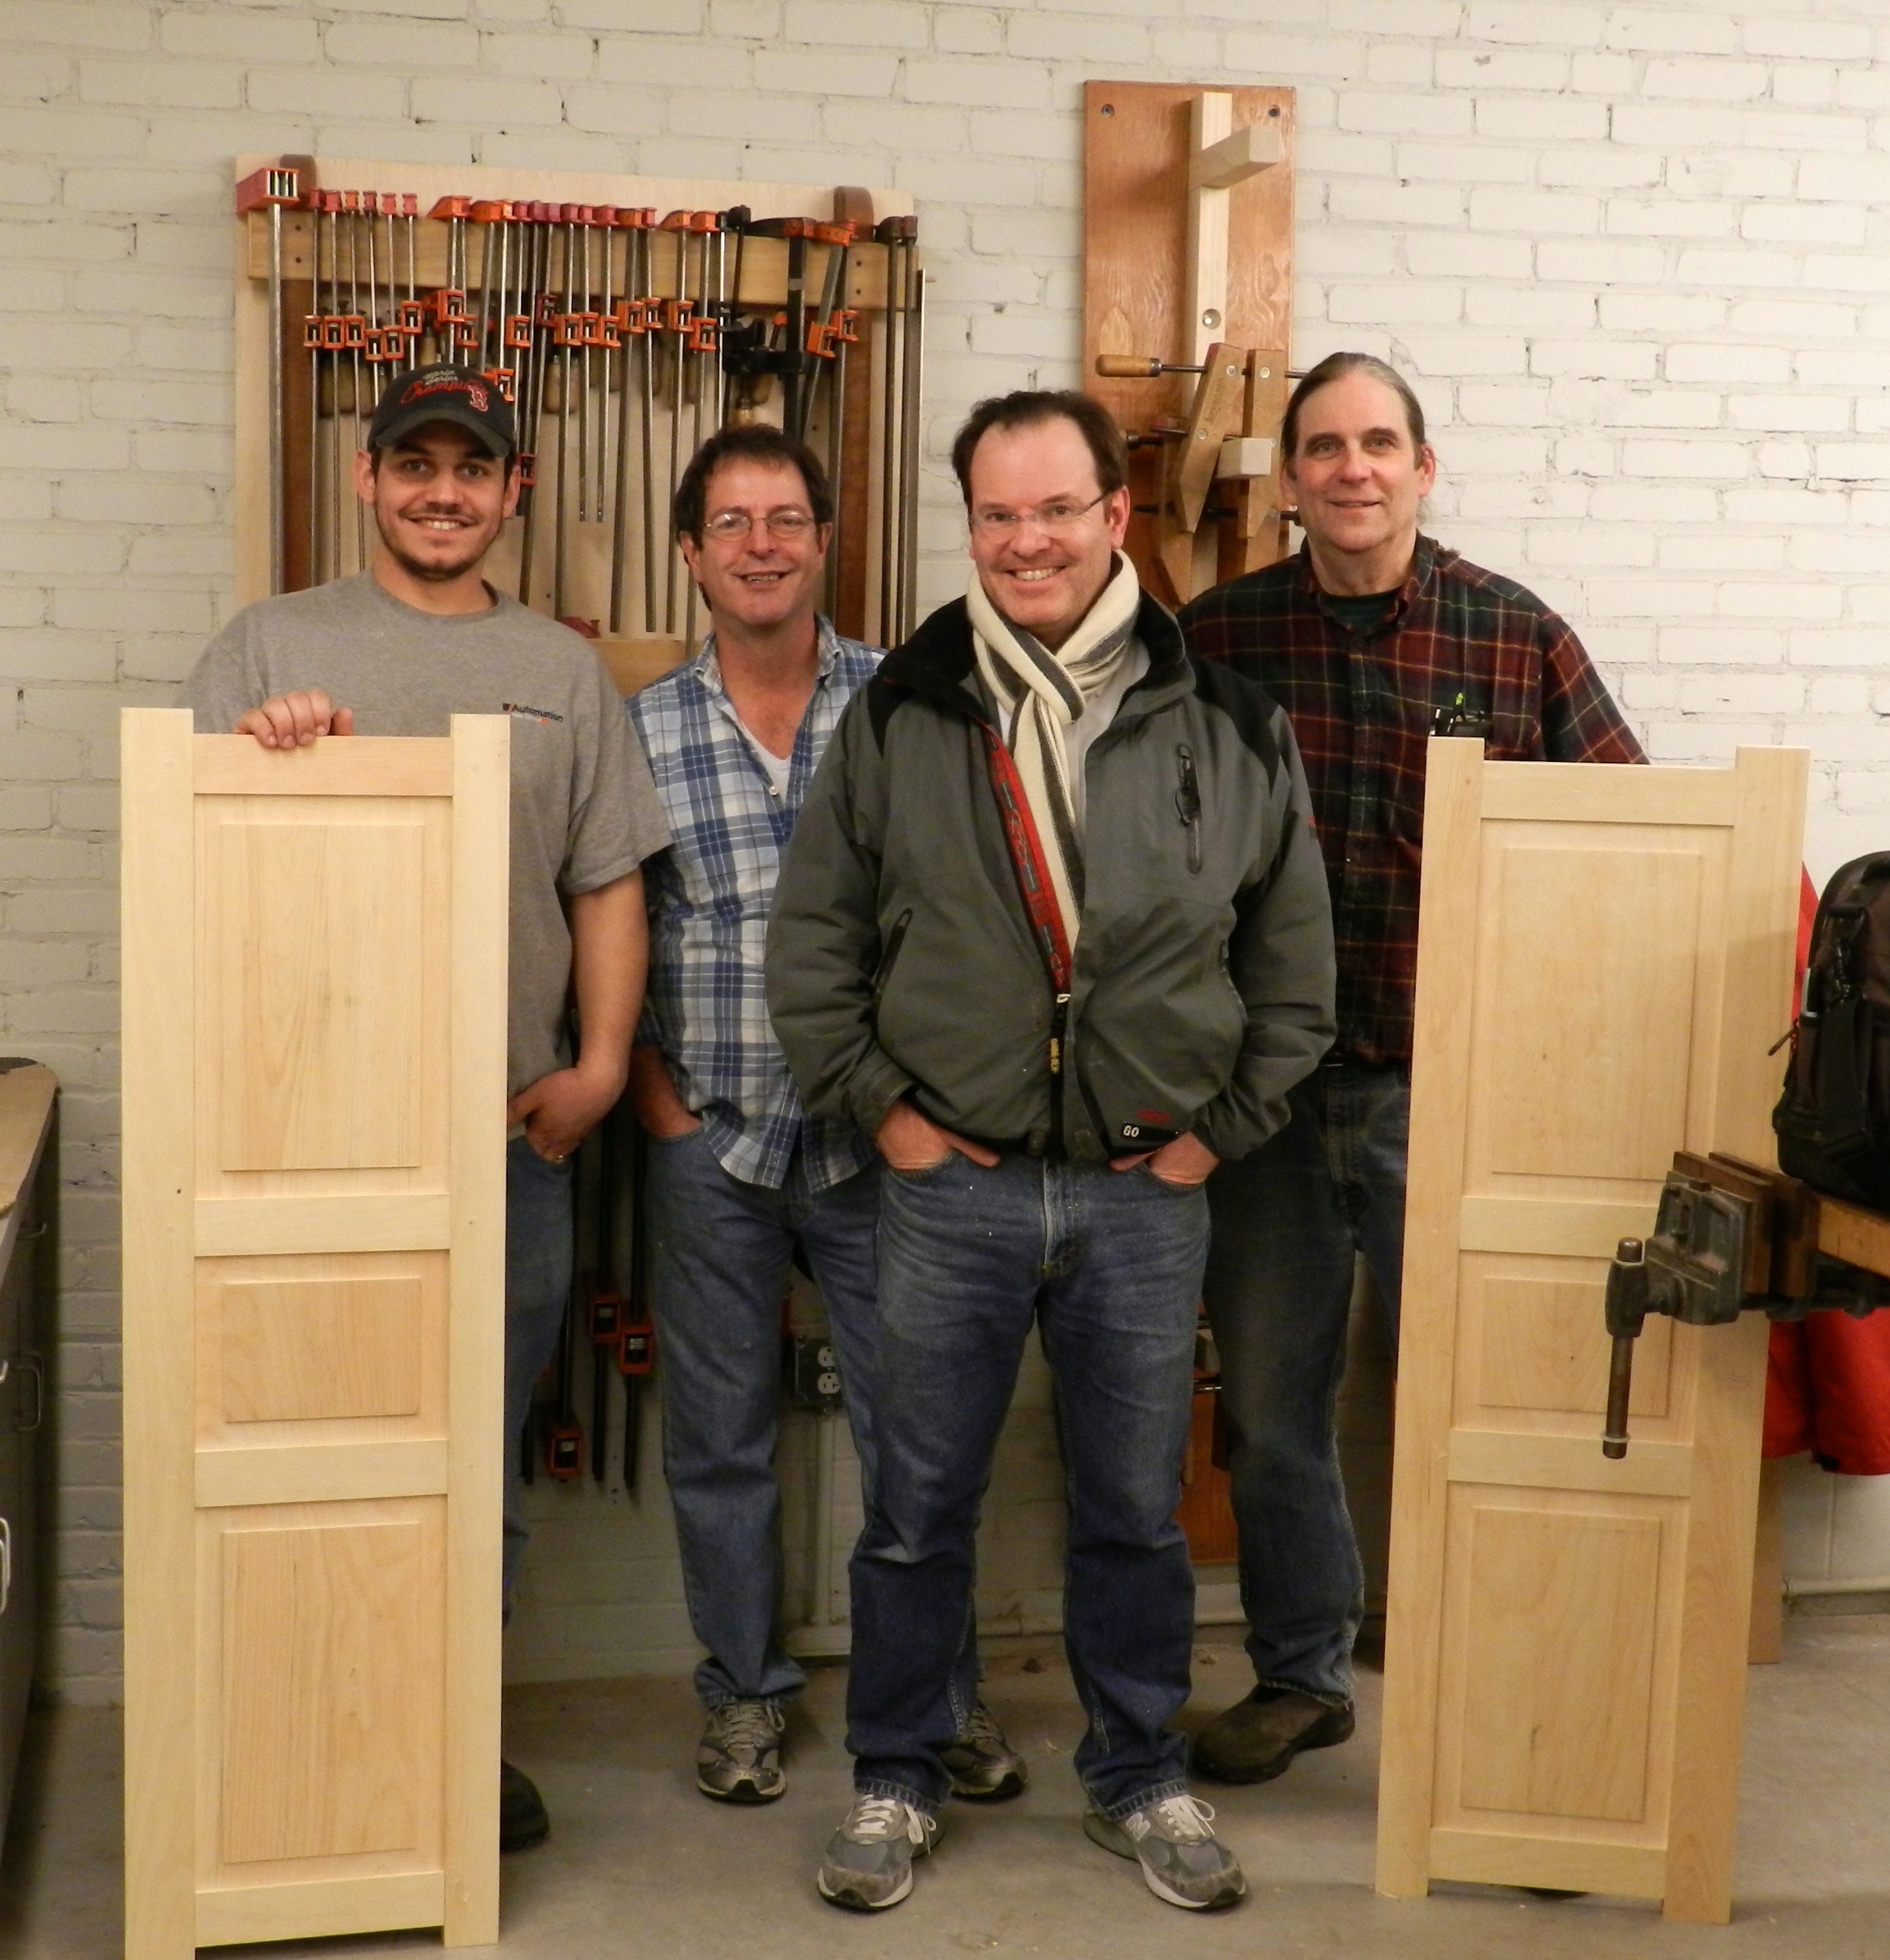
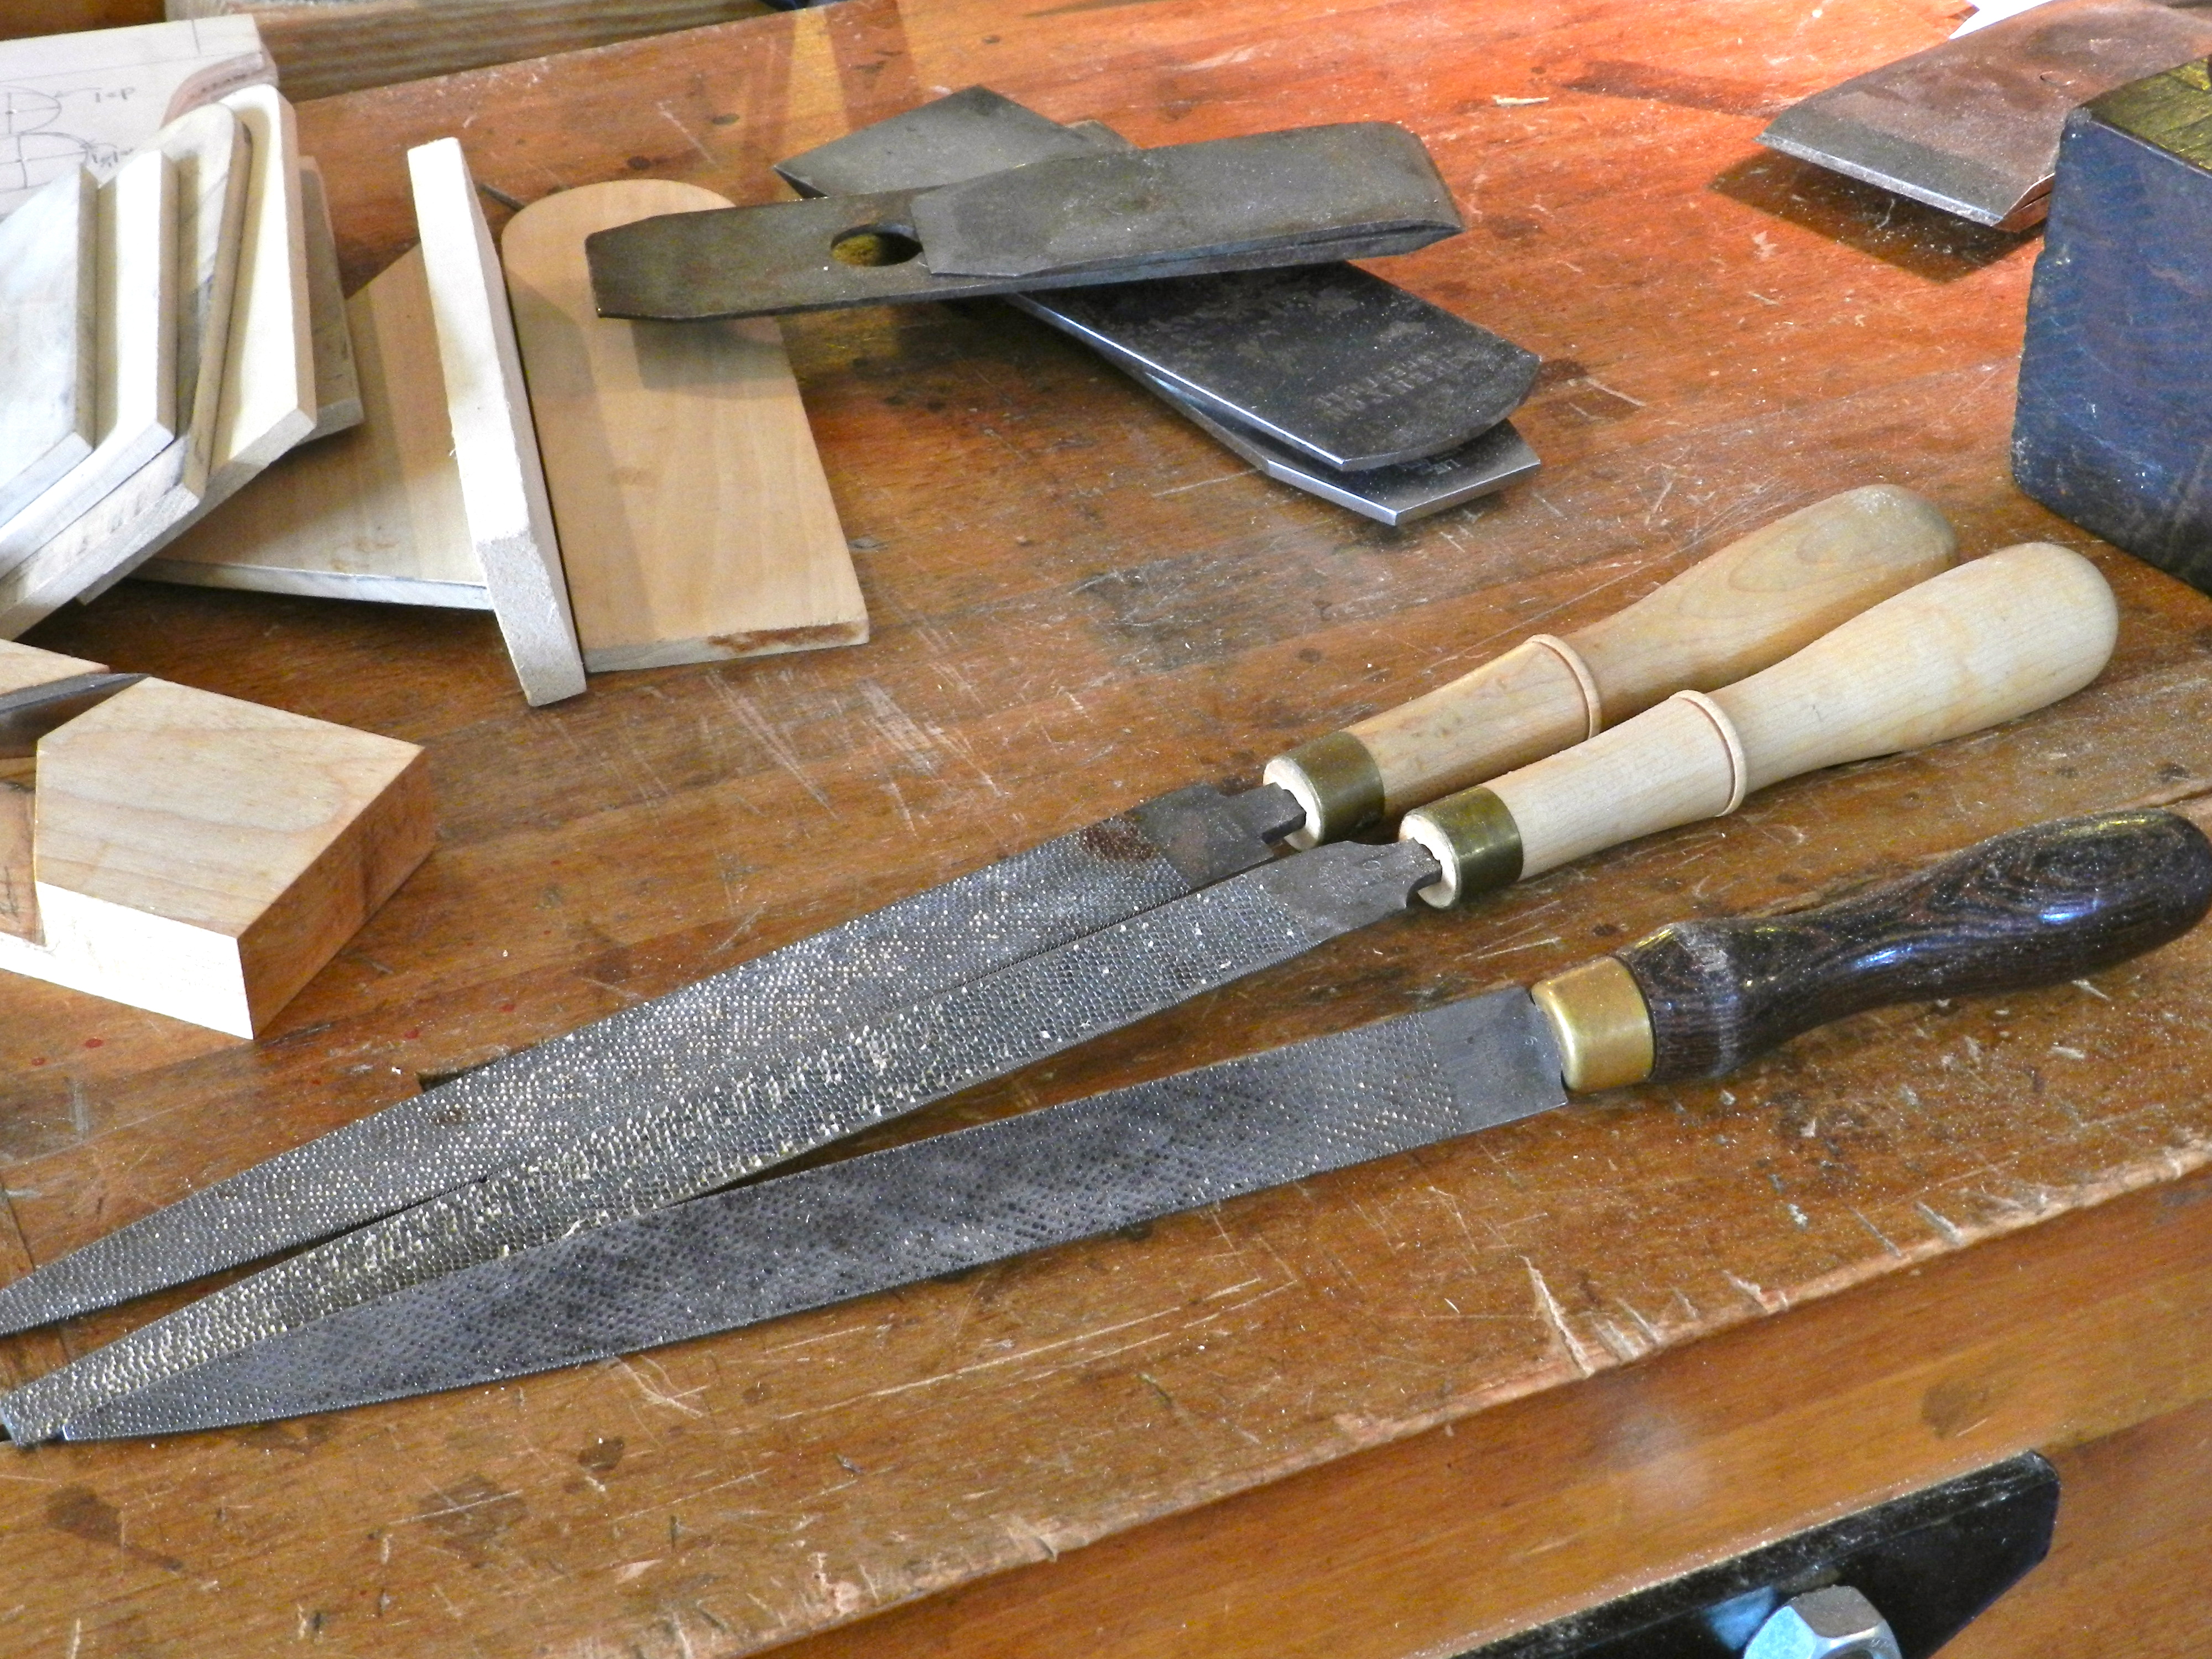
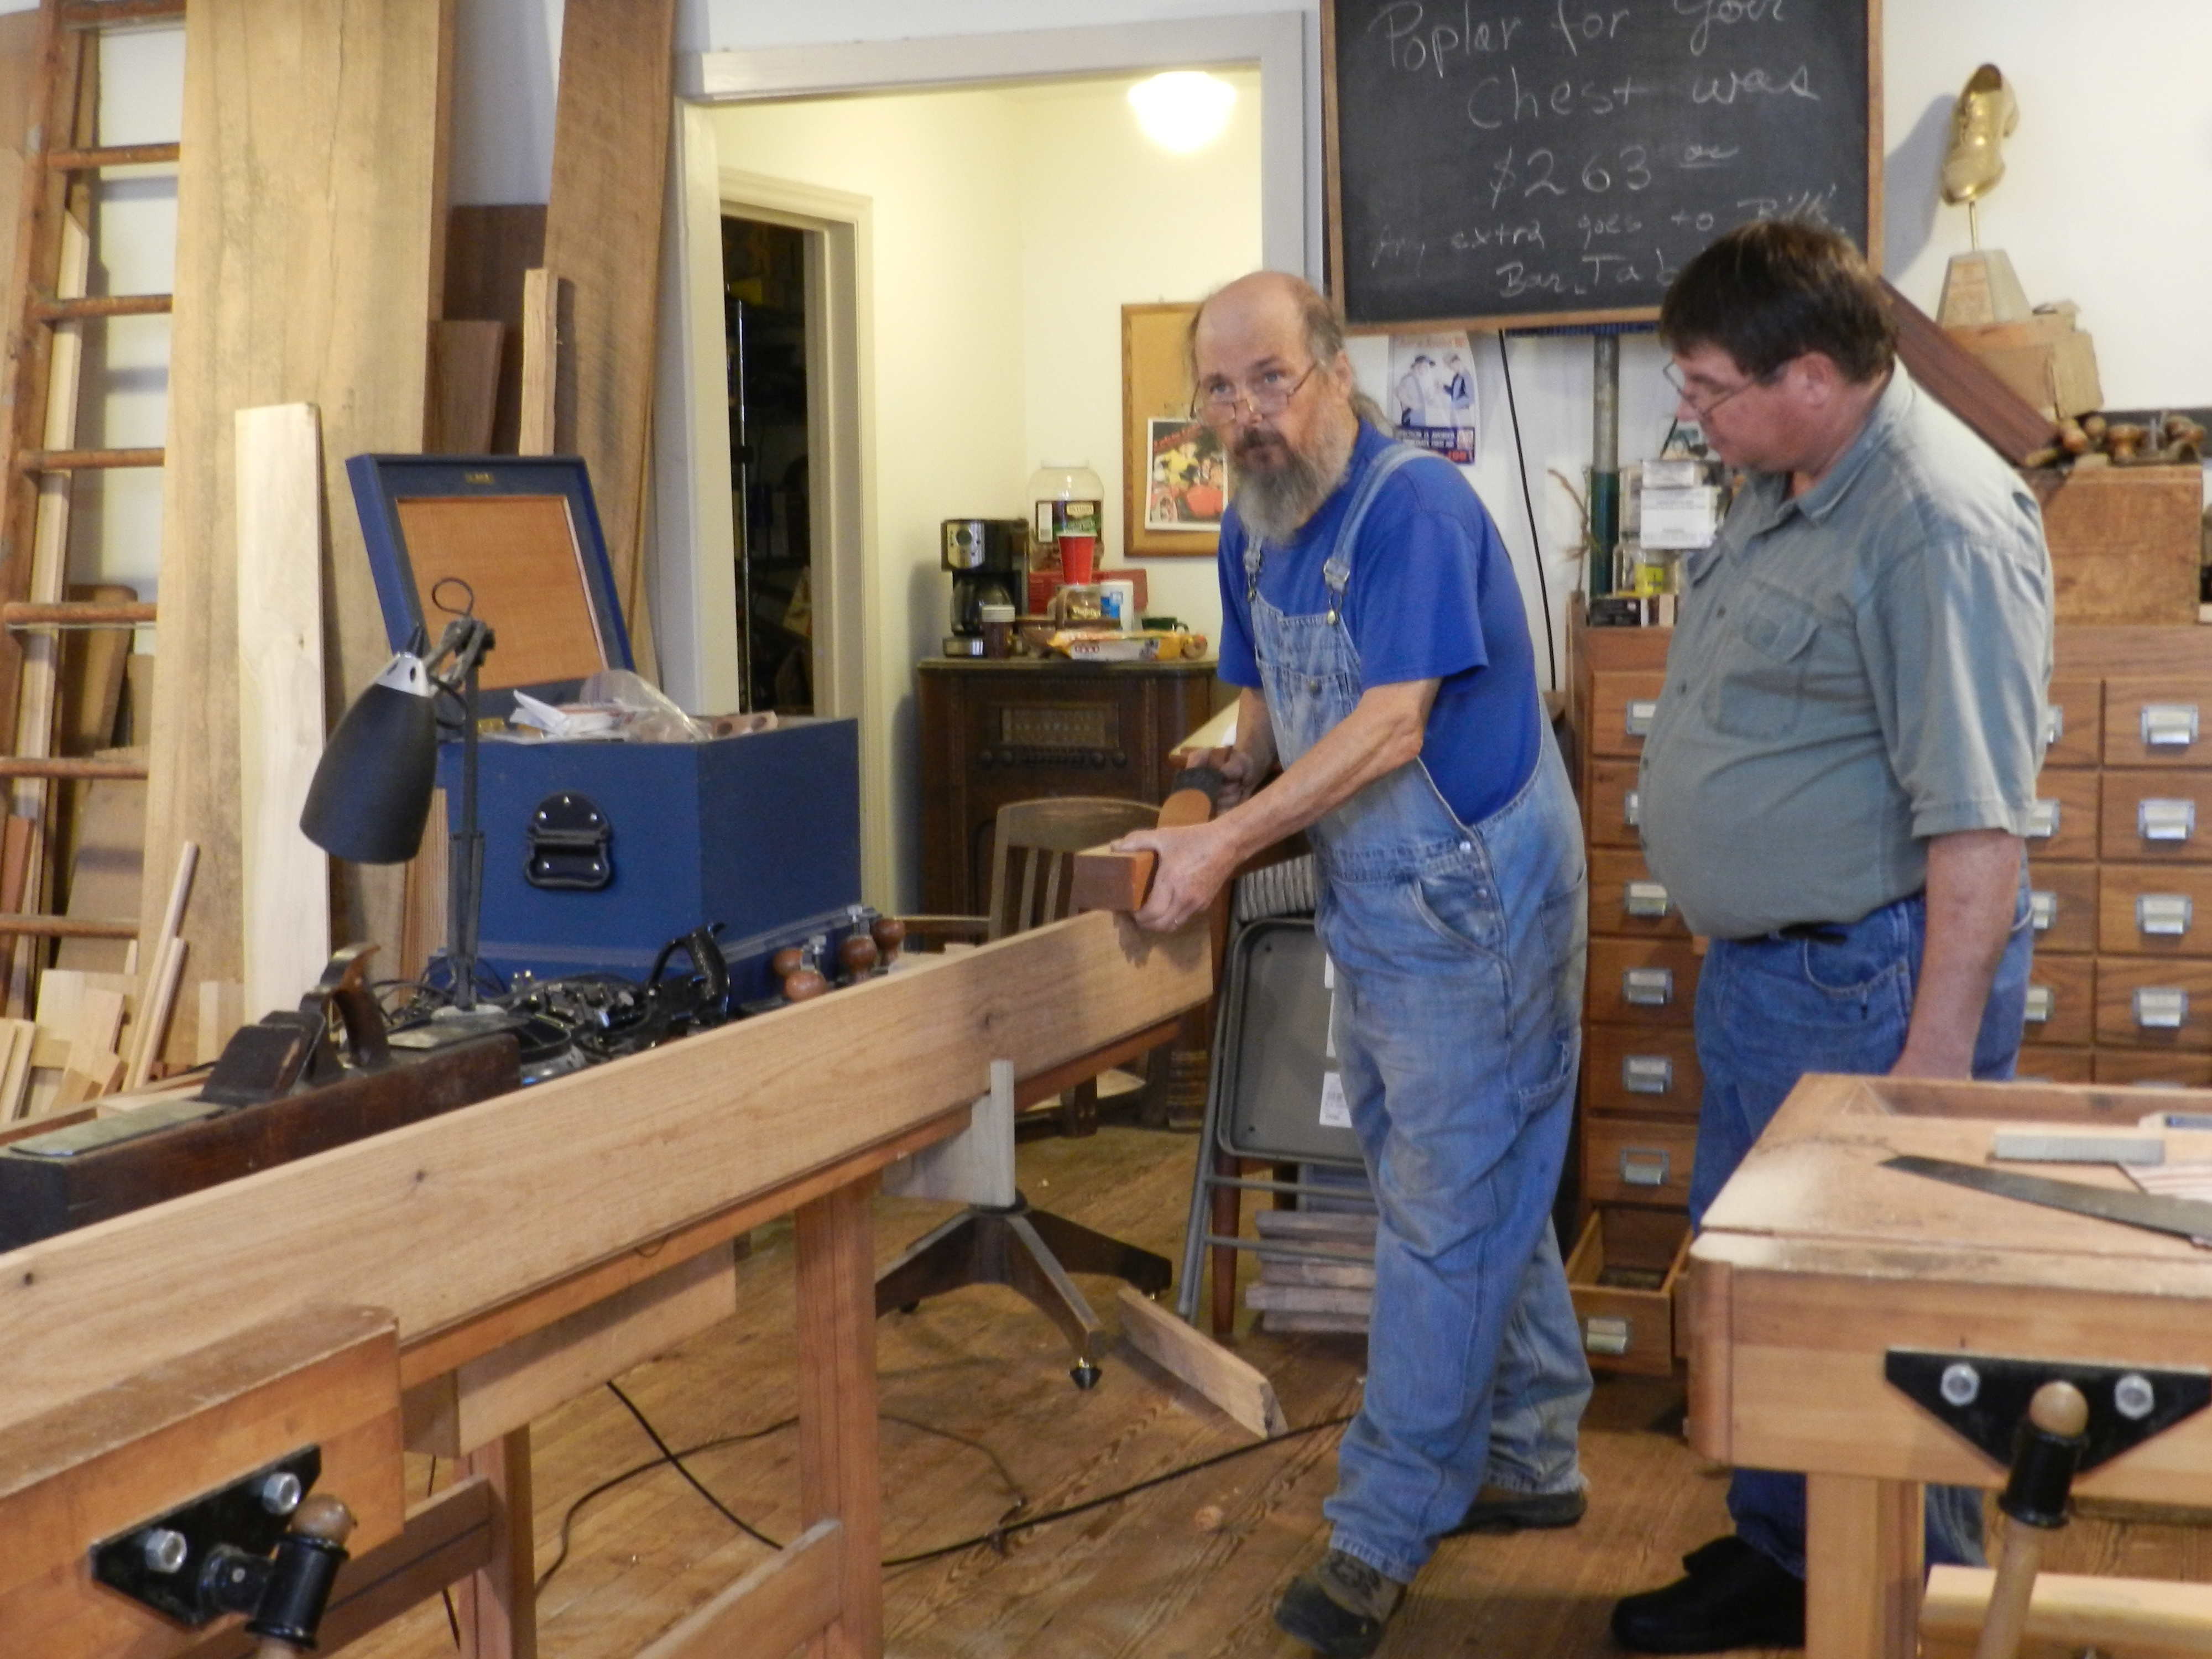
Next up is a new ‘Introduction to Sharpening‘ at NBSS. This workshop is a great opportunity for students to learn how to tune up their basic tools — bench planes, chisels, marking knives, cutting gauges, block planes and specialty planes. The genesis of this course was the realization that some students coming to weekend workshops at the school only had some, and possibly none of their tools properly sharpened and ready to go. (For other workshops I’d rather see students focused on the course at hand and not trying to hastily tune a chisel or iron rather than paying attention to a new course lessons) If you don’t have the time to commit two weeks to the Fundamentals of Fine Woodworking, or even if you completed that course and need more time and practice at sharpening, need access to a proper grinder or you have a new more complex iron or chisel that needs sharpening this is a great class to get your tool kit tuned up. The course is a mixture of demonstration and hands on time with with an instructor.
Introduction to Sharpening @ North Bennet Street School
Saturday-Sunday, July 23-24
8:30am-4:30pm
Instructor: Bill RainfordHaving sharp, well-tuned tools is perhaps the most important aspect of woodworking; they are requisite for good work. Learn the basics of sharpening a core set of tools used in many woodworking applications. We cover tuning up and sharpening a bench chisel, smoothing plane, and cutting gauge. Additional topics covered include hollow grinding, honing, making a stone holder and tuning up your stones. Additional tools covered as time allows.
Students are responsible for supplying their own tools. A tool list will be sent at least 2 weeks prior to class start.
Please review our Registration Policies before registering.
Registration closes 7 days prior to workshop start.
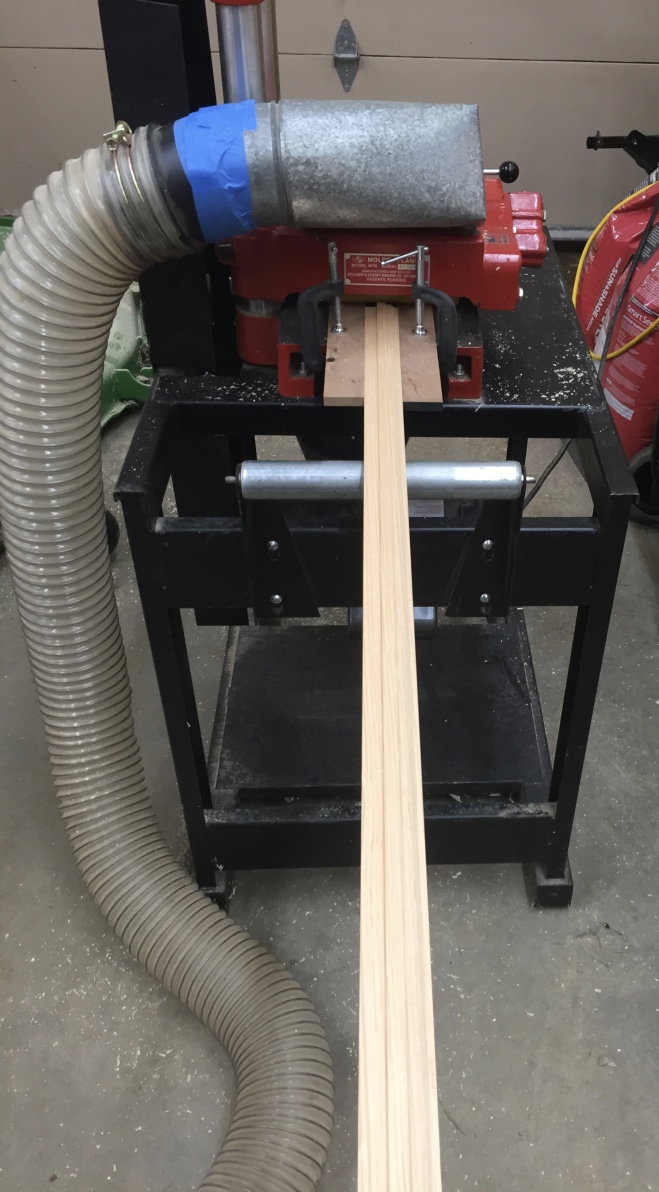
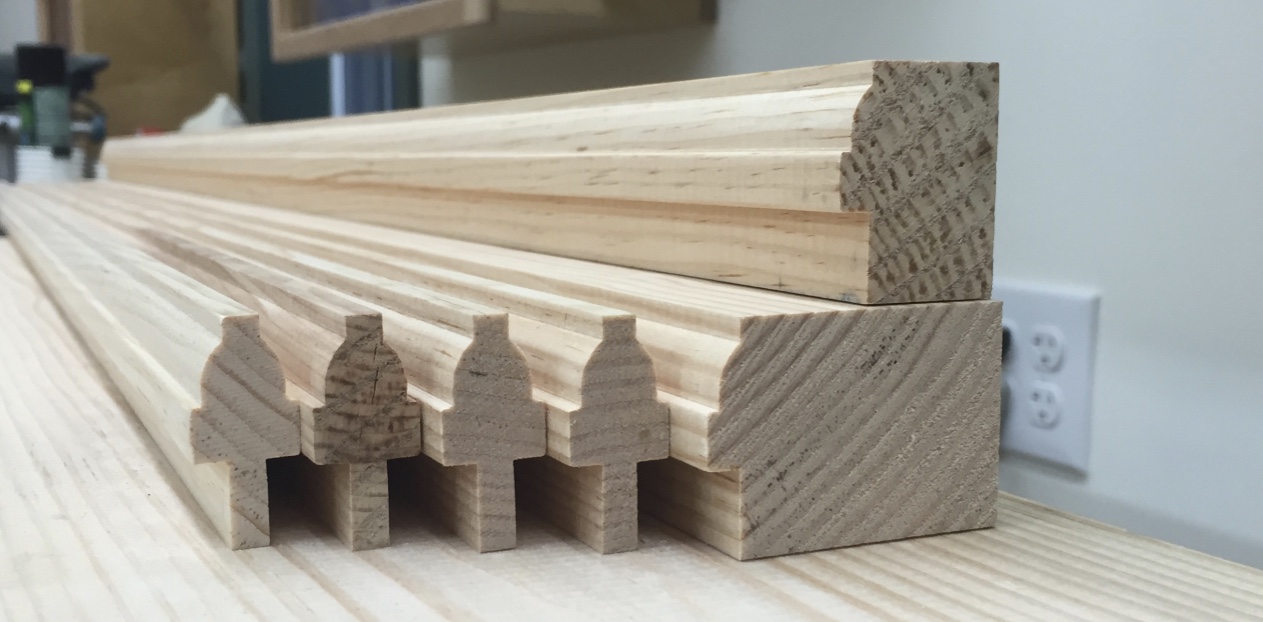
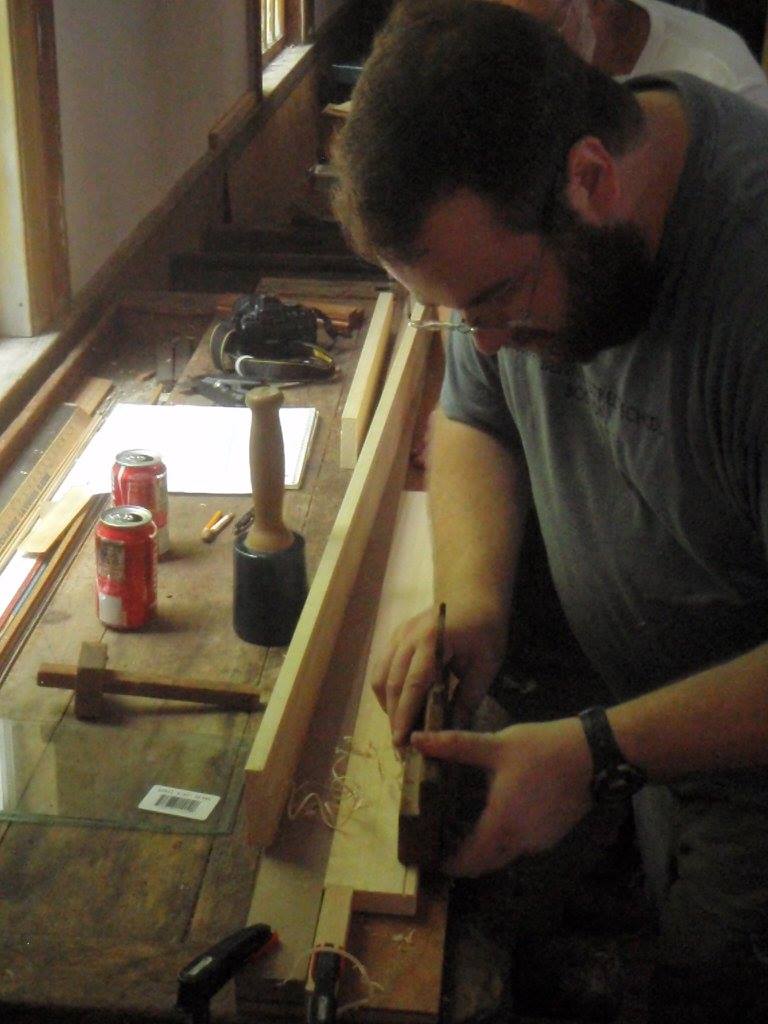
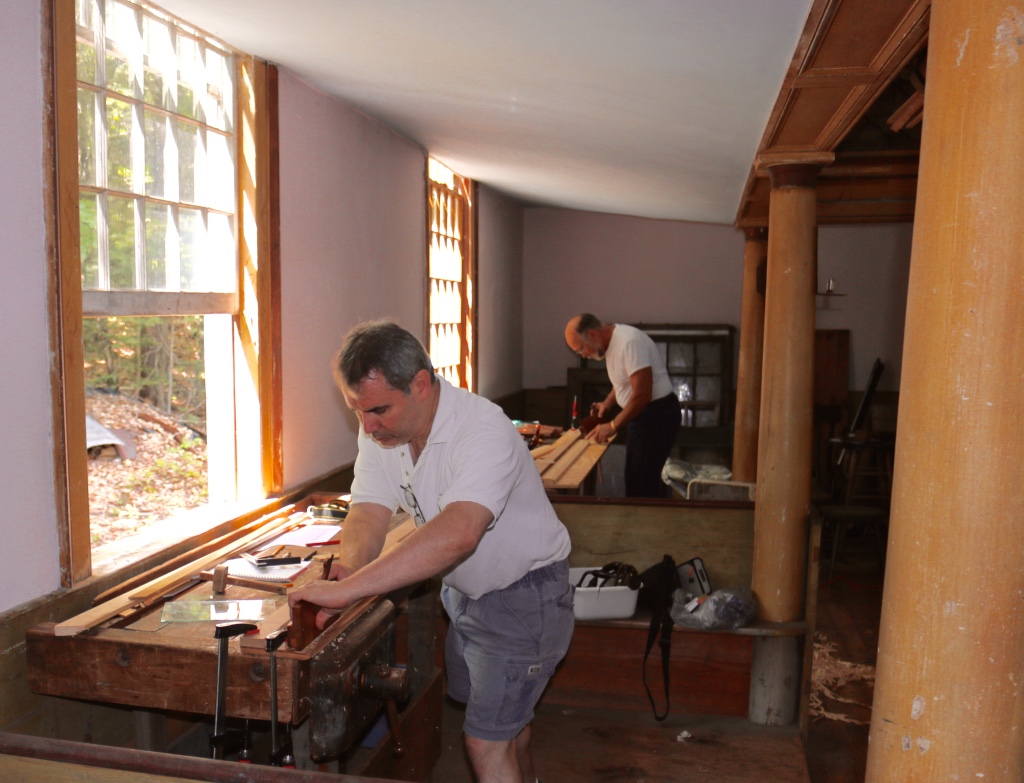
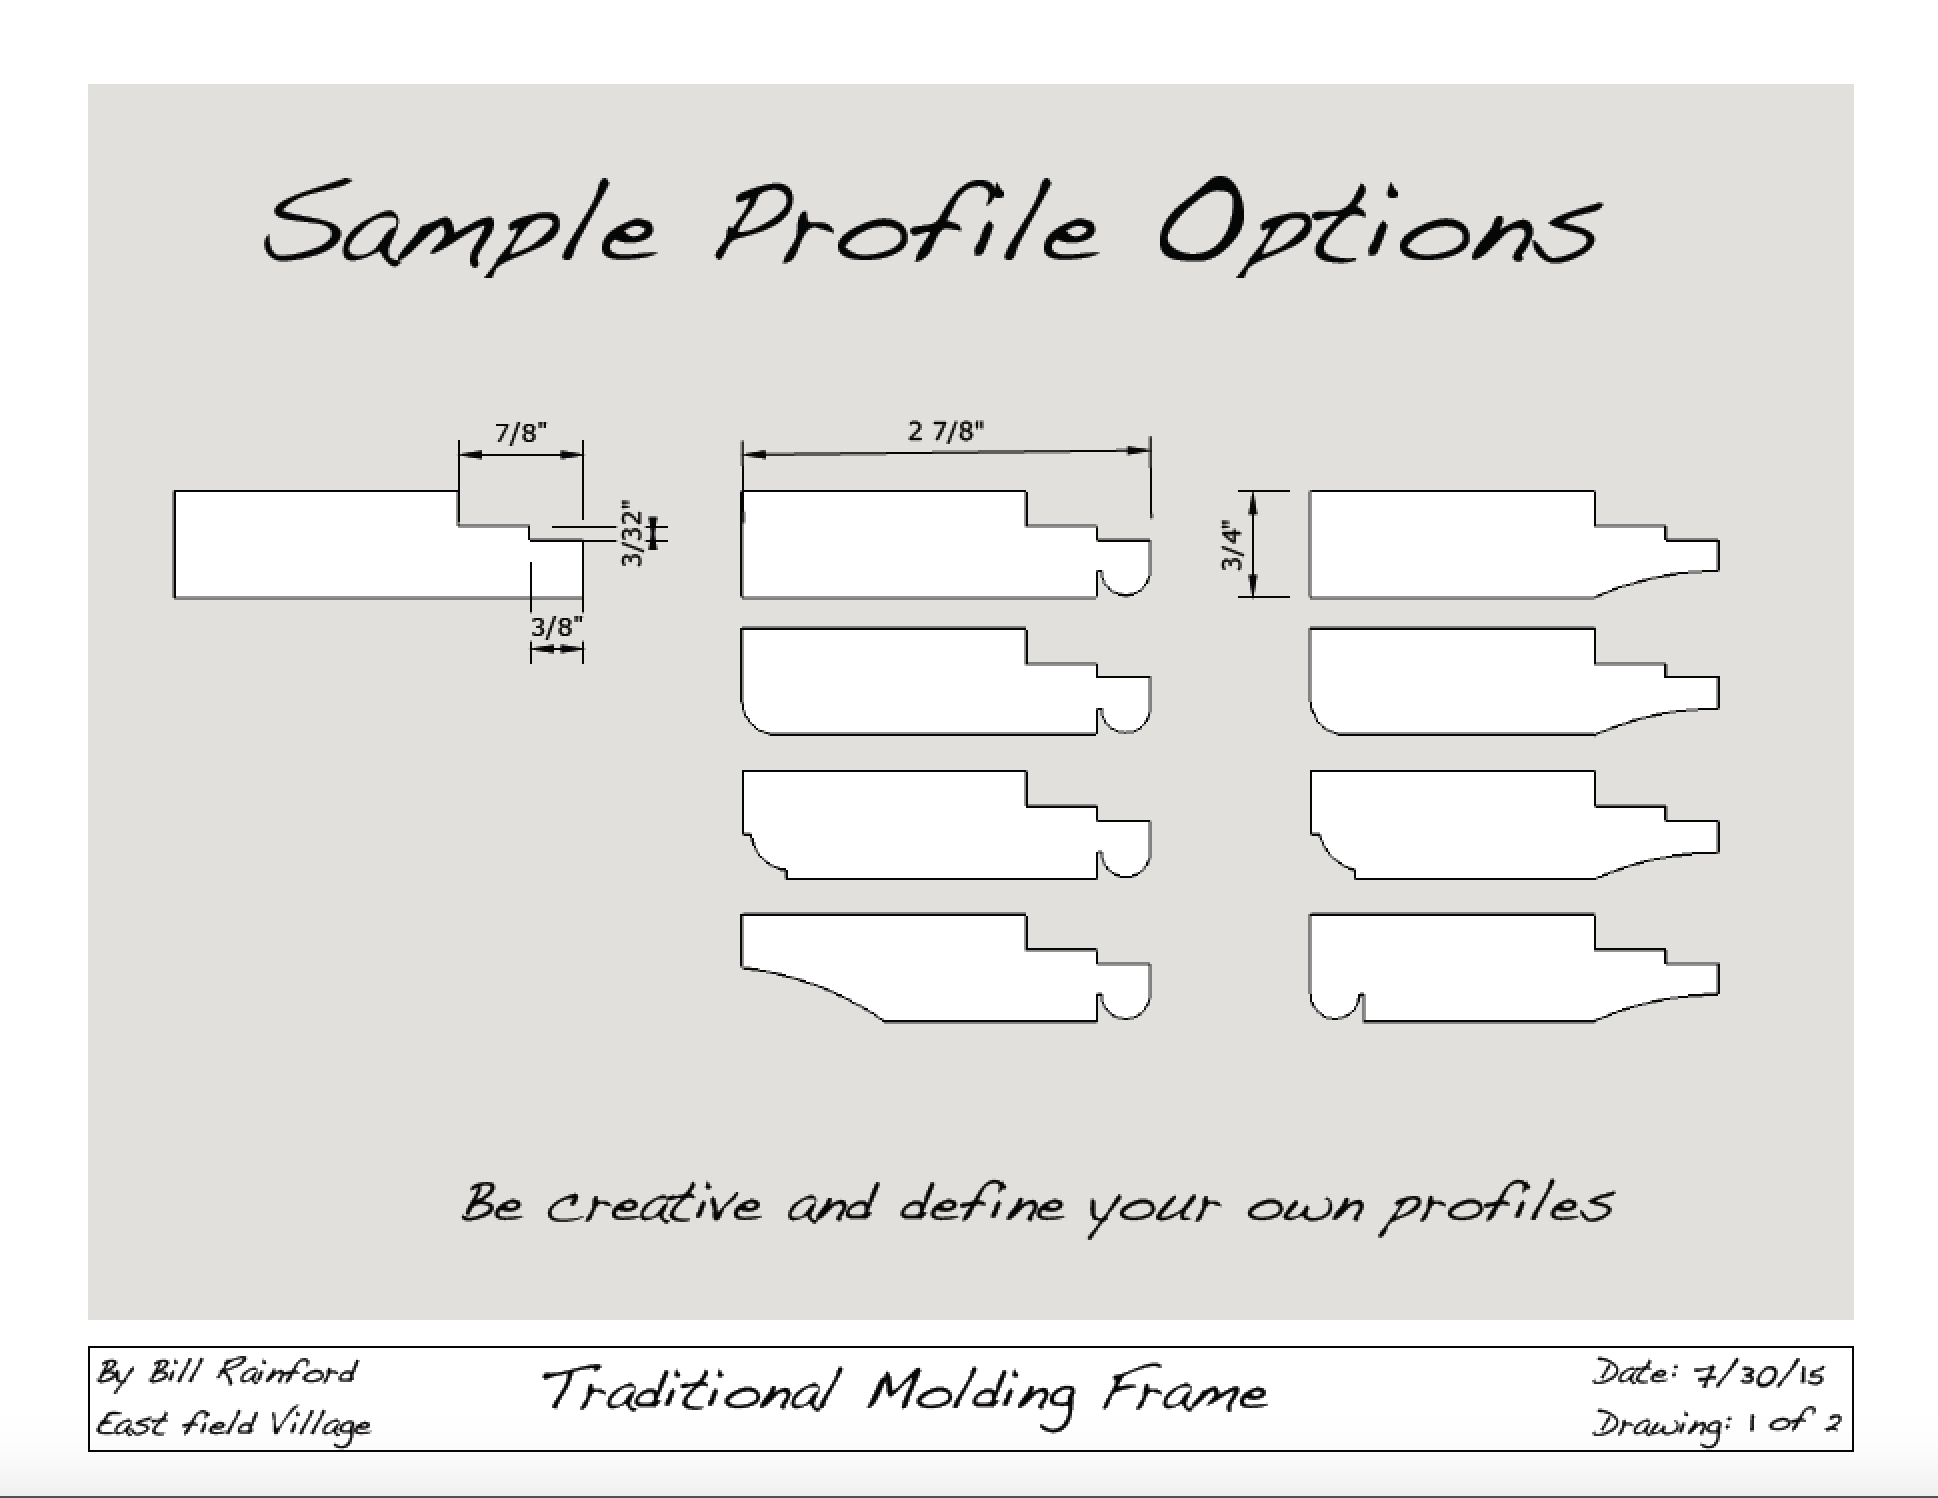
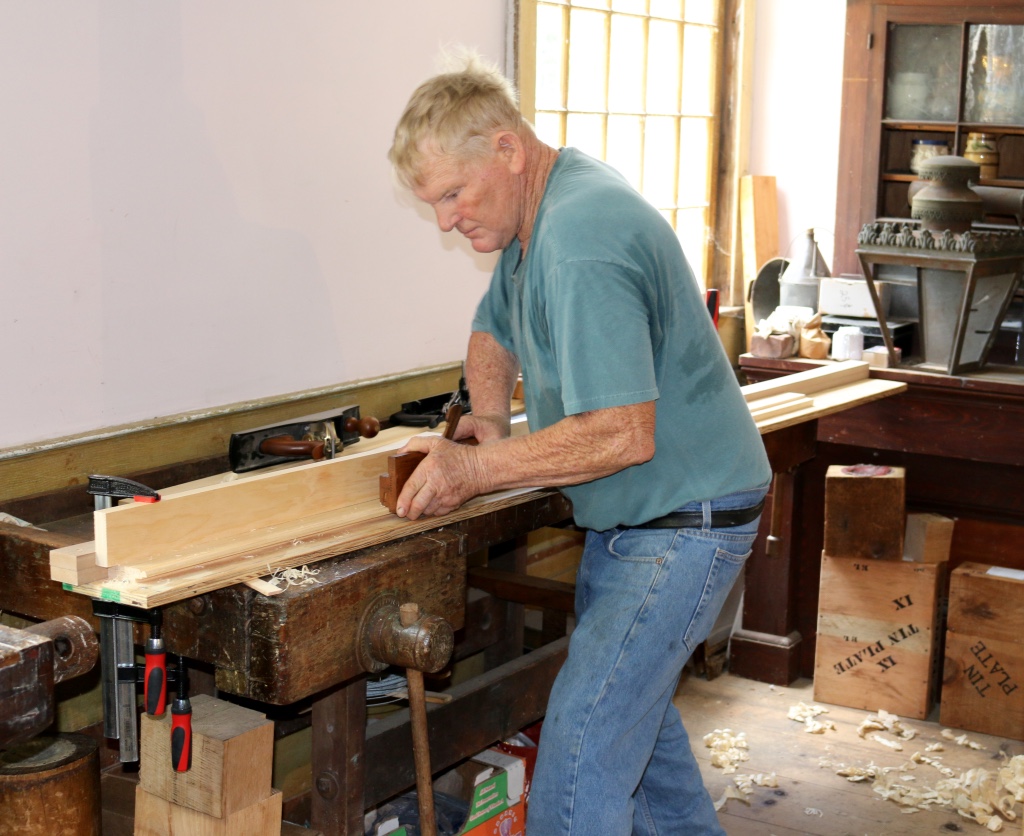
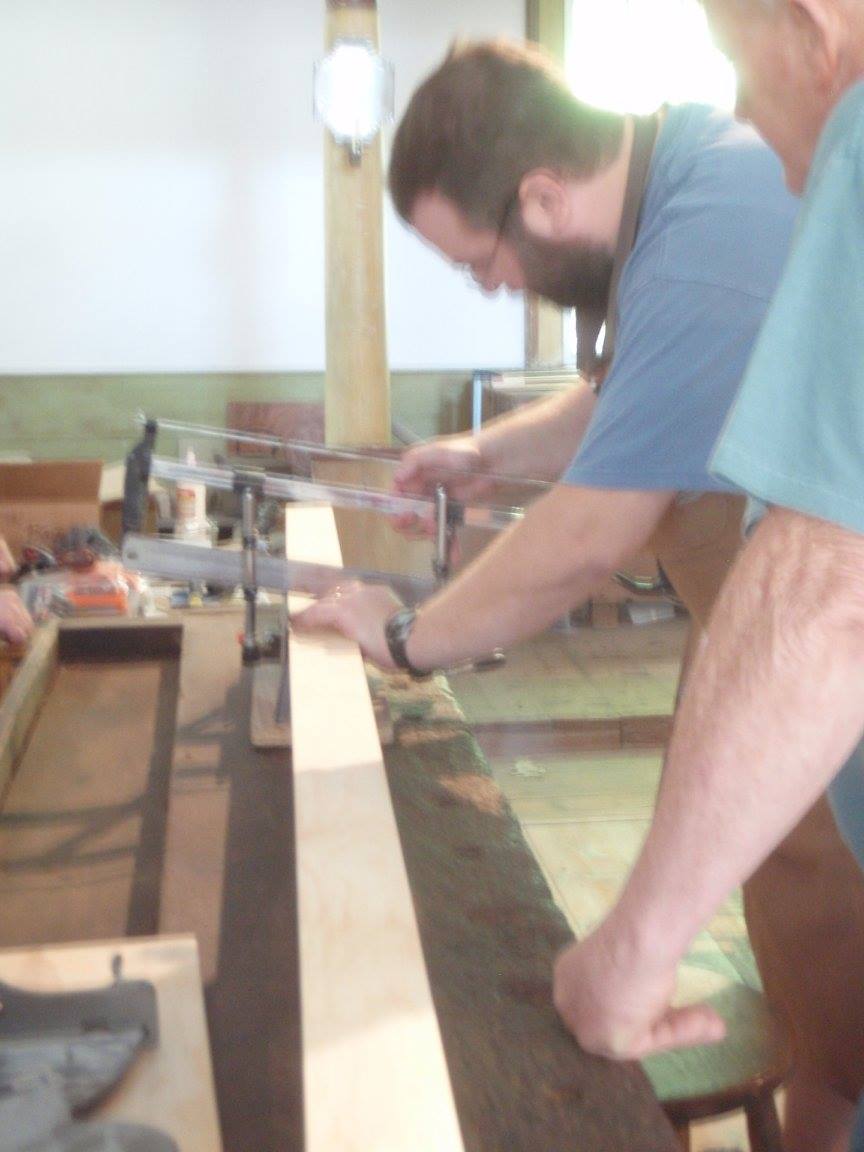
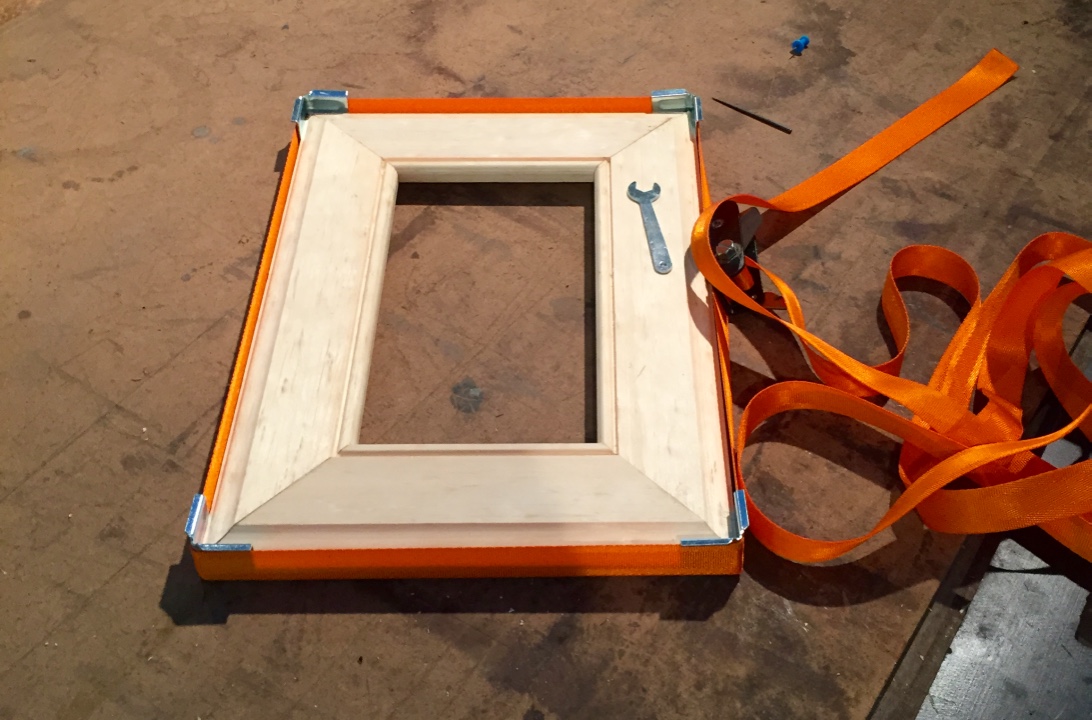
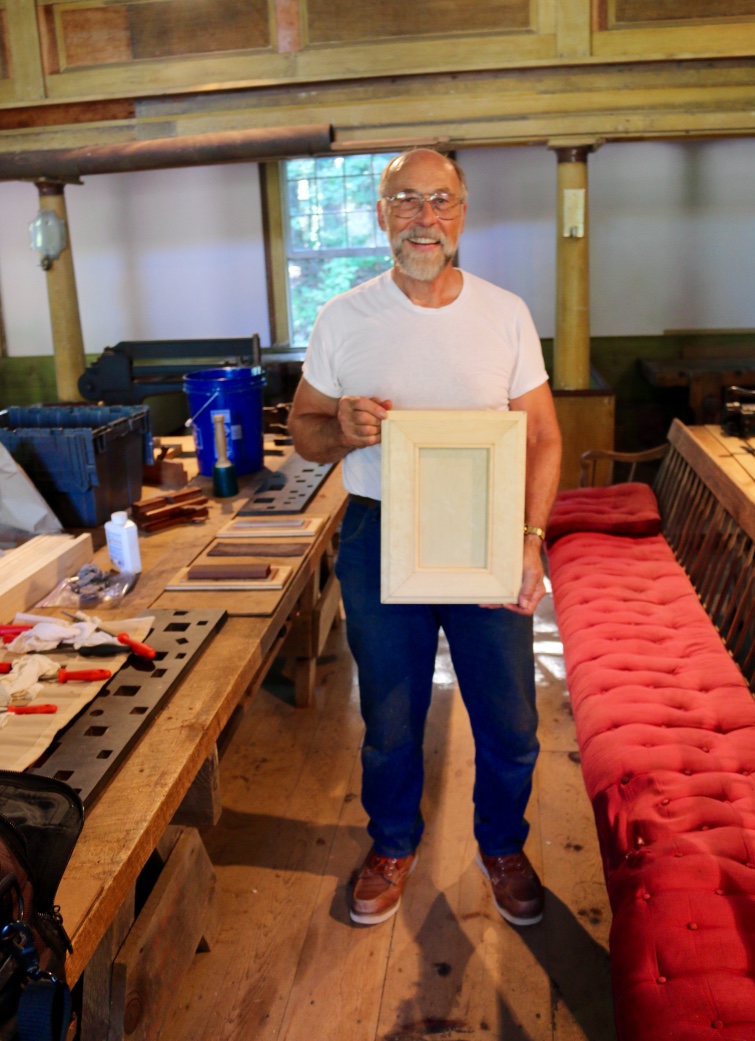
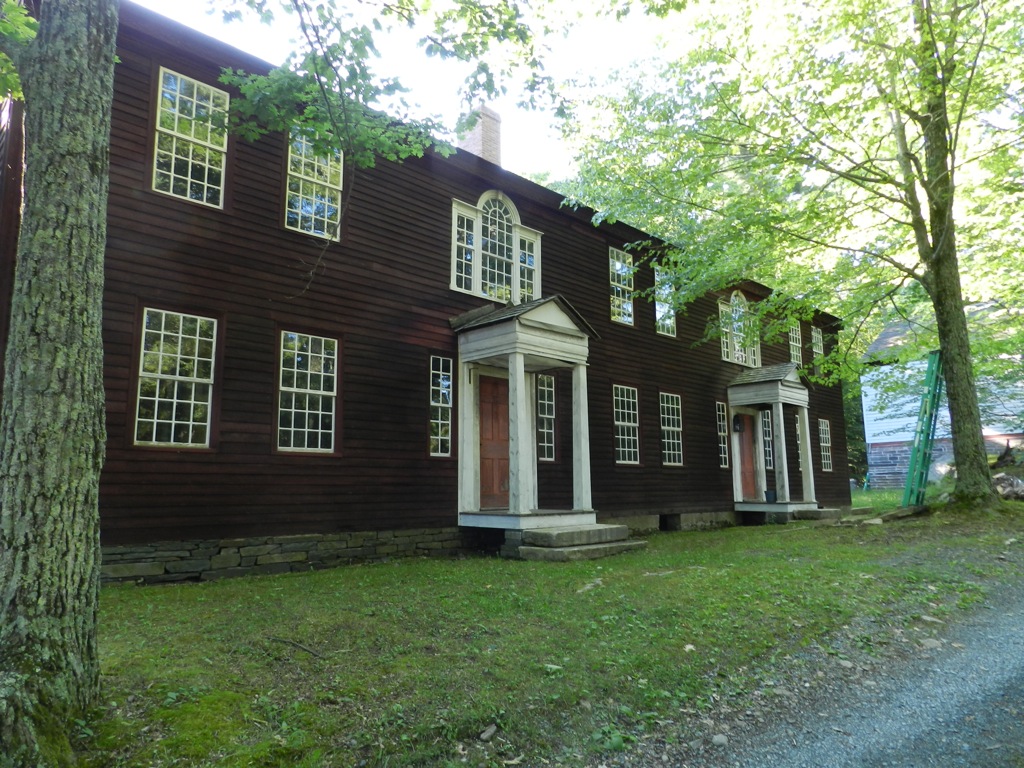
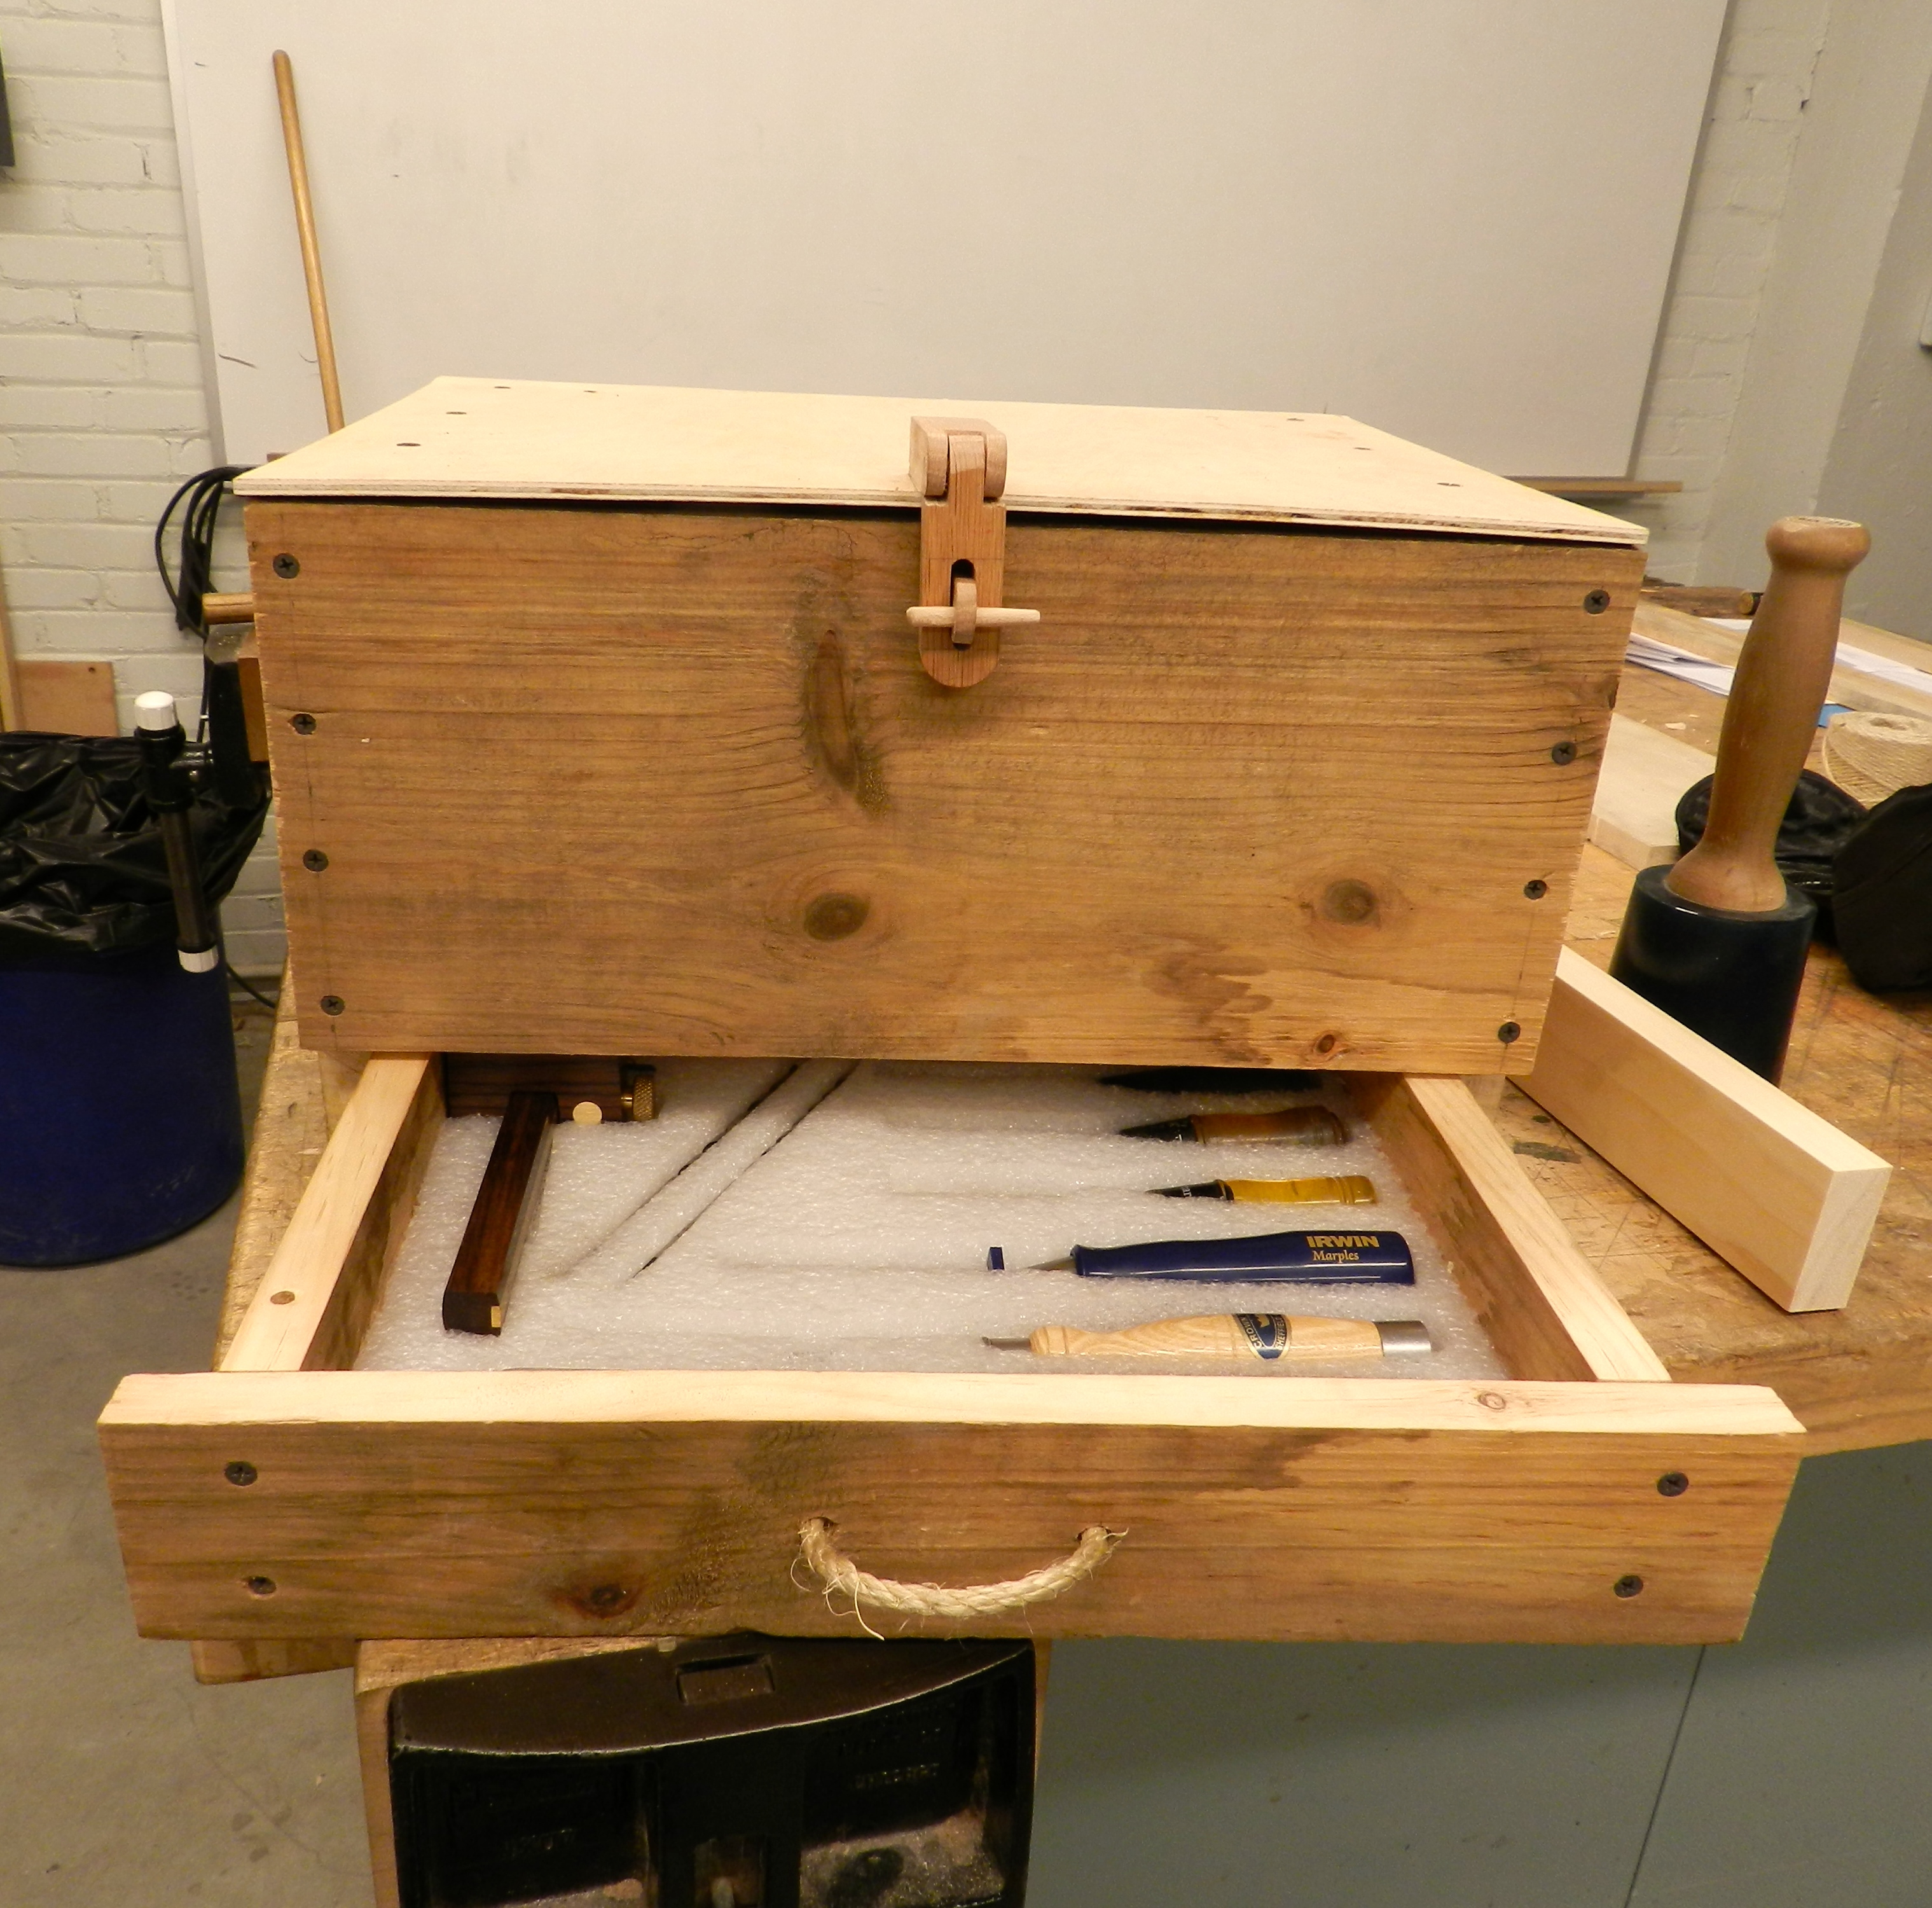
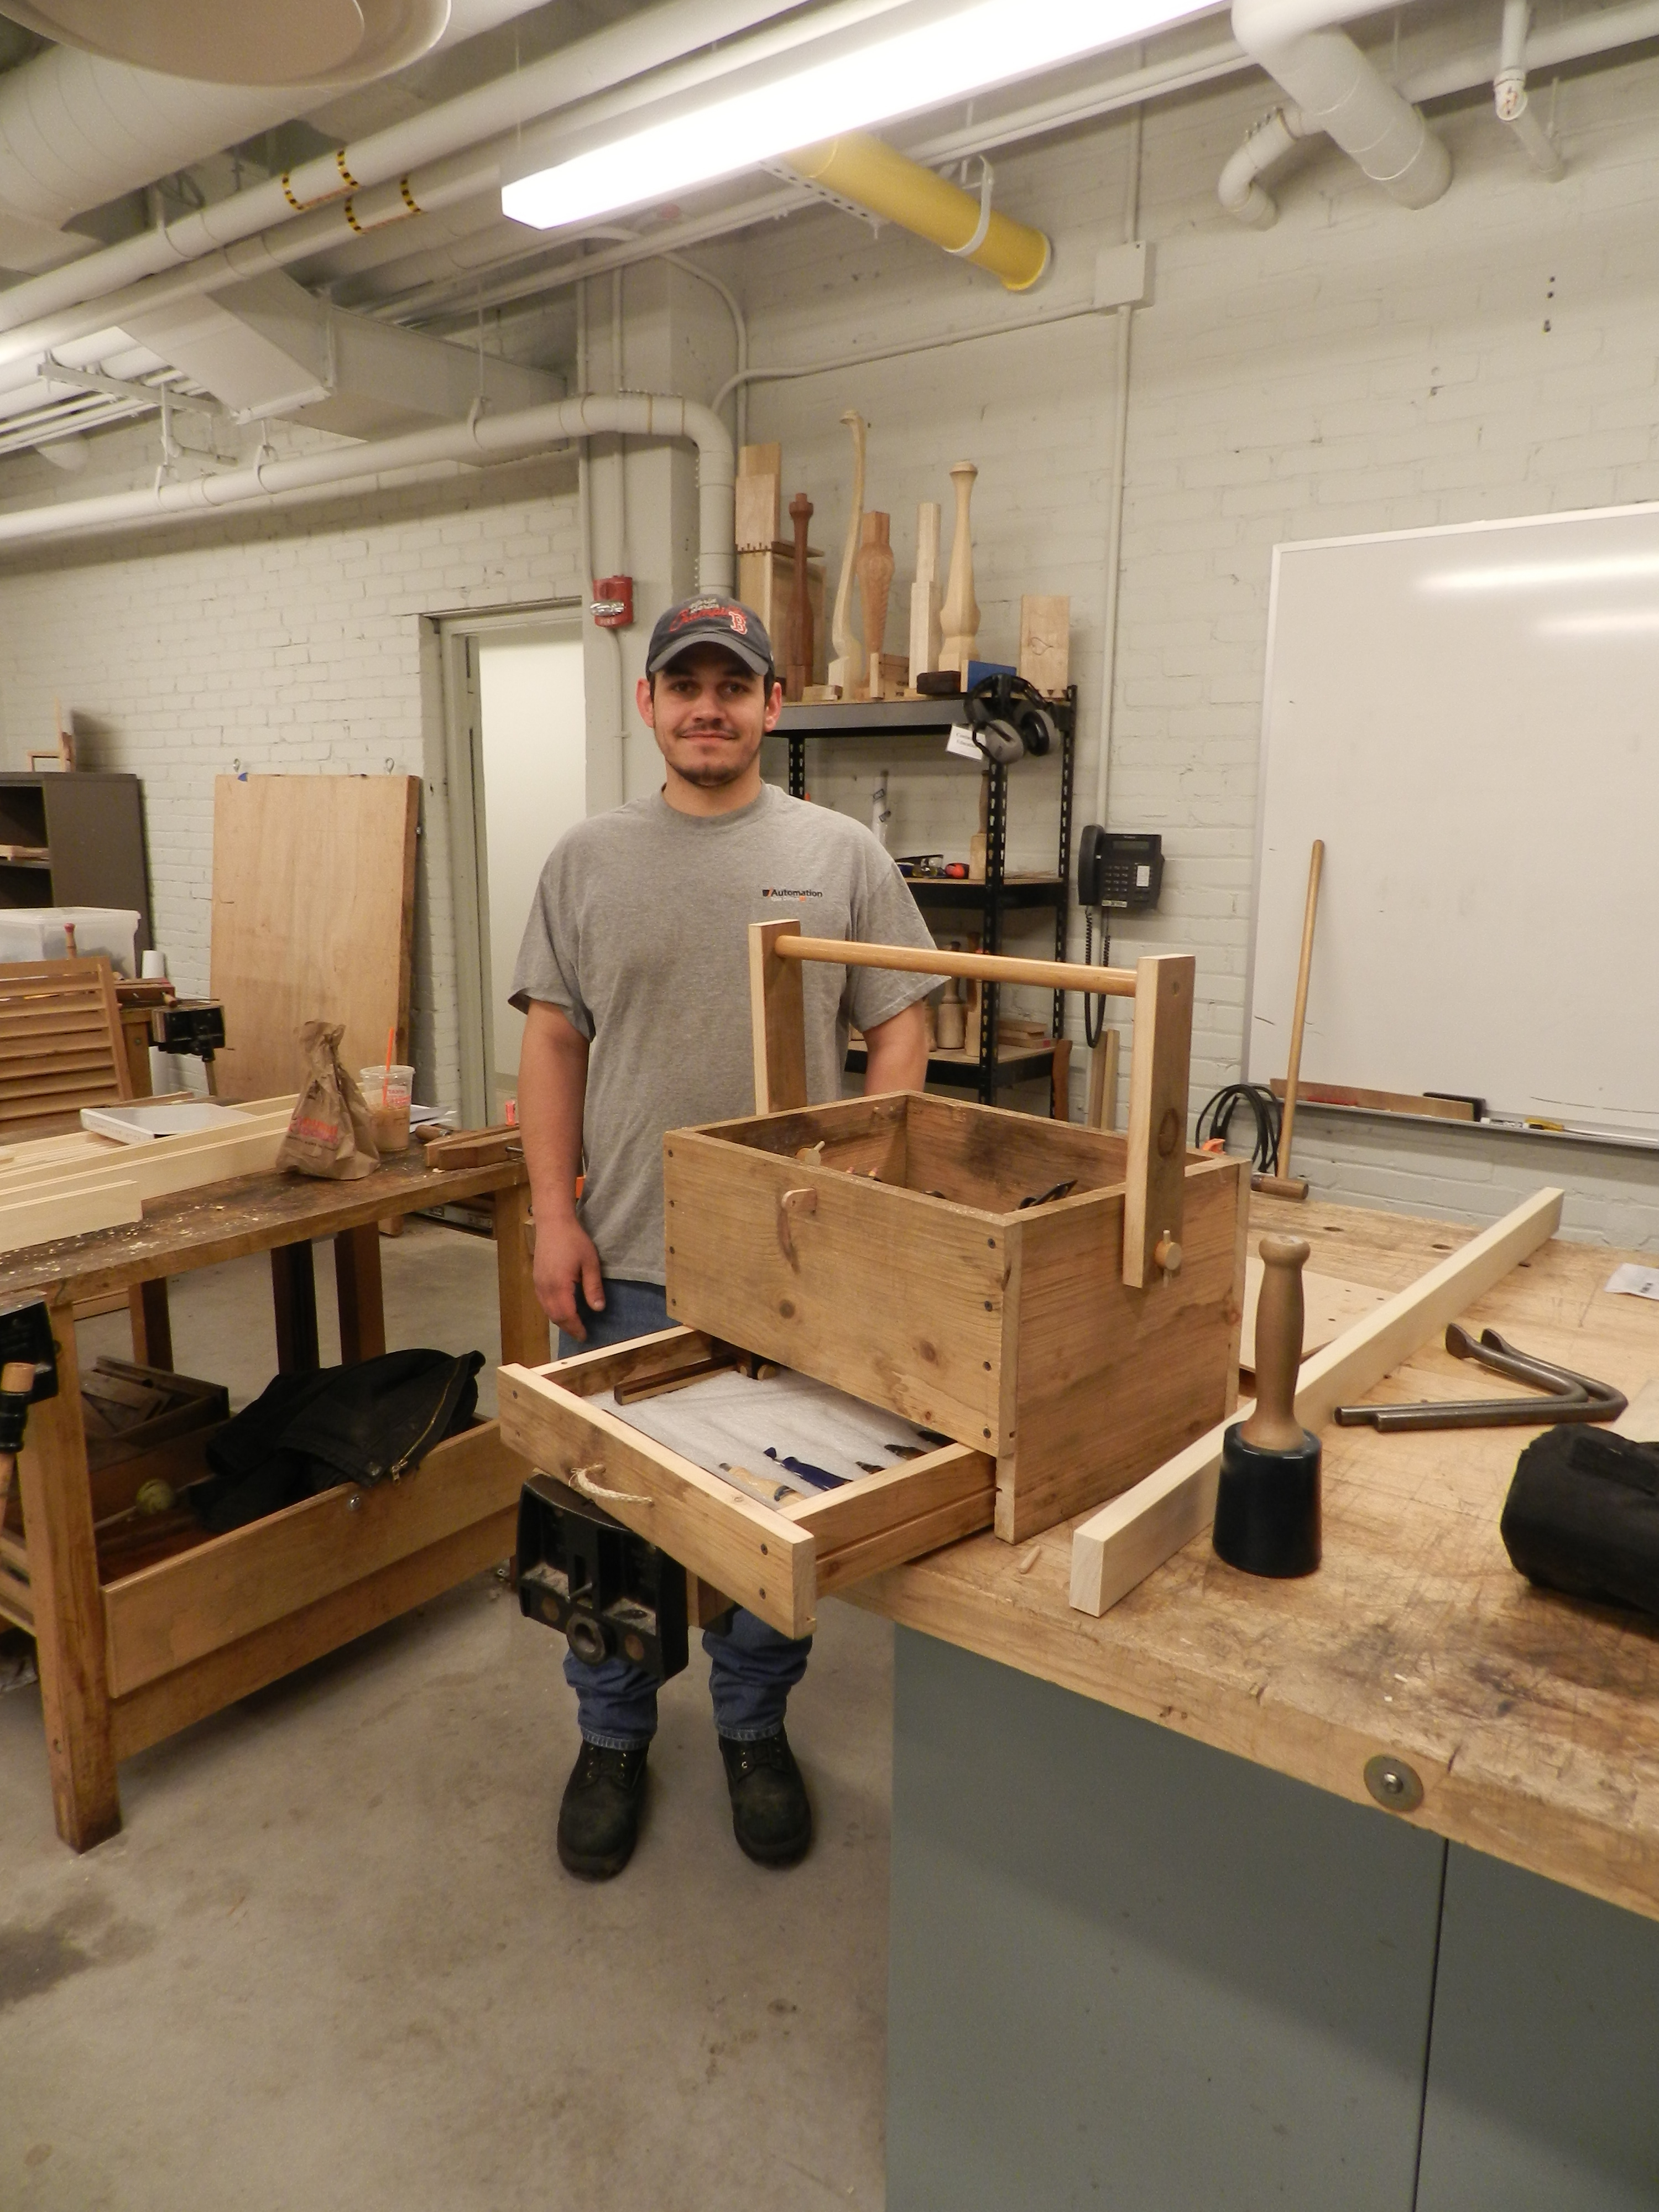
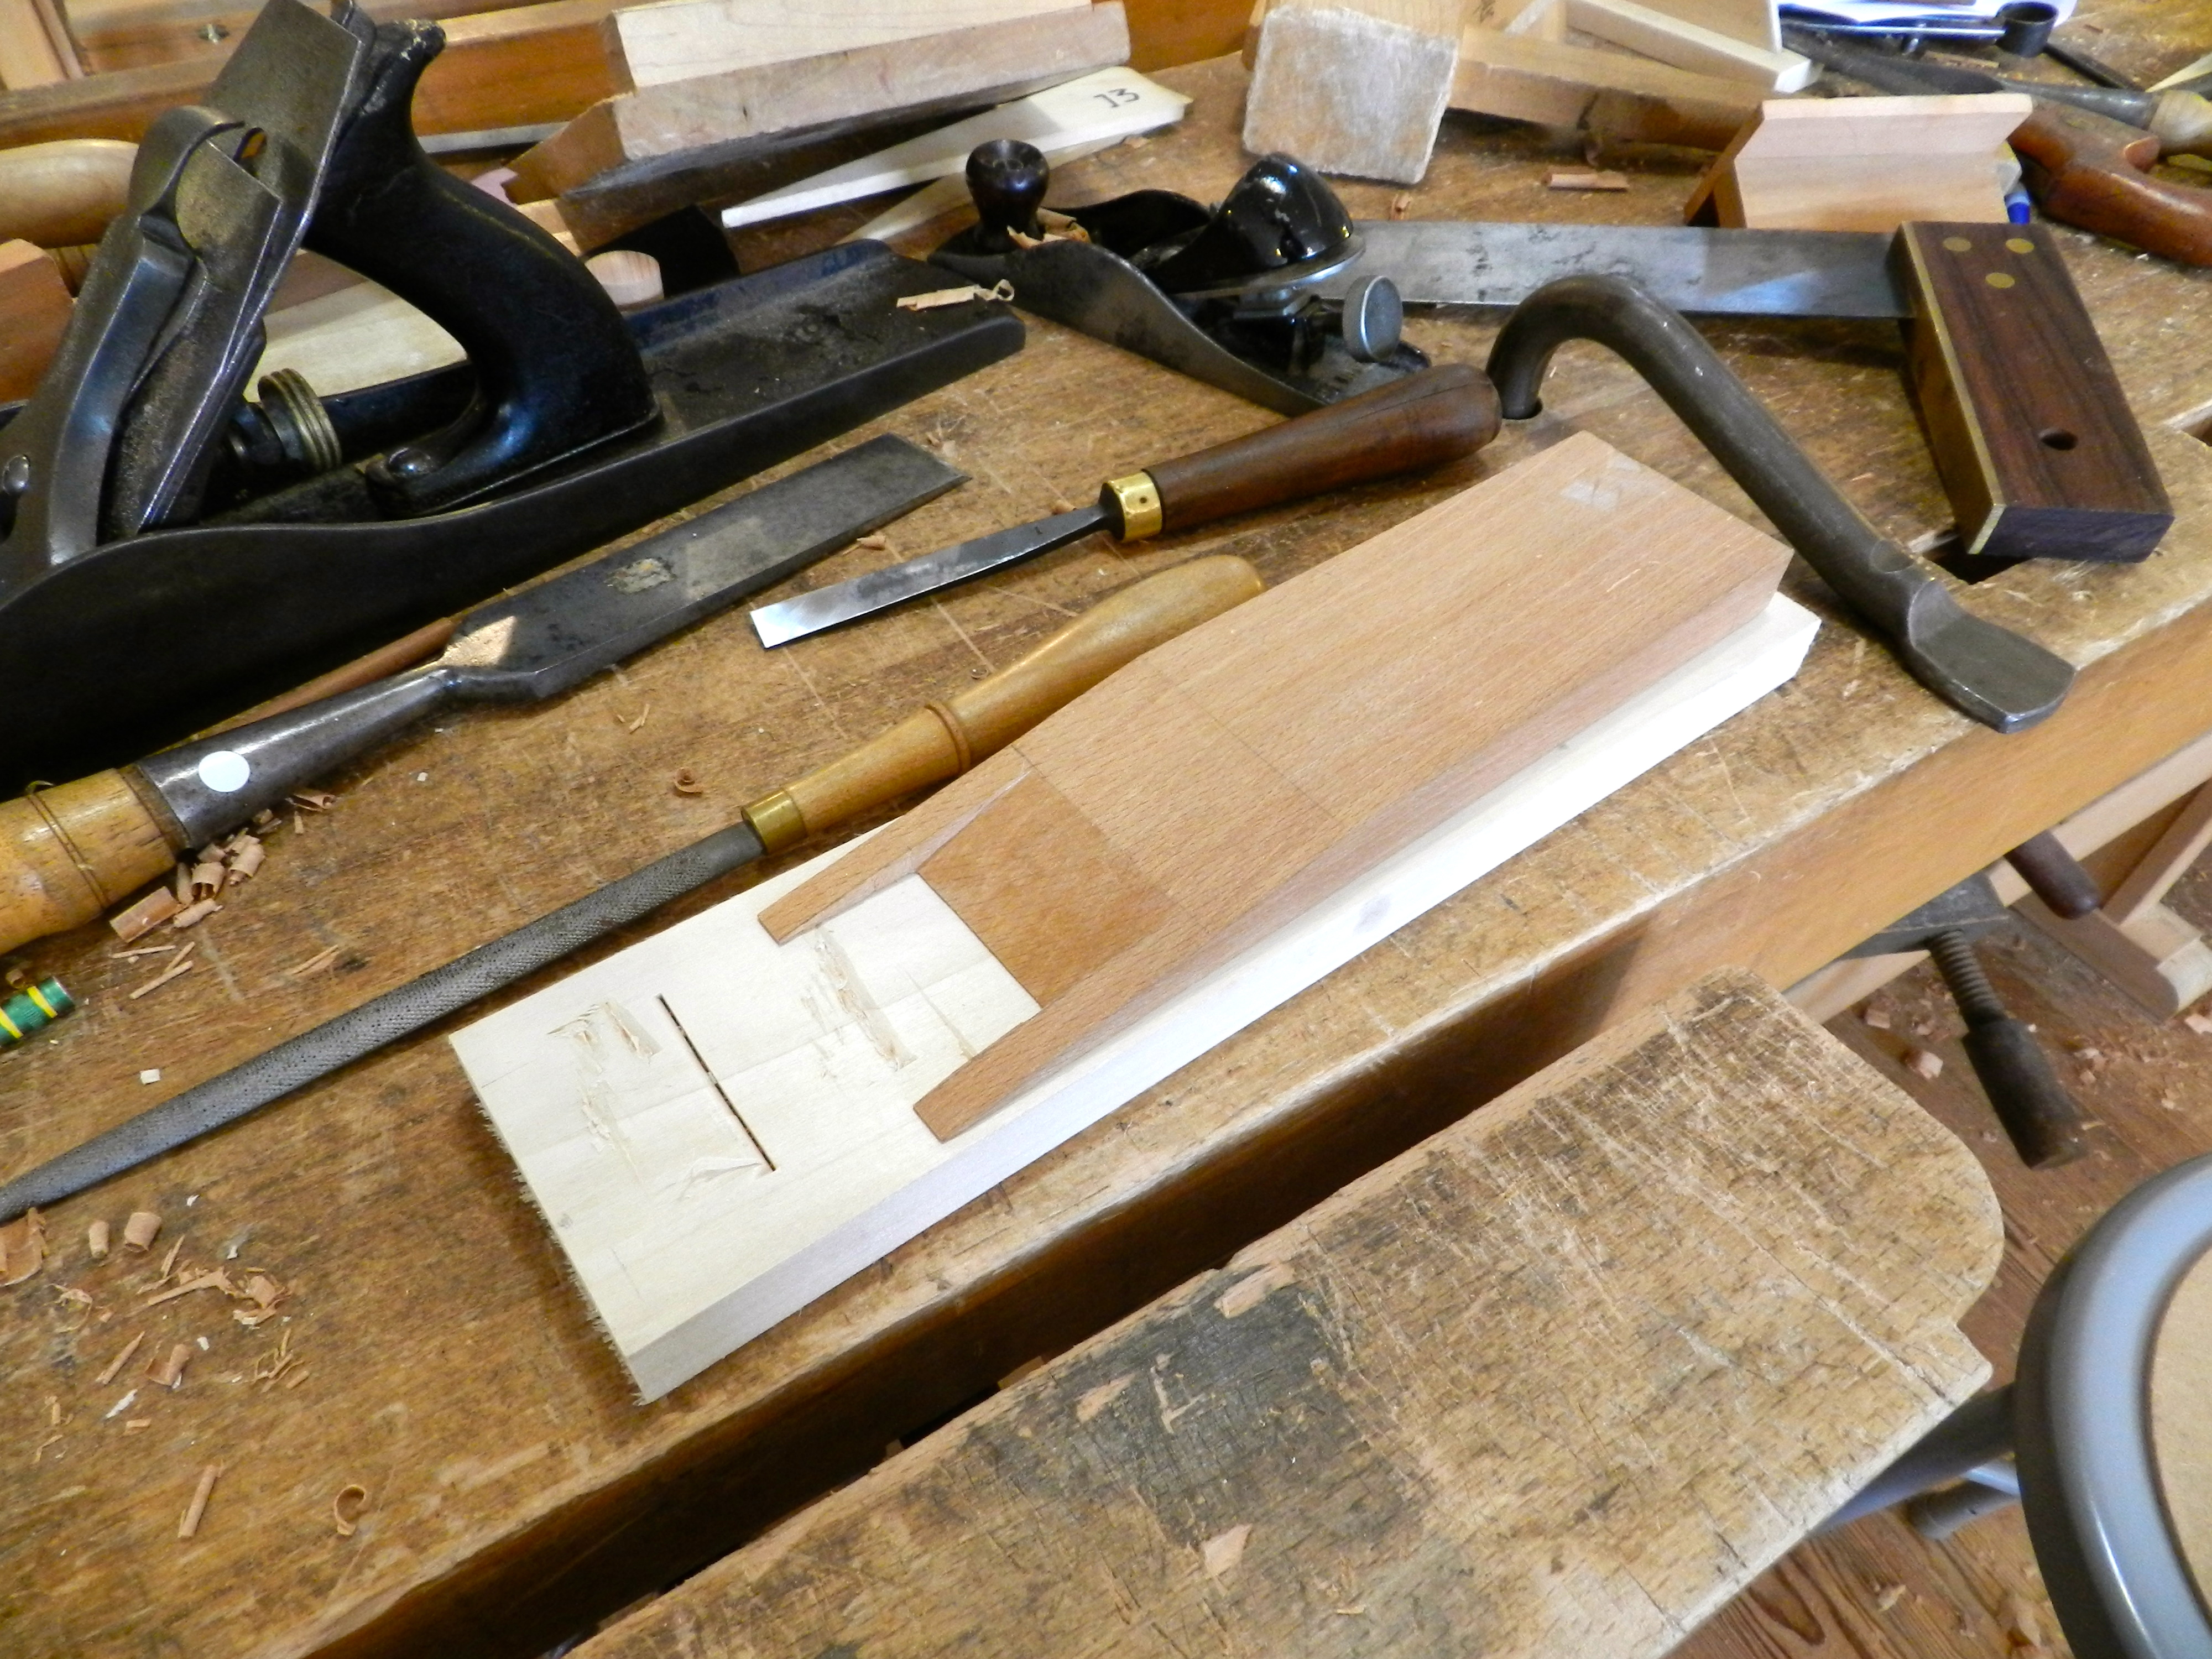
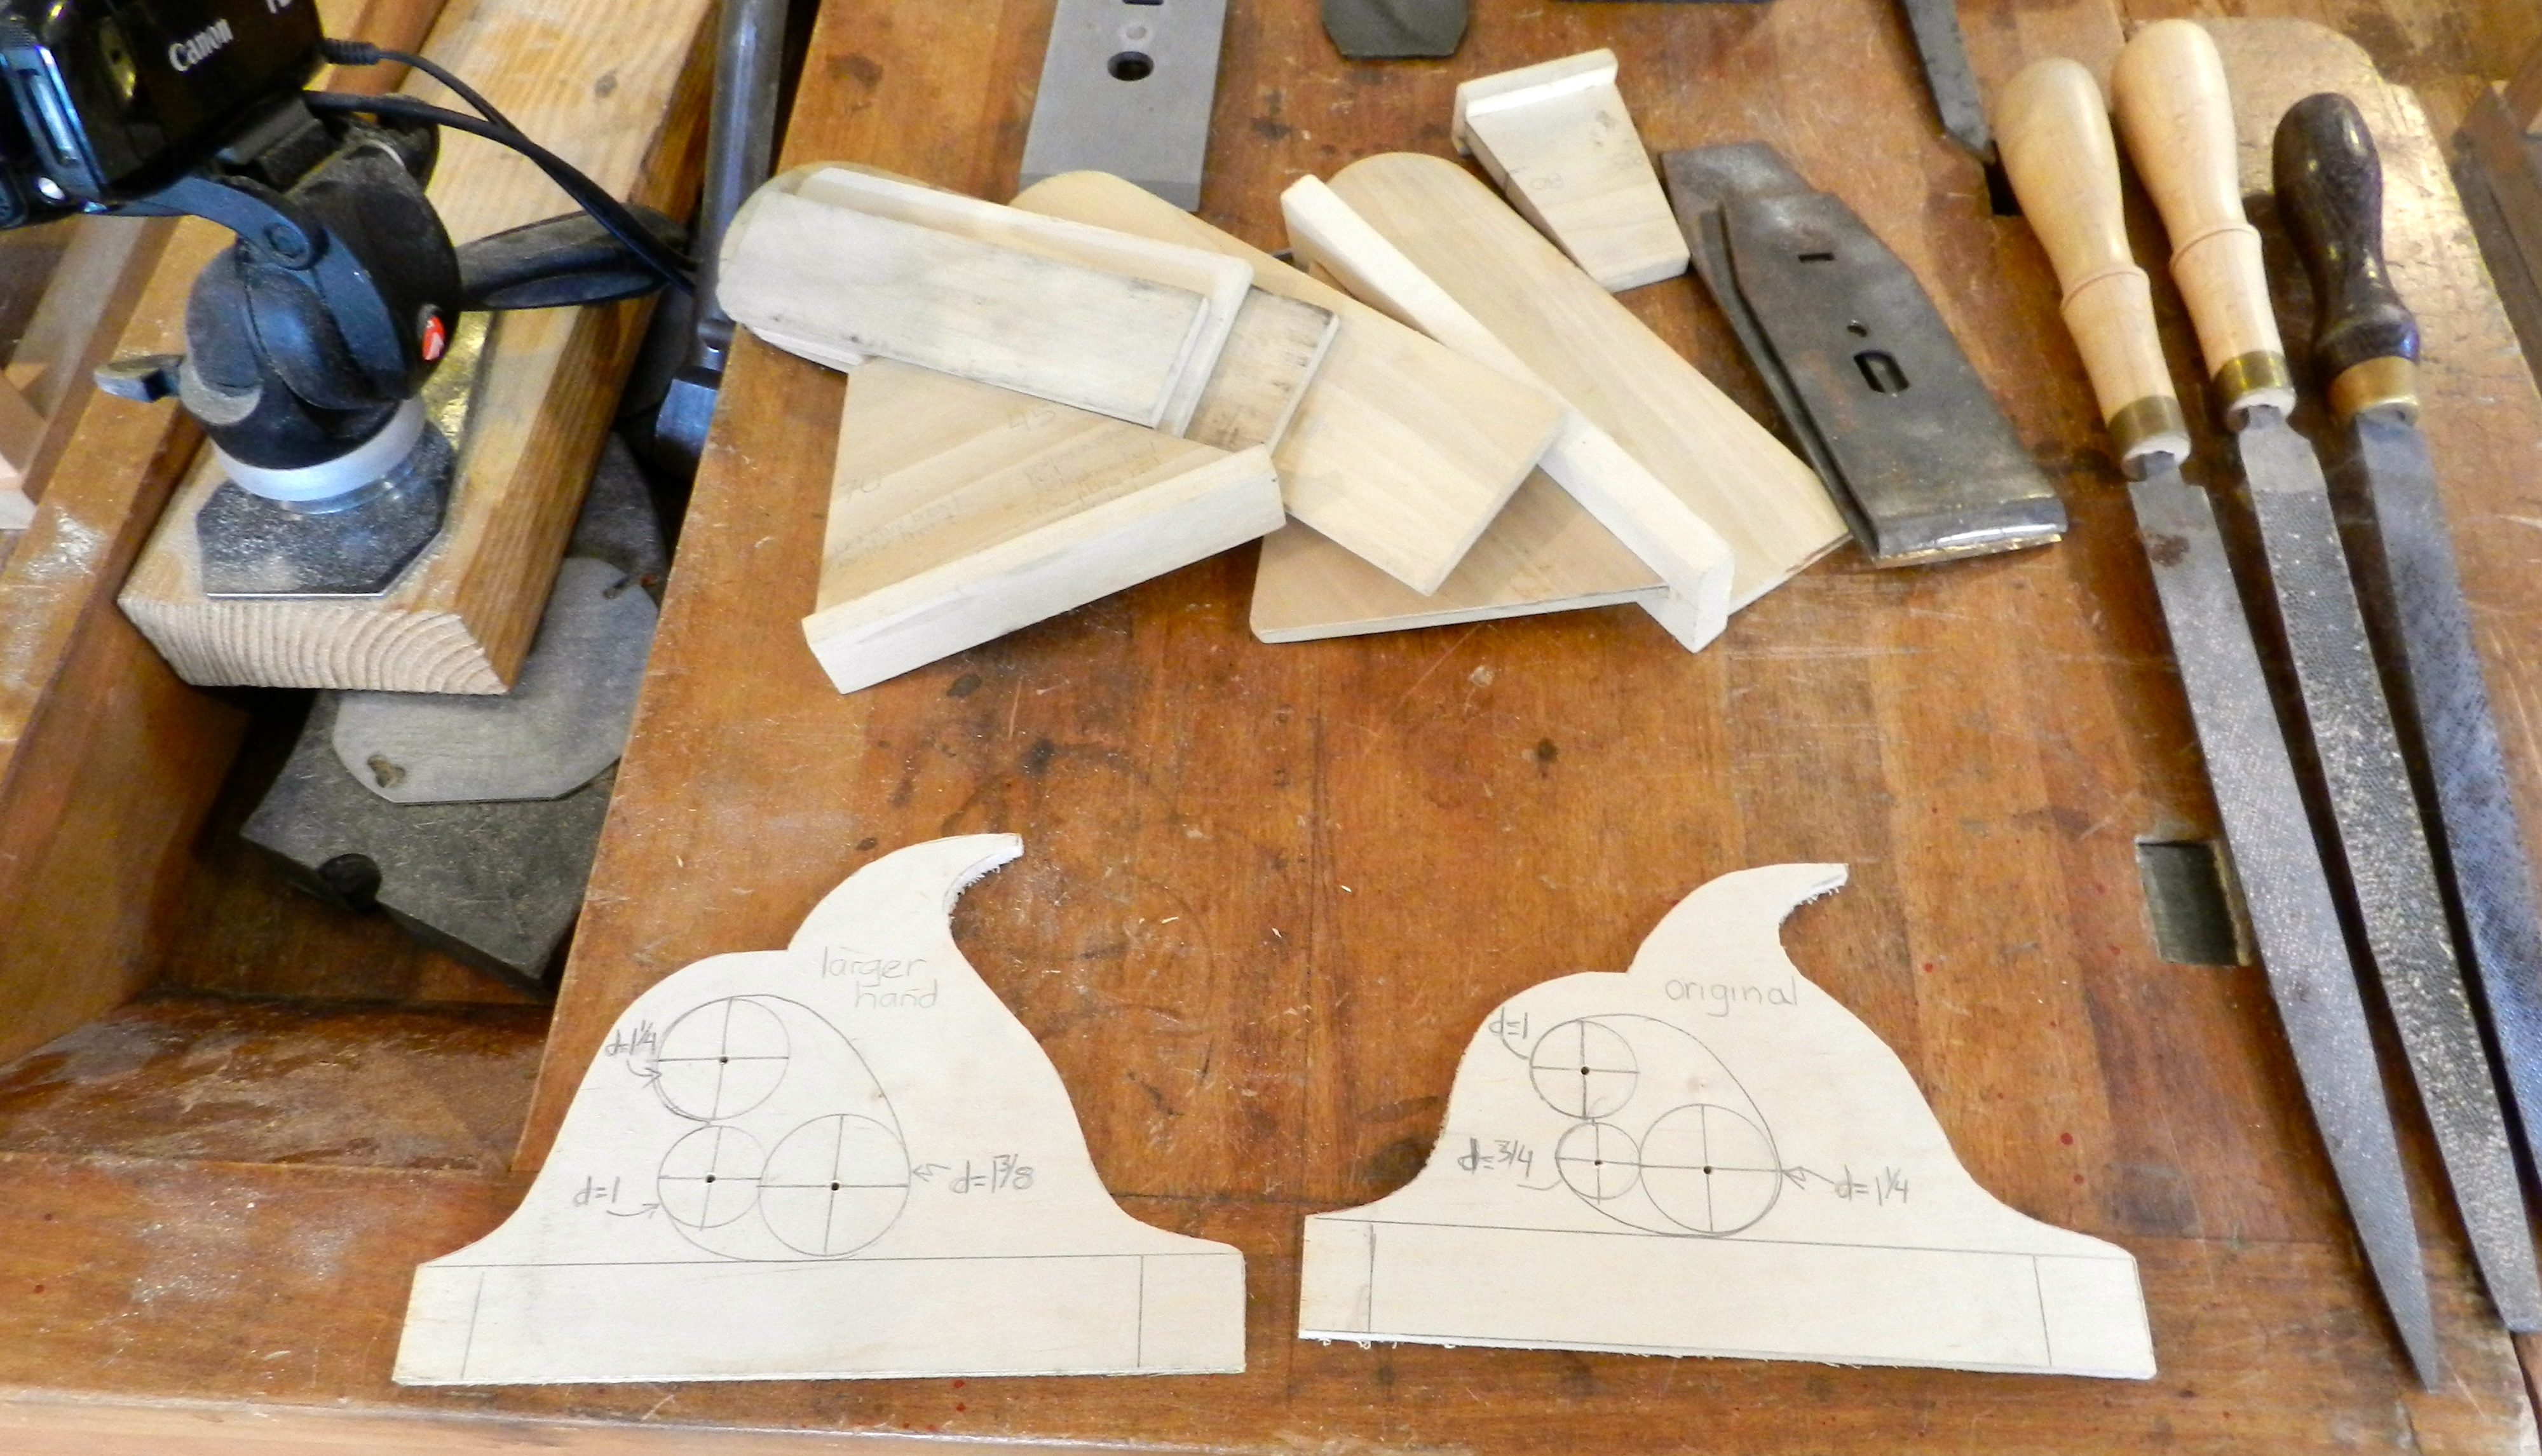
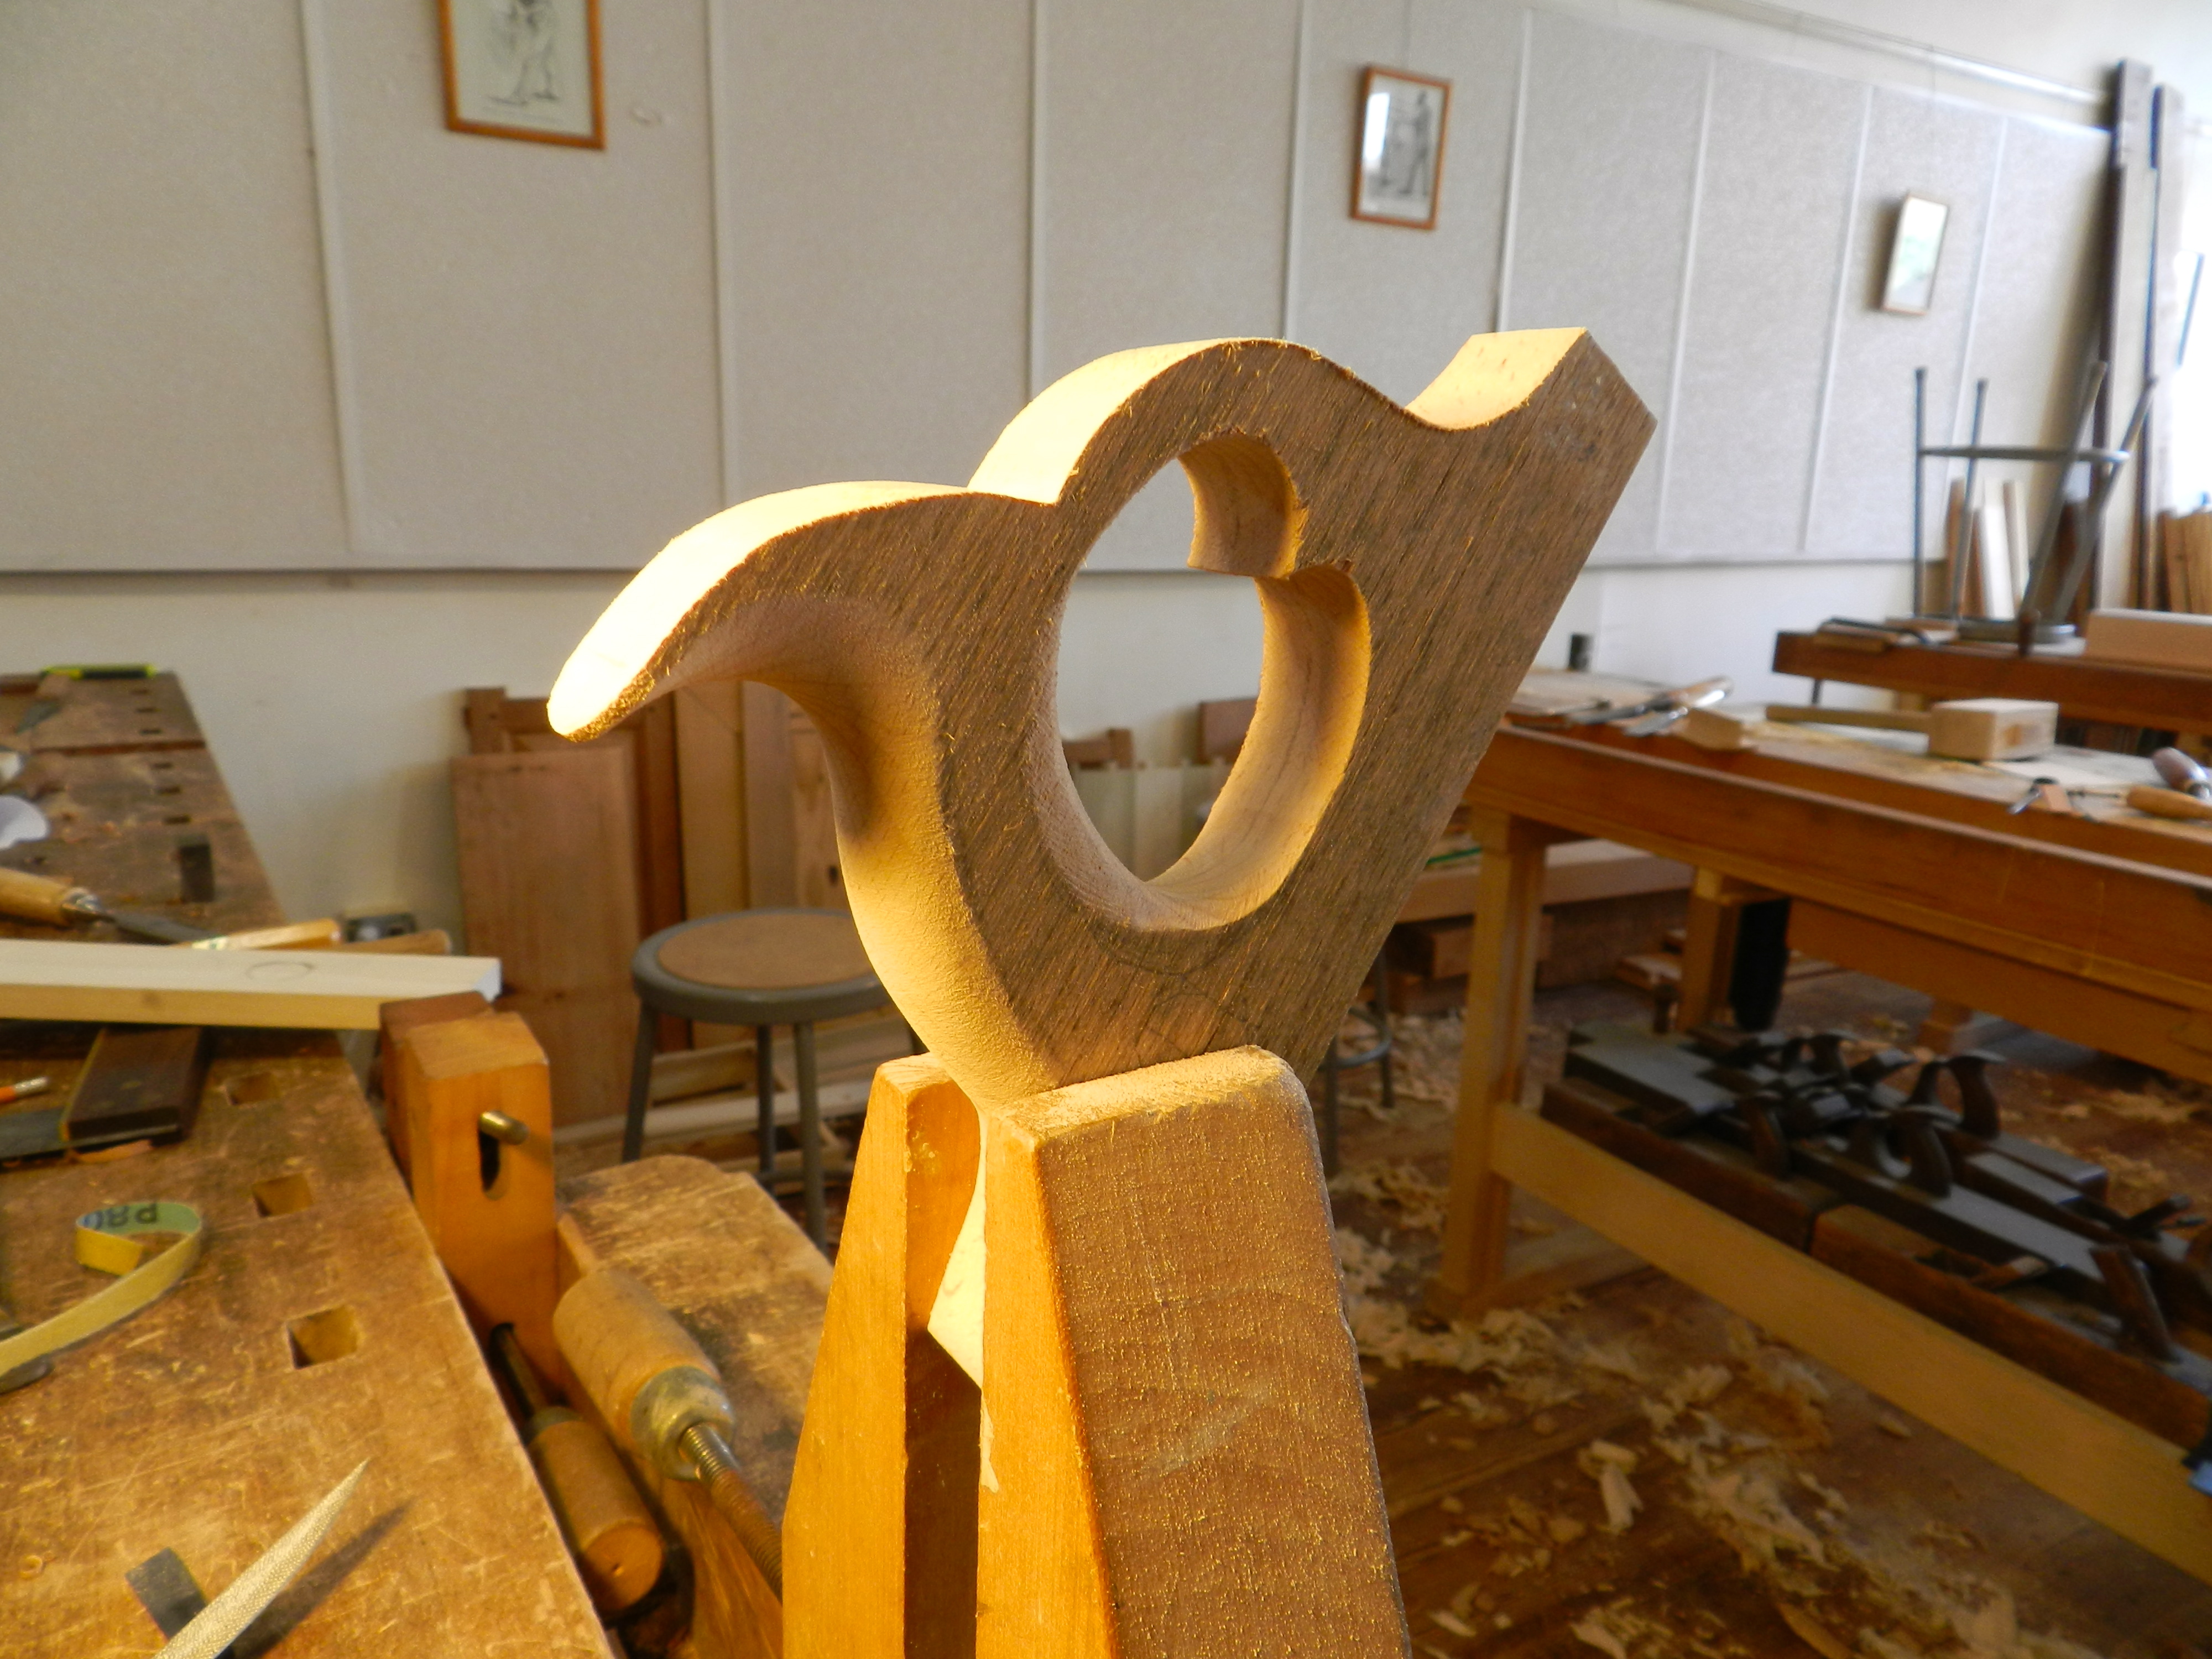
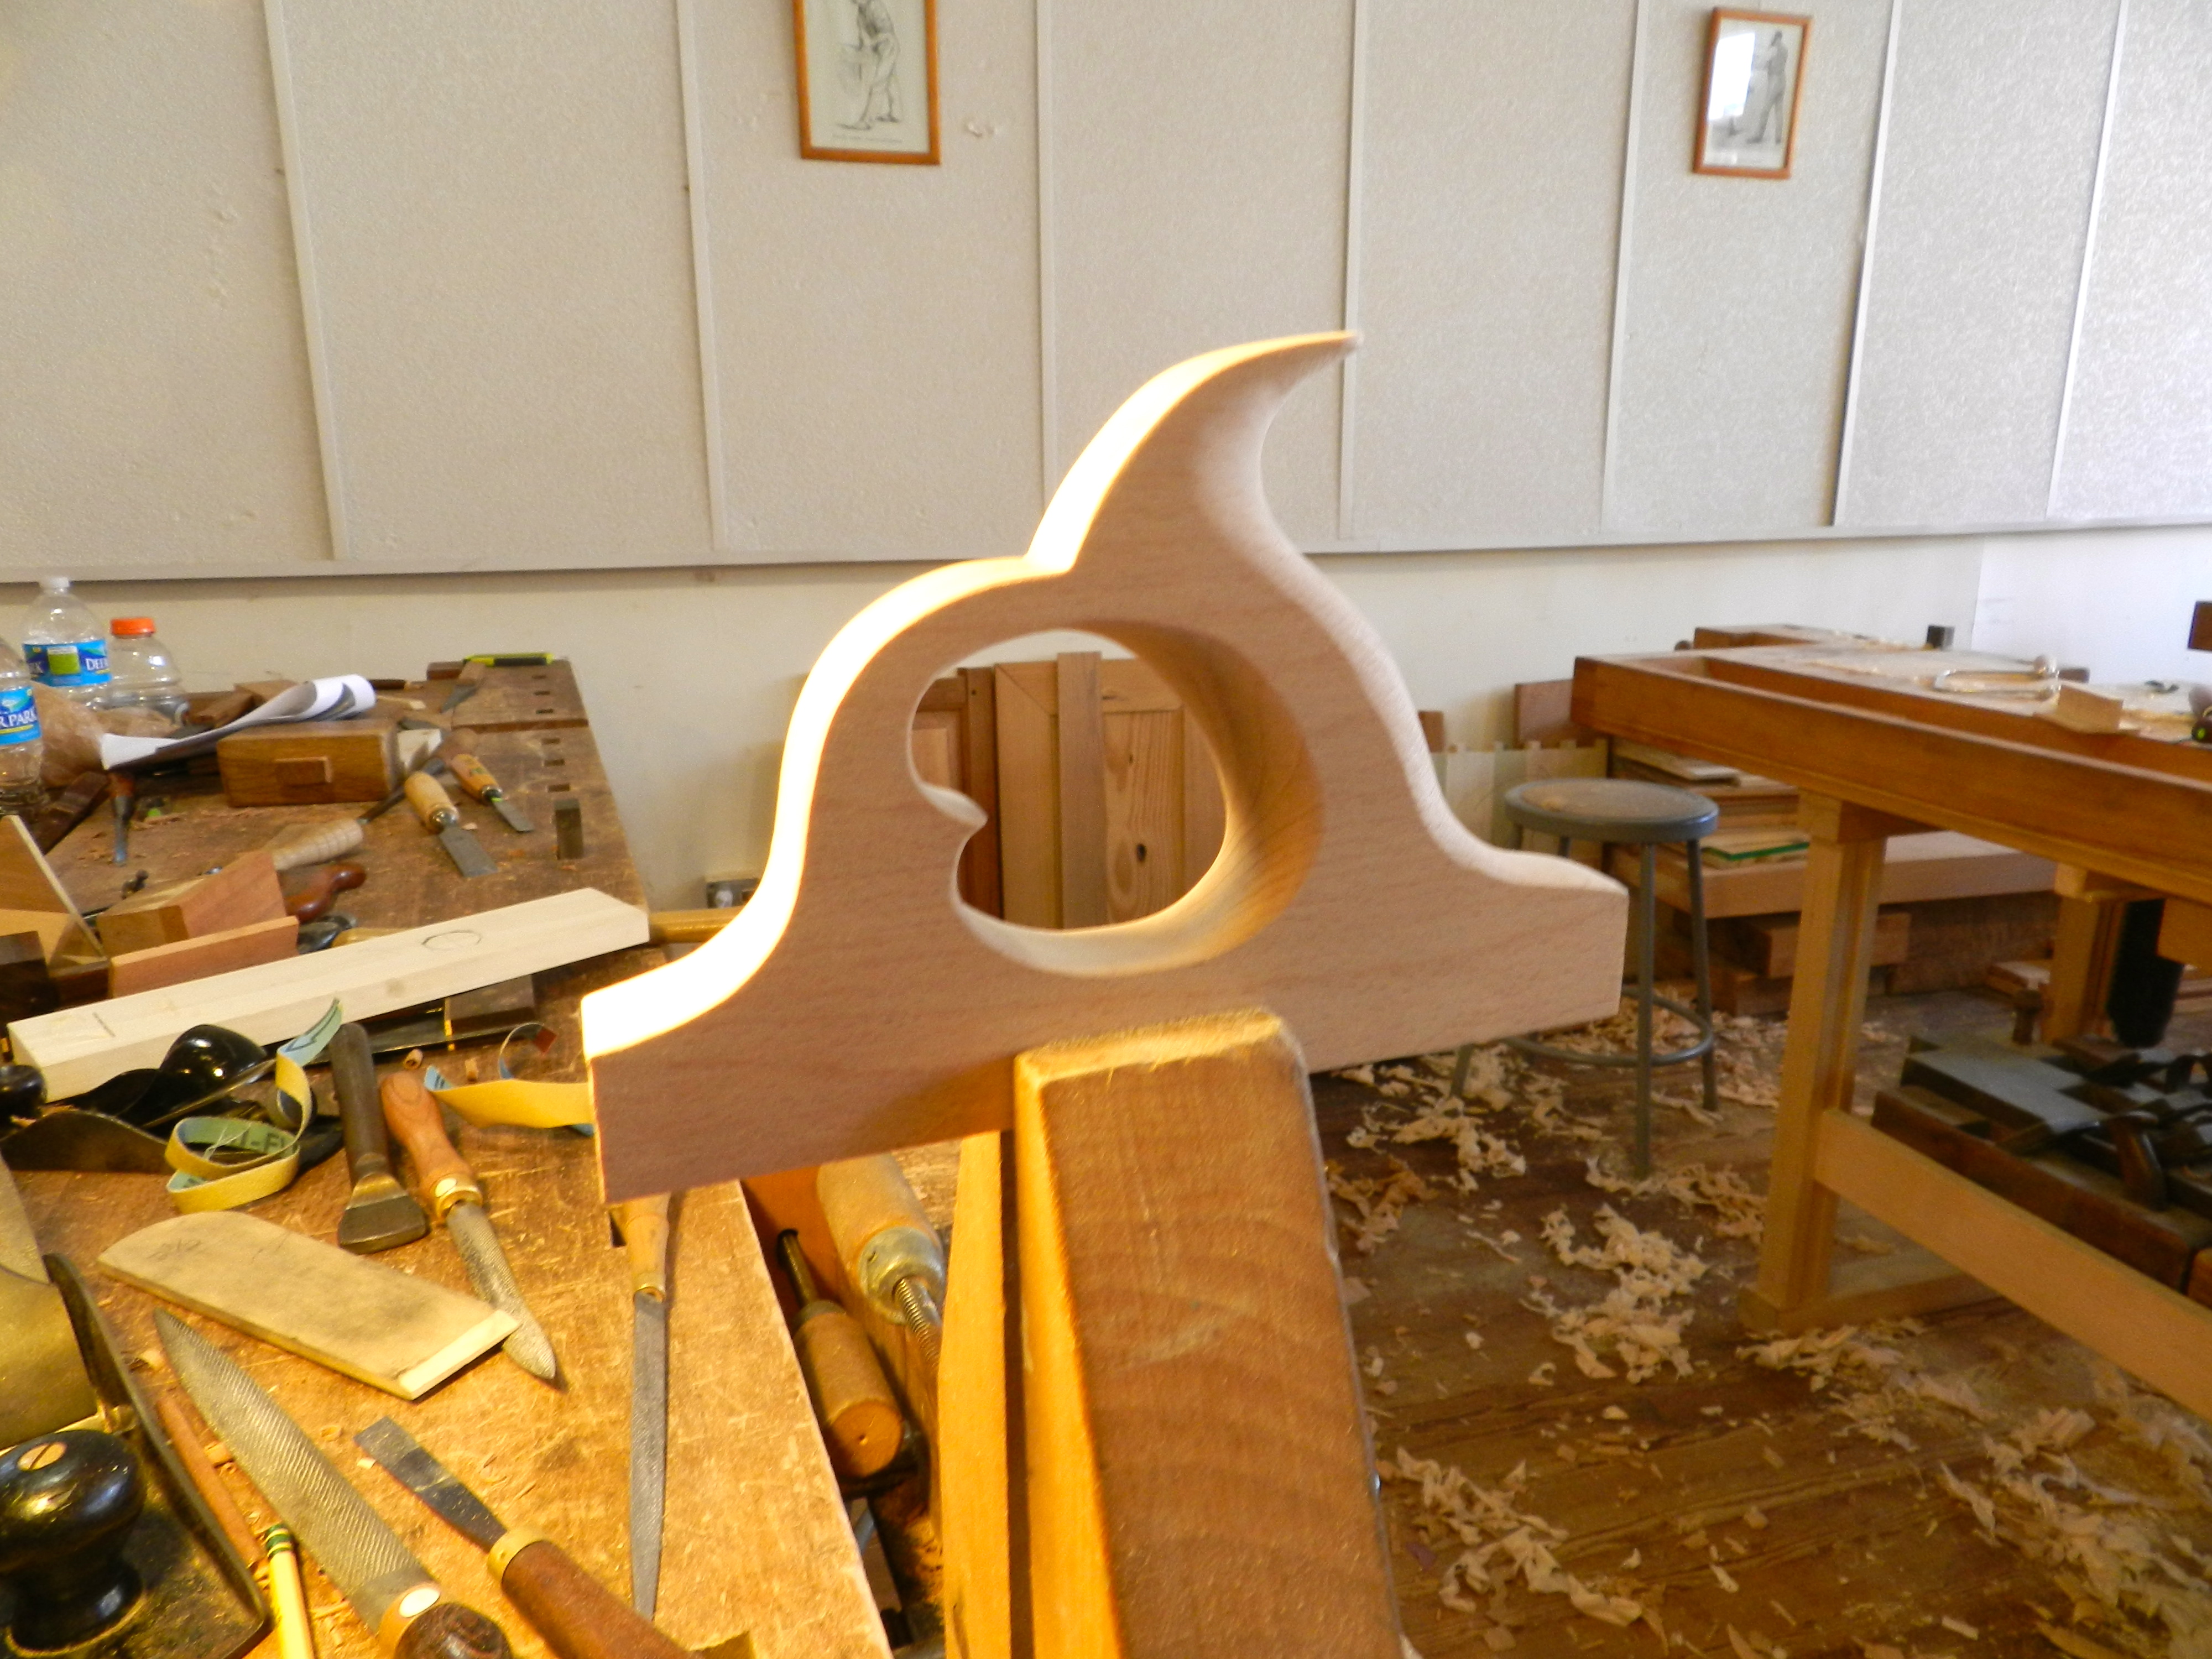
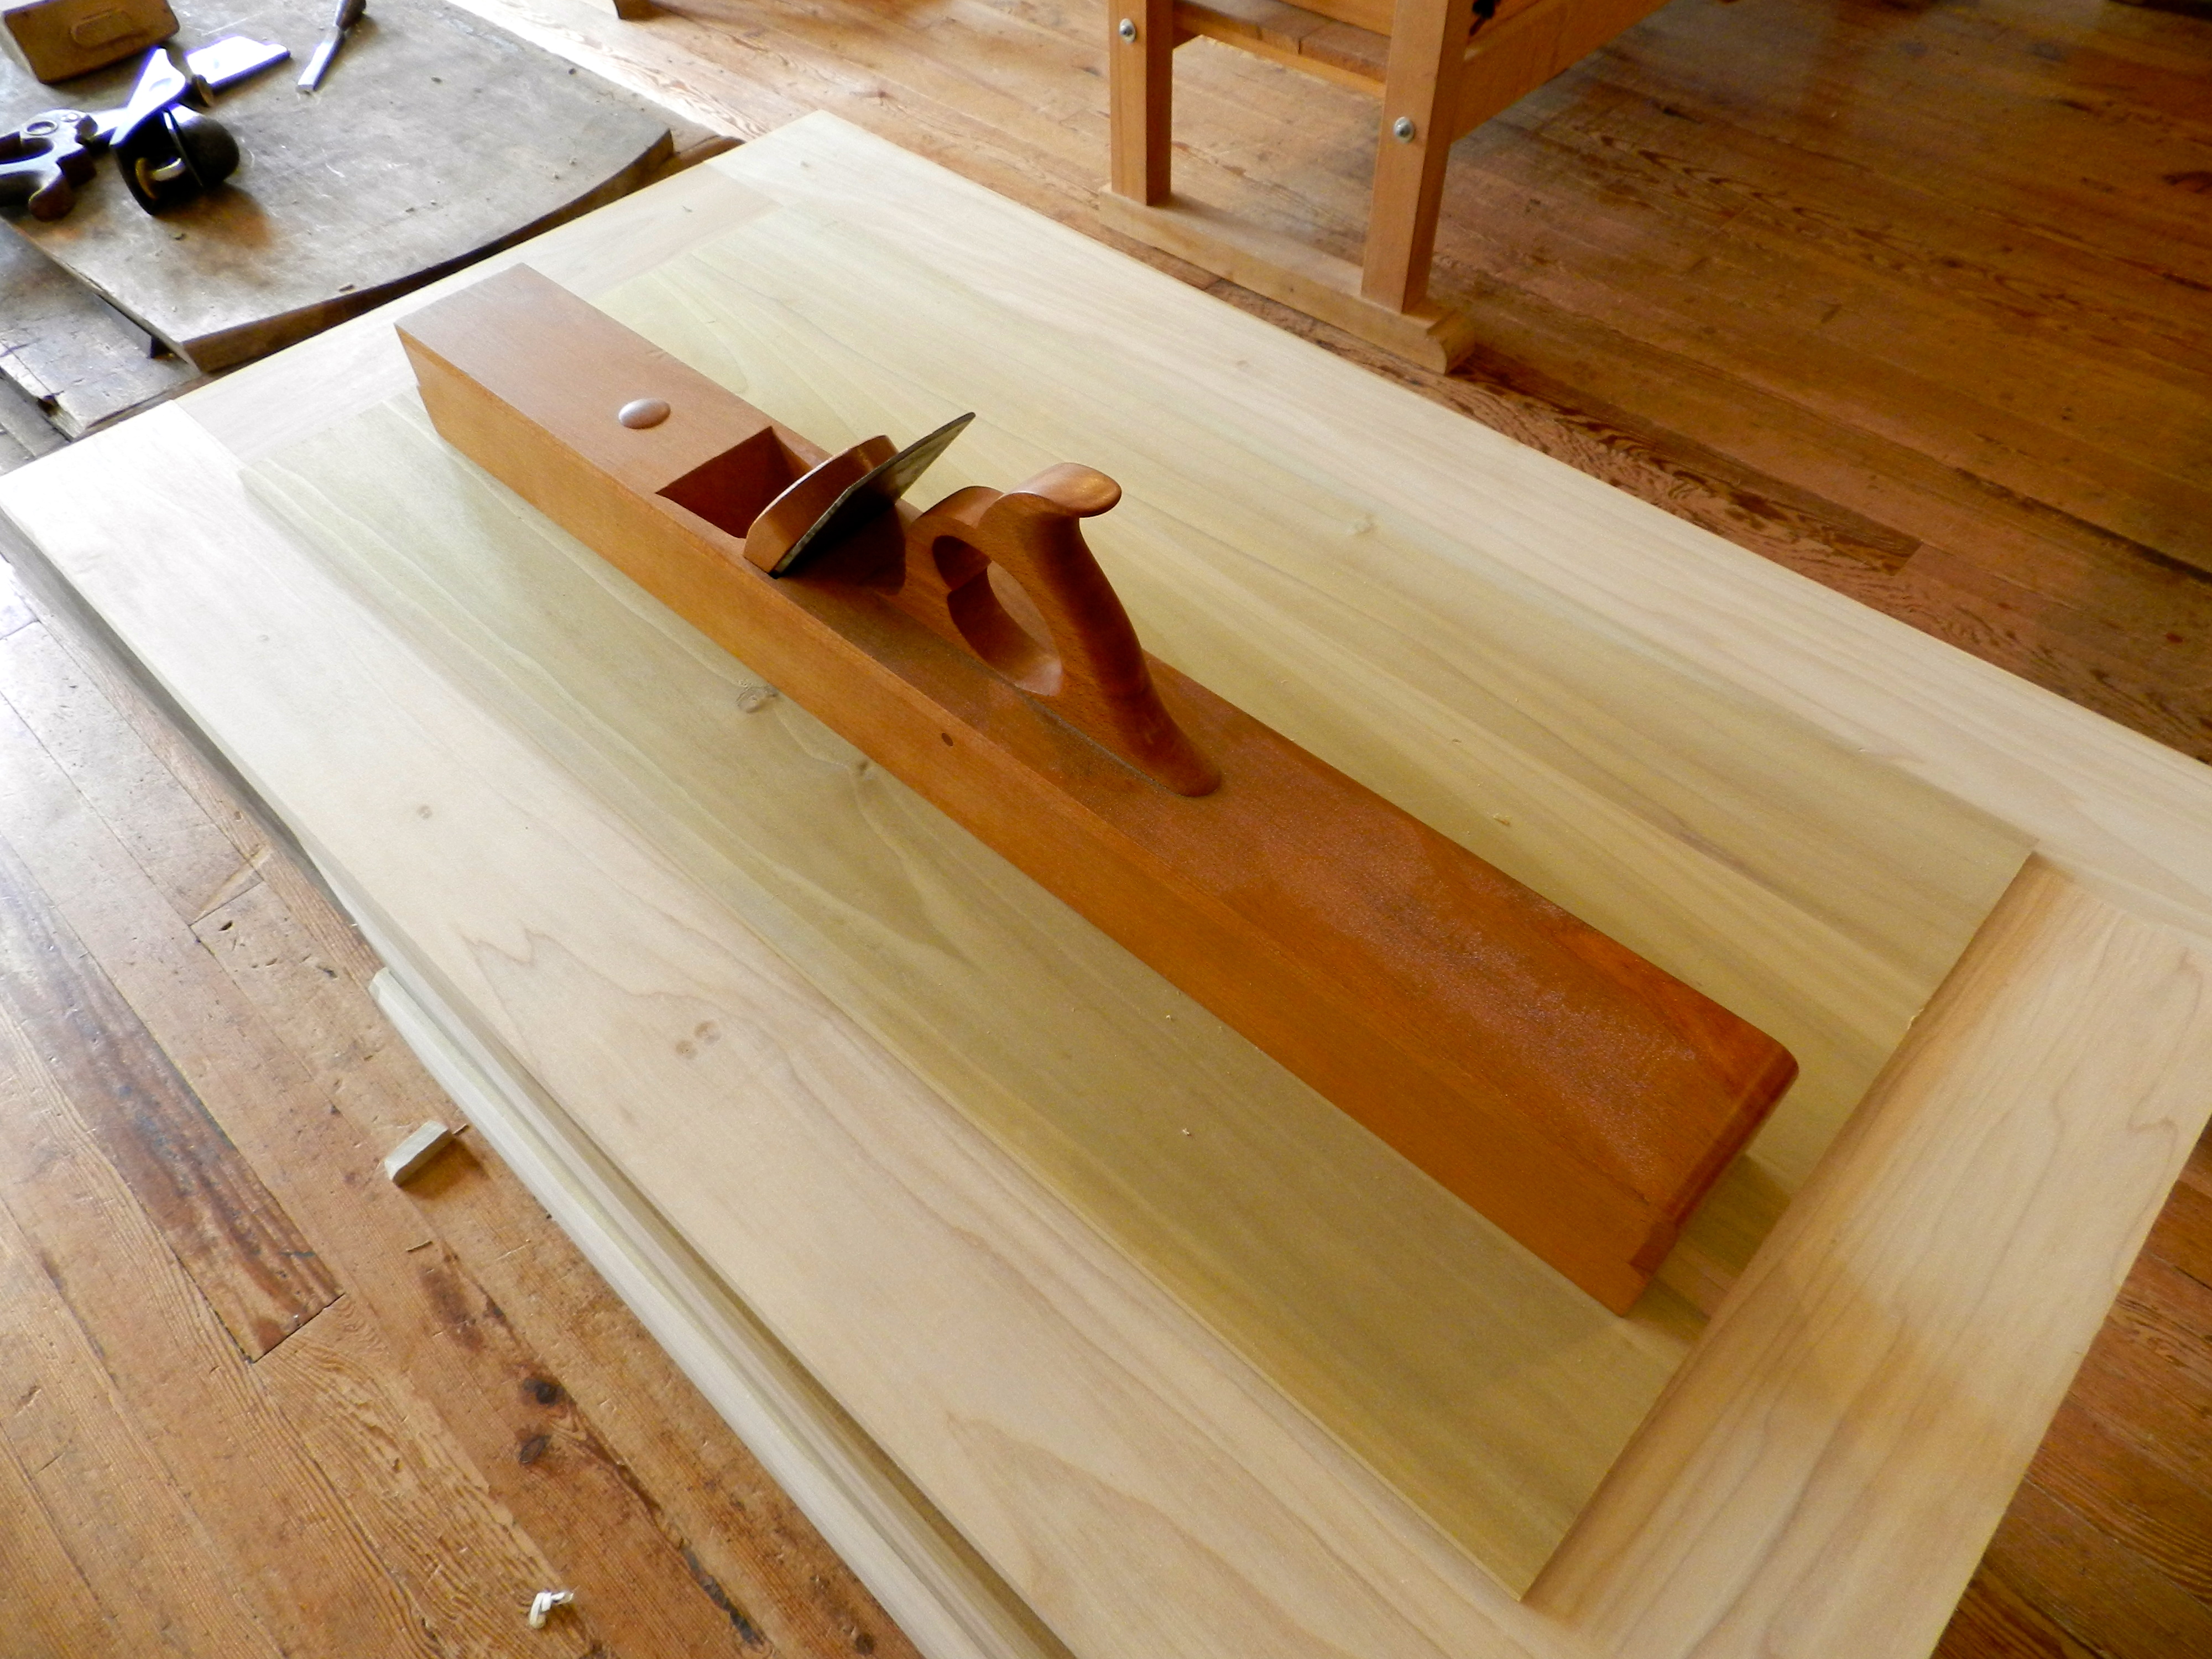
And last, but certainly not least is an upcoming workshop at Eastfield Village as part of the Early American Industries Association (EAIA) Historic Trades Sampler. The course I will be teaching will be building a domed top box. This will give each students hands on exercises in working wood, assembling a small box, setting butt hinges and an optional lock, and working with cut nails. Once students complete their box we’ll work with Bill McMillen to do grain painting on the box as well. Details below including info on other courses being offered as part of this event:
Eastfield Historic Trades Sampler
Early American Industries AssociationJoin Us July 28-31,2016!The Early American Industries Association Eastfield Historic Trades Sampler, will be held on Thursday, July 28th through Sunday, July 31st, 2016, at Historic Eastfield Village, East Nassau, New York. The program this year will include:
- Domed wooden box making with Bill Rainford
- Decorative painting with Bill McMillen
- Fish decoy making with Joe Brien
- Iron utensil making in the blacksmith shop with Olof Janssen
- Tinsmithing with Master Tinsmith Bill McMillen
- Flint knapping & atlatl making with George Lott
- Black powder shooting with Bill McMillen
The name name Eastfield Historic Trades Sampler reflects what we actually offer-a sampler of various trades with an opportunity to learn about them while completing a small project related to the craft.
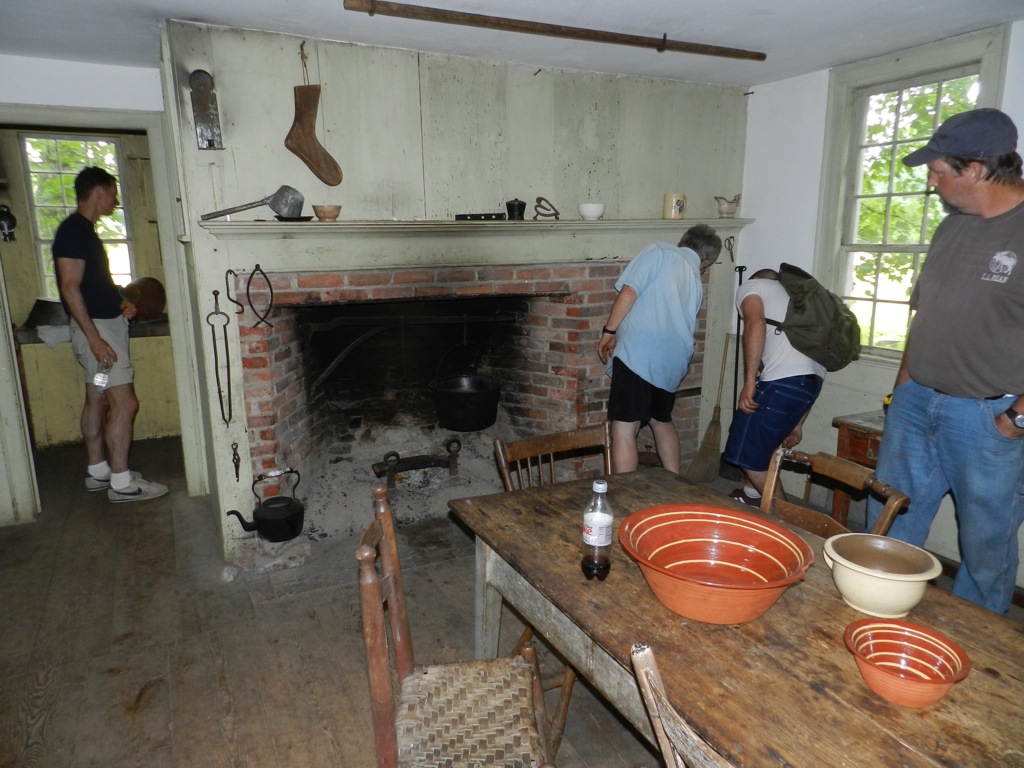
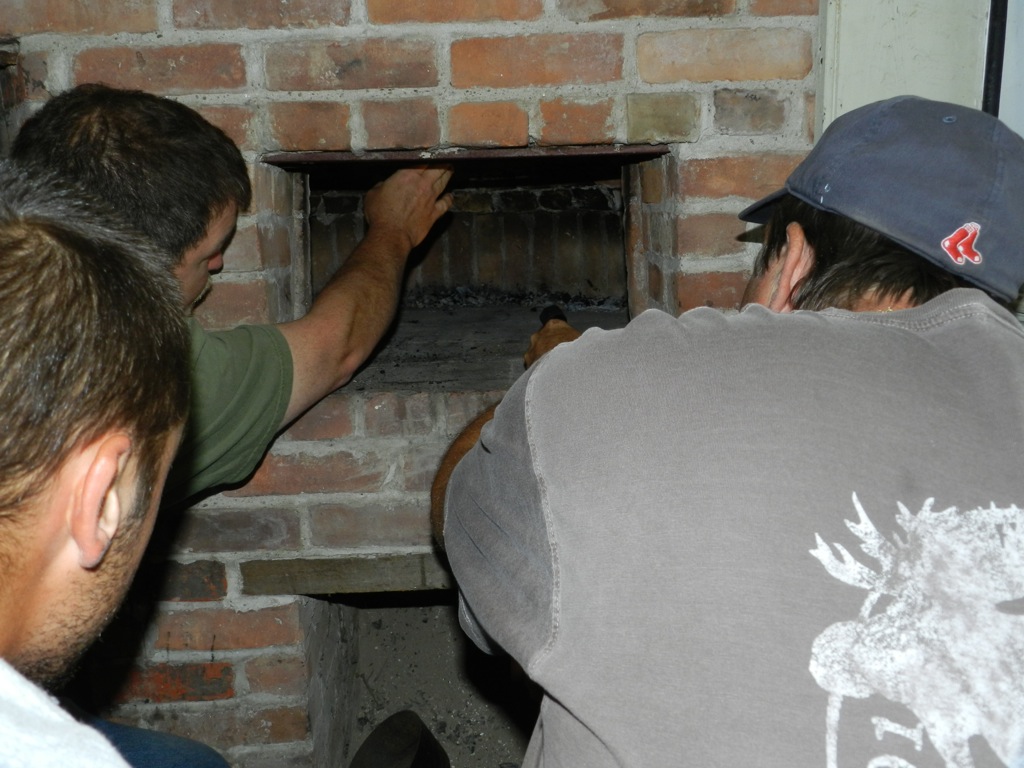
There are two different workshops each day from which to choose. The classes start at 9 a.m. and there is a lunch provided in Eastfield’s historic tavern from noon until 1 p.m., at which time the afternoon session of the workshops resume. The workshops end around 5 p.m.AccommodationsAccommodations in Eastfield’s taverns are available free of charge for those wishing to stay as guests in early 19th century surroundings. The only requirements is that each person supply their own bedding, plus 10 ten inch white candles.Students are encouraged to stay here during the Historic TradesSampler. Meals may be cooked or served in the late 18th century kitchens. Accommodations are rope beds with straw and feather ticks. Facilities are located in period out houses. There are evening gatherings in the Briggs Tavern and lively conversations and games of dominoes by candlelight. This immersive experience offers an unforgettable opportunity to be with others-students and teachers-of similar interests, to gain appreciation for the work and daily life of early 19th century America.RegistrationThe cost of registration for the workshop is $485.00.To register, you can contact John Verrill by phone at (703) 967-9399 or email EAIA1933@verizon.net or via mail:
Early American Industries Association PO Box 524
Hebron, MD 21830
If you have any questions about these upcoming workshops, please send me a comment below or contact me directly via the contact form here.
I hope to see you in a future class.
Take care,
-Bill