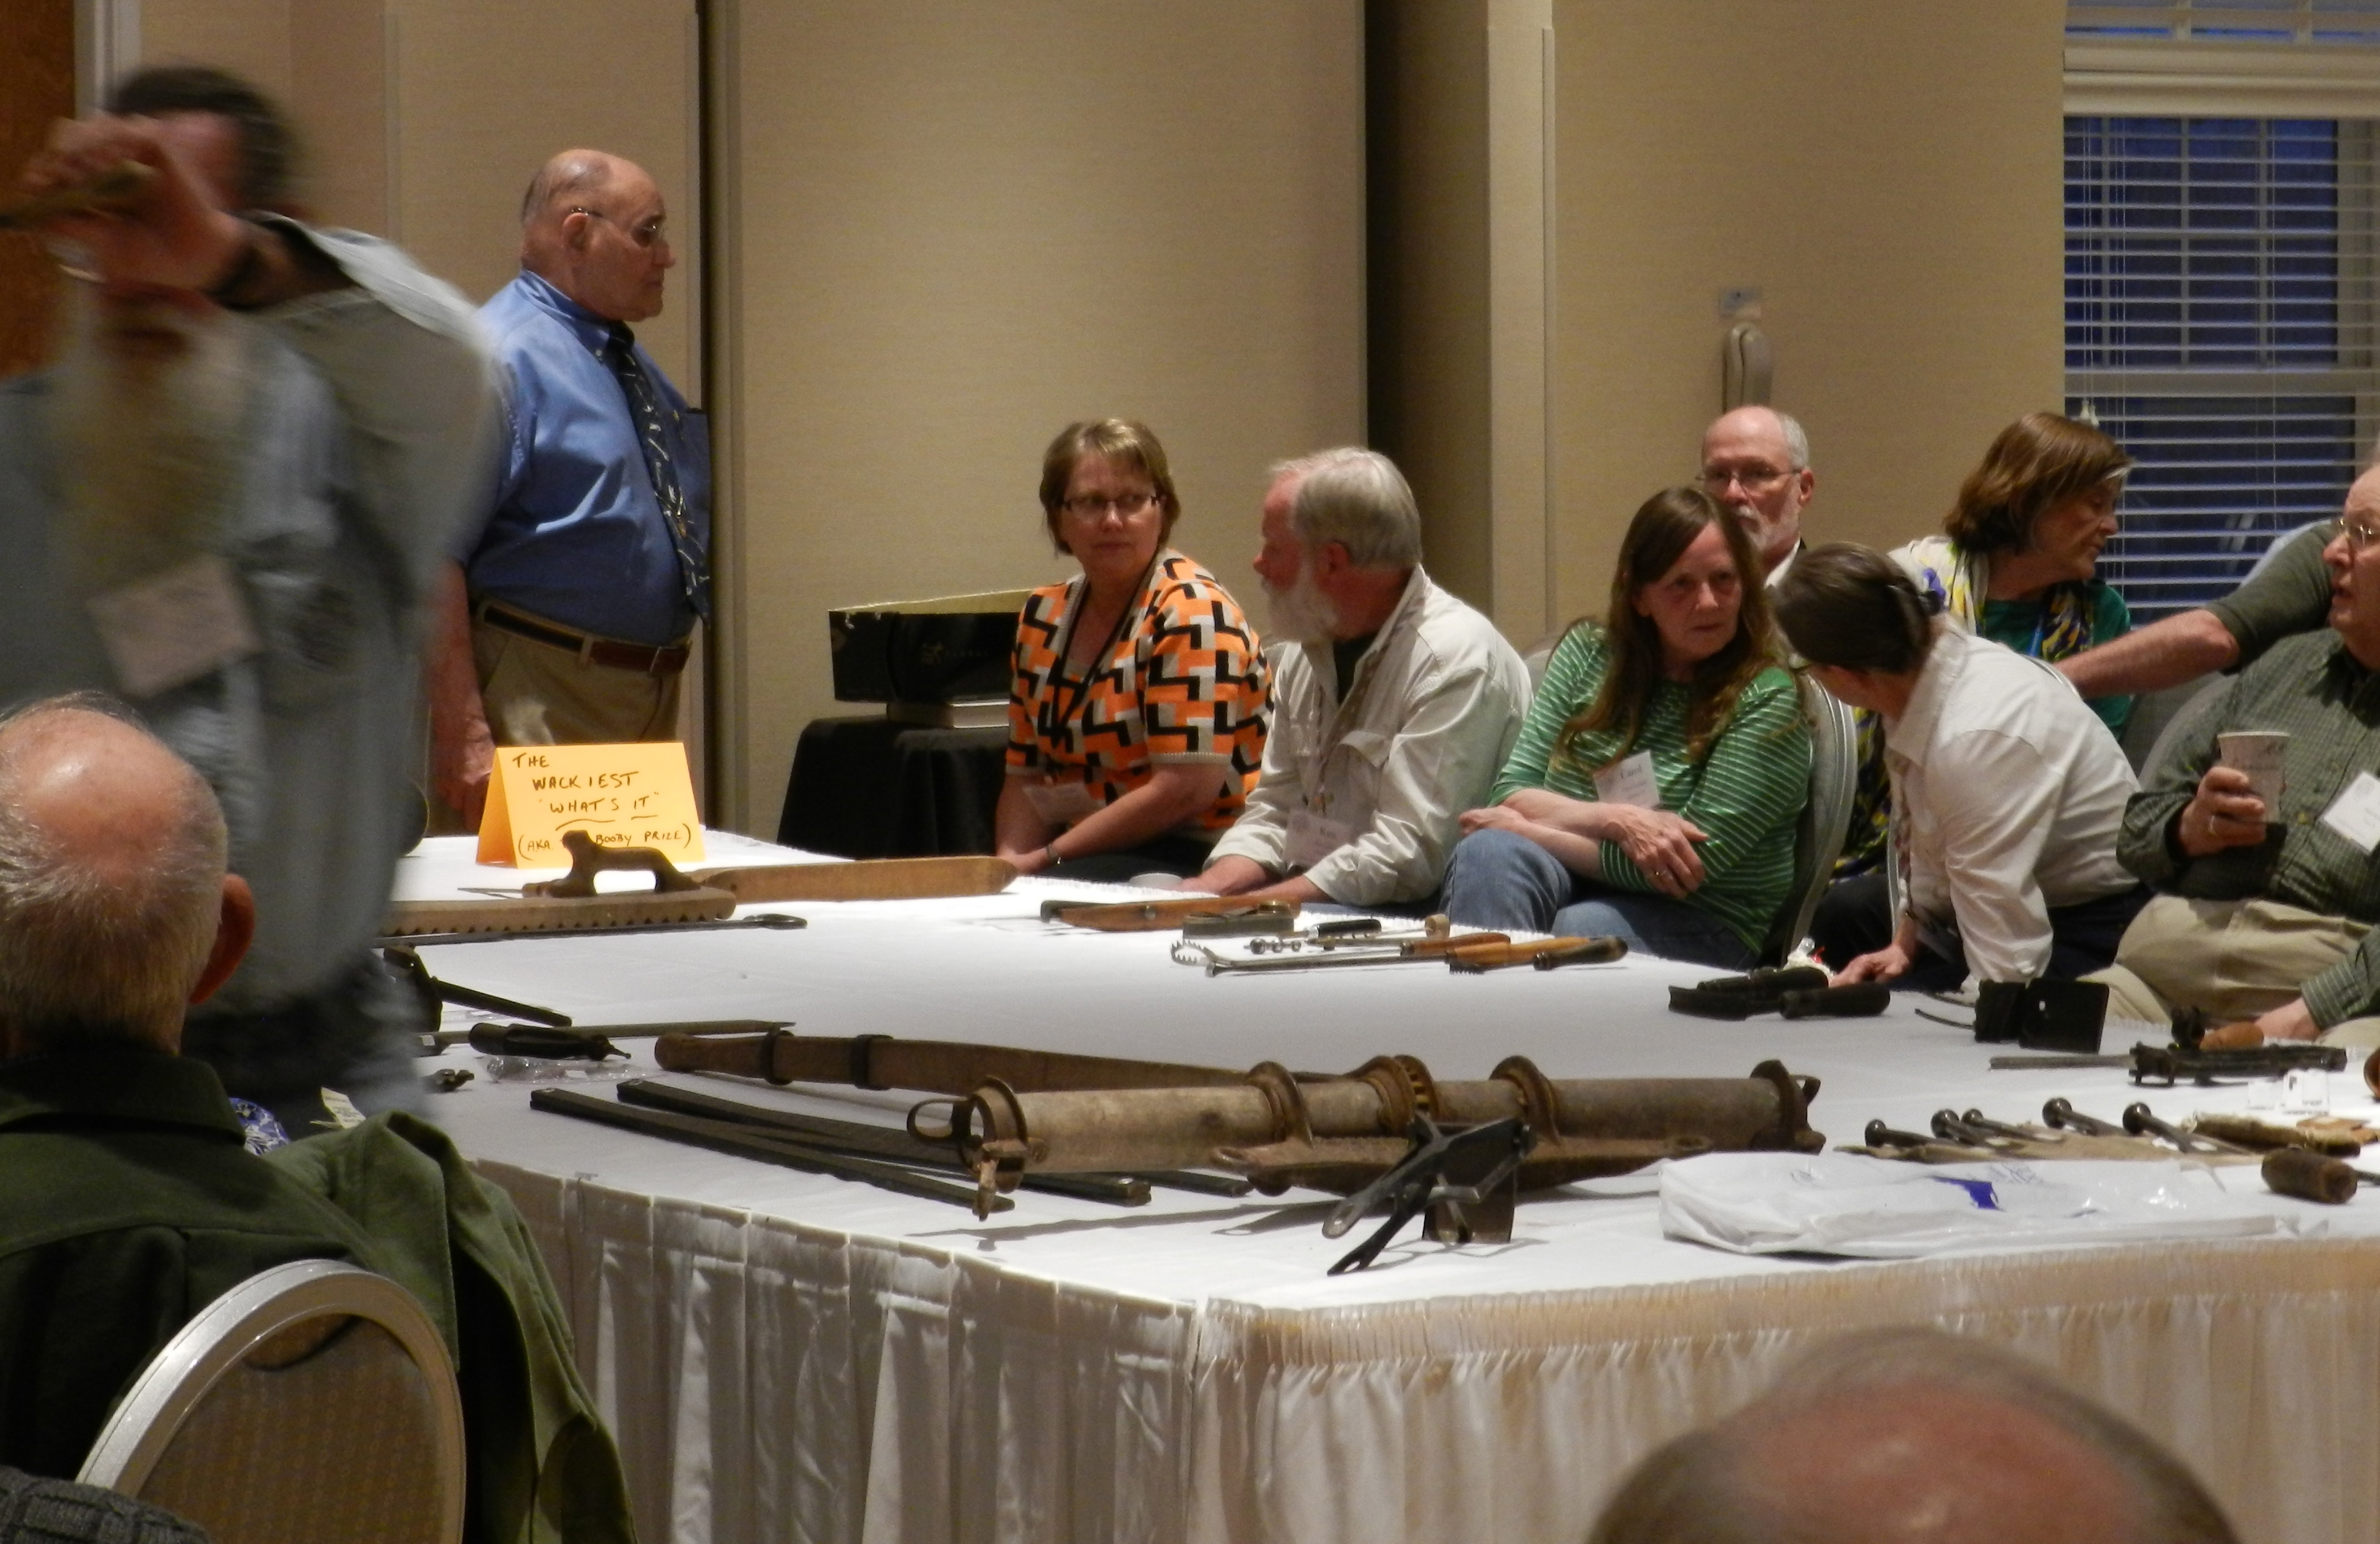
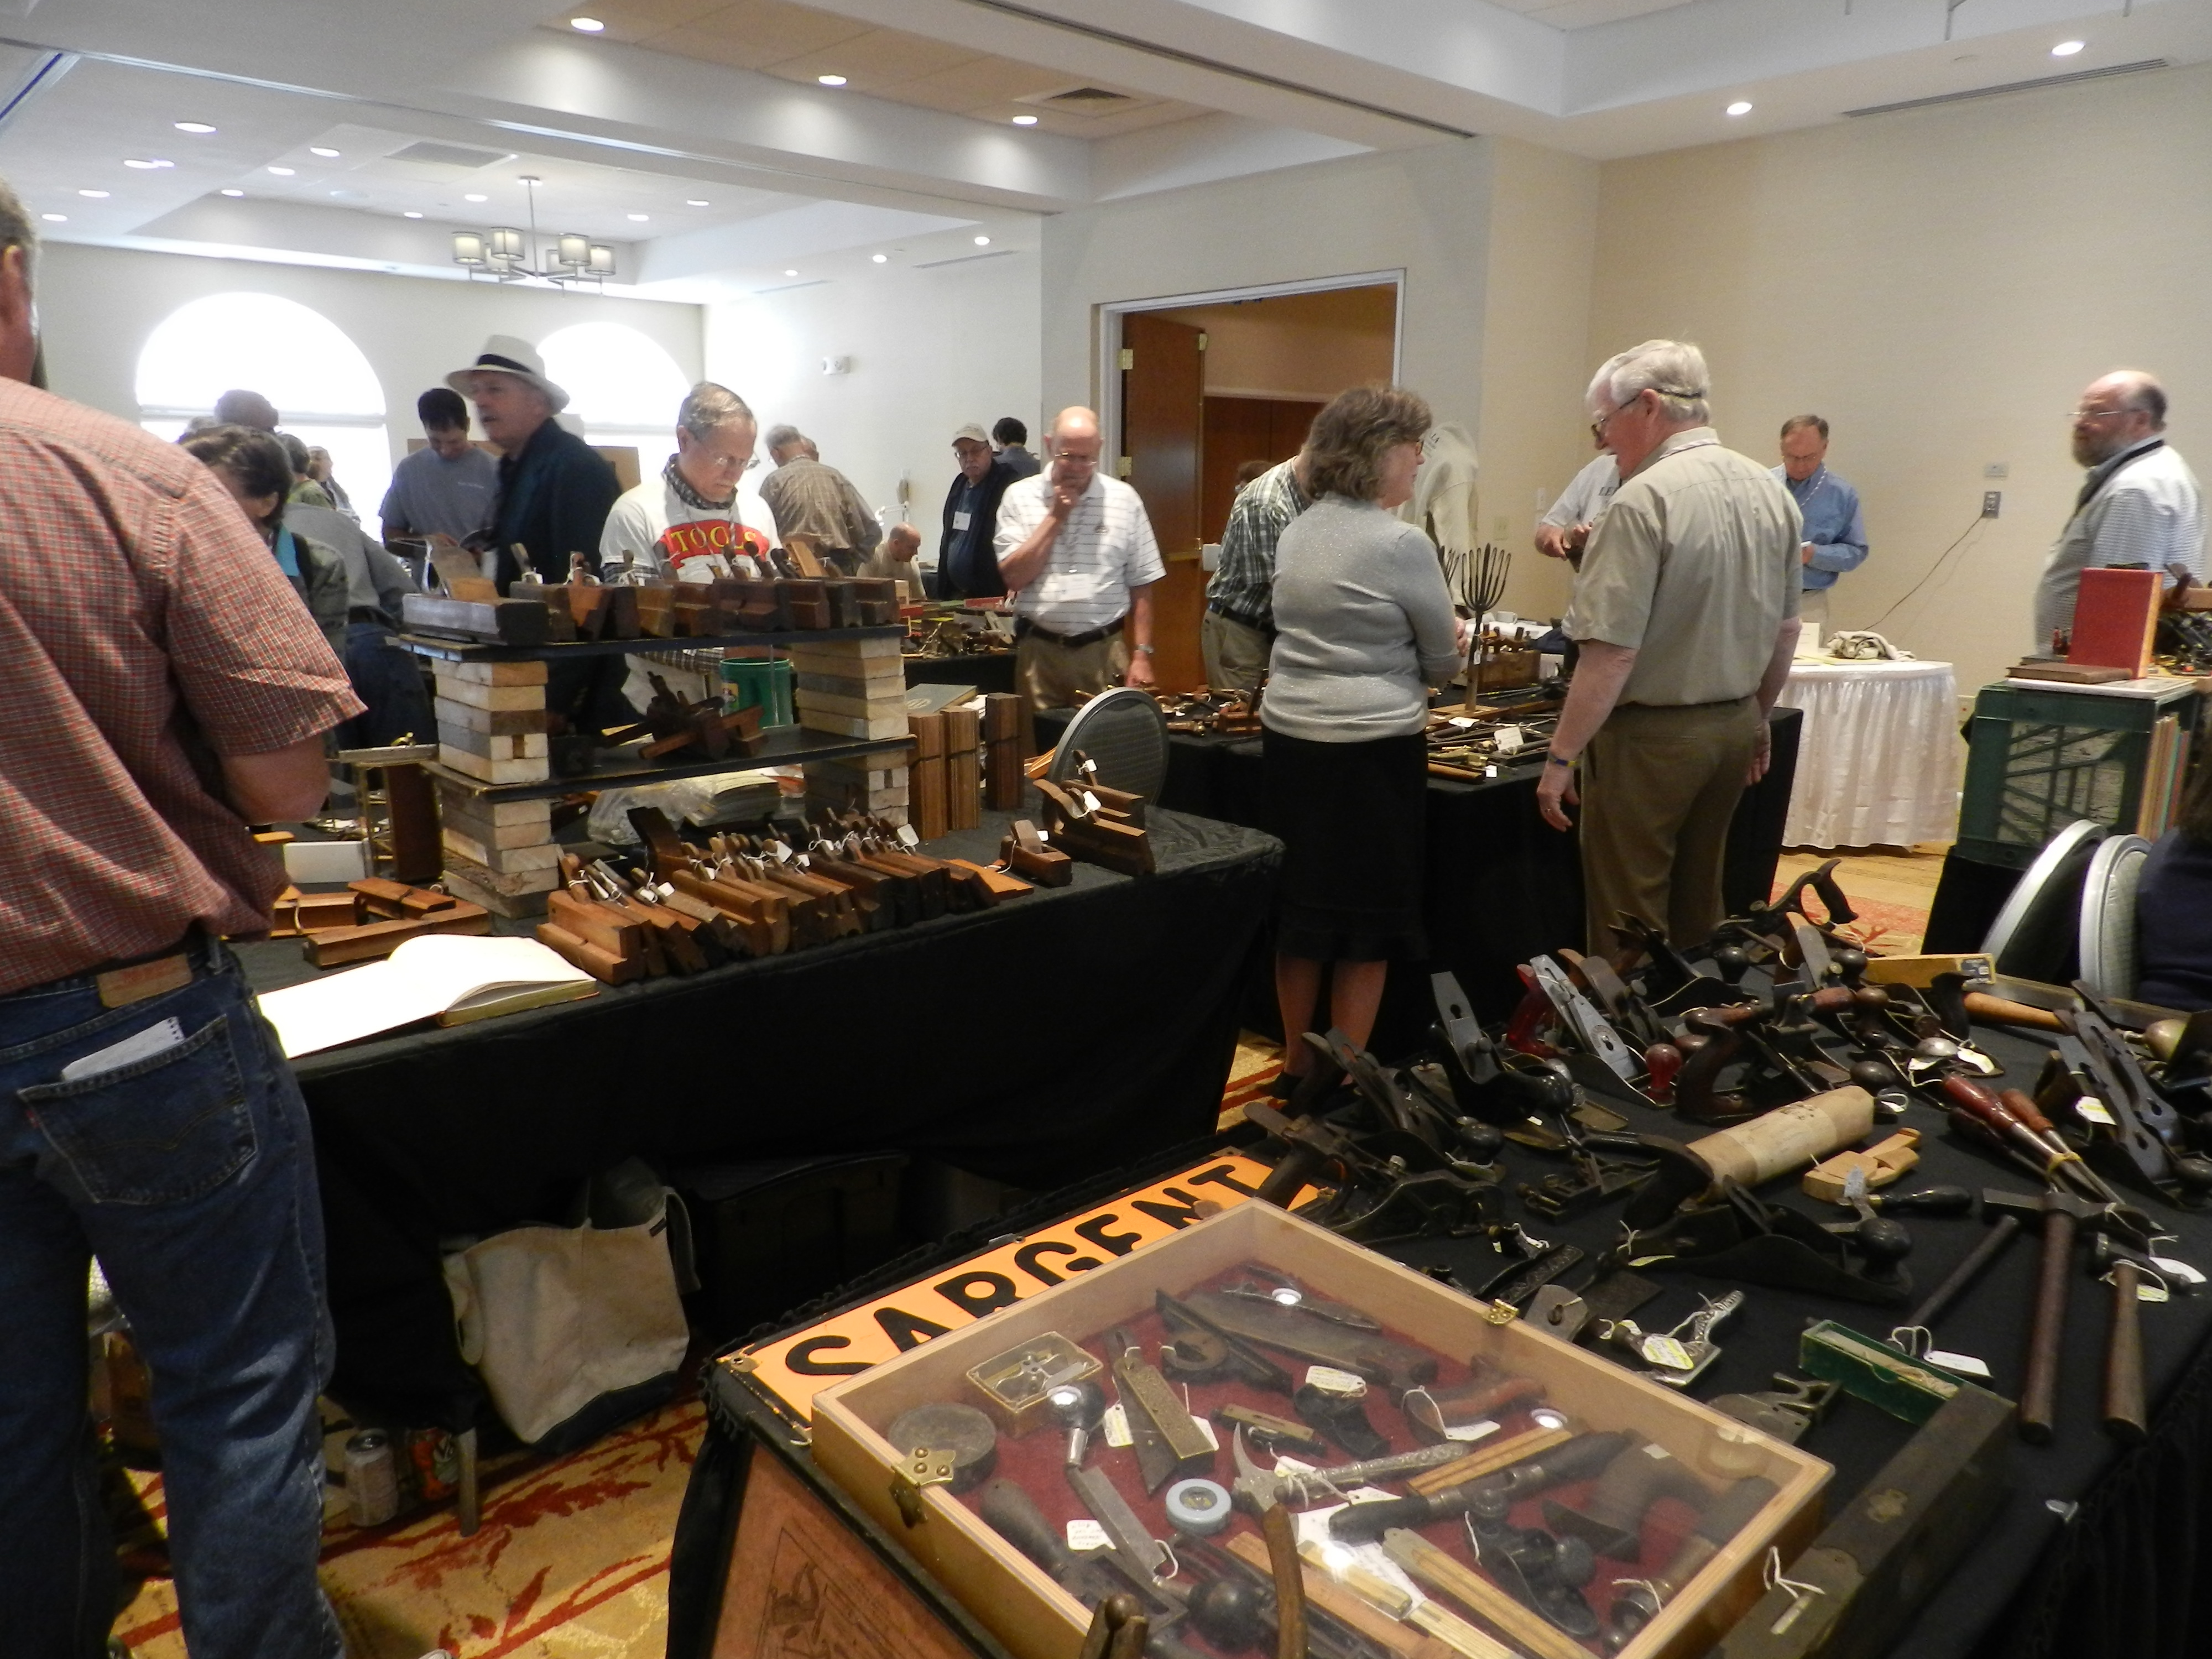
It’s always fun to travel back in time. This past weekend I traveled back to the 19th century as I participated in the Early American Industries Association Historic Trades Sampler Program at Eastfield Village.
On Saturday I taught a workshop on the use of traditional molding planes to make a picture frame. In this post I’ll cover some of the highlights of the course and share some details for folks who might want to give it a try at home.
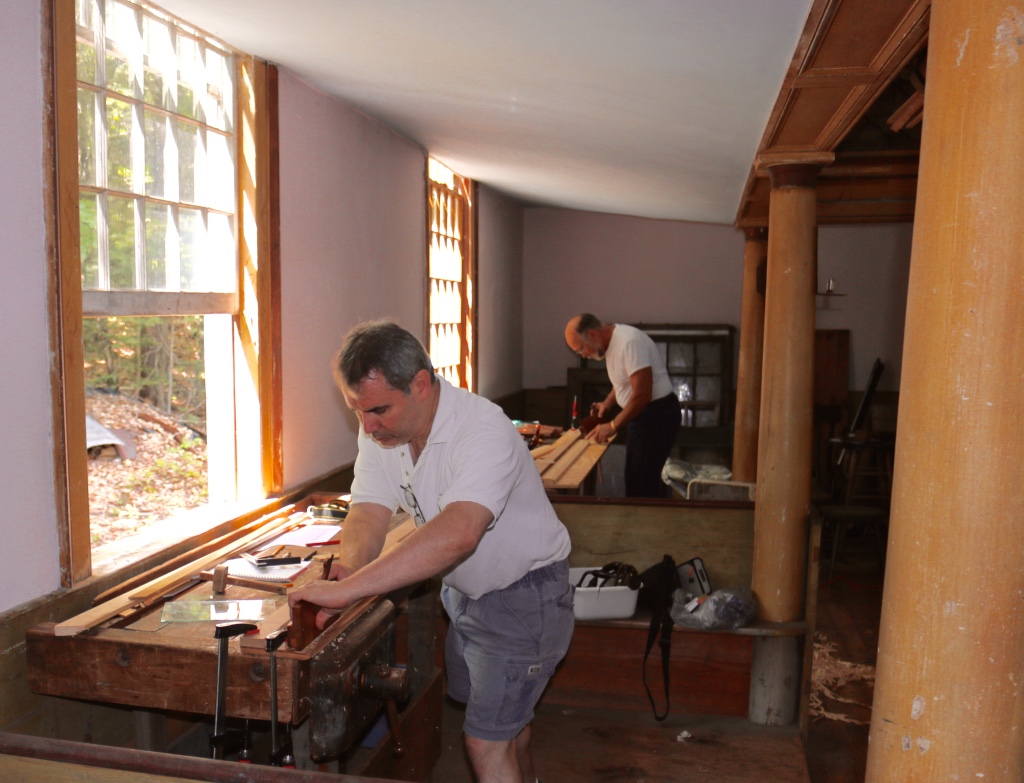
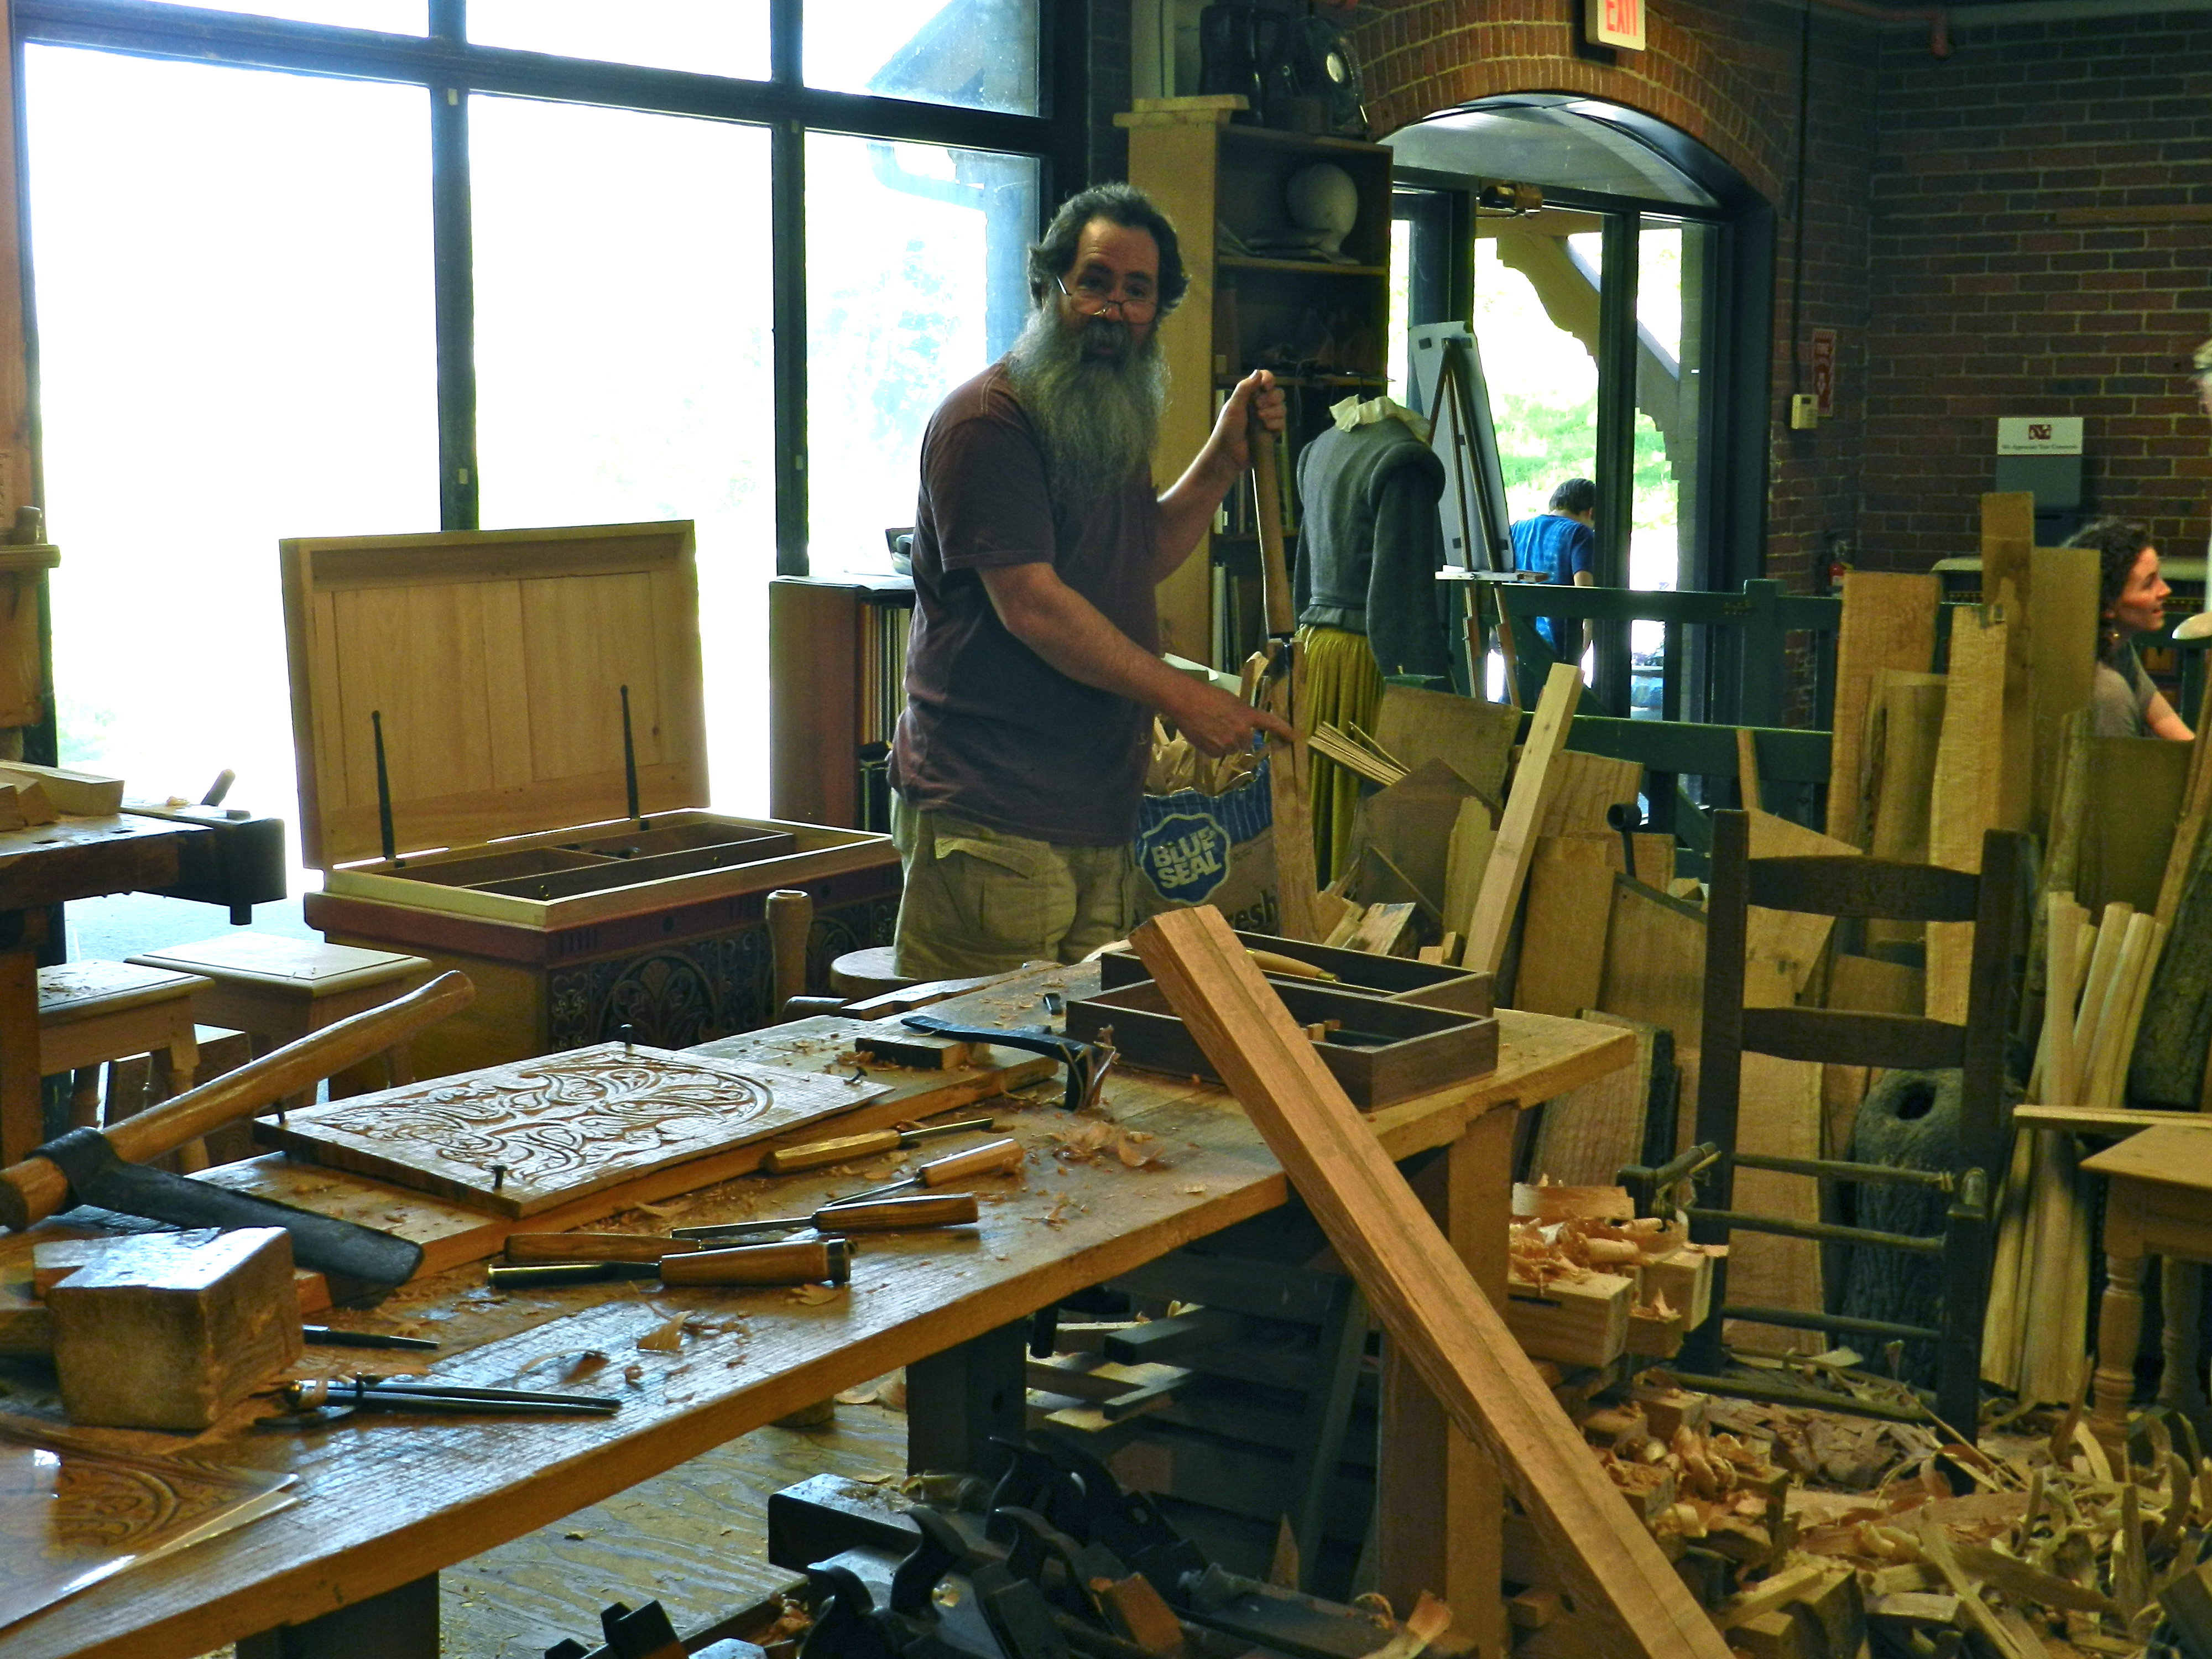
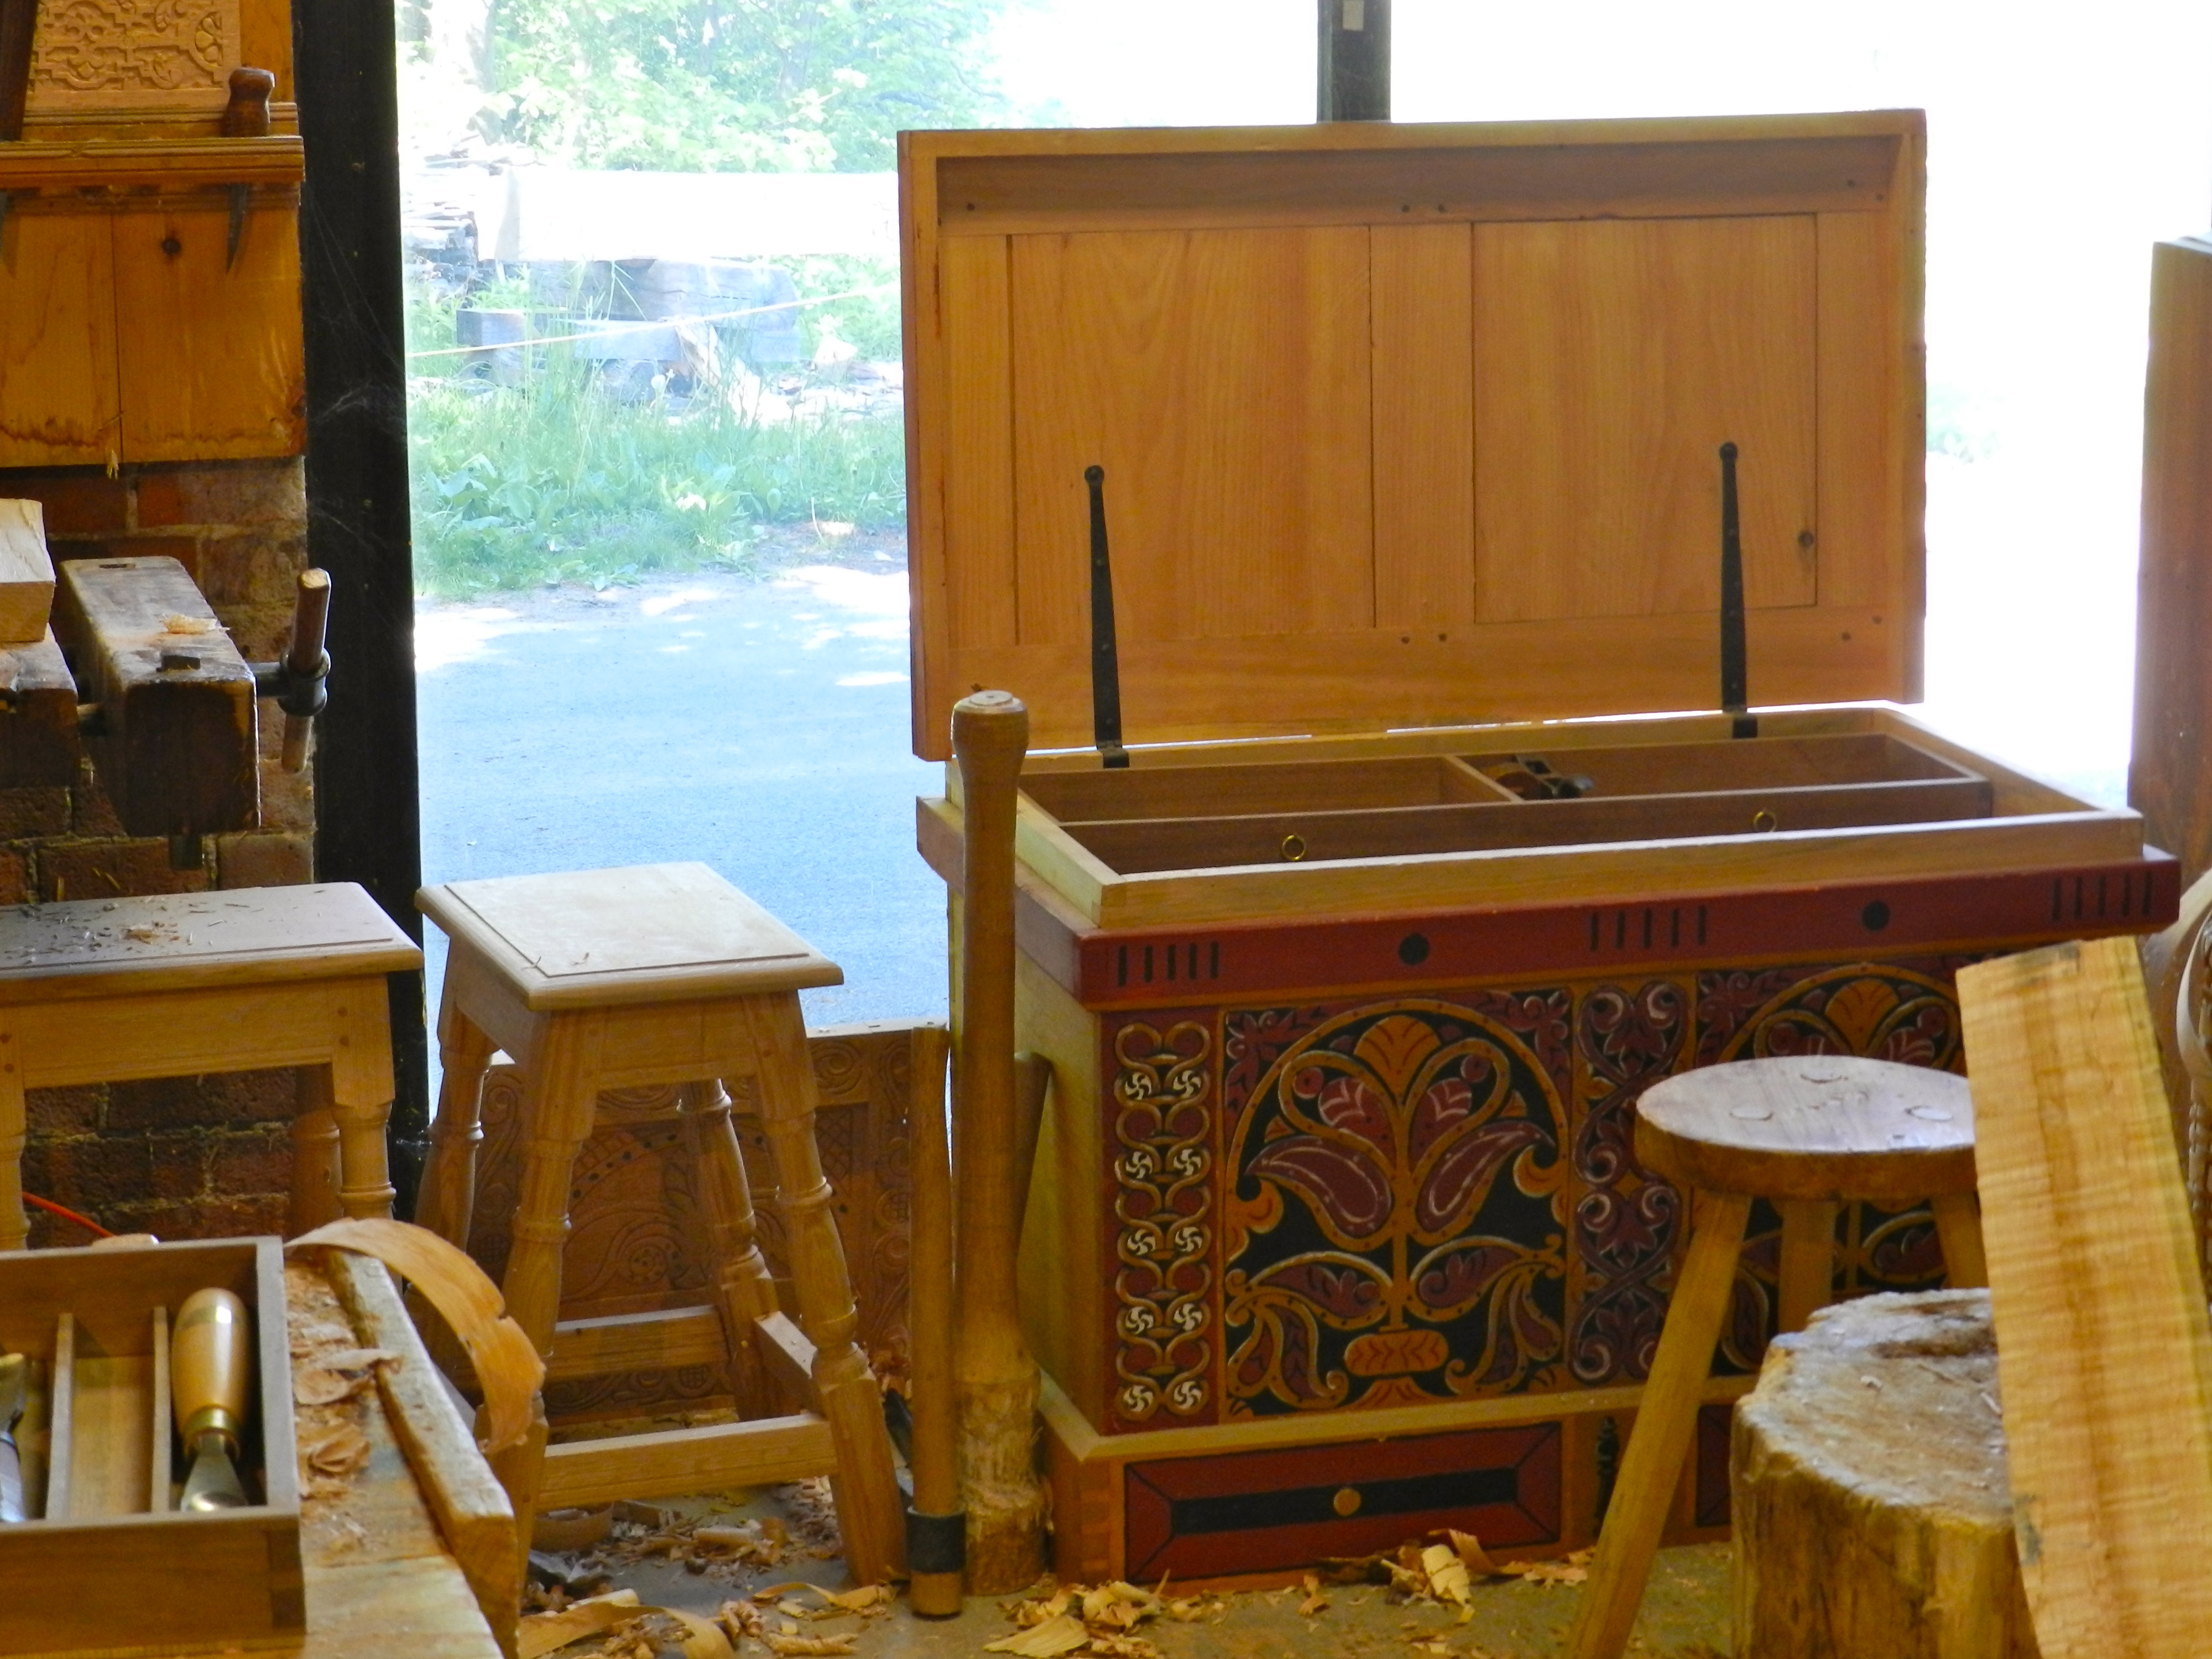
One of the joys of an event at Eastfield Village is to work by natural light in a beautiful and immersive setting — in this case Don Carpentier’s village of carefully moved and restored historic buildings — taverns, trade shops, homes and outbuildings.
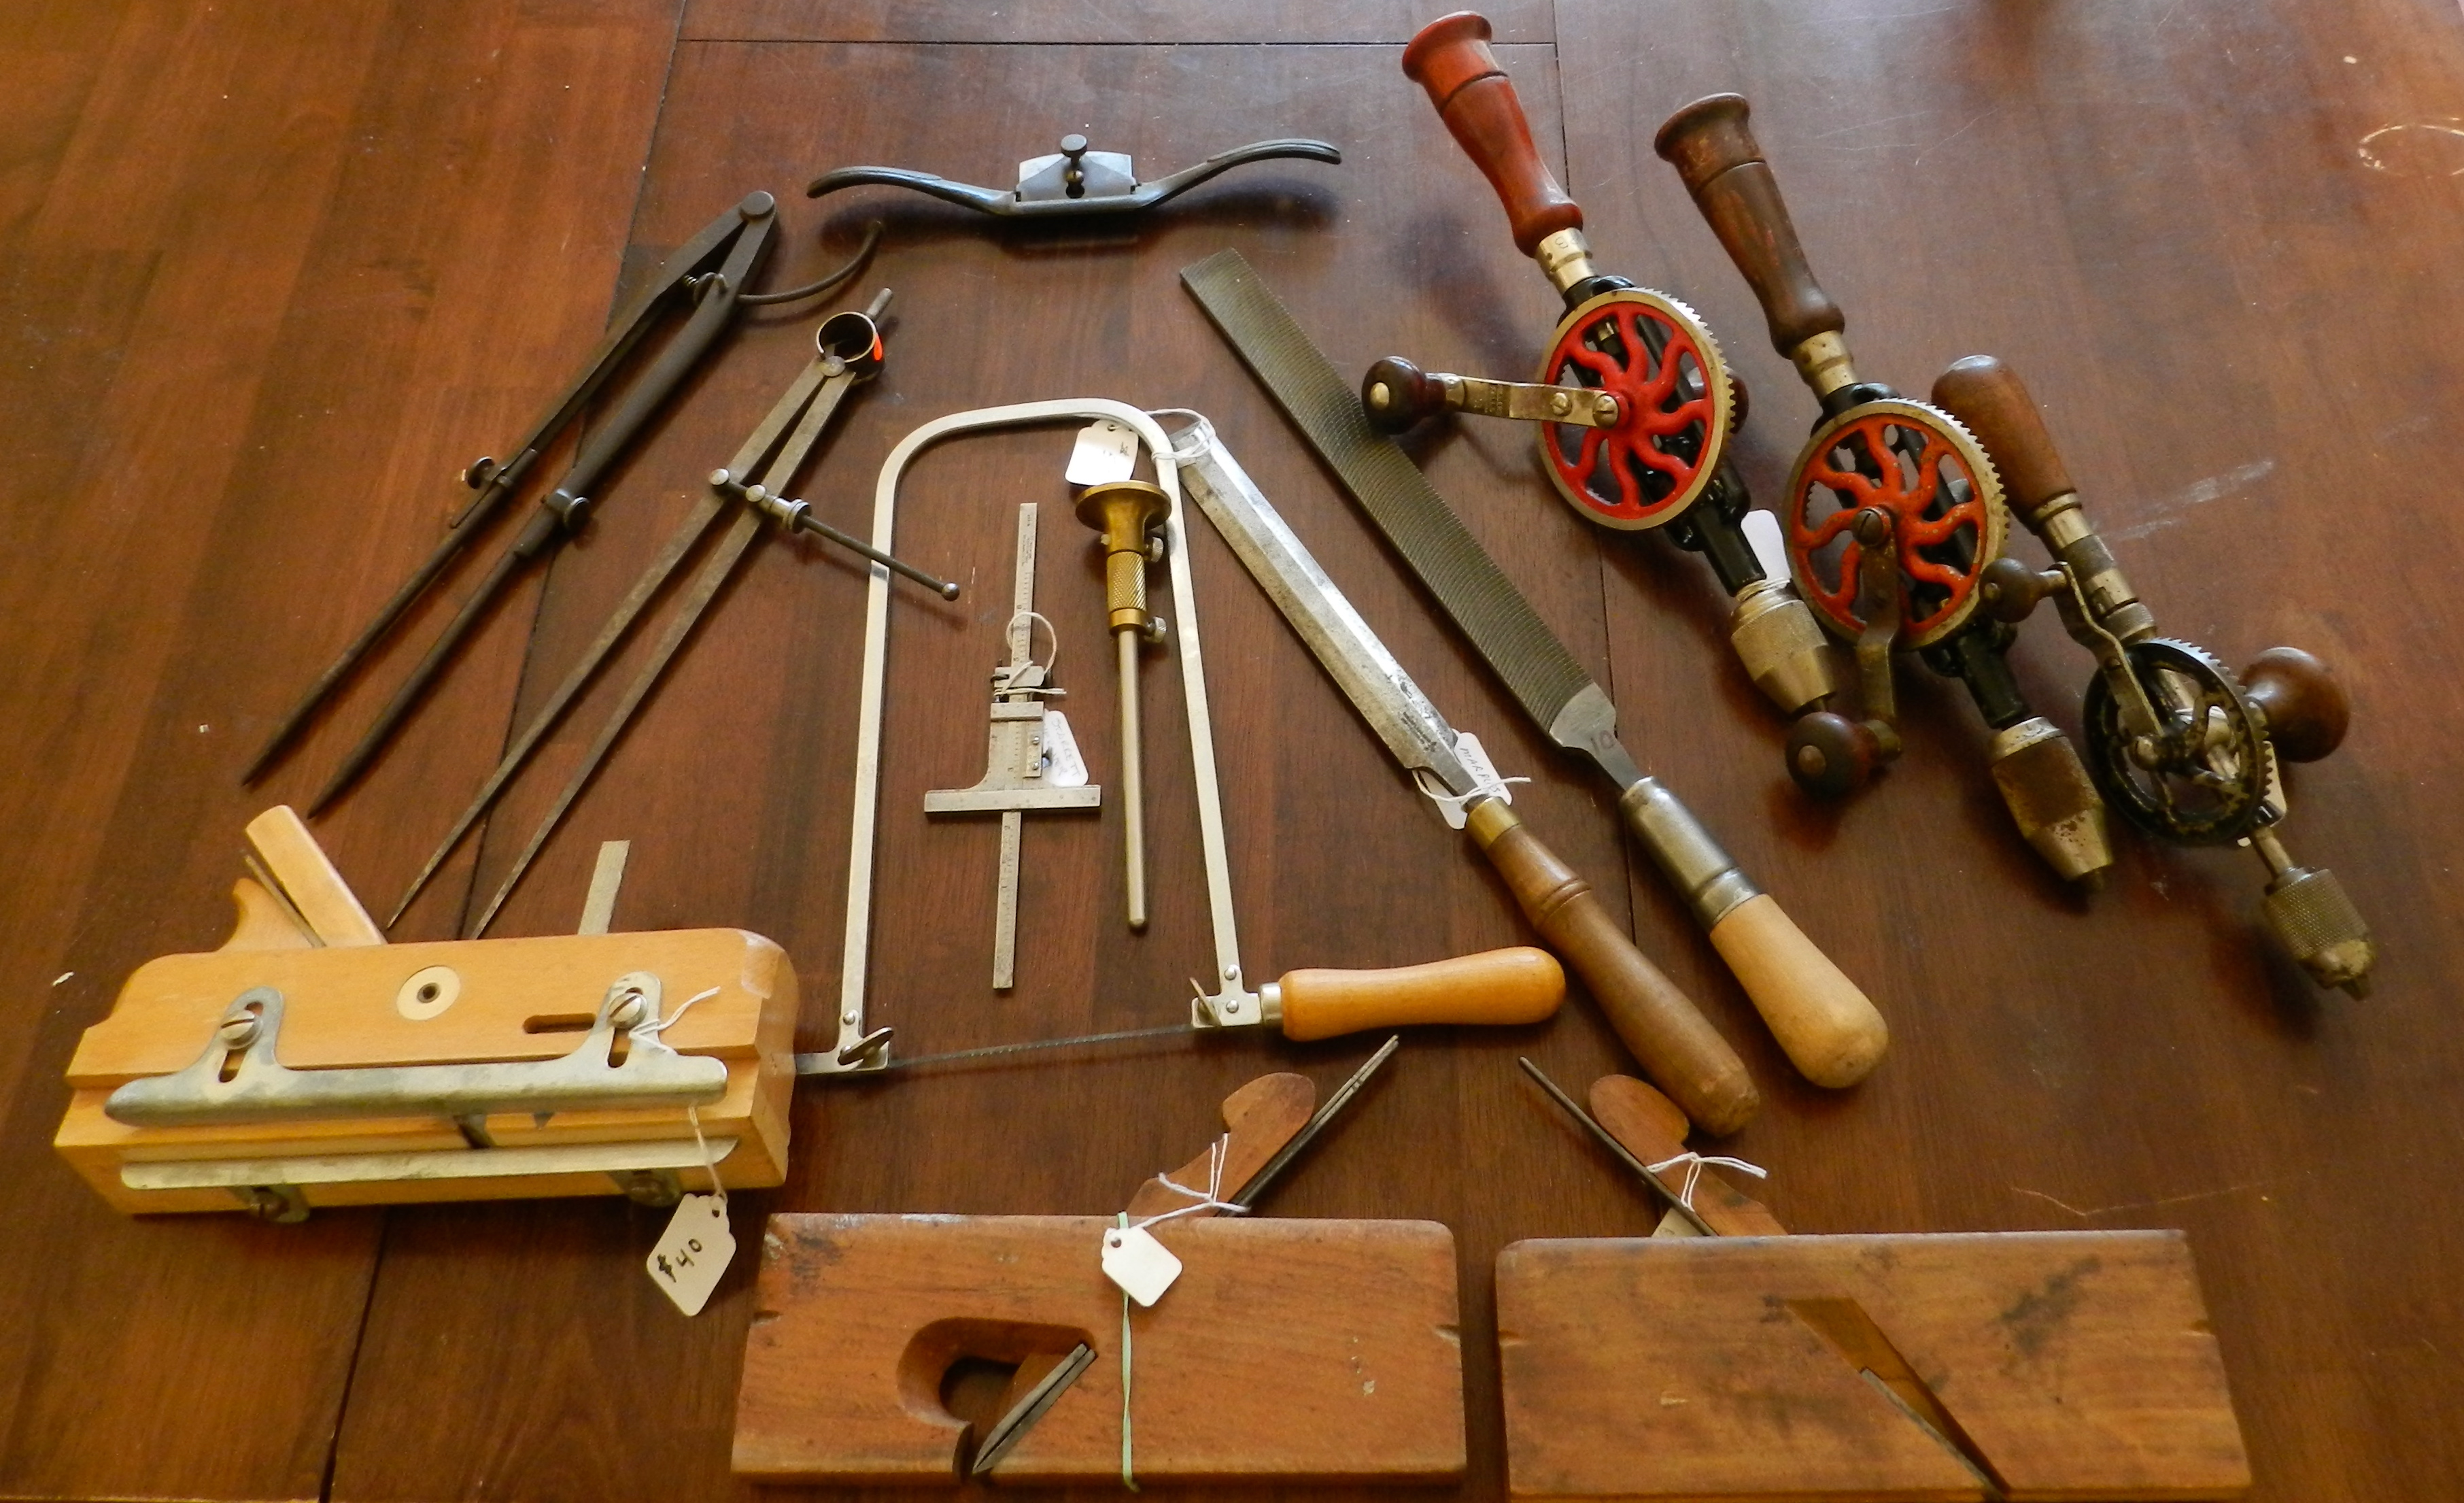
After an orientation to the tools and classroom setup I demonstrated how to evaluate a molding plane and how to tune up an iron. We also talked about the wide variety of profiles that can be created from even a very modest set of molding planes. The profiles below can be created using a beading plane, a pair of hollows and rounds (say #8) and a rabbet plane.
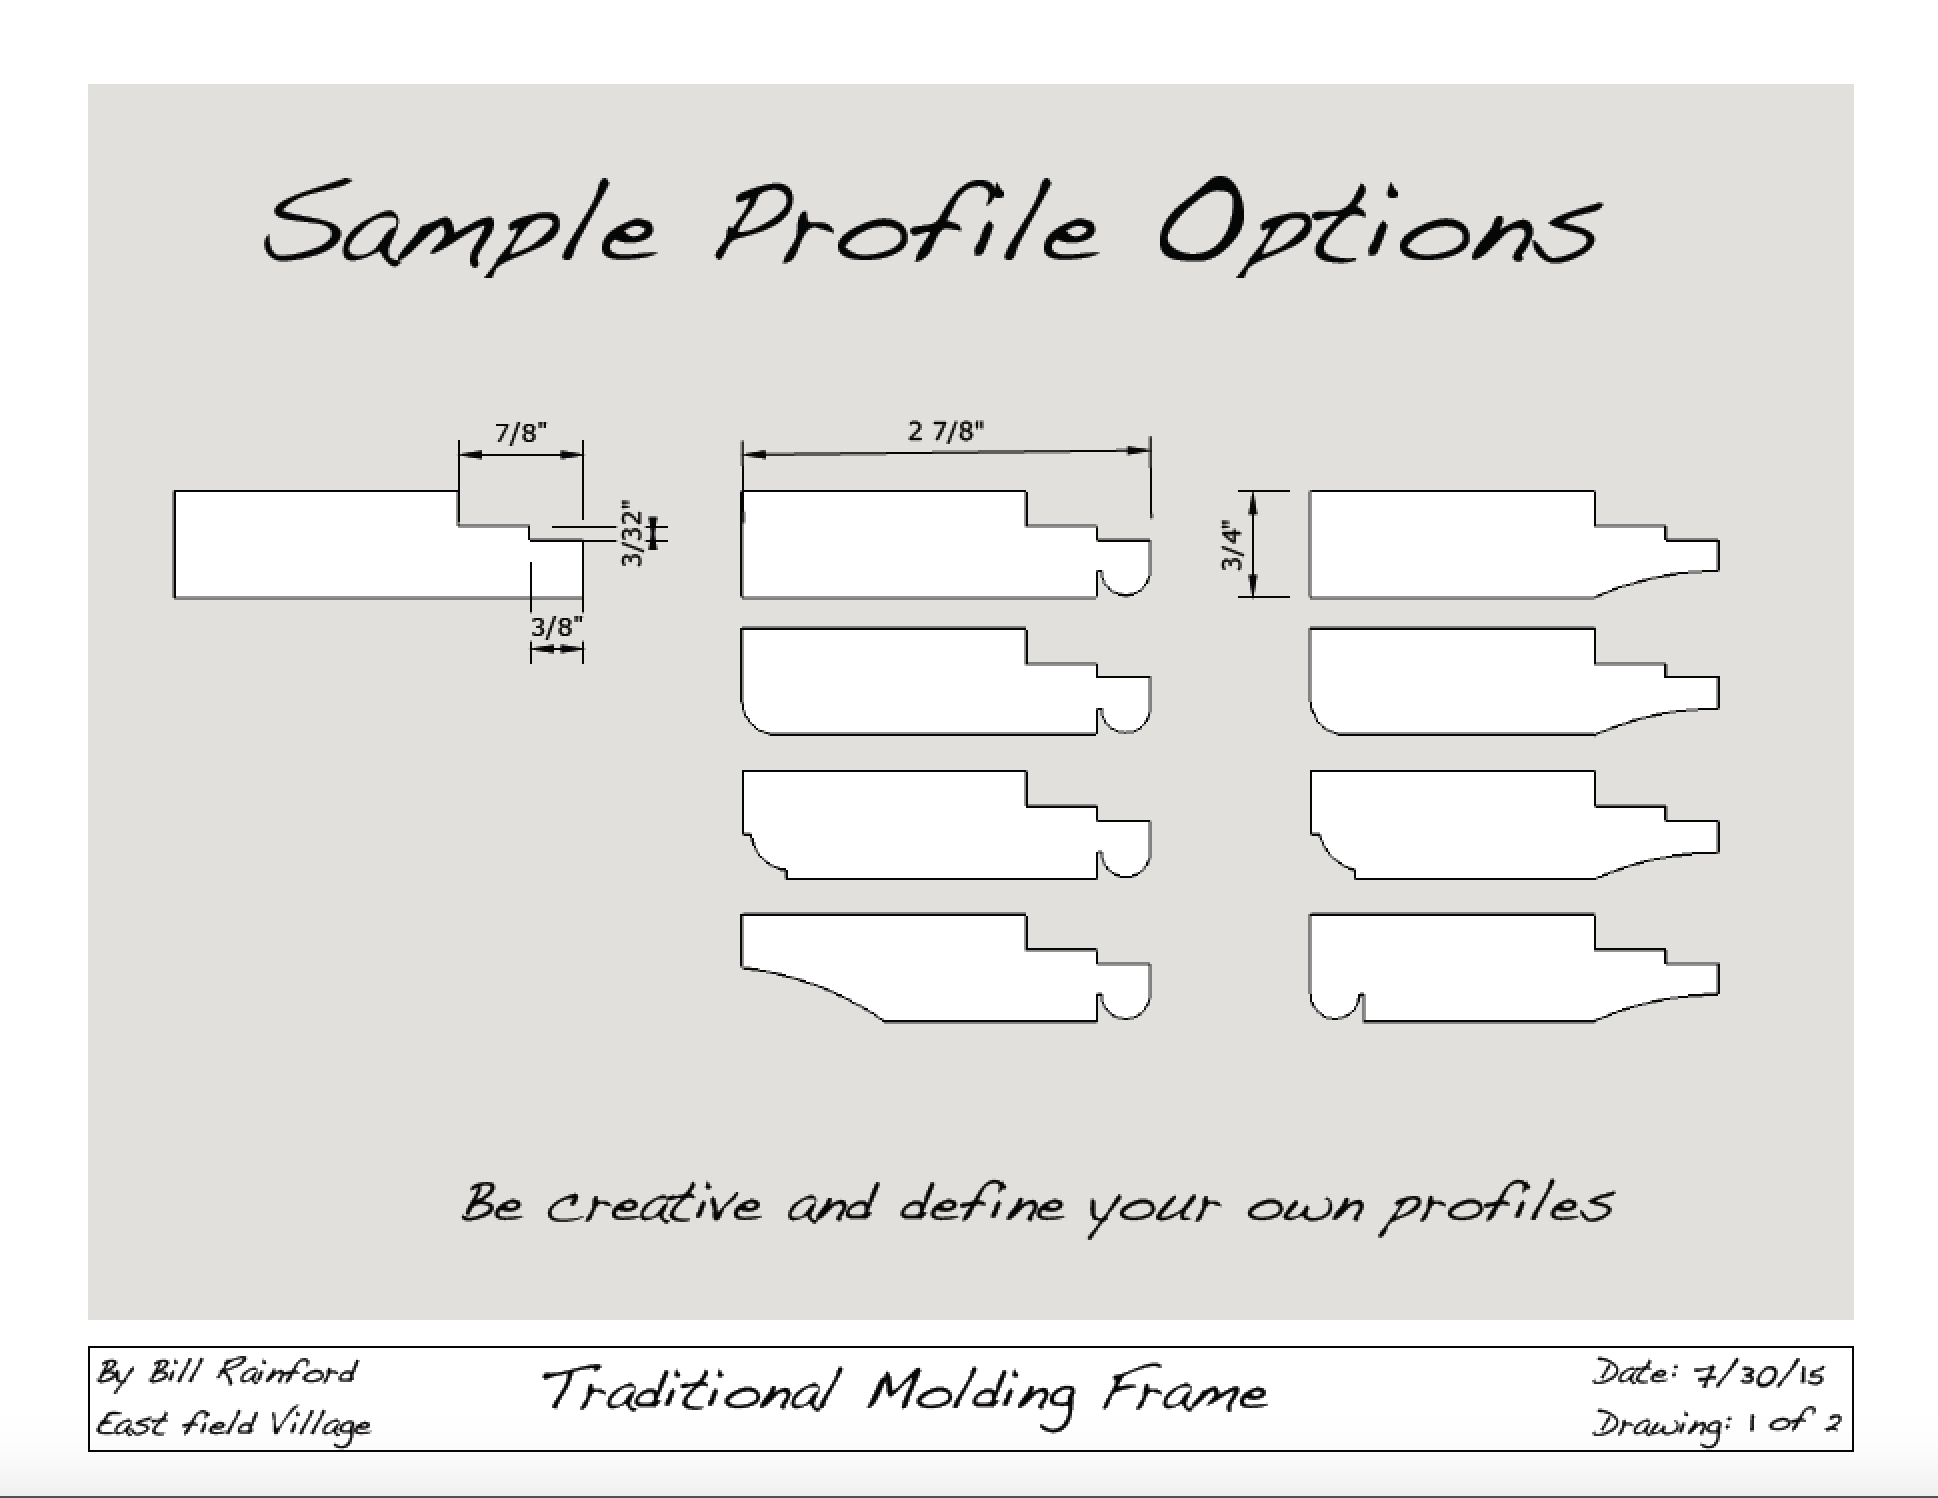
And with hollows and rounds the profiles are only limited by your imagination.
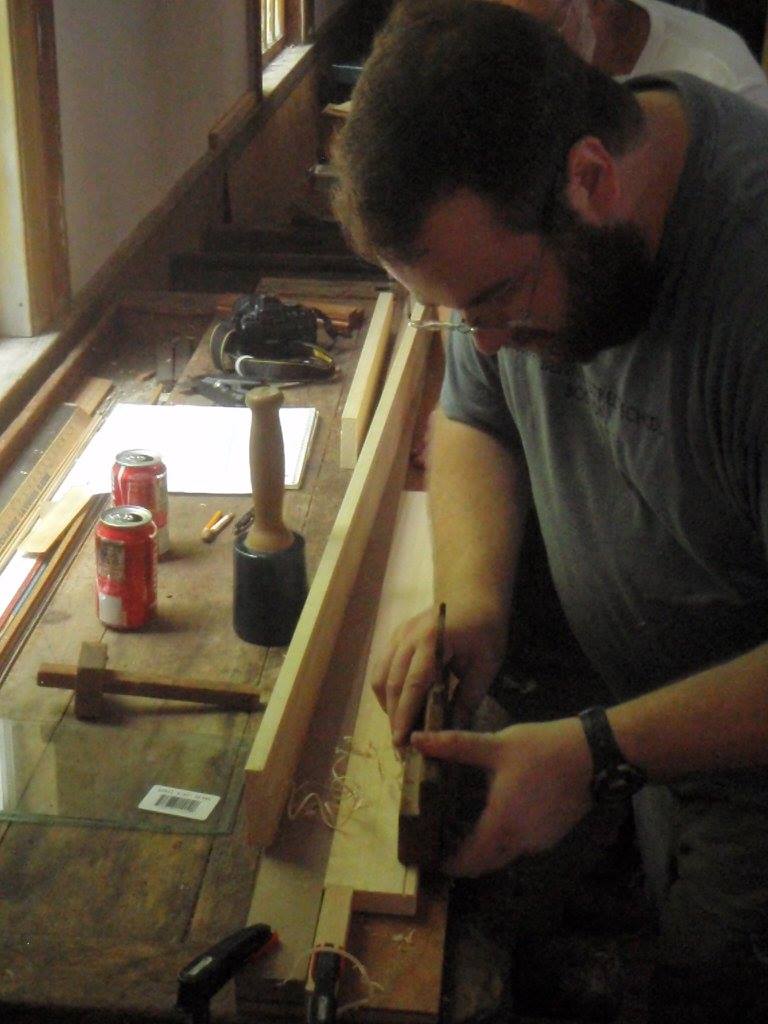
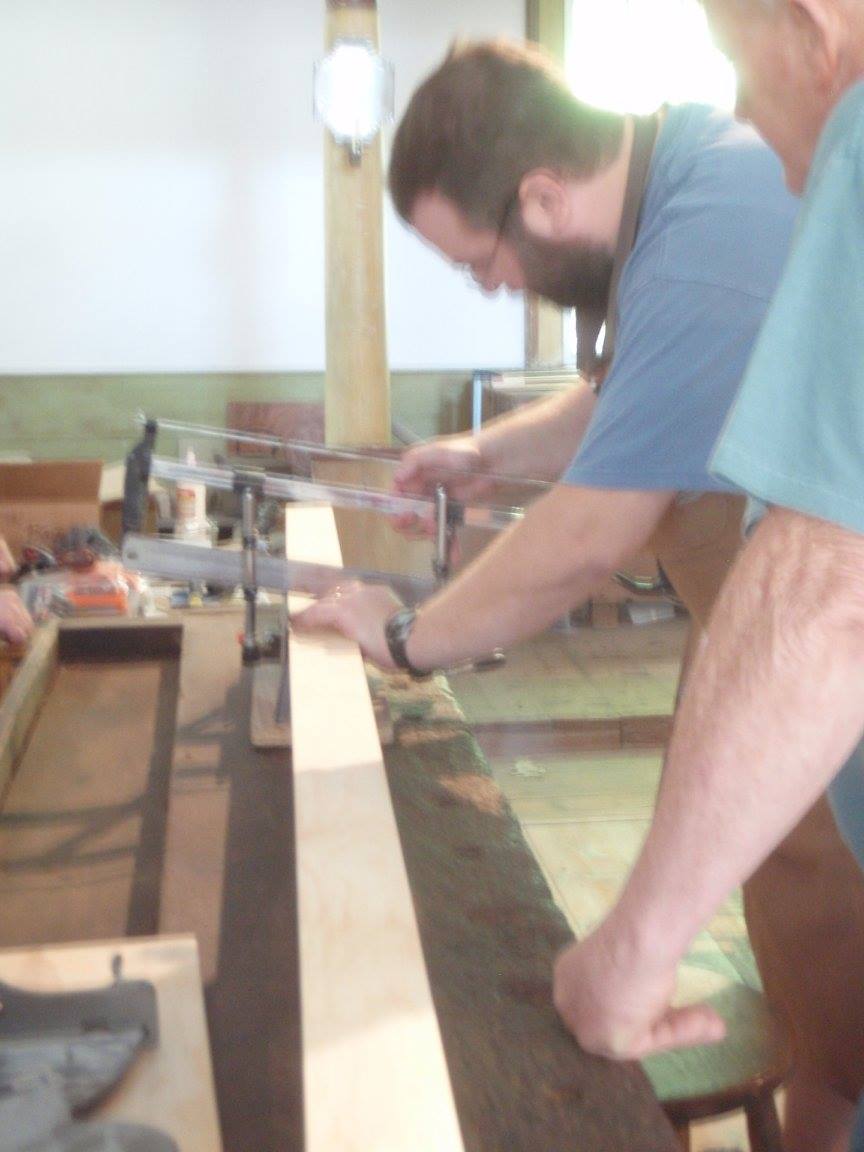
Students tuned up their planes, squared up their stock, and tested their plane setup on some scrap and set about making the stepped rabbet needed to hold the glass in place and the plywood back. The plywood back is carefully screwed in place and helps created a very solid/rigid frame compared to the floating backs held in by stamped metal retainers we see on many modern store bought frames. The long piece of plywood with an MDF fence and screws at the end to secure the stock is called a ‘sticking board’ and can be as long or as short as your project stock requires.
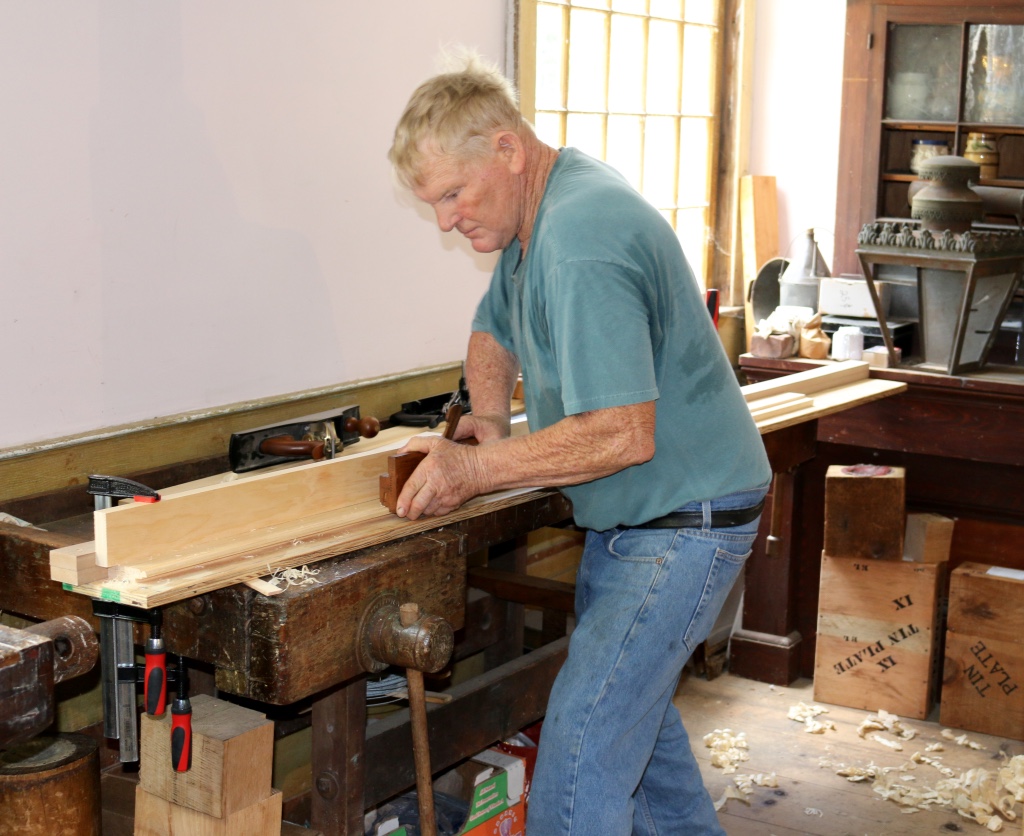
Next up students started molding their chosen profile(s). We talked about how to work backwards withe the molding planes building on the work of an earlier swipe, how to adjust irons as needed and how to get a nice finish on the profile.
With a fully molded piece of stock now it was time to layout your cuts and cut the miters. In this case students left the line knowing that we could creep up on it by using my Lion Mitre-Master (large metal frame-makers guillotine) or a shooting board with 45 degree insert to clean up the corners and ensure we have a nice tight miter at each corner.
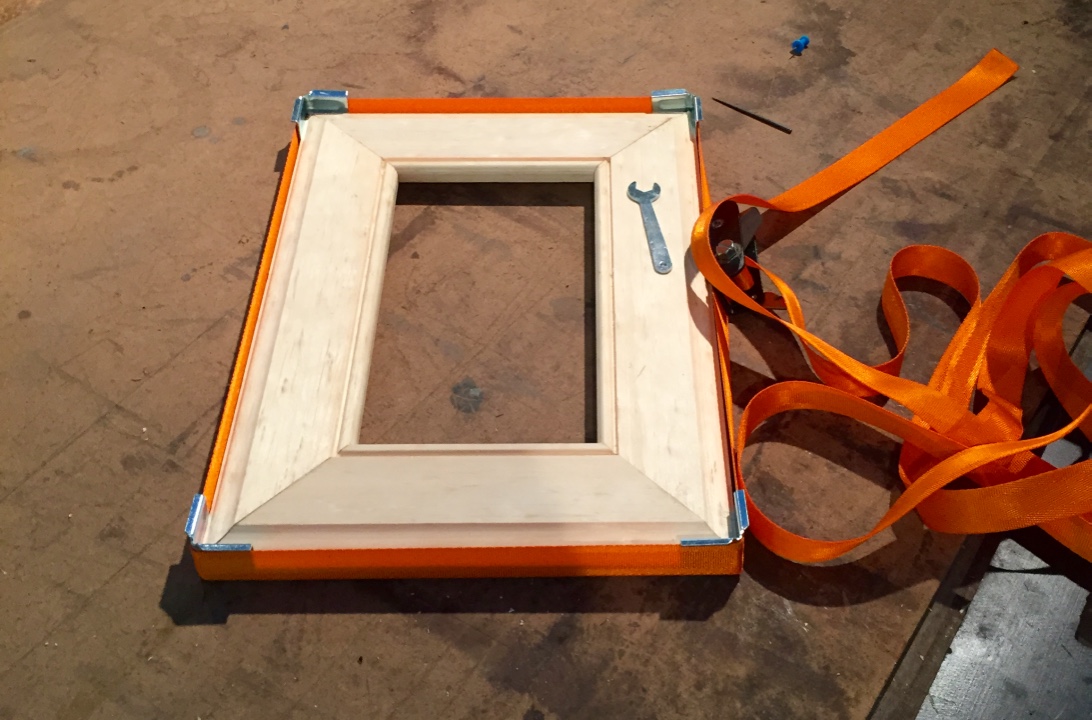
With the woodworking complete, next up was a test fit in the band clamps and then final gluing of the frame. While the frames baked in the clamps it was time to cut the glass to size and test fit it. We did this with a self-oiling glass cutter and a layout I made on the bench. Once the glass was fit it was time to layout and countersink the plywood back which was made if 1/4″ thick Baltic birch plywood and secured with #6 1/2″ waxed screws. We used bit braces and egg-beater drills to make quick work of this step.
Hanging hardware came in the form of a self leveling hanger (Think saw-tooth that hangs on single nail) which is affixed with two tiny brads. An appropriate finish would be stain and shellac or a nice bright milk-paint.
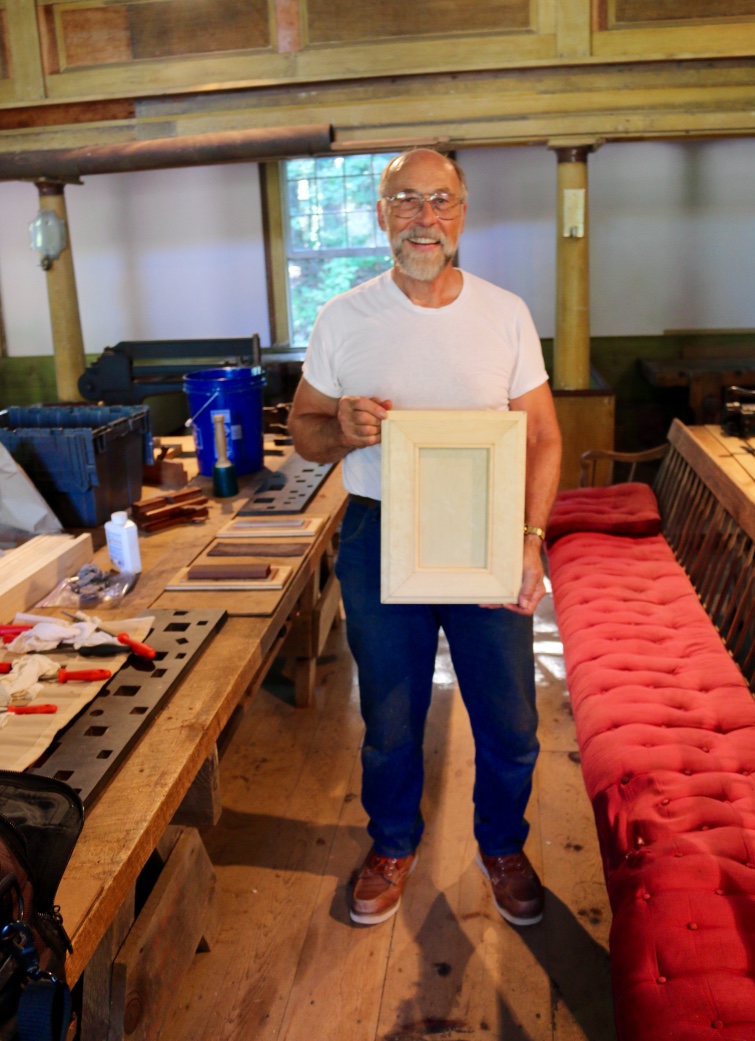
I’m happy to report that everyone in the class was able to complete their frame, and I had a great time working with Tom, Don, Carol and Brian. (Carol I’m sorry that I didn’t have any photos of you working to add to this post, but I did make use of some of those photos of me you share with me — thanks again) .
If you’d like to make a frame of your own the plans I put together for this workshop can be seen and downloaded from the link below. The seemingly odd size of this frame was dictated by two factors — the smallest size glass I can get at my local home center is 10×12″ so if you cut it in half you wind up with two 6×10″ pieces which allows each student to have a spare in case their glass cutting didn’t go well and they need a spare or they find time to make a second frame. The size is also dictated by the sticking board and stock. I wanted something that would fit on the 8′ sticking boards I had and allow some extra space in layout and for cutting and to have a bit for testing/trial. The plans below could be scaled up or down to fit whatever size frame you desire.
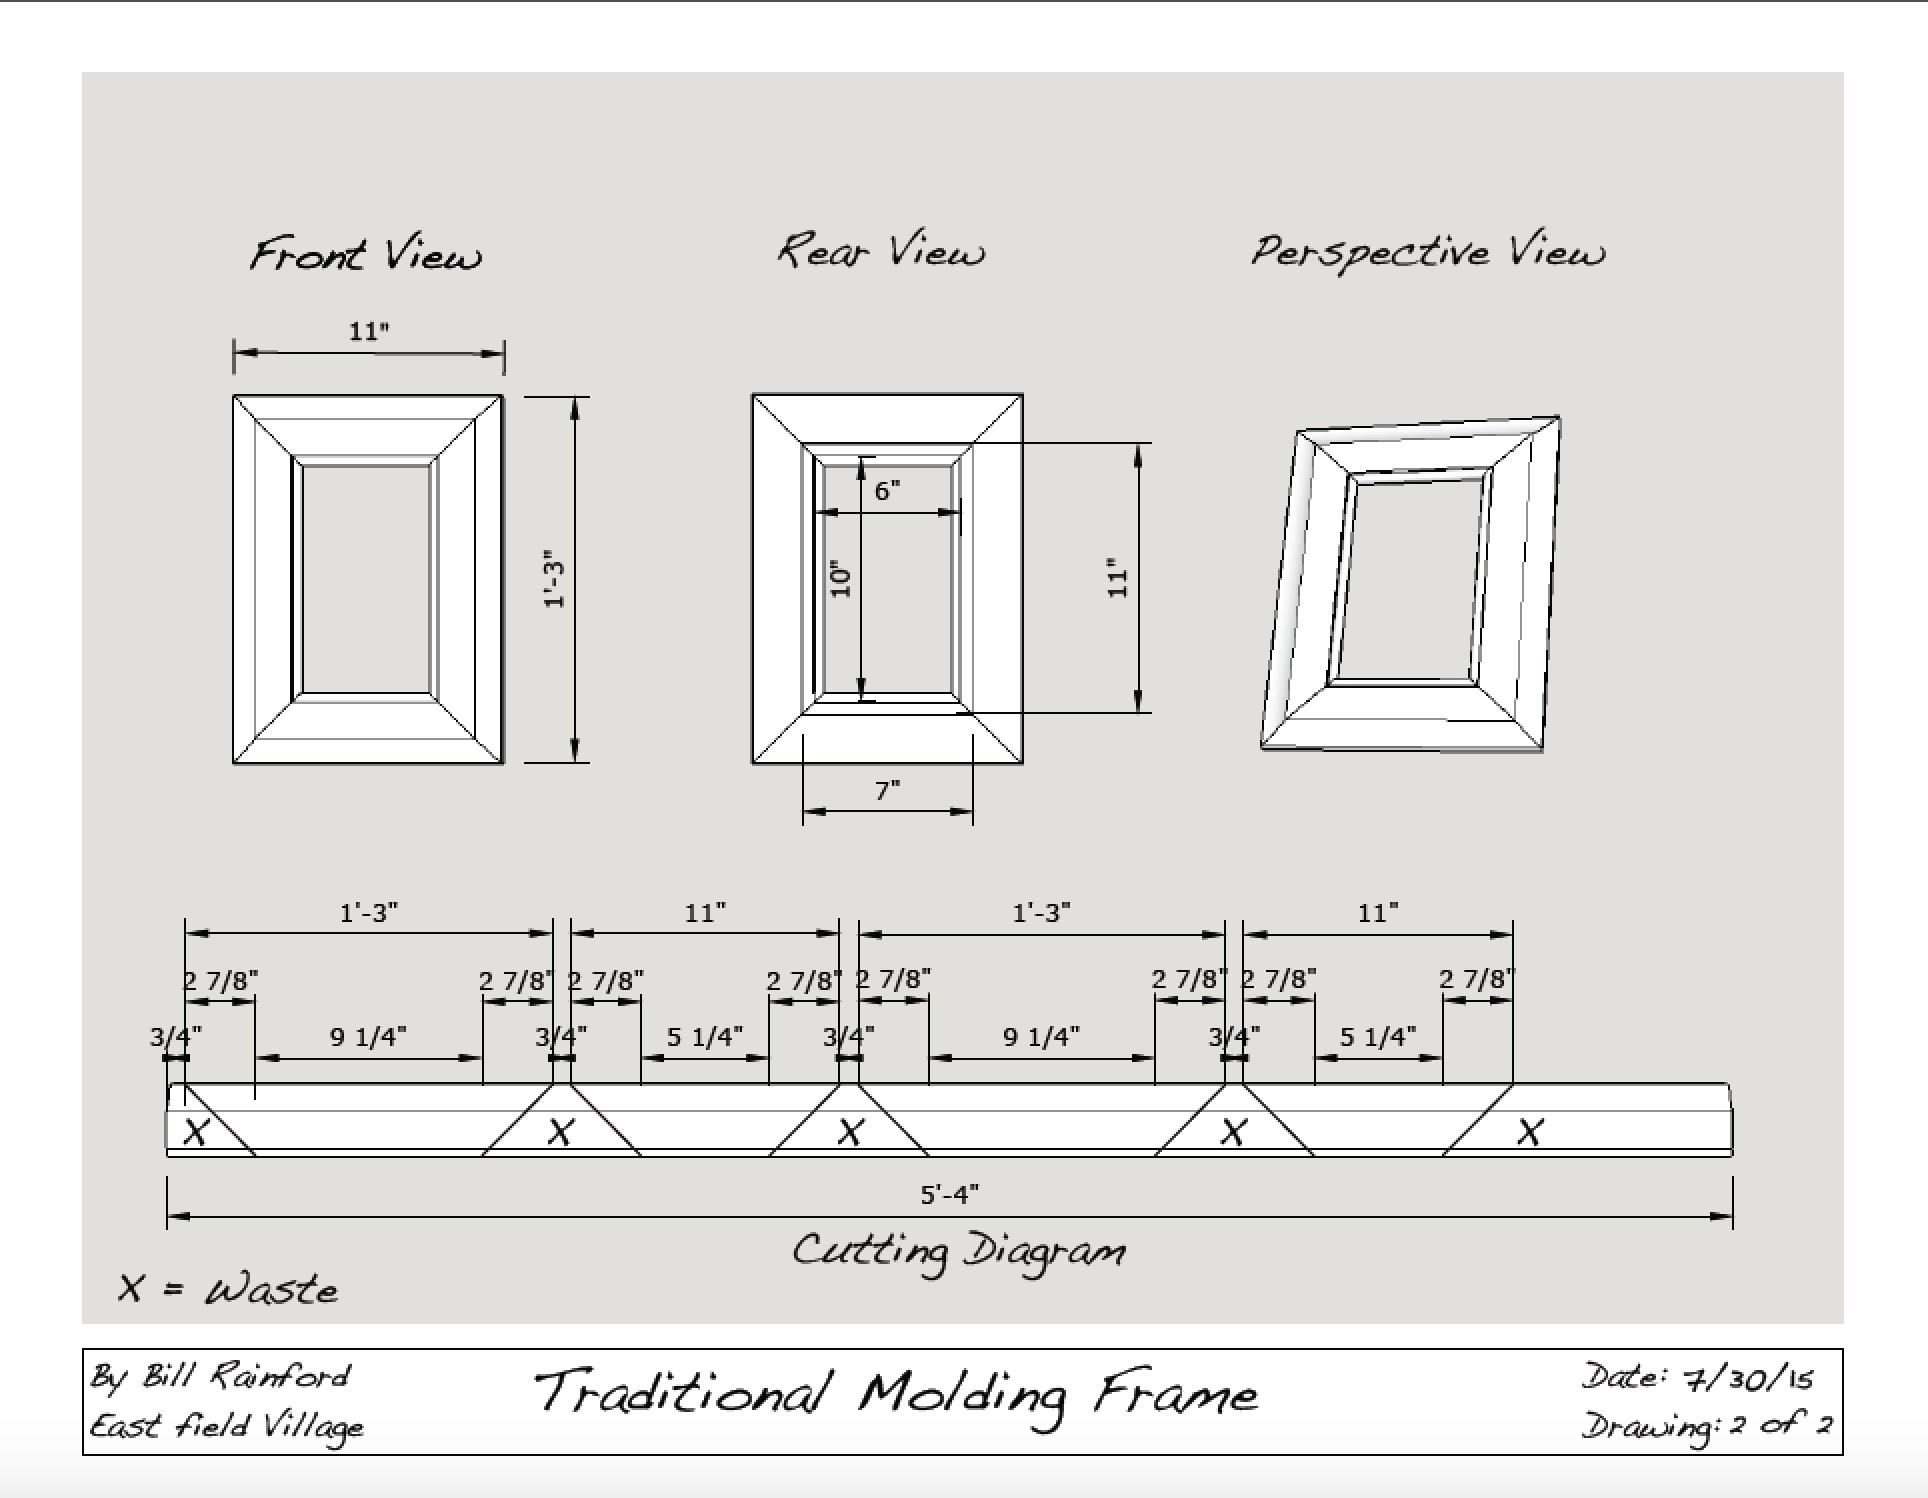
Click here to download PDF Version of the handouts I made for this class.
If you make a frame of your own and take some photos of it, please share it in the comments below. It’s a great project that can add some unique personality to your pictures and add valuable skills to your woodworking repertoire.
Take care,
-Bill


, its use in early Plimoth, and the recreation of some of these vessels")