Tag Archives: Joiner

I am a Joiner…

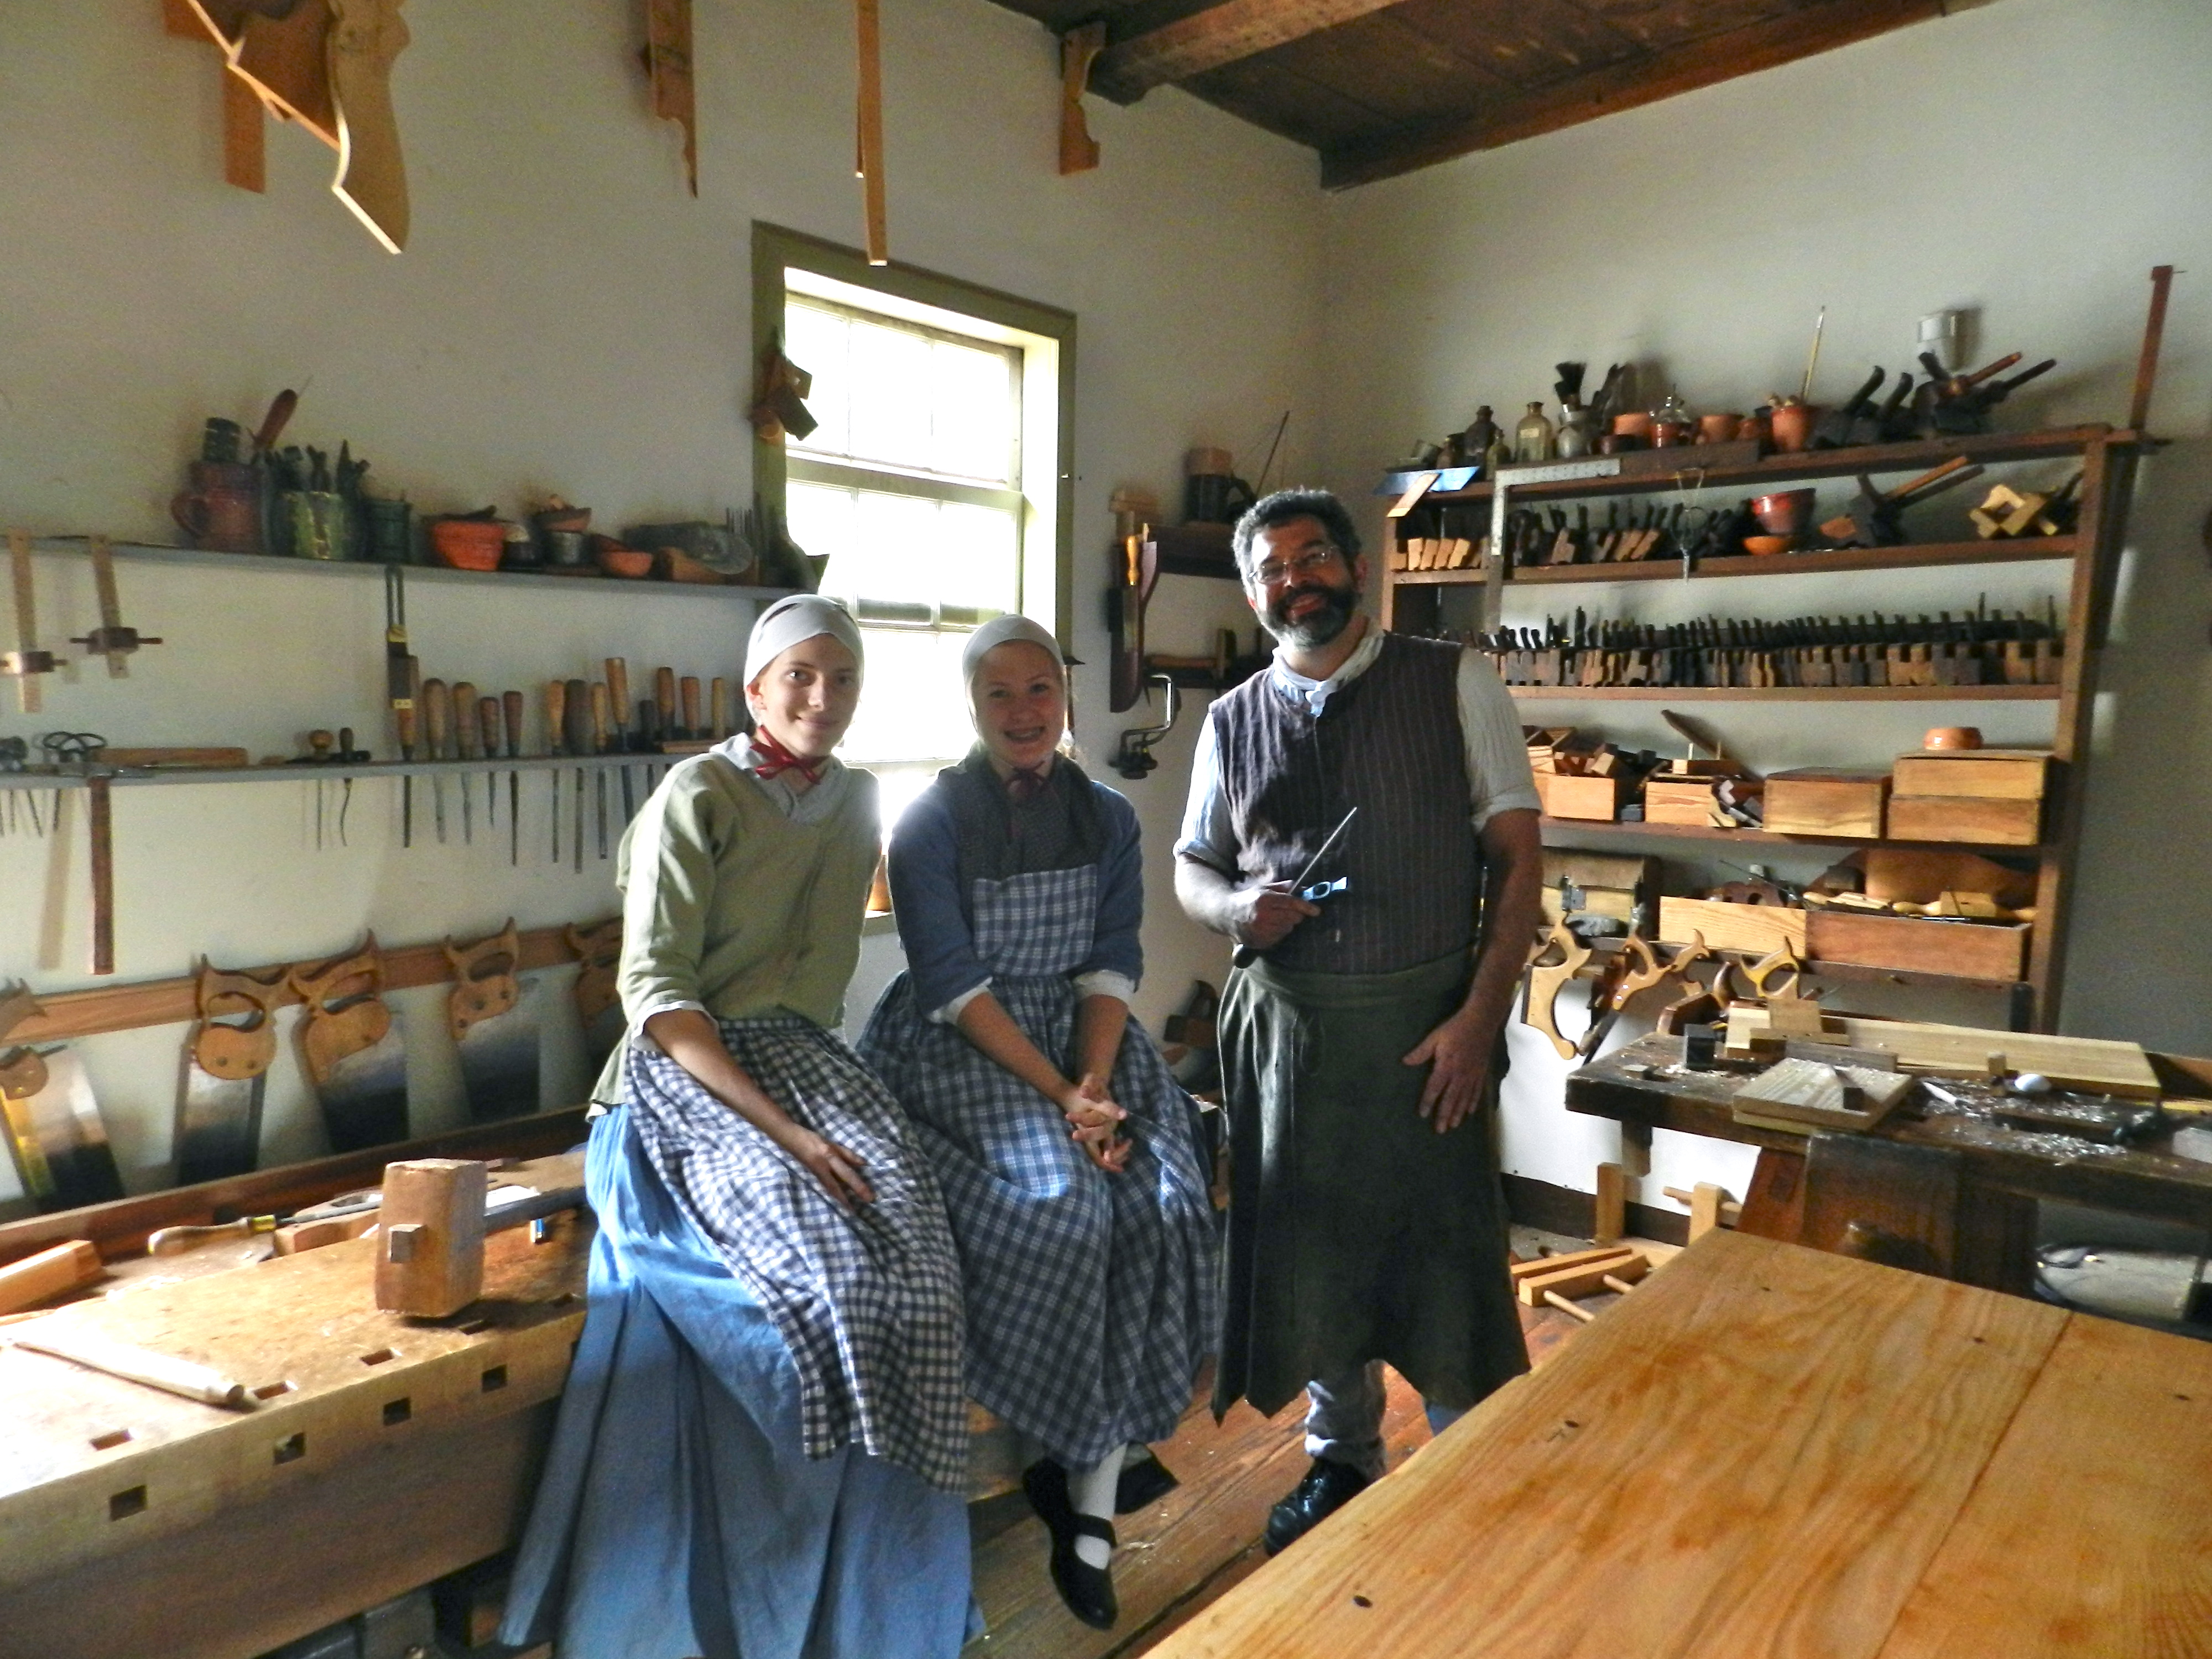
I’ve been keeping my local haberdasher busy as I often find myself wearing a wide variety of hats in the course of my work. I regularly have to function as a preservation carpenter, cabinet maker, turner, tailor, timber framer, historian, carver, draftsmen, author, instructor, blogger, handyman and traditional hat aficionado.

That’s a bit of a mouthful to rattle off when you meet someone new.  To simplify I usually tell people I work as a traditional joiner. Often there is a bit of a pause and some clarifying questions. Many folks realize that most of the epithets above generally revolve around a core of skilled woodworking, but they cannot articulate what makes it a true specialty.

Symbol of a Joiner -- Axe for Rough Work and Chisel for Fine Work and Joinery
Symbols of a Joiner — Carpenter’s Axe for Rough Work and Chisel for Fine Work and Joinery
What does it mean to be a joiner?
Let’s consult our trusty friend the dictionary:
join·er
noun
1. a person who constructs the wooden components of a building, such as stairs, doors, and door and window frames. *

That’s a start, but doesn’t capture the whole of what makes someone a joiner…

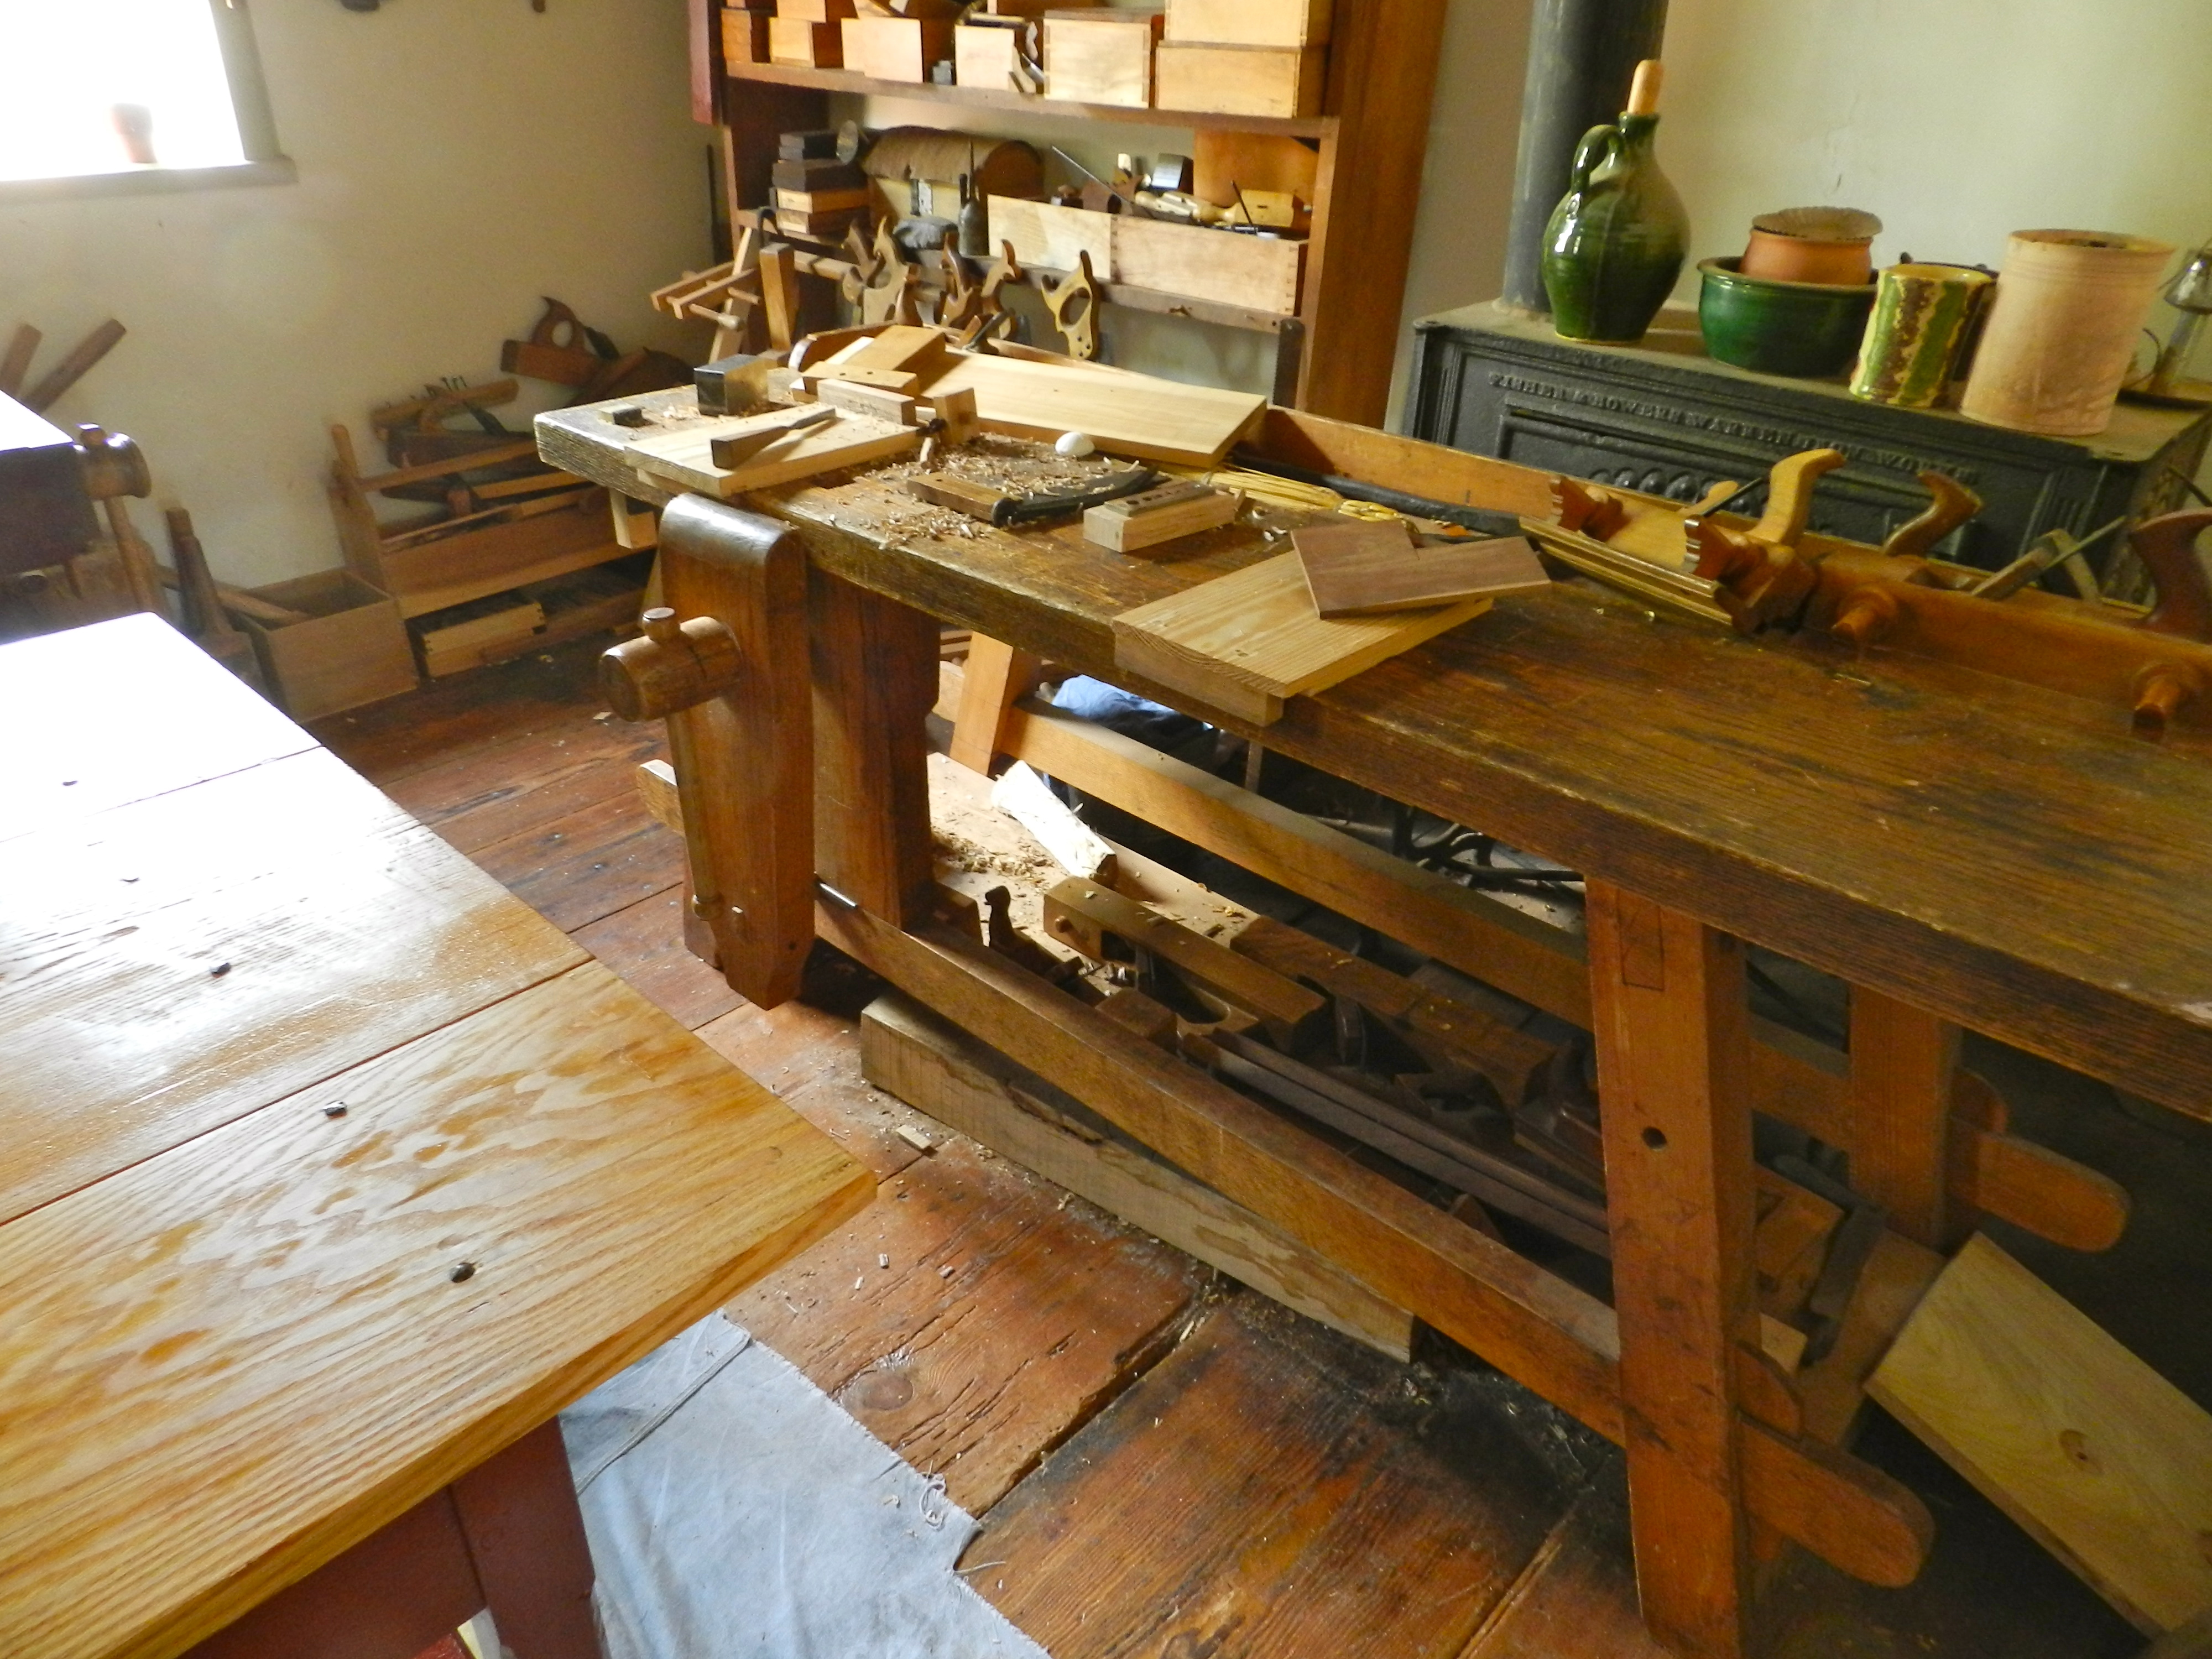
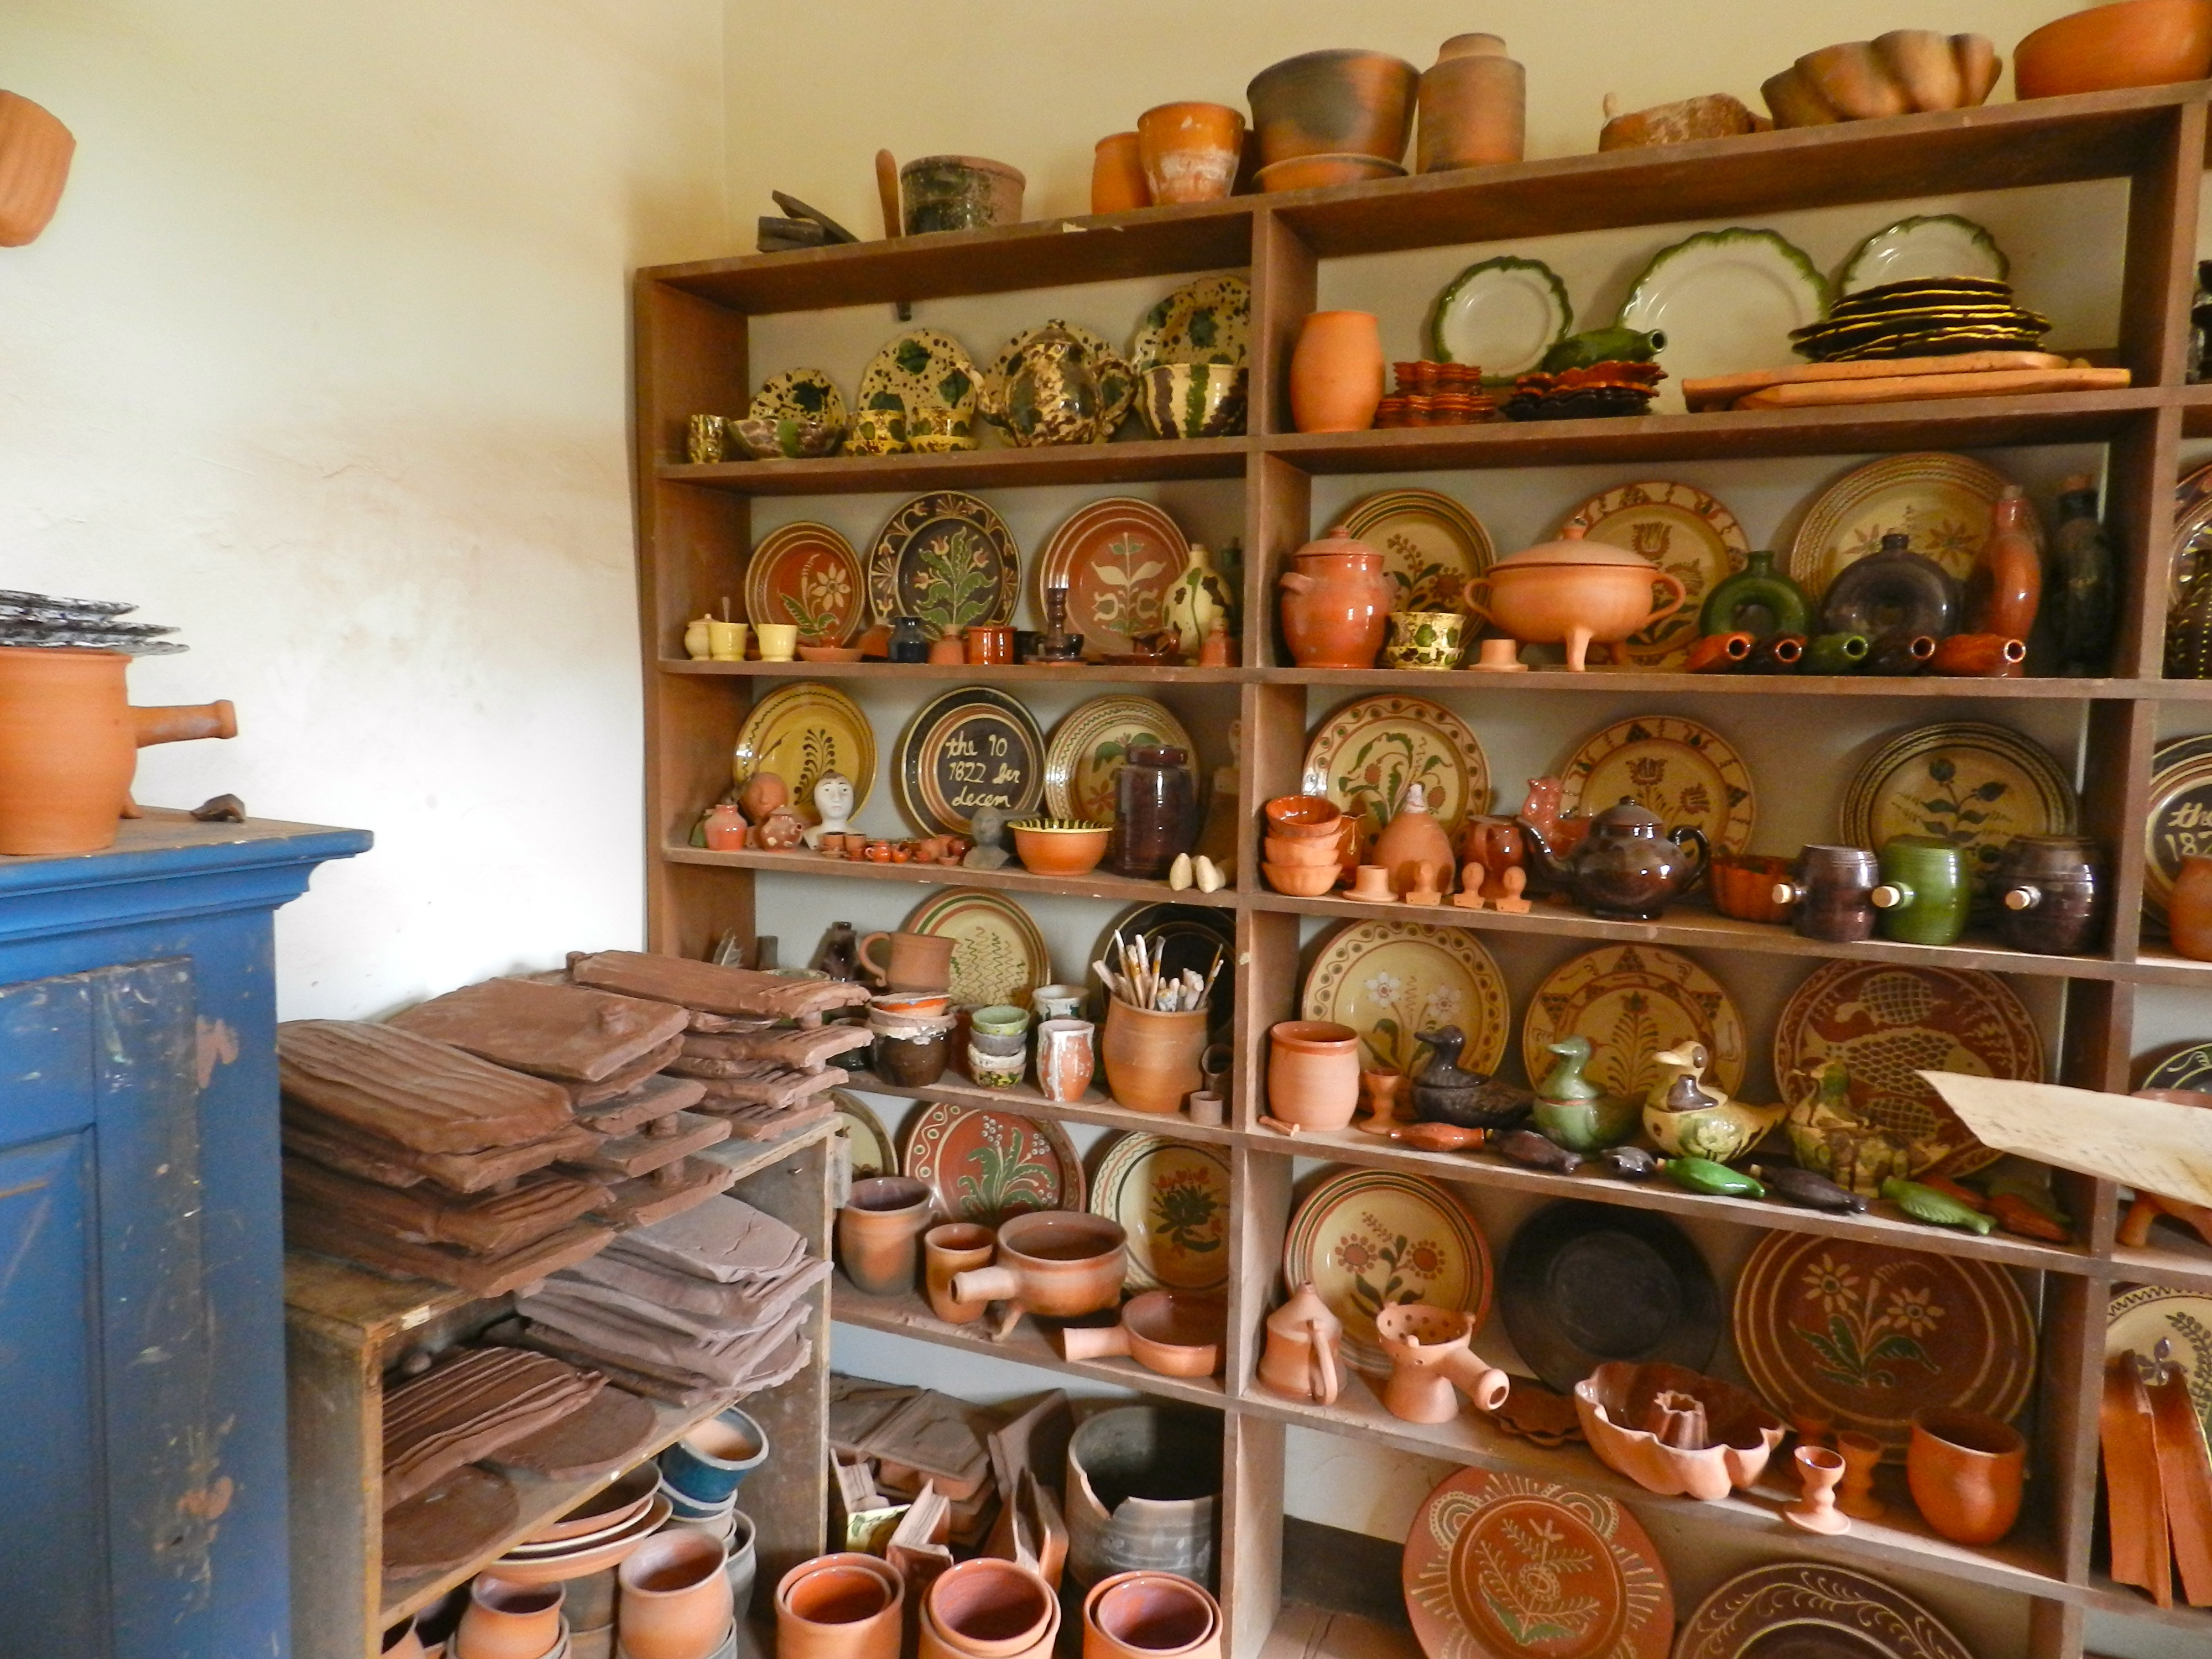
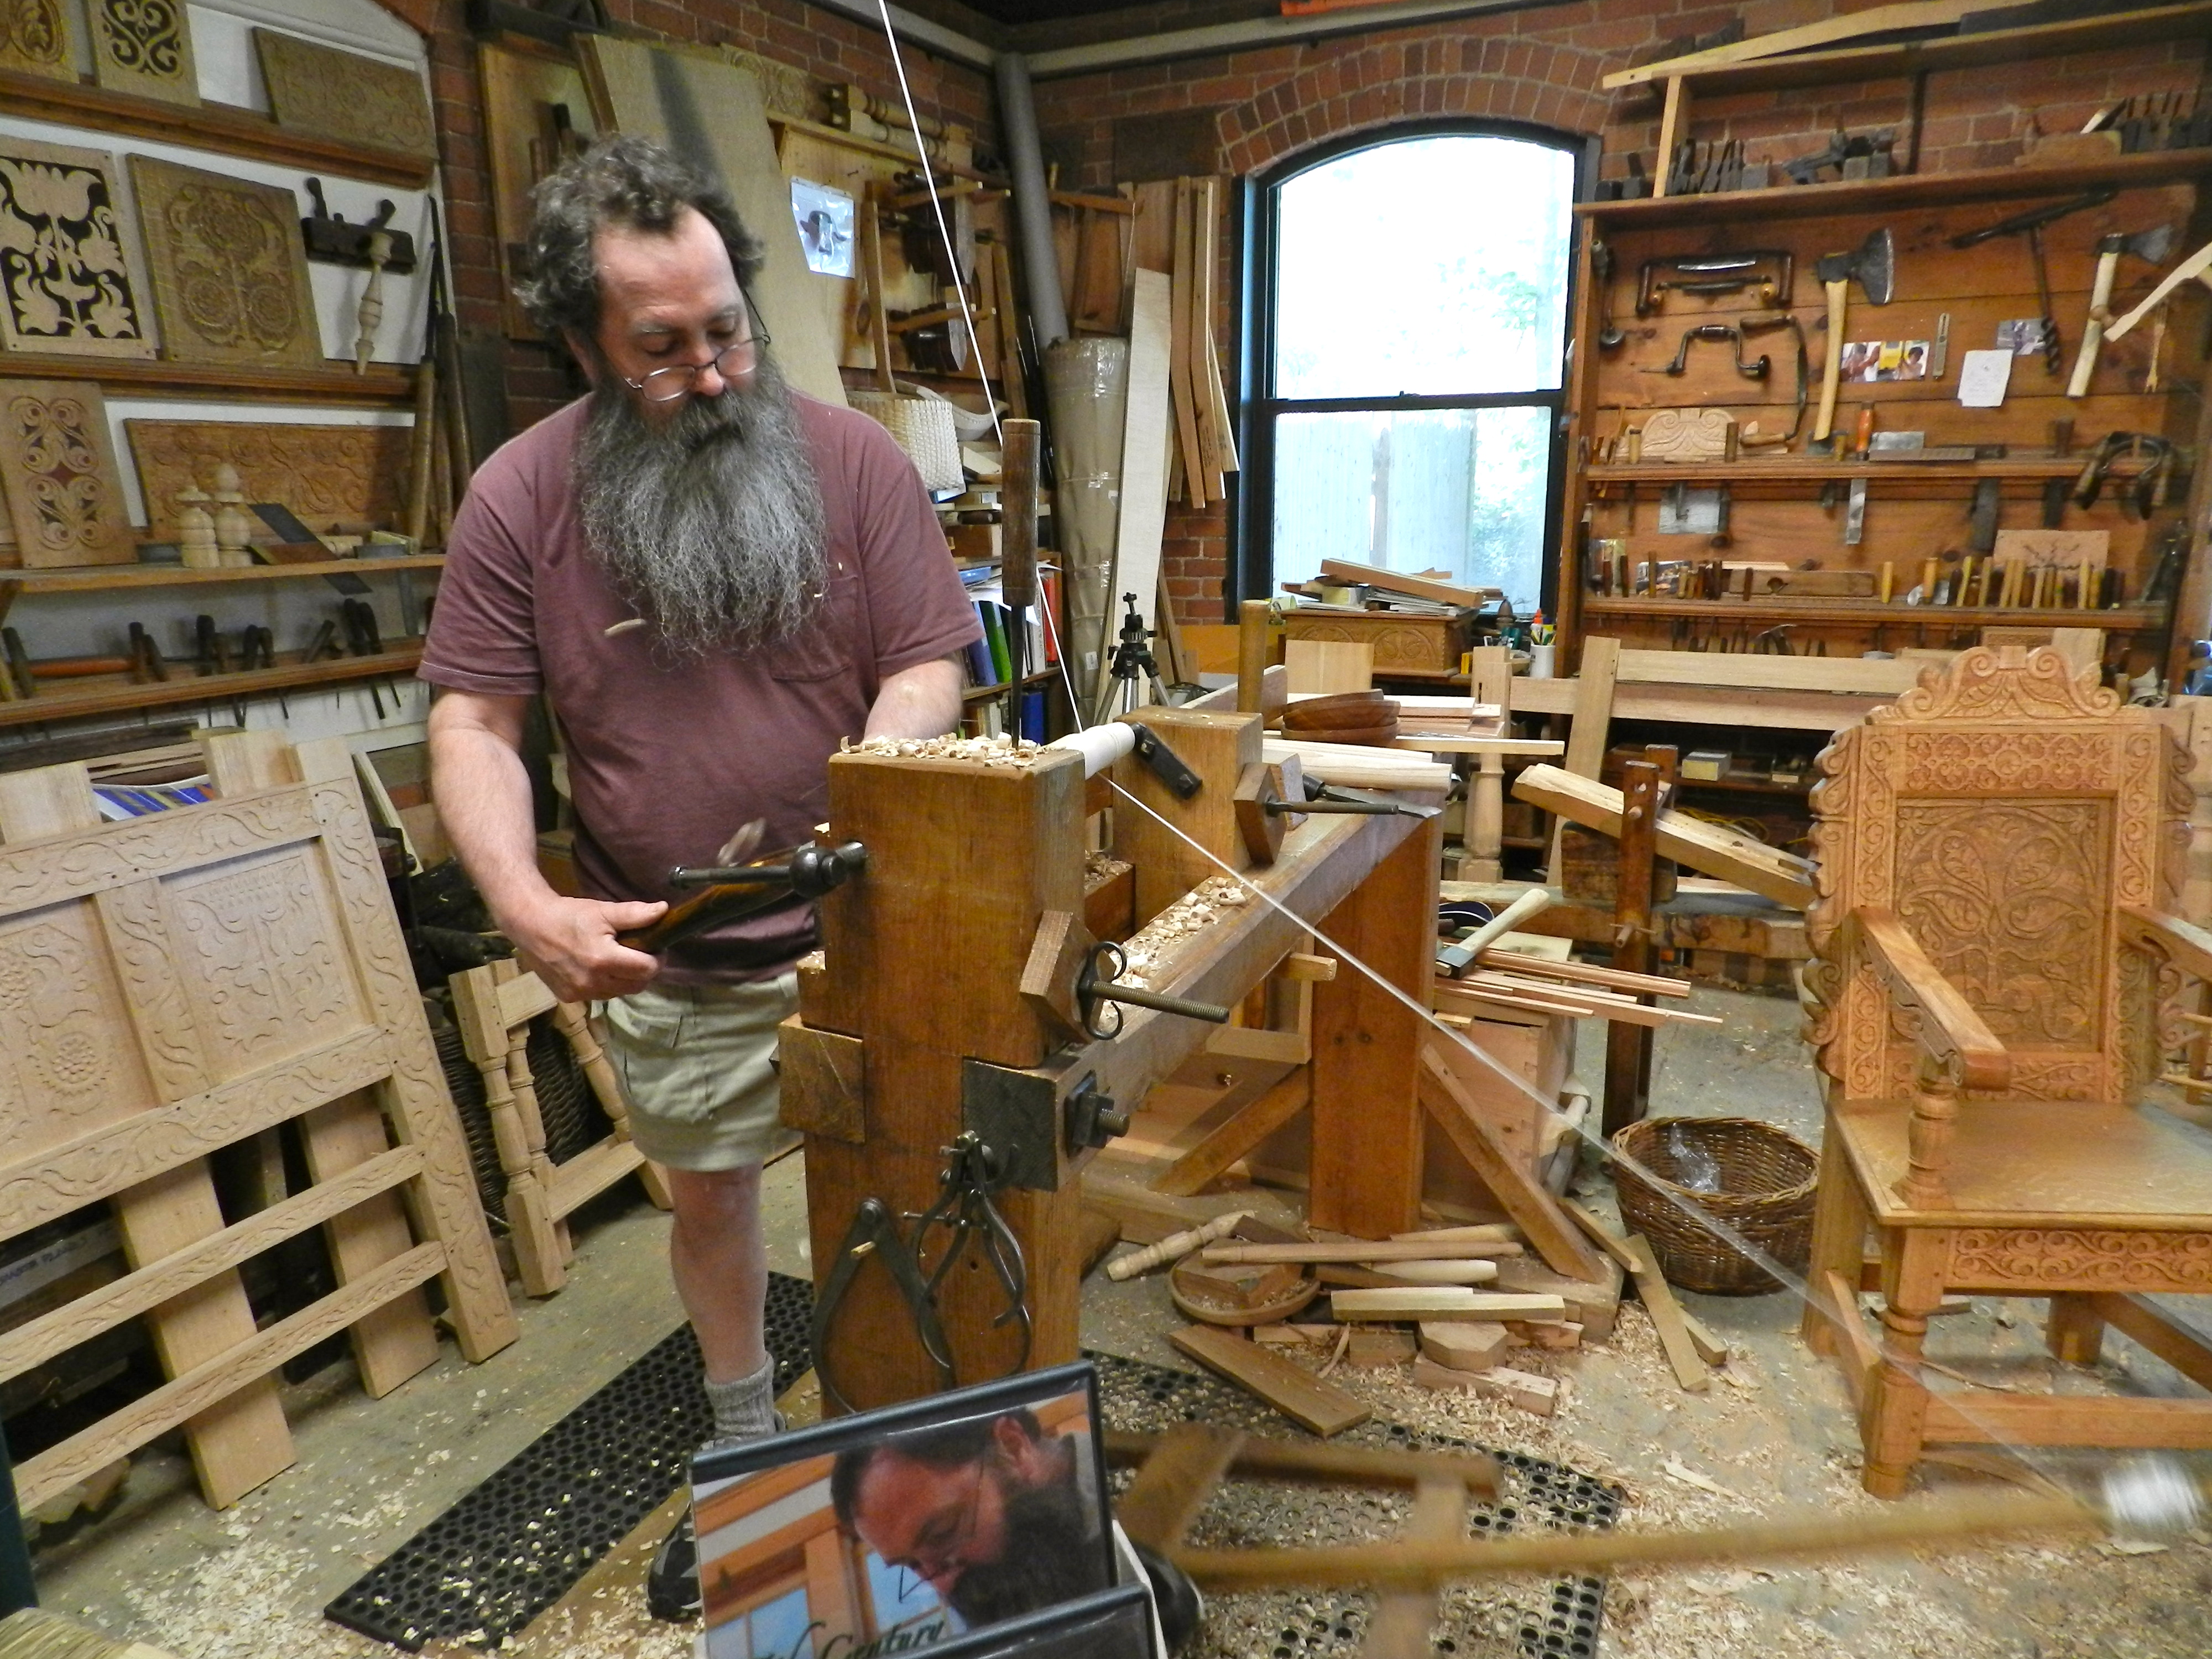
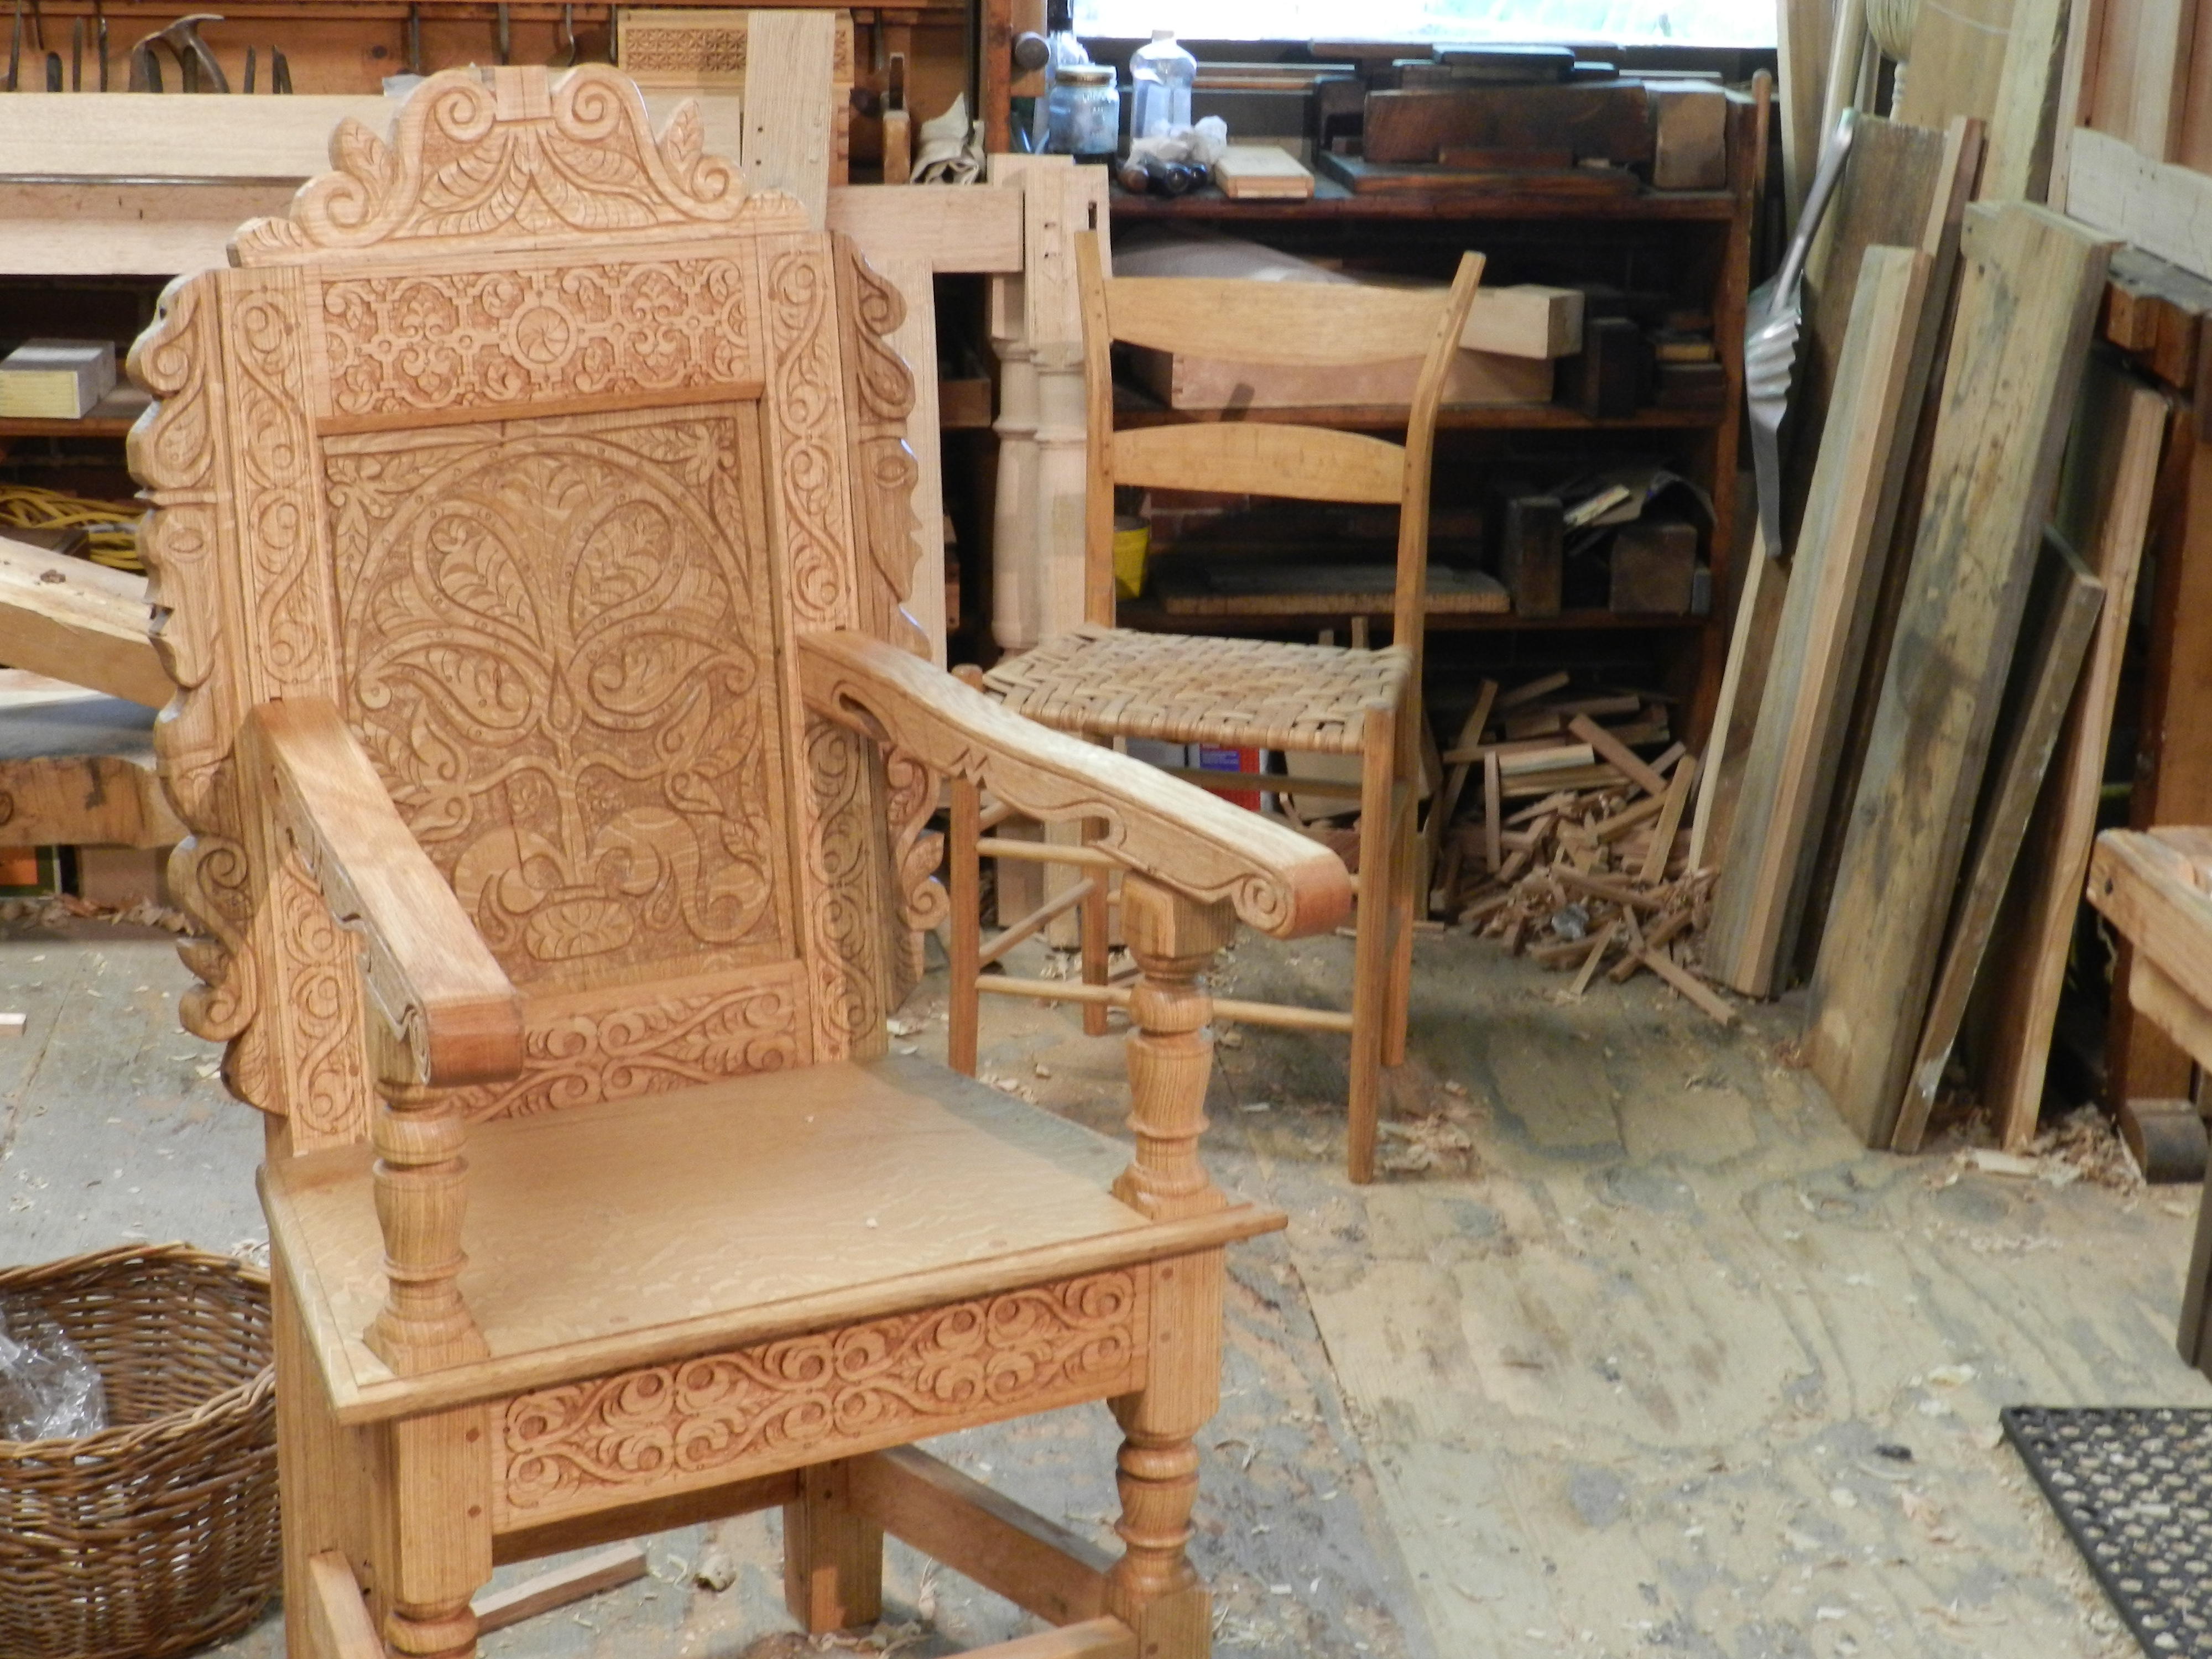
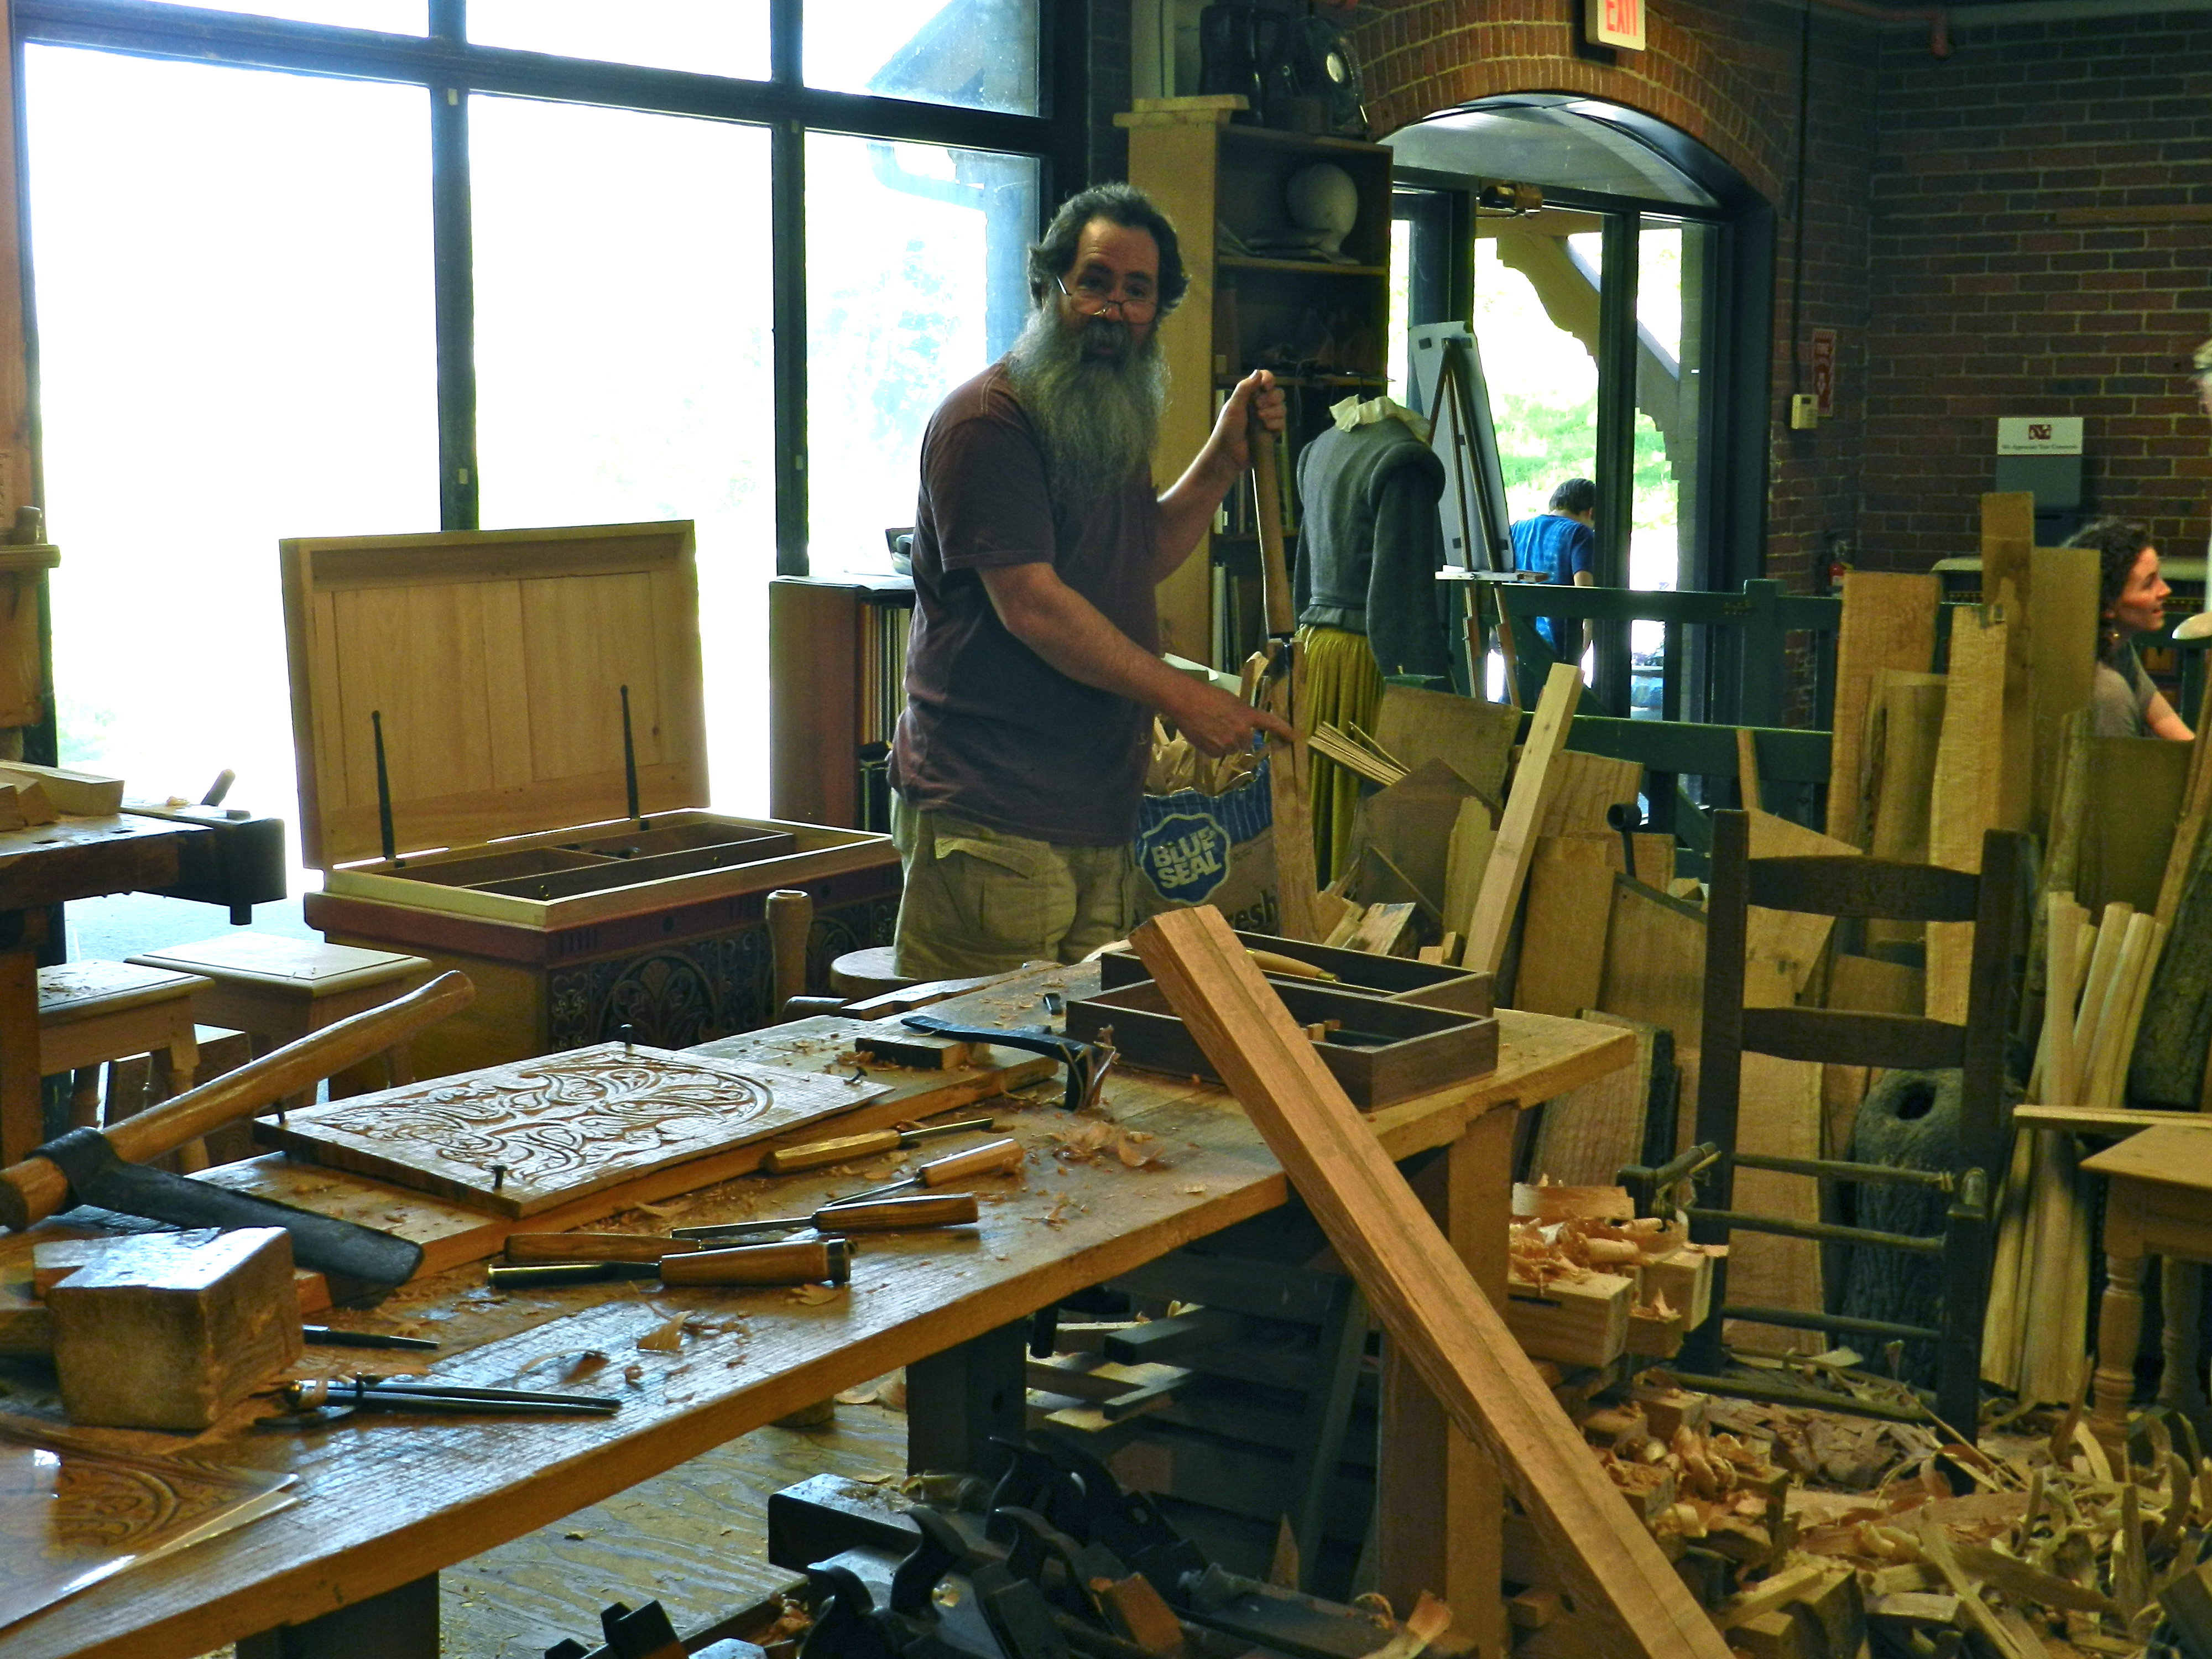
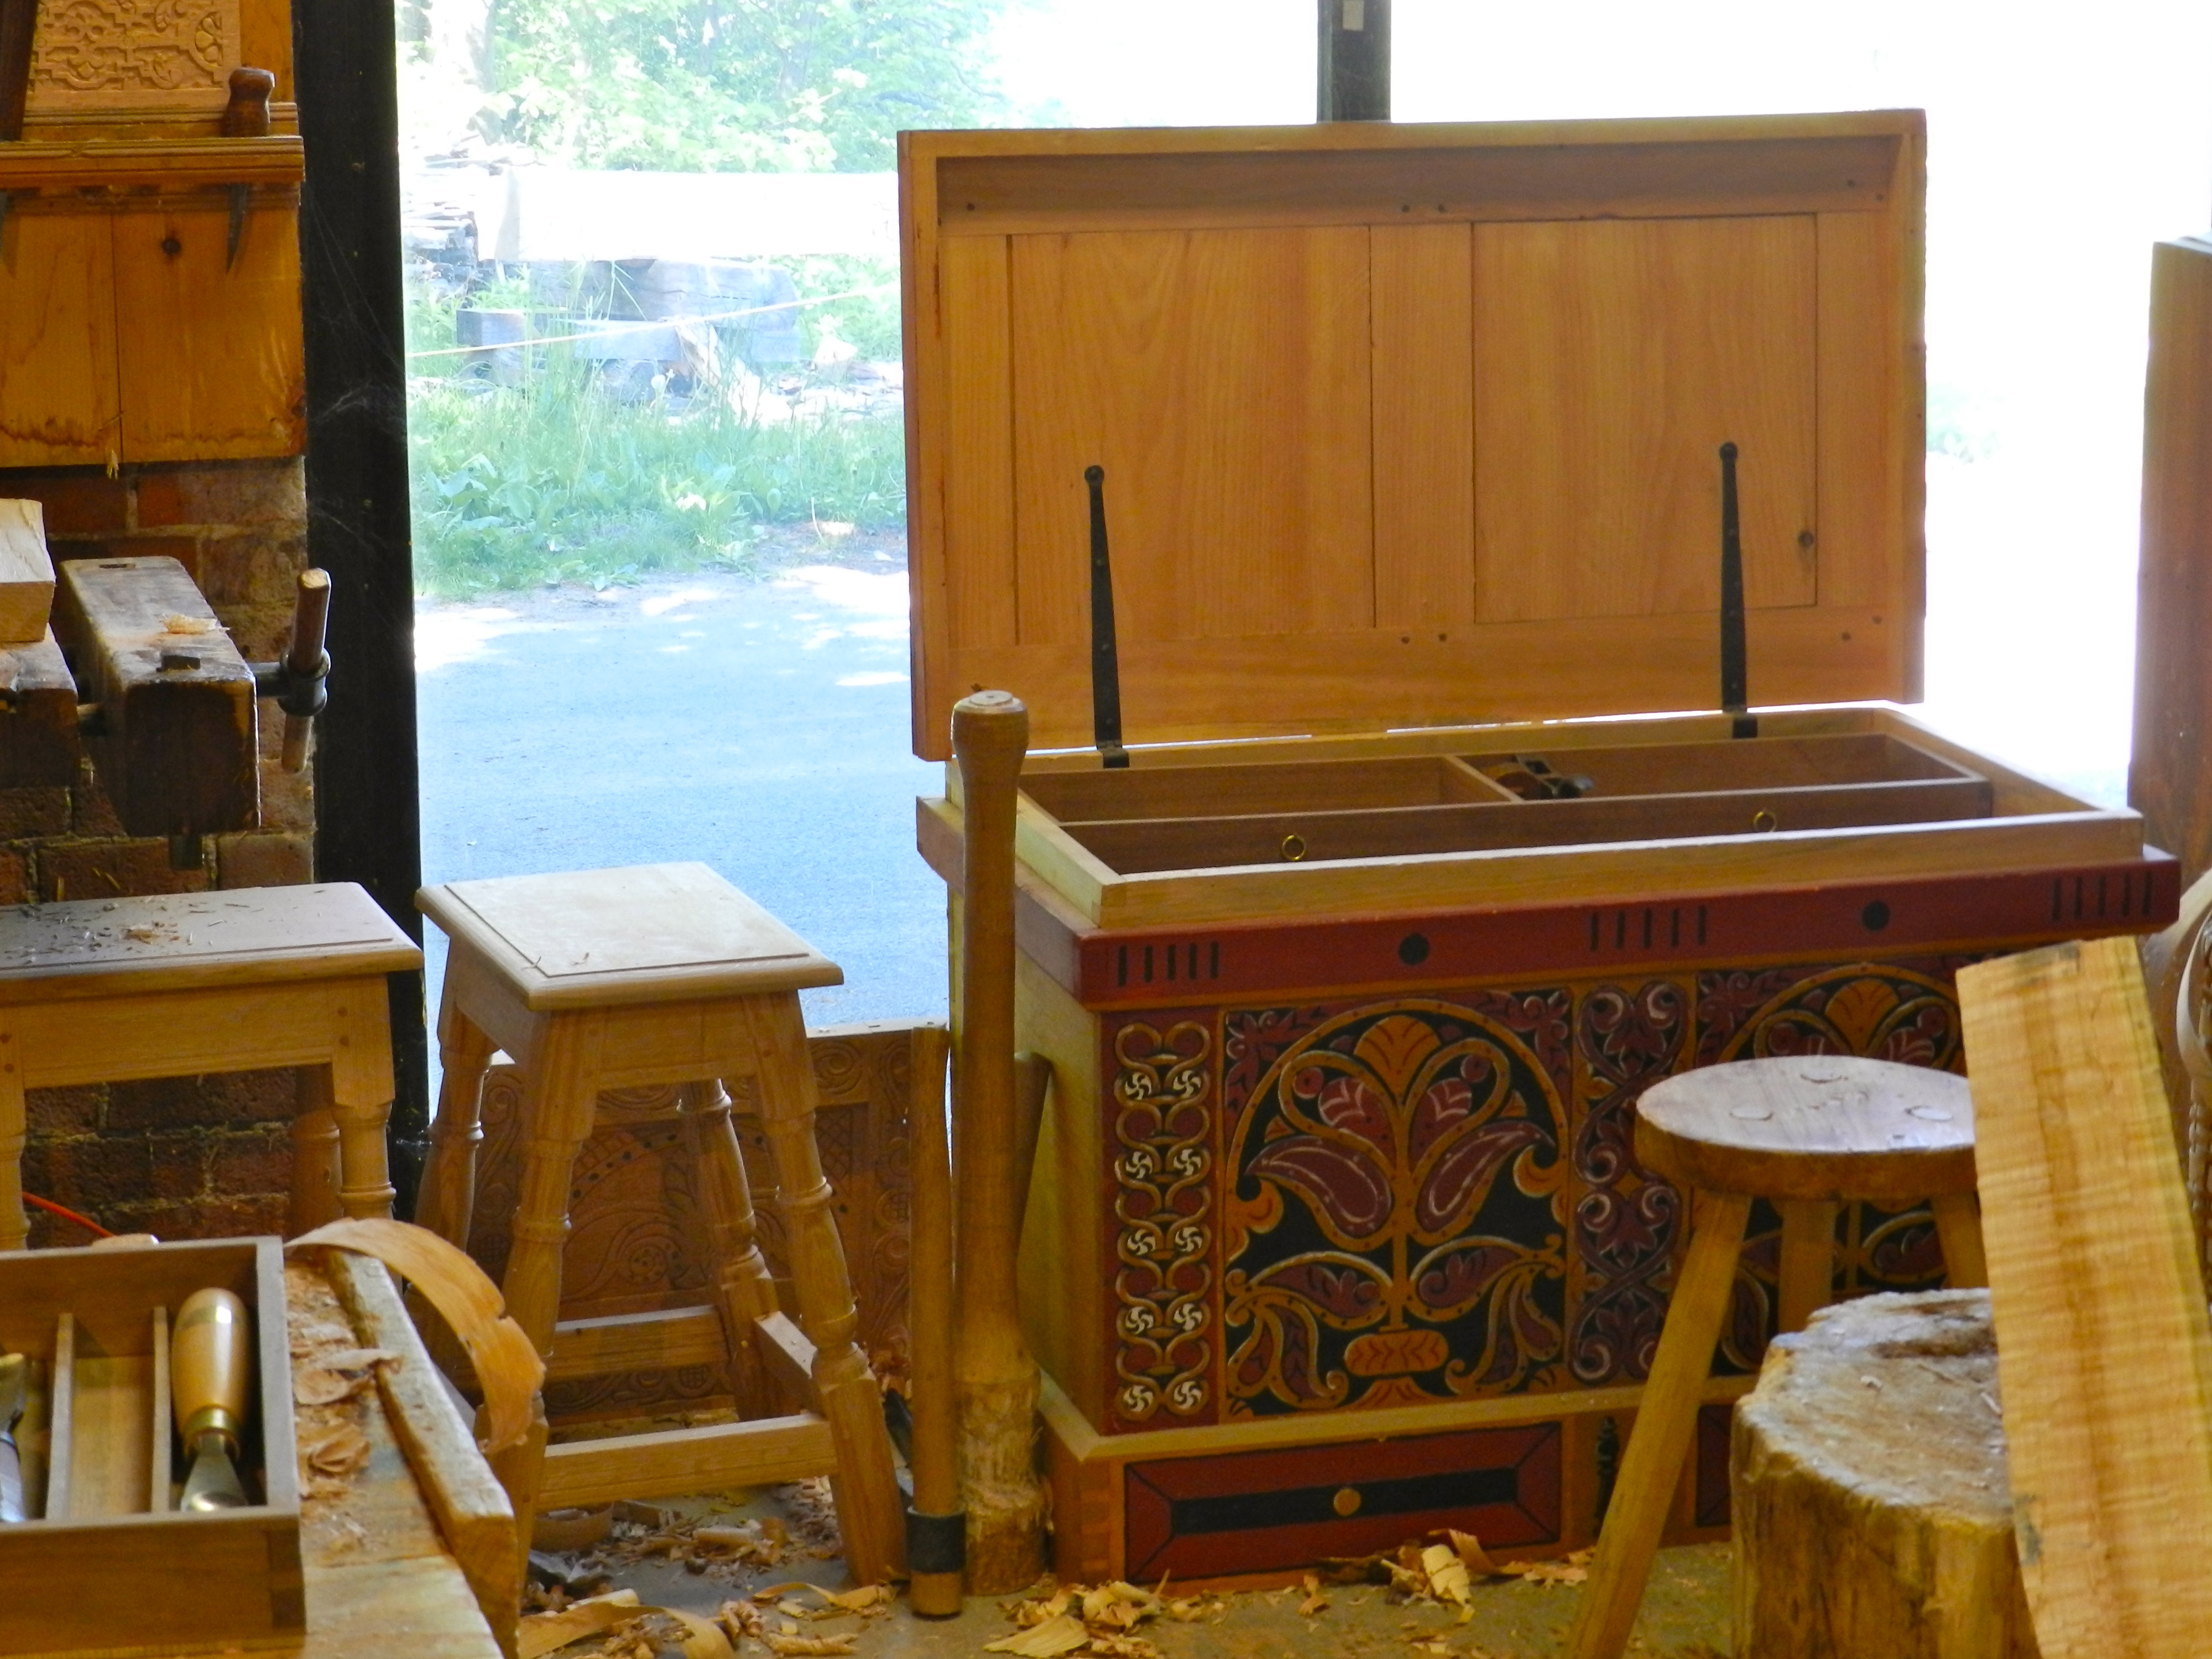
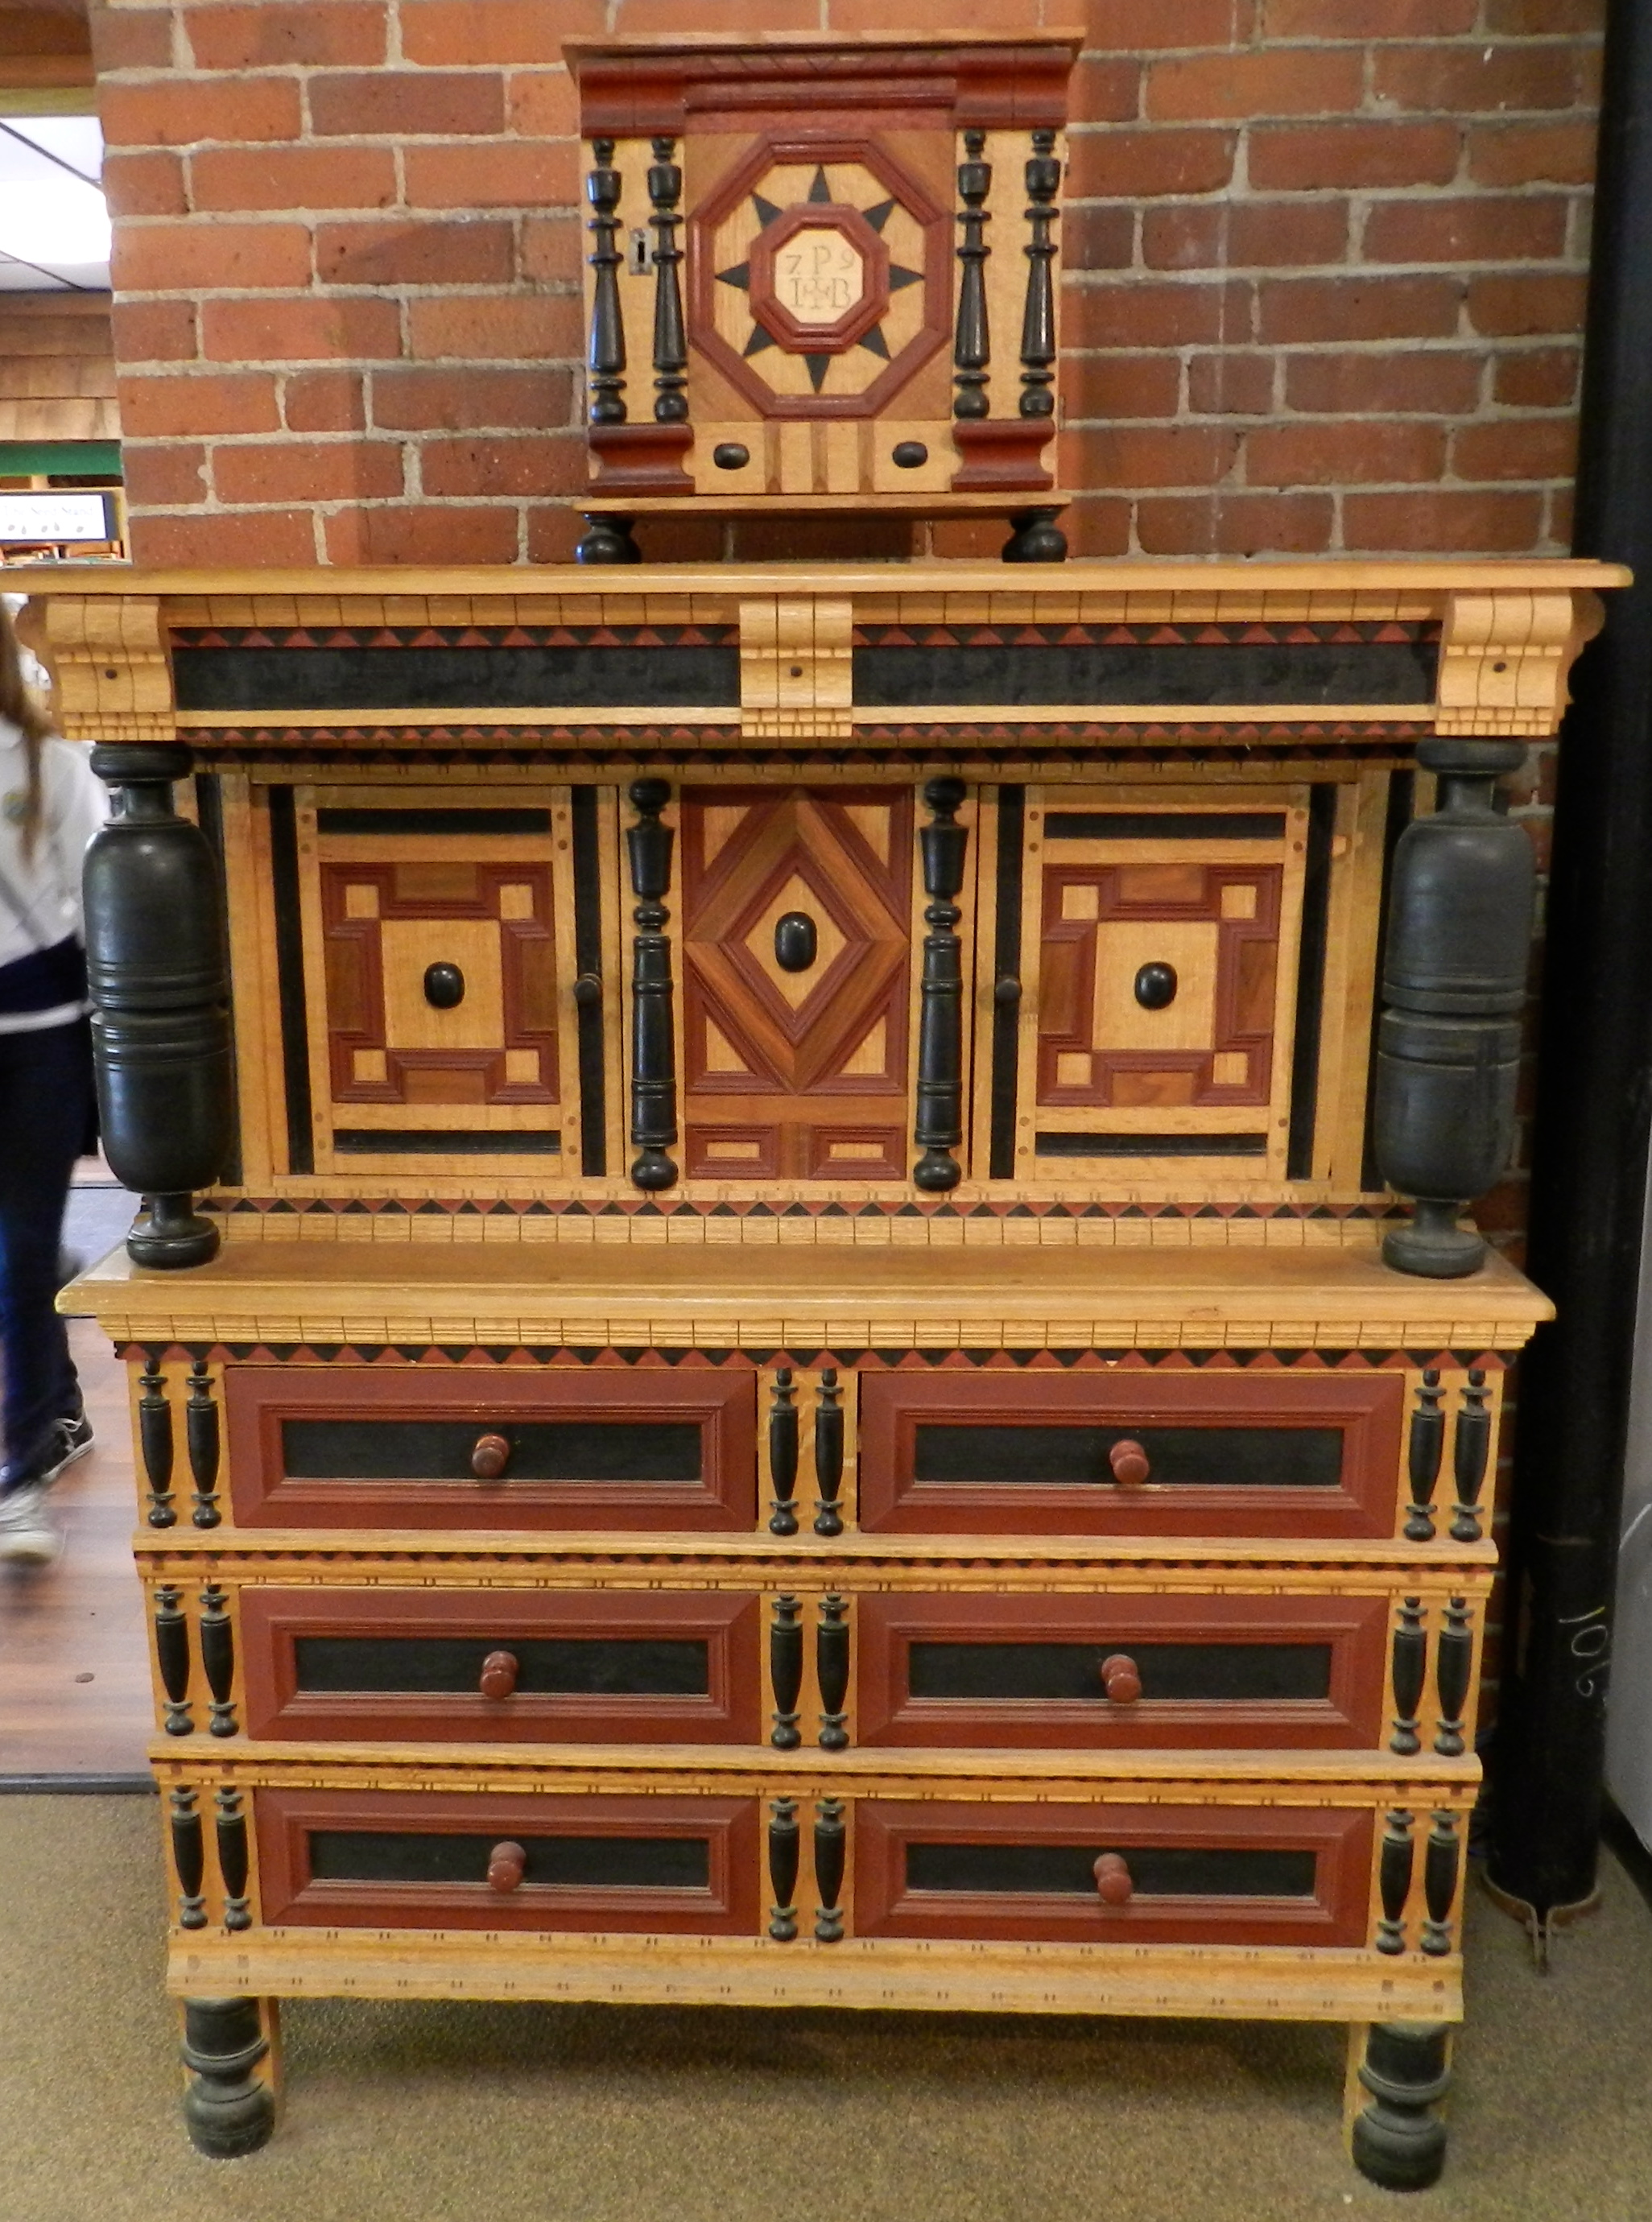
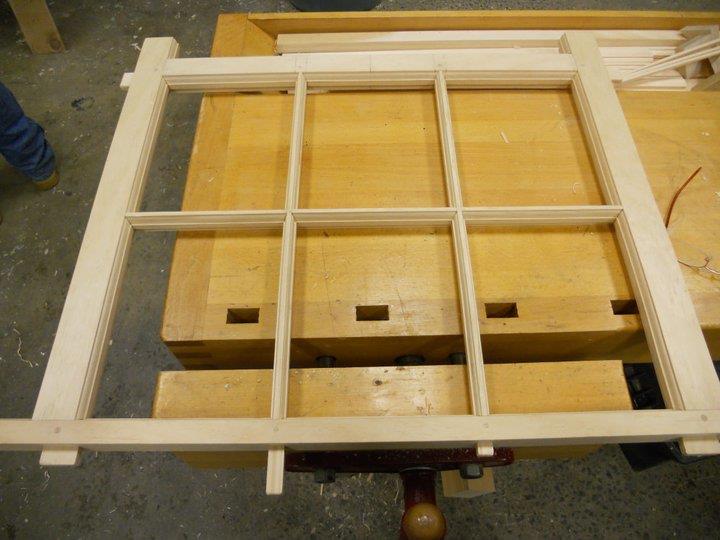
In a traditional sense a carpenter often works on the frame and envelope of the building. The joiner is a specialized type of carpenter who literally ‘joins wood’ often focusing on the production of windows, doors, staircases, wainscoting, built-in case goods and other items that make up a home and require a higher degree of skill compared with regular or ‘rough carpentry.’ A joiner’s work often starts in the shop and ends out in the field as it gets installed in the client’s home or business location.  In more rural locales a joiner often functioned as a part time cabinet-maker regularly delving into finer work that required a high level of skill. Many traditional ‘country’ style pieces of furniture were often made by joiners using the same tools and techniques as any other cabinetmaker. In urban areas where there was enough demand to support specialized trades and full time cabinetmakers we can still find records demonstrating how joiners were able to compete and straddle the line between fine finish carpenter and cabinetmaker.

Full size story board for a door pediment

How does this relate to modern day woodworkers? Are joiners simply modern finish carpenters?

A ‘modern day’ Carpenter generally starts with materials procured from big box stores and lumber yards that are manufactured and uses them to build homes largely by assembling those pieces, using modern fasteners and possibly customizing a few of the details. All of this lends itself well to the use of modern tools and methods.

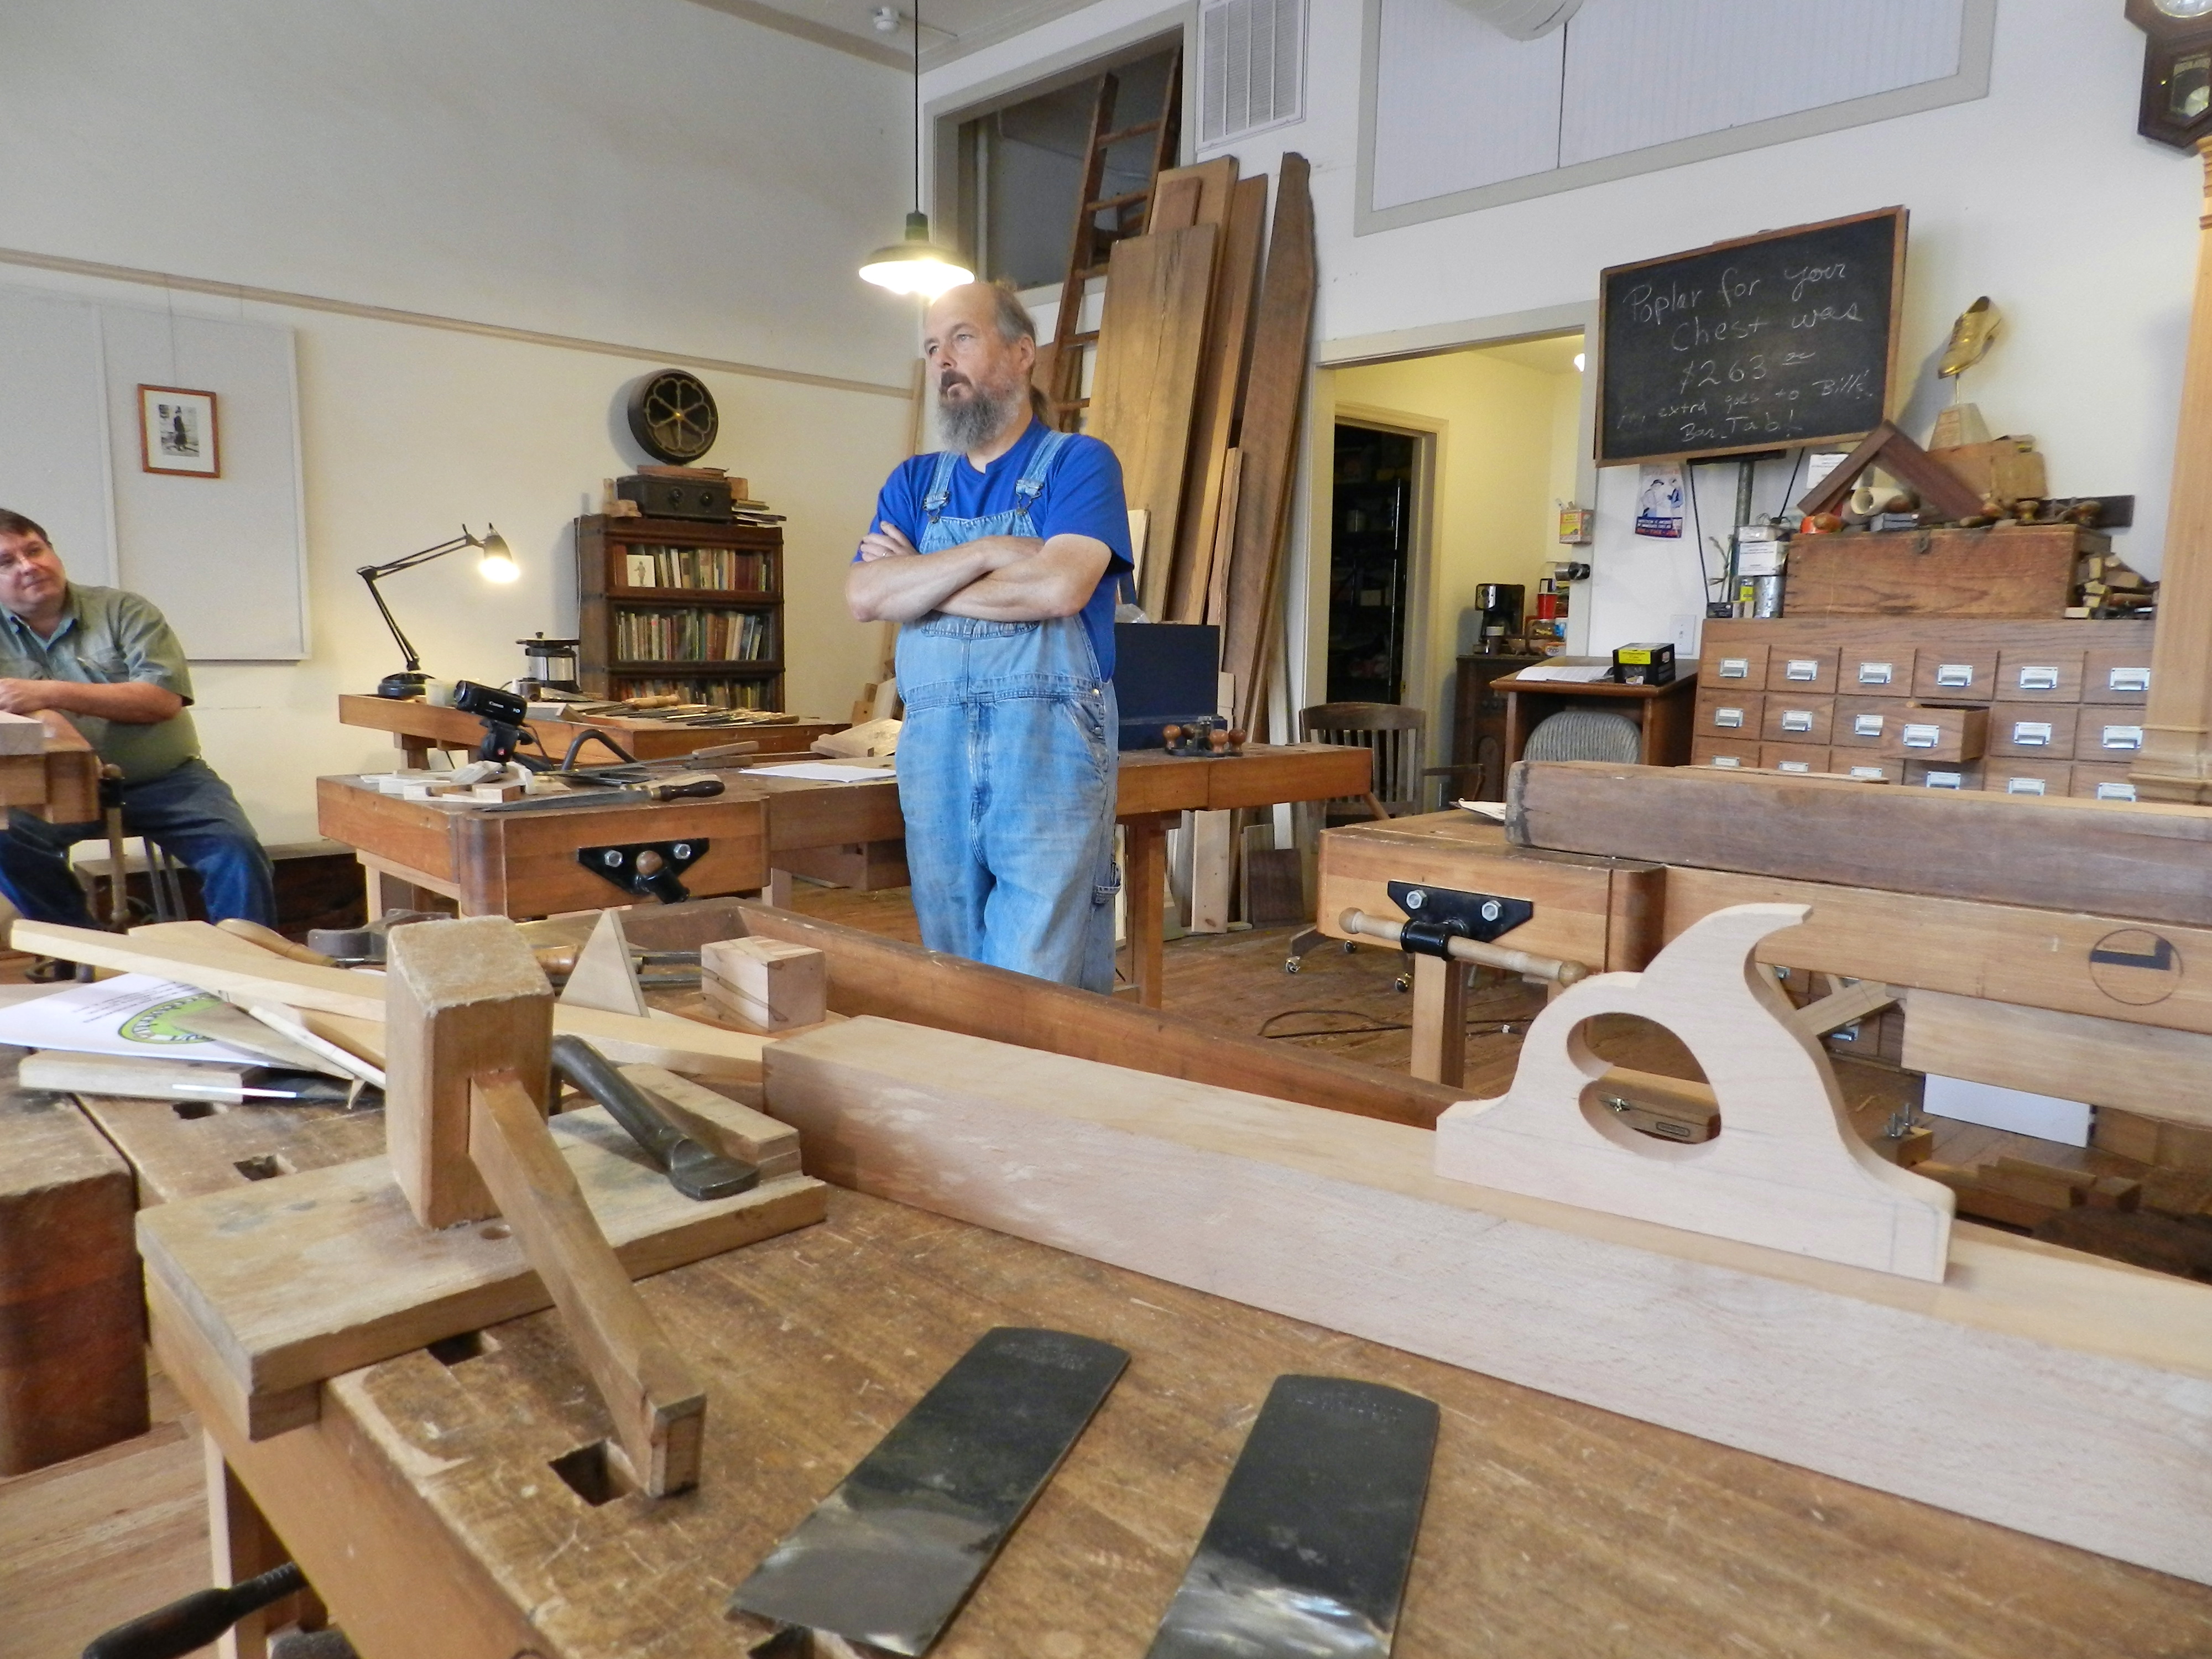
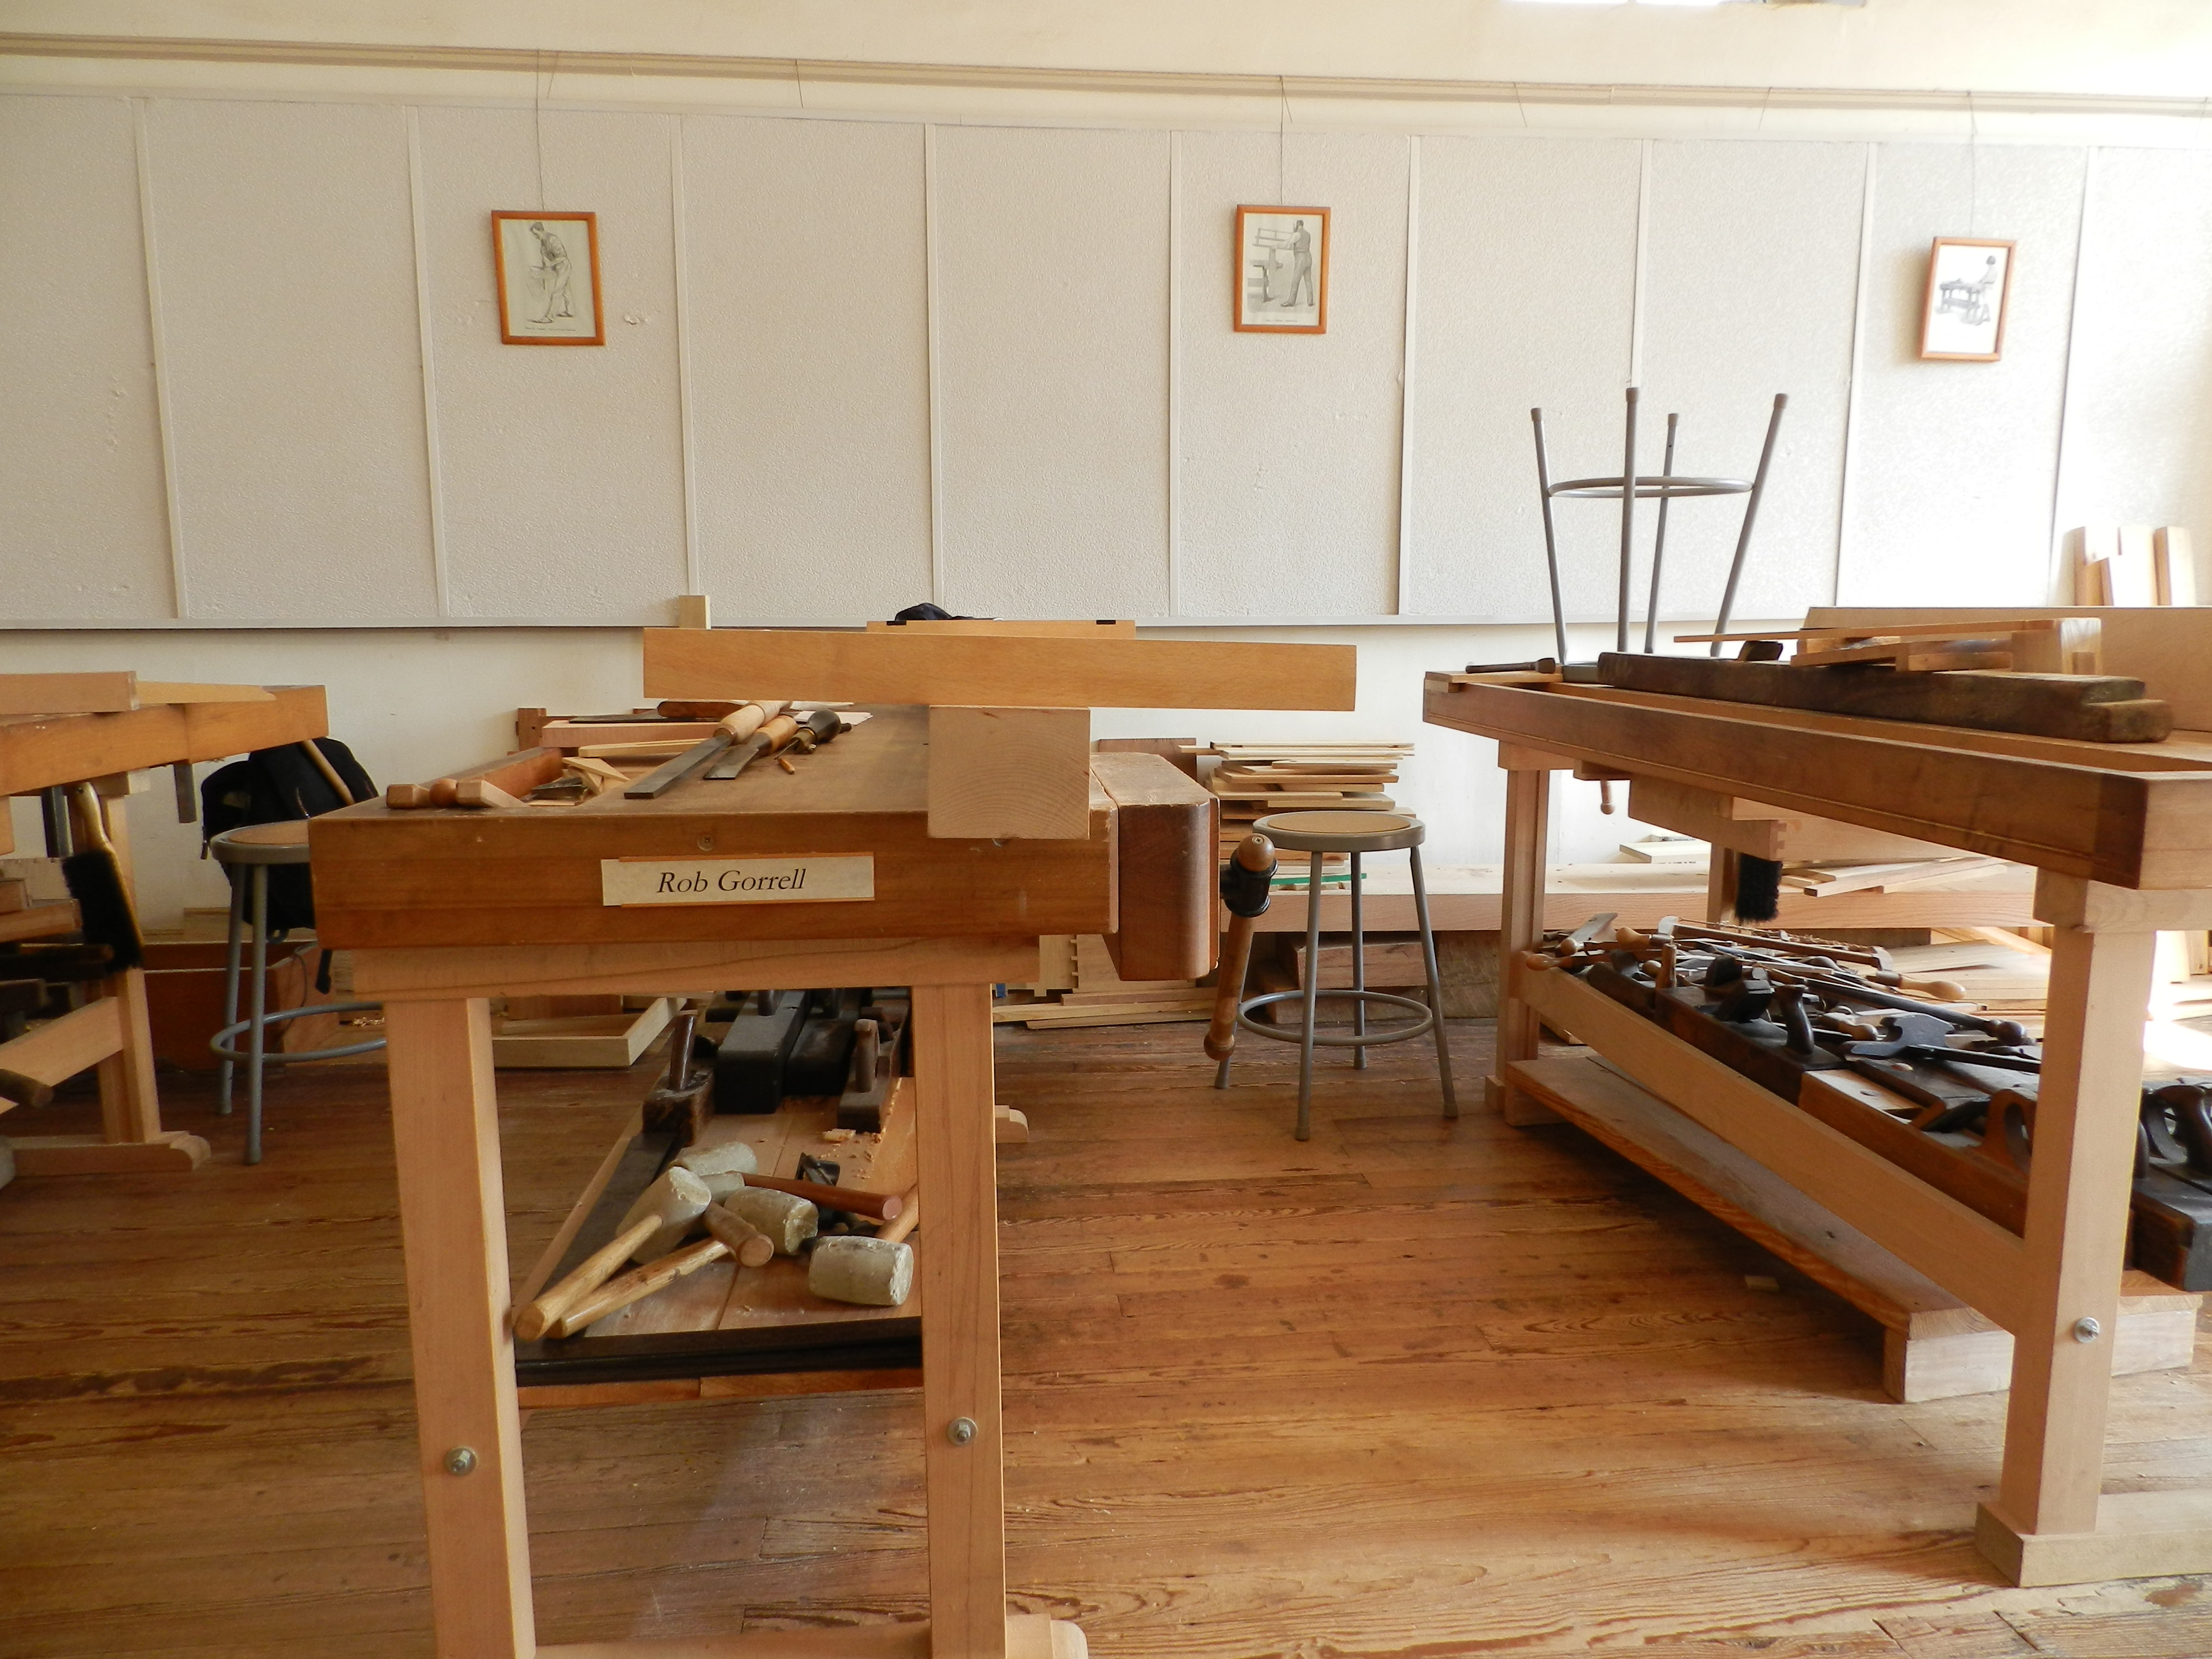
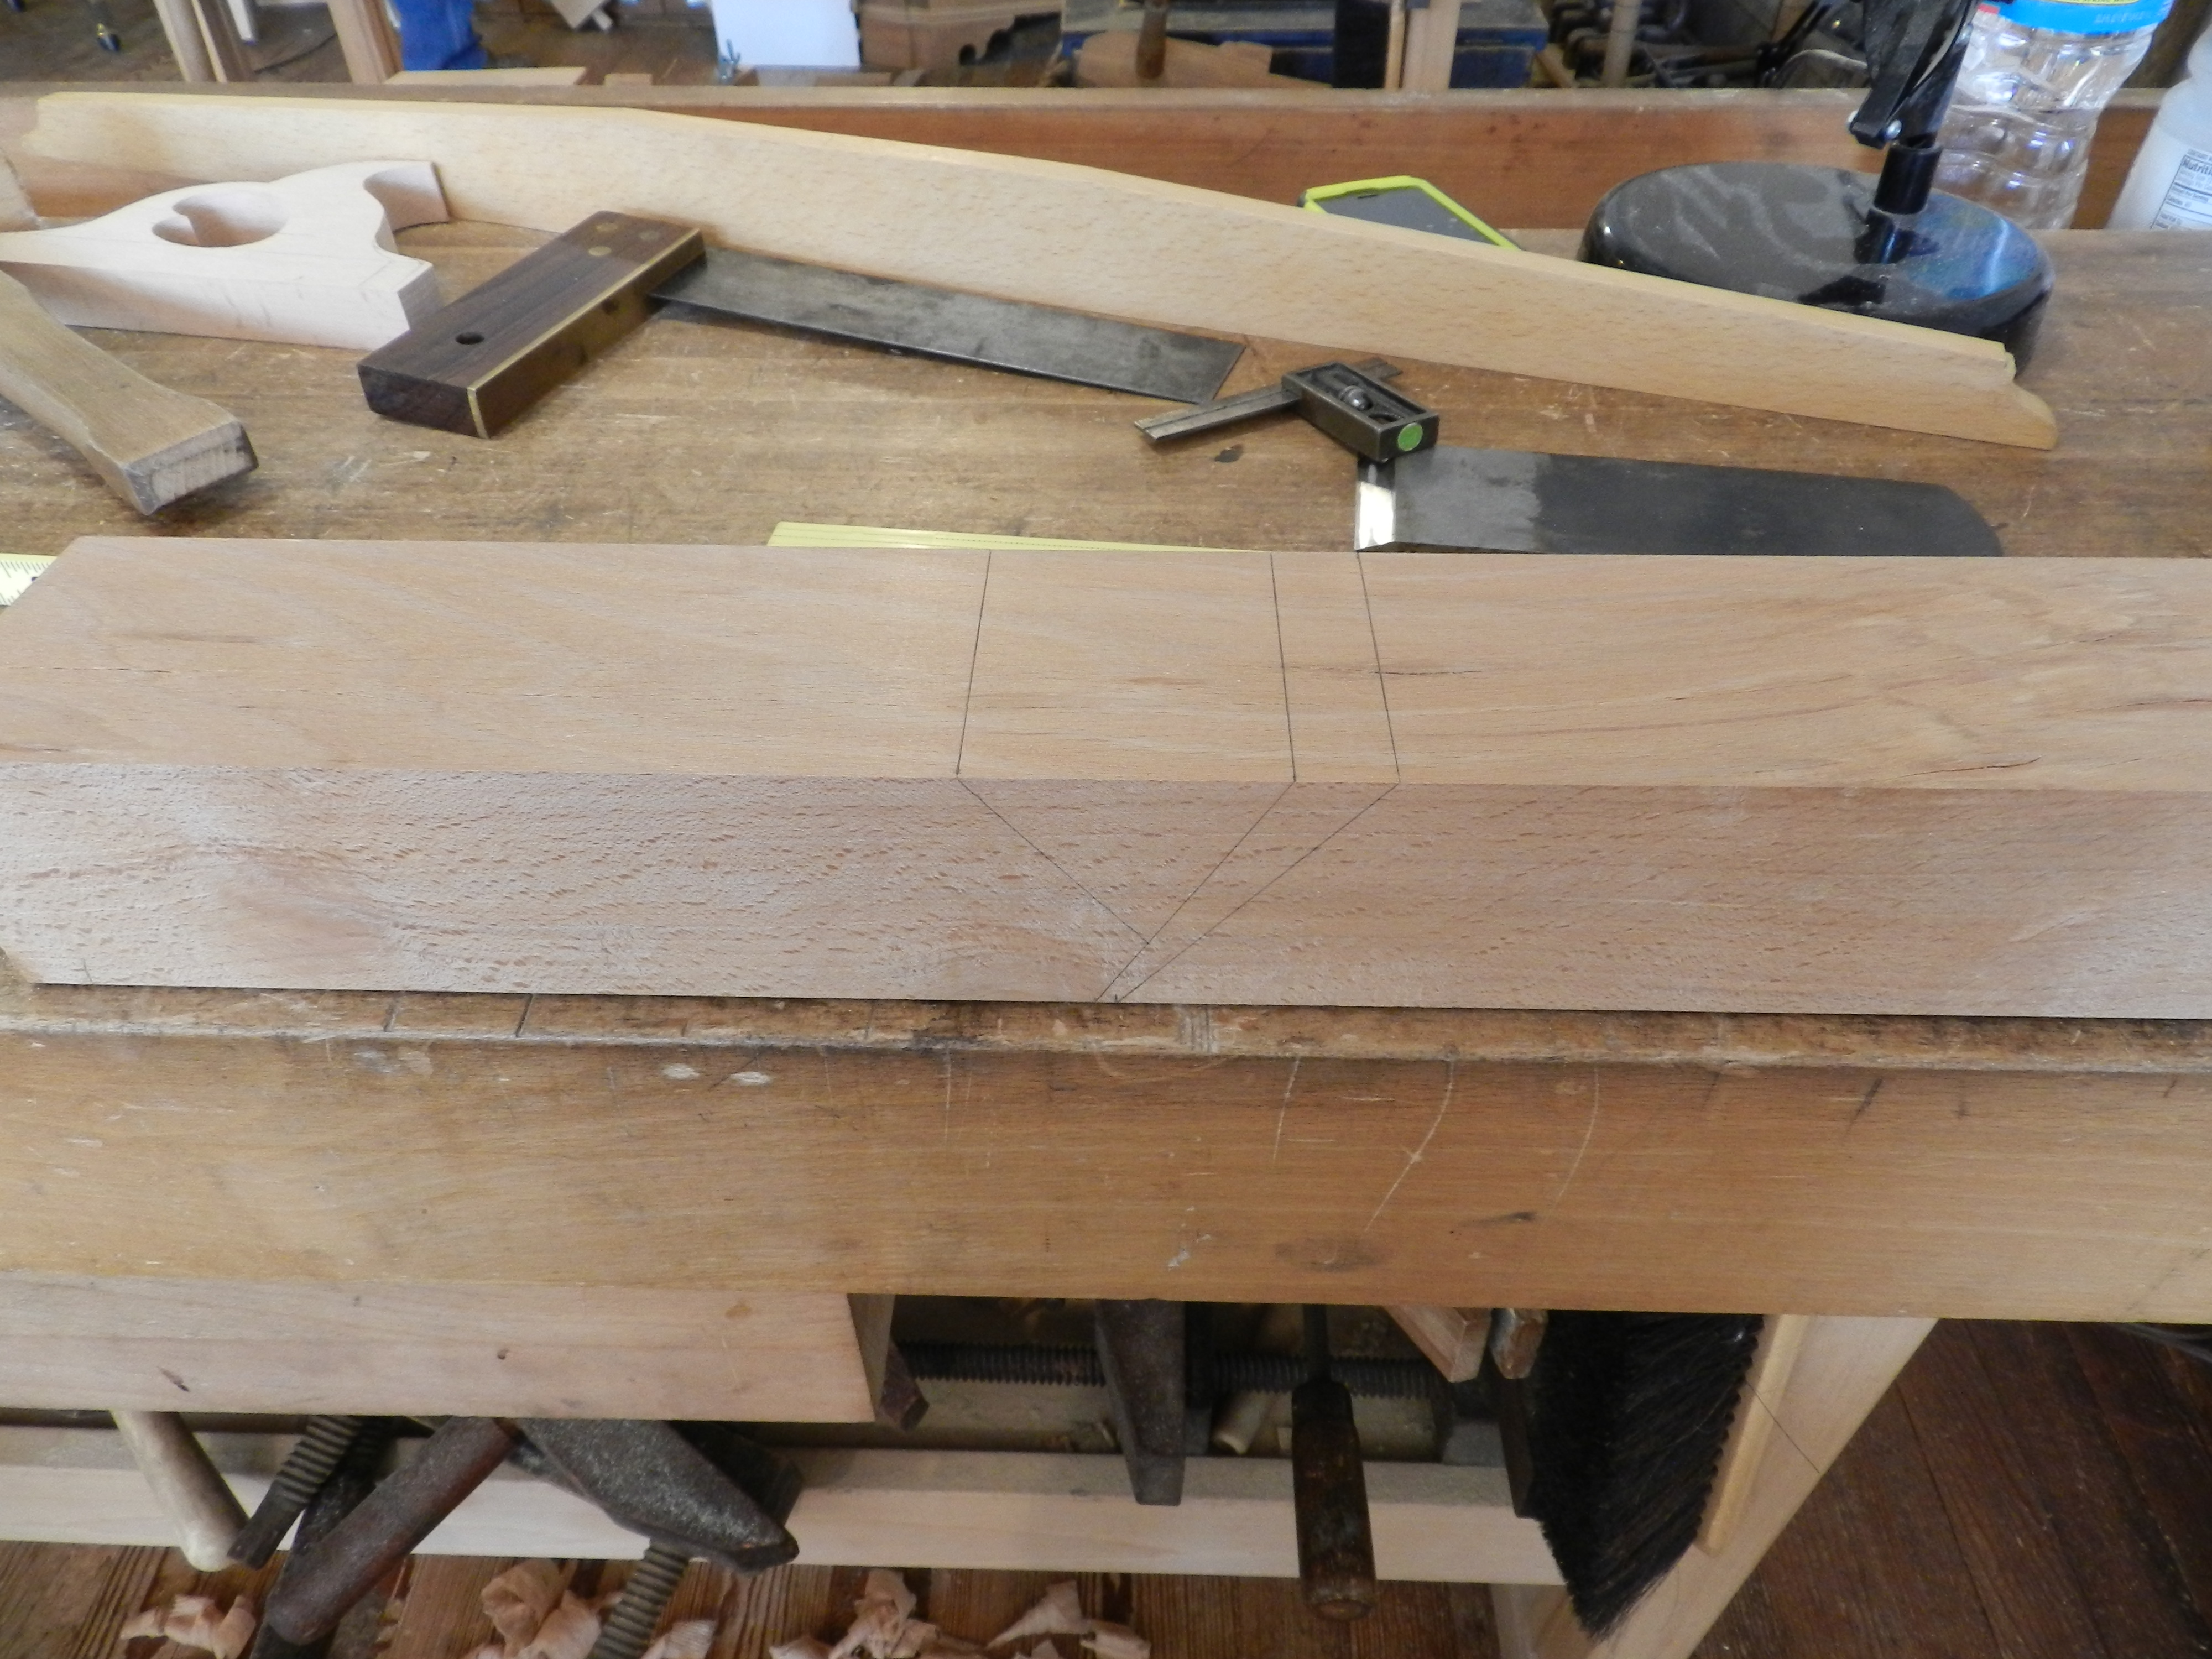
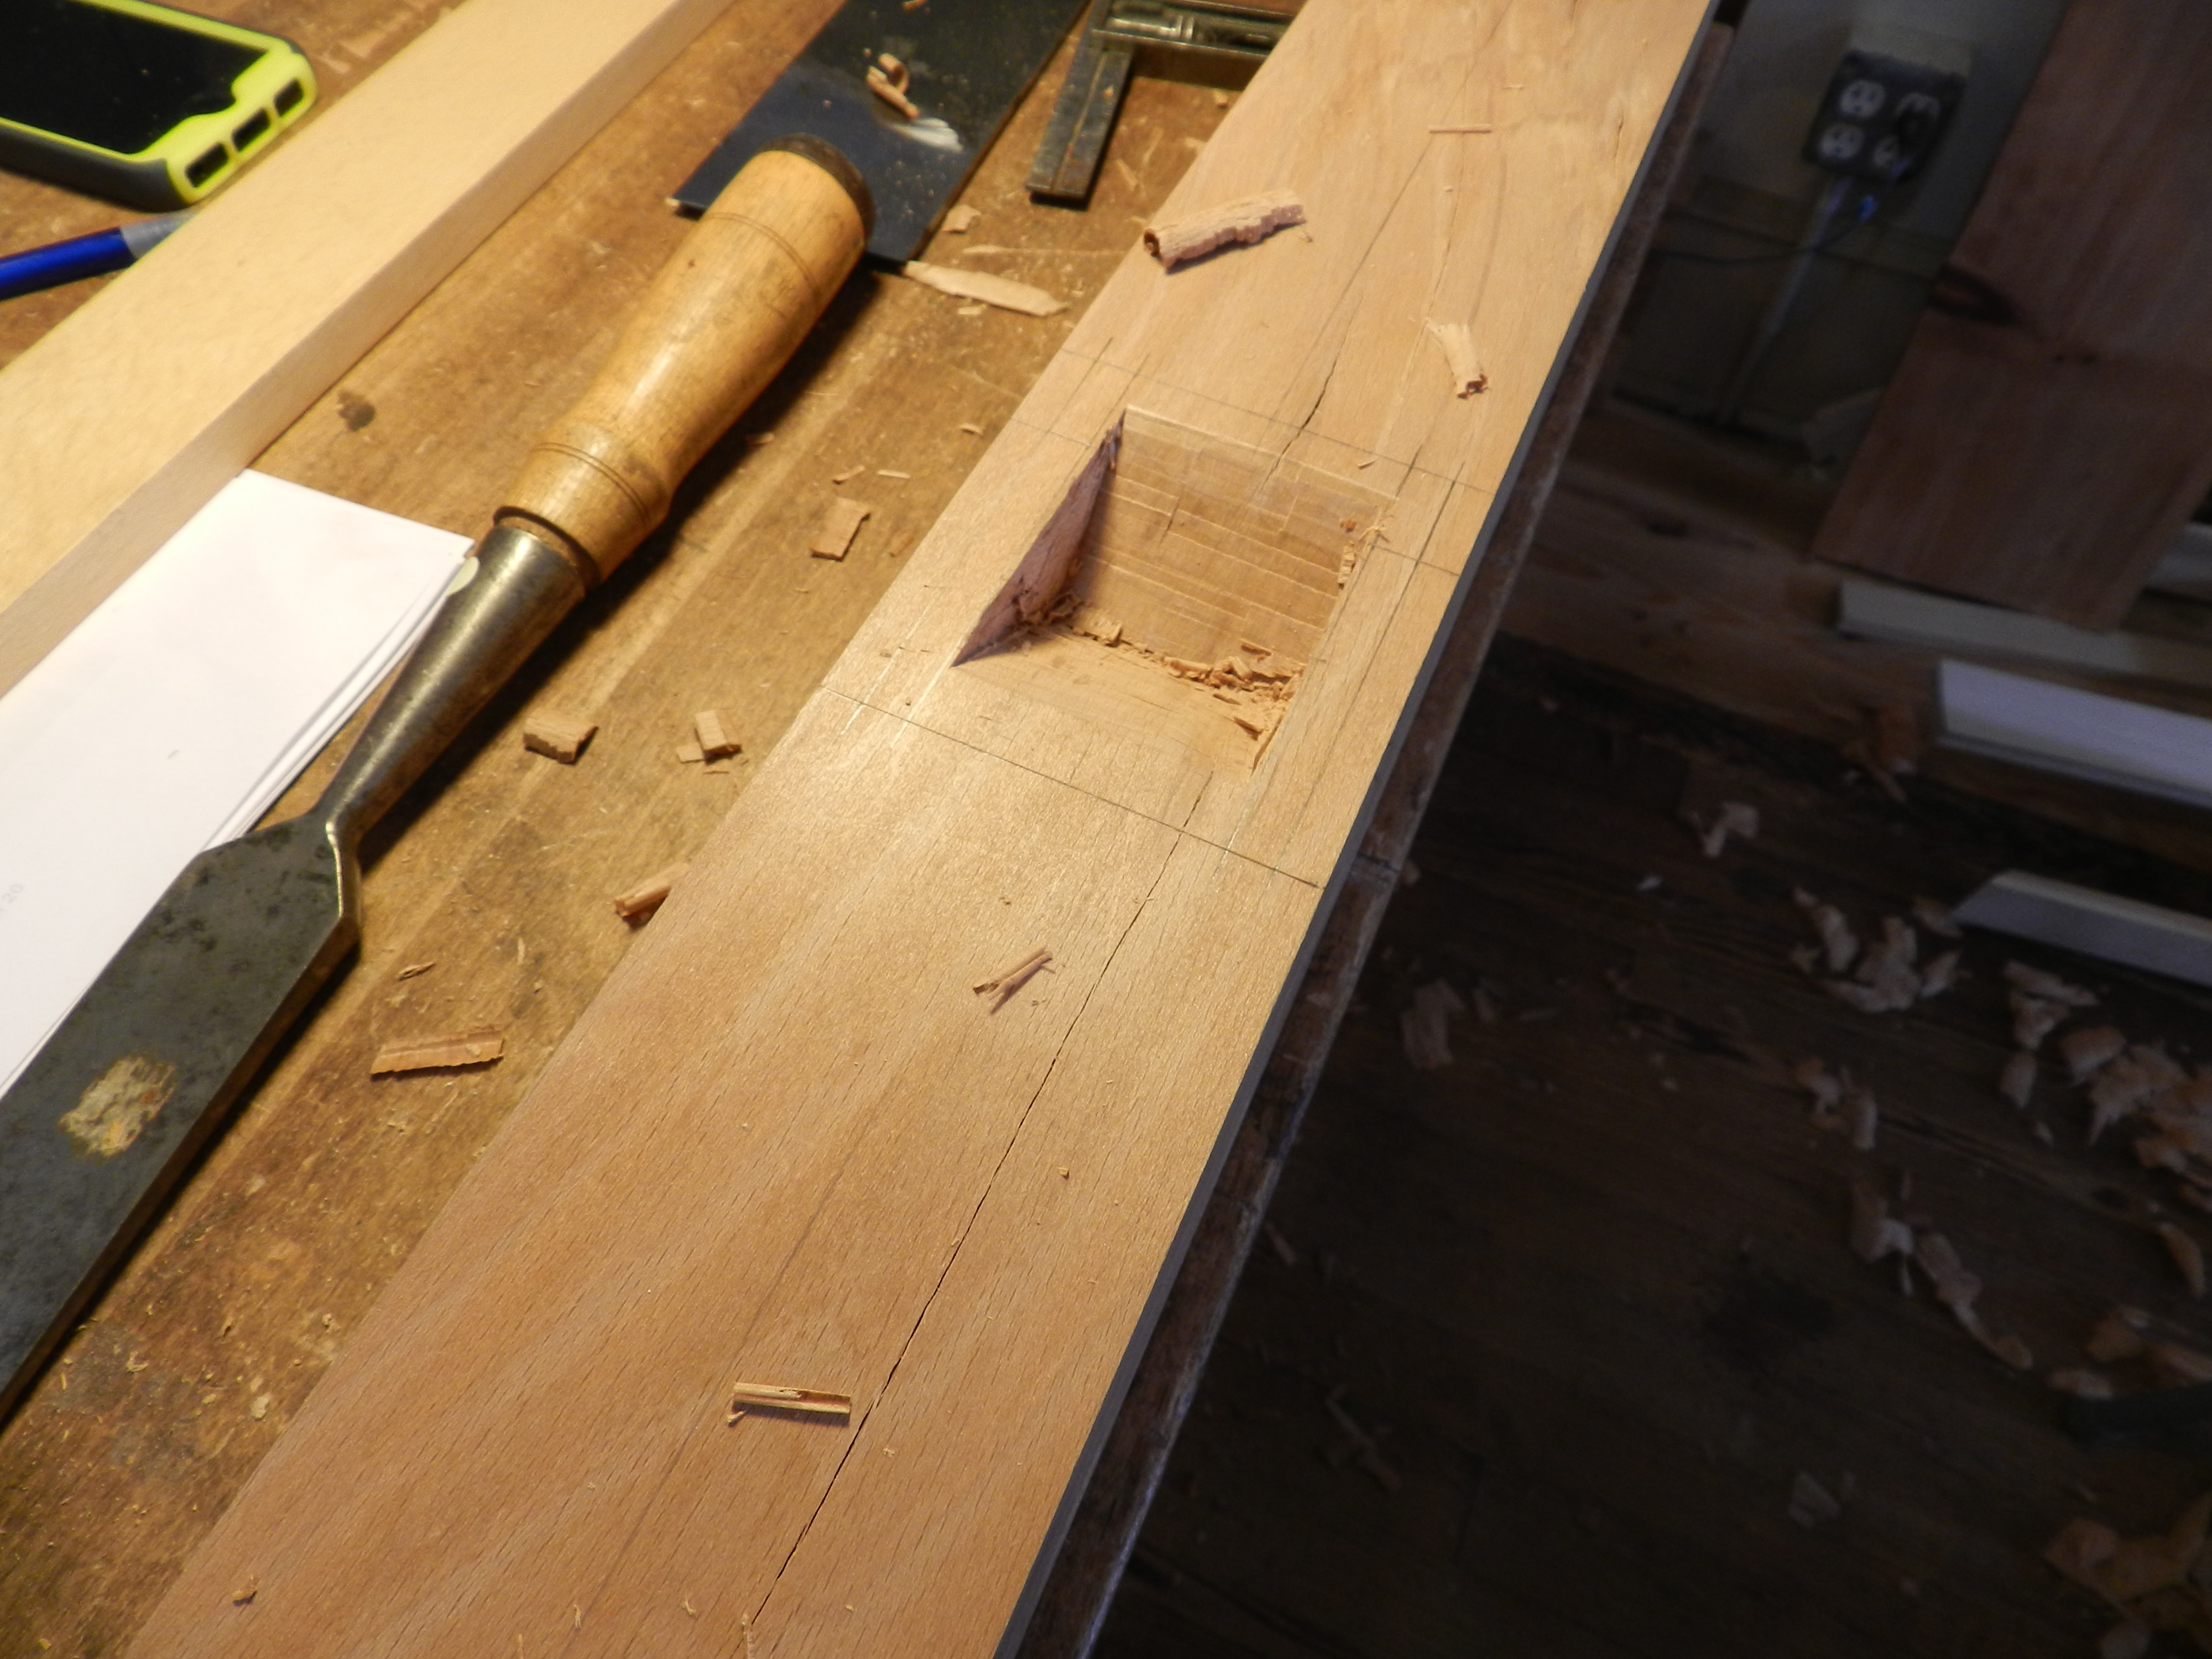
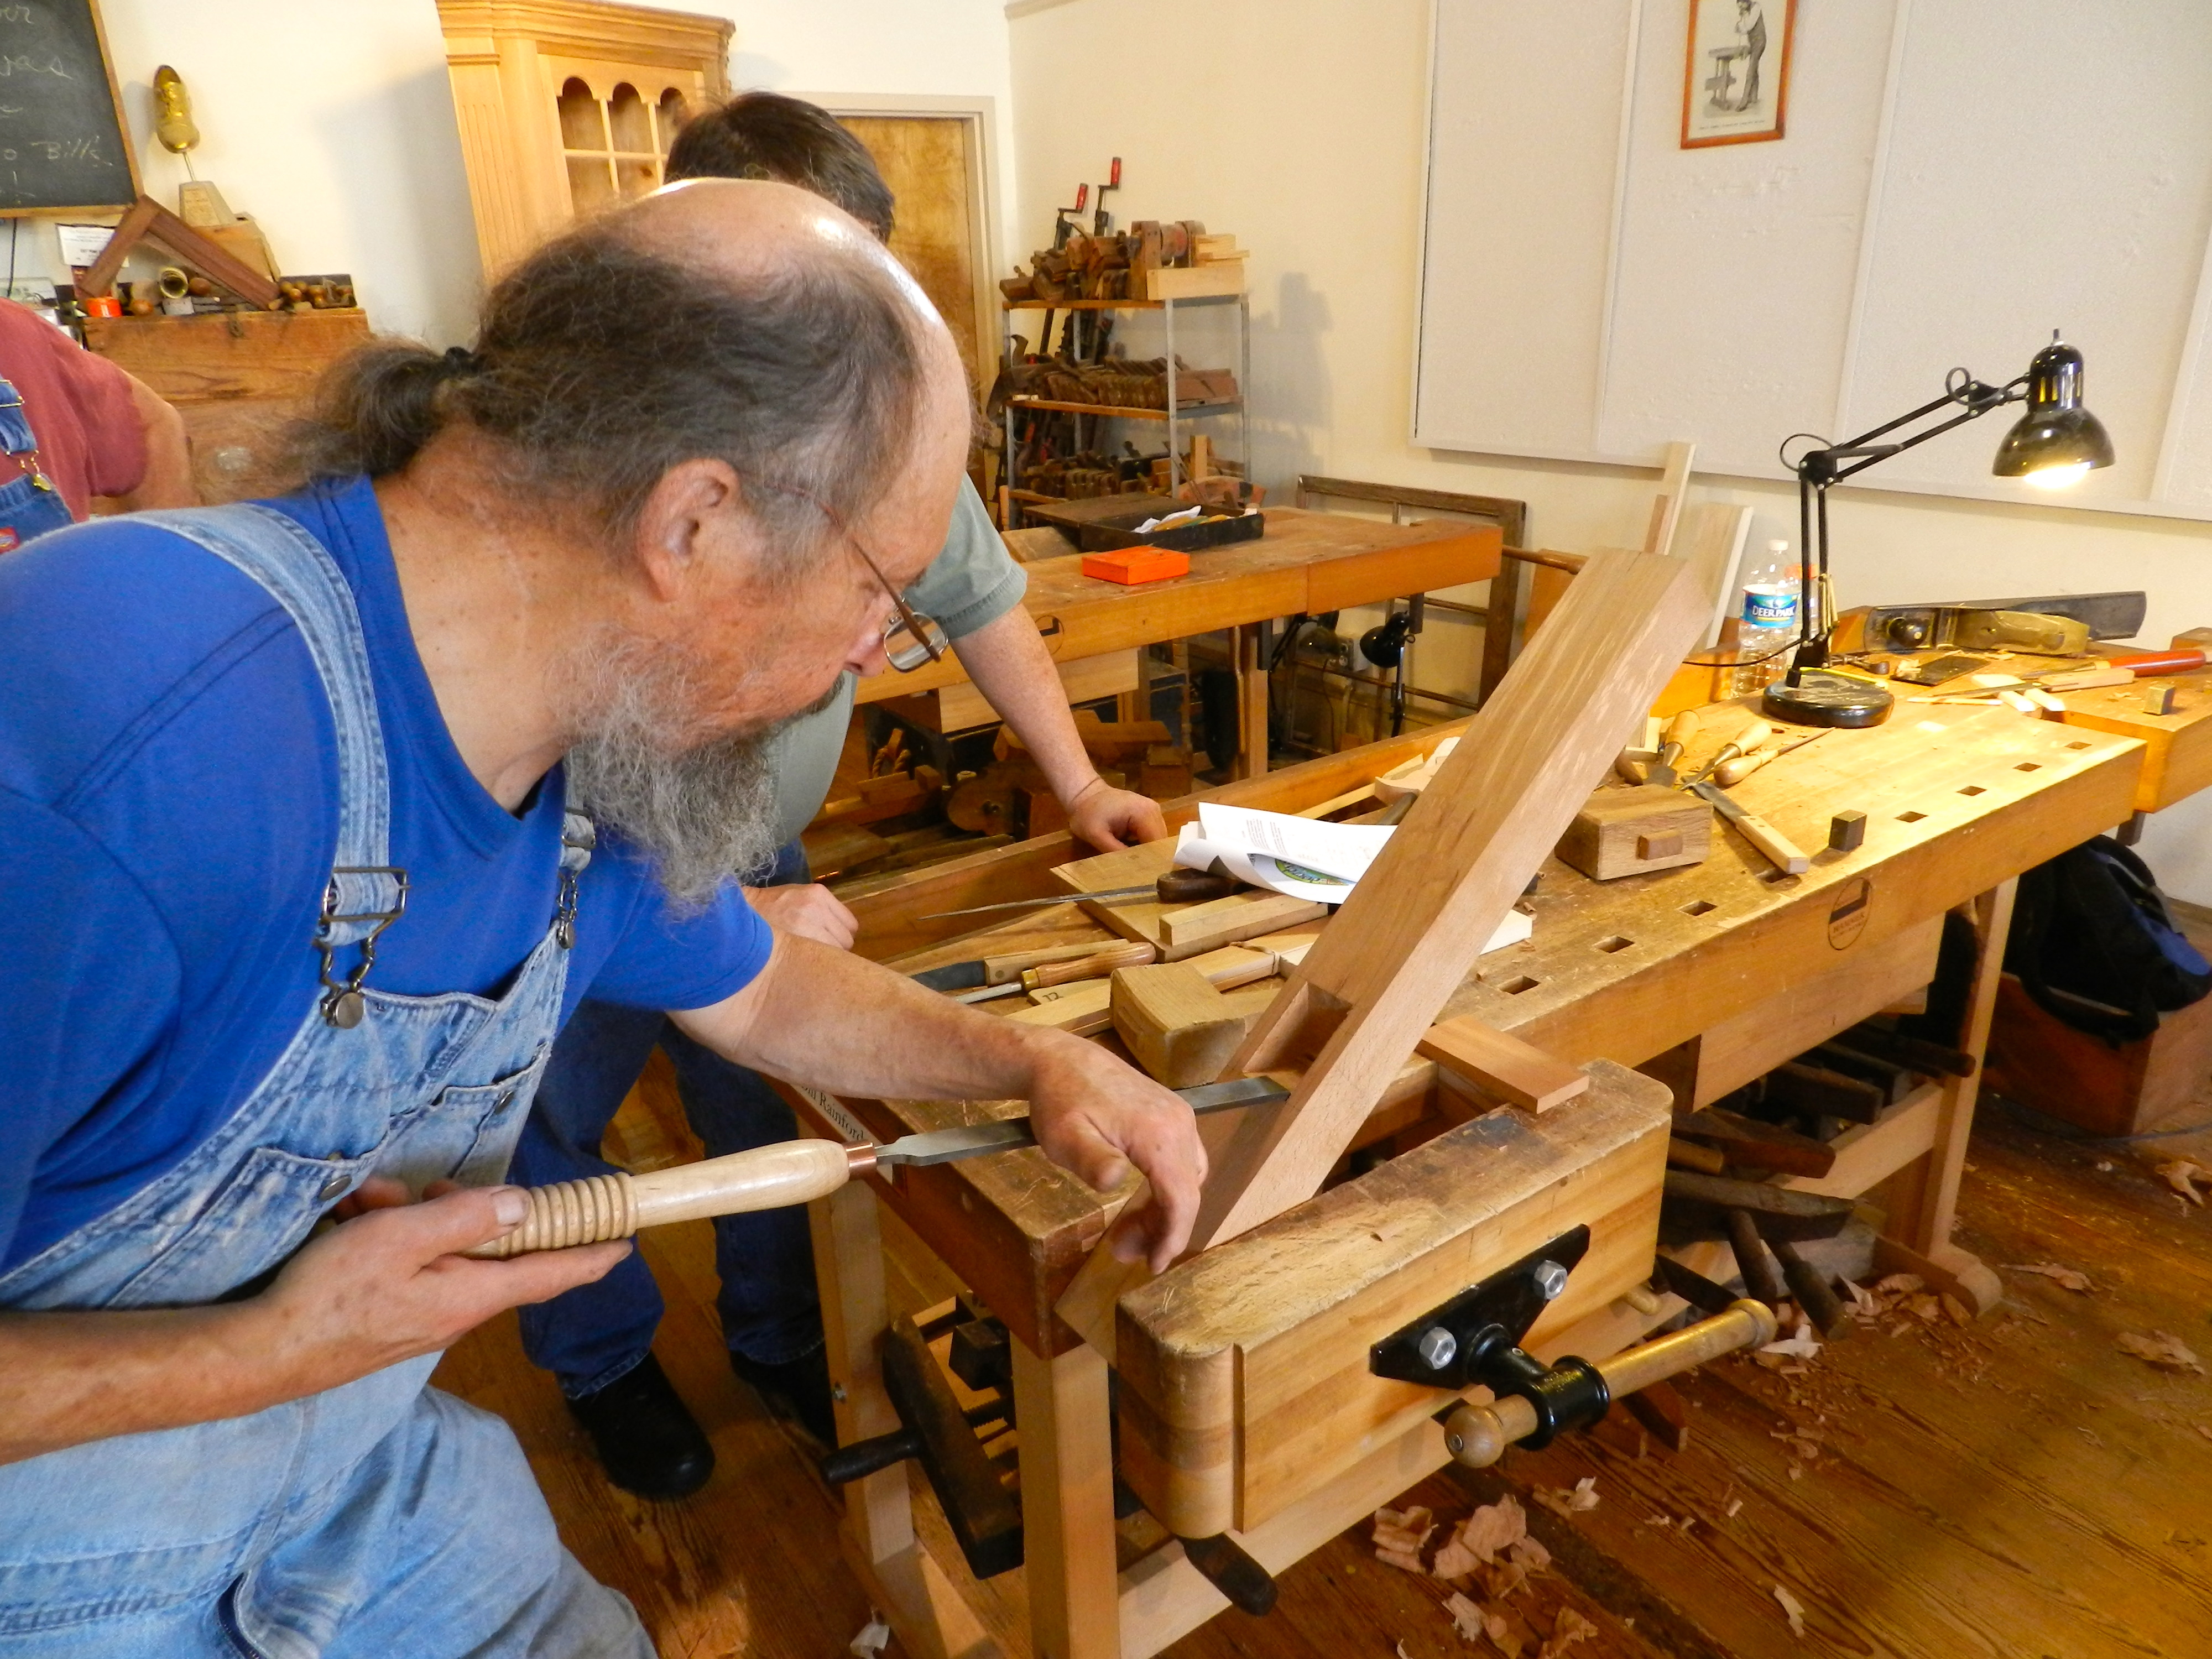
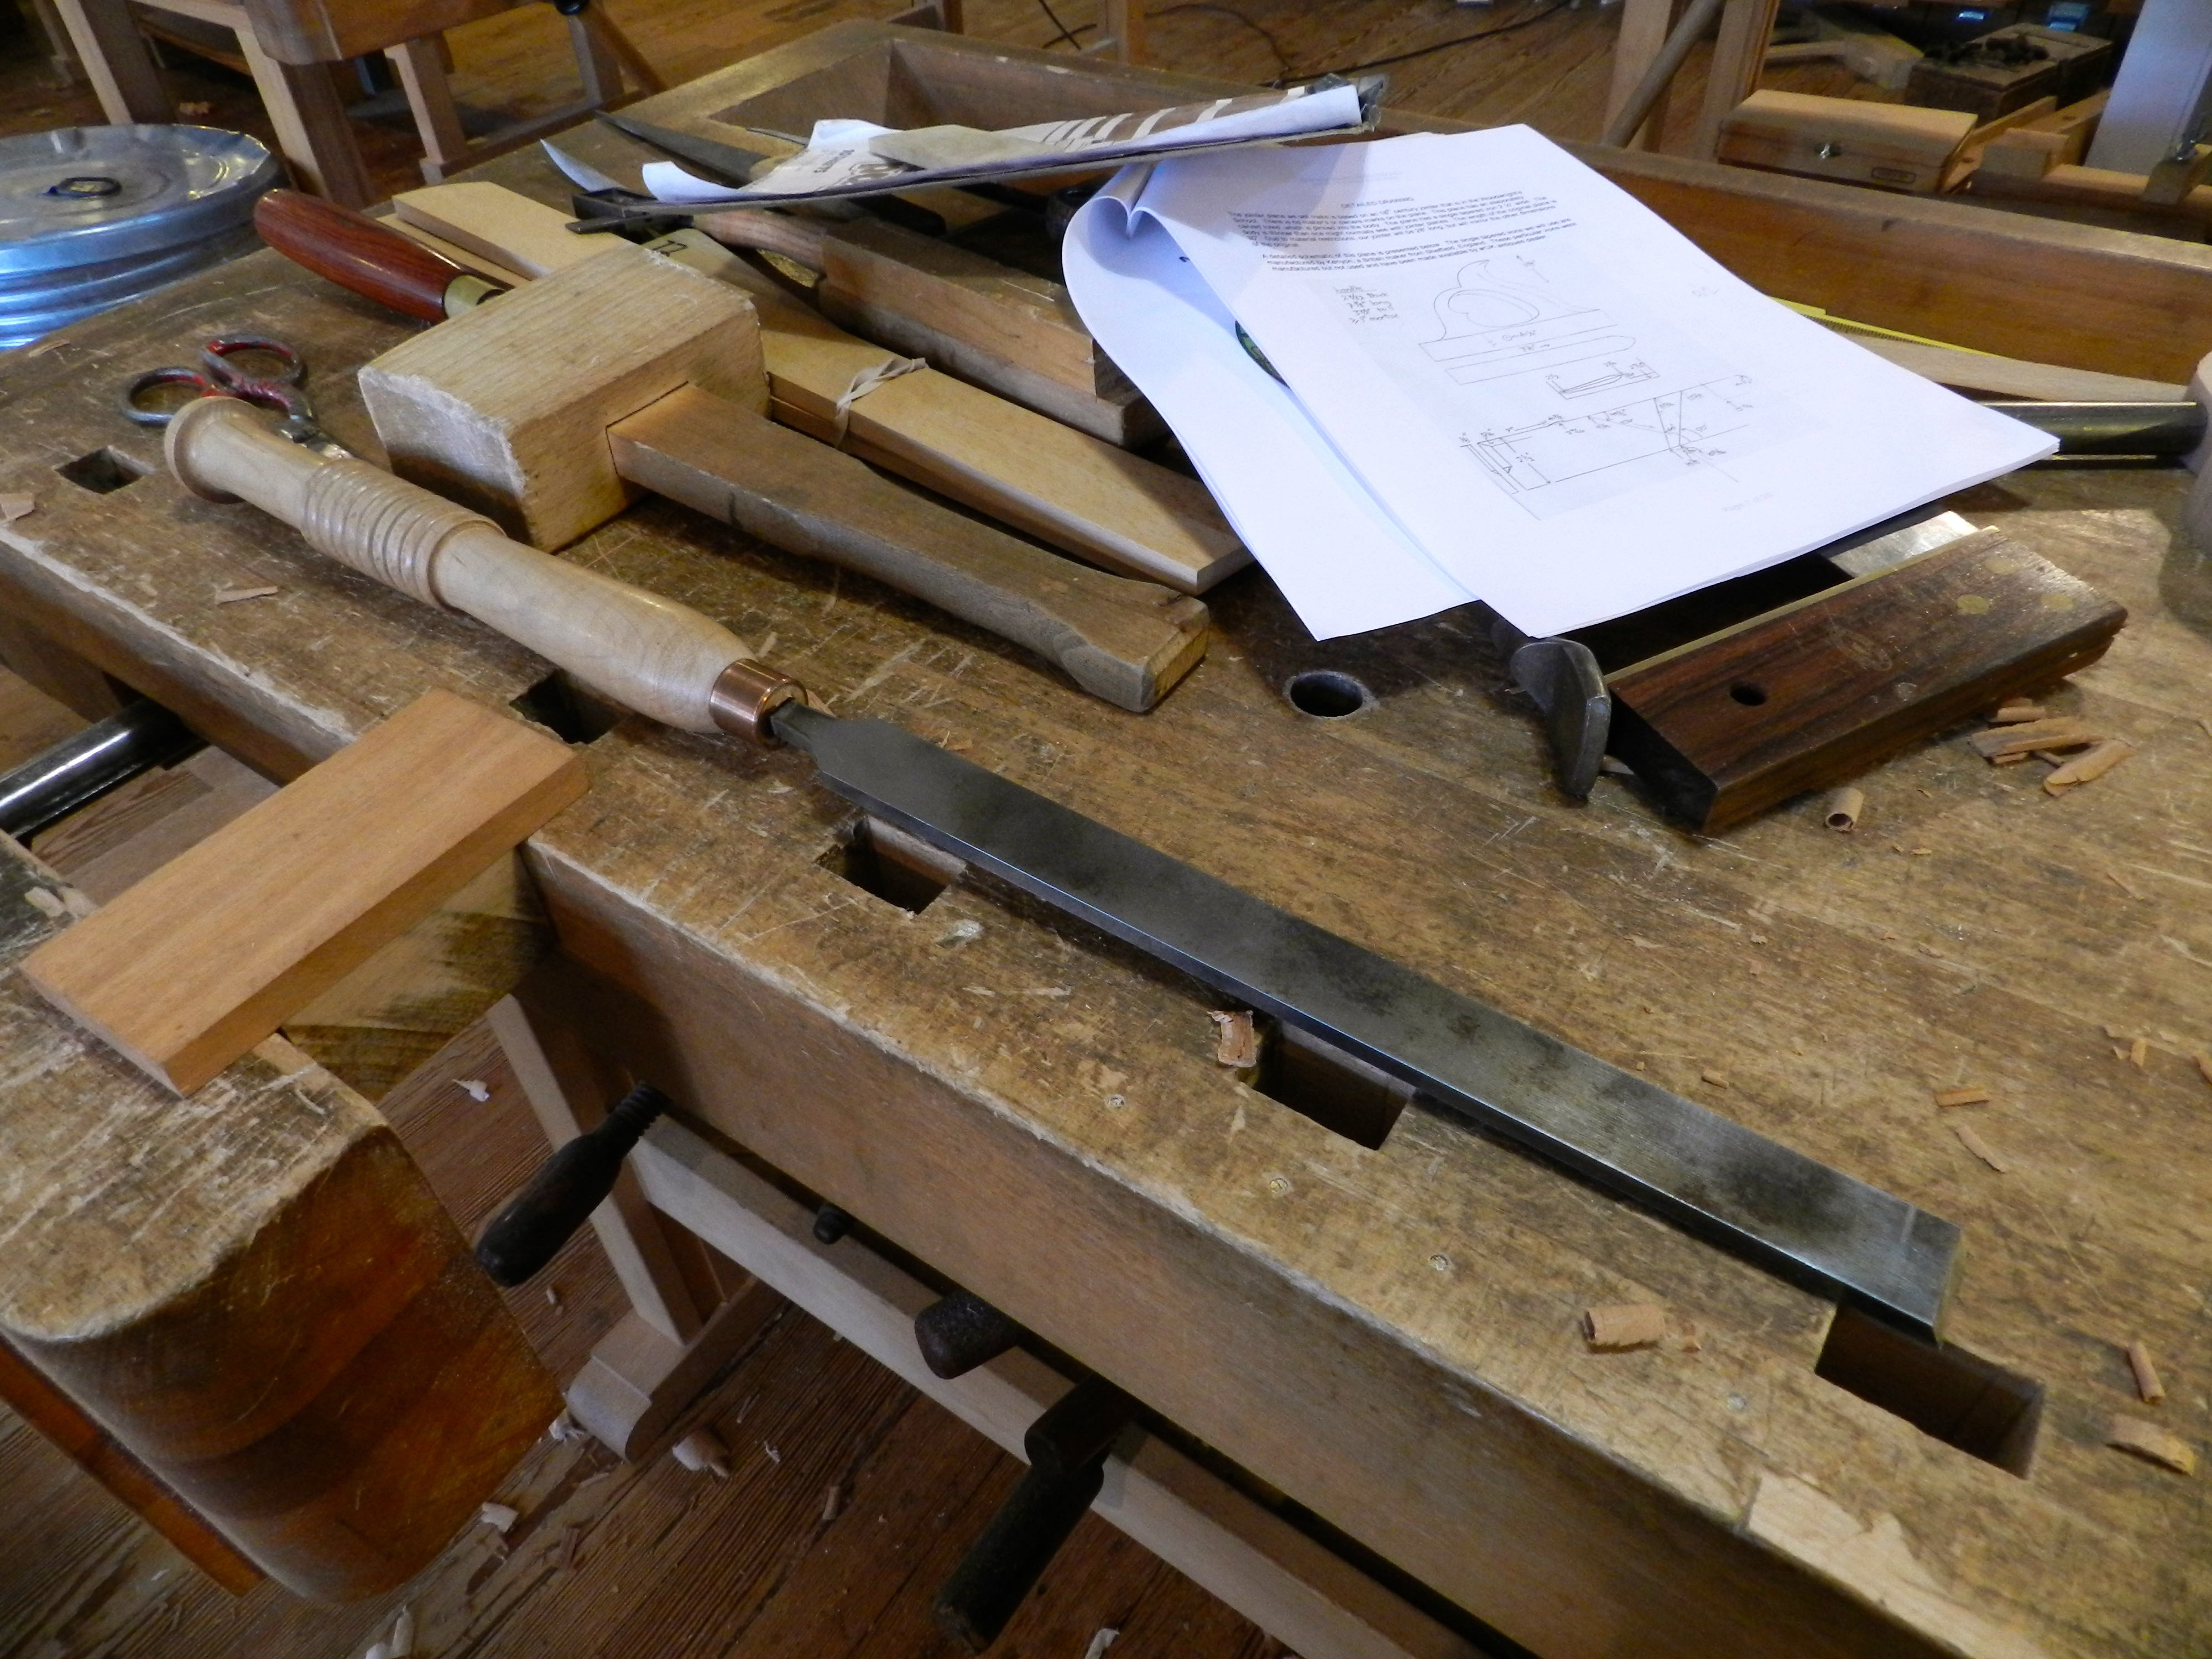
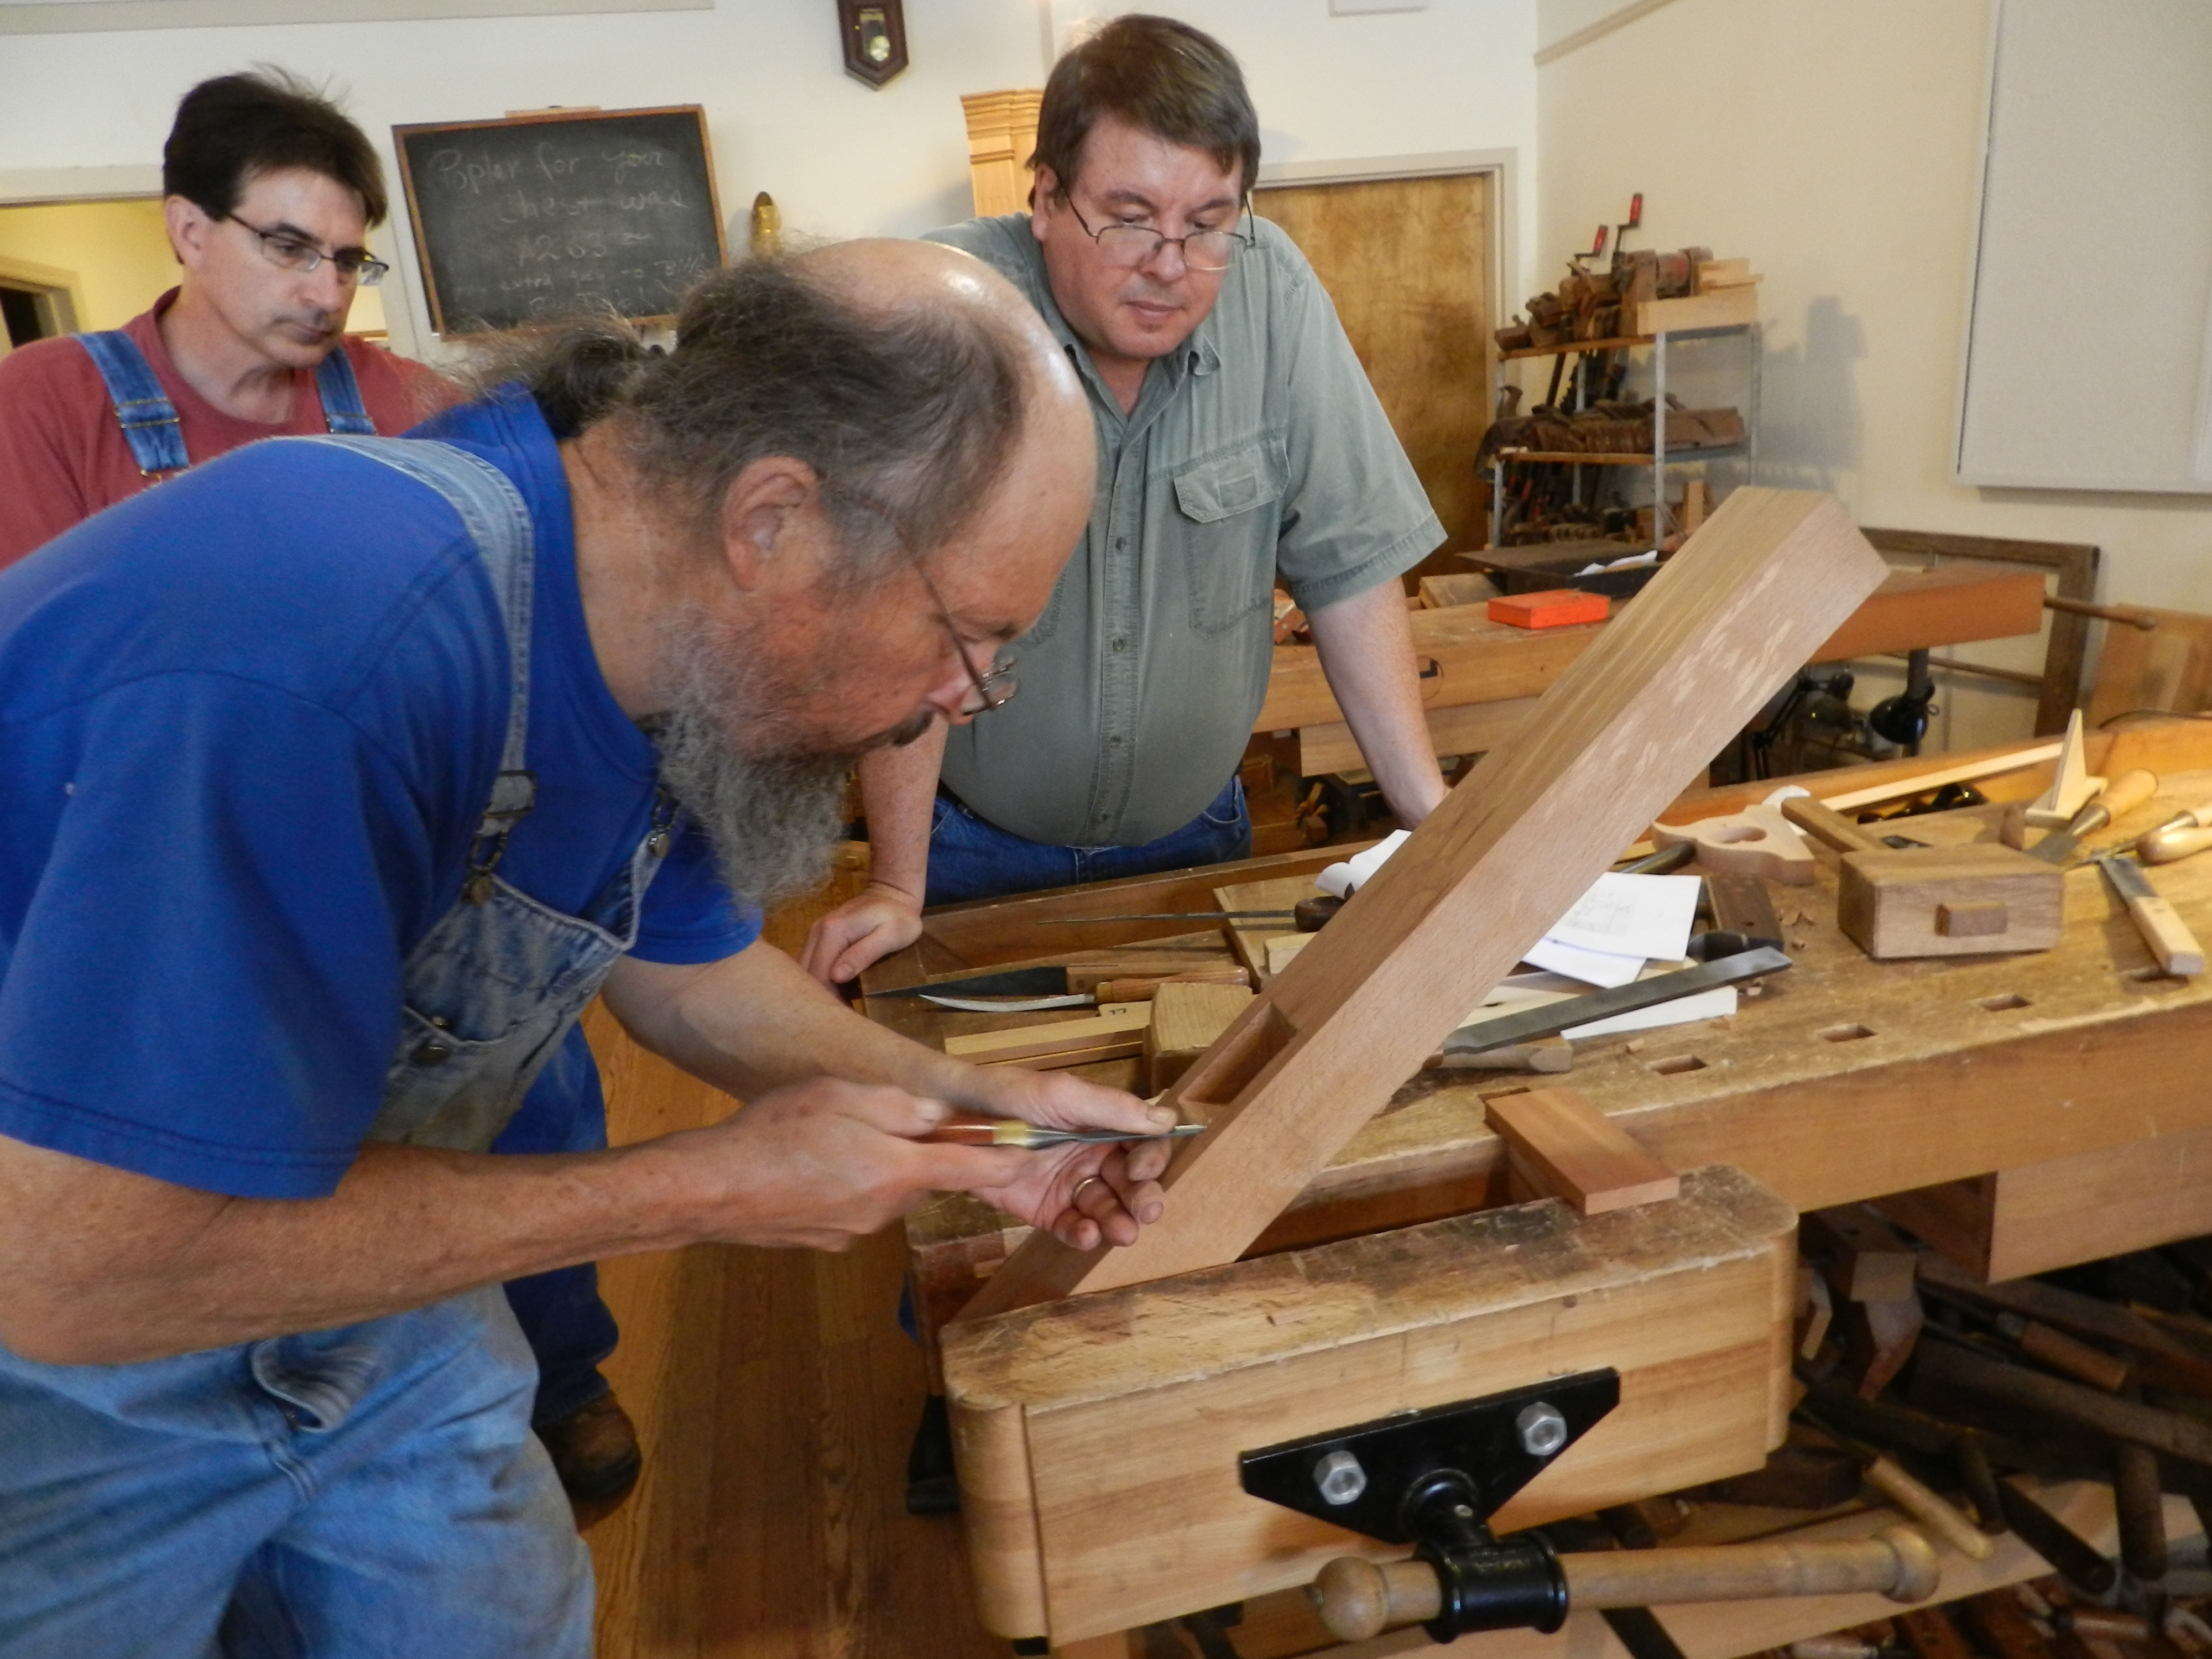
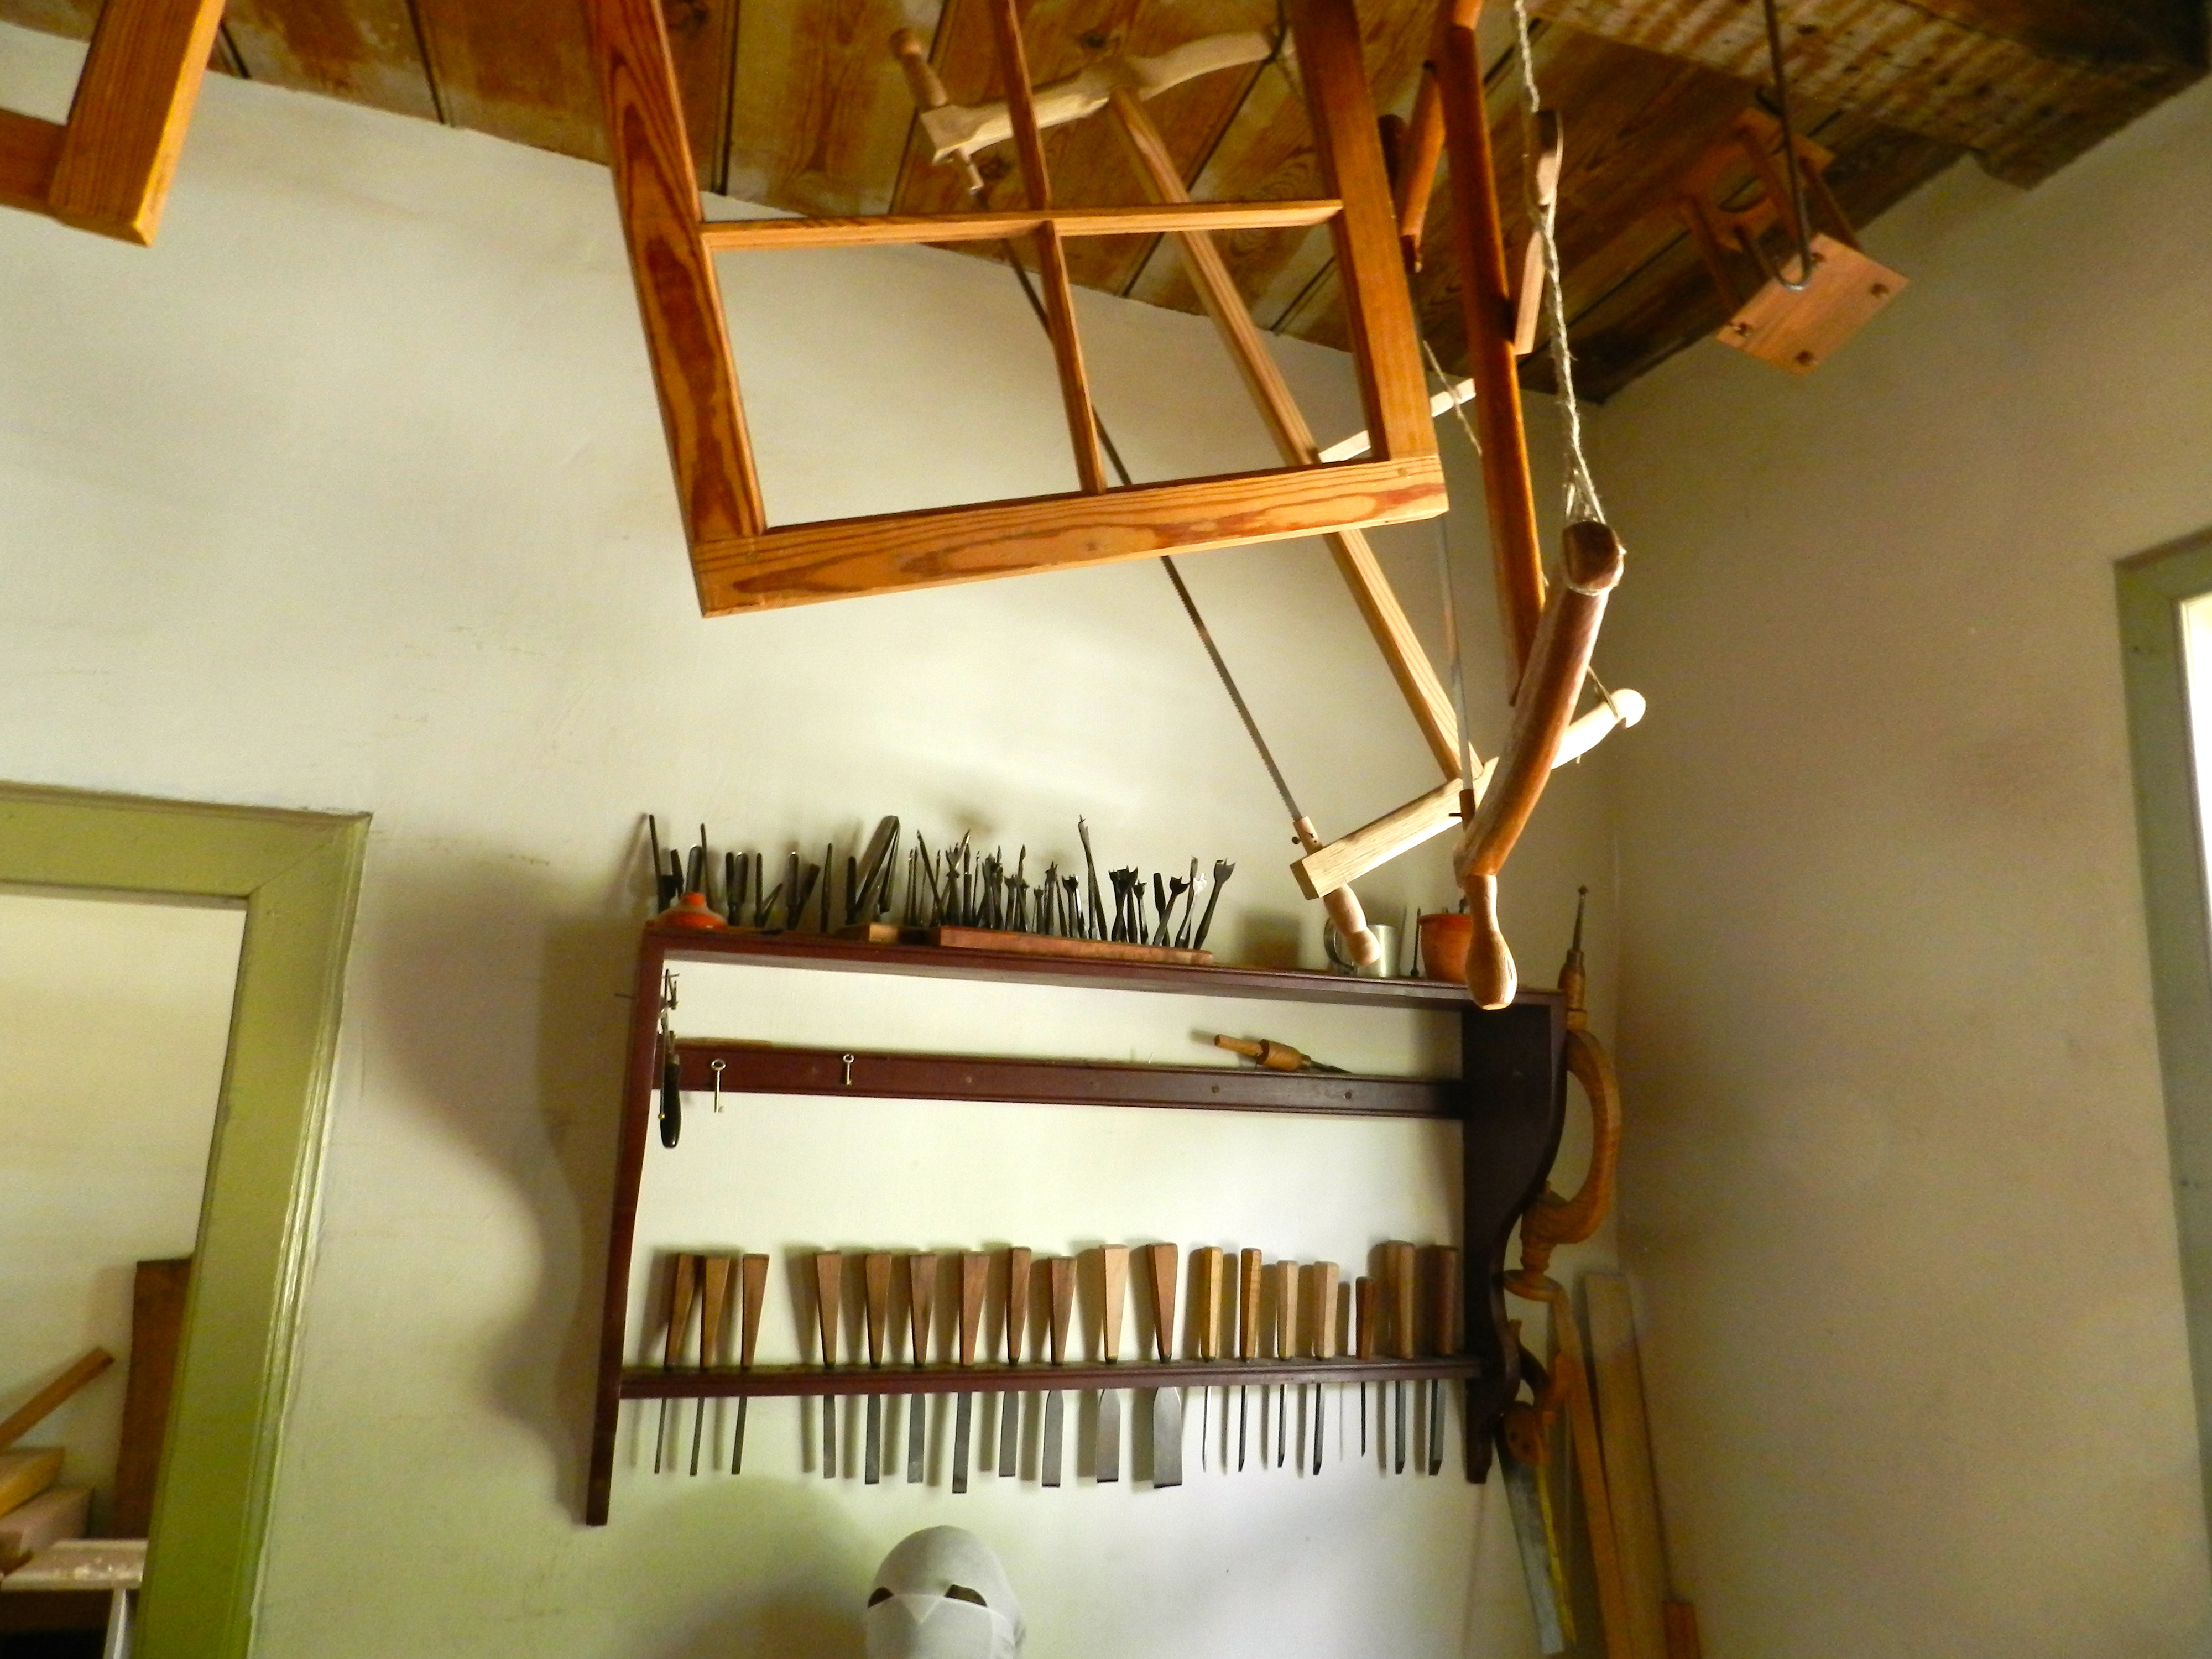
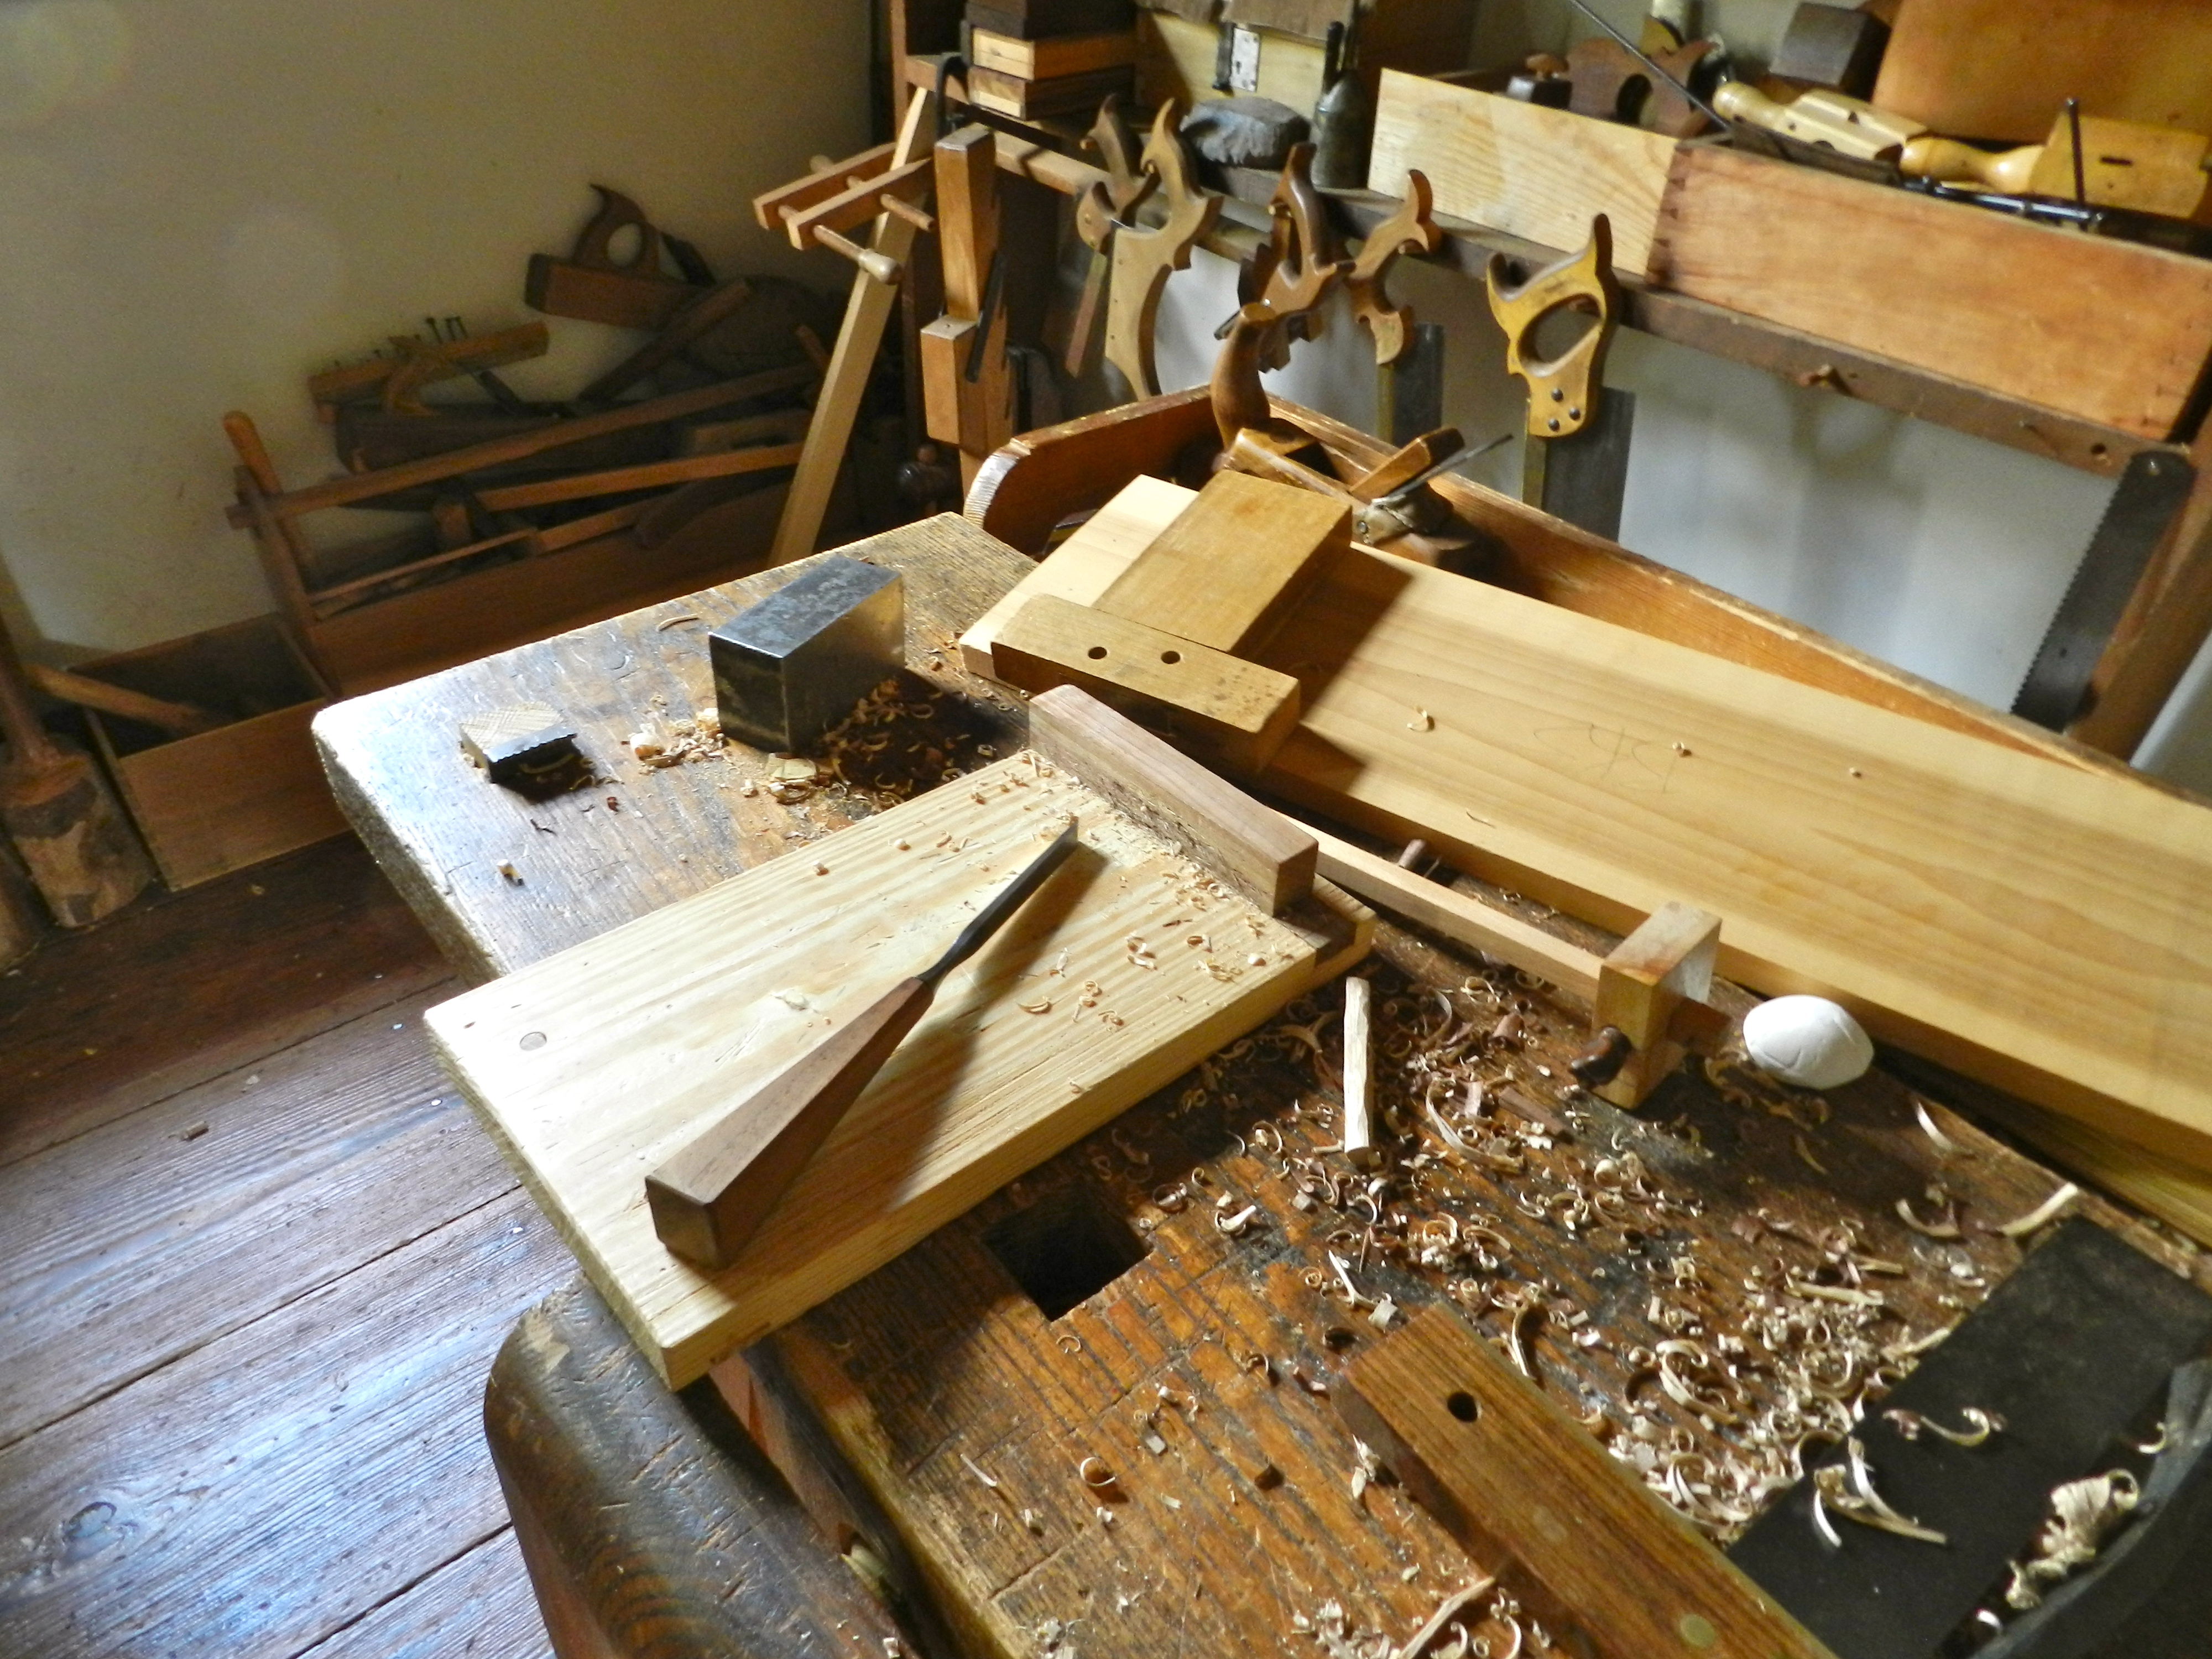
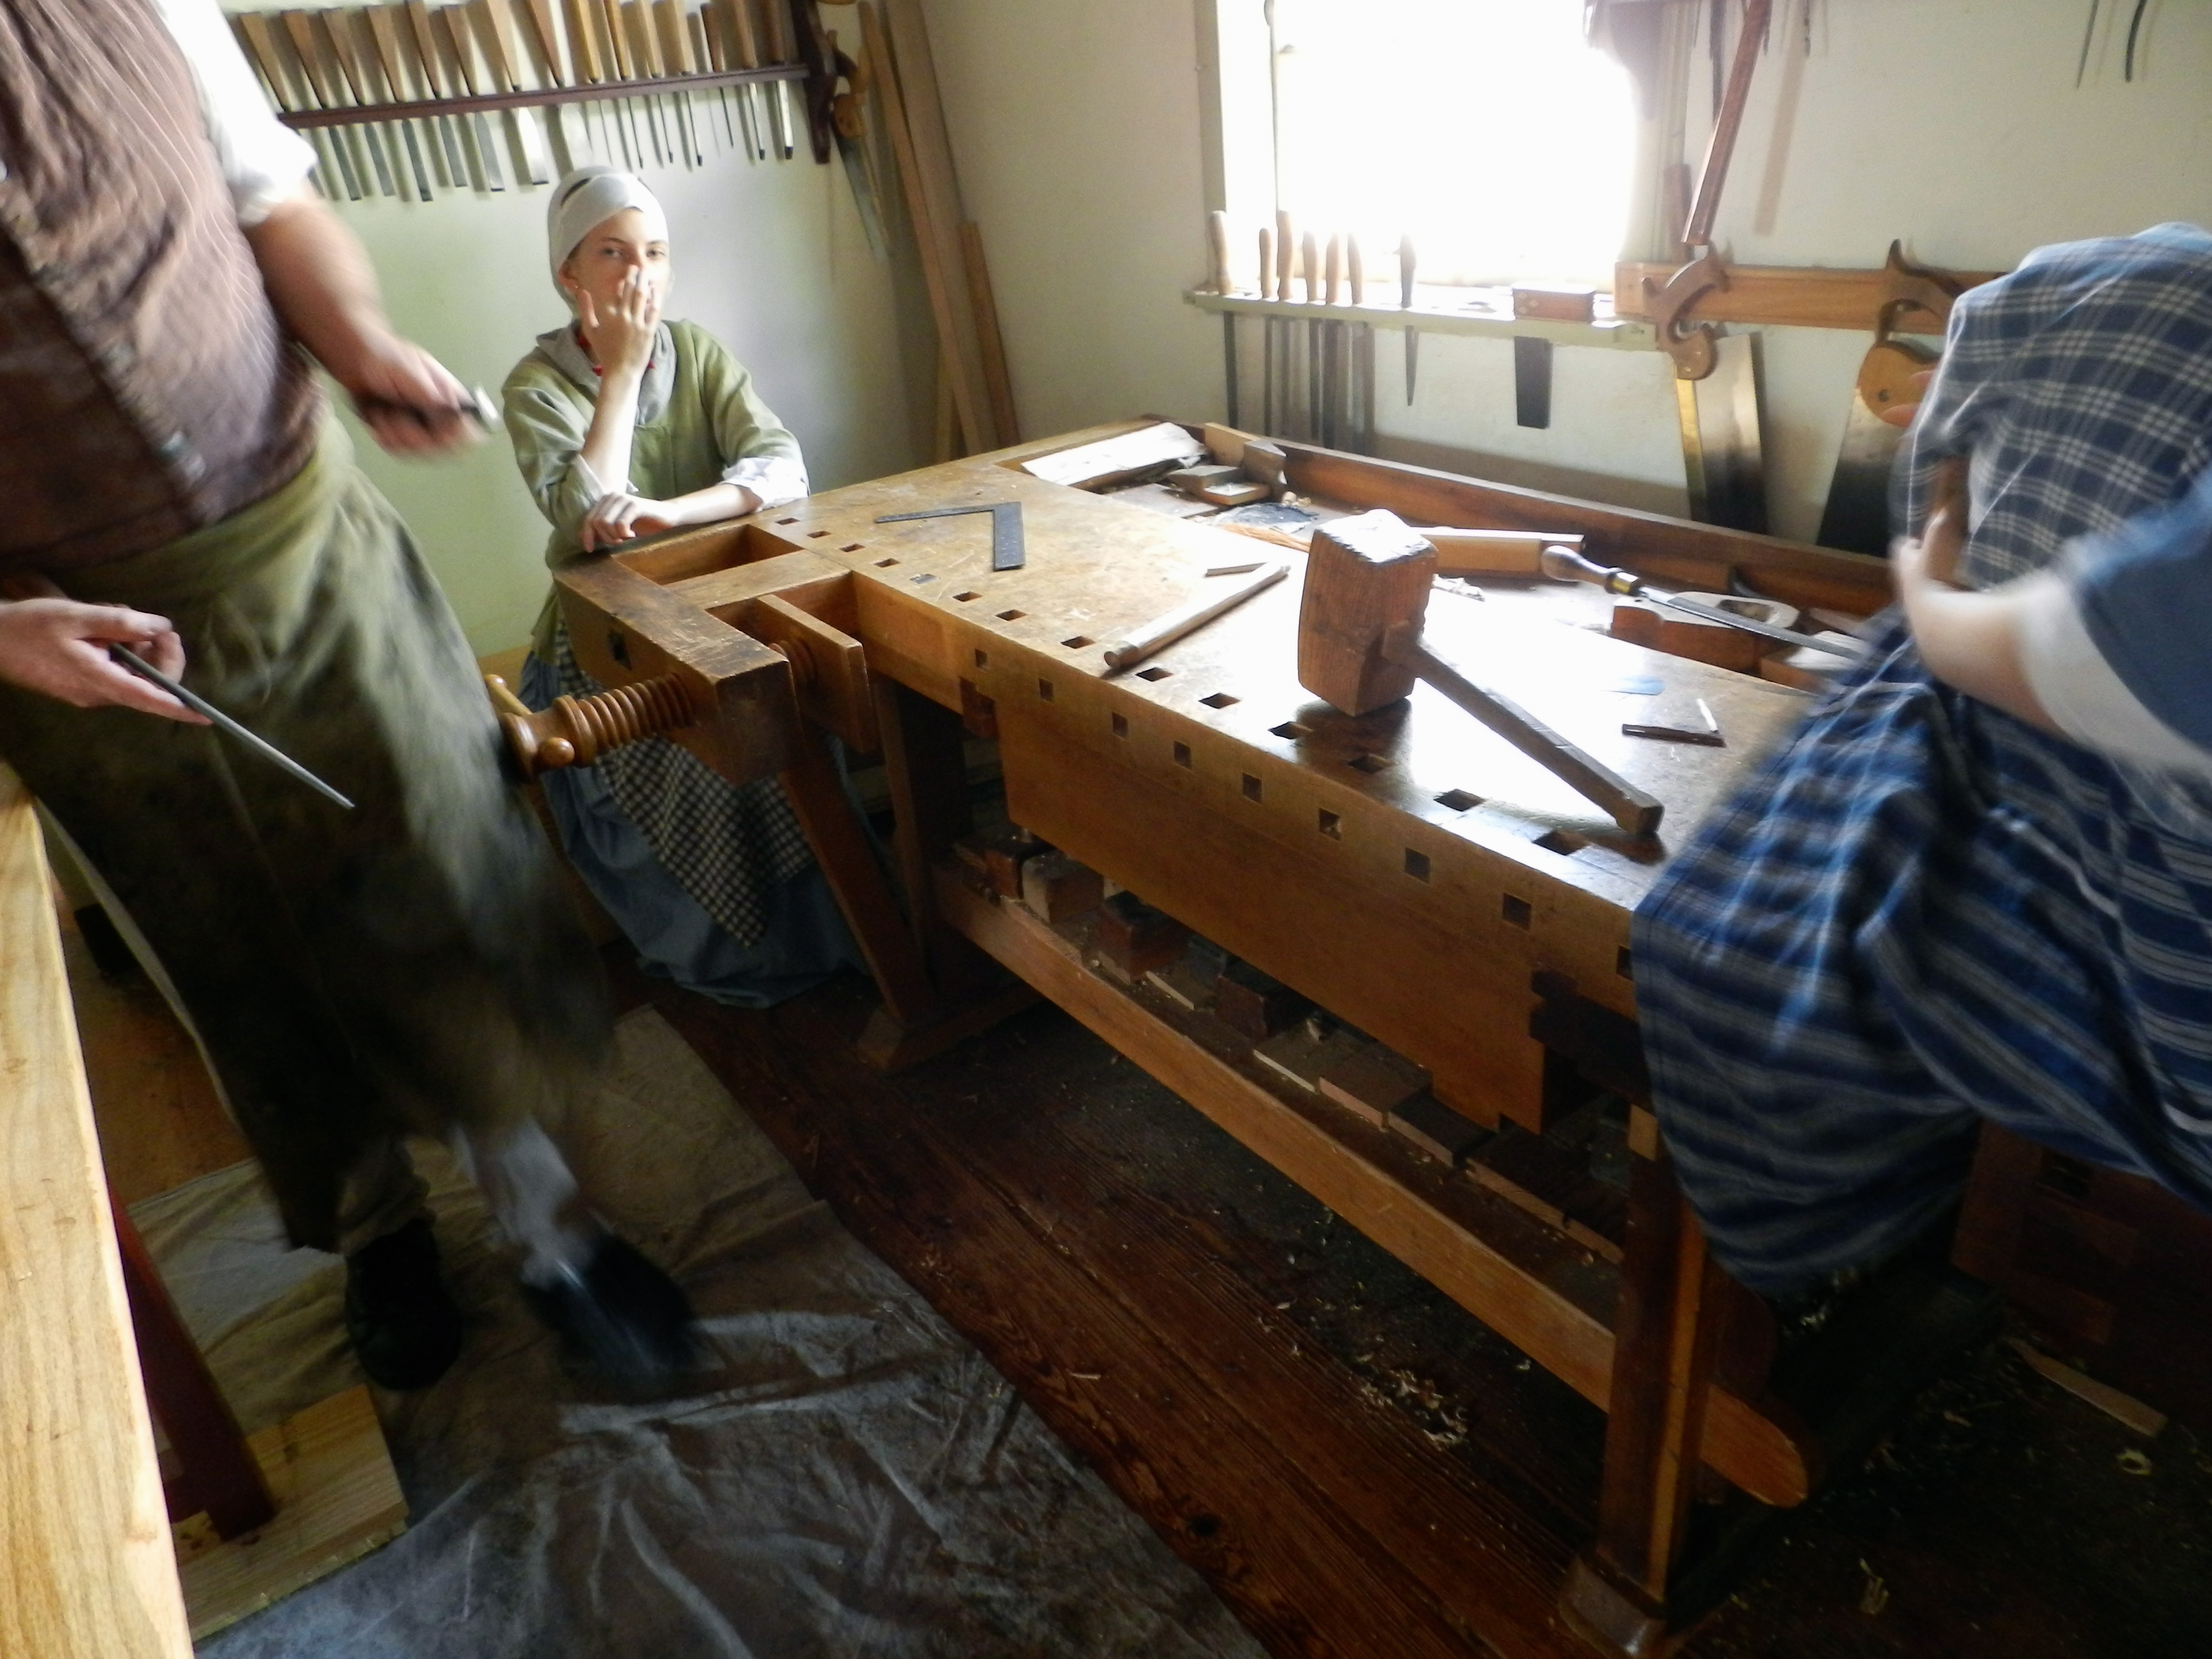
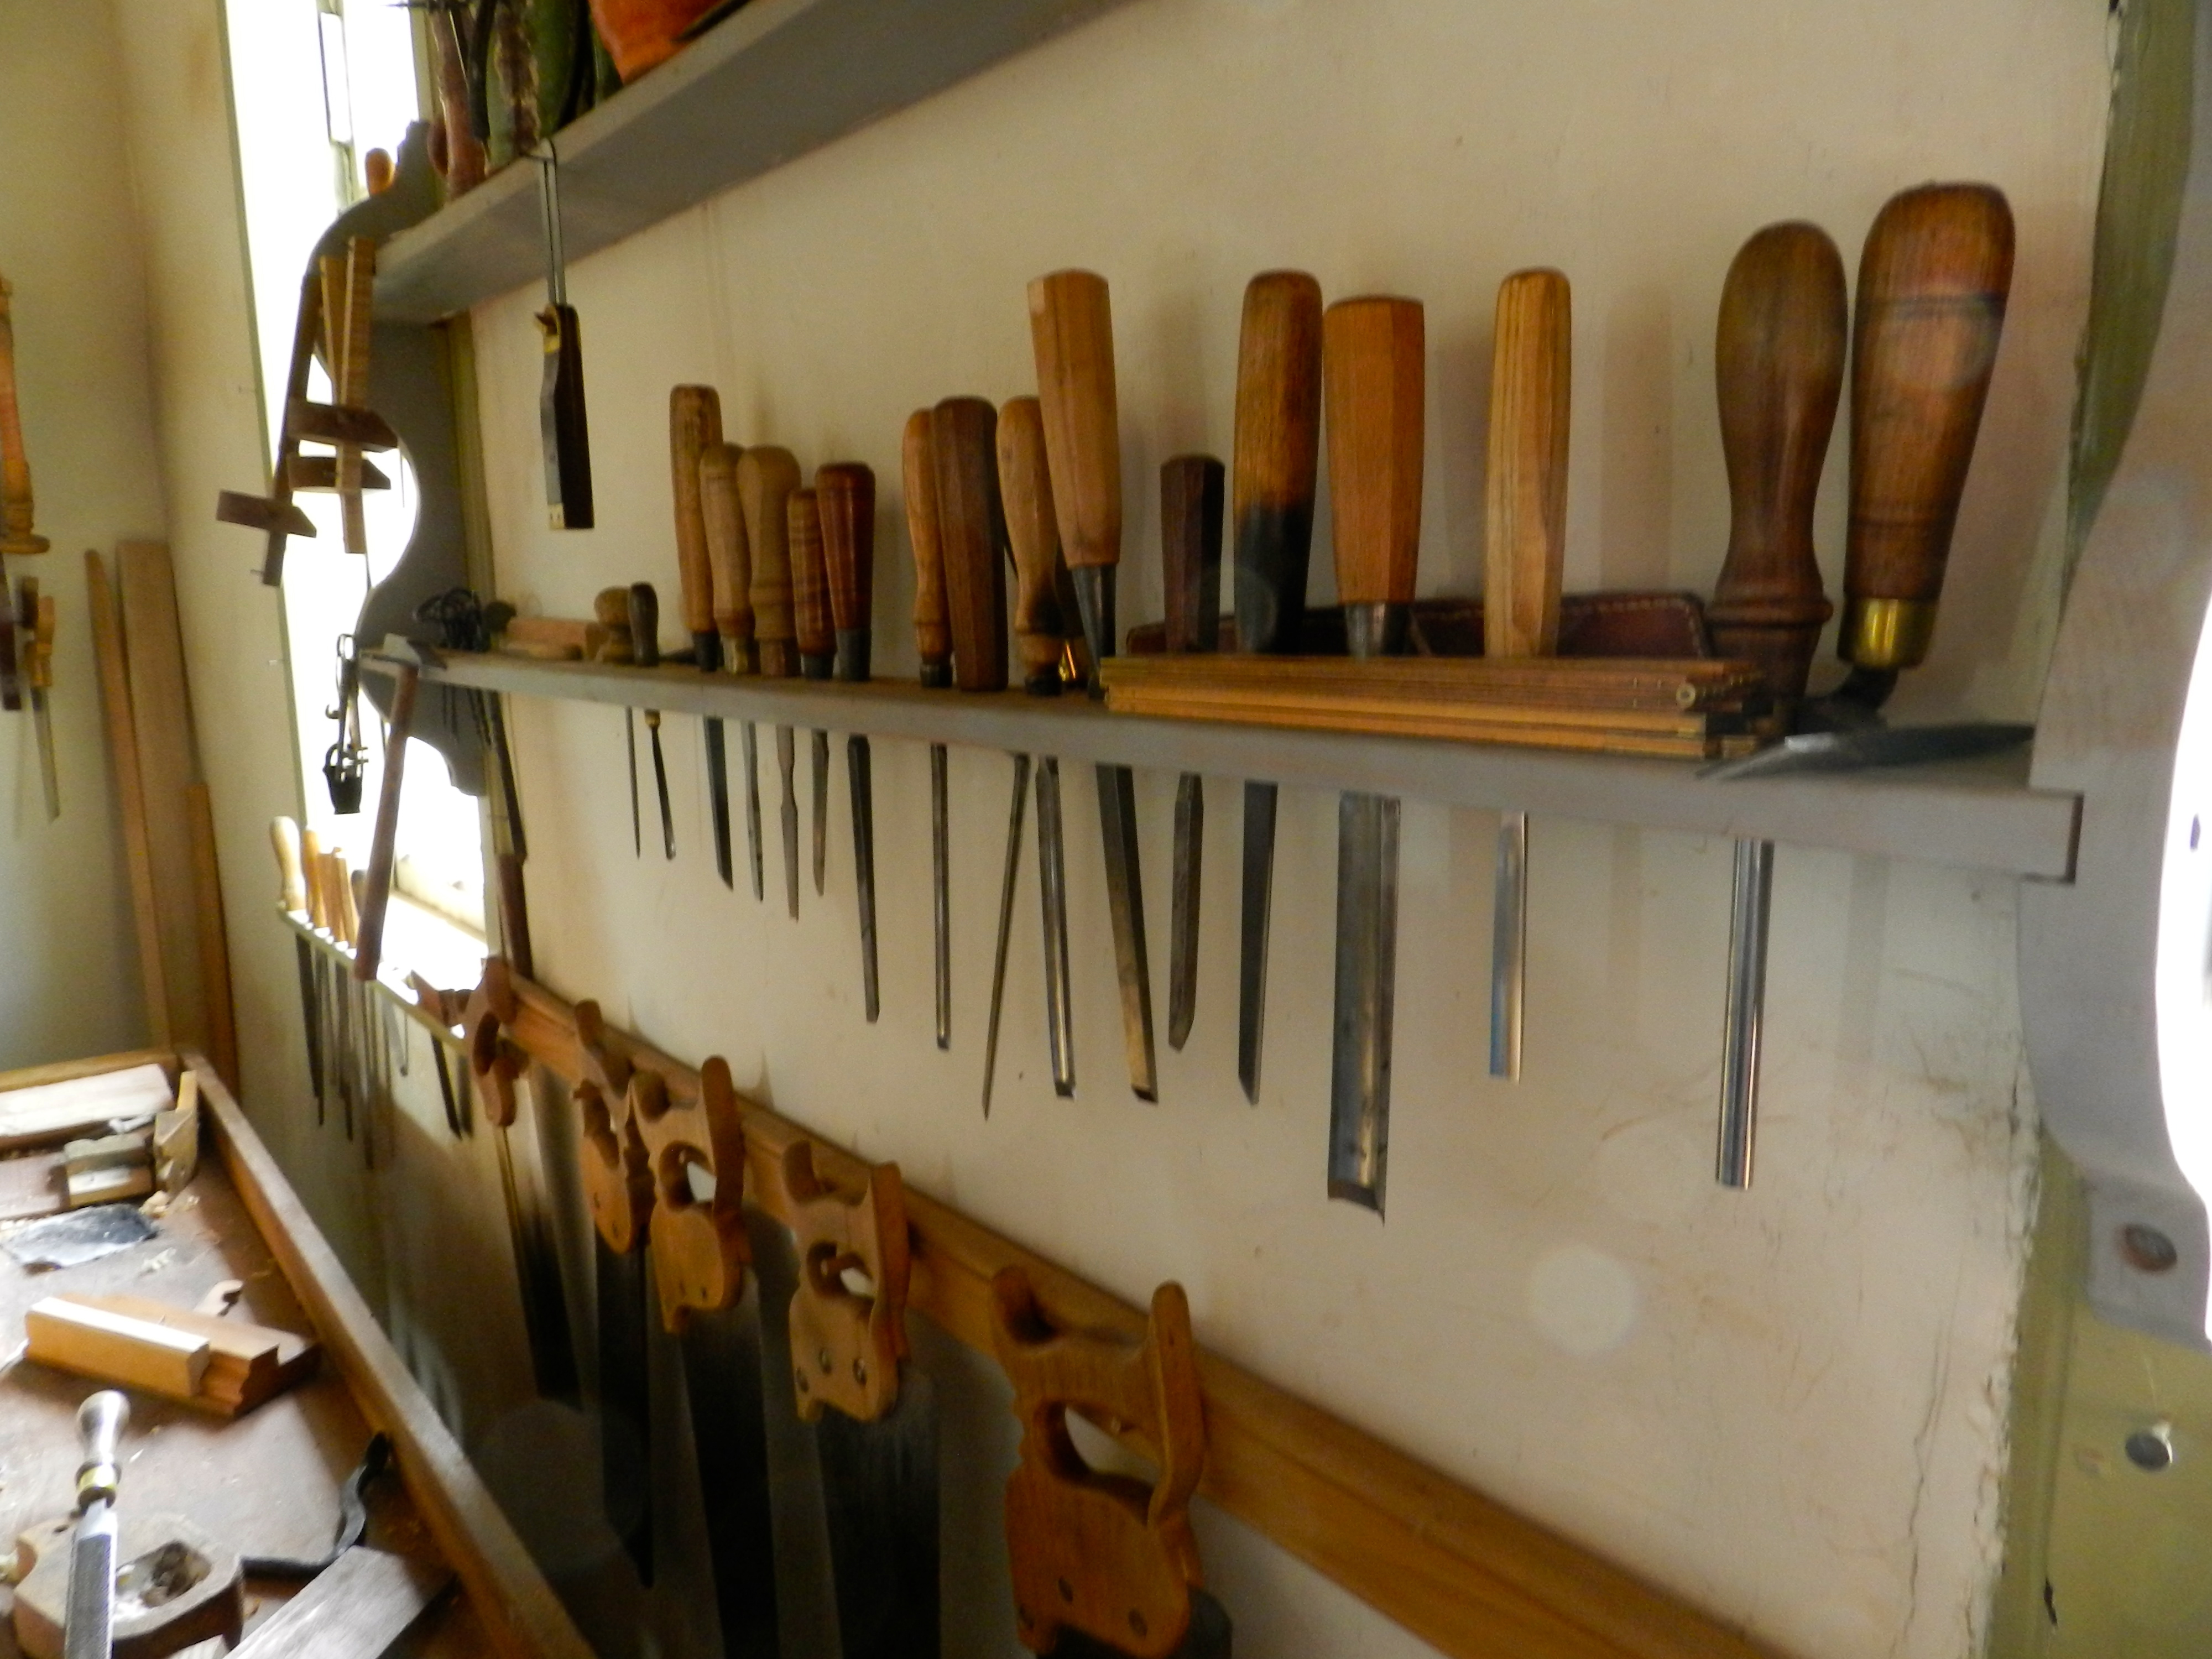
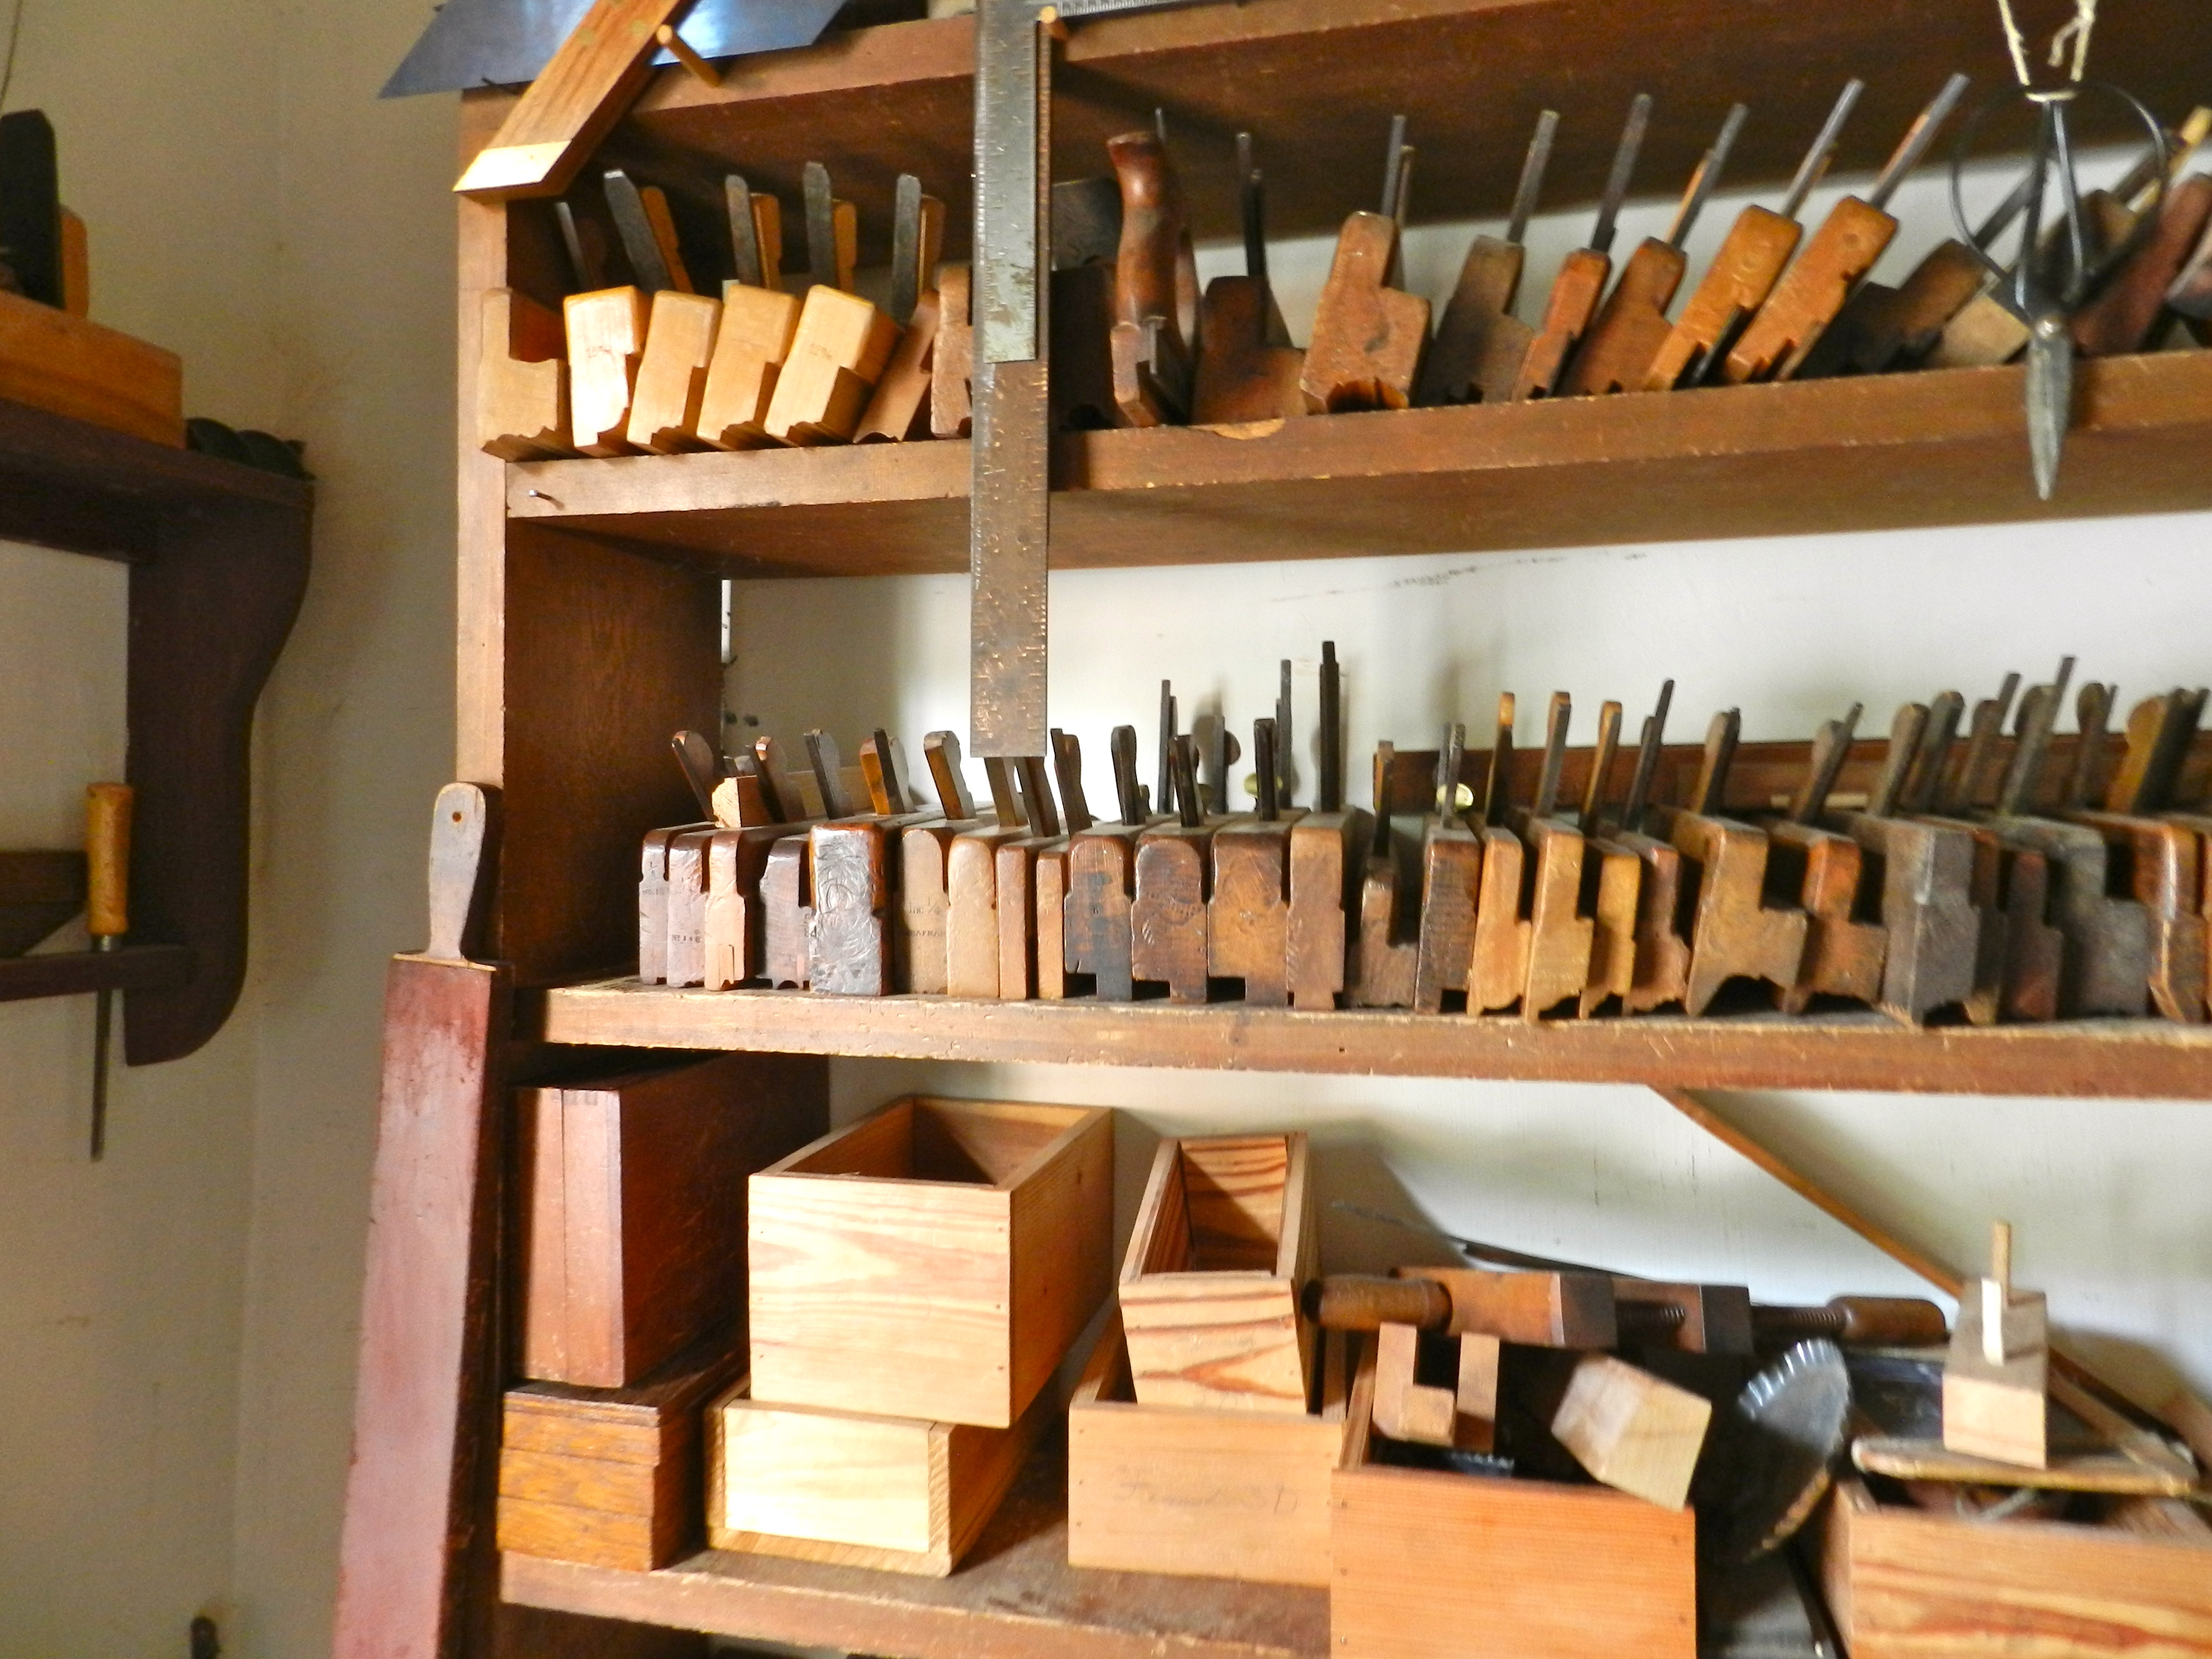
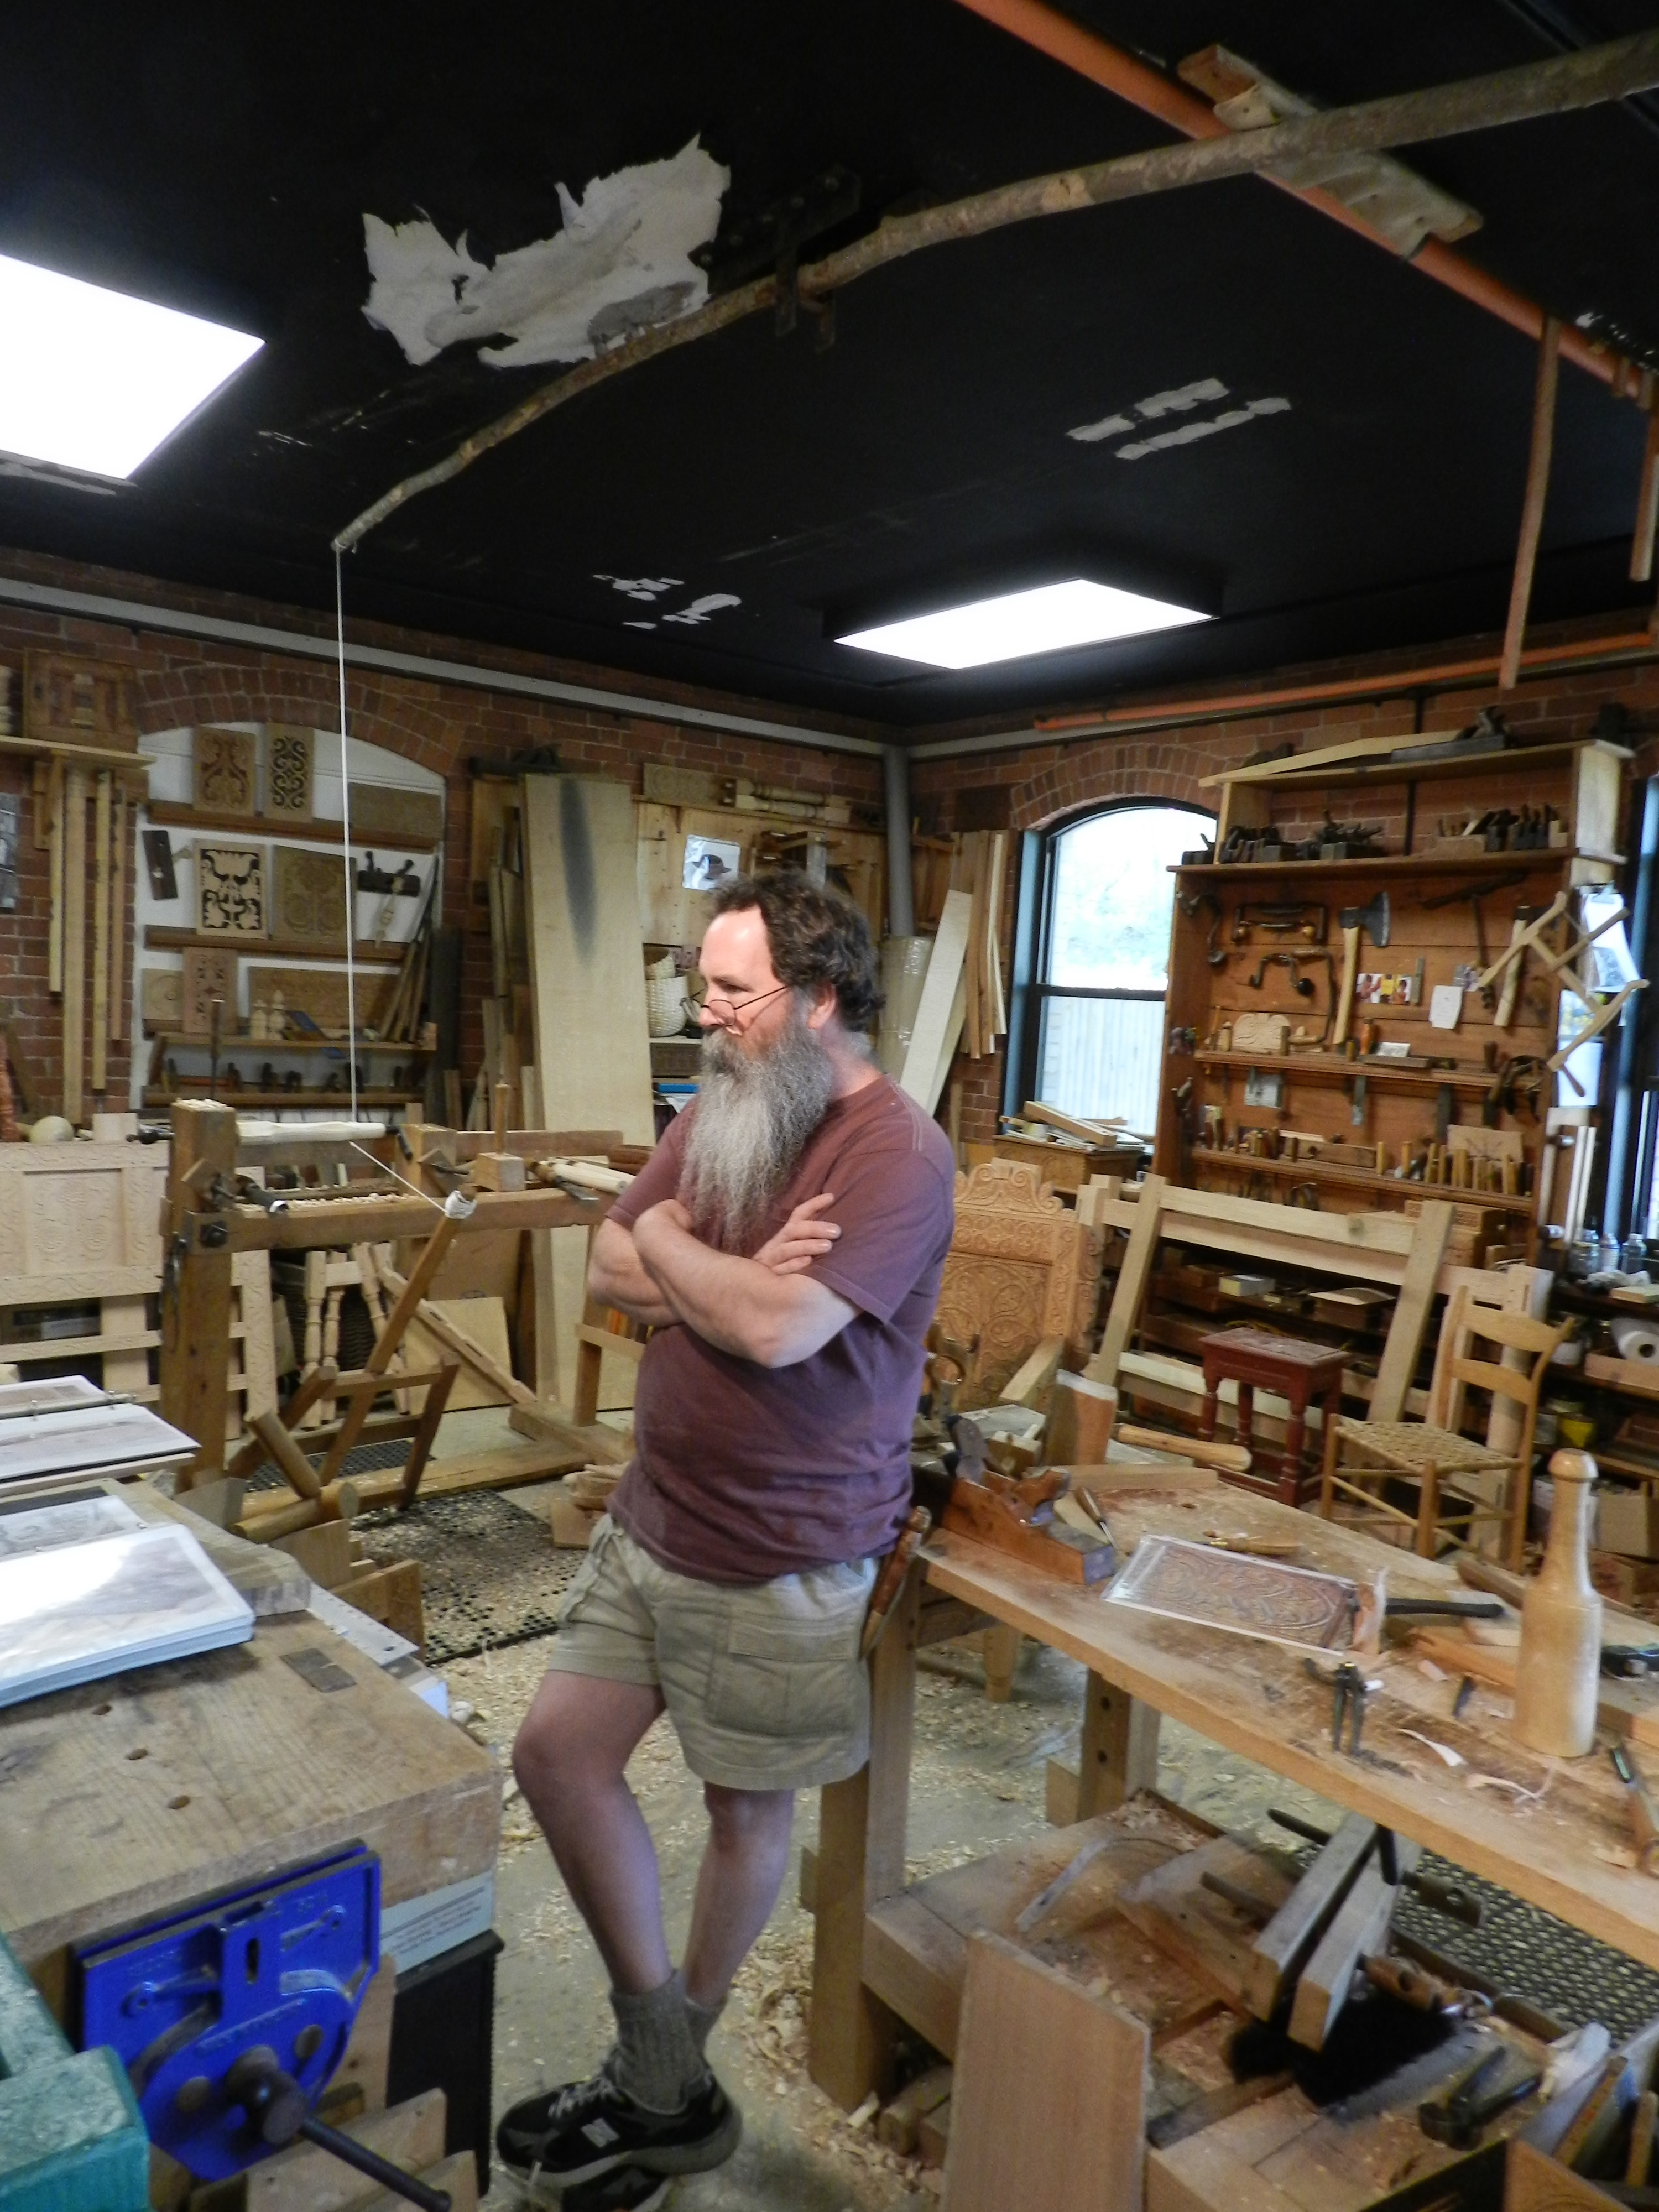
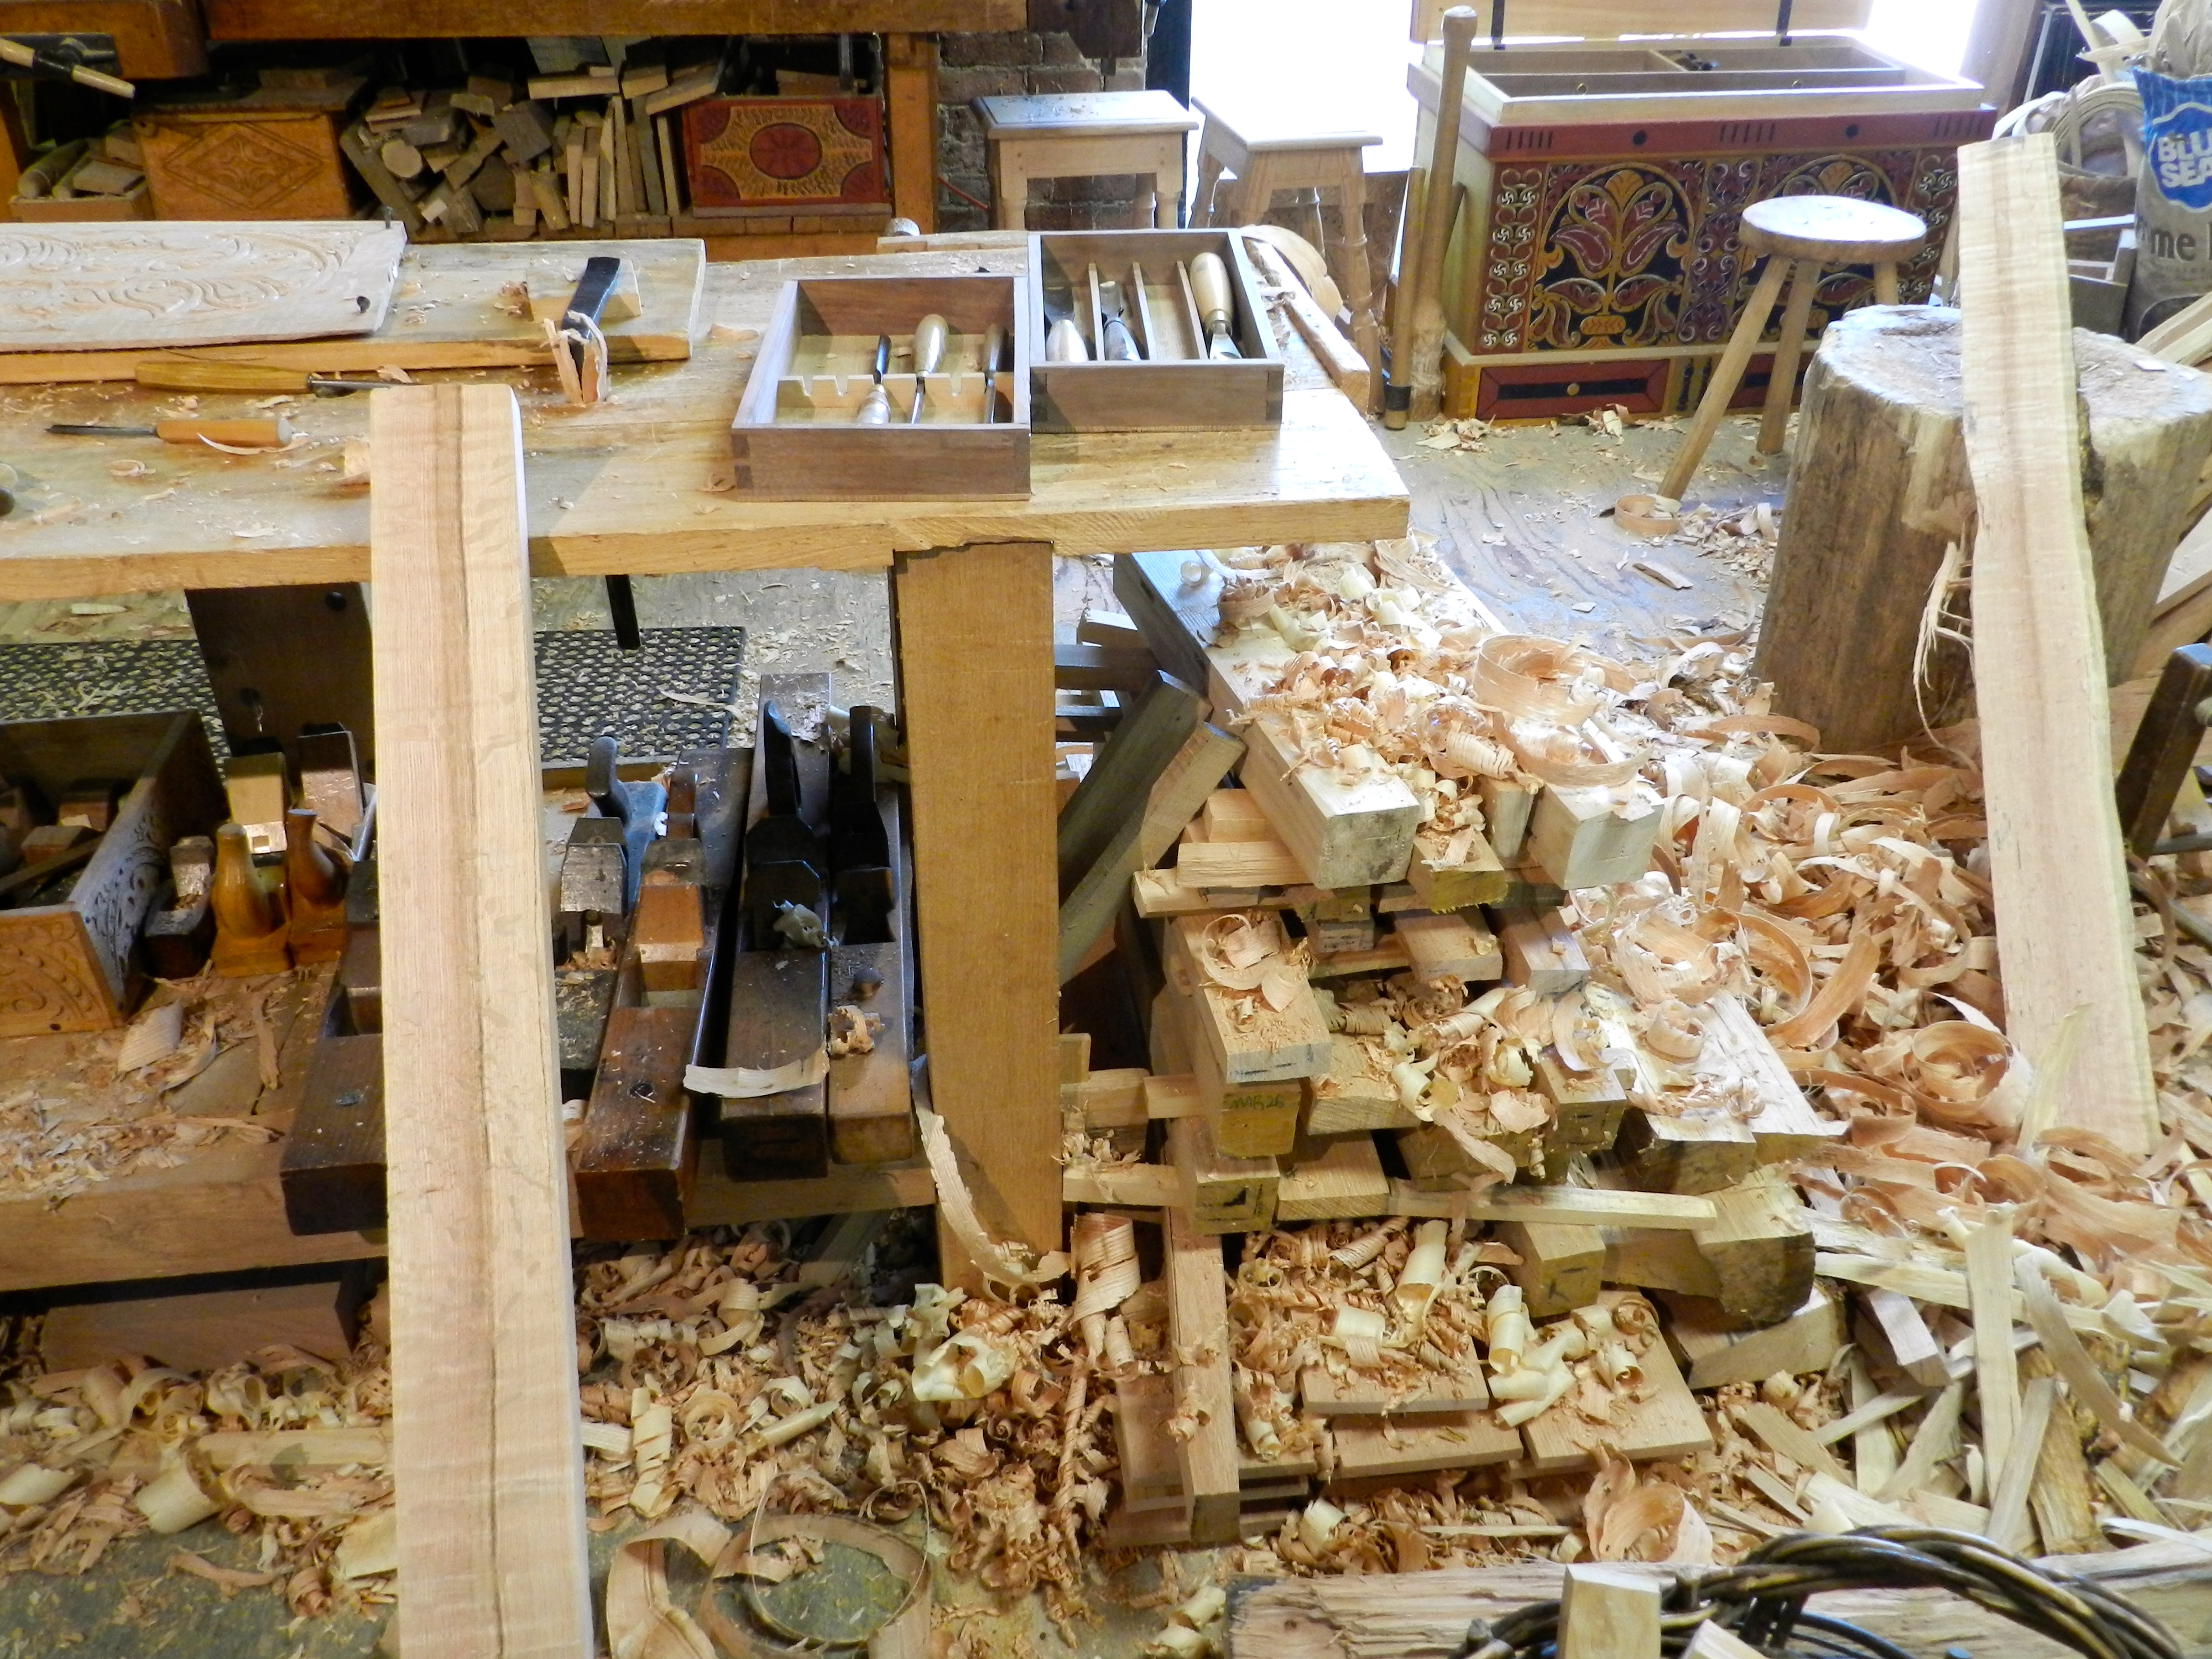
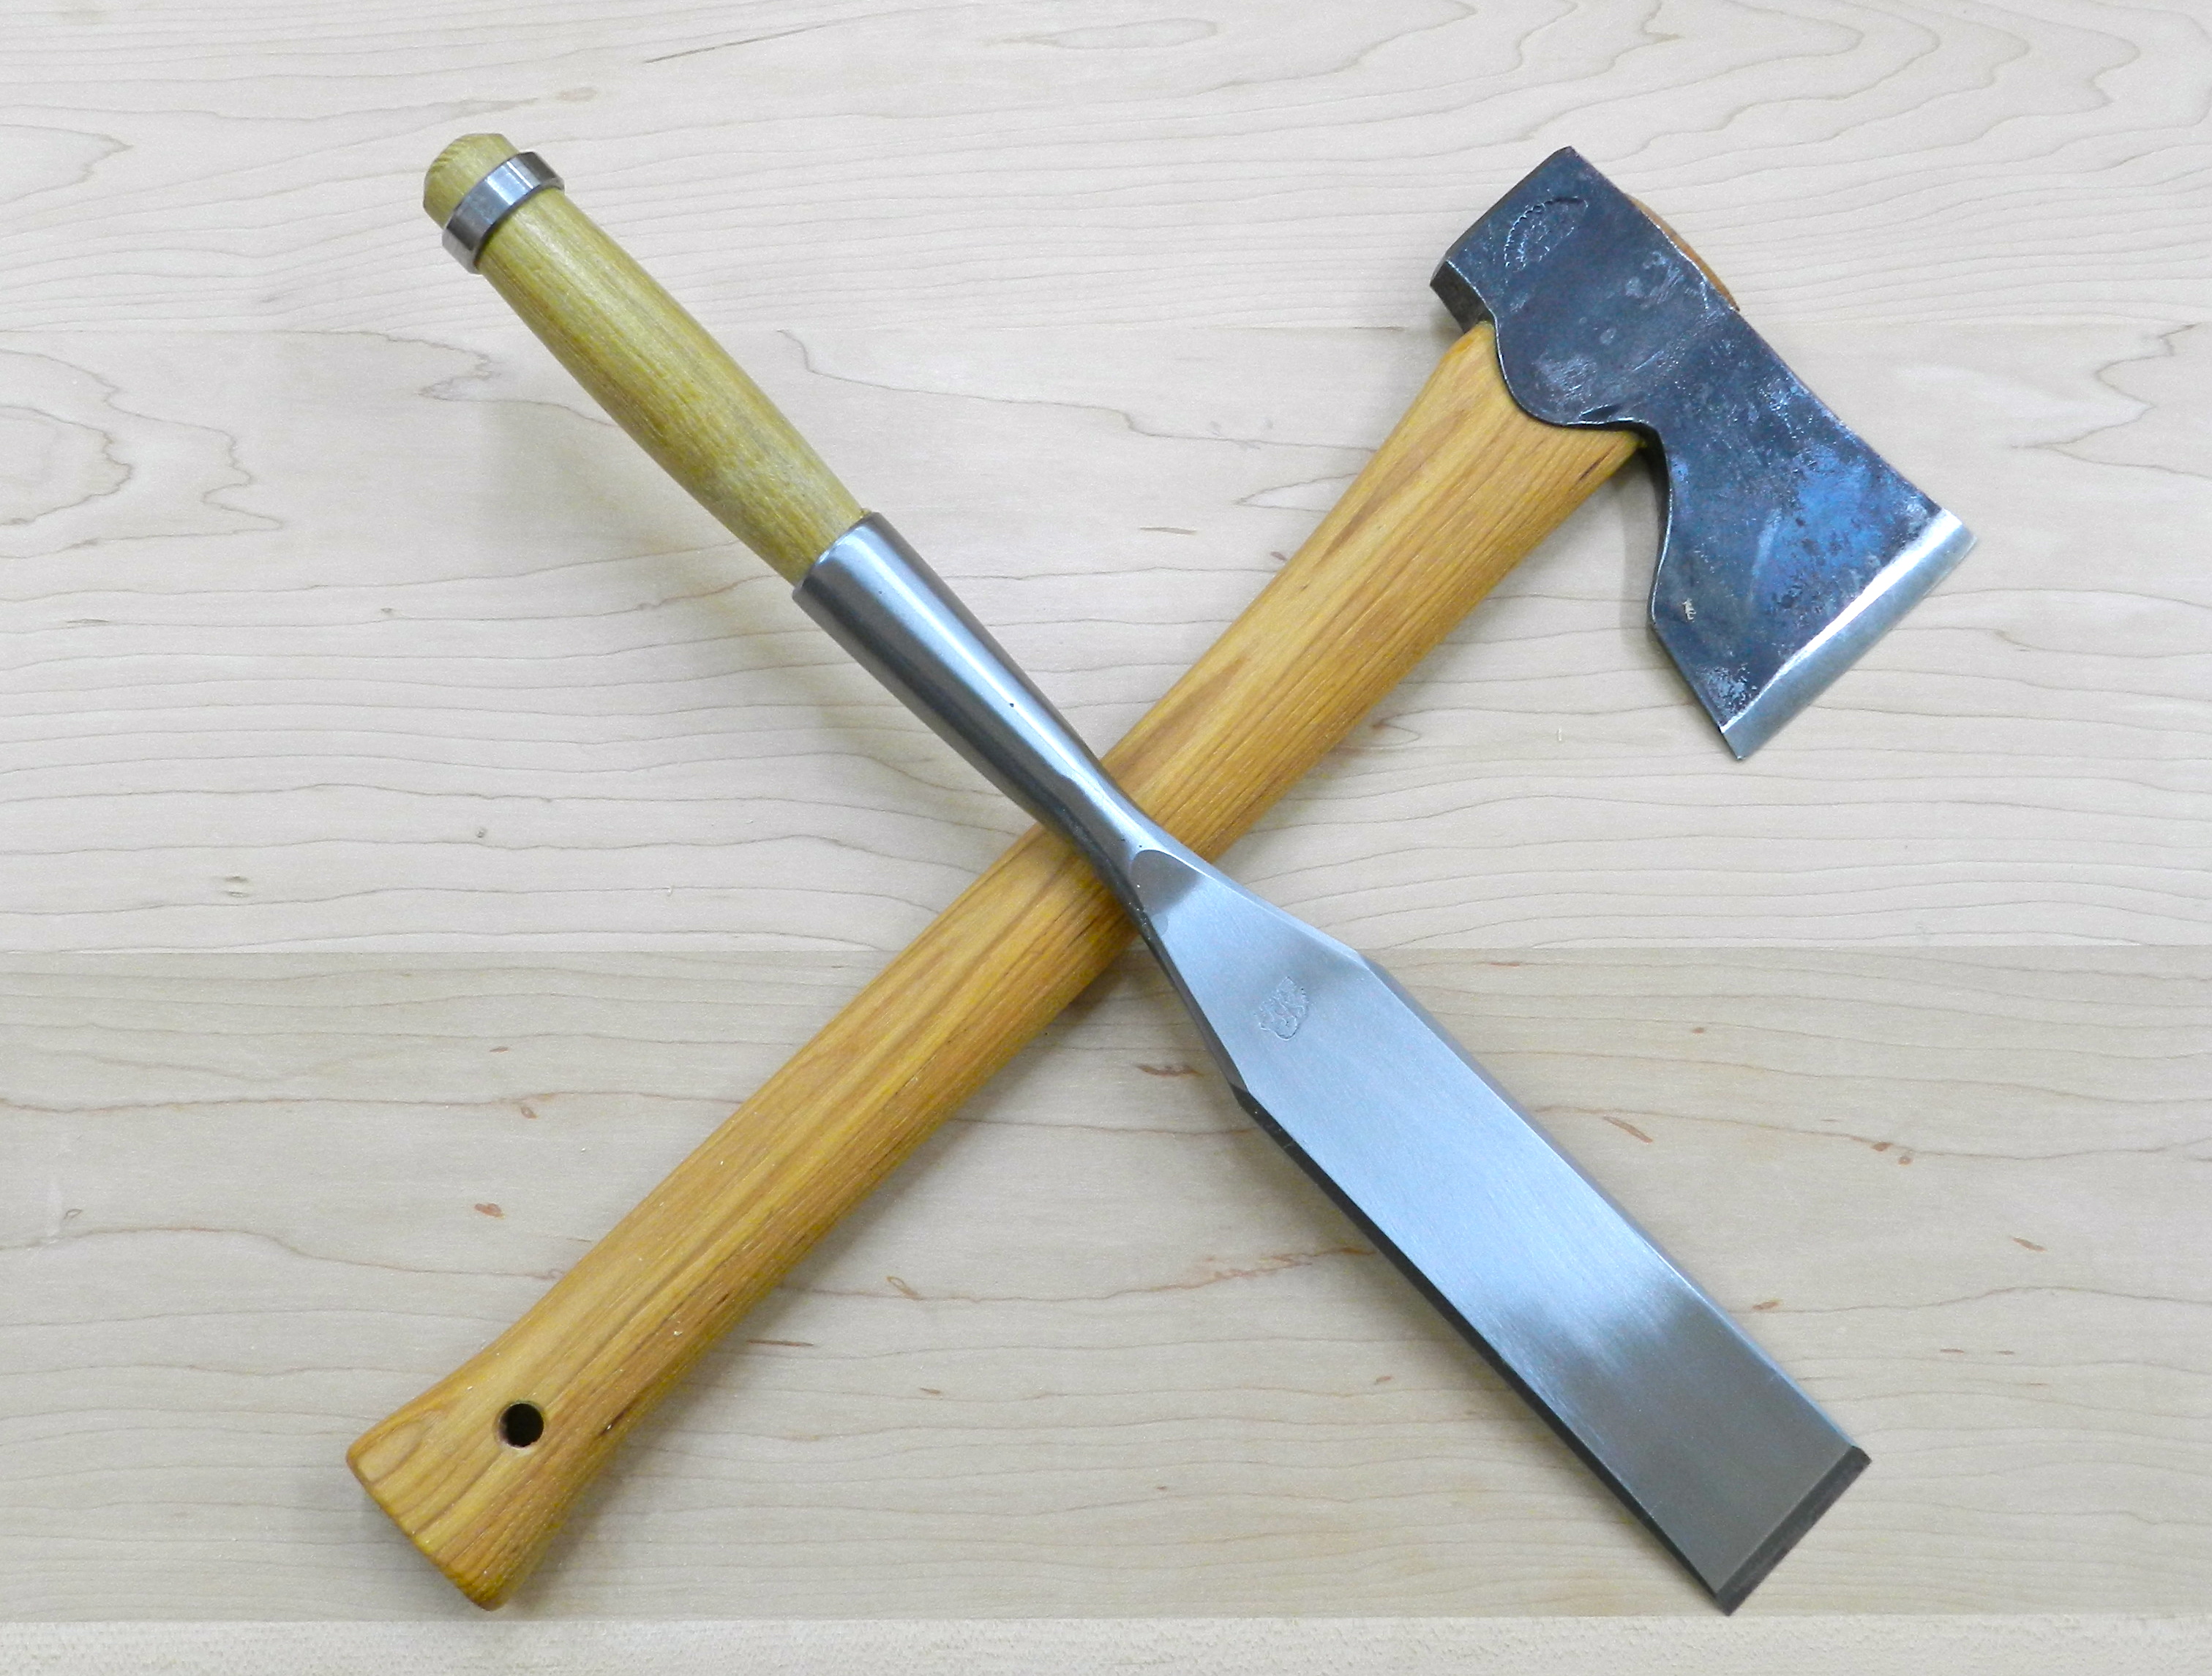
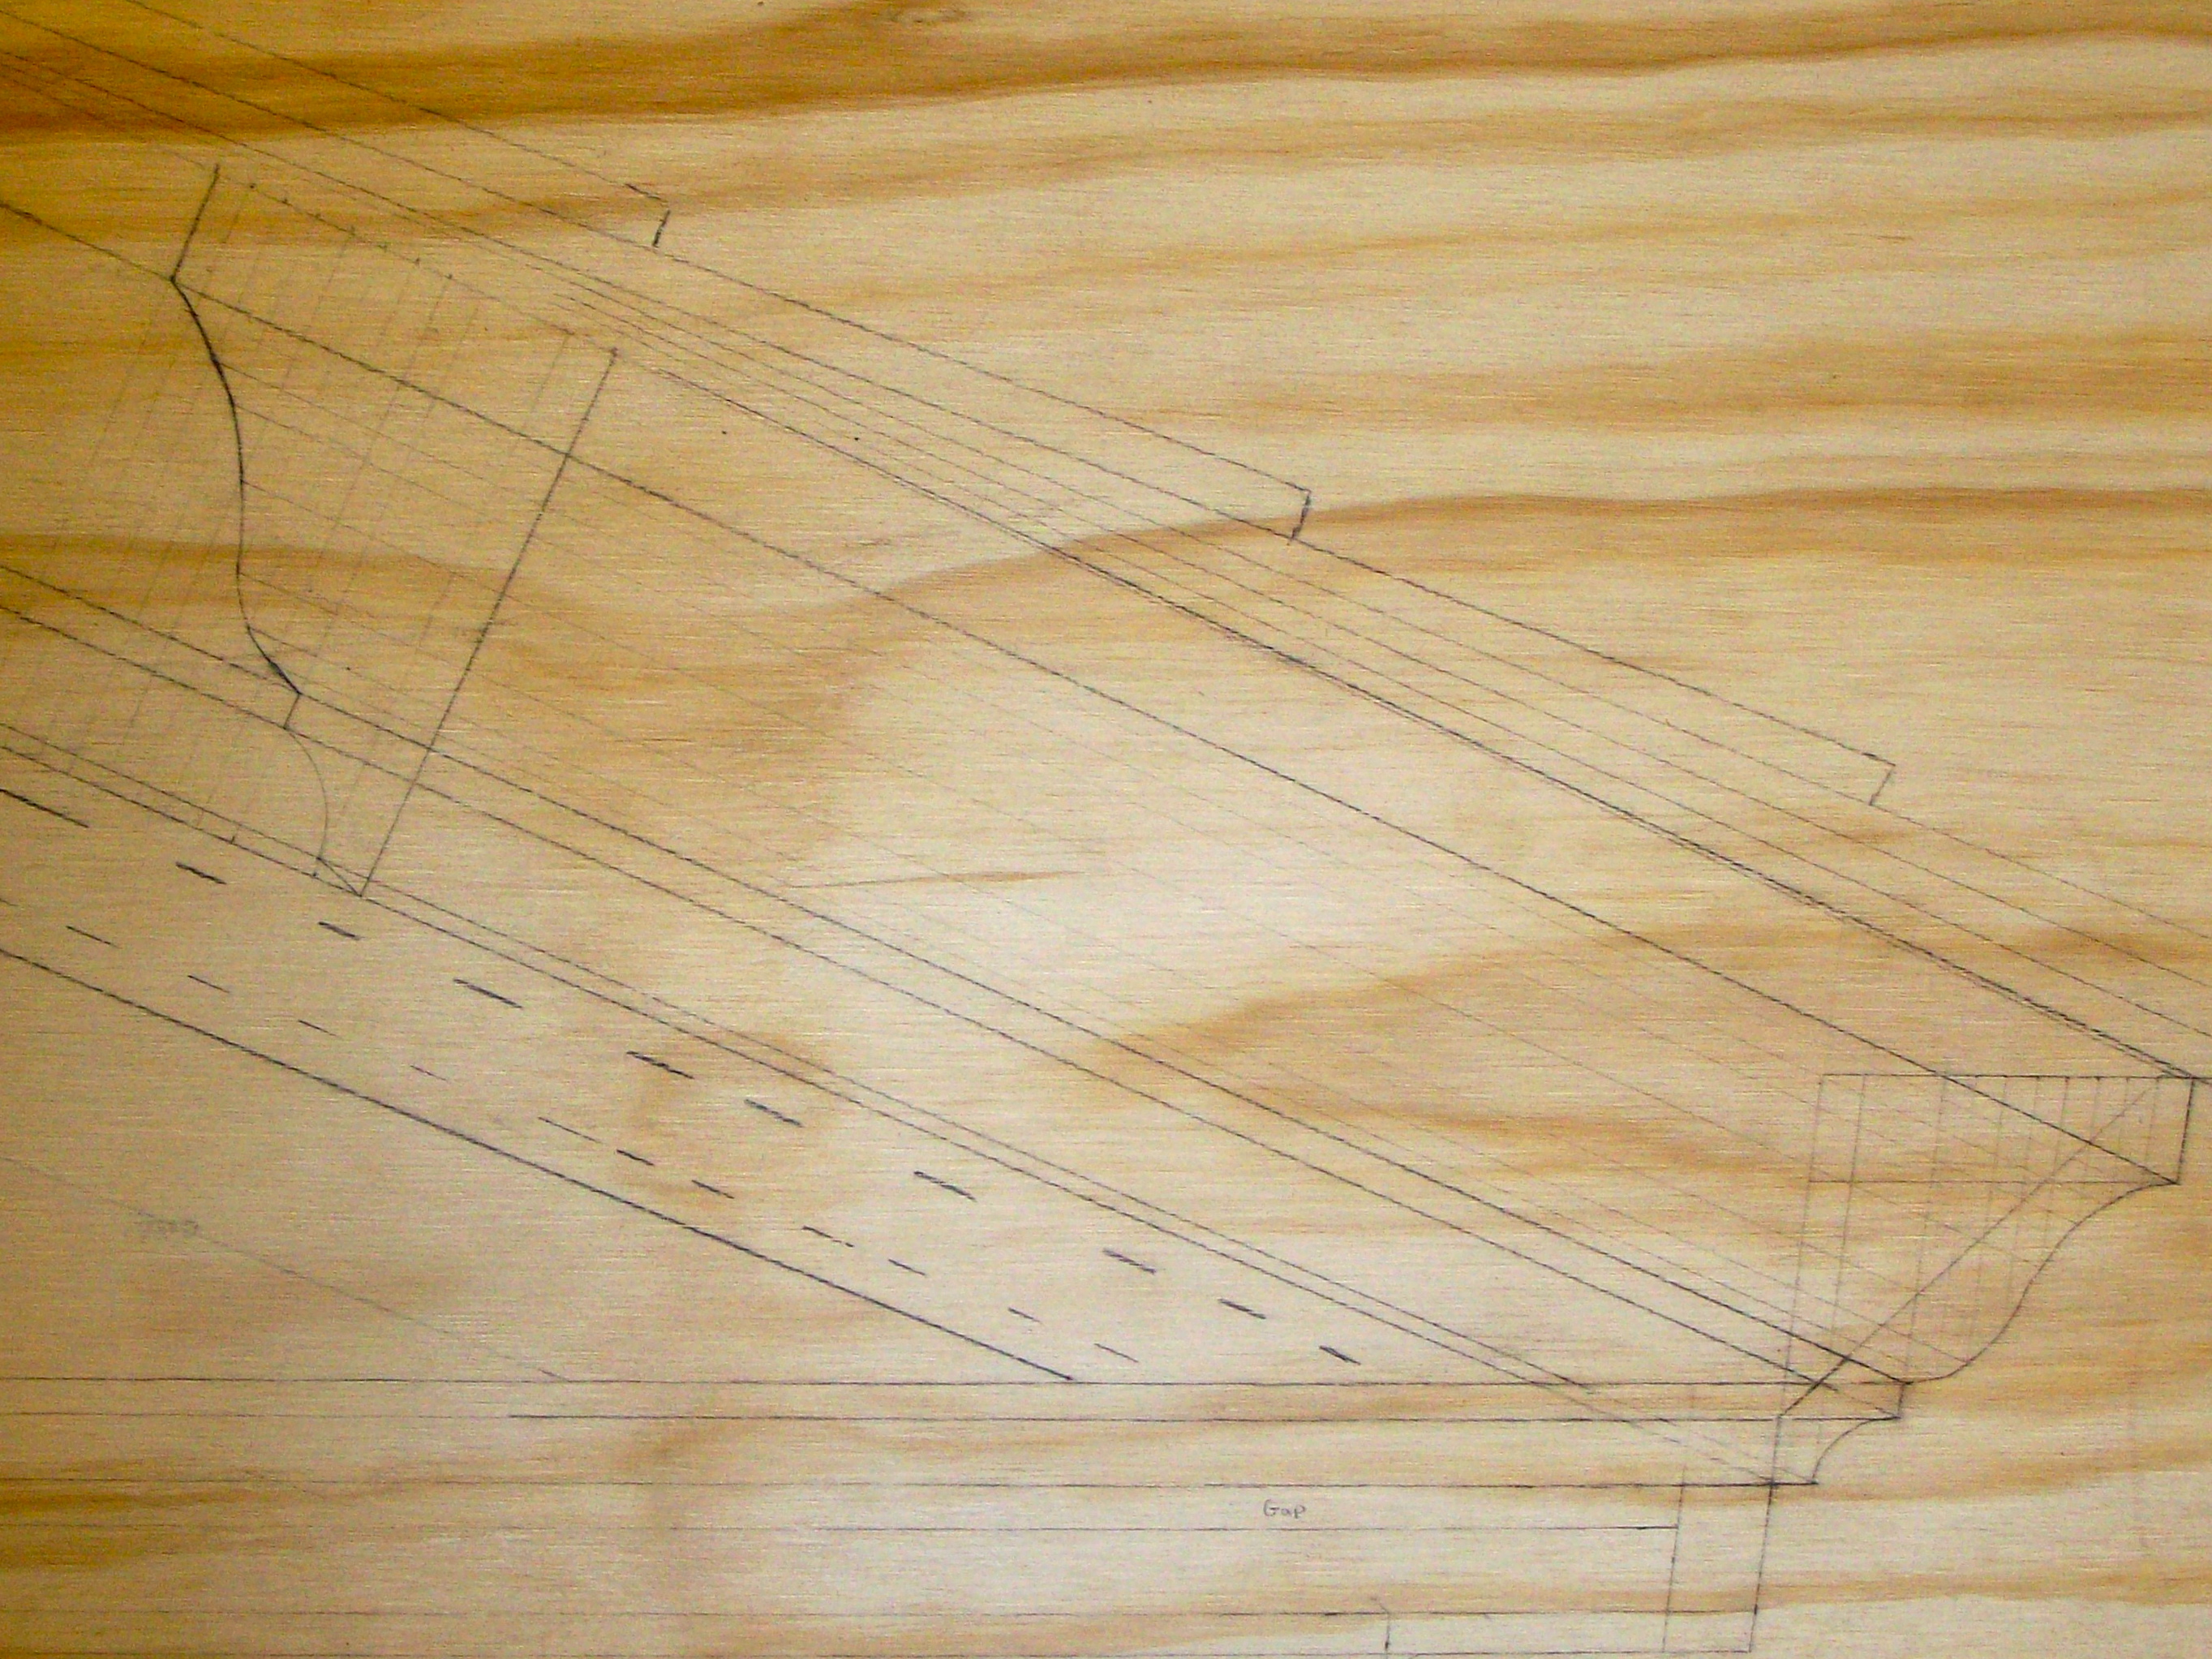
In contrast, many of today’s ‘Preservation Carpenters’ occupy the space between a carpenter and dedicated cabinetmaker, thus effectively taking on the role of a Joiner —  equally at home in front the bench or on the construction site. A joiner often starts with raw materials (wood etc) and has to fabricate the items he or she needs to produce — doors, windows, built-ins, large case pieces etc. using traditional joinery, tools and techniques. Sure some modern and powered conveniences can simplify a few tasks, but often the most expedient way to generate the intricate joinery and intended results is to use the same tools and techniques our forefathers used. Routers and sand-paper cannot reproduce the same results you get from a sharp plane iron and a skilled hand. All the fancy tech-laden measuring devices on the market cannot beat the simple efficiency and accuracy of a story stick and a marking knife. Biscuits and dominoes are no replacement for through mortises and draw-boring.

Hand made window sash

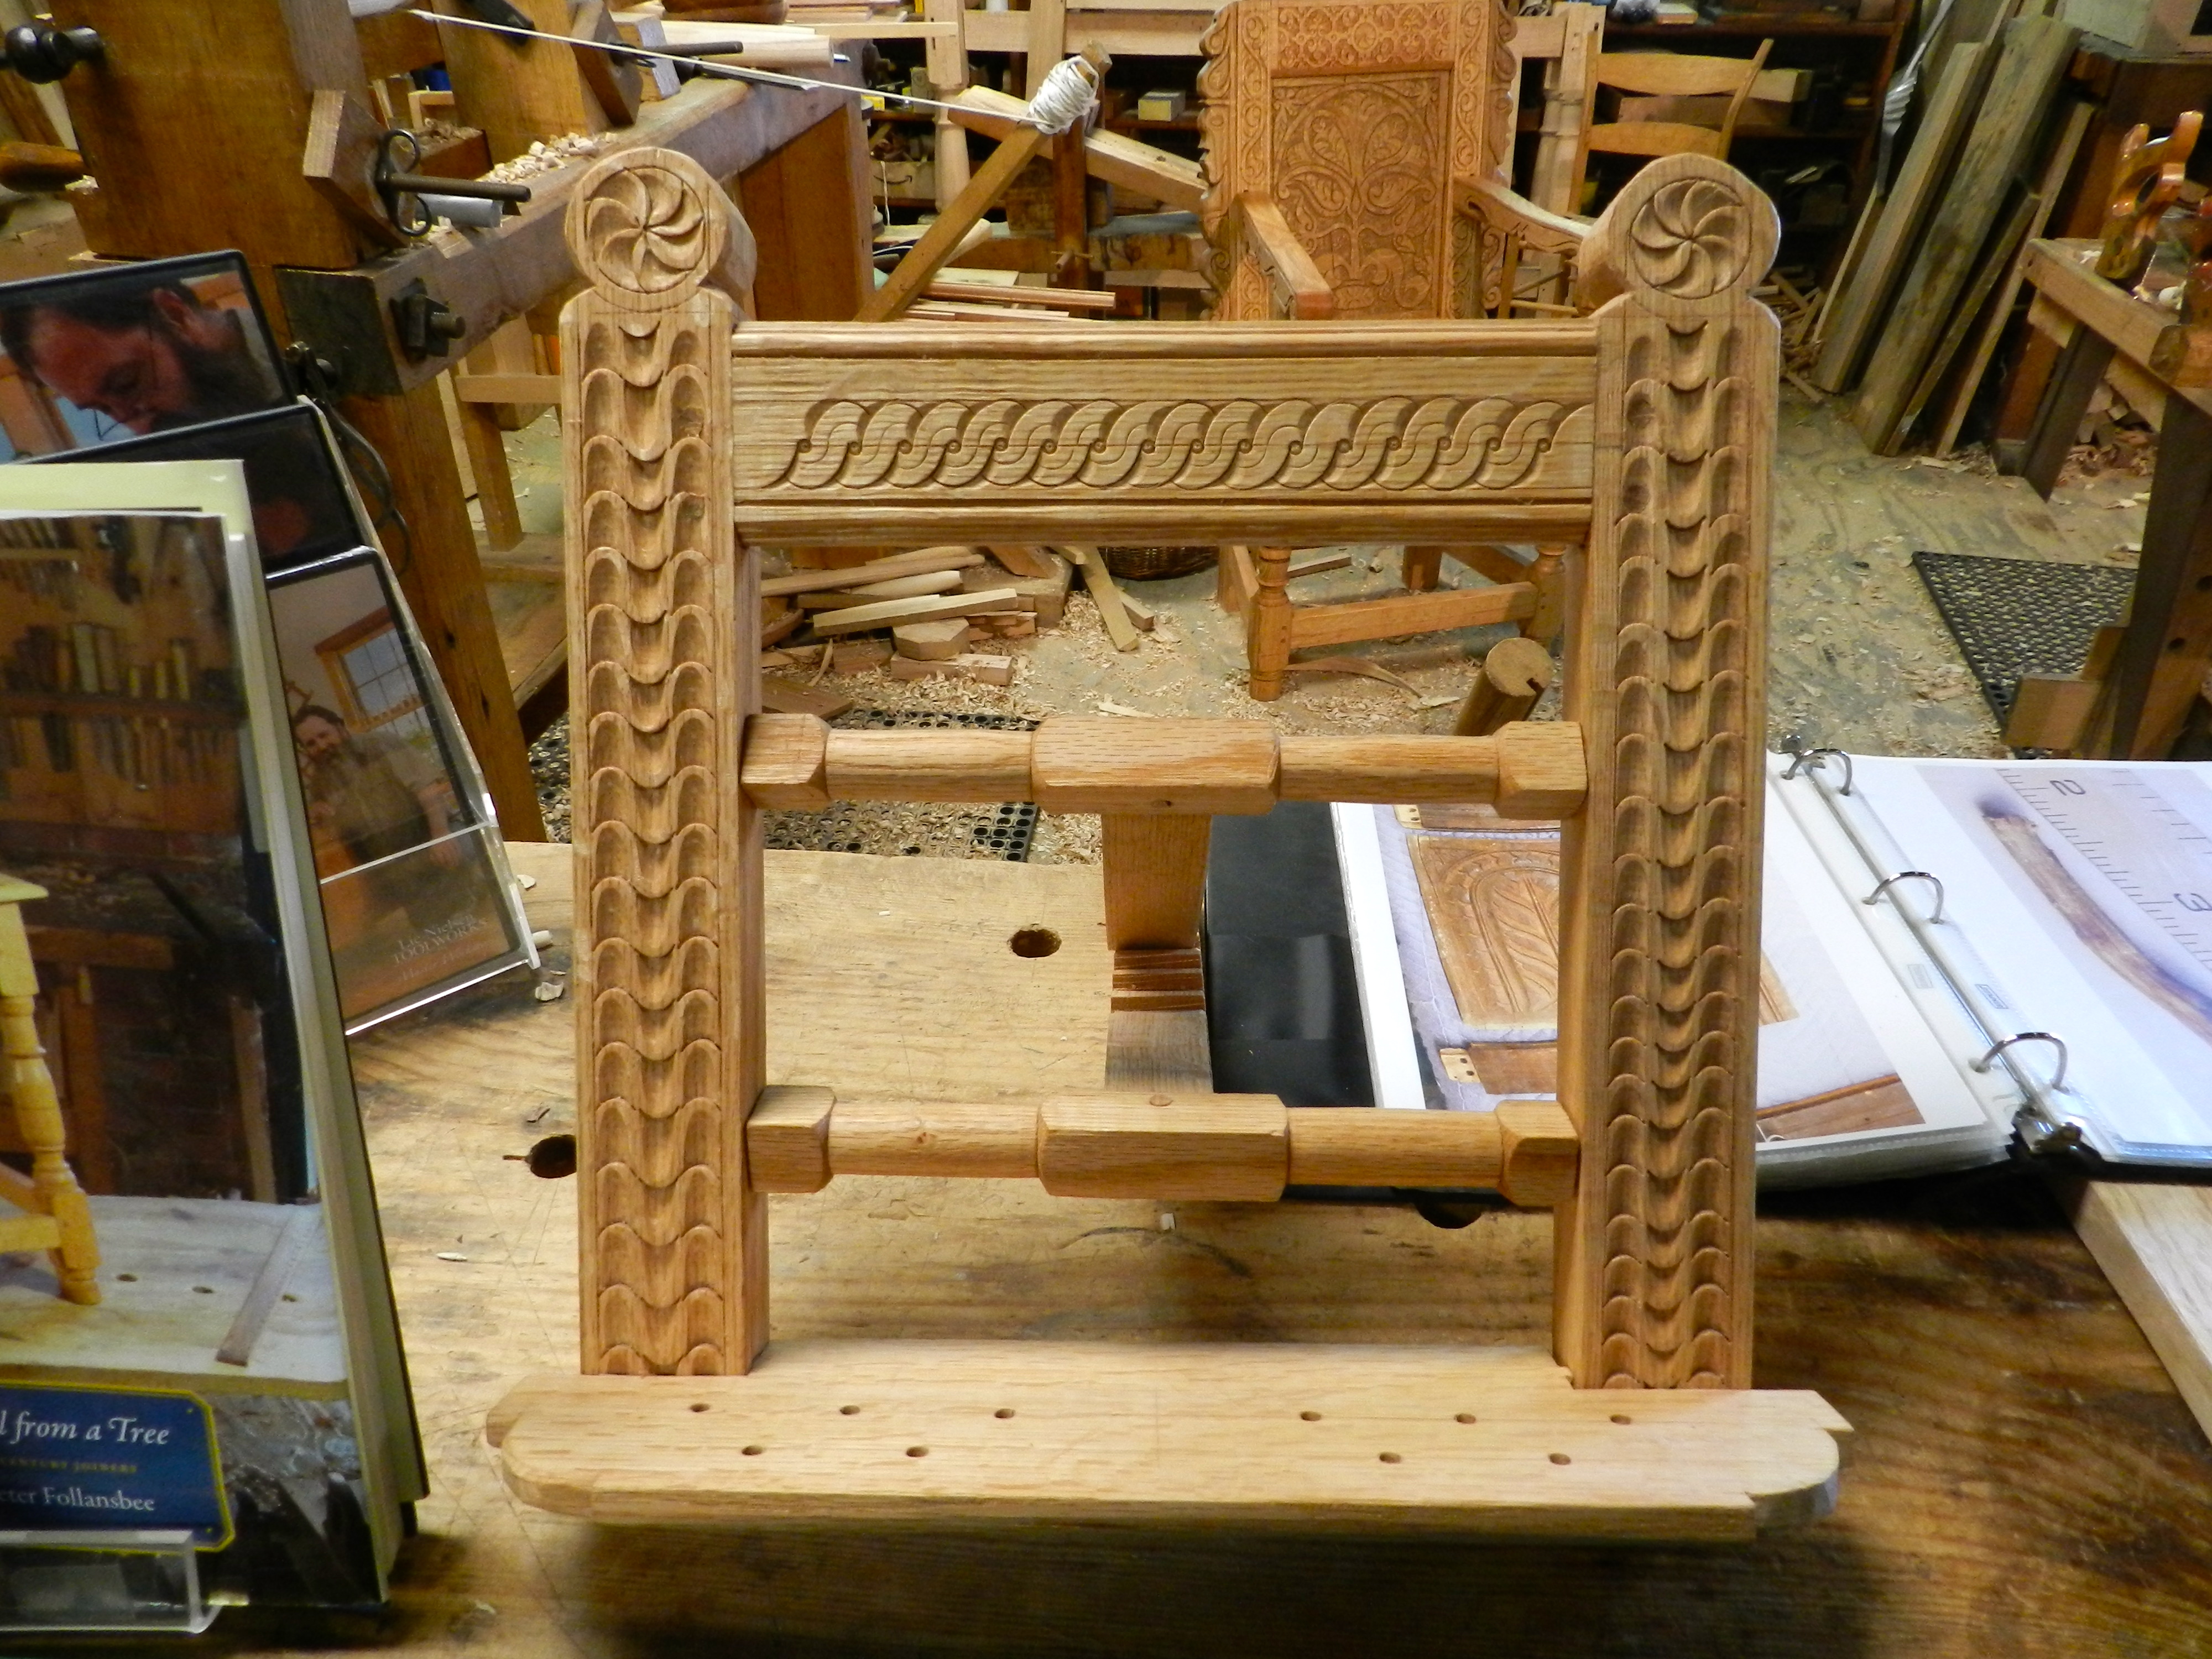
Other hallmarks of a good joiner is an attention to detail and knowledge of classical orders (especially with respect to moldings), layout and proportion. If you get the proportions wrong on a piece of furniture you can potentially hide it in a corner, if you mess up a cornice or fenestration on a building you cannot hide it. A joiner’s work is joinery on the large scale, out in public view and it demands that you stay on top of your game from layout through execution.

What’s next?

My goal is to help preserve the ancient trade of being a Joiner for future generations. I am attempting to accomplish this via my travels and in my teaching. I hope to continue helping others learn how to be good joiners, cabinetmakers, carpenters and hobbyists.  No matter what you call yourself or what you specialize in, woodworking requires creativity and hand skills which are taught through practice and maintained through continued use and passion for the craft.

If you are interested in learning more about traditional joiners, please stay tuned to this blog. In the meantime if you have any questions, you can contact me here.

-Bill

*  The definition above was taken from here. The rest is based on my own life experiences. Your mileage may vary.

Making a Jointer Plane with Willard ‘Bill’ Anderson — Part 1

A single iron jointer plane is one of those tools you have use yourself to truly appreciate. Over Labor Day weekend I was fortunate enough to have the opportunity to make one of these planes with Willard ‘Bill’ Anderson at the Woodwright’s School in Pittsboro, NC.

Entrance to the Woodwright's School
Entrance to the Woodwright’s School

Bill is a passionate woodworker and skilled teacher. You may recognize him from his appearances on Roy’s television show or the articles that he’s written. He’s a molding plane aficionado and has studied plane-making and general furniture-making with many masters in the field. He recently retired from being a Scientist for the EPA so I see a lot of parallels to my own life working in software.

Getting started, with Bill Anderson

The plane is made of air dried American Beech and a new old stock English iron.

Squaring up the air dried beech blank

We started out by squaring up the stock using a wooden straightedge and winding sticks.

Laying out the mouth and abutments

Next up was laying out the mouth and throat. The mortises are all chopped by hand with a chisel and refined via a series of floats and scrapers. It was my first time using that many different floats, and for what looks like it might be a fairly coarse tool, when sharpened leaves a remarkably good surface.

Chopping the mortise by hand

As we worked through the throat mortise a key was to make sure you don’t overshoot and chop through the abutment.

Scraping
Scraping

One of the last steps in refining the abutment and sides of the throat was to scrape the surface using a scraper chisel.

A very nice scraping chisel that Bill made

This beast of a chisel was made by Bill and heat treated by Peter Ross. It was based on some research Bill did into traditional plane making tools. The long bar of tool steel and handle allow you to put a lot of your weight into it as you scrape the surface flat. The cutting edge is a very steep angle similar to a scraper you’d use with a lathe (upside down compared to the lathe tool) but works well since you are only removing a little bit of material at a time.

Paring away any fuzz

Regular bench chisels are used to clean up any fuzz in the corners. Next up is cutting in for the wedge and cleaning up a cheeks. This is an operation that requires a steady hand and the ability to work to an exacting standard. You want your test wedge, and eventually your actual wedge, to fit tightly against the abutment so the iron does not move when you are working with the plane. I took my time and was very happy with the results.

Fitting with test wedges

In upcoming posts I will document more about my experience in building and finishing this plane.

In the meantime, if you’d like to learn more about Bill Anderson or take a class with him, and I highly encourage you to do so, please check out his website here.

-Bill

The Historic Trades at Old Salem

This summer I had the chance to take a week long road trip and travel around to a lot of historic sites in Virginia and North Carolina. One of my favorite stops along the way was my visit to Old Salem Museums and Gardens in Winston-Salem NC.

Interpreters in the Joiner's workshop inside the Single Brother's House Shop
Interpreters in the Joiner’s workshop inside the Single Brother’s House Shop

I first learned about Old Salem while having dinner with Thomas Jefferson at Colonial Williamsburg. (No joke).

Window sash, drill bits, and chisel rack

I also heard good things about it from Glen Huey’s book ‘Furniture in the Southern Style’ which draws upon some pieces from MESDA (The Museum of Southern Decorative Arts)

Carving over a bench hook

During our visit, my wife and I had a great time exploring the historic area and visiting the many shops and buildings.

Great traditional bench -- note how the shoulder vise is cantilevered out and there is a set of dog holes in the skirt as well.
Great traditional bench — note how the shoulder vise is cantilevered out and there is a set of dog holes in the skirt as well.

As always, the most exciting part for me was visiting with all the craftspeople who work in the various historic trades.

Full chisel rack
Full chisel rack

In the Single Brother’s House there were a series of workshops housing various trades that were vital to the community.

Molding planes
Molding planes

I felt right at home in the Joiner’s shop and if my wife would have let me I would have spent my day at the workbench talking to people….

Joiner's bench with angled legs and wedged tenons
Joiner’s bench with angled legs and wedged tenons

The workshop had a great assortment of jigs, fixtures, tools and unusual benches. Look at the great wedged tenons on the bench above. (Also check out the floating shoulder vise and skirt board with dog holes on the bench further up. Looks like they did not see as much use, but an interesting idea)

The shoemaker plying his craft -- in this case making a leather bucket.
The shoemaker plying his craft — in this case making a leather bucket.

The single brother’s house was where young men of a certain age could learn the craft and ply their trade before they got married and moved on to their own homes. In the shoemaker’s shop we had a great chat with a shoemaker who was making a leather bucket which was one of the many other wares a shoemaker would make for the town.

Some wares made by the Potter in his shop

In the potter’s workshop you could see on display a wide variety of earthenware dishes, cups, and other ceramic objects. Most interesting to me were the ceramic tile shingles which you can see in the restored village.

Other trades on display were the gunsmith, apothecary, tailor, tinsmith and gardeners.

If you’d like to learn more about the craftsmen and women who work in the historic trades at Old Salem you can read more here.

If you are ever in the Winston-Salem area I highly recommend visiting Old Salem and checking out the workshops.

EAIA 2013 Cape Cod — Day 1 — Woodworking with Peter Follansbee

For me, one of the highlight’s of this years EAIA conference was a lecture from and later talking with Peter Follansbee of Plimoth Plantation.  I met Peter before as some of my classmates from NBSS have worked at the plantation, but on this visit, it was particularly interesting to learn more about what brought him to the plantation and how his work and research have changed over the years.

Peter Follansbee in his natural habitat -- the Joiner's shop
Peter Follansbee in his natural habitat — the Joiner’s shop

Peter answered many questions and demonstrated some carving at the bench. In person I find he often has funny anecdotes and snarky comments that are both cutting and entertaining.

Shavings from the early part of a day's work -- the way a shop should look.
Shavings from the early part of a day’s work — the way a shop should look.

I particularly liked the carved book stand (seen below) which could be adjusted for viewing angle, and had small dowels that can keep the book open.

Carved Book-stand by Peter Follansbee
Carved book stand by Peter Follansbee

He also demonstrated some light spindle turning at his pole lathe.

Peter turning at his pole lathe

In the shop, as always, were examples of the varied sorts of work he carries out. Seen below is a great looking carved English style chair, and behind is a greenwood chair similar to that which is seen in Jennie (John) Alexander Jr’s book on working with green wood which I heard was the inspiration for Peter’s recent book on making joint stool from a tree.

Beautiful carved chair. In the background a chair built to the specs from 'Make A Chair From A Tree : An Introduction To Working Green Wood' which was the inspiration for Peter's 'Make a joint stool from a tree' book.
Beautiful carved chair. In the background a chair built to the specs from ‘Make A Chair From A Tree : An Introduction To Working Green Wood’ which was the inspiration for Peter’s ‘Make a joint stool from a tree’ book.

Peter was gracious enough to sign my DVD of his carving, so that also made my day.

Peter splitting wood with a froe and answering questions from the audience

Surrounded by a throng of overly eager visitors, Peter took question and demonstrated the use of a froe for splitting wood.

Peter's version of the Anarchist's Tool Chest
Peter’s version of the Anarchist’s Tool Chest

Above you can see some joint stools from his book on that subject along with his own interpretation of the Anarchist’s tool chest based on the recent book by Chris Schwarz. It was neat to see how Peter used (presumably) blacksmith made hinges and painted the chest. (Along with a different panel configuration for the lid). You can learn more about it on Peter’s blog here.

A sample of the high style work Peter produces. Similar to a piece he has at the MFA next to a partial original. It's amazing to see how much brighter the colors were originally.
A sample of the high style work Peter produces. Similar to a piece he has at the MFA next to a partial original. It’s amazing to see how much brighter the colors were originally.

And finally, shown here is an example of some of the high style work Peter produces. When I give my class a tour of the MFA America’s wing each summer I am always happy to show them the original they have on display alongside the reproduction Peter produced for the museum to show how the piece likely looked when it was new. I always find it interesting to see how earlier generations enjoyed color, and changing styles much as folks do today.

It was another great visit to Peter’s shop, and I look forward to seeing what he’s been up to on my next visit to the plantation.

Getting a grip on a solid mallet

A good mallet of often overlooked. All too often we settle for a store bought carving mallet or crude instrument we fashioned in a hurry and then live with for years. Before the holidays I decided is was time to make a nice larger mallet for myself and one for a friend. I wanted a mallet that was a little larger and heavier than the average.

You can never have too many clamps, especially when clamping up a blank wherein you do not want to see any glue lines.
You can never have too many clamps, especially when clamping up a blank wherein you do not want to see any glue lines. Plus it takes on the look of some modern art work. 😉

I decided to make my new mallet out of cherry and hard maple as they are two of my favorite woods to work with, and I like they contrast they have with each other when finished. The hard maple (Same I used for my workbench) is hard, dense and wears well, and the cherry (From a curly cherry piece I had around the shop) has a nice even tone and finishes well.

Blanks ready to be turned

In making this sort of mallet, the stock preparation work is more important than the actual turning and finishing. That is why its critical to get the mating surfaces planed dead flat and take the time to clamp it up tightly (don’t starve the joint of glue) but make sure you do not have gaps or you will have unsightly glue lines and a potentially weaker mallet.

First Mallet Turned, Next to the blank

Why would someone spend so much time and effort to make a fancy mallet you are only going to beat the heck out of?

If you’ve ever turned a mallet from a single piece of wood and used it for a while you’re likely to see parts of it eventually come flying off — but only from two sides.  This leaves you with an unbalanced mallet which may not hit your chisel the way you want. Where quarter sawn grain is exposed the wood is mostly intact after years of use, but where long grain is exposed some hard hits can take advantage of the plane of weakness in the wood causing them to fly off. They break off much the way splitting a piece of wood with a froe separates the grain.

The good news is there is a way to avoid this…

Completed Mallet
Completed Mallet

By gluing up a mallet as you can see here the hard maple pieces are quarter sawn — so on all 4 sides of the finished mallet you have nice dense quarter sawn hardwood grain oriented in such a way that it should have a nice long service life even under harsh conditions — plus it’s pleasing to look at especially with contrasting woods.

End of mallet with finish applied

Won’t it break apart with seasonal movement or use? I used Tite-Bond II for the glue which has been proven to be stronger than wood when used in long grain to long grain bonds. The center or handle piece of wood should be a well seasoned hardwood ideally rift sawn and known to be stable. I’ve seen many of these mallets get heavy shop for years and hold up very well. A similar mallet is often a regular project the cabinet and furniture making program at NBSS.

Completed Mallet
Completed Mallet

You should take the time to fit the handle to your hand and make it as austere or ornate as you see fit. I particularly like how the laminated structure of the blank results in nice contrasting areas like you see on the bead in the above photo.  I do a lot of period work so I was thinking about the 18th century as I turned these mallets. Most of it is finished with the skew chisel and needed almost no sanding. The finish is tongue oil with a very light coat of wax only on the end grain and handle. I look forward to it providing years of solid service.