Tag Archives: Woodwright’s School

Winding Laths — Improve How You Flatten a Board

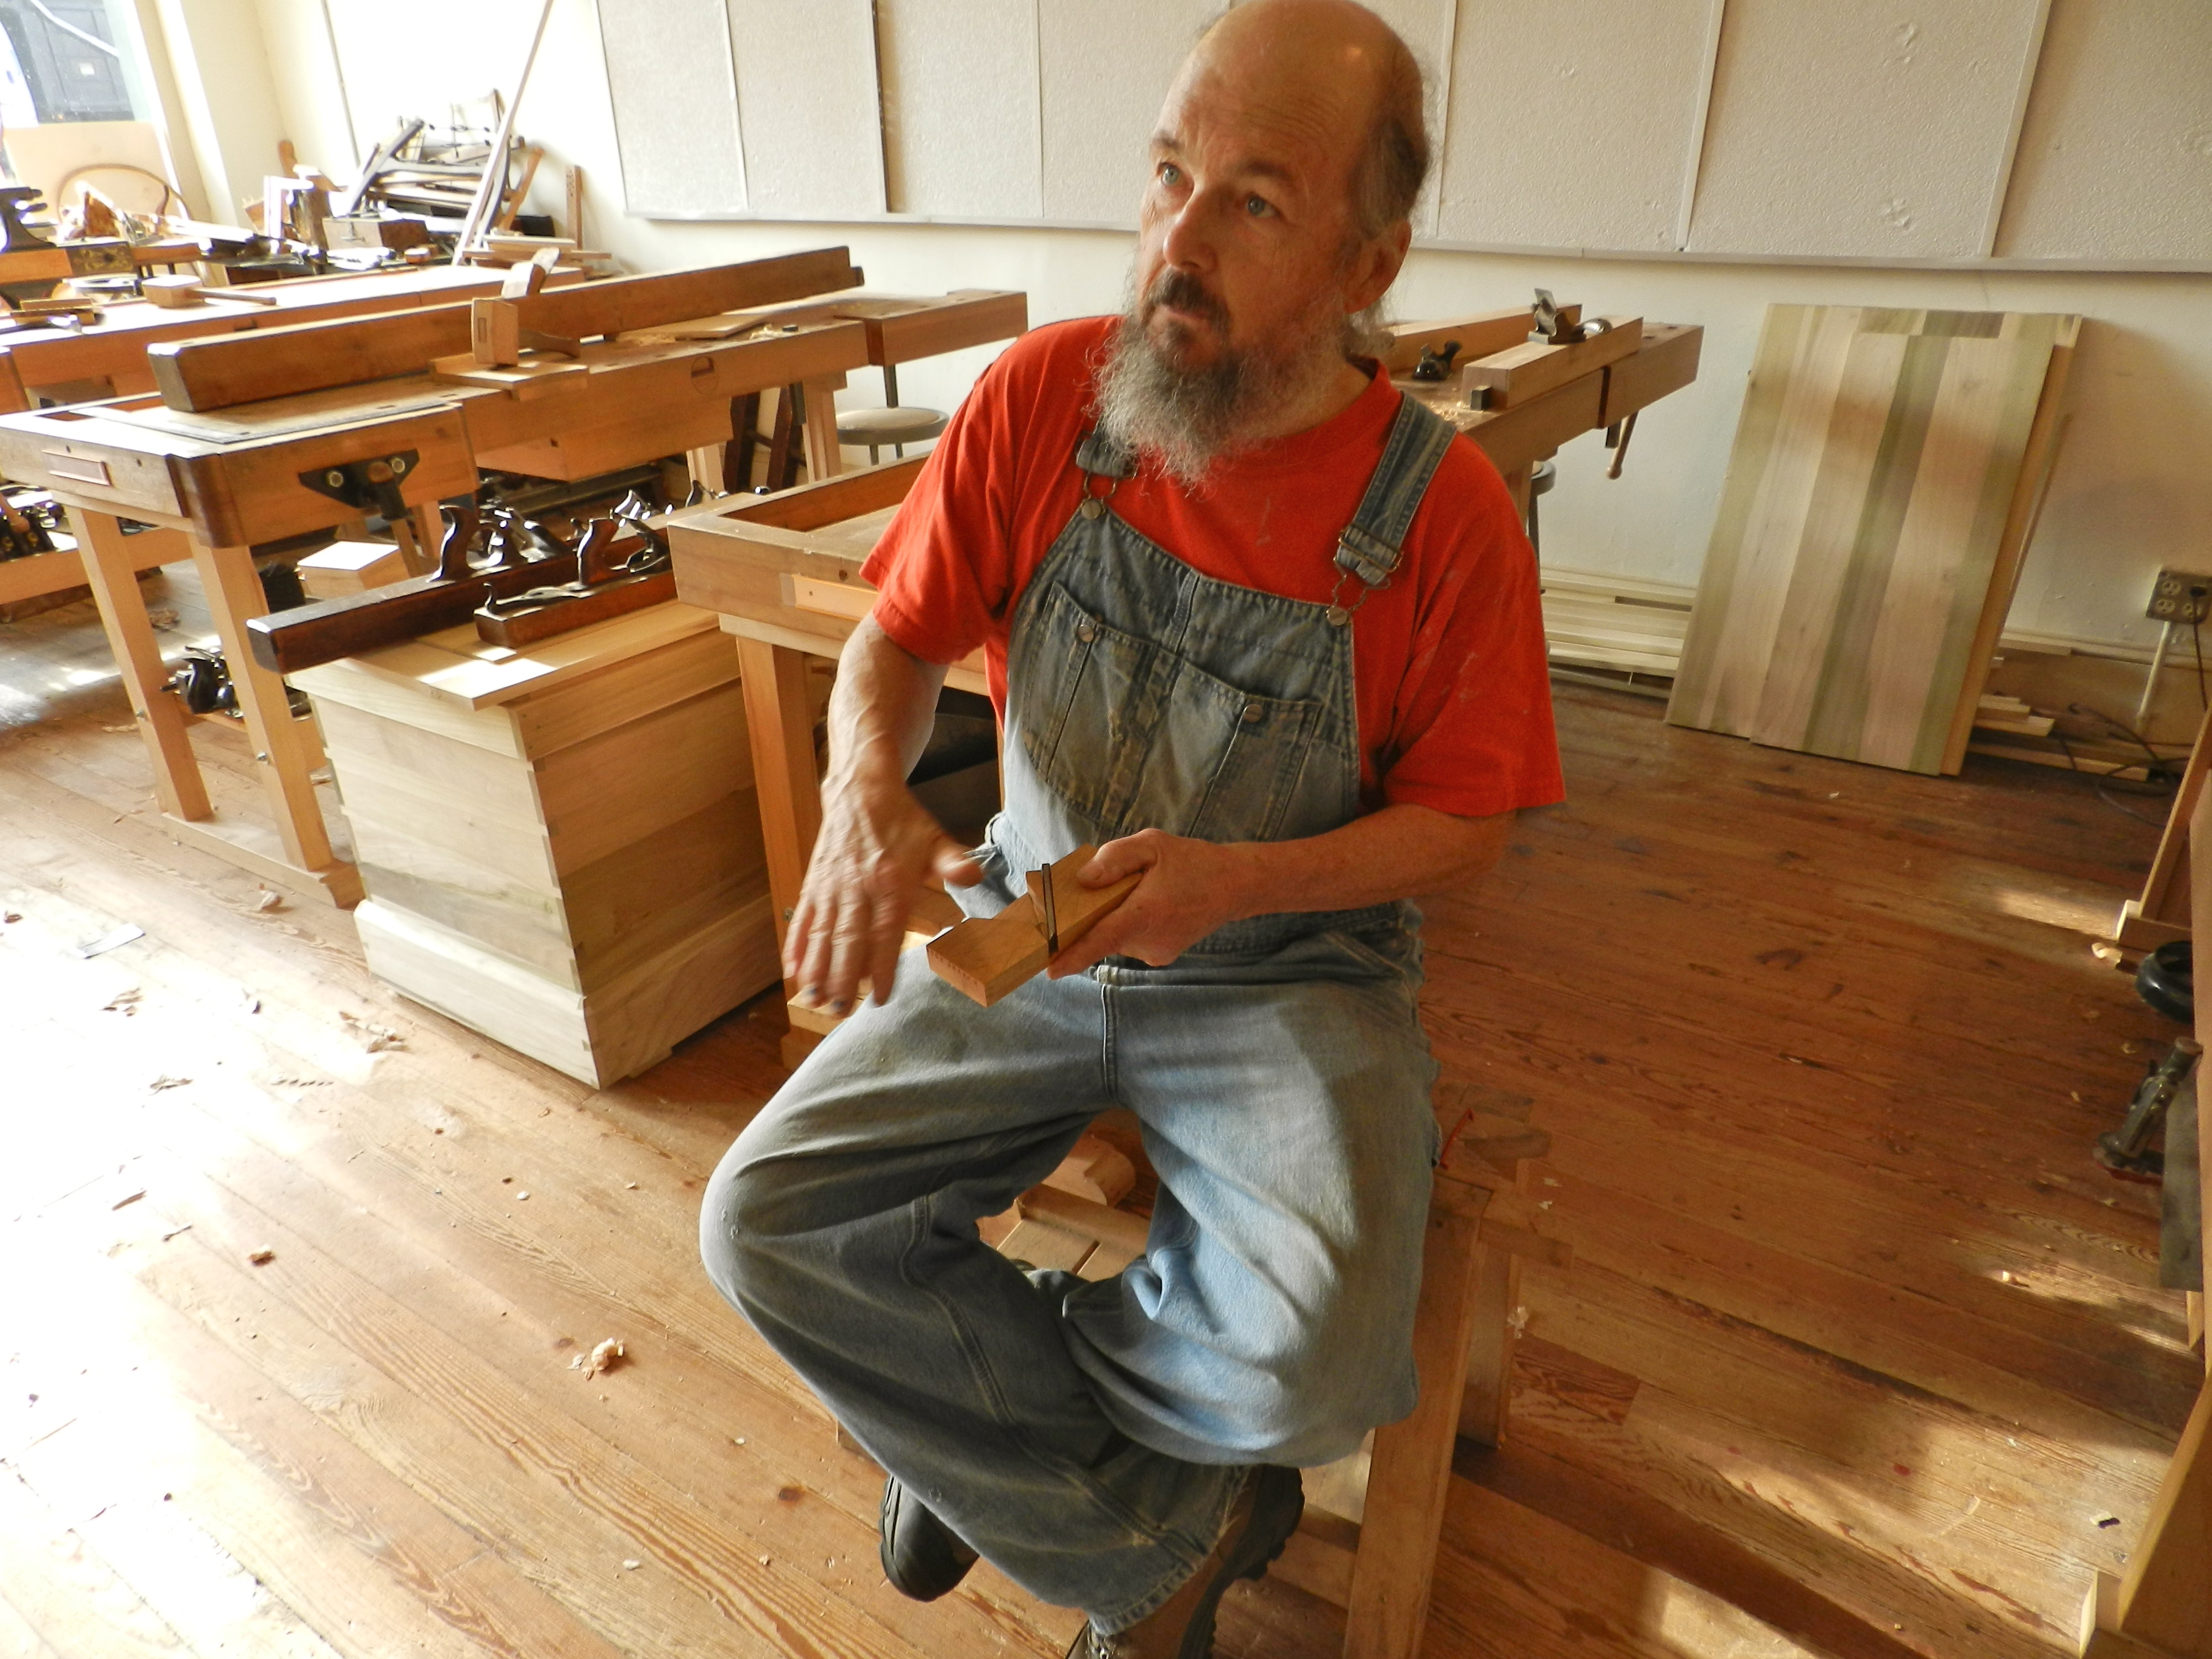
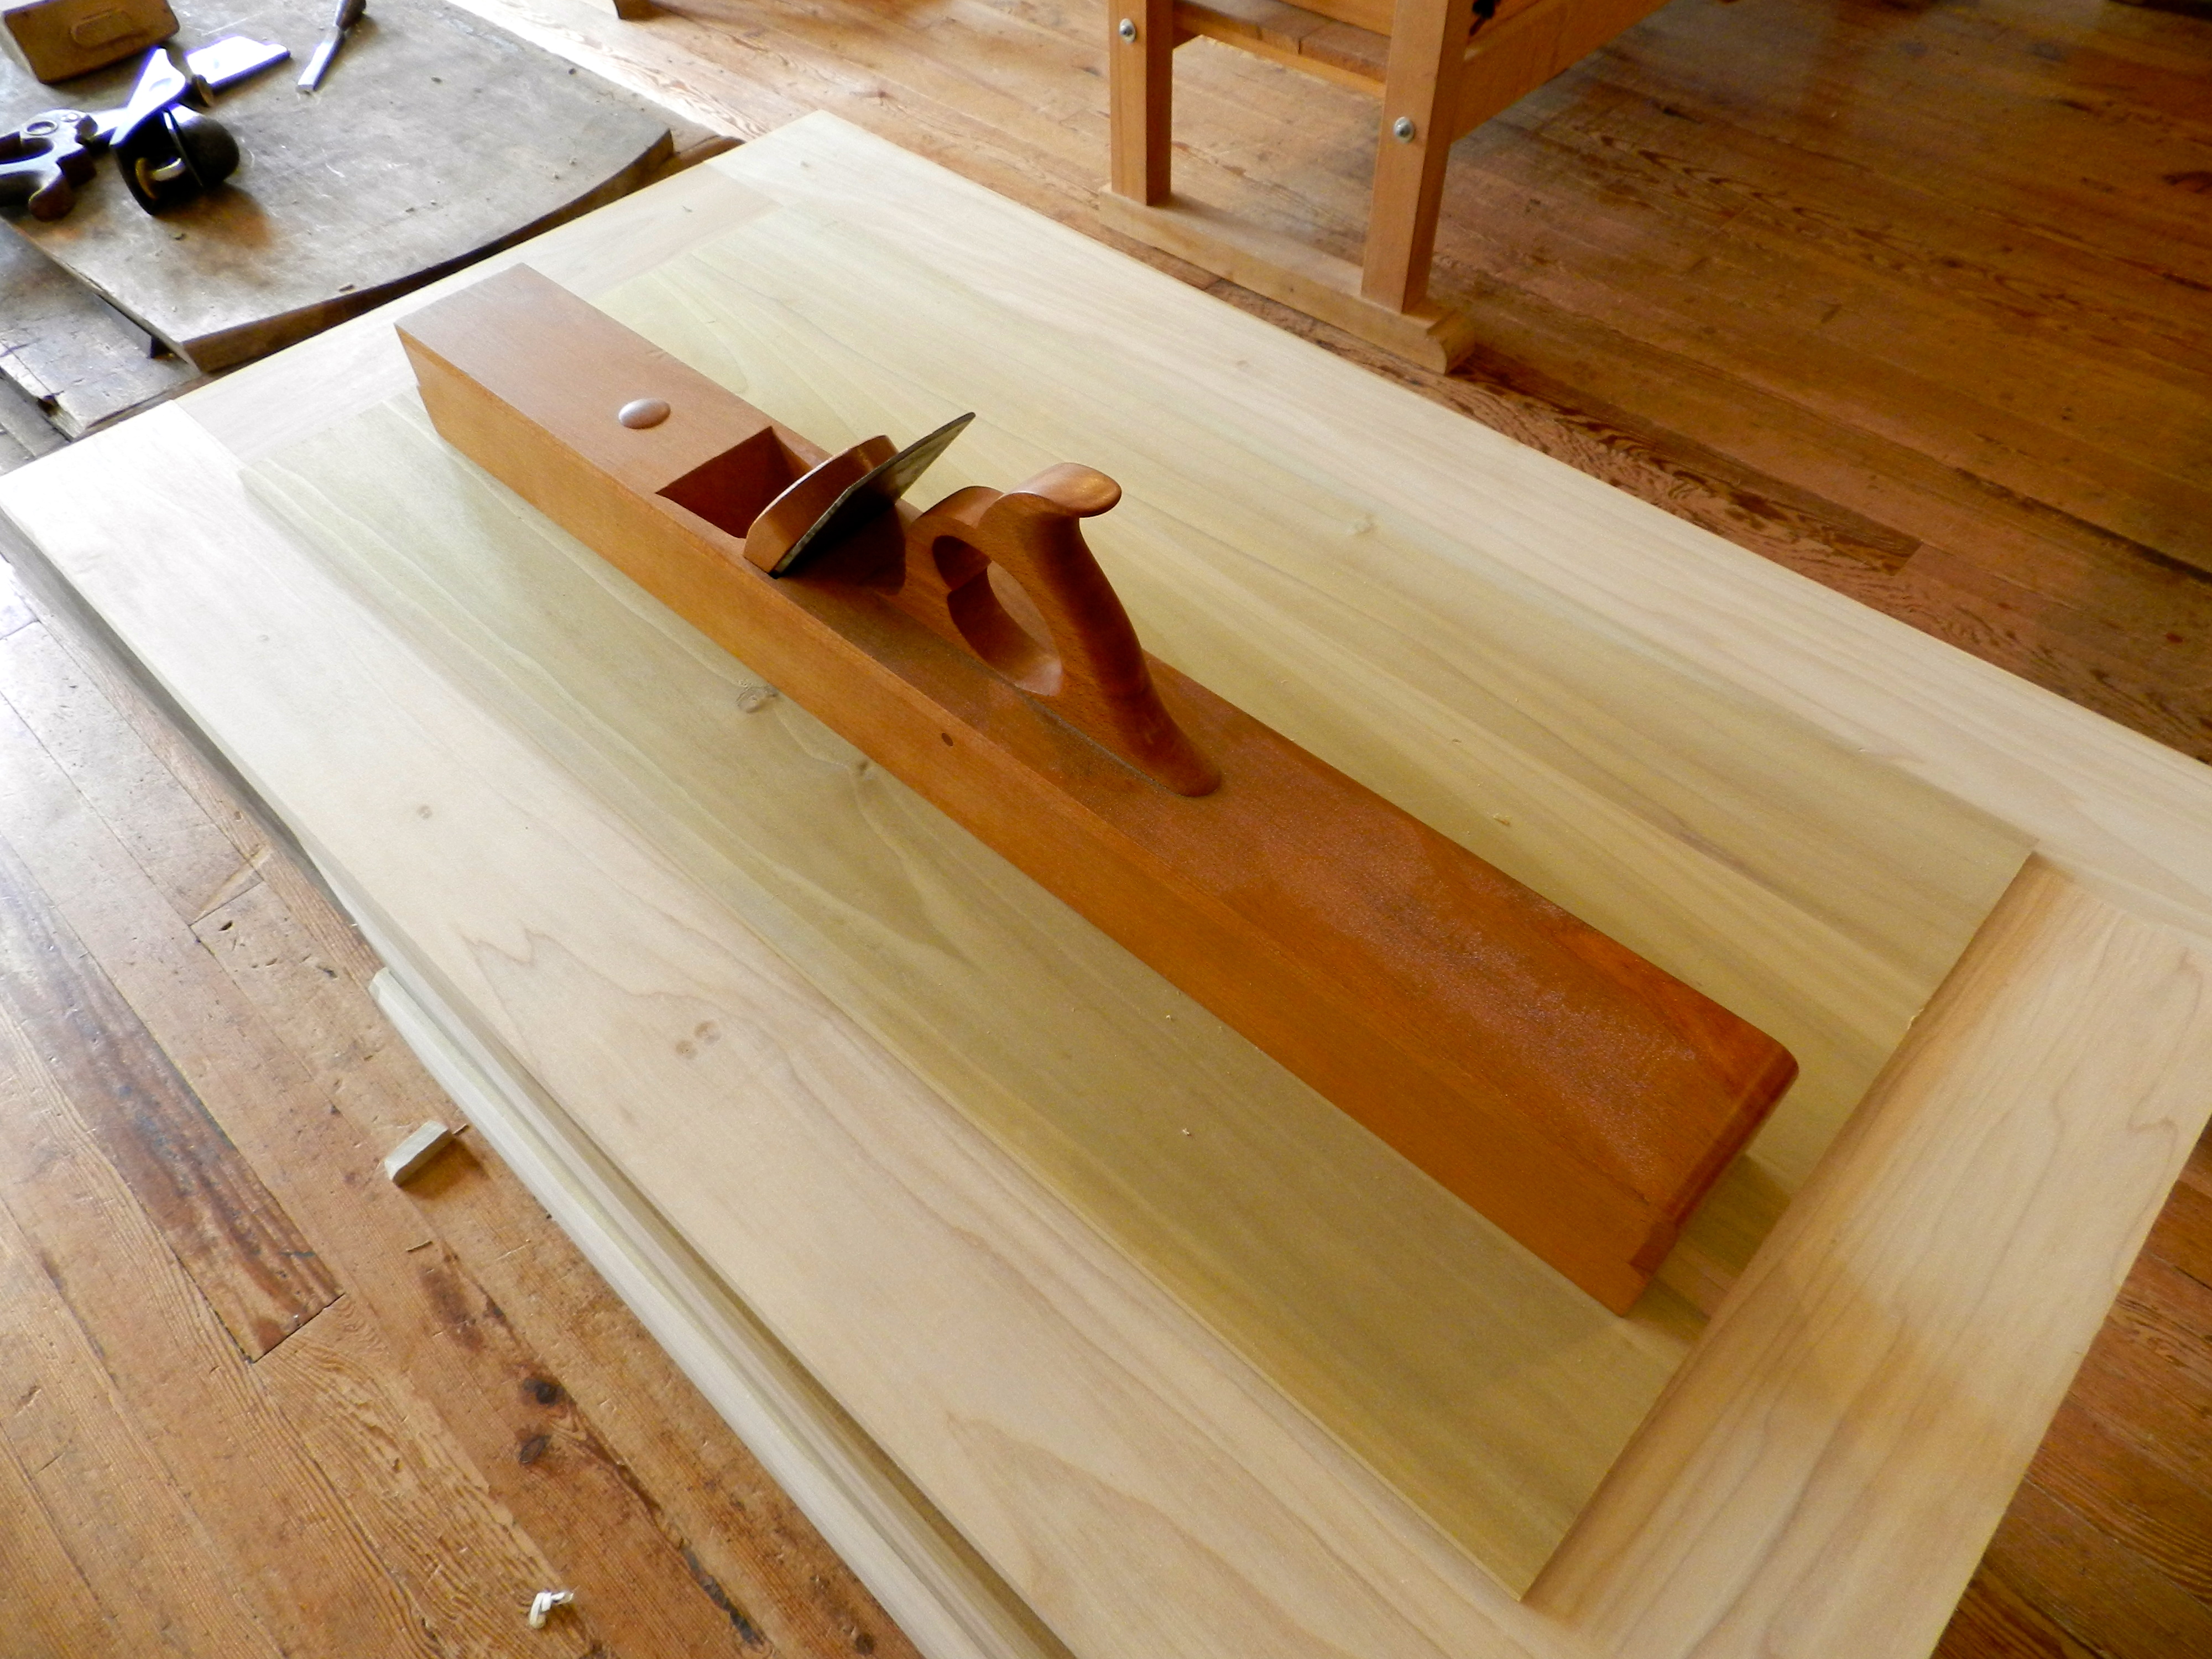
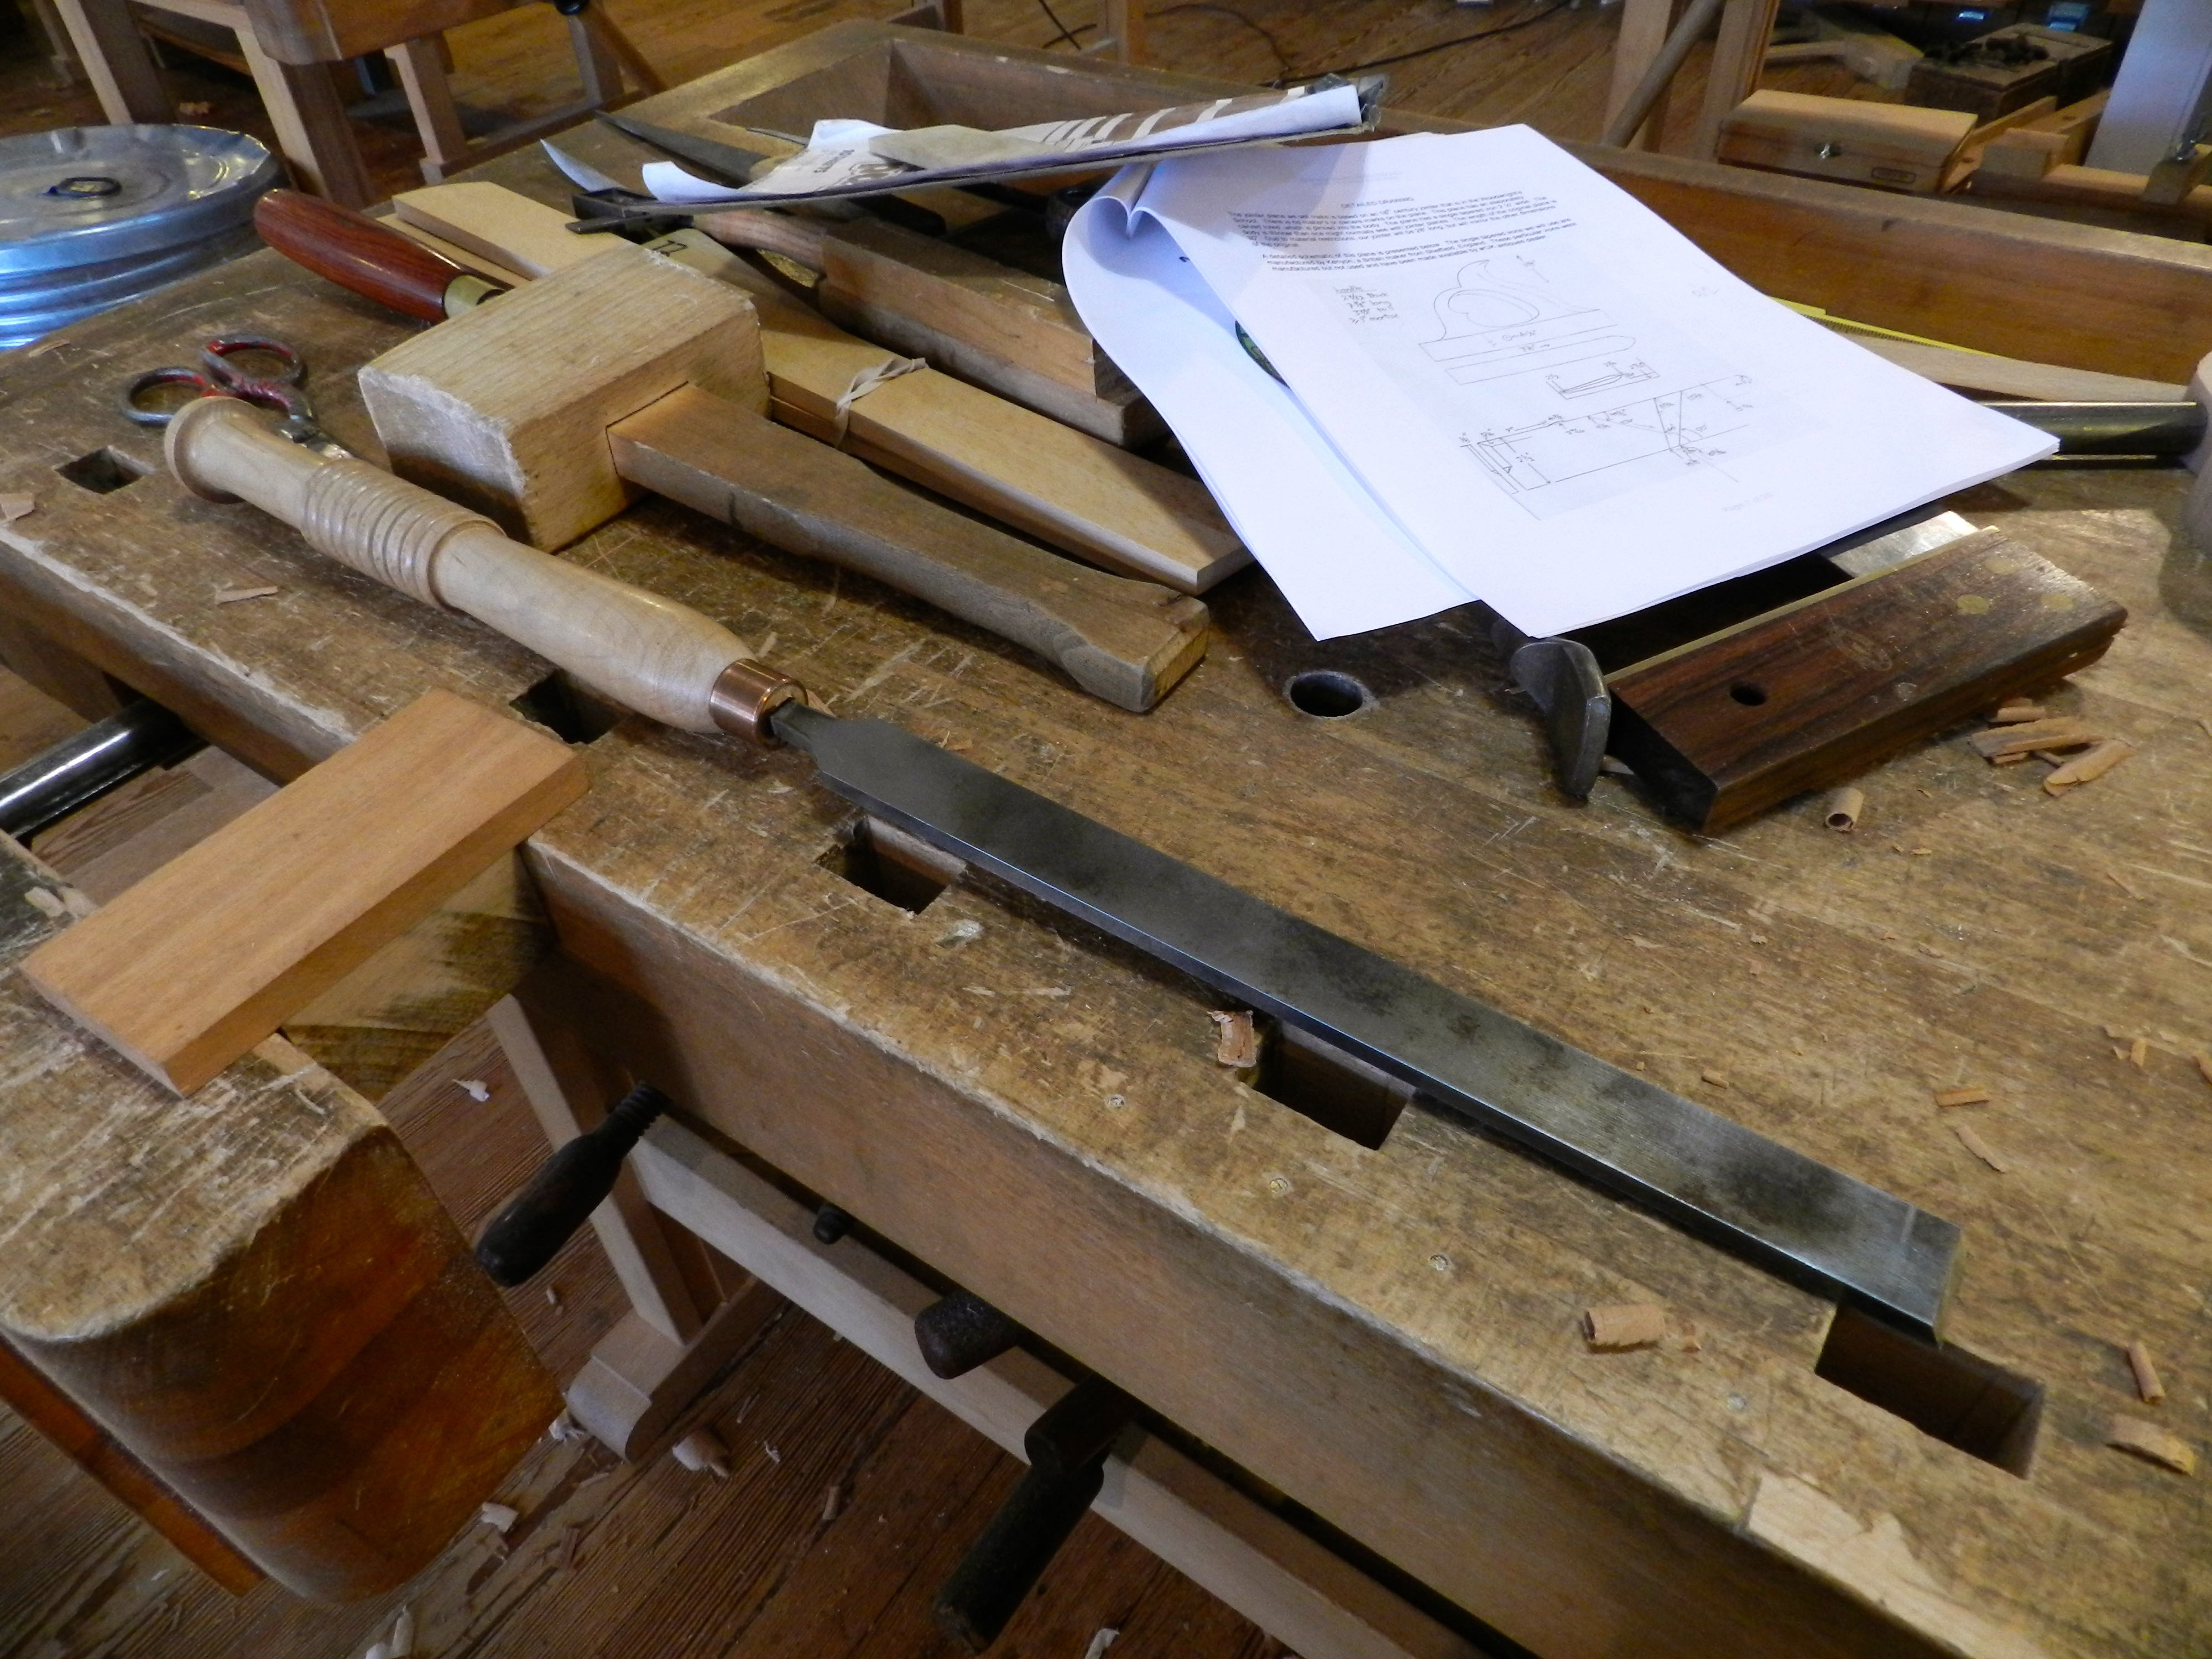
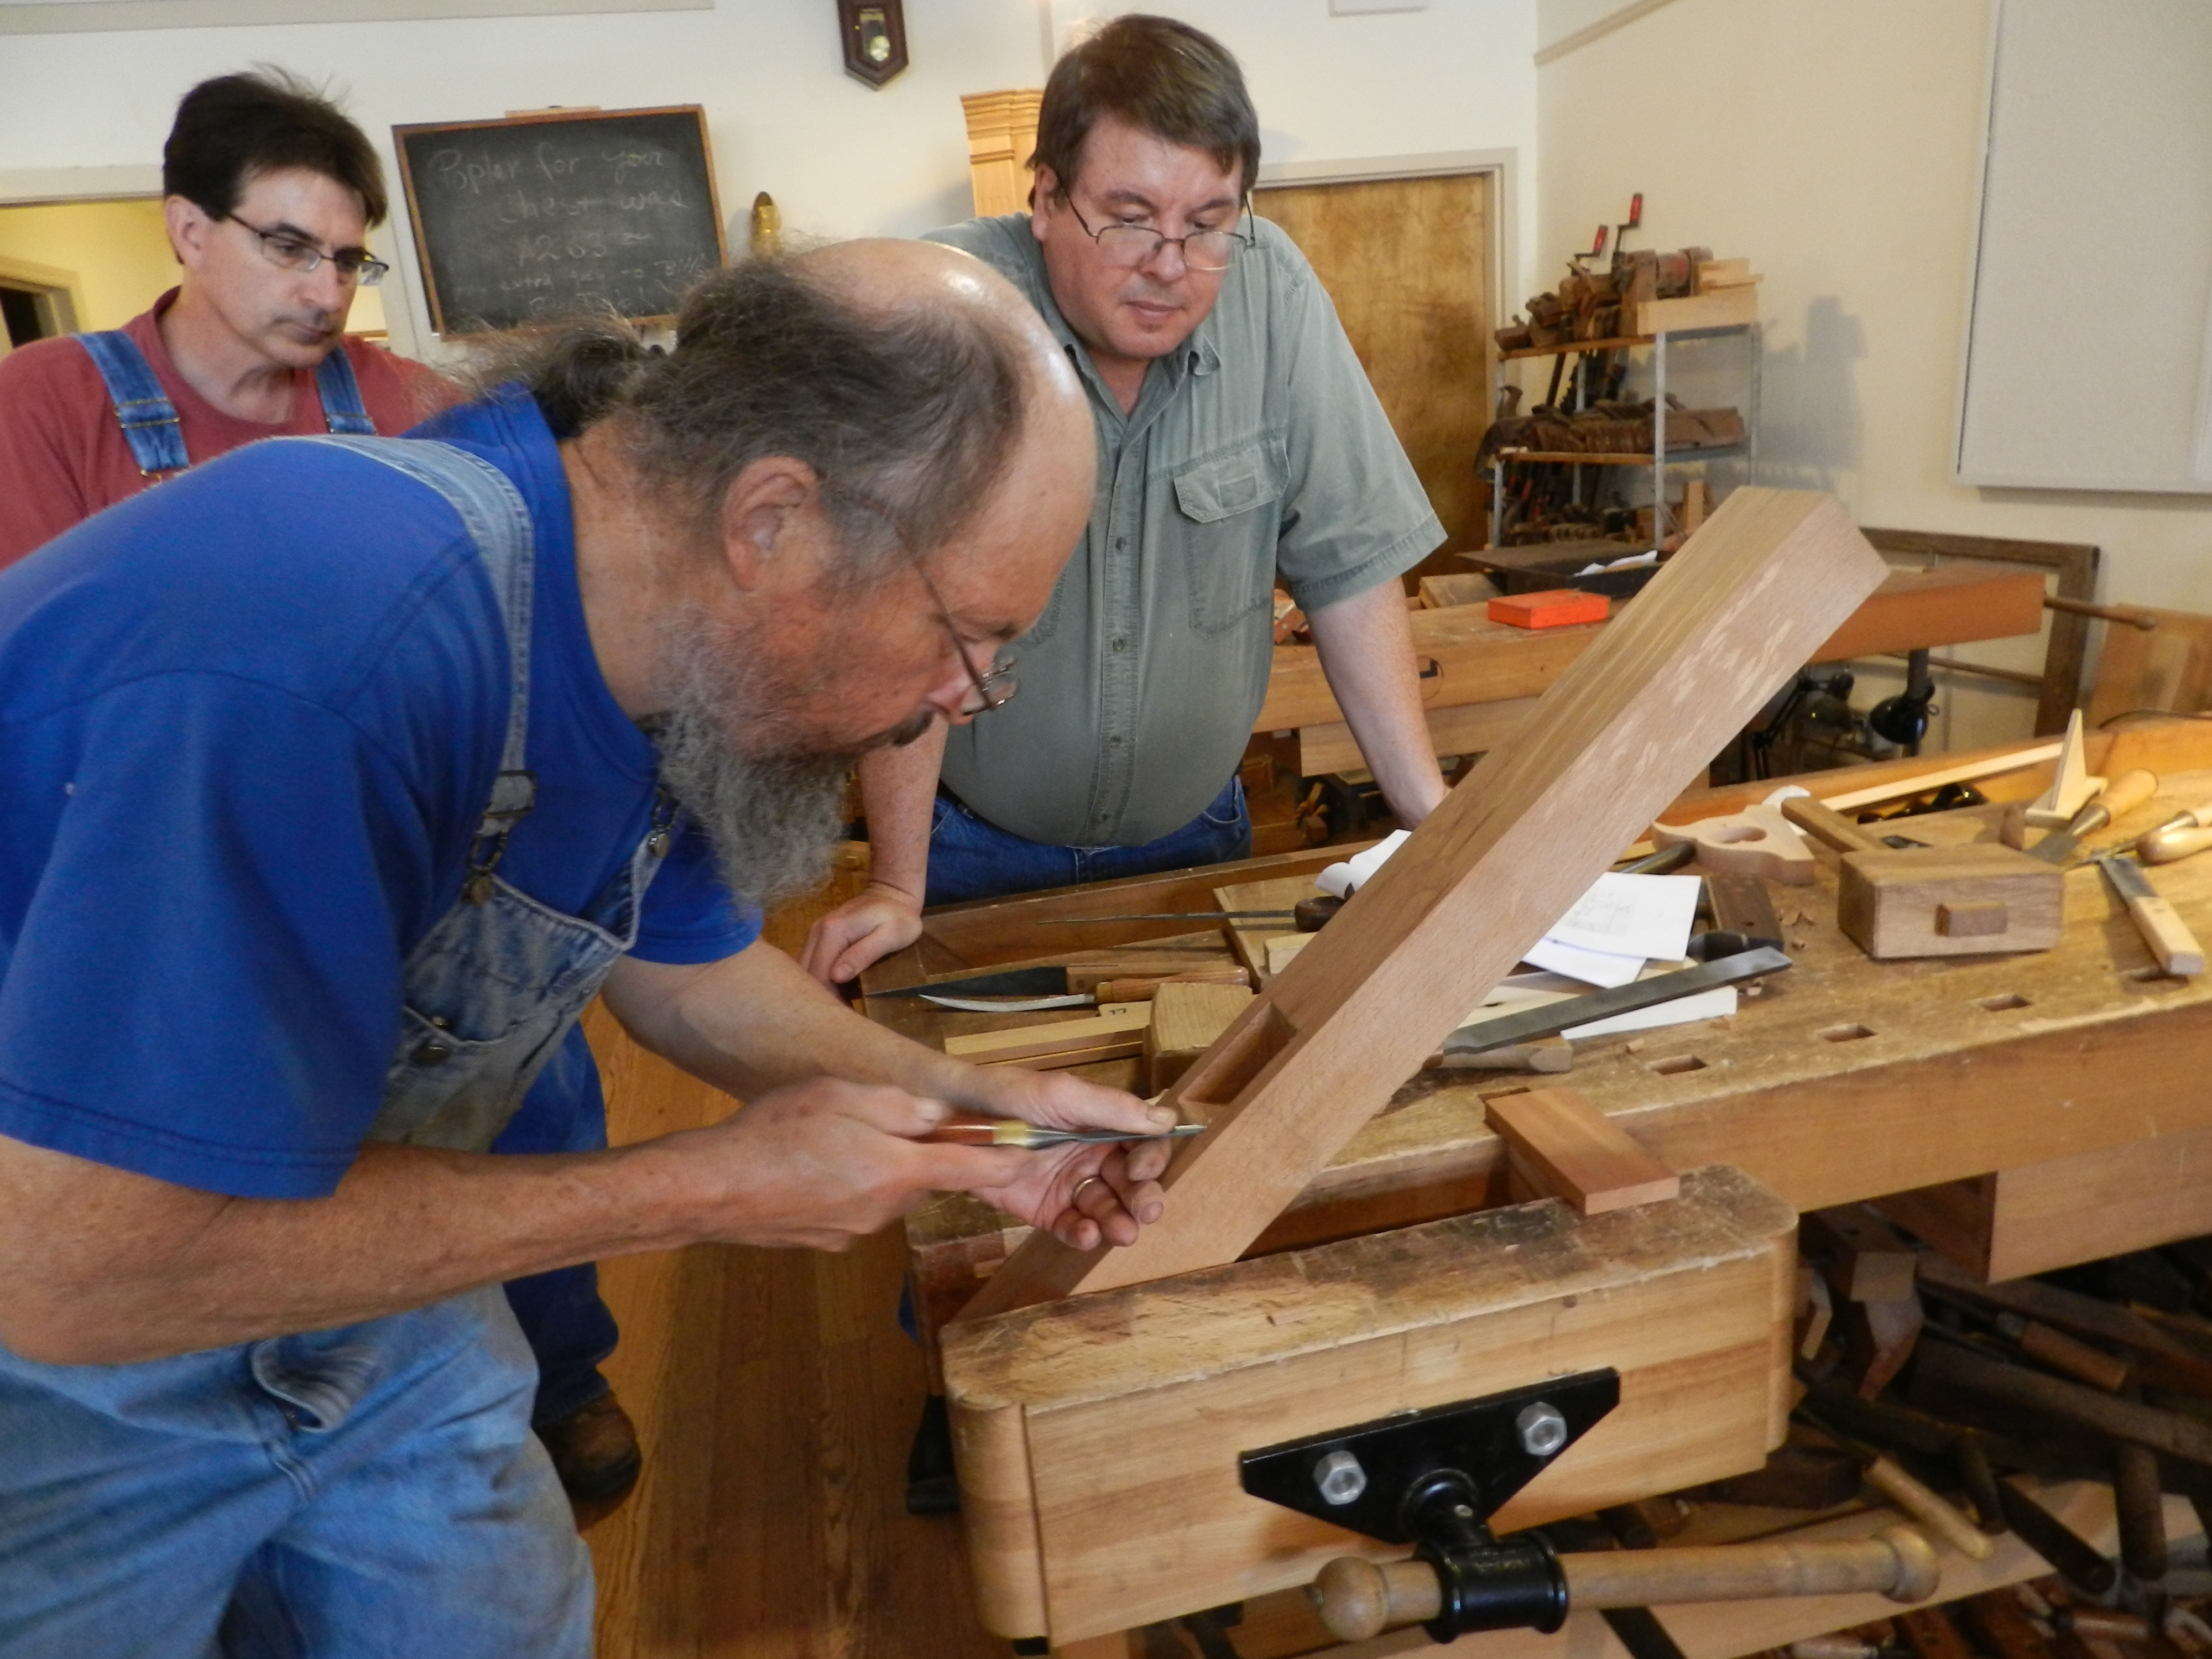
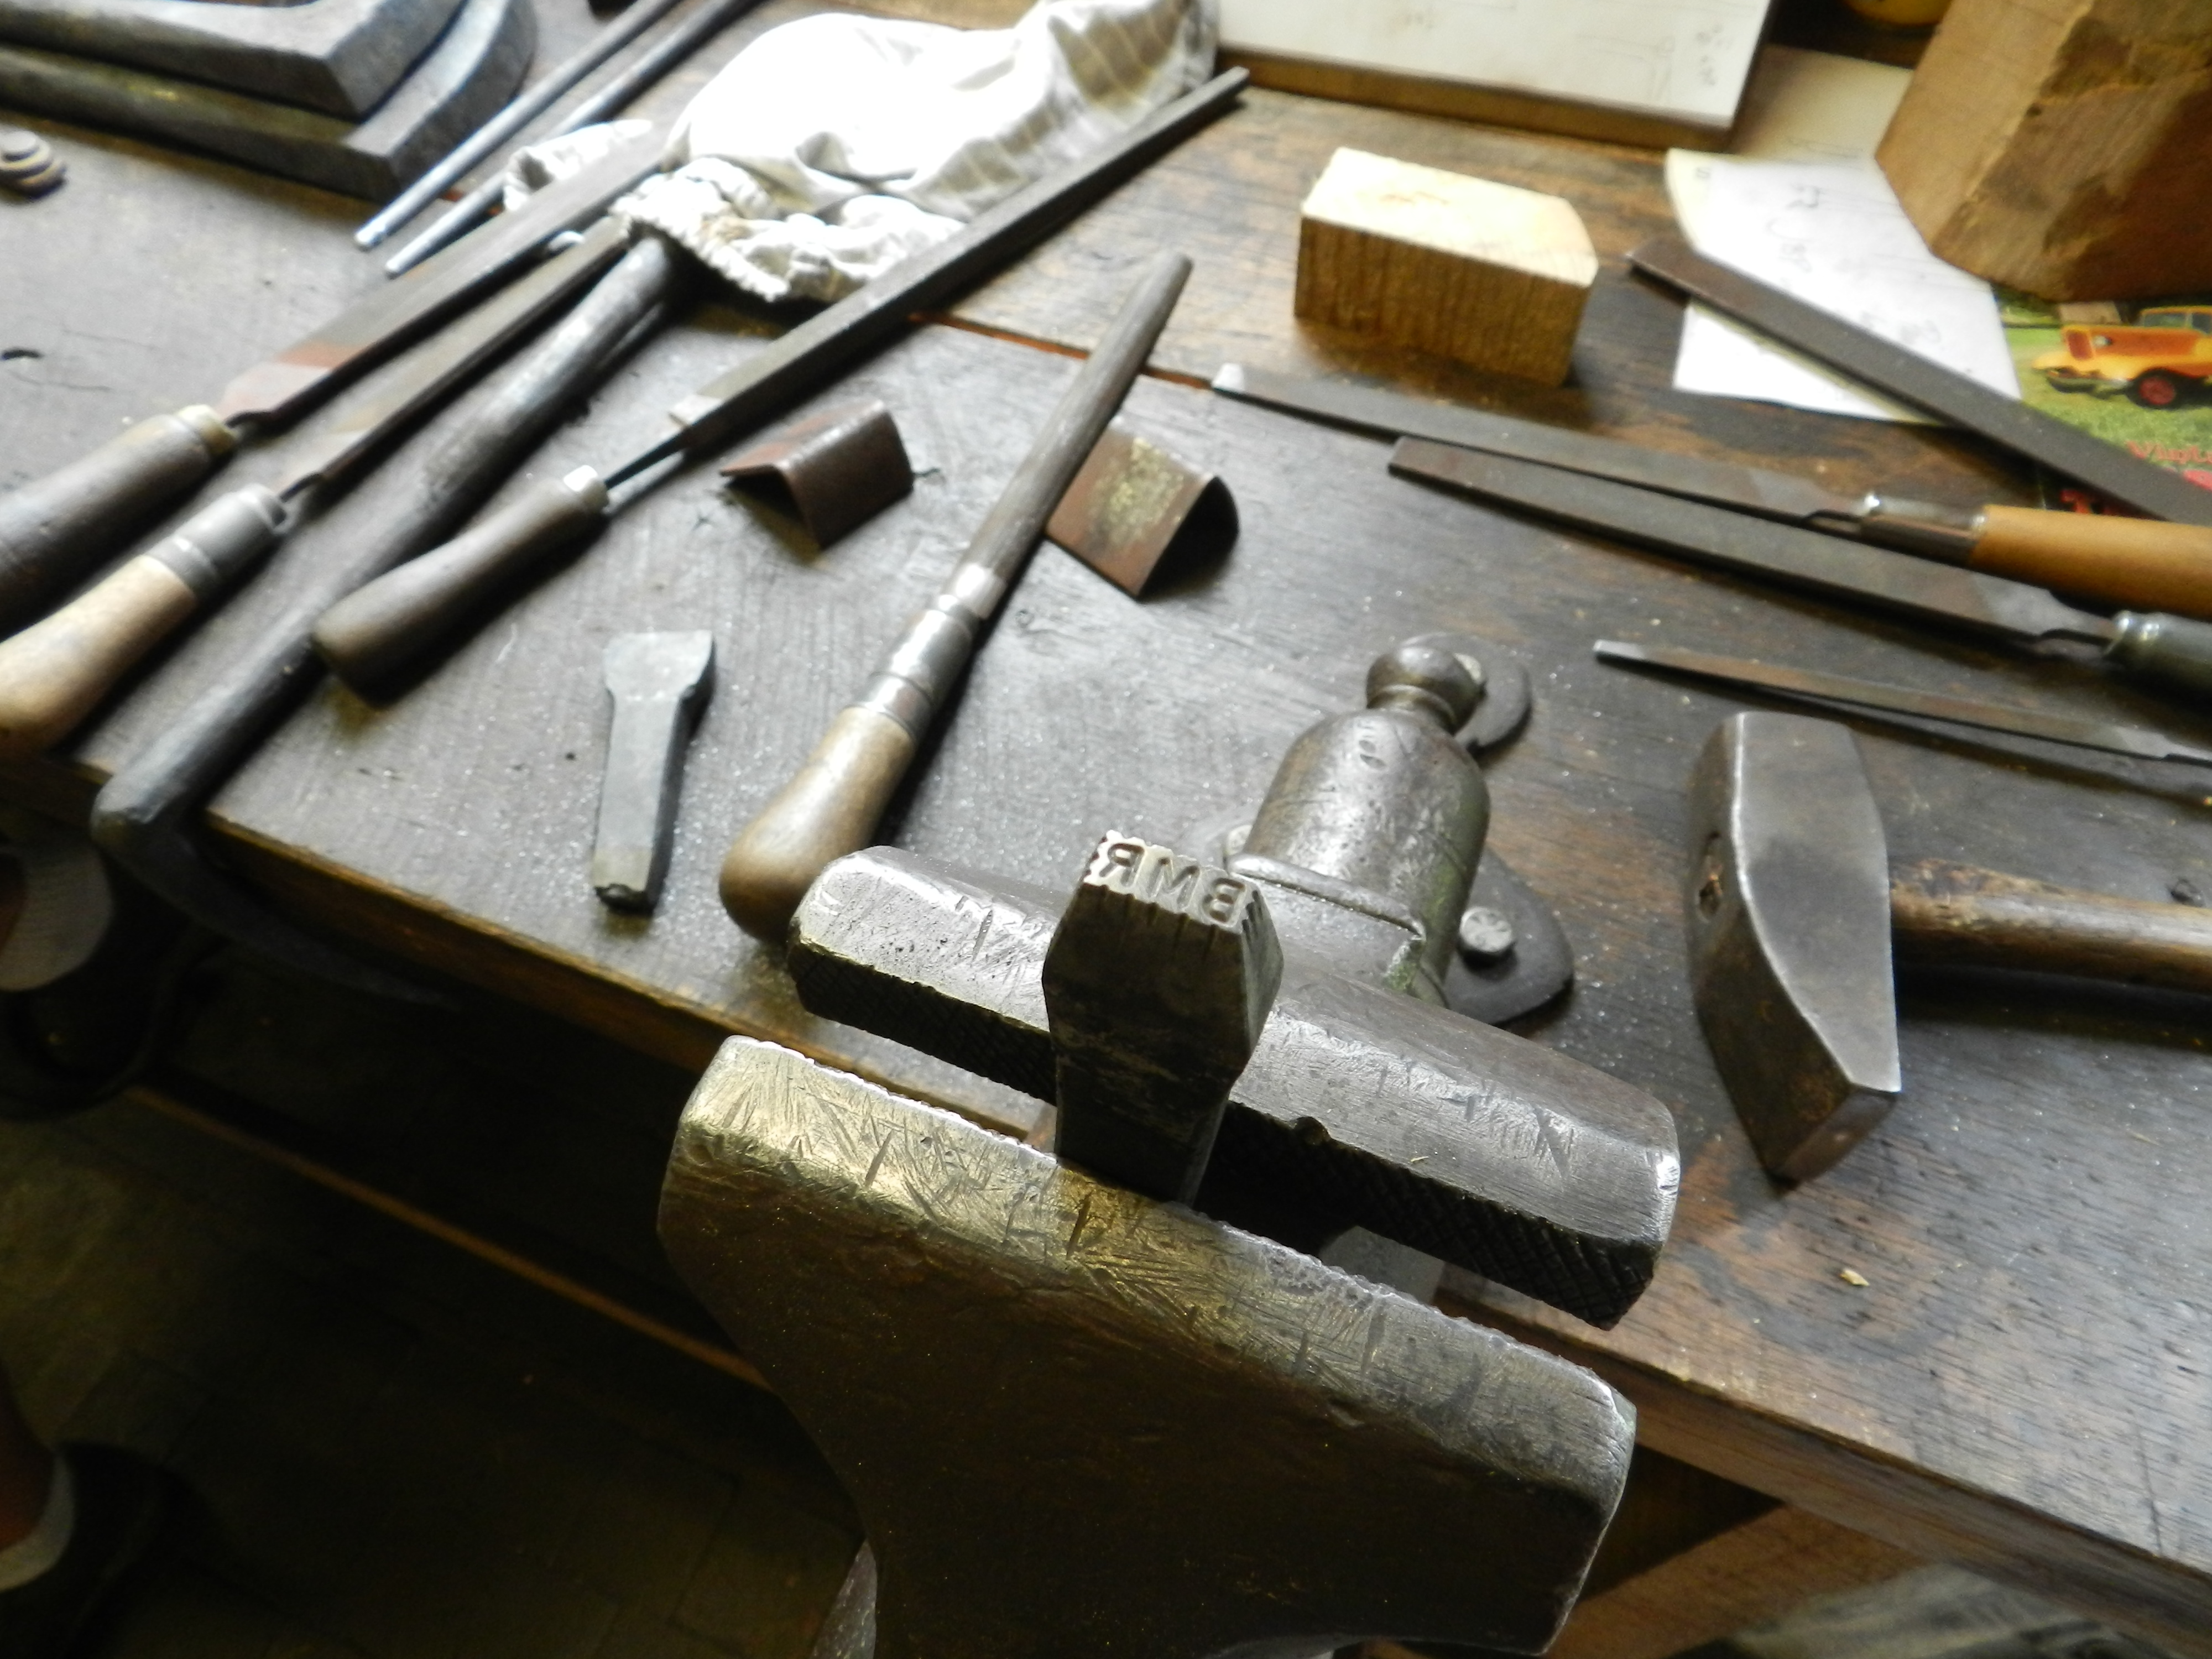
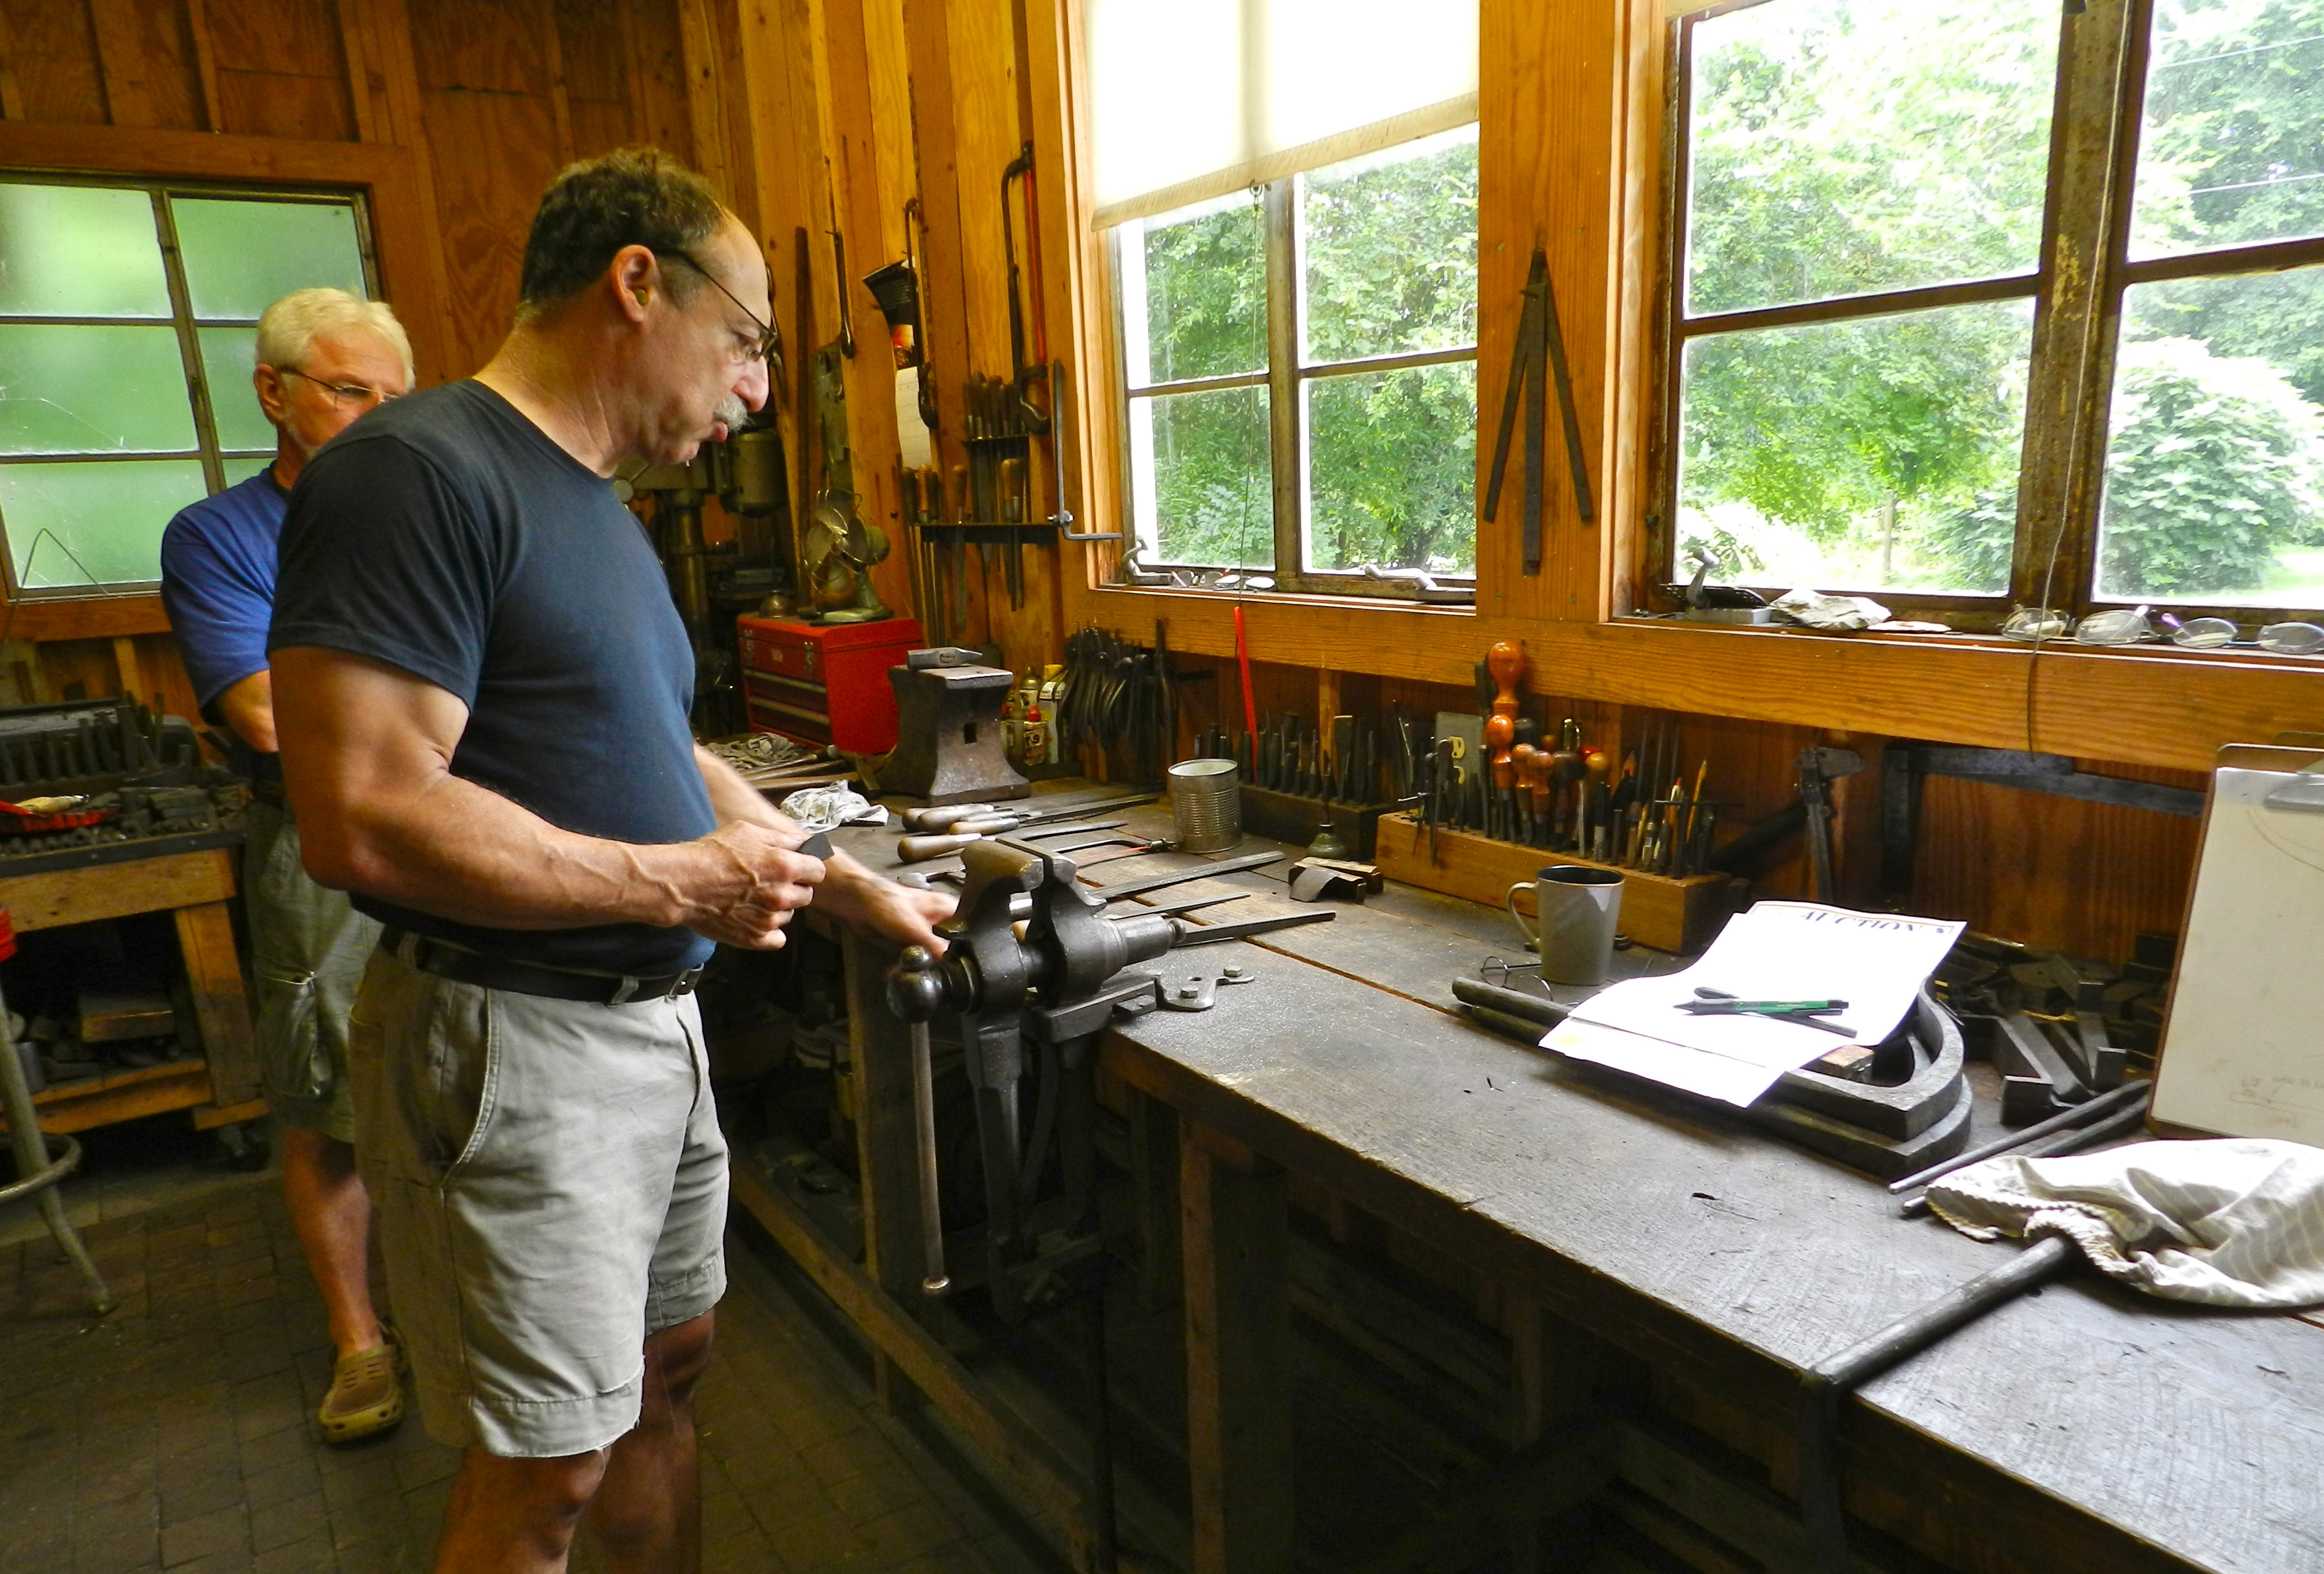
A good pair of winding lath or winding sticks is sometimes hard to find — I suspect not many survived the burn pile. The good news is that a new set is easily made in an few minutes at the bench.

Sighting down a board with winding sticks
Sighting down a board with winding sticks — (This set was made by my friend Bill Anderson of Edwards Mountain Woodworking)

Why would I want a pair of ‘Winding Sticks’? What do they do?

  • This pair of matching straight-edges are a fast and invaluable tool that allows you to quickly see if a board is flat.
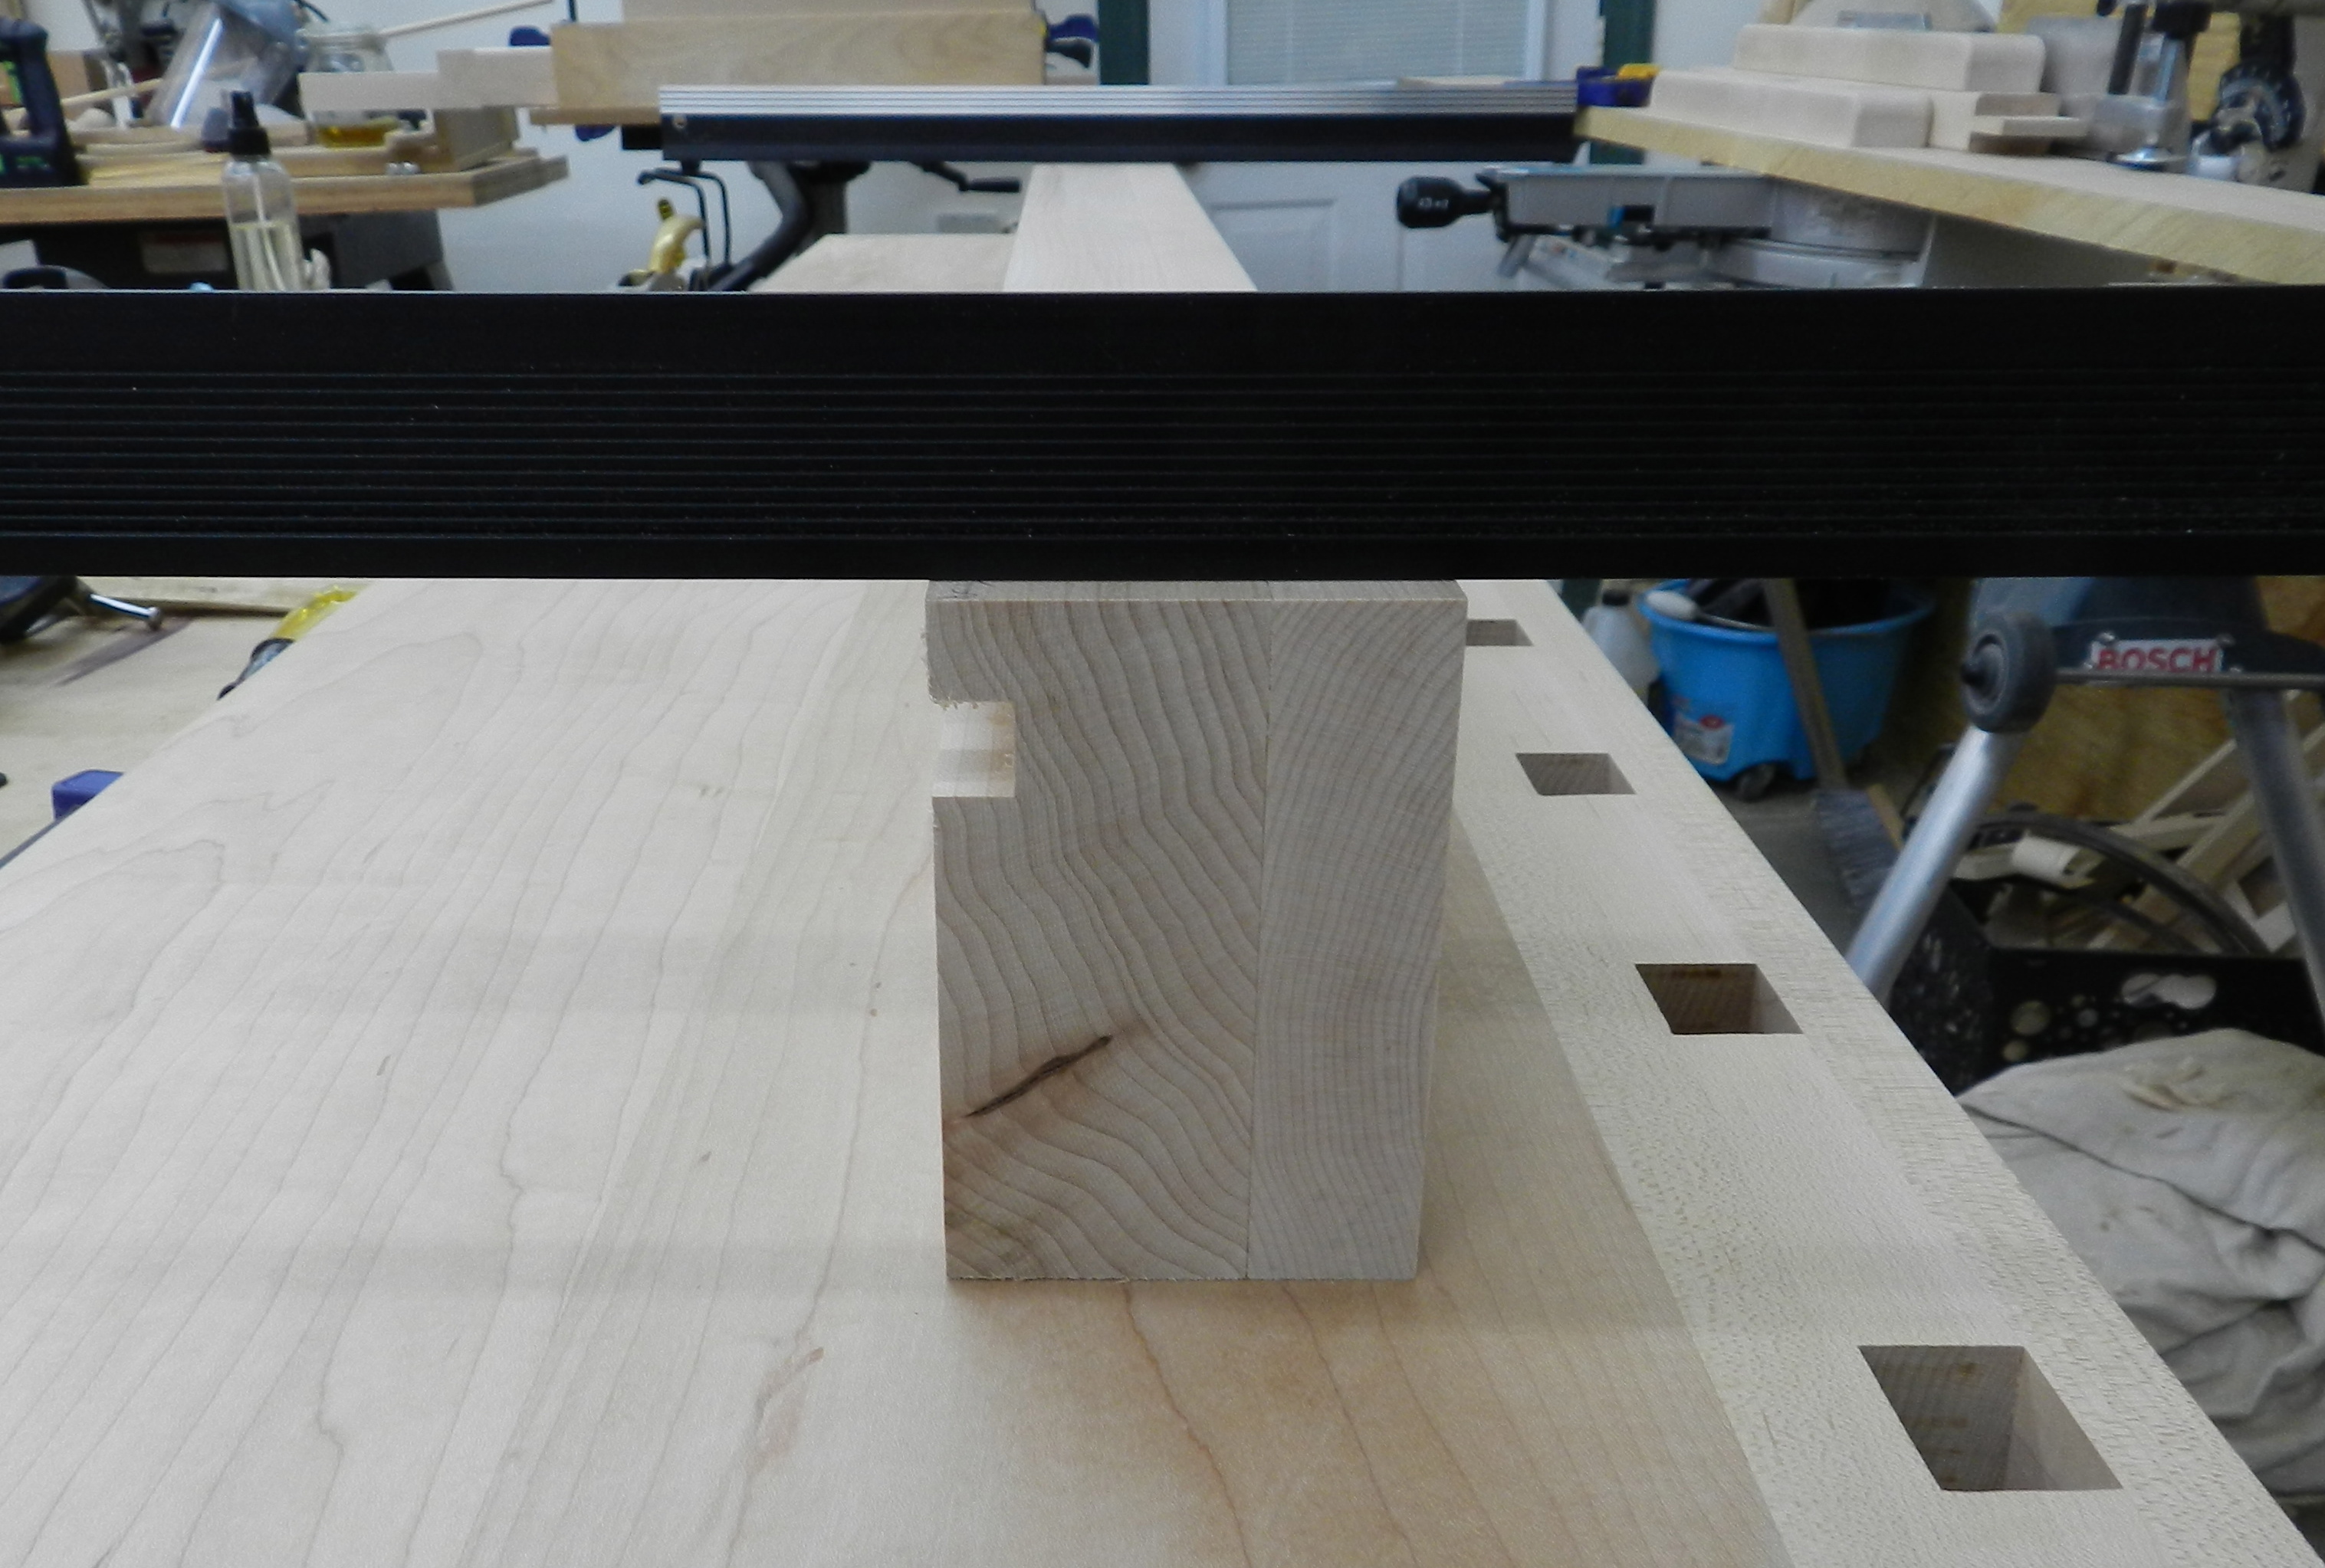
  • By placing them at each end of a board, sighting down across the near stick and looking at the far one, you can more easily see any twisting or warping in the board. The sticks help accentuate any non-planer surfaces.
  • By moving one stick and sighting the board at a few locations along its length, you will quickly see how the board flows.
  • Using a single stick you can also check for any cupping or warping as you would with any other straightedge.
  • Once you identify parts of the board that need to be addressed, you can quickly plane them and re-evaluate the board using these sticks. (After a bit of practice, process goes quite fast)
Winding Lath by Otto Salomon in the Teacher's Handbook of Sloyd
Winding Lath by Otto Salomon in the ‘Teacher’s Handbook of Sloyd’ — a great prototype for your own winding sticks

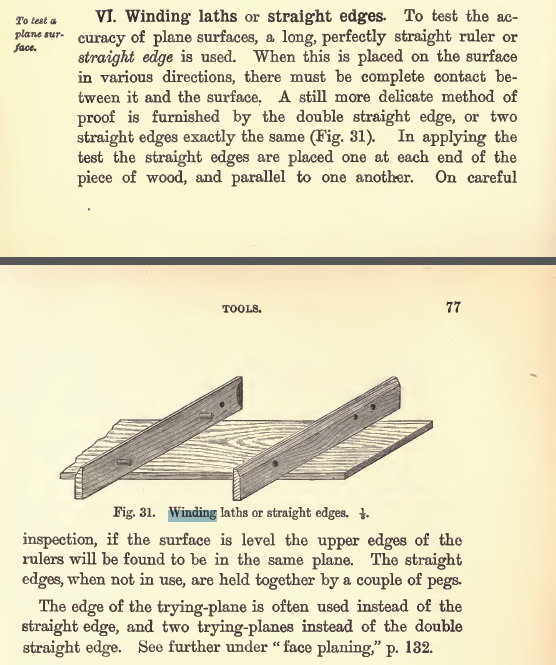
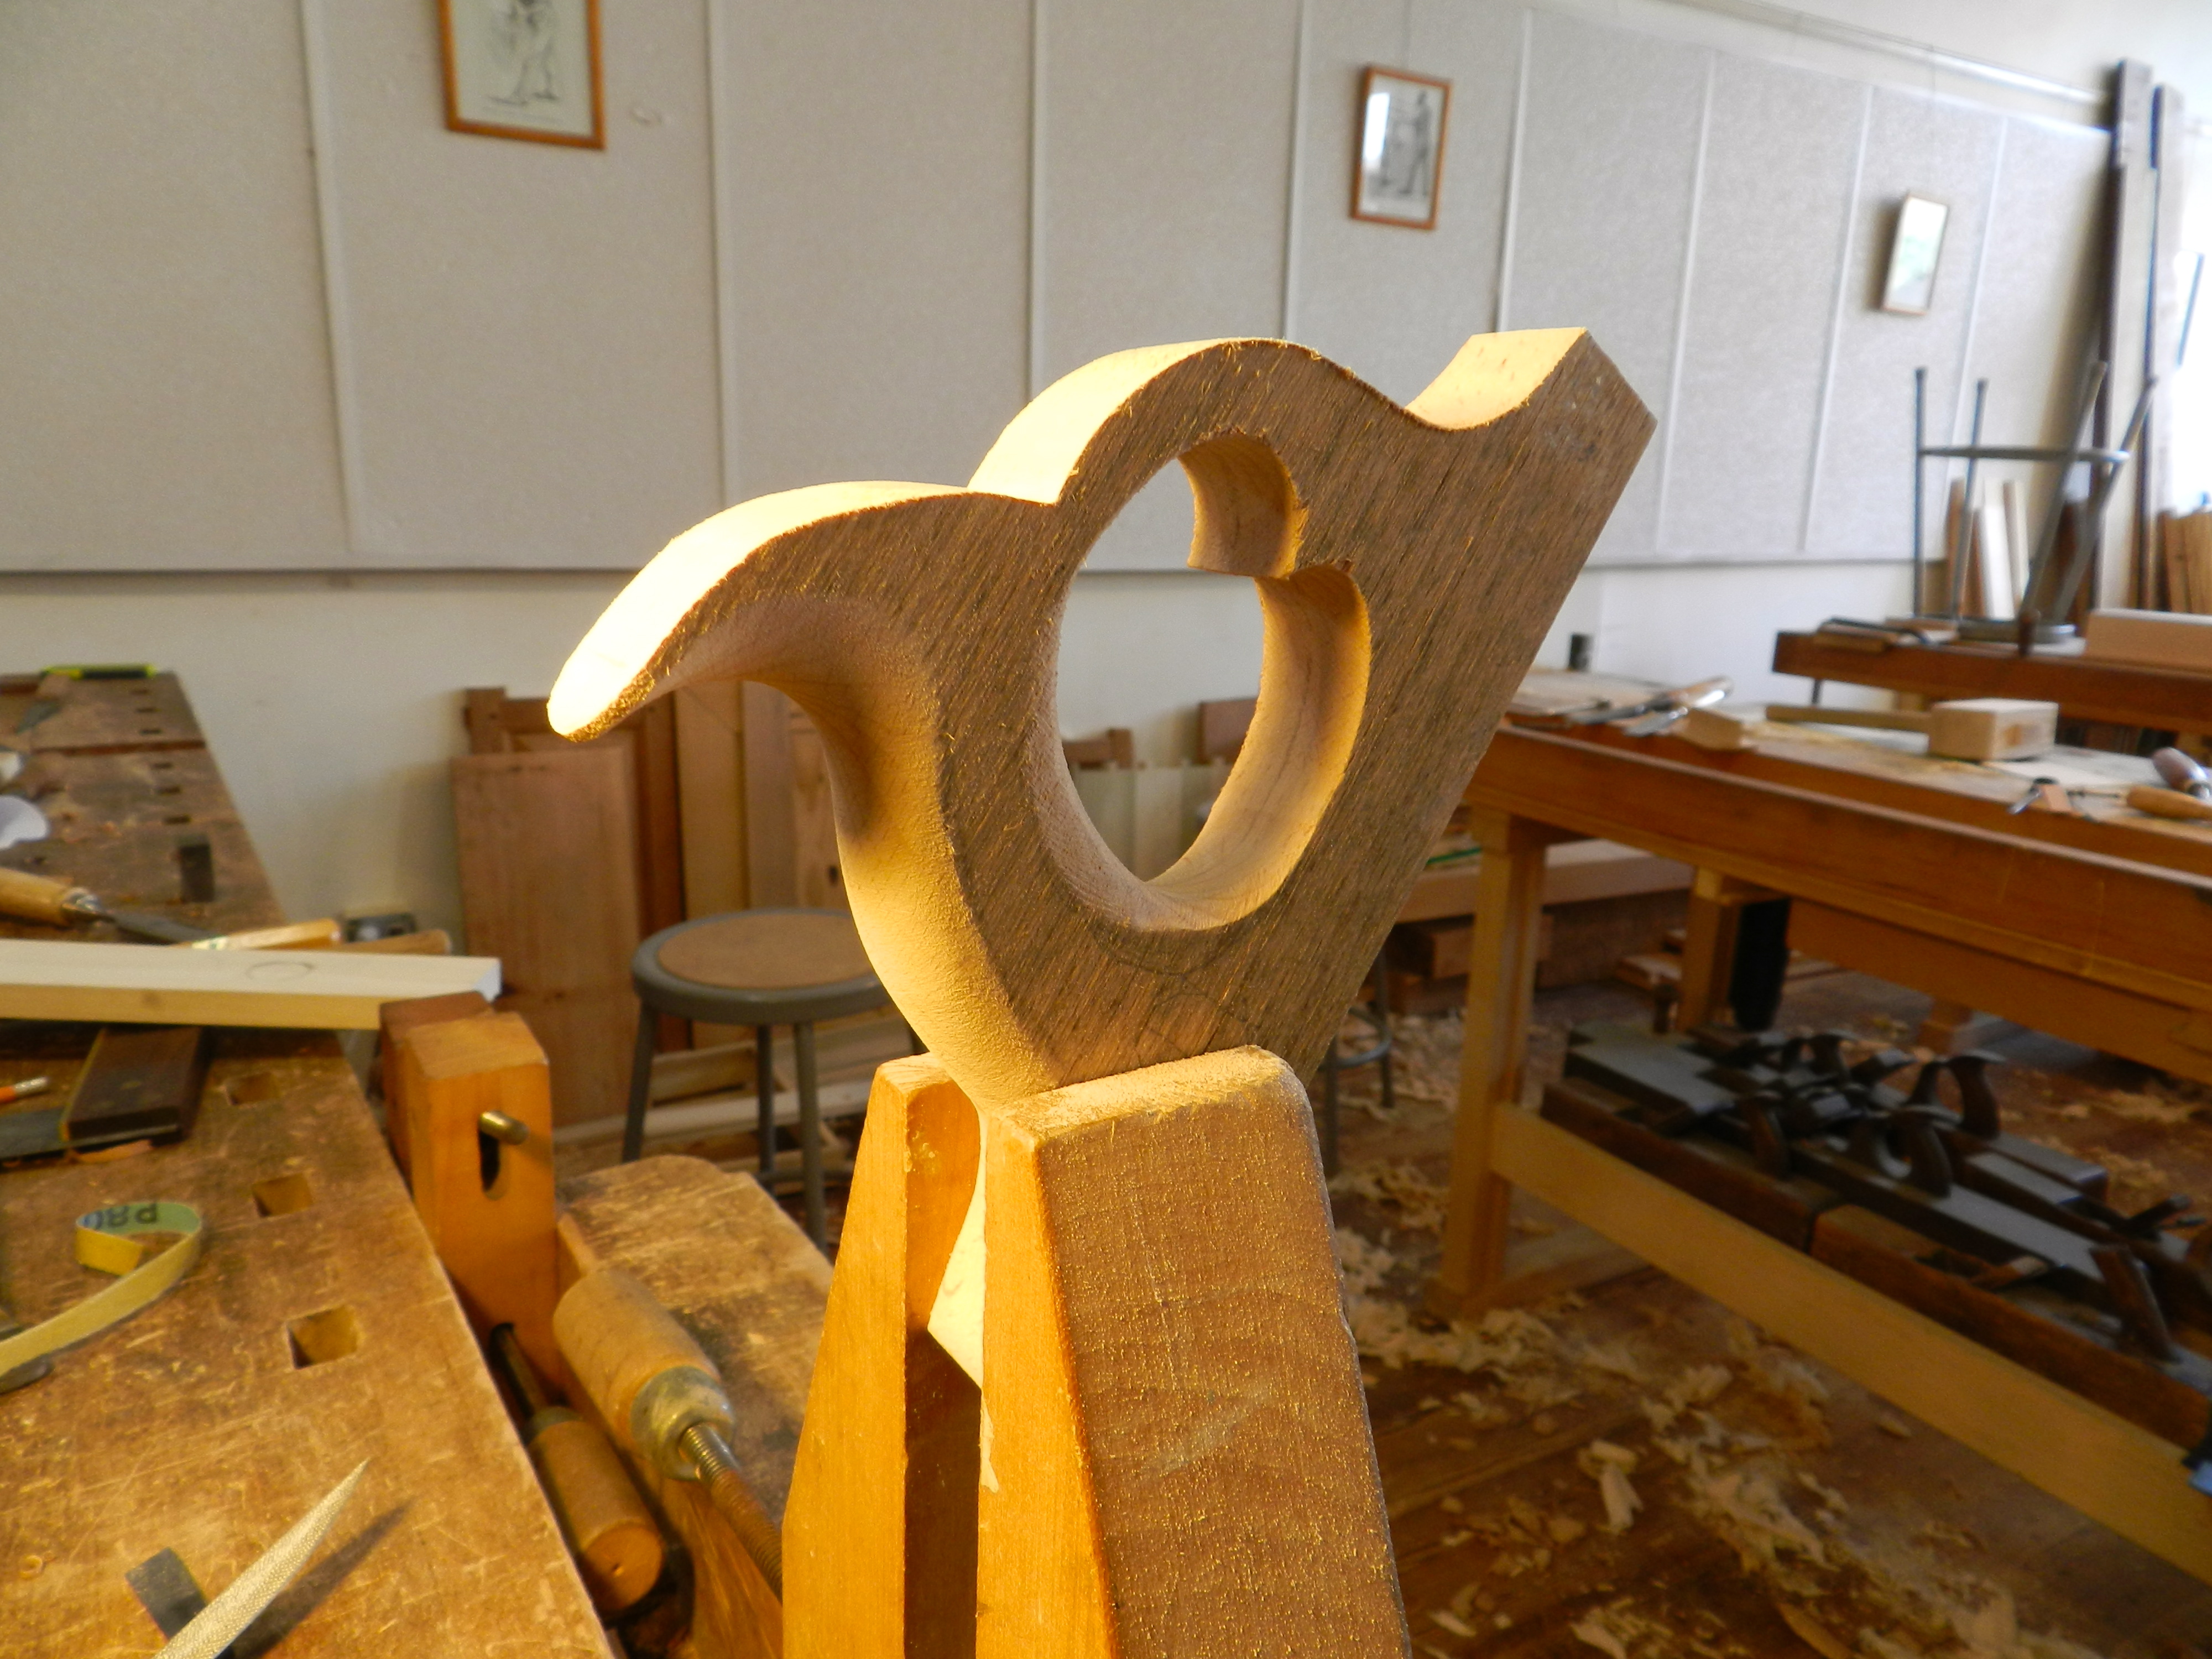
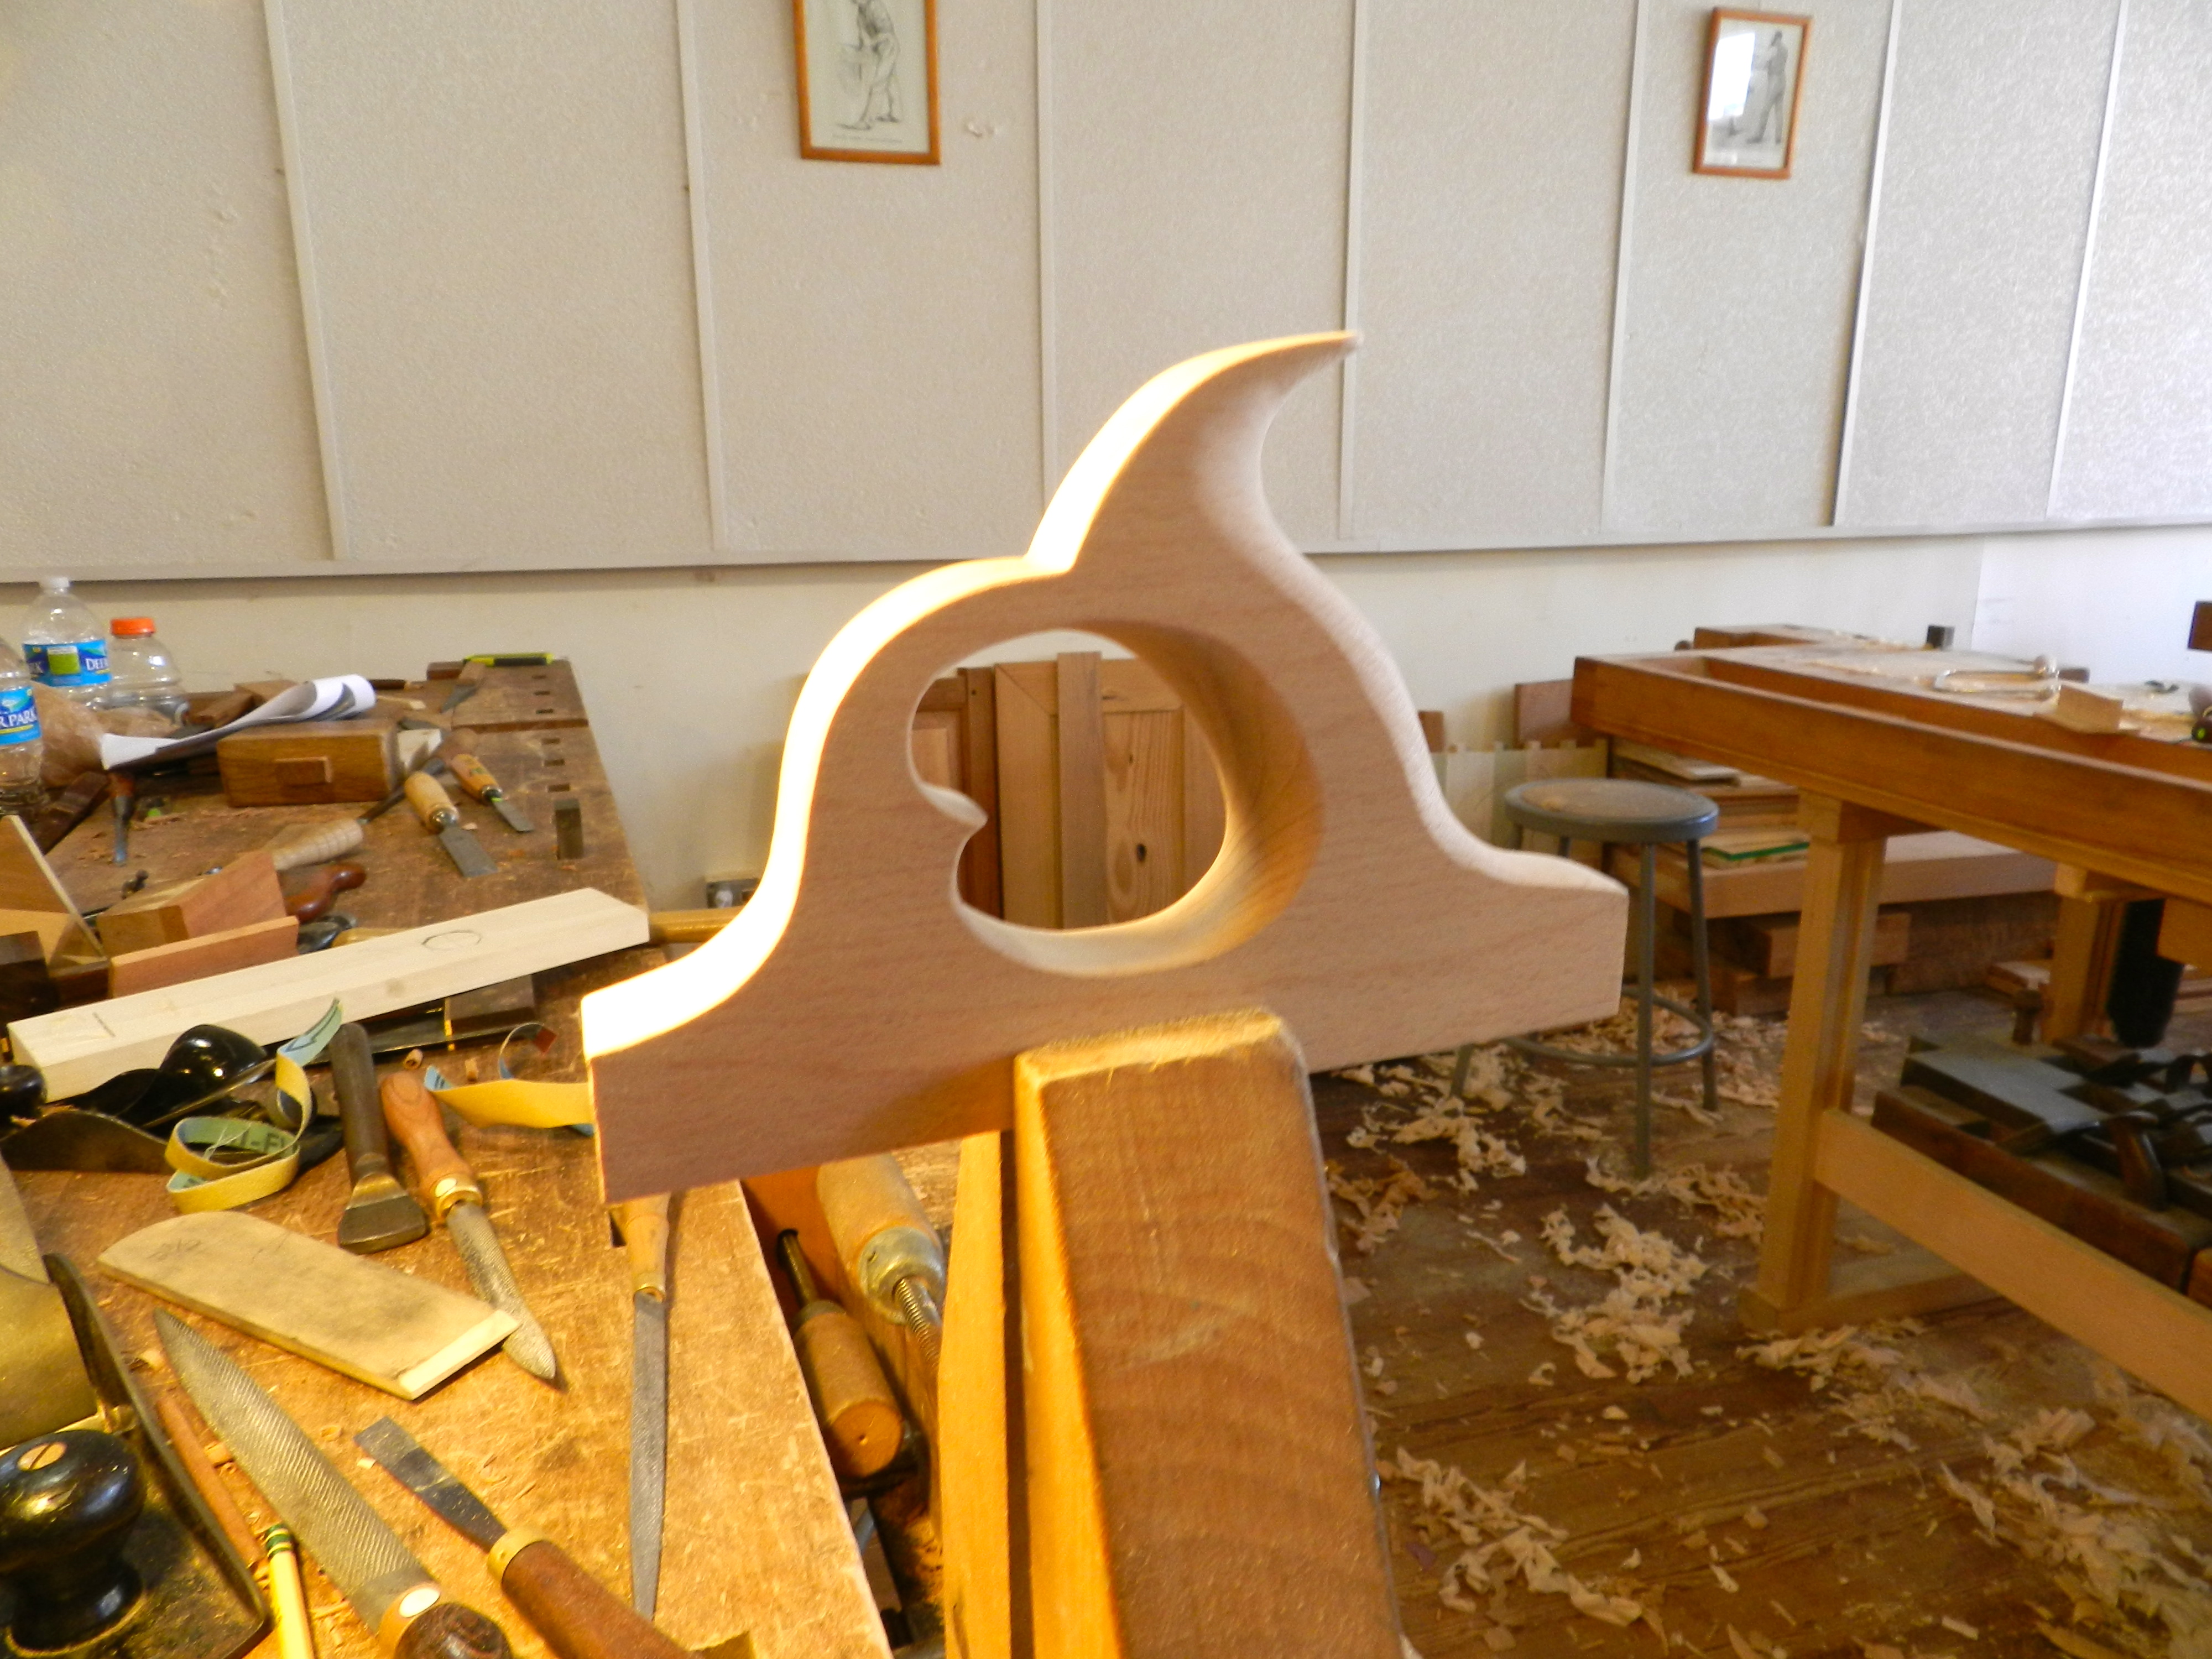
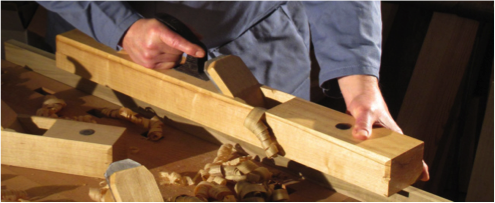
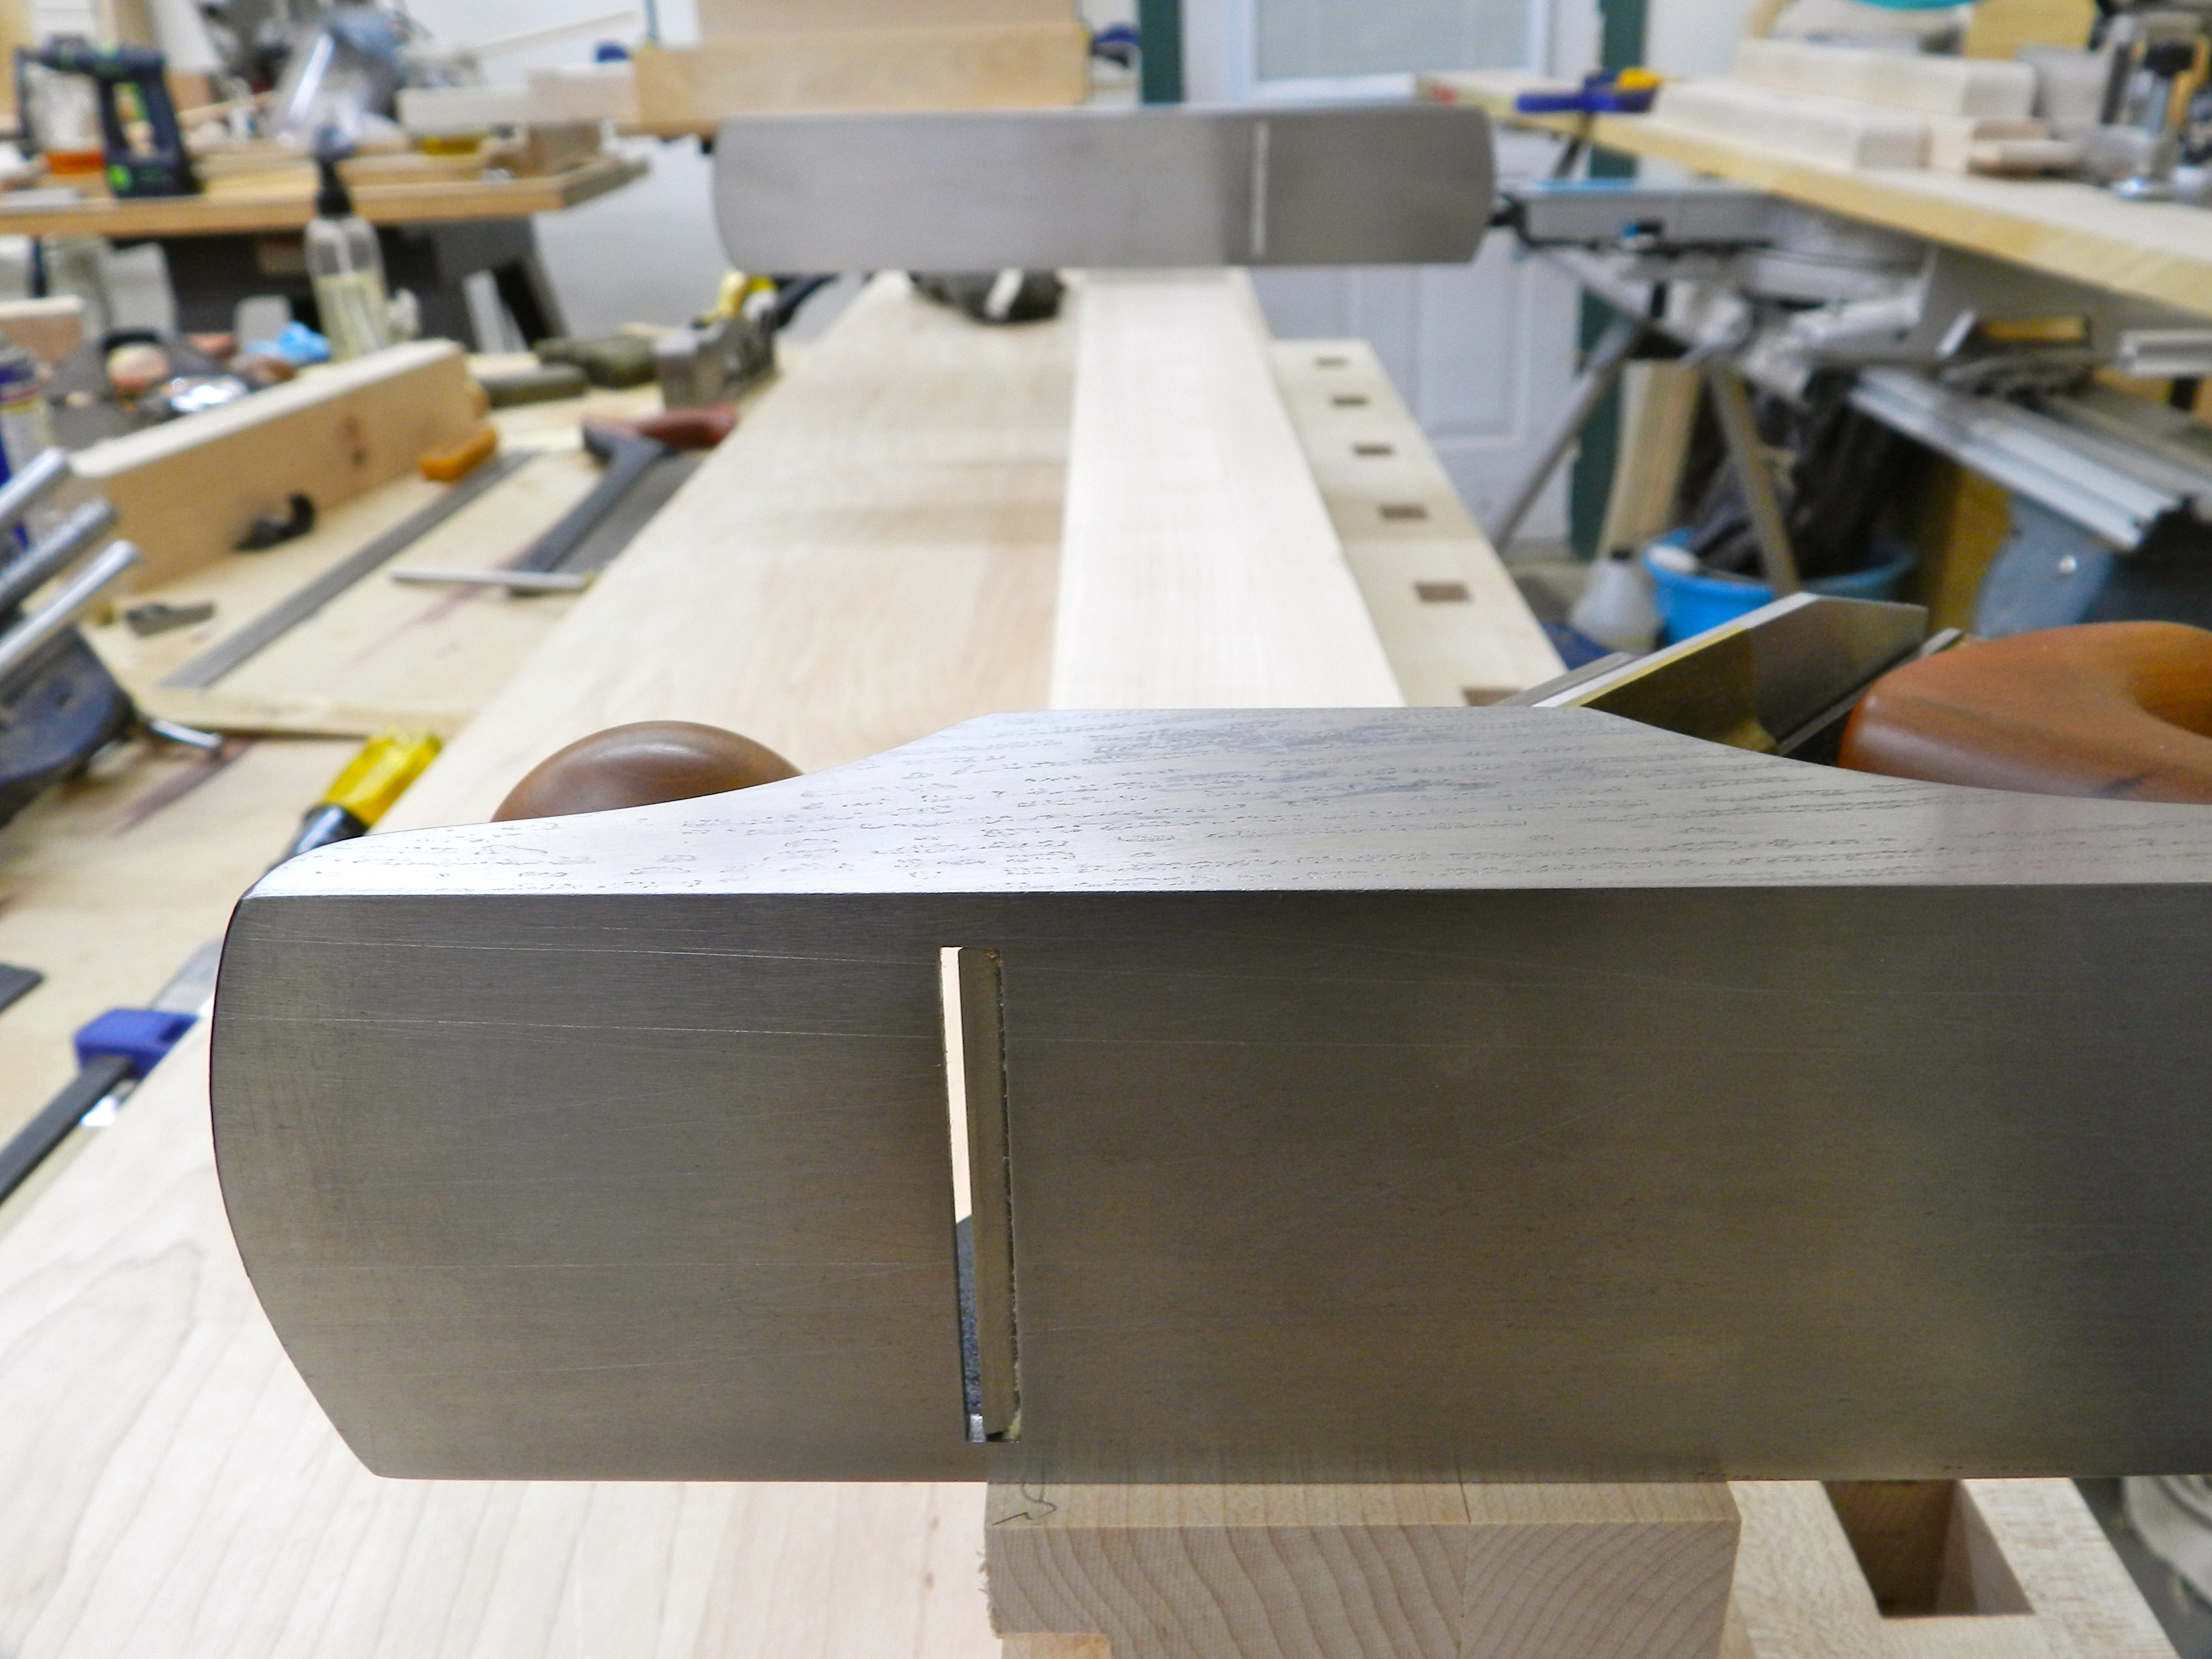
From Otto Salomon’s ‘Teacher’s Handbook of Sloyd’ above you can read a nice description for how to use winding laths efficiently. The pair of wooden Sloyd winding laths shown above nest with each other via a set of fitted wooden pins and have a nice relief one the edge of the short sides so you can easily get a finger hold in there and separate the sticks when you want to use them. Otto also calls out an interesting alternative you can use in a pinch — by turning two try-planes on their side you can use them as an impromptu set of winding sticks and sight across them.

Sighting down two bench planes as impromptu winding sticks

Tips on making your own winding sticks:

  • Use quarter-sawn hardwood like hard maple or beech
  • Consider adding a contrasting inlay or strip to make it easier to sight across the sticks
  • I like to use sticks that are 1/2″ thick, about 2″ wide and about 18-24″ long
  • Sticks that can nest with each other or otherwise stay together are more likely to survive
  • Taper each stick  on one side so that it’s clear what edge is the top (it will not stand on its own on the edge you plane down to 1/8″)
  • If your sticks ever get out of true they are easily squared up again with a plane

The next time you are out in the shop, make a quick set of winding sticks and see how much it can improve your board flattening efficiency.

-Bill

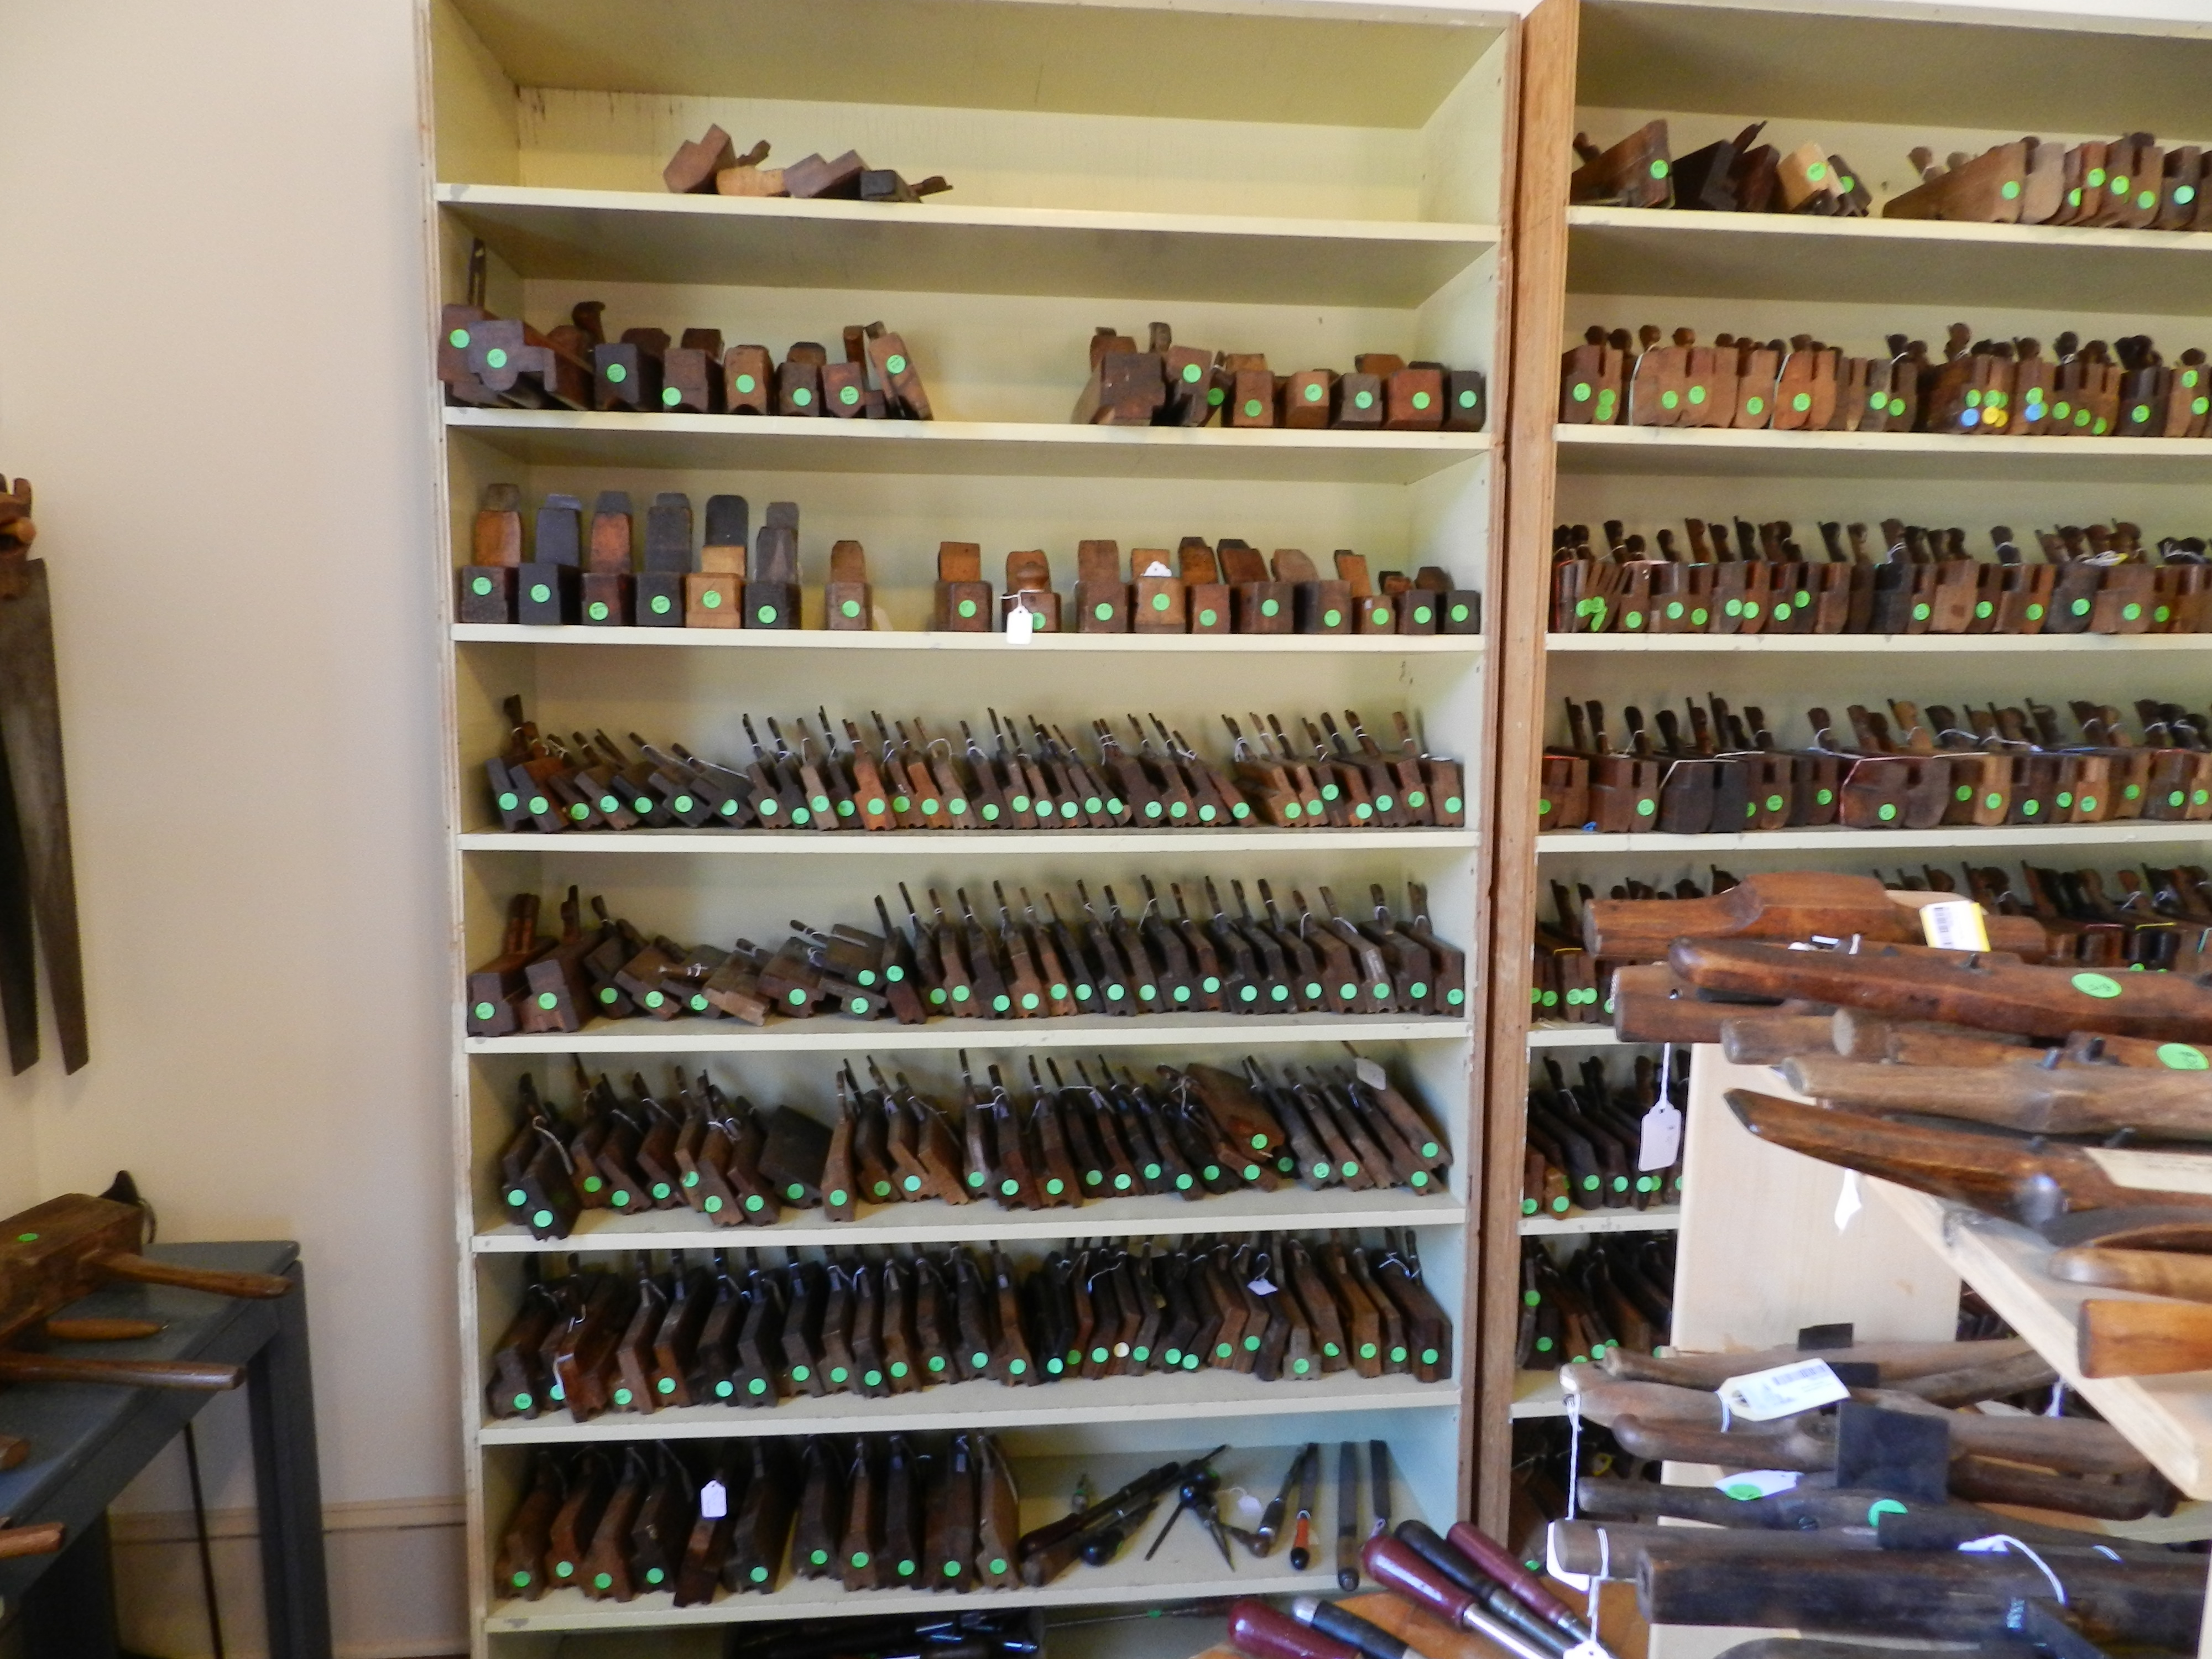
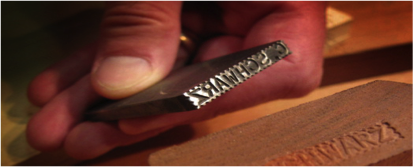
P.S. If you don’t have the the time or scrap to make your own set from wood, and don’t have 2 jack or try planes handy, you need to have a stern talking to, but there are commercially available winding sticks available from Lee Valley and others. I admit that I do have a pair of the Lee Valley aluminum winding sticks which I bought when I first got started in hand tool woodworking. They are well machined and the design hits all the major tips called out above — with the exception of being made of wood of course.

Nesting metal winding sticks from Lee Valley

Much like the shop made winding sticks, these aluminum sticks work well and need virtually no maintenance.

Metal Winding Sticks in Use

P.P.S — This is an extended version of a post I put together for my friends at Popular Woodworking on the contributor’s blog which can be found here.

Making a Jointer Plane with Willard ‘Bill’ Anderson — Part 2

When last we left our plane-making heroes they were in the process of making a traditional single iron jointer plane with my friend Bill Anderson at the Woodwright’s School.

Bill demonstrating with a great bench plan cross section model
Bill demonstrating with a great bench plane cross section model

Bill had a great cross section model of how this sort of bench plane works — made by one of his students. With the body of the plane taking shape, next up was tuning the mouth opening and the abutments. If the mouth is too wide or too large the plane may not cut cleanly so you need to carefully fit the iron to the opening. If the abutment is not carefully placed when you re-flatten the sole of the plane you’d also be opening the mouth more. You also need to take care flatten the face of the bed that supports the iron — if there are high points the iron can pivot on those and make it tough to use the plane. One of the many testing/fitting gauges Bill had was a ‘bed testing gauge’ which looks and works much like a pair of ‘pants’ we use in timber framing to test out the thickness of a tenon, except in this case you are using it to check the thickness of the cheeks and how close your bedline is getting to the line scribed on the side the plane body.

Planing the wedge
Planing the wedge

With the mouth and throat all set, next up was making the wedge to hold the iron in place. The wedge needs to be carefully planed to fit the abutments inside of your plane and tightly hold the iron in place. Again here you are using an abutment gauge (wooden wedge of a known profile in degrees) to test your work as you go.  With all the gauges and specialized tools you can quickly see why plane-making was its own dedicated craft specialty.

Shaped and fitted wedge

The wedge is further relieved so that the shavings can clearly escape the plane body.

Templates, gauge blocks and pants
Templates, bed gauges blocks and pants

Above you can see some of the many gauges used in laying out and testing parts of your plane, along with templates for the handles.

Starting to shape the handle

The handle is first cut out from a rough blank and then carefully shaped by hand to have flowing, graceful lines similar to that of a quality hand saw. The result is a handle that fits the hand so well it, the whole plane feels like an extension of your body.

Auriou rasps used to shape the handle -- they were a pleasure to use
Auriou rasps used to shape the handle — they were a pleasure to use

Various rasps, files and sandpaper are used to shape the handle. Using crisp hand stitched Auriou rasps made quick work of shaping the handles.

Finished handle
Finished handle

Above is the handle after a bit of light sanding.

A finished Jointer Plane

Shown here you can see Bill’s finished/sample plane which is based on an historical example.  I’ll post the final shots of my own plane when I finish it soon in my shop.

Rear 3/4 view of the completed sample plane

At the end of the workshop one of the most important tasks was to make sure you plane can take a nice shaving. I’m happy to report that I was able to get a nice full width shaving with my mostly completed plane. (I need to finish setting the handle, trim the edges, apply some finish and use my maker’s name stamp and it will be ready for regular use in the shop).

Making the first shaving with a new plane...
Making the first shaving with a new plane…

In an upcoming post I will complete this series with how I finished off the plane. Stay tuned…

In the meantime, if you’d like to learn more about Bill Anderson or take a class with him, and I highly encourage you to do so, please check out his website here.

-Bill

P.S. You can see the first post on making this jointer plane here.

Making a Jointer Plane with Willard ‘Bill’ Anderson — Part 1

A single iron jointer plane is one of those tools you have use yourself to truly appreciate. Over Labor Day weekend I was fortunate enough to have the opportunity to make one of these planes with Willard ‘Bill’ Anderson at the Woodwright’s School in Pittsboro, NC.

Entrance to the Woodwright's School
Entrance to the Woodwright’s School

Bill is a passionate woodworker and skilled teacher. You may recognize him from his appearances on Roy’s television show or the articles that he’s written. He’s a molding plane aficionado and has studied plane-making and general furniture-making with many masters in the field. He recently retired from being a Scientist for the EPA so I see a lot of parallels to my own life working in software.

Getting started, with Bill Anderson

The plane is made of air dried American Beech and a new old stock English iron.

Squaring up the air dried beech blank

We started out by squaring up the stock using a wooden straightedge and winding sticks.

Laying out the mouth and abutments

Next up was laying out the mouth and throat. The mortises are all chopped by hand with a chisel and refined via a series of floats and scrapers. It was my first time using that many different floats, and for what looks like it might be a fairly coarse tool, when sharpened leaves a remarkably good surface.

Chopping the mortise by hand

As we worked through the throat mortise a key was to make sure you don’t overshoot and chop through the abutment.

Scraping
Scraping

One of the last steps in refining the abutment and sides of the throat was to scrape the surface using a scraper chisel.

A very nice scraping chisel that Bill made

This beast of a chisel was made by Bill and heat treated by Peter Ross. It was based on some research Bill did into traditional plane making tools. The long bar of tool steel and handle allow you to put a lot of your weight into it as you scrape the surface flat. The cutting edge is a very steep angle similar to a scraper you’d use with a lathe (upside down compared to the lathe tool) but works well since you are only removing a little bit of material at a time.

Paring away any fuzz

Regular bench chisels are used to clean up any fuzz in the corners. Next up is cutting in for the wedge and cleaning up a cheeks. This is an operation that requires a steady hand and the ability to work to an exacting standard. You want your test wedge, and eventually your actual wedge, to fit tightly against the abutment so the iron does not move when you are working with the plane. I took my time and was very happy with the results.

Fitting with test wedges

In upcoming posts I will document more about my experience in building and finishing this plane.

In the meantime, if you’d like to learn more about Bill Anderson or take a class with him, and I highly encourage you to do so, please check out his website here.

-Bill

The Tool Store at the Woodwright’s School

The Woodwright’s School is already hallowed ground for a lot of woodworkers, but hovering above workshop is Ed Lebetkin’s Antique Tool store….

Up the stairs and take a right at the large model plane

Before heading up there, I was warned to leave my wallet behind as there would be a lot of temptation at the top of the stairs….Ed’s store is filled with just about every kind of traditional woodworking tool and accessory you could want.

Wide angle view of Ed's Antique Tool Store
Wide angle view of Ed’s Antique Tool Store

An amazing assortment of chisels, planes of every kind, marking gauges, braces and bits.

Wall of molding planes

One whole wall of the shop is filled with molding planes .

Chisels, mallets, auger bits etc.

New stuff is always coming and going so you’ll want to visit often — or see about renting a space to camp out and be first to check out the new arrivals. 😉

Self-advancing Boring Machine

During my visit I was enamored with an unusual boring machine. The castings on the tilt mechanism look similar to my old Swan boring machine but what made this machine unusual was the mechanism to advance the business end of the unit horizontally via the large knob on the bottom — rather than the whole dance of shimmying yourself and the unit up the timber and re-aligning the auger to make the next hole. The runners and support structure for it was all metal which leads me to believe it was a later design towards the end of that era.

New toys from Ed's tool shop
New toys from Ed’s tool shop

I tried my best to get out without buying anything — especially since the Nashua Live Free or Die Tool Show and Auction is coming up in a couple of weeks, but it’s like Ed knew I was coming. I found a great reprint book on Concord NH furniture makers, a book on the Shaker Barn full of tools at the Shelburne Museum in VT which I wrote about here, a MWTCA reprint of a tool catalog, a nice old Stanley auger bit extension for use with a bit brace, and a Stanley 203 bench clamp. This neat little clamp is something I’ve looked at in the past — and makes a nice addition to any bench with a sliding deadman. I look forward to giving it a try.

I’m looking forward to my next visit. If you’d like to plan a visit to the tool store or contact Ed you can find his contact info on the store’s web page here. Ed’s a great guy. If you meet him, be sure to tell him I sent you. 🙂

Take care,
-Bill

Making Your Mark — Name Stamps with Peter Ross

How do you mark your wooden tools ?

Carve your name into it? No.
Burn your name into it with a branding iron? Meh.
Sharpie? That’s so ’90s.
If you really want to be a traditional woodworker you’ll want to use a hand made metal name-stamp. I’ve seen some of these stamps over the years in tool sales, but never found my name or initials, so I figured it was time to take matters into my own hands. This past week I had the opportunity to take a workshop at the Woodwright’s School making a metal name-stamp. I had a great time during the class and will cover some of the highlights here:

Master Blacksmith Peter Ross at the forge

The class is held in the forge/workshop of Master Blacksmith Peter Ross who was the long time master of the blacksmith shop at Colonial Williamsburg. Pete is a friendly person and a great instructor.

In the afternoon Roy came by to visit. (Bill Rainford with Roy Underhill)

During the afternoon we were visited by Roy Underhill who came by to make sure we weren’t making counterfeit Nikes or anything illegal. 😉  It was great to chat with Roy for a few minutes and he’s every bit as nice in person as he is on TV.

My first stamp 'BMR' which will be used to mark some of my tools with my initials.
My first stamp ‘BMR’ which will be used to mark some of my tools with my initials.

Now on to business….for my first stamp I made one with my initials ‘BMR’ so that I can label some of my tools. By stamping some of my old wooden planes I’ll officially be part of the long line of owners who had them before me and those who will have them after me.

Testing my Initials stamp in some end grain

After forging the rough blank we learned to use the various types of files and letter stamps needed to make a nice stamp. Along the way we’d test the stamps in the end grain of some wood and in lead flashing.

Testing the stamps on some lead flashing

Why do you use end grain wood and lead flashing?!

The stamps work by crushing some fibers and leaving others proud, thus creating a 3D surface that can be read — much like you see in the maker’s marks on the toe of a molding plane. The lead does a great job showing you crisply where your stamp is pressing and where you may need to work on it some more.

Peter teaching the class how to file and use the leg vise

Peter demonstrated how to properly file and also how tough the surface of the stamps become once they were case hardened — the files were no match.

My second stamp -- 'RAINFORD' with a slight curve over the length of the stamp
My second stamp — ‘RAINFORD’ with a slight curve over the length of the stamp

Making a longer name stamp was even more challenging since the letters are all set free hand you could very easily mess it up with any given letter. If you do mess it up, file off the mistake and try again, and again as needed.

Testing my second stamp

For my second stamp I made my last name and curved it a bit to make a gentle arch. Around the edge of the stamp you could decorate it any way you wanted, the most common being a traditional sawtooth-like border.

Another test block showing some of the variation across the stamps

Most if not all folks in the class got a chance to make a couple of name stamps and practice their filing skills.

A beautiful lock that Pete made

Beyond the class itself we also got a chance to see some of the amazing work Peter does in his shop. From beautiful locks, to tools, to massive Roubo holdfasts it was neat to see the variety of black and whitesmithing tasks Peter carries out in his shop.

If you are interested in taking this workshop, please check out the Woodwright’s School website here. I had a great time and look forward to my next workshop at the Woodwright’s School.

The Road to Roy Underhill: Workshops With the Woodwright

Jointer Plane Making & Name Stamp Workshops

 At the Woodright’s School in Pittsboro NC


Are you interested in meeting and taking a woodworking class with Roy Underhill of the Woodwright’s Shop and Woodwright’s School? (Along with Peter Ross the former master of the Colonial Williamsburg Anderson Forge and Bill Anderson a master plane maker – both of which have been on Roy’s show)

I talked to Roy and the guys and they were willing to do a special run of the two workshops below on the following dates*: Arrive July 8th class 9-12th leave the 13th at Roy’s School in Pittsboro NC

* (Given the very long drive from NH down to NC I wanted to try and get a few days in a row down at Roy’s school to get the most I could out of the trip, and I am very appreciative they were willing to do so, but we need a few more people to sign up in order to run it) So if you are interested in one or both of these sessions I encourage you to sign up soon.


http://www.woodwrightschool.com/name-stamps-w-peter-ross/

1 Day class $145 + $40 materials

Peter Ross Name Stamp Workshop

http://www.woodwrightschool.com/making-bench-planes-wbill/

3 Day class $425 + $115 materials (beech + plane iron etc) to make a massive single iron jointer plane

Jointer Plane Workshop

Total: $725 Tuition and materials for 4 days + your own food and lodging. I will be driving down (11hour drive from NH) and if folks from NBSS or the general Boston area are interested in joining me I can carpool. Hotels in the area are $55-100/night.  Info from Roy on what it’s like to take a class at his school can be found here.

I also hear there is a good pizzeria behind the school that Roy has been known occasionally have a drink with the students after class and above the school is an old time used tool shop that has similar stuff to what we hunt for at the Nashua Tool show.

If folks are interested, we could also take an extra day to go see nearby Old Salem, which is home to the Museum of Southern Decorative Arts and a Moravian living history museum much like Colonial Williamsburg. http://www.oldsalem.org/ It’s kind of a crazy adventure, but I think it would be a memorable experience.

For more info, please contact me or sign up at Roy’s site:

You can reach Bill Rainford at: (My firstname ‘dot’ lastname at facebook.com) — or via my blog or my linkedin page

Woodwright’s School Registration Page