Category Archives: Blacksmithing

Posts related to Blacksmithing projects.

2013 BAC Traditional Building Intensive

Most people relax on their summer vacation. After a day on a beach I get antsy and need to keep moving, exploring and building. For the second year in a row I spent my vacation last week sharing my passion for the craft by teaching the 8 day intensive that is part of the semester long ‘Traditional Building’ class I teach at the Boston Architectural College (BAC) in association with the North Bennett Street School.

The Paul Revere House, Boston, MA

The class is part of the low residency Master’s Degree in Historic Preservation at the BAC. In this 8 week long class, 7 weeks are online with a series of interactive lectures/discussions and traditional coursework and one 8 day week is spent with the entire class in Boston participating in a hands on format. This works great for students who need to juggle work, family and other obligations while also seeking a quality degree on the way to a new or expanded career path.

Touring historic homes and buildings with Steve O'Shaughnessy
Touring historic homes and buildings with Steve O’Shaughnessy

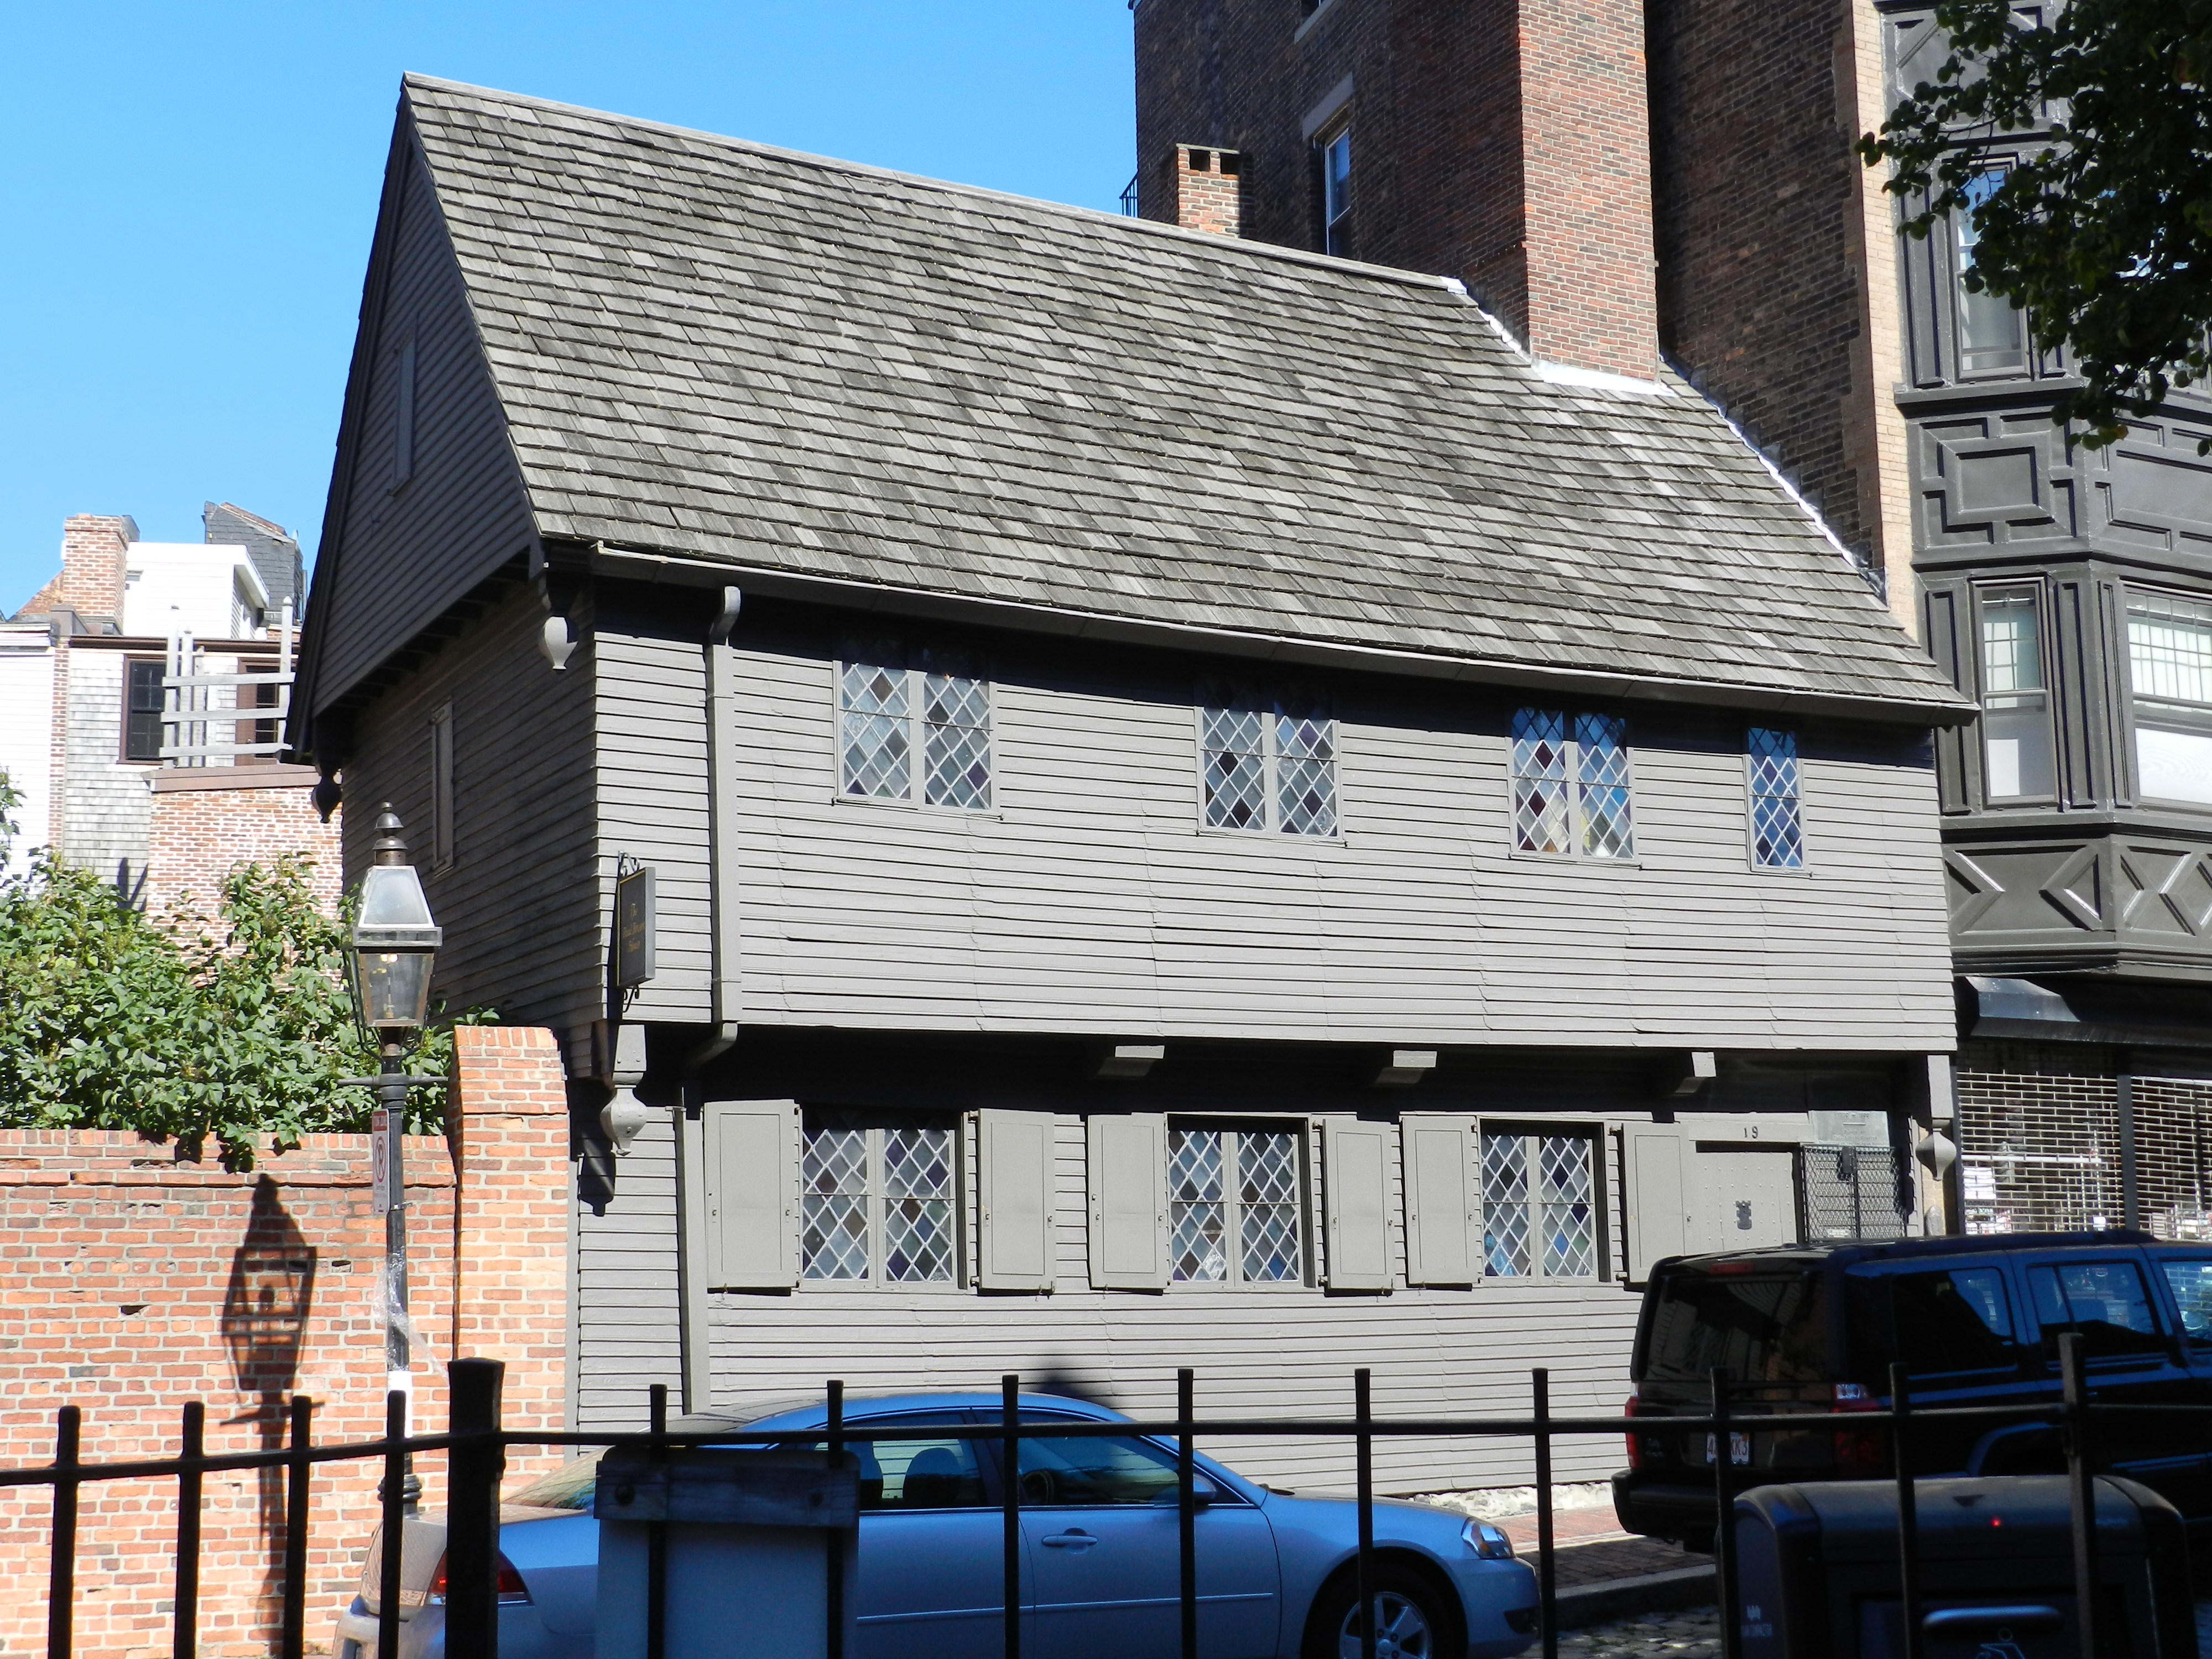
On the first full day of class we took a walking tour of the city with Steve O’Shaughnessy (NBSS Preservation Carpentry Instructor) visiting several historic house museums and notable structures in Boston. Having worked for Historic New England, Steve is an excellent tour guide with a lot of great information to share.

Traditional Woodworking with Bill Rainford

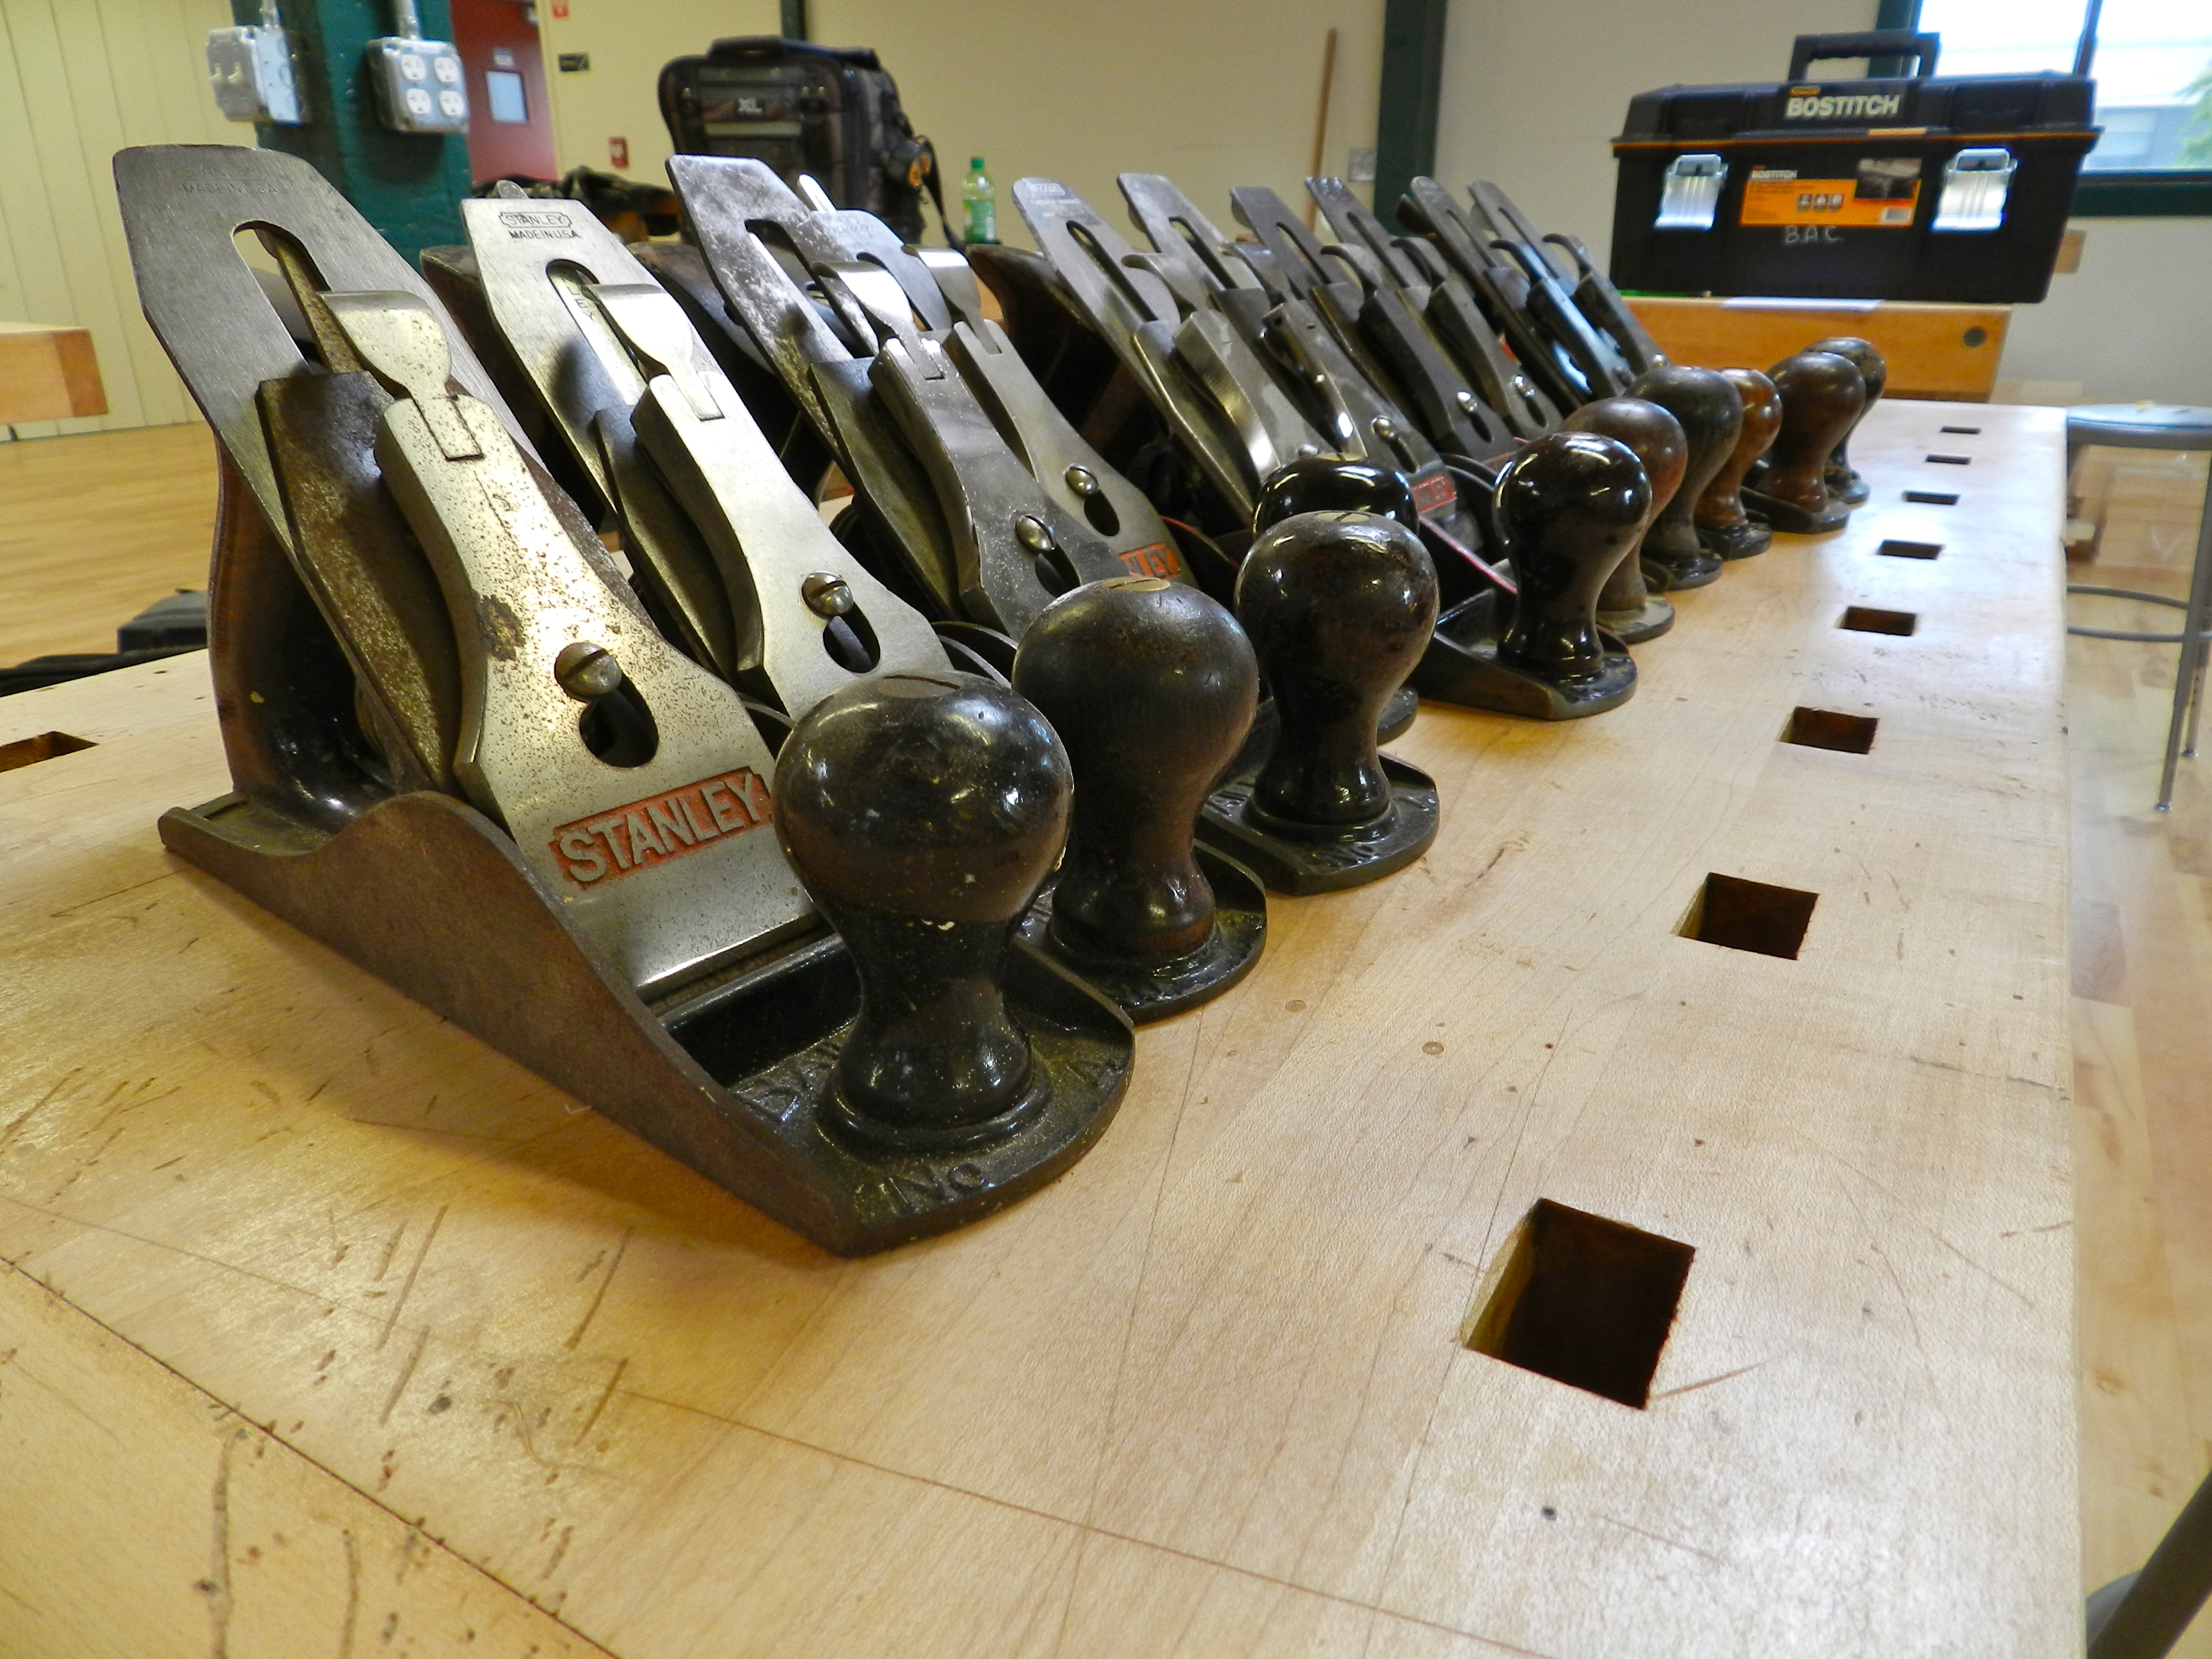
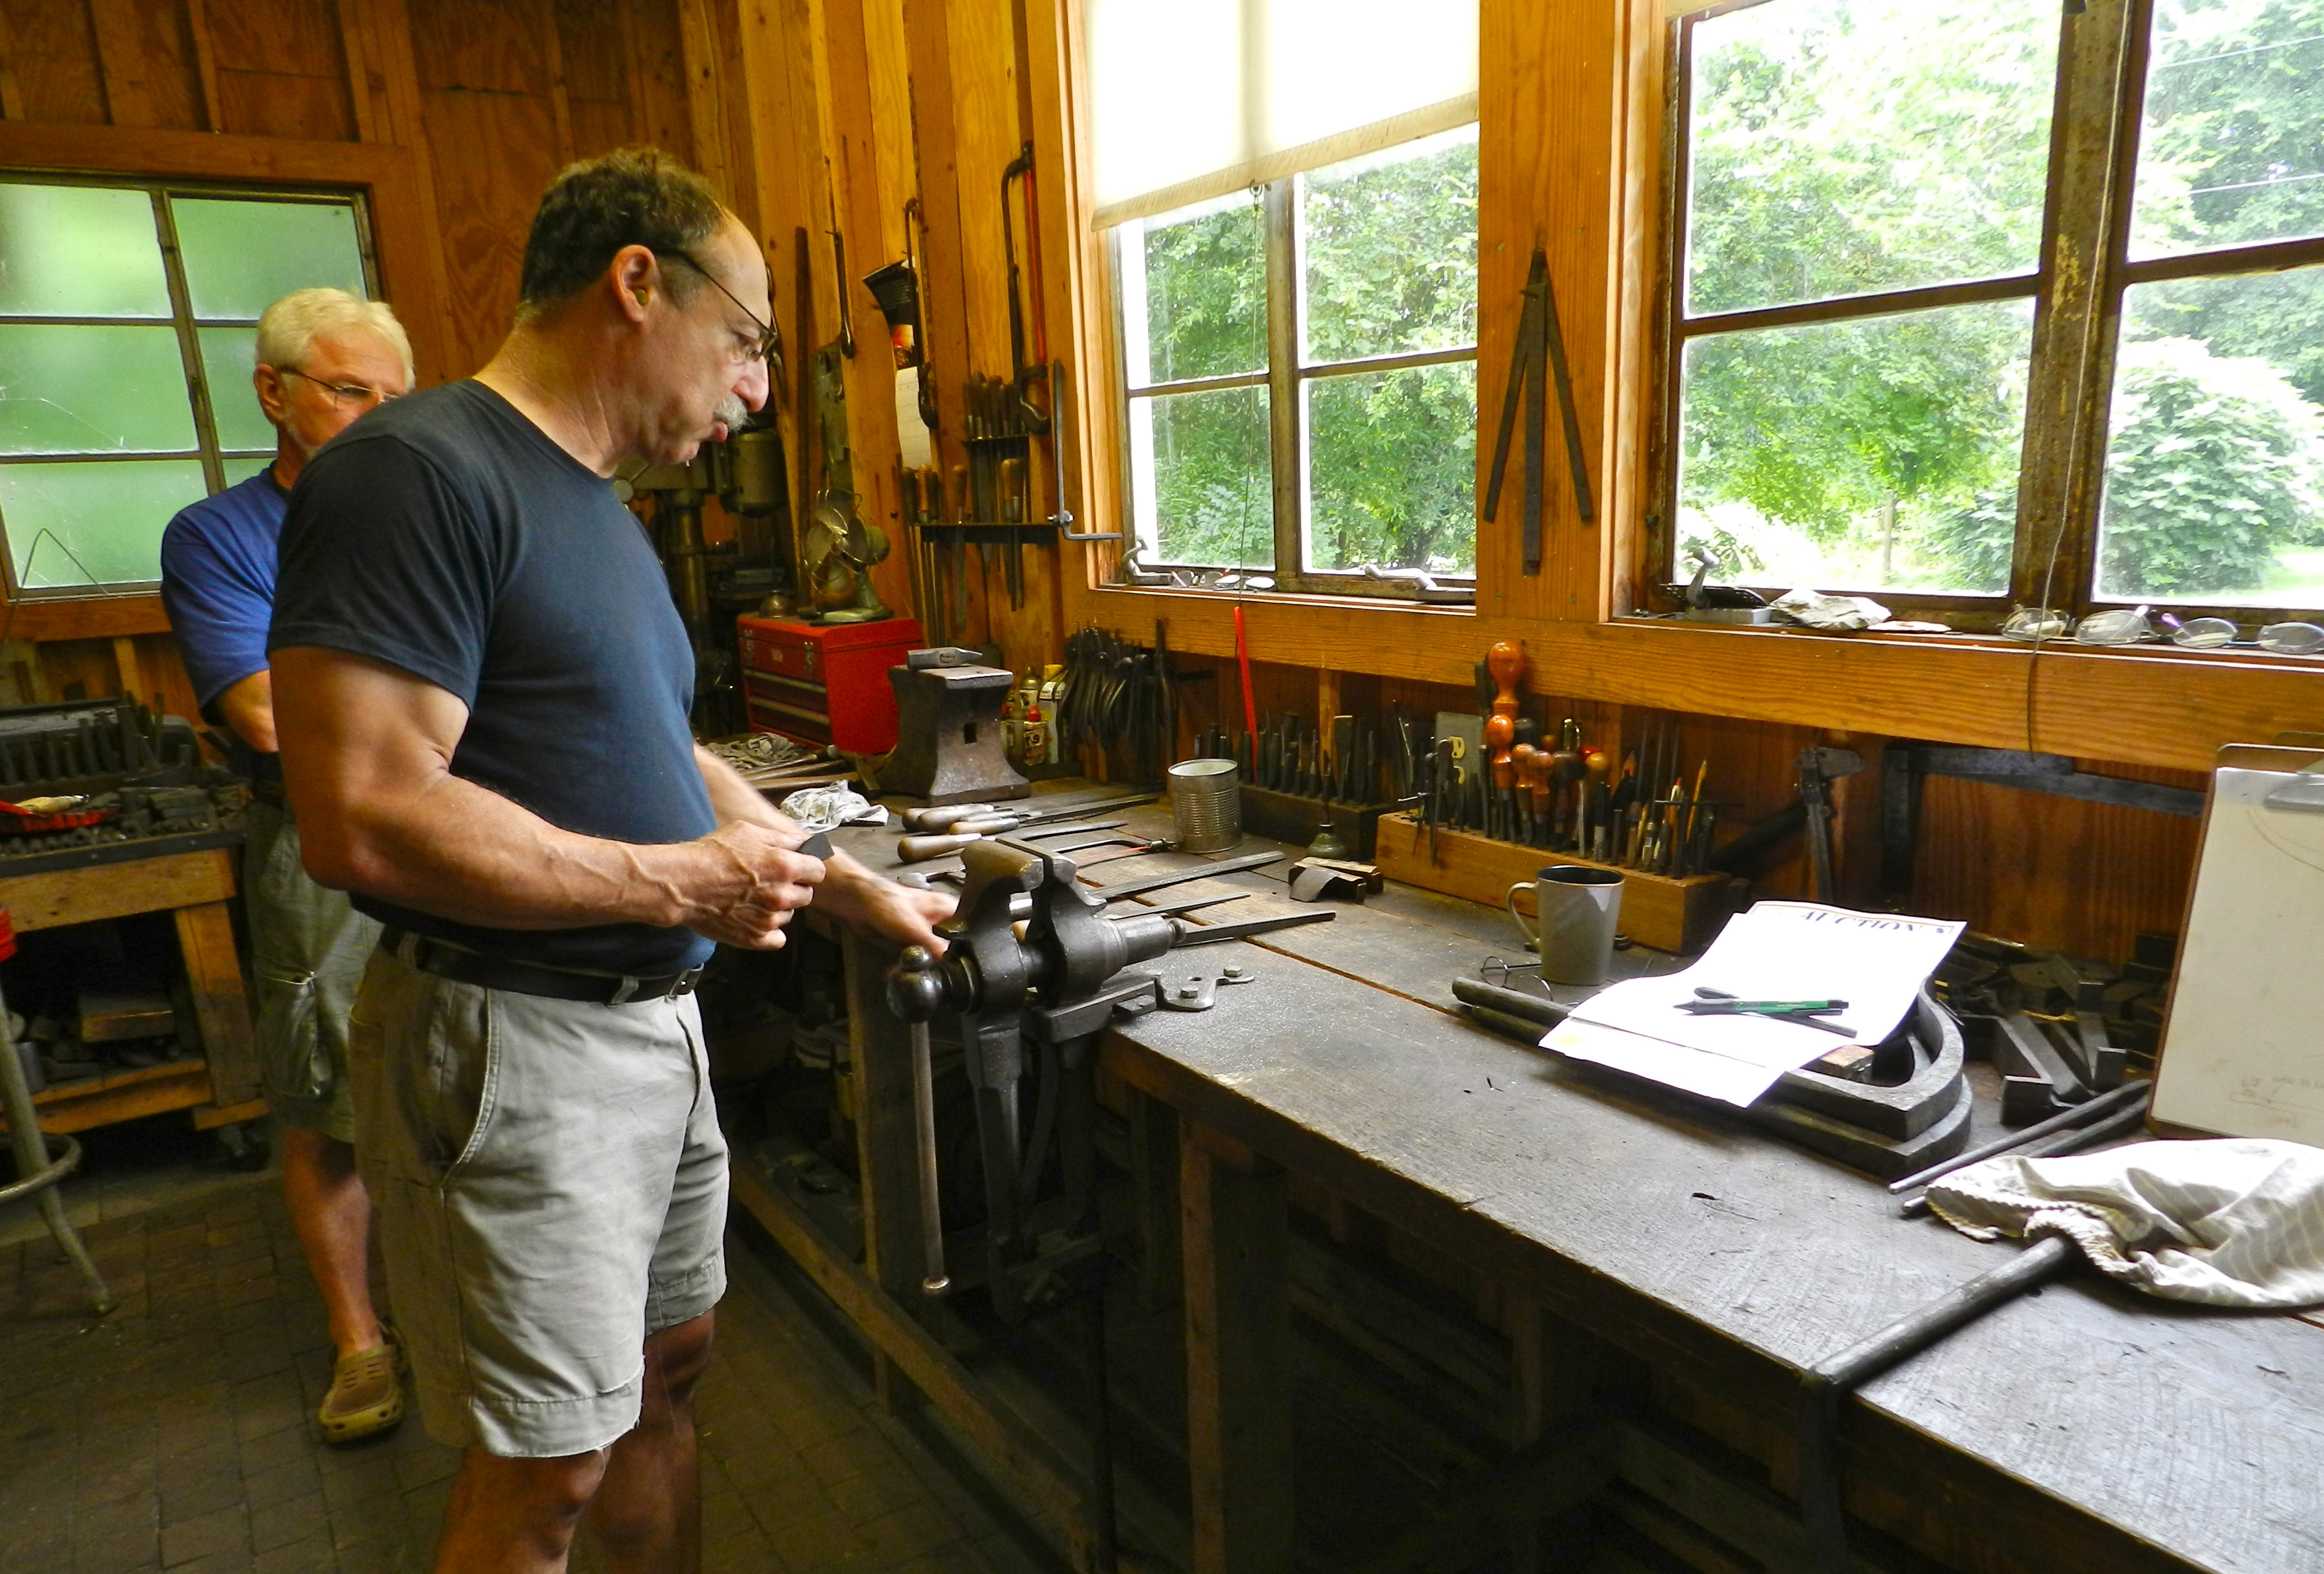
The second day I spent the morning teaching the basics of traditional woodworking — using a smoothing plane, molding planes, drilling, chiseling and other basic bench work.

Field Work at Fenway Studios

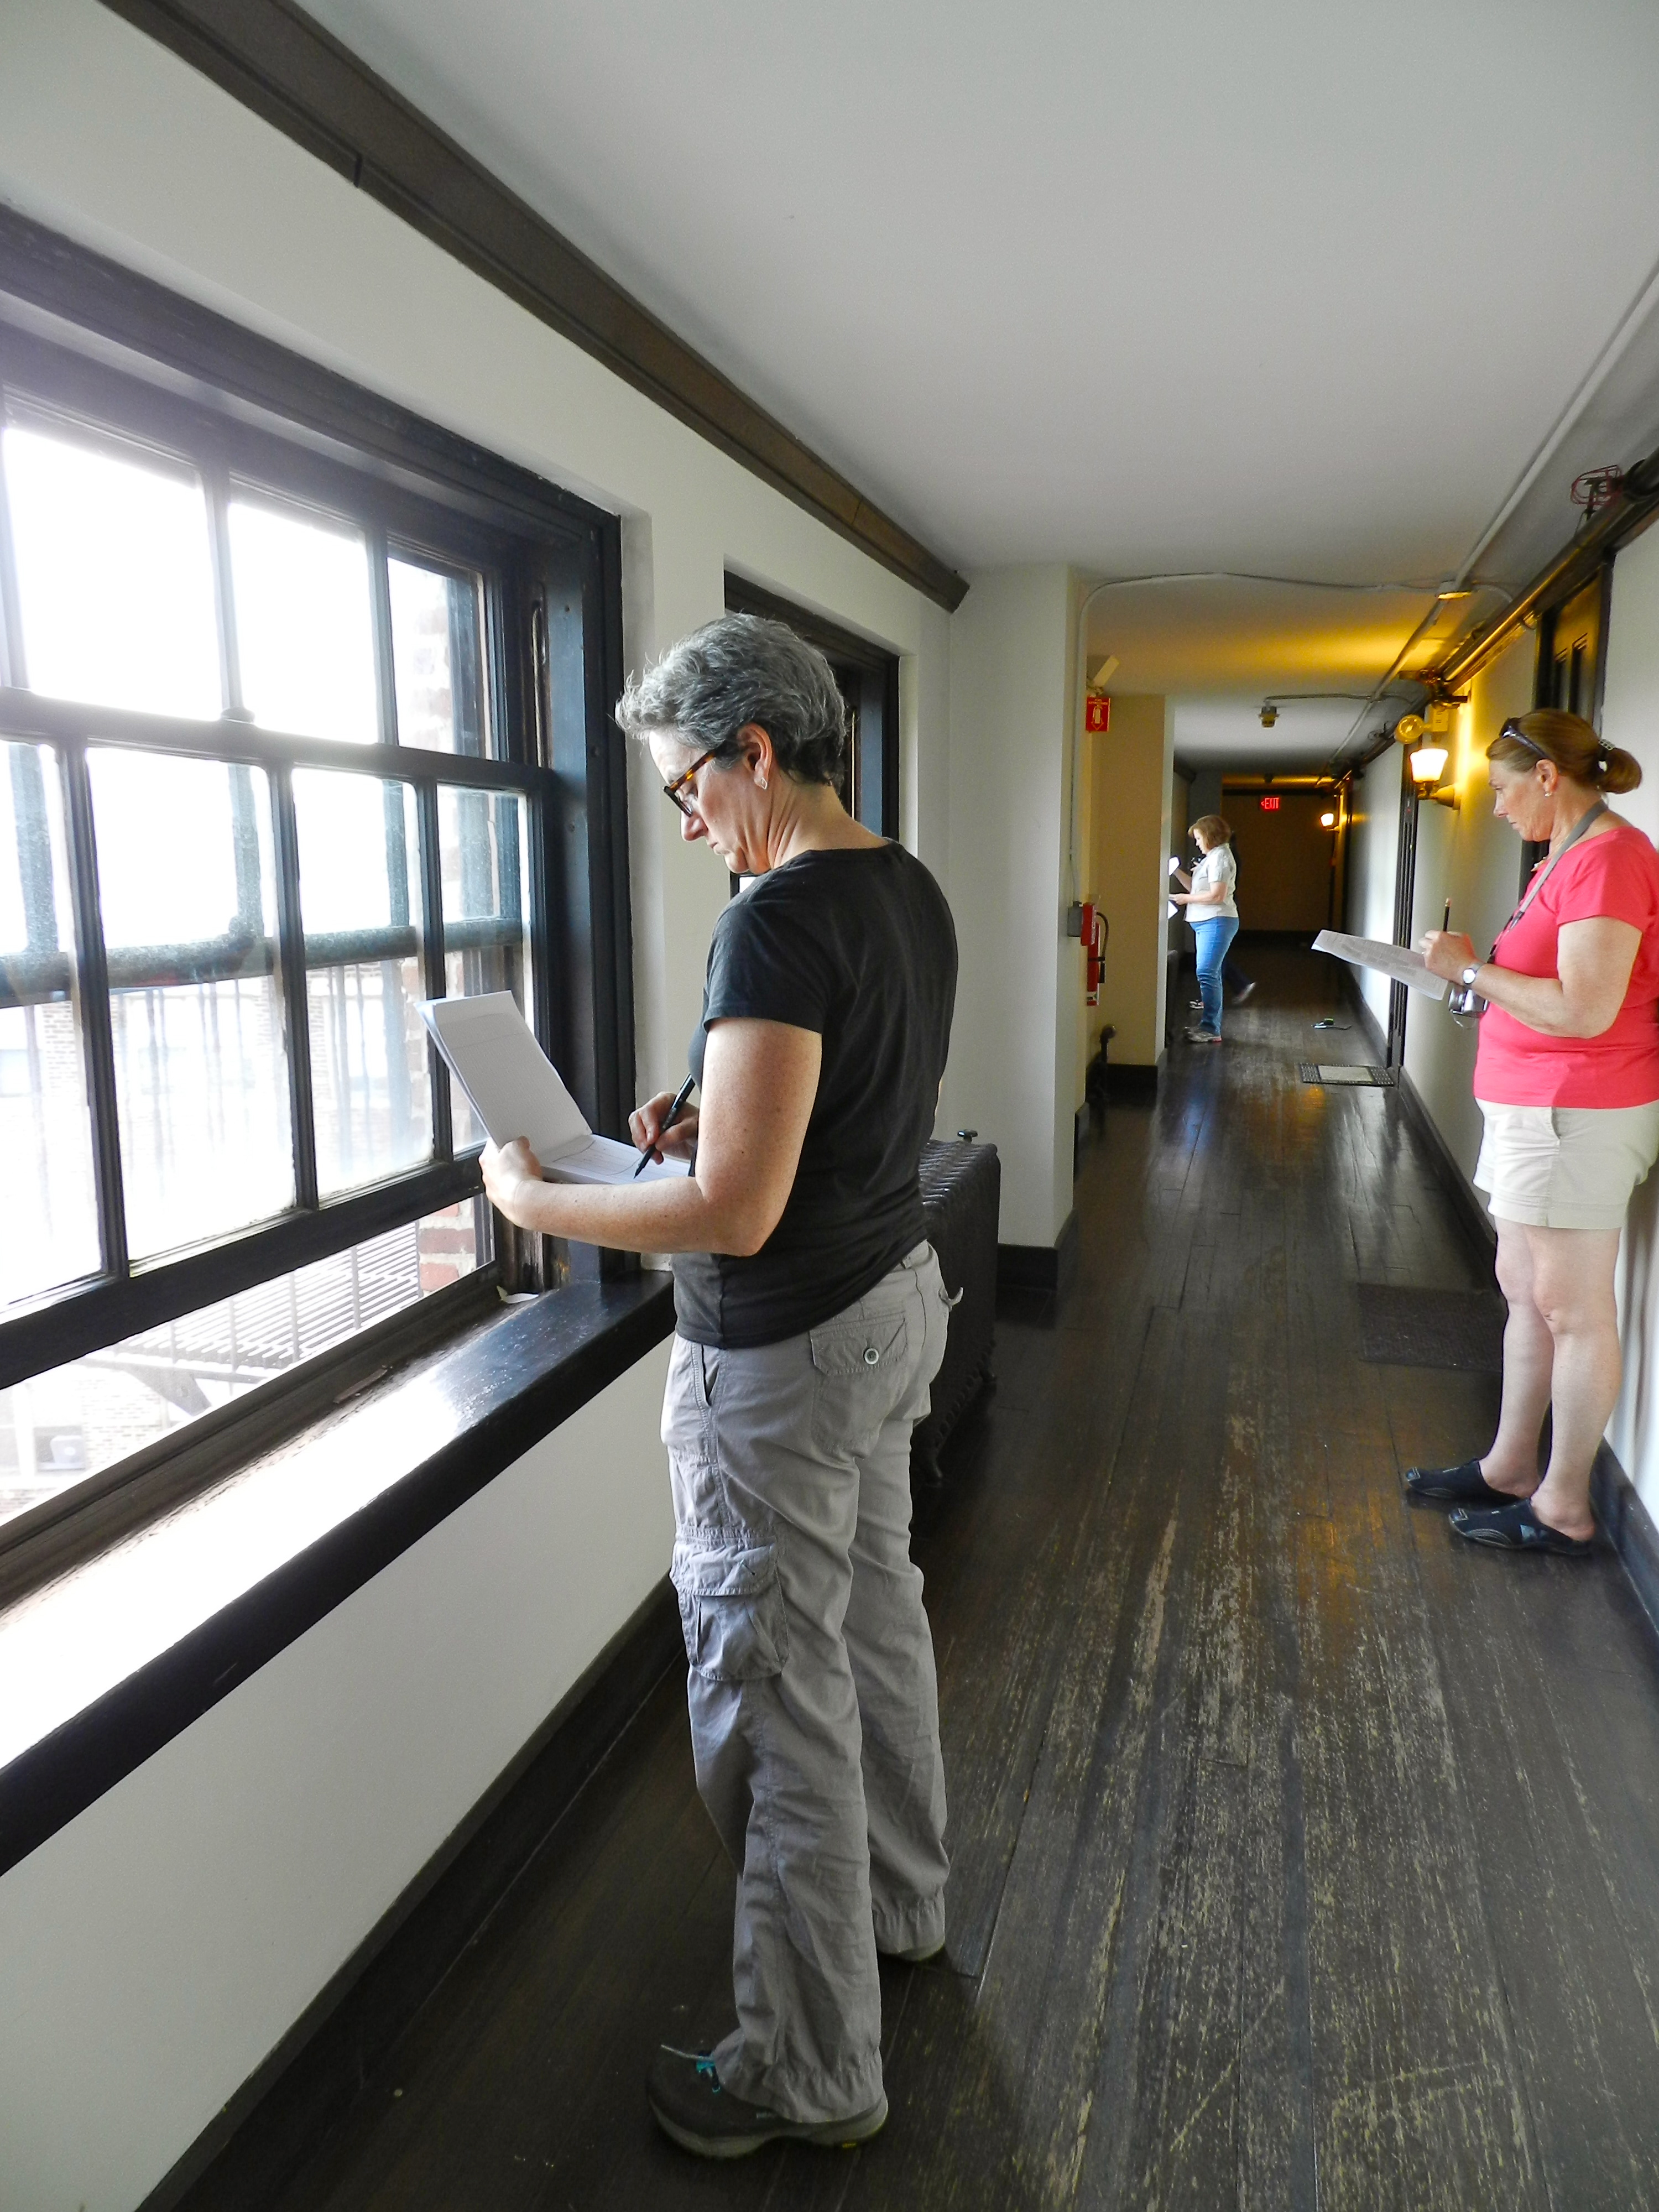
In the afternoon I taught the class about window restoration, window reproduction and condition assessment reports. We then went out to do some field work at the historic Fenway Studios.

The Saugus Ironworks

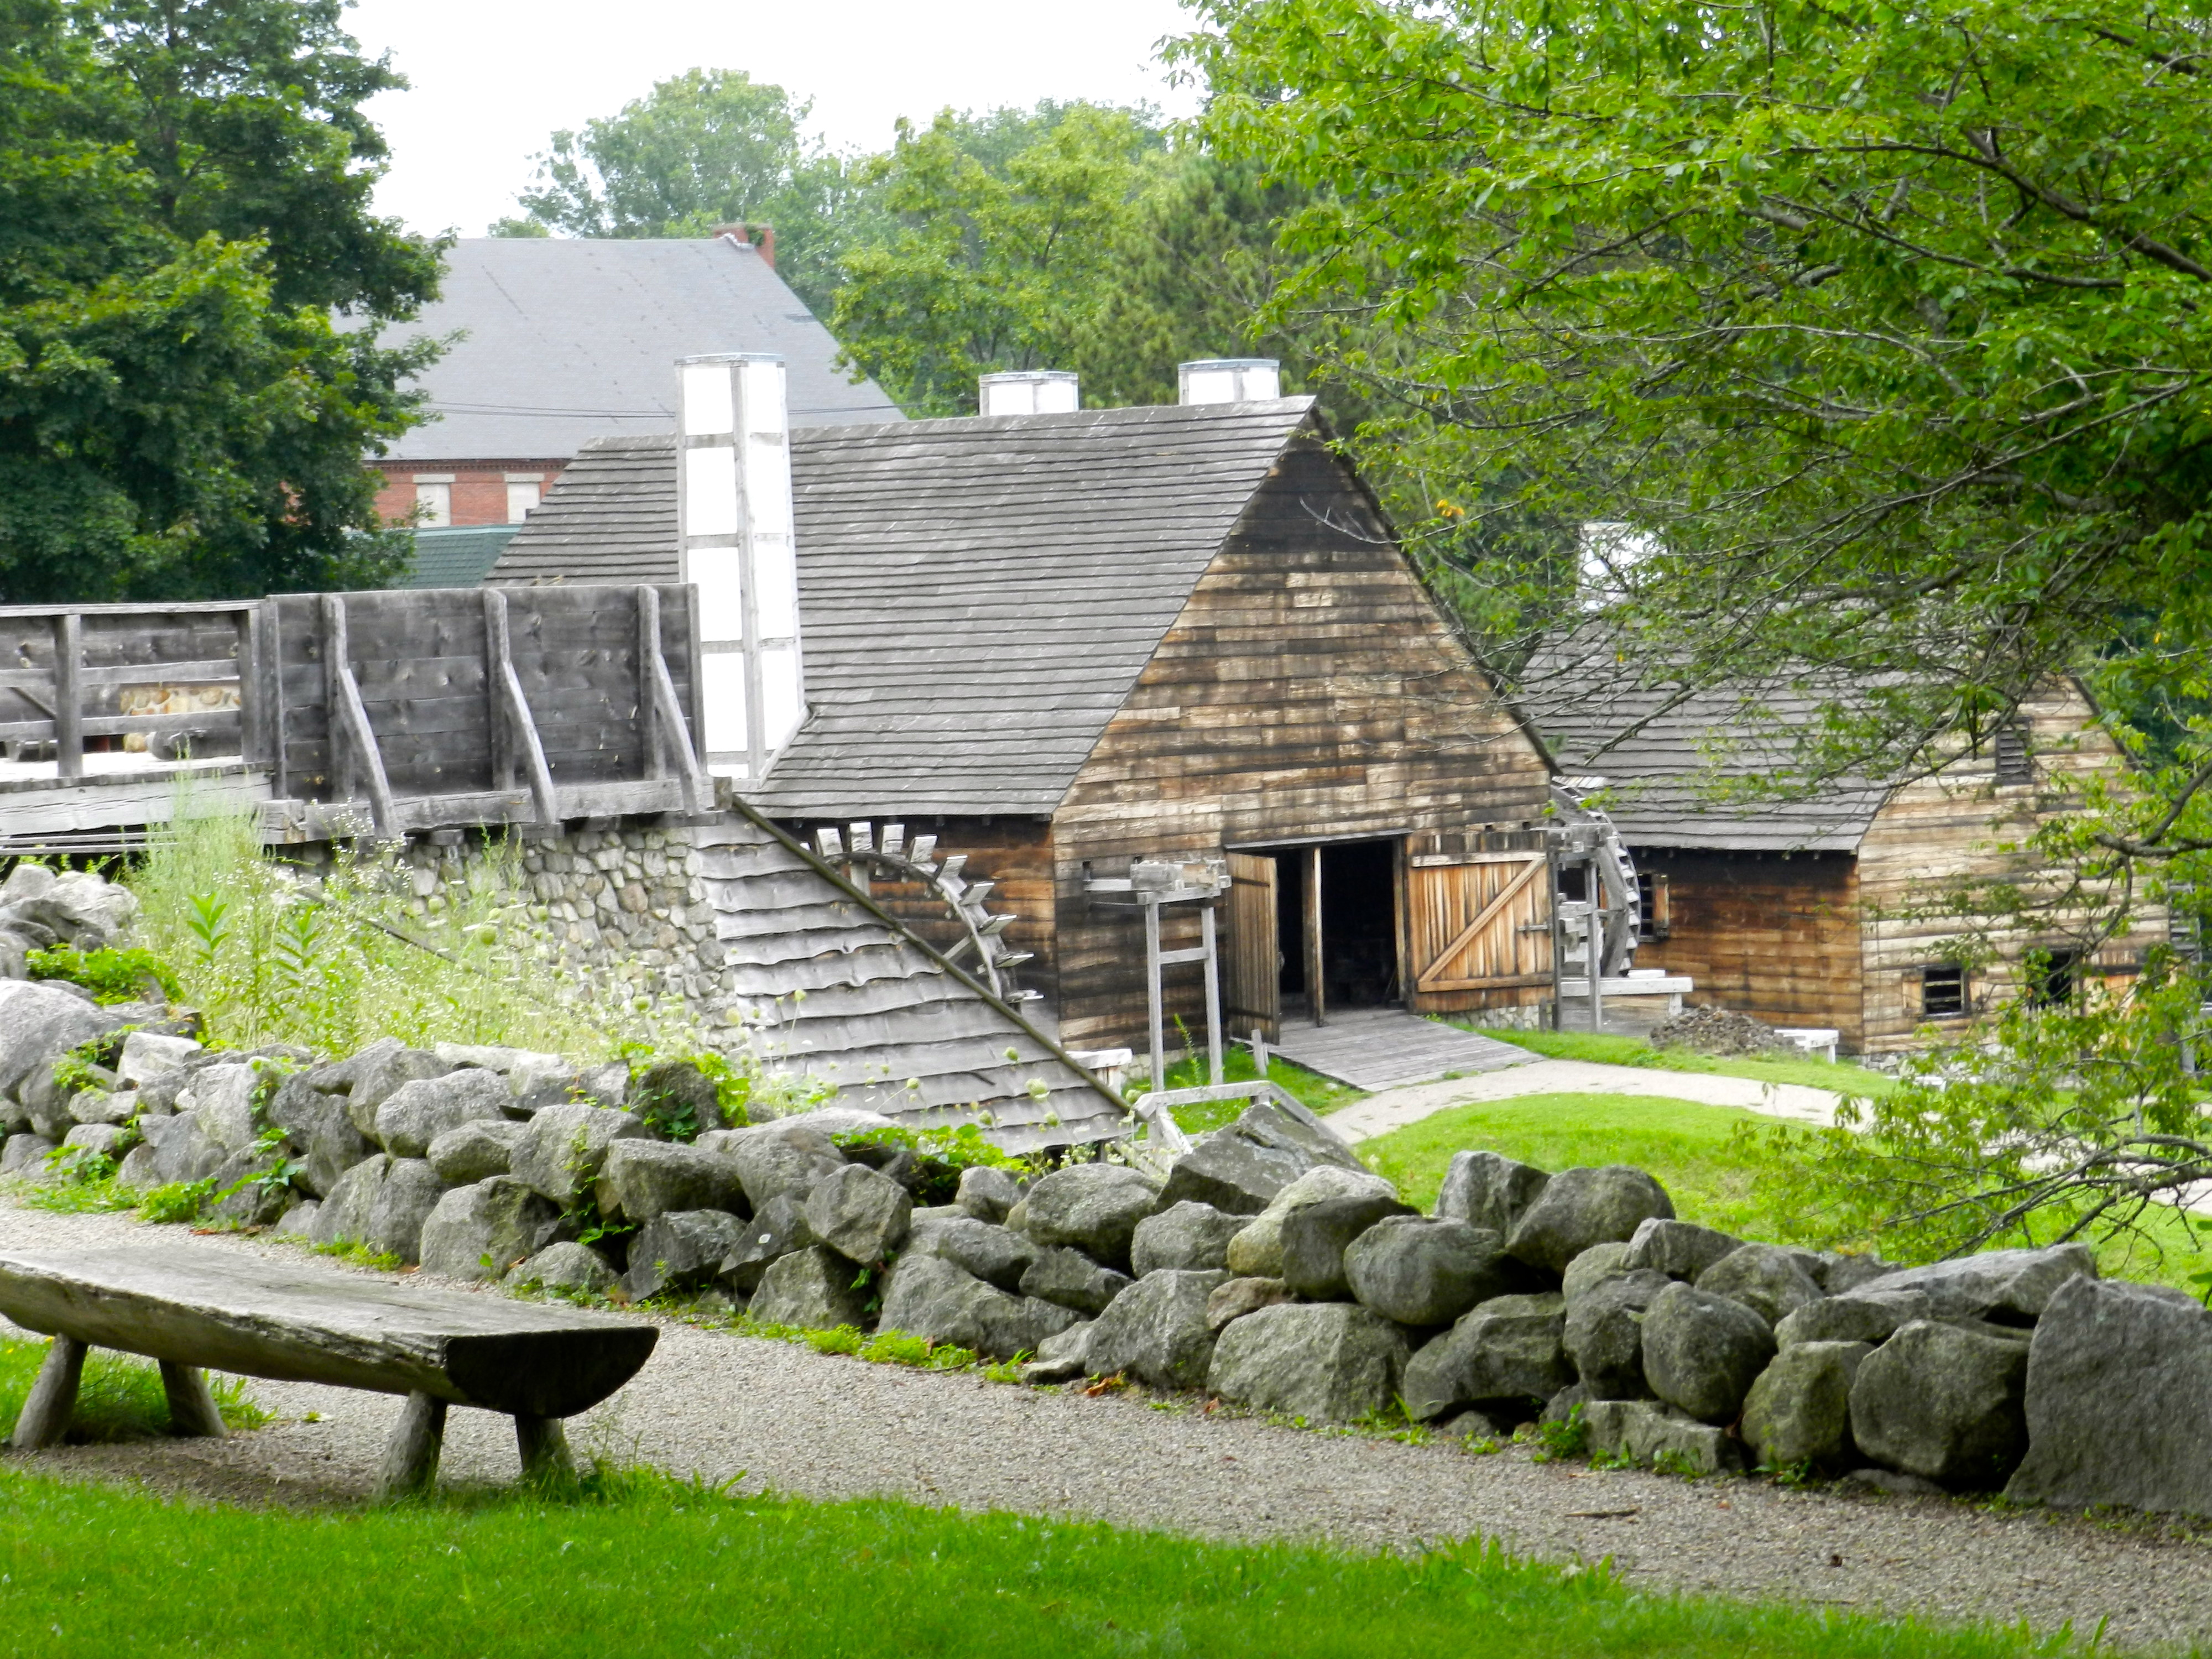
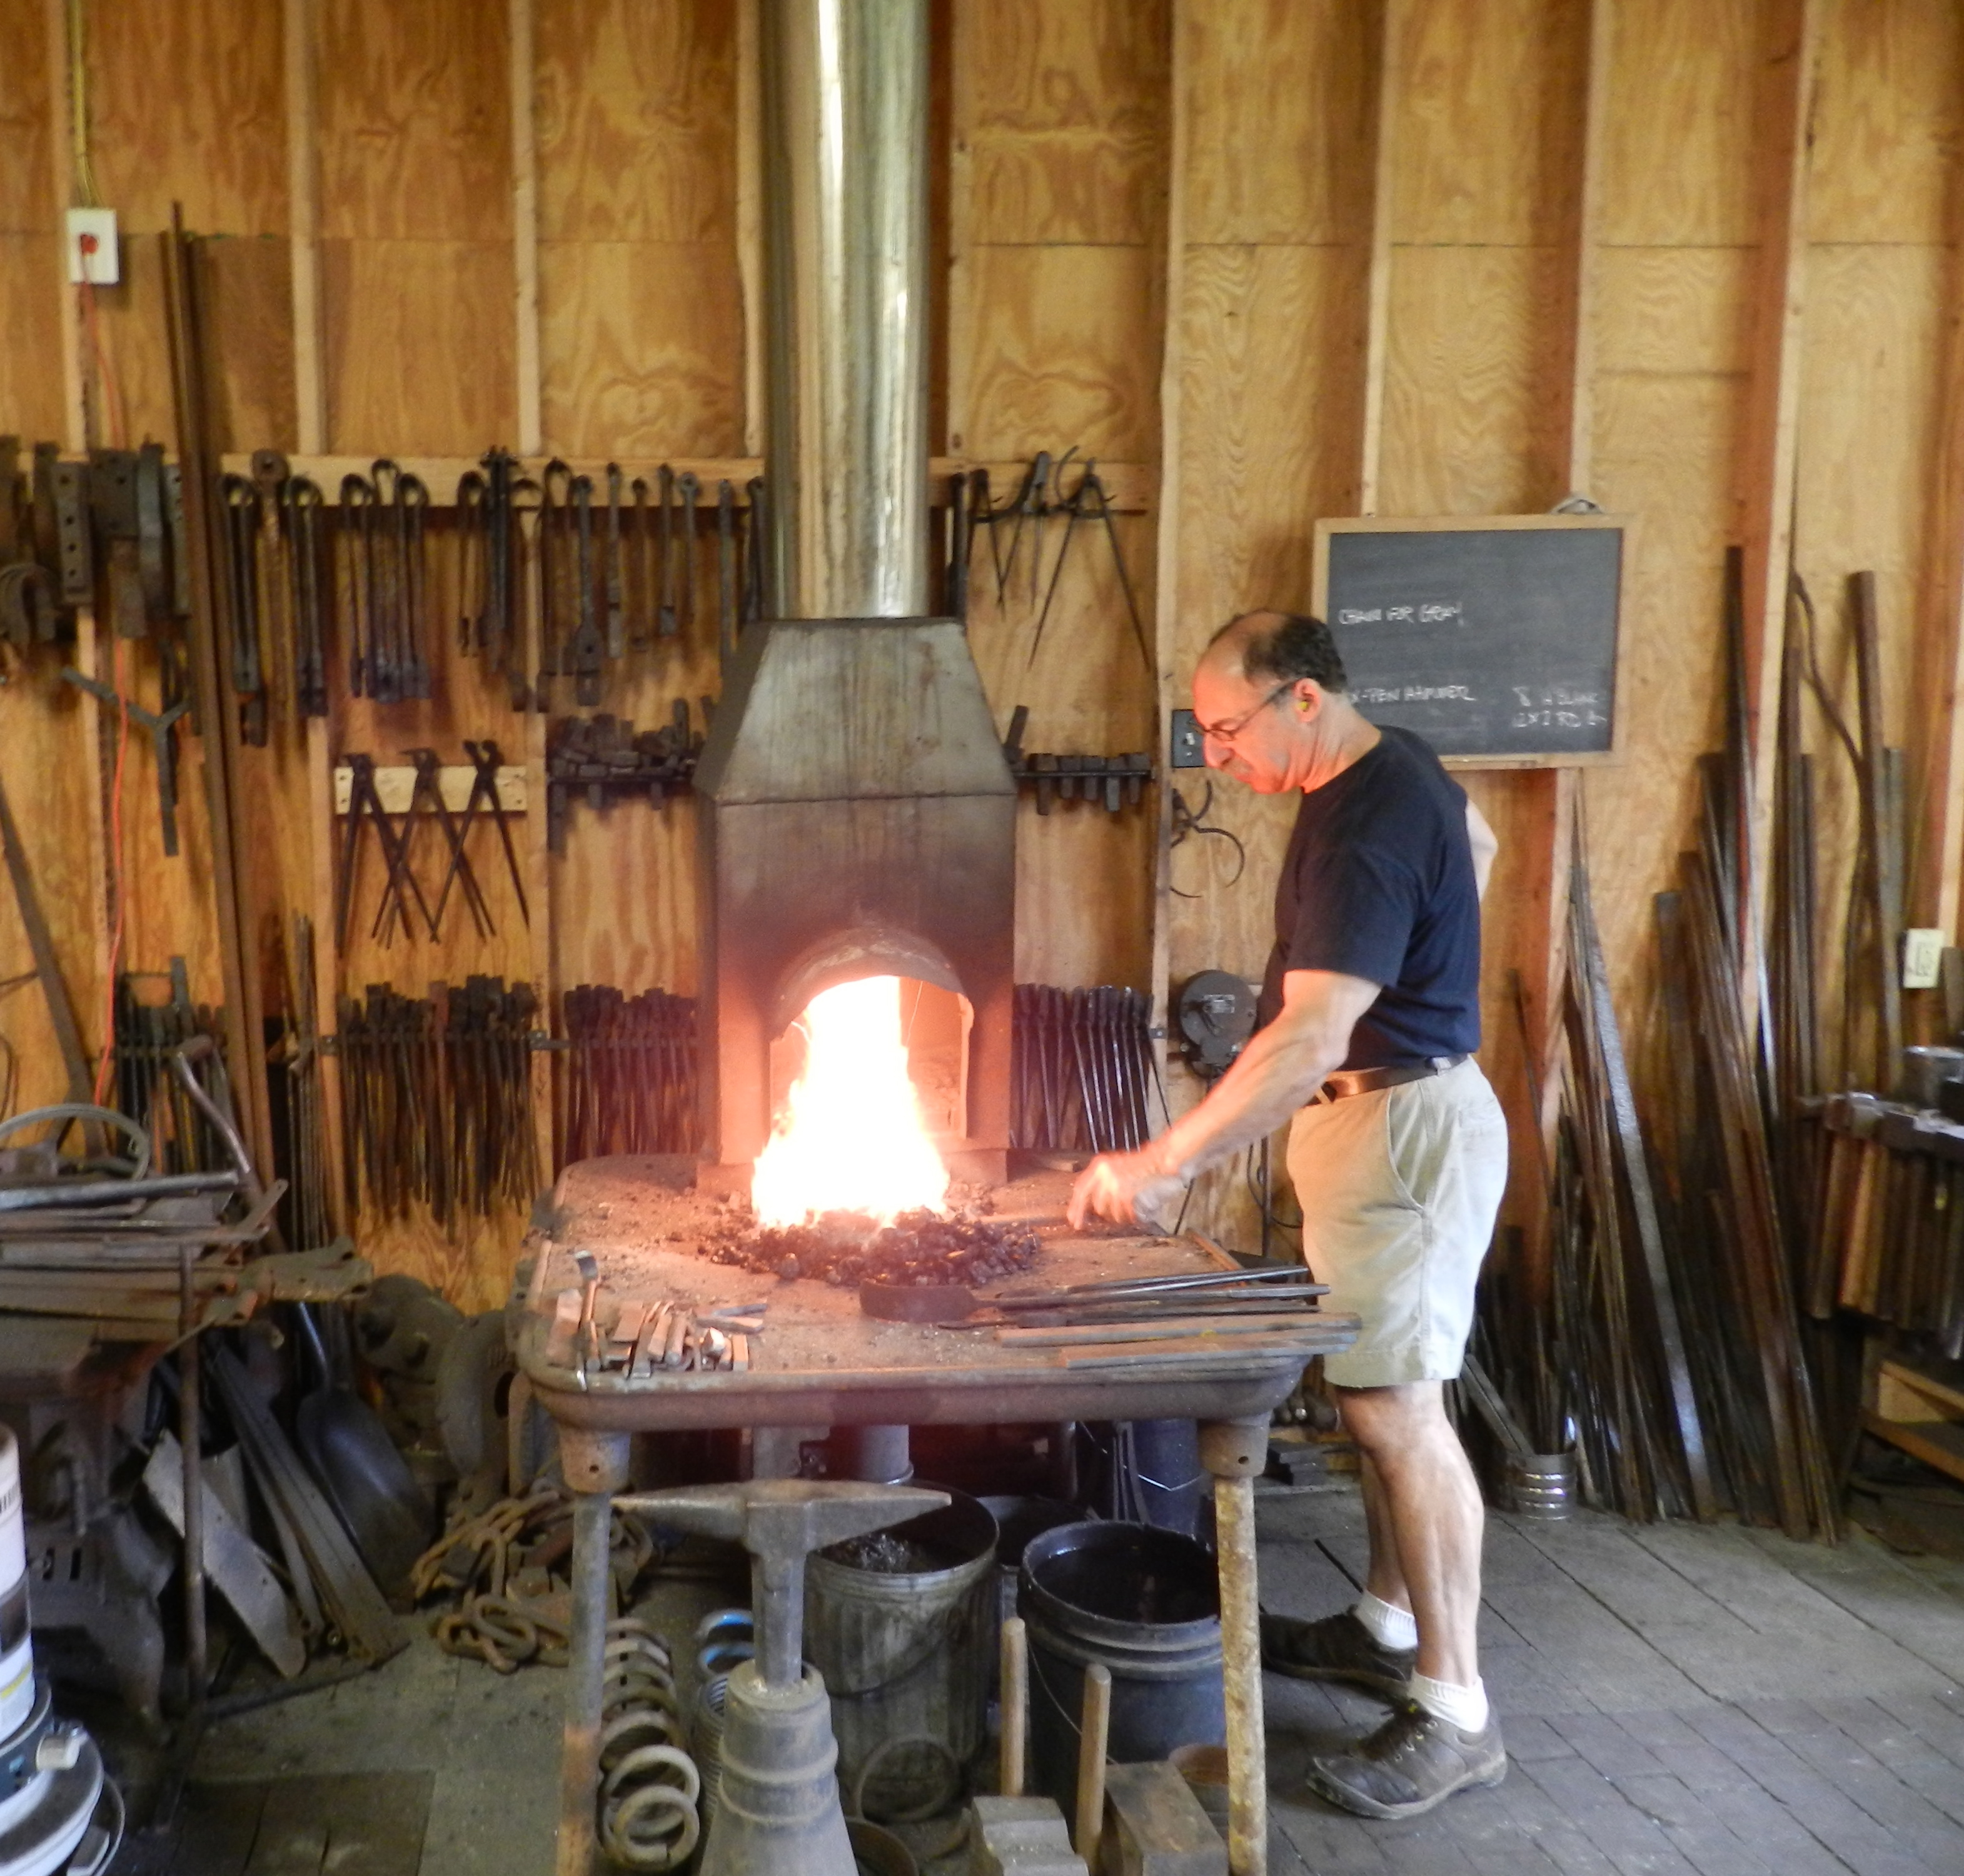
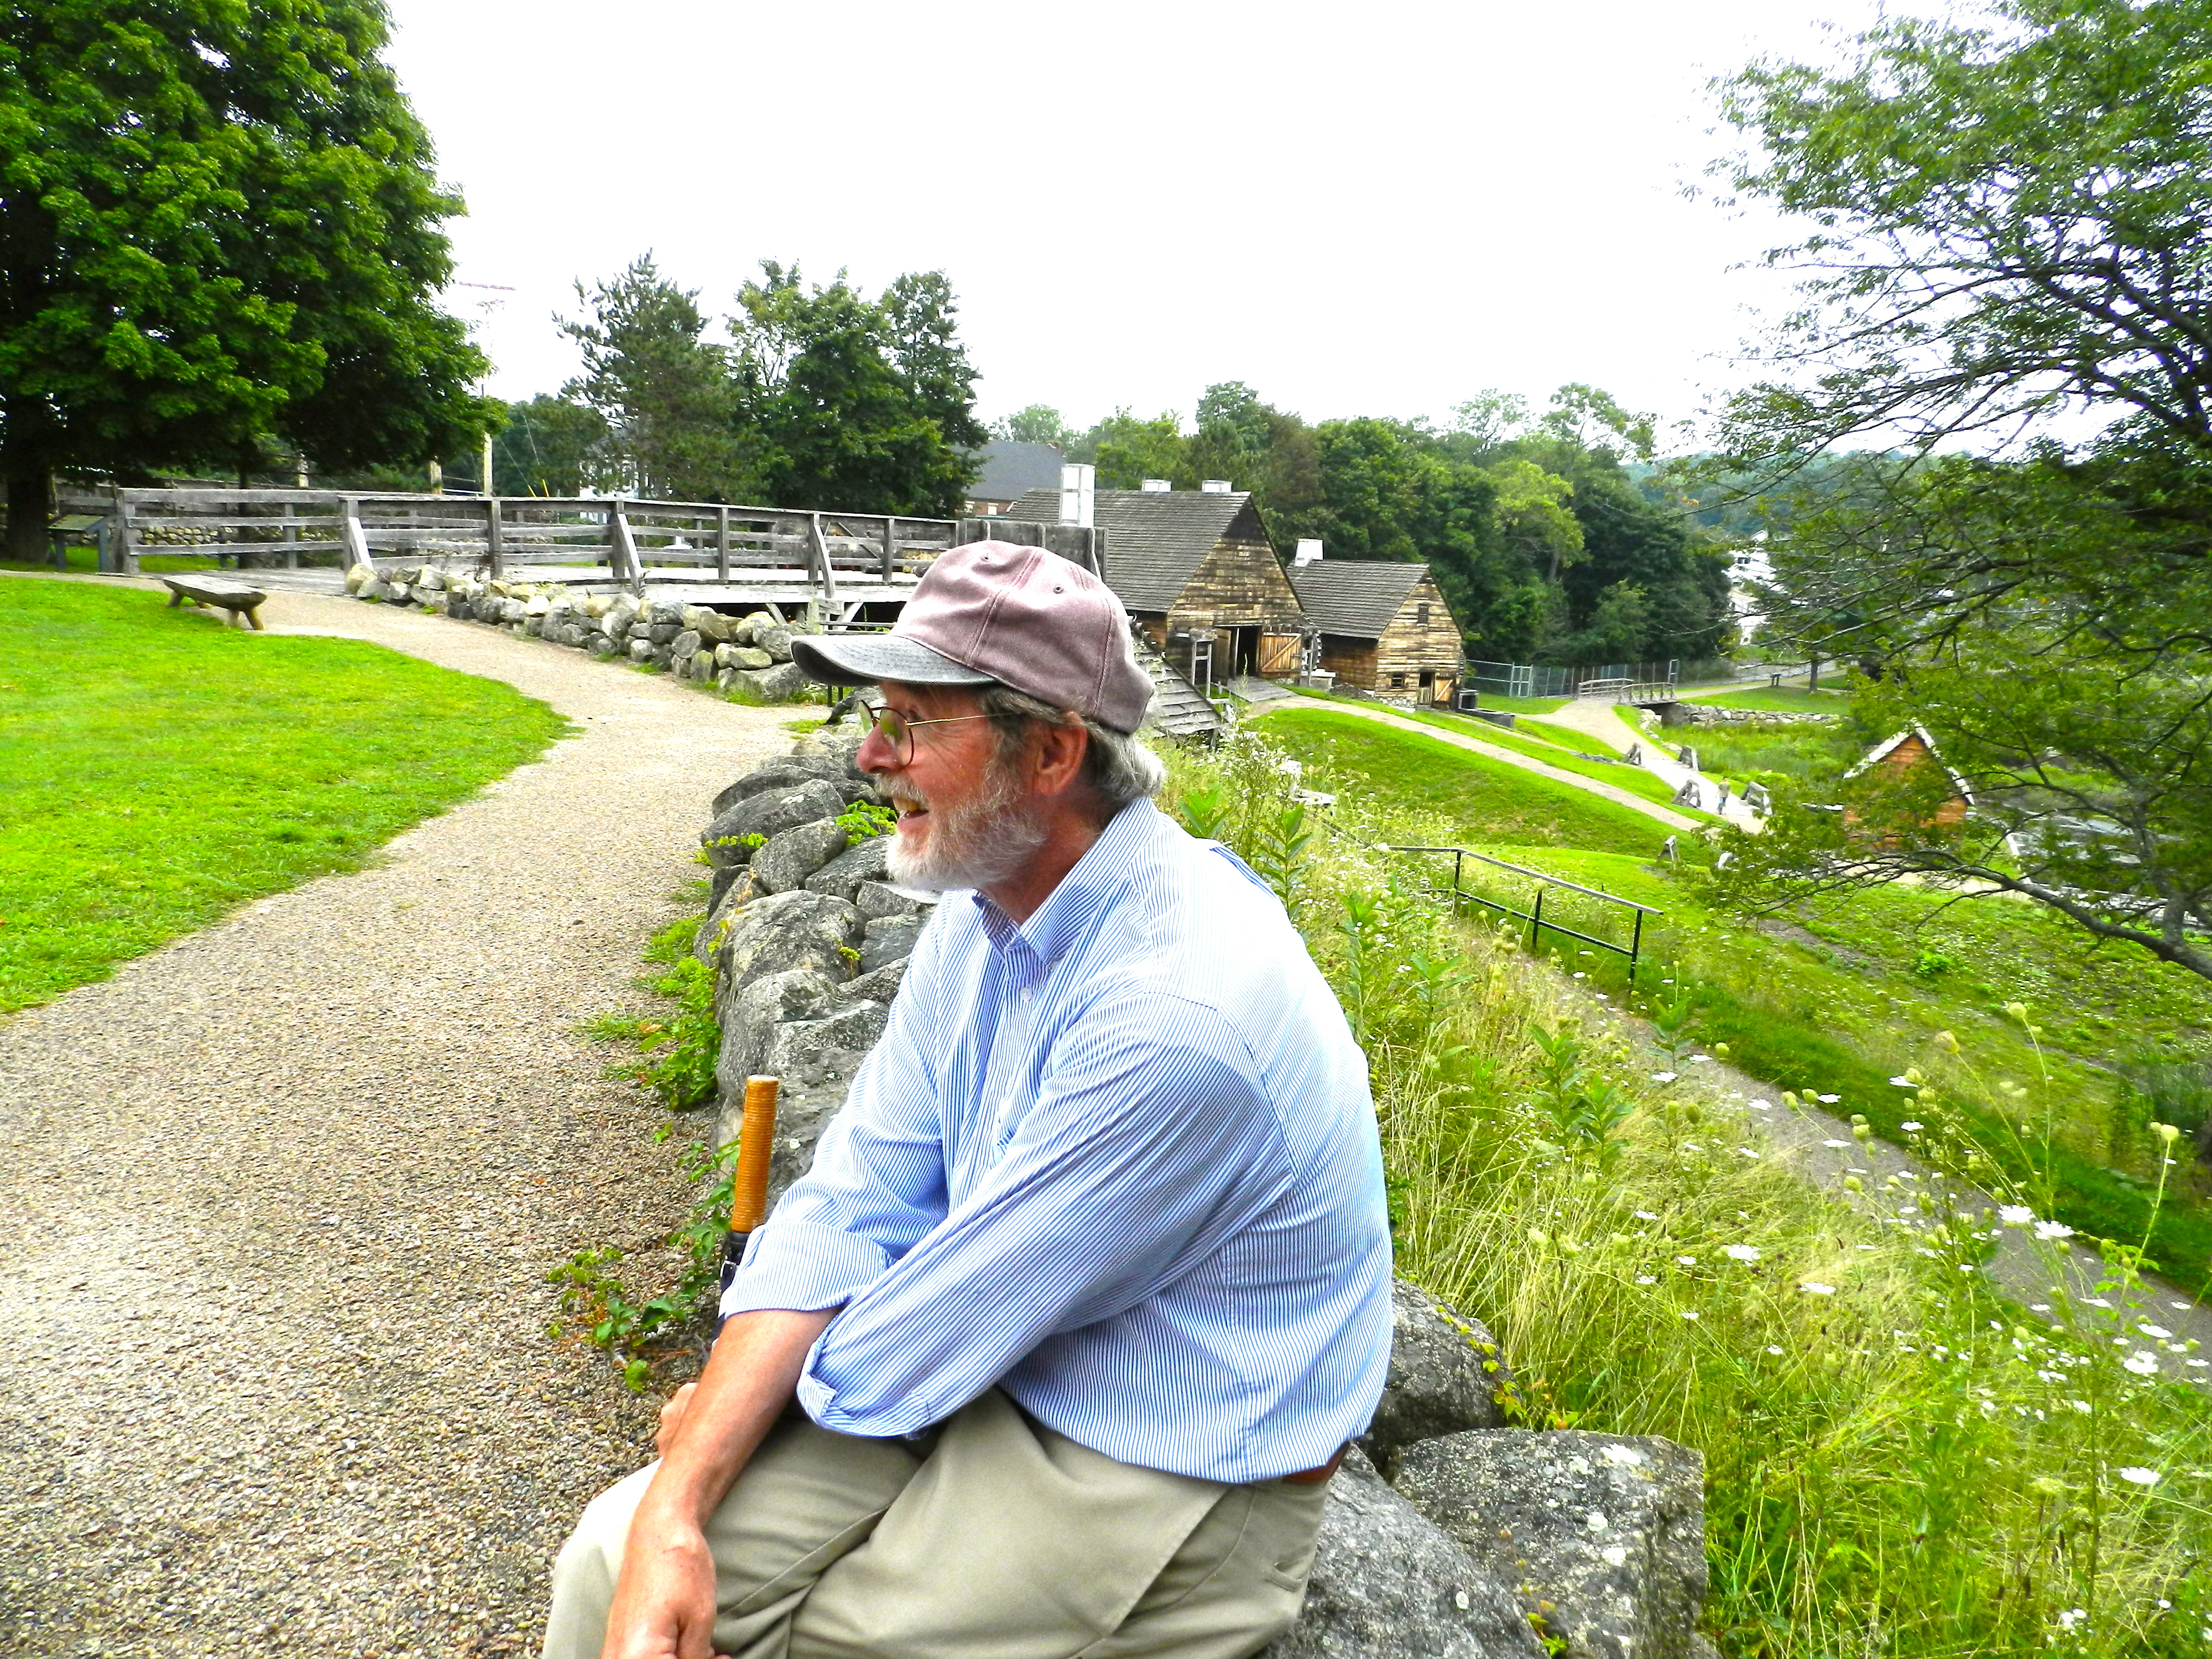
Next up we visited the Saugus Ironworks which is a National Historic Park. Senior Park Ranger Curtis White was on hand to guide us through this landmark site and enthusiastically share with us his latest research about historic ironwork. (He’s a great resource and if you ever visit the park and run into him, tell him I sent you. )

Ranger Curtis White explaining how the ironworks produced iron

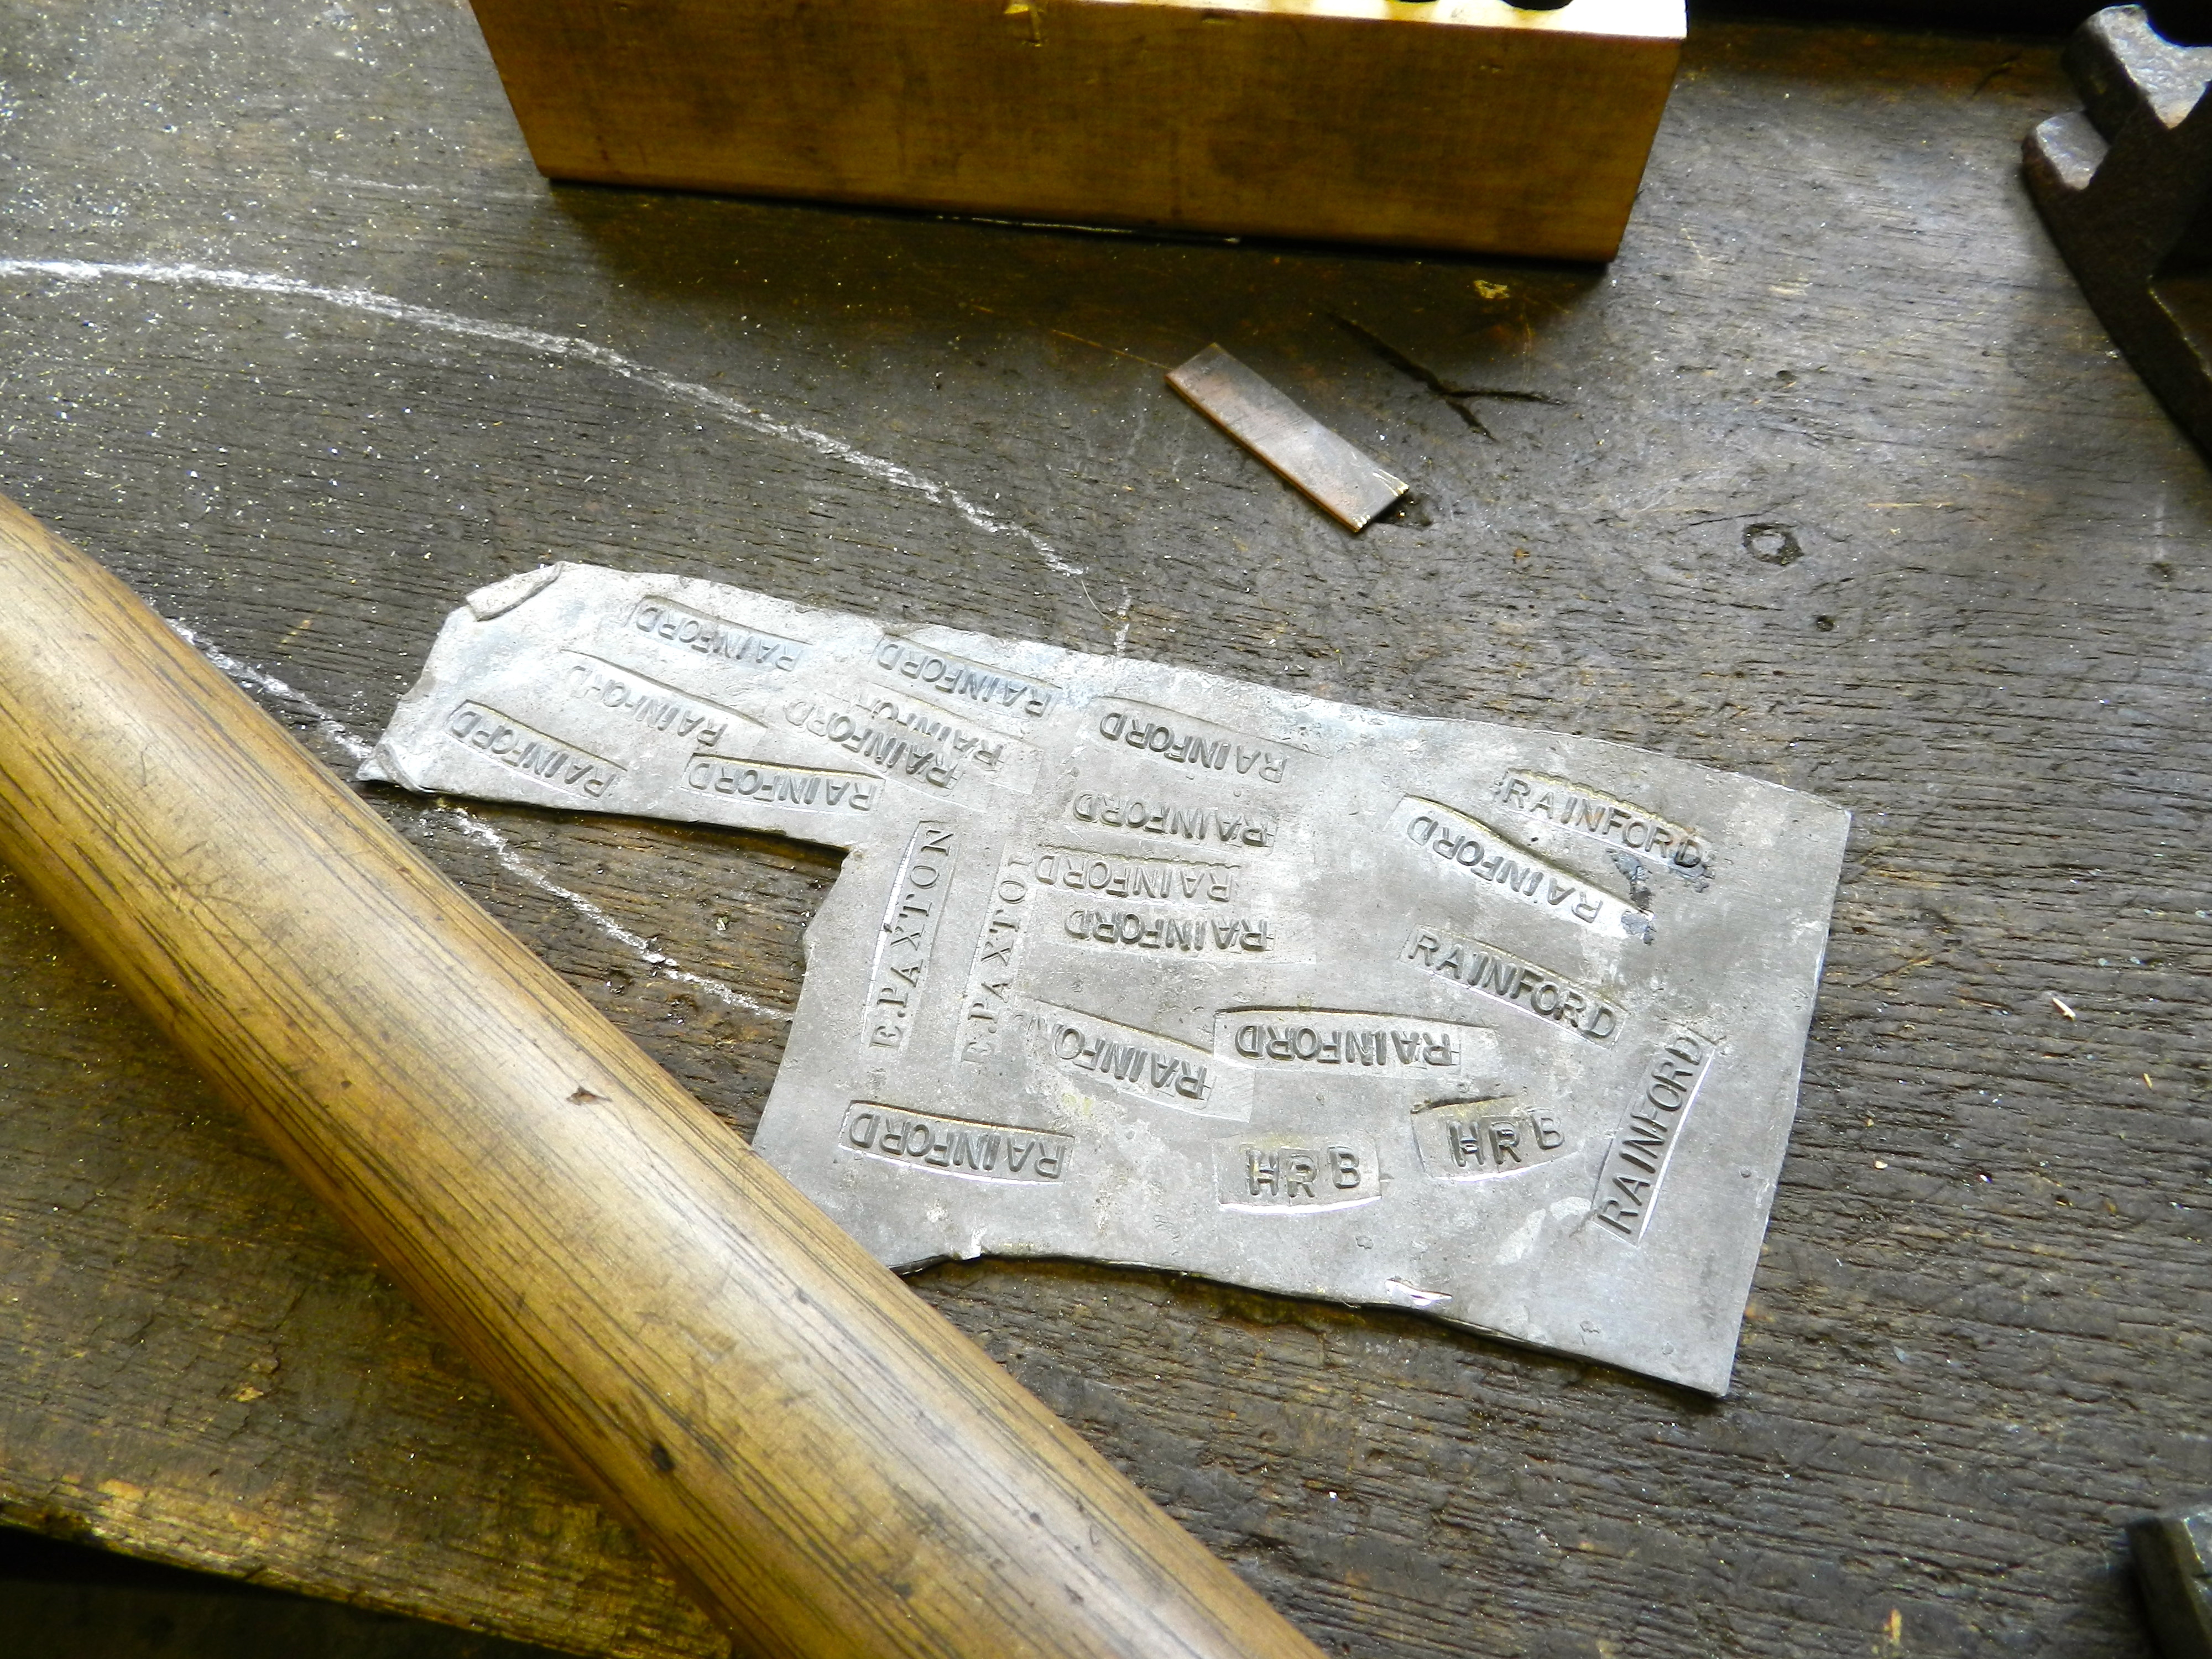
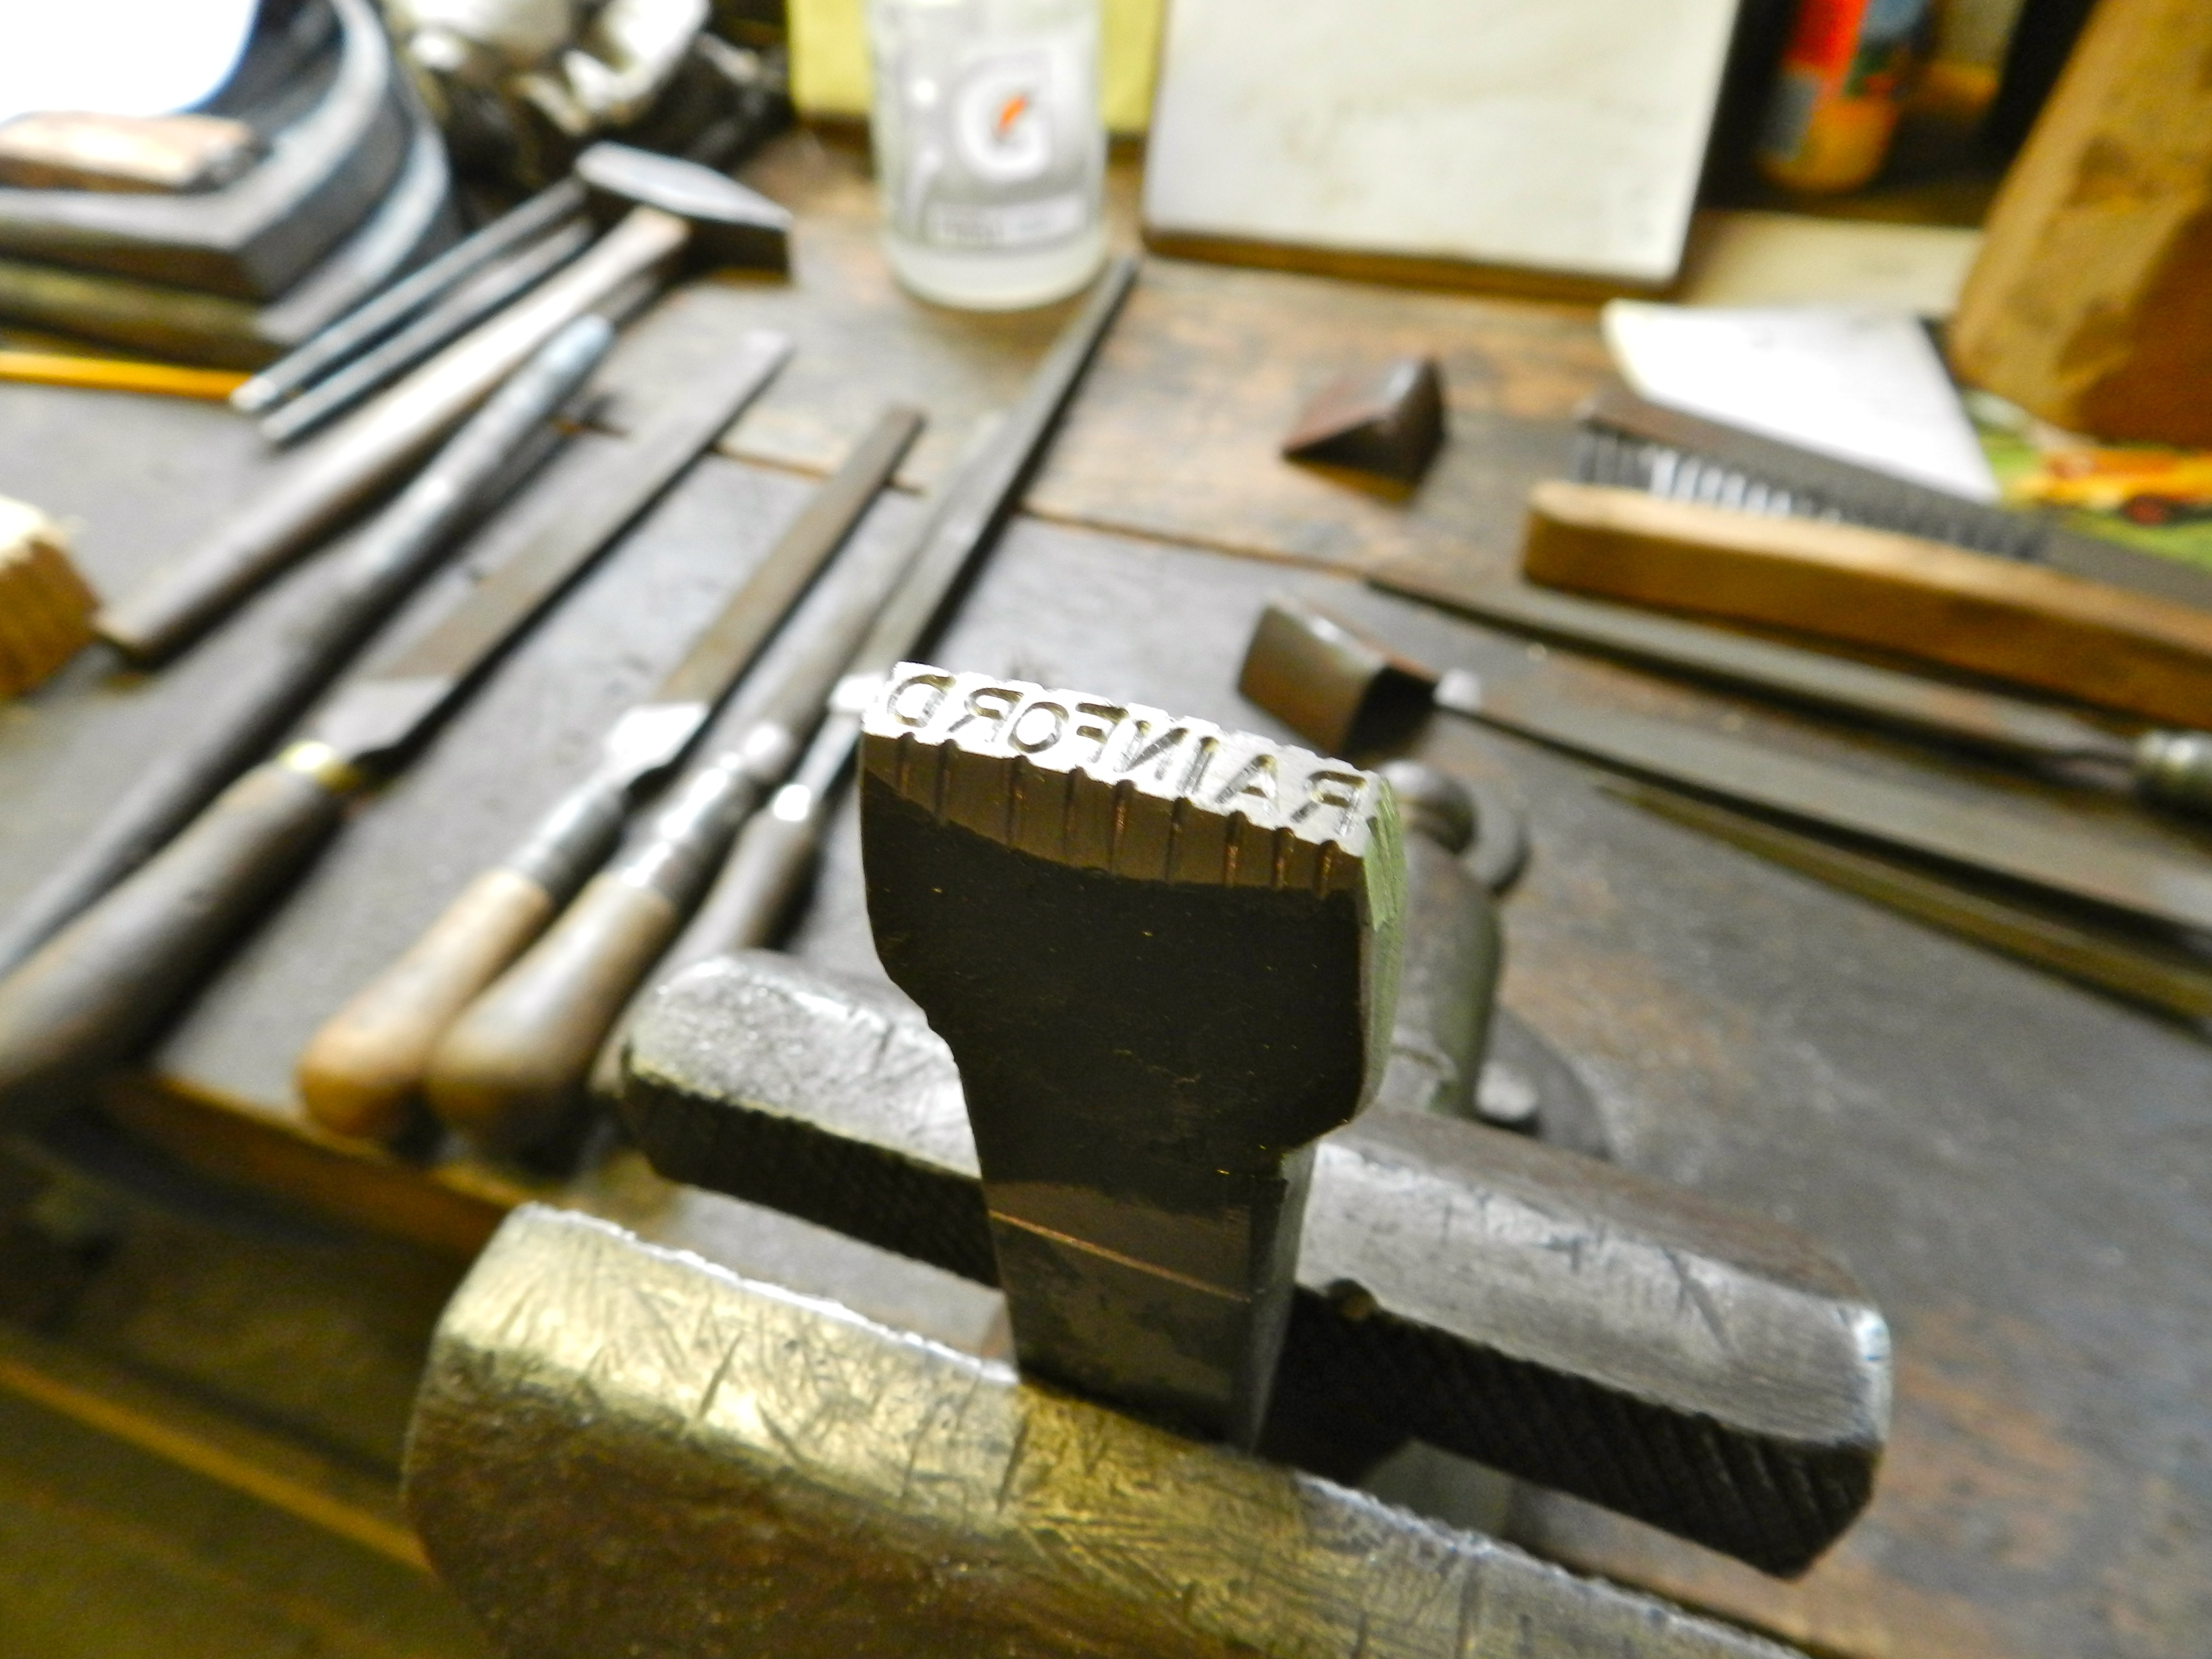
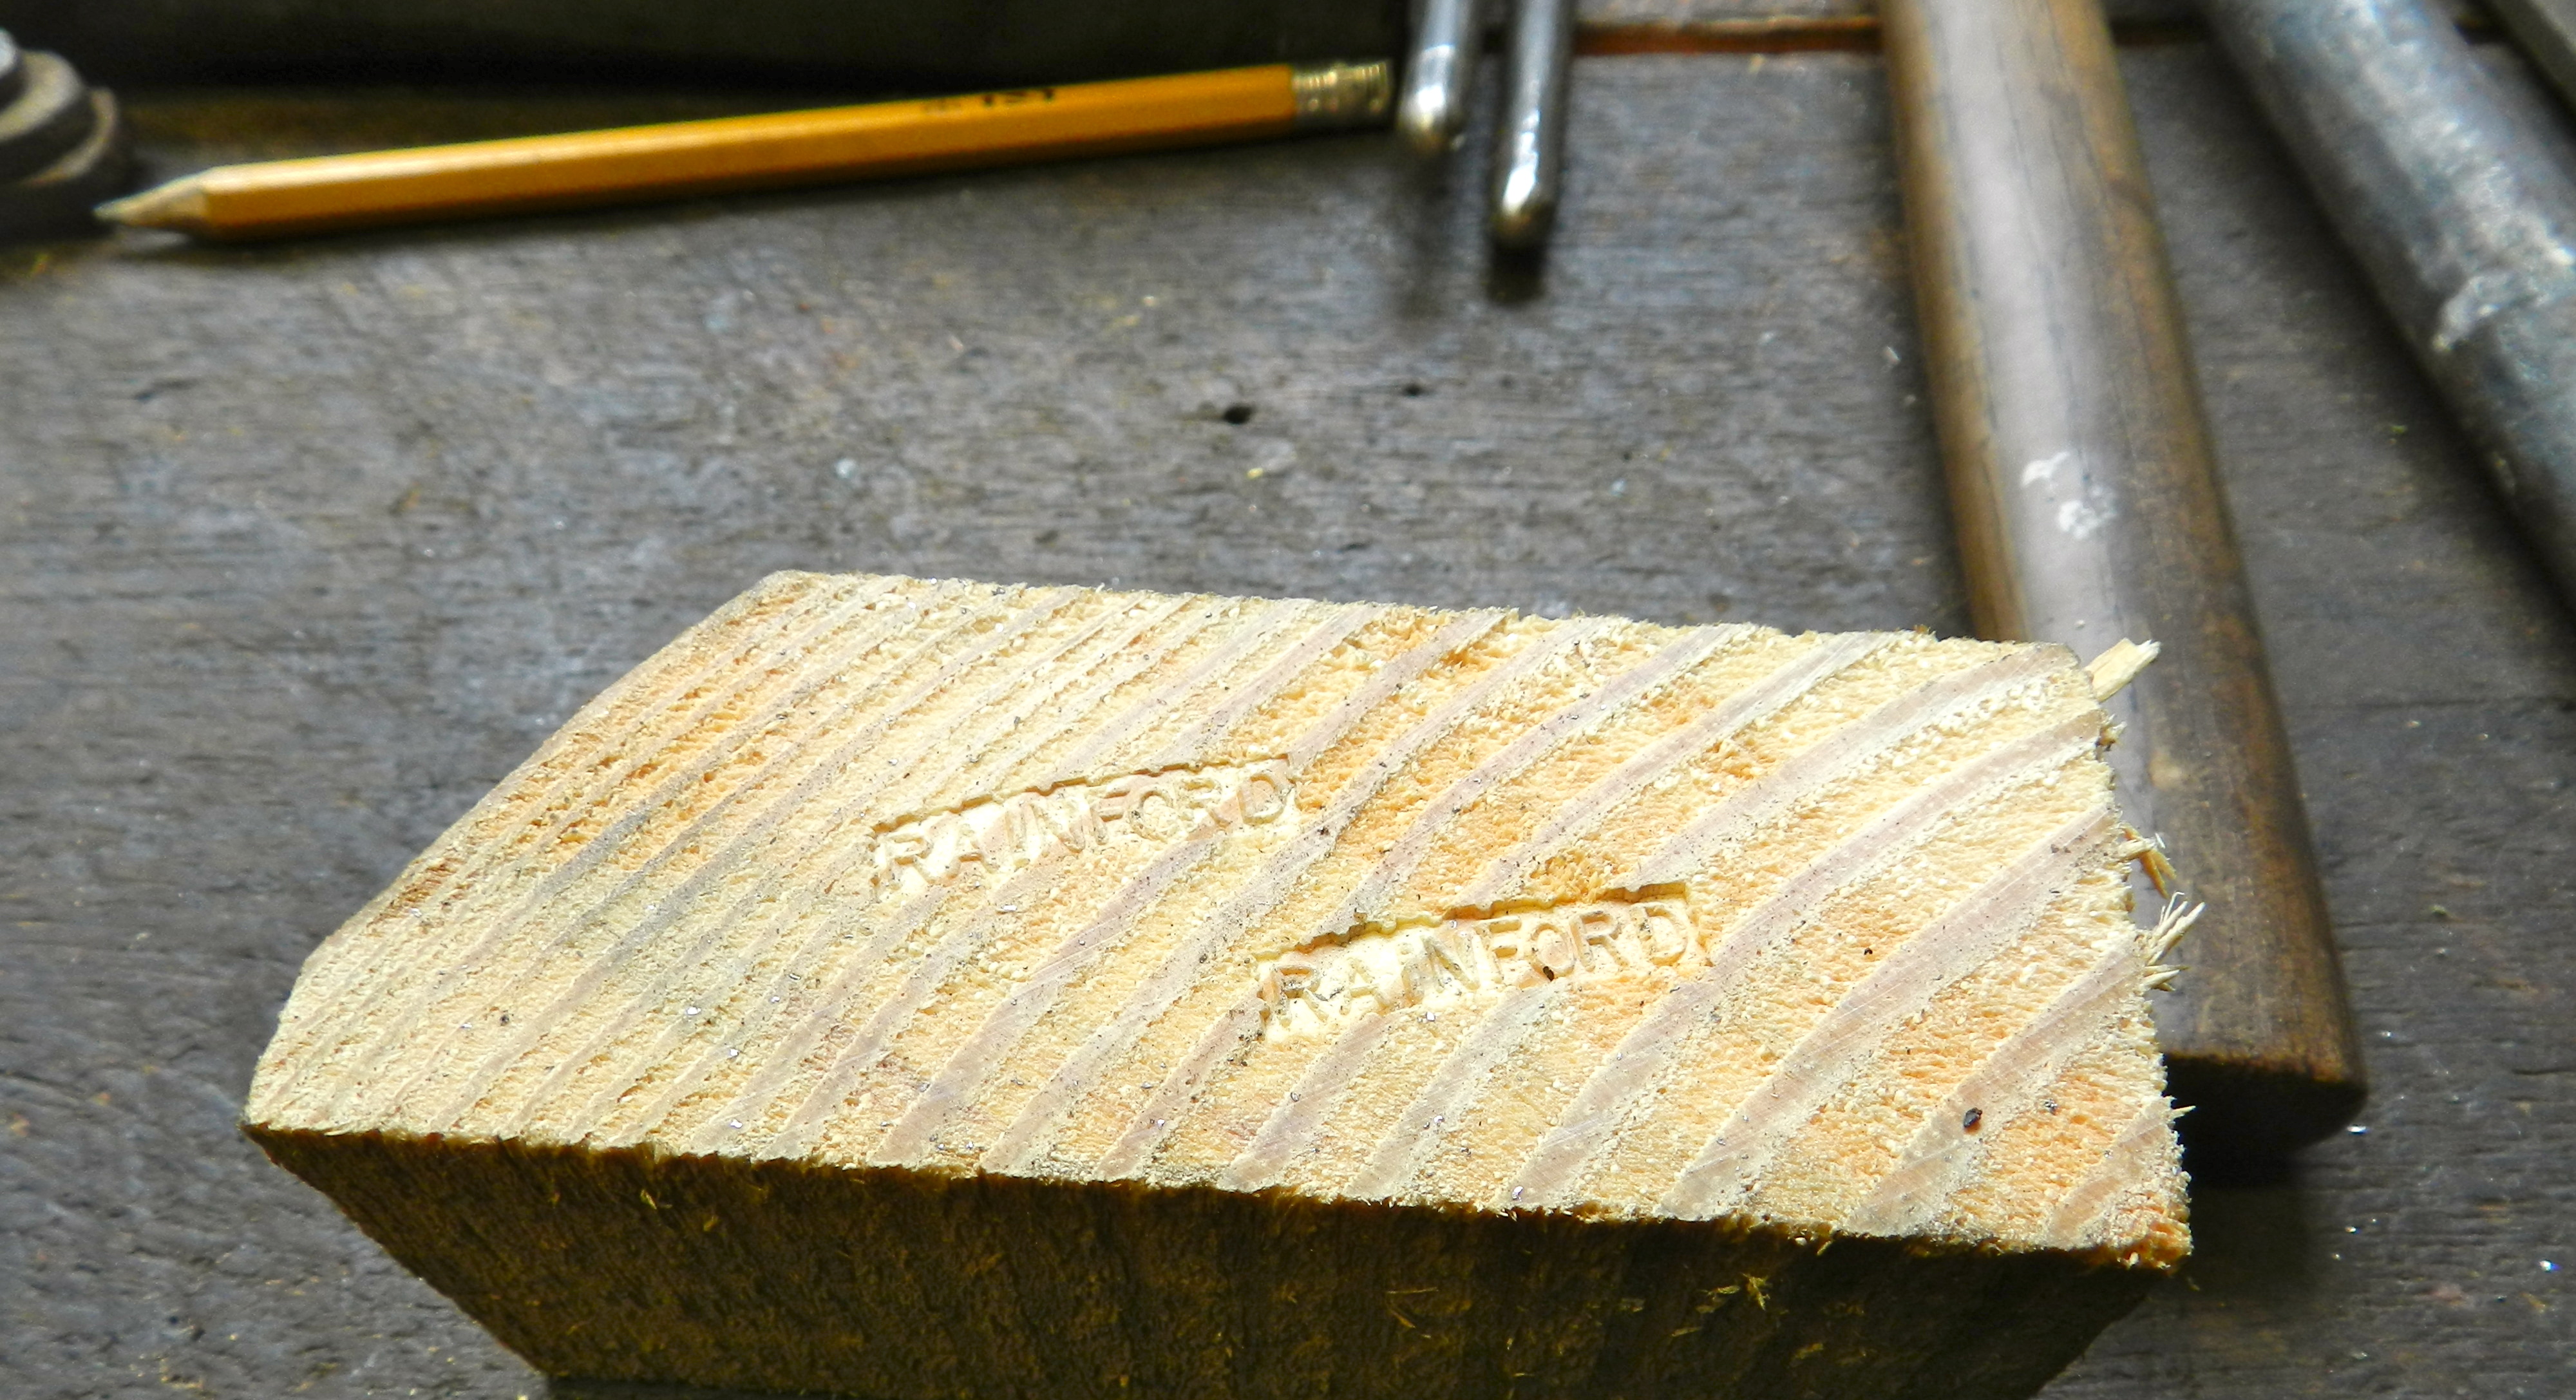
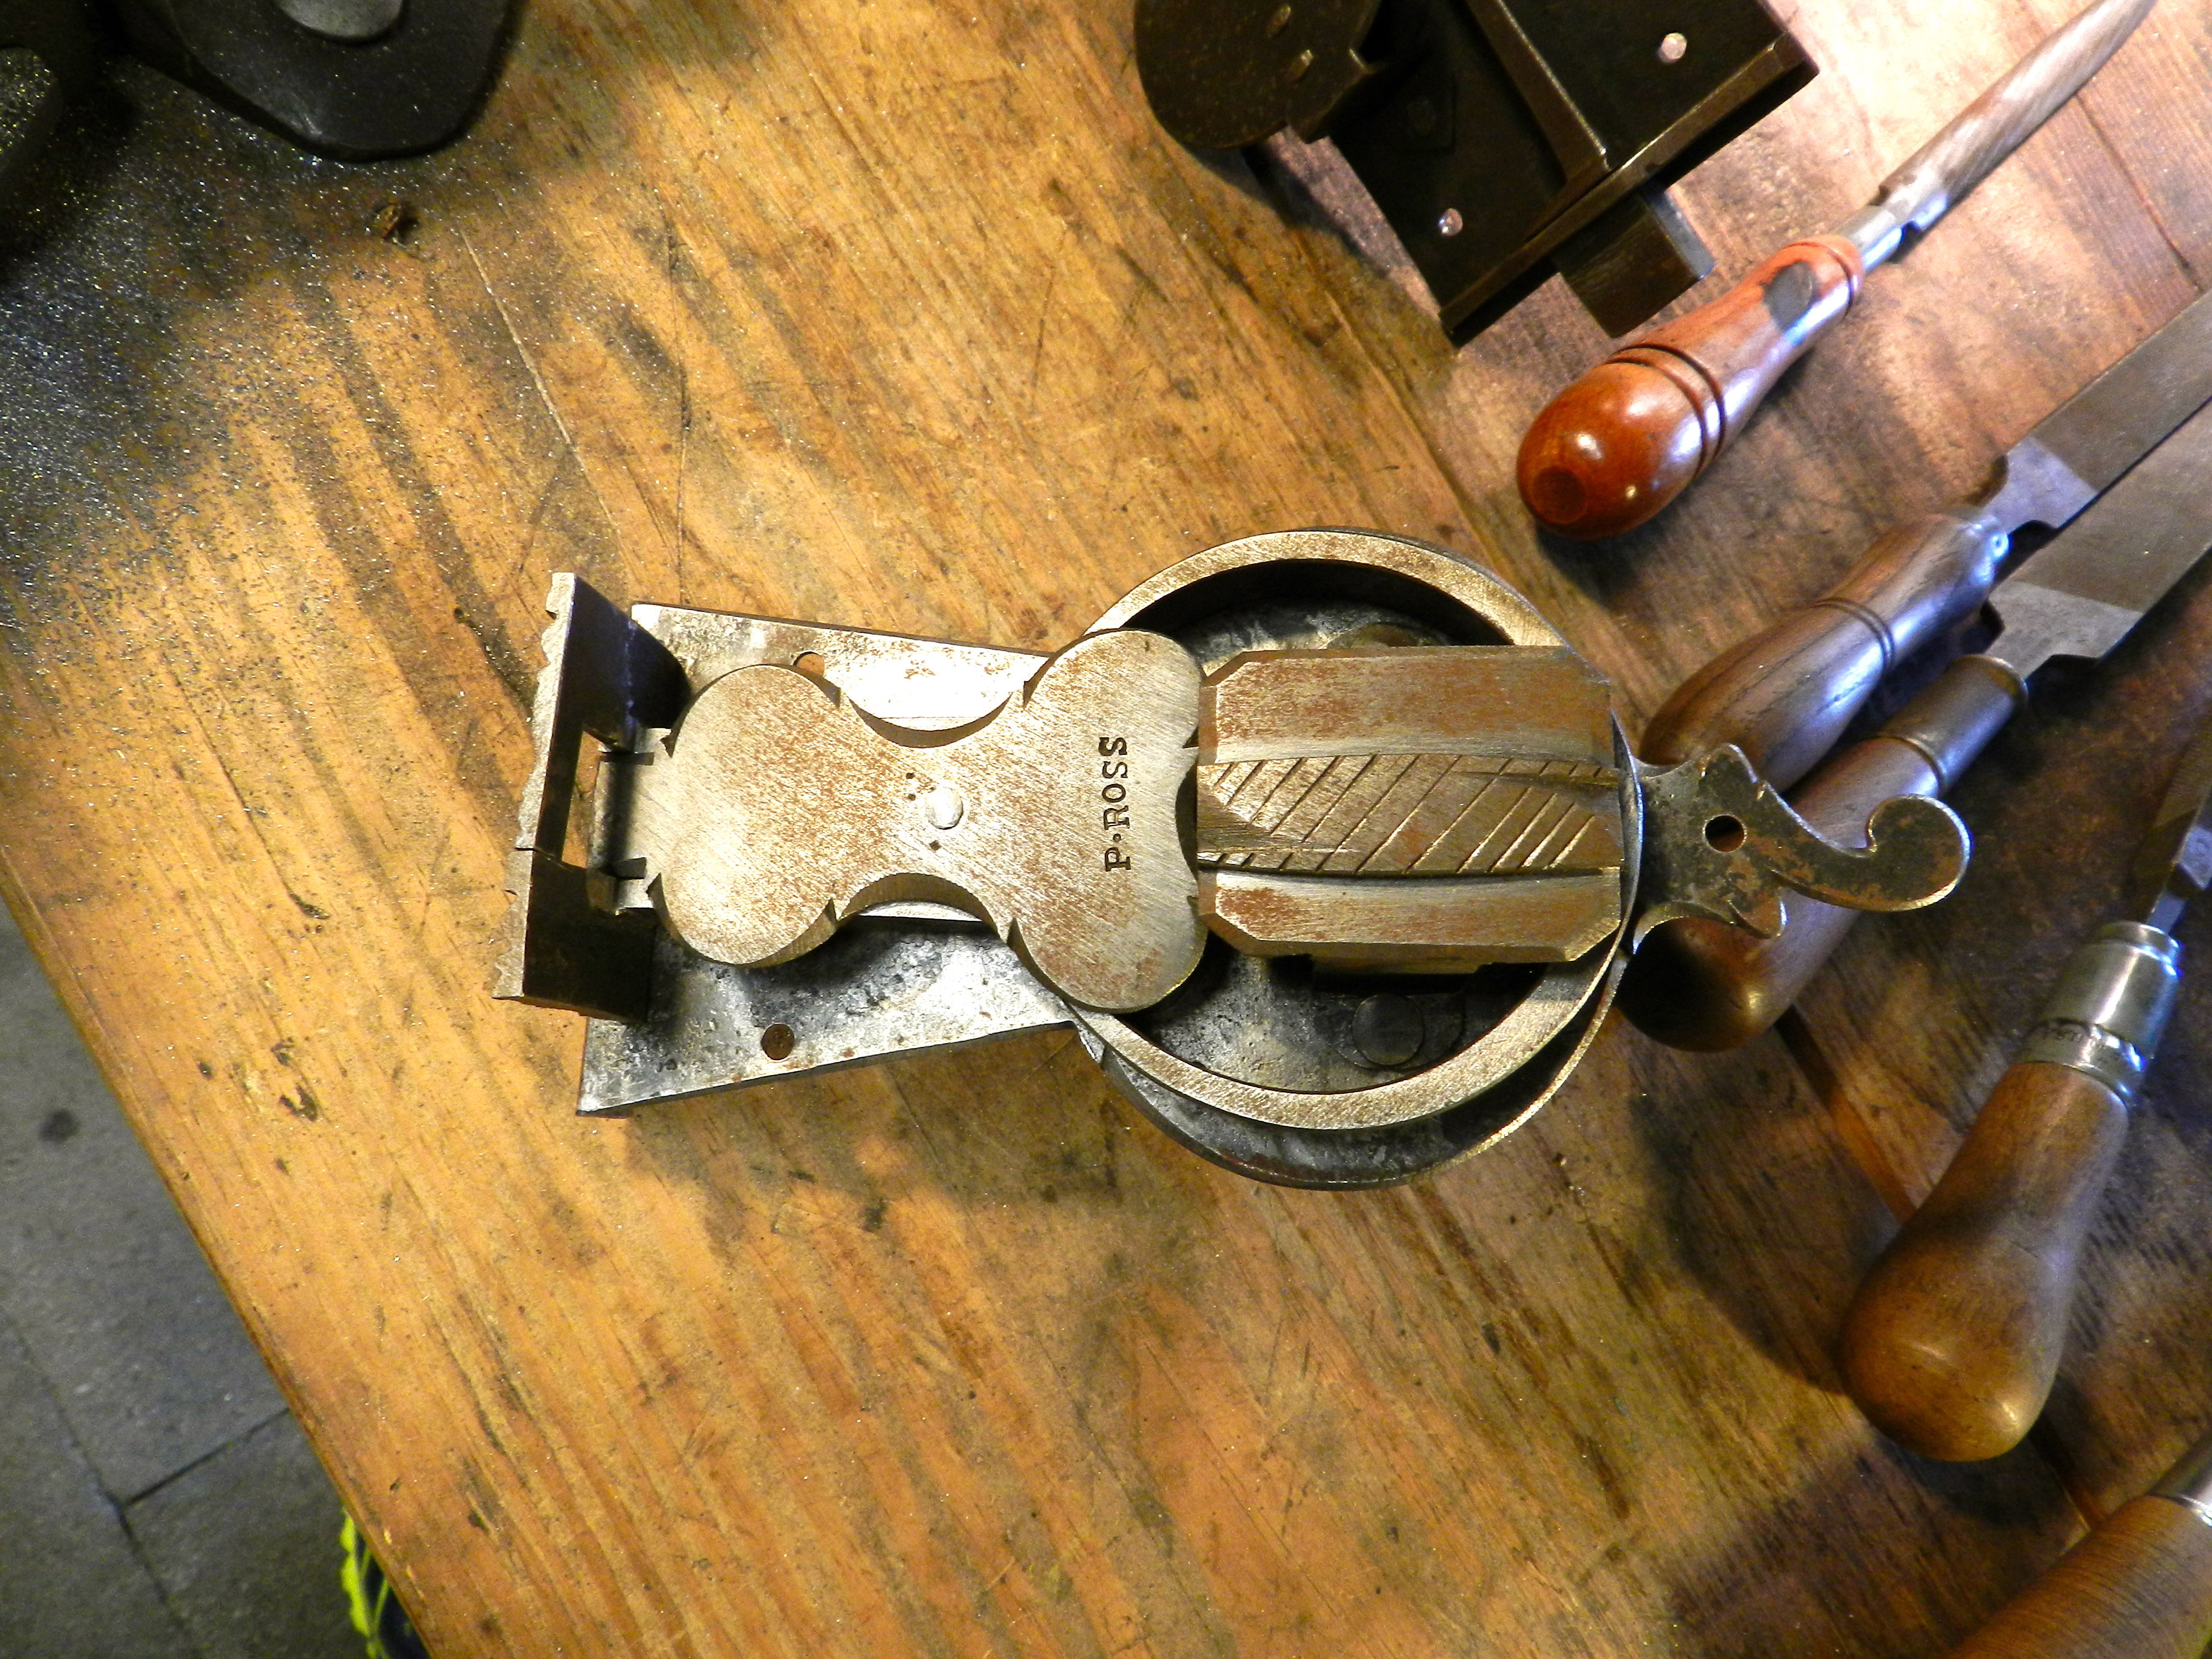
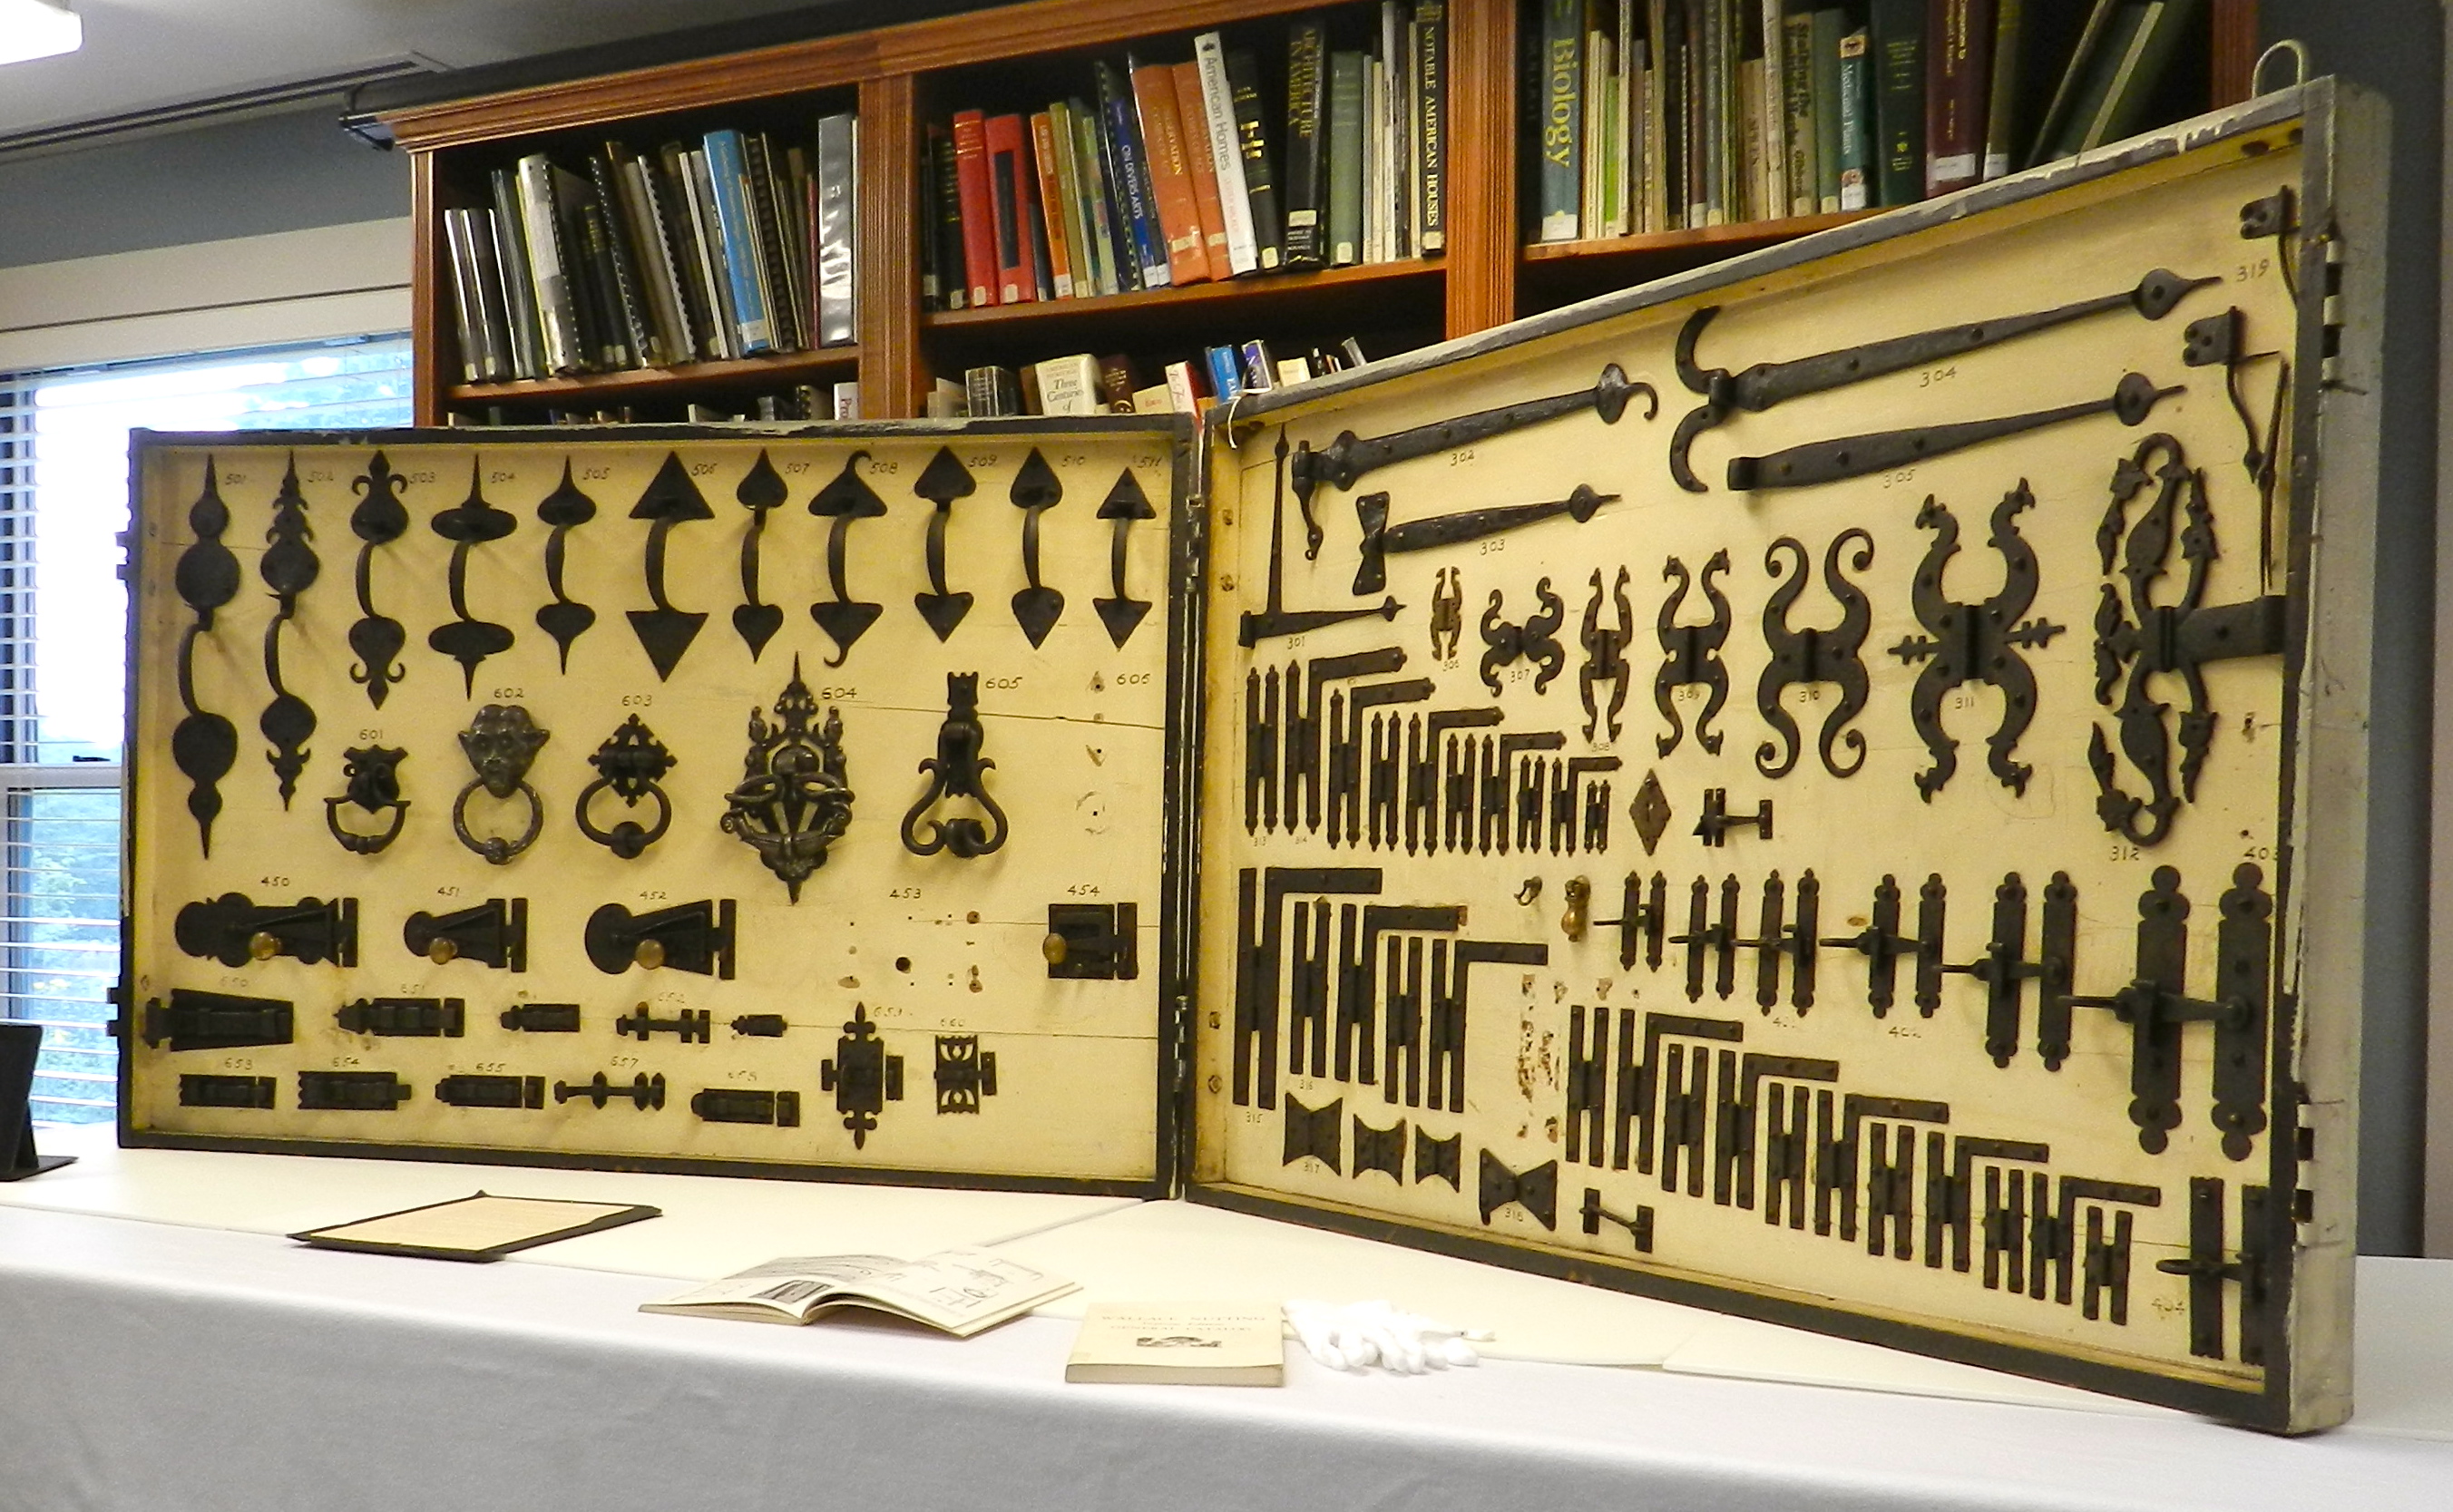
Robert Adam (Who started the Preservation Carpentry program at NBSS and is a noted preservation consultant) lectured about historic hardware and fasteners.

Robert Adam talking about historic hardware and fasteners

Robert’s brings a portion of his comprehensive collection of historic hardware and fasteners allowing students to closely examine these items up close and differentiate fine details.

Historic Hardware by Edward Guy

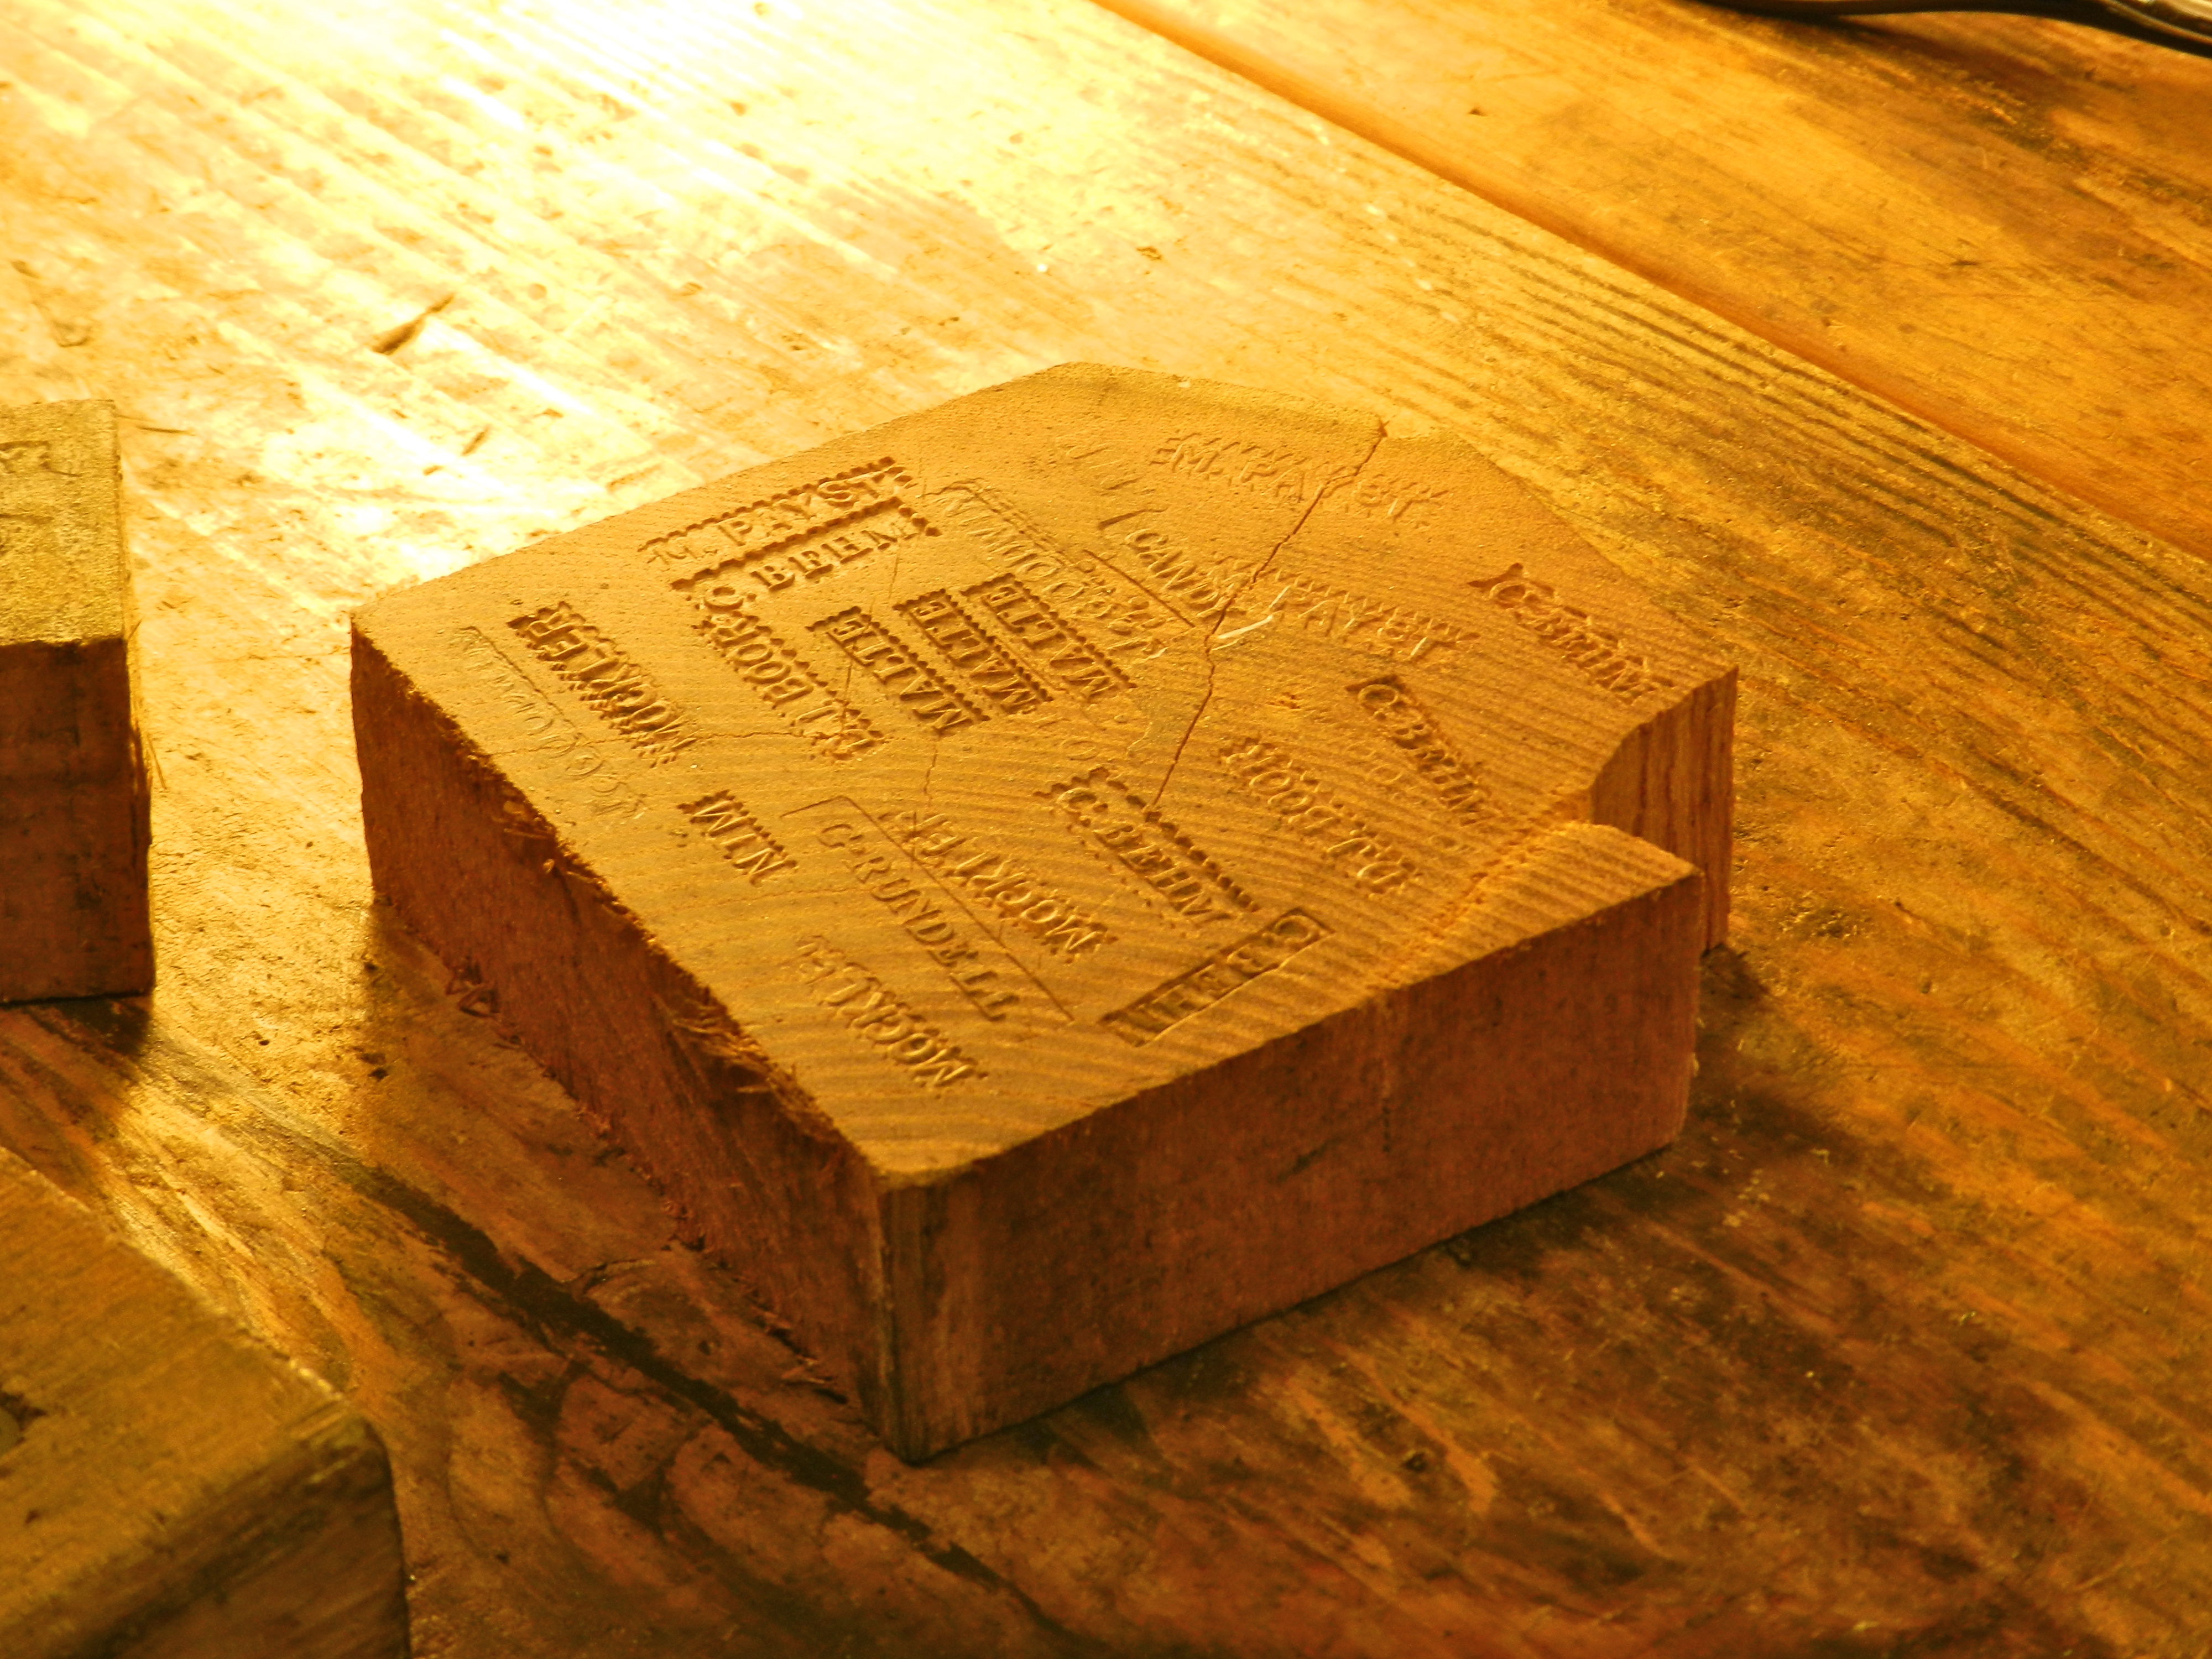
Sara Chase, a nationally known paint analysis expert and preservation consultant (+ advisor to the NBSS Preservation Carpentry Program) taught a session on traditional paints and their manufacture.

Making paint with Sara Chase

During this hands on session students not only learned how to identify various kinds of historic paints they also had the chance to mix their own paints in a traditional way and try their hand at applying them.

Mulling historic paint with Sara Chase

After a visit to the MFA in Boston, next up was NBSS Preservation Carpentry Instructor Rich Friberg to teach the basics of Timber Framing.

Rich Friberg Timber Framing Lesson

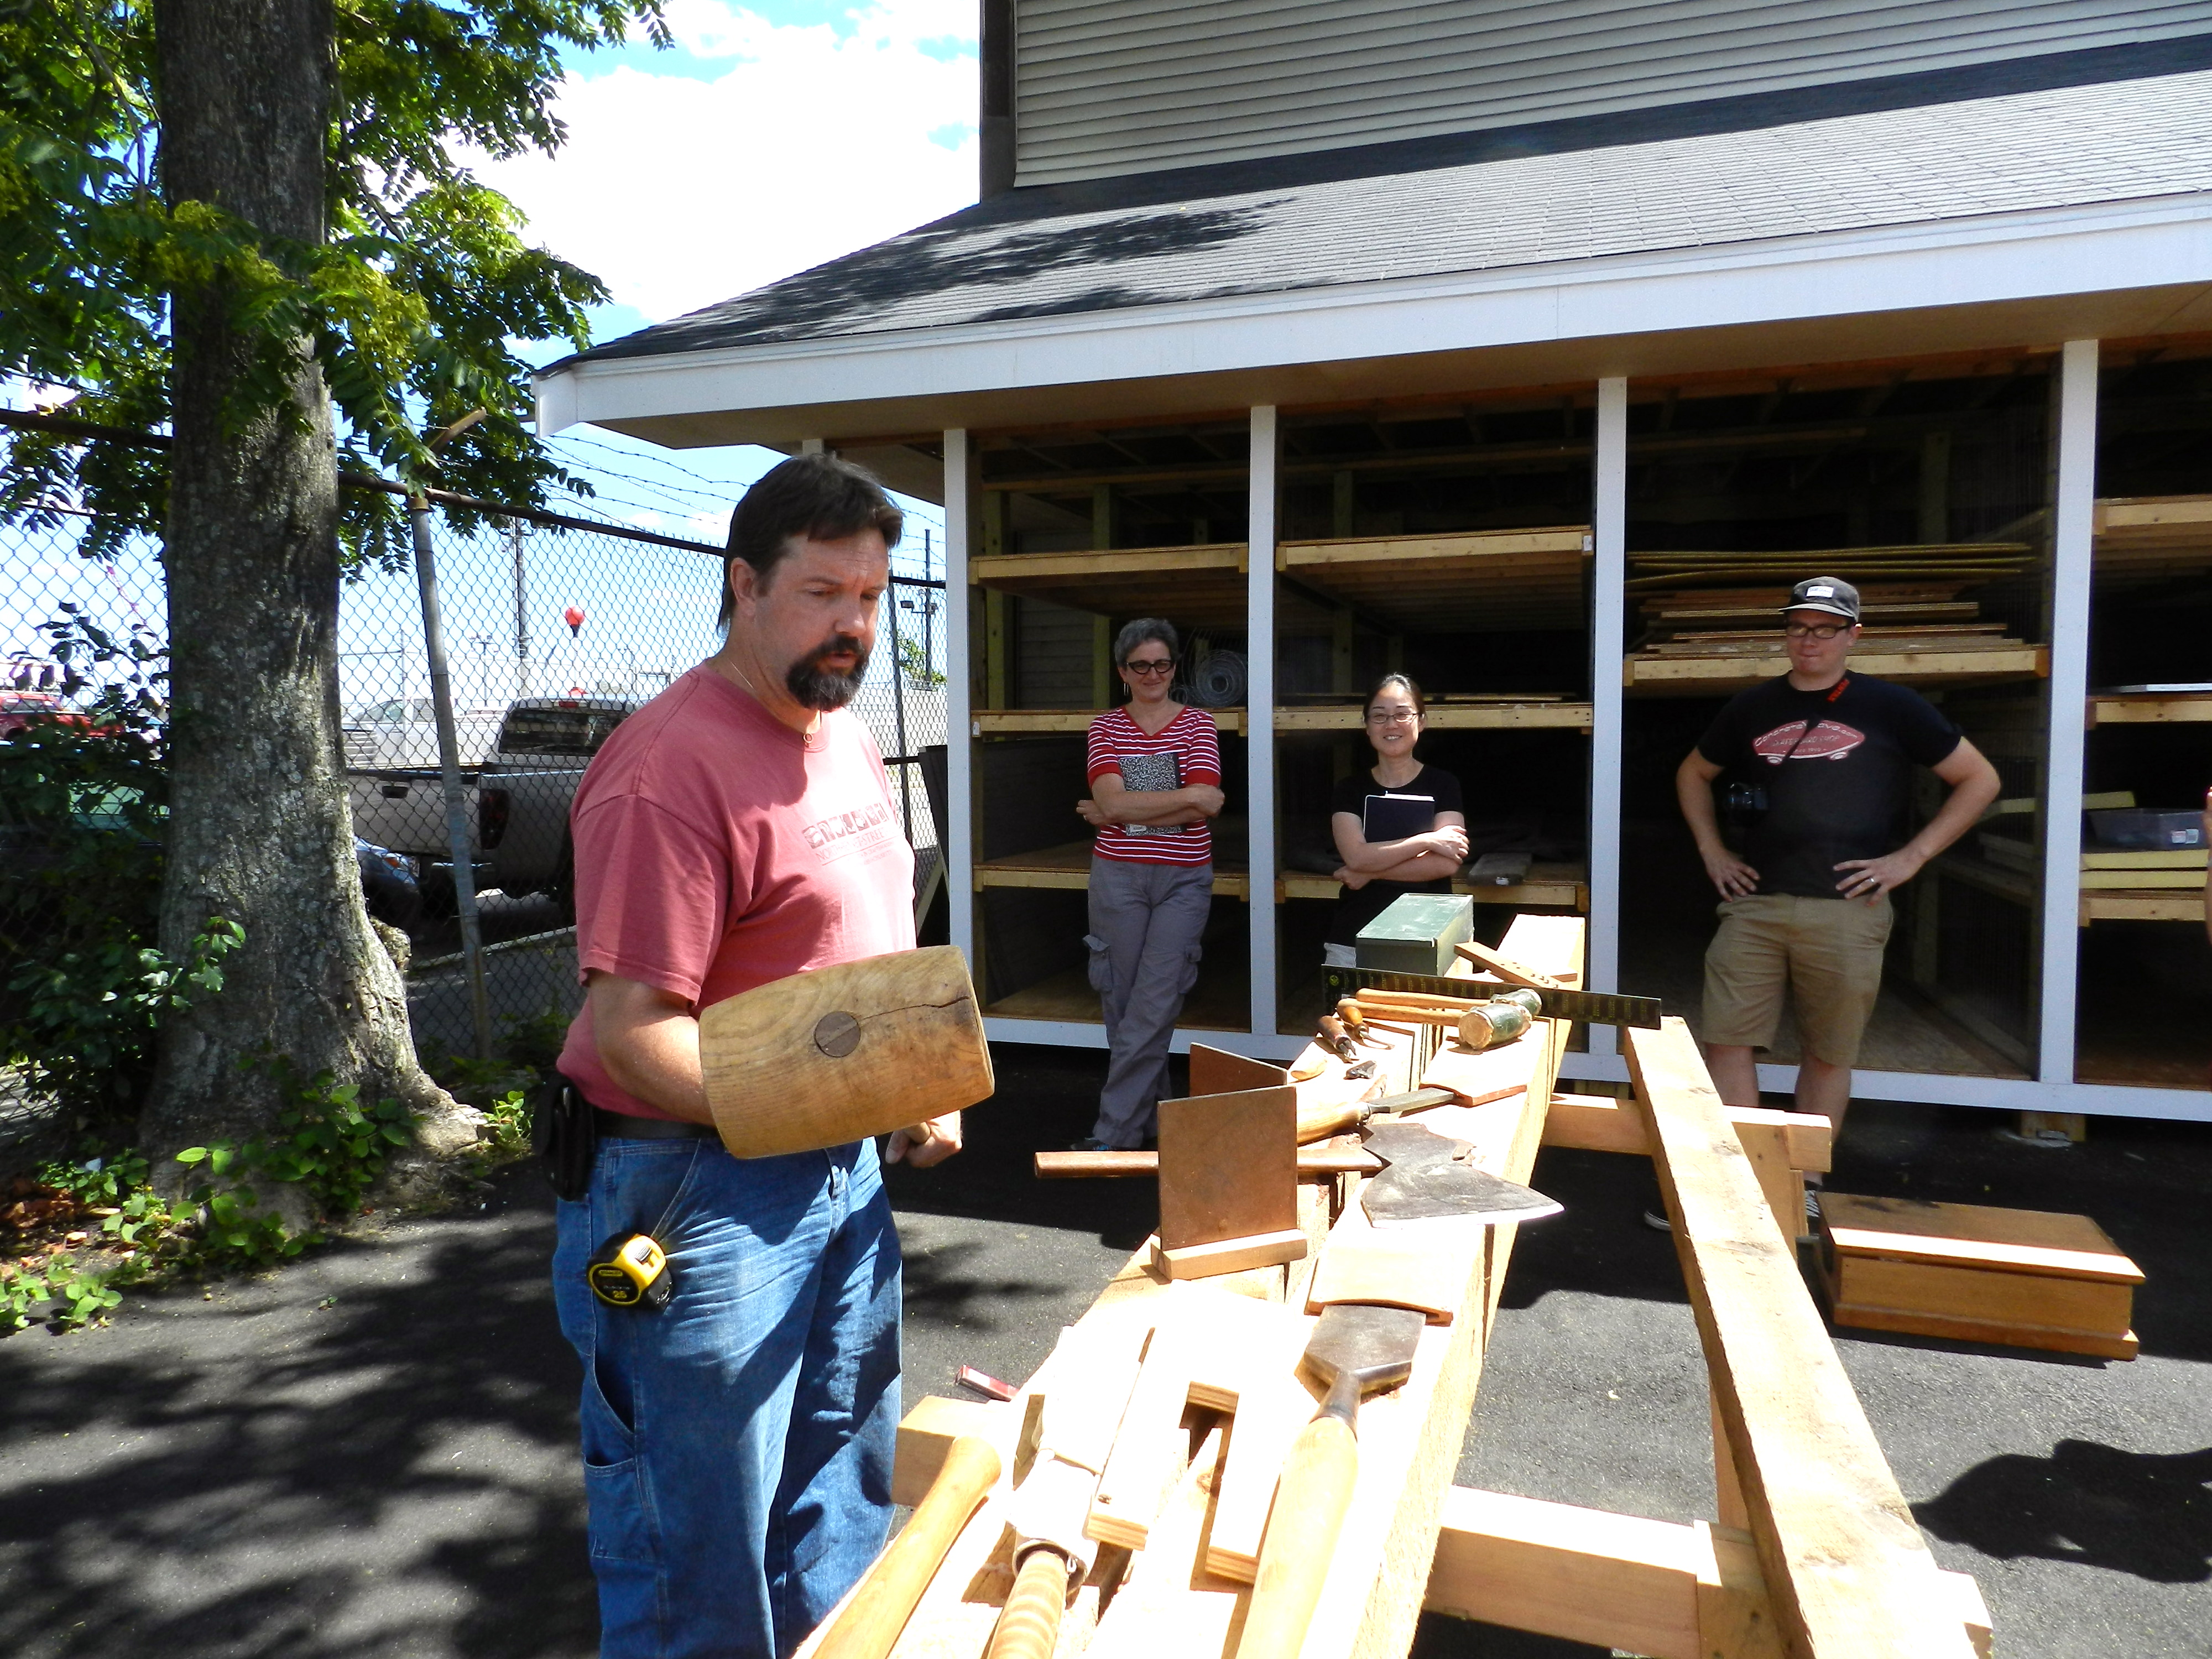
Rich brings with him a deep well of knowledge and a passion for teaching this craft.

Jennifer wielding the 'Beetle' mallet
Jennifer wielding the ‘Beetle’ mallet

Students had a chance to layout and cut mortise and tenon joints….

Joey with the 'Commander' mallet
Joey with the ‘Commander’ mallet

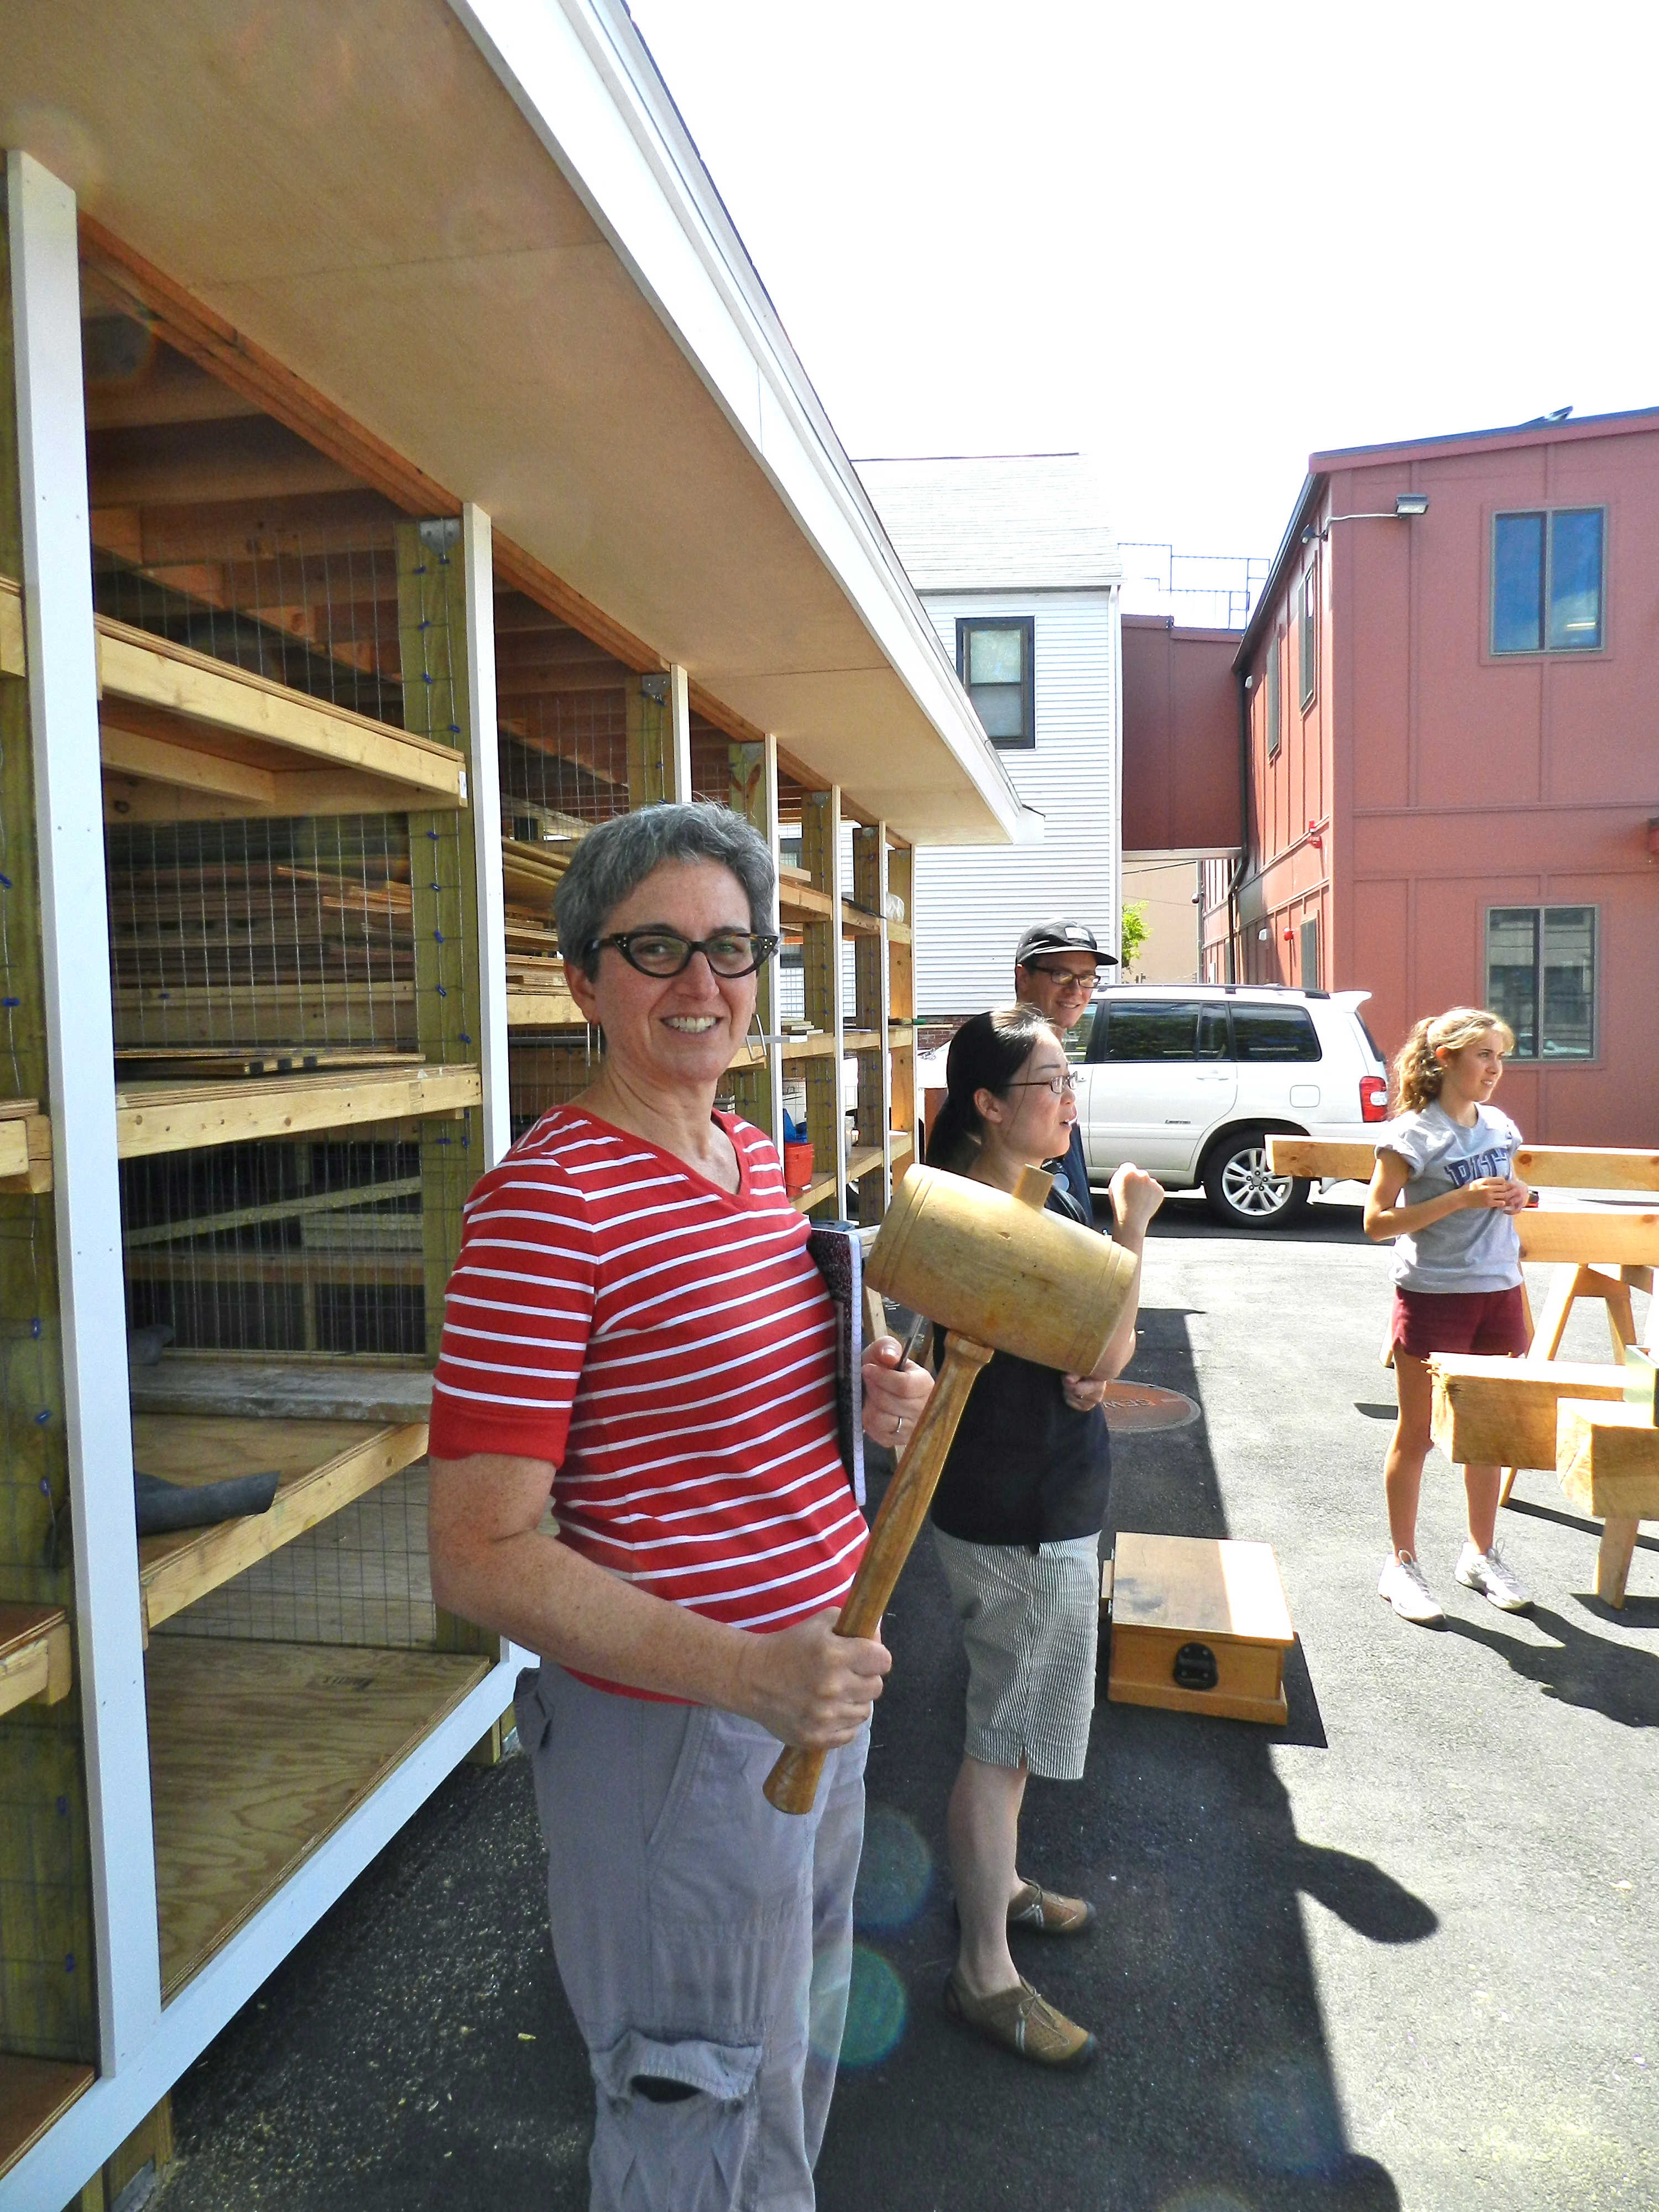
try out some joinery on the large scale with traditional timber framing tools…

Lisa mortising
Lisa mortising

and fit the joints they made.

Completed Timber Frame Sill

The completed 8′ x 10′ sill shown above would be the first major element of a modest sized barn or outbuilding.

Matt Gillard teaching some basics of Masonry

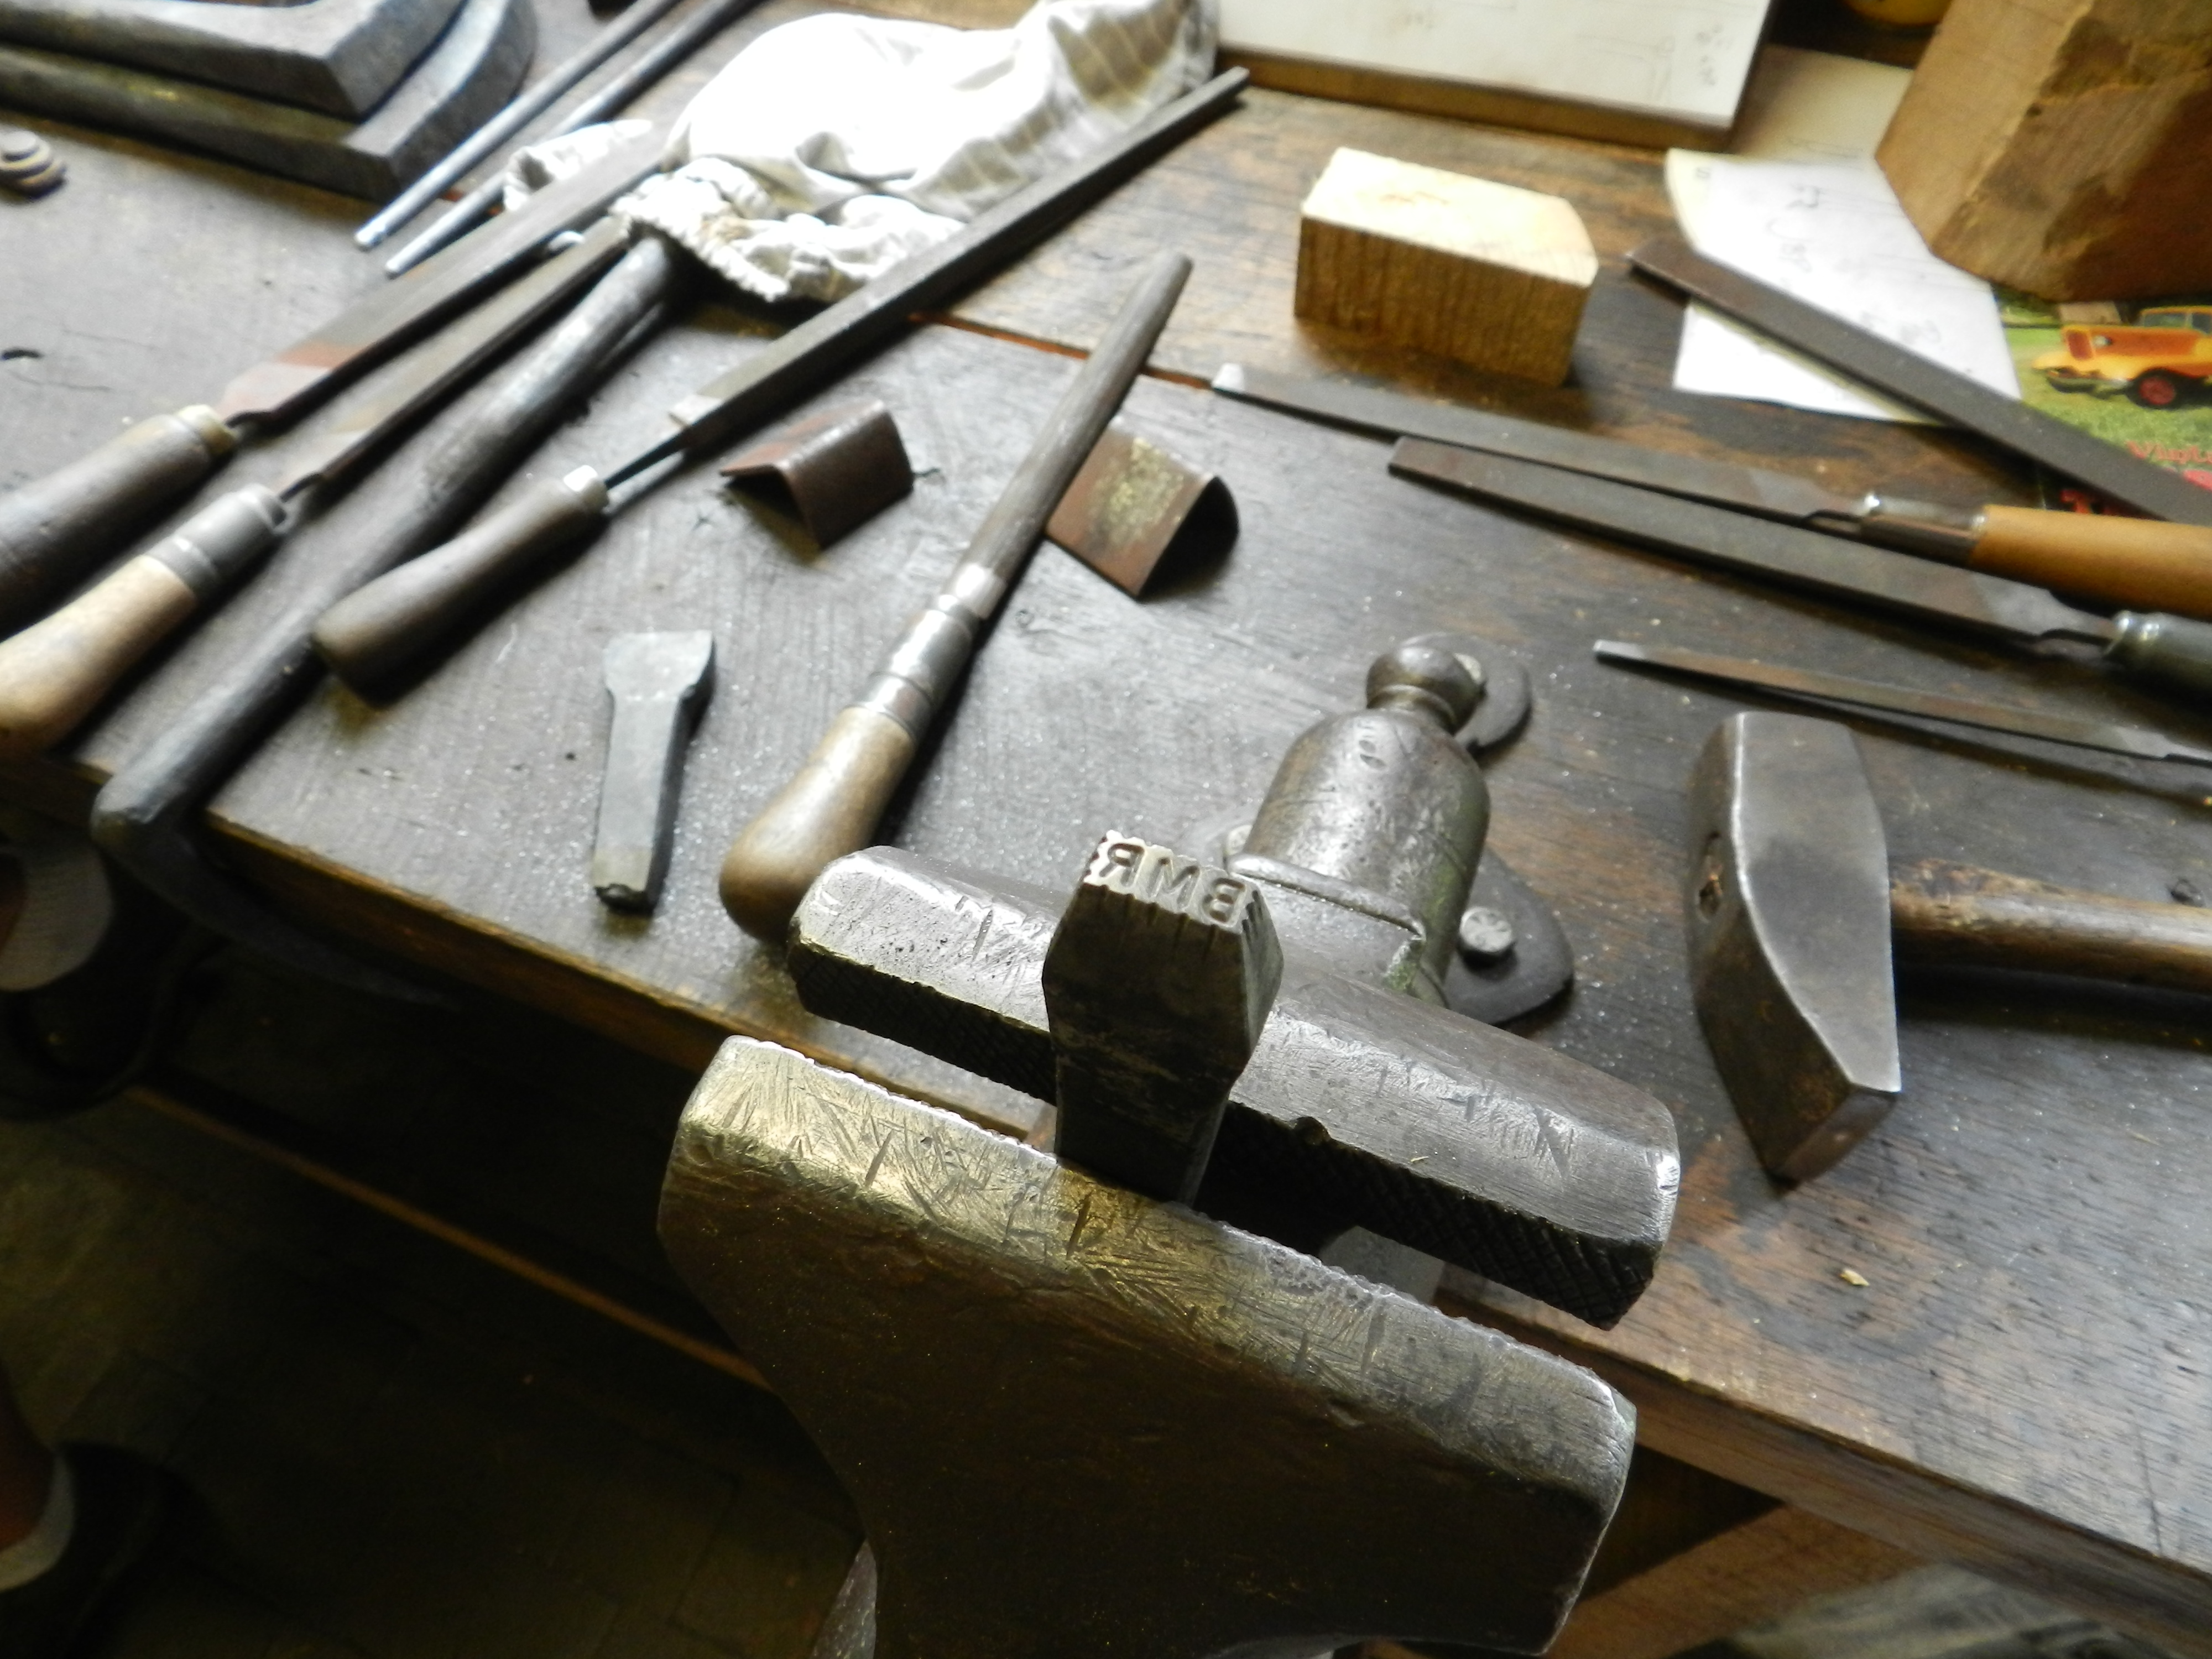
Preservation Mason Matt Gillard (owner of Colonial Brick Works) and Matt Blanchette gave a great lecture on traditional masonry tools, techniques and evolution.

Rachel cleaning off some recovered bricks

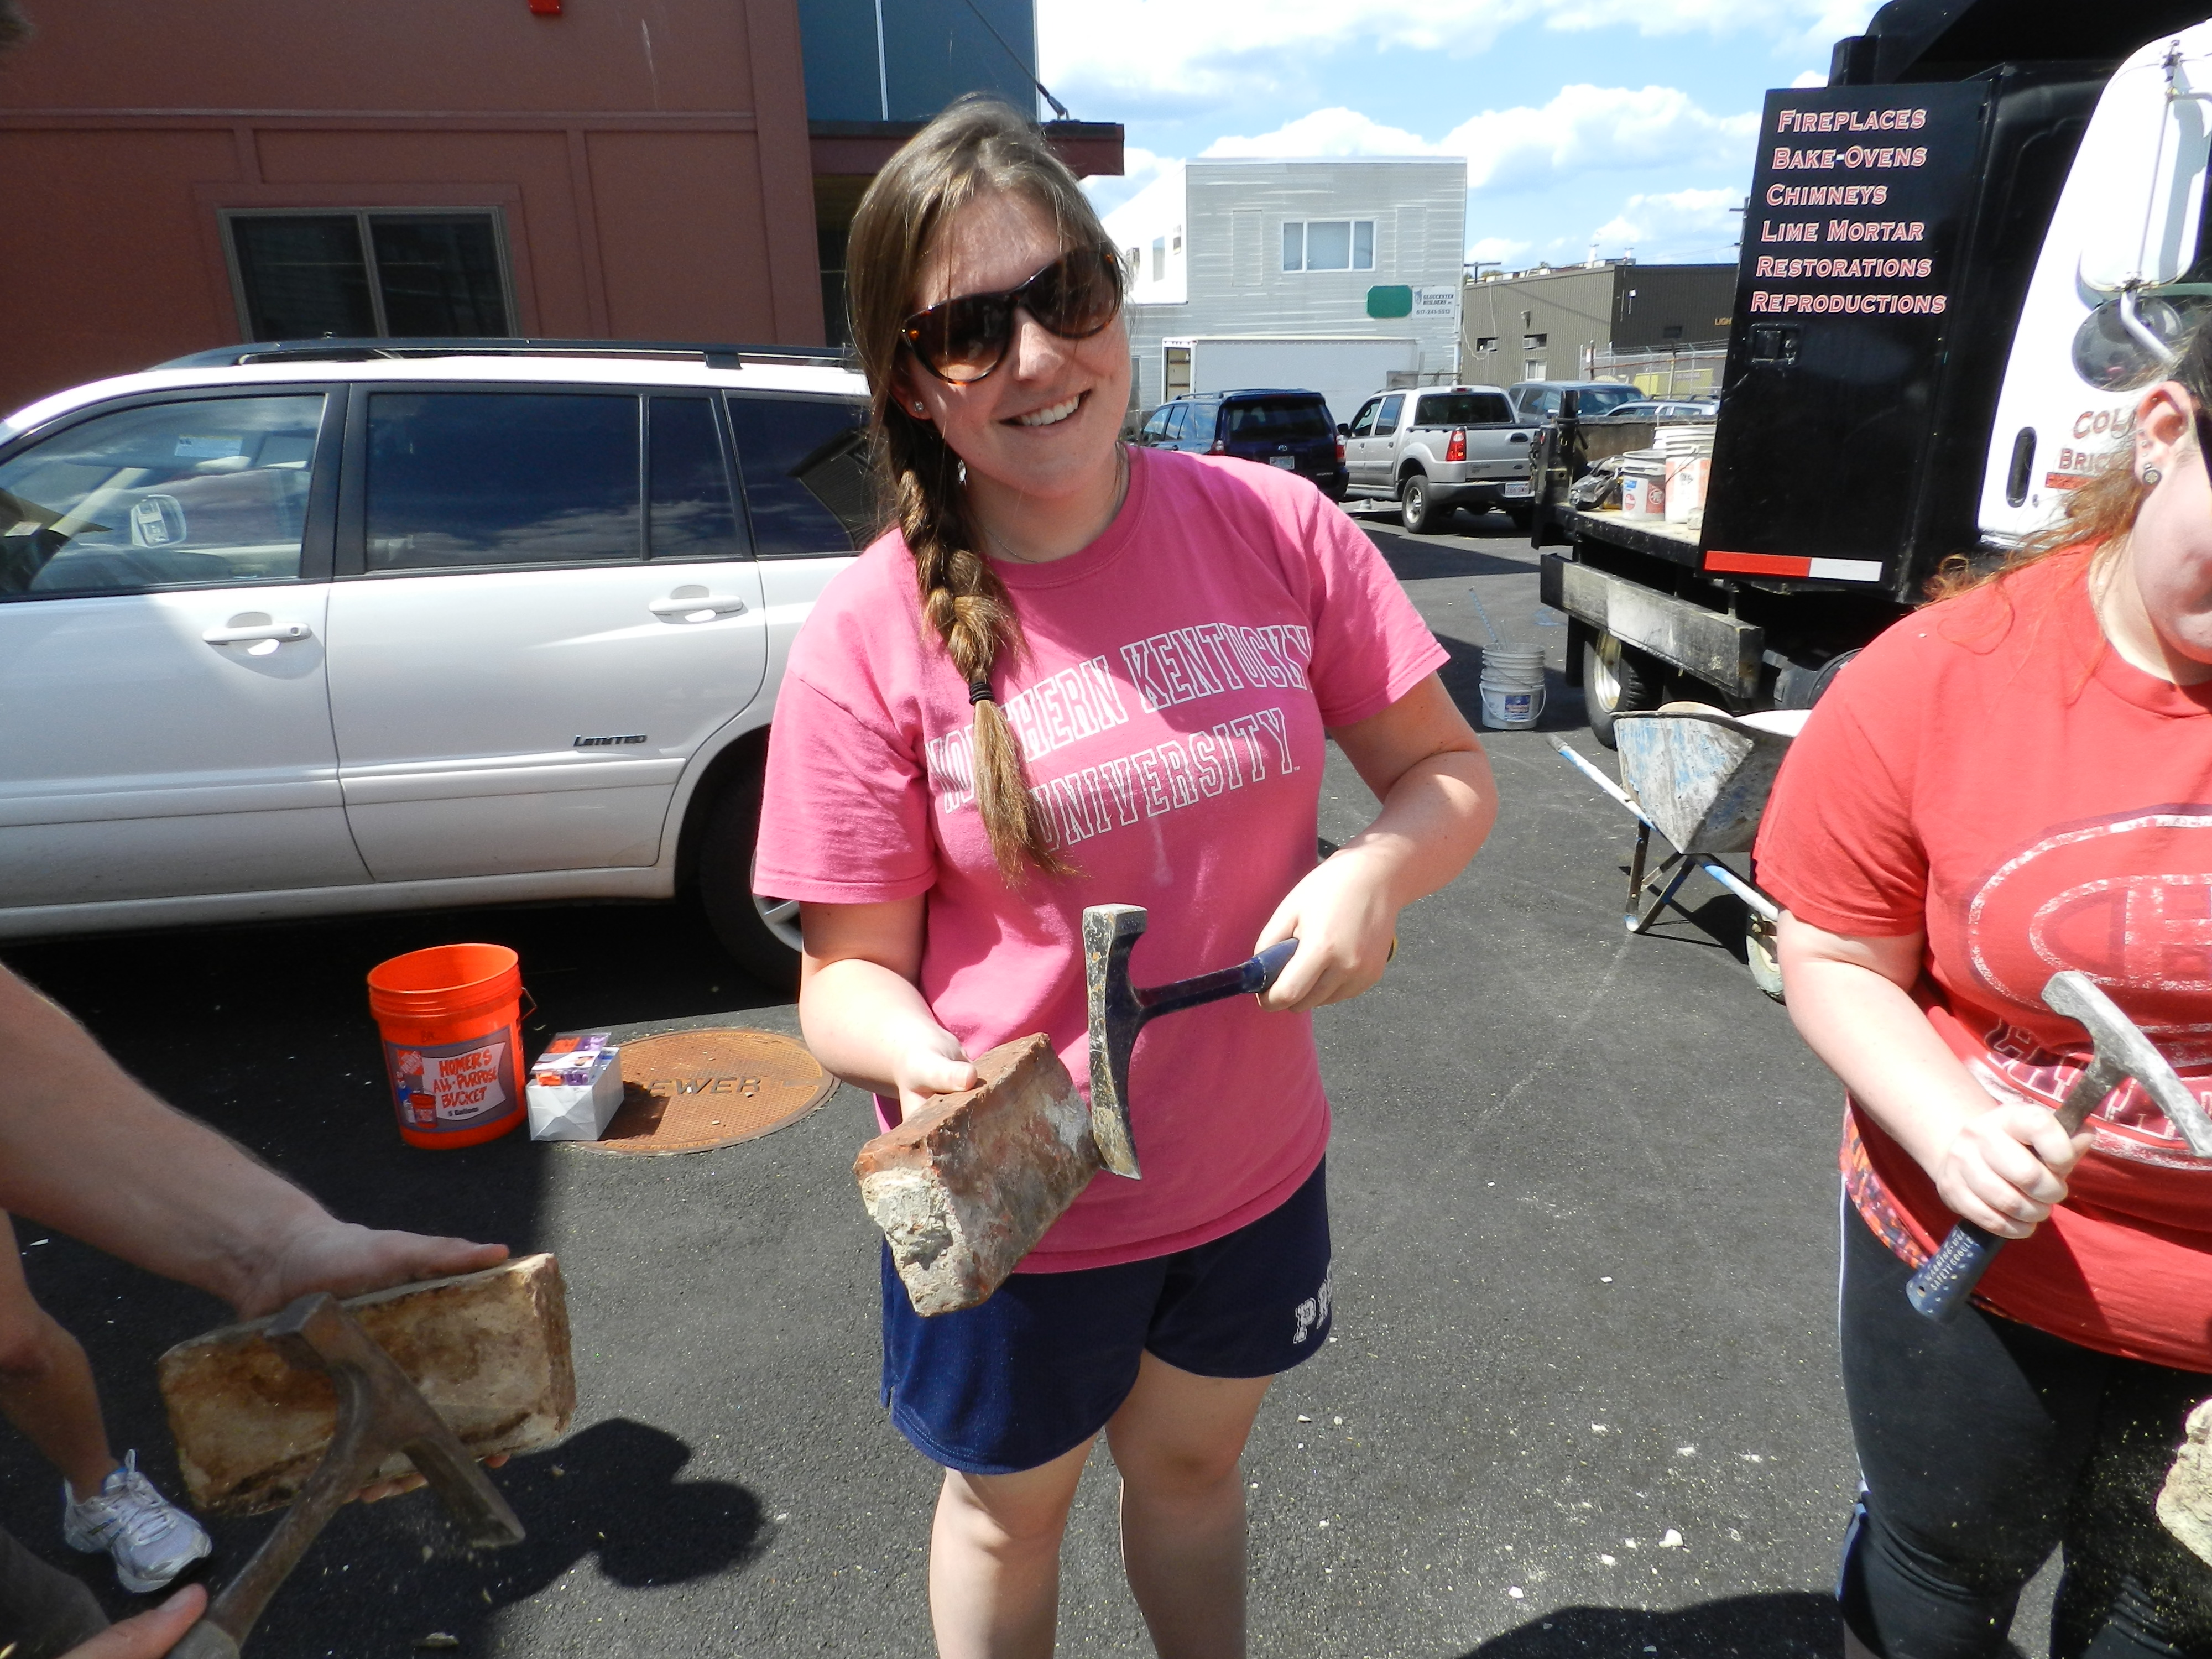
This hands on session allowed students to mix traditional mortar, clean bricks, re-point, repair, lay brick and joint mortar.

Masonry group shot
Masonry group shot

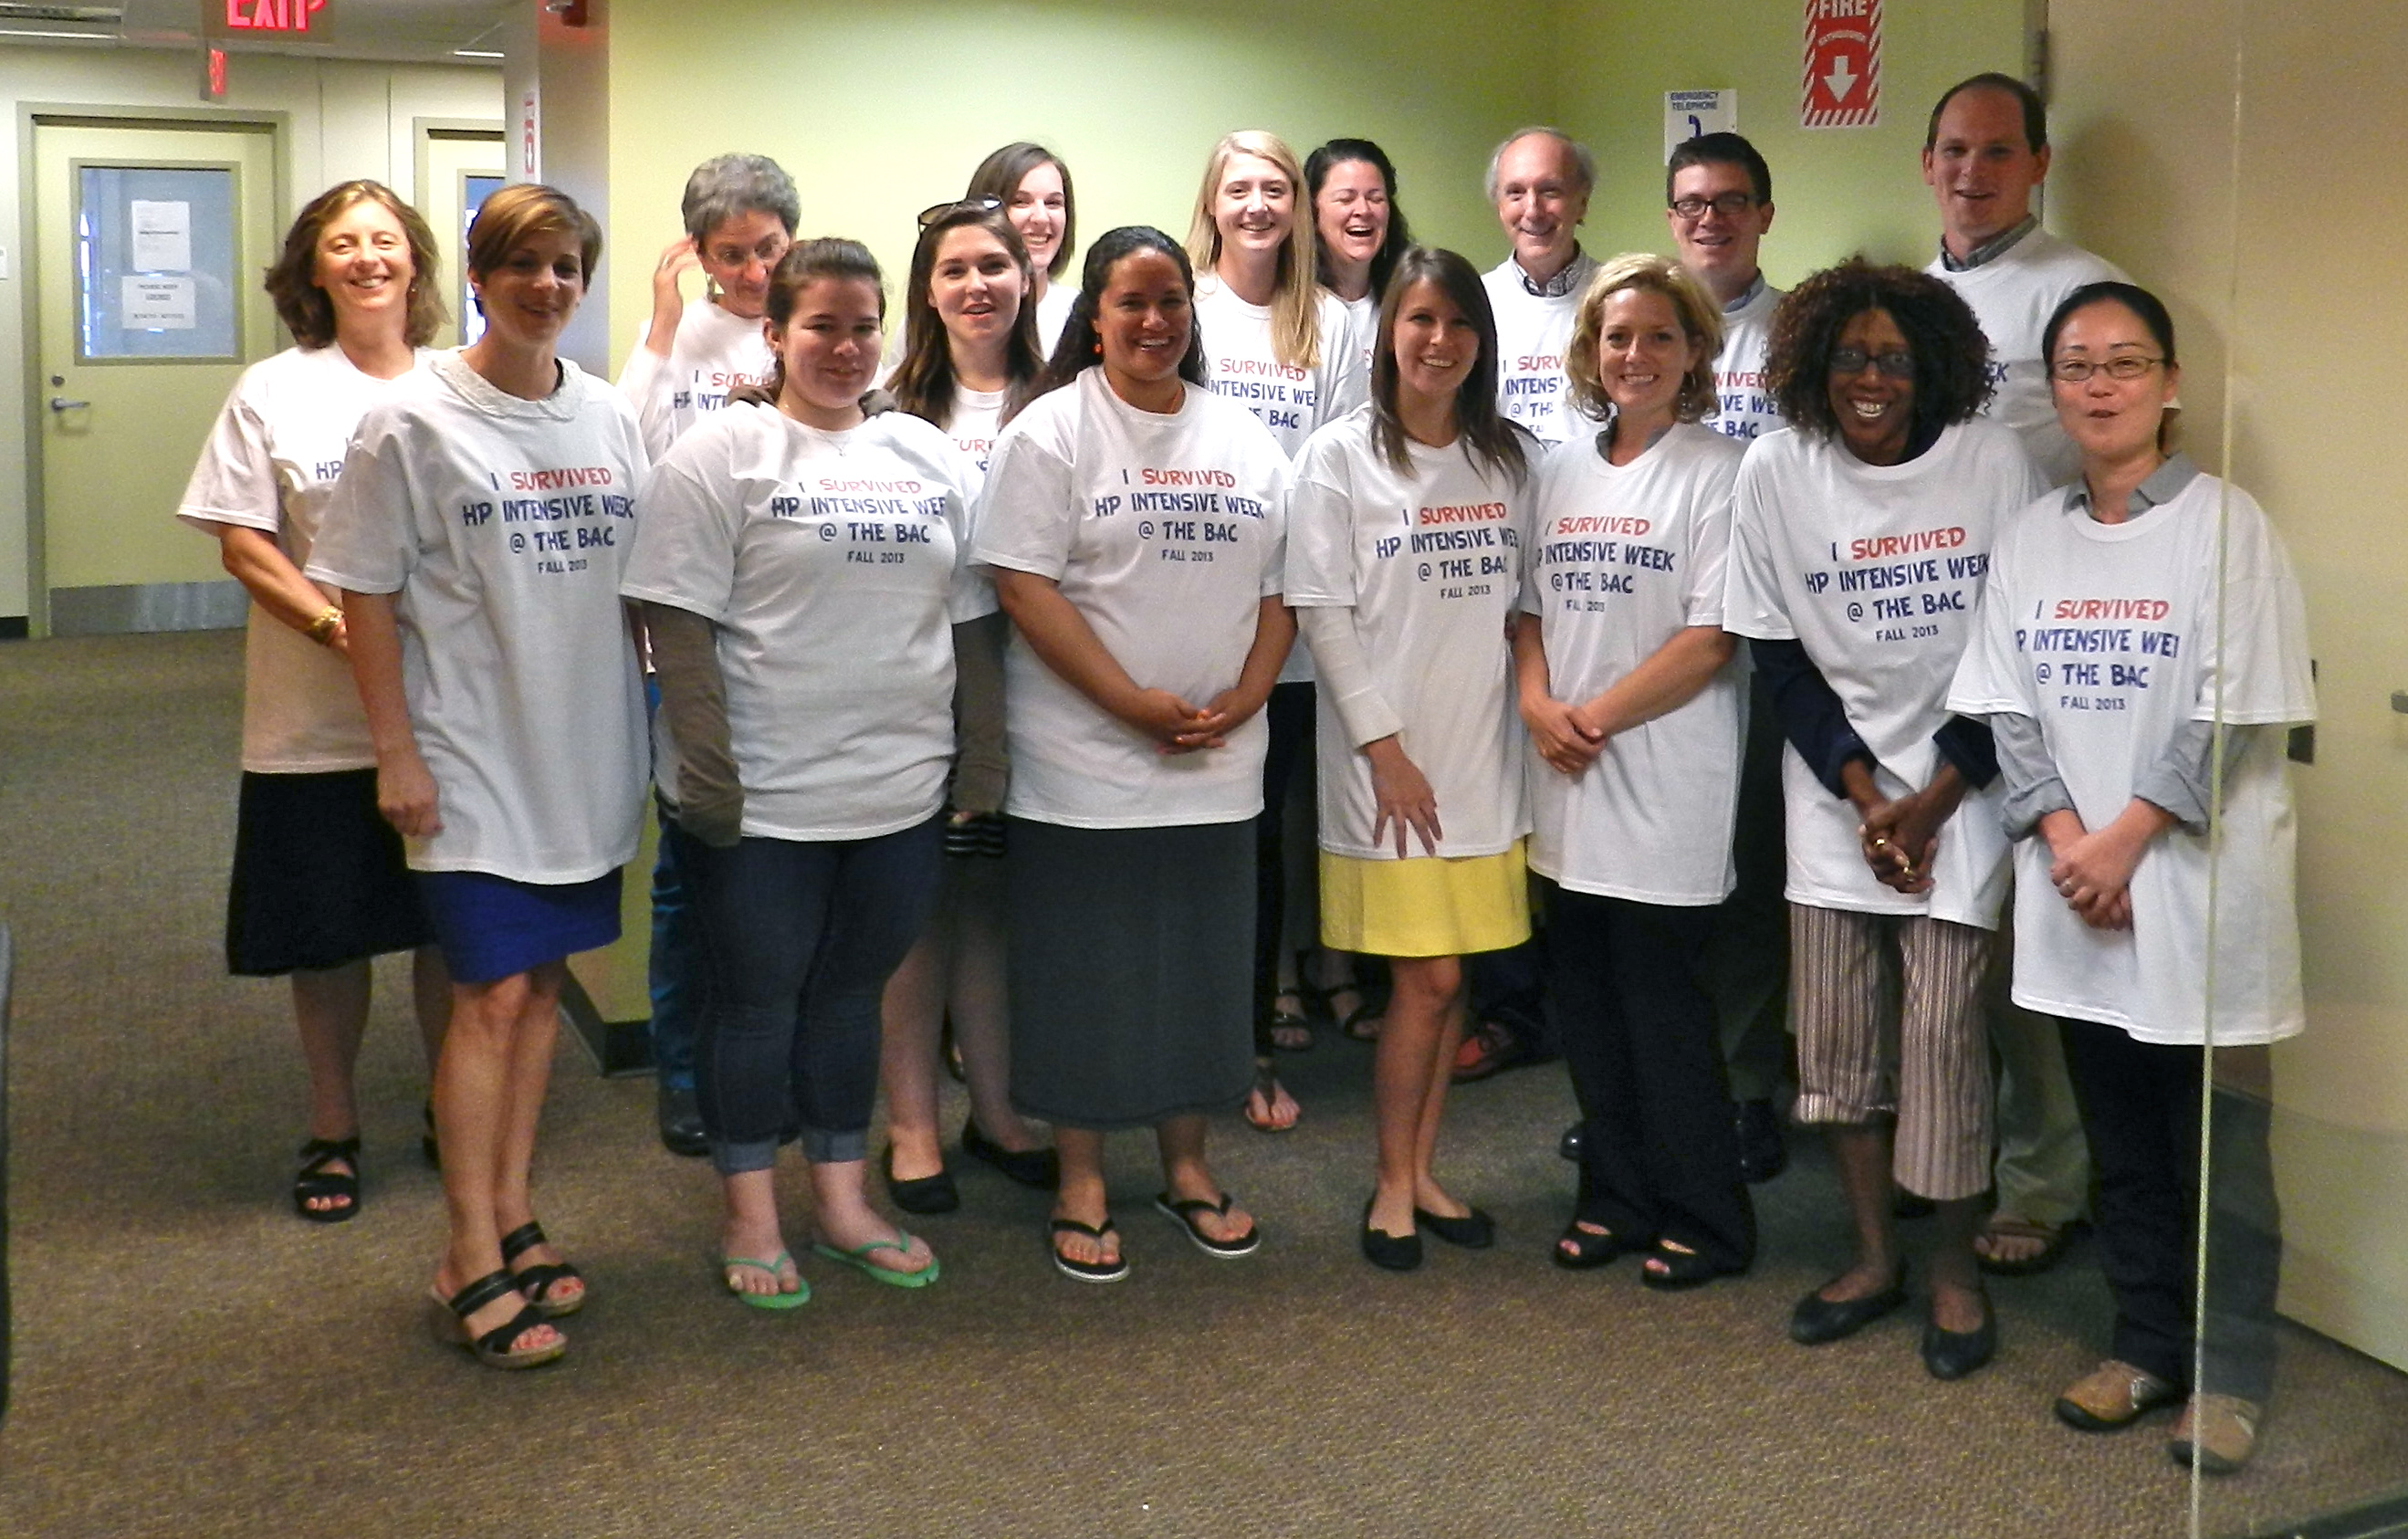
At the end of the week the students also shared their presentations and research proposals. To celebrate the end of this very intensive week the Director of the Historic Preservation (HP) program Robert Ogle presented each student with an ‘I survived the HP intensive week 2013 @ the BAC’ Tee Shirt to commemorate the occasion. This well earned reward is one of three major intensives they will need to survive in order to complete the program.

'I survived the BAC Historic Preservation Intensive 2013' Tee Shirts
‘I survived the BAC Historic Preservation Intensive 2013’ Tee Shirts

Given that we all survived this very intensive week and you survived reading this marathon blog post, I think it’s time for all of us to rest up and prep for next year. 🙂

You can learn more about this class and the program here or go direct to the video here.

-Bill

Making Your Mark — Name Stamps with Peter Ross

How do you mark your wooden tools ?

Carve your name into it? No.
Burn your name into it with a branding iron? Meh.
Sharpie? That’s so ’90s.
If you really want to be a traditional woodworker you’ll want to use a hand made metal name-stamp. I’ve seen some of these stamps over the years in tool sales, but never found my name or initials, so I figured it was time to take matters into my own hands. This past week I had the opportunity to take a workshop at the Woodwright’s School making a metal name-stamp. I had a great time during the class and will cover some of the highlights here:

Master Blacksmith Peter Ross at the forge

The class is held in the forge/workshop of Master Blacksmith Peter Ross who was the long time master of the blacksmith shop at Colonial Williamsburg. Pete is a friendly person and a great instructor.

In the afternoon Roy came by to visit. (Bill Rainford with Roy Underhill)

During the afternoon we were visited by Roy Underhill who came by to make sure we weren’t making counterfeit Nikes or anything illegal. 😉  It was great to chat with Roy for a few minutes and he’s every bit as nice in person as he is on TV.

My first stamp 'BMR' which will be used to mark some of my tools with my initials.
My first stamp ‘BMR’ which will be used to mark some of my tools with my initials.

Now on to business….for my first stamp I made one with my initials ‘BMR’ so that I can label some of my tools. By stamping some of my old wooden planes I’ll officially be part of the long line of owners who had them before me and those who will have them after me.

Testing my Initials stamp in some end grain

After forging the rough blank we learned to use the various types of files and letter stamps needed to make a nice stamp. Along the way we’d test the stamps in the end grain of some wood and in lead flashing.

Testing the stamps on some lead flashing

Why do you use end grain wood and lead flashing?!

The stamps work by crushing some fibers and leaving others proud, thus creating a 3D surface that can be read — much like you see in the maker’s marks on the toe of a molding plane. The lead does a great job showing you crisply where your stamp is pressing and where you may need to work on it some more.

Peter teaching the class how to file and use the leg vise

Peter demonstrated how to properly file and also how tough the surface of the stamps become once they were case hardened — the files were no match.

My second stamp -- 'RAINFORD' with a slight curve over the length of the stamp
My second stamp — ‘RAINFORD’ with a slight curve over the length of the stamp

Making a longer name stamp was even more challenging since the letters are all set free hand you could very easily mess it up with any given letter. If you do mess it up, file off the mistake and try again, and again as needed.

Testing my second stamp

For my second stamp I made my last name and curved it a bit to make a gentle arch. Around the edge of the stamp you could decorate it any way you wanted, the most common being a traditional sawtooth-like border.

Another test block showing some of the variation across the stamps

Most if not all folks in the class got a chance to make a couple of name stamps and practice their filing skills.

A beautiful lock that Pete made

Beyond the class itself we also got a chance to see some of the amazing work Peter does in his shop. From beautiful locks, to tools, to massive Roubo holdfasts it was neat to see the variety of black and whitesmithing tasks Peter carries out in his shop.

If you are interested in taking this workshop, please check out the Woodwright’s School website here. I had a great time and look forward to my next workshop at the Woodwright’s School.

Getting Hooked on Blacksmithing

I recently had the opportunity to take one of the ‘Taste of Blacksmithing’ classes at the Prospect Hill Forge in Waltham MA as part of the NBSS group event there. It’s something I wanted to take for a long time and I am happy I finally got to take it. During the class we learned some basic techniques and principles of how to work metal, then Carl and Mike let us try it for ourselves. The project for the class was a drive hook — which is a hook you would drive into a timber framed post or similar and then use like any other hook. (see below)

Completed Drive Hook
Completed Drive Hook. First thing I ever forged -- I really like it. You would drive it into a post and use it like any other hook. Has nice twisting detail.

I’m looking forward to talking more classes there in the future.

You can find out more about the Prospect Hill Forge here. Carl and Mike were great instructors, and like me worked in Software/High Tech. 🙂

Here is a brief slide show from our class:

This slideshow requires JavaScript.