How do you mark your wooden tools ?
Carve your name into it? No.
Burn your name into it with a branding iron? Meh.
Sharpie? That’s so ’90s.
If you really want to be a traditional woodworker you’ll want to use a hand made metal name-stamp. I’ve seen some of these stamps over the years in tool sales, but never found my name or initials, so I figured it was time to take matters into my own hands. This past week I had the opportunity to take a workshop at the Woodwright’s School making a metal name-stamp. I had a great time during the class and will cover some of the highlights here:
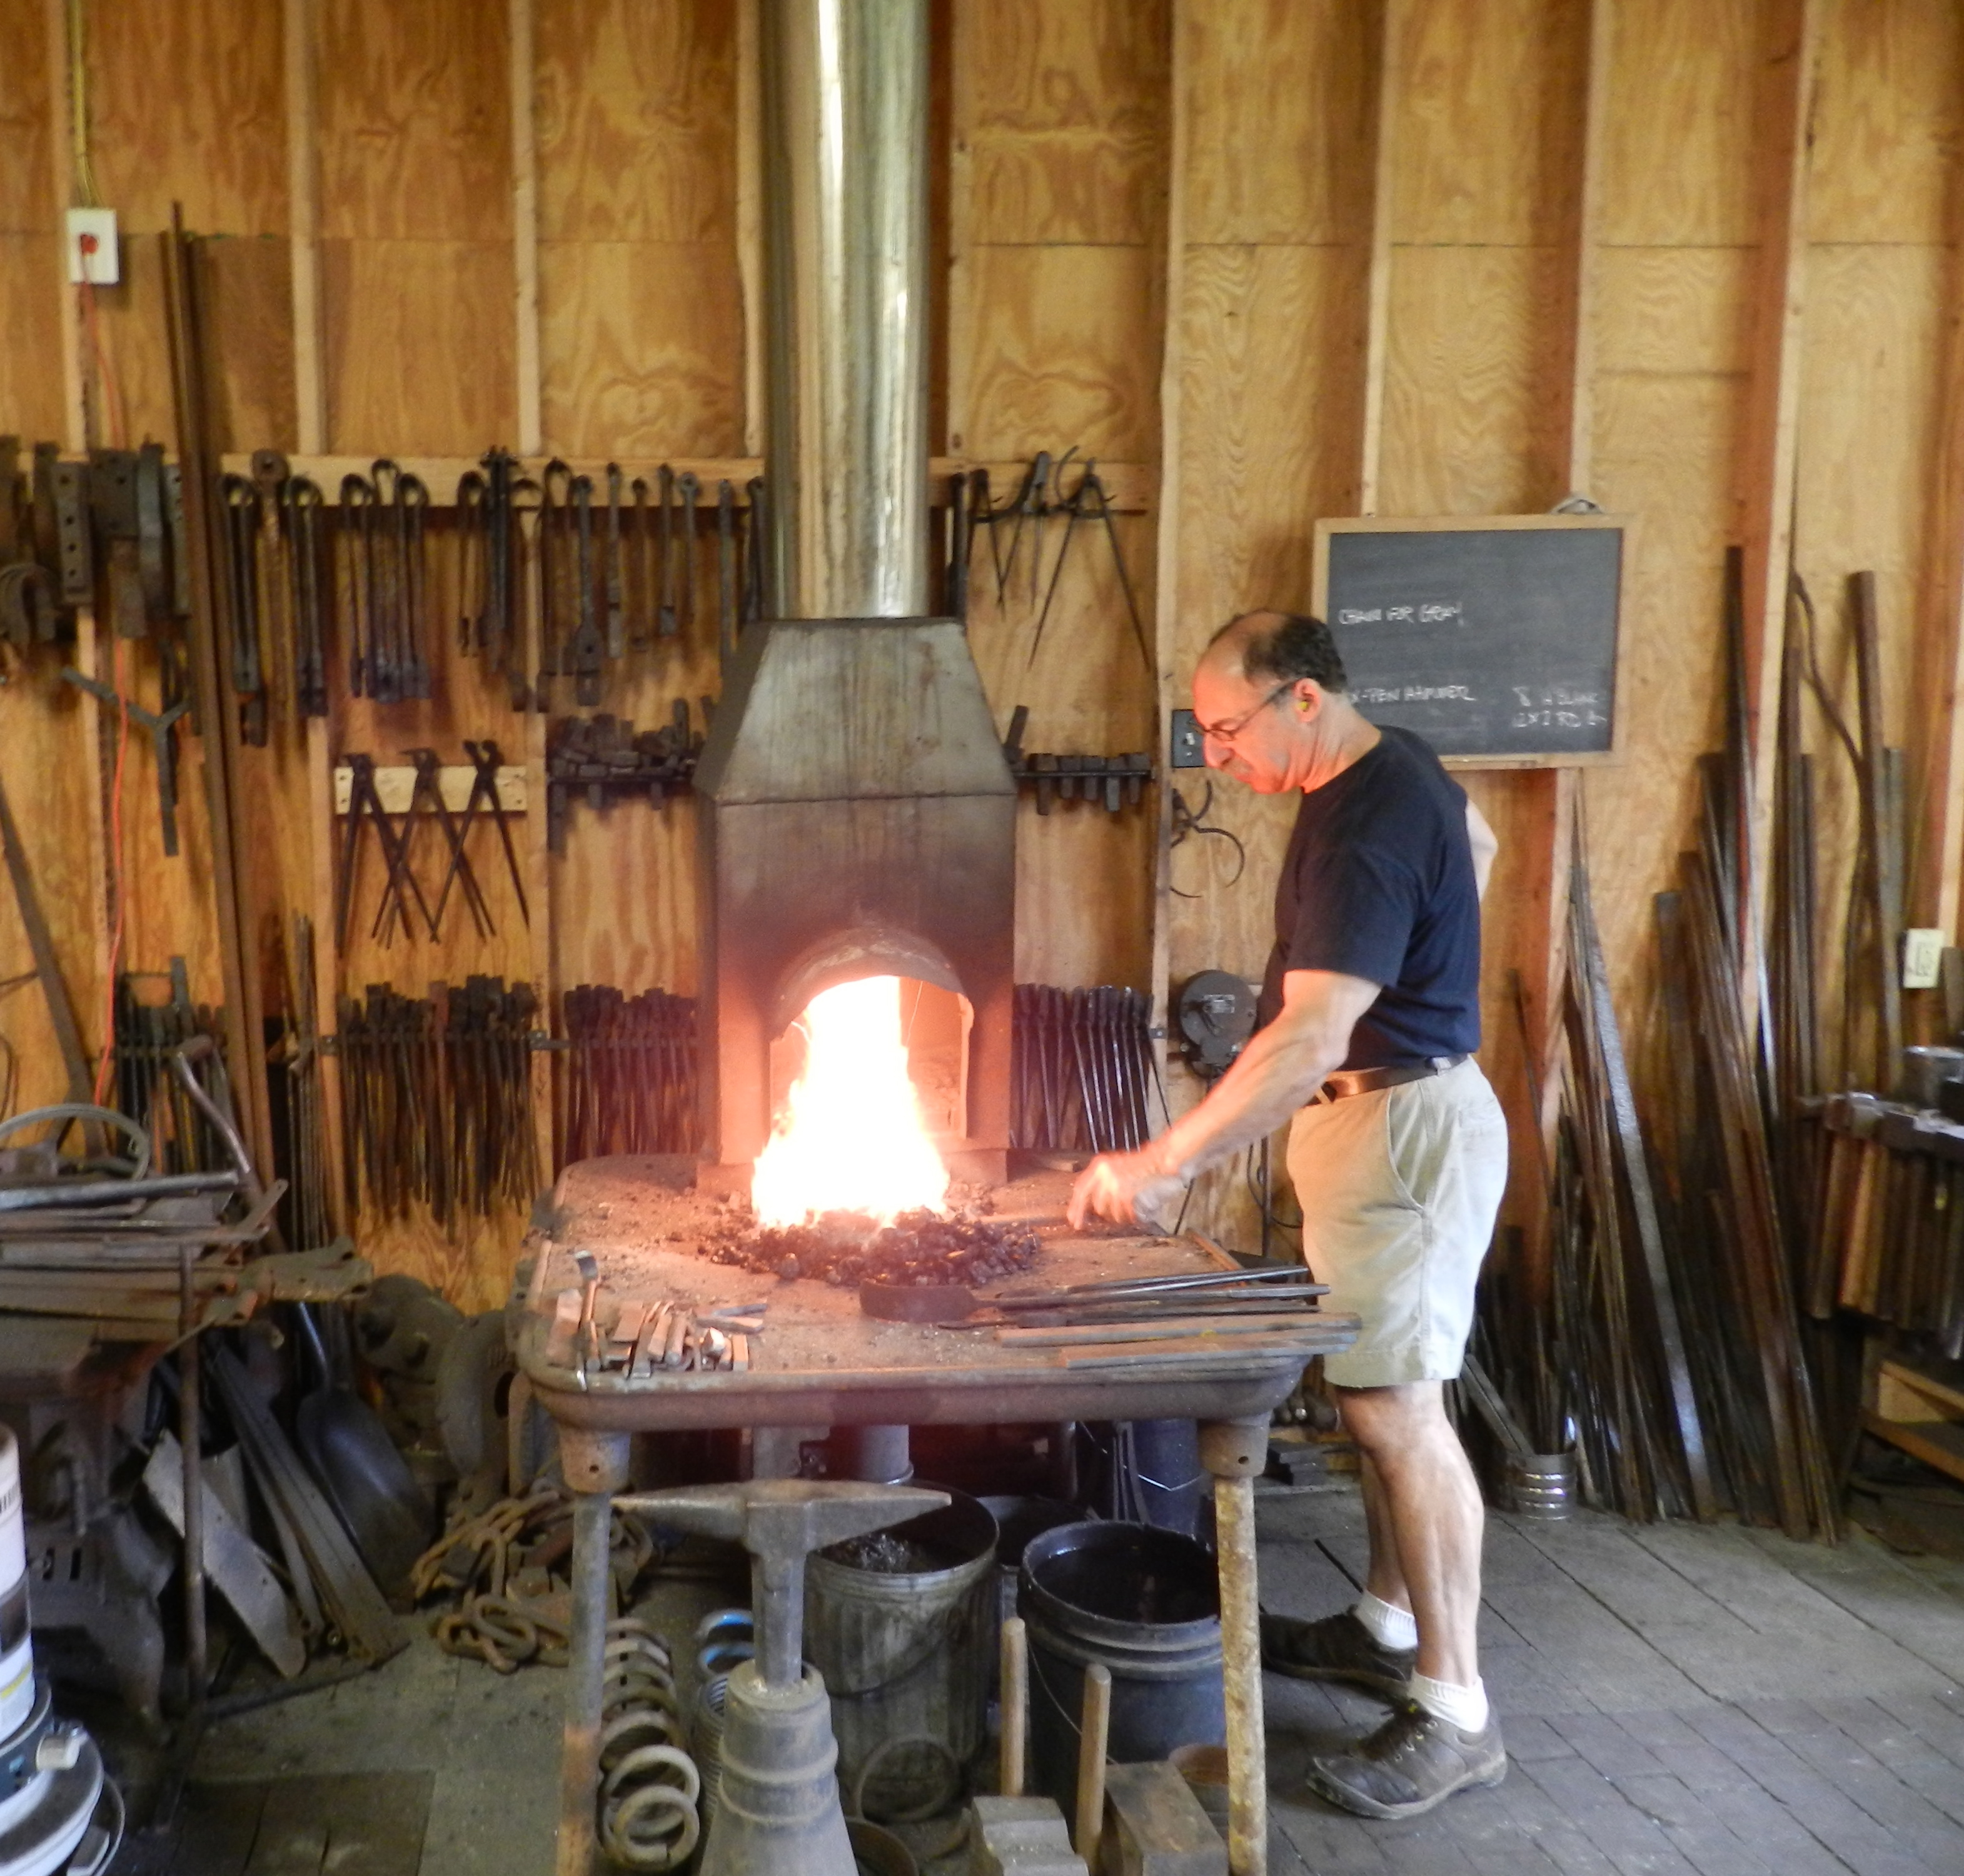
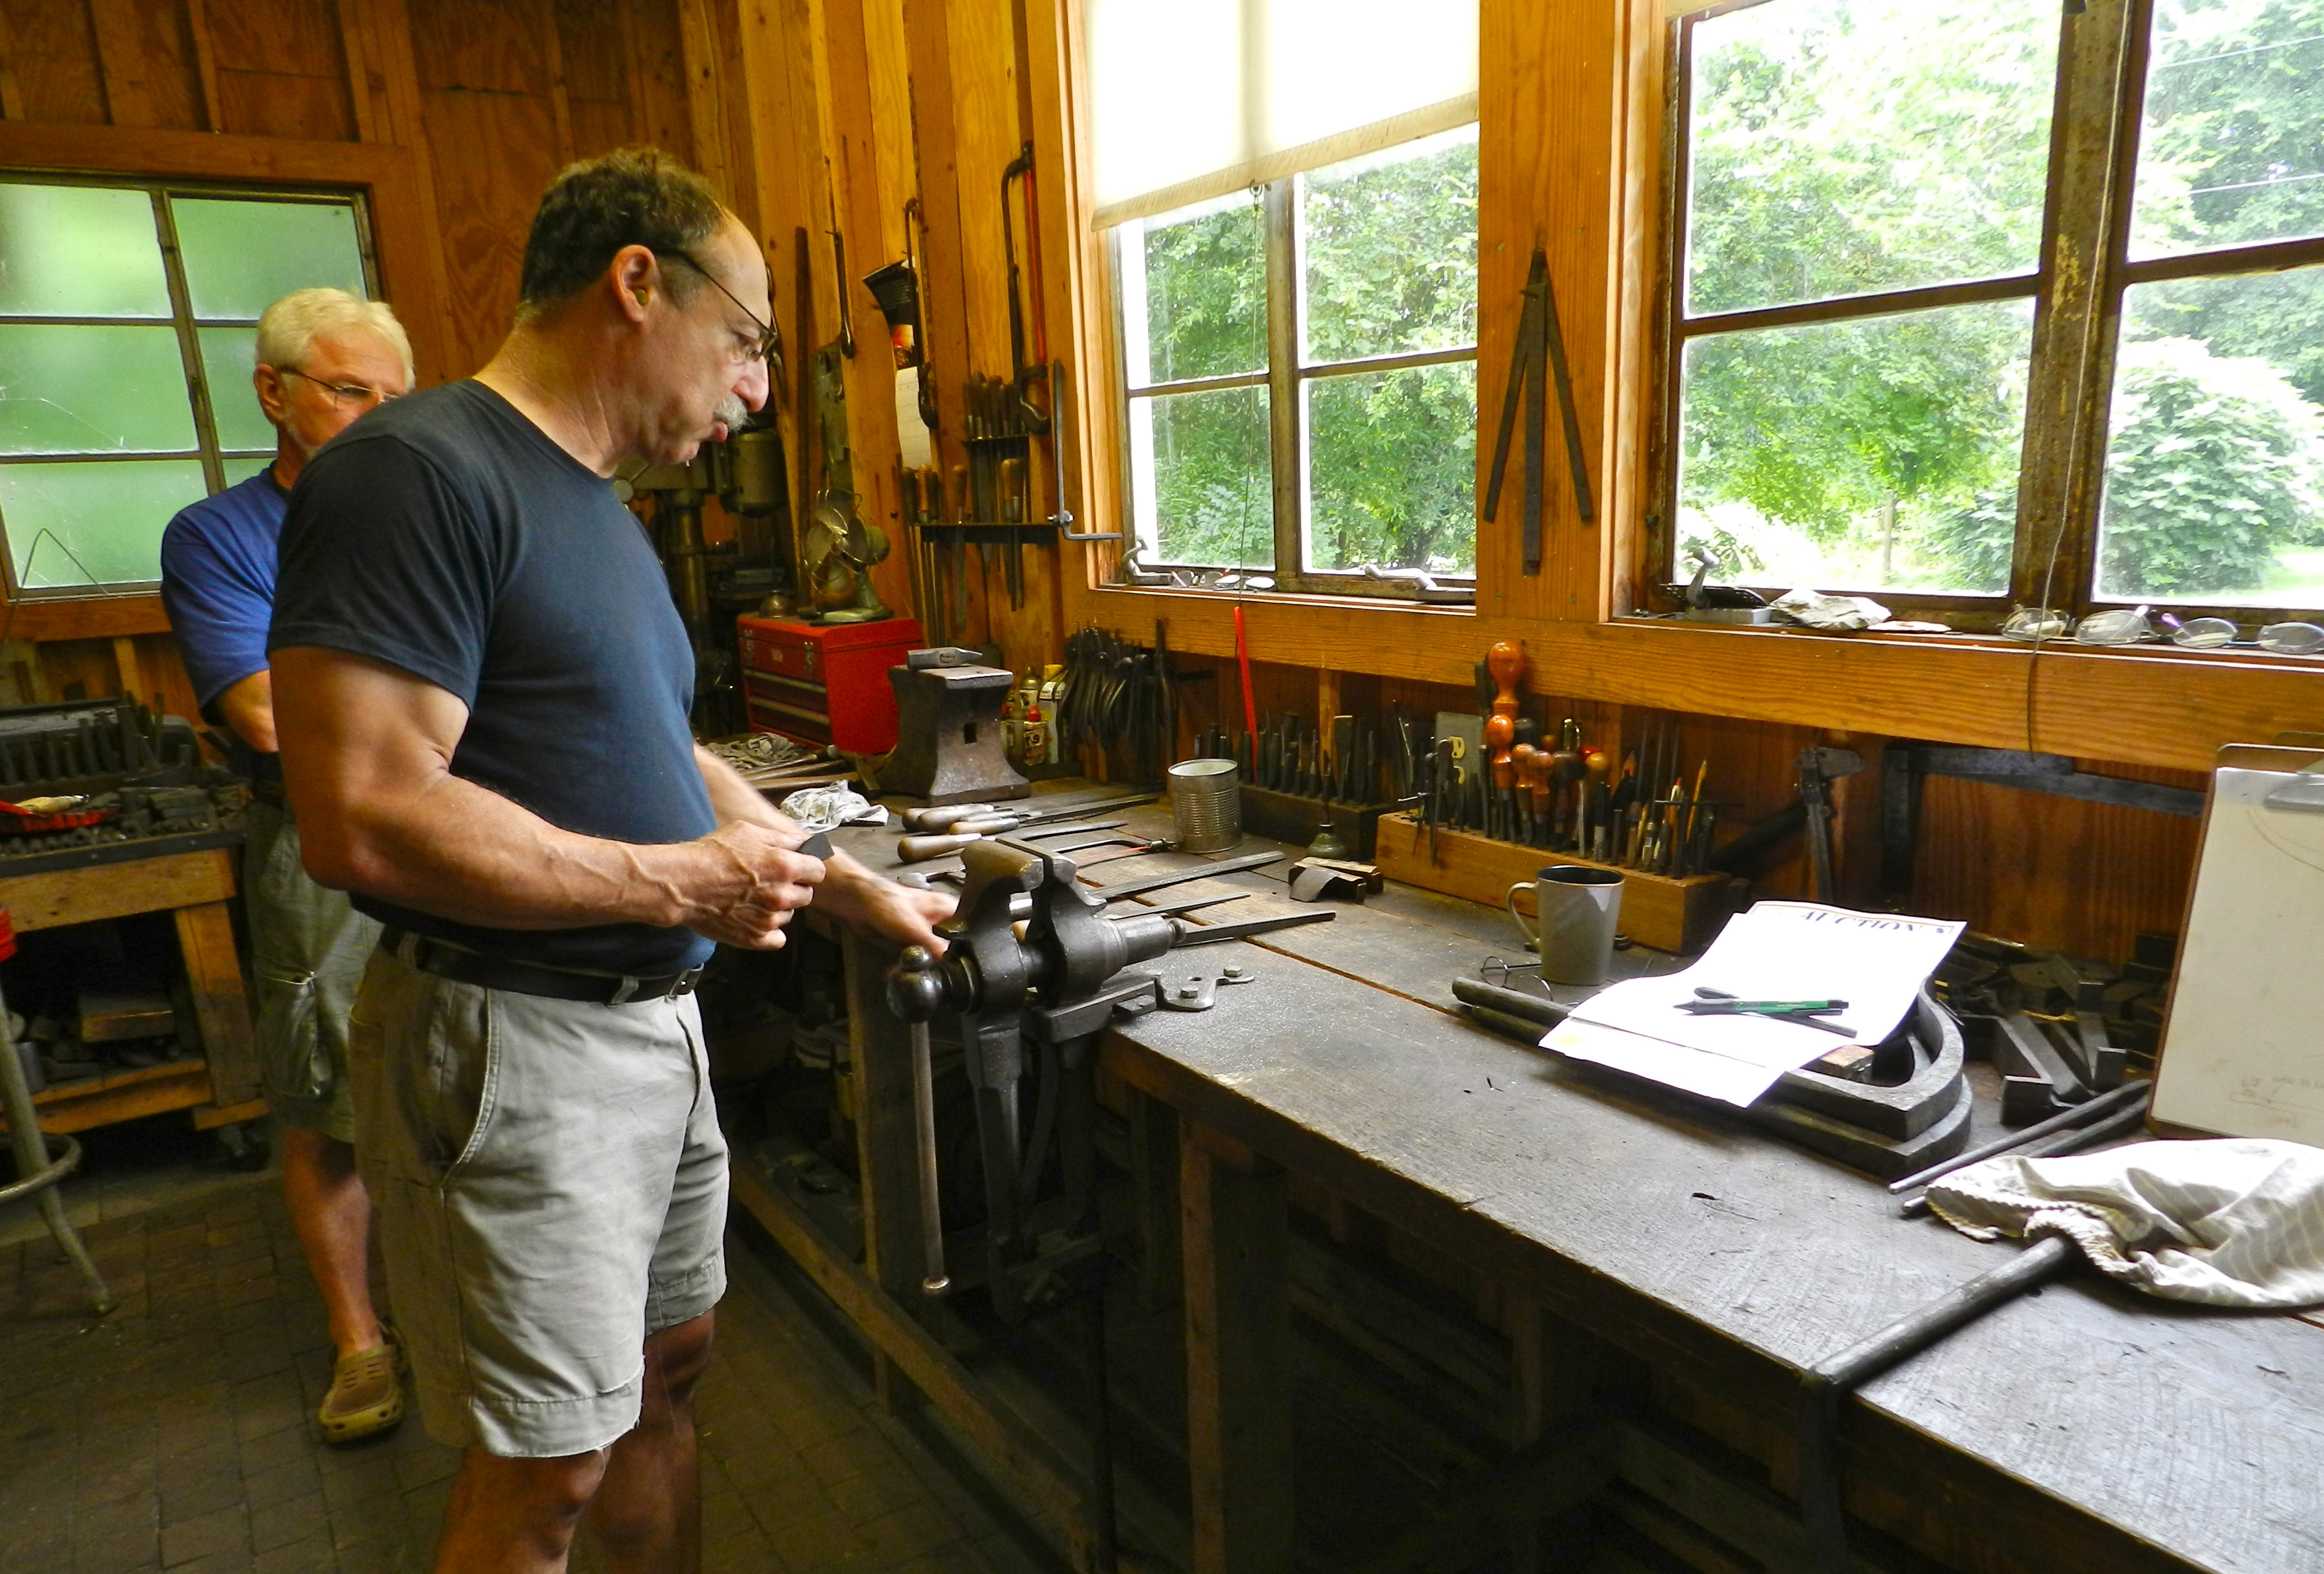
The class is held in the forge/workshop of Master Blacksmith Peter Ross who was the long time master of the blacksmith shop at Colonial Williamsburg. Pete is a friendly person and a great instructor.
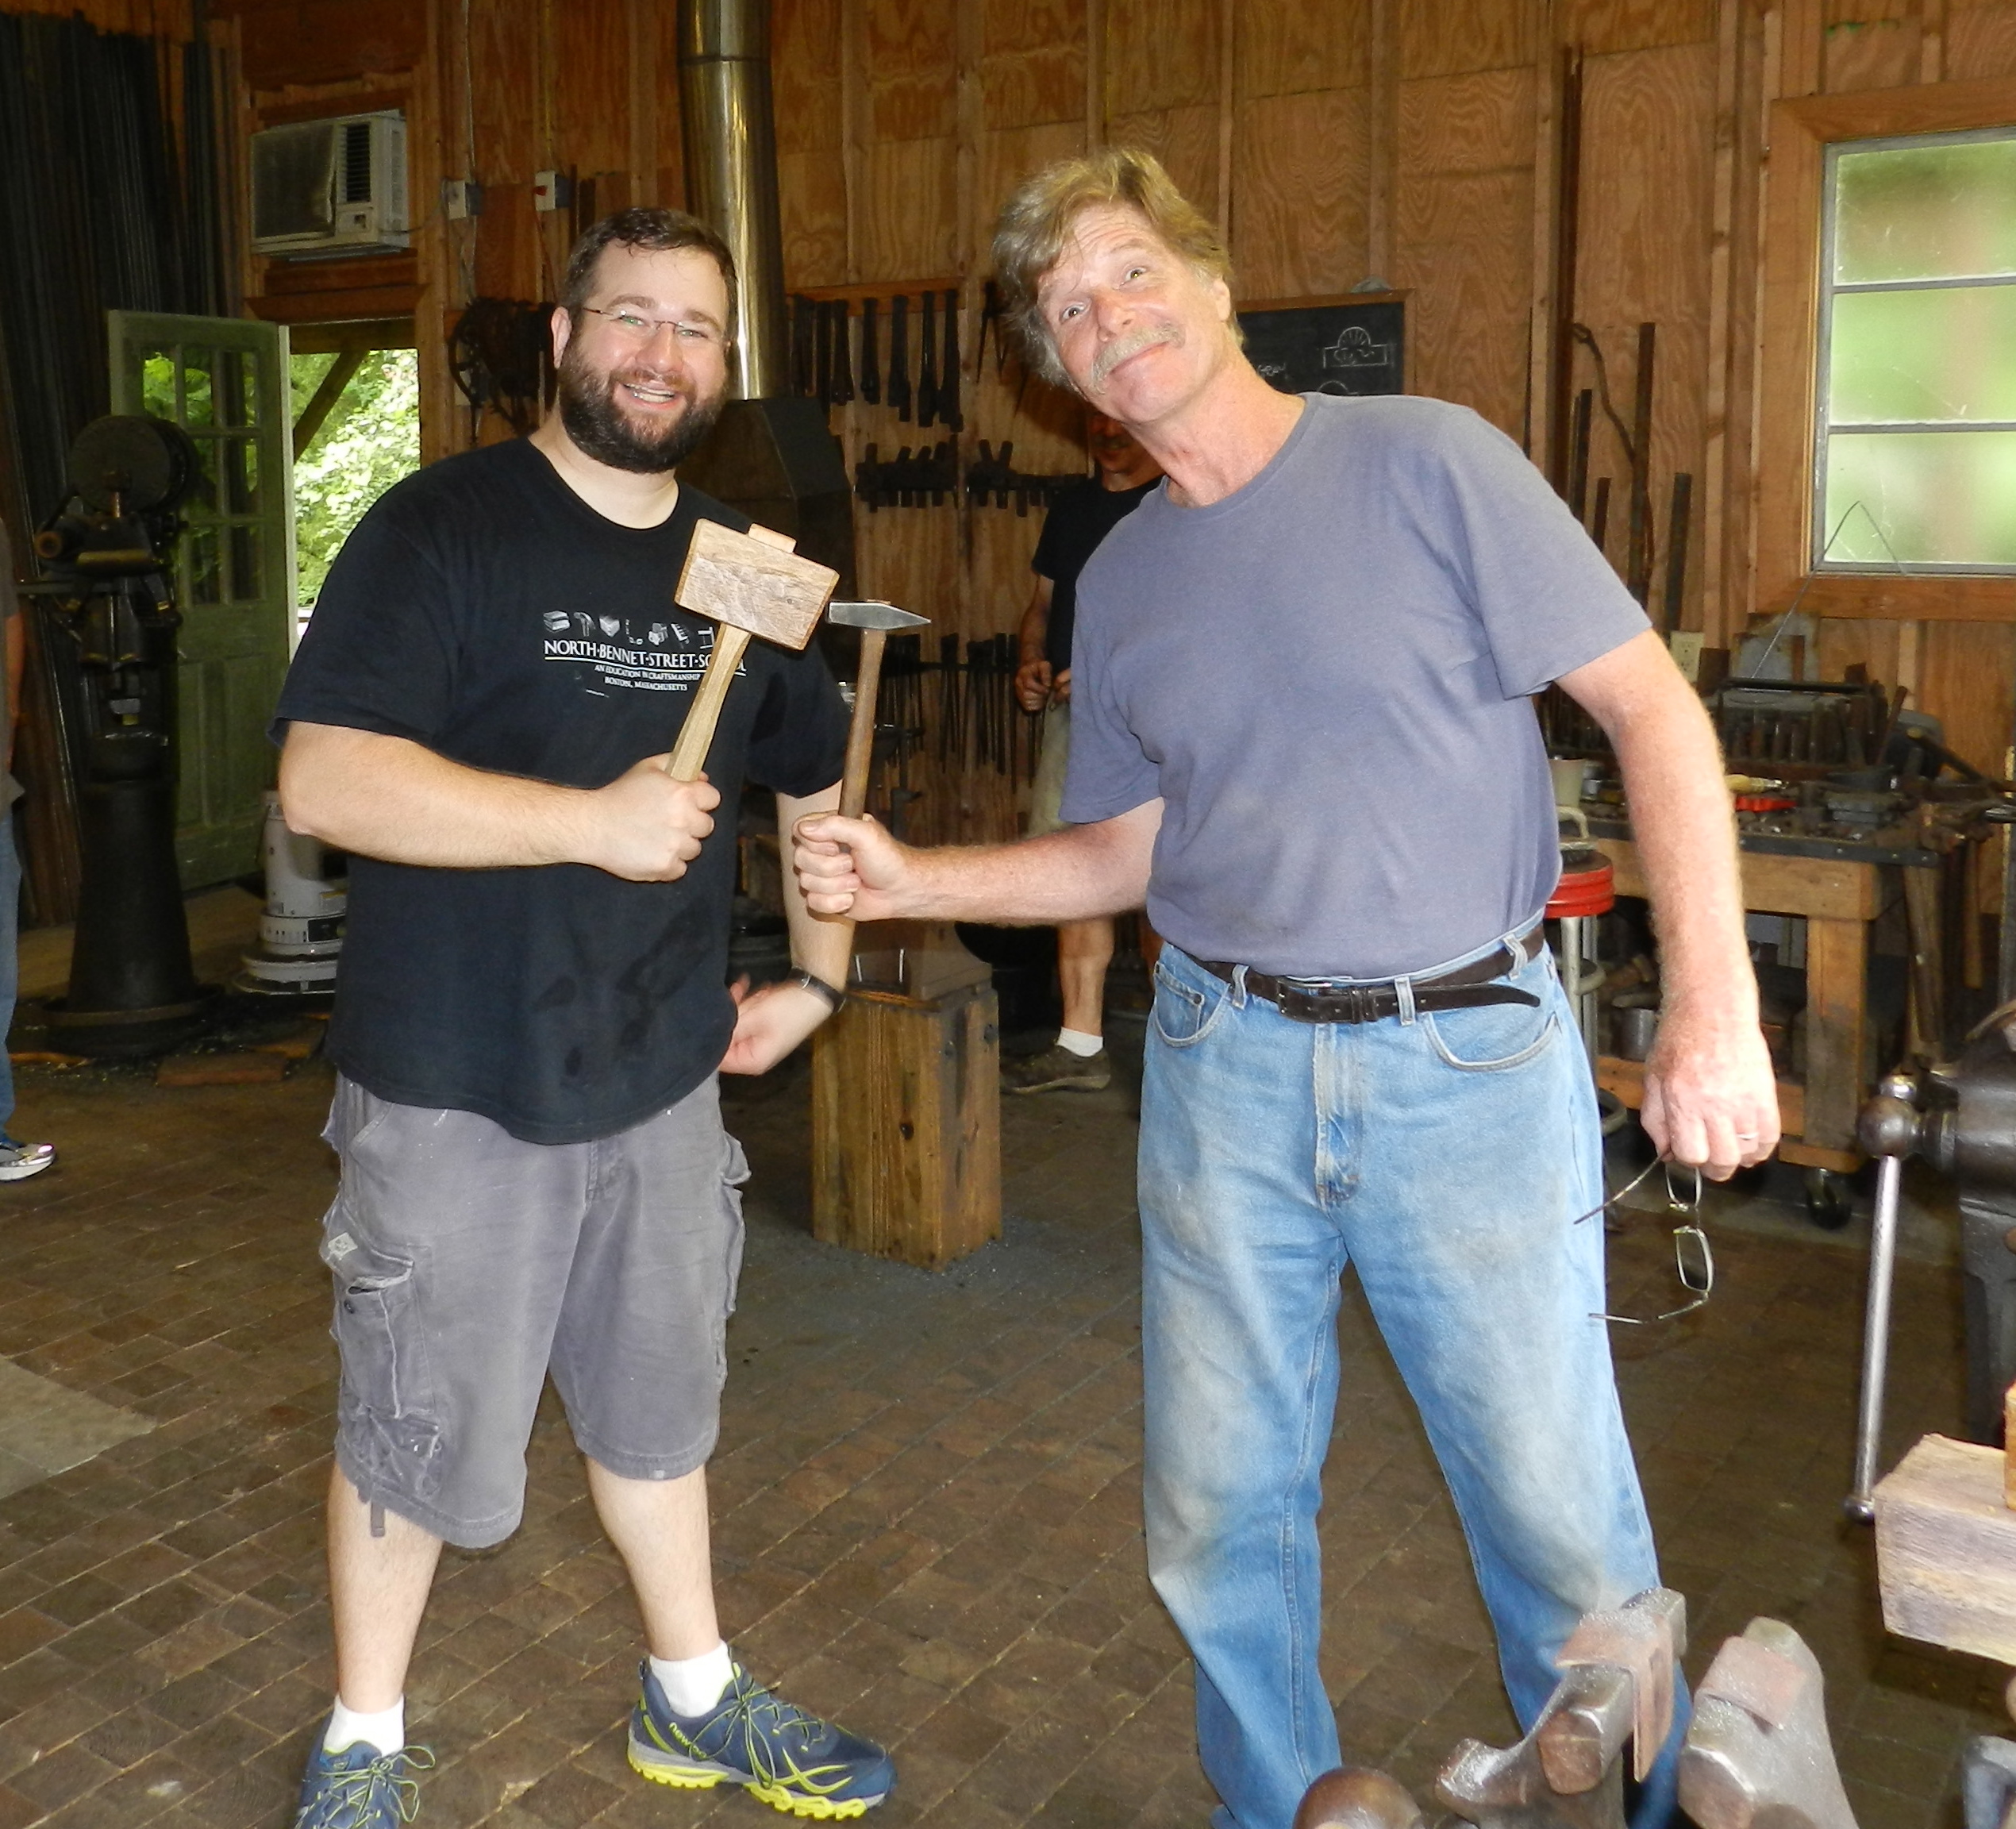
During the afternoon we were visited by Roy Underhill who came by to make sure we weren’t making counterfeit Nikes or anything illegal. 😉 It was great to chat with Roy for a few minutes and he’s every bit as nice in person as he is on TV.
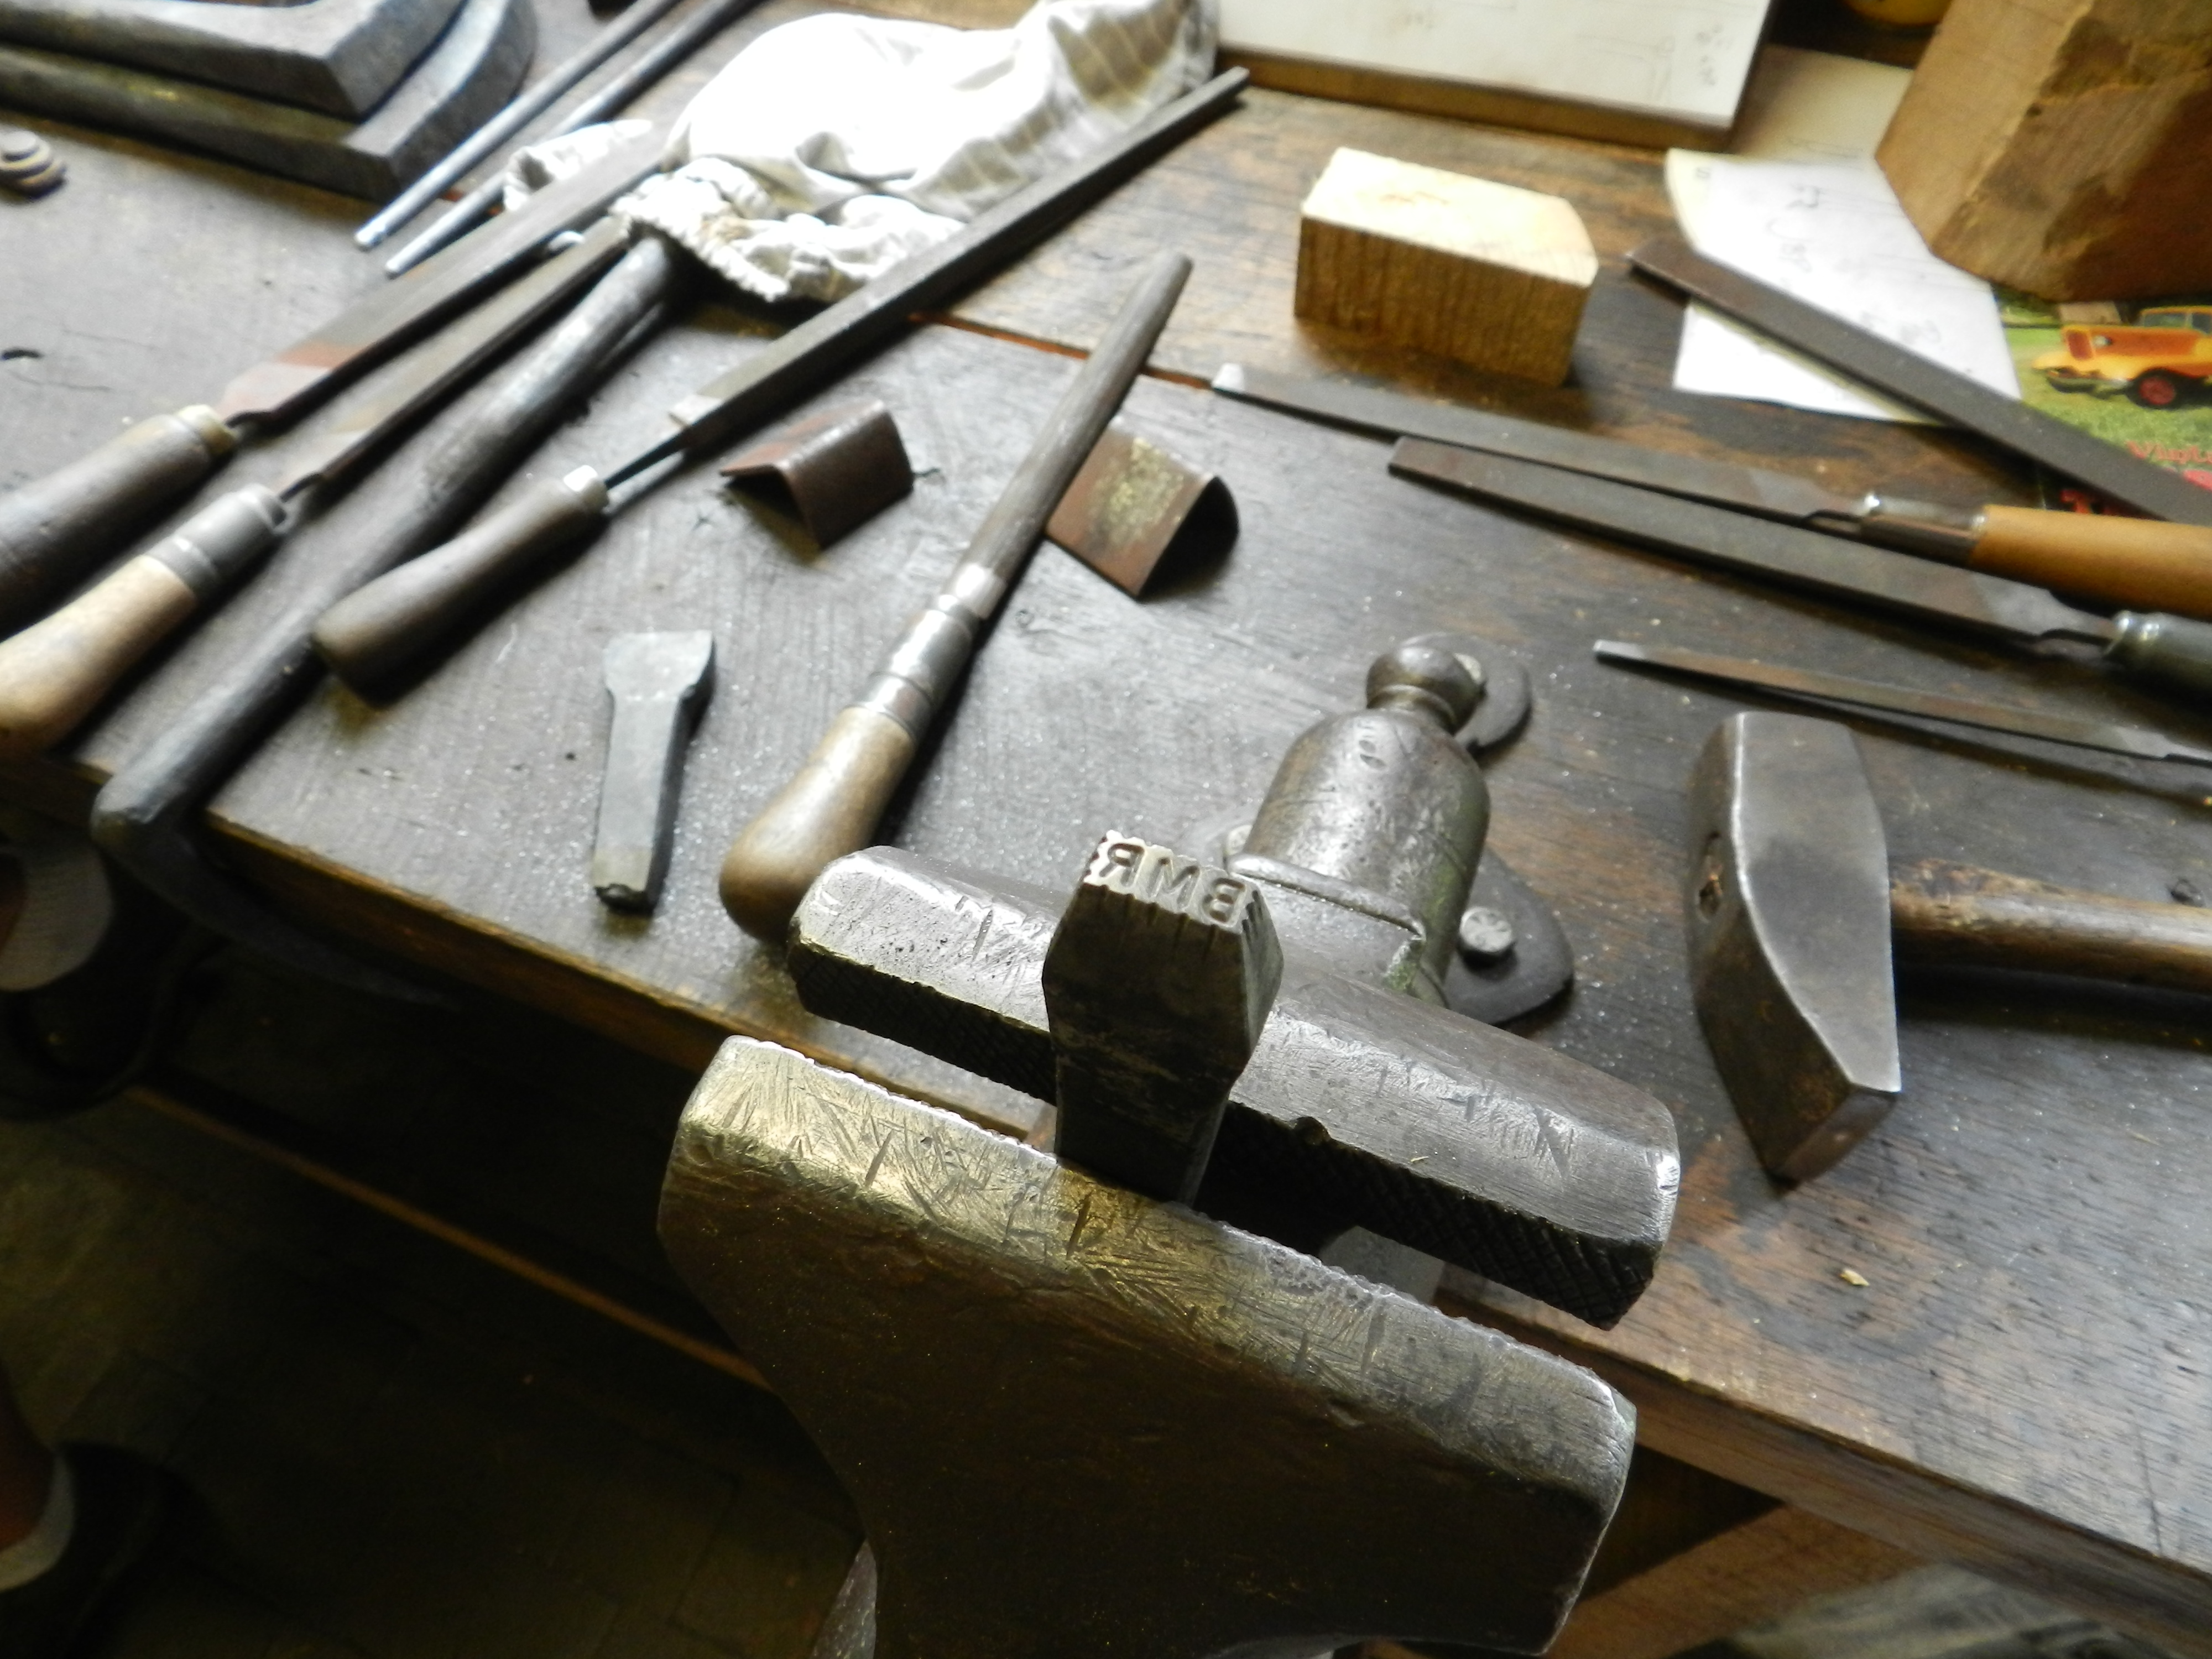
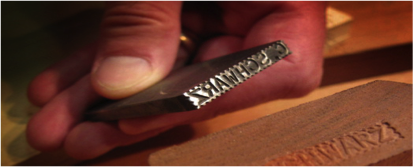
Now on to business….for my first stamp I made one with my initials ‘BMR’ so that I can label some of my tools. By stamping some of my old wooden planes I’ll officially be part of the long line of owners who had them before me and those who will have them after me.
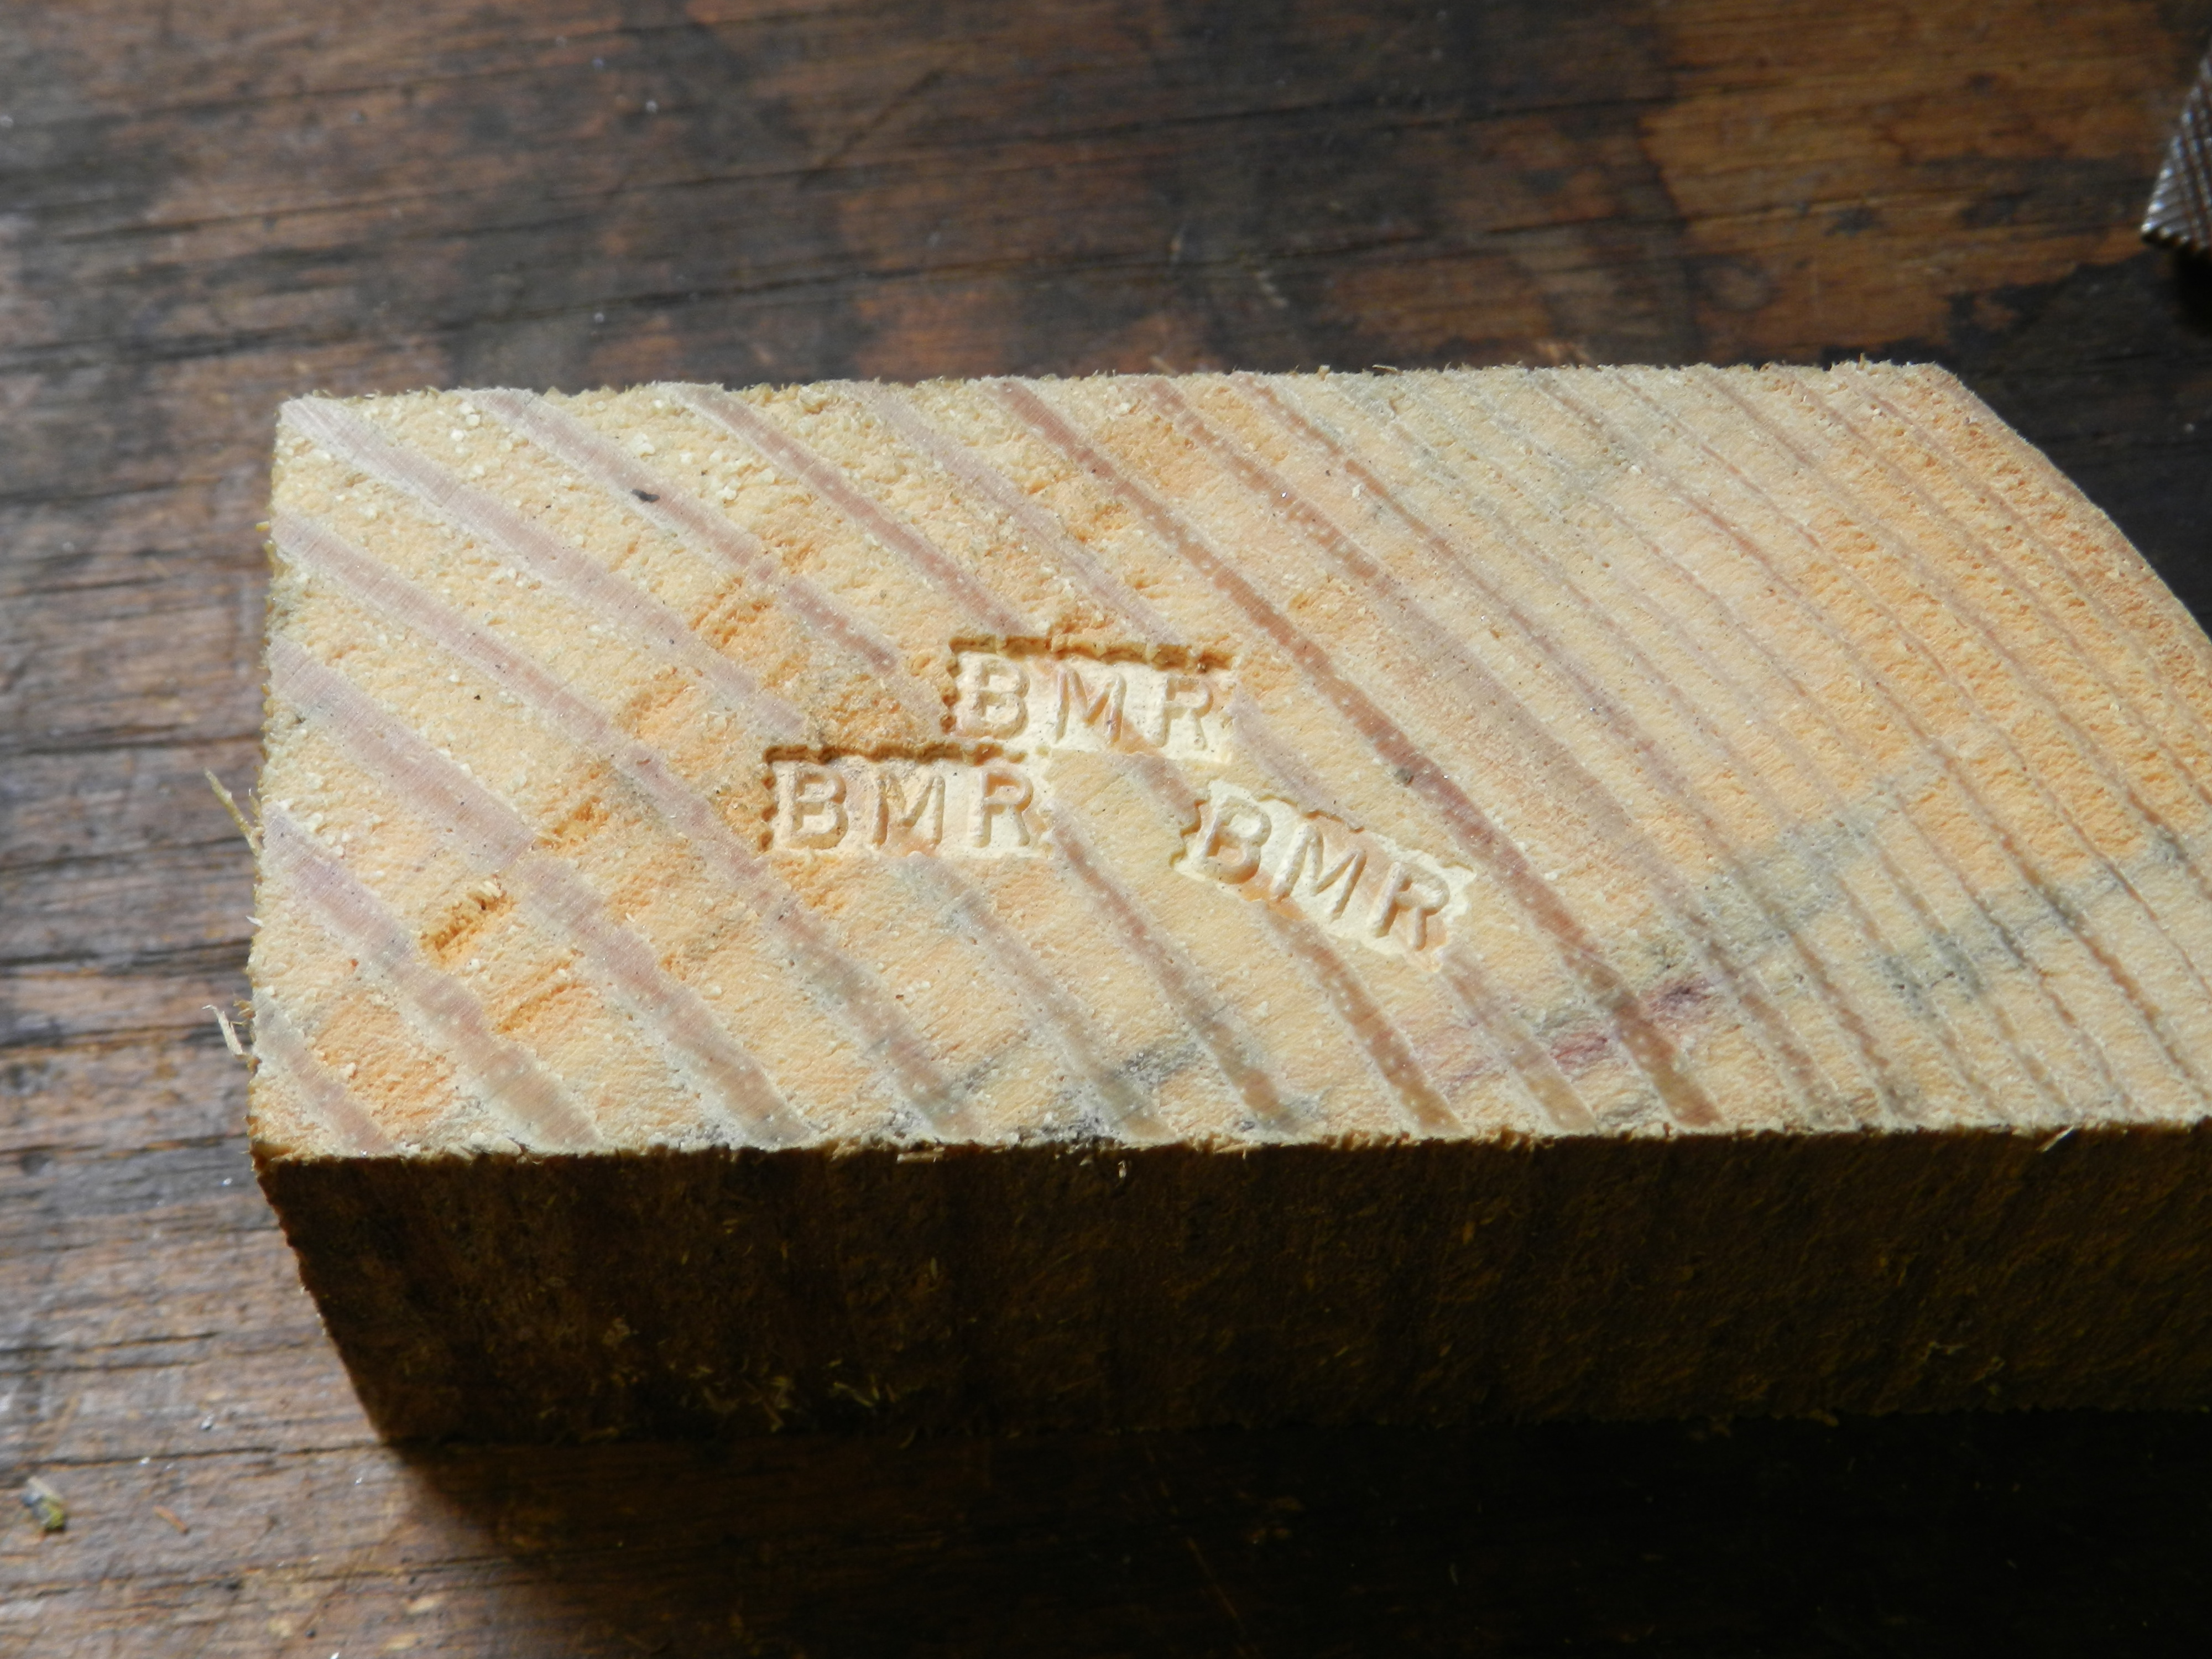
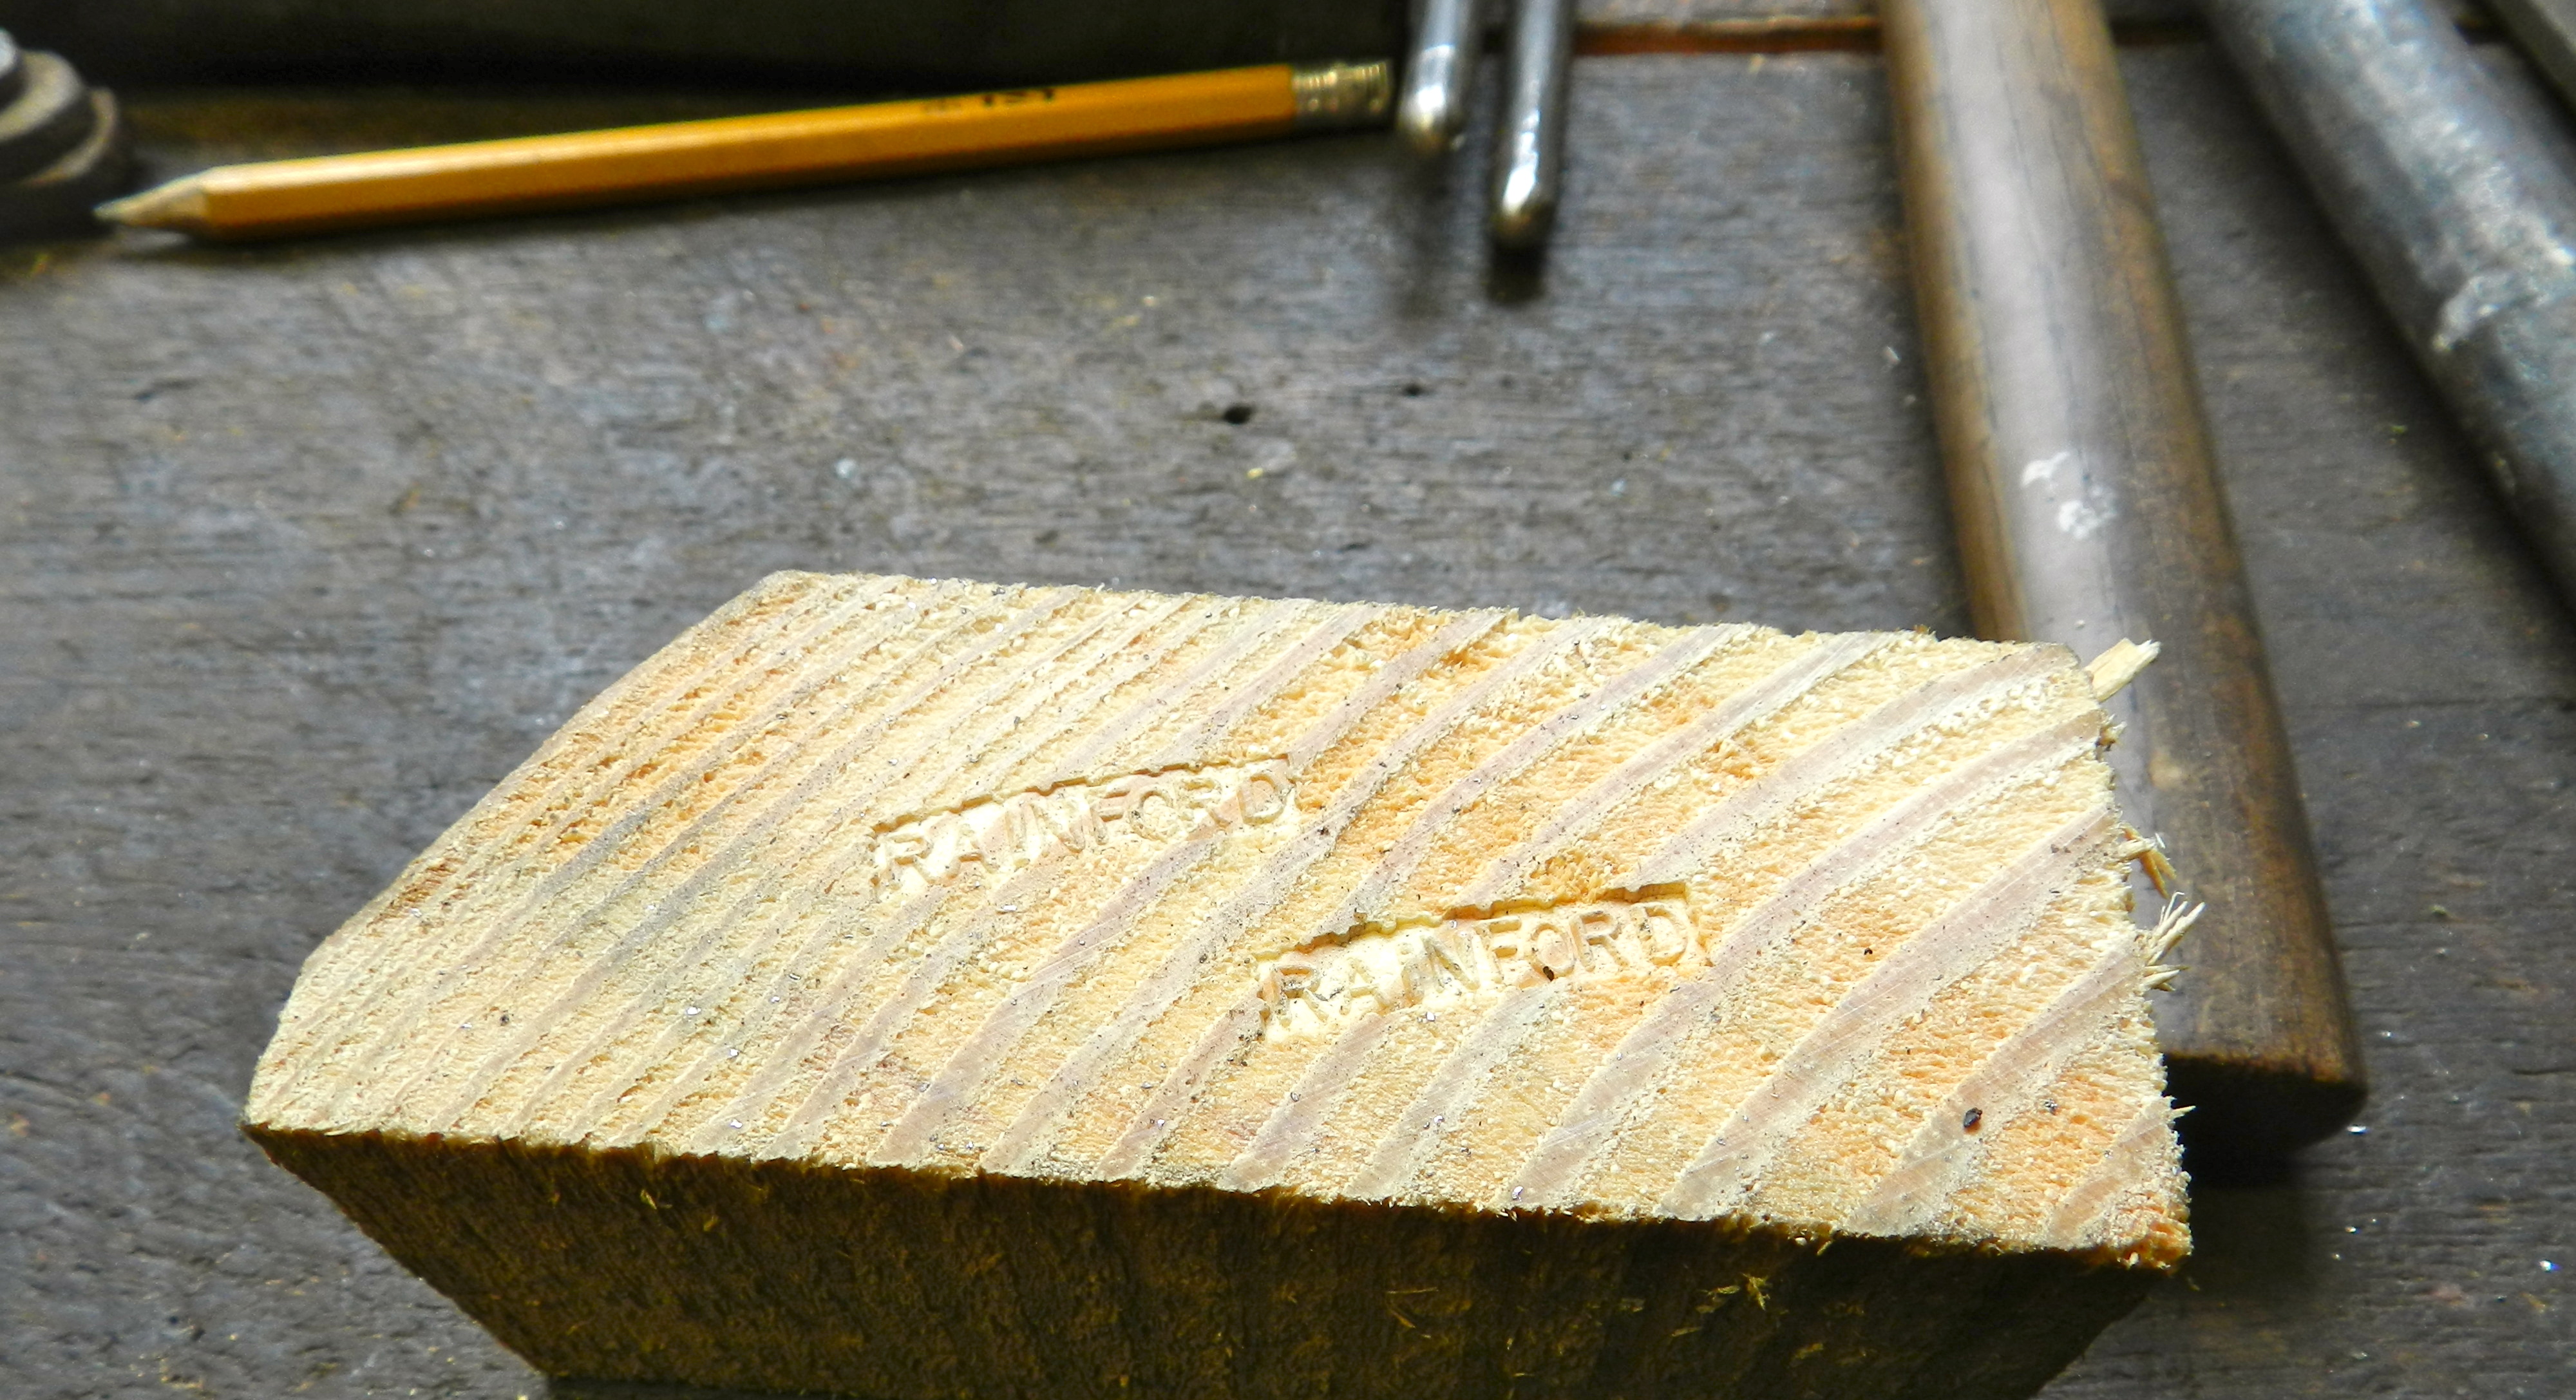
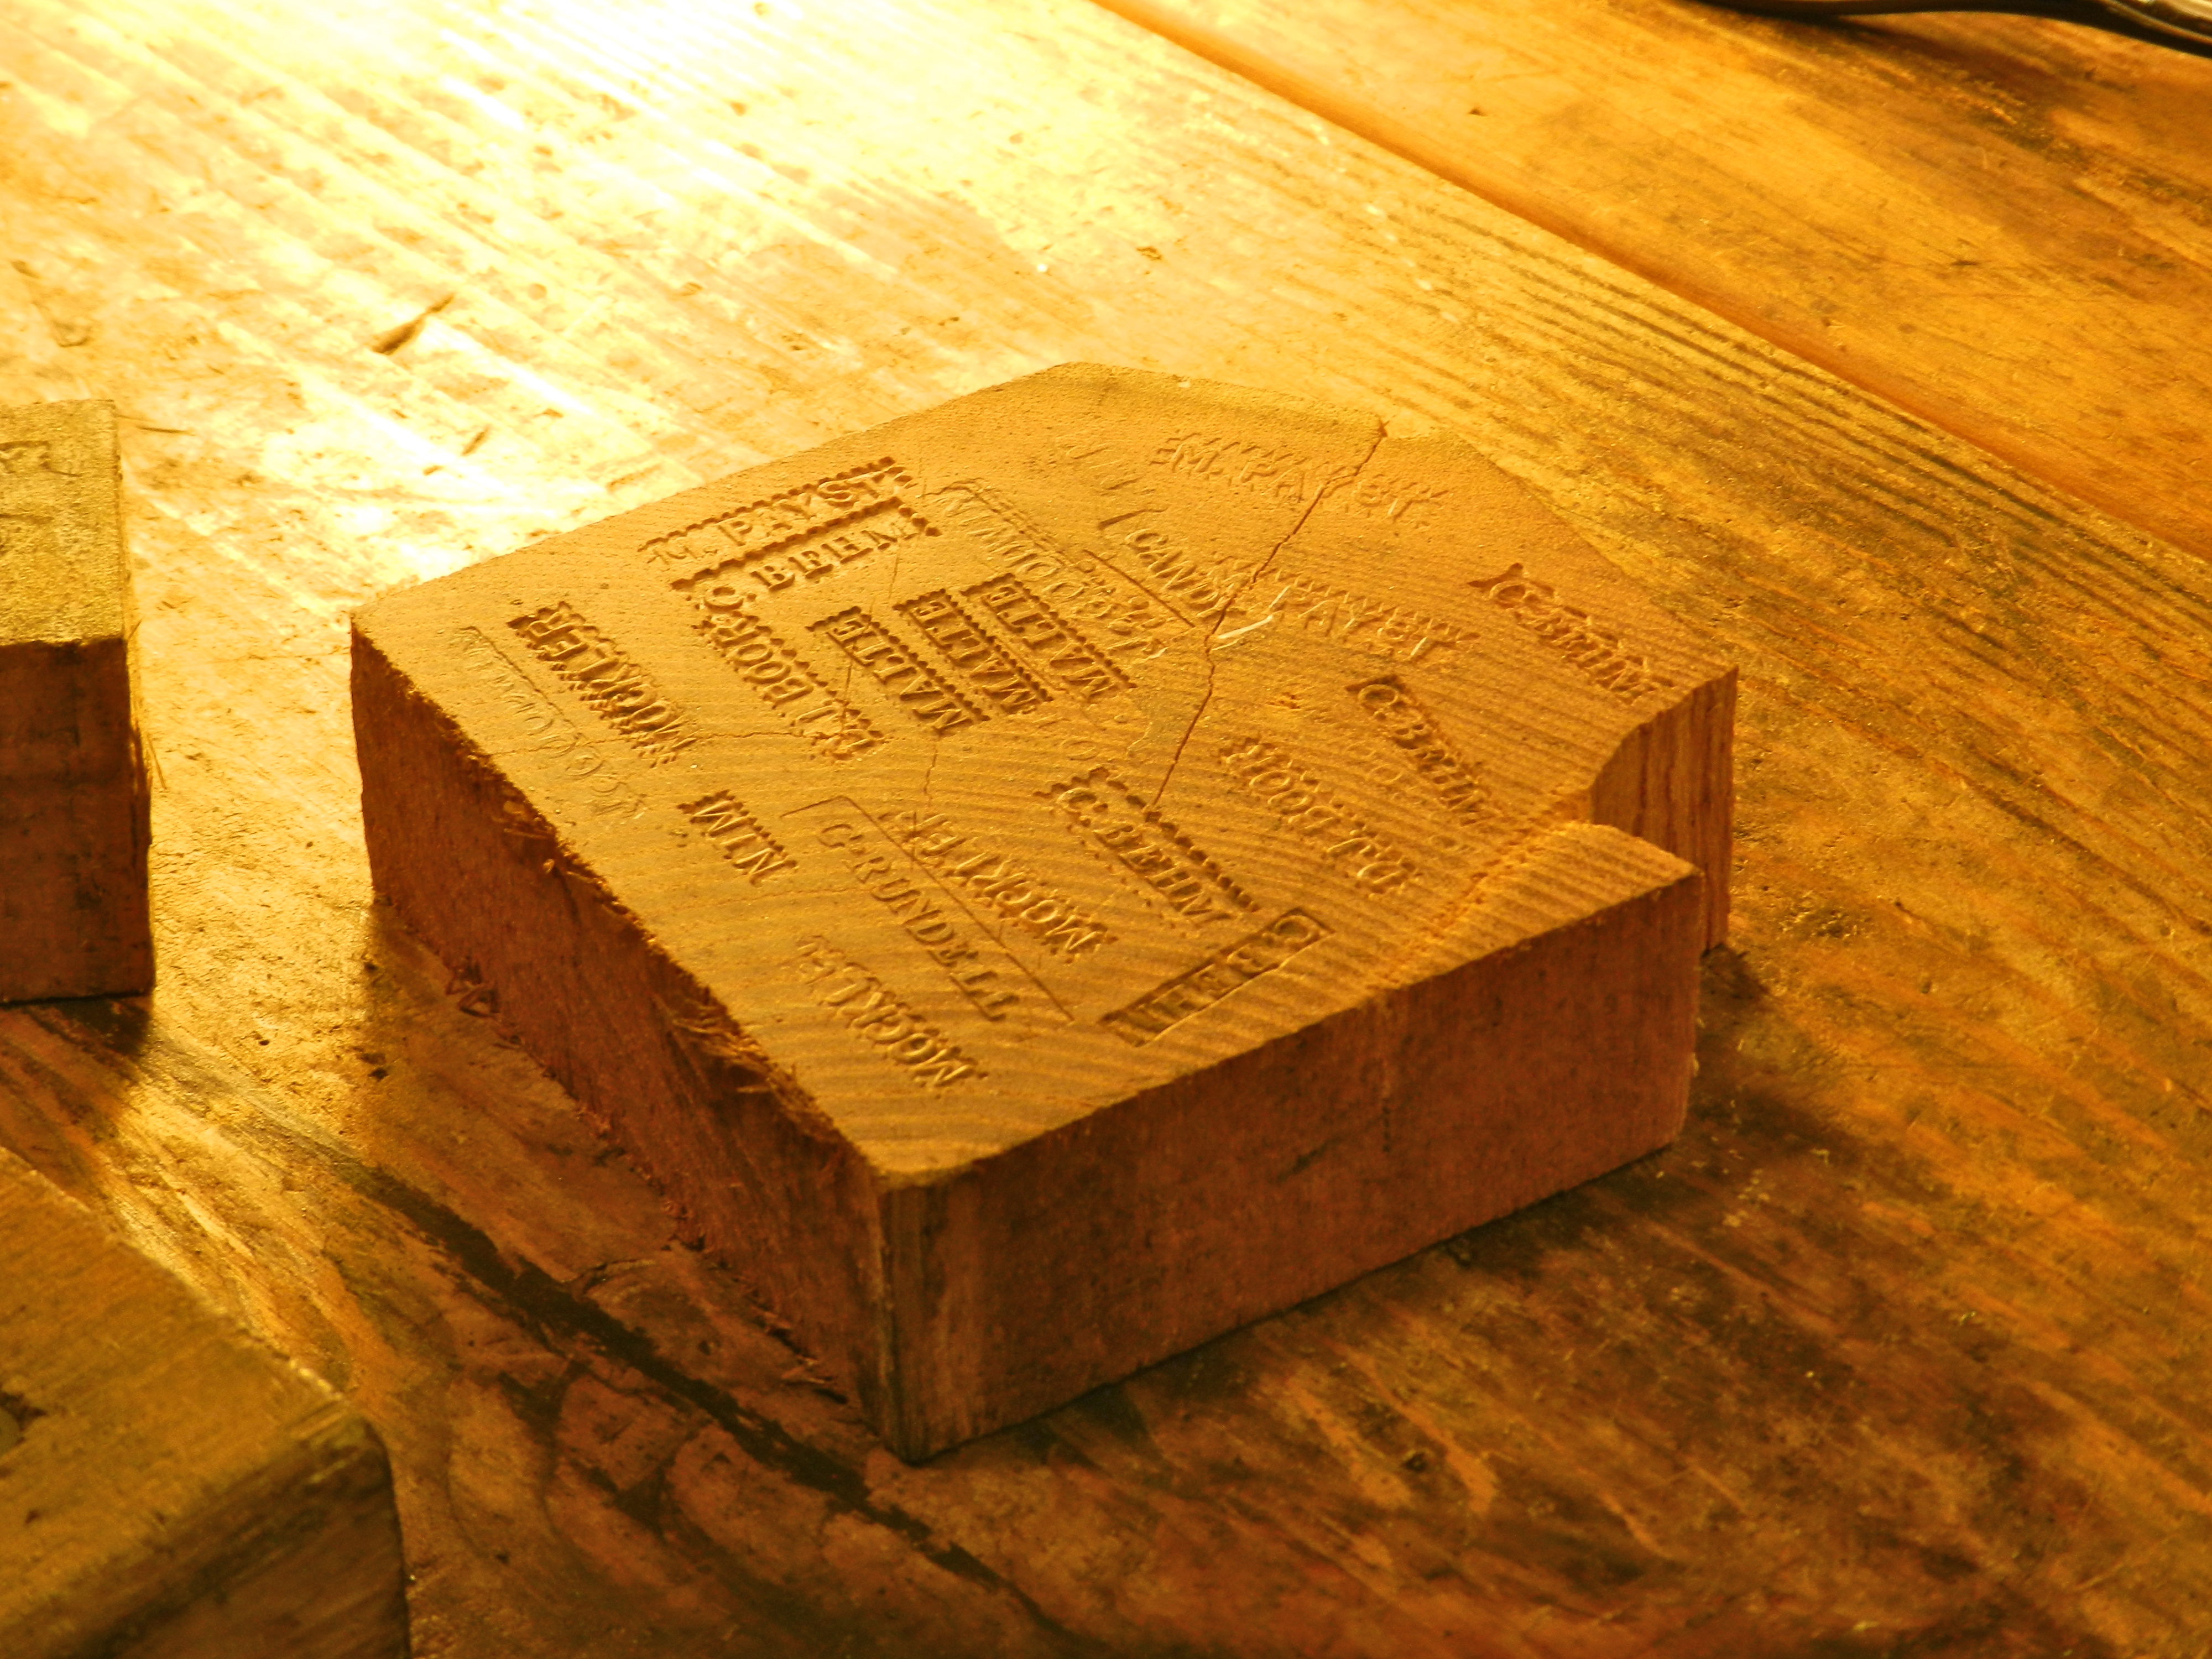
After forging the rough blank we learned to use the various types of files and letter stamps needed to make a nice stamp. Along the way we’d test the stamps in the end grain of some wood and in lead flashing.
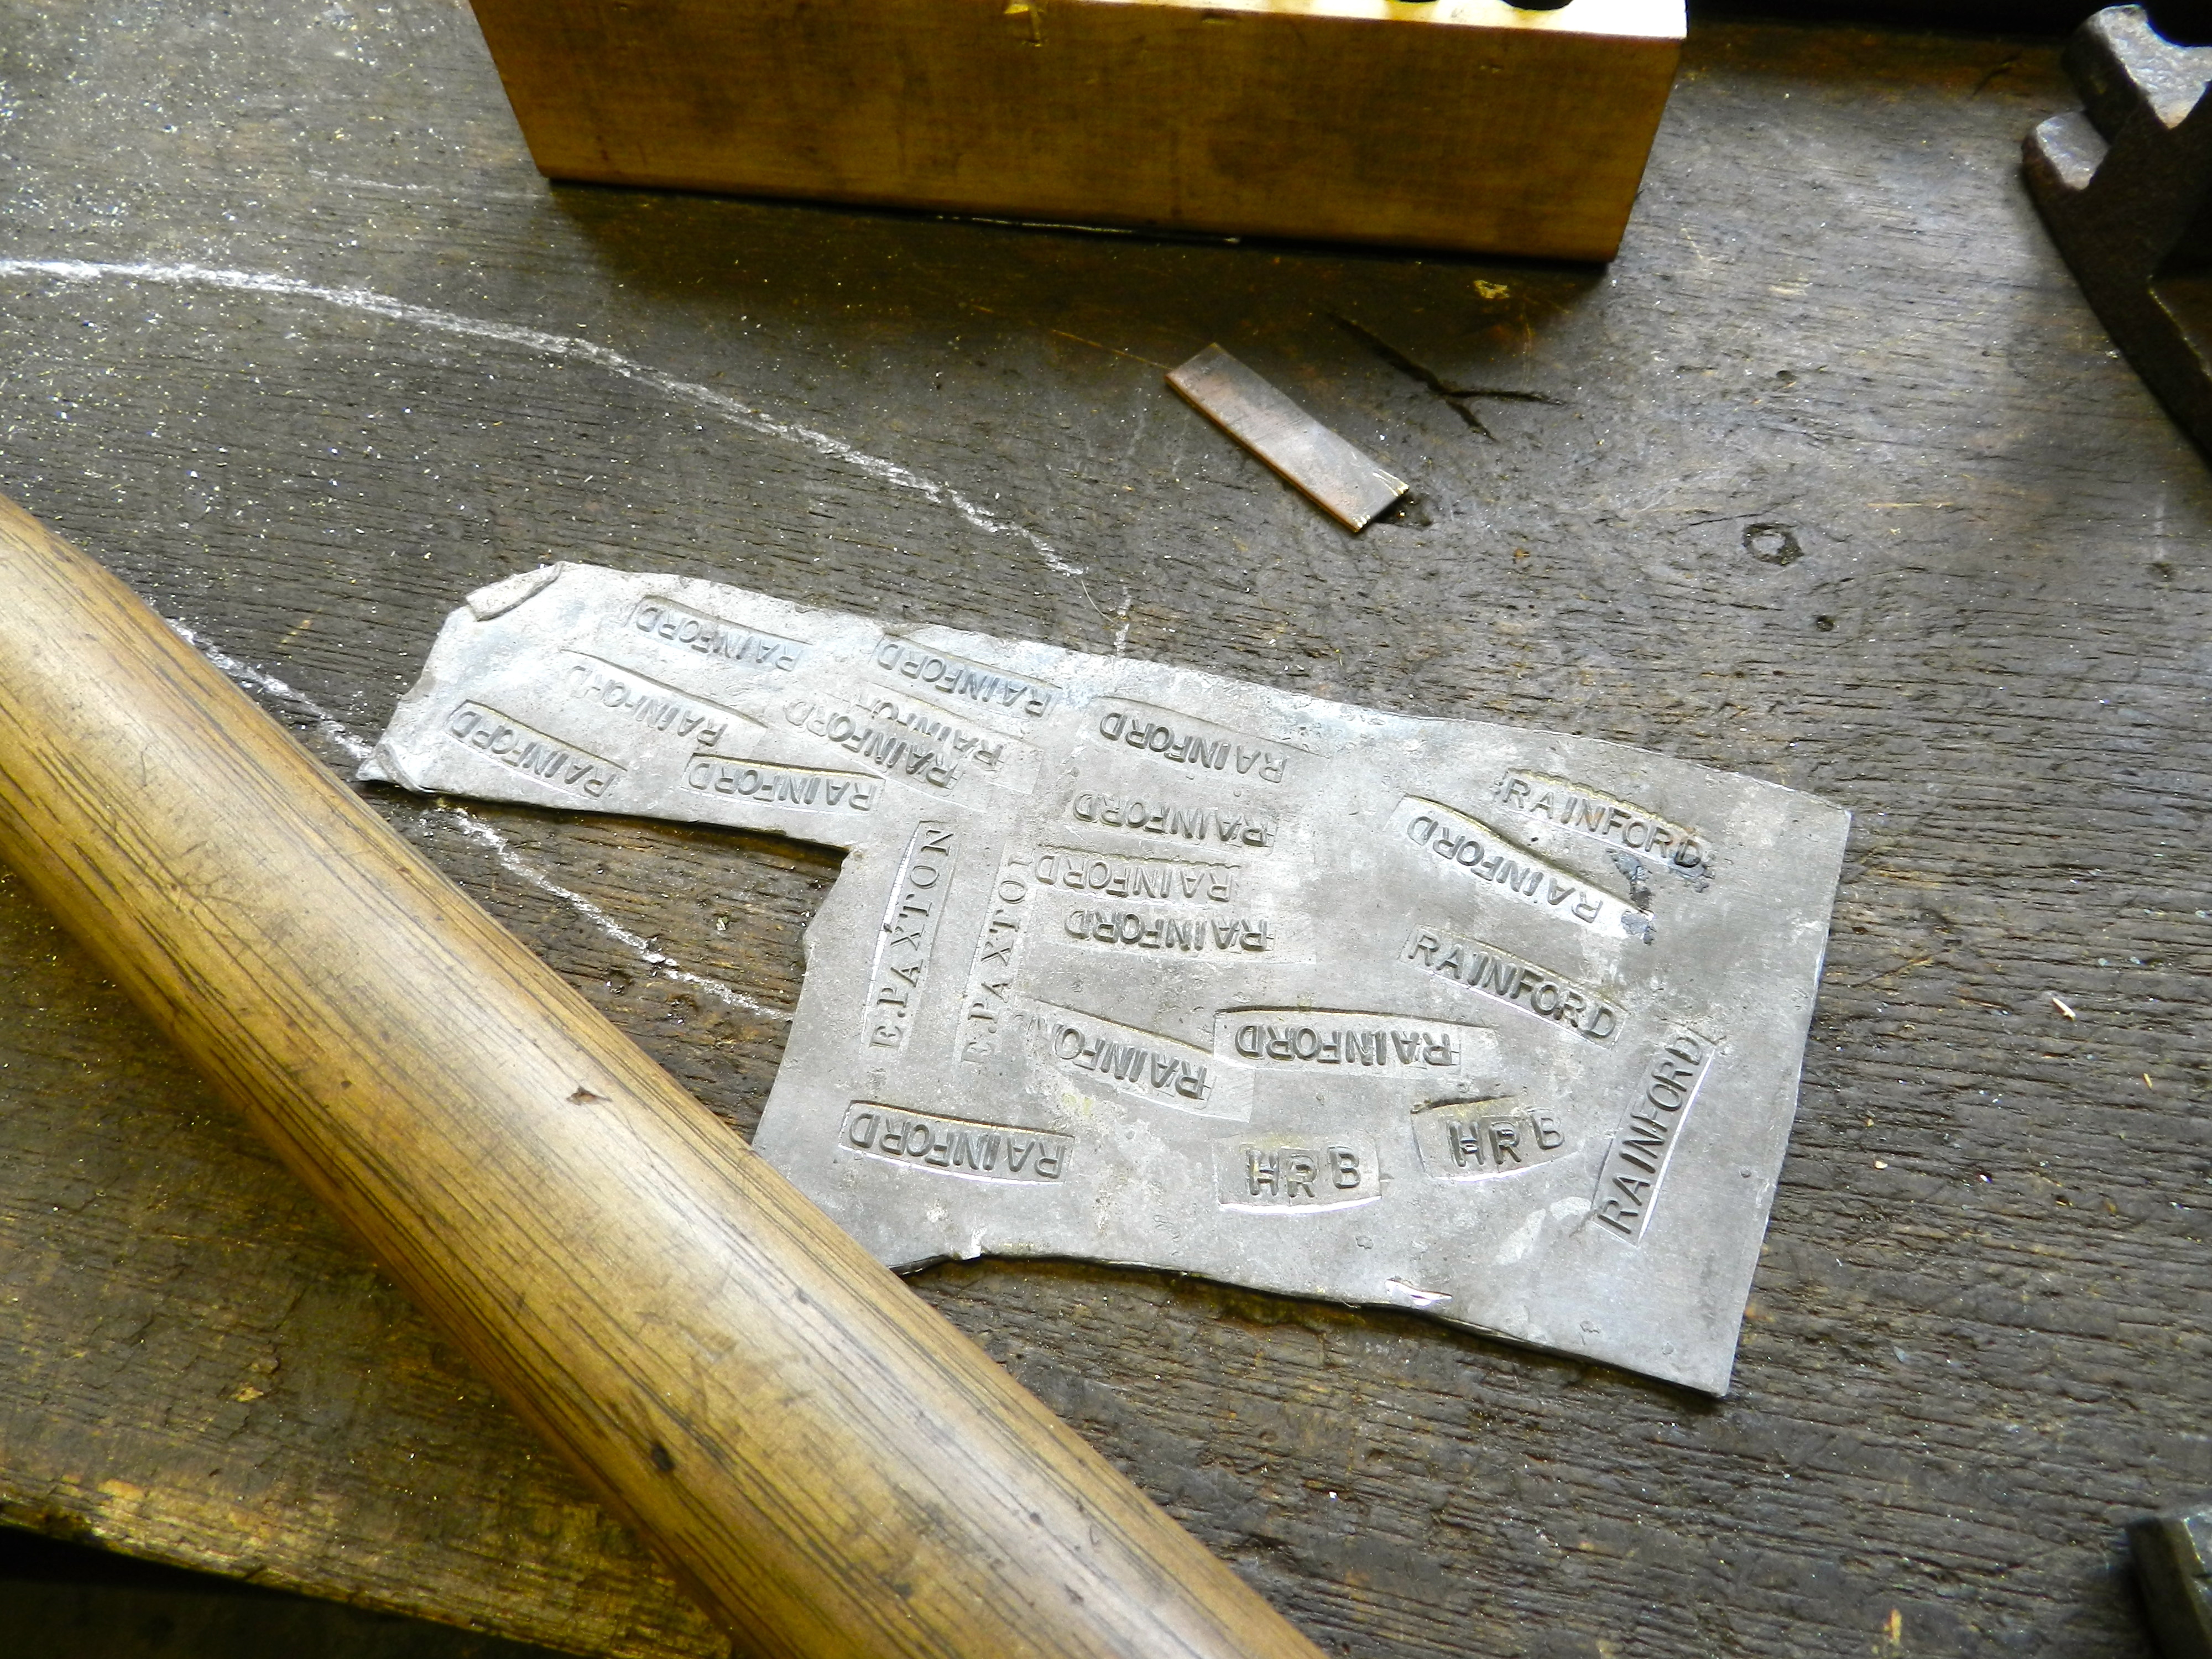
Why do you use end grain wood and lead flashing?!
The stamps work by crushing some fibers and leaving others proud, thus creating a 3D surface that can be read — much like you see in the maker’s marks on the toe of a molding plane. The lead does a great job showing you crisply where your stamp is pressing and where you may need to work on it some more.
Peter demonstrated how to properly file and also how tough the surface of the stamps become once they were case hardened — the files were no match.
Making a longer name stamp was even more challenging since the letters are all set free hand you could very easily mess it up with any given letter. If you do mess it up, file off the mistake and try again, and again as needed.
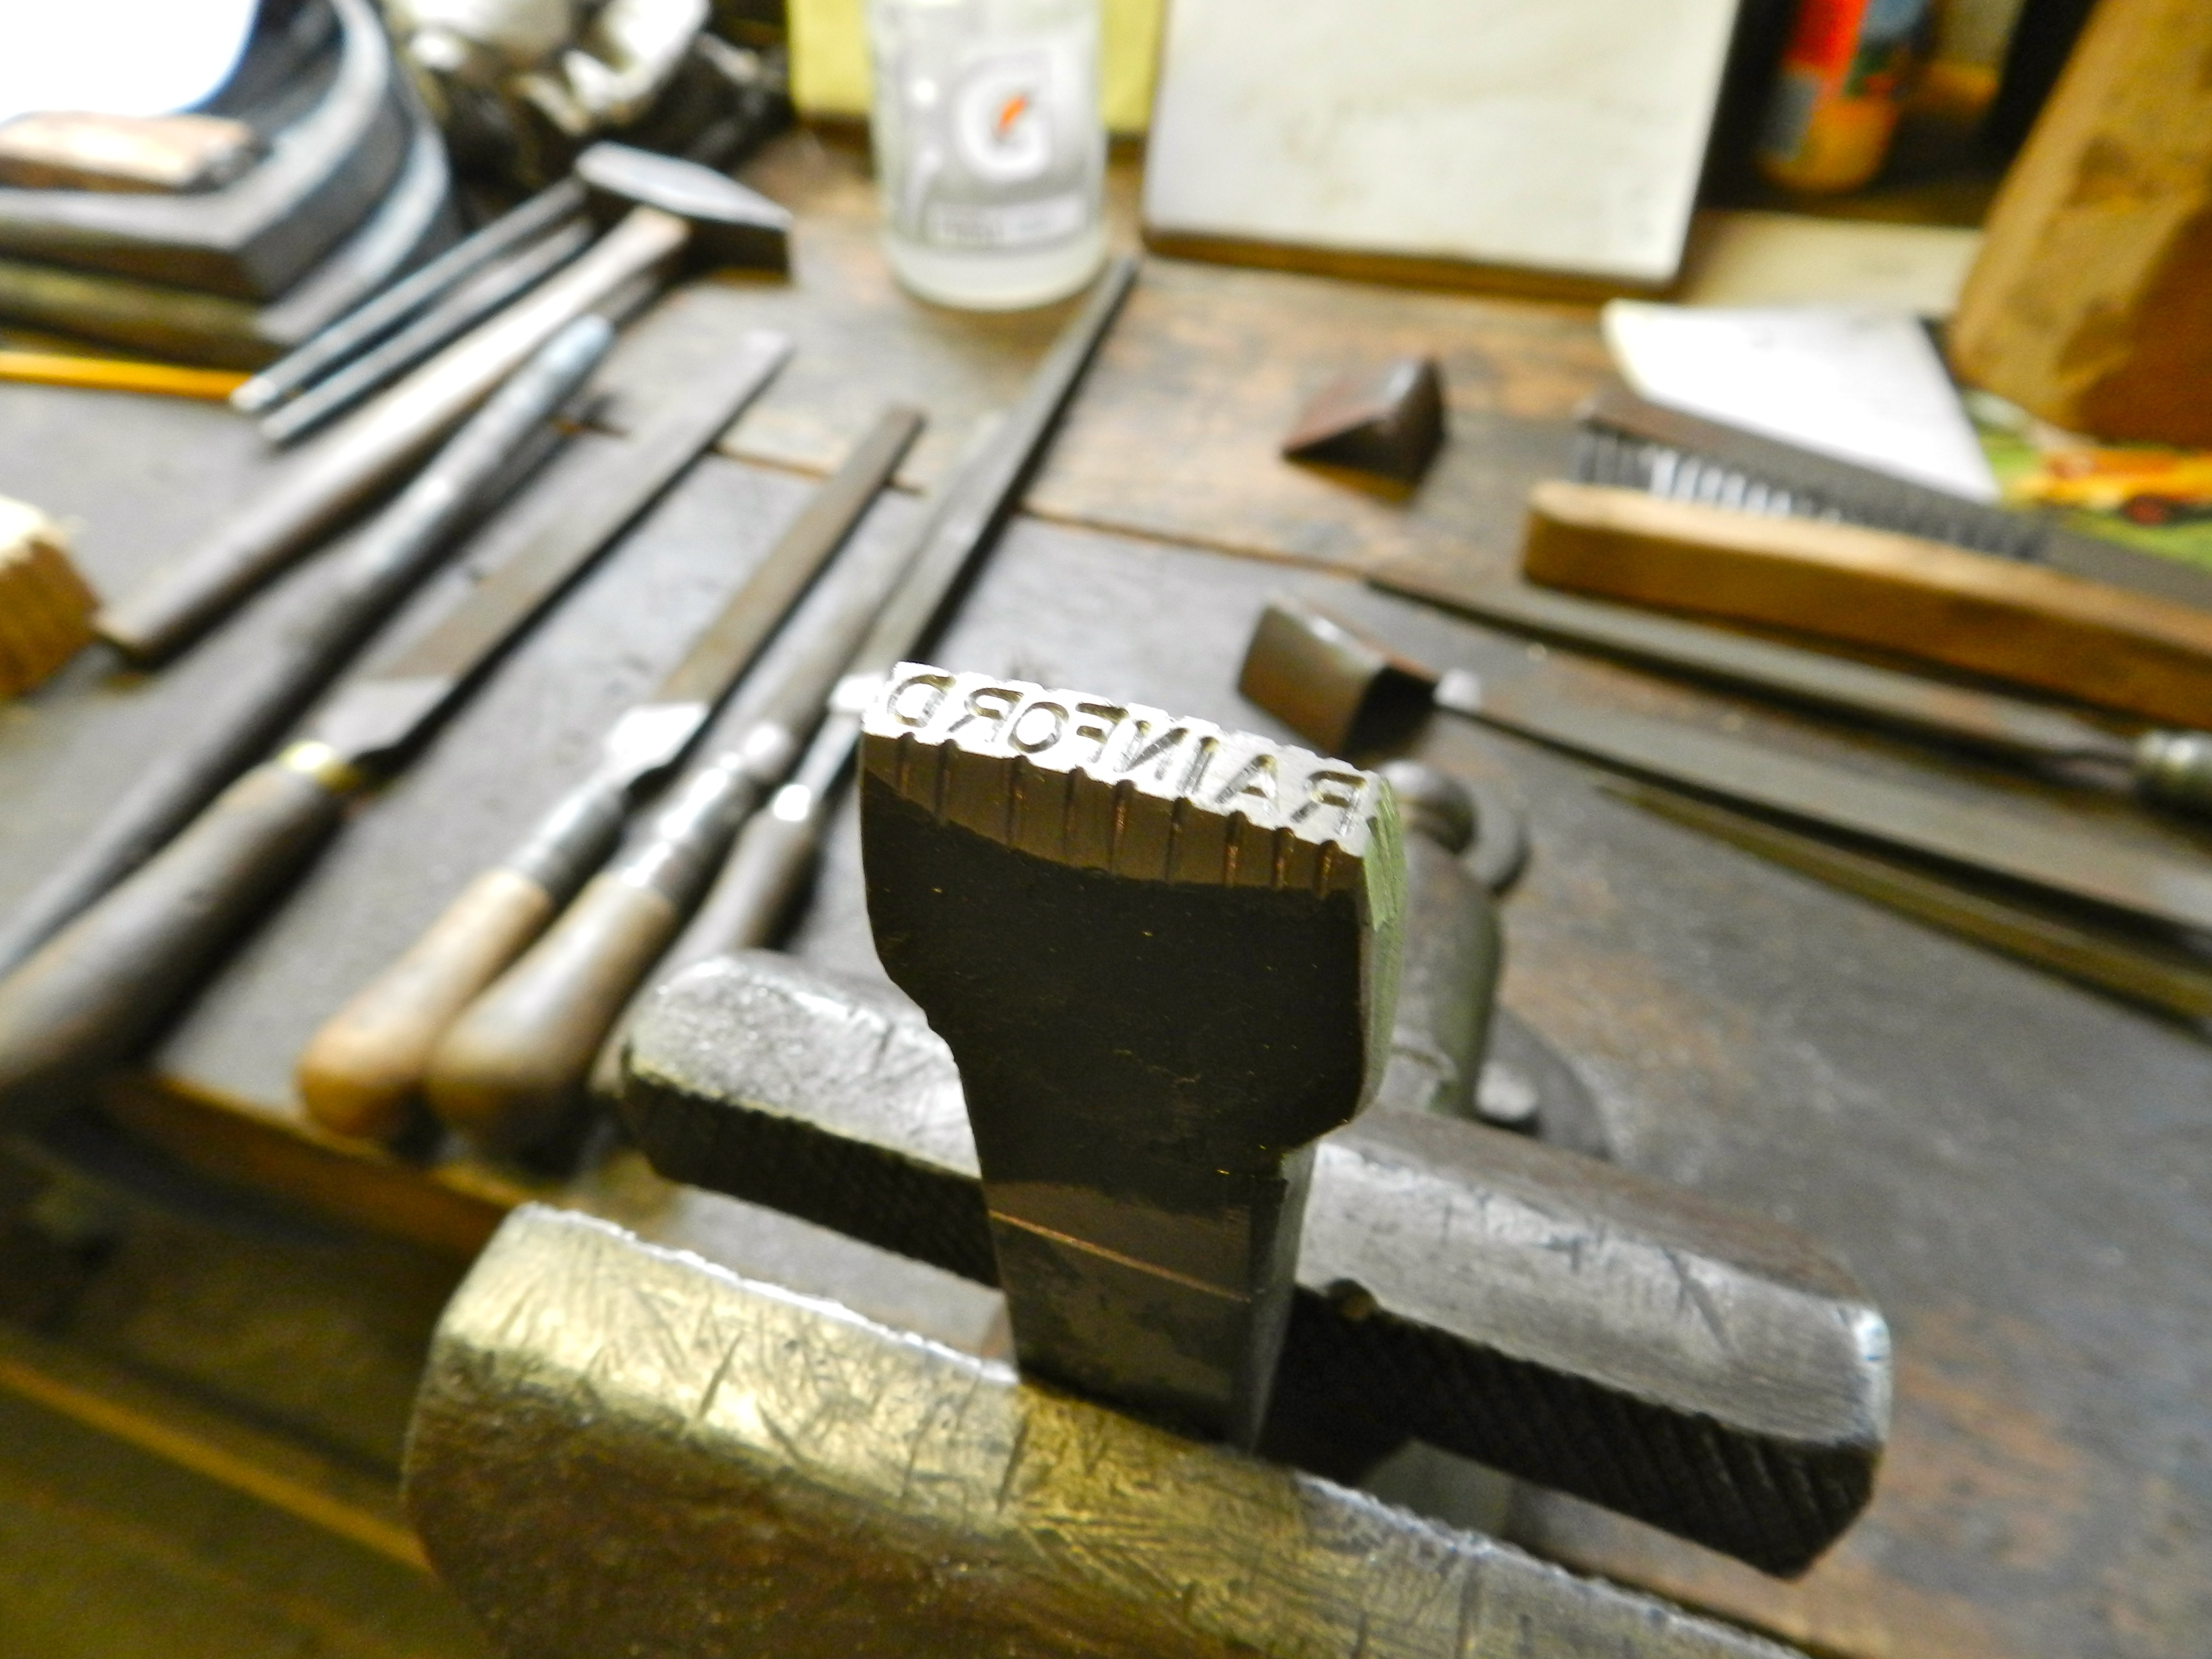
For my second stamp I made my last name and curved it a bit to make a gentle arch. Around the edge of the stamp you could decorate it any way you wanted, the most common being a traditional sawtooth-like border.
Most if not all folks in the class got a chance to make a couple of name stamps and practice their filing skills.
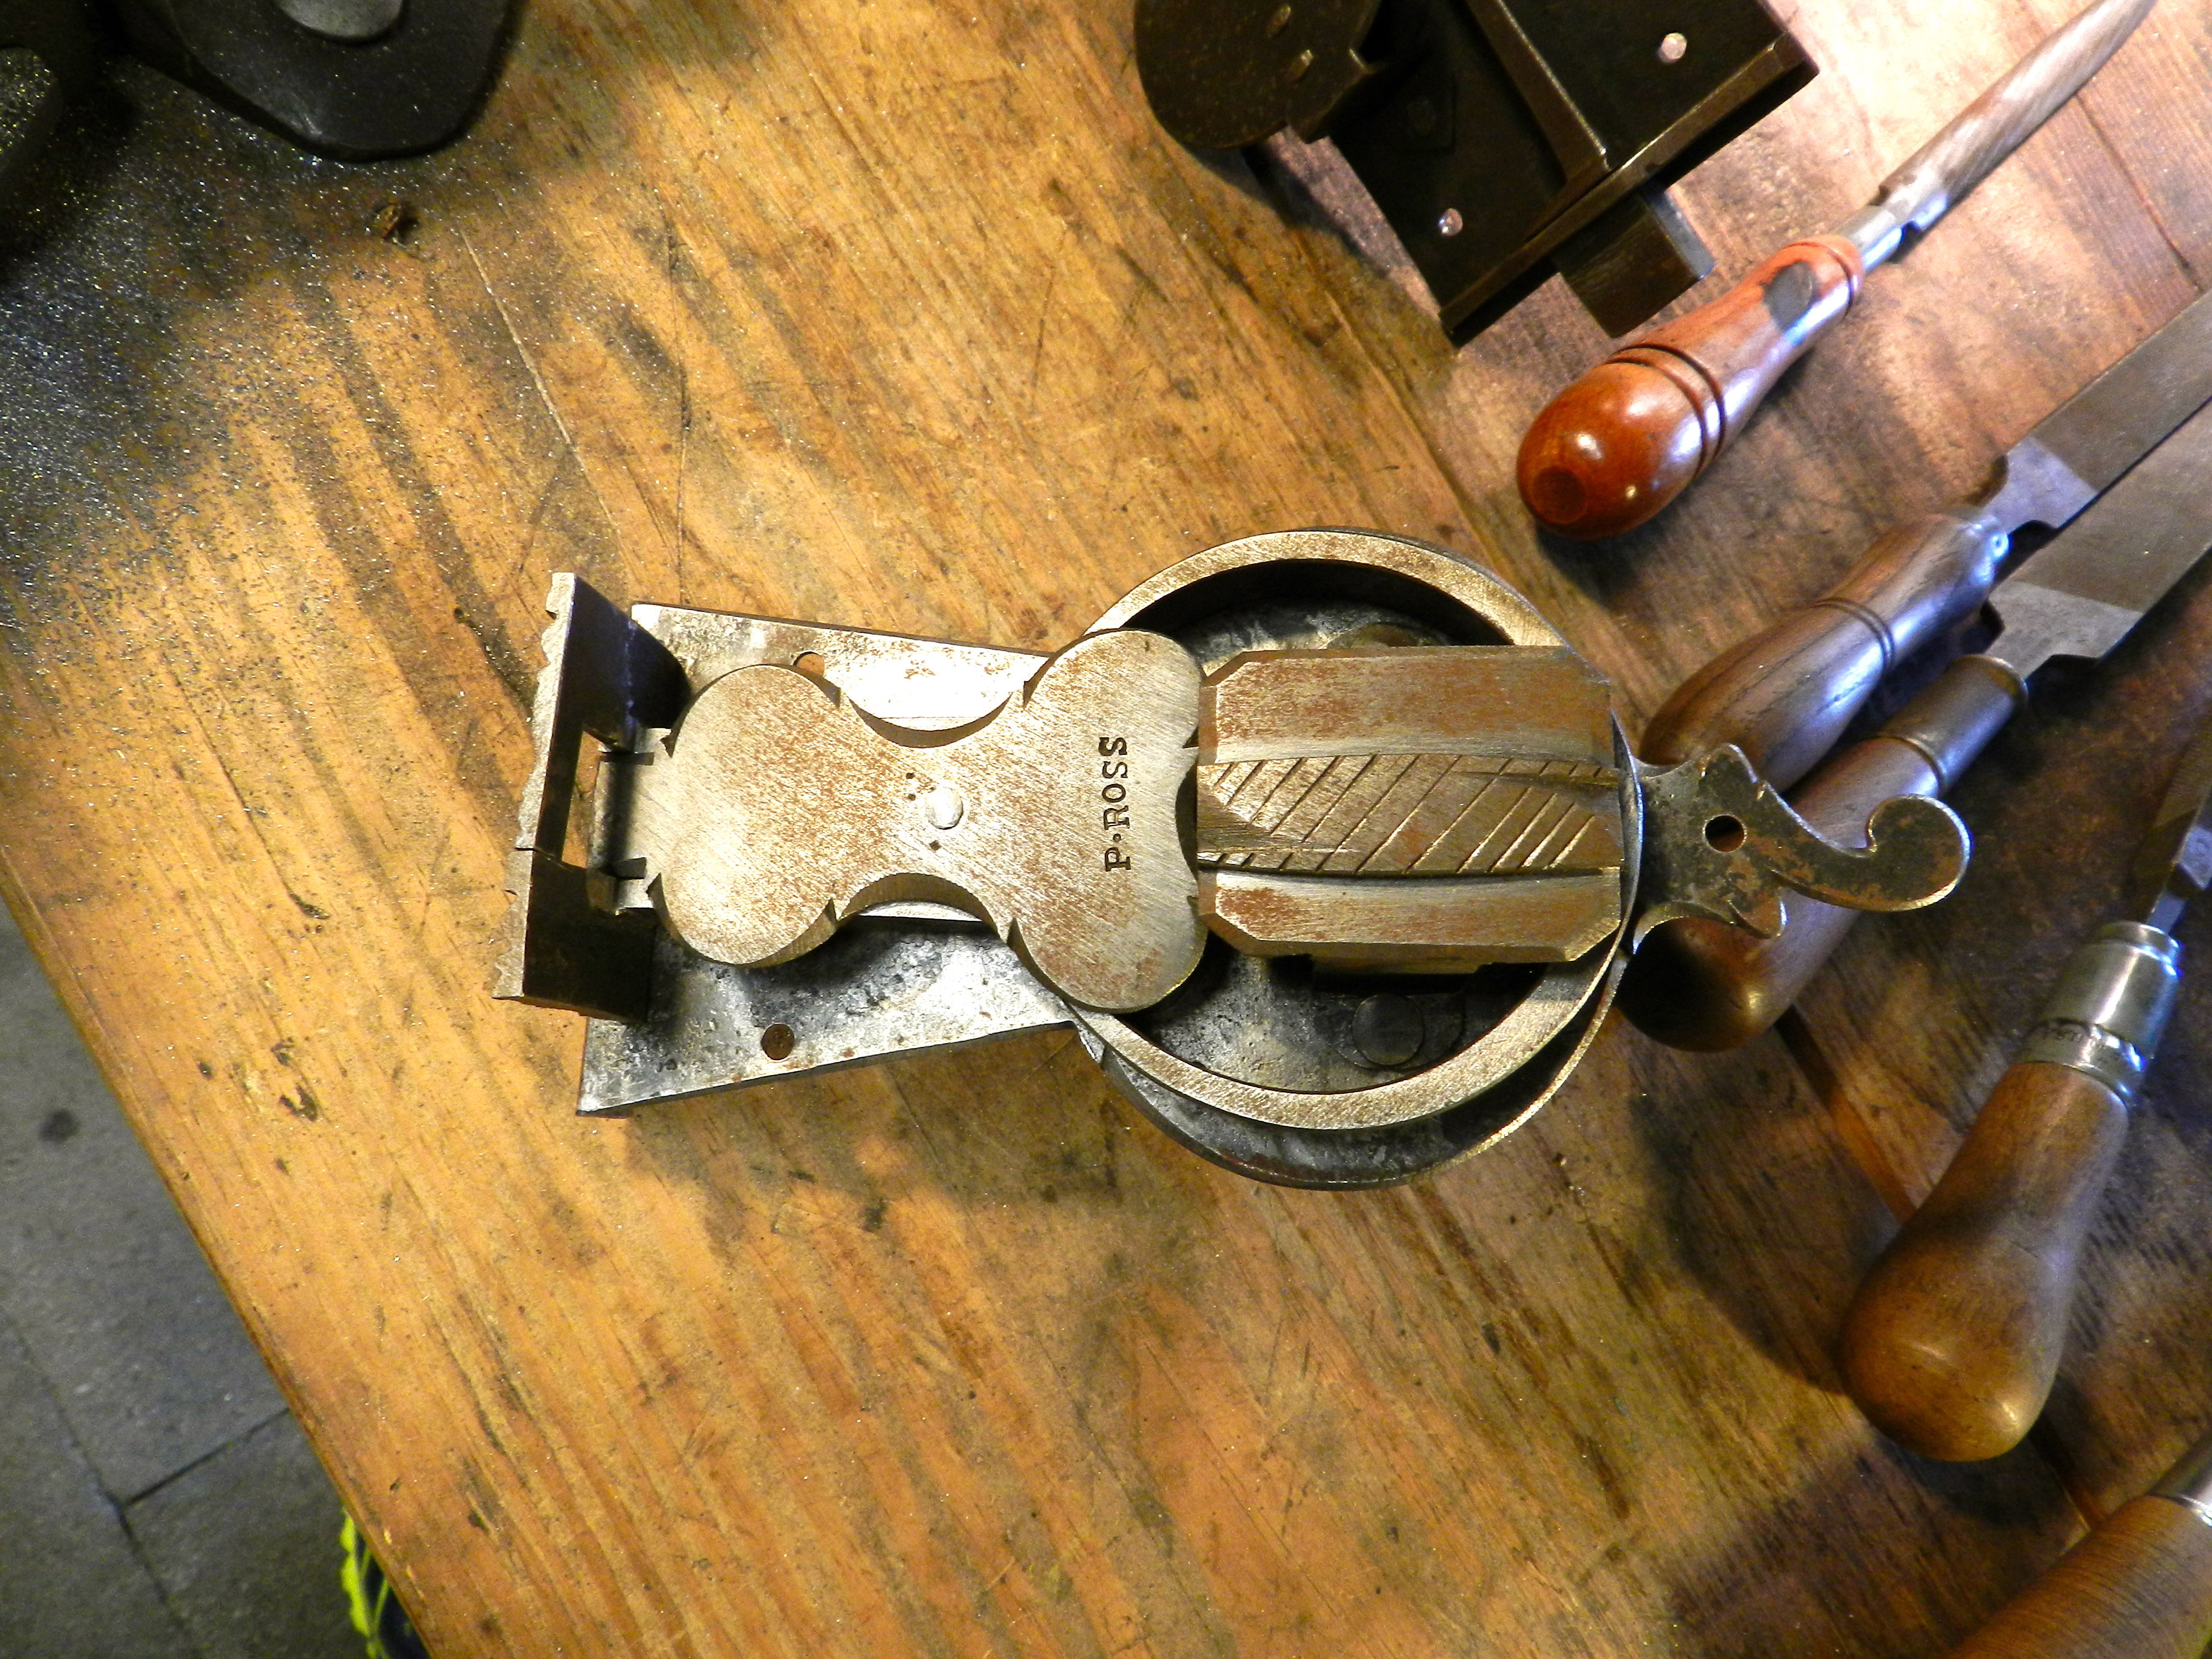
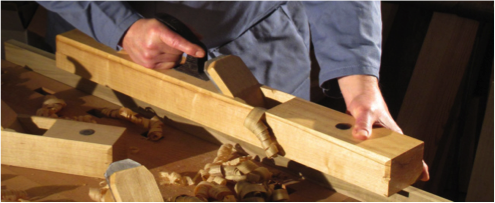
Beyond the class itself we also got a chance to see some of the amazing work Peter does in his shop. From beautiful locks, to tools, to massive Roubo holdfasts it was neat to see the variety of black and whitesmithing tasks Peter carries out in his shop.
If you are interested in taking this workshop, please check out the Woodwright’s School website here. I had a great time and look forward to my next workshop at the Woodwright’s School.