Tag Archives: Jointer Plane

Making a Jointer Plane with Willard ‘Bill’ Anderson — Part 2

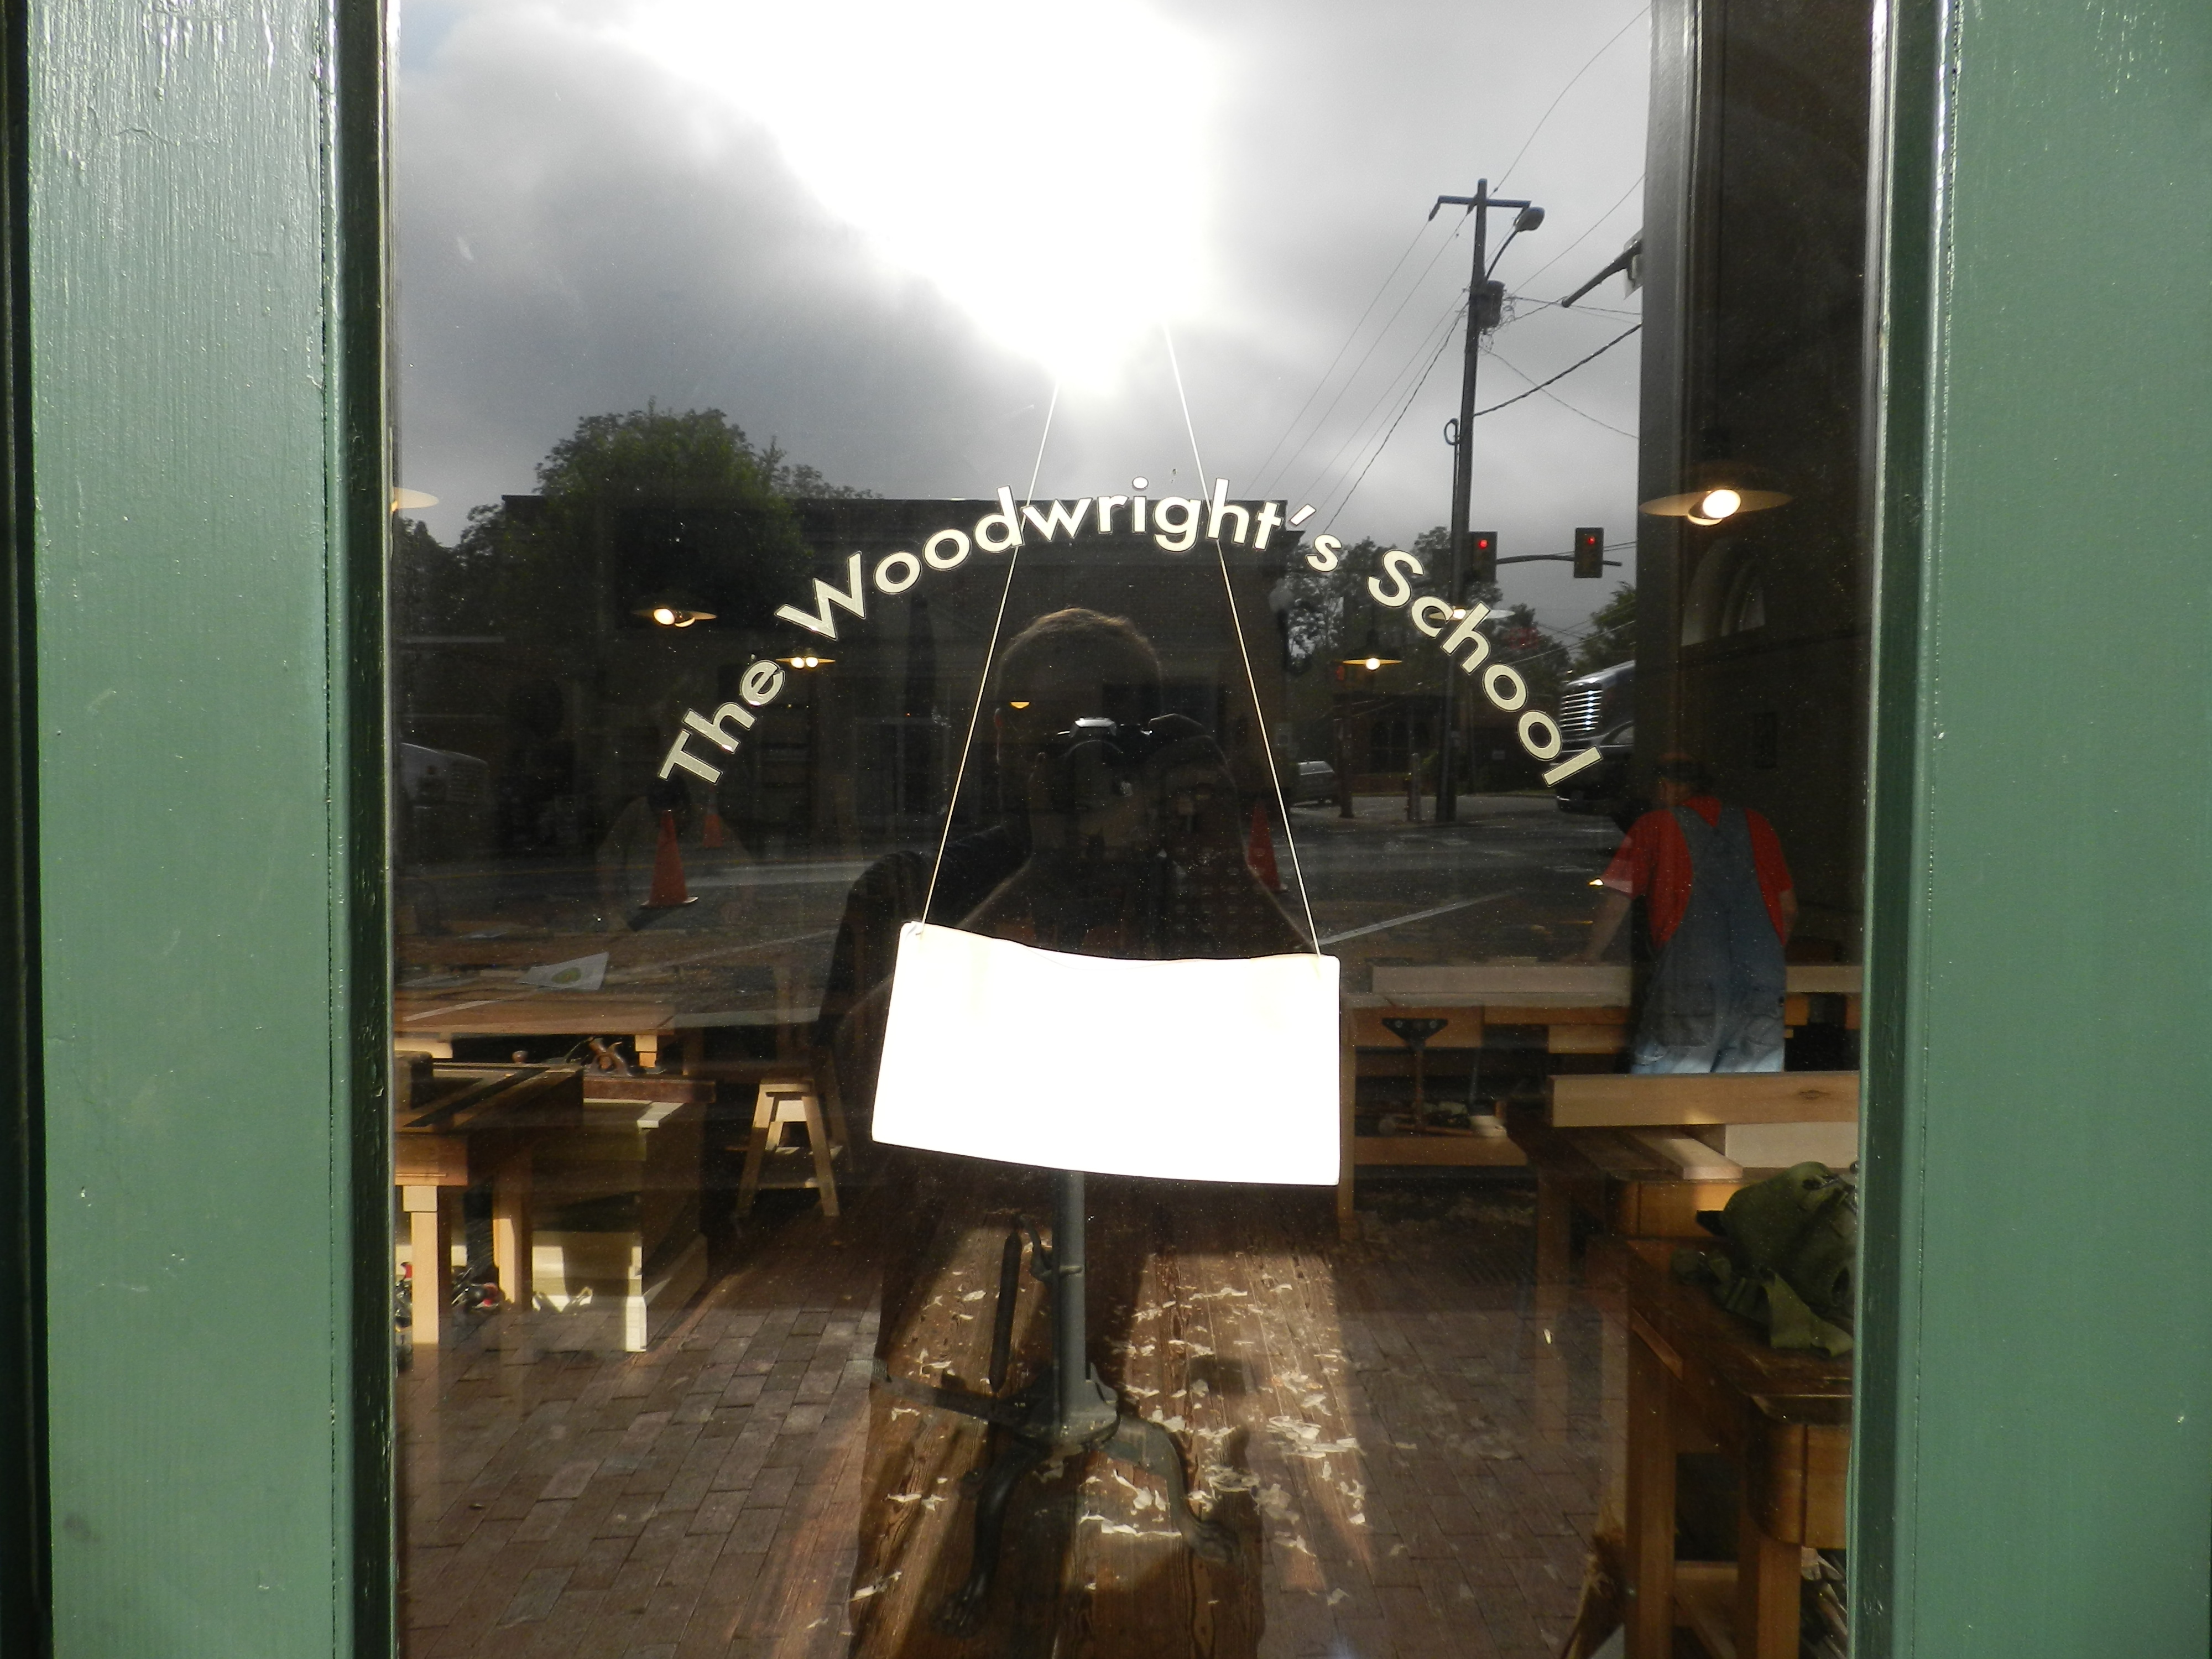
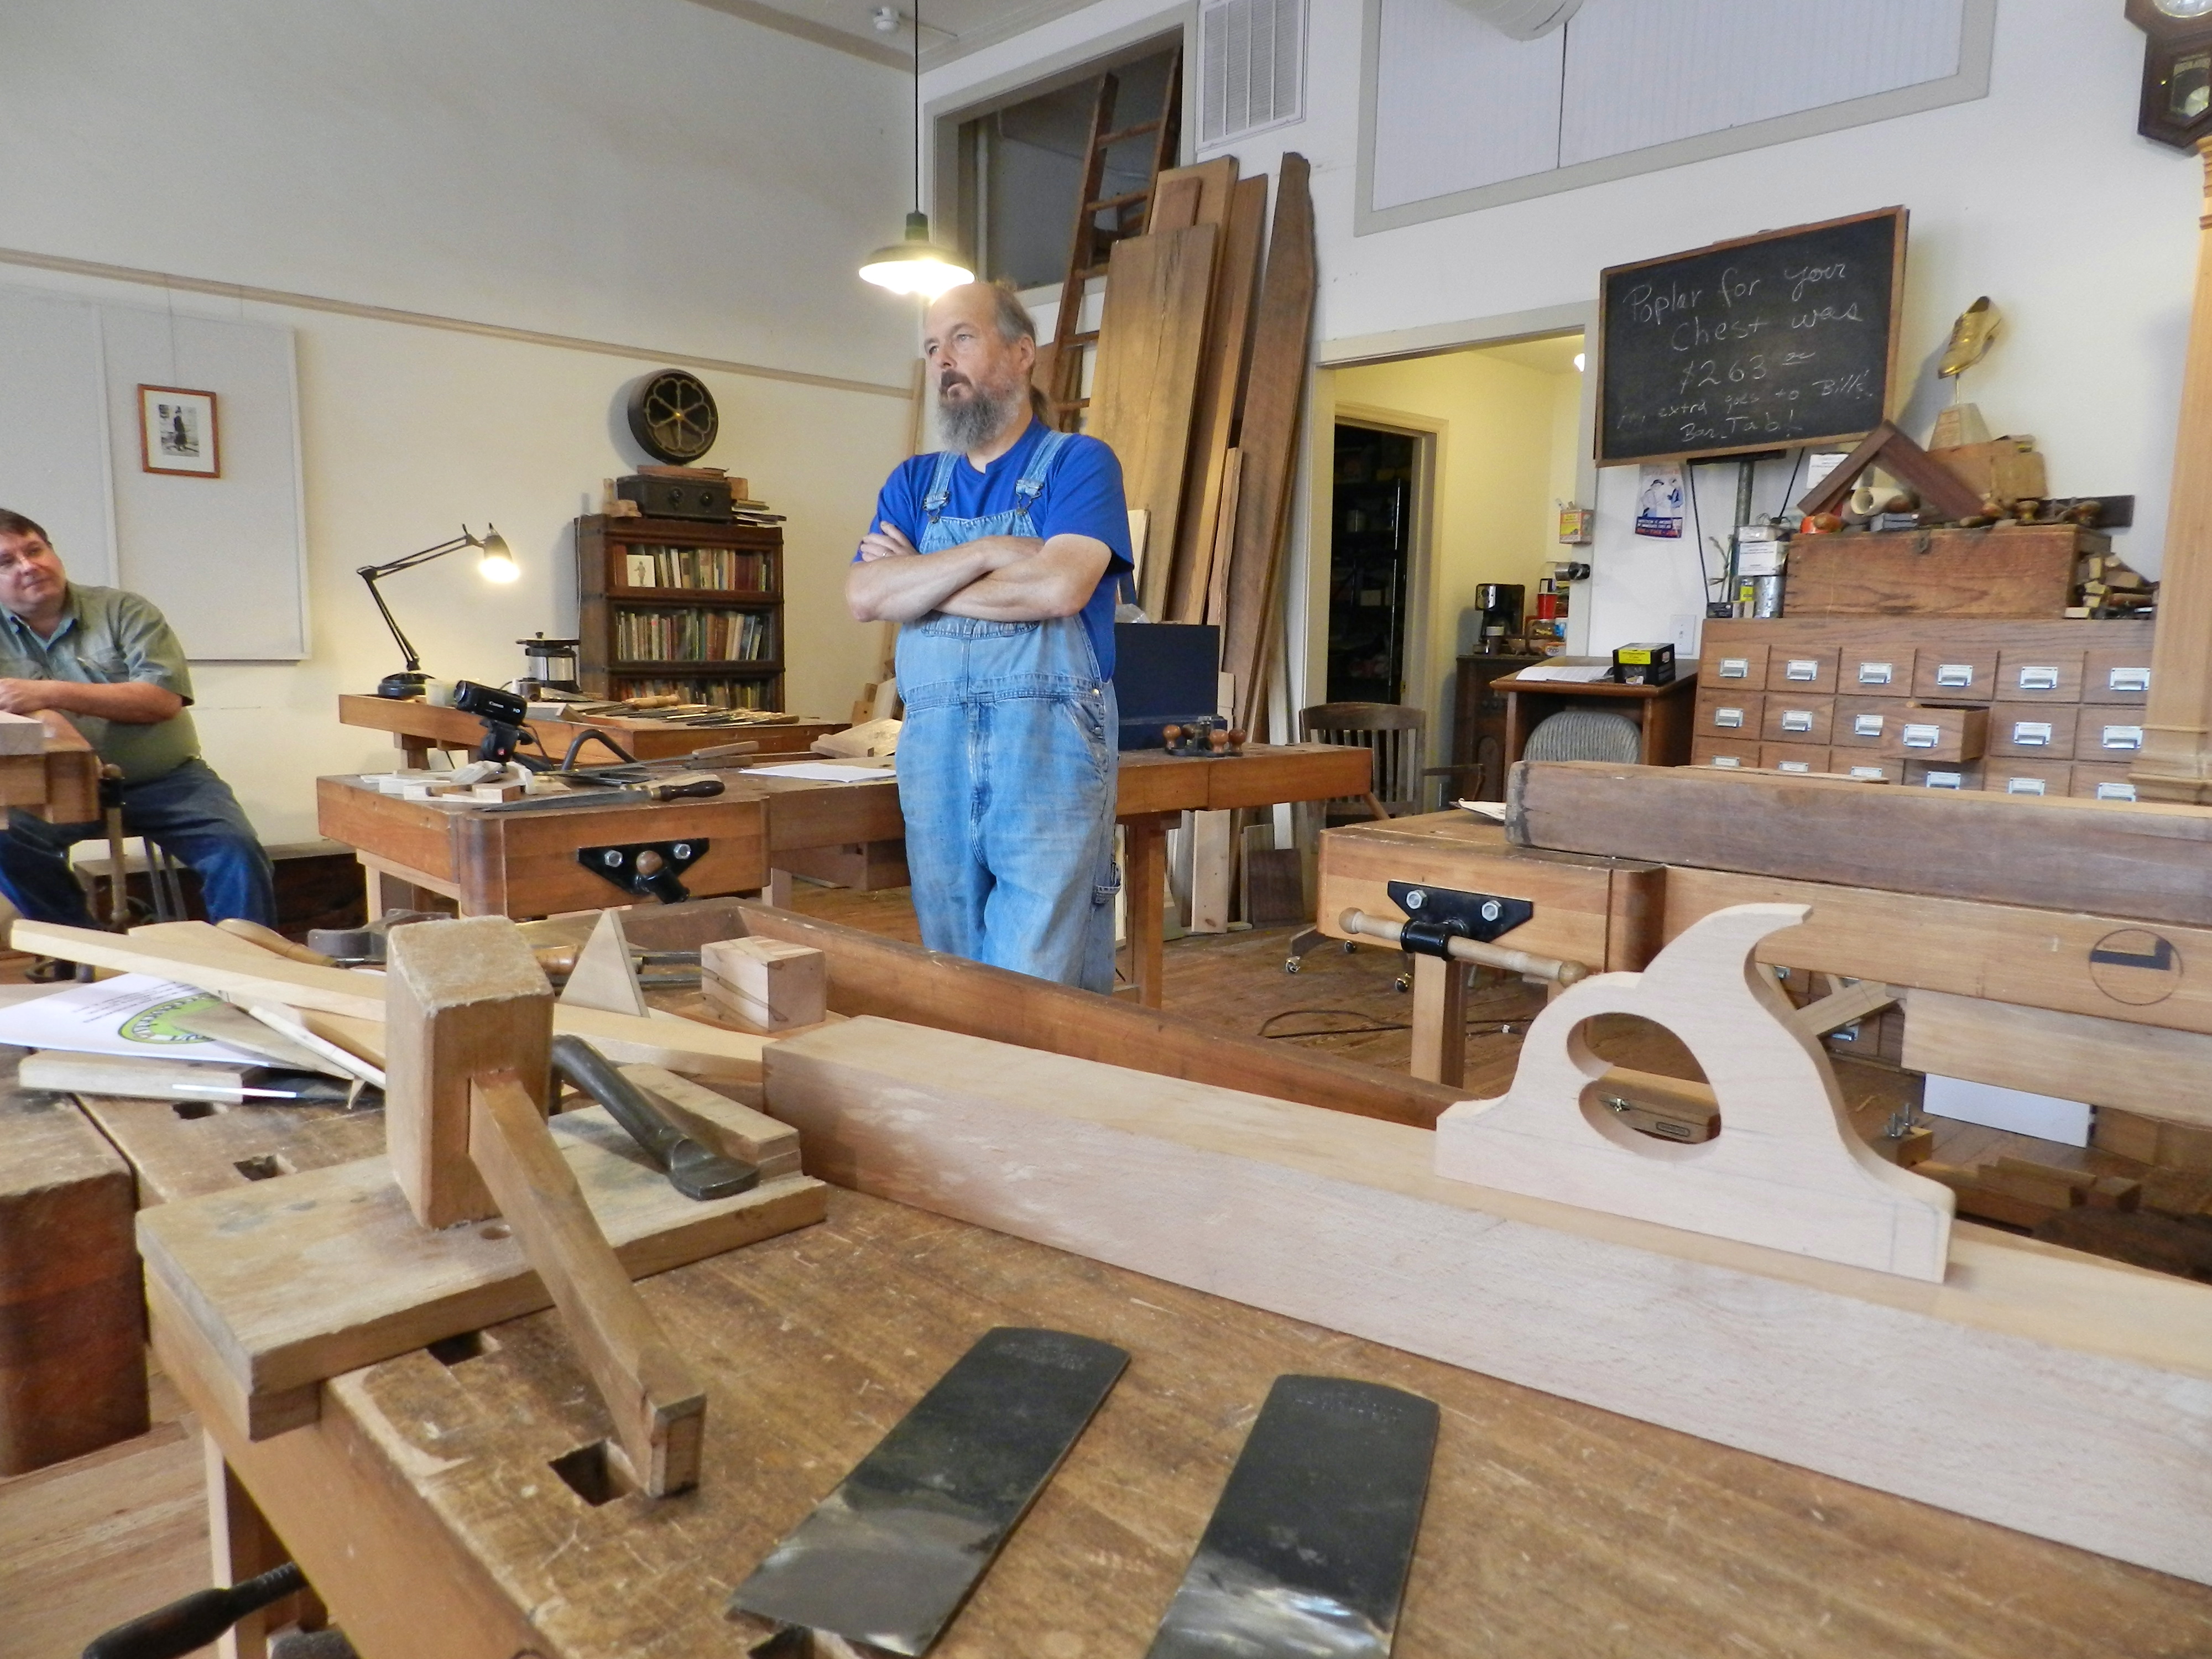
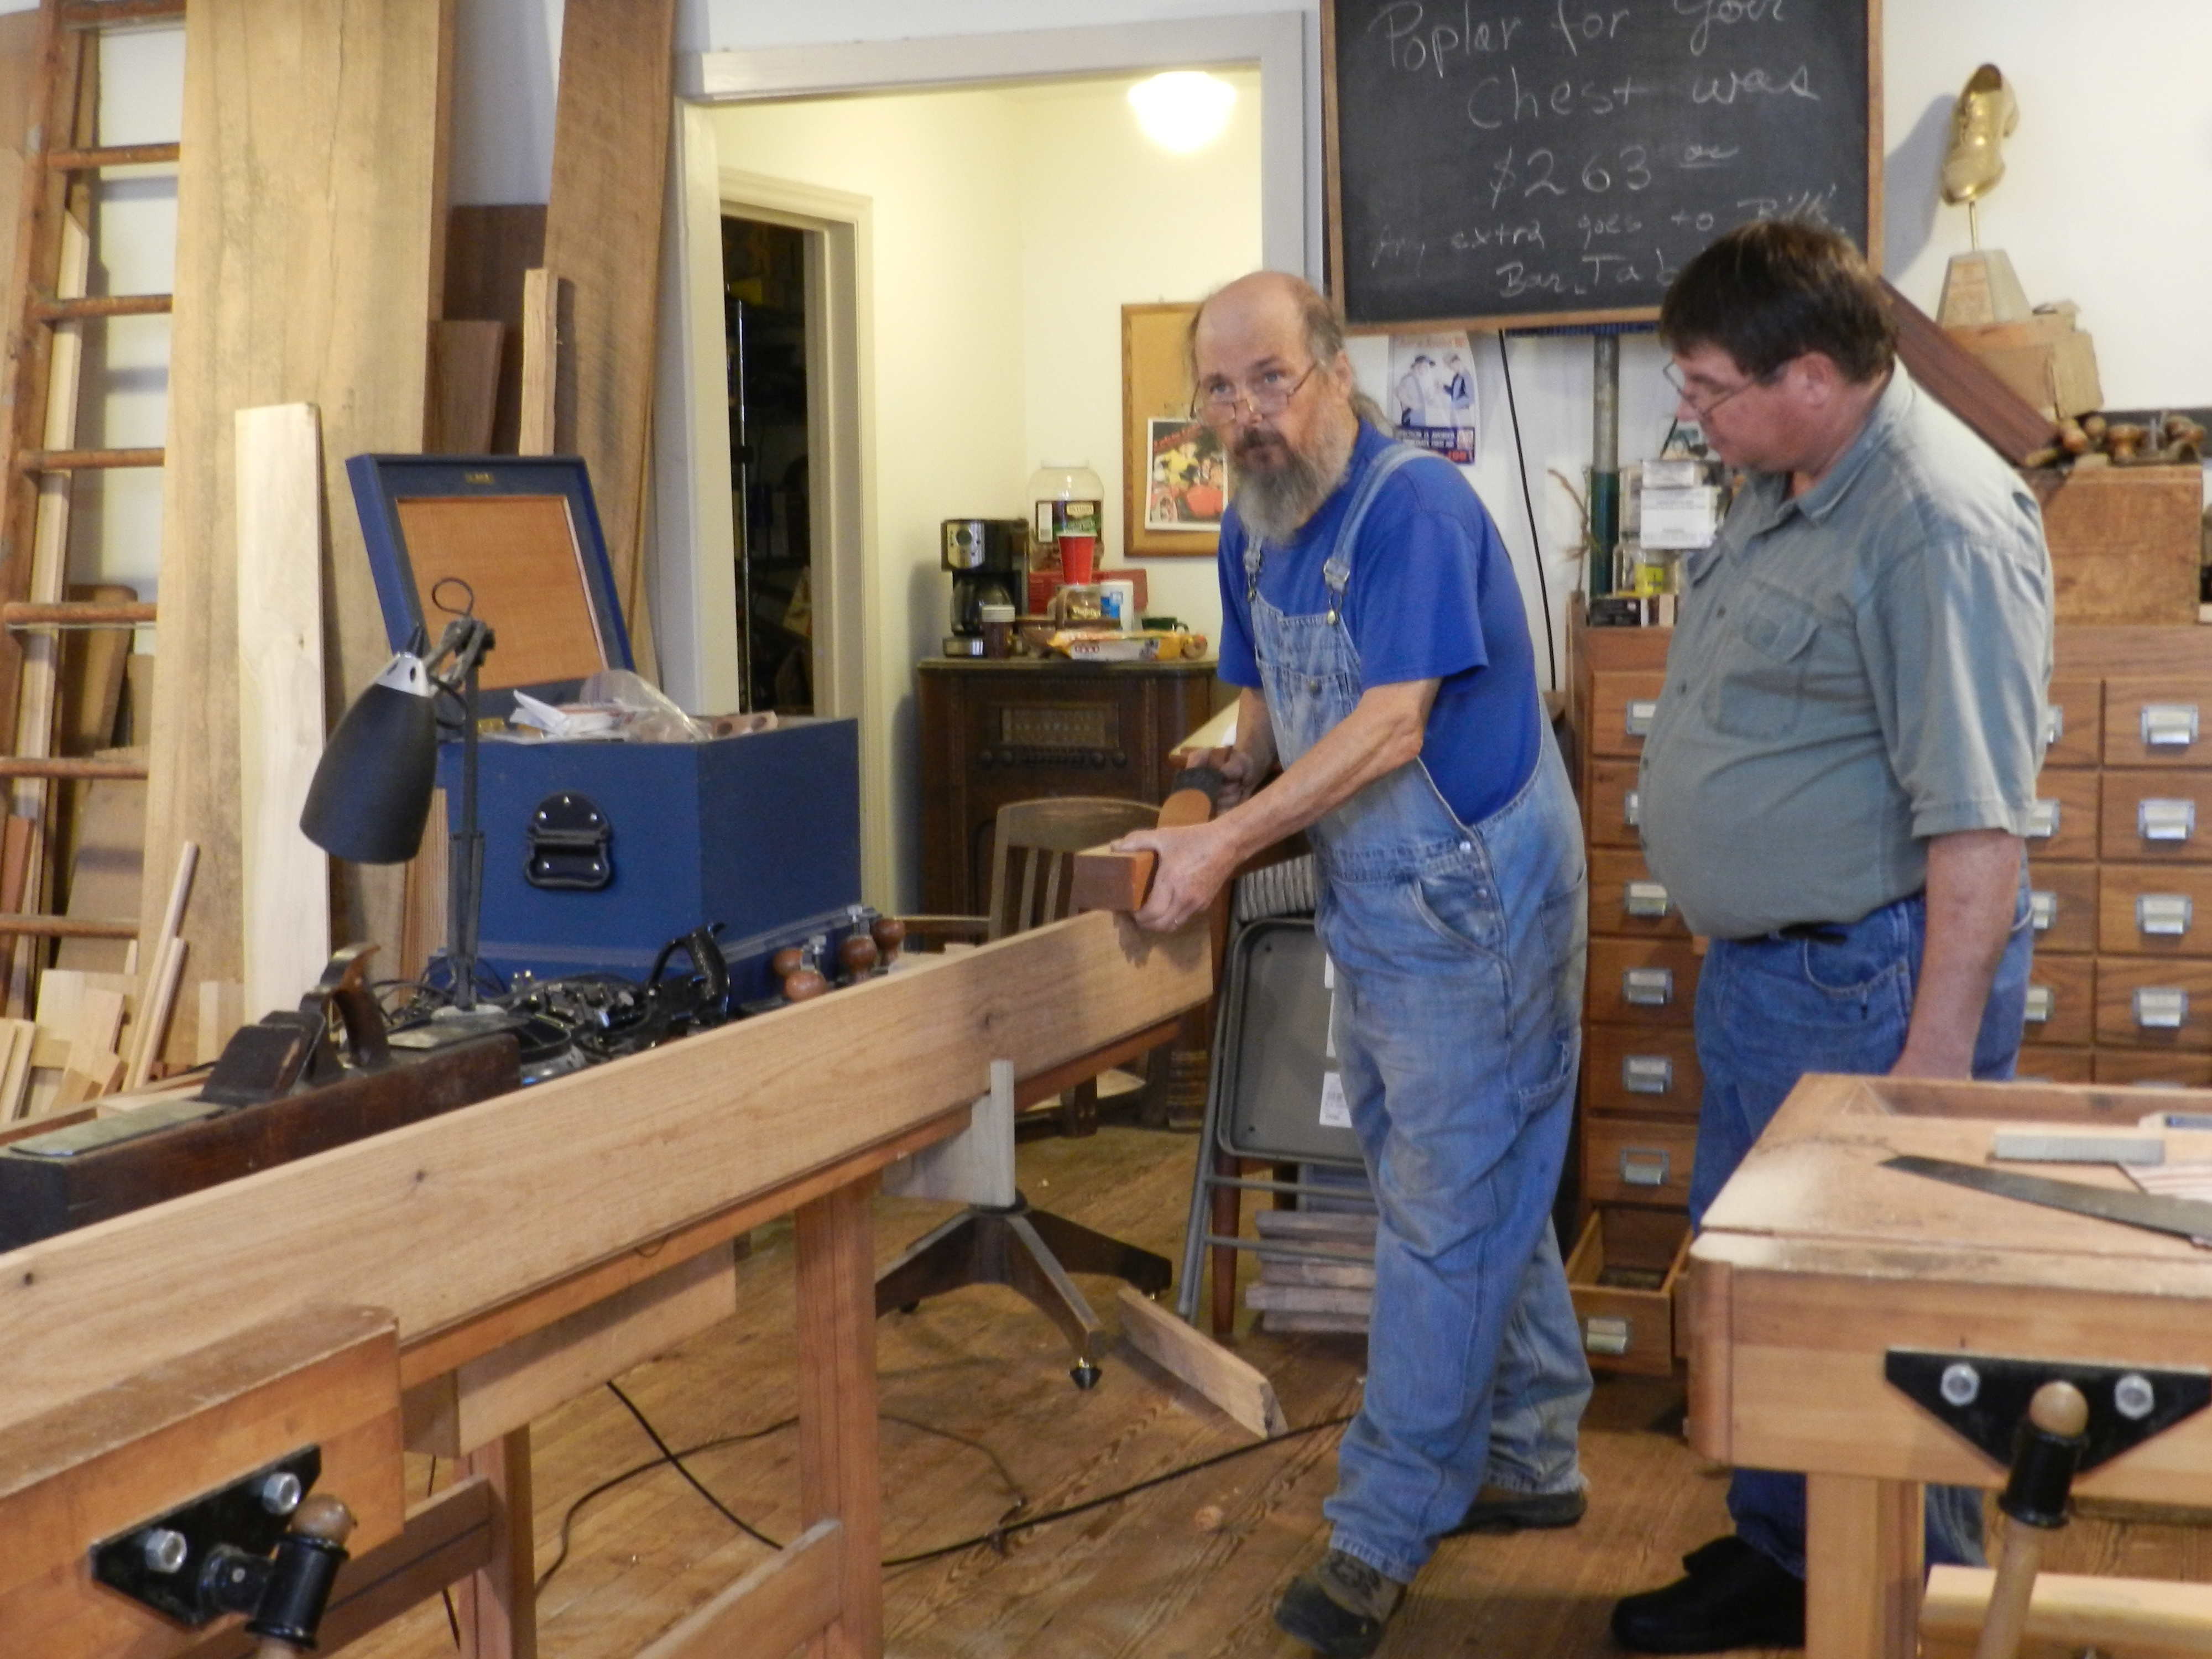
When last we left our plane-making heroes they were in the process of making a traditional single iron jointer plane with my friend Bill Anderson at the Woodwright’s School.

Bill demonstrating with a great bench plan cross section model
Bill demonstrating with a great bench plane cross section model

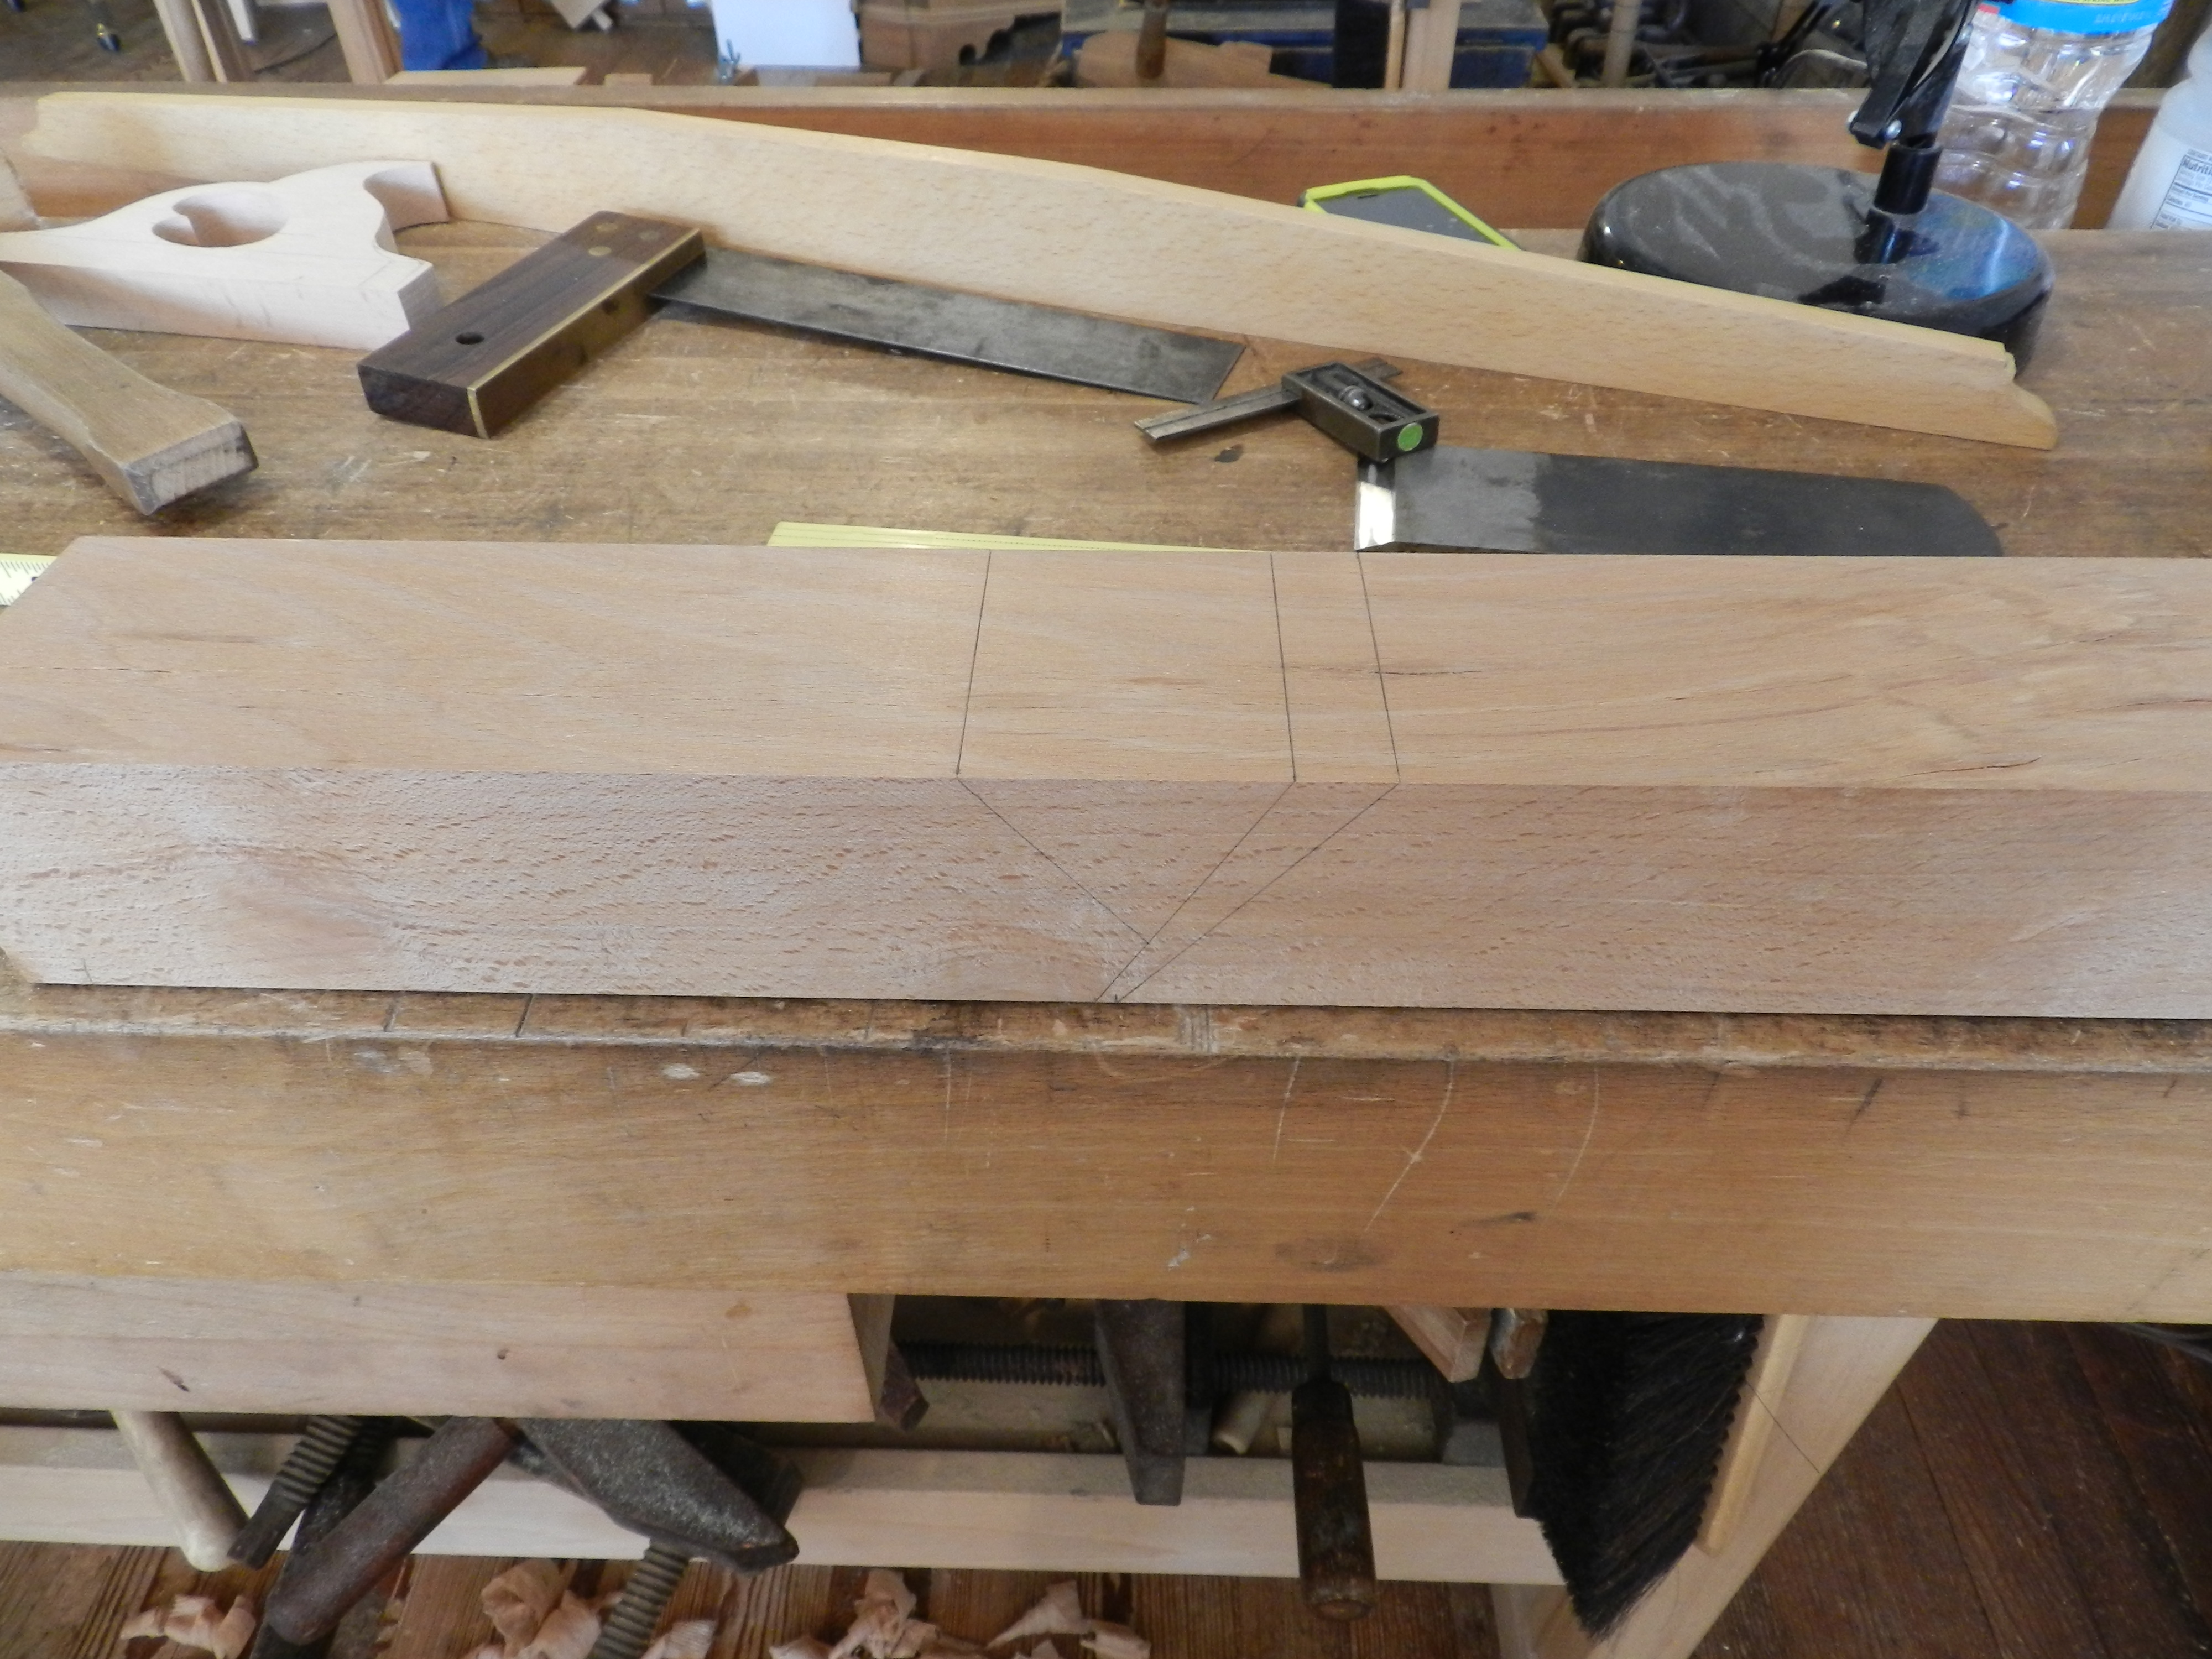
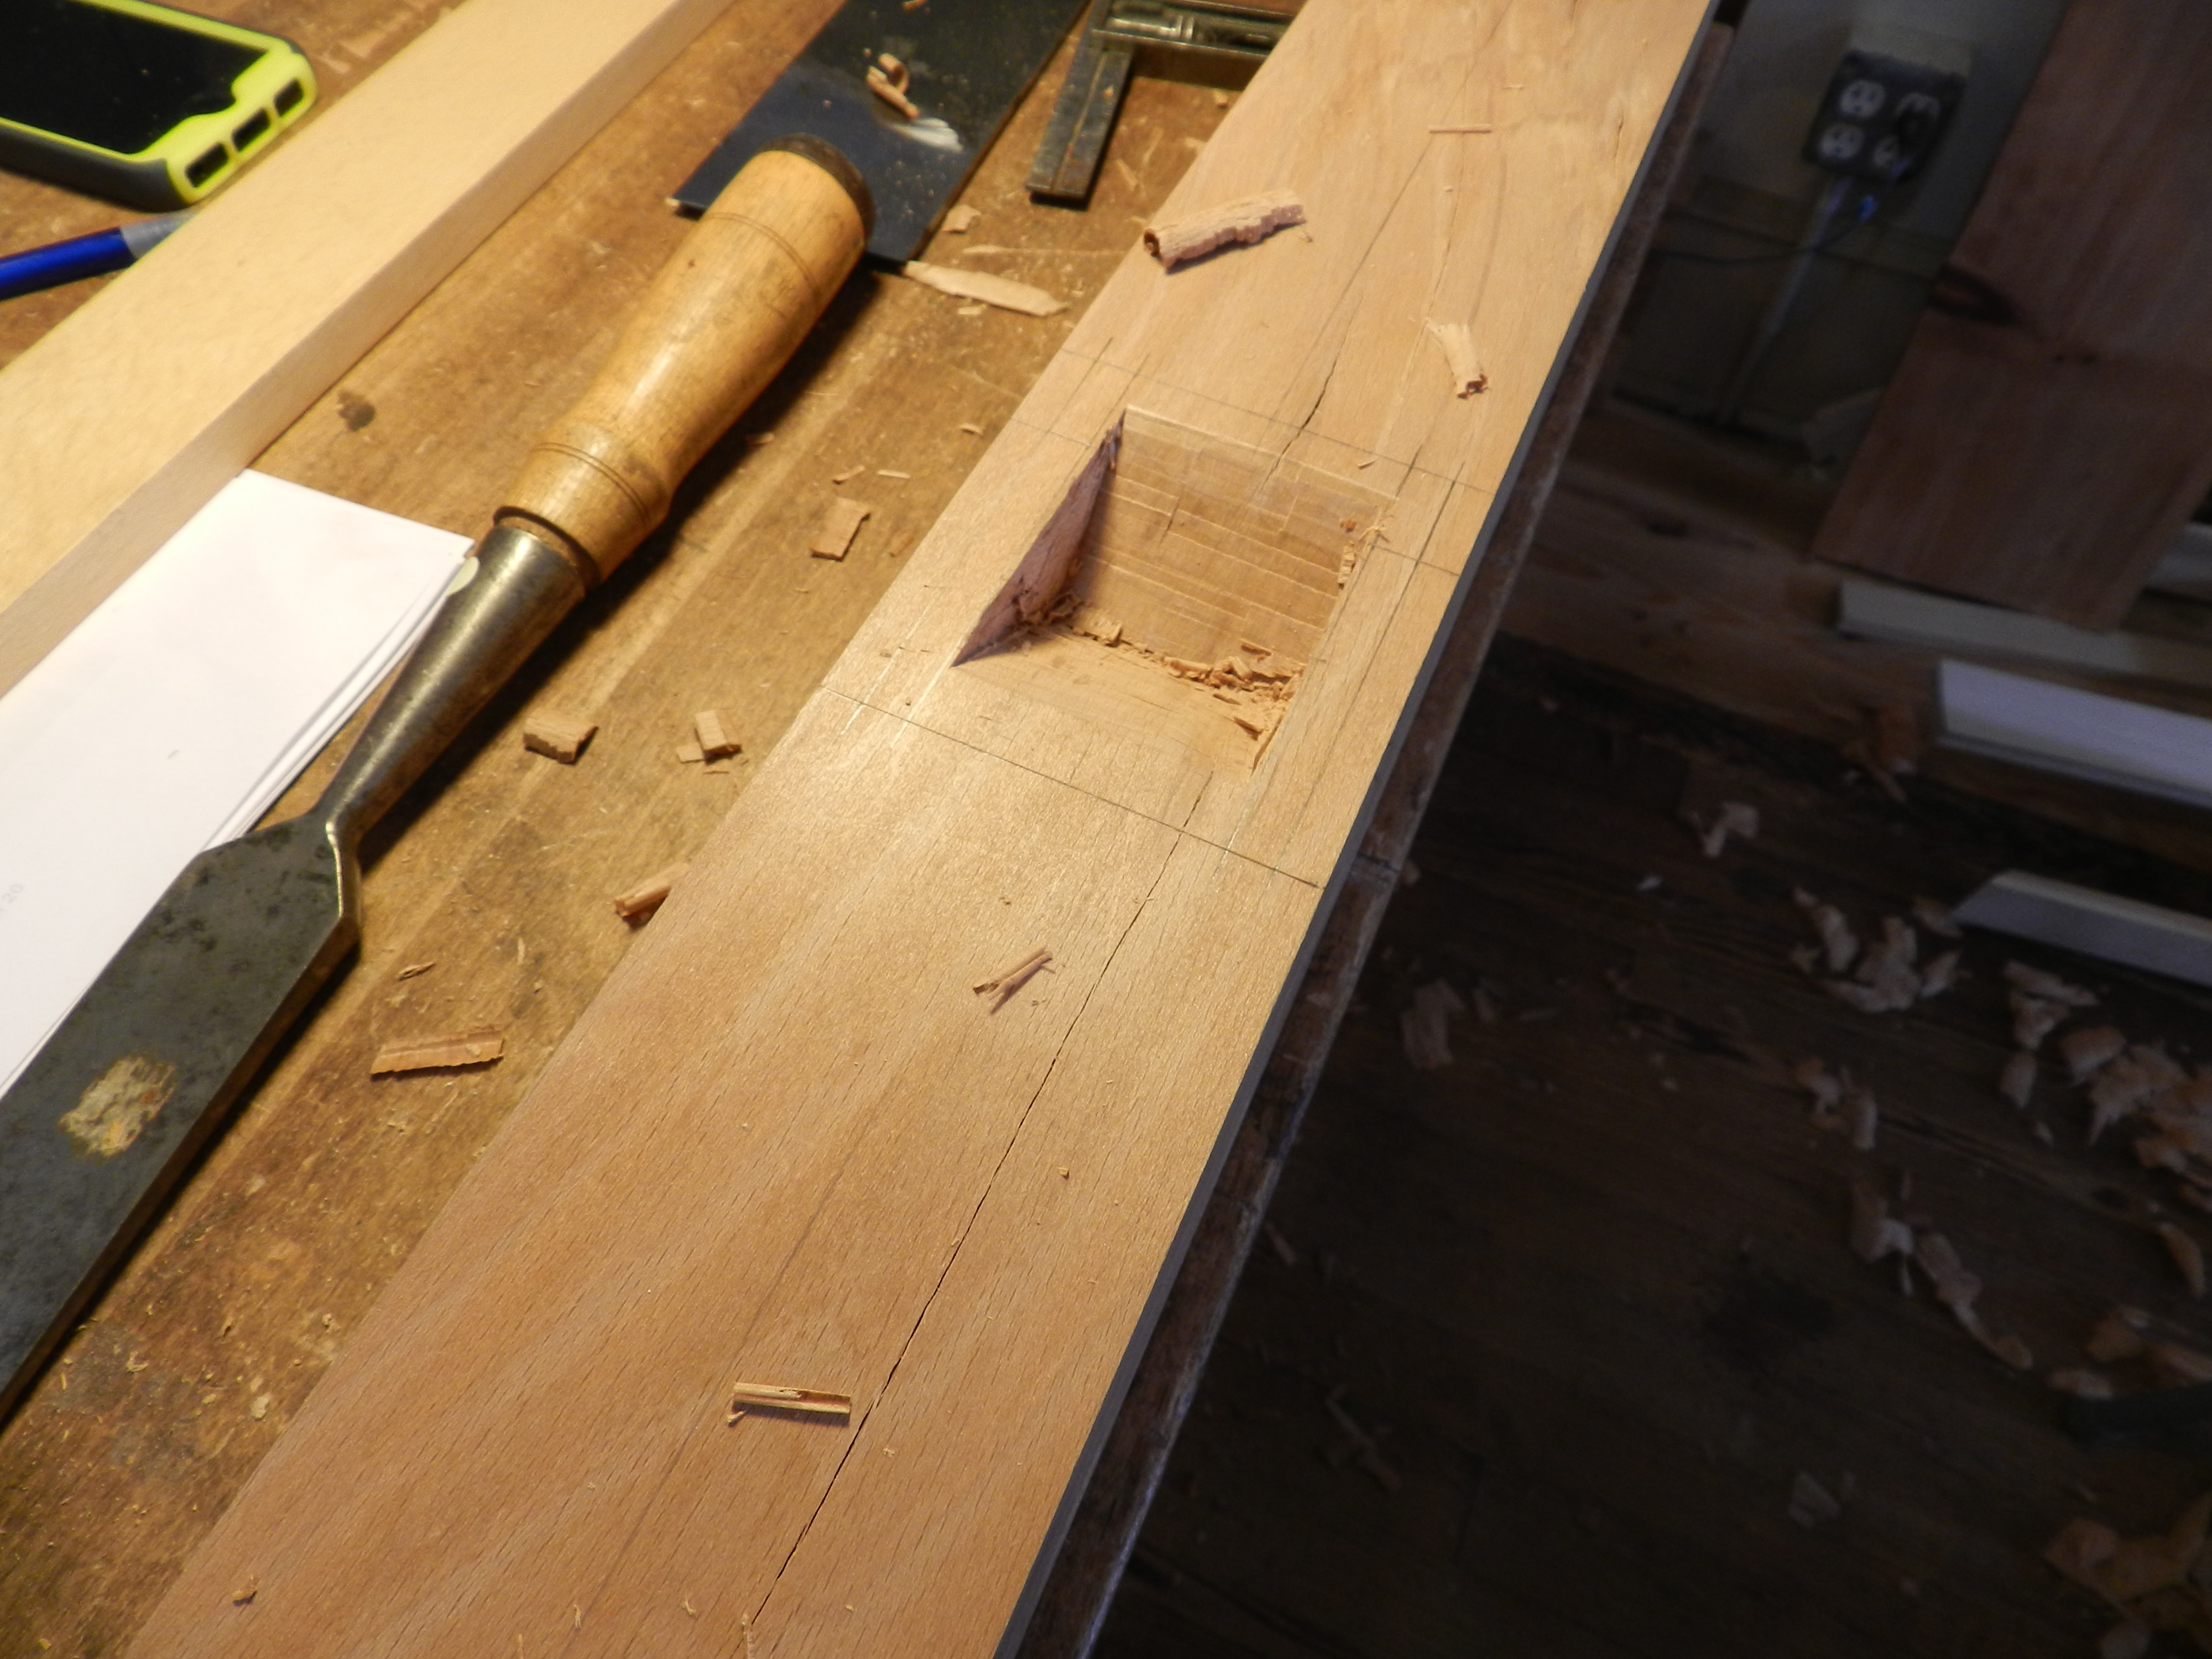
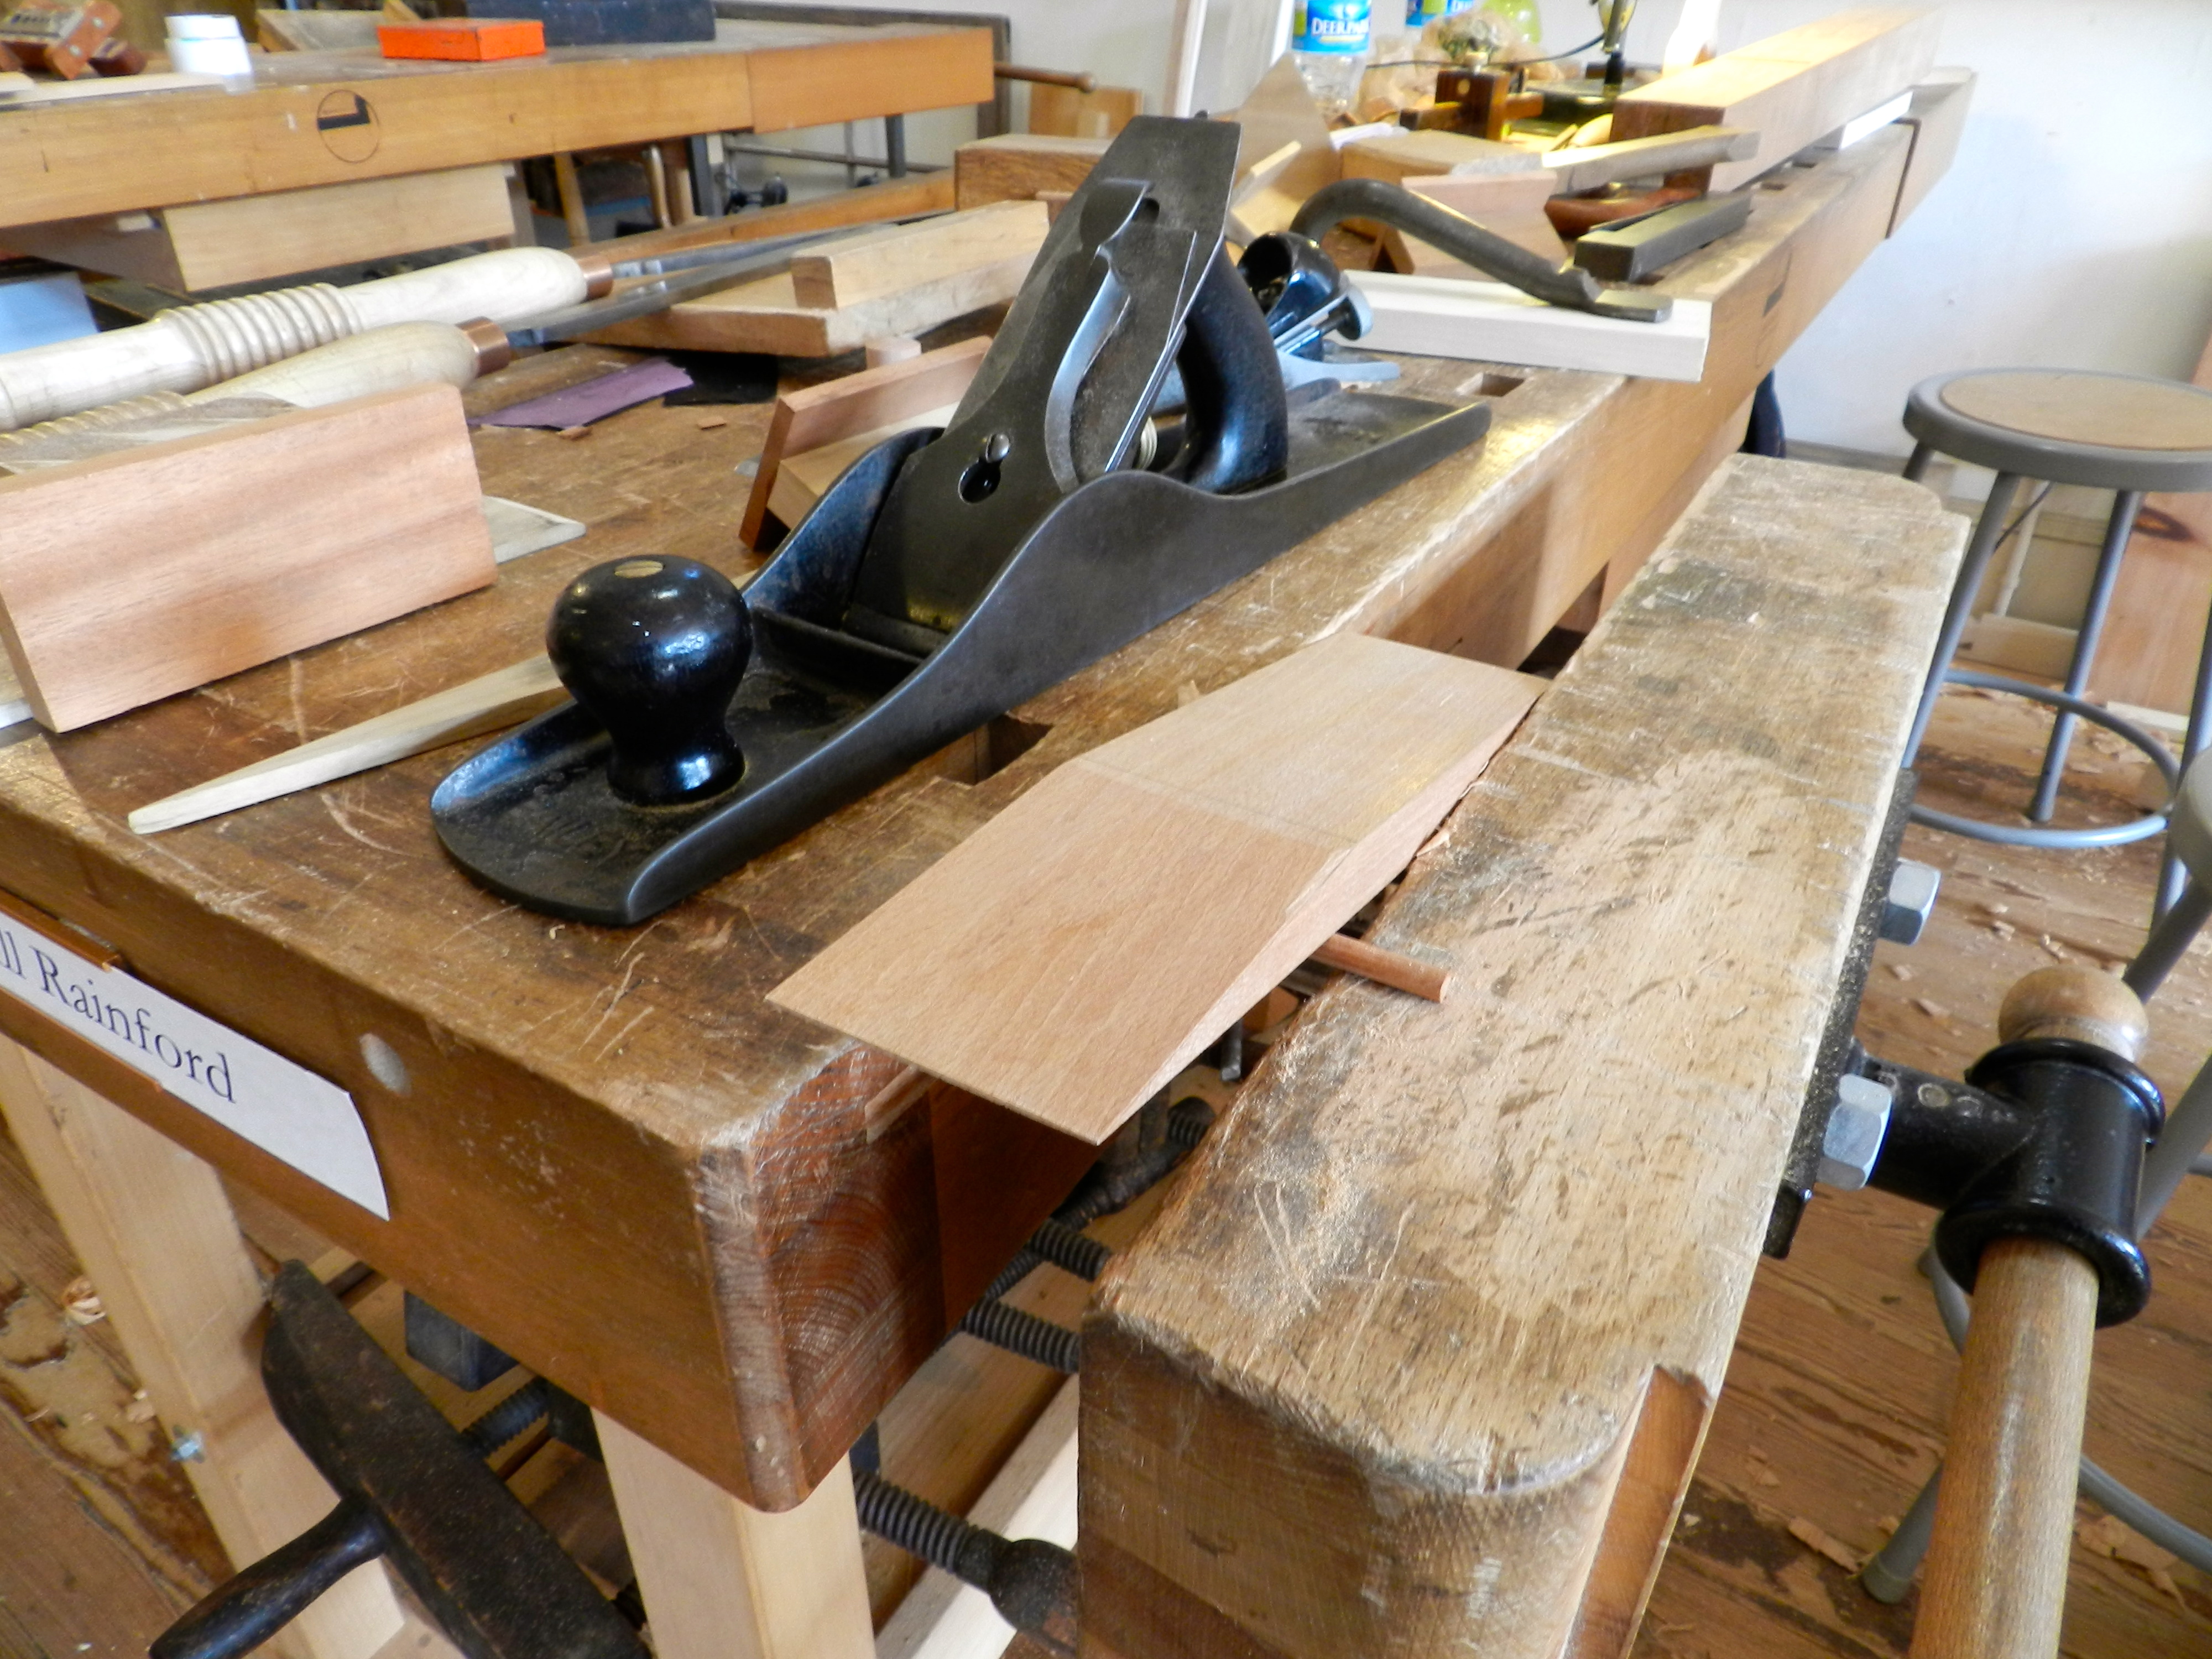
Bill had a great cross section model of how this sort of bench plane works — made by one of his students. With the body of the plane taking shape, next up was tuning the mouth opening and the abutments. If the mouth is too wide or too large the plane may not cut cleanly so you need to carefully fit the iron to the opening. If the abutment is not carefully placed when you re-flatten the sole of the plane you’d also be opening the mouth more. You also need to take care flatten the face of the bed that supports the iron — if there are high points the iron can pivot on those and make it tough to use the plane. One of the many testing/fitting gauges Bill had was a ‘bed testing gauge’ which looks and works much like a pair of ‘pants’ we use in timber framing to test out the thickness of a tenon, except in this case you are using it to check the thickness of the cheeks and how close your bedline is getting to the line scribed on the side the plane body.

Planing the wedge
Planing the wedge

With the mouth and throat all set, next up was making the wedge to hold the iron in place. The wedge needs to be carefully planed to fit the abutments inside of your plane and tightly hold the iron in place. Again here you are using an abutment gauge (wooden wedge of a known profile in degrees) to test your work as you go.  With all the gauges and specialized tools you can quickly see why plane-making was its own dedicated craft specialty.

Shaped and fitted wedge

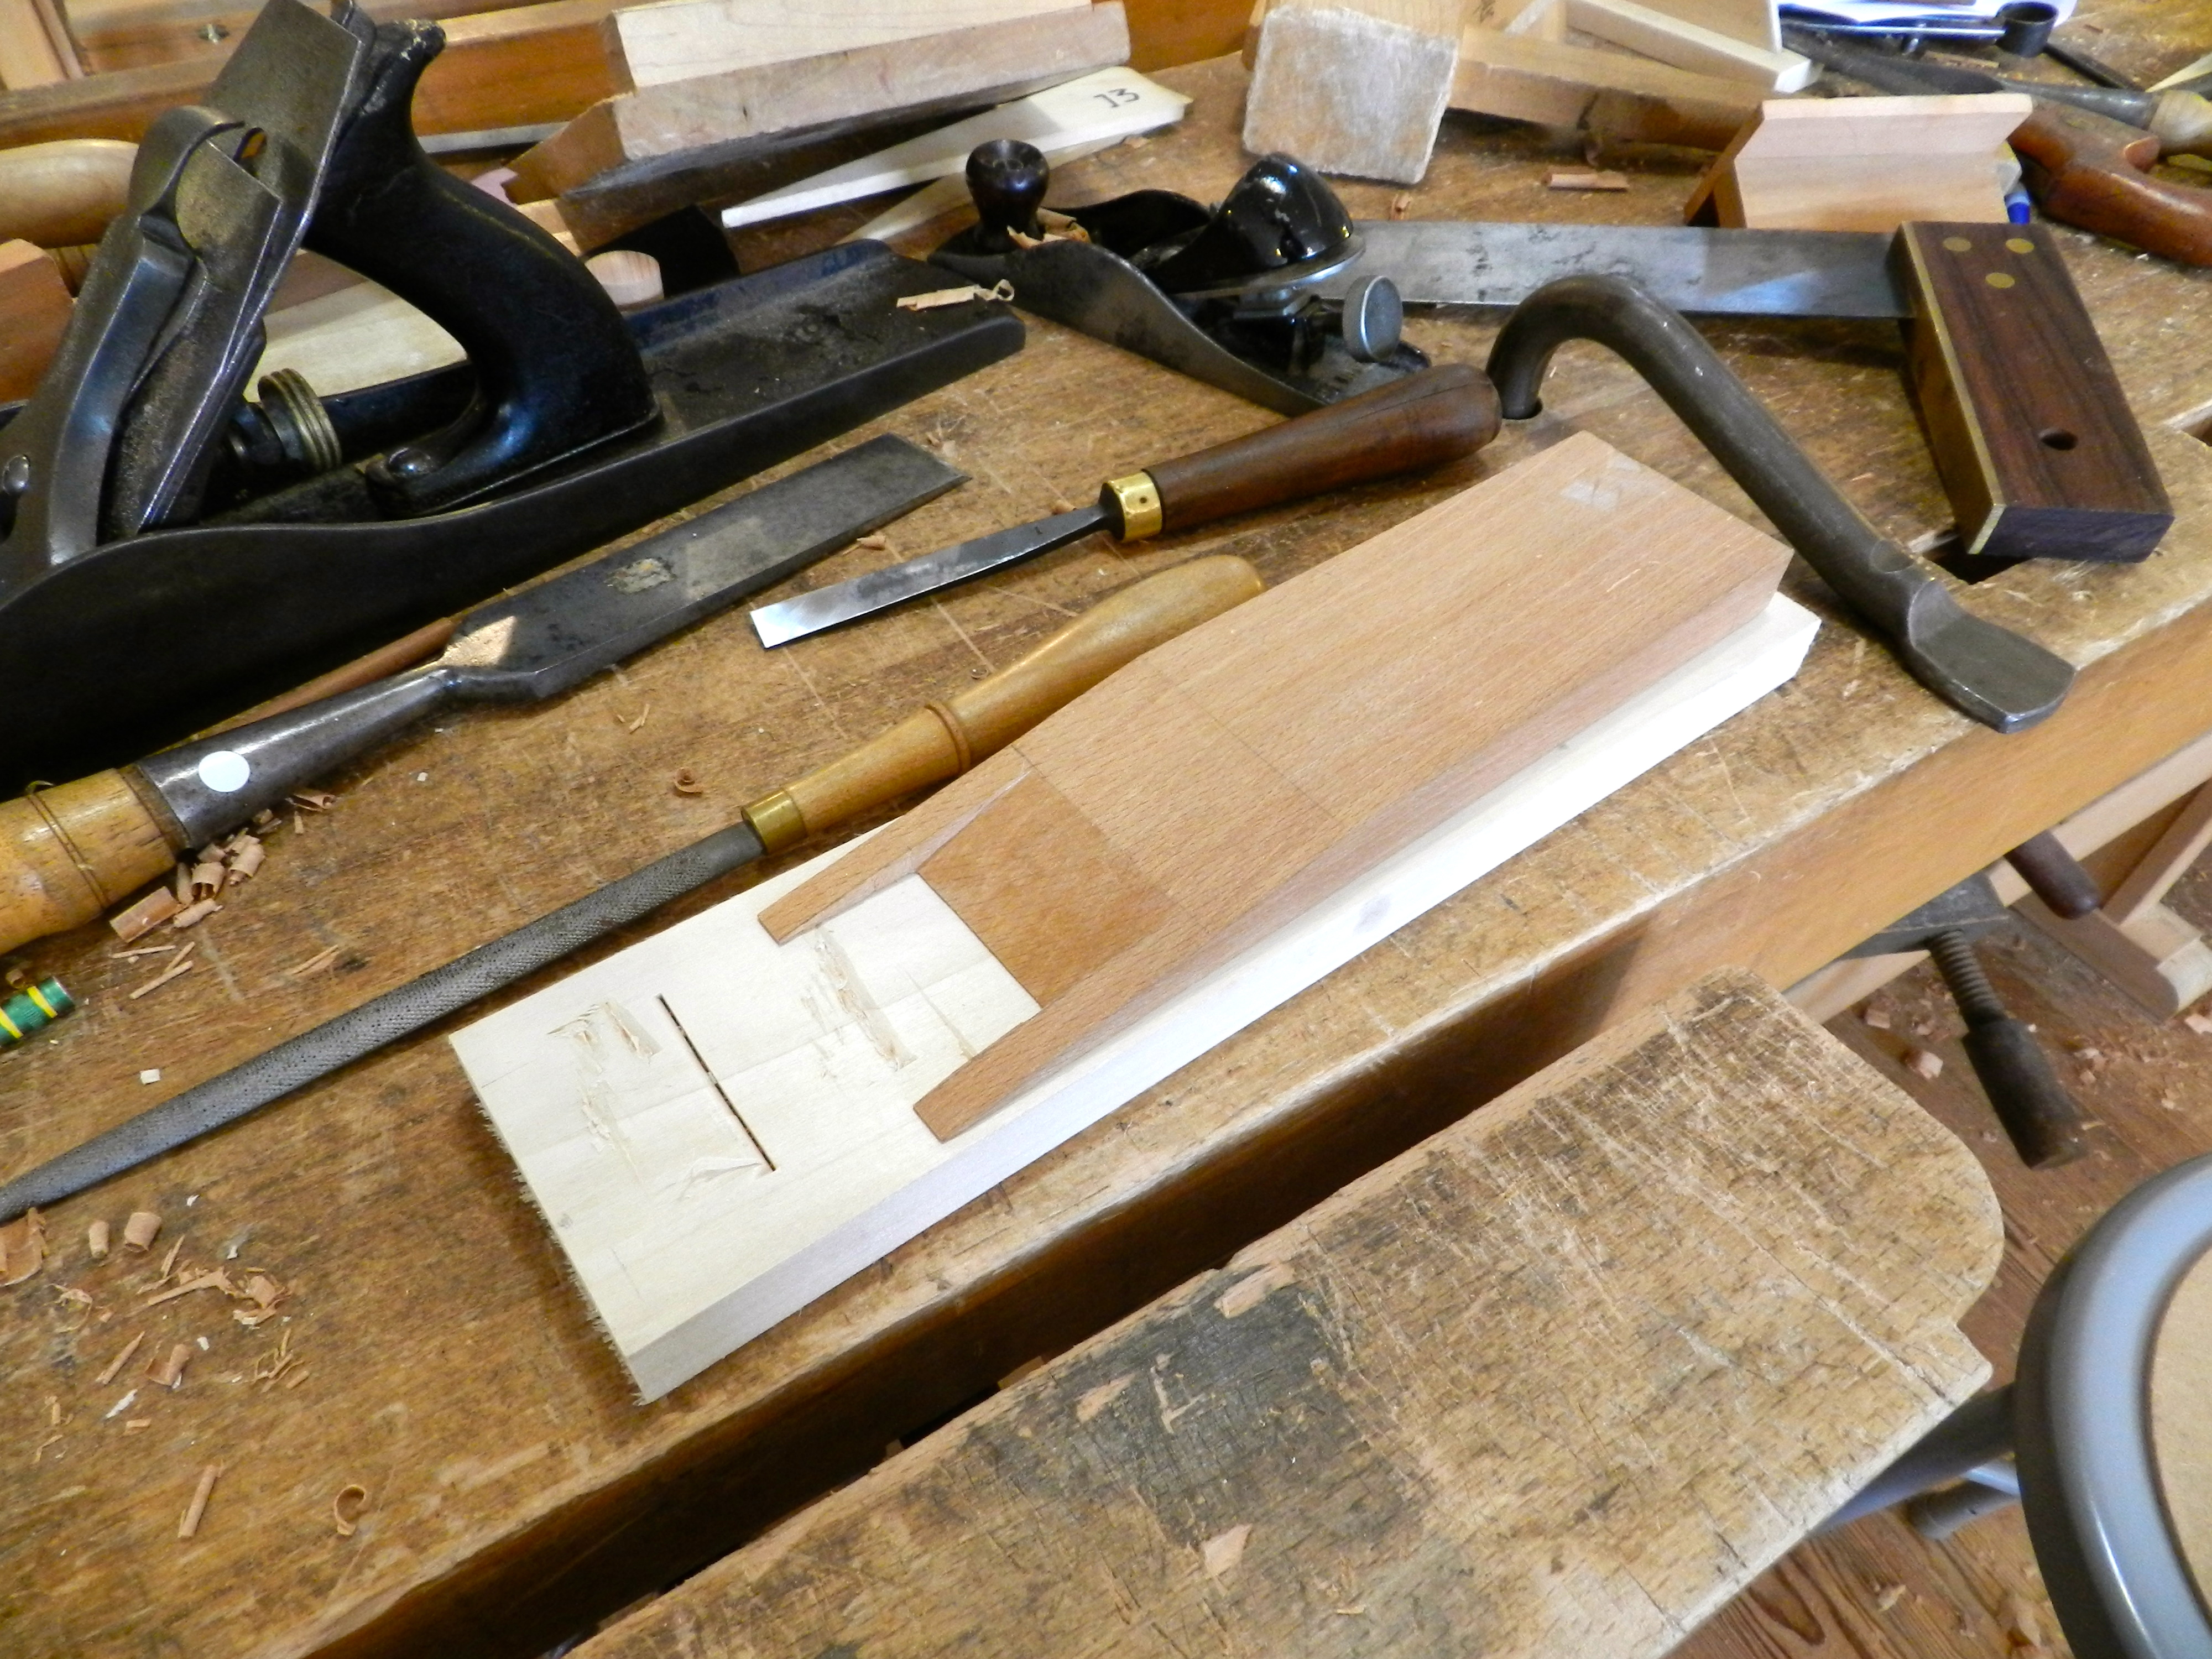
The wedge is further relieved so that the shavings can clearly escape the plane body.

Templates, gauge blocks and pants
Templates, bed gauges blocks and pants

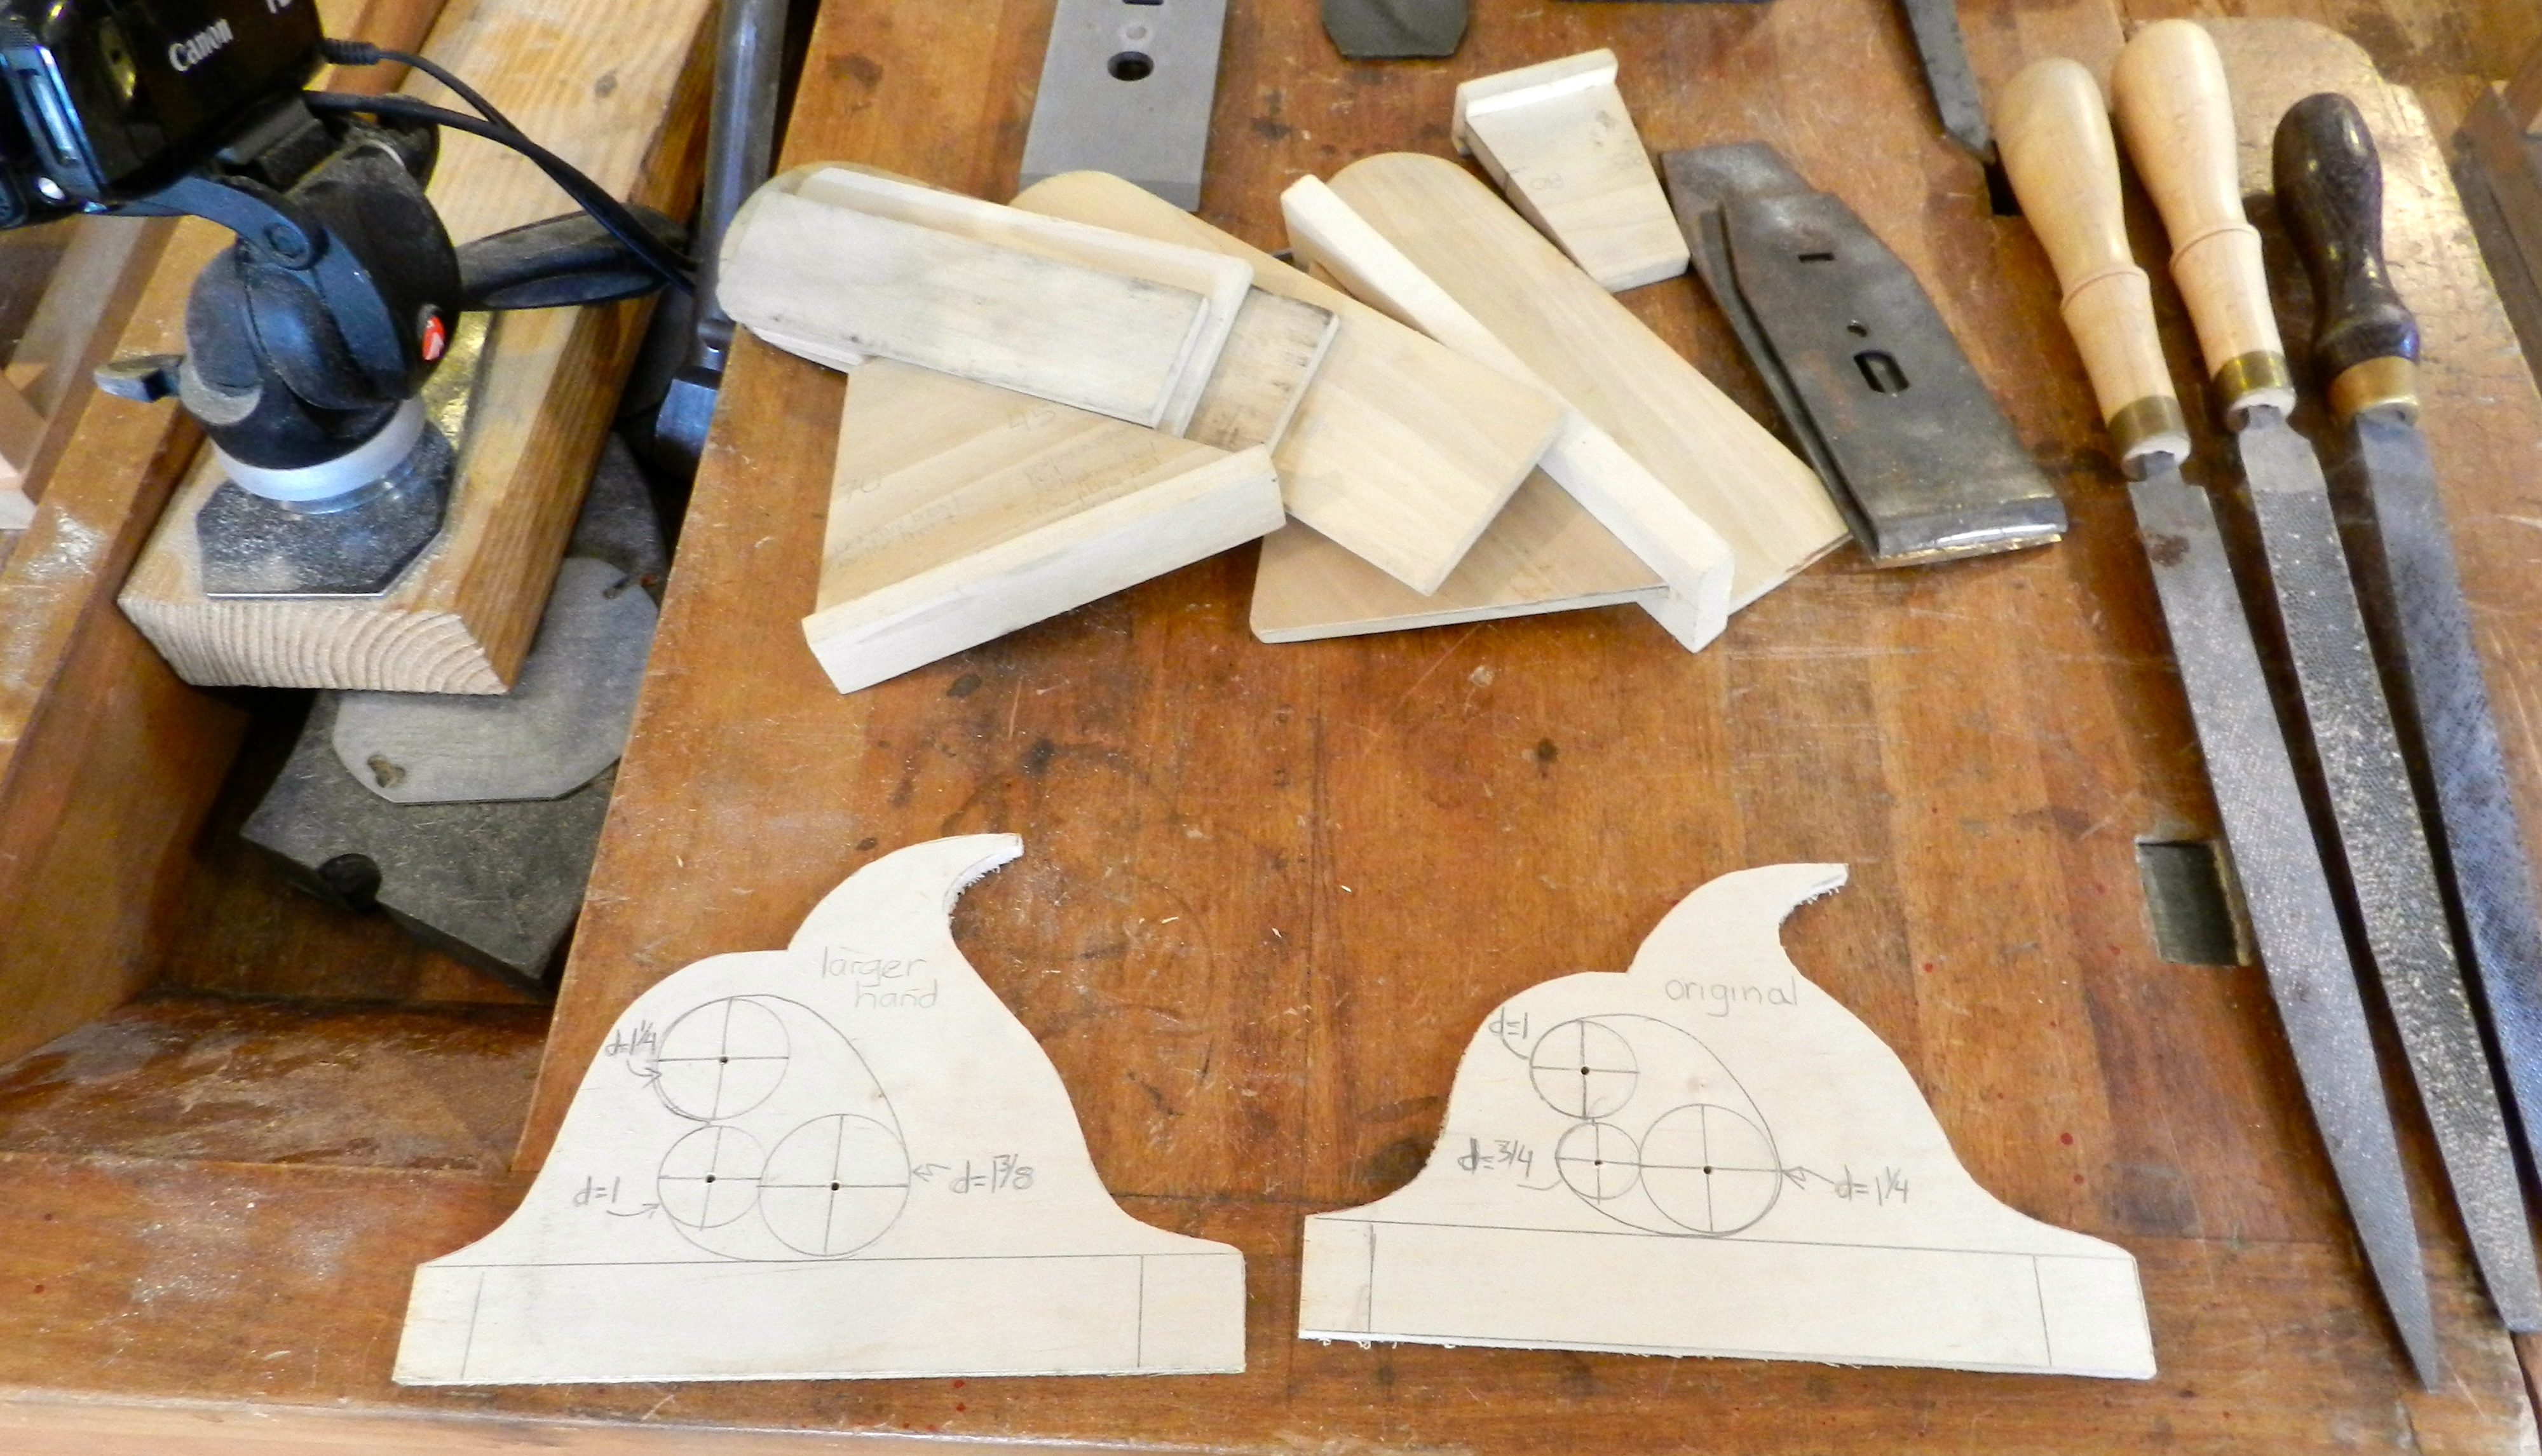
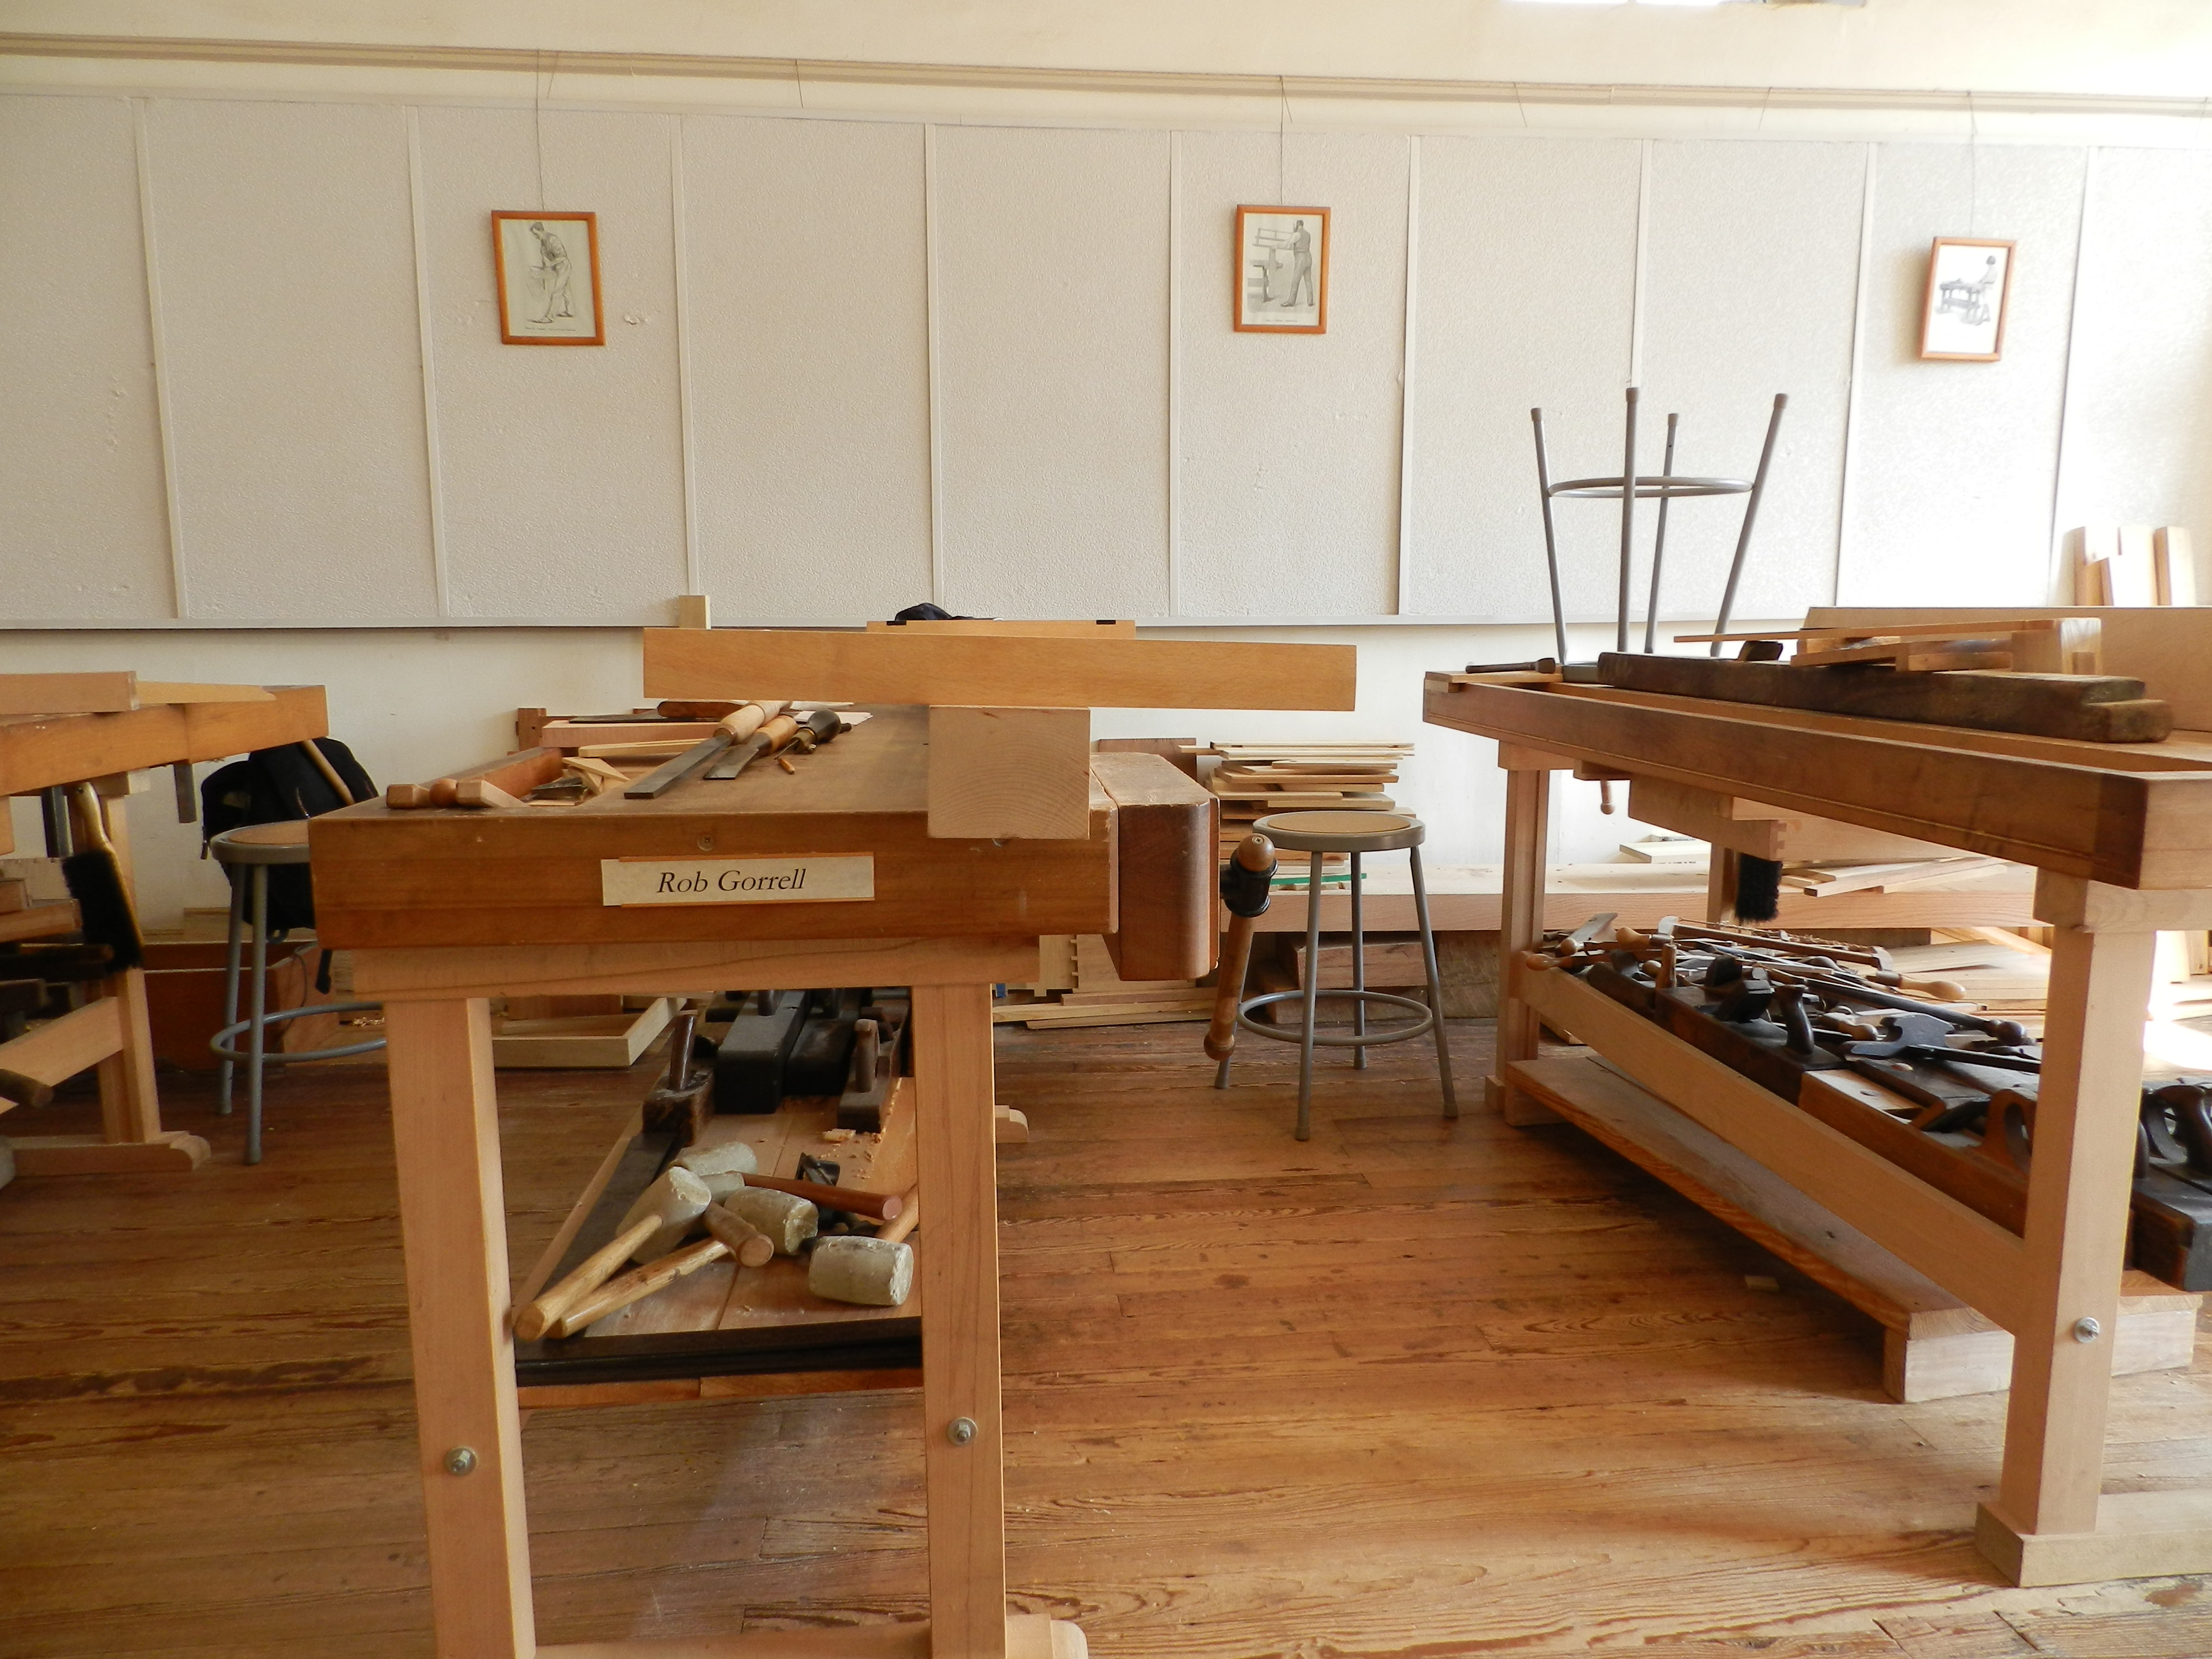
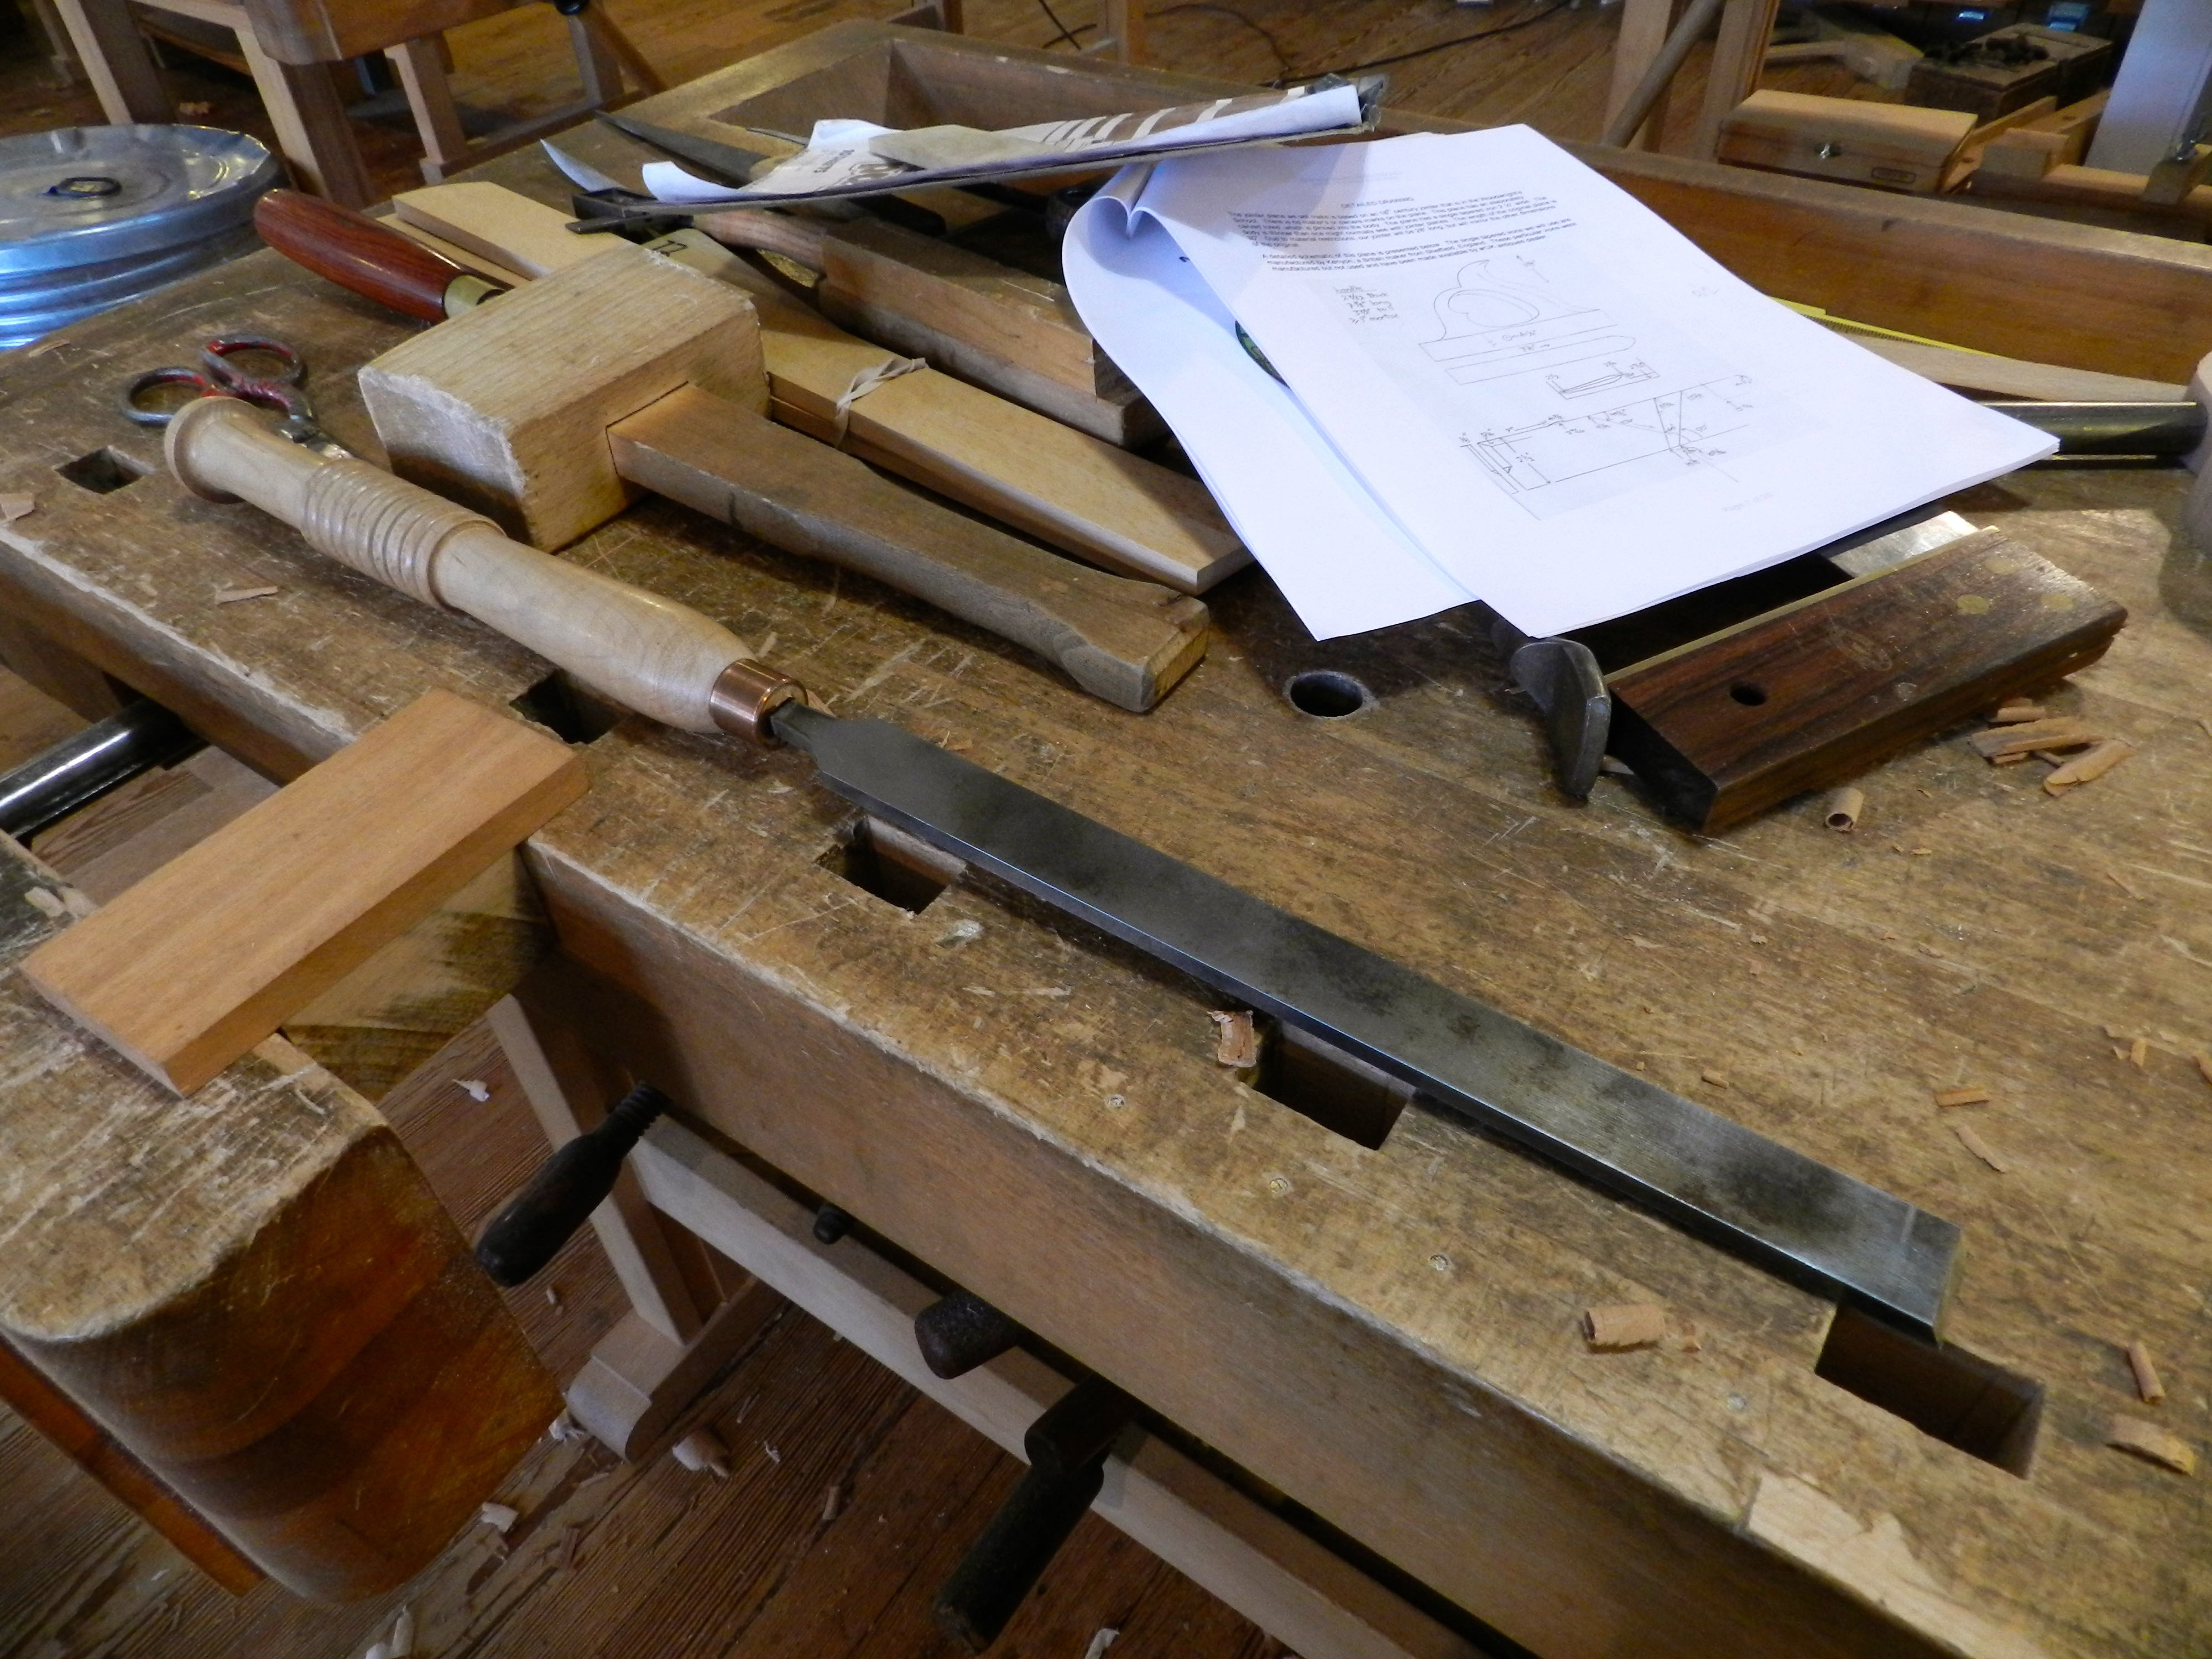
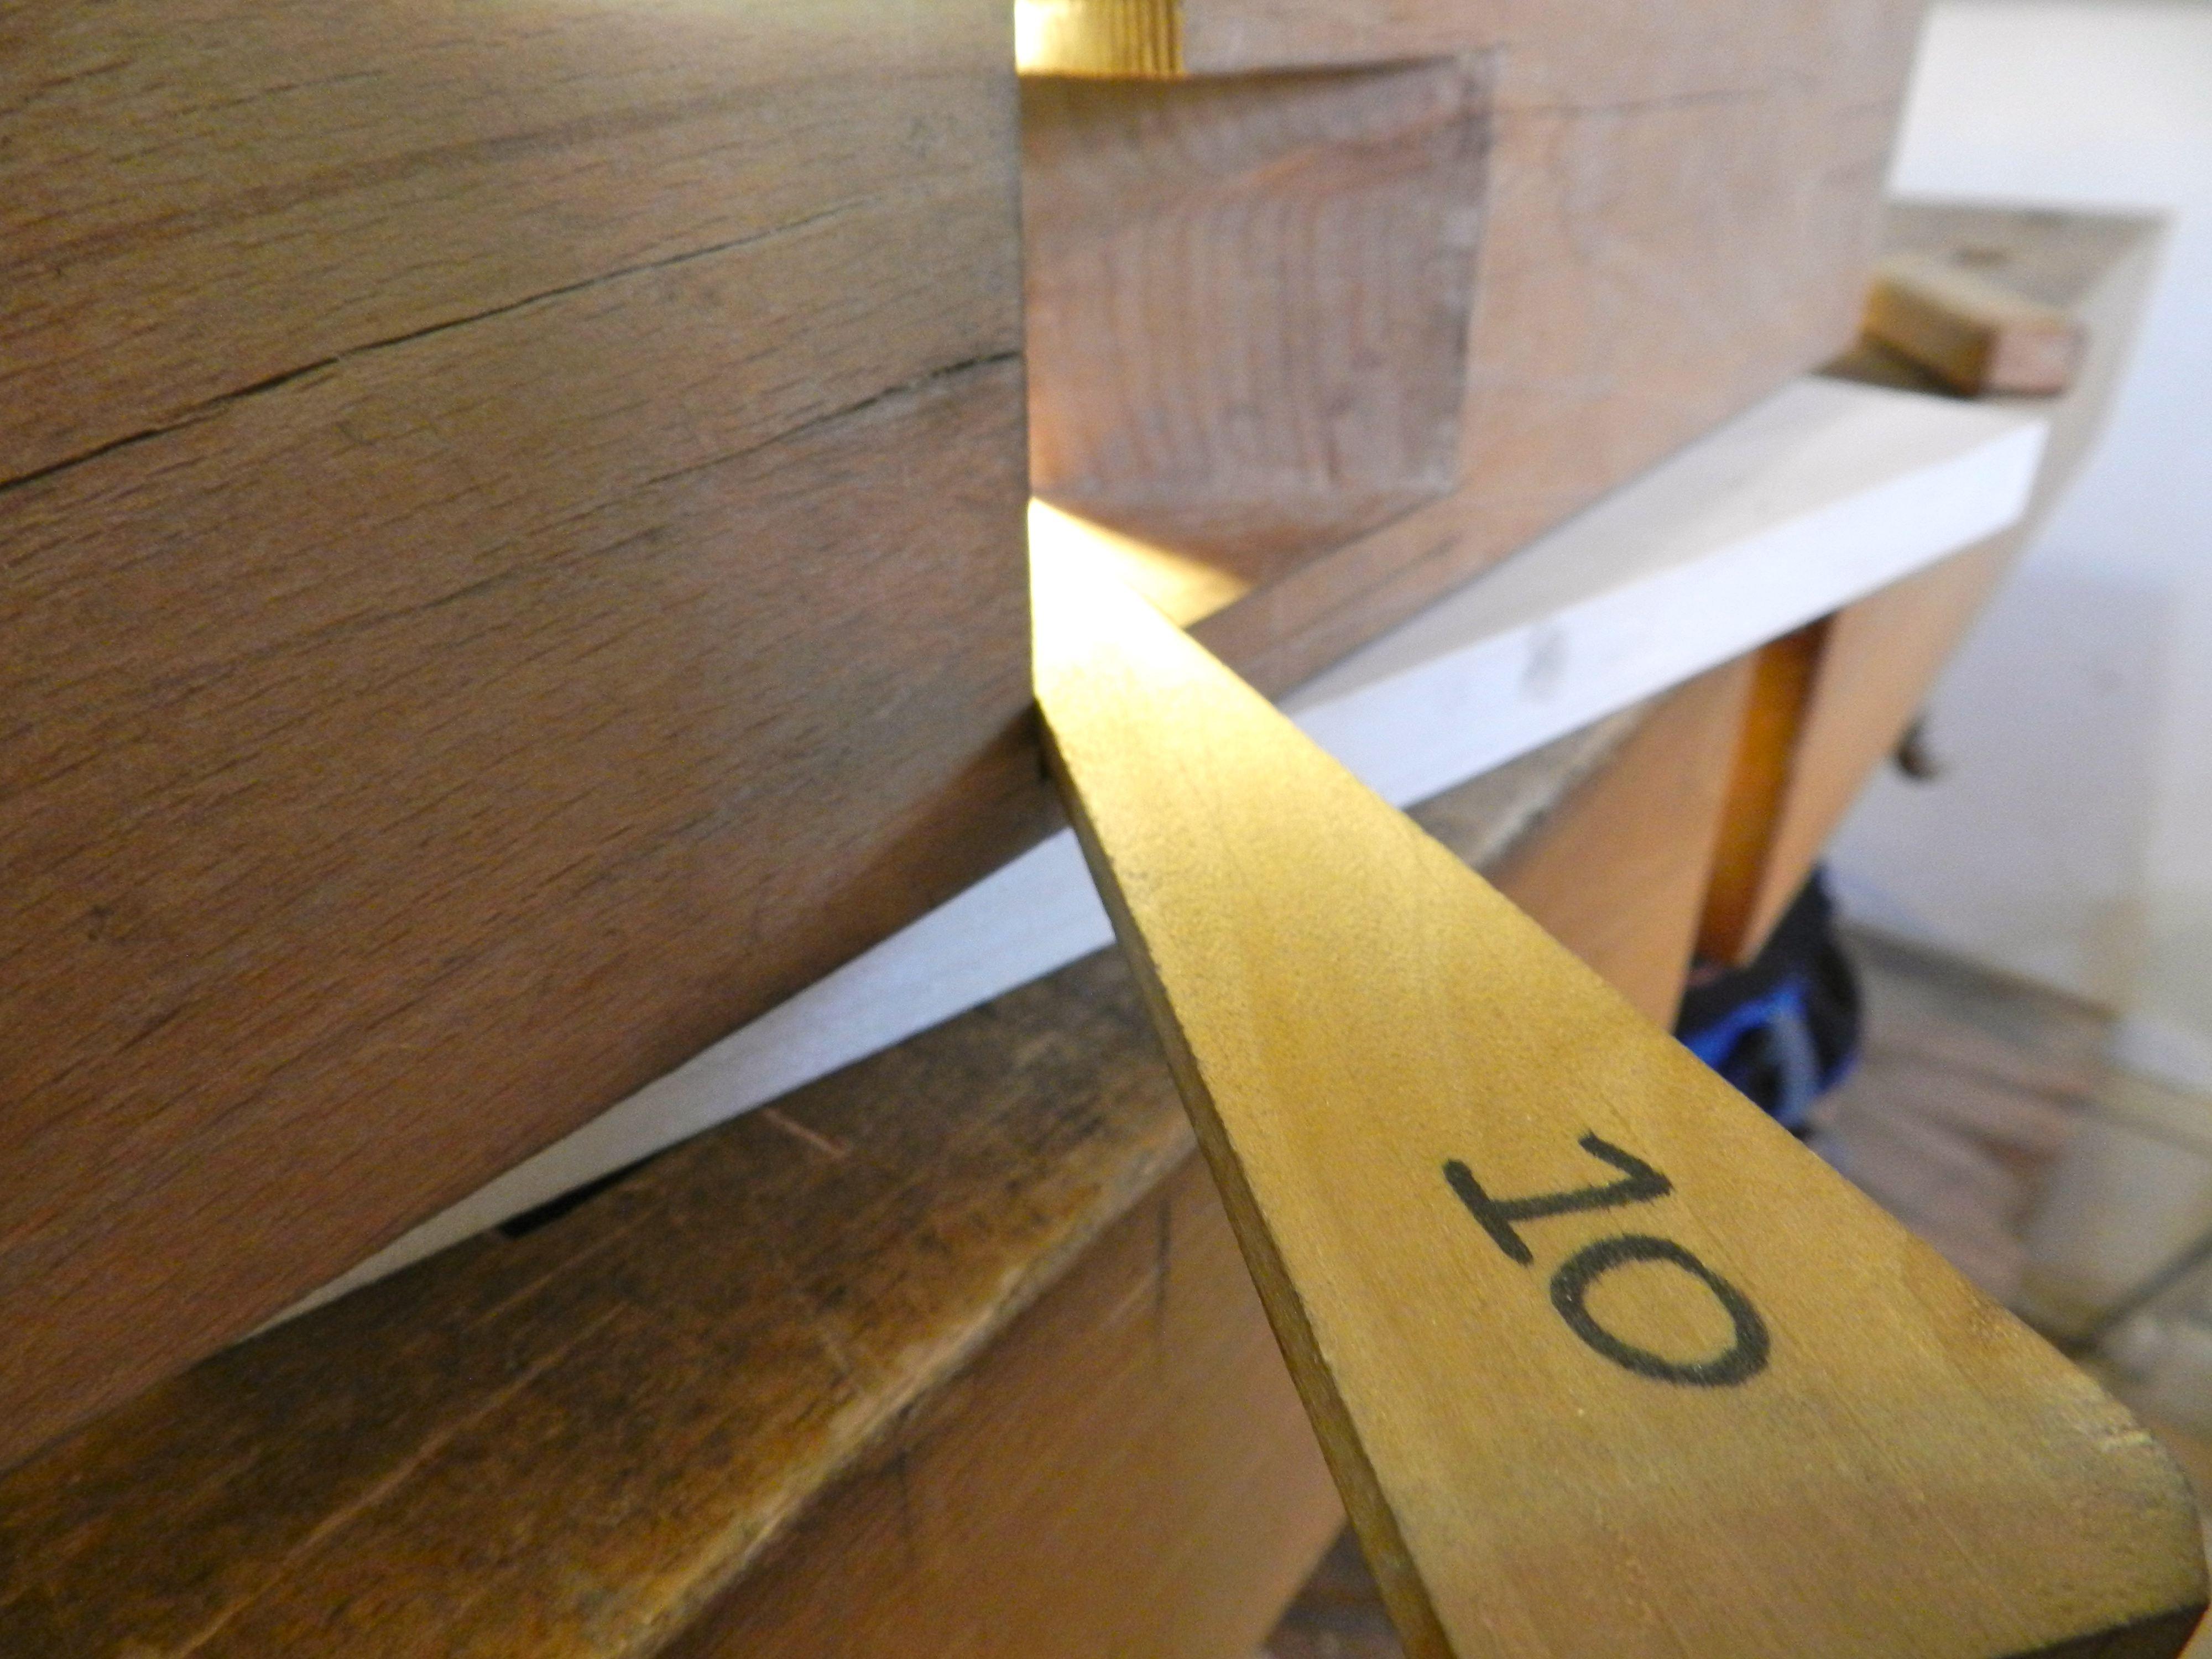
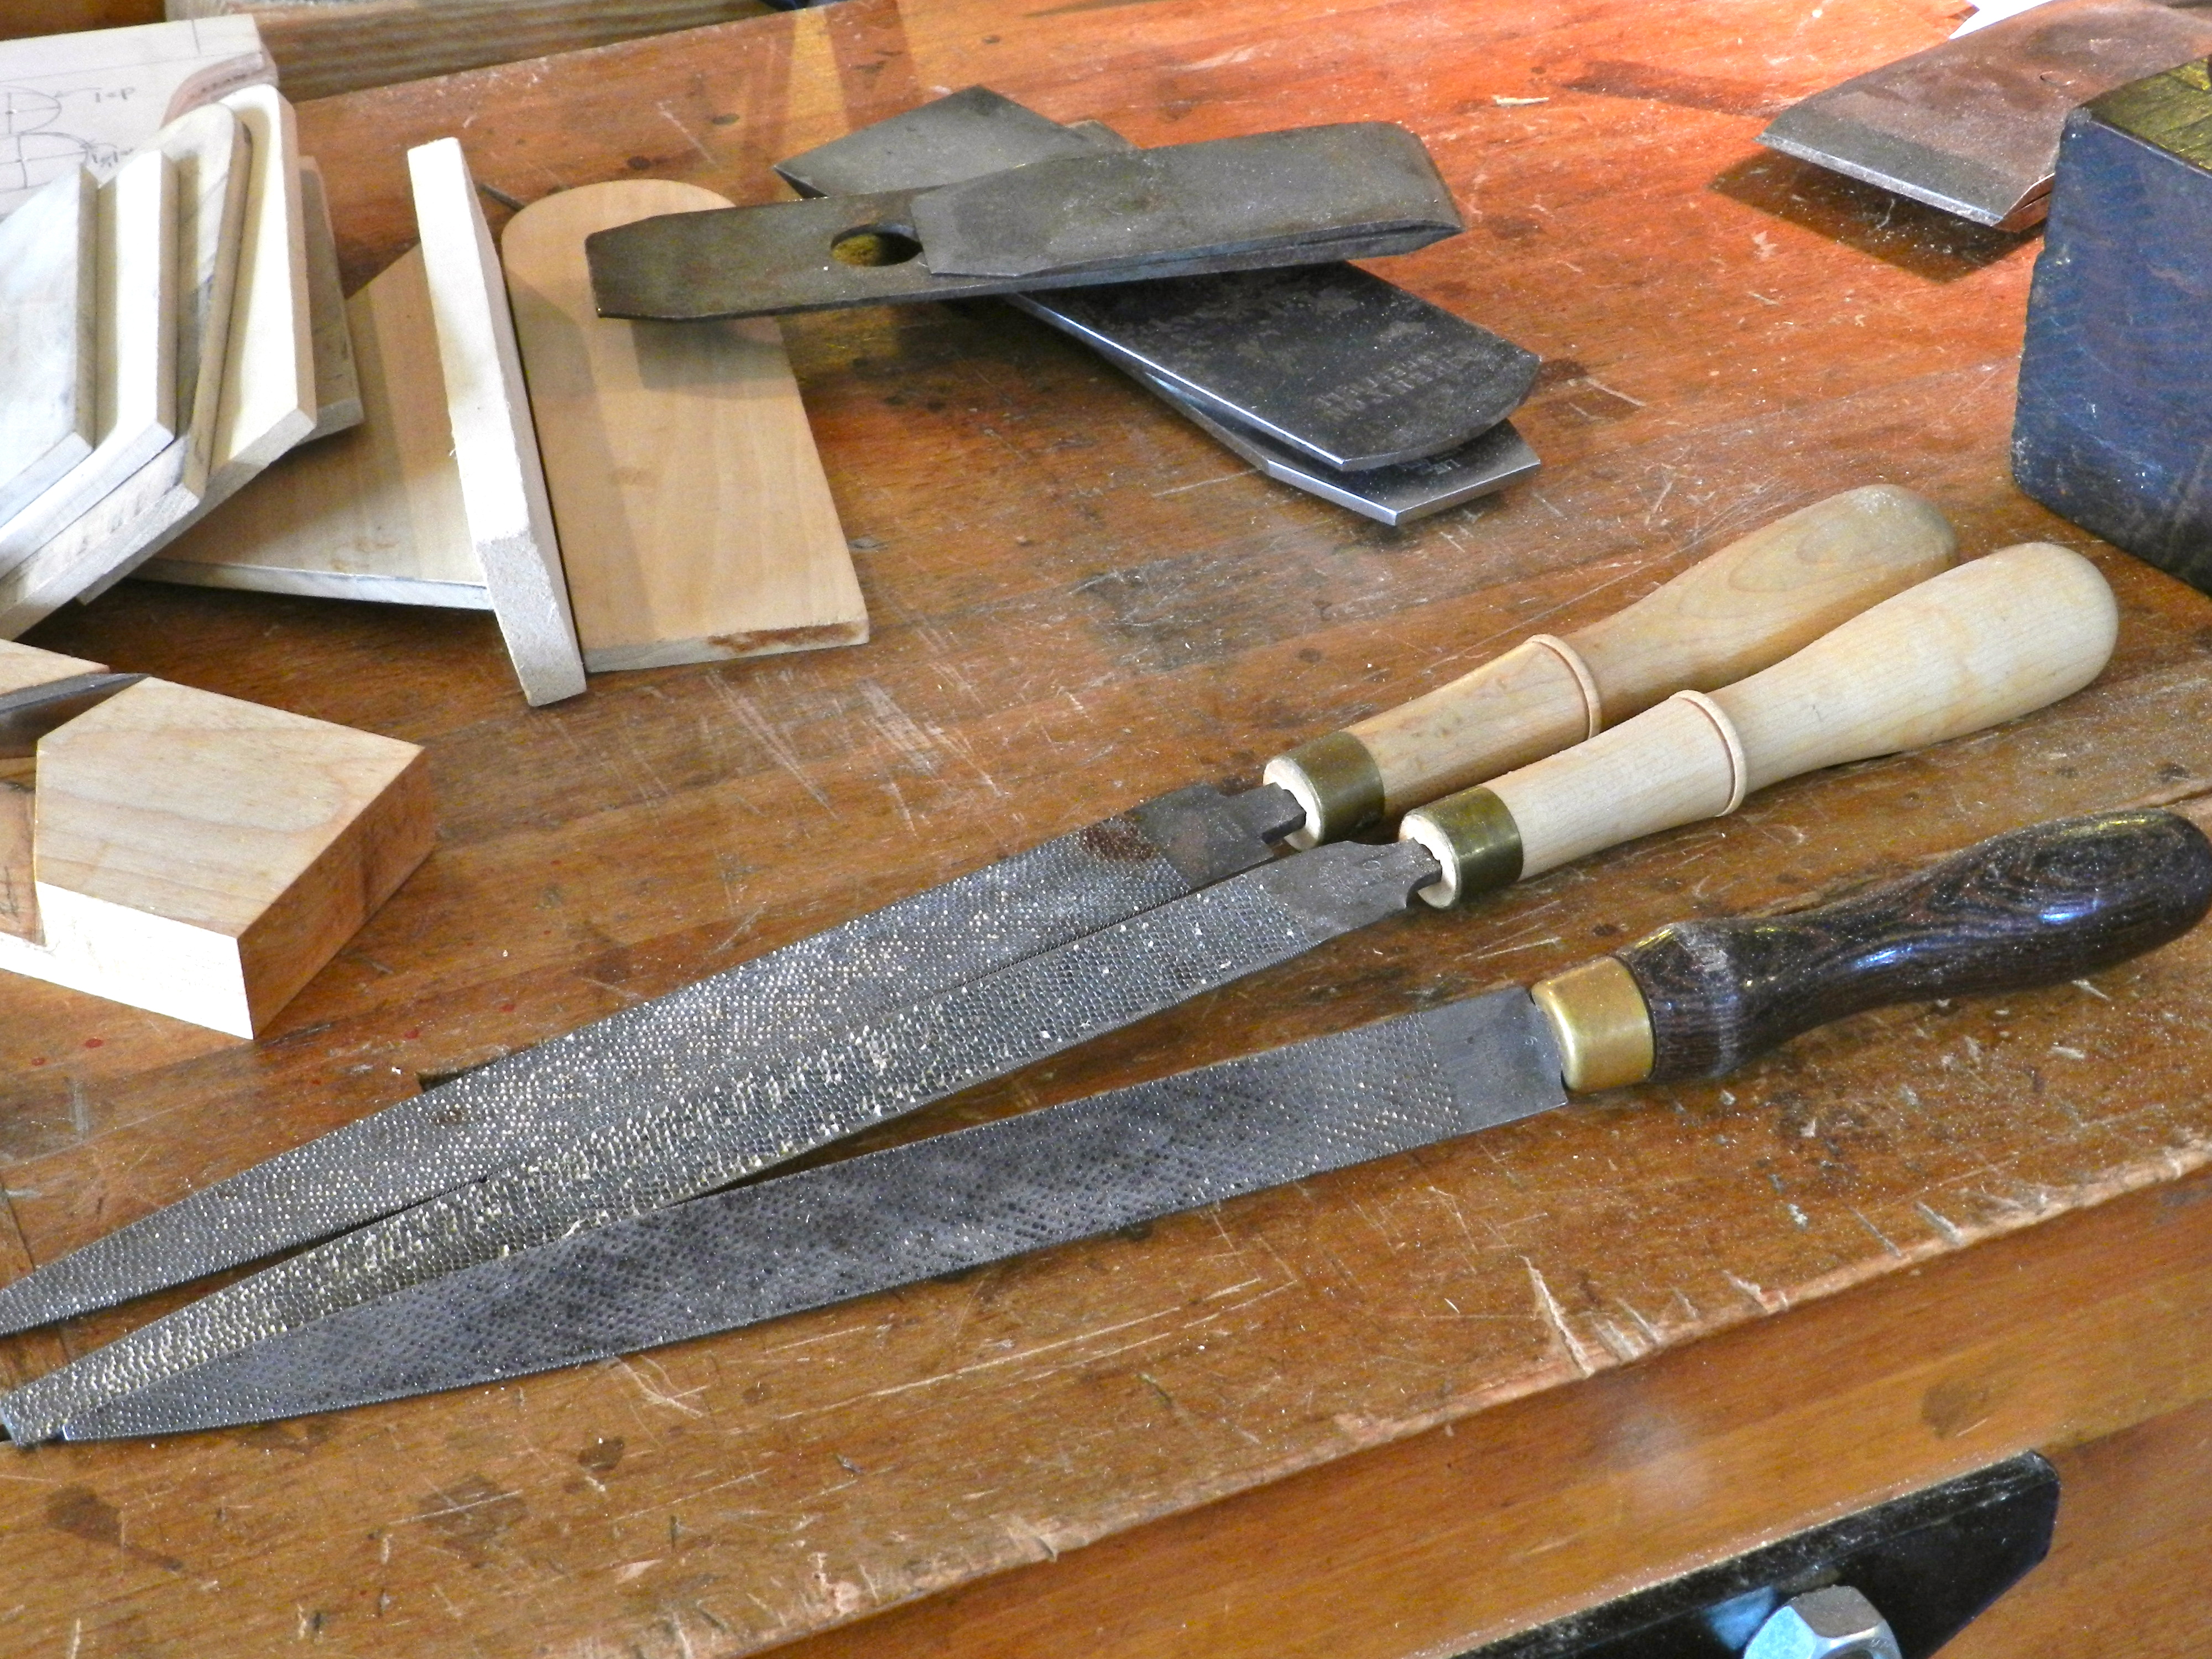
Above you can see some of the many gauges used in laying out and testing parts of your plane, along with templates for the handles.

Starting to shape the handle

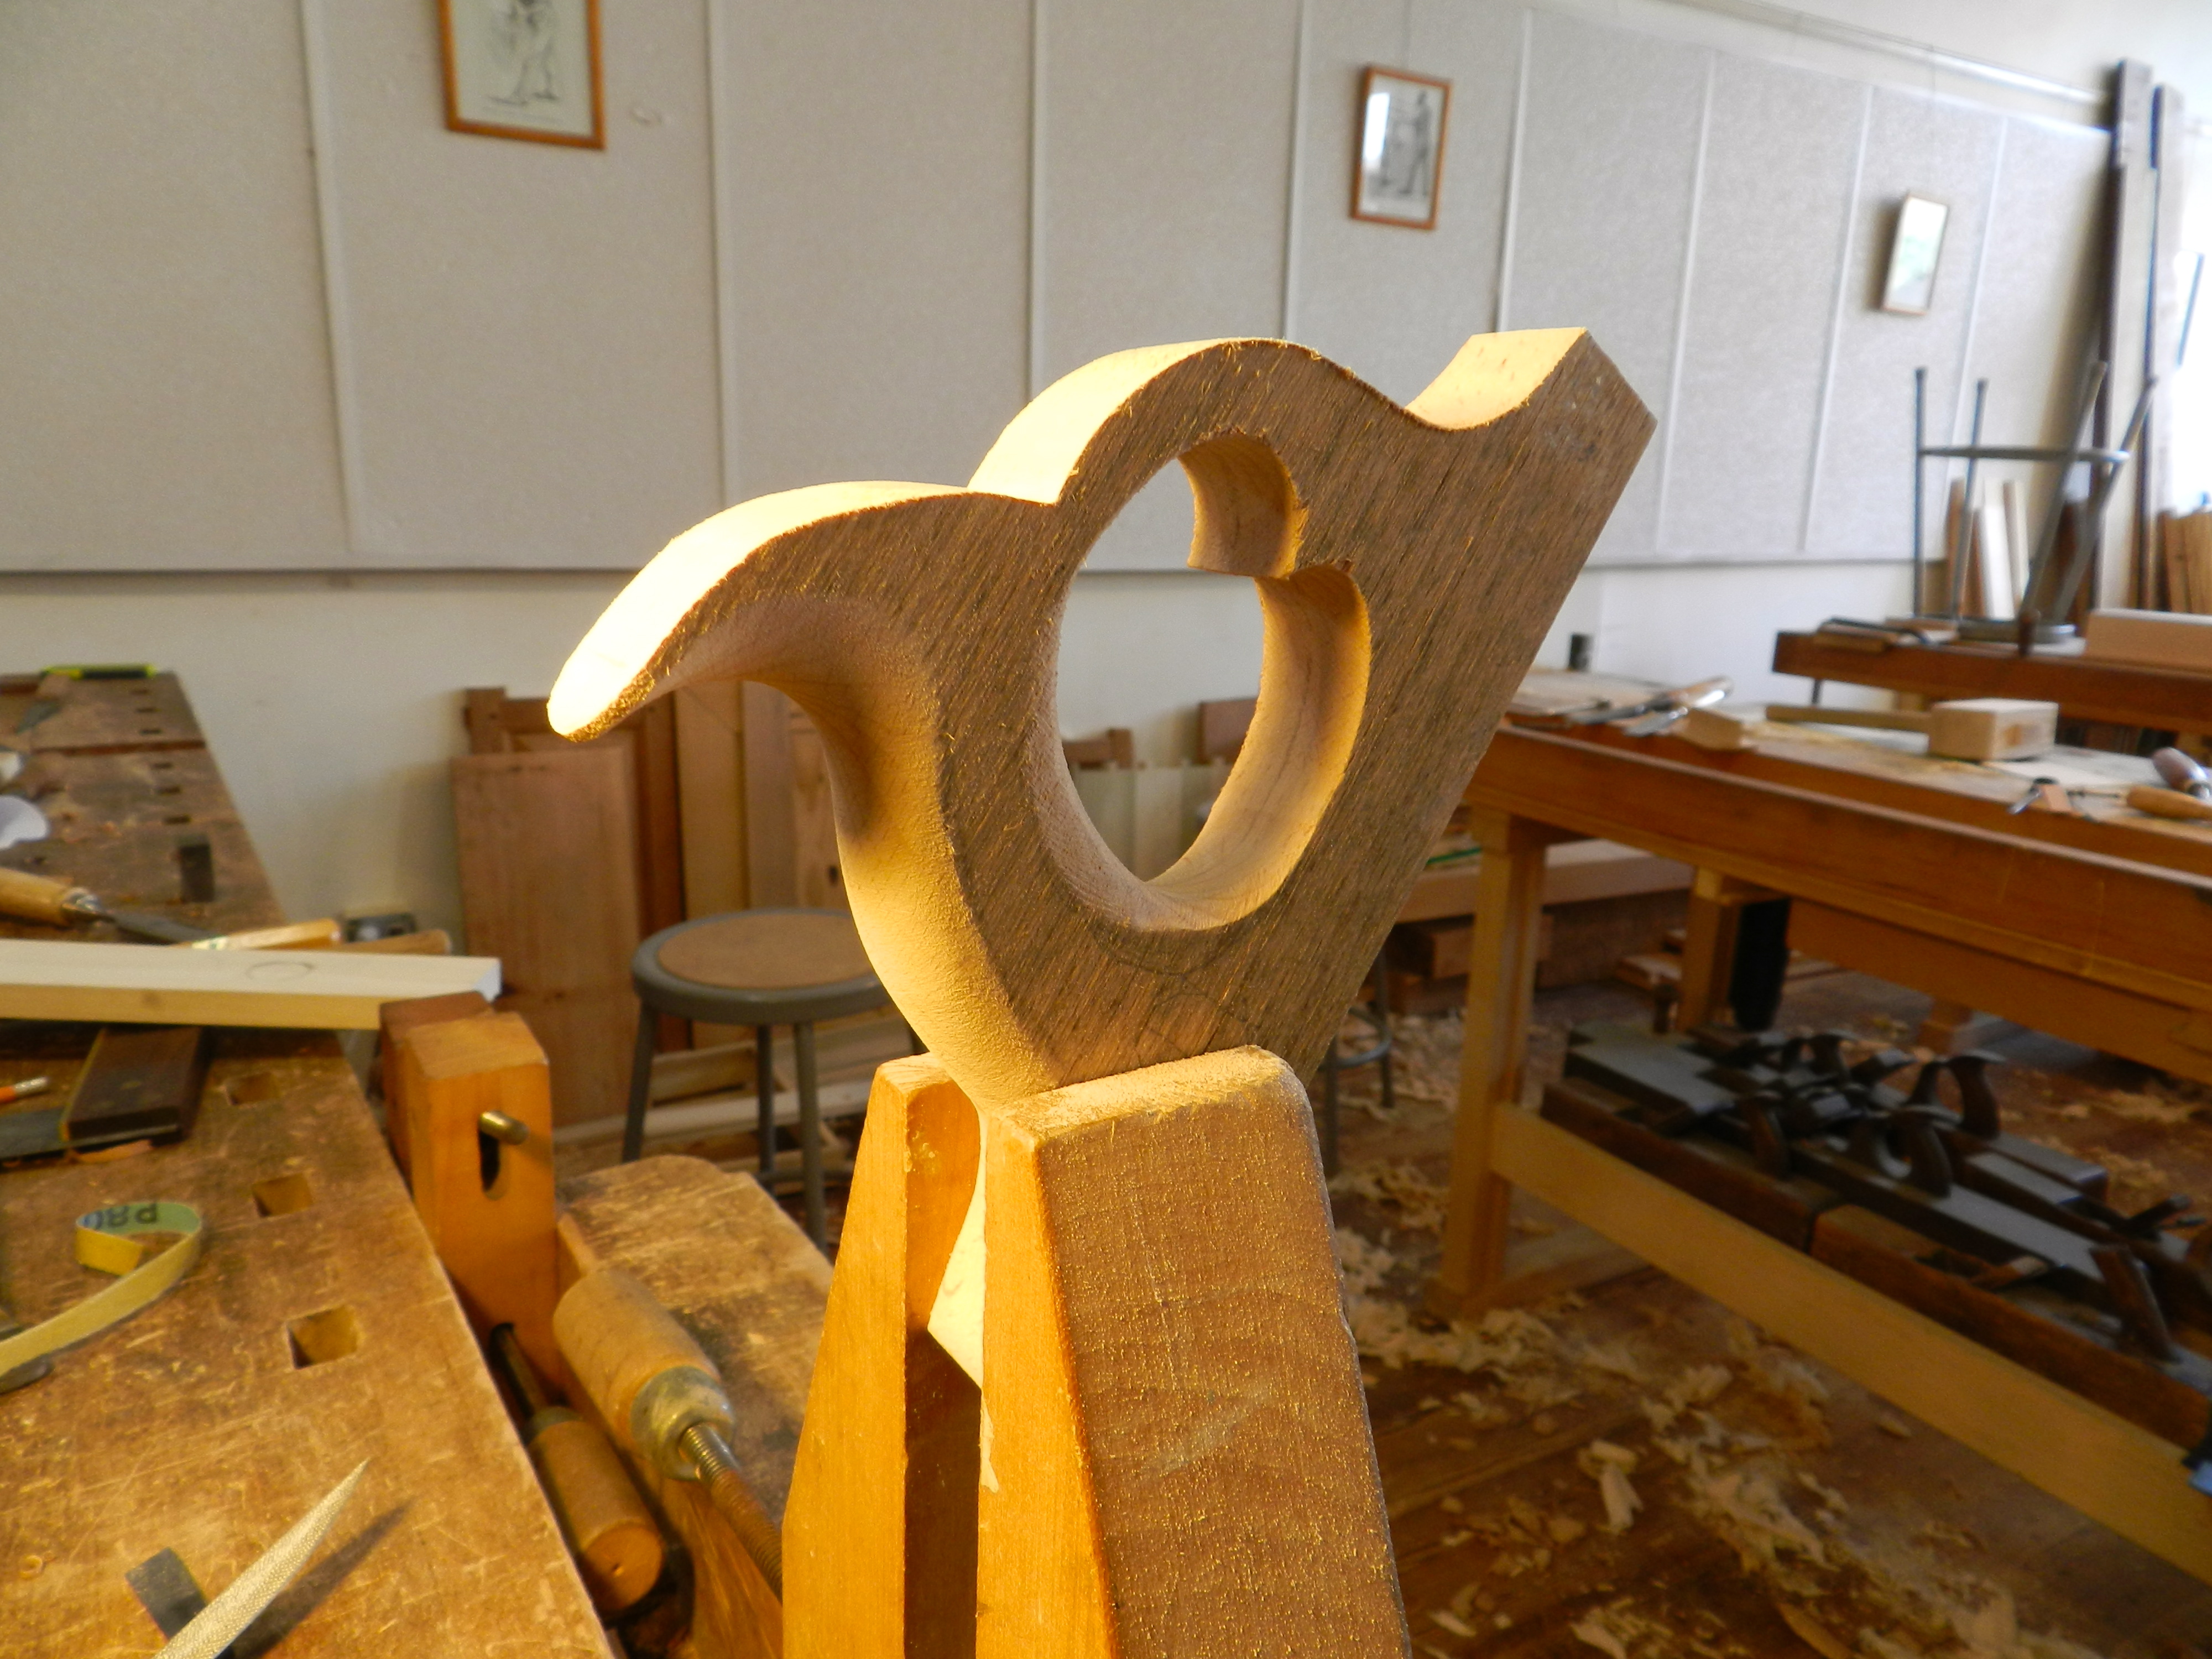
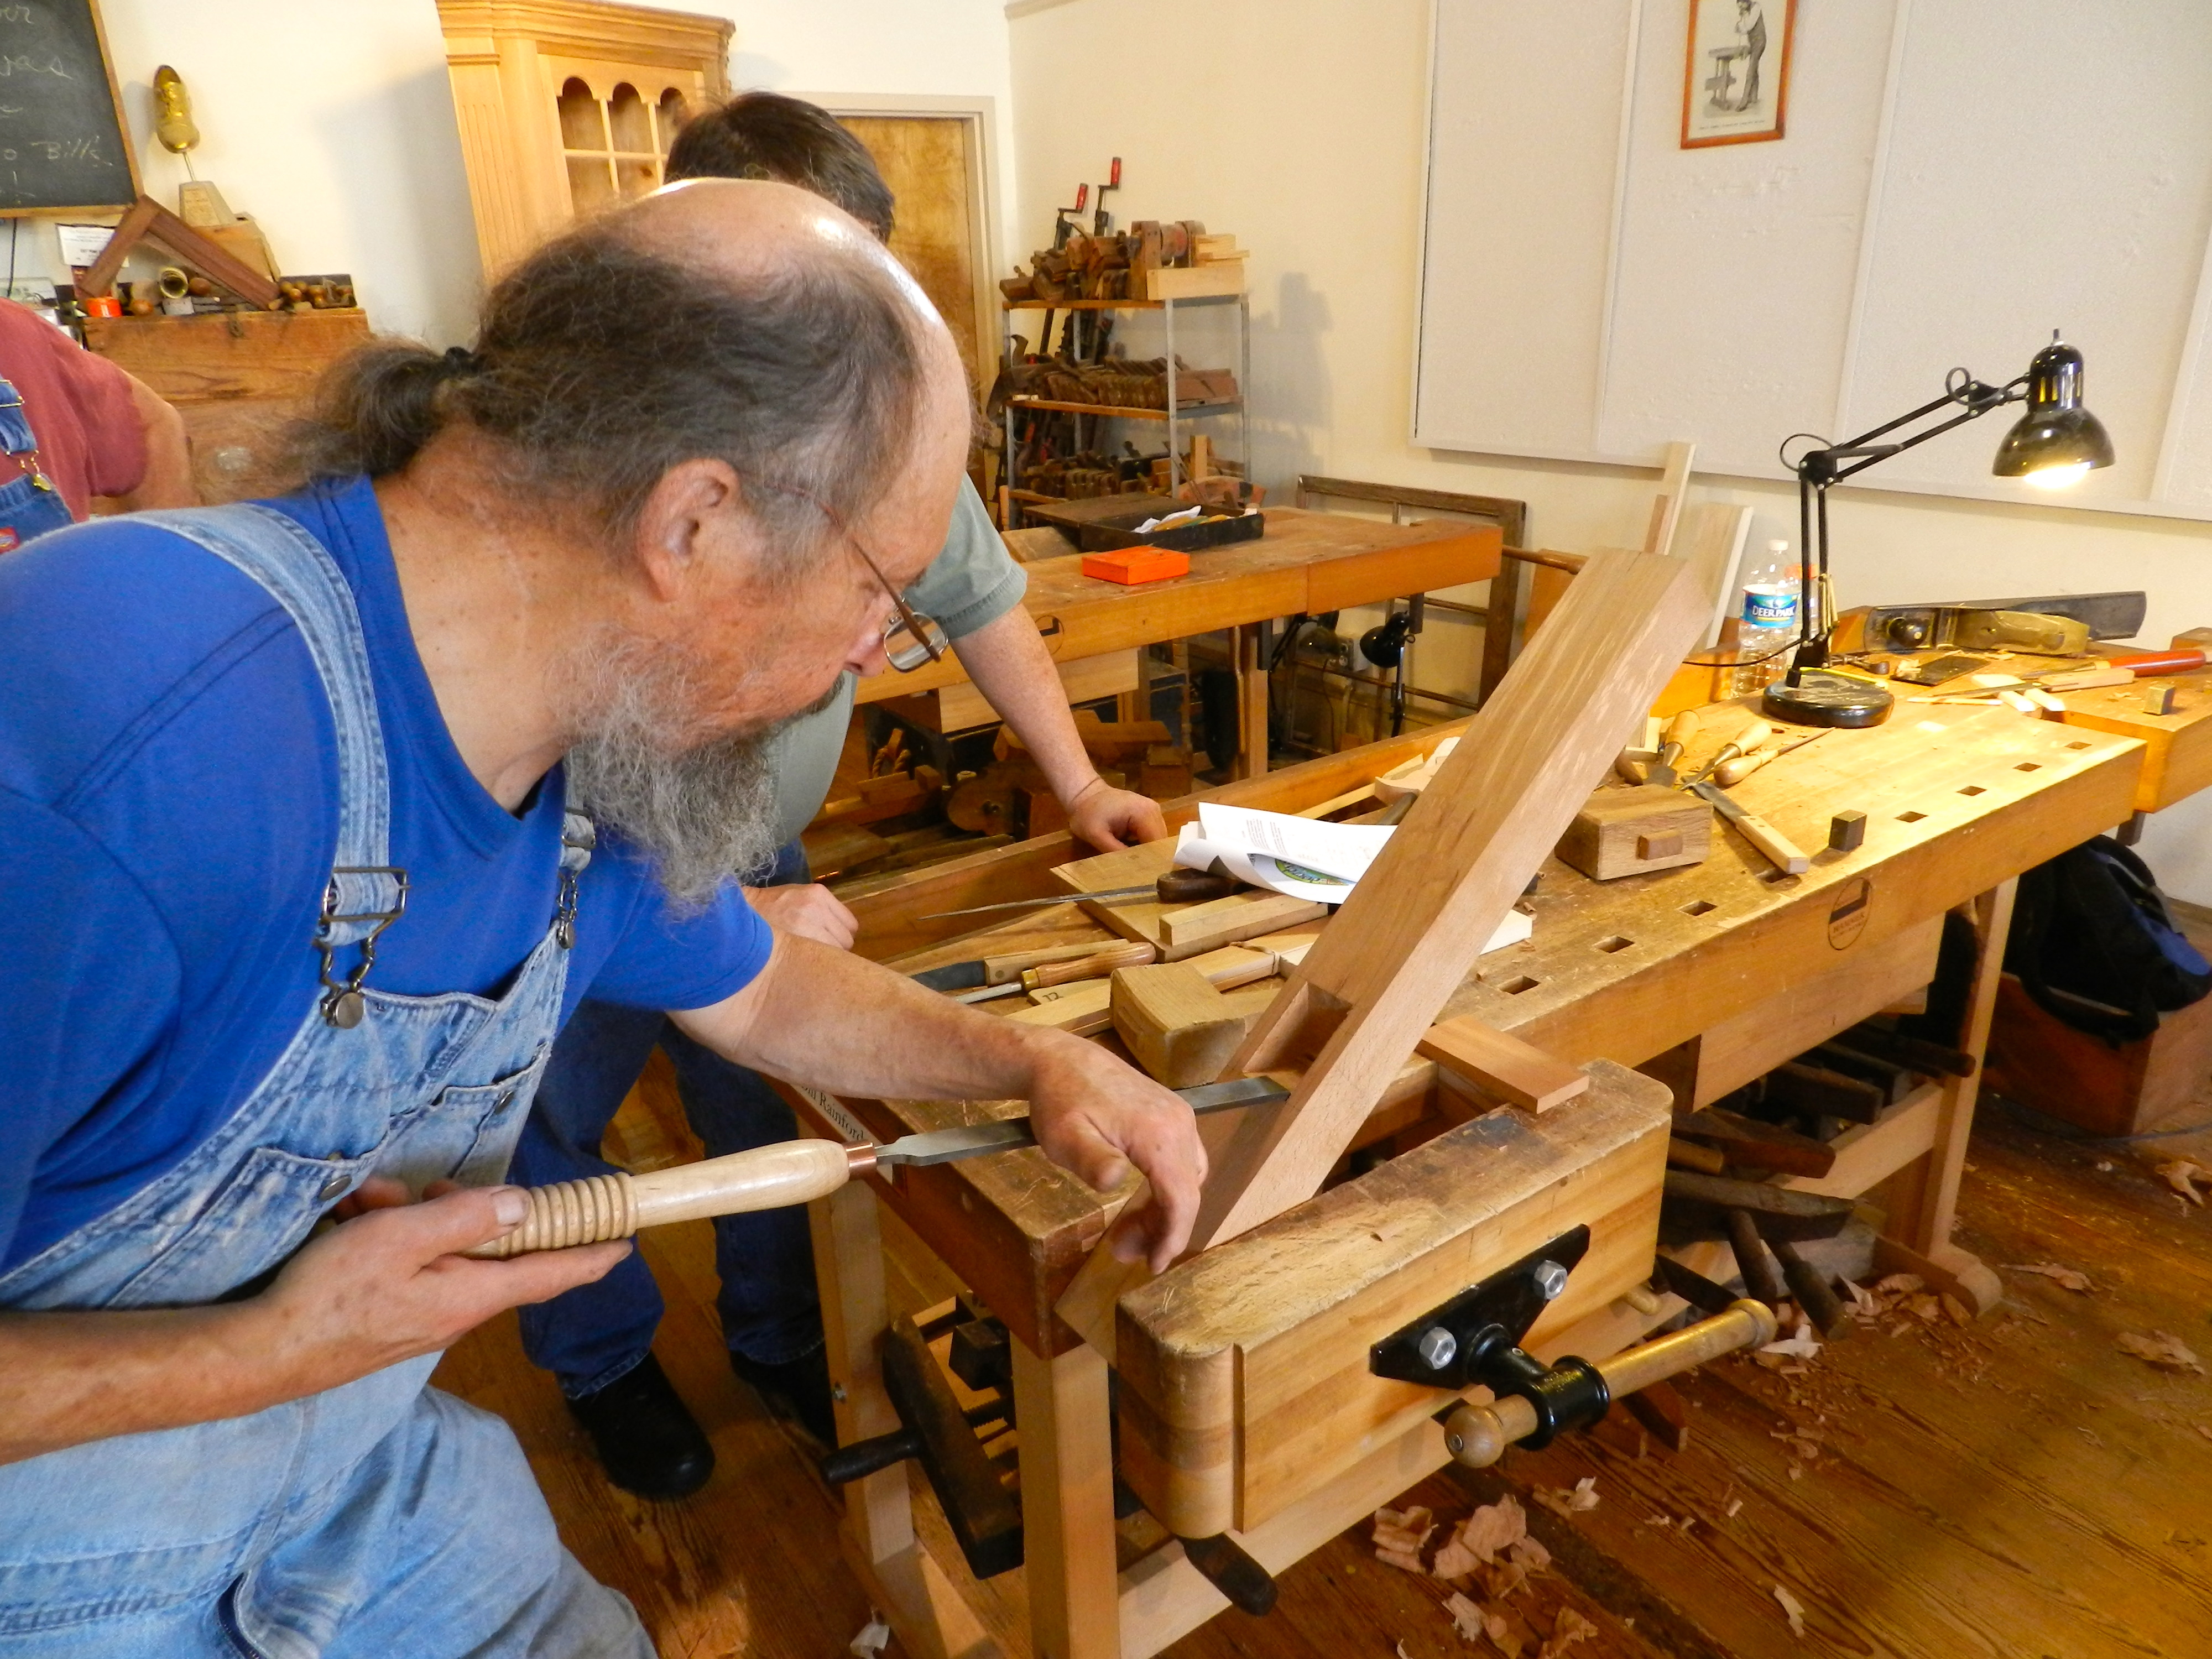
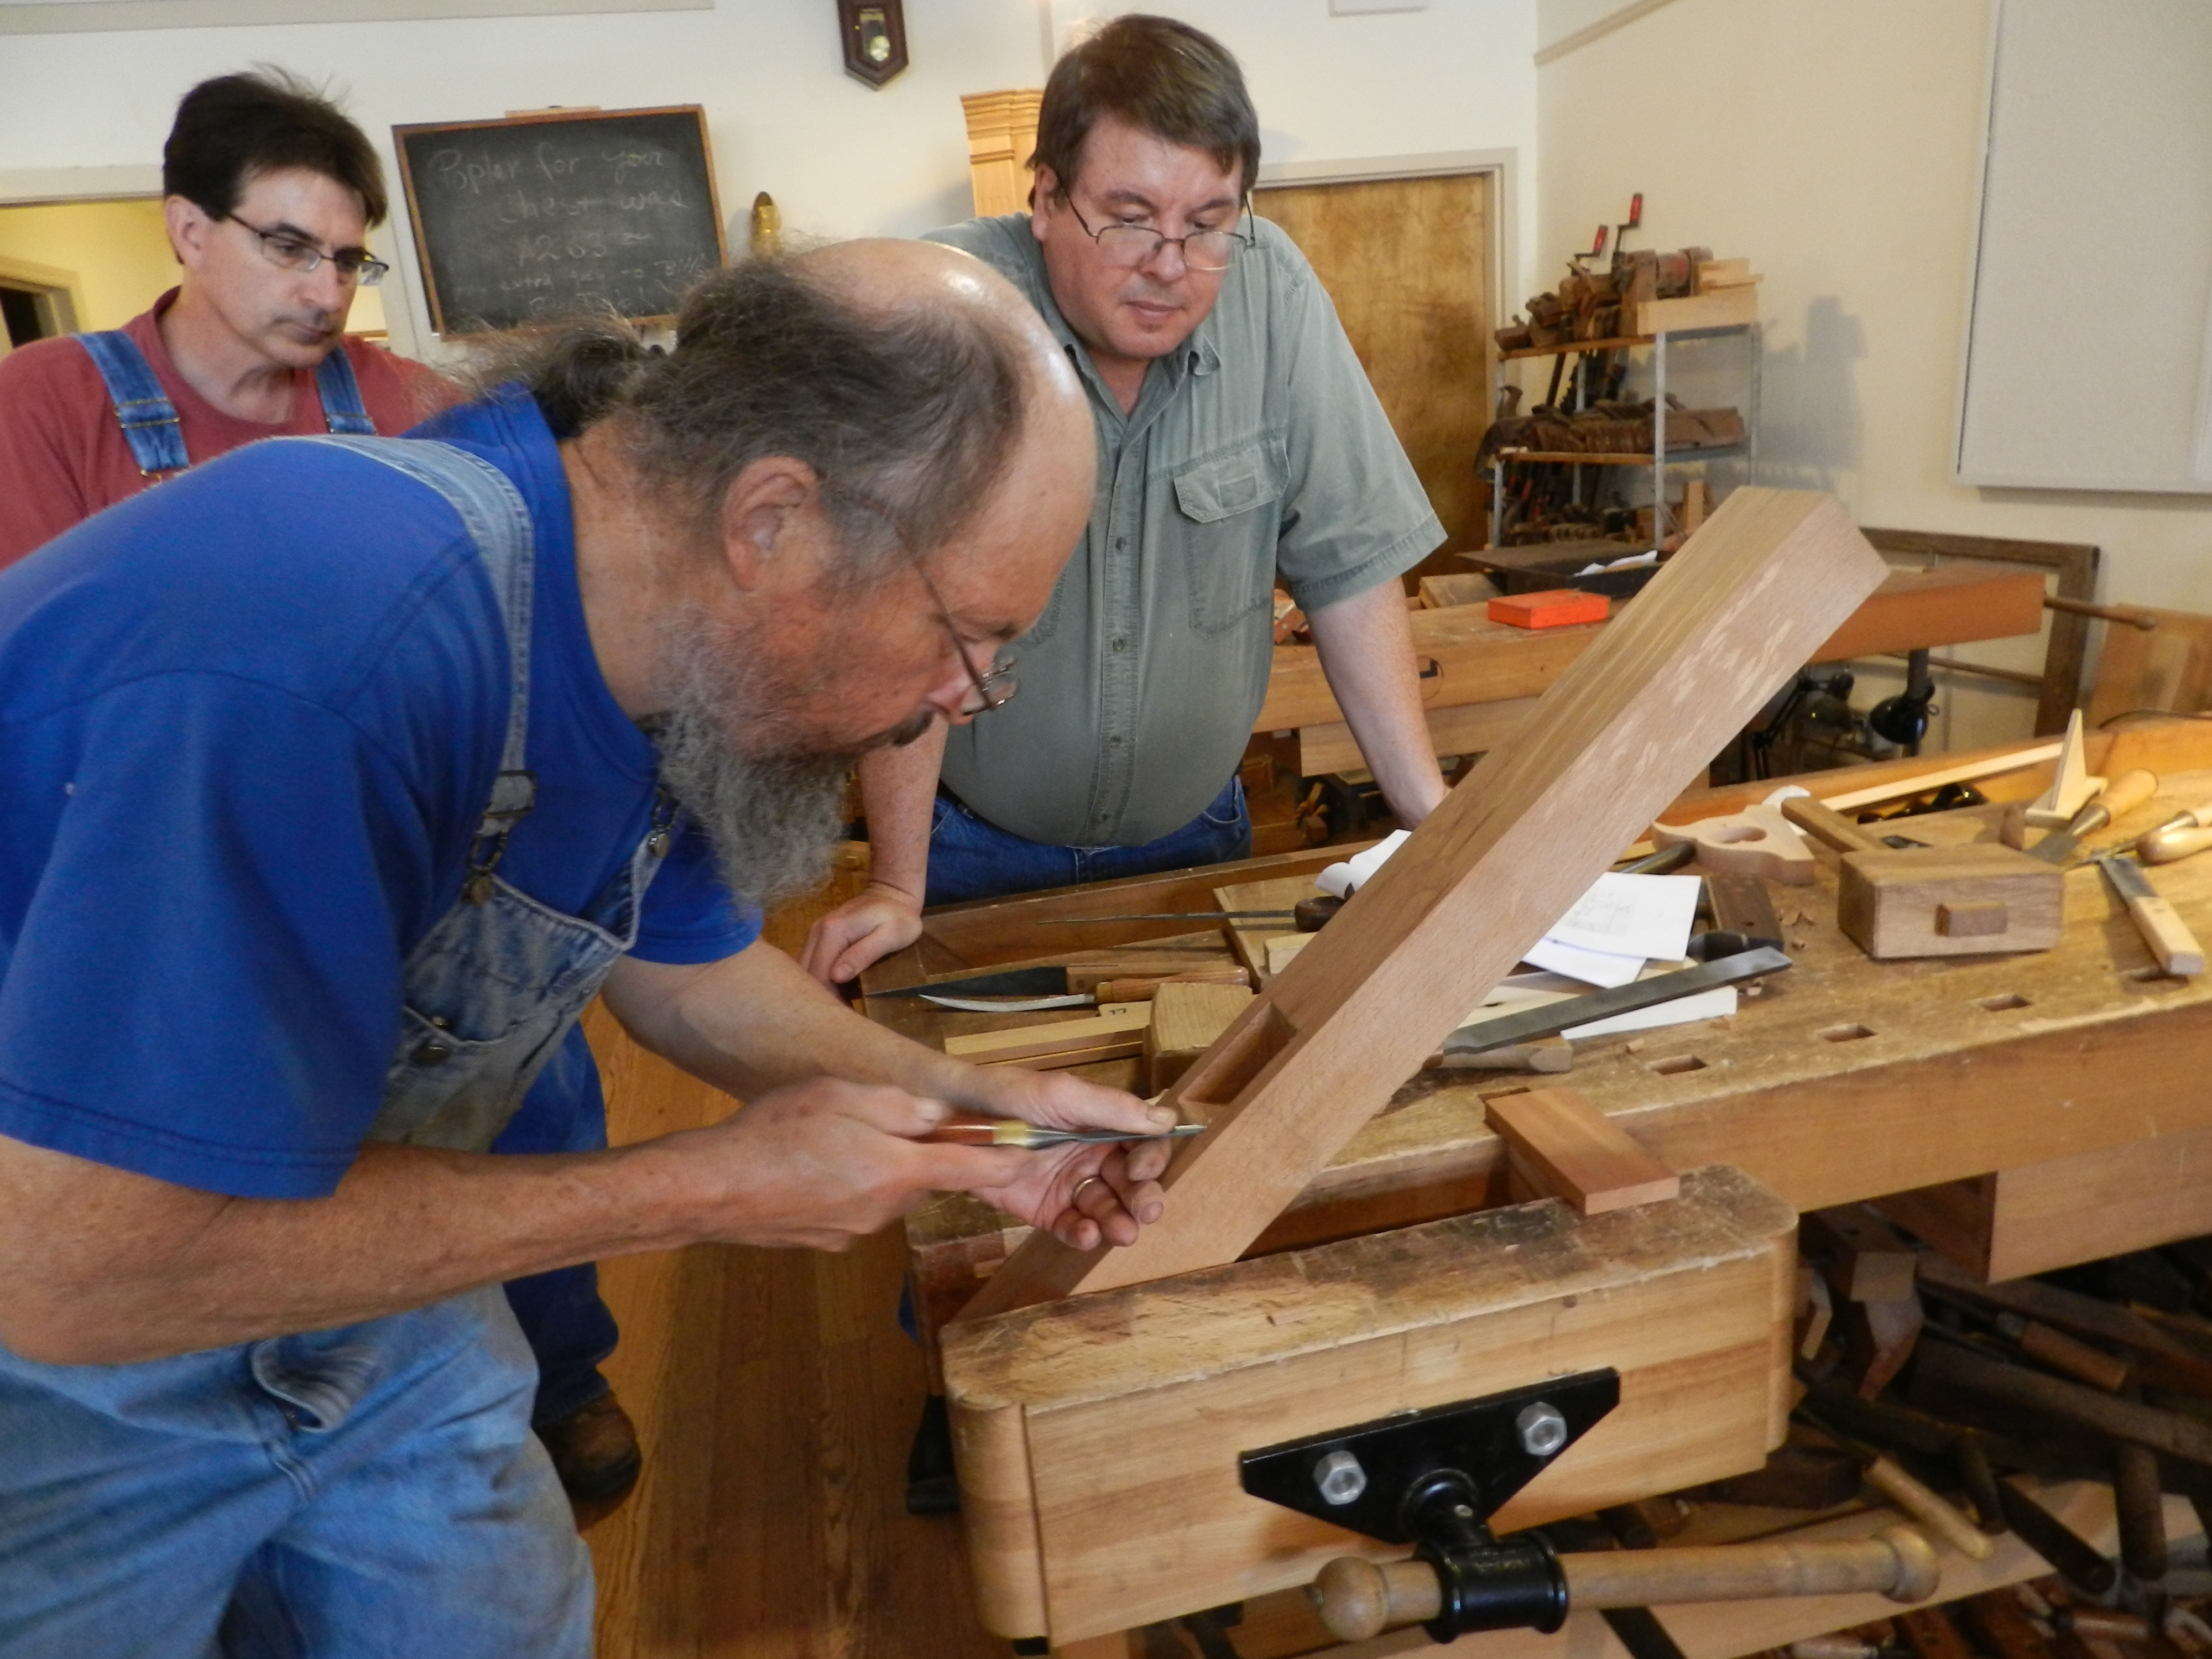
The handle is first cut out from a rough blank and then carefully shaped by hand to have flowing, graceful lines similar to that of a quality hand saw. The result is a handle that fits the hand so well it, the whole plane feels like an extension of your body.

Auriou rasps used to shape the handle -- they were a pleasure to use
Auriou rasps used to shape the handle — they were a pleasure to use

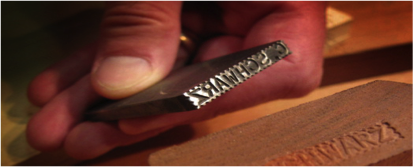
Various rasps, files and sandpaper are used to shape the handle. Using crisp hand stitched Auriou rasps made quick work of shaping the handles.

Finished handle
Finished handle

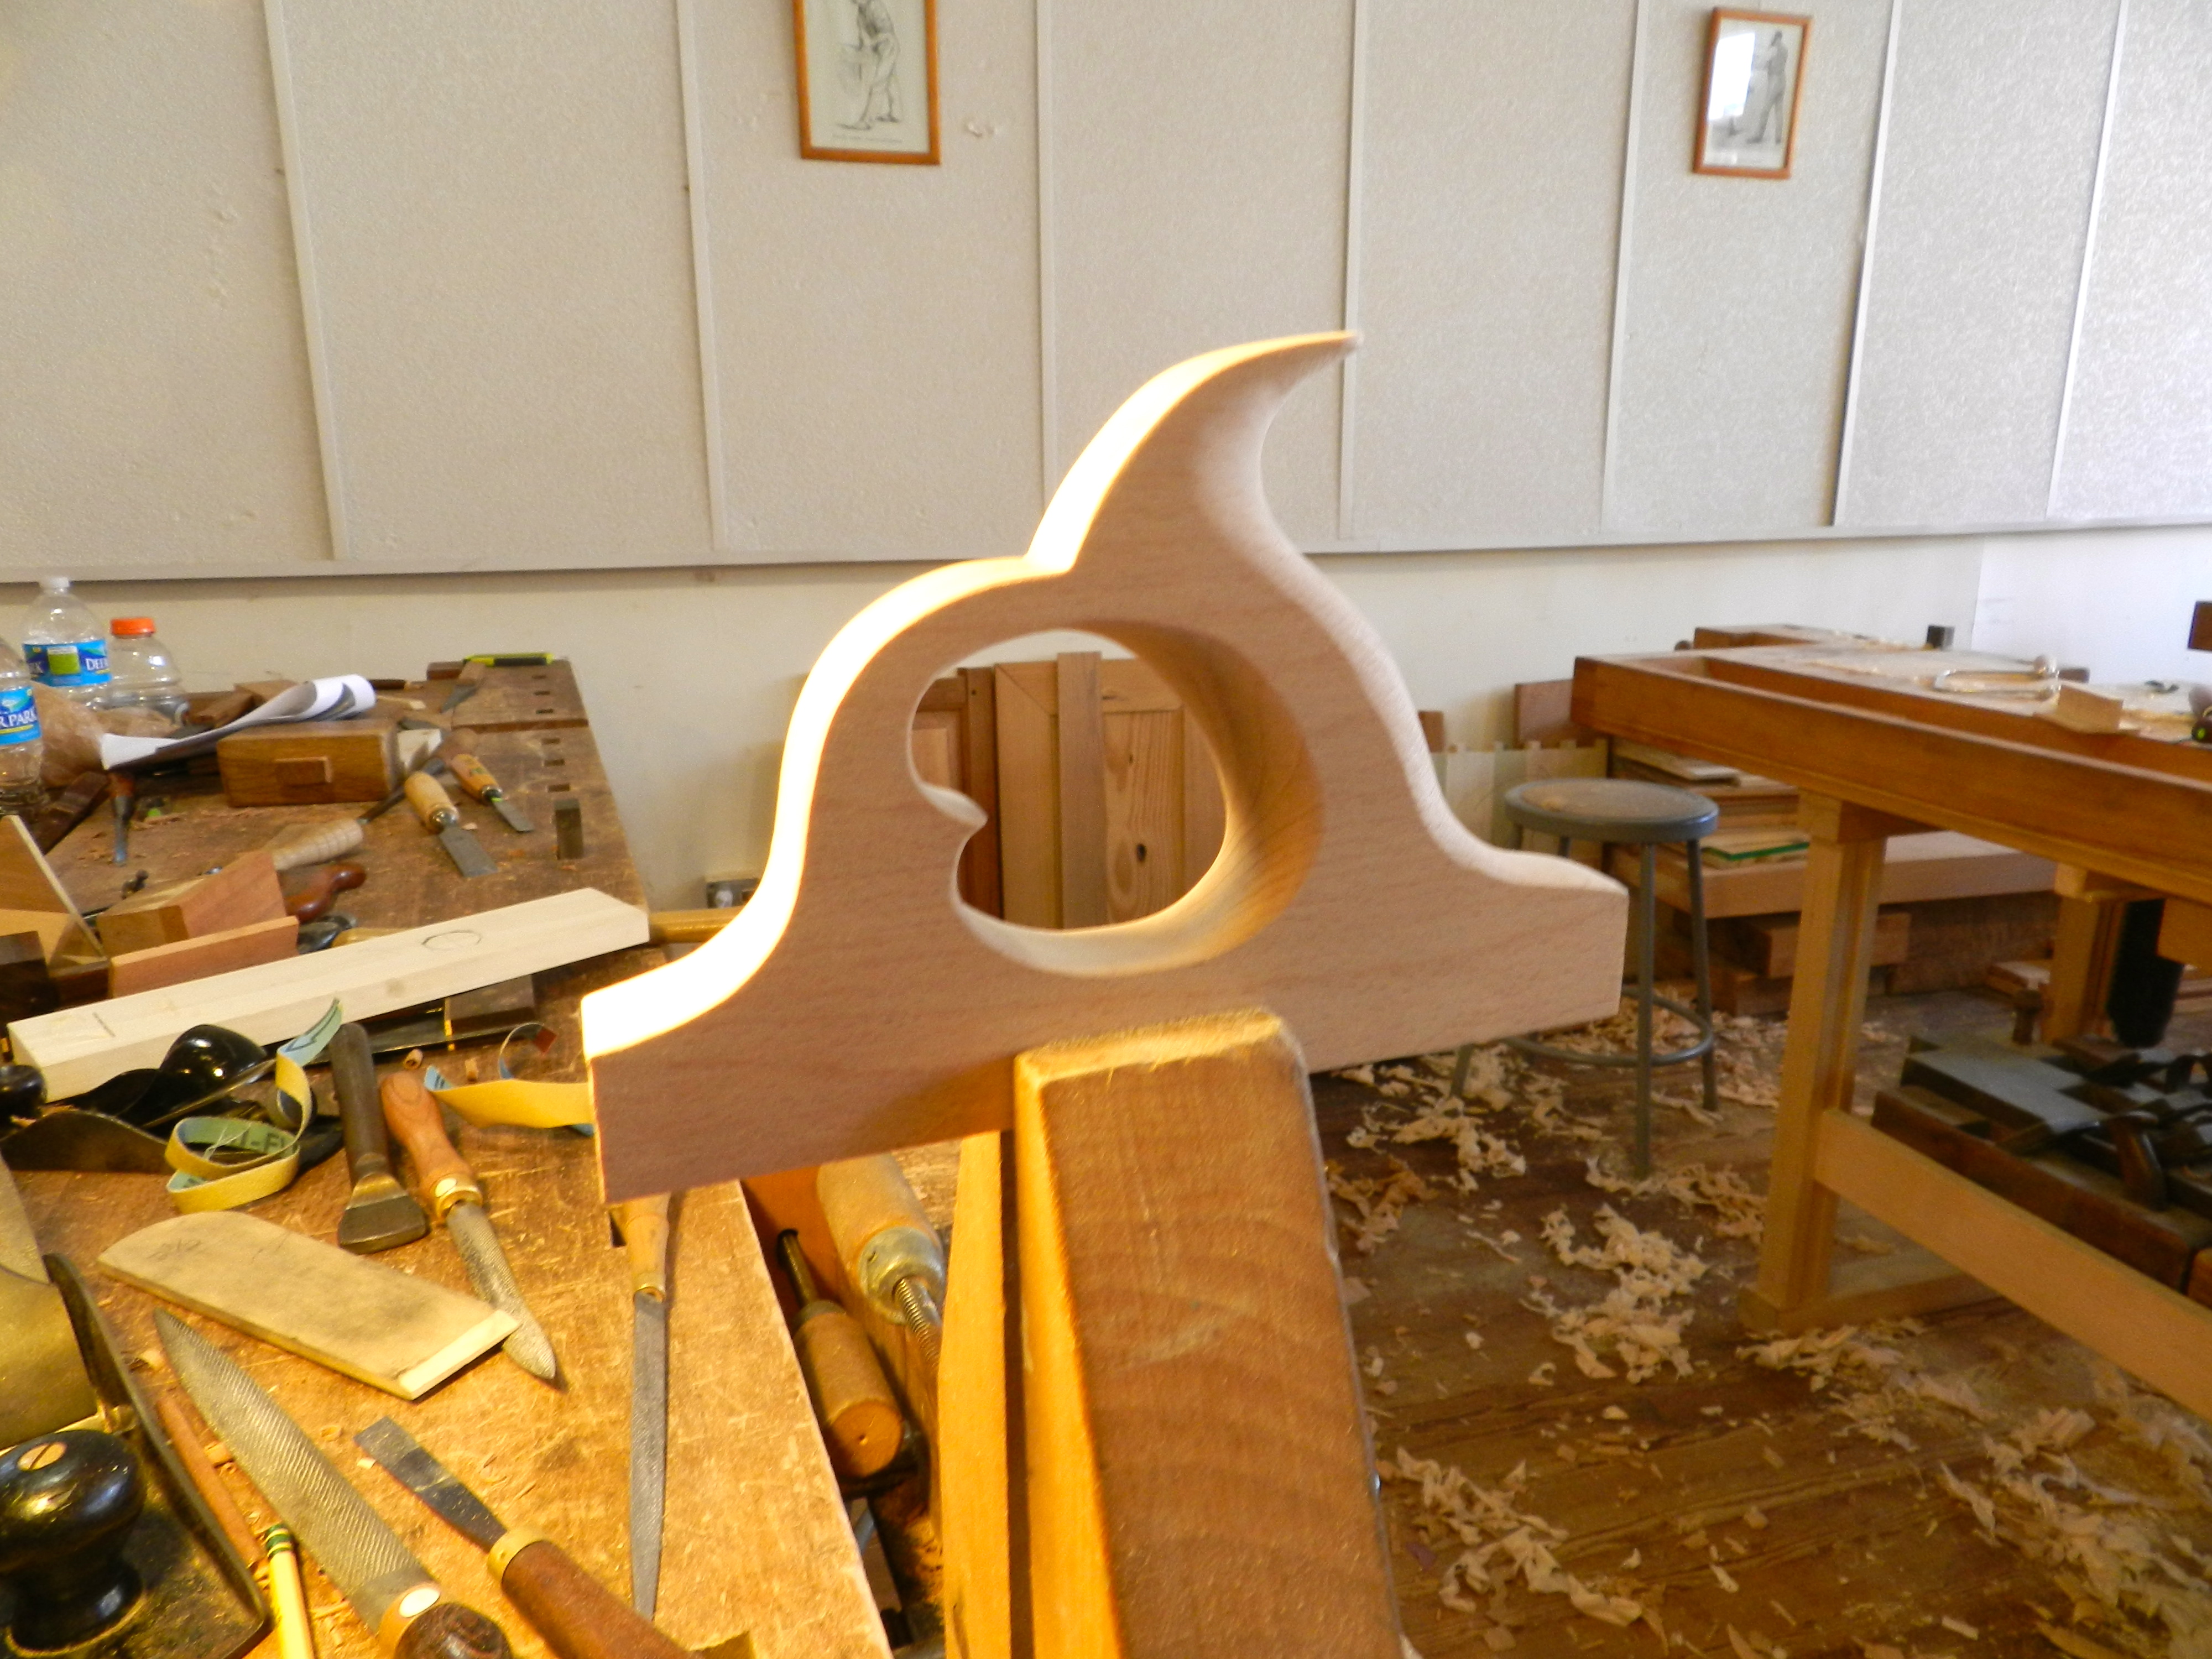
Above is the handle after a bit of light sanding.

A finished Jointer Plane

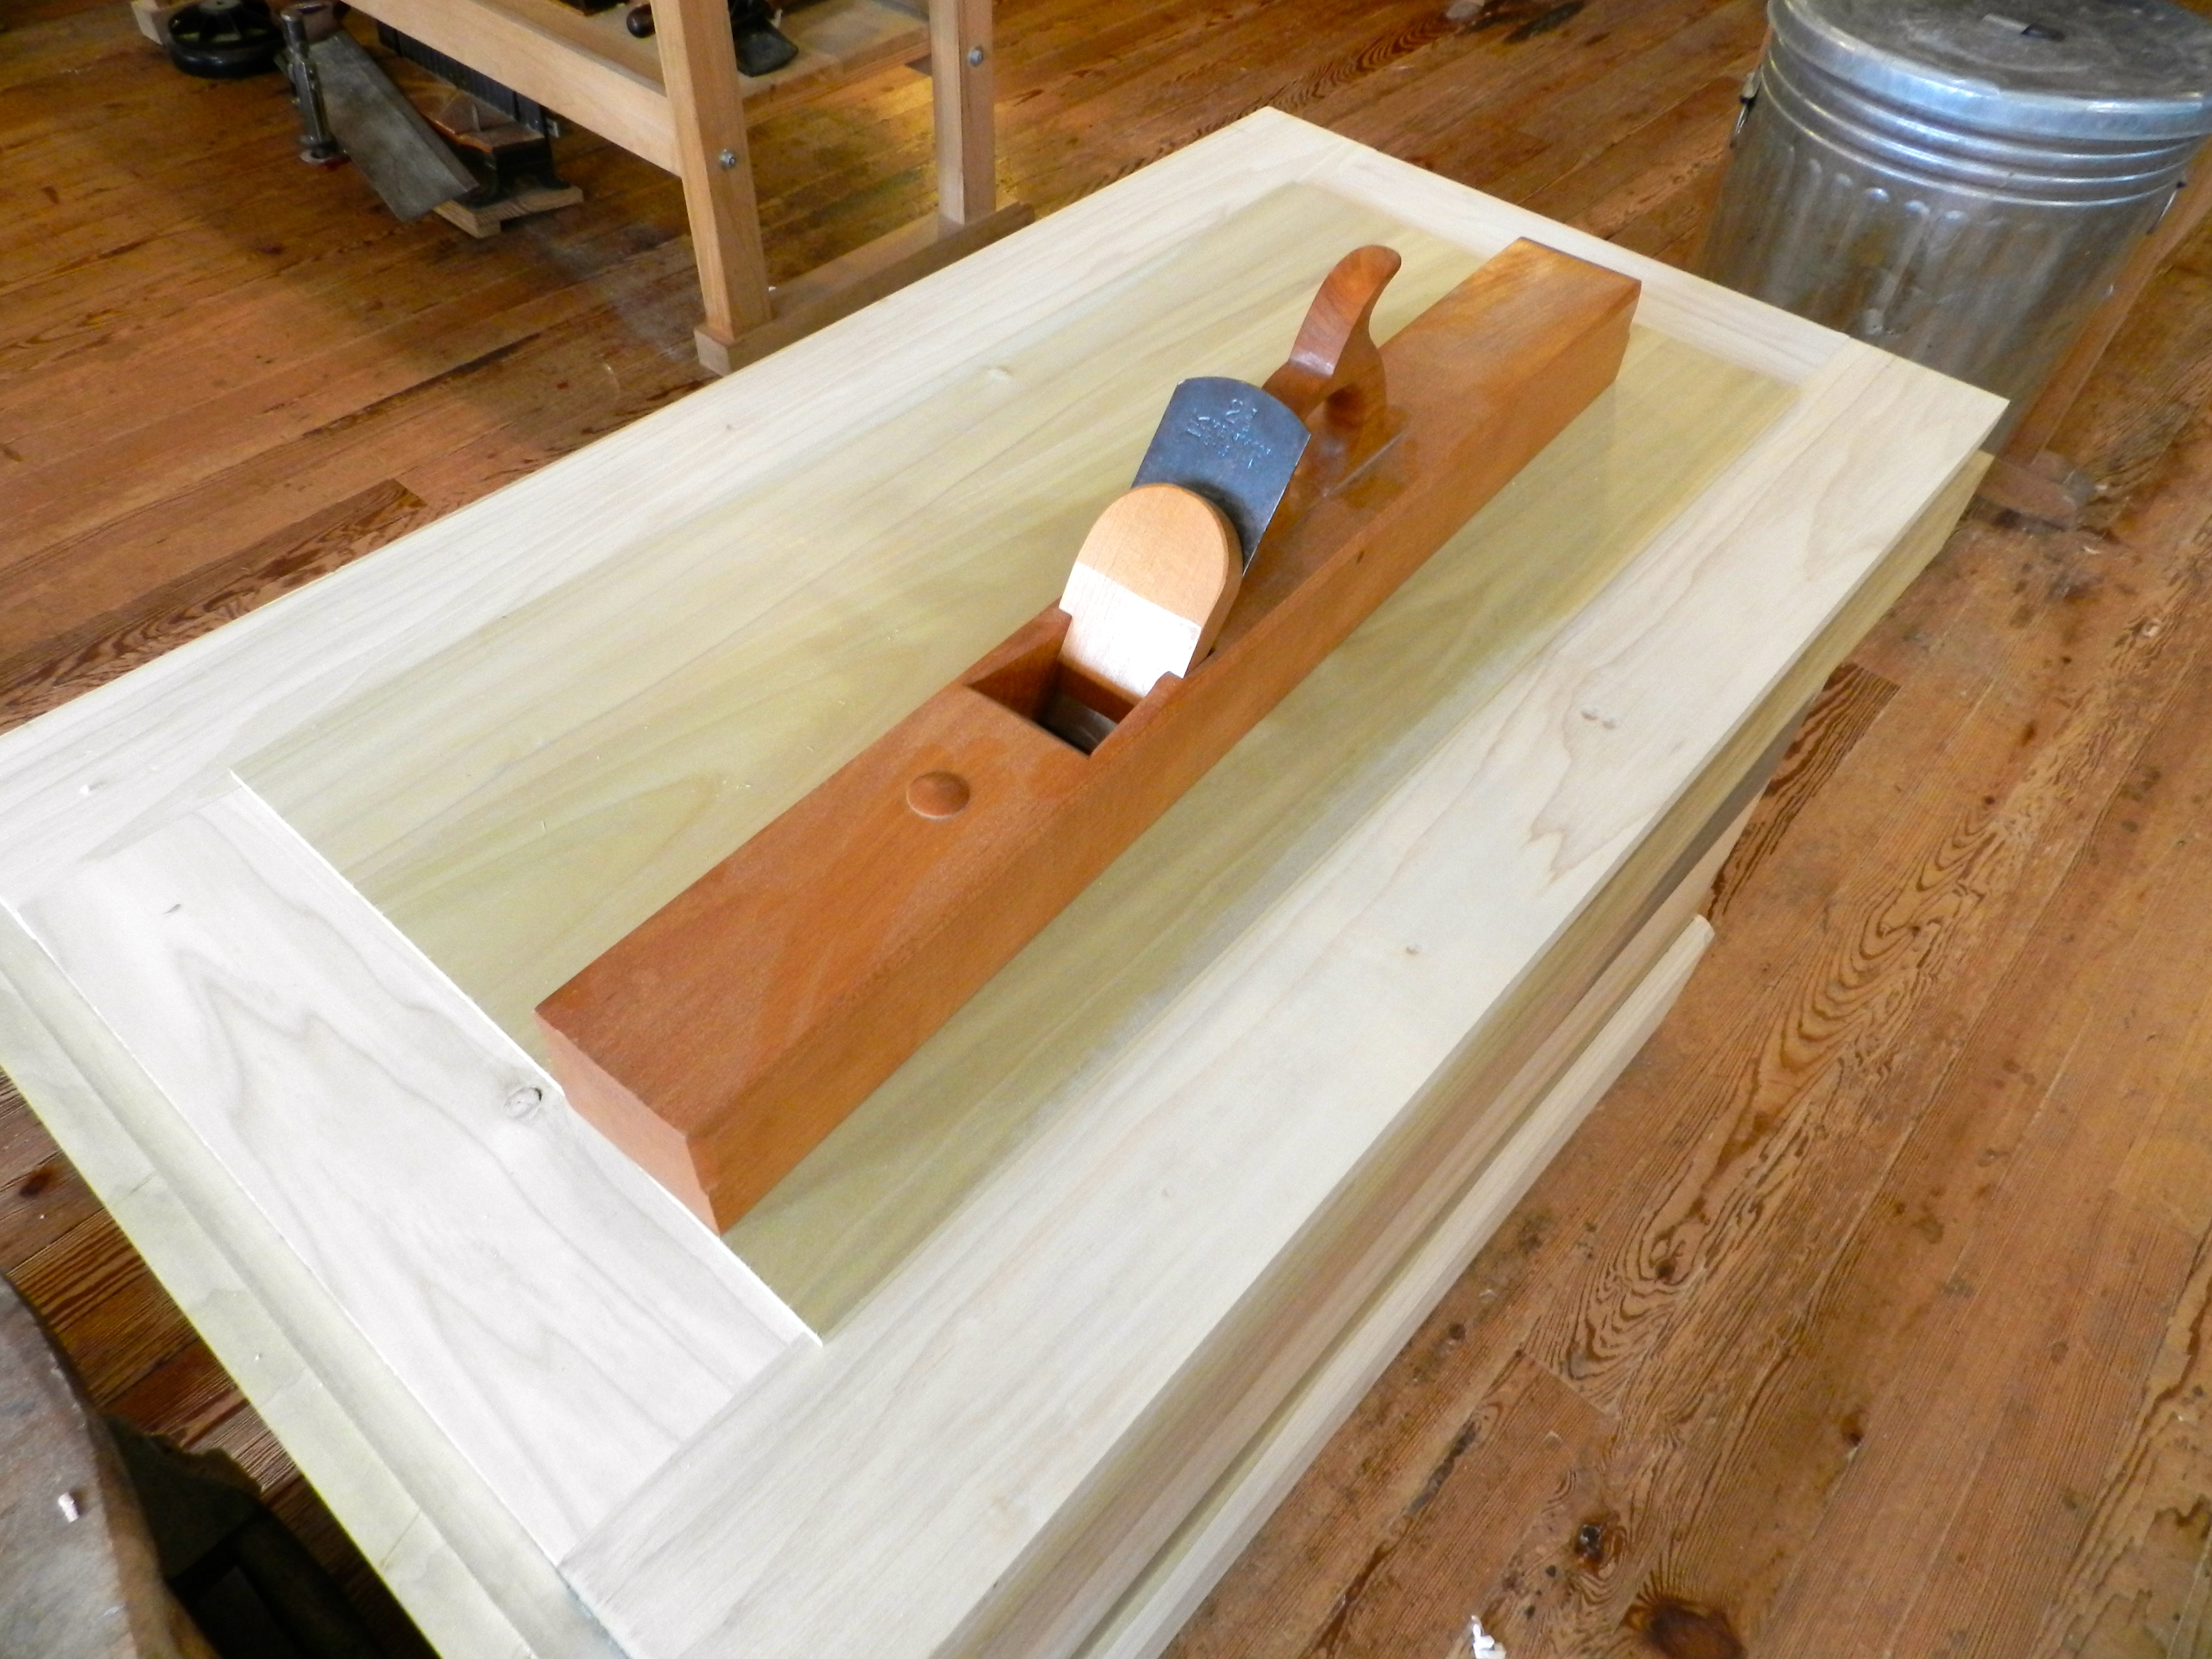
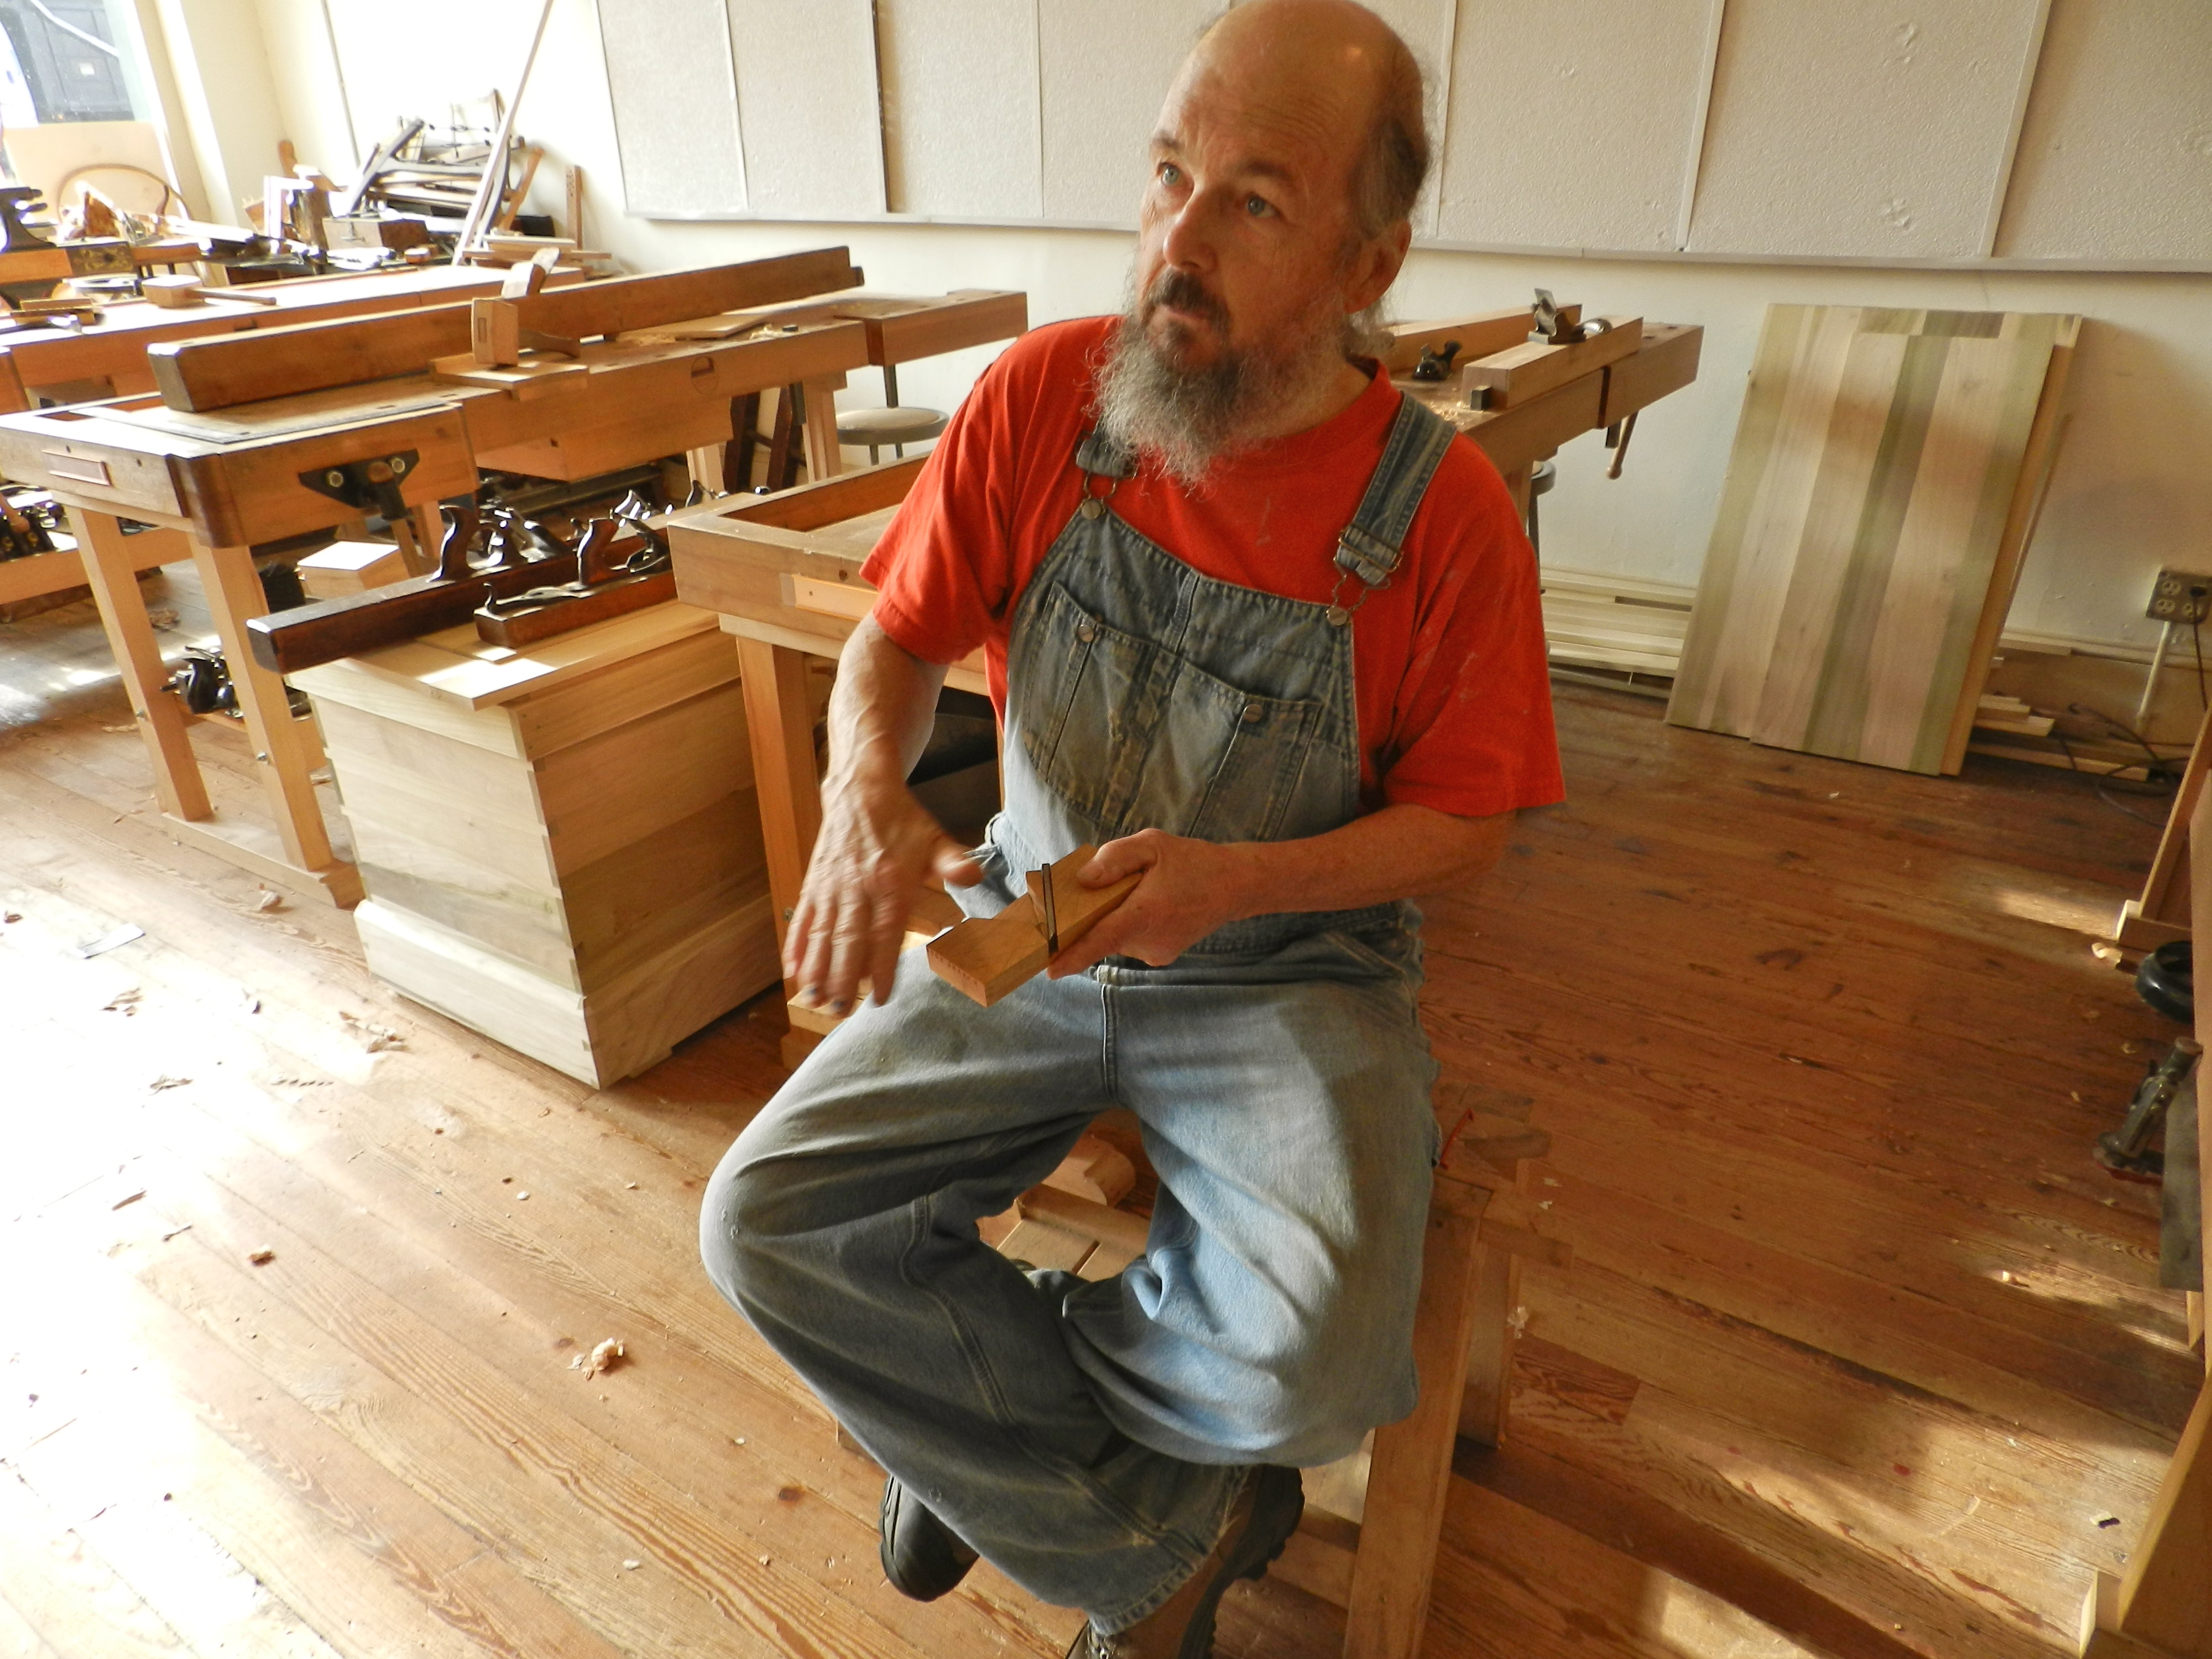
Shown here you can see Bill’s finished/sample plane which is based on an historical example.  I’ll post the final shots of my own plane when I finish it soon in my shop.

Rear 3/4 view of the completed sample plane

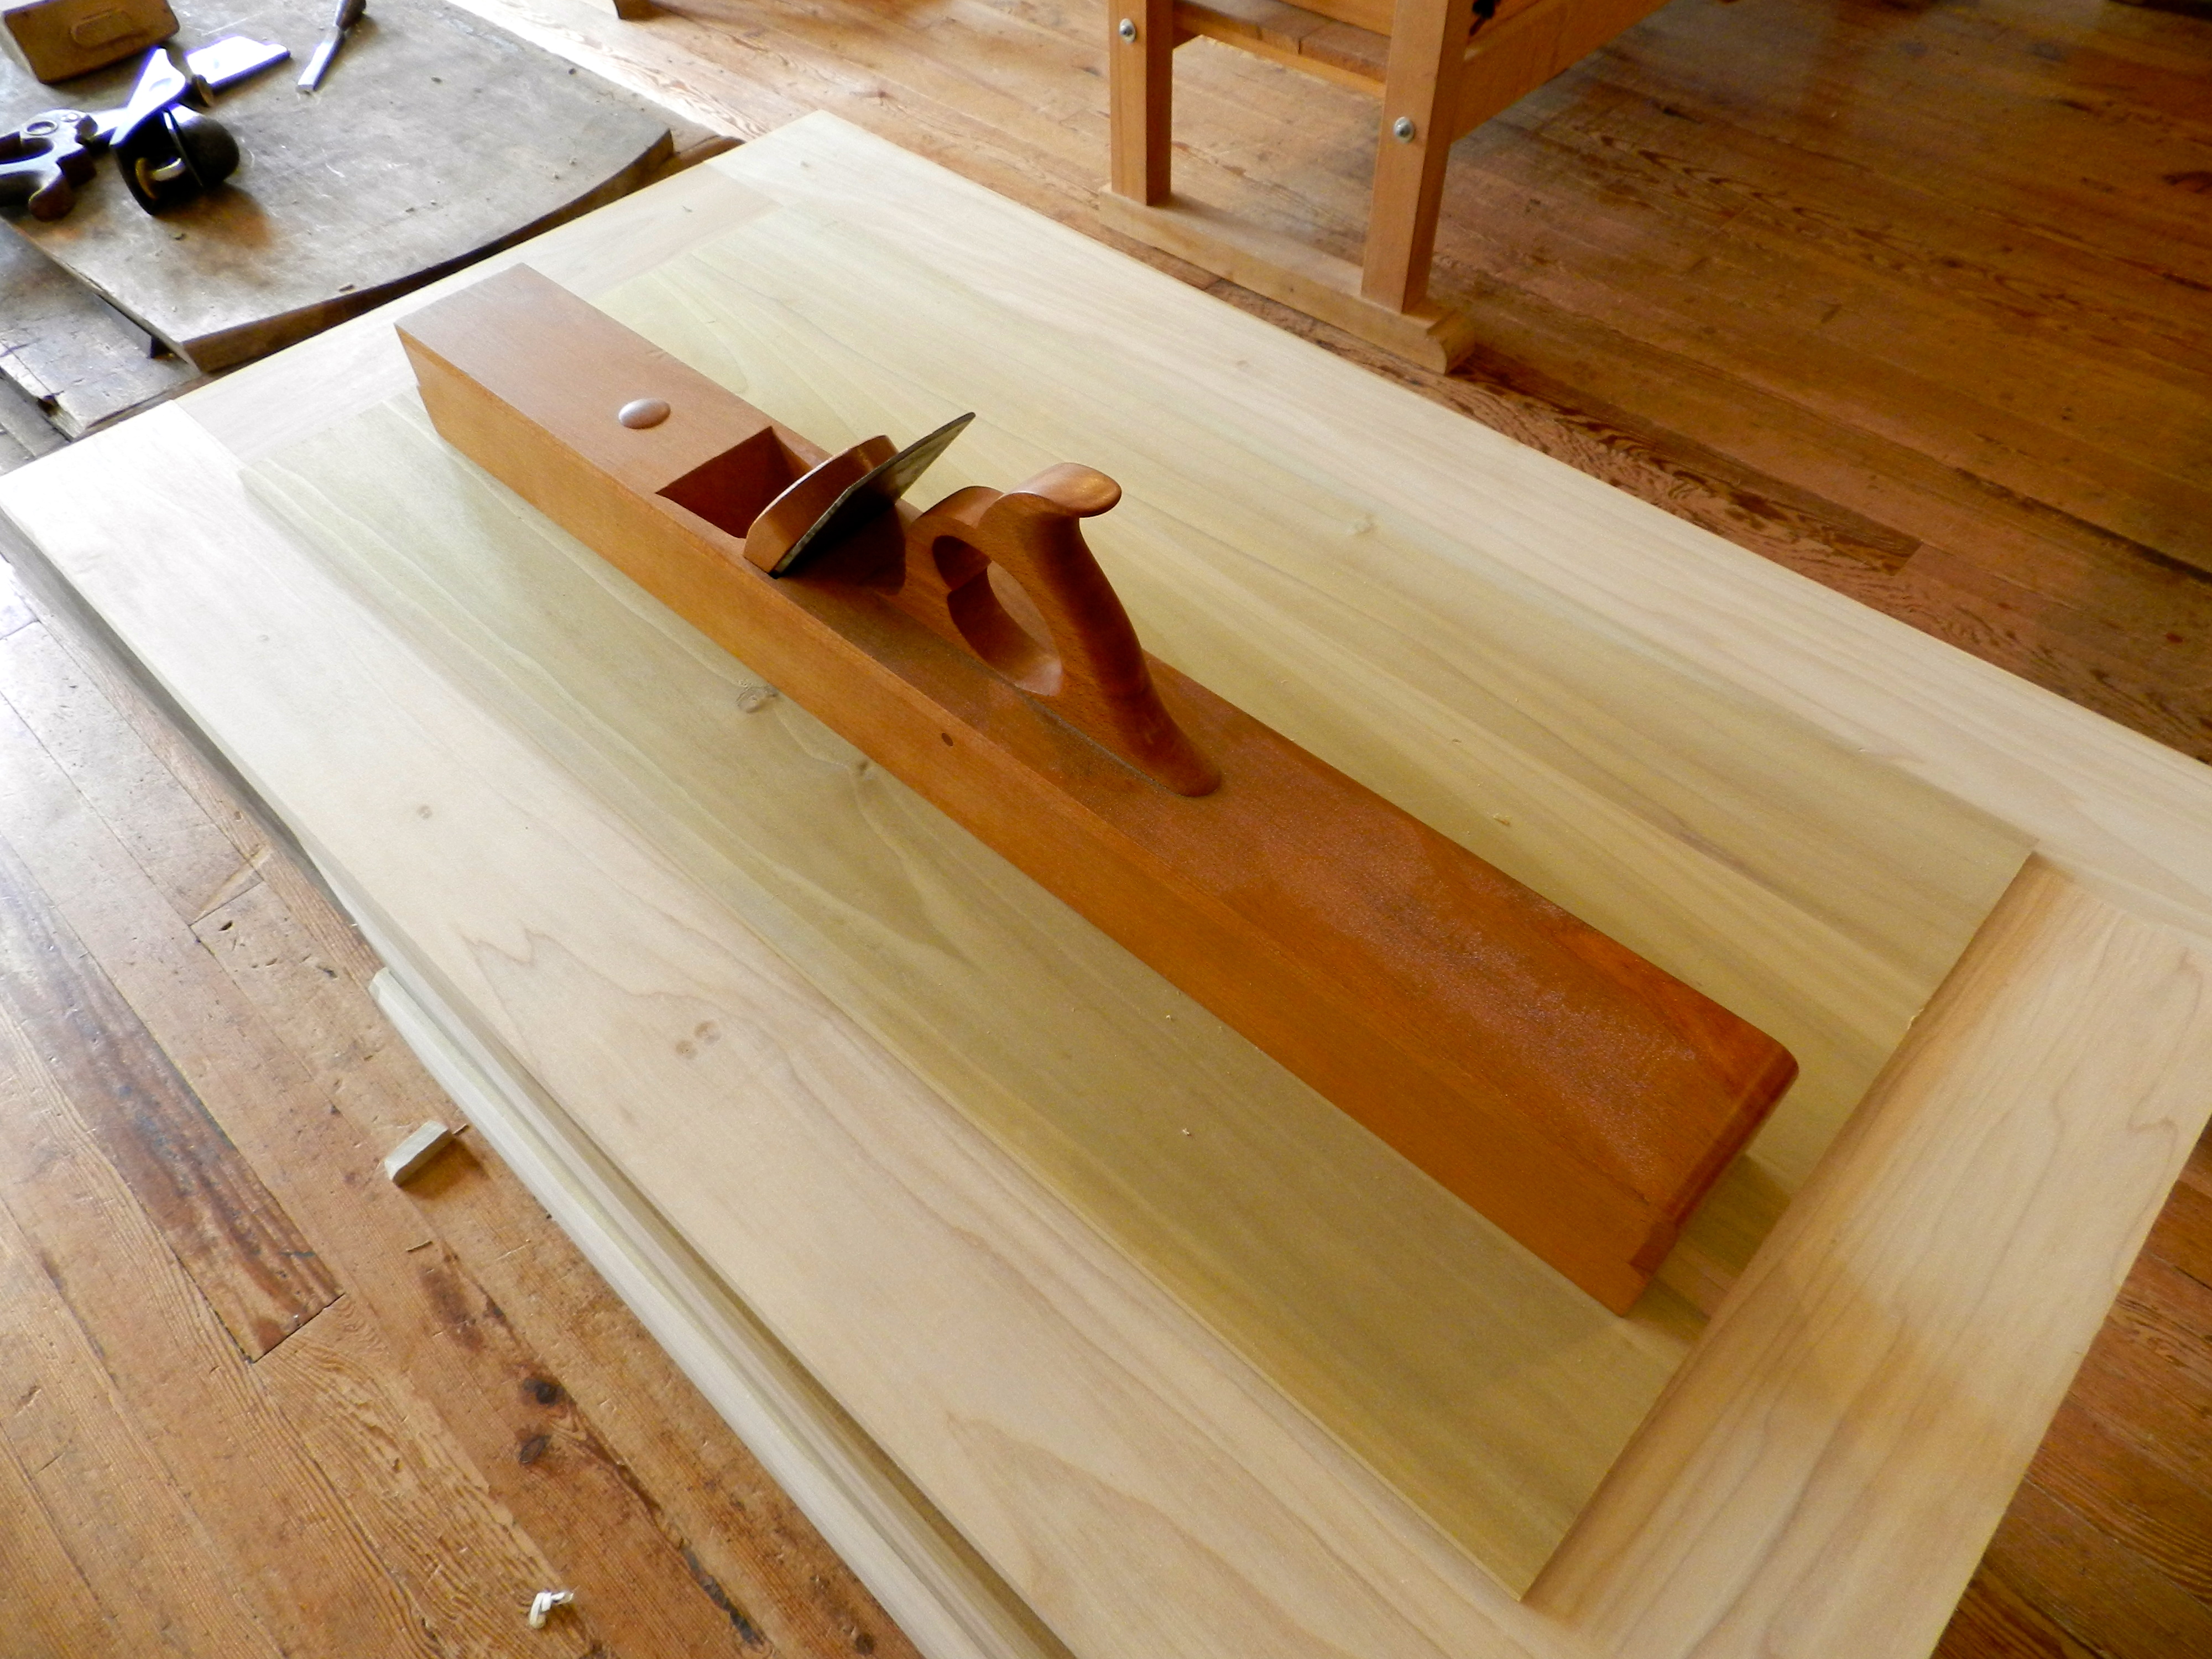
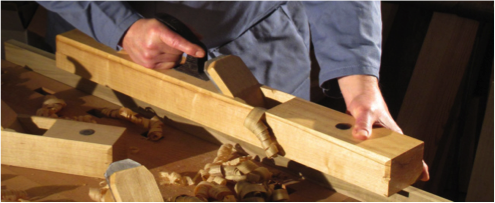
At the end of the workshop one of the most important tasks was to make sure you plane can take a nice shaving. I’m happy to report that I was able to get a nice full width shaving with my mostly completed plane. (I need to finish setting the handle, trim the edges, apply some finish and use my maker’s name stamp and it will be ready for regular use in the shop).

Making the first shaving with a new plane...
Making the first shaving with a new plane…

In an upcoming post I will complete this series with how I finished off the plane. Stay tuned…

In the meantime, if you’d like to learn more about Bill Anderson or take a class with him, and I highly encourage you to do so, please check out his website here.

-Bill

P.S. You can see the first post on making this jointer plane here.

Making a Jointer Plane with Willard ‘Bill’ Anderson — Part 1

A single iron jointer plane is one of those tools you have use yourself to truly appreciate. Over Labor Day weekend I was fortunate enough to have the opportunity to make one of these planes with Willard ‘Bill’ Anderson at the Woodwright’s School in Pittsboro, NC.

Entrance to the Woodwright's School
Entrance to the Woodwright’s School

Bill is a passionate woodworker and skilled teacher. You may recognize him from his appearances on Roy’s television show or the articles that he’s written. He’s a molding plane aficionado and has studied plane-making and general furniture-making with many masters in the field. He recently retired from being a Scientist for the EPA so I see a lot of parallels to my own life working in software.

Getting started, with Bill Anderson

The plane is made of air dried American Beech and a new old stock English iron.

Squaring up the air dried beech blank

We started out by squaring up the stock using a wooden straightedge and winding sticks.

Laying out the mouth and abutments

Next up was laying out the mouth and throat. The mortises are all chopped by hand with a chisel and refined via a series of floats and scrapers. It was my first time using that many different floats, and for what looks like it might be a fairly coarse tool, when sharpened leaves a remarkably good surface.

Chopping the mortise by hand

As we worked through the throat mortise a key was to make sure you don’t overshoot and chop through the abutment.

Scraping
Scraping

One of the last steps in refining the abutment and sides of the throat was to scrape the surface using a scraper chisel.

A very nice scraping chisel that Bill made

This beast of a chisel was made by Bill and heat treated by Peter Ross. It was based on some research Bill did into traditional plane making tools. The long bar of tool steel and handle allow you to put a lot of your weight into it as you scrape the surface flat. The cutting edge is a very steep angle similar to a scraper you’d use with a lathe (upside down compared to the lathe tool) but works well since you are only removing a little bit of material at a time.

Paring away any fuzz

Regular bench chisels are used to clean up any fuzz in the corners. Next up is cutting in for the wedge and cleaning up a cheeks. This is an operation that requires a steady hand and the ability to work to an exacting standard. You want your test wedge, and eventually your actual wedge, to fit tightly against the abutment so the iron does not move when you are working with the plane. I took my time and was very happy with the results.

Fitting with test wedges

In upcoming posts I will document more about my experience in building and finishing this plane.

In the meantime, if you’d like to learn more about Bill Anderson or take a class with him, and I highly encourage you to do so, please check out his website here.

-Bill

The Road to Roy Underhill: Workshops With the Woodwright

Jointer Plane Making & Name Stamp Workshops

 At the Woodright’s School in Pittsboro NC


Are you interested in meeting and taking a woodworking class with Roy Underhill of the Woodwright’s Shop and Woodwright’s School? (Along with Peter Ross the former master of the Colonial Williamsburg Anderson Forge and Bill Anderson a master plane maker – both of which have been on Roy’s show)

I talked to Roy and the guys and they were willing to do a special run of the two workshops below on the following dates*: Arrive July 8th class 9-12th leave the 13th at Roy’s School in Pittsboro NC

* (Given the very long drive from NH down to NC I wanted to try and get a few days in a row down at Roy’s school to get the most I could out of the trip, and I am very appreciative they were willing to do so, but we need a few more people to sign up in order to run it) So if you are interested in one or both of these sessions I encourage you to sign up soon.


http://www.woodwrightschool.com/name-stamps-w-peter-ross/

1 Day class $145 + $40 materials

Peter Ross Name Stamp Workshop

http://www.woodwrightschool.com/making-bench-planes-wbill/

3 Day class $425 + $115 materials (beech + plane iron etc) to make a massive single iron jointer plane

Jointer Plane Workshop

Total: $725 Tuition and materials for 4 days + your own food and lodging. I will be driving down (11hour drive from NH) and if folks from NBSS or the general Boston area are interested in joining me I can carpool. Hotels in the area are $55-100/night.  Info from Roy on what it’s like to take a class at his school can be found here.

I also hear there is a good pizzeria behind the school that Roy has been known occasionally have a drink with the students after class and above the school is an old time used tool shop that has similar stuff to what we hunt for at the Nashua Tool show.

If folks are interested, we could also take an extra day to go see nearby Old Salem, which is home to the Museum of Southern Decorative Arts and a Moravian living history museum much like Colonial Williamsburg. http://www.oldsalem.org/ It’s kind of a crazy adventure, but I think it would be a memorable experience.

For more info, please contact me or sign up at Roy’s site:

You can reach Bill Rainford at: (My firstname ‘dot’ lastname at facebook.com) — or via my blog or my linkedin page

Woodwright’s School Registration Page