

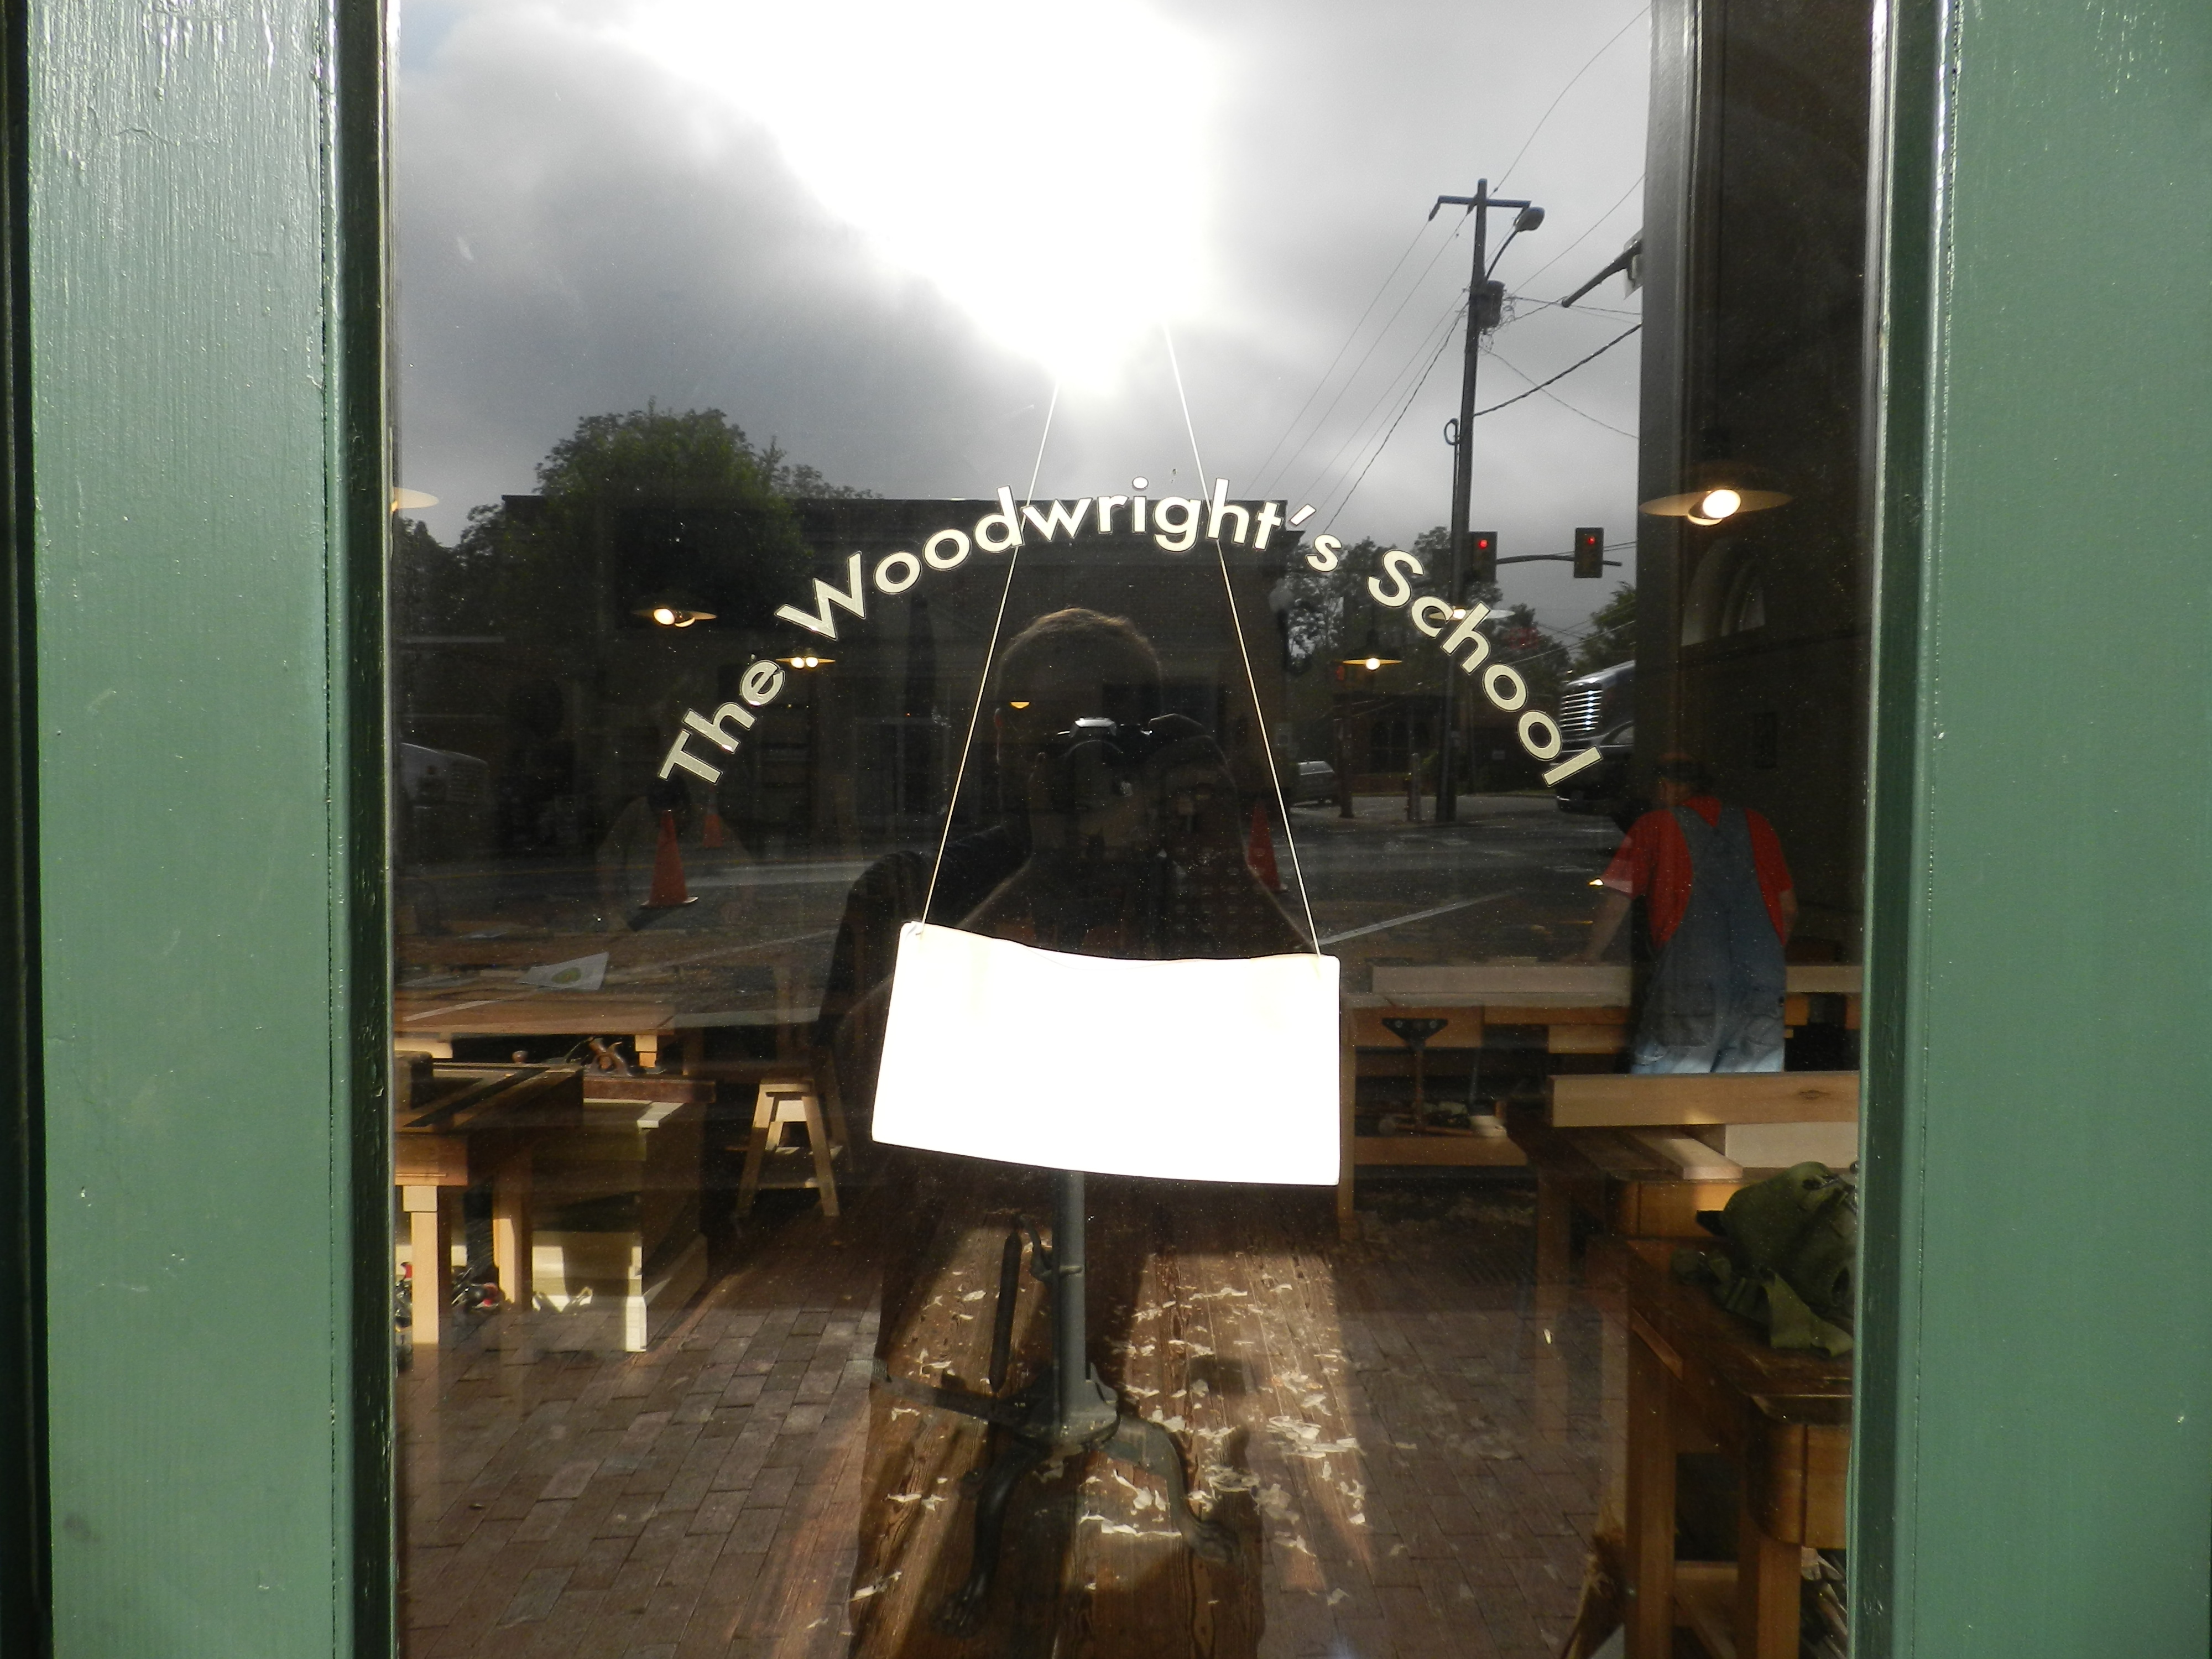
A single iron jointer plane is one of those tools you have use yourself to truly appreciate. Over Labor Day weekend I was fortunate enough to have the opportunity to make one of these planes with Willard ‘Bill’ Anderson at the Woodwright’s School in Pittsboro, NC.
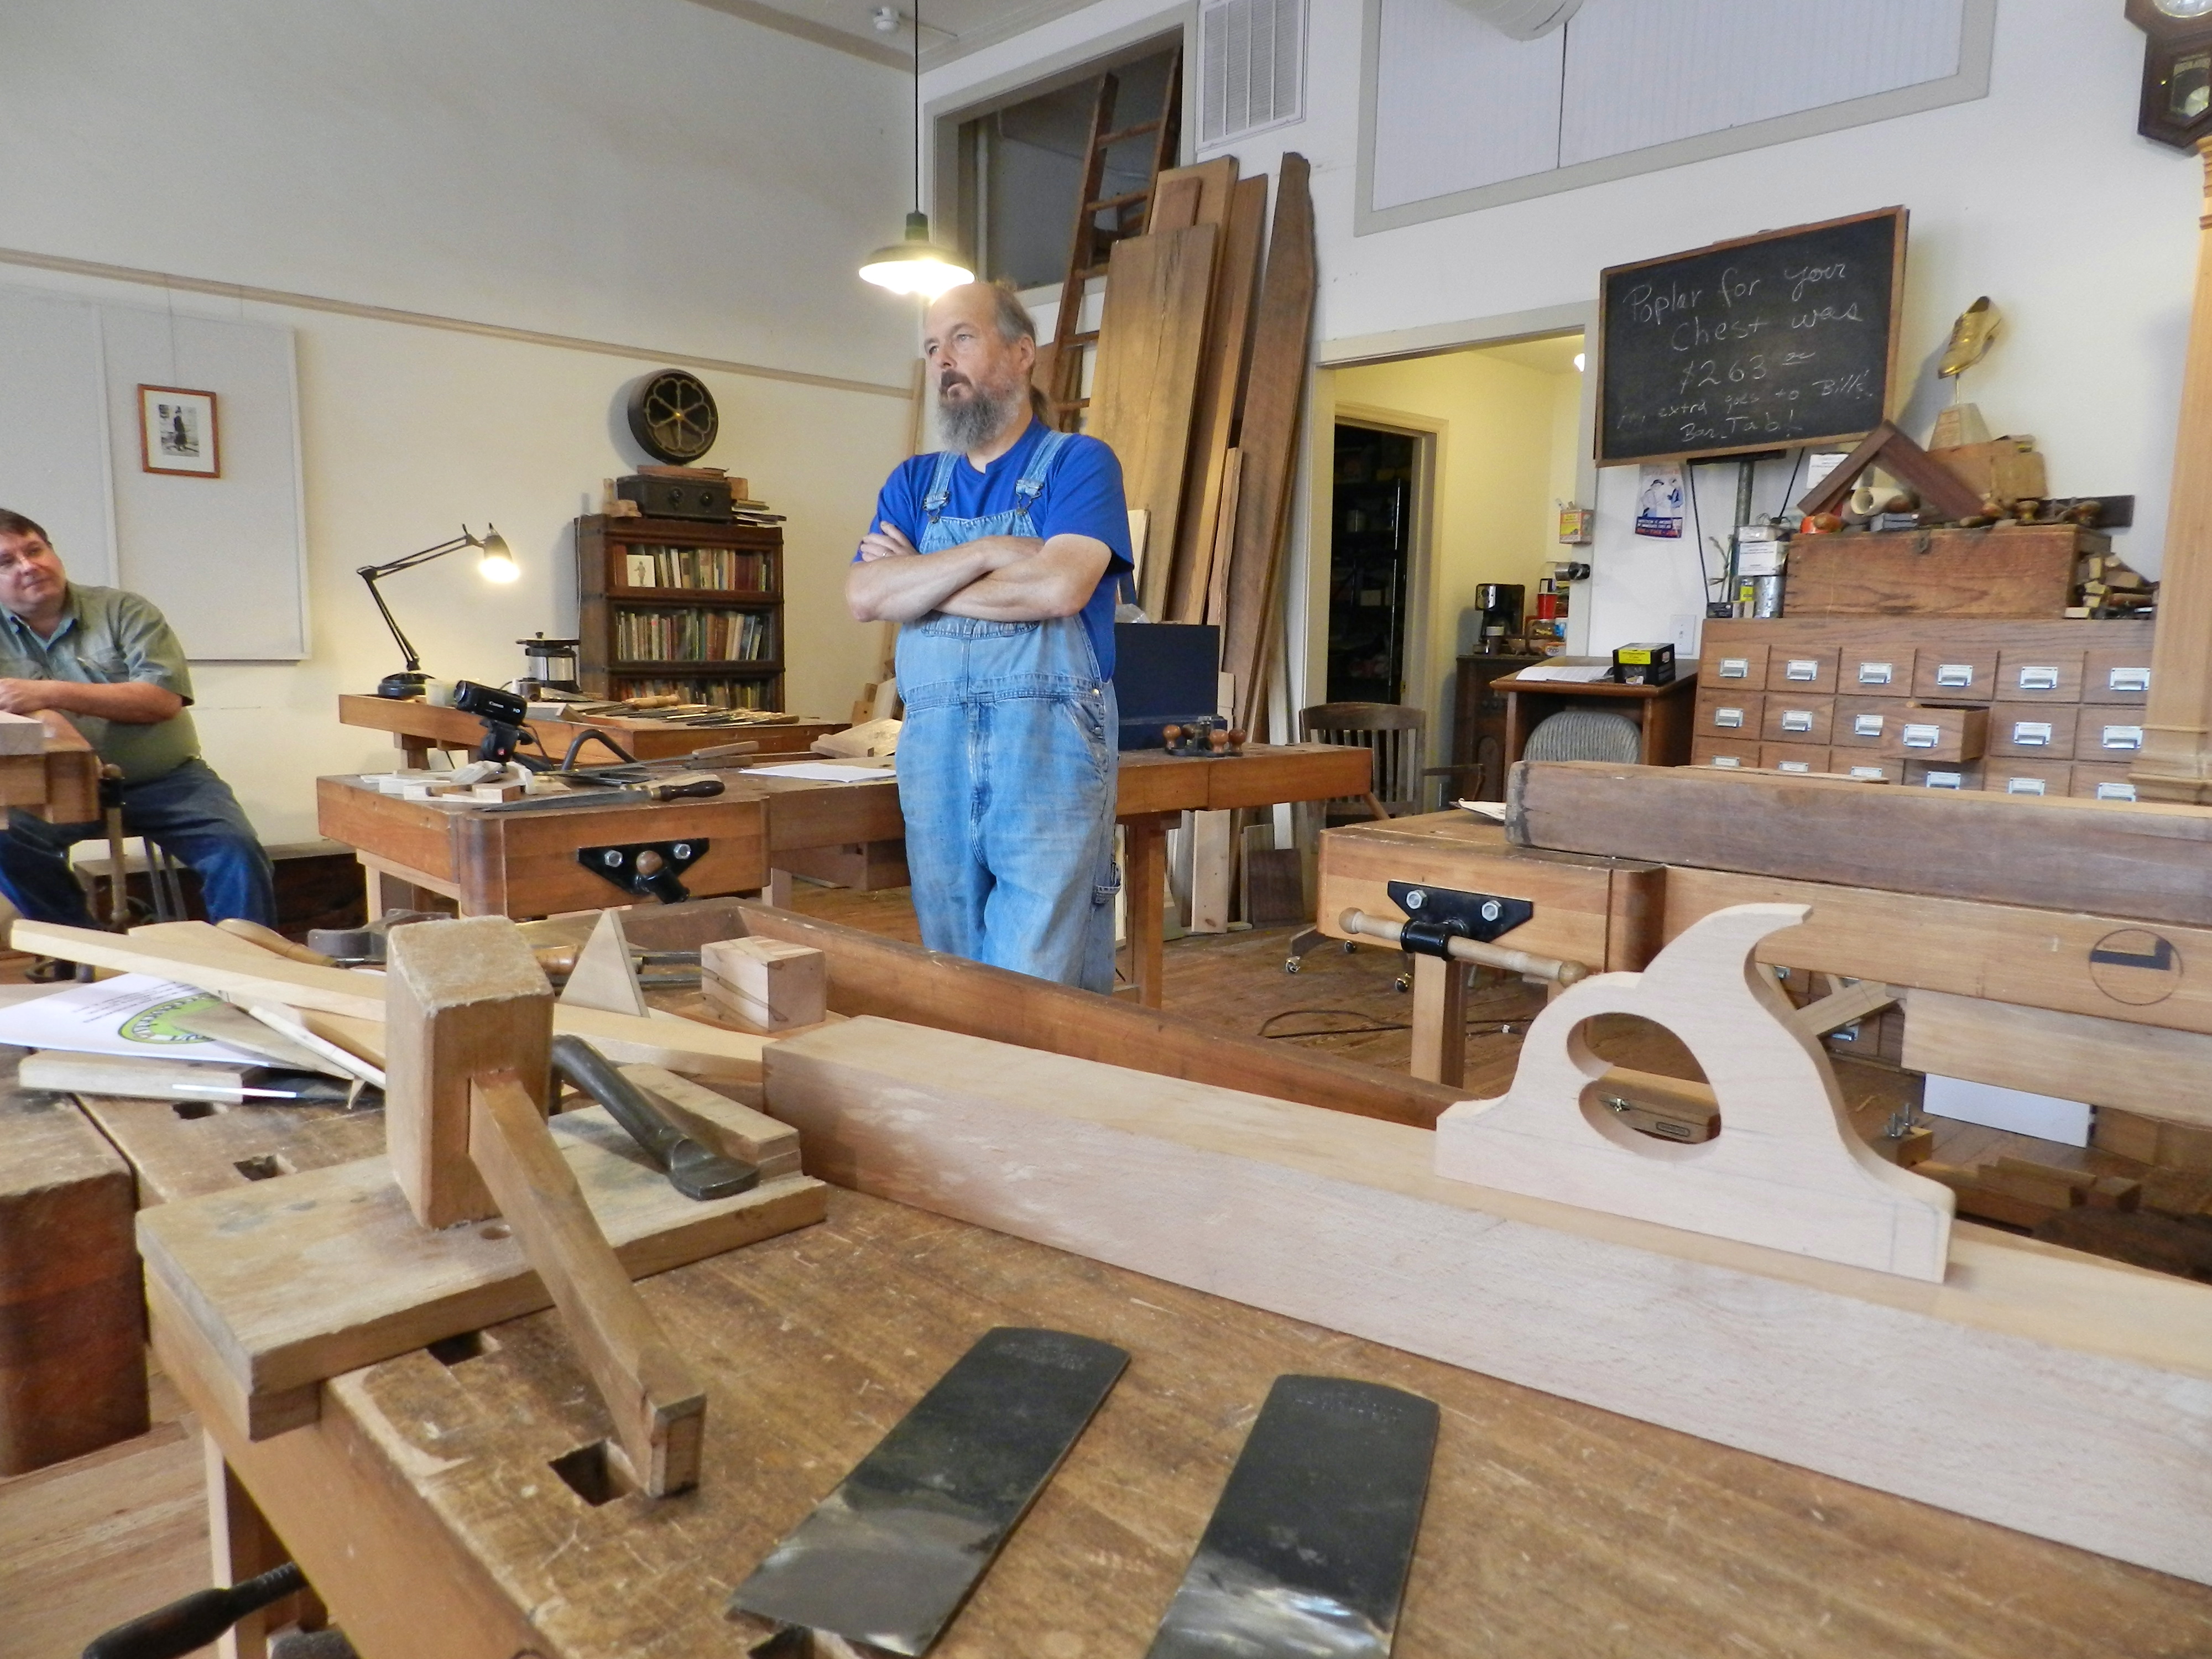
Bill is a passionate woodworker and skilled teacher. You may recognize him from his appearances on Roy’s television show or the articles that he’s written. He’s a molding plane aficionado and has studied plane-making and general furniture-making with many masters in the field. He recently retired from being a Scientist for the EPA so I see a lot of parallels to my own life working in software.
The plane is made of air dried American Beech and a new old stock English iron.
We started out by squaring up the stock using a wooden straightedge and winding sticks.
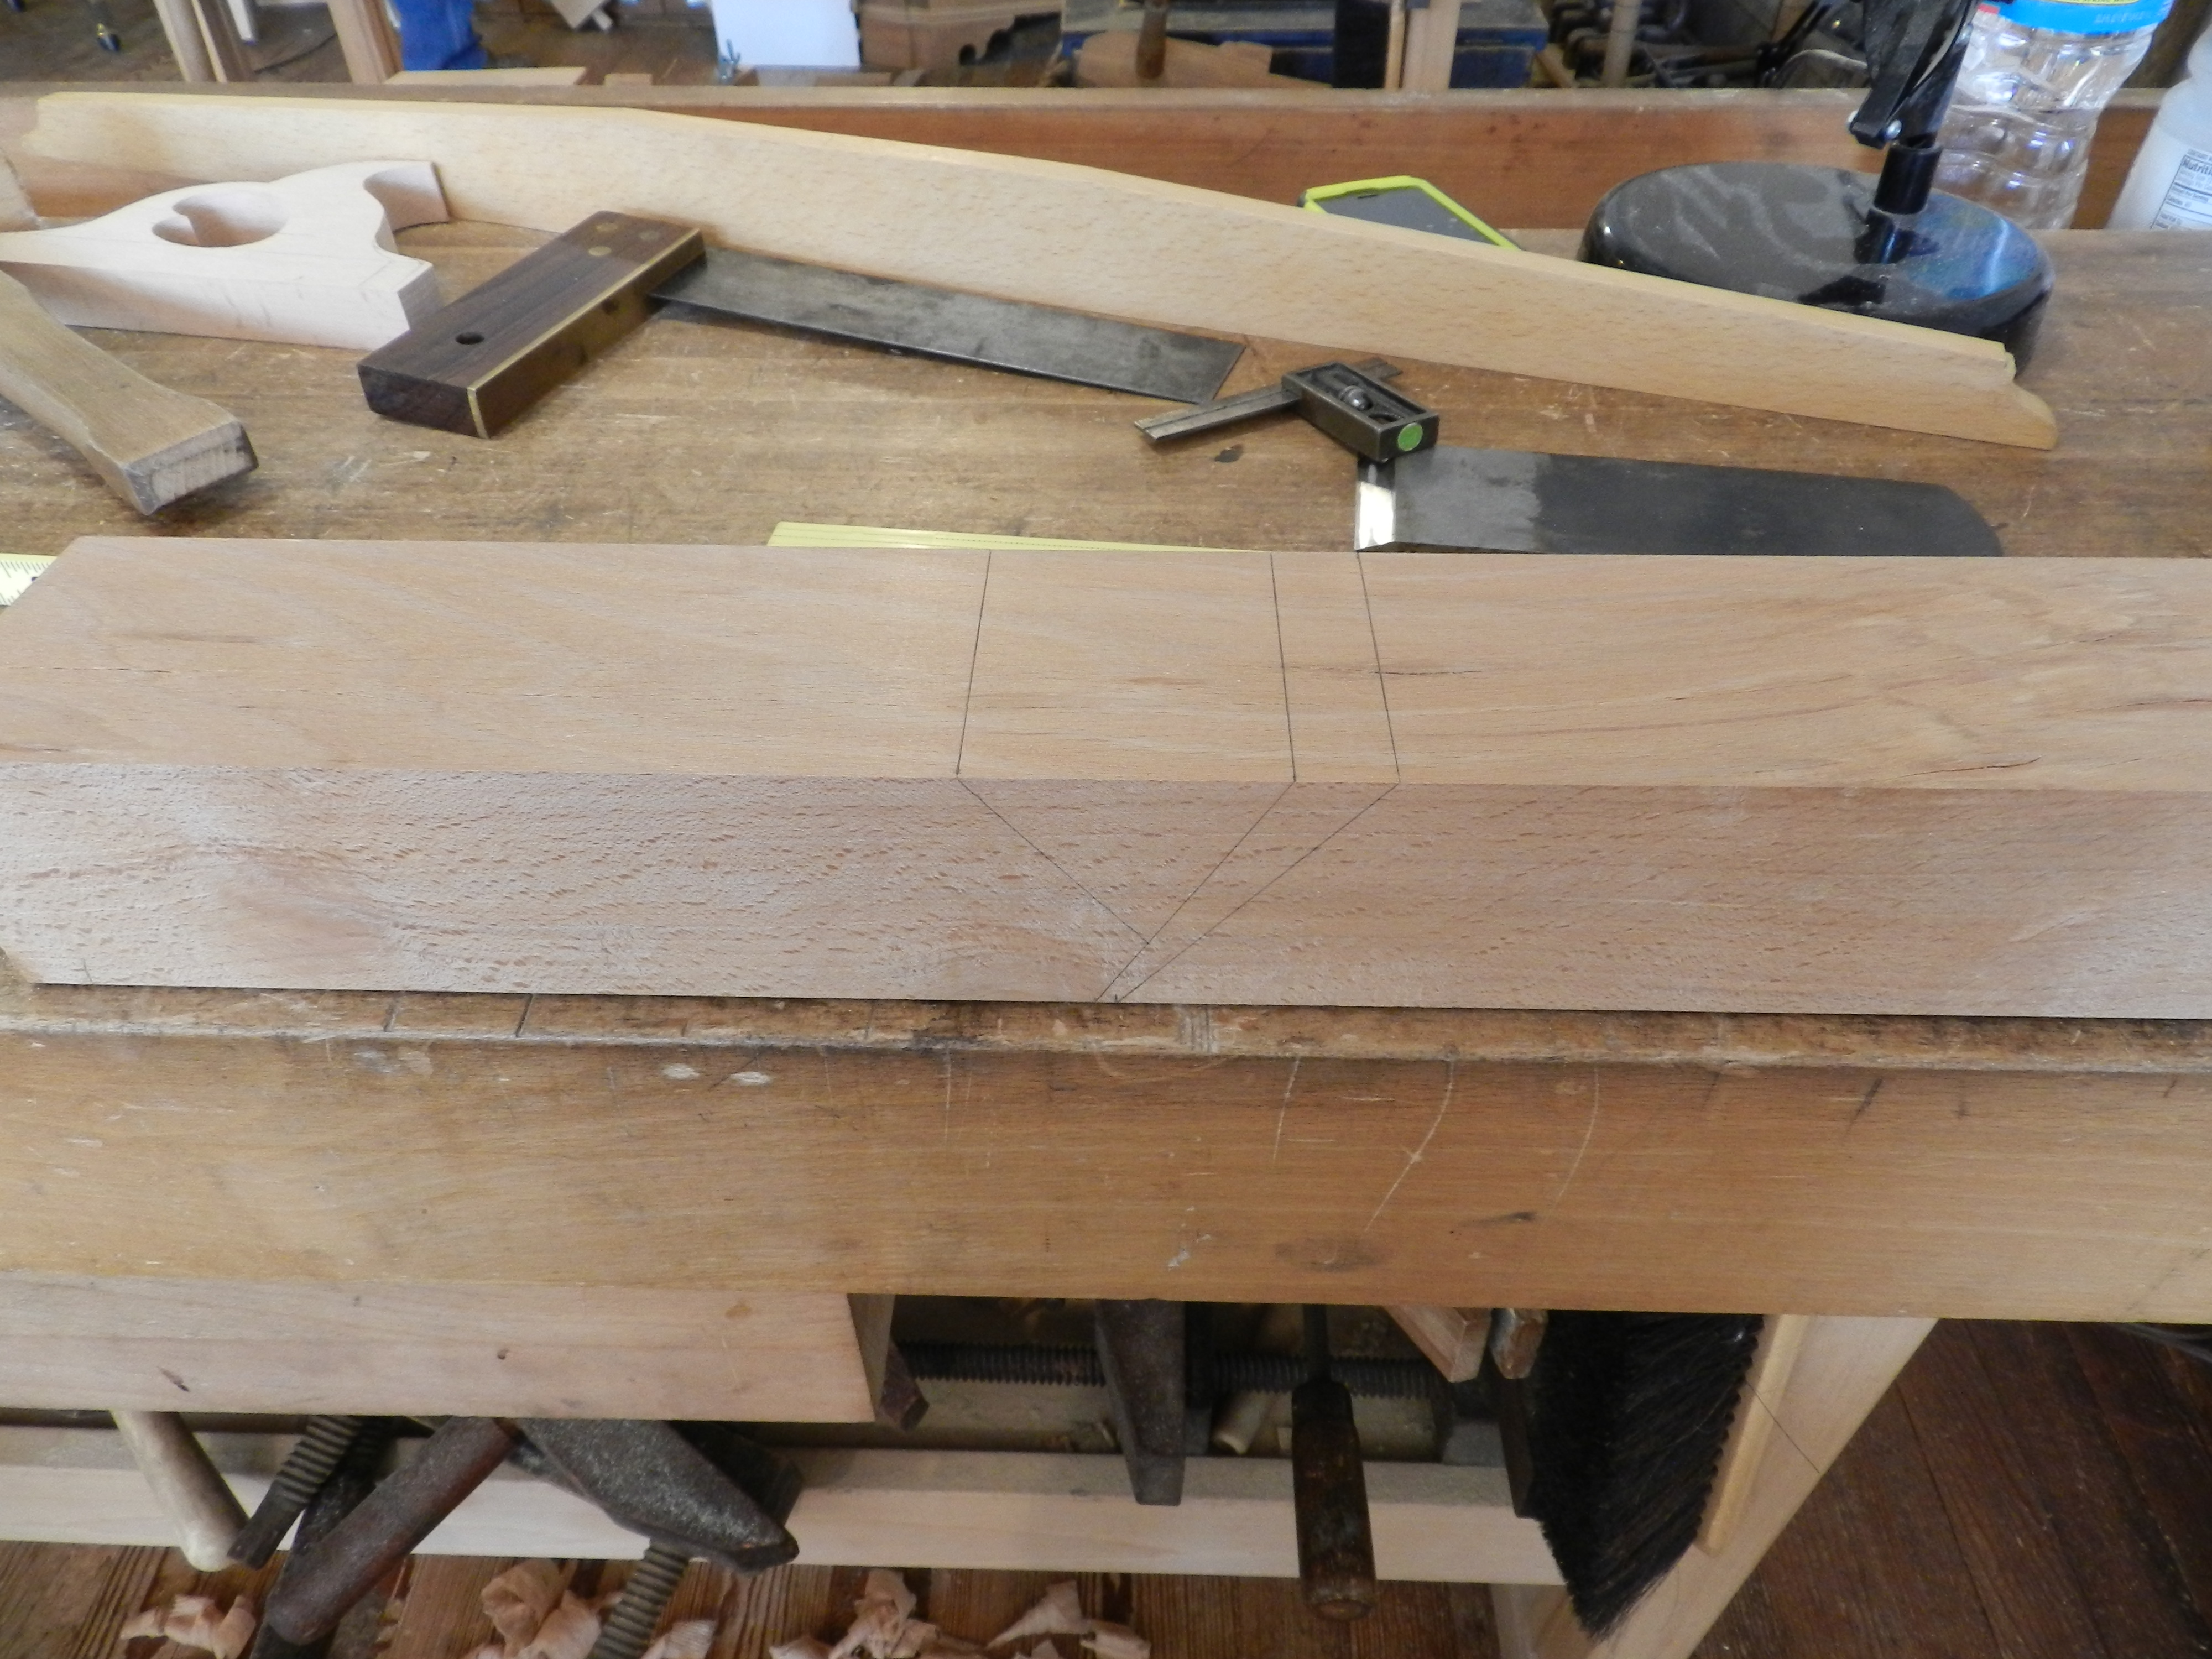
Next up was laying out the mouth and throat. The mortises are all chopped by hand with a chisel and refined via a series of floats and scrapers. It was my first time using that many different floats, and for what looks like it might be a fairly coarse tool, when sharpened leaves a remarkably good surface.
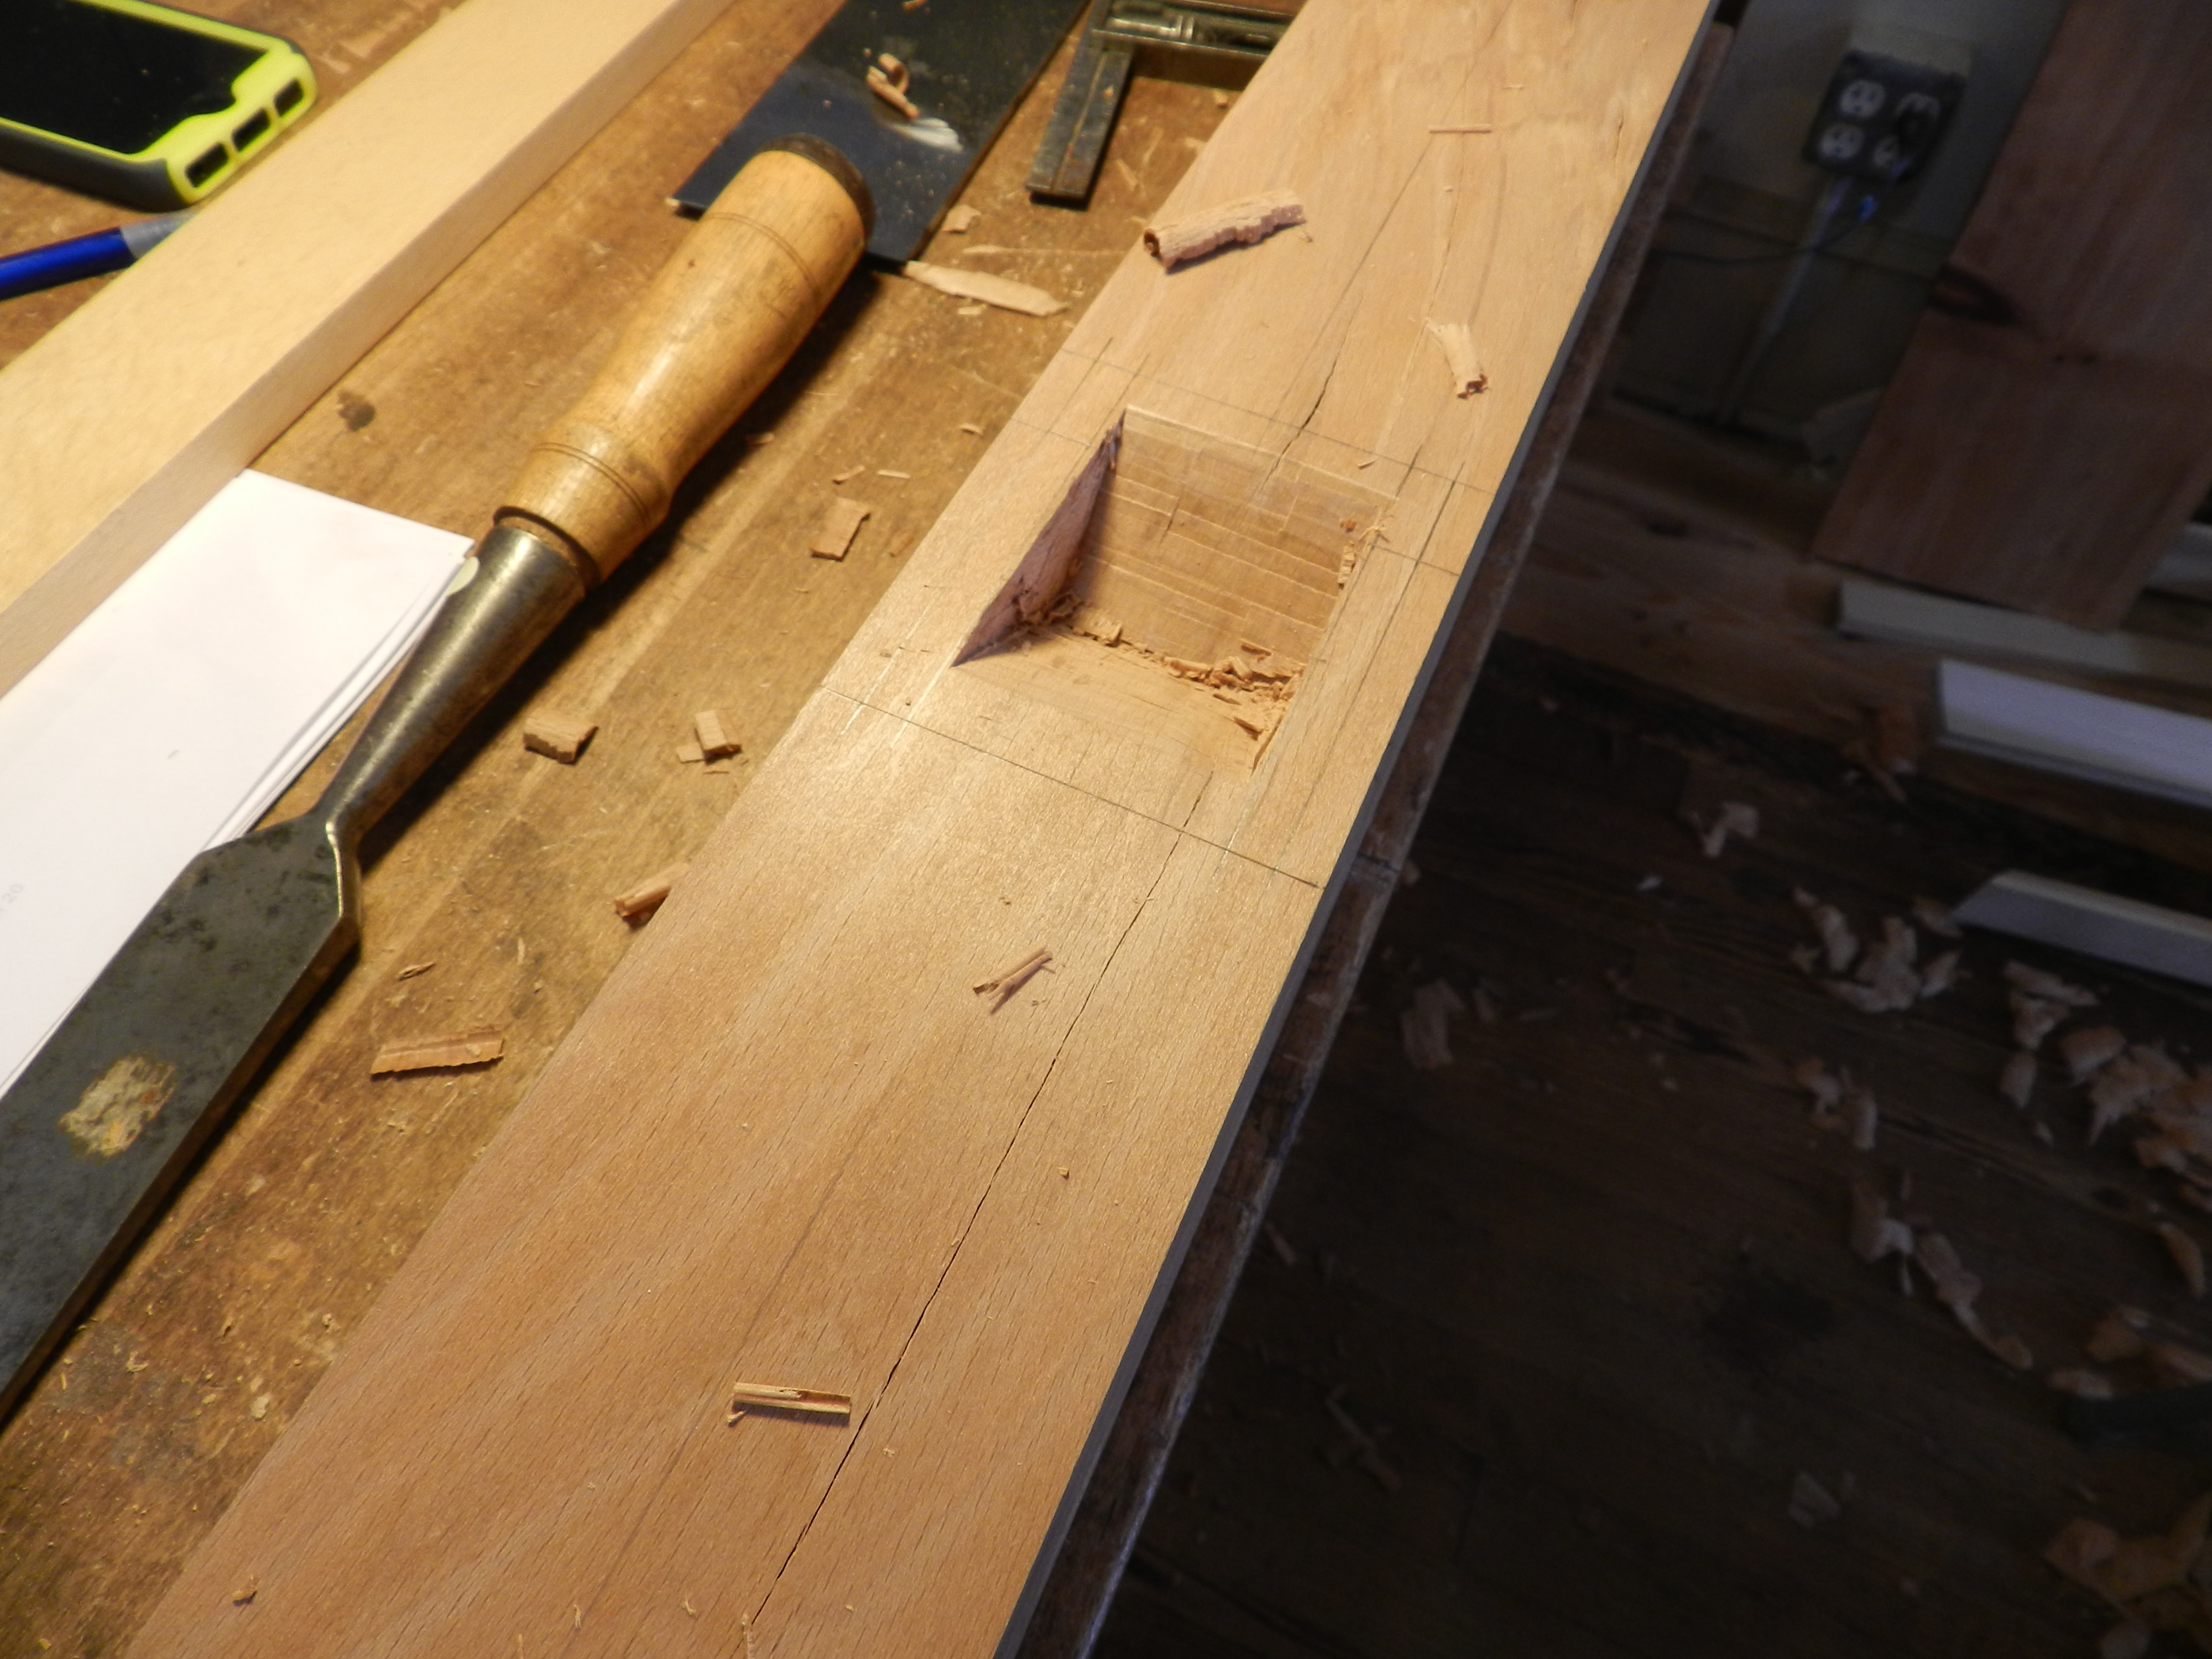
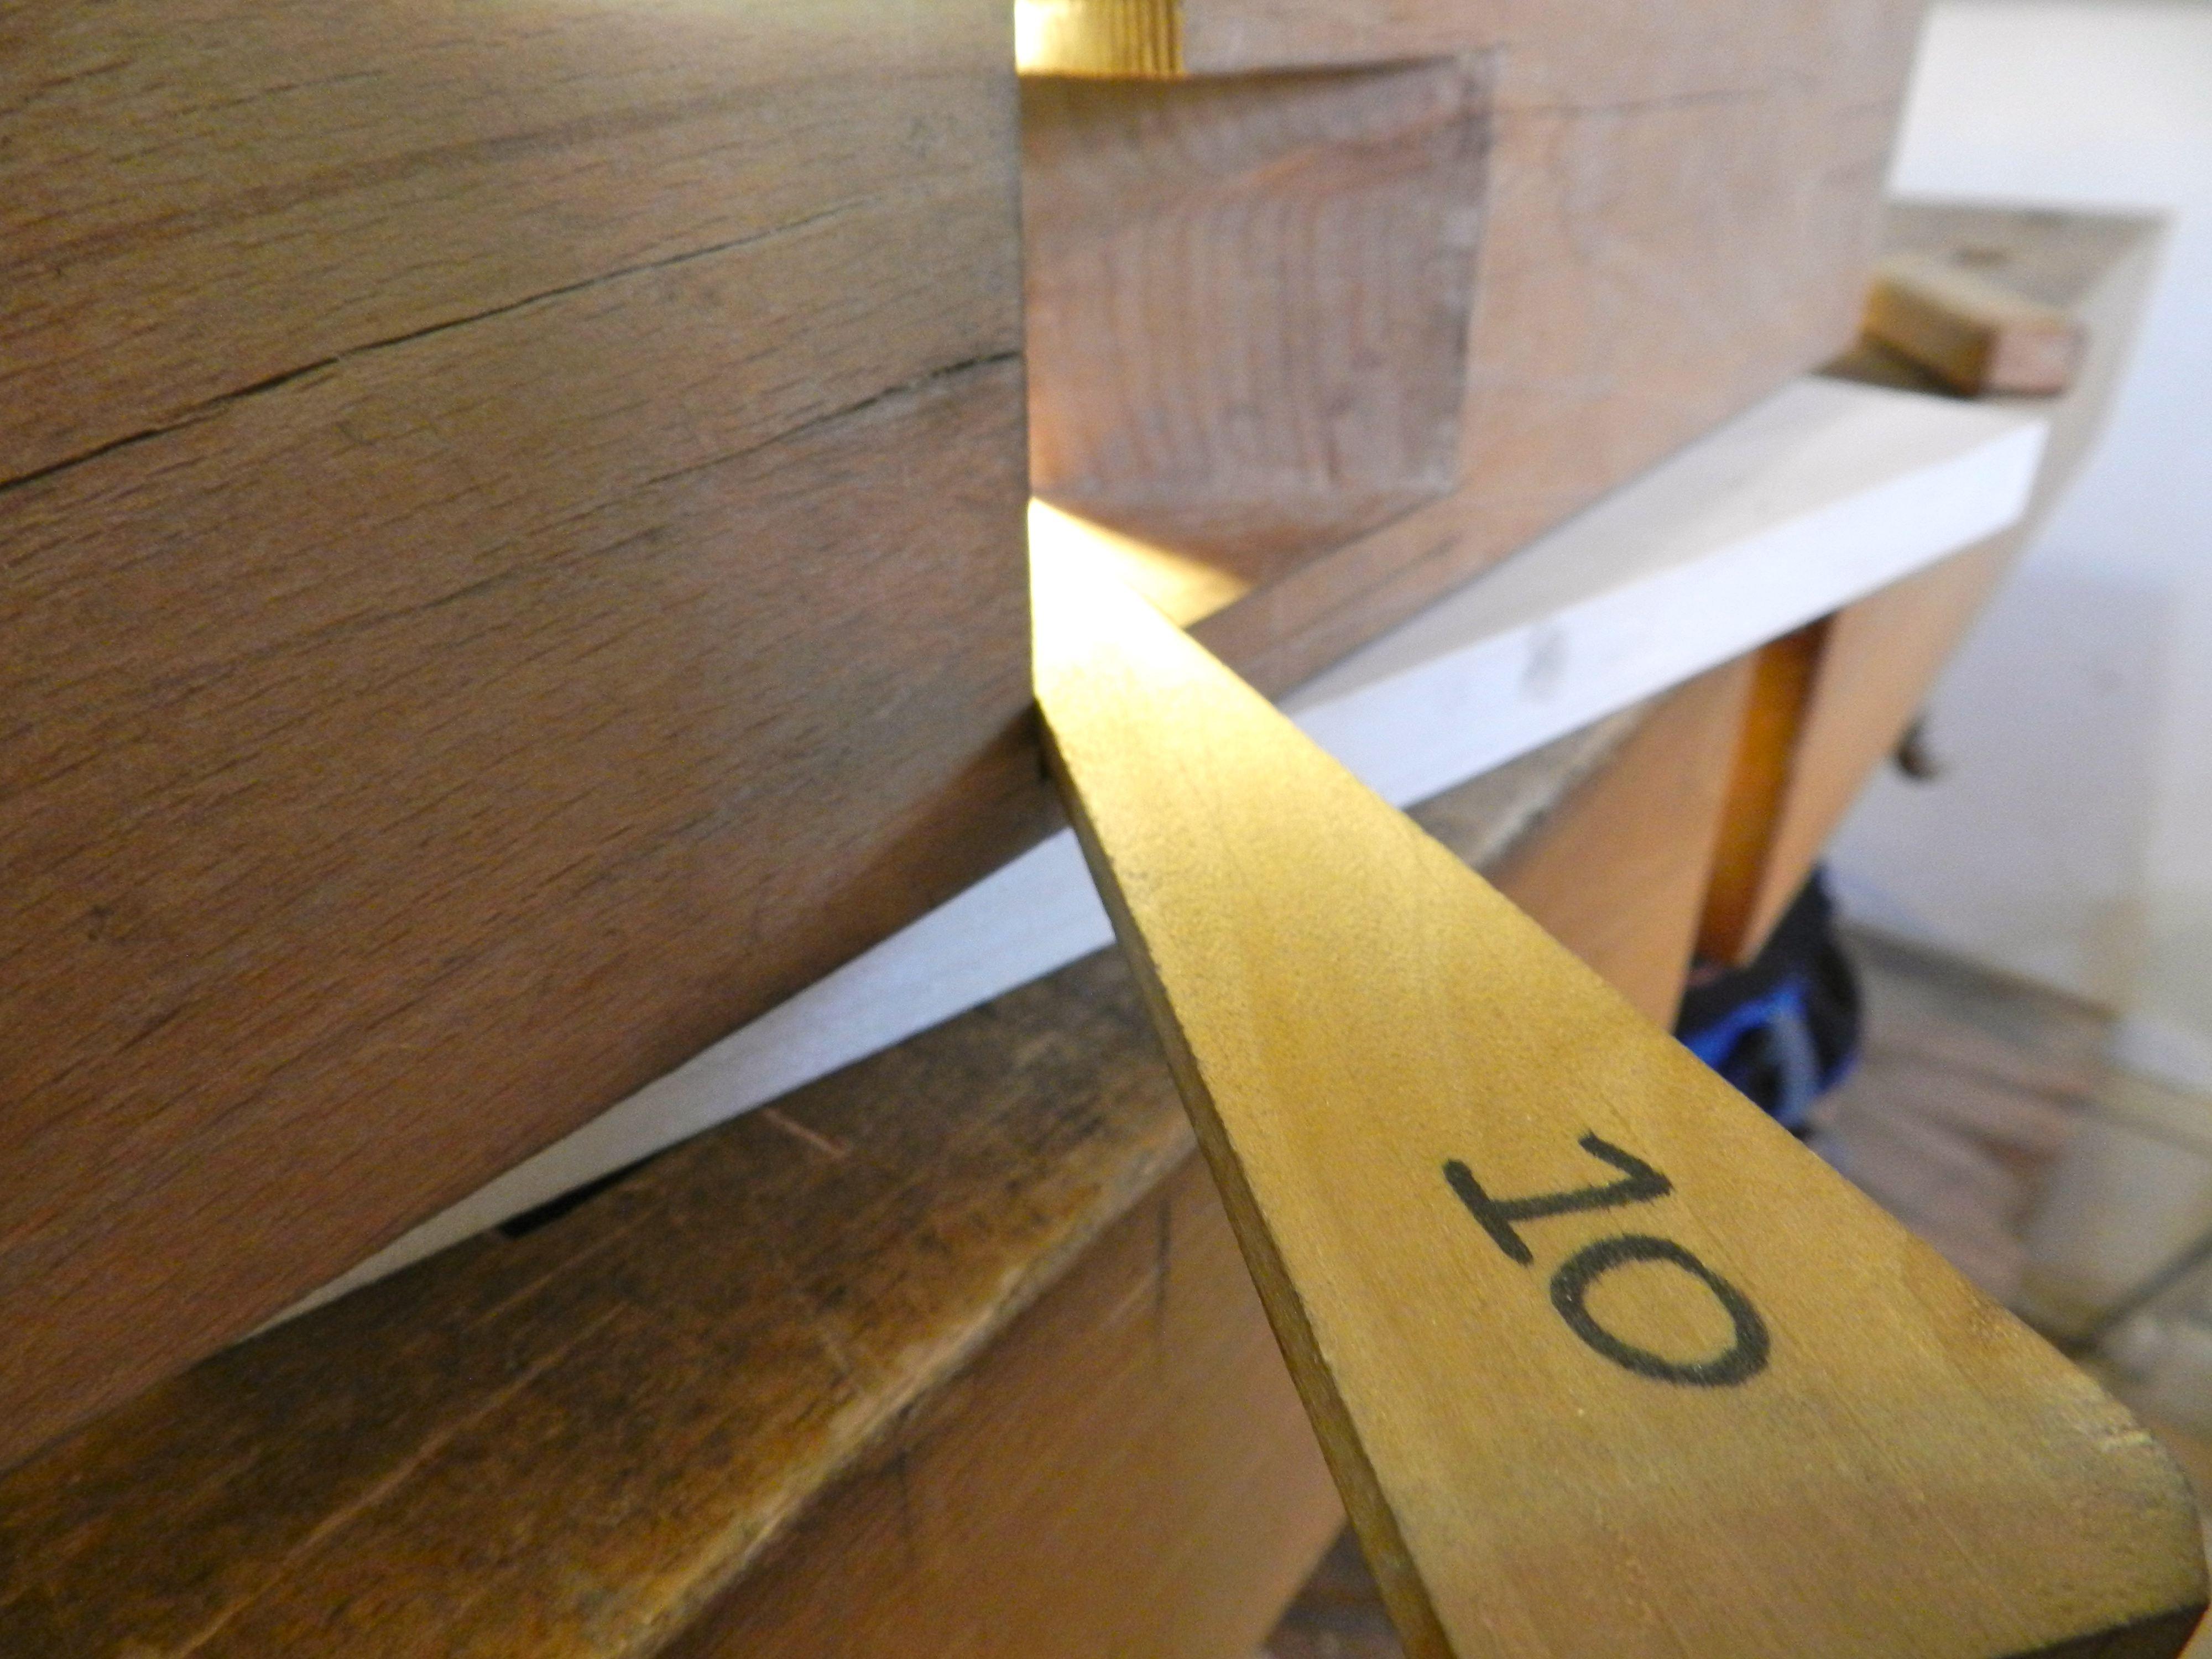
As we worked through the throat mortise a key was to make sure you don’t overshoot and chop through the abutment.
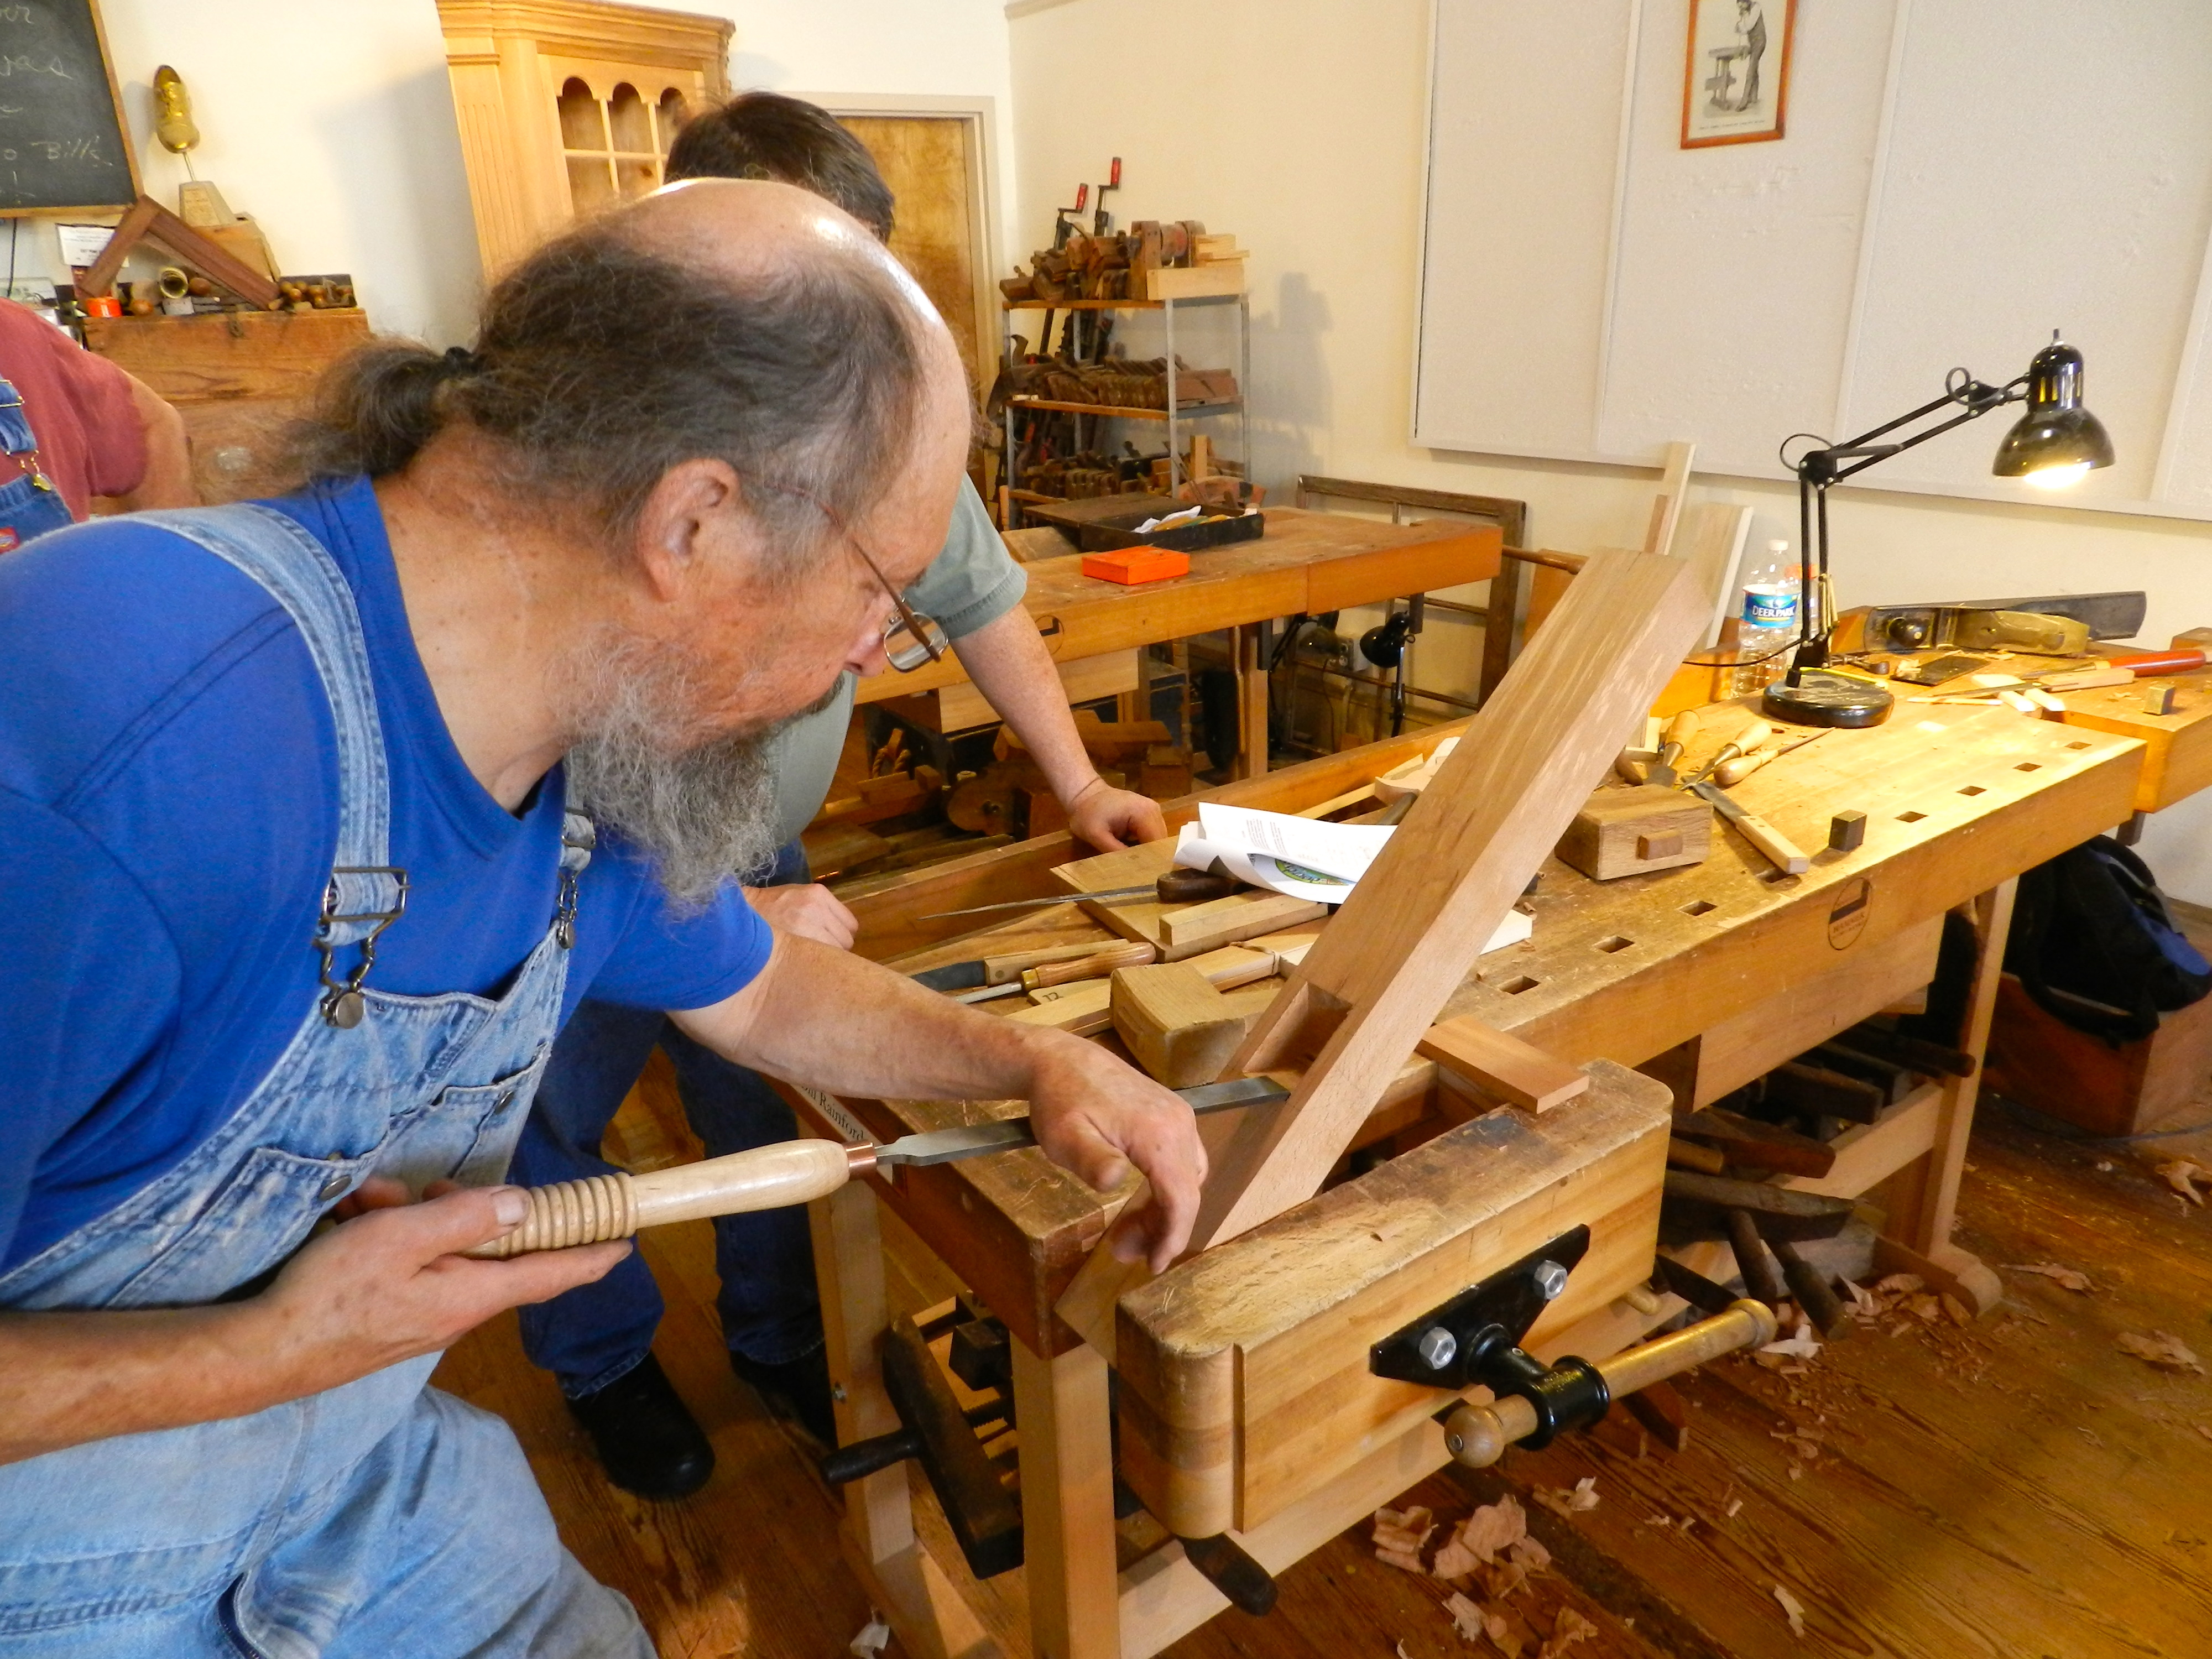
One of the last steps in refining the abutment and sides of the throat was to scrape the surface using a scraper chisel.
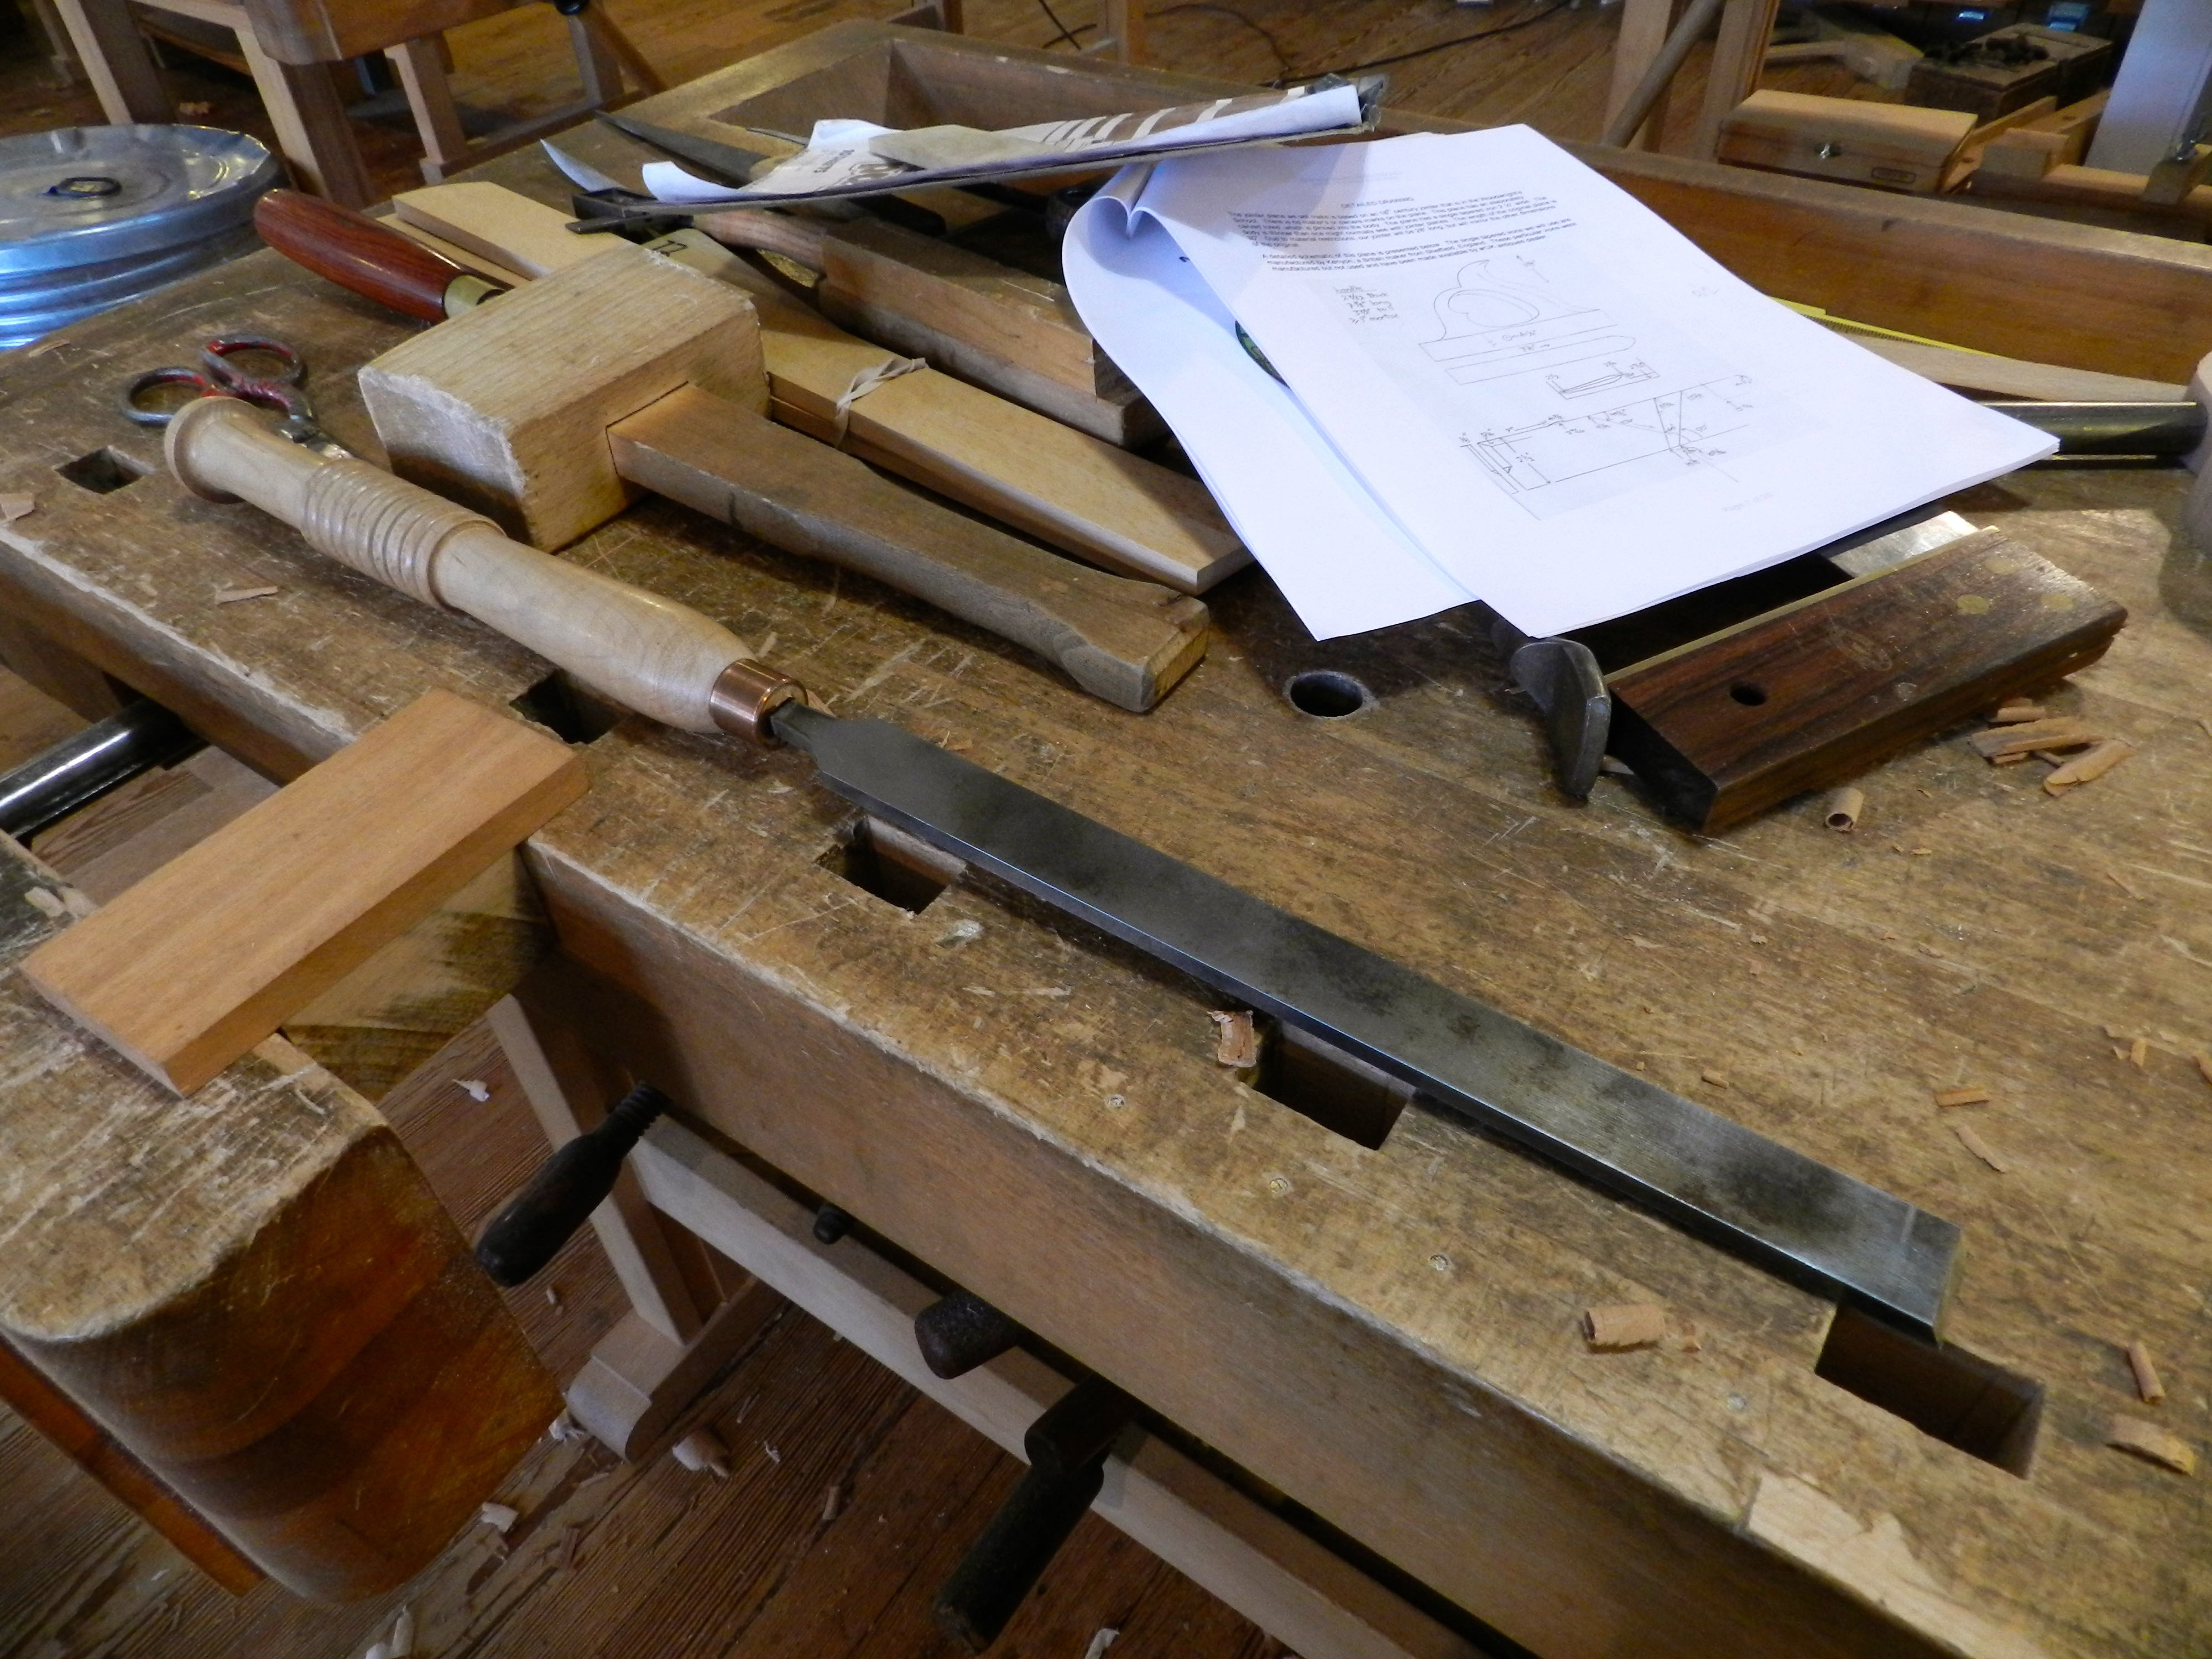
This beast of a chisel was made by Bill and heat treated by Peter Ross. It was based on some research Bill did into traditional plane making tools. The long bar of tool steel and handle allow you to put a lot of your weight into it as you scrape the surface flat. The cutting edge is a very steep angle similar to a scraper you’d use with a lathe (upside down compared to the lathe tool) but works well since you are only removing a little bit of material at a time.
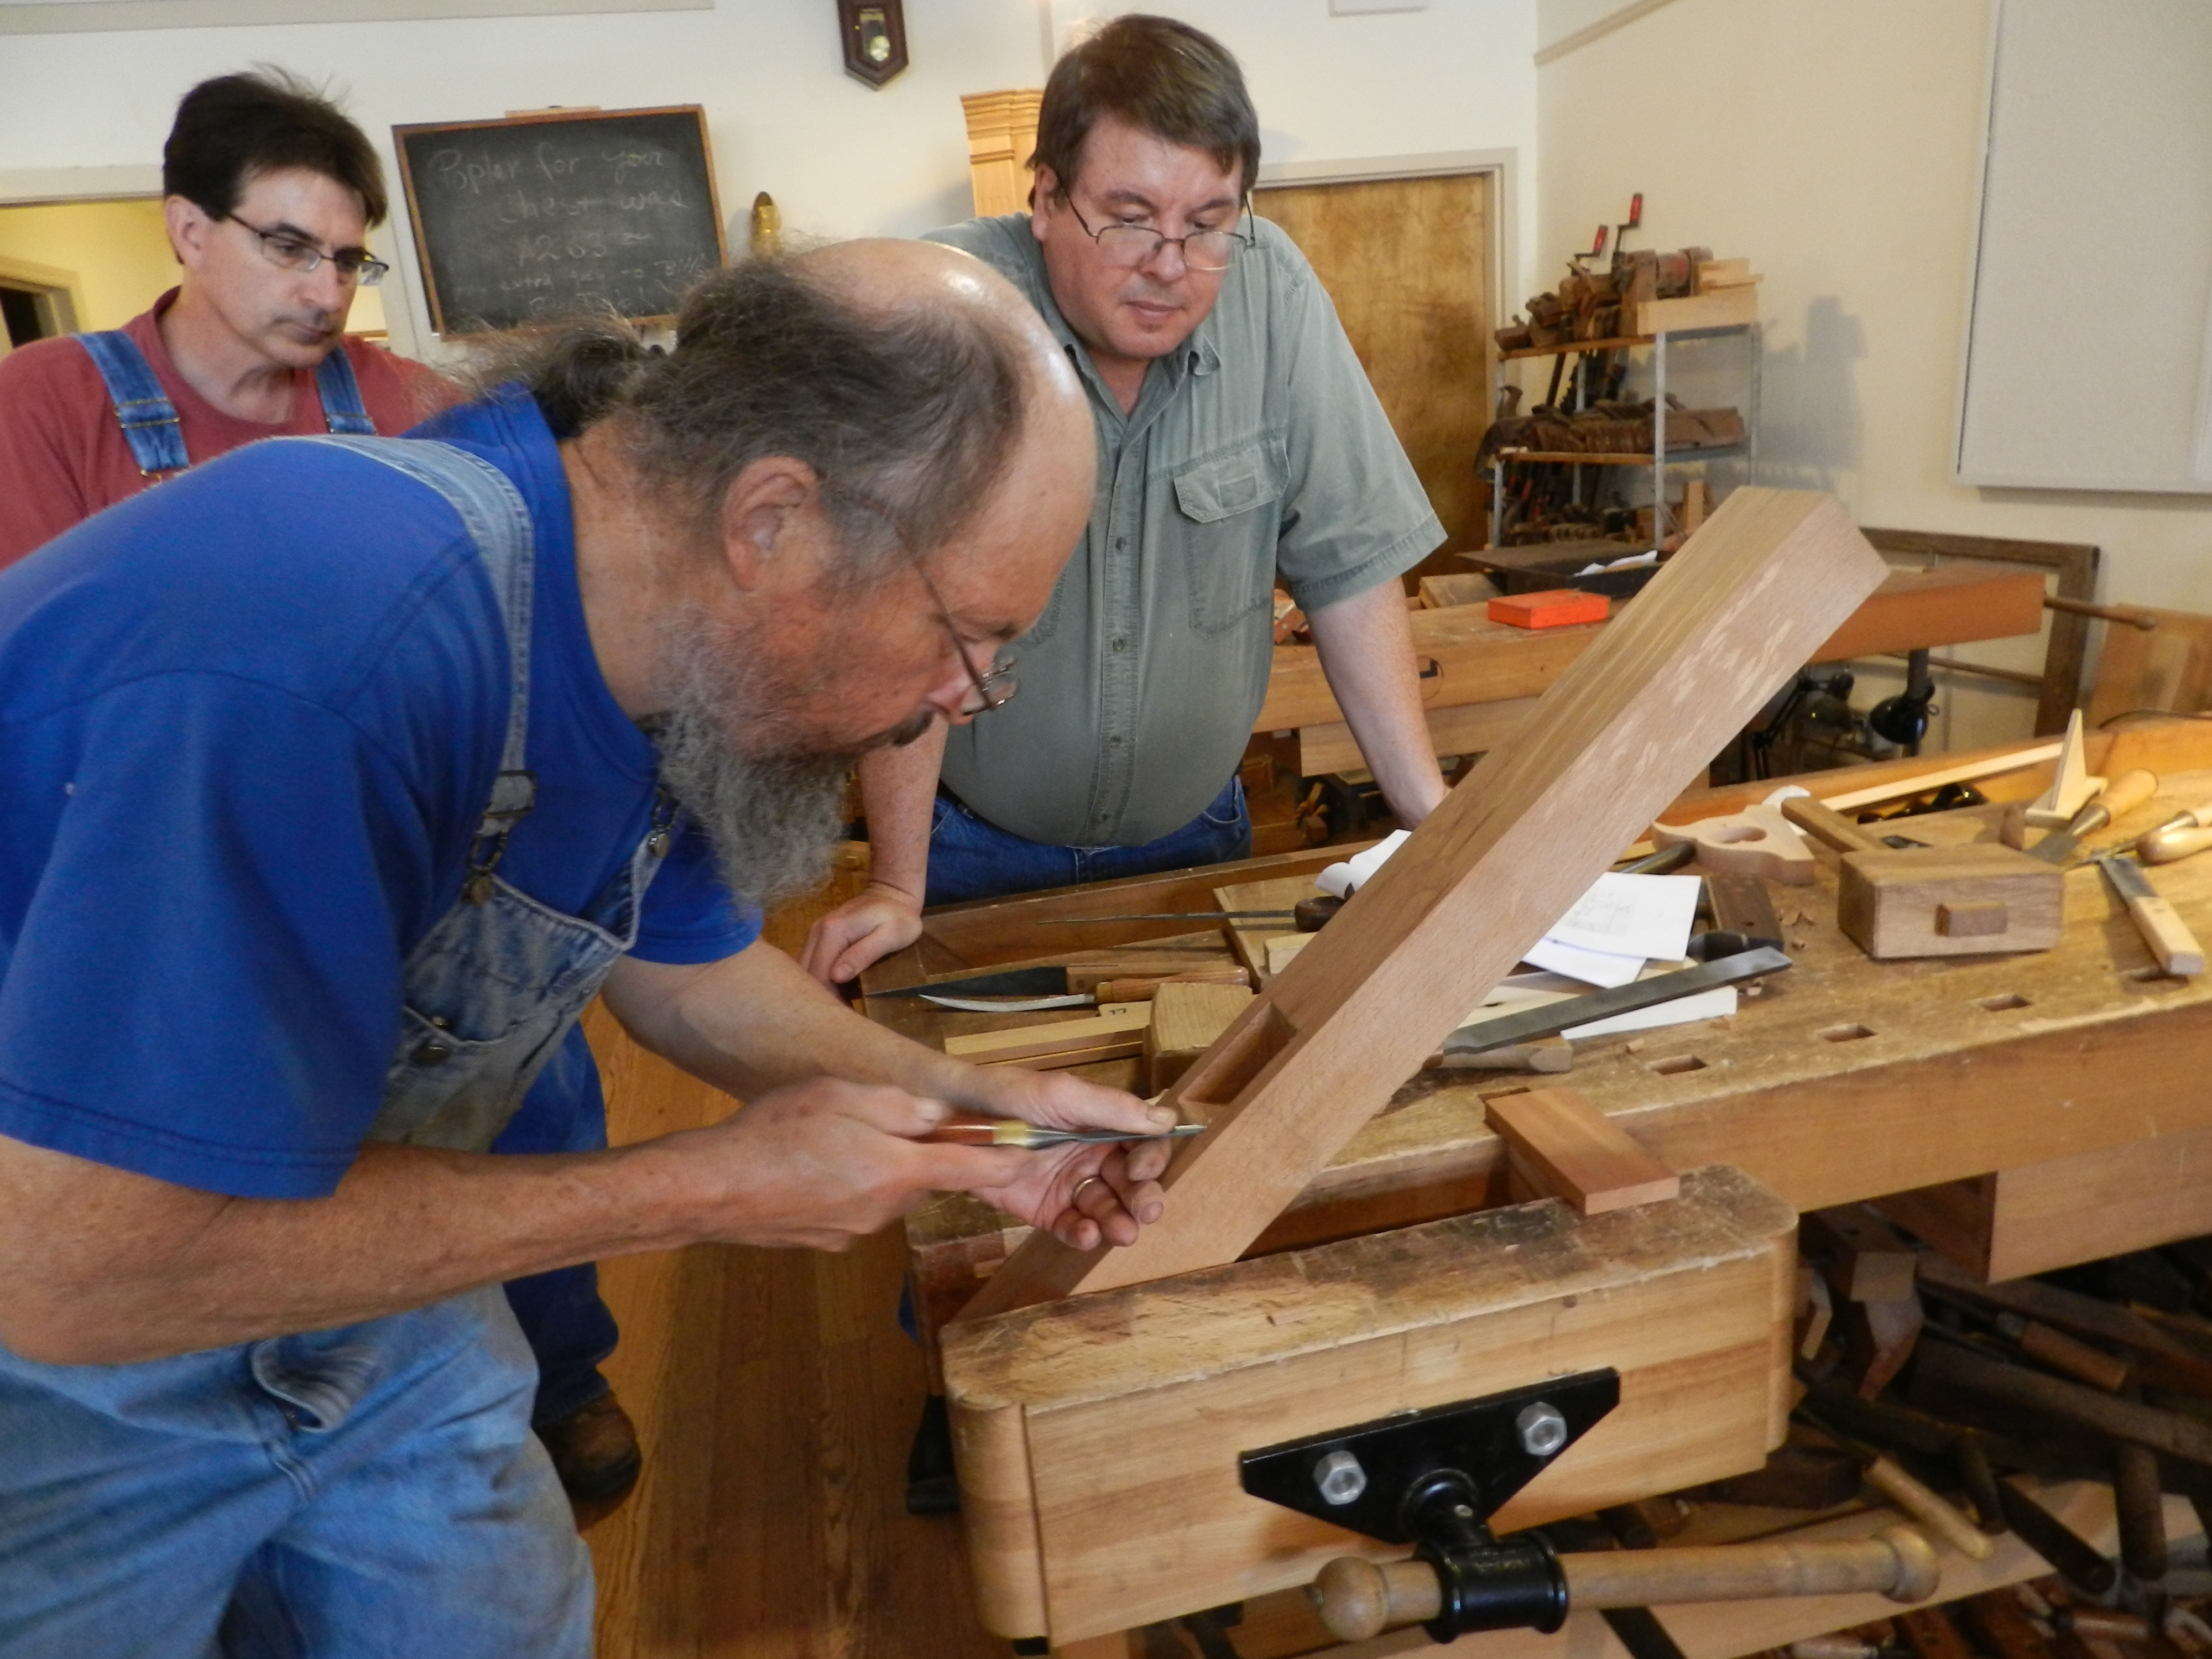
Regular bench chisels are used to clean up any fuzz in the corners. Next up is cutting in for the wedge and cleaning up a cheeks. This is an operation that requires a steady hand and the ability to work to an exacting standard. You want your test wedge, and eventually your actual wedge, to fit tightly against the abutment so the iron does not move when you are working with the plane. I took my time and was very happy with the results.
In upcoming posts I will document more about my experience in building and finishing this plane.
In the meantime, if you’d like to learn more about Bill Anderson or take a class with him, and I highly encourage you to do so, please check out his website here.
-Bill

Do you have any more specifics on the iron? I just got a piece of old growth beech, but I can’t find much information on where or how to acquire an iron aside from poaching it from an old plane. Thanks
I keep an eye out for them at tool shows and auctions and antiques/junk shops.
A skilled blacksmith could also make one for you, likely for not too too much. (Maybe see Barr Quarton or Peter Ross or similar folks)
I got mine taking a class with Bill Anderson so reaching out to him is another option