Tag Archives: Workshop

Teaching Schedule for Spring and Summer 2015

“It is the supreme art of the teacher to awaken joy in creative expression and knowledge.” — Albert Einstein

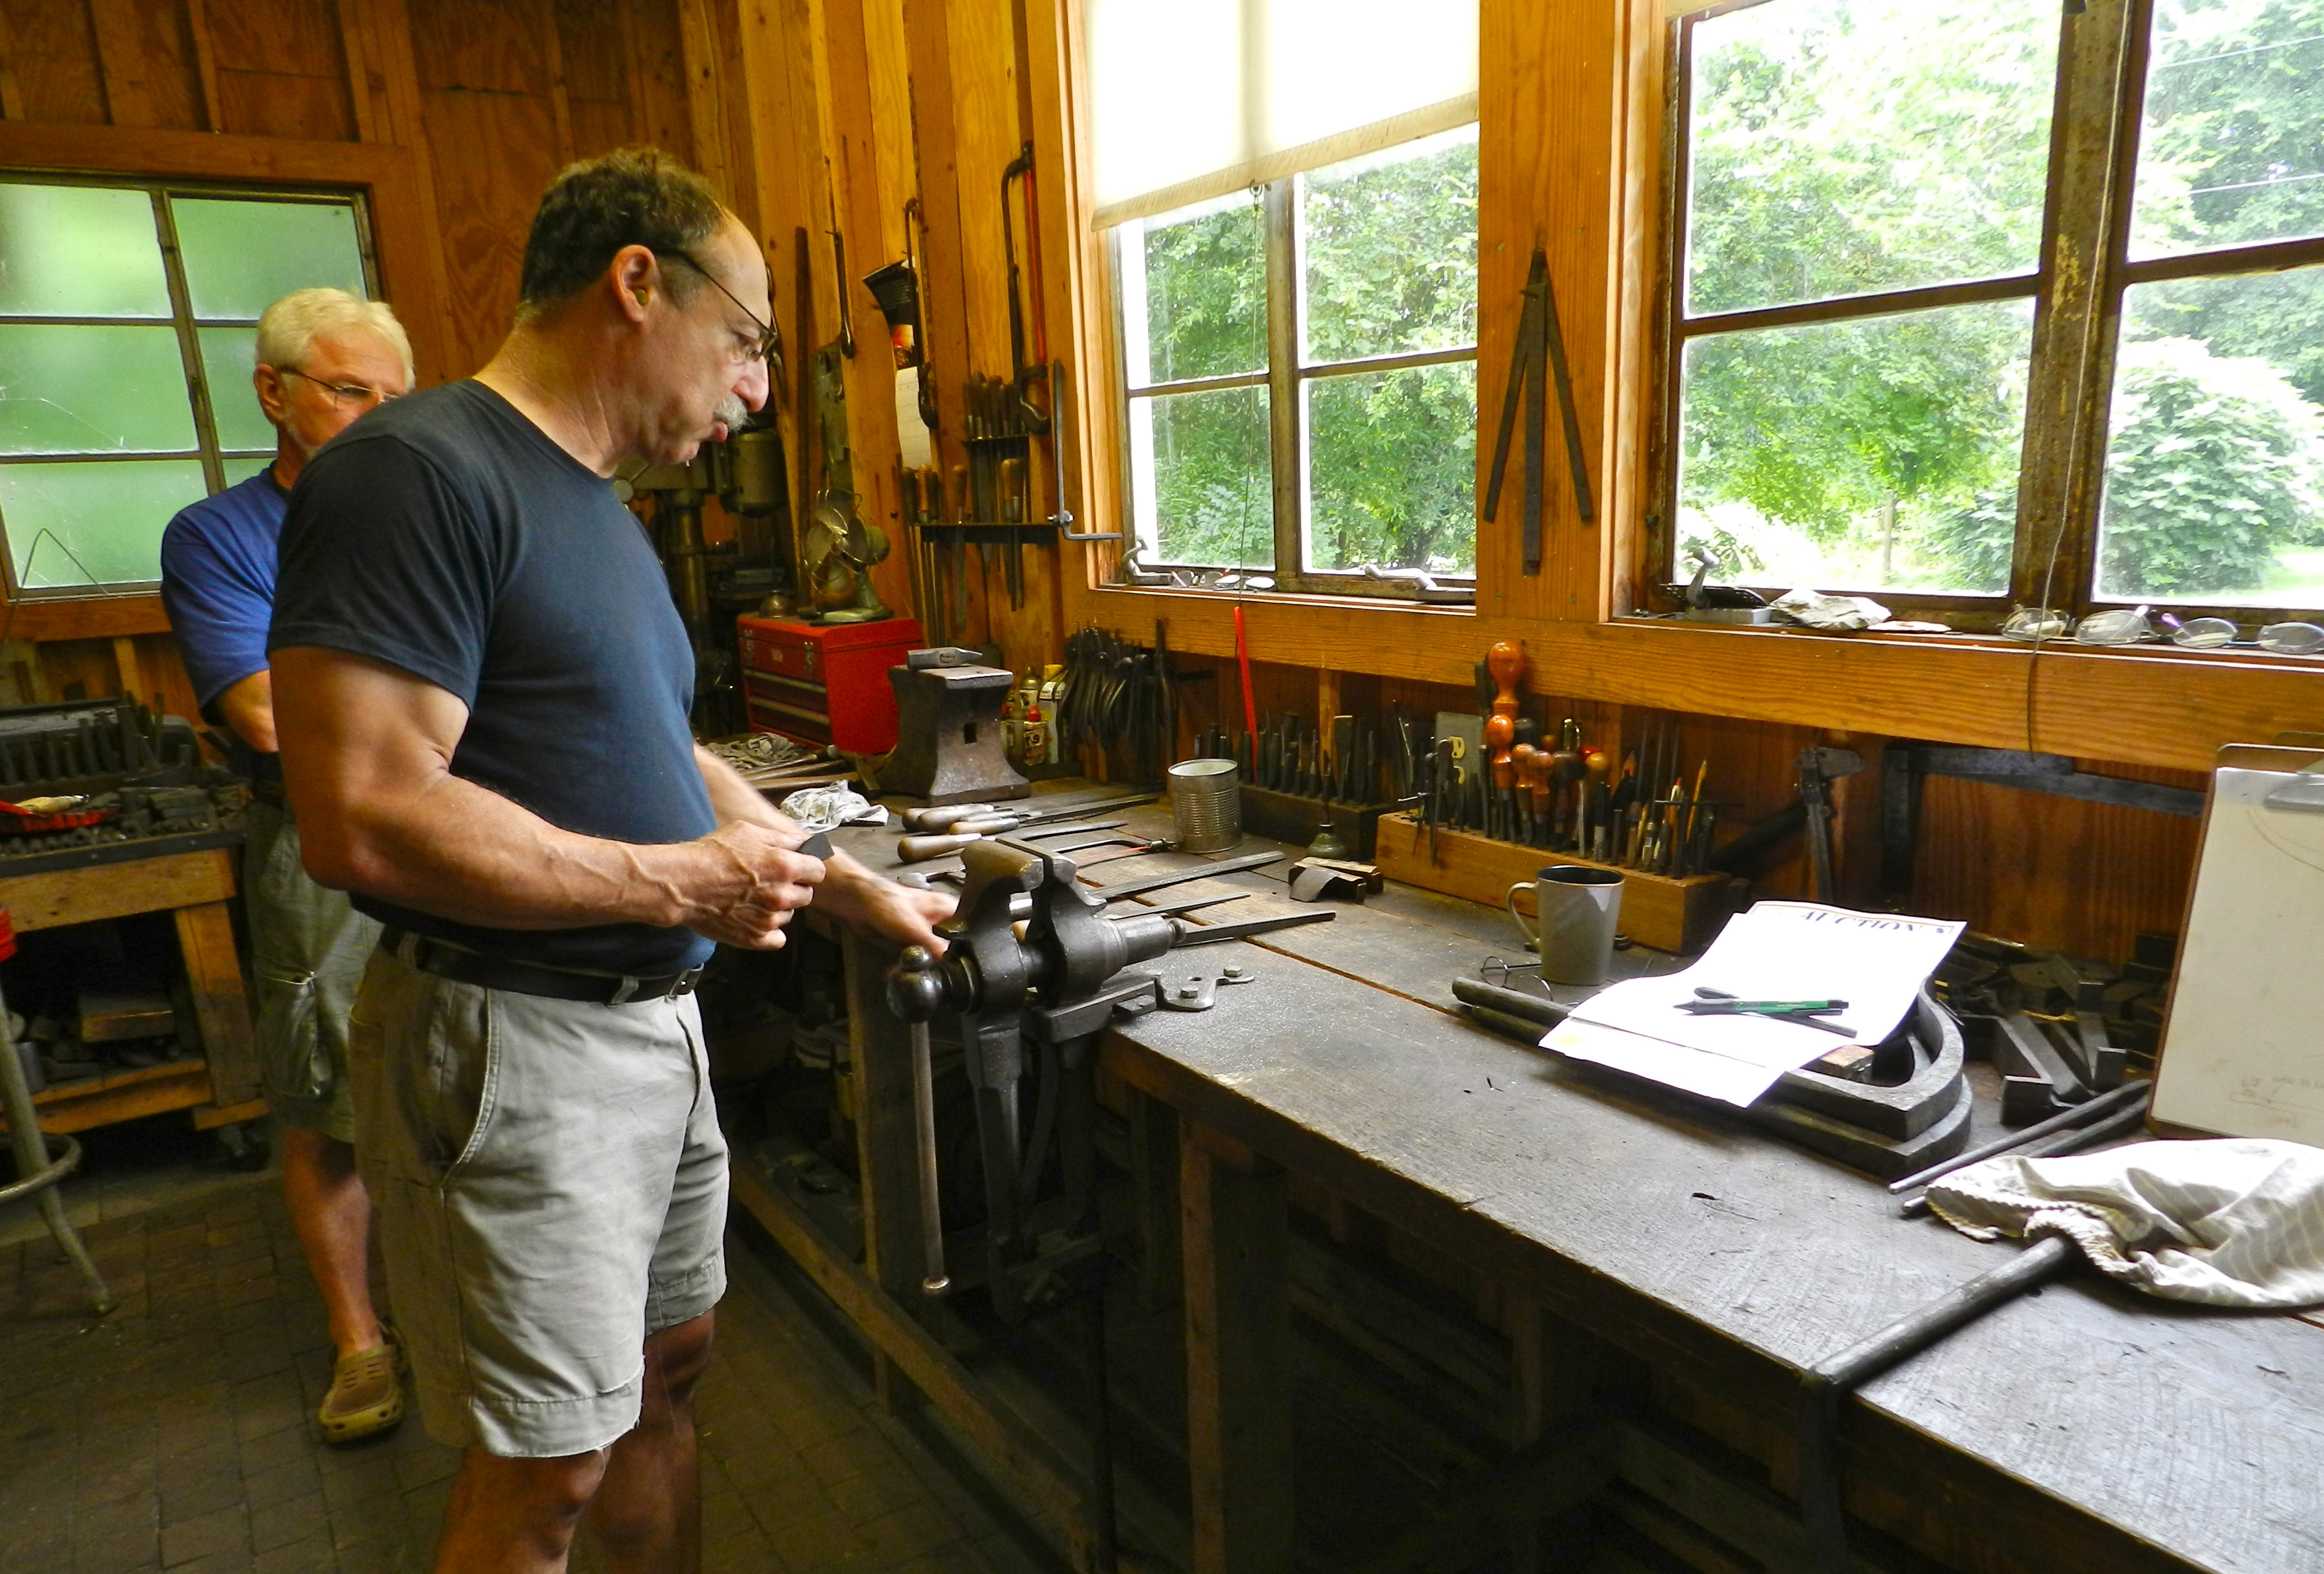
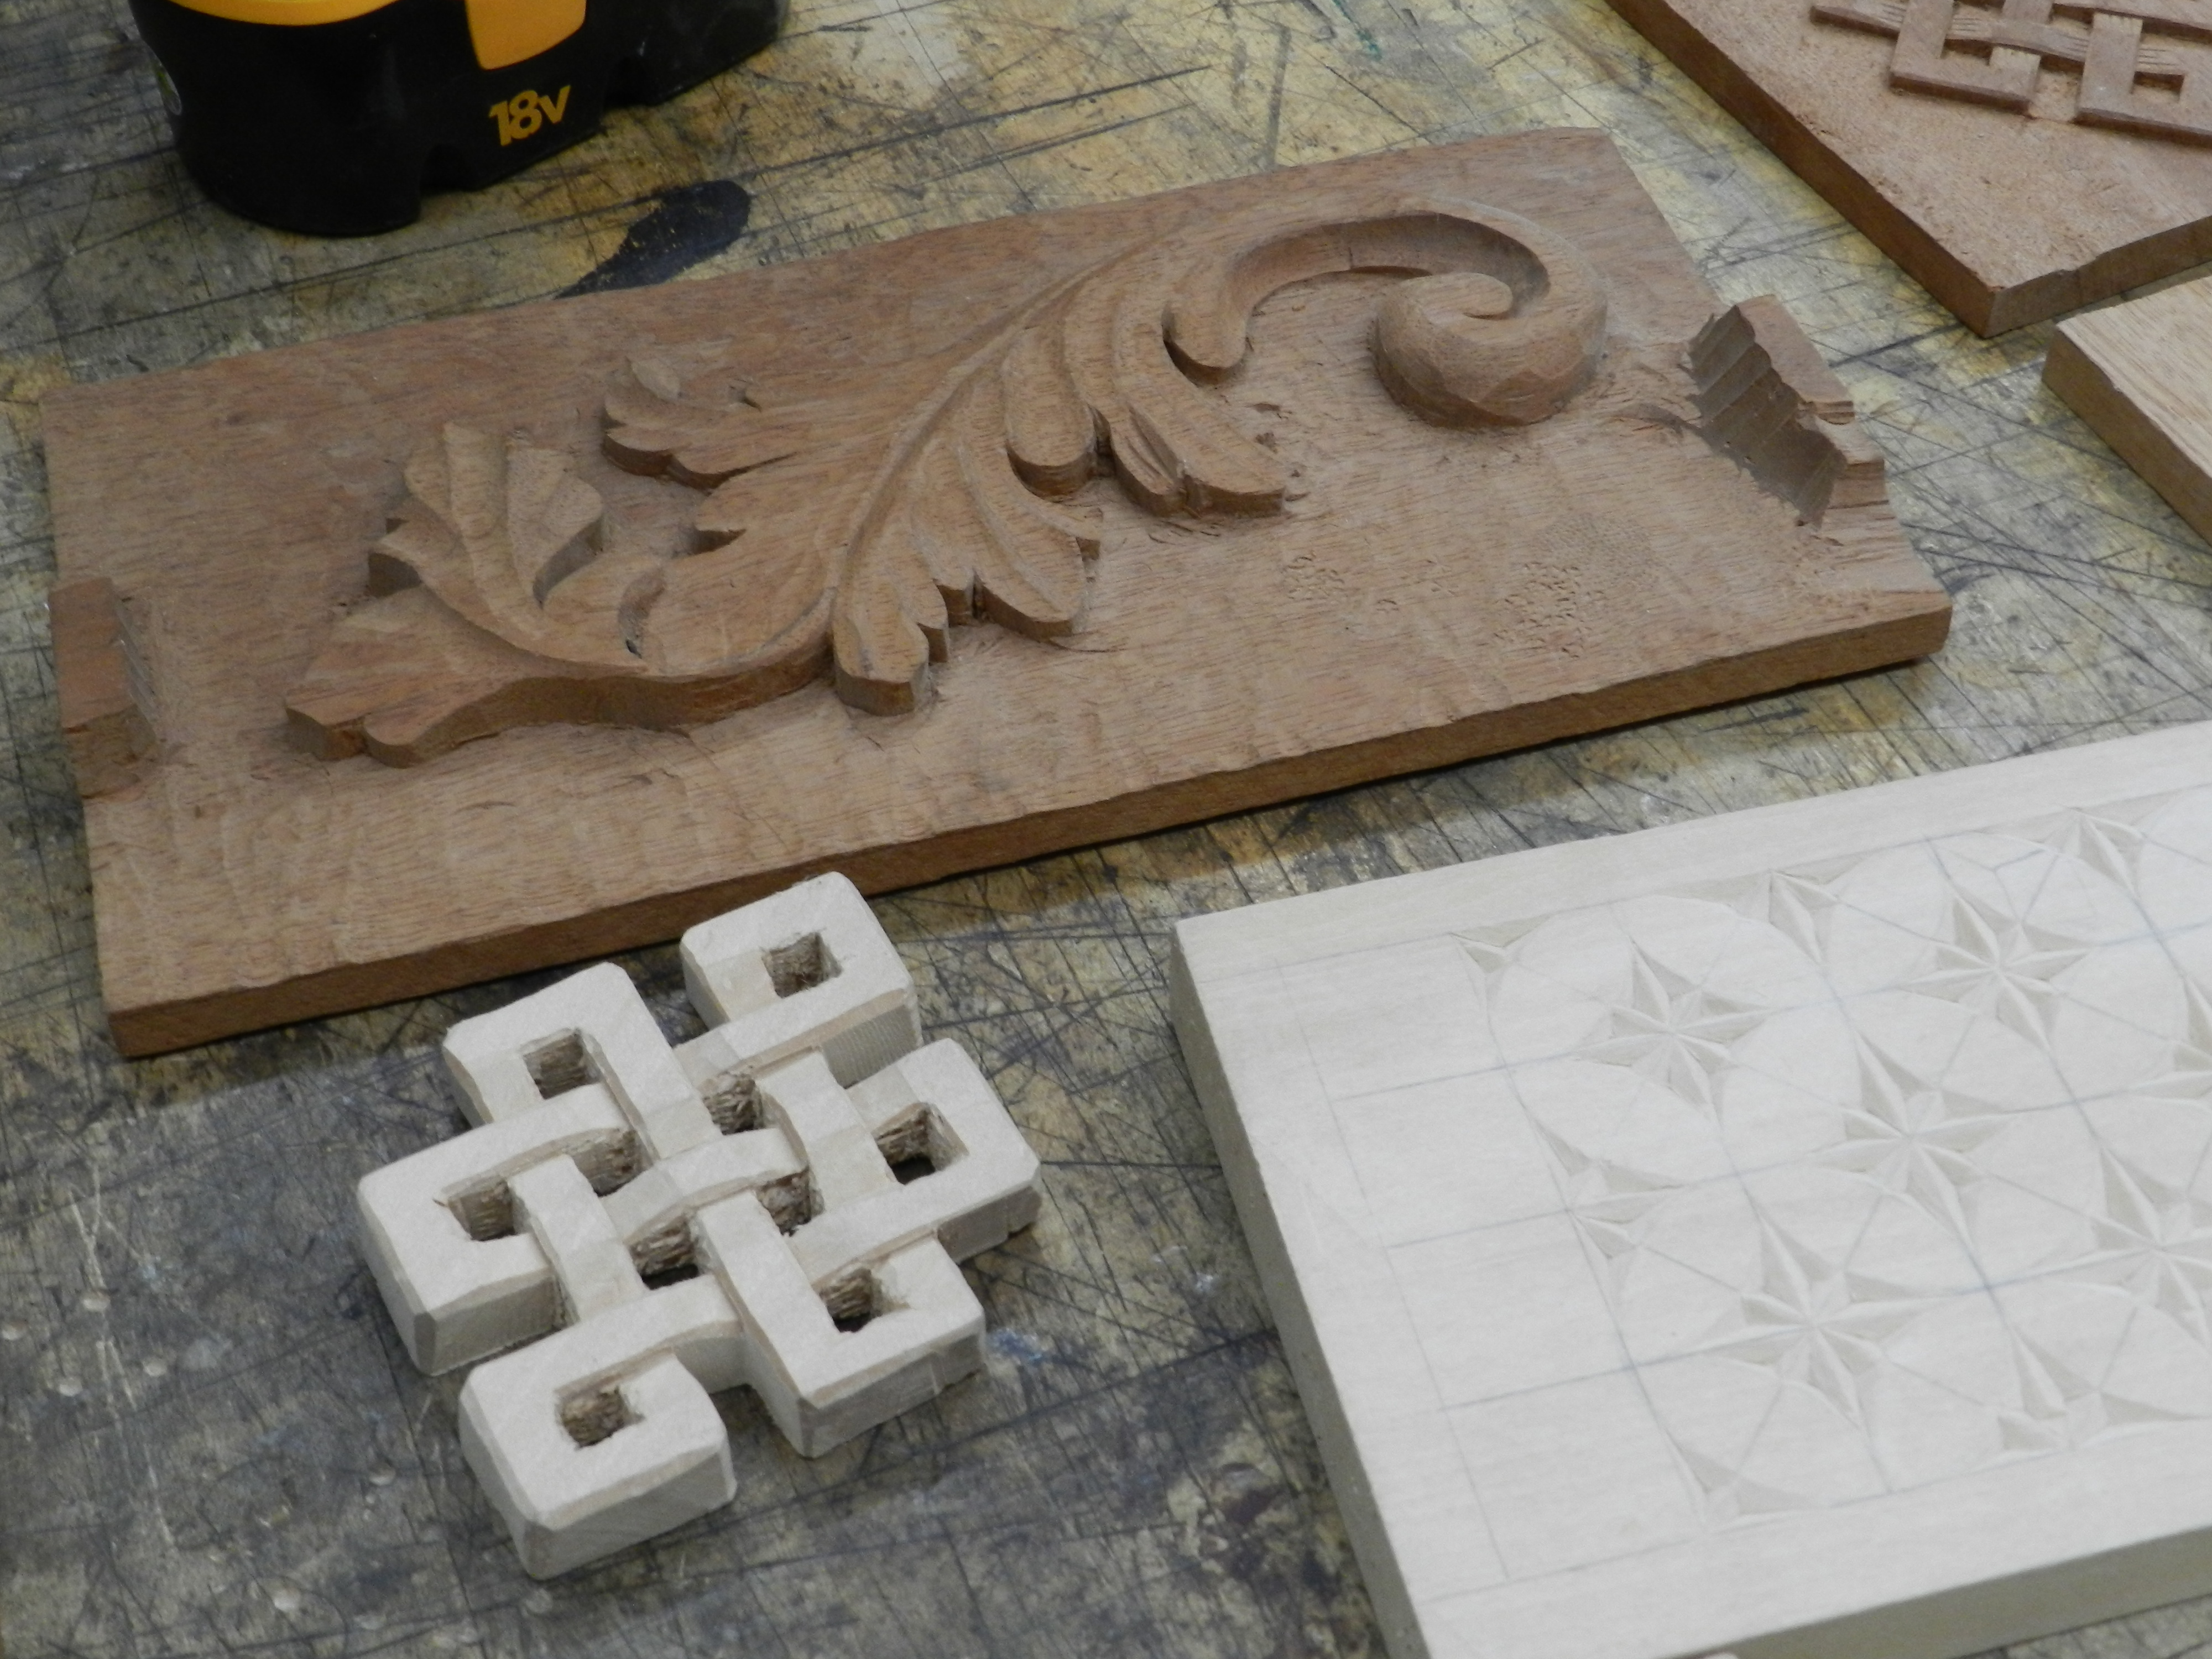
I love teaching as is allows me to share my passion for traditional woodworking.  This spring and summer I will be teaching several workshops I developed for the North Bennet Street School. If you have previously been a student in one of my courses and can share the information below with others who may be interested, I would very much appreciate the referral.

Introduction to Shutters @ The North Bennet Street School

Saturday, May 30

8:30 AM – 4:30 PM Register
Saturday & Sunday, May 30-31, 2015

Instructor: Bill Rainford $425 Learn about traditional wooden shutters in this two-day workshop. Using traditional joinery, students build a sample shutter and learn the skills to layout and build shutters for your house. Discussion includes interior and exterior uses, fielded panels and louvered styles Students should be able to plane and square up a board by hand and have some experience laying out and cutting traditional mortise and tenon joinery by hand. Some experience with tuned hand tools and power tools is required.

Group picture with some finished shutters

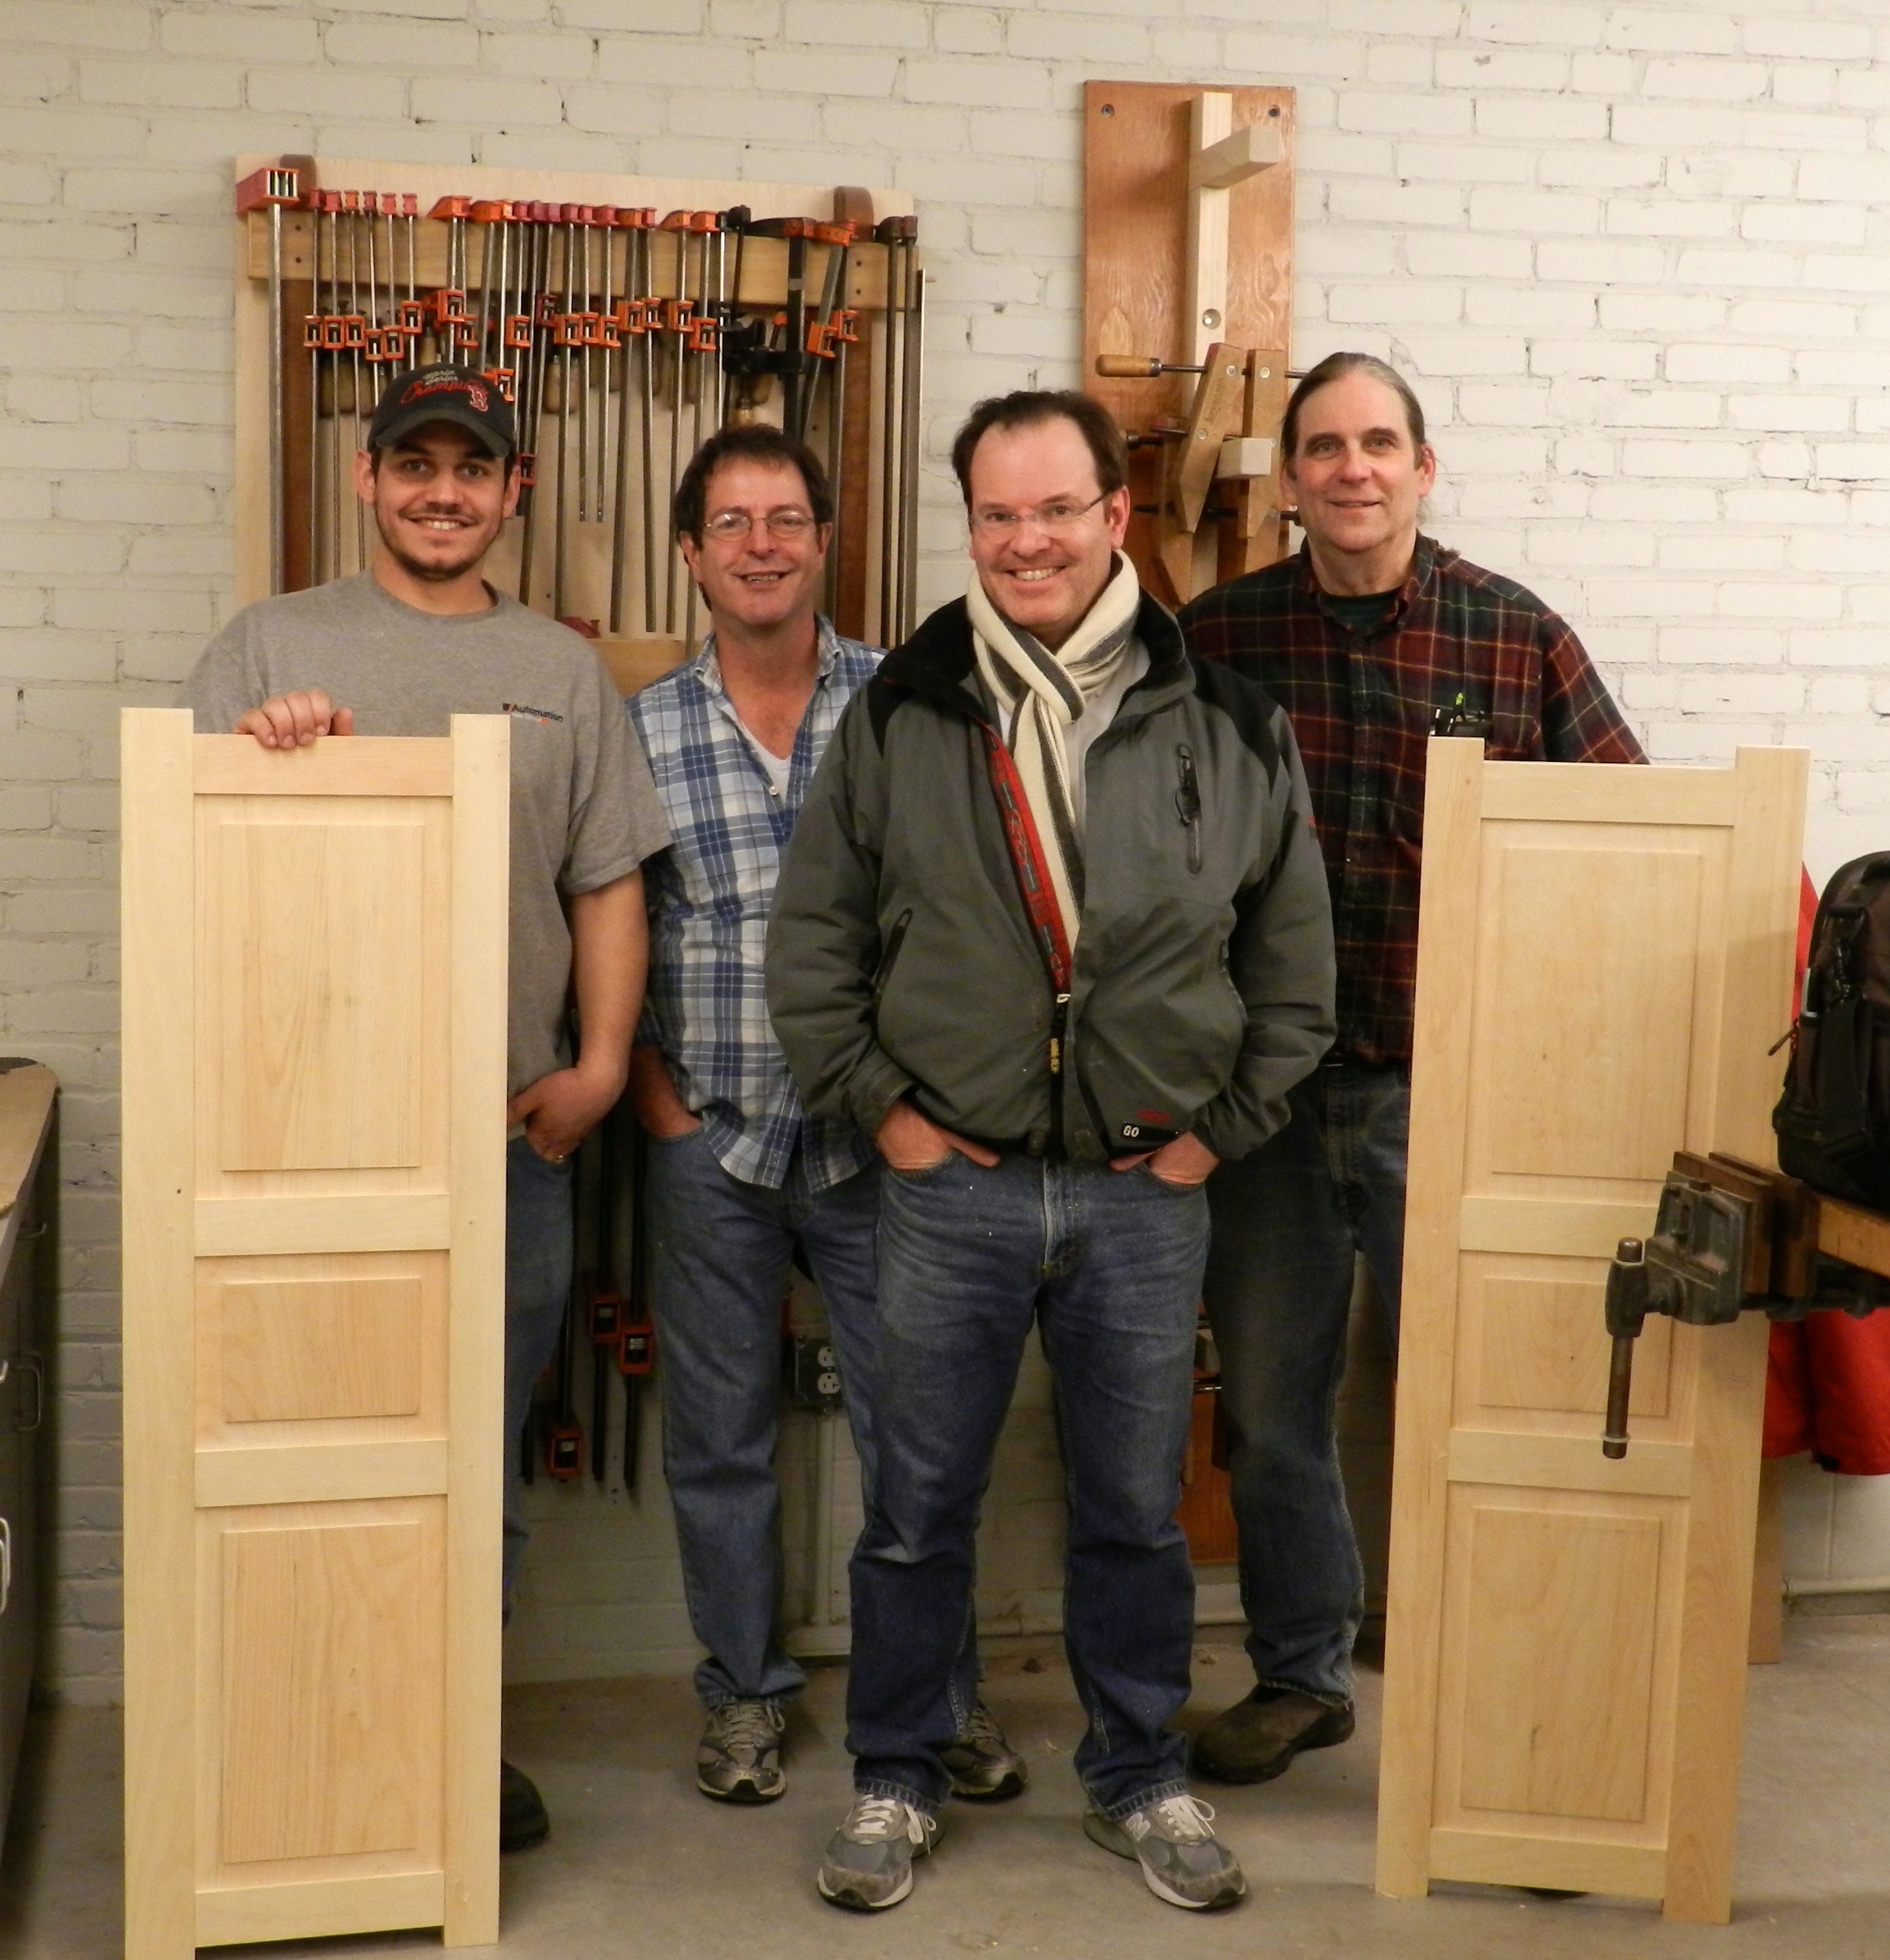
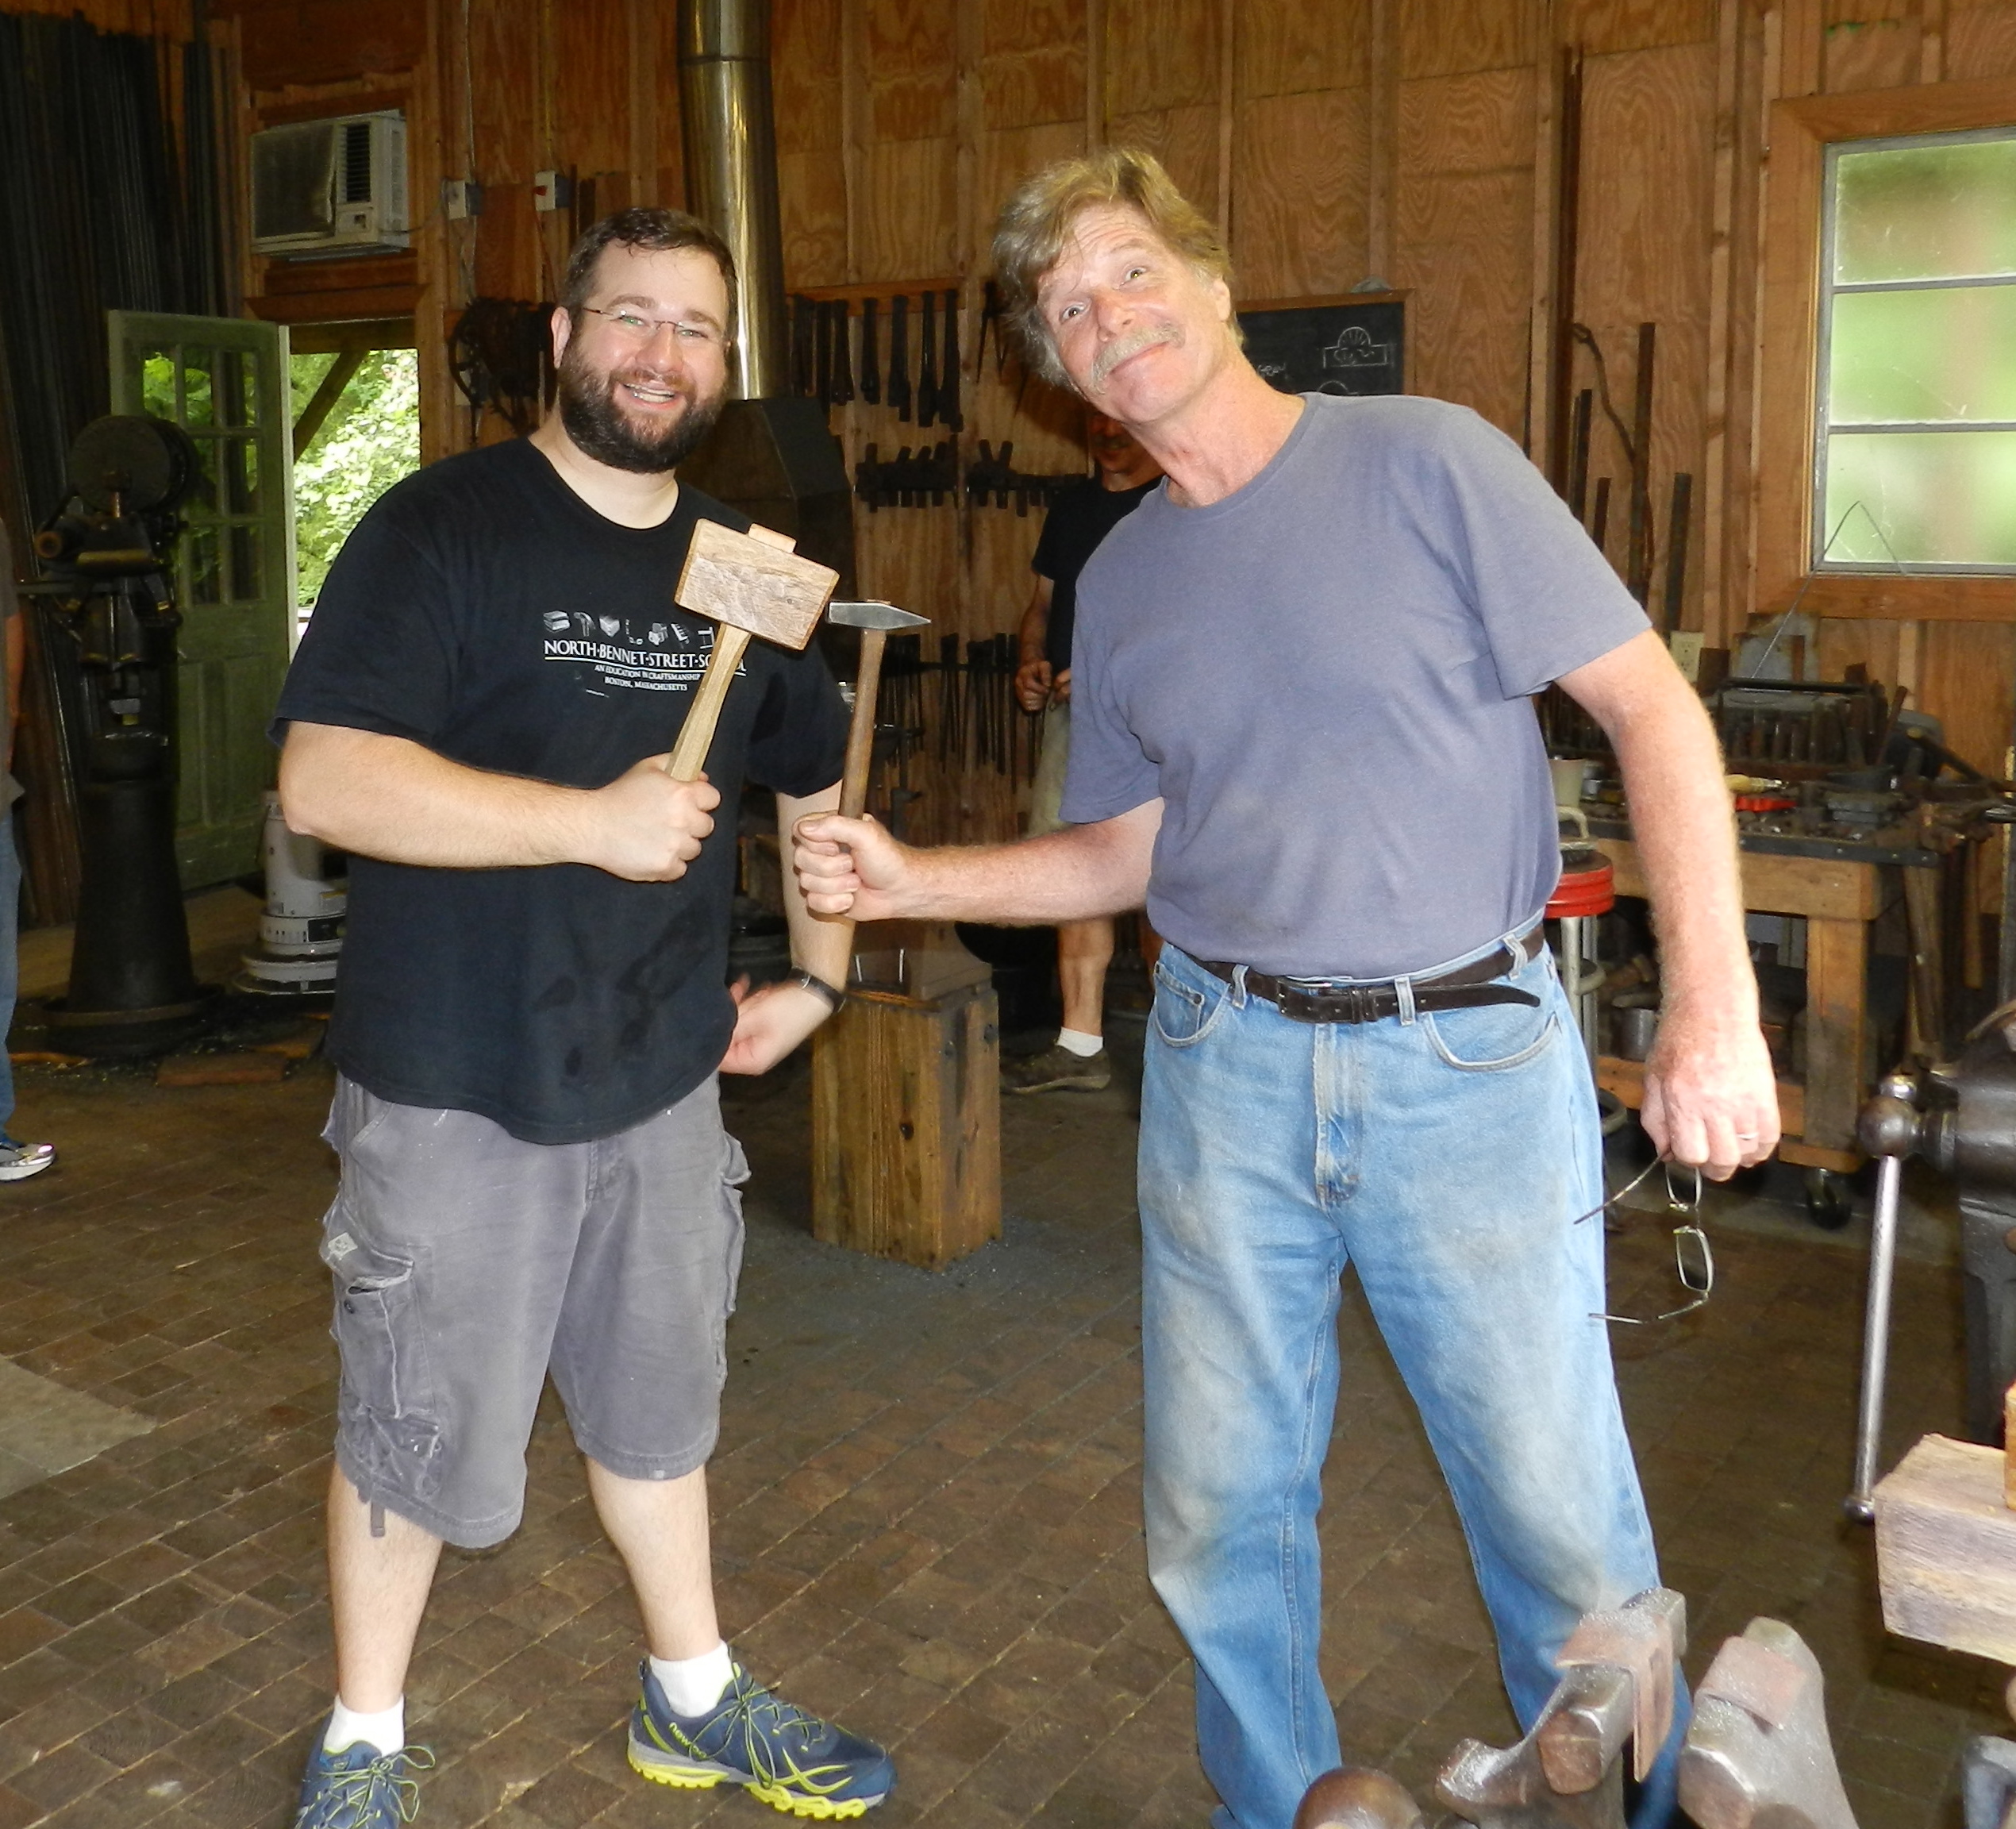
Bill Rainford is a graduate of the Preservation Carpentry program and many PC and CFM workshops. A long time woodworker, Bill currently works on commissioned pieces from his own workshop, site projects, and personalized instruction. More Shuttermaking Workshop Info From A Previous Running of the workshop can be found here.

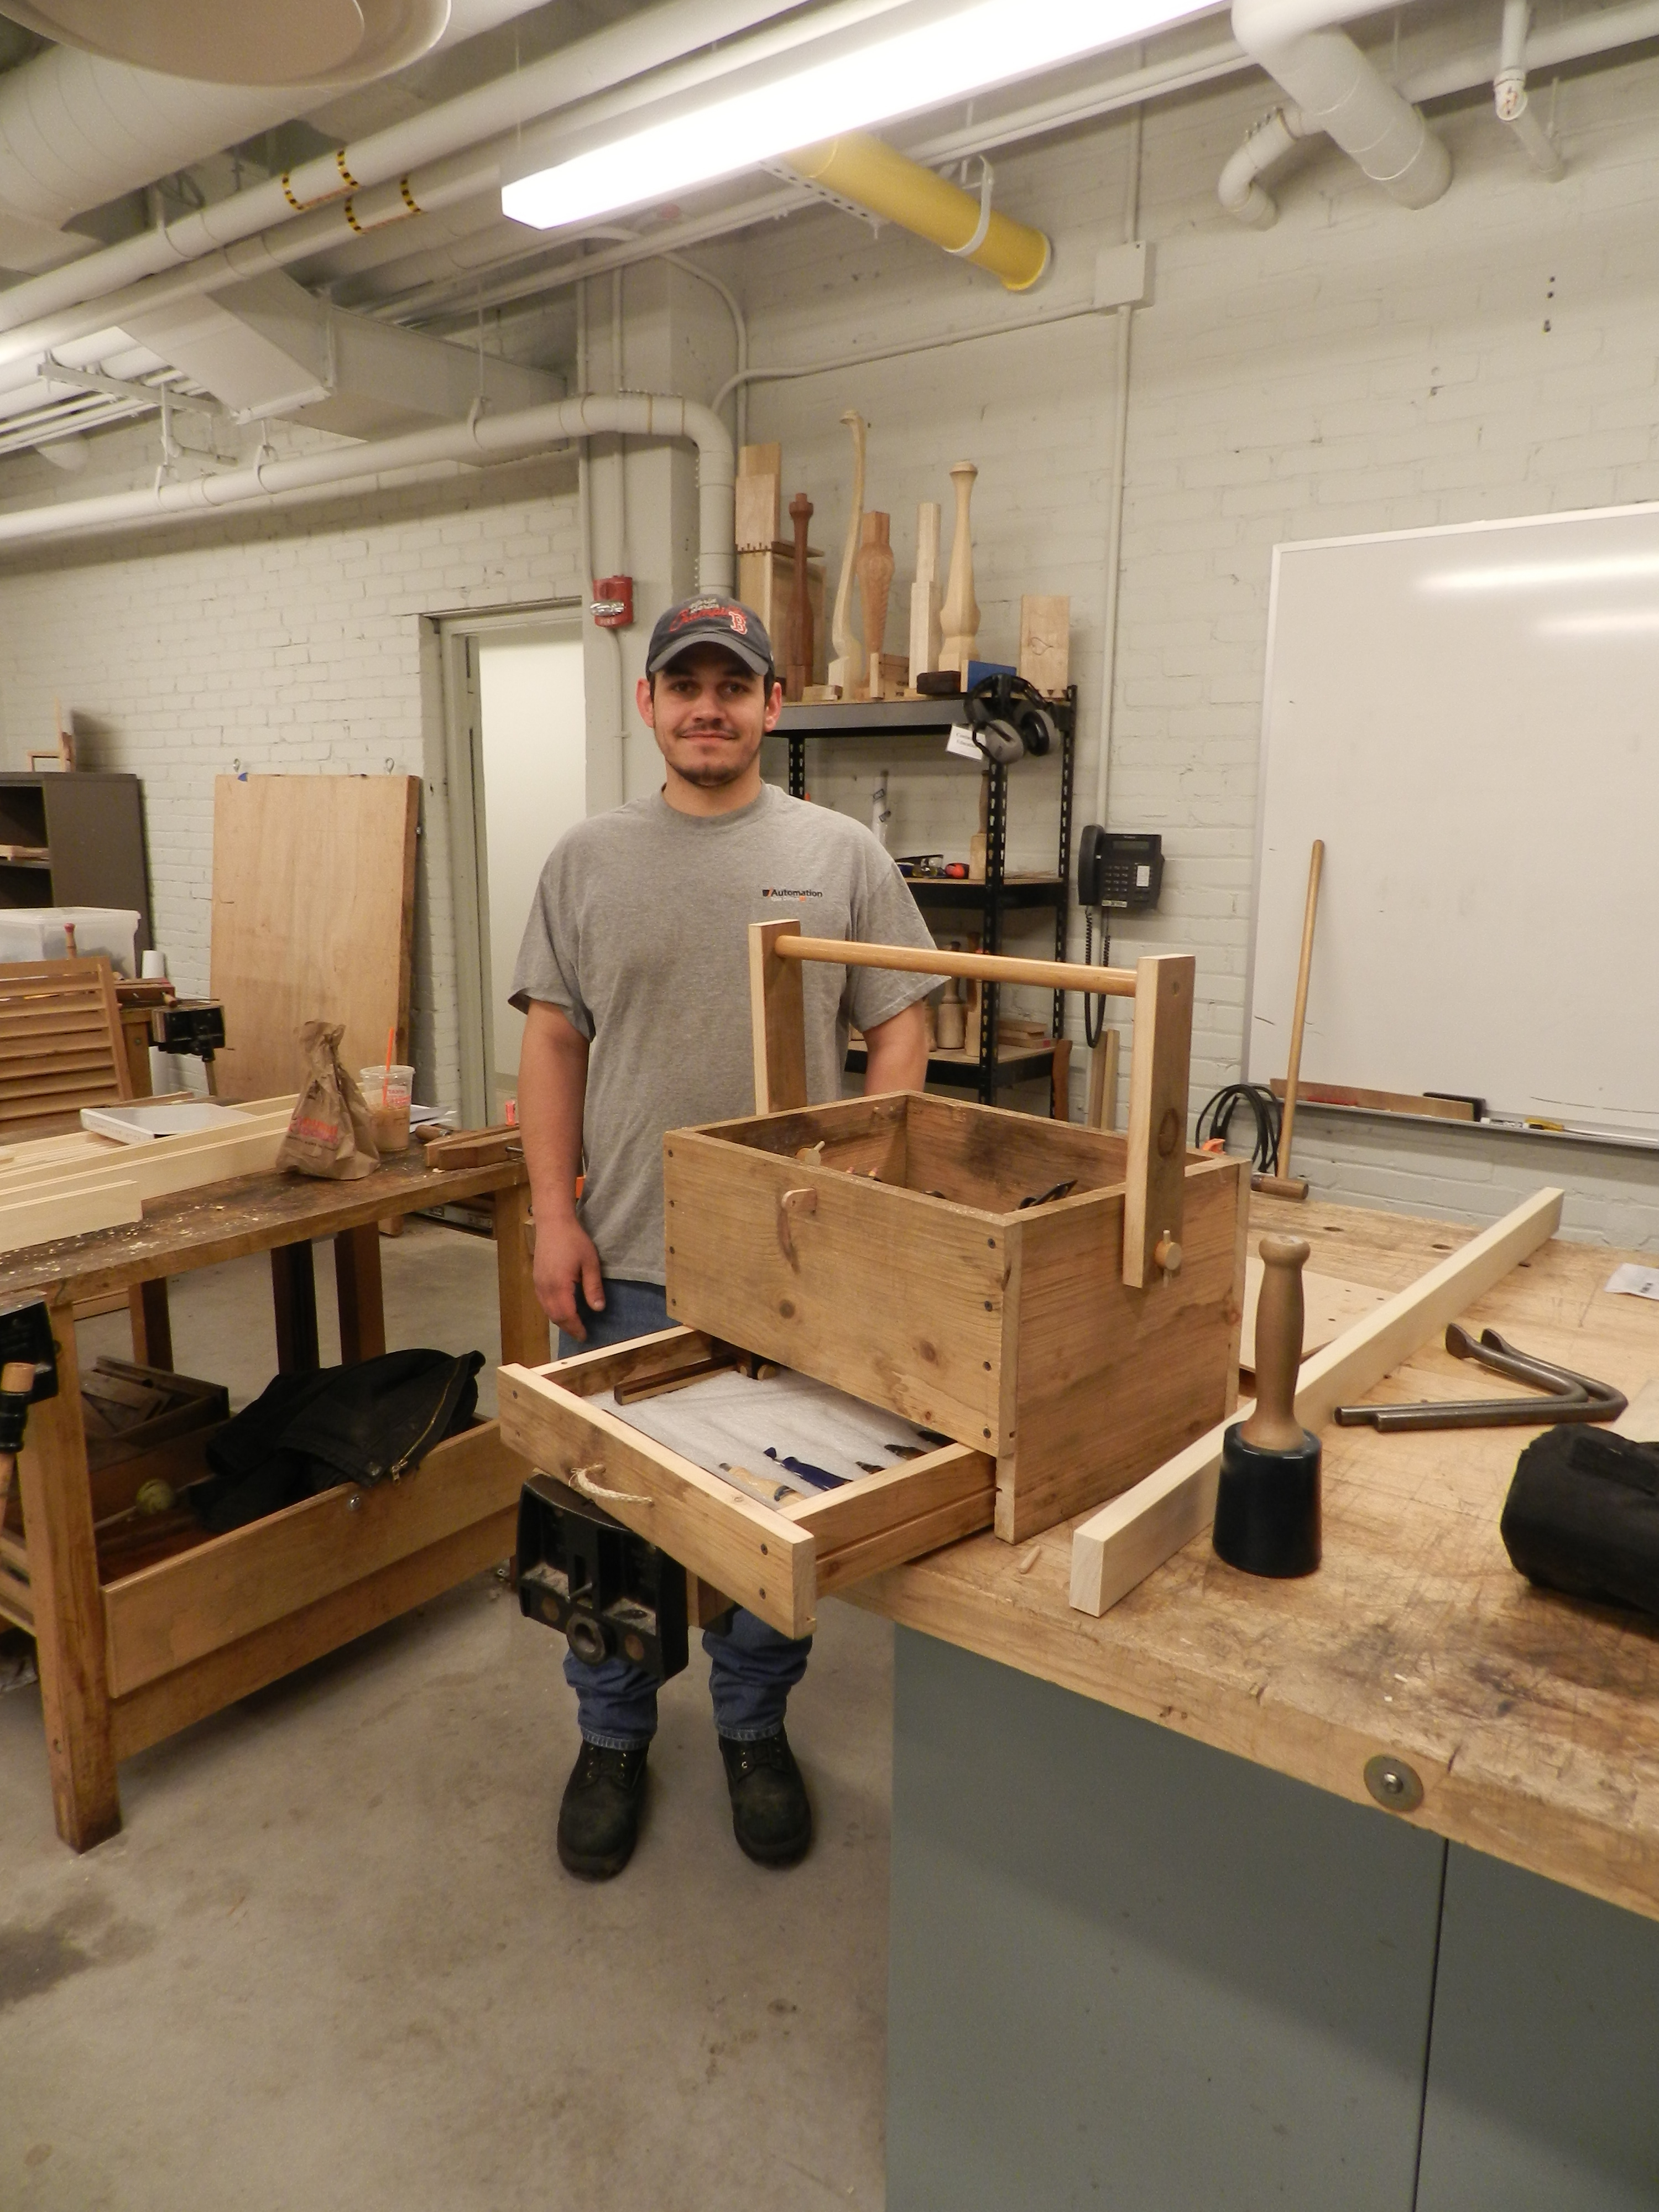
Sawhorse Workshop @ The North Bennet Street School

Boston, Massachusetts

Saturday & Sunday, June 6 – 7, 2015

8:30 AM – 4:30 PM Register

Instructor: Bill Rainford $400 Build a pair of heavy duty work-site saw horses and a pair of neatly joined nesting horses (or ‘Hurdles’) for using in the workshop. Learn various mortise-and-tenon joinery, trestle structures, hollow chisel and plunge router mortising, table saw tenoning, and laying out of splayed legs. If time allows, we also discuss additional fixtures/accessories. You’ll wonder how you ever worked without them.

Heavy Duty Saw Horses

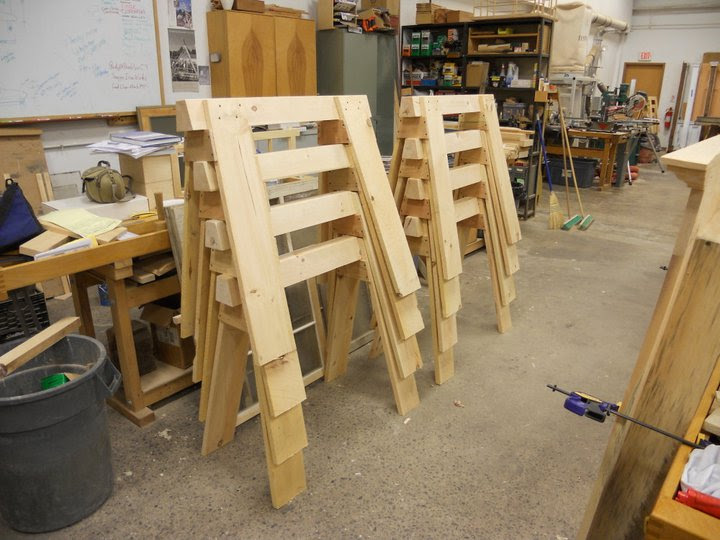
Prerequisites: Either Fundamentals of fine woodworking or Fundamentals of machine woodworking or equivalent experience.

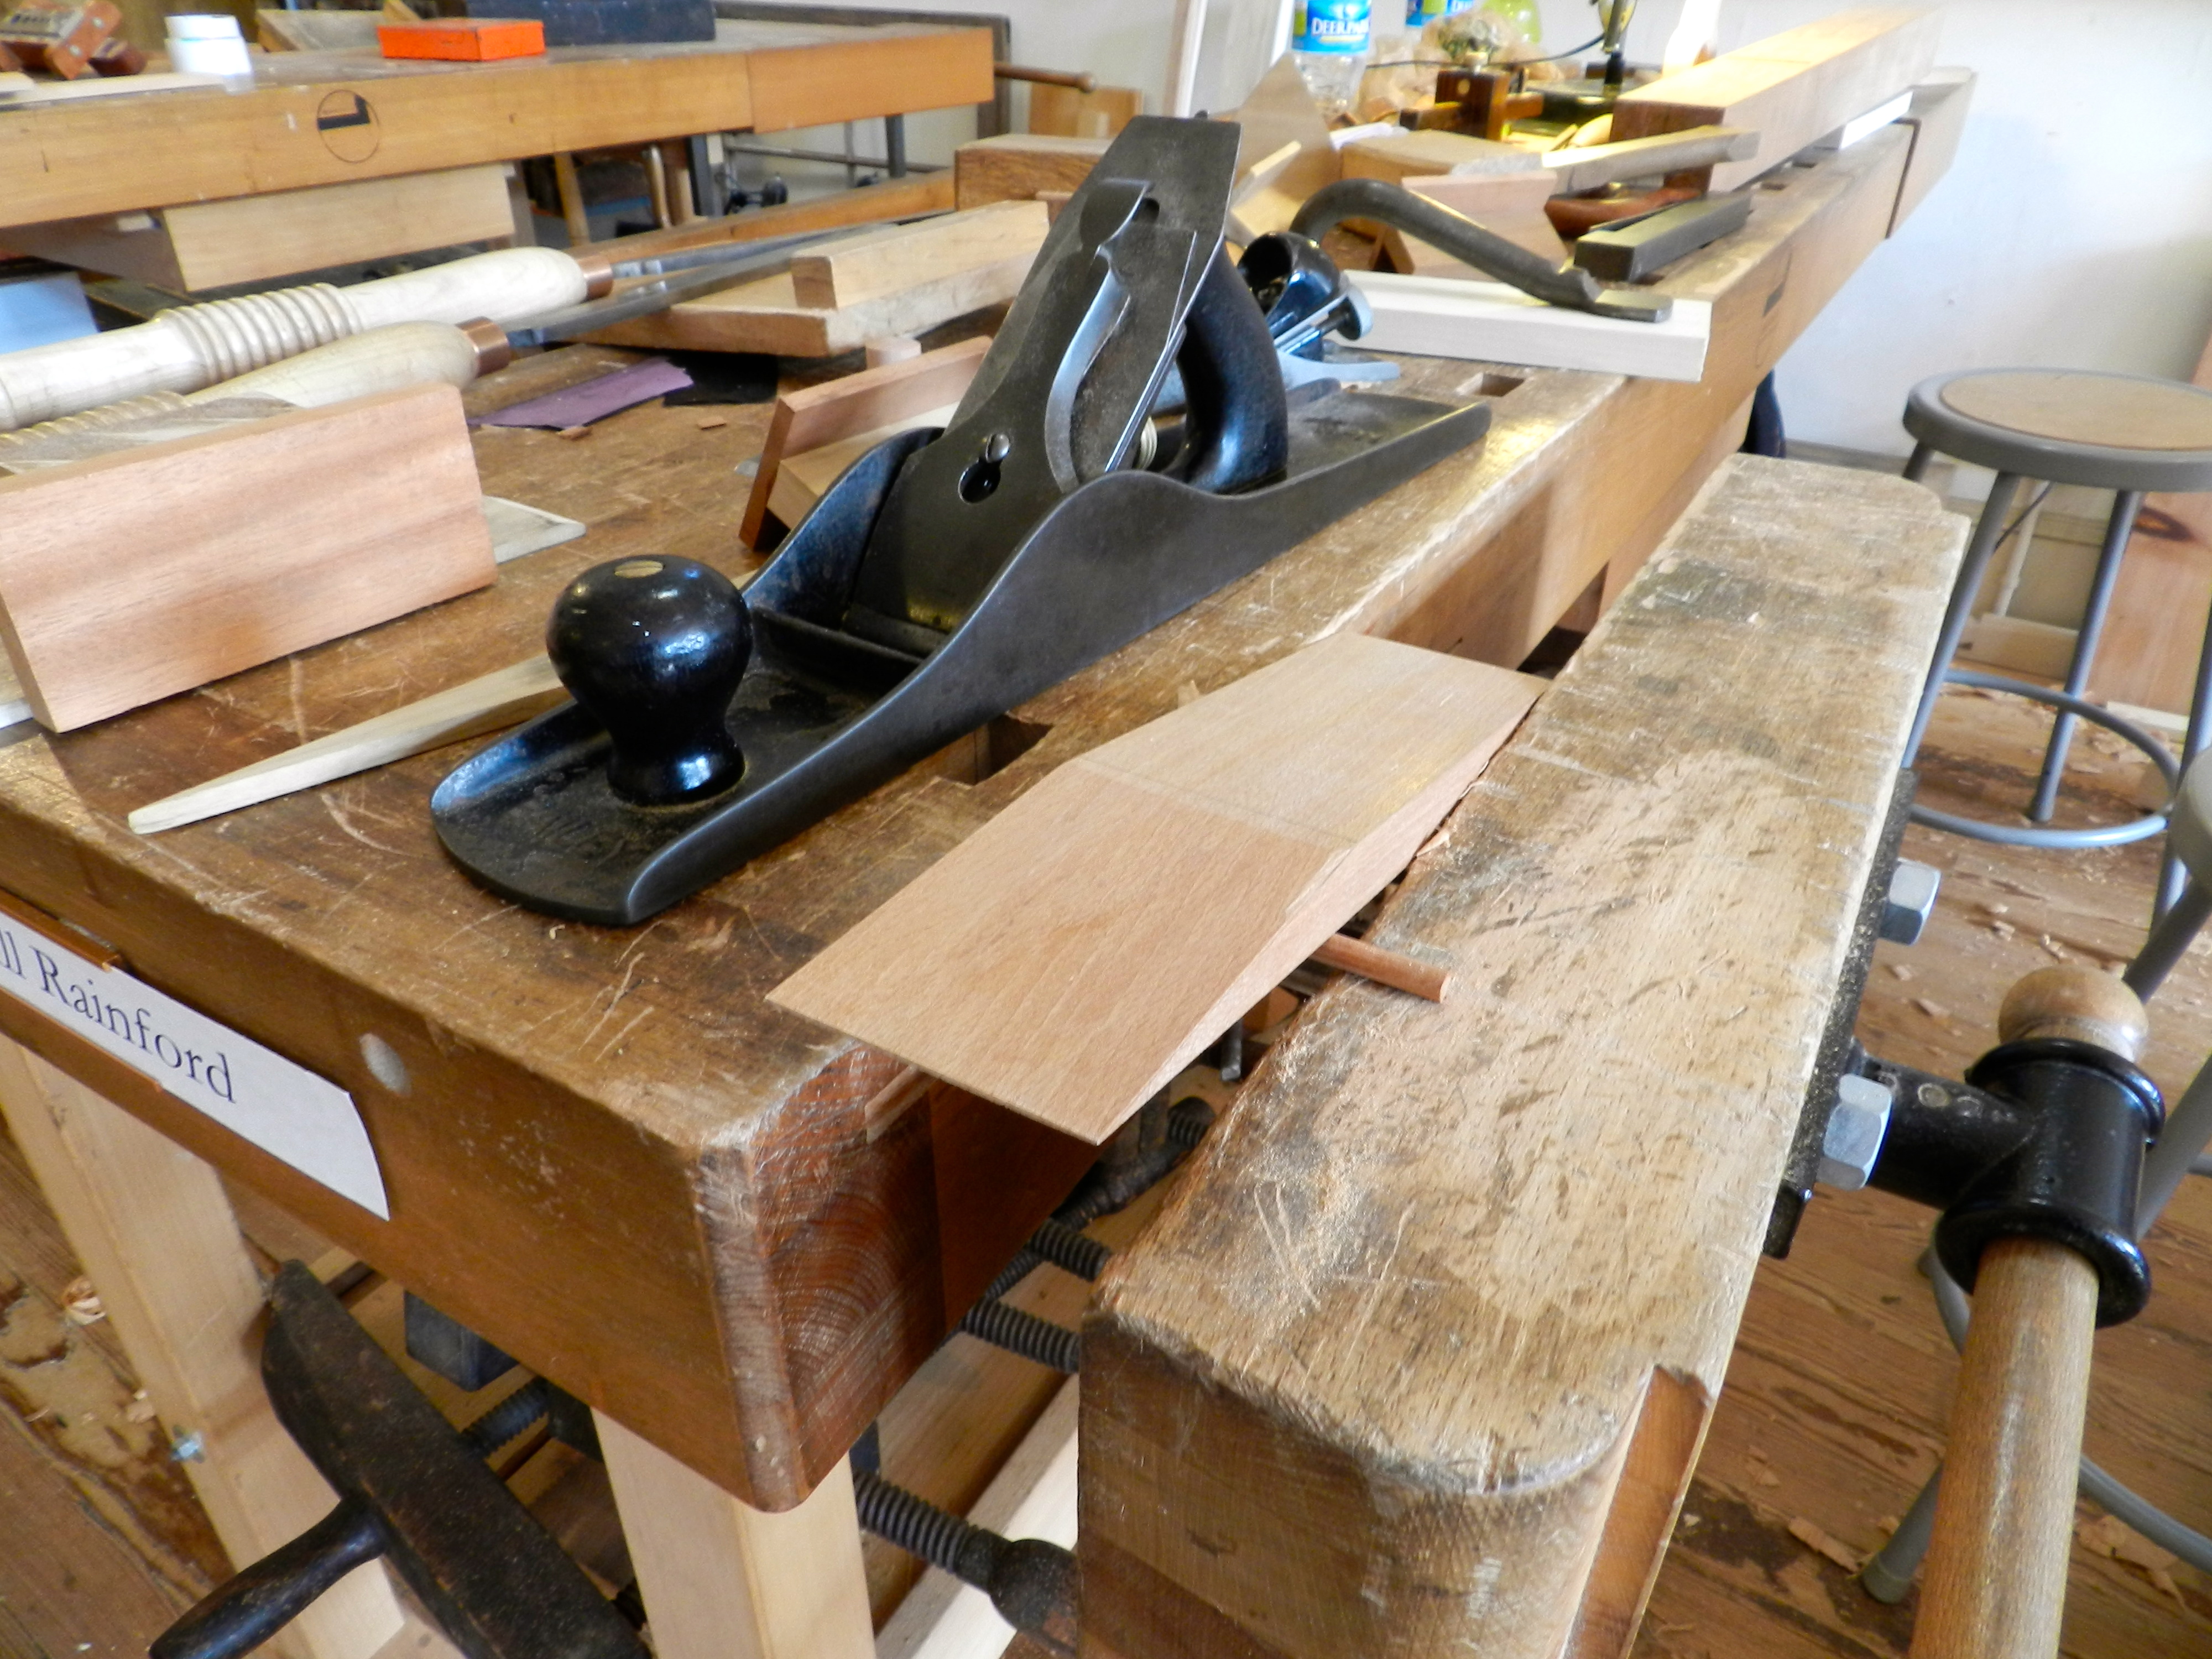
Window Sash Workshop @ The North Bennet Street School

Boston, Massachusetts

Saturday – Sunday, August 1-2,2015

8:30 AM – 4:30 PM Register

Instructor: Bill Rainford $425

Using some scraps to make a framed mirror for my wife
Sample Window Sash

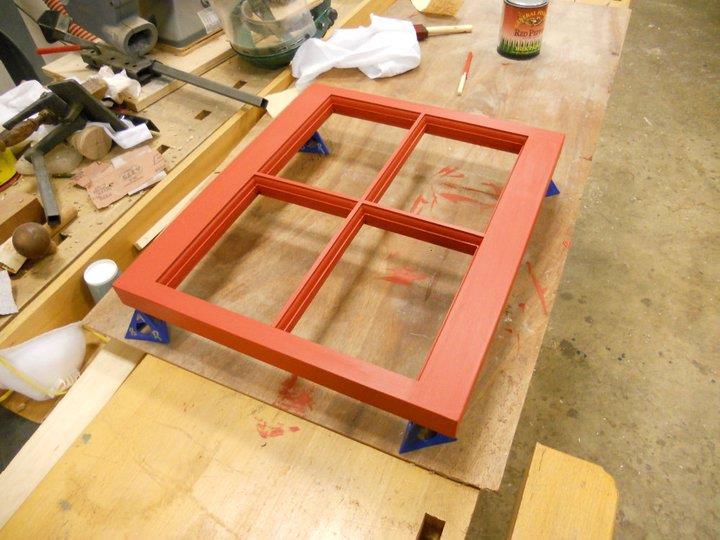
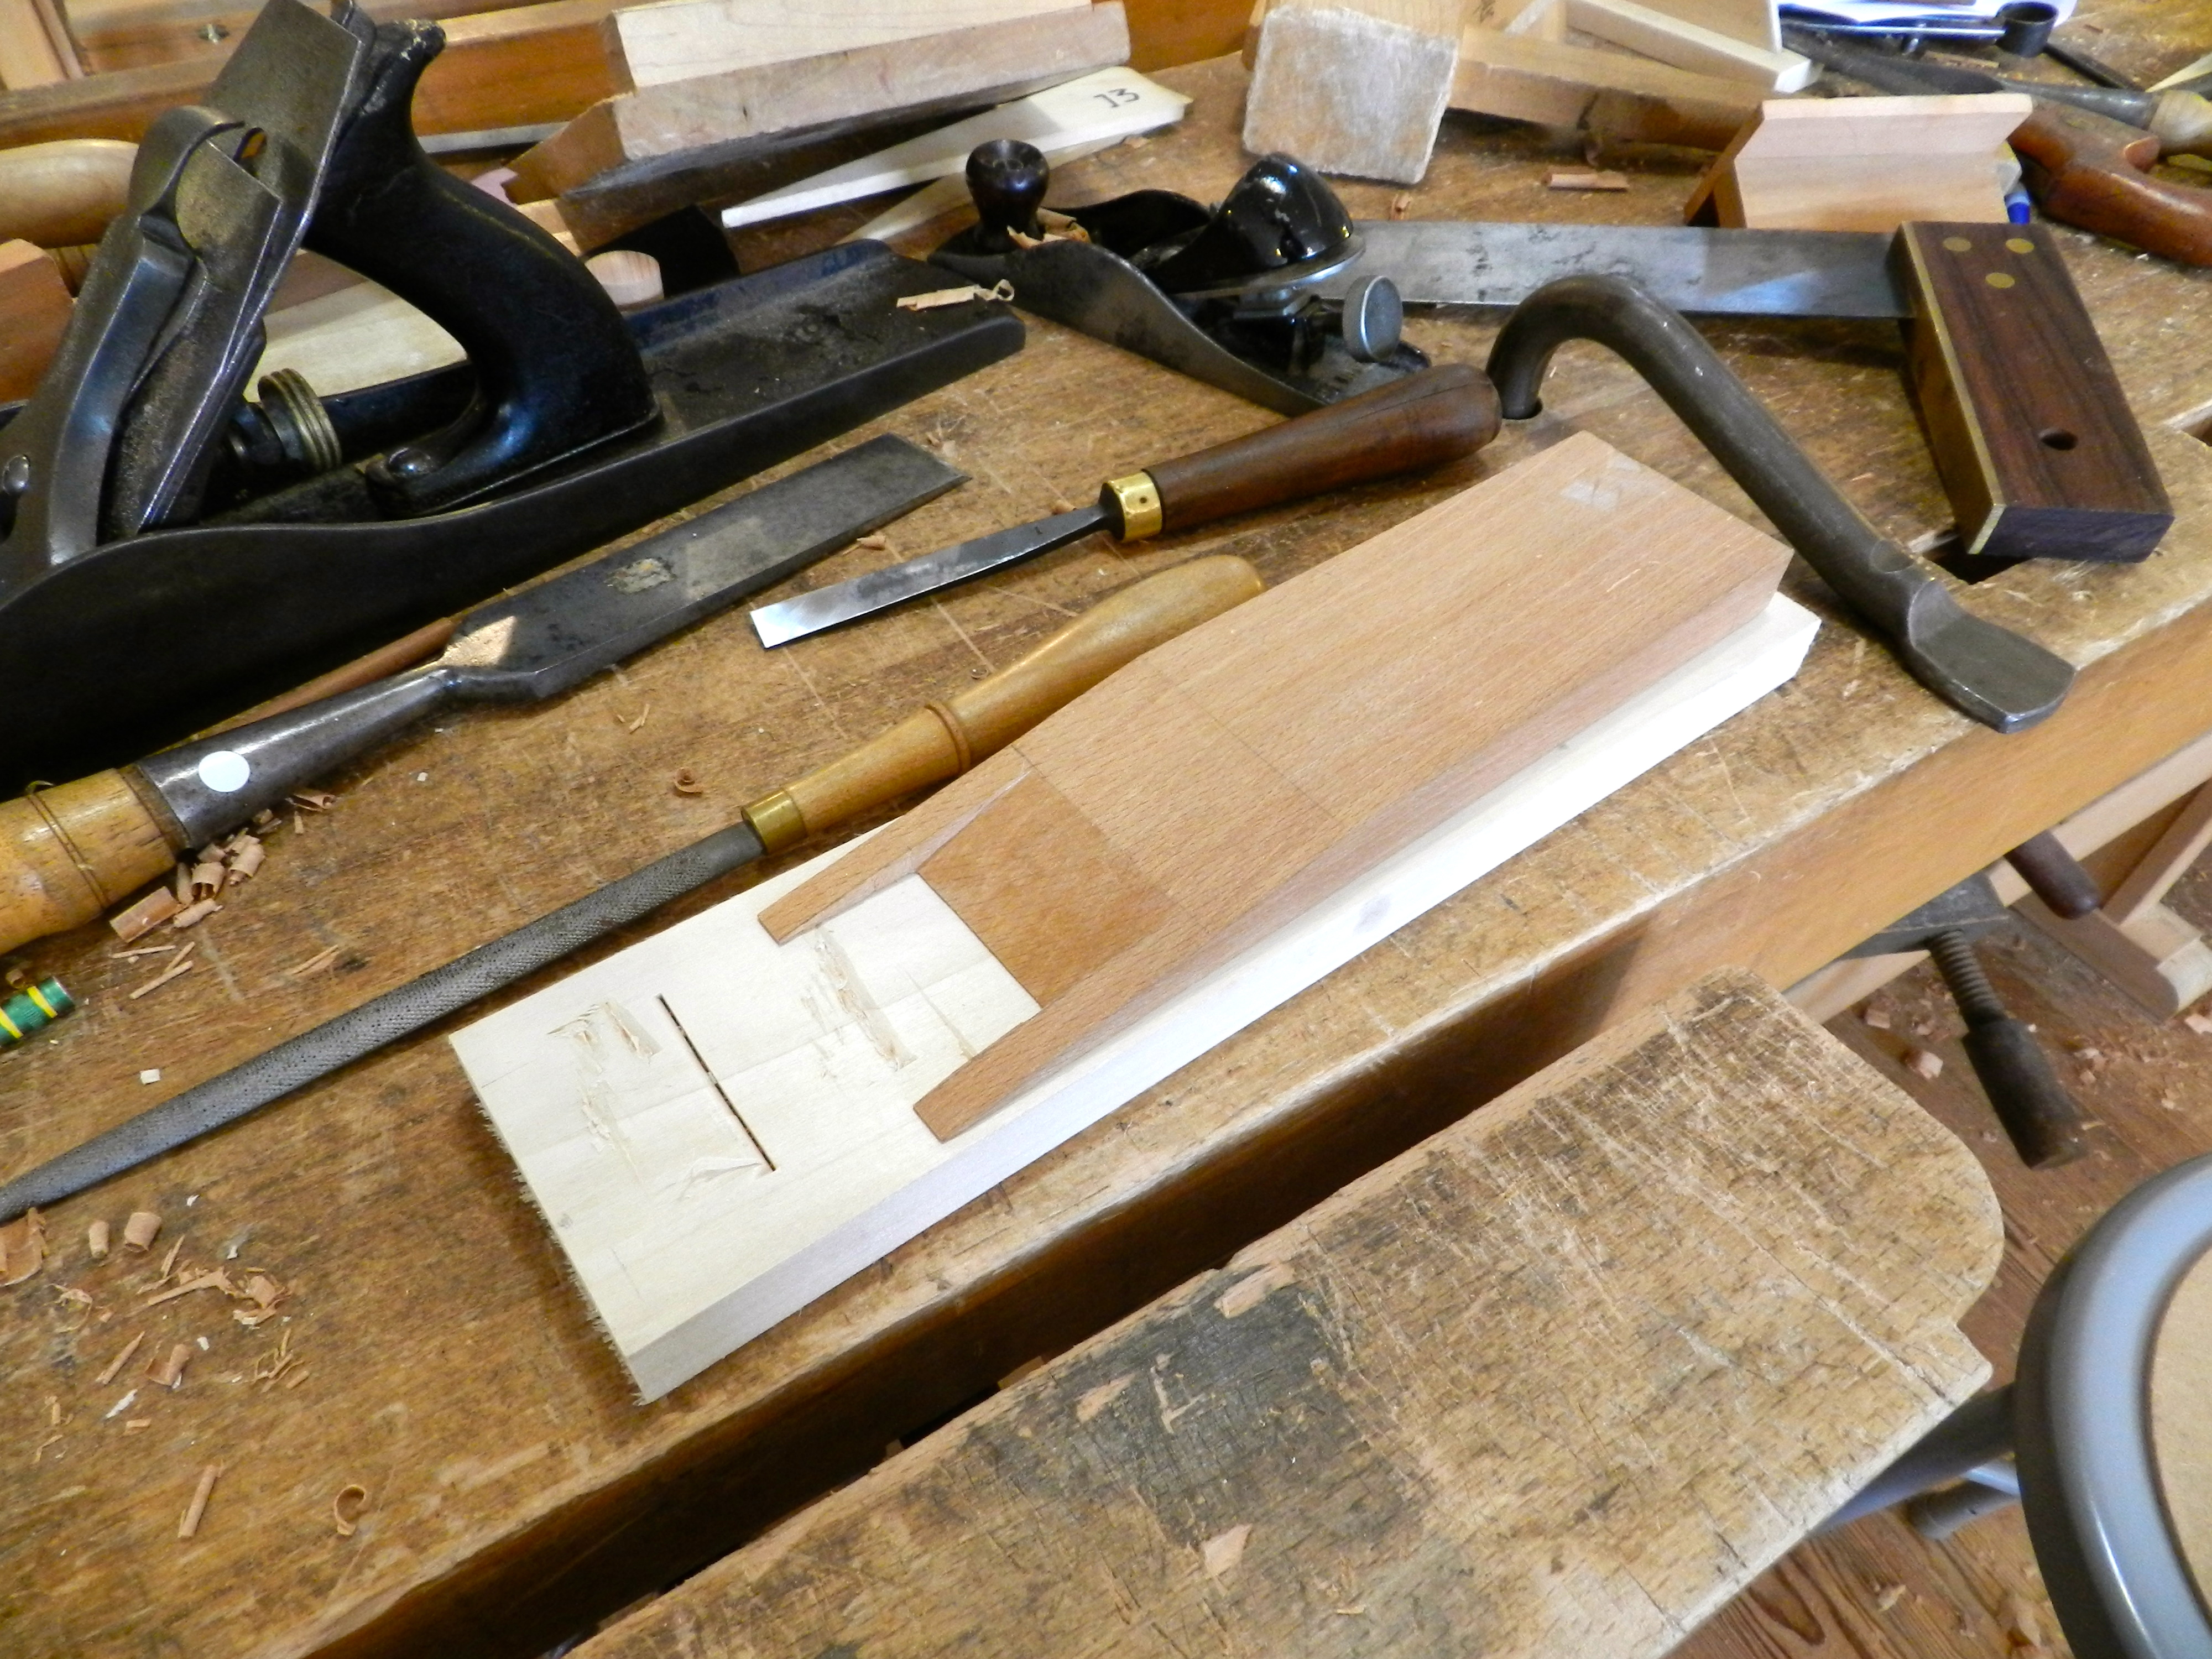
Learn the basics of building a traditional window sash. The sash you make can be used as a small window or a wall hanging. Skills learned include: milling muntin stock, layout from a story stick, mortise and tenon work, coping a profile, draw boring, making pins, cutting glass and the basics of glazing. If time allows, we discuss other styles and tips on fitting a sash to a frame. Prerequisites: Fundamentals of fine woodworking and Fundamentals of machine woodworking or equivalent experience.

Learn more about building a window sash here. As always my current teaching schedule can be found at the top of my blog on the page titled ‘Instruction‘. If there are other topics you want to see covered — either new workshops offered, or bring back a few I haven’t run in a while, please let me know. I look forward to seeing many of you in class. Take care,

-Bill

Making Brickbats and Fireplaces

Have you ever wanted to build your own fireplace and beehive oven? It’s not for everyone, but it is something I’ve wanted to tackle for a long time. I’ve talked to a few masons, read all the new and old masonry books I could find, but still didn’t feel comfortable building my own.  I could not find a good source that showed the end to end process. I also don’t want to end up burning my house down.

Completed Fireplace and Oven

To rectify this situation I figured I’d take a trip back in time. I just got back from spending a week at Historic Eastfield Village in Nassau NY (not far from Albany). If you’ve never been to Eastfield Village it’s a restored colonial village full of buildings and artifacts from the 18th and 19th century. What’s great about the village is that it is a hands on preservation laboratory where  you can stay for free in the tavern and live with all the antiques and artifacts that are normally behind glass in a museum setting. What’s the catch? Well you are living as they did in earlier times. There is no electricity or bathroom. You live by candlelight — make sure to bring white taper candles — and you can cook your meals in one of the many fireplaces and ovens. After a long day of working out in the village it was a lot of fun to have a meal in the tavern, have a drink and play some tavern games by candlelight. Some folks were carving wood, some we playing dominoes with Billy’s ‘Eastfield Rules’ and others were enjoying a good conversation with folks from another part of the country. Staying at Eastfield is always a memorable experience.

Tools Of The Masonry Trade

This 5 day class on building a traditional brick masonry fireplace and beehive oven was a special request from me and was filled with students and alumni from the North Bennet Street School’s Carpentry and Preservation Carpentry programs. We used all hand tools much as our forefathers would have used. Mortar mixed by hand with a hoe, bricks cut by hand with brick hammers — making some brickbats as we went, rubbing the face of a cut brick on a stone, setting and pointing with trowels and testing your work with levels. As I am predominantly a woodworker it was interesting to learn the skills required to tackle this project and as the week went on you could see the class pick up speed and some finesse. And I’m sure the next project we work on will be even better.

Group Shot of the Class

The class was taught by my friends Bill McMillen, his son John McMillen and Don Carpentier who is the founder of Eastfield Village — the village is set on his father’s ‘East Field’ and is Don’s long time home. Billy is also a master Tinsmith and preservationist having worked/taught/lead the preservation efforts at Old Richmond Town on Staten Island NY, taught at the Tinsmith Shop at Colonial Williamsburg and countless other venues. Don Carpentier moved and restored all the buildings in the village — an incredible undertaking and is also a well known historian and craftsmen having worked in wood, tinsmithing, blacksmithing and pottery. Don is also well known for his incredible Mochaware. John grew up around all this and is a skilled craftsman working in the NYC area.

If you’d like to see how we spent the week building these fireplaces, please check out the video below which walks you through the week at a high level (If you are reading my blog via email or some mobile phones you may have to click over to the actual post to watch the video):

You can also learn more about Eastfield Village’s current class schedule via their website here and the village in general via this nice video from Martha Stewart that you can watch here. If you can make the trip out to Eastfield Village for a class I highly encourage you to do so — it’s an experience you will never forget.

Take care,
-Bill

Jordan’s Toolbox

Some woodworking projects are for fun, some are skill builders, some are to keep the lights on and some are for necessity. As they say “necessity is the mother of invention.” When taking a woodworking workshop at the North Bennet Street School one of the challenges is often lugging all your tools to class. The school is set in the North End of Boston and most folks take public transportation to get to the school as parking in that area is expensive and in short supply. I’ve seen folks use bags, backpacks, plastic toolboxes, 5 gallon buckets, rolling carts, suitcases, you name it. I can still remember lugging big toolboxes on the subway when I was student.

This past weekend one of my students, Jordan Ruiz, showed up to my Introduction To Shutters Workshop with the toolbox you see below:

Closed toolbox with oak hasp

He designed it off the top of his head and made it mostly from a single pine board.

Open drawer
Open drawer

What I like about his utilitarian design is how he translated a lot of the traditional hardware needs into wooden or other natural equivalents. Note the oak hasp which is articulated and secured with wooden pins. A hemp rope drawer pull. Dowels to secure the moving wooden tote handle, sliding top secured by a captured dowel etc.

French fitted packing foam to keep the tools in place

I also like how Jordan used some packing foam to ‘French Fit’ all of the tools into his toolbox.

Jordan Ruiz with his toolbox

If he’s willing to do all that work to prepare for a workshop I can only imagine the dedication and creativity he’ll have at the job site. I think Jordan has a bright future ahead of him in the woodworking field. (He also made a very nice shutter as seen in the previous post)

Take care,
-Bill

A Good Shutter Can Be Hard To Find

You don’t often see a good working pair of shutters on a newly constructed home. Most times you see a pre-fab set of vinyl shutters screwed on to the side of a house or no shutters at all. The vinyl shutters usually have no hardware and often are not properly sized for the windows they are adjacent to. I want to reverse that trend and make sure at least a few folks know how to make a traditional wooden shutter.

Shop plans for my Shutters Workshop

I designed and taught an Introduction to Shutters Workshop at the North Bennet Street School this past weekend which was a lot of fun. Beyond my usual hand drawn plans I also modeled this project in SketchUp. (You can read more about that effort here).

The class hard at work

In the class students learned how to make a shutter using traditional hand tools and via power equipment. They were able to weigh the pros and cons of each against their skill sets and use what was most appropriate to their project. (Some folks will be repairing a few shutters, others will be making enough for an entire home)

Making octagonal pins

After building the frames, cutting all the mortises and tenons, and fielding the panels, everyone learned about traditional draw-boring. By making and using tapered octagonal pins and driving them through the offset hole drilled into the tenon, the joint is drawn together. This joint uses no glue, is quite strong and can be serviced in the future if a rotten piece needs to be replaced.

John finishing up his shutter

We also discussed many design options, regional variations and examined several examples we had on hand. It was a busy two days, but I’m hopeful that we’ll see some proper new shutters start popping up in the area.

Group picture with some finished shutters

Take care,
-Bill

P.S. I have several more workshops coming up at NBSS over the next 3 months if you are interested in joining me — there are still a few seats available. Up next is Traditional Molding with wooden Molding Planes in April, Saw Horses and Saw Hurdles in May, and Making a Window Sash in June.  You can learn more about each of them here.

Making a Jointer Plane with Willard ‘Bill’ Anderson — Part 2

When last we left our plane-making heroes they were in the process of making a traditional single iron jointer plane with my friend Bill Anderson at the Woodwright’s School.

Bill demonstrating with a great bench plan cross section model
Bill demonstrating with a great bench plane cross section model

Bill had a great cross section model of how this sort of bench plane works — made by one of his students. With the body of the plane taking shape, next up was tuning the mouth opening and the abutments. If the mouth is too wide or too large the plane may not cut cleanly so you need to carefully fit the iron to the opening. If the abutment is not carefully placed when you re-flatten the sole of the plane you’d also be opening the mouth more. You also need to take care flatten the face of the bed that supports the iron — if there are high points the iron can pivot on those and make it tough to use the plane. One of the many testing/fitting gauges Bill had was a ‘bed testing gauge’ which looks and works much like a pair of ‘pants’ we use in timber framing to test out the thickness of a tenon, except in this case you are using it to check the thickness of the cheeks and how close your bedline is getting to the line scribed on the side the plane body.

Planing the wedge
Planing the wedge

With the mouth and throat all set, next up was making the wedge to hold the iron in place. The wedge needs to be carefully planed to fit the abutments inside of your plane and tightly hold the iron in place. Again here you are using an abutment gauge (wooden wedge of a known profile in degrees) to test your work as you go.  With all the gauges and specialized tools you can quickly see why plane-making was its own dedicated craft specialty.

Shaped and fitted wedge

The wedge is further relieved so that the shavings can clearly escape the plane body.

Templates, gauge blocks and pants
Templates, bed gauges blocks and pants

Above you can see some of the many gauges used in laying out and testing parts of your plane, along with templates for the handles.

Starting to shape the handle

The handle is first cut out from a rough blank and then carefully shaped by hand to have flowing, graceful lines similar to that of a quality hand saw. The result is a handle that fits the hand so well it, the whole plane feels like an extension of your body.

Auriou rasps used to shape the handle -- they were a pleasure to use
Auriou rasps used to shape the handle — they were a pleasure to use

Various rasps, files and sandpaper are used to shape the handle. Using crisp hand stitched Auriou rasps made quick work of shaping the handles.

Finished handle
Finished handle

Above is the handle after a bit of light sanding.

A finished Jointer Plane

Shown here you can see Bill’s finished/sample plane which is based on an historical example.  I’ll post the final shots of my own plane when I finish it soon in my shop.

Rear 3/4 view of the completed sample plane

At the end of the workshop one of the most important tasks was to make sure you plane can take a nice shaving. I’m happy to report that I was able to get a nice full width shaving with my mostly completed plane. (I need to finish setting the handle, trim the edges, apply some finish and use my maker’s name stamp and it will be ready for regular use in the shop).

Making the first shaving with a new plane...
Making the first shaving with a new plane…

In an upcoming post I will complete this series with how I finished off the plane. Stay tuned…

In the meantime, if you’d like to learn more about Bill Anderson or take a class with him, and I highly encourage you to do so, please check out his website here.

-Bill

P.S. You can see the first post on making this jointer plane here.

The Historic Trades at Old Salem

This summer I had the chance to take a week long road trip and travel around to a lot of historic sites in Virginia and North Carolina. One of my favorite stops along the way was my visit to Old Salem Museums and Gardens in Winston-Salem NC.

Interpreters in the Joiner's workshop inside the Single Brother's House Shop
Interpreters in the Joiner’s workshop inside the Single Brother’s House Shop

I first learned about Old Salem while having dinner with Thomas Jefferson at Colonial Williamsburg. (No joke).

Window sash, drill bits, and chisel rack

I also heard good things about it from Glen Huey’s book ‘Furniture in the Southern Style’ which draws upon some pieces from MESDA (The Museum of Southern Decorative Arts)

Carving over a bench hook

During our visit, my wife and I had a great time exploring the historic area and visiting the many shops and buildings.

Great traditional bench -- note how the shoulder vise is cantilevered out and there is a set of dog holes in the skirt as well.
Great traditional bench — note how the shoulder vise is cantilevered out and there is a set of dog holes in the skirt as well.

As always, the most exciting part for me was visiting with all the craftspeople who work in the various historic trades.

Full chisel rack
Full chisel rack

In the Single Brother’s House there were a series of workshops housing various trades that were vital to the community.

Molding planes
Molding planes

I felt right at home in the Joiner’s shop and if my wife would have let me I would have spent my day at the workbench talking to people….

Joiner's bench with angled legs and wedged tenons
Joiner’s bench with angled legs and wedged tenons

The workshop had a great assortment of jigs, fixtures, tools and unusual benches. Look at the great wedged tenons on the bench above. (Also check out the floating shoulder vise and skirt board with dog holes on the bench further up. Looks like they did not see as much use, but an interesting idea)

The shoemaker plying his craft -- in this case making a leather bucket.
The shoemaker plying his craft — in this case making a leather bucket.

The single brother’s house was where young men of a certain age could learn the craft and ply their trade before they got married and moved on to their own homes. In the shoemaker’s shop we had a great chat with a shoemaker who was making a leather bucket which was one of the many other wares a shoemaker would make for the town.

Some wares made by the Potter in his shop

In the potter’s workshop you could see on display a wide variety of earthenware dishes, cups, and other ceramic objects. Most interesting to me were the ceramic tile shingles which you can see in the restored village.

Other trades on display were the gunsmith, apothecary, tailor, tinsmith and gardeners.

If you’d like to learn more about the craftsmen and women who work in the historic trades at Old Salem you can read more here.

If you are ever in the Winston-Salem area I highly recommend visiting Old Salem and checking out the workshops.

Making Your Mark — Name Stamps with Peter Ross

How do you mark your wooden tools ?

Carve your name into it? No.
Burn your name into it with a branding iron? Meh.
Sharpie? That’s so ’90s.
If you really want to be a traditional woodworker you’ll want to use a hand made metal name-stamp. I’ve seen some of these stamps over the years in tool sales, but never found my name or initials, so I figured it was time to take matters into my own hands. This past week I had the opportunity to take a workshop at the Woodwright’s School making a metal name-stamp. I had a great time during the class and will cover some of the highlights here:

Master Blacksmith Peter Ross at the forge

The class is held in the forge/workshop of Master Blacksmith Peter Ross who was the long time master of the blacksmith shop at Colonial Williamsburg. Pete is a friendly person and a great instructor.

In the afternoon Roy came by to visit. (Bill Rainford with Roy Underhill)

During the afternoon we were visited by Roy Underhill who came by to make sure we weren’t making counterfeit Nikes or anything illegal. 😉  It was great to chat with Roy for a few minutes and he’s every bit as nice in person as he is on TV.

My first stamp 'BMR' which will be used to mark some of my tools with my initials.
My first stamp ‘BMR’ which will be used to mark some of my tools with my initials.

Now on to business….for my first stamp I made one with my initials ‘BMR’ so that I can label some of my tools. By stamping some of my old wooden planes I’ll officially be part of the long line of owners who had them before me and those who will have them after me.

Testing my Initials stamp in some end grain

After forging the rough blank we learned to use the various types of files and letter stamps needed to make a nice stamp. Along the way we’d test the stamps in the end grain of some wood and in lead flashing.

Testing the stamps on some lead flashing

Why do you use end grain wood and lead flashing?!

The stamps work by crushing some fibers and leaving others proud, thus creating a 3D surface that can be read — much like you see in the maker’s marks on the toe of a molding plane. The lead does a great job showing you crisply where your stamp is pressing and where you may need to work on it some more.

Peter teaching the class how to file and use the leg vise

Peter demonstrated how to properly file and also how tough the surface of the stamps become once they were case hardened — the files were no match.

My second stamp -- 'RAINFORD' with a slight curve over the length of the stamp
My second stamp — ‘RAINFORD’ with a slight curve over the length of the stamp

Making a longer name stamp was even more challenging since the letters are all set free hand you could very easily mess it up with any given letter. If you do mess it up, file off the mistake and try again, and again as needed.

Testing my second stamp

For my second stamp I made my last name and curved it a bit to make a gentle arch. Around the edge of the stamp you could decorate it any way you wanted, the most common being a traditional sawtooth-like border.

Another test block showing some of the variation across the stamps

Most if not all folks in the class got a chance to make a couple of name stamps and practice their filing skills.

A beautiful lock that Pete made

Beyond the class itself we also got a chance to see some of the amazing work Peter does in his shop. From beautiful locks, to tools, to massive Roubo holdfasts it was neat to see the variety of black and whitesmithing tasks Peter carries out in his shop.

If you are interested in taking this workshop, please check out the Woodwright’s School website here. I had a great time and look forward to my next workshop at the Woodwright’s School.

Signing your name in wood…

It’s easy enough to sign your work with a Sharpie or branding iron…and I’ve done both many times in the past. But what if you are looking for something that will give your work that extra flourish? Or work on a massive scale like a timber framed barn? Or be a new sign for your shop? Often the best solution is to carve your own sign or inscription.

This past weekend I had the opportunity to take a two day workshop in letter carving with Janet Collins at the North Bennet Street School.  I had a great time. Below is a quick recap of how I spent my Superbowl Weekend.

Demonstrating how to make the first cuts

Janet is a graduate of the NBSS CFM program, instructor, former workshop director and accomplished artisan. She has a passion for woodworking and loves sharing the craft with others.

Laying out your letters

After sharpening your tools the first step is laying out your text first on paper or a computer.

Transferring your pattern

Transfer your pattern on to the workpiece.

Carving
Carving

Now for the fun part — carefully carving your letters into the piece. You want to take a light touch, always be aware of the grain direction and strive for an even depth of cut.

Carver's natural habitat
Carver’s natural habitat

Just as you can never have too many clamps, you can never really have too many carving chisels and gouges.

Completed name carving
My completed name carving

A raking light and solid platform to secure your work are requisites to success in this sort of work.

Gilding lesson
Gilding lesson

Beyond the carving exercises we were also treated to a nice demonstration on how to gild this sort of hand carved sign.

Janet Collins with completed sign

Pictured here is Janet with her carved and gilded number sign.

Chip carving samples

Beyond letter carving, these kinds of woodworking skills can be applied to may other forms of carving…

More chip carving
More chip carving

such as chip carving…

Chip and relief carving samples

relief carving…

Celtic knot and floral carving

organic designs, geometric designs, anything you can imagine. The above sample boards are just a few from the large bag of samples Janet brought to show the class.

Carved and Gilded sign at NBSS

Above is a hand carved and gilded sign honoring the founder of NBSS — Pauline Agassiz Shaw. If you study it carefully you can see how it was clearly laid out by hand and shows many of the tool marks and design cues you’d expect to see in hand work. Pictured below is a nice old sign in the Cabinet and Furniture Making department at NBSS which is a combination of painting and carved details — “All Kinds Of Woodwork Done Here” which is an apt description for what goes on in the upper bench room. I am also partial to the “Please don’t feed the woodworker” sign.

"Don't feed the woodworkers" and "All Kinds of Woodwork Done Here" signs by the entrance to Cabinet and Furniture Making department at NBSS.
“Don’t feed the woodworkers” and “All Kinds of Woodwork Done Here” signs by the entrance to Cabinet and Furniture Making department at NBSS.

After taking this course I have a new sign for my workshop, and a whole new appreciation for hand carved signs. Next time you are walking around your town take a moment to look at some of the carved signs and see if you can differentiate the ones that were carved by hand versus those which were made by machine. After looking at a few of them you’ll likely see that many of the signs with the best details were carved by hand.

I’m looking to make some signs for my barn and workshop and will be sure to post them here on the blog. In the meantime you can learn more about Janet Collins and her work via her website here and here. And if you are interested in taking workshops at NBSS you can find out more here.

Indoor Barn Raising?!?

You’re raising a barn inside?! Yep, it’s not every day you get to raise a barn indoors, but back in the fall of 2009 the NBSS PC2 class of 2010 raised Matt’s timber frame barn inside of the class room. The frame is a 1.5 story barn/workshop cut using square rule joinery. The frame is eastern white pine.

Completed frame
Completed frame

If I recall correctly the weather at that time was not playing well and we had the space and height in the building so they move all the workbenches and went for it.  Below is a time lapse slideshow showing the frame being raised. I had a great vantage point from up in the loft to capture the action.  This barn will eventually be a workshop for Matt who was a PC2 student at the time.

This slideshow requires JavaScript.

Timber Framing at Brookwood Farm

There are a few different methods for laying out the joinery in a timber frame — scribe rule, square rule, mill rule etc

This post will take a deeper look at some Square Rule based framing.

Back in the fall of 2009 we worked on a frame which will be the workshop of an NBSS student using the Square Rule method.  The project was carried out at Brookwood Farm in Canton MA which provided a great backdrop for our work along with the location of a later Scribe Rule project — restoring the old English style 2 bay barn that was discovered on the property.

Installing the rafters

Rather than custom scribing each joint in the frame — which is labor and time intensive, square rule framing allows you to effectively make some parts of the frame interchangeable (Think Model T Assembly Line) — so braces, joists are all cut to the same size to start. This method of framing came from the USA and was in part an answer to the need to speed up production as America rapidly expanded westward. Effectively you are using a square to find/define the virtual ‘perfect’ smaller timber inside the potentially rough stick you are working on — thus where the joinery is cut you are cutting back the side opposite your reference faces to square up that smaller perfect timber. This way you have nice clean and consistent mating surfaces. In the joint below you can see this on the top of the timber where it goes from clean cut joint to the rougher edge as the timber came from the mill.

Cutting joints
Cutting joints

This system allowed craftsmen (and women) to cut joints on the ground or in separate locations and then put them together for the first time at the time of raising. For those new to the trade that can seem daunting — but with practice and the old adage of  ‘Measure Twice, Cut Once’ its not as scary as it might seem.

Group Shot on the completed frame

Below is a slideshow outlining the process of building a timber framed workshop/barn

This slideshow requires JavaScript.