

You don’t often see a good working pair of shutters on a newly constructed home. Most times you see a pre-fab set of vinyl shutters screwed on to the side of a house or no shutters at all. The vinyl shutters usually have no hardware and often are not properly sized for the windows they are adjacent to. I want to reverse that trend and make sure at least a few folks know how to make a traditional wooden shutter.

I designed and taught an Introduction to Shutters Workshop at the North Bennet Street School this past weekend which was a lot of fun. Beyond my usual hand drawn plans I also modeled this project in SketchUp. (You can read more about that effort here).

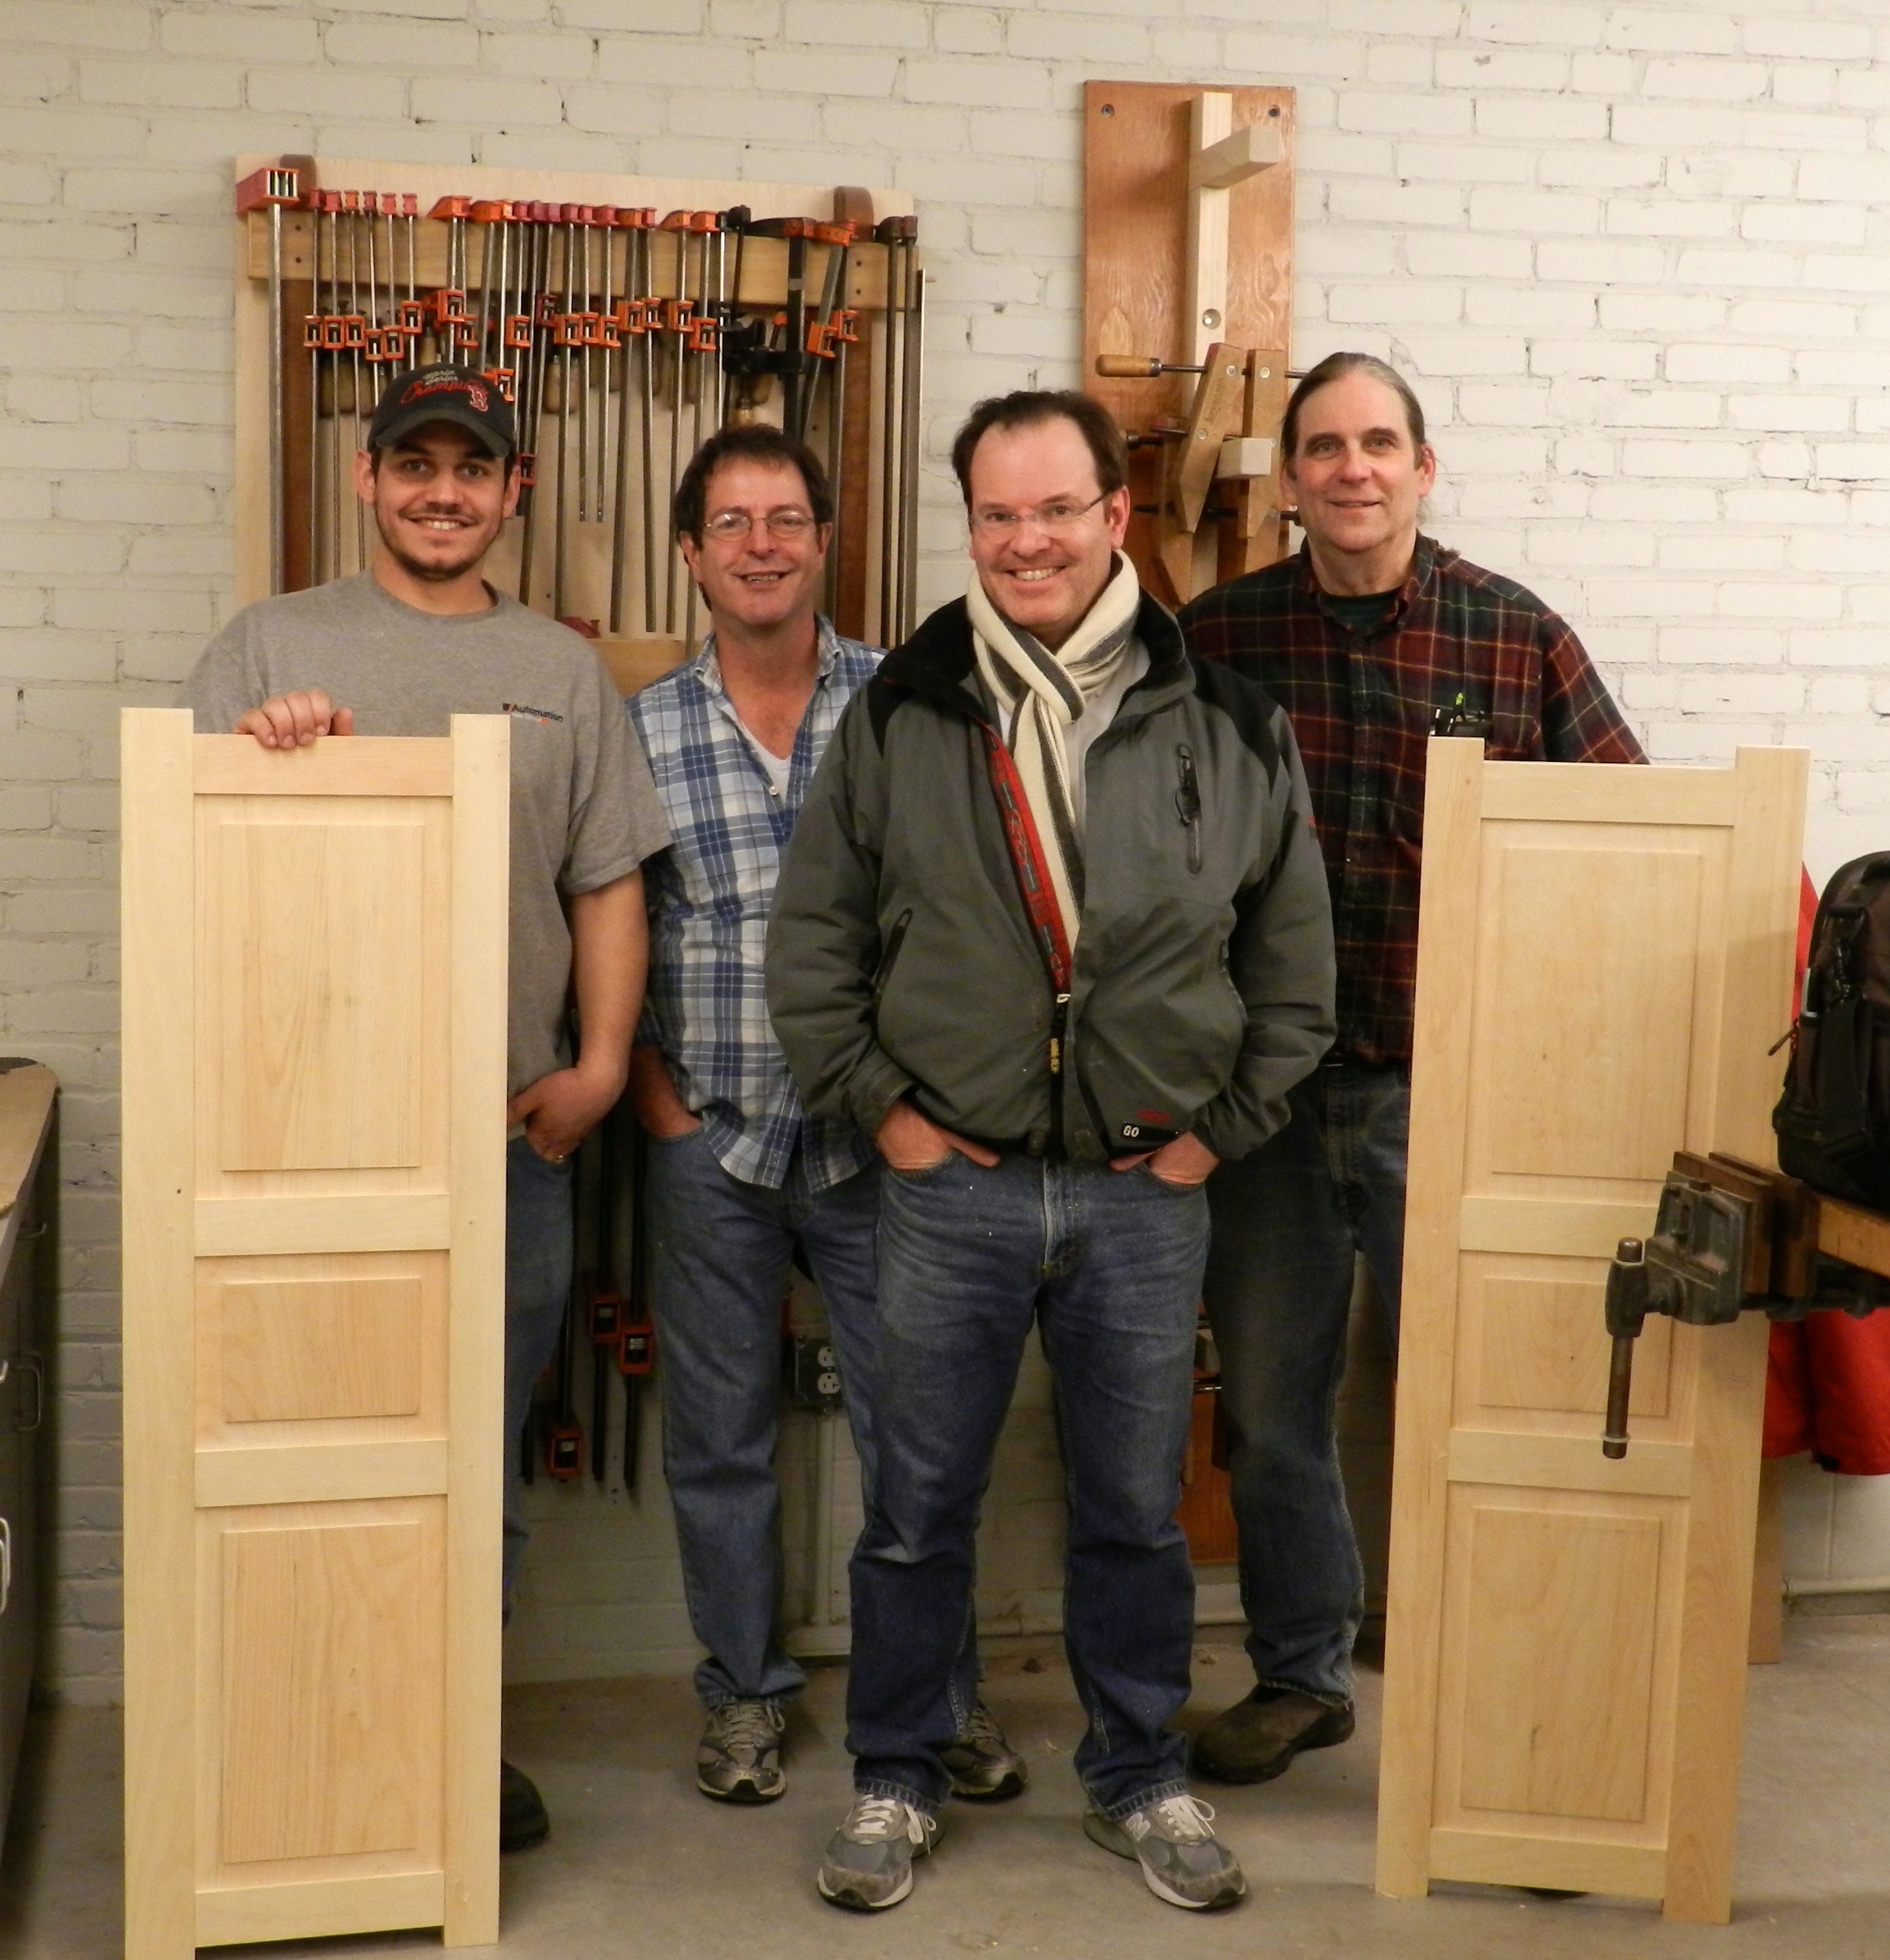
In the class students learned how to make a shutter using traditional hand tools and via power equipment. They were able to weigh the pros and cons of each against their skill sets and use what was most appropriate to their project. (Some folks will be repairing a few shutters, others will be making enough for an entire home)

After building the frames, cutting all the mortises and tenons, and fielding the panels, everyone learned about traditional draw-boring. By making and using tapered octagonal pins and driving them through the offset hole drilled into the tenon, the joint is drawn together. This joint uses no glue, is quite strong and can be serviced in the future if a rotten piece needs to be replaced.

We also discussed many design options, regional variations and examined several examples we had on hand. It was a busy two days, but I’m hopeful that we’ll see some proper new shutters start popping up in the area.
Take care,
-Bill
P.S. I have several more workshops coming up at NBSS over the next 3 months if you are interested in joining me — there are still a few seats available. Up next is Traditional Molding with wooden Molding Planes in April, Saw Horses and Saw Hurdles in May, and Making a Window Sash in June. You can learn more about each of them here.
