

Building a window sash by hand can sound intimidating, but with some practice it can be an enjoyable experience. Early window sash were built by hand designed to be maintainable — if a component broke or rotted out it could be replaced — something that is not possible with most aluminum and vinyl windows you see on the market today.
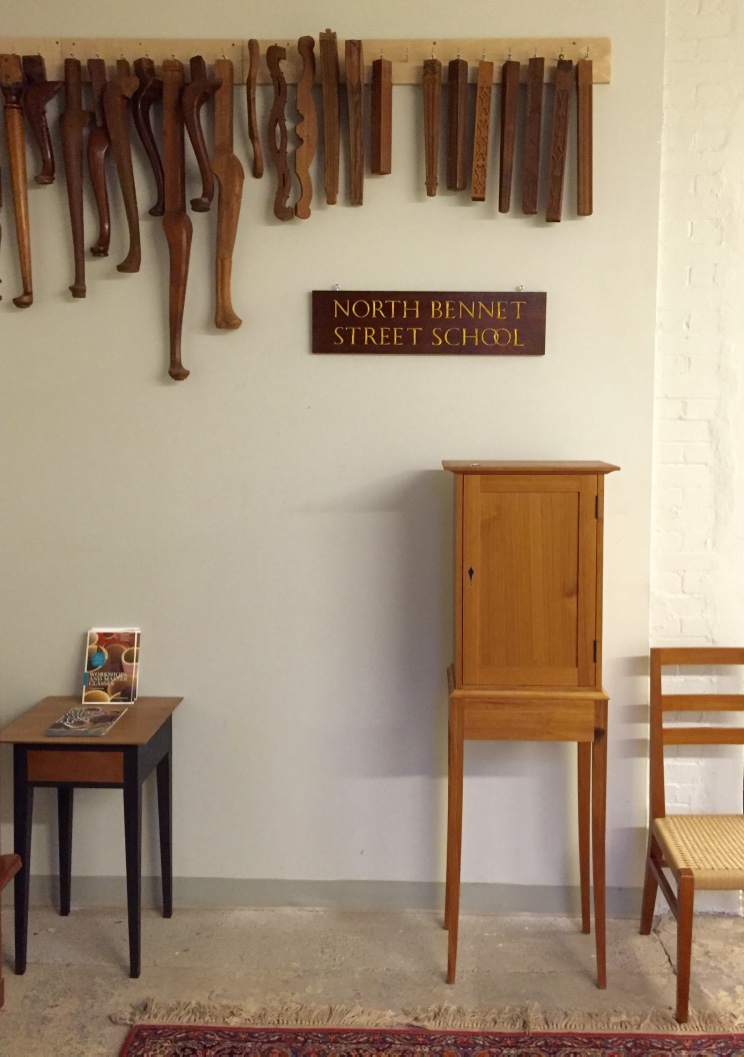
A few weekends ago I taught a two day workshop I developed on building a window sash at the North Bennet Street School. This post and the next are a high level recap of the course with some photos from building the prototype in my workshop and what we did in the classroom
Stock selection is important. My wood of choice is Eastern White Pine, preferably quarter-sawn heart pine which is easy to work, weathers well and historically appropriate in my area — the greater Boston area.
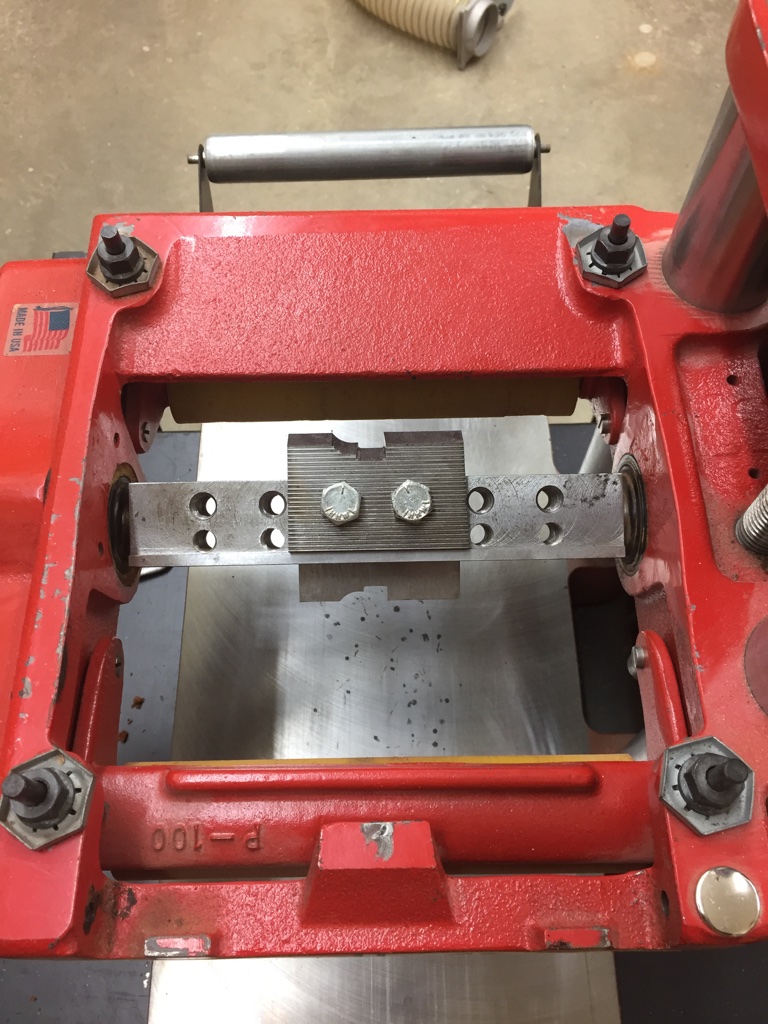
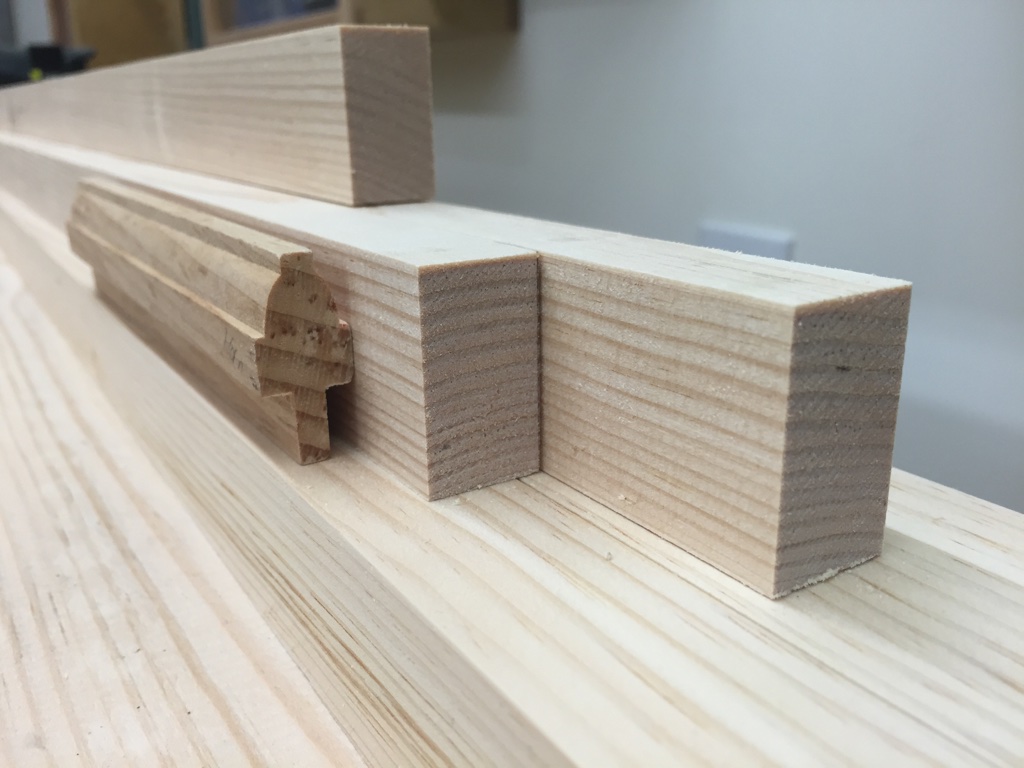
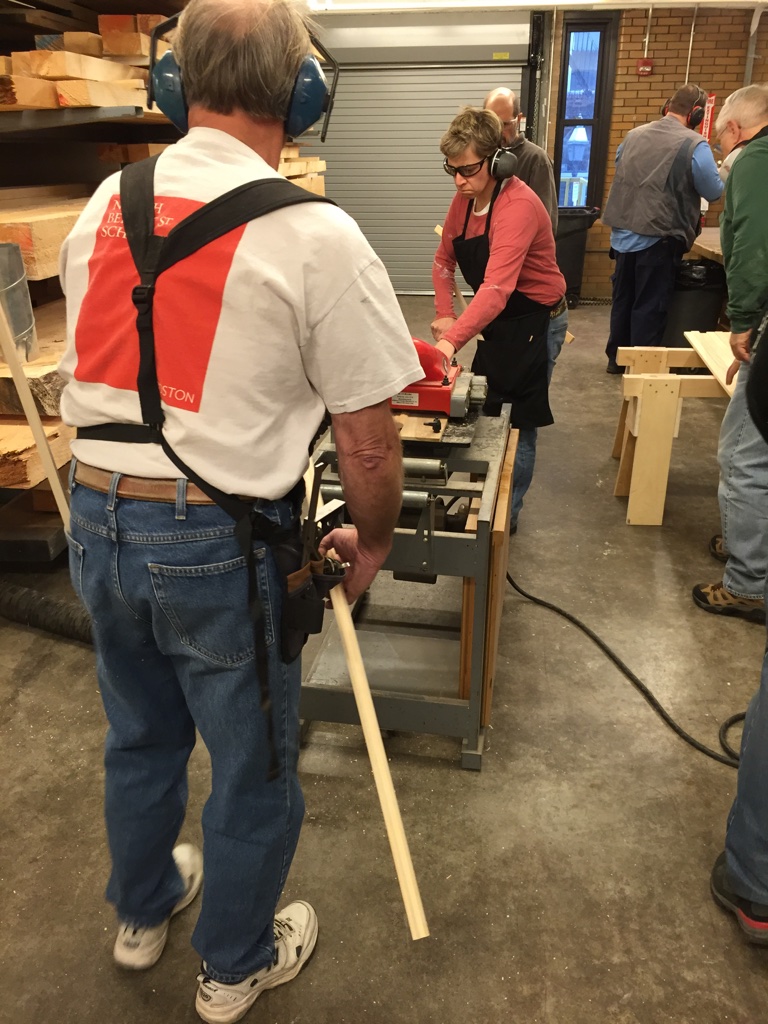
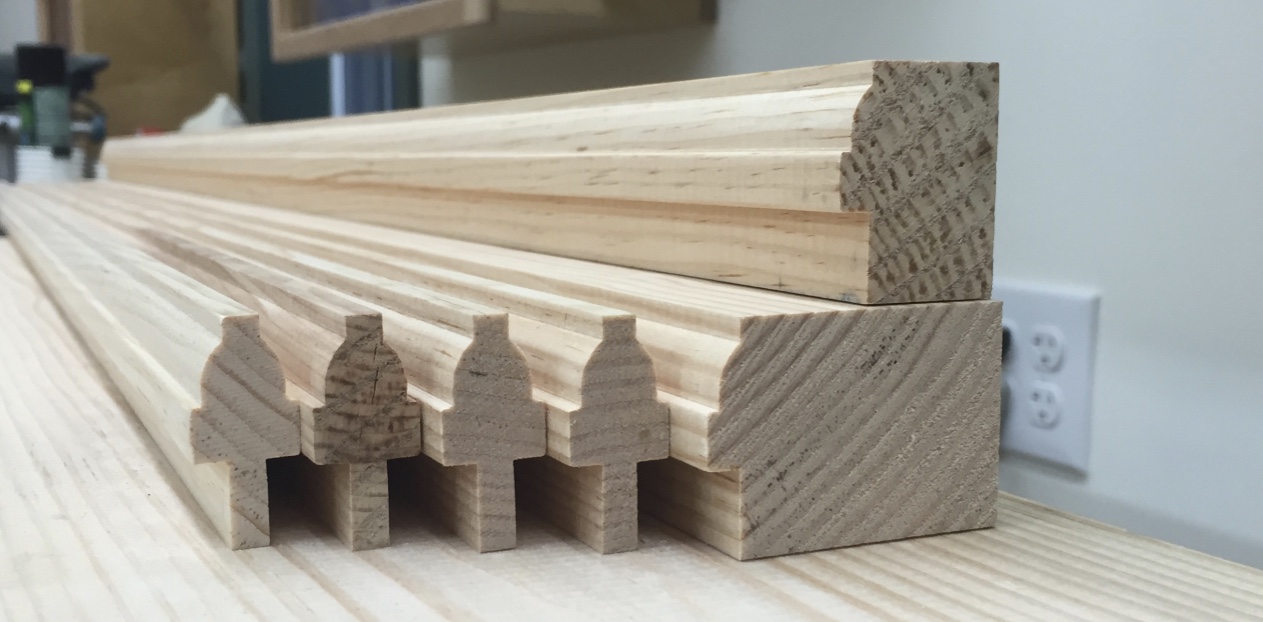
A profile can be run by hand using sash planes or using a router table. For larger runs a custom molding knife can make fast work of this often tedious task using a machine like the ‘Williams and Hussey’ molder. (Shown above and below)
We make a few passes to get near the finished size wanted and then a final cleanup pass at the end to leave the piece with a nice finish.
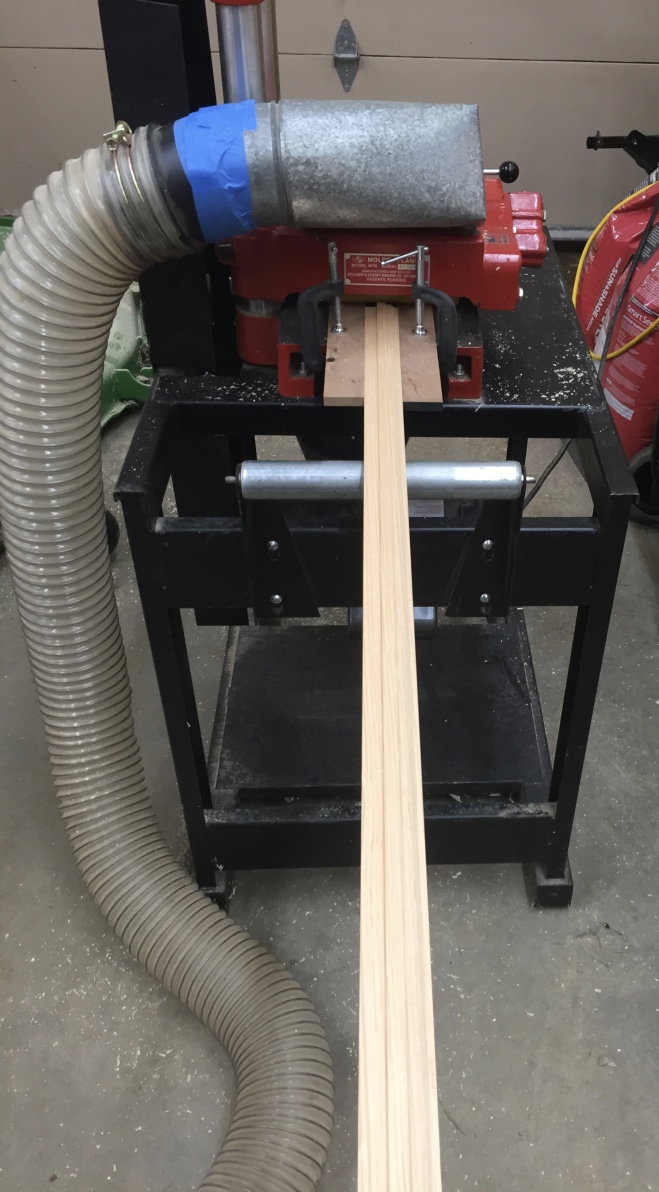
Rails, stiles and muntin stock are run using the same setup on the machine — this way all the profiles are consistent.
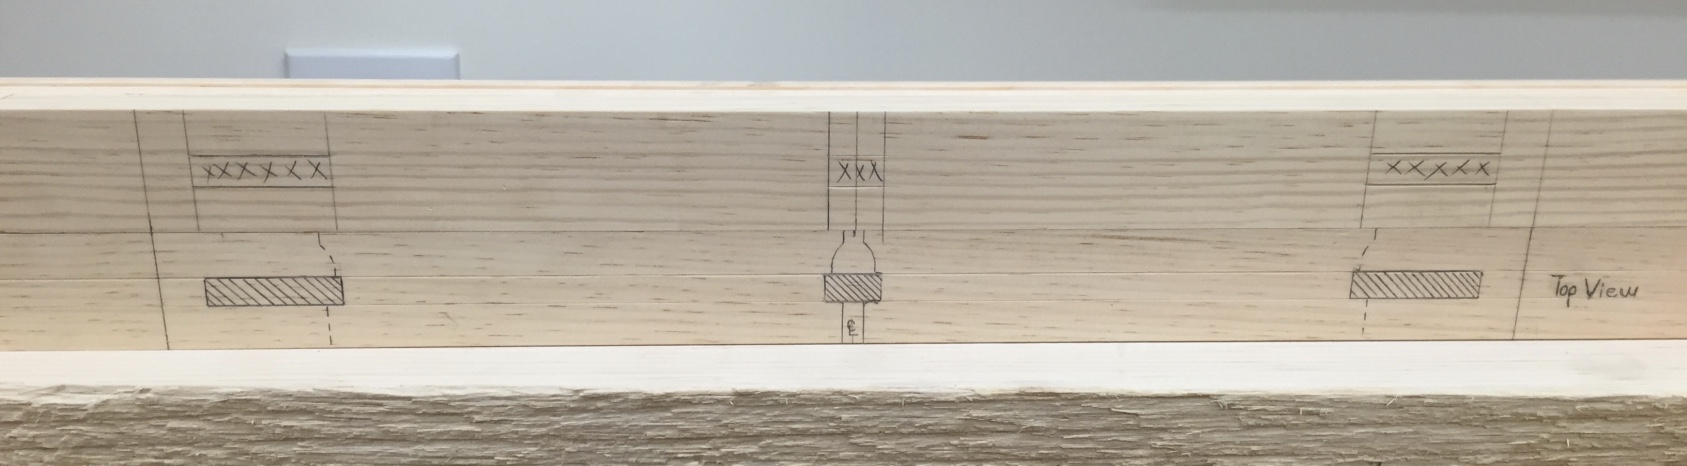
Next up is the use of a story stick — this traditional device is effectively a set of plans laid out on a piece of stock that matches the rest of your milled stock. Key locations like mortises are transferred to the work piece by using a marking knife and a combination square. The knife allows for accurate and consistent transfer of measurements to the work-piece.
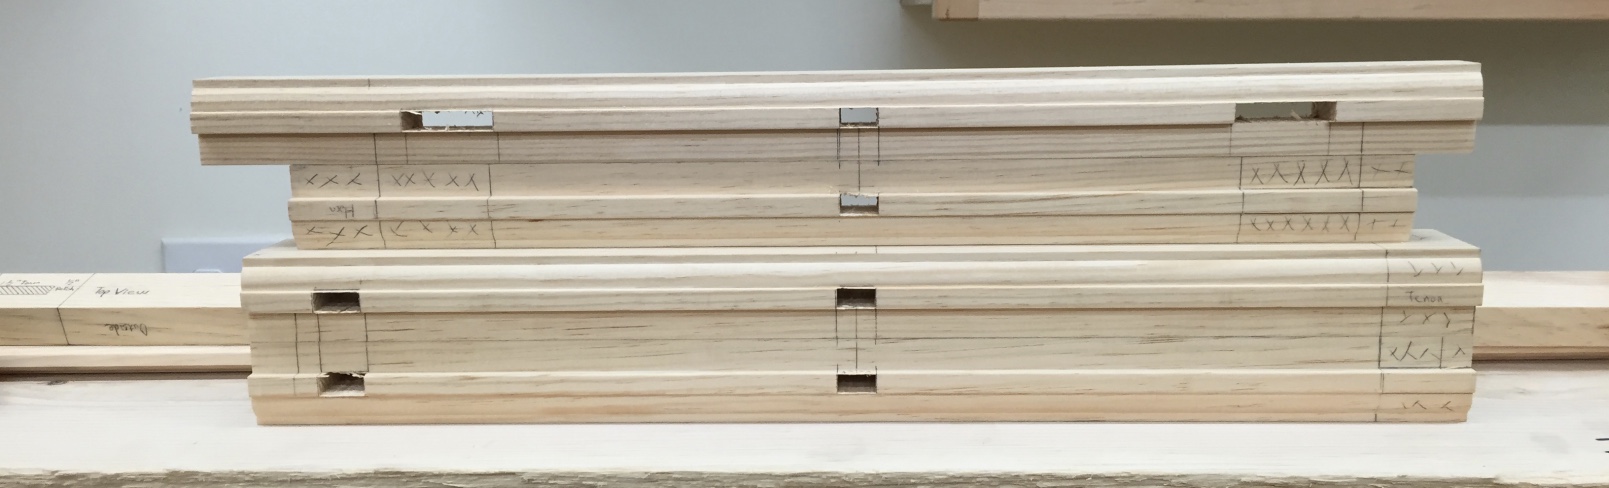
Shown below are mortises cut either with a hollow chisel mortiser or by hand with a mortising chisel. Also note that the work pieces are deliberately left long. These ‘horns’ allow for more relish to support mortise walls from blowing out and also allow the sash to sit in the shop and not ding or damage the piece as it is worked on and eventually glazed.
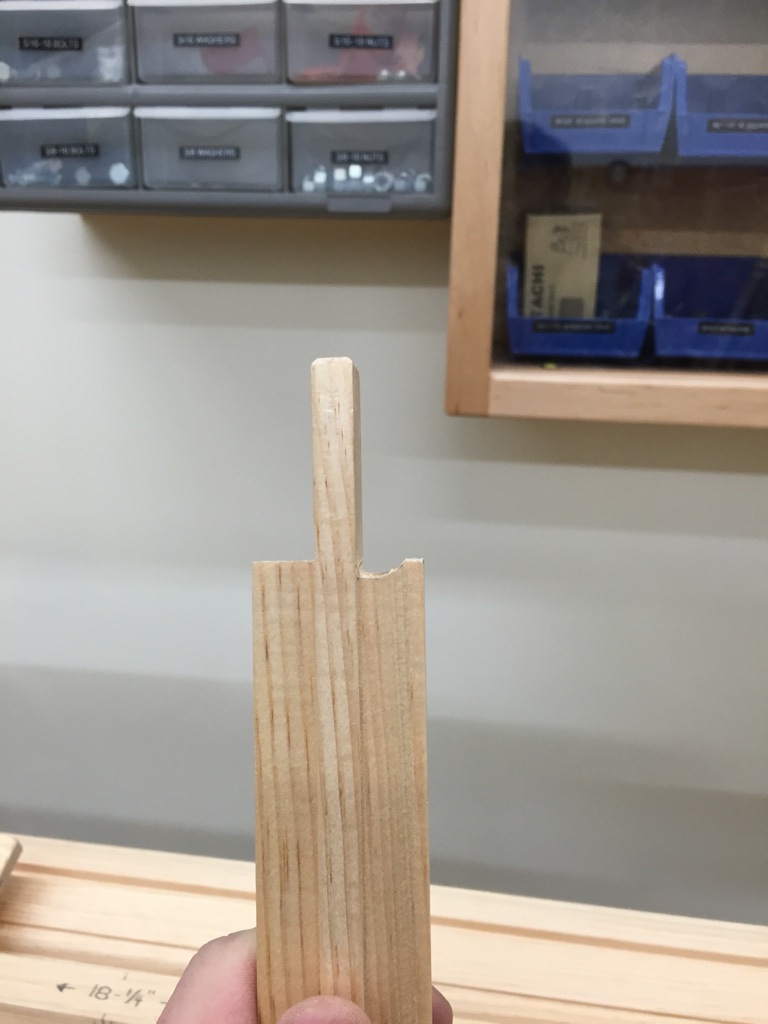
Once the mortises are cleaned up its on to cutting the tenons. Once the piece is laid out I start by cross-cutting the shoulders. (See below). I then use a chisel to pop off the waste or for larger tenons will make a second saw cut (This time ripping down to the shoulder cut) and clean it up with a chisel.
With the shoulders in place I can dry fit them (using the square shoulders that are on the exterior side of the sash) to make sure I have a tight fit as seen below. Note that I am not fitting the tenon yet, just the shoulder to start.
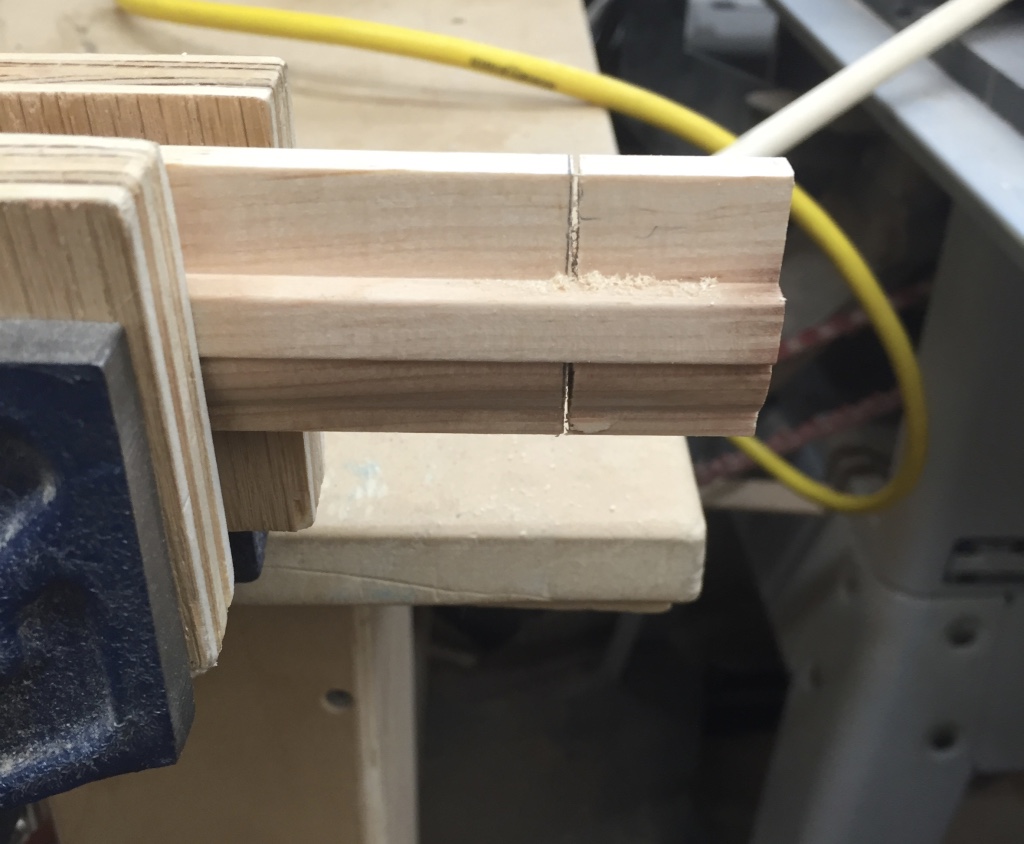
Next up was the coping. I make use of a saddle block with a 45 degree ramp and some in-cannel chisels to cope the muntin stock as shown below. With the cope in place I can now test the fit of each of the tenons into its mortise.
This creates a nice tight joint that allows the pieces to mate together in a pleasing manner that allows to profile to make that 90 degree transition from the horizontal to the vertical.
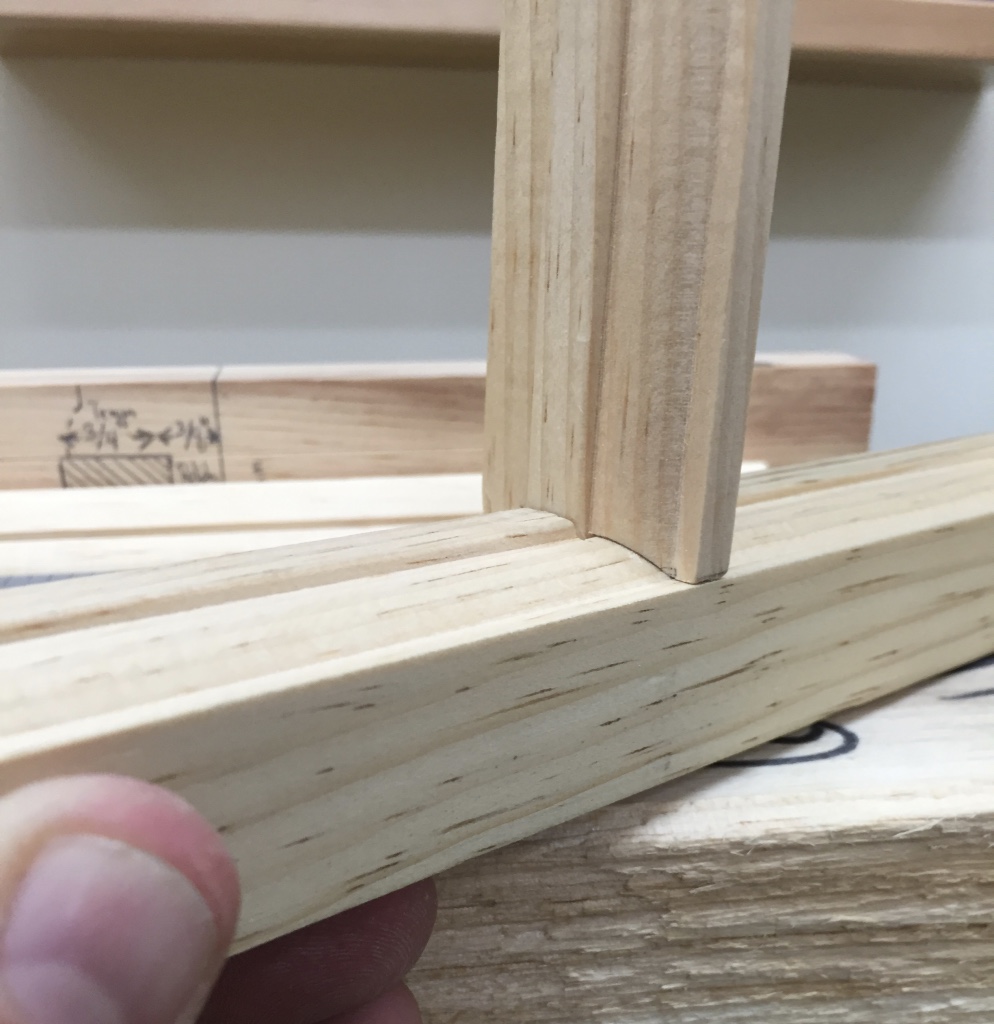
I use a similar process for fitting the horizontal muntins — starting first with the center joint as this can be fussy at times. I want each horizontal muntin to meet cleanly in the center and have both tenons fill as much of the mortise as possible. I leave the stock long so if something goes wrong with the joint I can cut off that inch or so and try again without wasting a whole piece of stock. With the center joint in place I’ll cut the other shoulder and fit it as we did with the vertical muntin and then cope the joint and test those tenons.
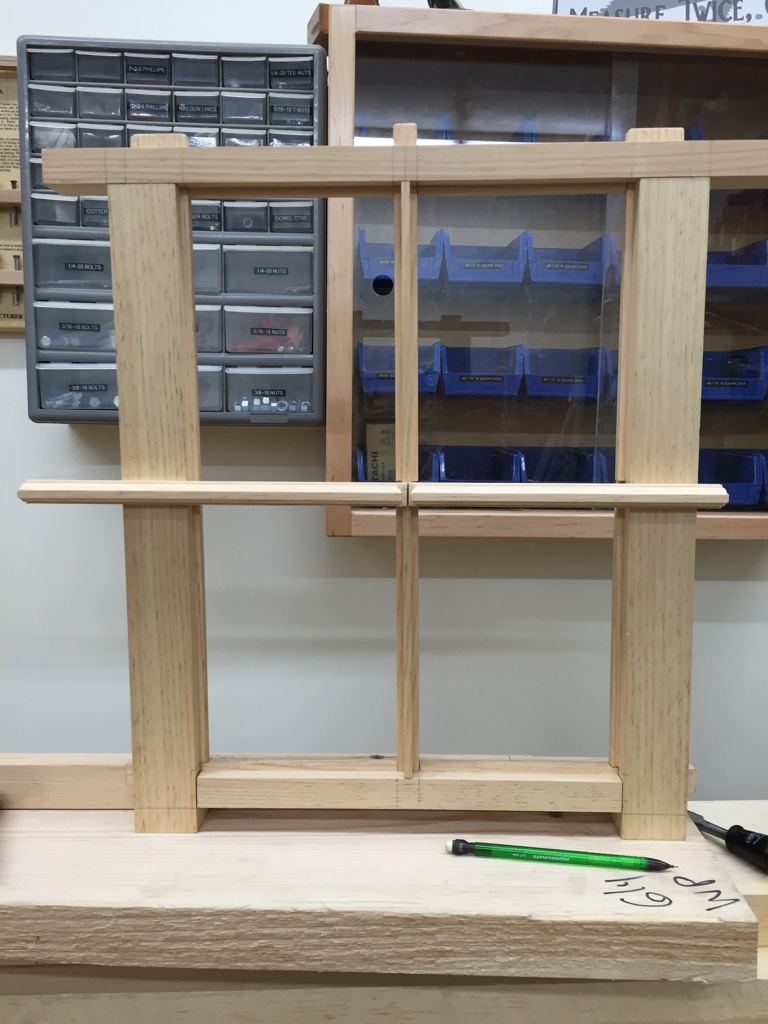
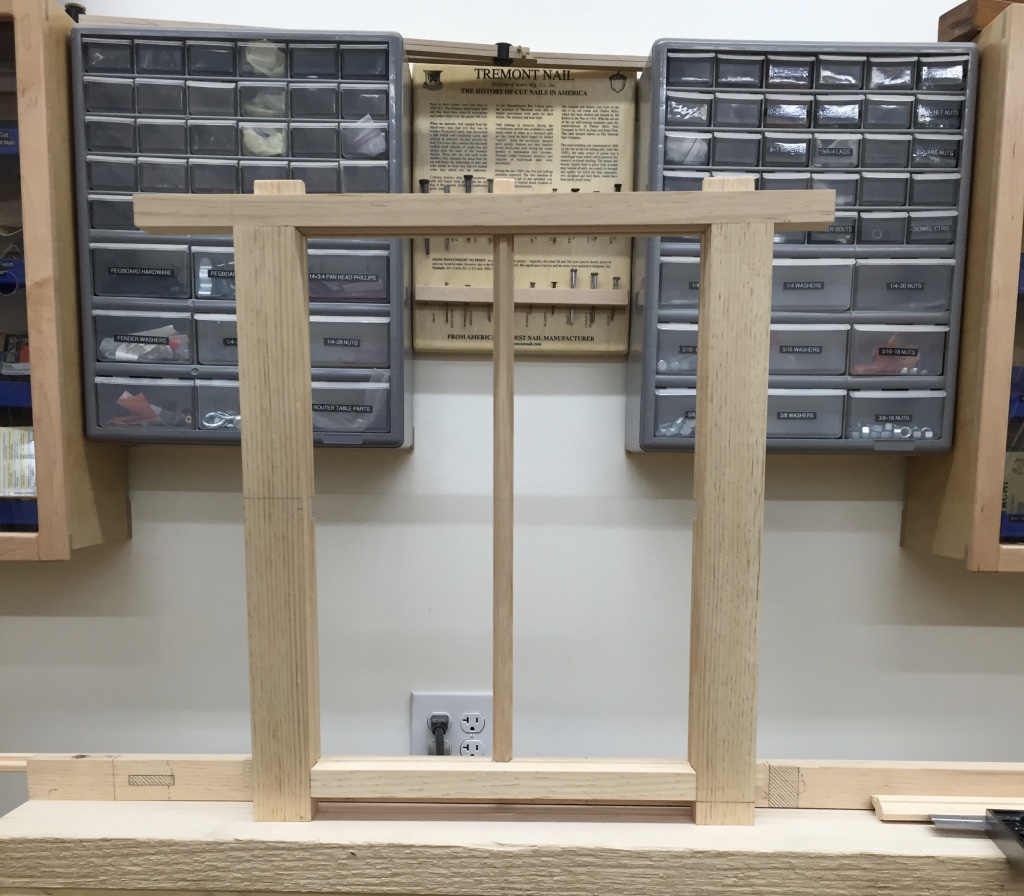
With all the primary joinery completed its time to dry fit it all together and check for square. All the joints should fit together well and the shoulders and copes should be nice and tight.
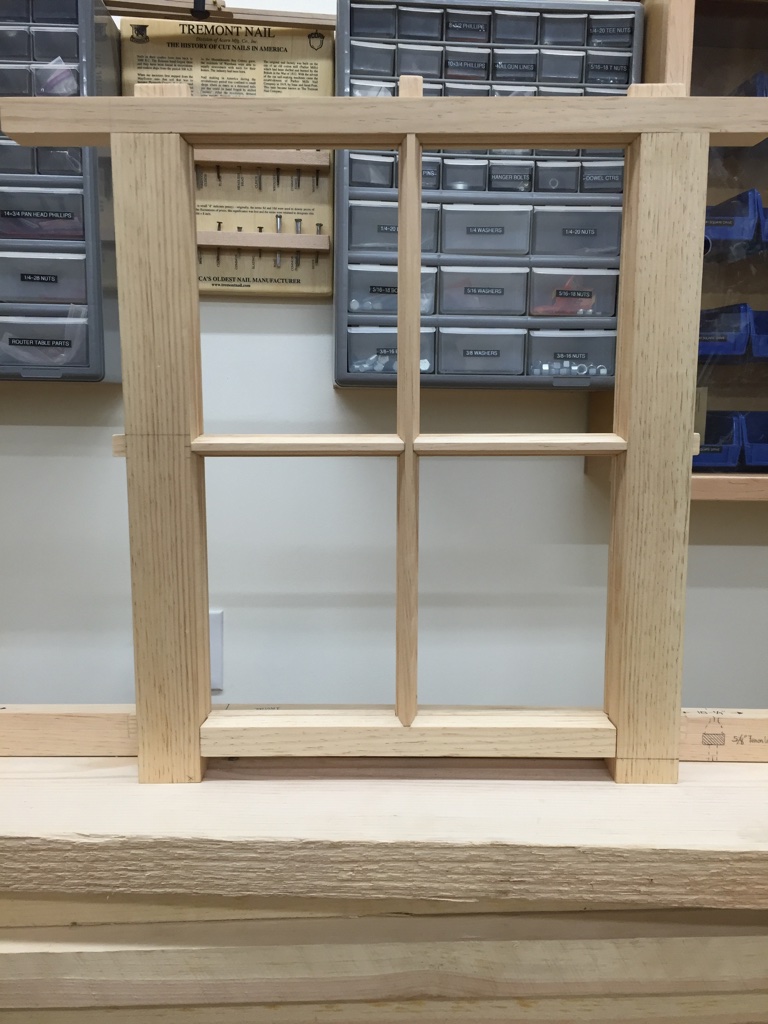
If your joints close up with some mild pressure don’t worry too much as the draw bored pins will help pull the joints together and keep them closed. With each stage in this process the sash becomes more and more rigid.
In the next post we’ll talk about making pins, draw-boring, cutting glass and glazing.
Take care,
-Bill
