

When we last left our woodworking hero he completed the legs and was heading into the home stretch — installing the hardware. But wait….some of these things are not like the others. The bed bolts in the hardware kit were ordered in a nice antique bronze finish. The bed frame has a nice enameled finish in a similar dark brown metallic color. The threaded inserts and bolts that hold up the bed frame were a bright silver zinc finish. I worried these shiny bits would stand out like a sore thumb.
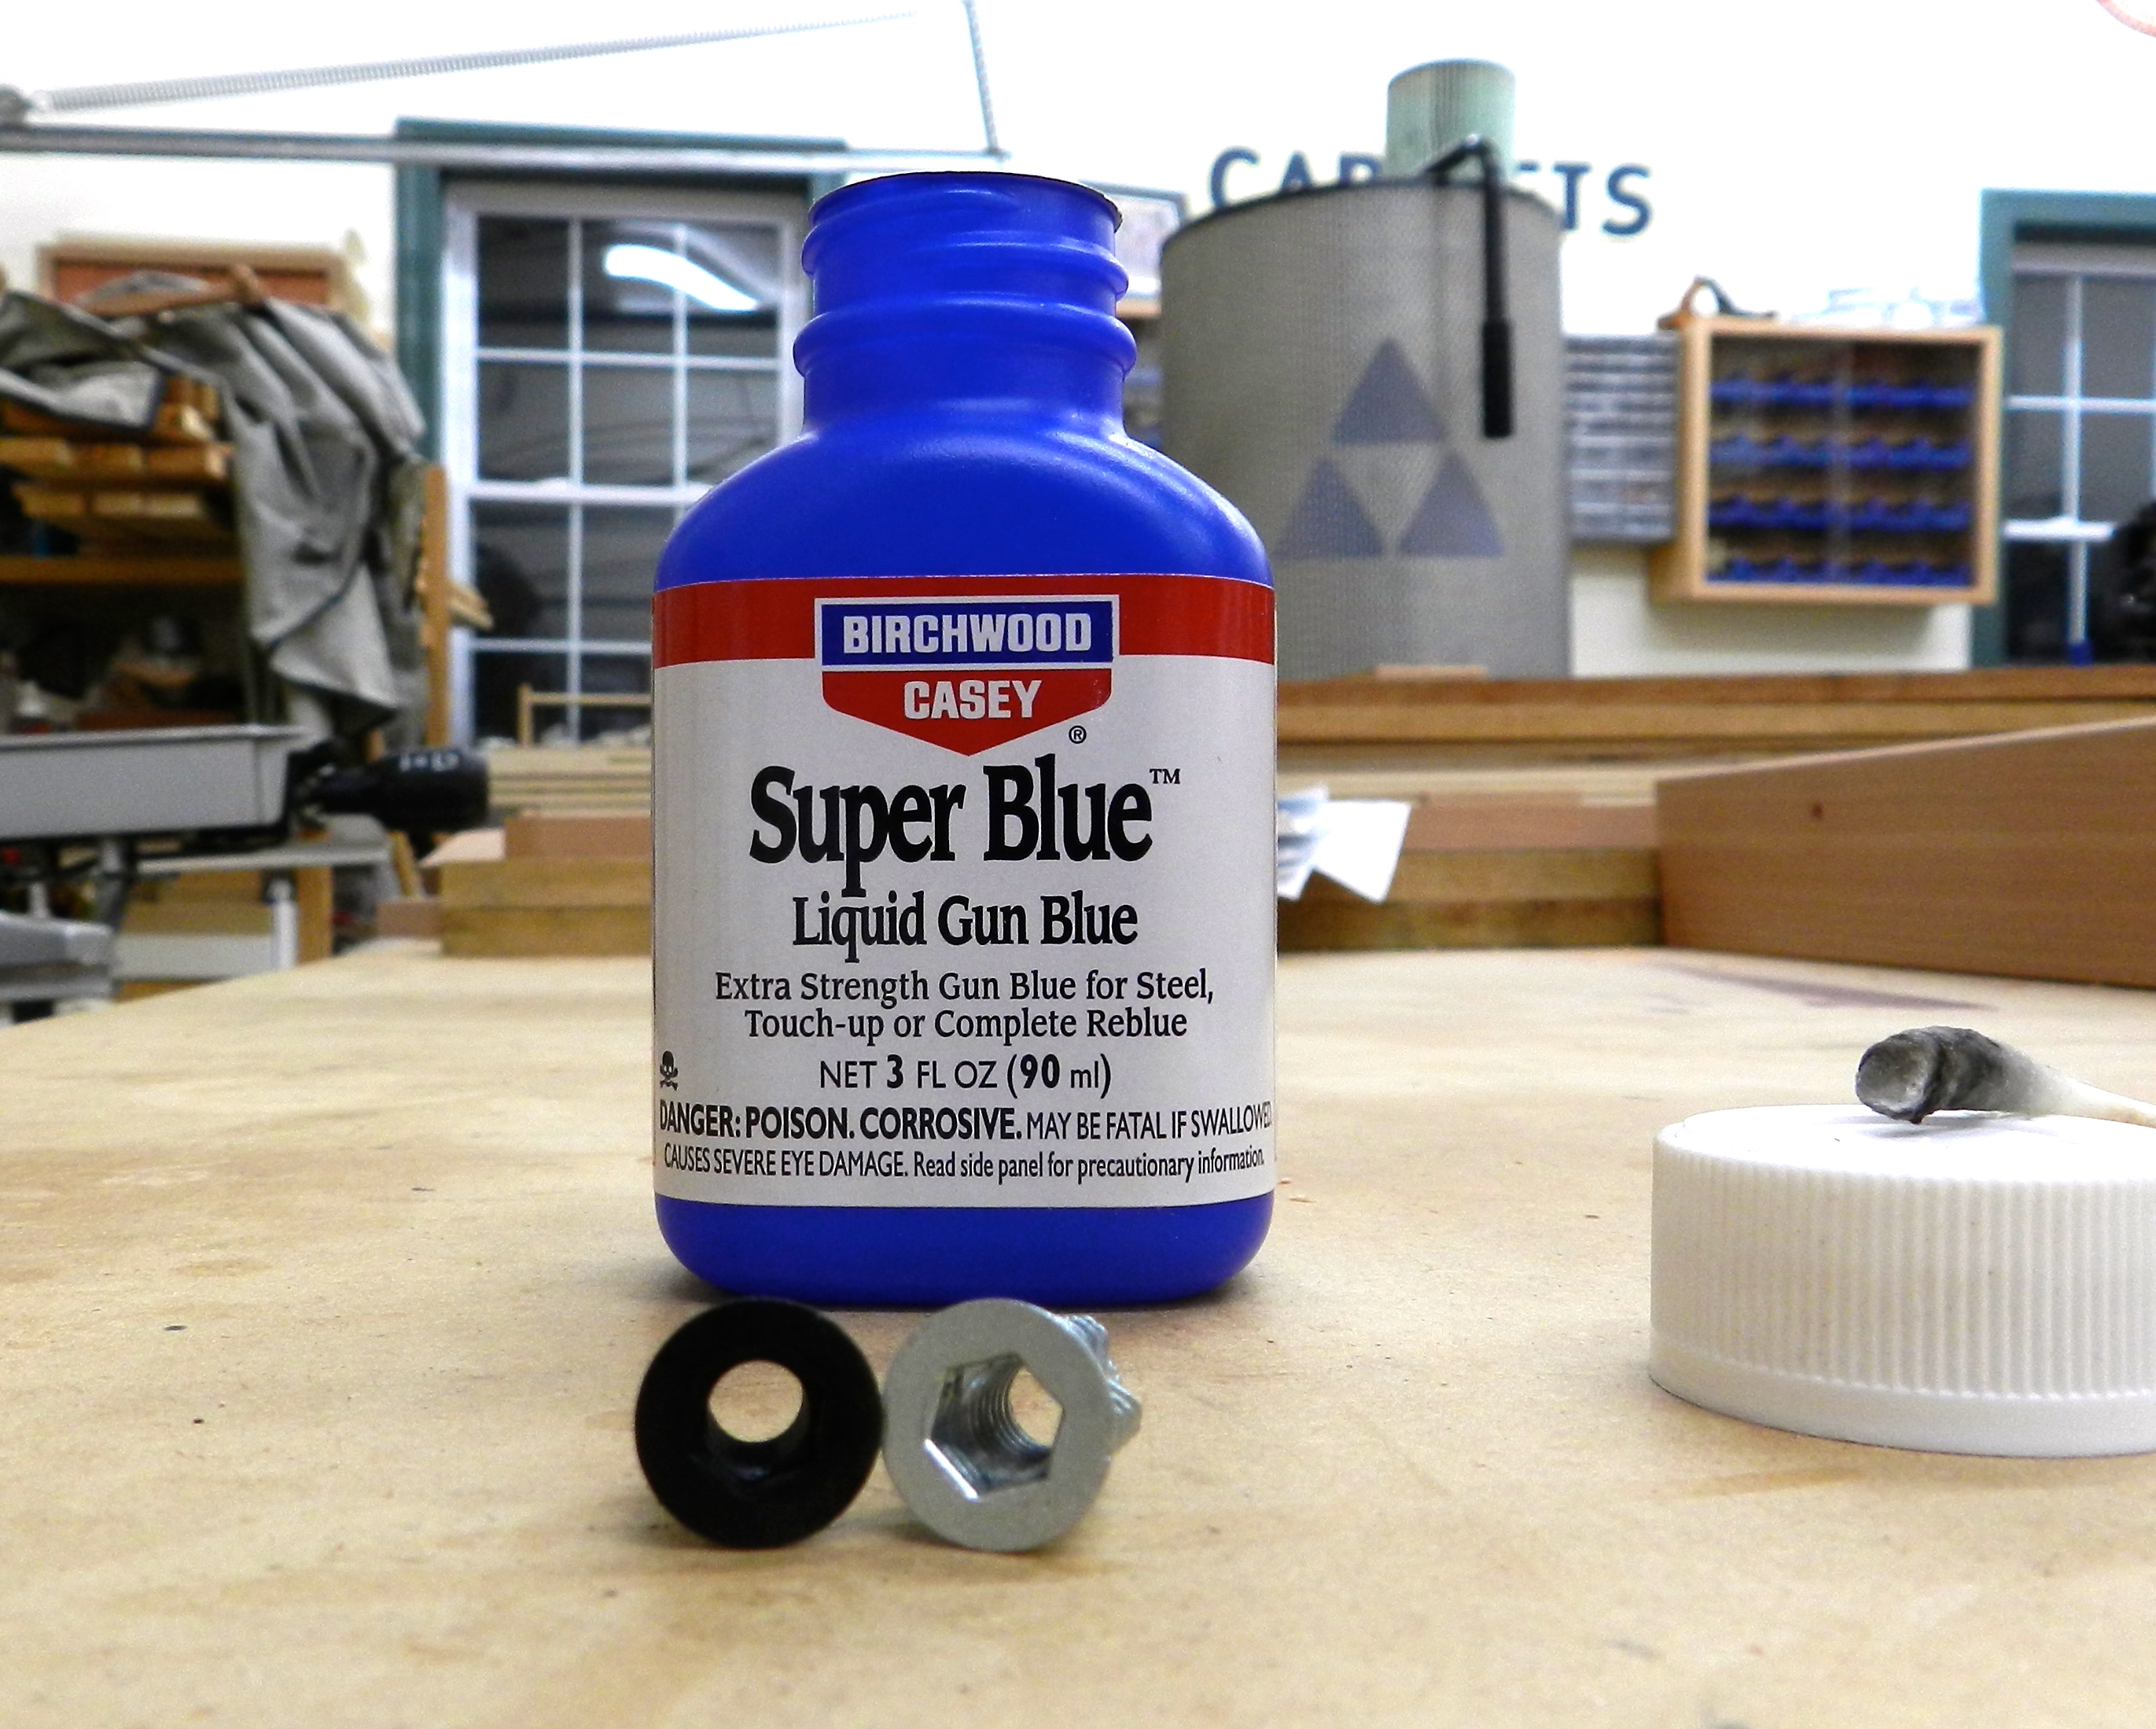
Then I remembered a trick I learned from my friend Chris Schwarz that he used on his Anarchist’s Tool Chest. I soaked the zinced hardware in a bath of citric acid for a couple hours, then brushed them off with a brass bristle brush, rinsed them in water and dried them off. I then applied some ‘Super Blue Liquid Gun Blue’ to the hardware with a Q-tip and rinsed the hardware in water and dried it off to complete the process. The Super Blue creates a chemical reaction that creates a nice patina on metals. In this case it made a dark brownish color that gets the threaded inserts into a color spectrum very close to the rest of the hardware. (Check out the photo below to see the before and after). I’m very happy with how that color treatment went.
Next up I had to drill a large number of stopped holes for the various bits of hardware this project included — threaded inserts, bolts and barrel nuts. To accomplish this I made use of some of my favorite methods for drilling a fixed depth hole. The quickest and dirtiest way to drill a hole to a consistent depth out in the field is with some blue tape wrapped around your drill bit. When the excess tape wipes away all your shavings you know you reached the depth you set out to drill.

Next up is using a fixed metal stop collar. This gives a more precise stop, but if you press too hard the collar can mar the surface of the wood, so I mainly use the collar with a dowel centering jig (As the collar stops when it hits the jig) or in places where the wood rubbed by the collar will not be seen.
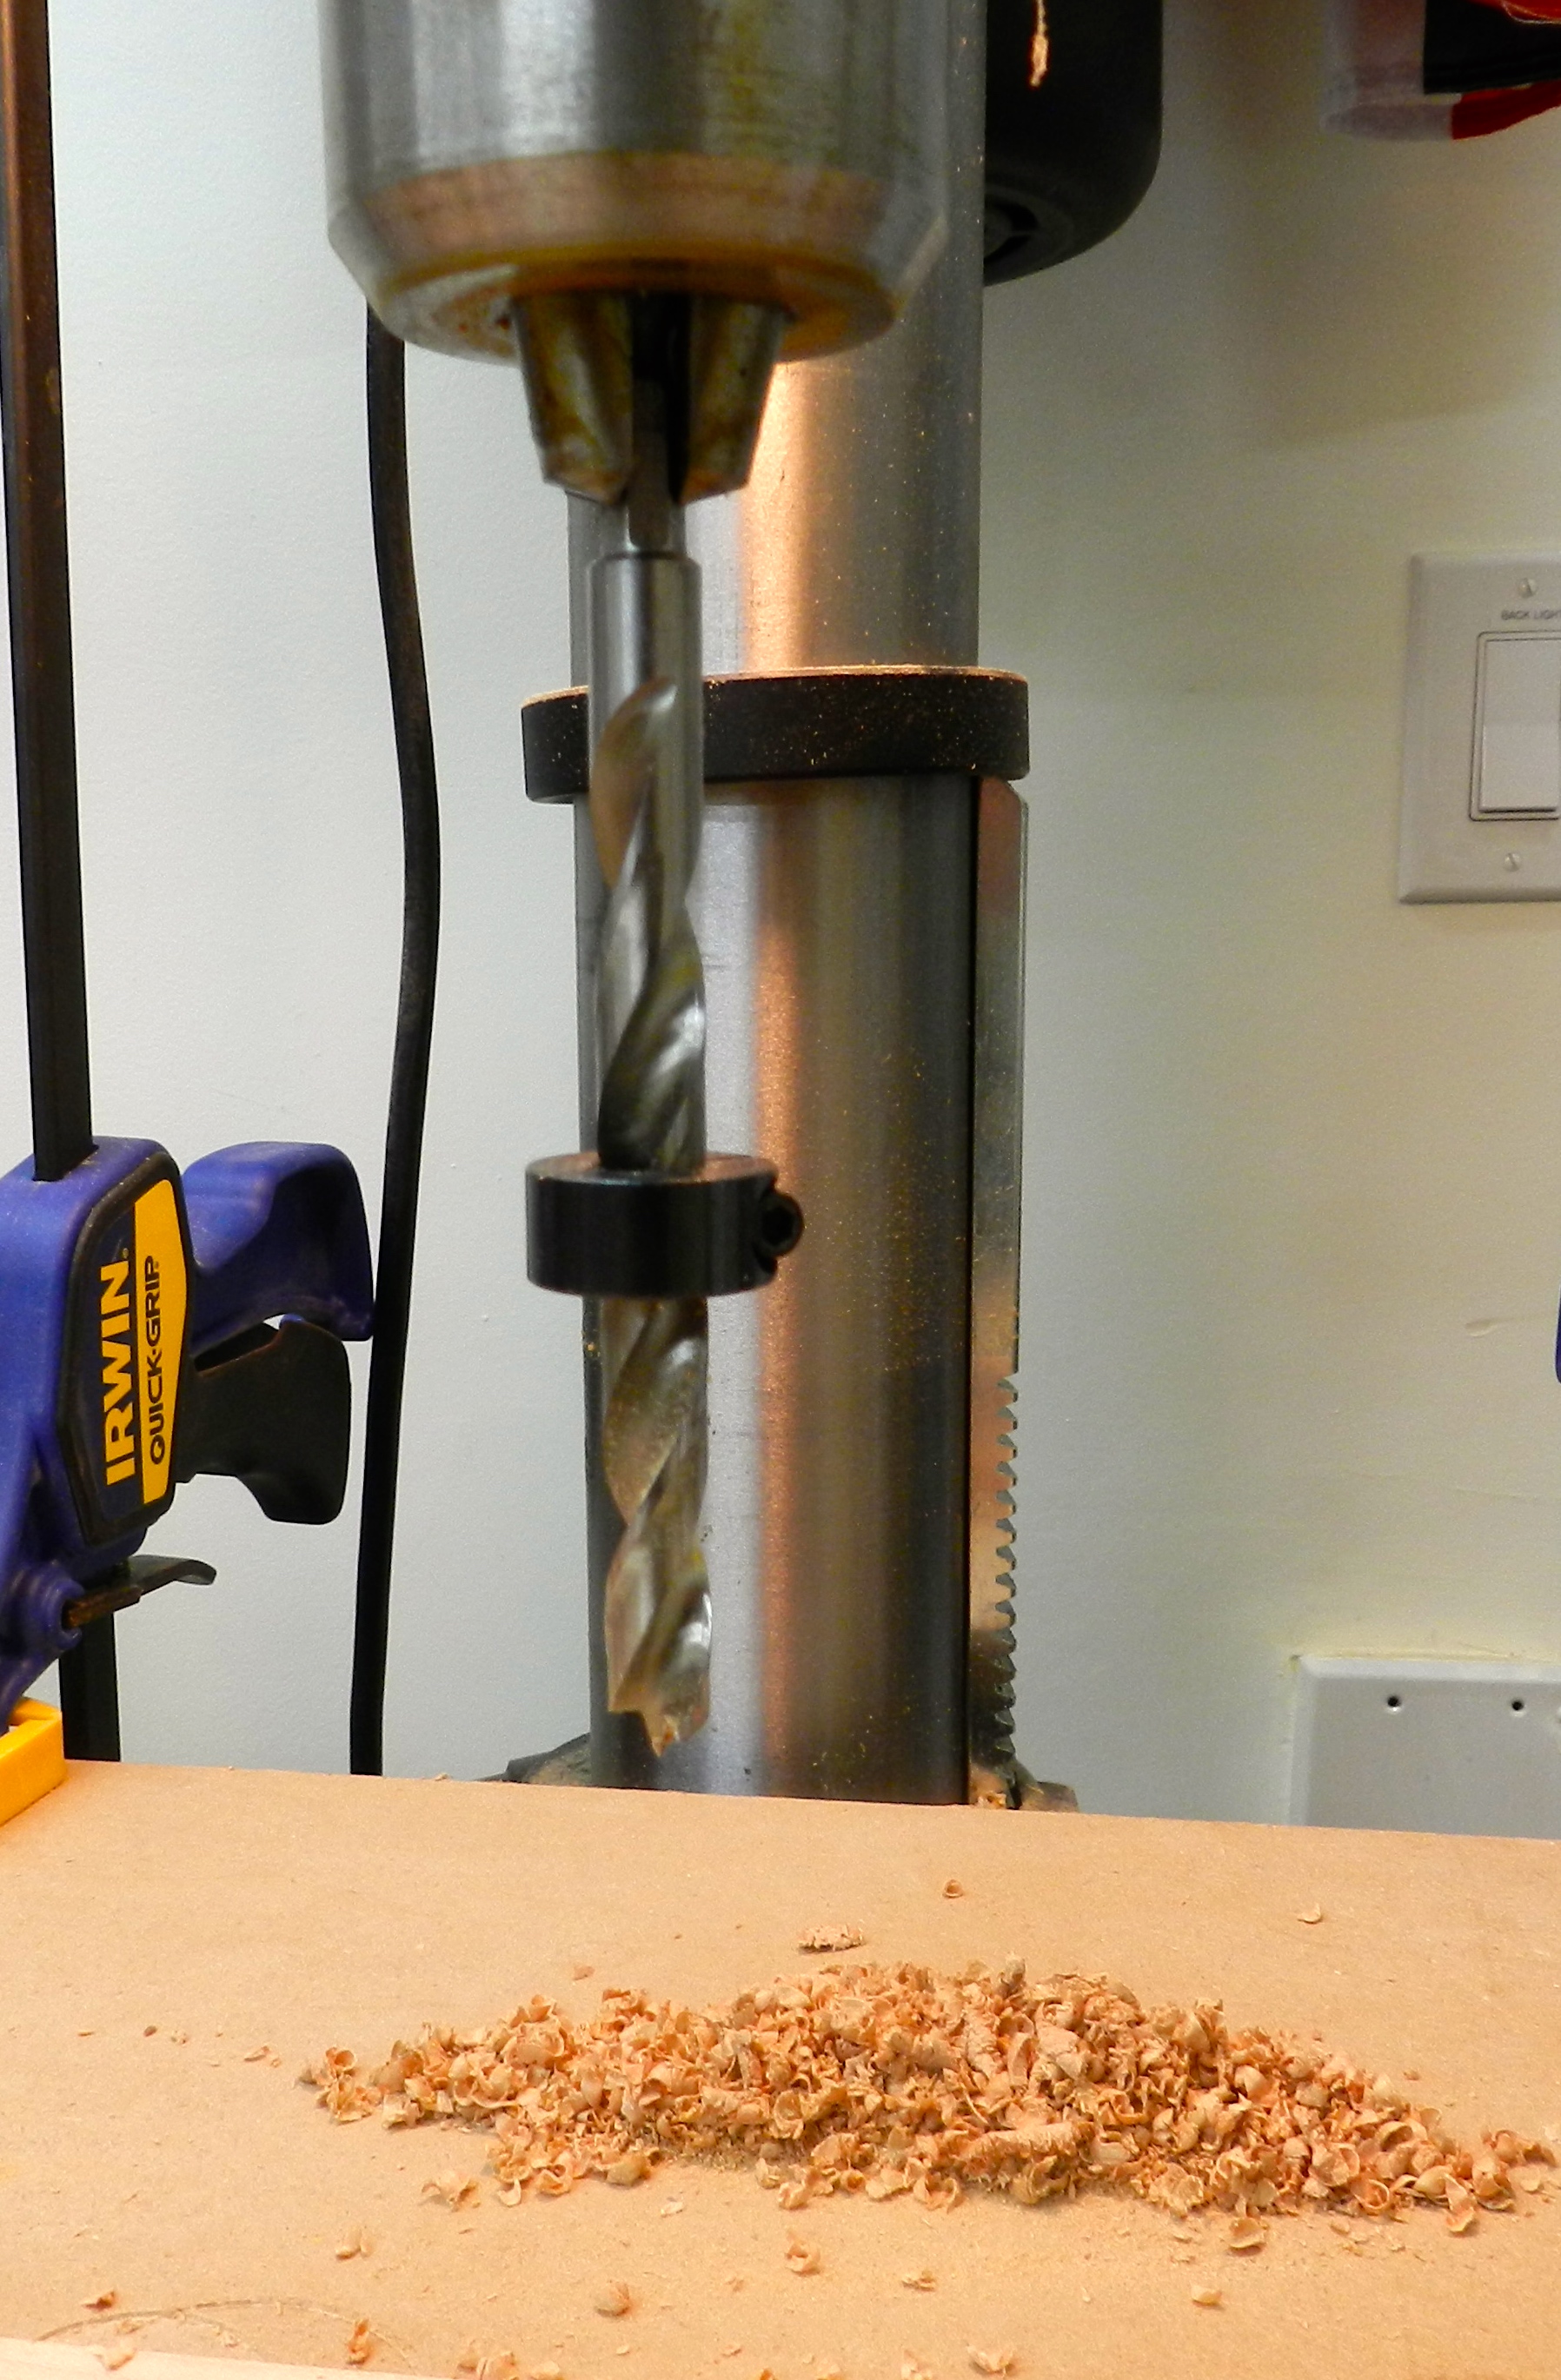
When I have the luxury of a drill press at hand I can make use of the built in quill depth stop (left side of drill press in photo below). When buying a drill press make sure you get a heavy duty depth stop and easy to use depth setting mechanism. Even with a nice stop I don’t trust the scale on it other than for macro level adjustments. For checking hold depth with a higher level of accuracy I use a depth gauge.

A depth gauge can be as simple as using your combo square with large holes, or a piece of dowel in smaller holes used to determine how deep the hole has been drilled. For real tiny holes or times I want a very high level of precision I use an old Starrett Machinist Depth Gauge I got at a tool show years ago. I like this gauge as it has its own macro and micro adjustment which is a very nice and completely overkill feature. 🙂
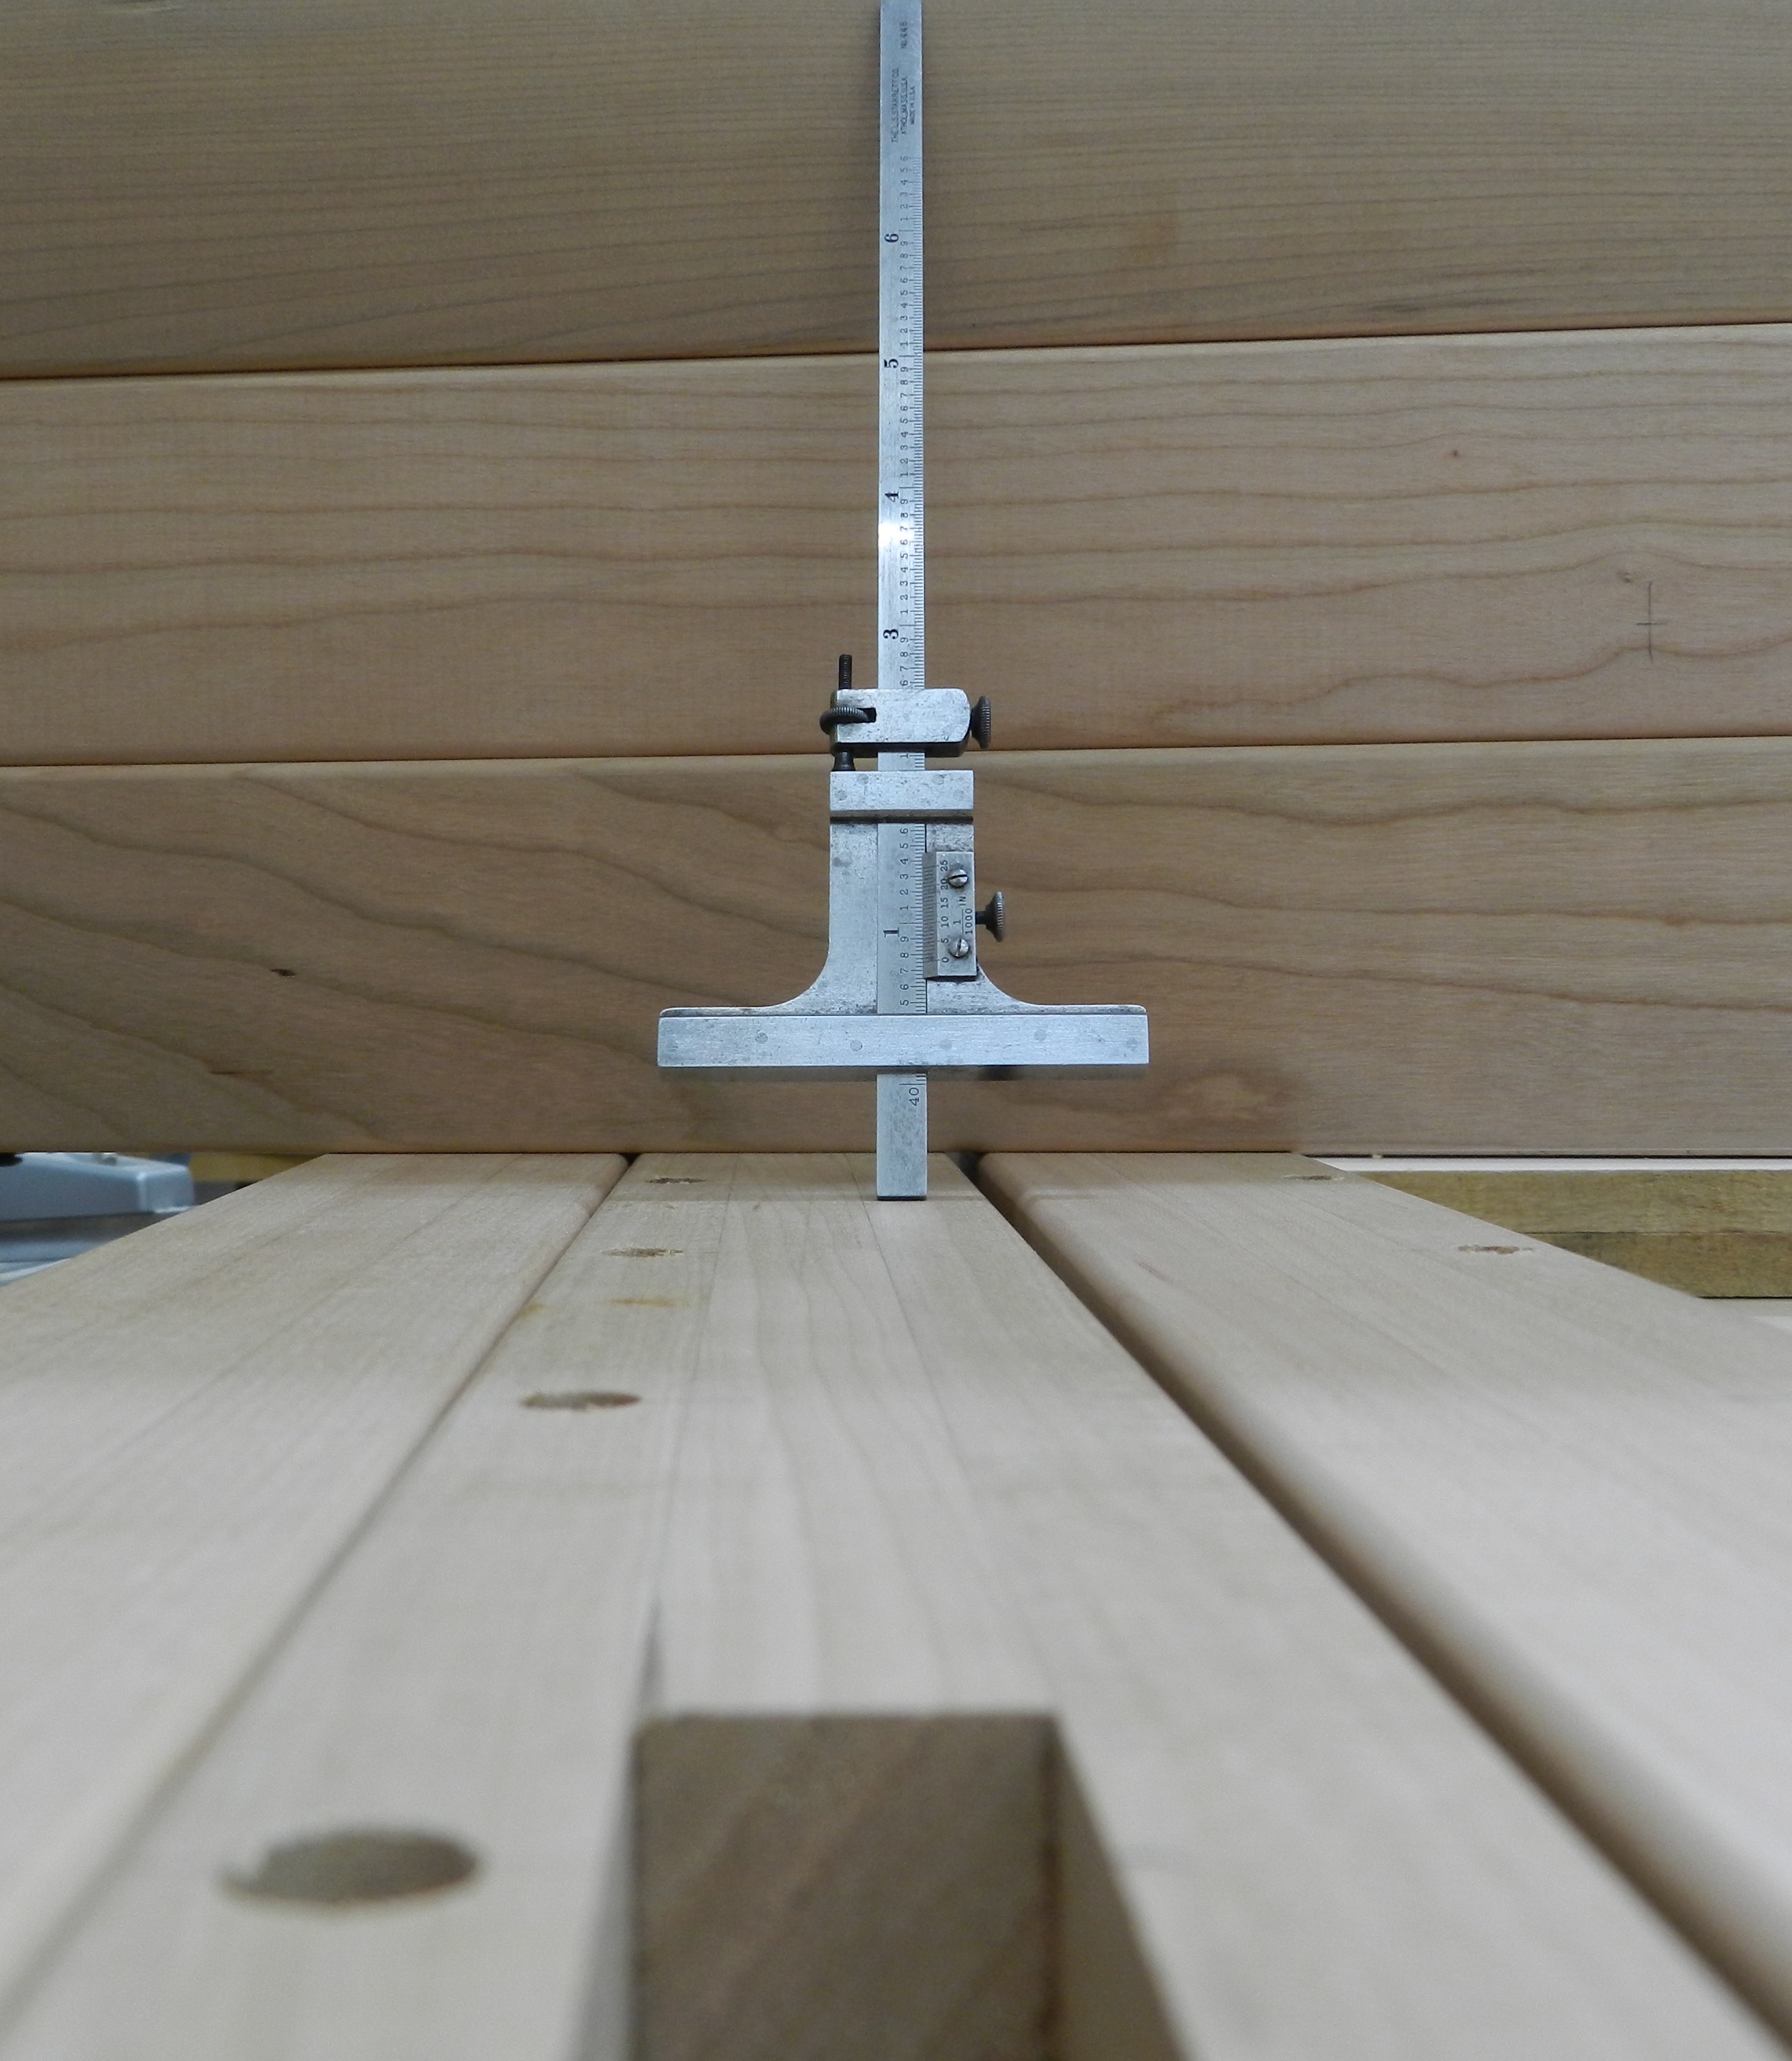
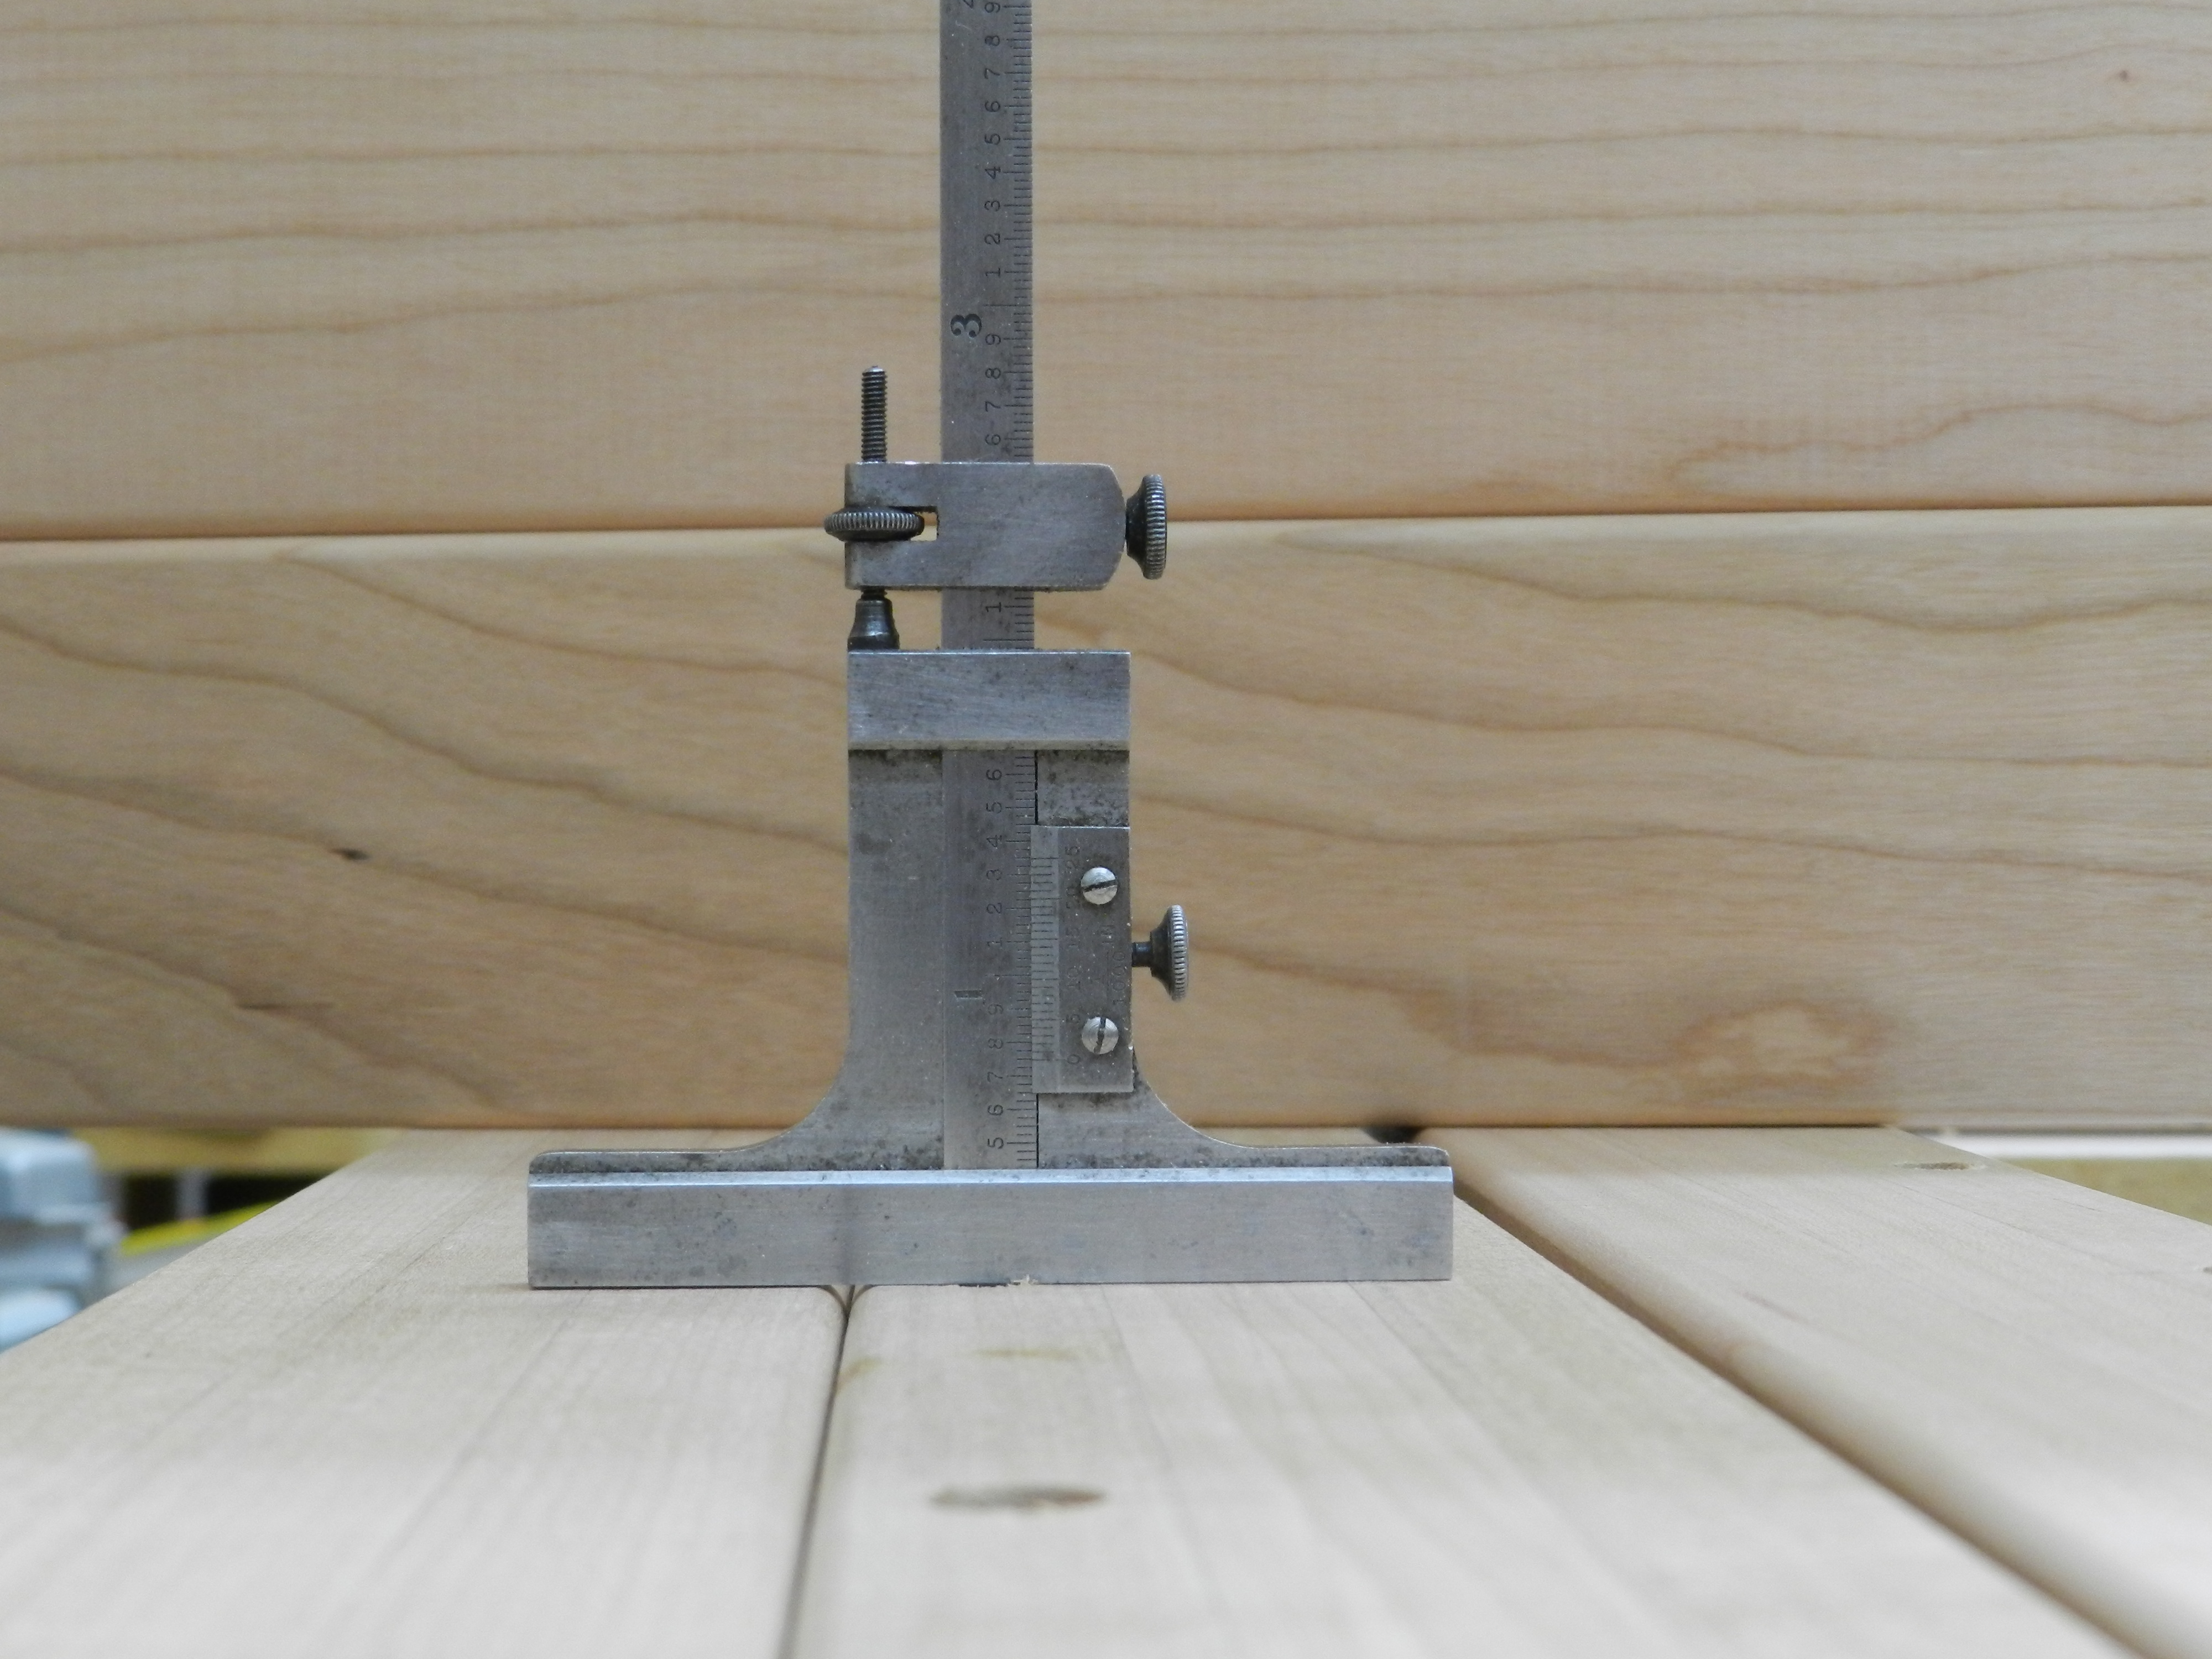
I set the gauge to the depth I want as shown above. I then place the gauge in the hole, as shown below, and tweak my drilling until I reach the depth I am going for. It’s a quick and easy process.
With all the holes drilled I was able to install all of the threaded inserts into the posts. As the natural cherry ages it will become a golden brown color that will blend in with the brown colored hardware.

I’m very happy with how the hardware came out, and as you can see in the photo below, even on this freshly completed piece the hardware, and the threaded inserts and bolts in particular blend in quite well.

Next up in this series I’ll be talking about final assembly and finishing.
If you’d like to read some other posts related to this project as they get posted please check out this link here.
Take care,
-Bill

I’ll say it again, this looks great. Great work.