

Today I’ll be talking about what it took to build the legs — 3 pairs — for Bradley’s crib and cover some of the more interesting techniques employed. This project was more of a ‘modern woodworking’ project compared to the period furniture and architectural details I am normally working on, but as I’ll show below there is a place for both styles of woodworking and they complement each other well.

Rather than having massive posts from a solid piece of cherry that needs to be mortised, this set of plans called for laminating up the stock from 4/4 pieces that were milled down to 3/4″ thick. For this project I tried to mill as many pieces as I could at a time, so for quite a while in the shop there were a lot of small piles of wood that would migrate around the shop as they were ripped, jointed and planed. I’m pretty sure my wife thought I was just moving the wood around like a child moving vegetables around on a plate to make it look like they are eating them. I’d mill things a bit heavy and let them sit stickered for a few days to acclimate further to the shop and mill to final size just before I’d use each piece.
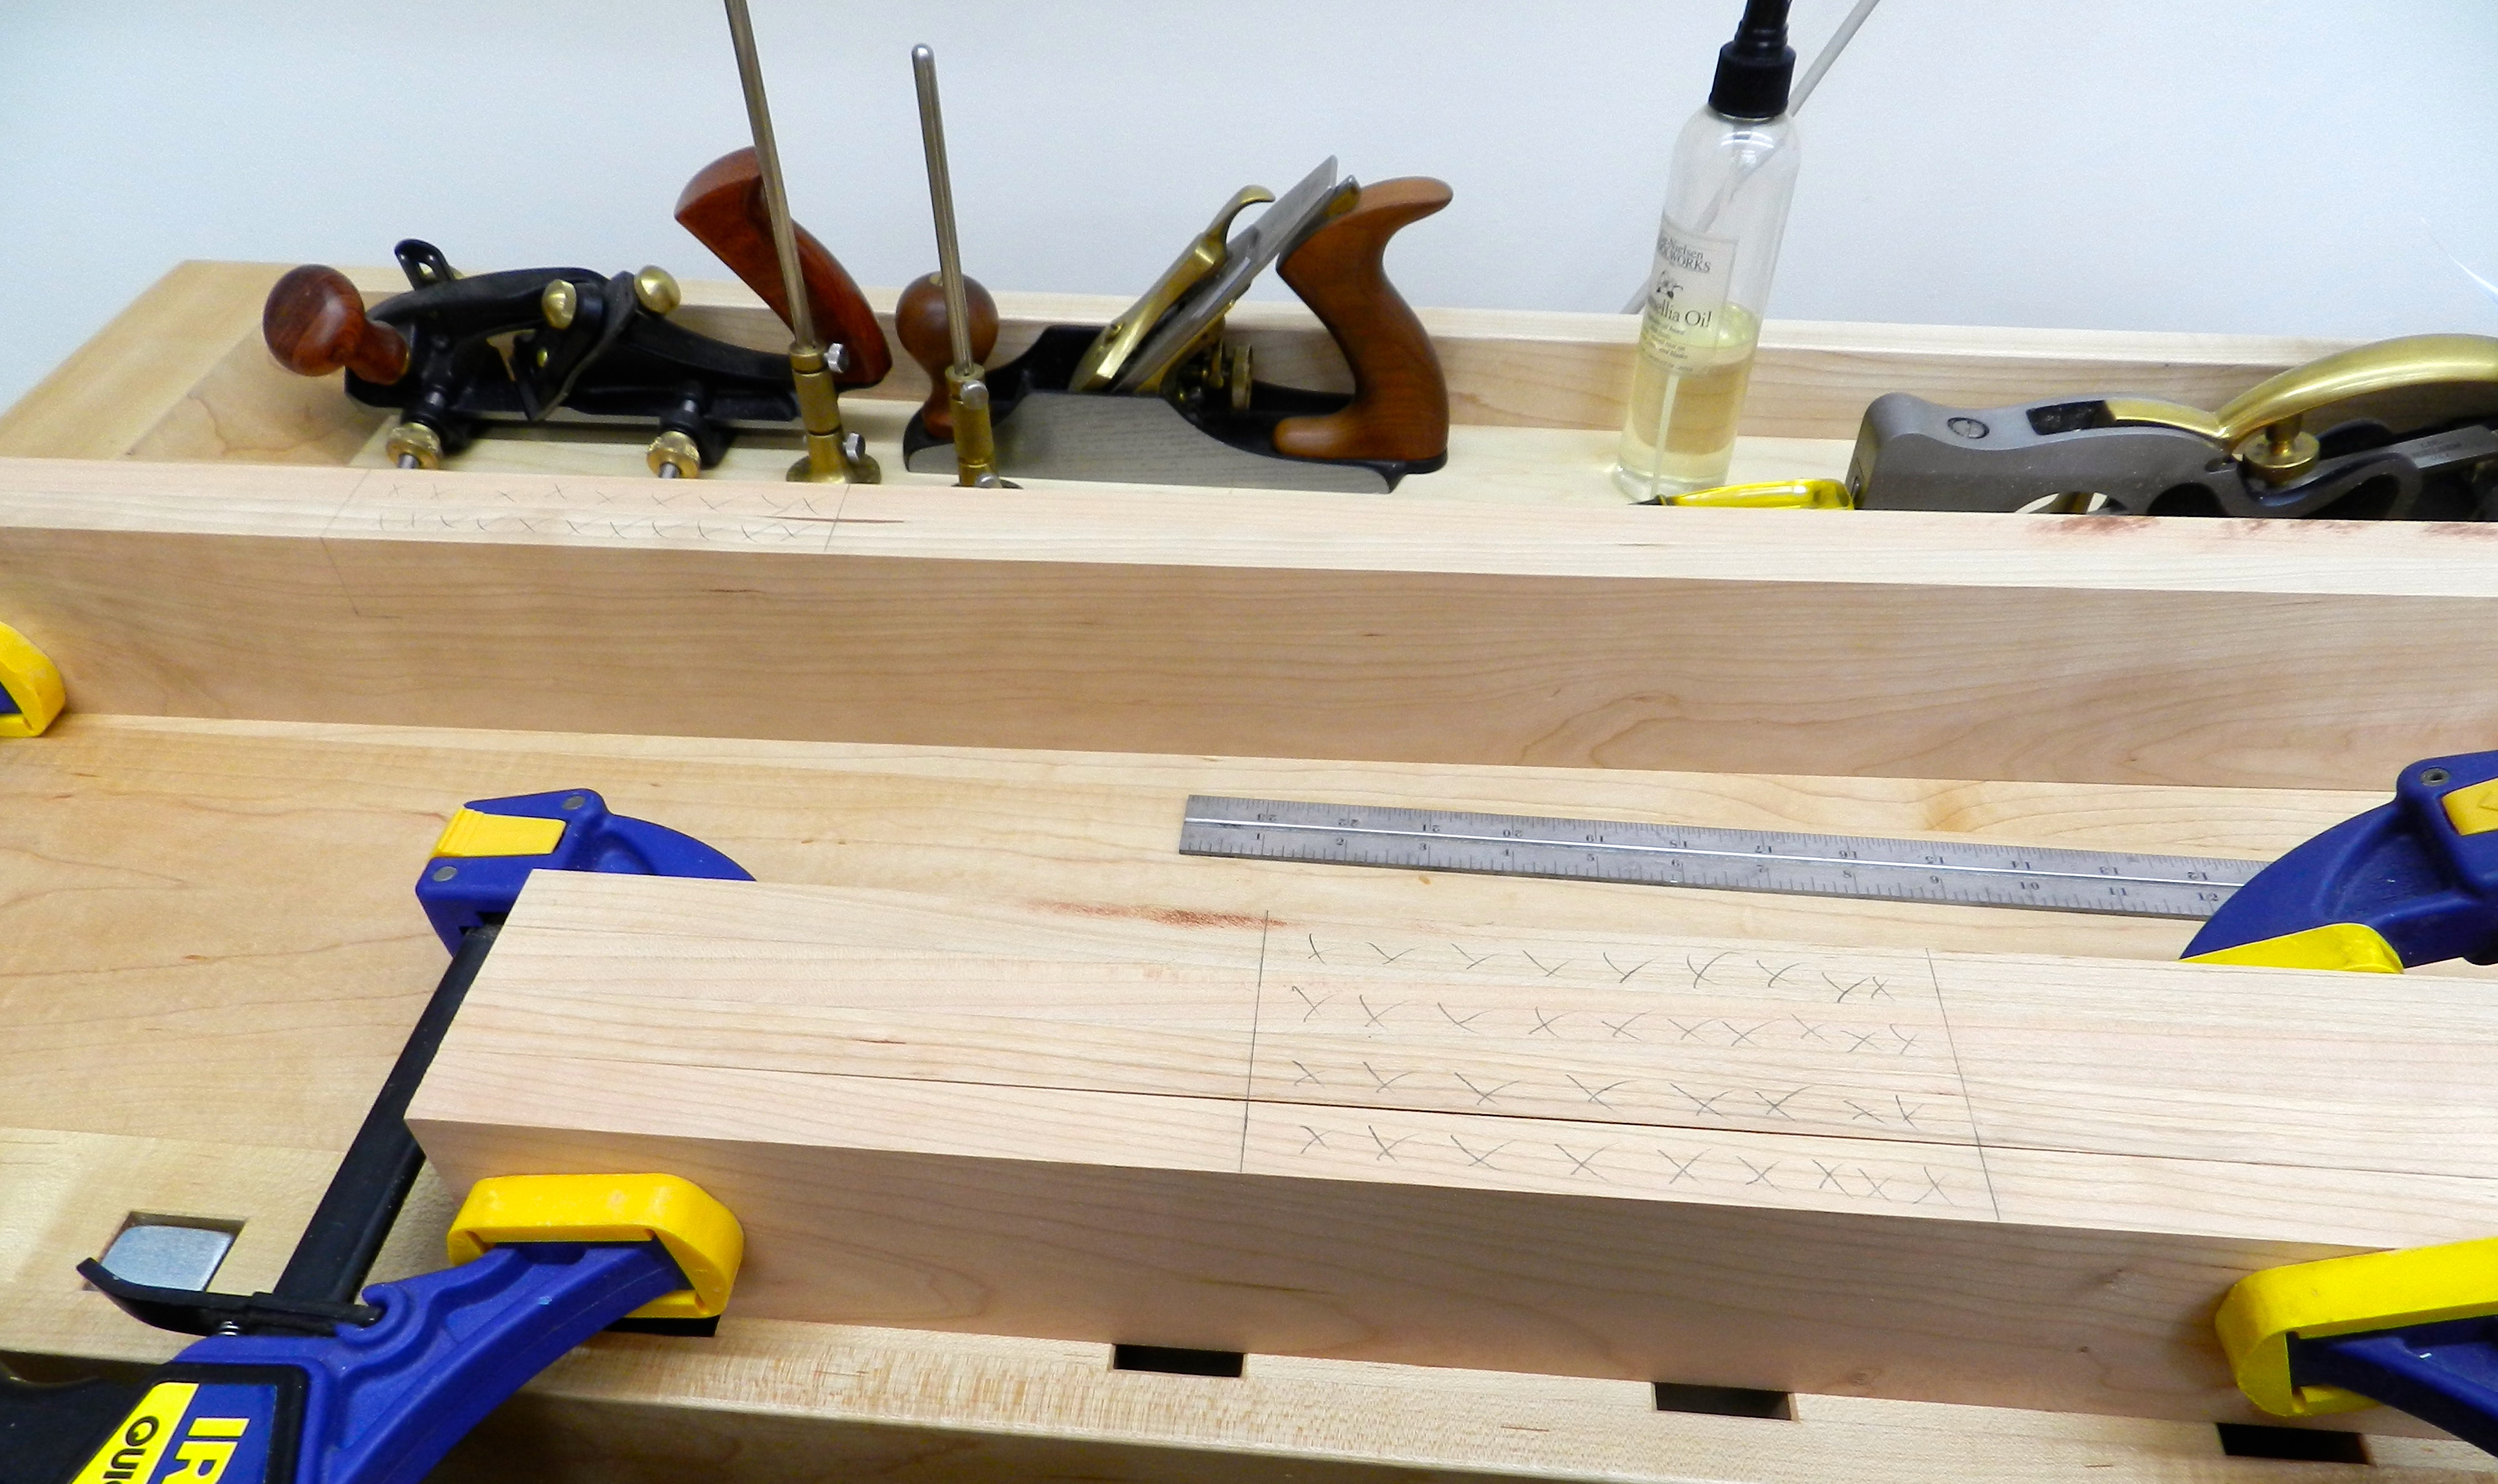
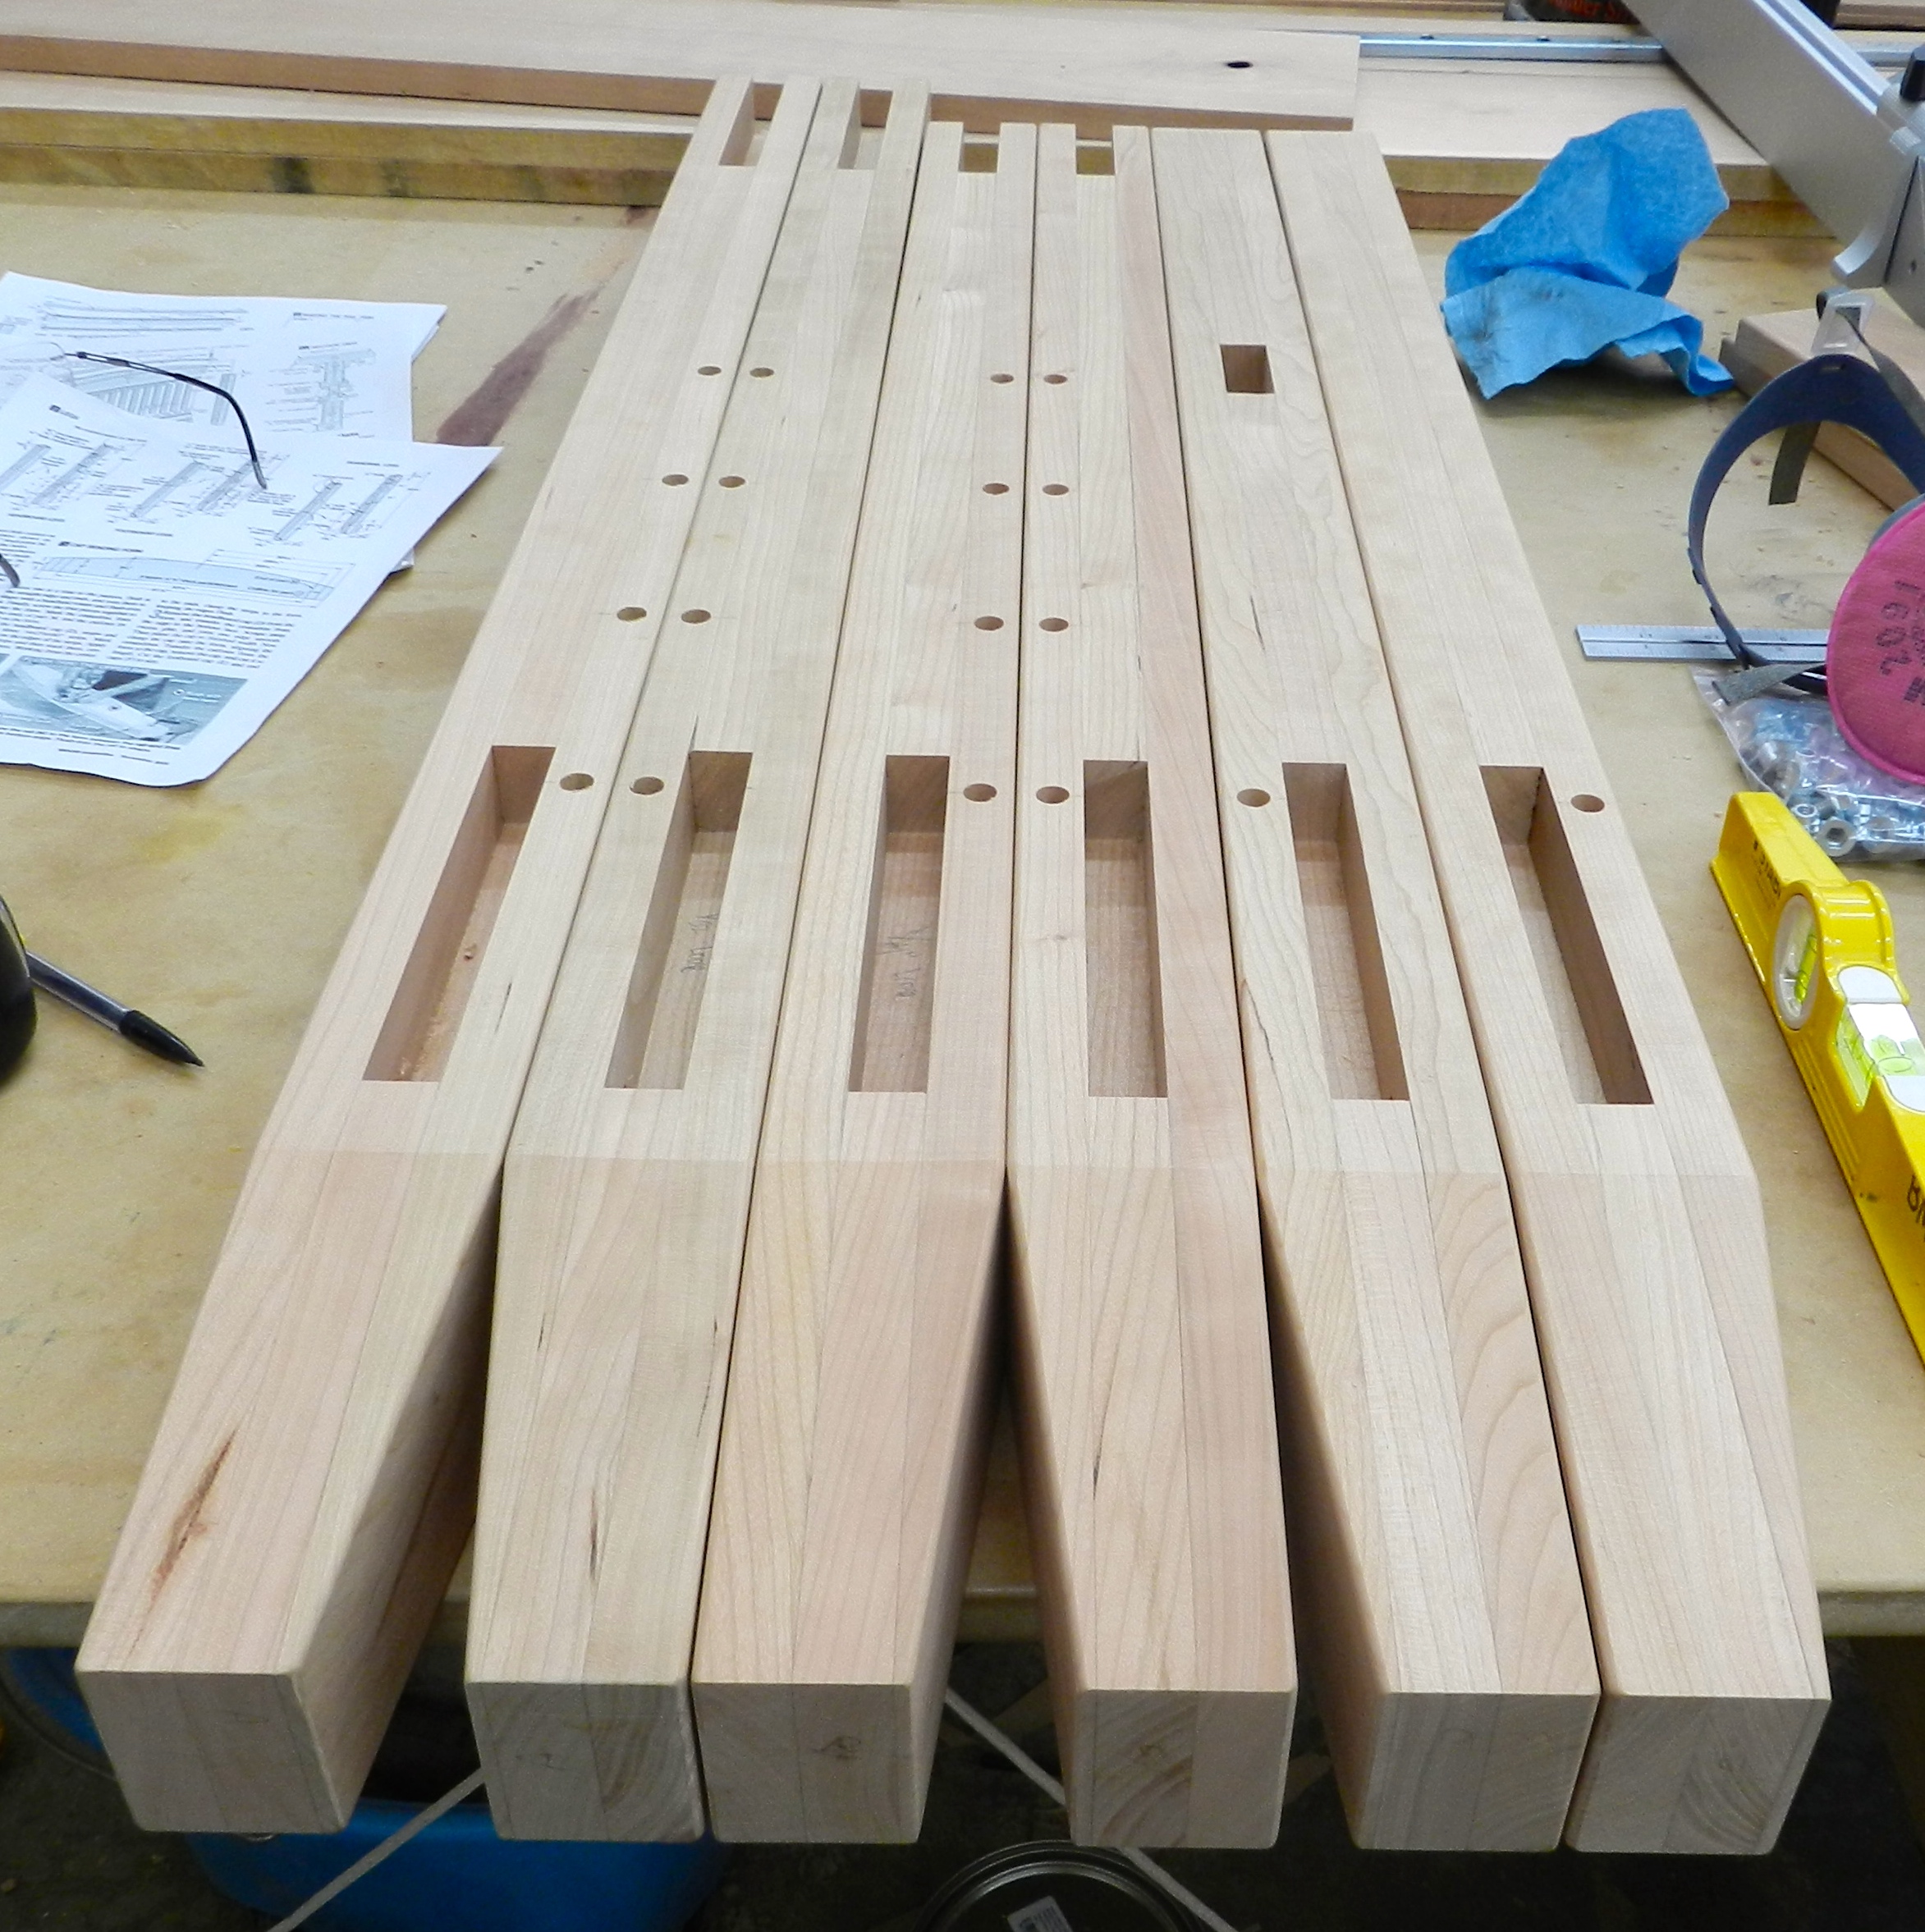
By ganging blanks of the same type together I was able to mark them all at once saving layout time and helping to ensure they are all consistent.
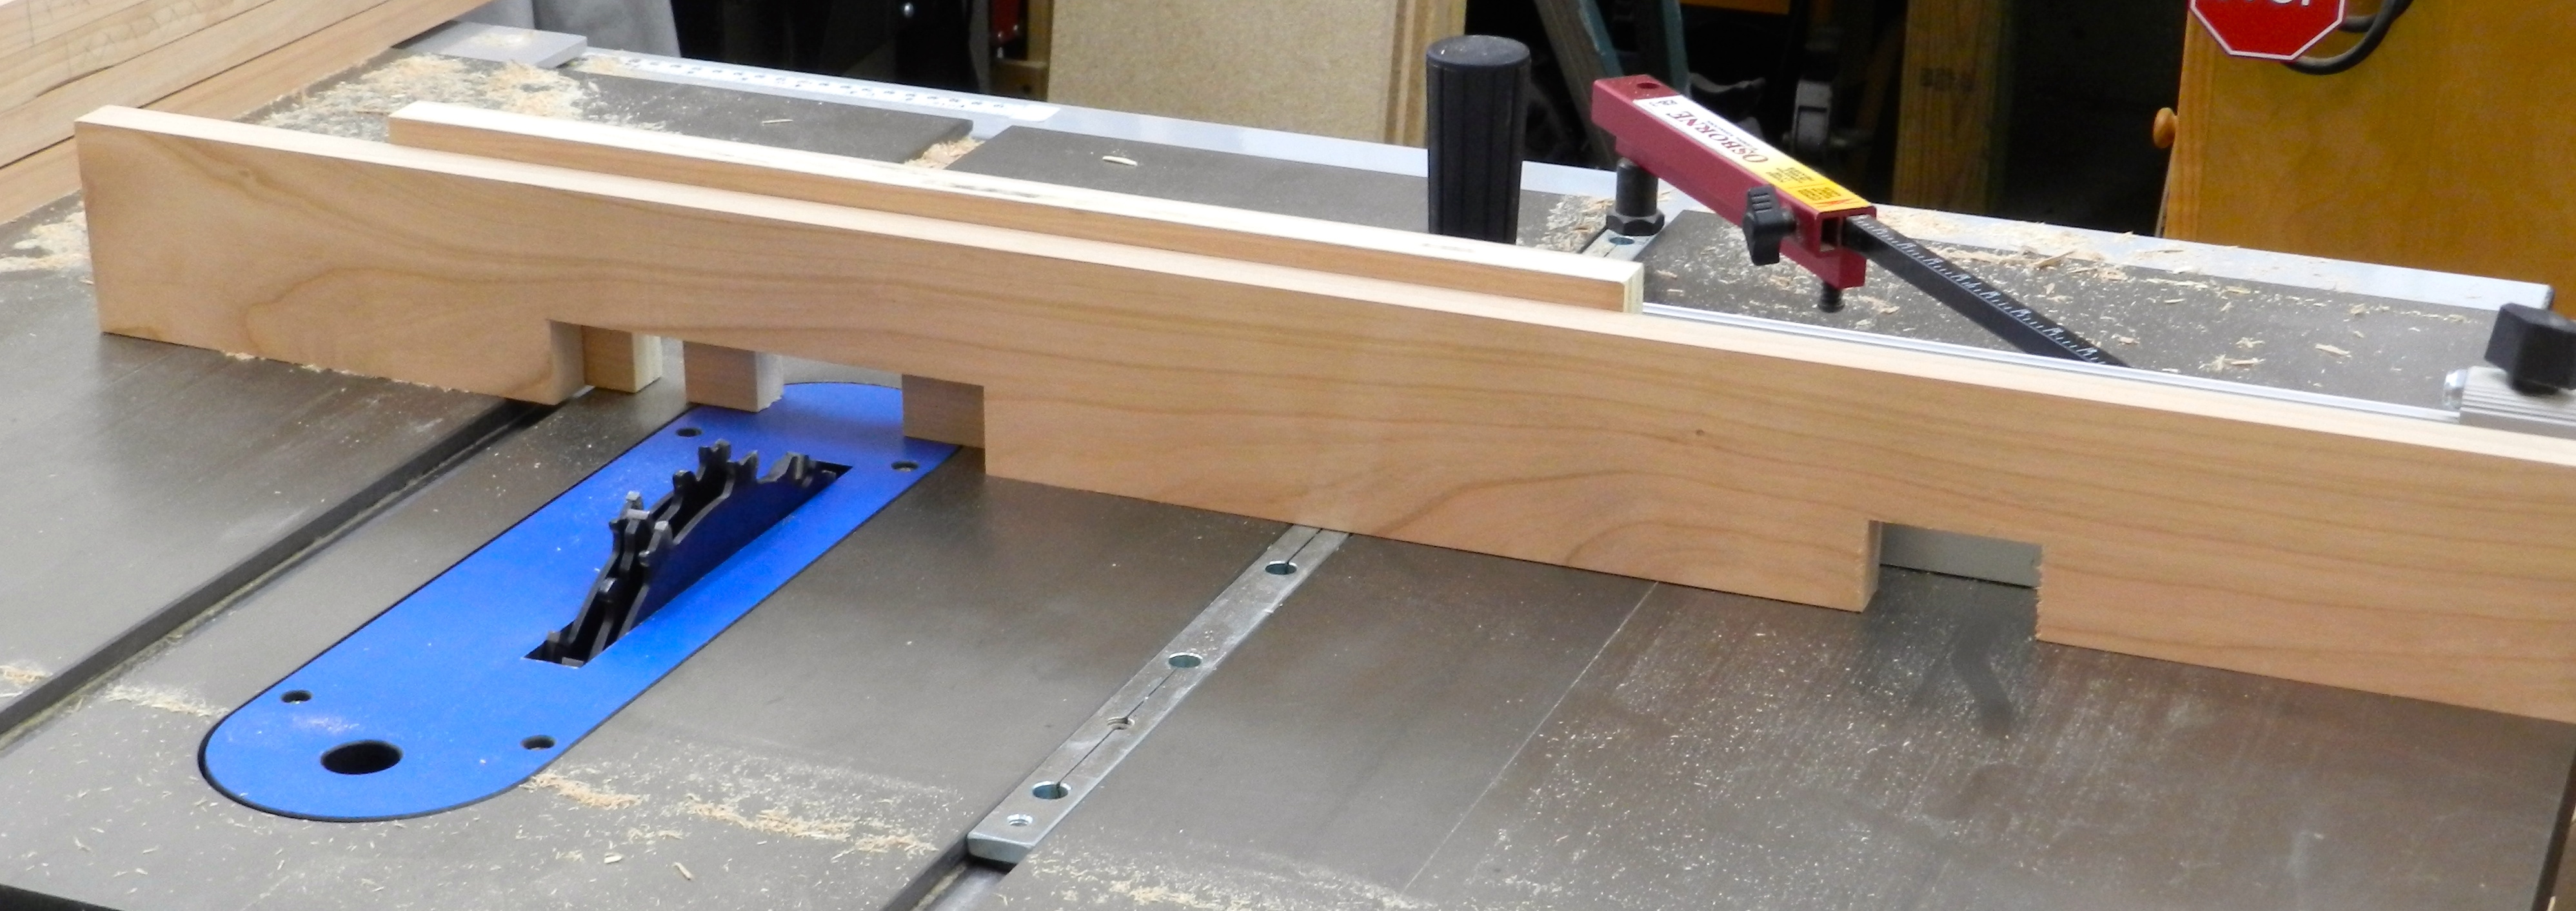
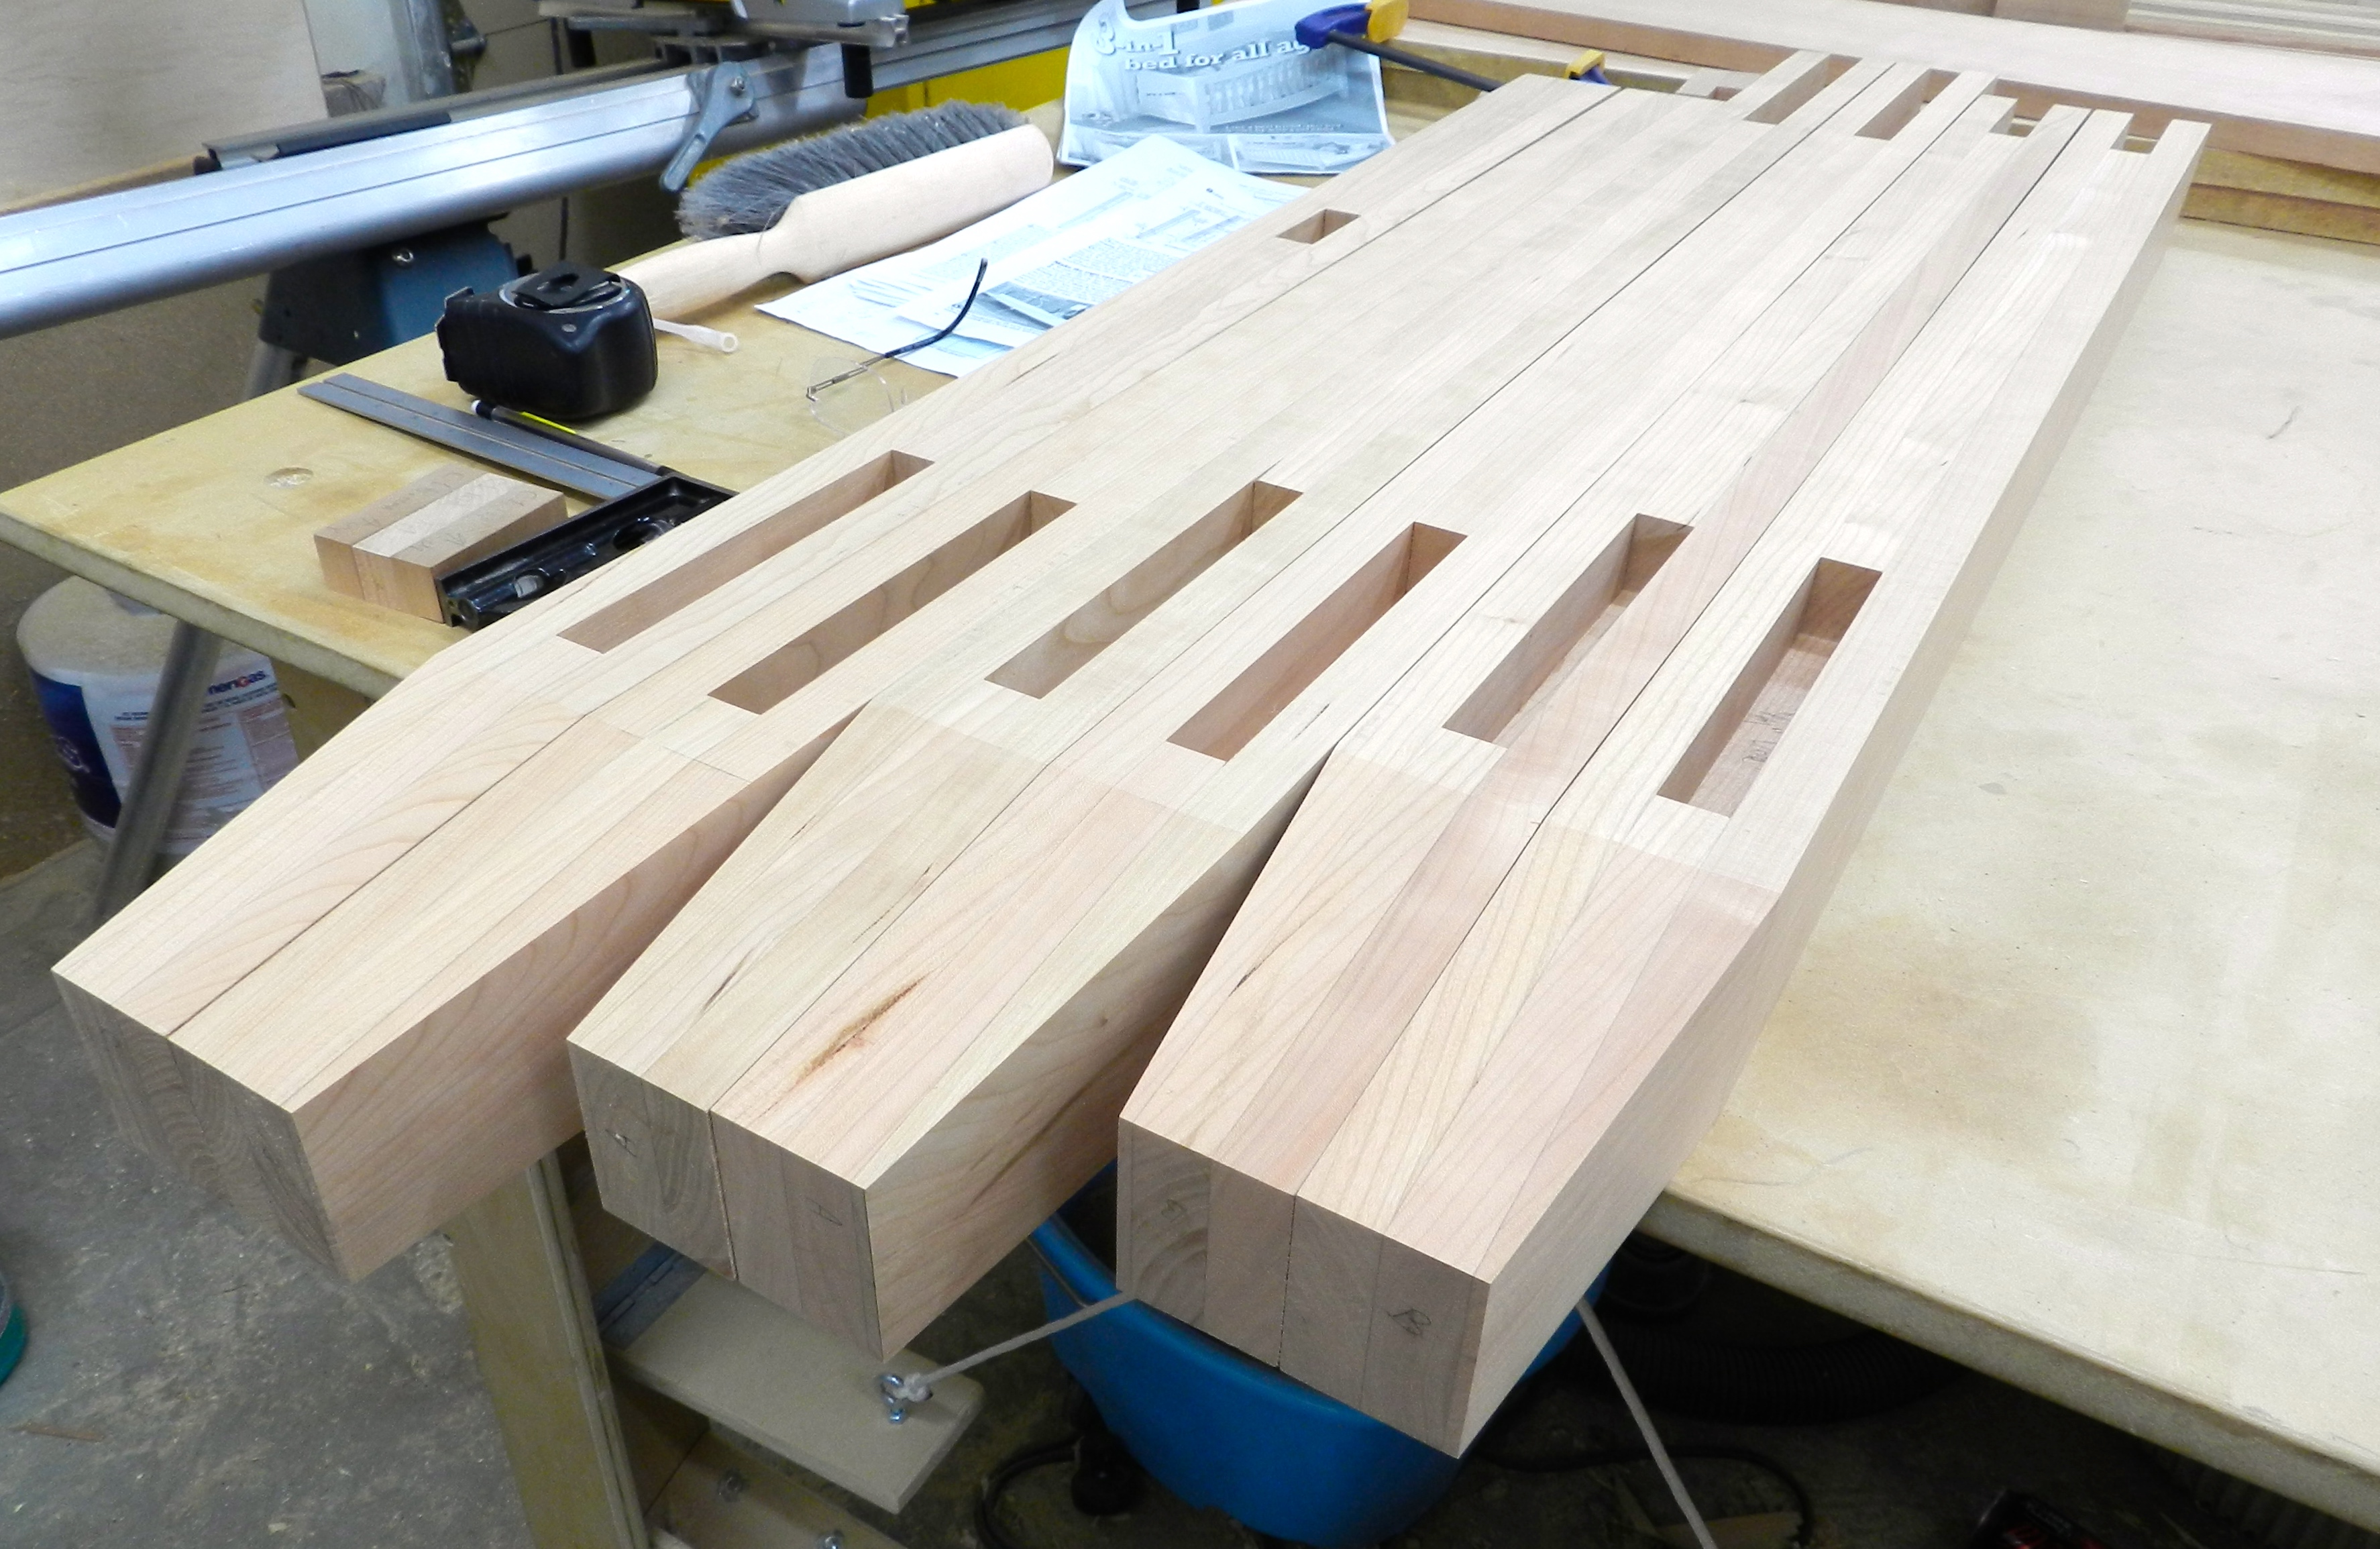
By using a dado head cutter in my table saw with a zero clearance insert and a heavy duty miter gauge with a sacrificial block to help limit tear-out I am able to quickly create what will become the mortises in the laminated post. This not only saves some time, but produces a nice clean mortise bottom. Make sure you make your mortises a tiny bit deeper to allow room for glue, any crumbs and a tiny bit of wood movement in the post. Given that the panel is cherry veneer plywood it will not move much.
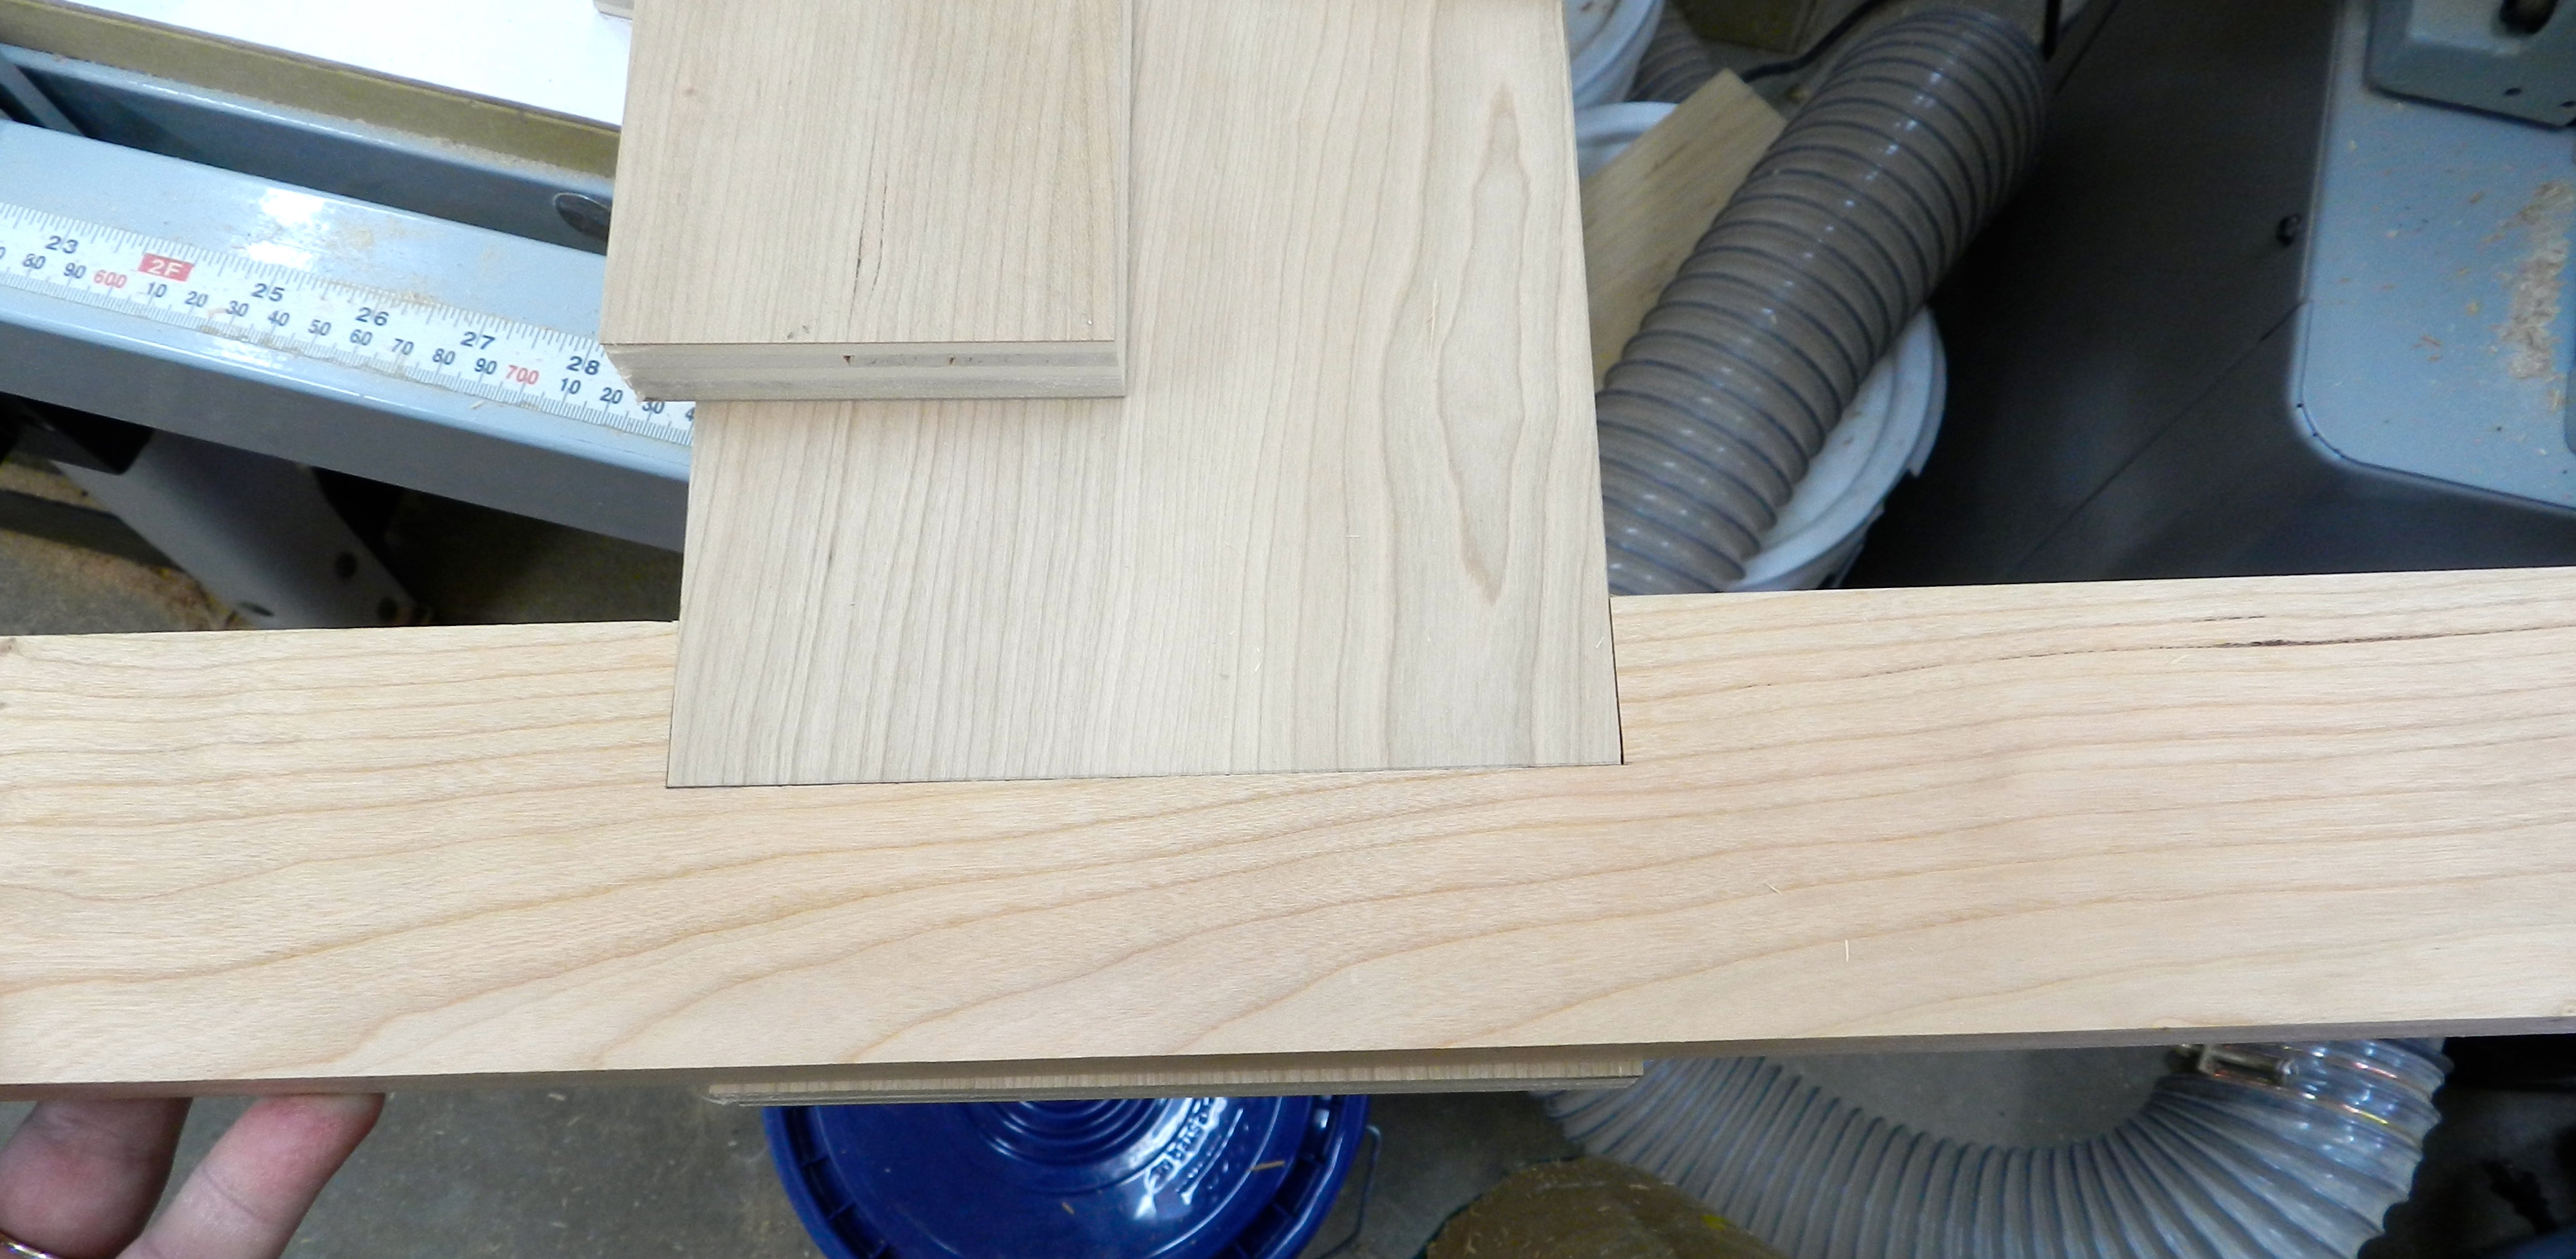
The goal is a nice square fit, and since the panels were already sized during the earlier ripping operations — see Part 1 — you could test fit them as you go.
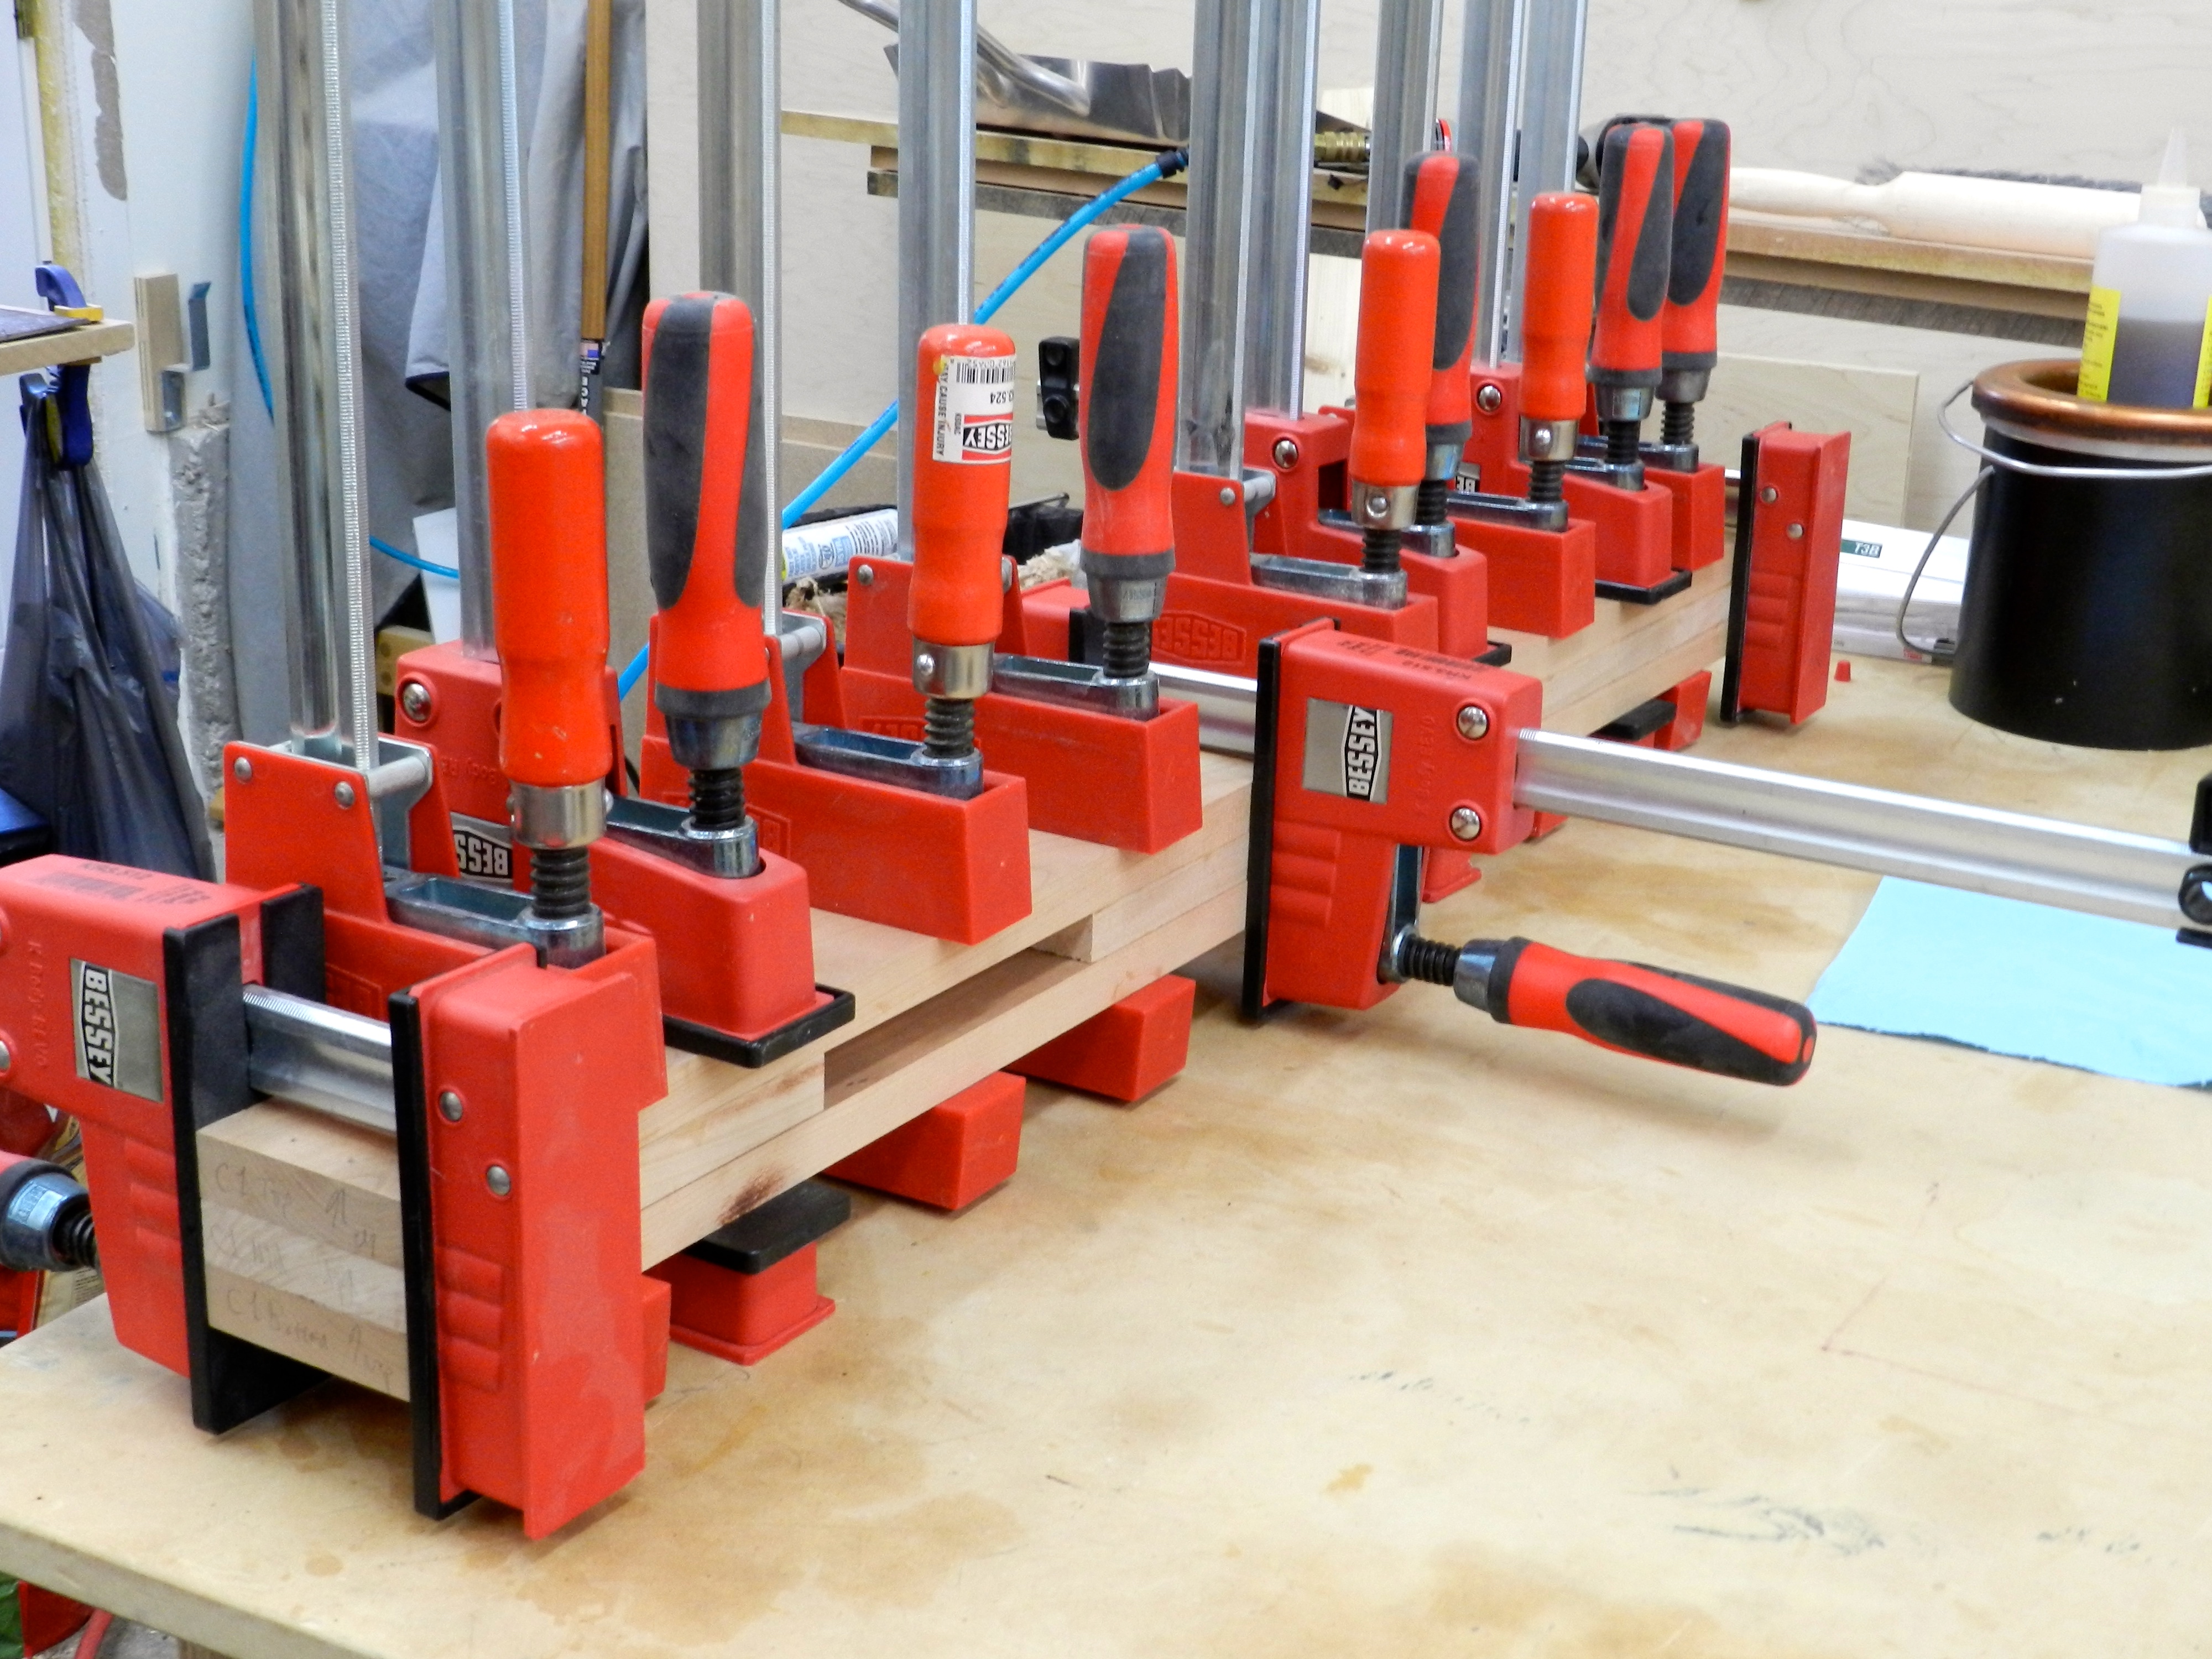
With the mortises all cut, it was time to laminate up each leg. In picking the stock for the legs I was careful to choose the best grain orientations for the faces you’ll see. The pieces are all a little bit long and a little bit wide so the excess could be cut off after the glue dries. You want to be careful with your glue application, I applied warm hide glue to the both sides of the center piece of the lamination to make sure I didn’t get glue in any of the mortises. I also shot a couple of finish nails into the inch or so of waste on each end as that helps stop the pieces from sliding around when clamping up the lamination and it will be cut off later.
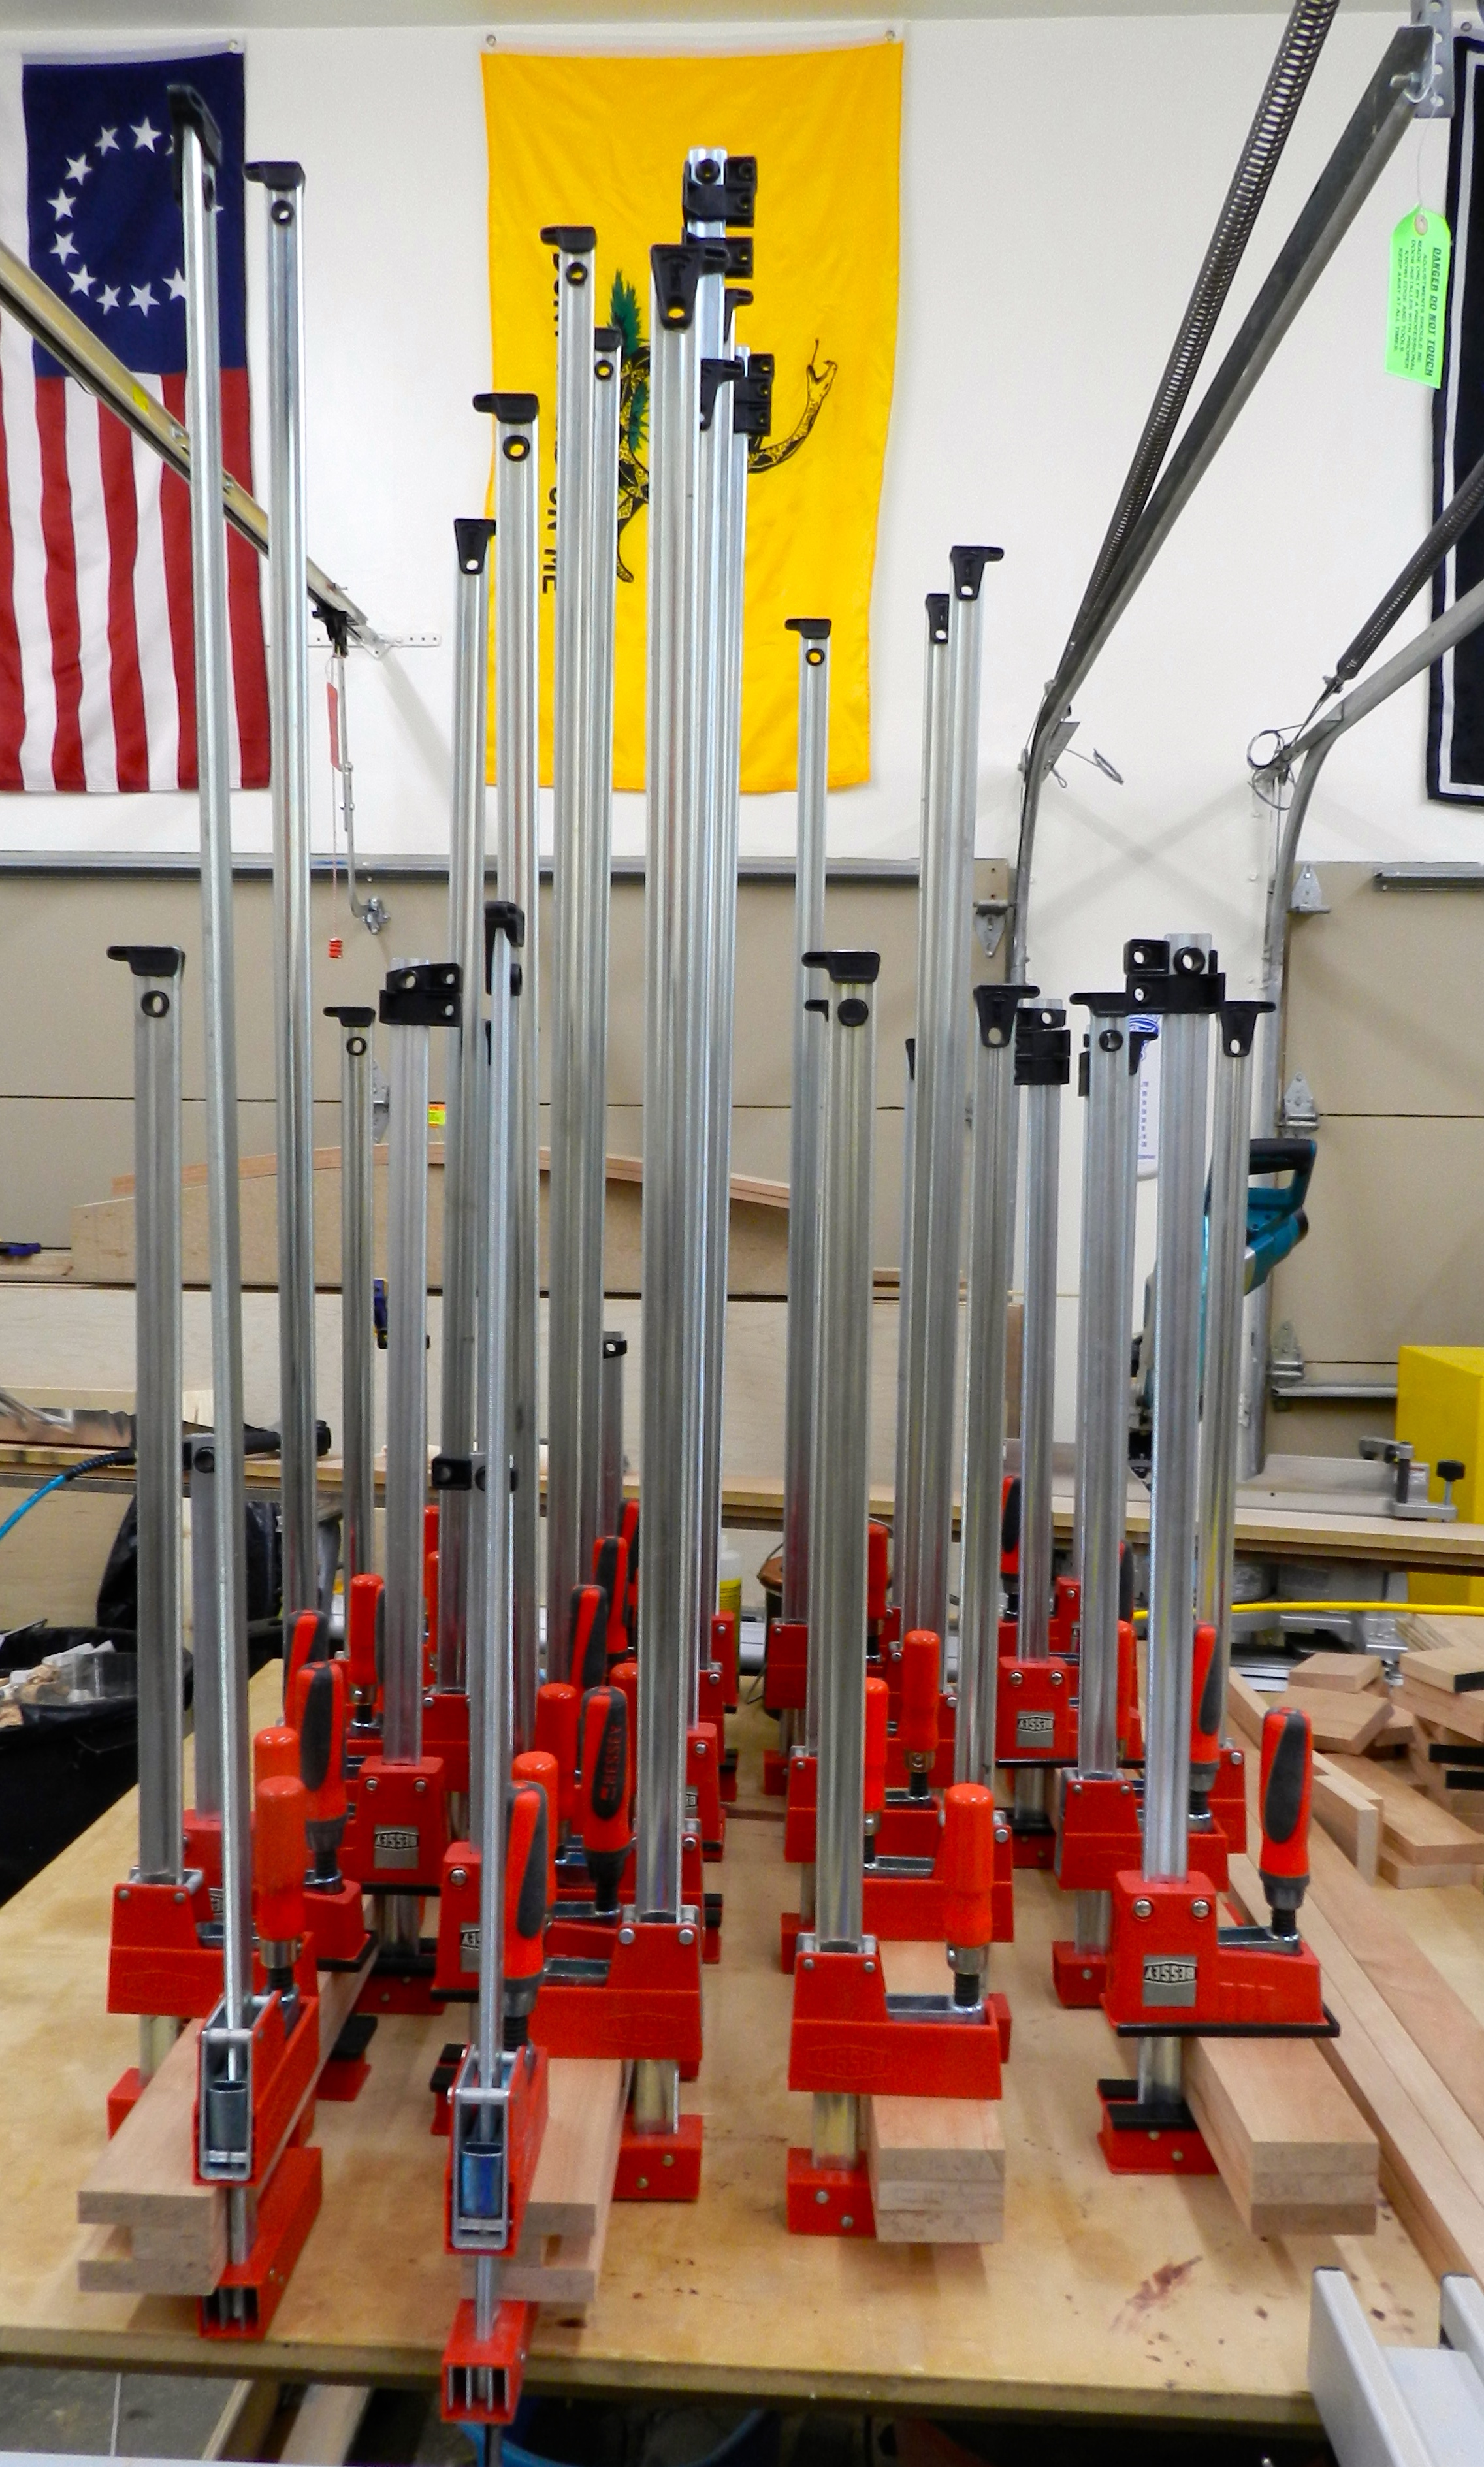
I glued up as many legs as my clamps would allow. You want to use nice strong clamps like the Bessy K Body clamps shown above to eliminate any voids in the laminated pieces. After the glue cured overnight I cut the legs to length — thus getting rid of the nails that helped keep things aligned. Next up I jointed and planed each leg to thickness and laid out the tapers on each leg — the two inner faces were tapered to give the legs a slightly lighter look.
I tapered the legs on the band-saw and then cleaned up the mill marks with a hand plane. The plane made quick work of that task and yielded better results than a disc sander would be able to produce. Then using a palm router I rounded over all the appropriate edges using a 1/8″ round-over bit and cleaned up any mill marks from the router with 220 grit sand paper.
Next up in this series I’ll be talking about modifying and installing the hardware, followed by final assembly and finishing.
If you’d like to read some other posts related to this project as they get posted please check out this link here.
Take care,
-Bill
