Category Archives: Design

3ft Invisible Paper Towel Holder

In August my wife and I had our first baby — Bradley. And with his arrival we went out and bought him all kinds of baby stuff to get his room ready. One of the key pieces of decorating his room was picking out his bedding. We picked a nice comforter set that coordinates his window curtains, changing table, pictures etc.  The funny twist is that young babies should not have a comforter in their bed with them, so you spent all this money on a comforter you can’t use right now, what do you do with it?

Don’t worry the marketing folks were on top of this — sort of. They sew a nice loop in the back which is designed for a curtain rod or similar device to hang the comforter on the wall, but nobody makes one sized for a baby. The curtain rods look ridiculous as they keep the blanket too far off the wall, I refuse to use two binder clips handing from nails, and standard quilt racks/shelves are all way too wide.  I guess the baby marketing team was too busy selling us wipe warmers, bottle sanitizers of all sort, teething chew toys and novelty onesies.

Then one afternoon as I was gathering up my scraps from building the crib a workable solution came to me…

Paper Towel Holders on my NYW Sharpening Station

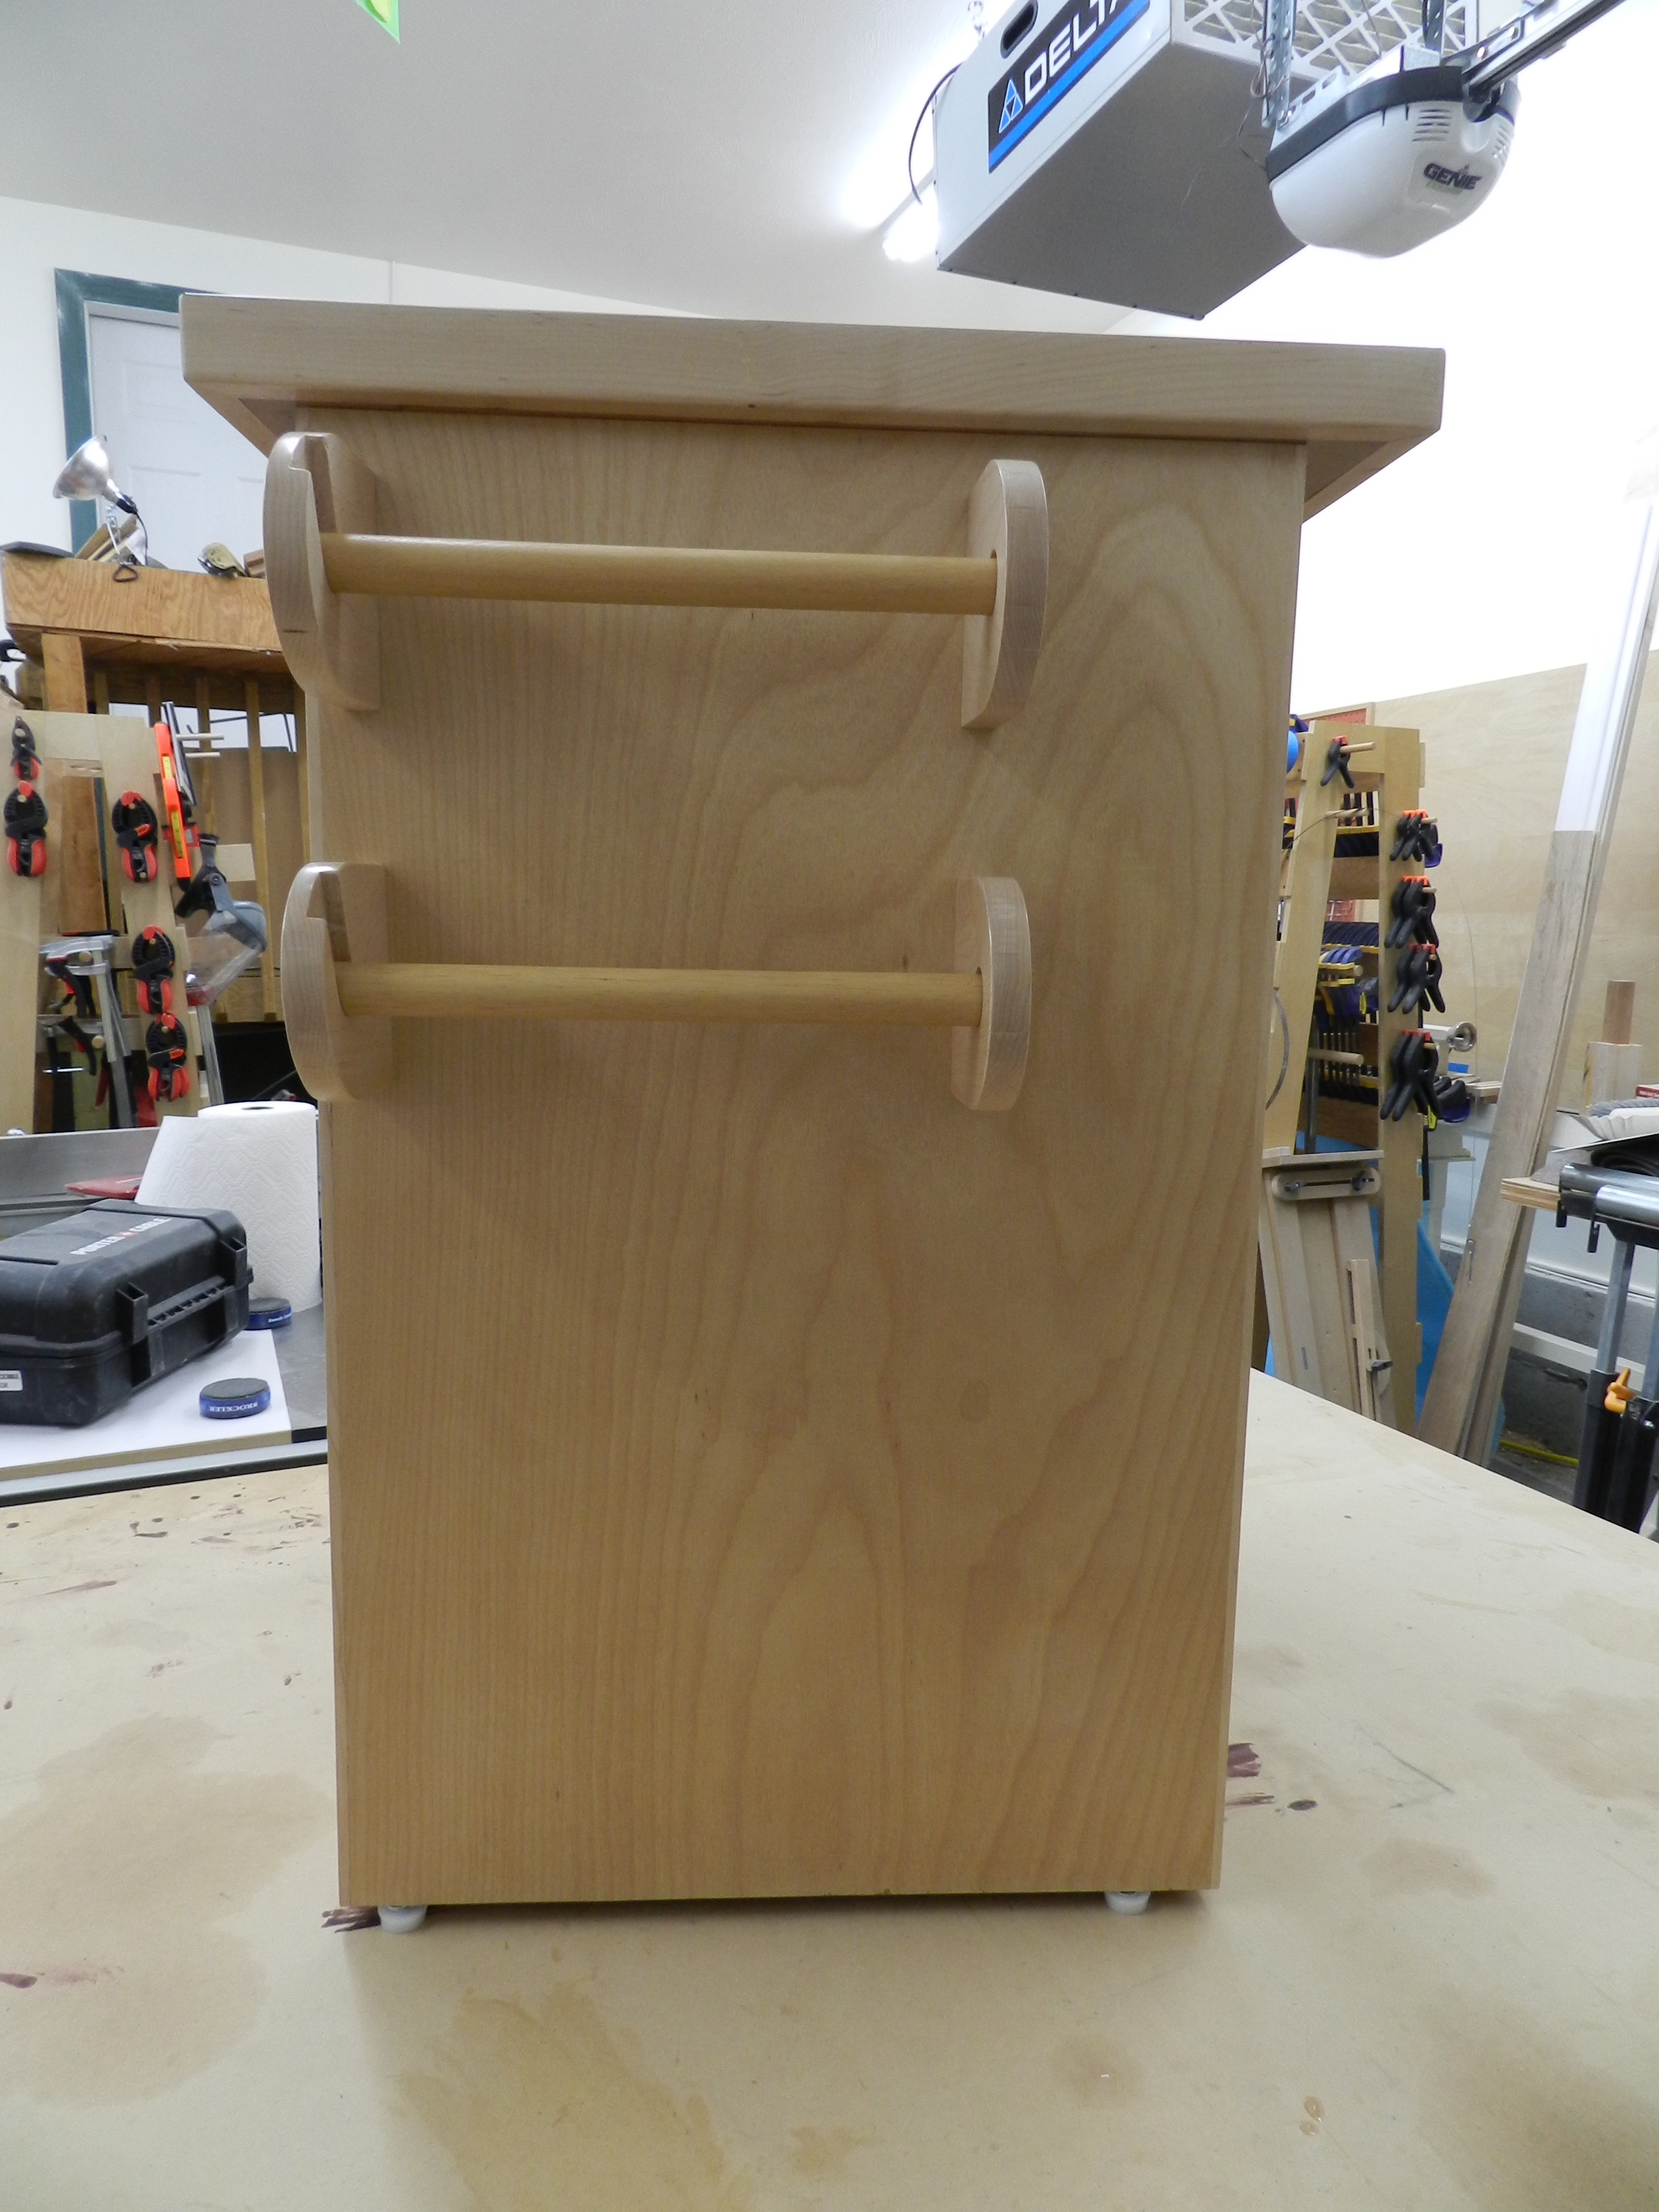
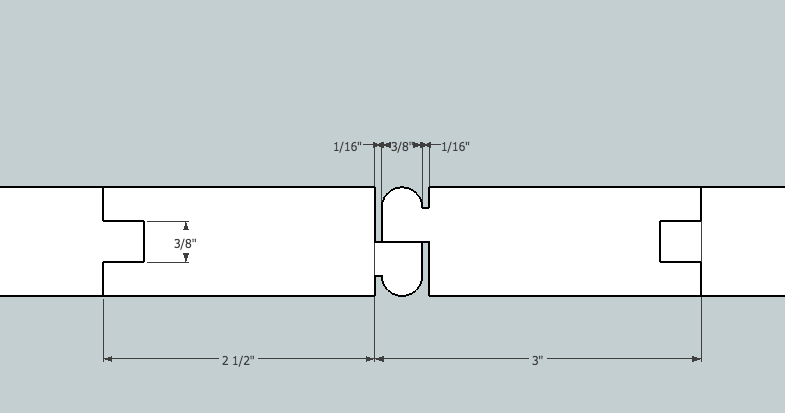
I’d use the same simple mechanism I used to hold my paper towels on my New Yankee Workshop Sharpening Station. It’s a simple solution that makes use of a dowel and two corner blocks to hold the dowel in place. One of the blocks has some wood removed so gravity will keep the dowel in place, but downward forces keep the dowel secure. To remove the dowel you lift that side straight up and it comes out via a path you have cleared for it.

36" Wide Baby Comforter Holder
36″ Wide Baby Comforter Holder

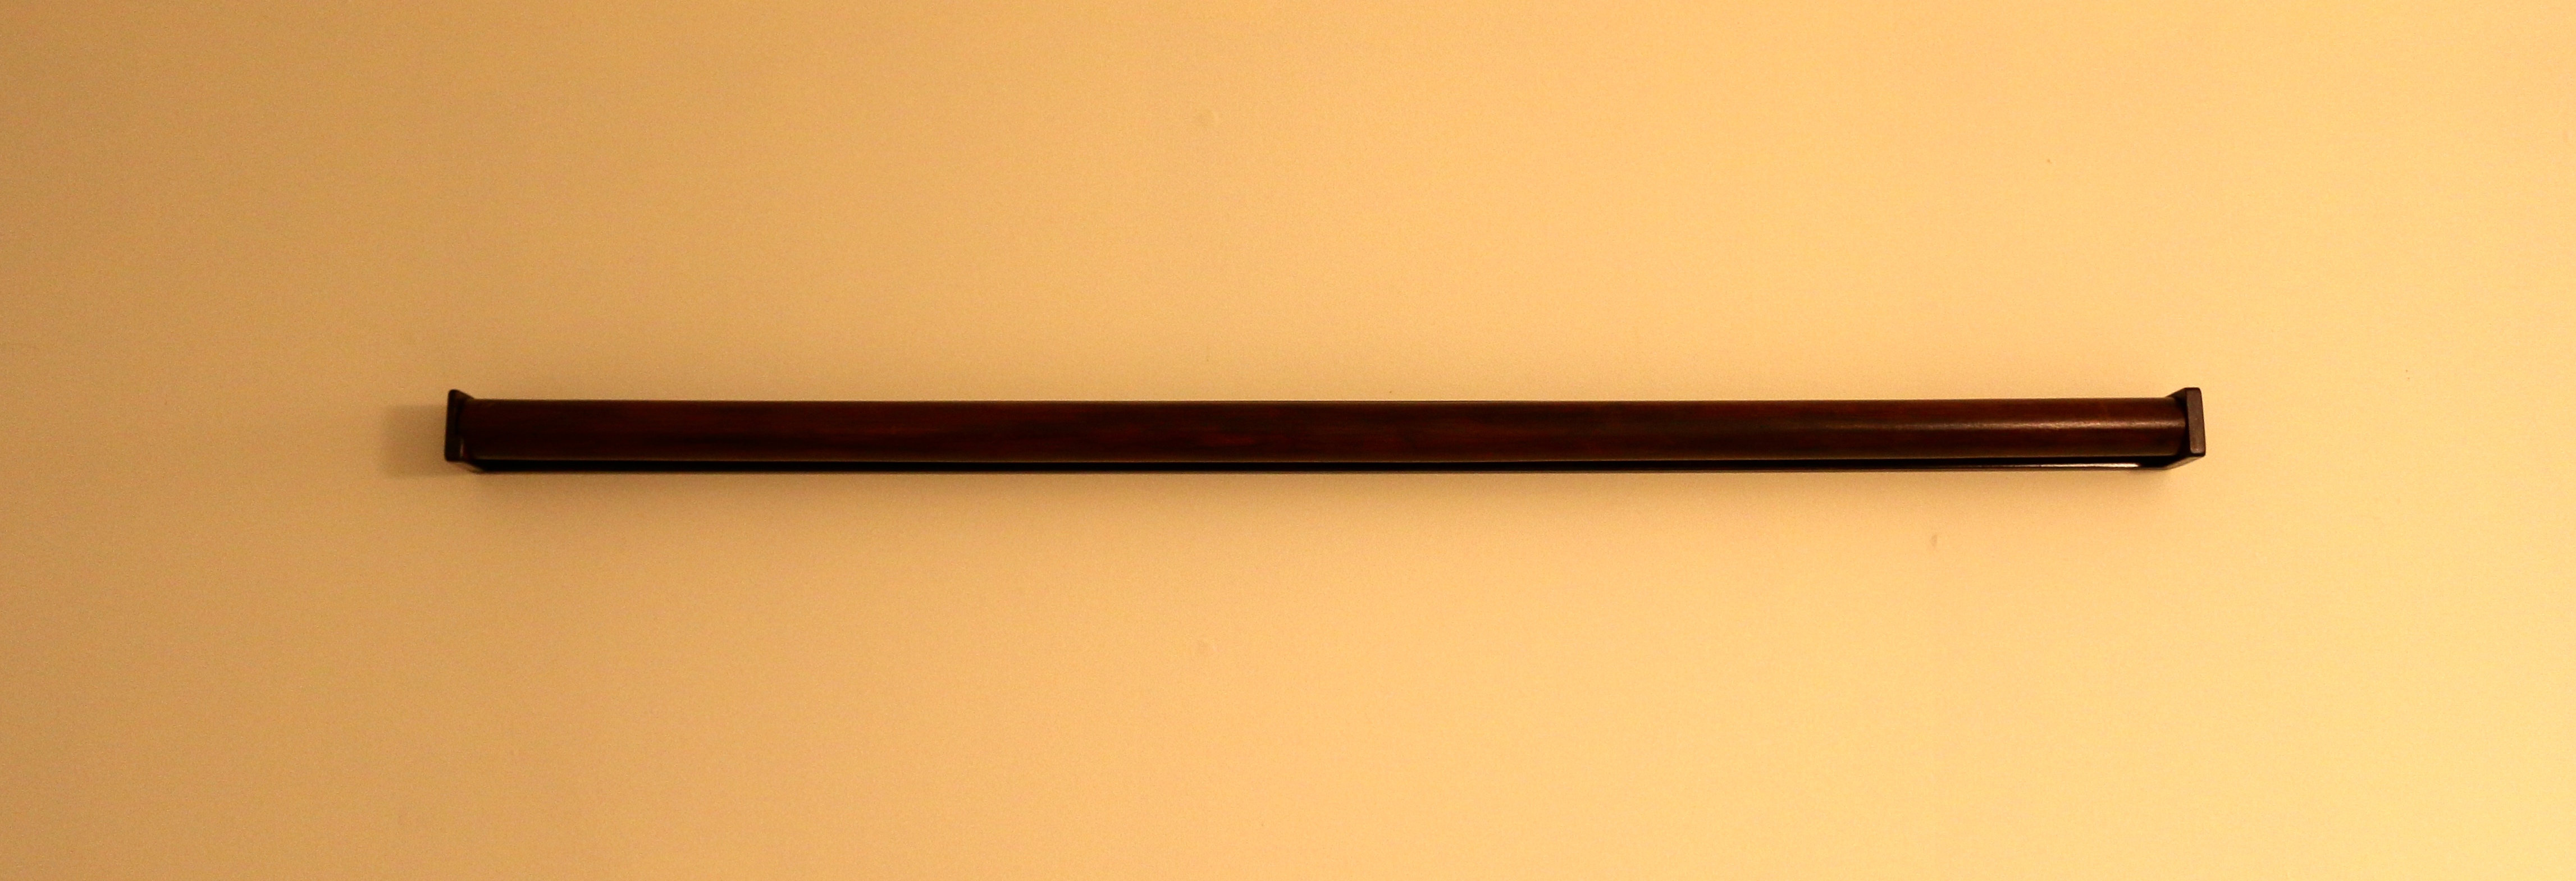
I used a 1 1/4″ diameter 36″ long cherry dowel and some cherry scraps (extra crib slats) to make the holder. The dowel is only about 3/4″ off the wall, so when the comforter is in place it hangs very close to the wall the way I wanted it to look.  The corner blocks are carefully glued and screwed through the back. The holder is affixed to the wall via some countersunk screws that are hidden by the dowel when it is in place. Since I was using scrap wood, I used the thin 3/8″ cherry stock I had on hand, but if I were to build this project again I’d beef up those blocks some more. I used a Forstner bit in the drill press to drill out for the dowel and for the open ended side used a chisel to remove the extra wood.

Finish set to match other pieces of baby furniture in the room

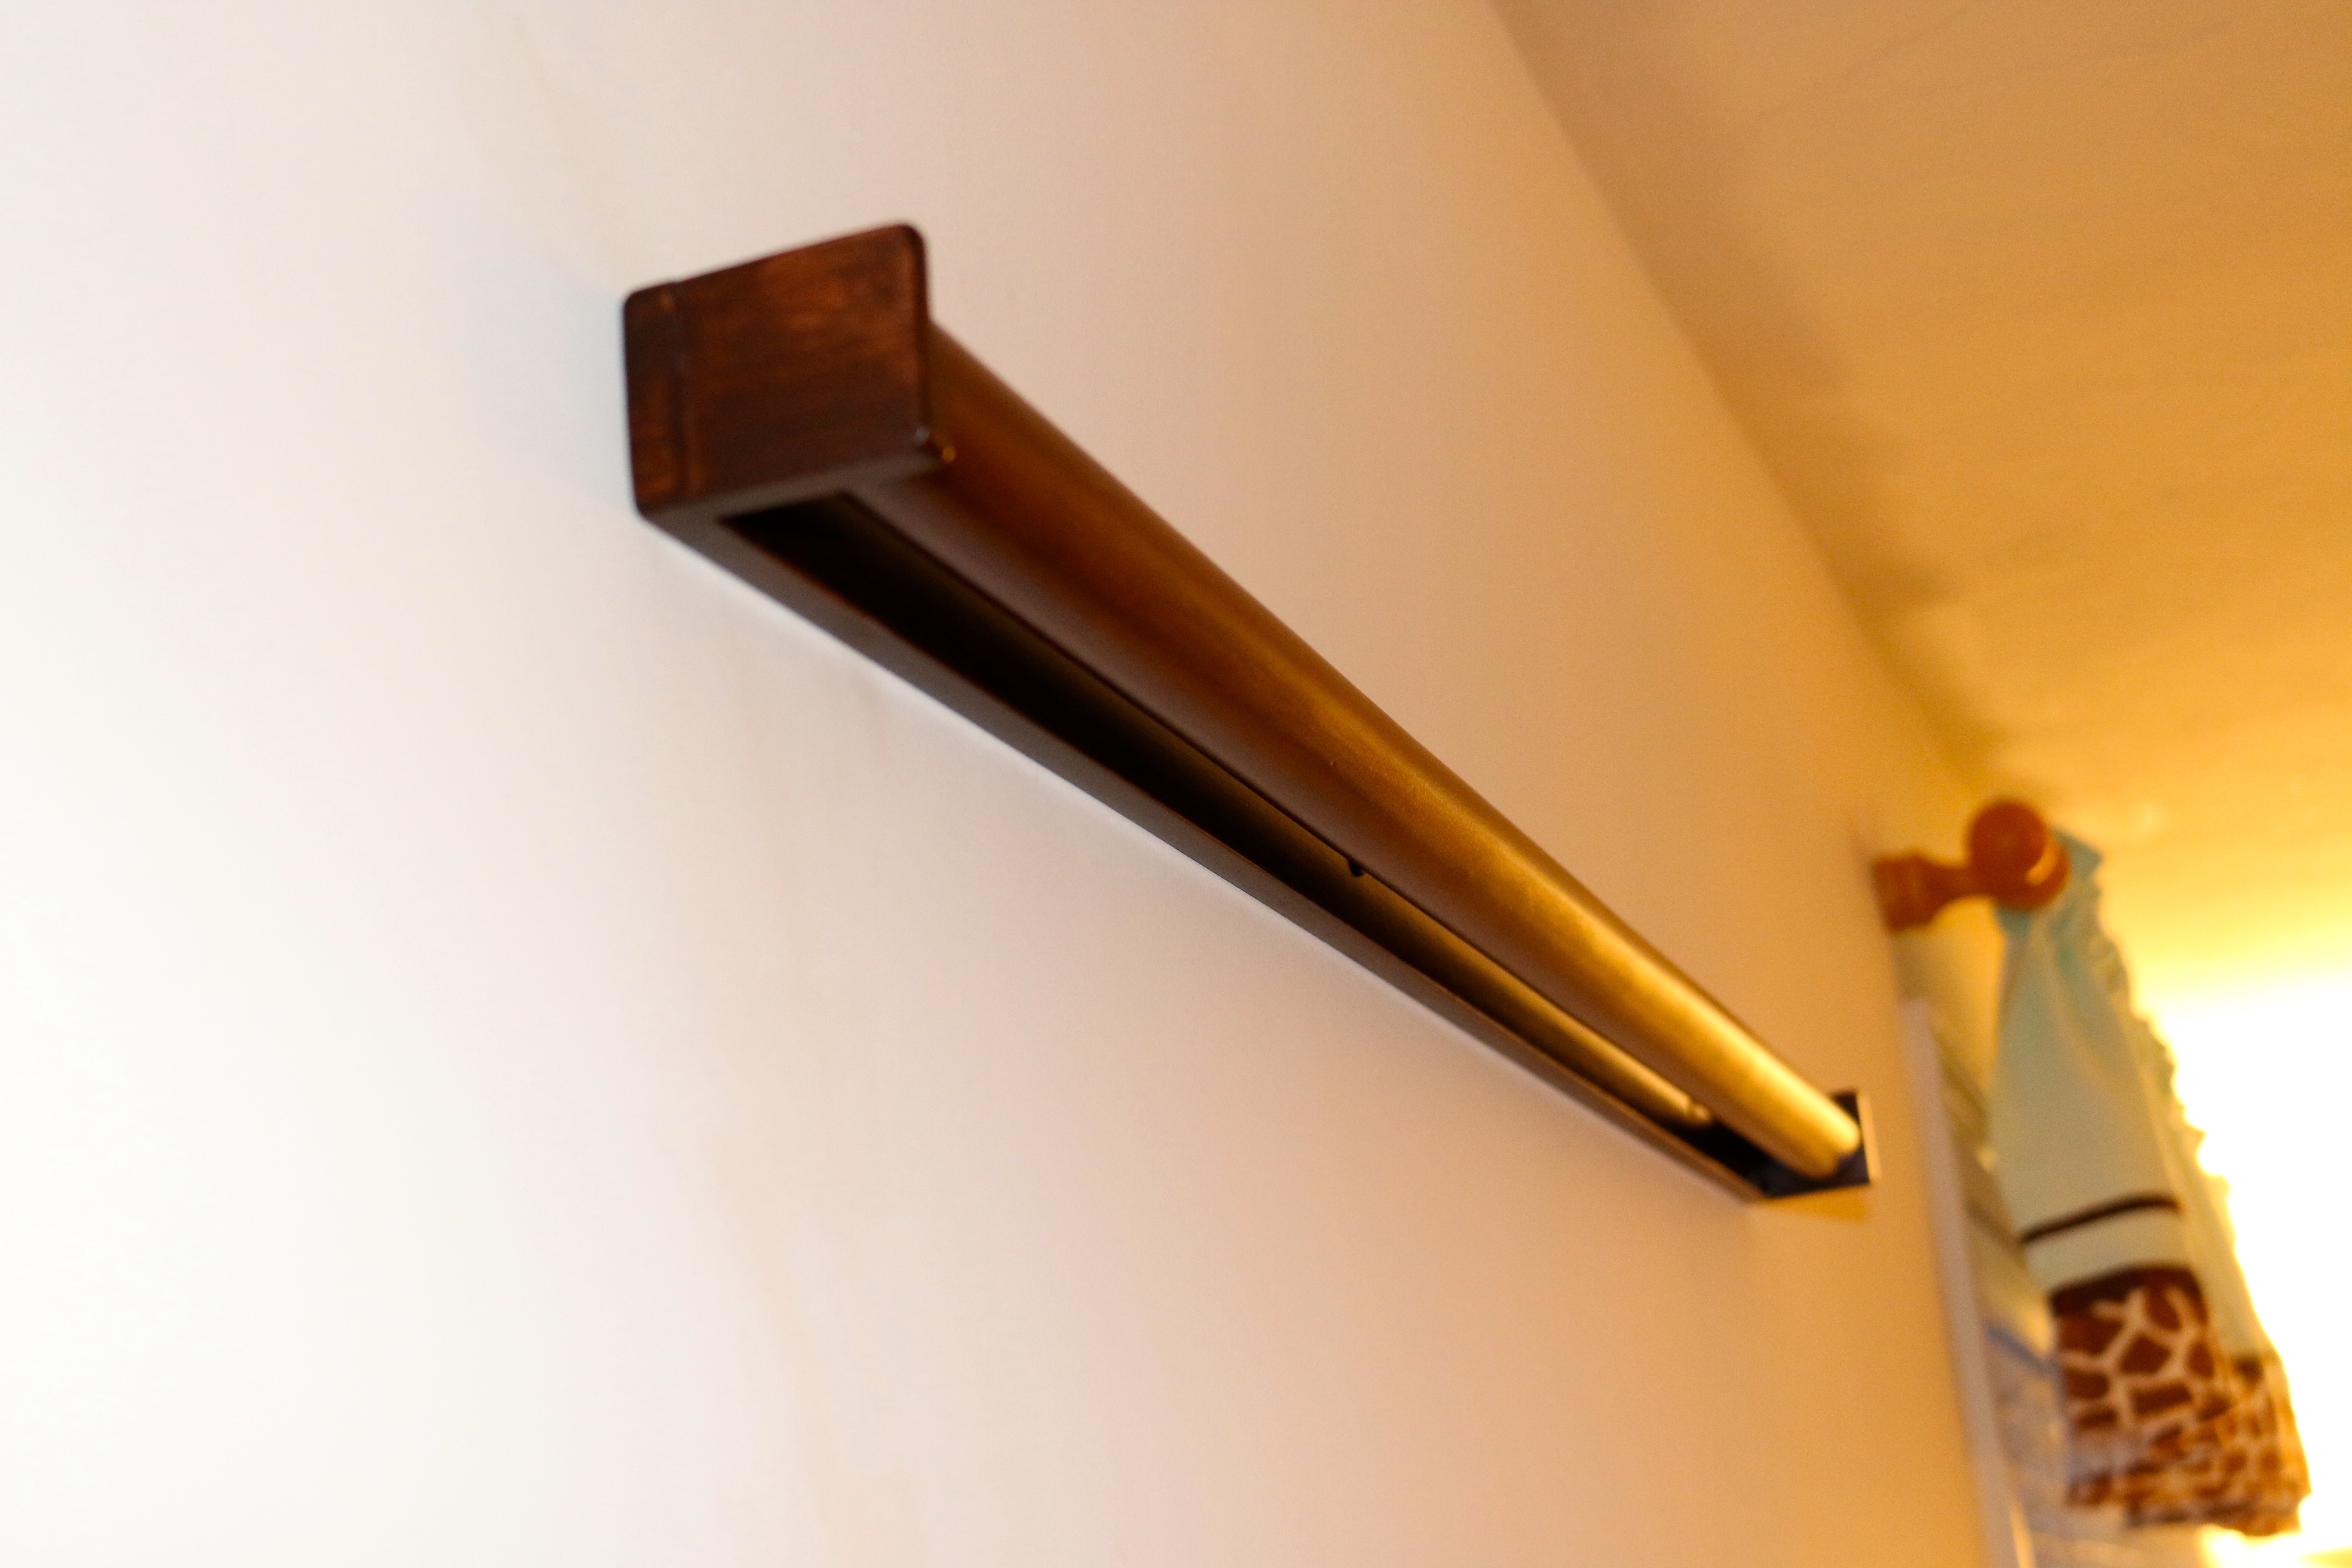
The finish is garnet shellac, followed by several coats of medium brown gel dye stain and finished with a few coats of semi-gloss poly-acrylic. When the comforter is put in place it completely covers the holder.  The comforter is 2 inches wider than the 36″ pocket in the back so once on the wall the holder disappears.

Bradley in front of his new wall hanging

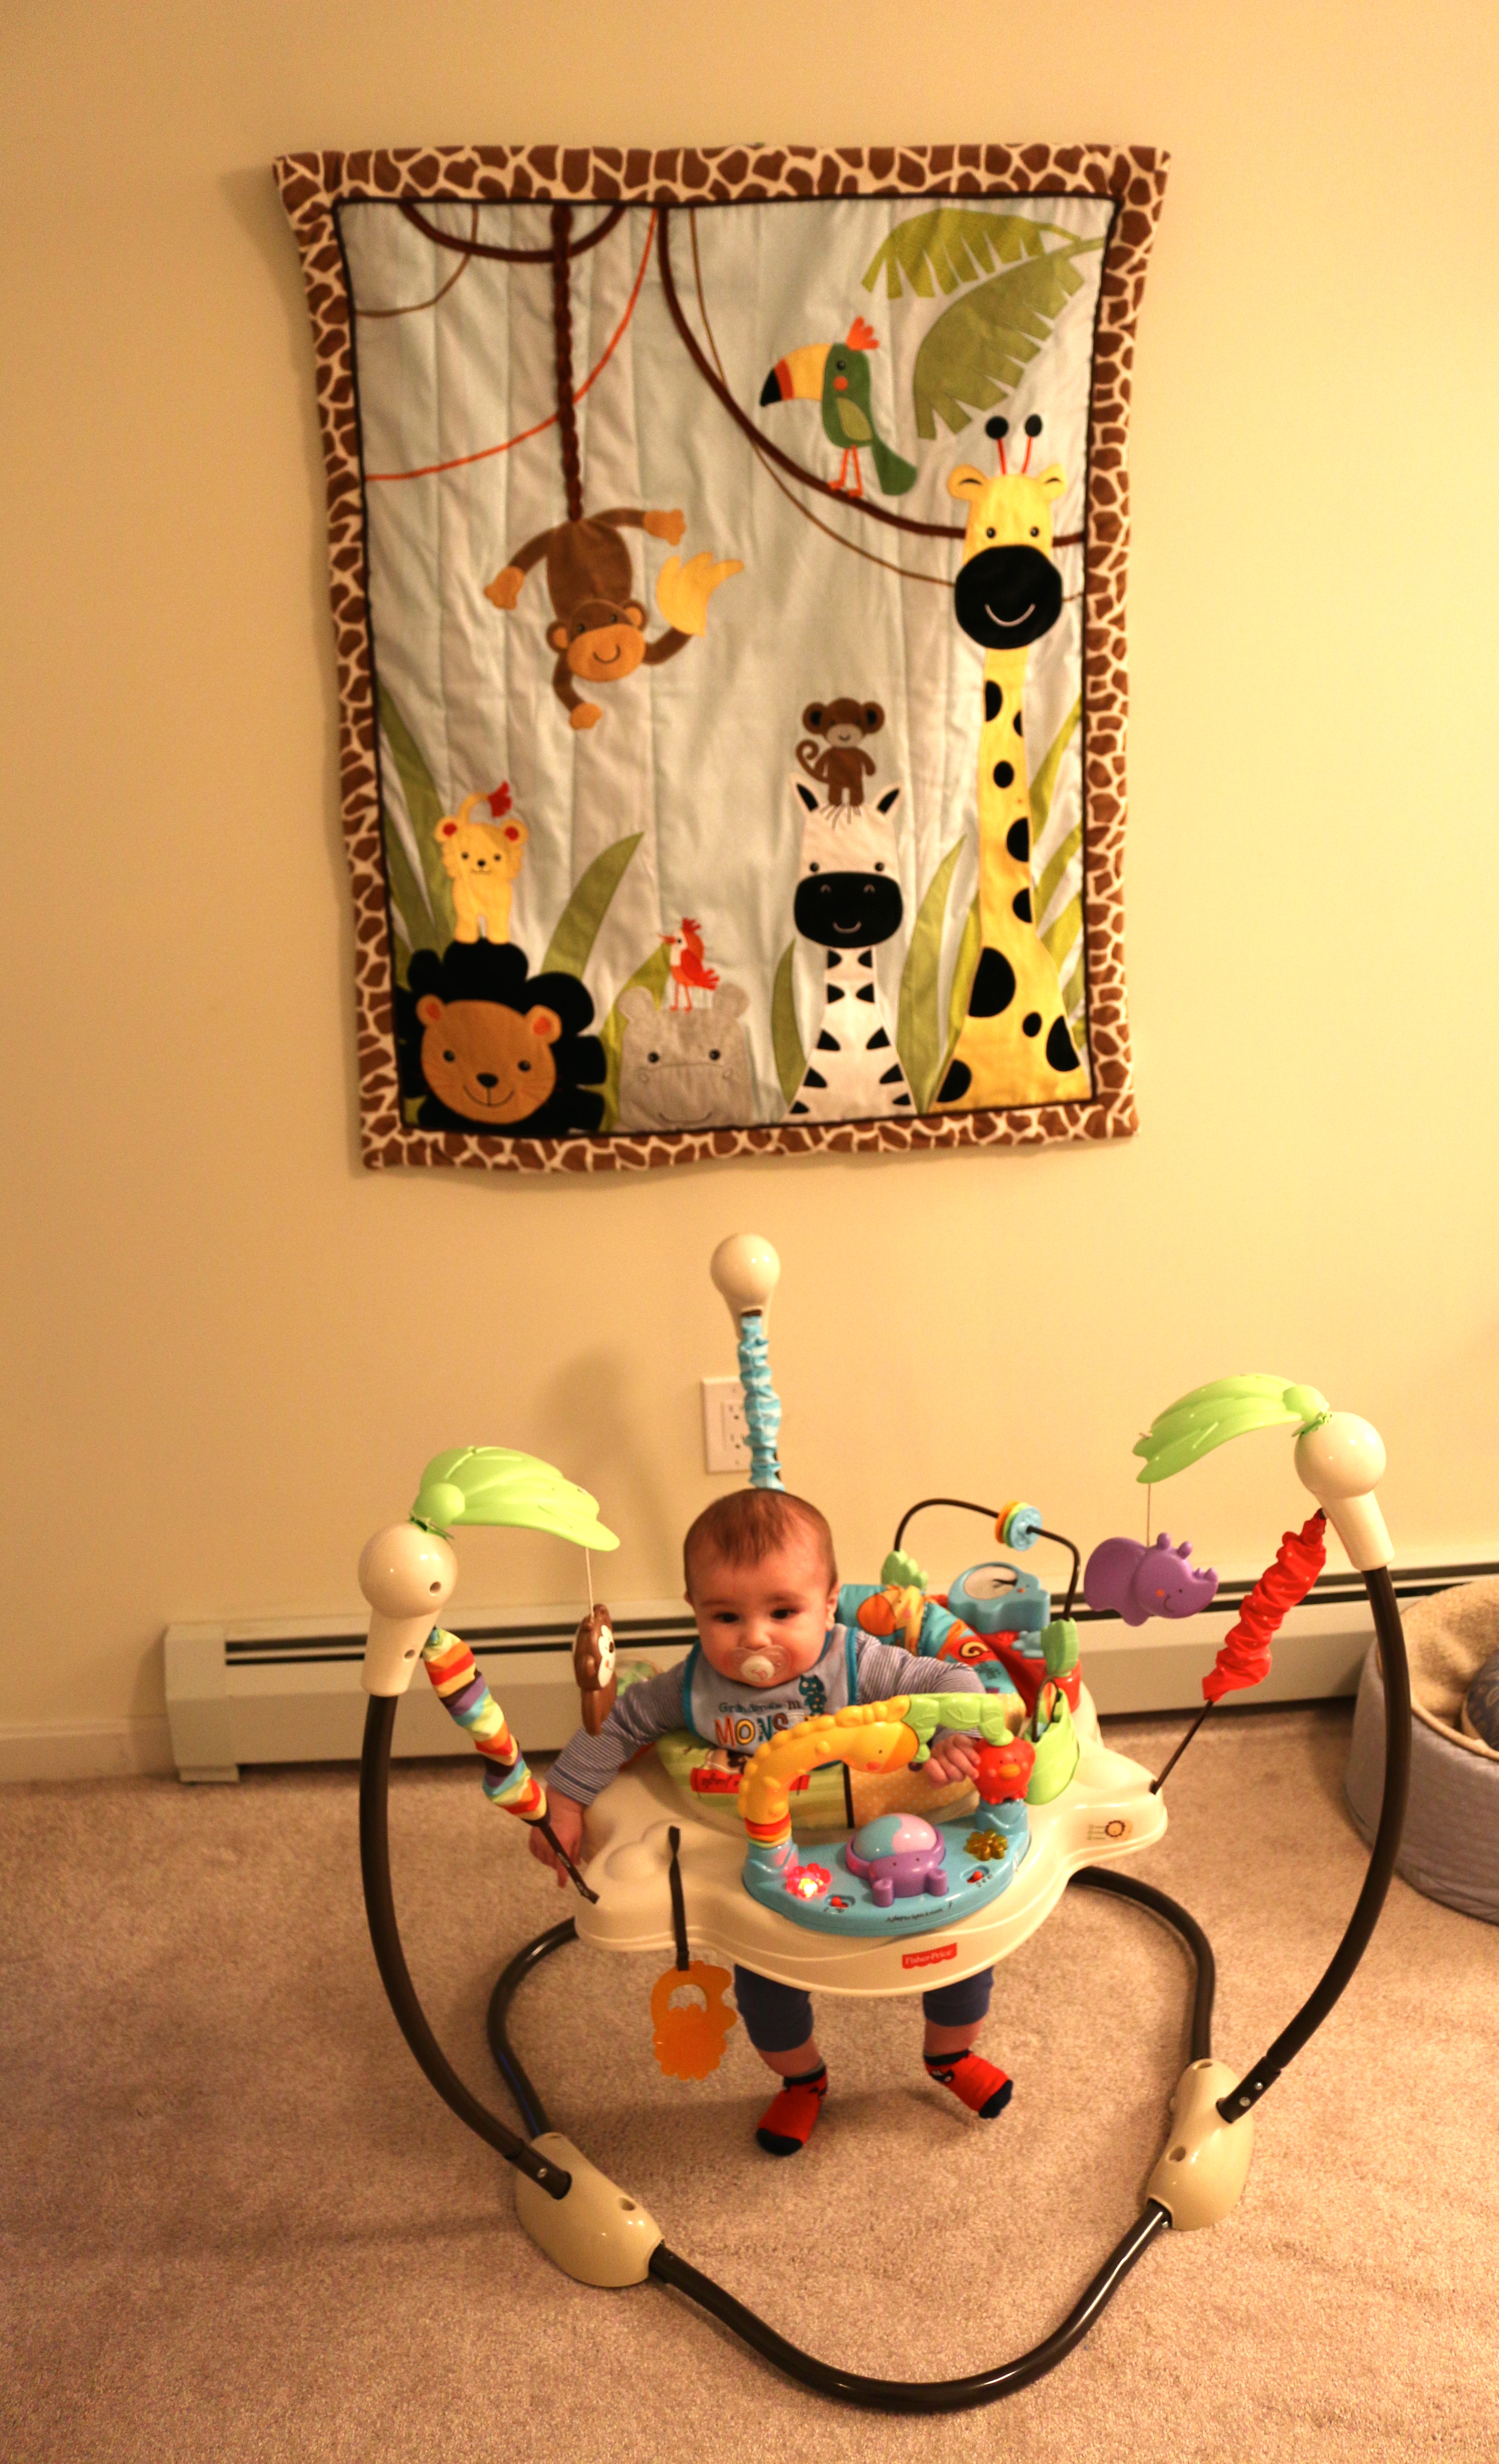
All in all it was a quick and easy project that solves a problem the baby marketeers haven’t gotten around to yet. Bradley seems to enjoy jumping in his jumparoo and looking at all the animals on his comforter so I consider this project a success.

If you wind up making your own version or have solved this problem in another way, let us know.

Take care,
-Bill

Drafting in the Digital Age

“An ounce of prevention is worth a pound of cure” — Benjamin Franklin

When it comes to design and drafting old Ben’s quote rings as today as it did in the 1700s. A good design and a clear set of plans can spare you from a lot of unnecessary frustration or wasted material. When I went to High School in the 1990’s I had the opportunity to take classes in traditional drafting on paper and using AutoCAD on old DOS based PCs that were old even at the time. The computer was viewed as the future, but the extra time for smaller projects and prices/availability of good software was a hindrance. For the sake of expediency and my wallet I generally broke out the drawing board when I needed to make a set of plans.

Workshop Shutters In Color + Perspective

Years later when I went to the North Bennet Street School they also espoused the use of traditional drafting with leads and full size drawings. No messing with expensive computers and ever-changing software. This works great for chairs and pieces with lots of complex curves. But for timber frames and buildings, often with many repeating elements a small change in the design could literally send you back to the drawing board for hours.

Workshop Shutters
Workshop Shutters

I recently got a copy of SketchUp and around the holidays found a real good deal on Robert Lang’s SketchUp for Woodworkers Shop Class on Demand Videos and watched them around Christmas. SketchUp took a bit of getting used to compared to my old AutoCAD days, but after watching Bob’s videos, and with my background as a software engineer and traditional draftsman I got up to speed quickly. (You may have noticed a proliferation in some computer generated renderings in recent posts) Bob Lang’s videos start with simple projects and tools and increase in complexity. I recommend getting both videos as the second video (‘Advanced Techniques’) was the most interesting to me wherein he shows the user how to create dovetails, work in the round, layout the model for printing dimensioned renderings etc.

Shutters Workshop
Hand Drawn Shutters

Save a Tree, Burn some Pixels

About a year ago I designed some traditional interior shutters for my workshop — I started out drafting them by hand. The plans sat on my TODO list for a few months and now with SketchUp in hand I decided to explore some other design possibilities with the raised panels.

Various Panel Options

Design Options Explored (Colors added for easier reference here, I’m not planning to build any shutters for a circus):

  1. Red — Raised, Sunk Fielded Panel
  2. Orange — Raised and Fielded Panel
  3. Green — Raised and Fielded Panel (rounded fielding)
  4. Brown — Flat Panel
  5. Purple — Raised Panel
  6. Blue — Bead and Butt
Panel Details
Panel Details

In the end I settled on #1 above which was part of my original design, but this software saved me from having to experiment with a few test panels to see how things looked from different angles — a nice time and effort saver which offset the perceived longer time it took me to draft this project in SketchUp in the first place. Each project I get a little faster with SketchUp and I think part of why I feel like it takes longer is you generally need to complete your model in most if not all details as opposed to some shortcuts I can take when drafting by hand. (Though I think I am getting a bit OCD as I created all the mortises, draw bored pins etc in full 3D)

Dimensioned Shutters in Color -- Rittenhouse Blue
Dimensioned Shutters in Color — Rittenhouse Blue

With SketchUp you can also experiment with colors and textures. Above you can see my shutters in Rittenhouse Blue to match my existing trim out in the shop. For other projects I’ve used actual textures which help give you a feel for how a surface would look with real wood grain etc.

Exploded View
Exploded View

The other big time saver is how fast you can generate other views — beyond top, bottom, front and back you can quickly generate an exploded view….

Section View
Section View

Or a section view…

Molding Details Dimensioned

or a dimensioned detail view. The dimensioning goes in quickly and the model can be probed in the future if you missed a dimension and want to see exactly how big a part or detail should be. All of these views help me create additional visual aids for this blog and for my teaching as I think a lot of woodworkers are visual learners. You can also share your models with other users or download thousands of models from the 3D Warehouse to save you some time.

I also like the fact that I can draft from the couch in front of the TV at night when I am too tired to be out in the shop and don’t want to be in another room hunched over the drafting board. If you have been waiting for a good reason to try out SketchUp, or draft something new you have no excuse — if you are reading this blog you are likely on a device that can be used to run SketchUp.  🙂

I look forward to seeing some of your new creations and hearing what others think about using the program.

Take care,
-Bill

P.S. If you’d like to build one of these shutters with me in person, there are still 1 or 2 seats left in my upcoming workshop at NBSS on this very topic. You can find more details here.
P.P.S. If you’d liked to check out Robert Lang’s SketchUp For Woodworker’s Shop Class on Demand Videos or DVDs  I bought my copies from here. (I don’t get any sort of kickback for this, just recommending a good resource)