Tag Archives: Drafting

Drafting a great last minute Holiday Gift

It’s that wonderful time of year —  after Thanksgiving and before Christmas — where the Black-Friday and Cyber-Monday frenzy has died down and last minute shoppers are coming to the realization they’ll have to visit a brick and mortar store or start clicking on expedited shipping if they want their gifts to arrive in time for holidays.  It’s also the time of year where bloggers offer their holiday gift guides, last minute project ideas and holiday drink recipes.

Fear not, I’m willing to attempt the holiday blogging trifecta with this post.

Sharpening a lead
Sharpening a lead

Gift Idea for the Woodworker In Your Life — Learn the basics of Drafting by hand

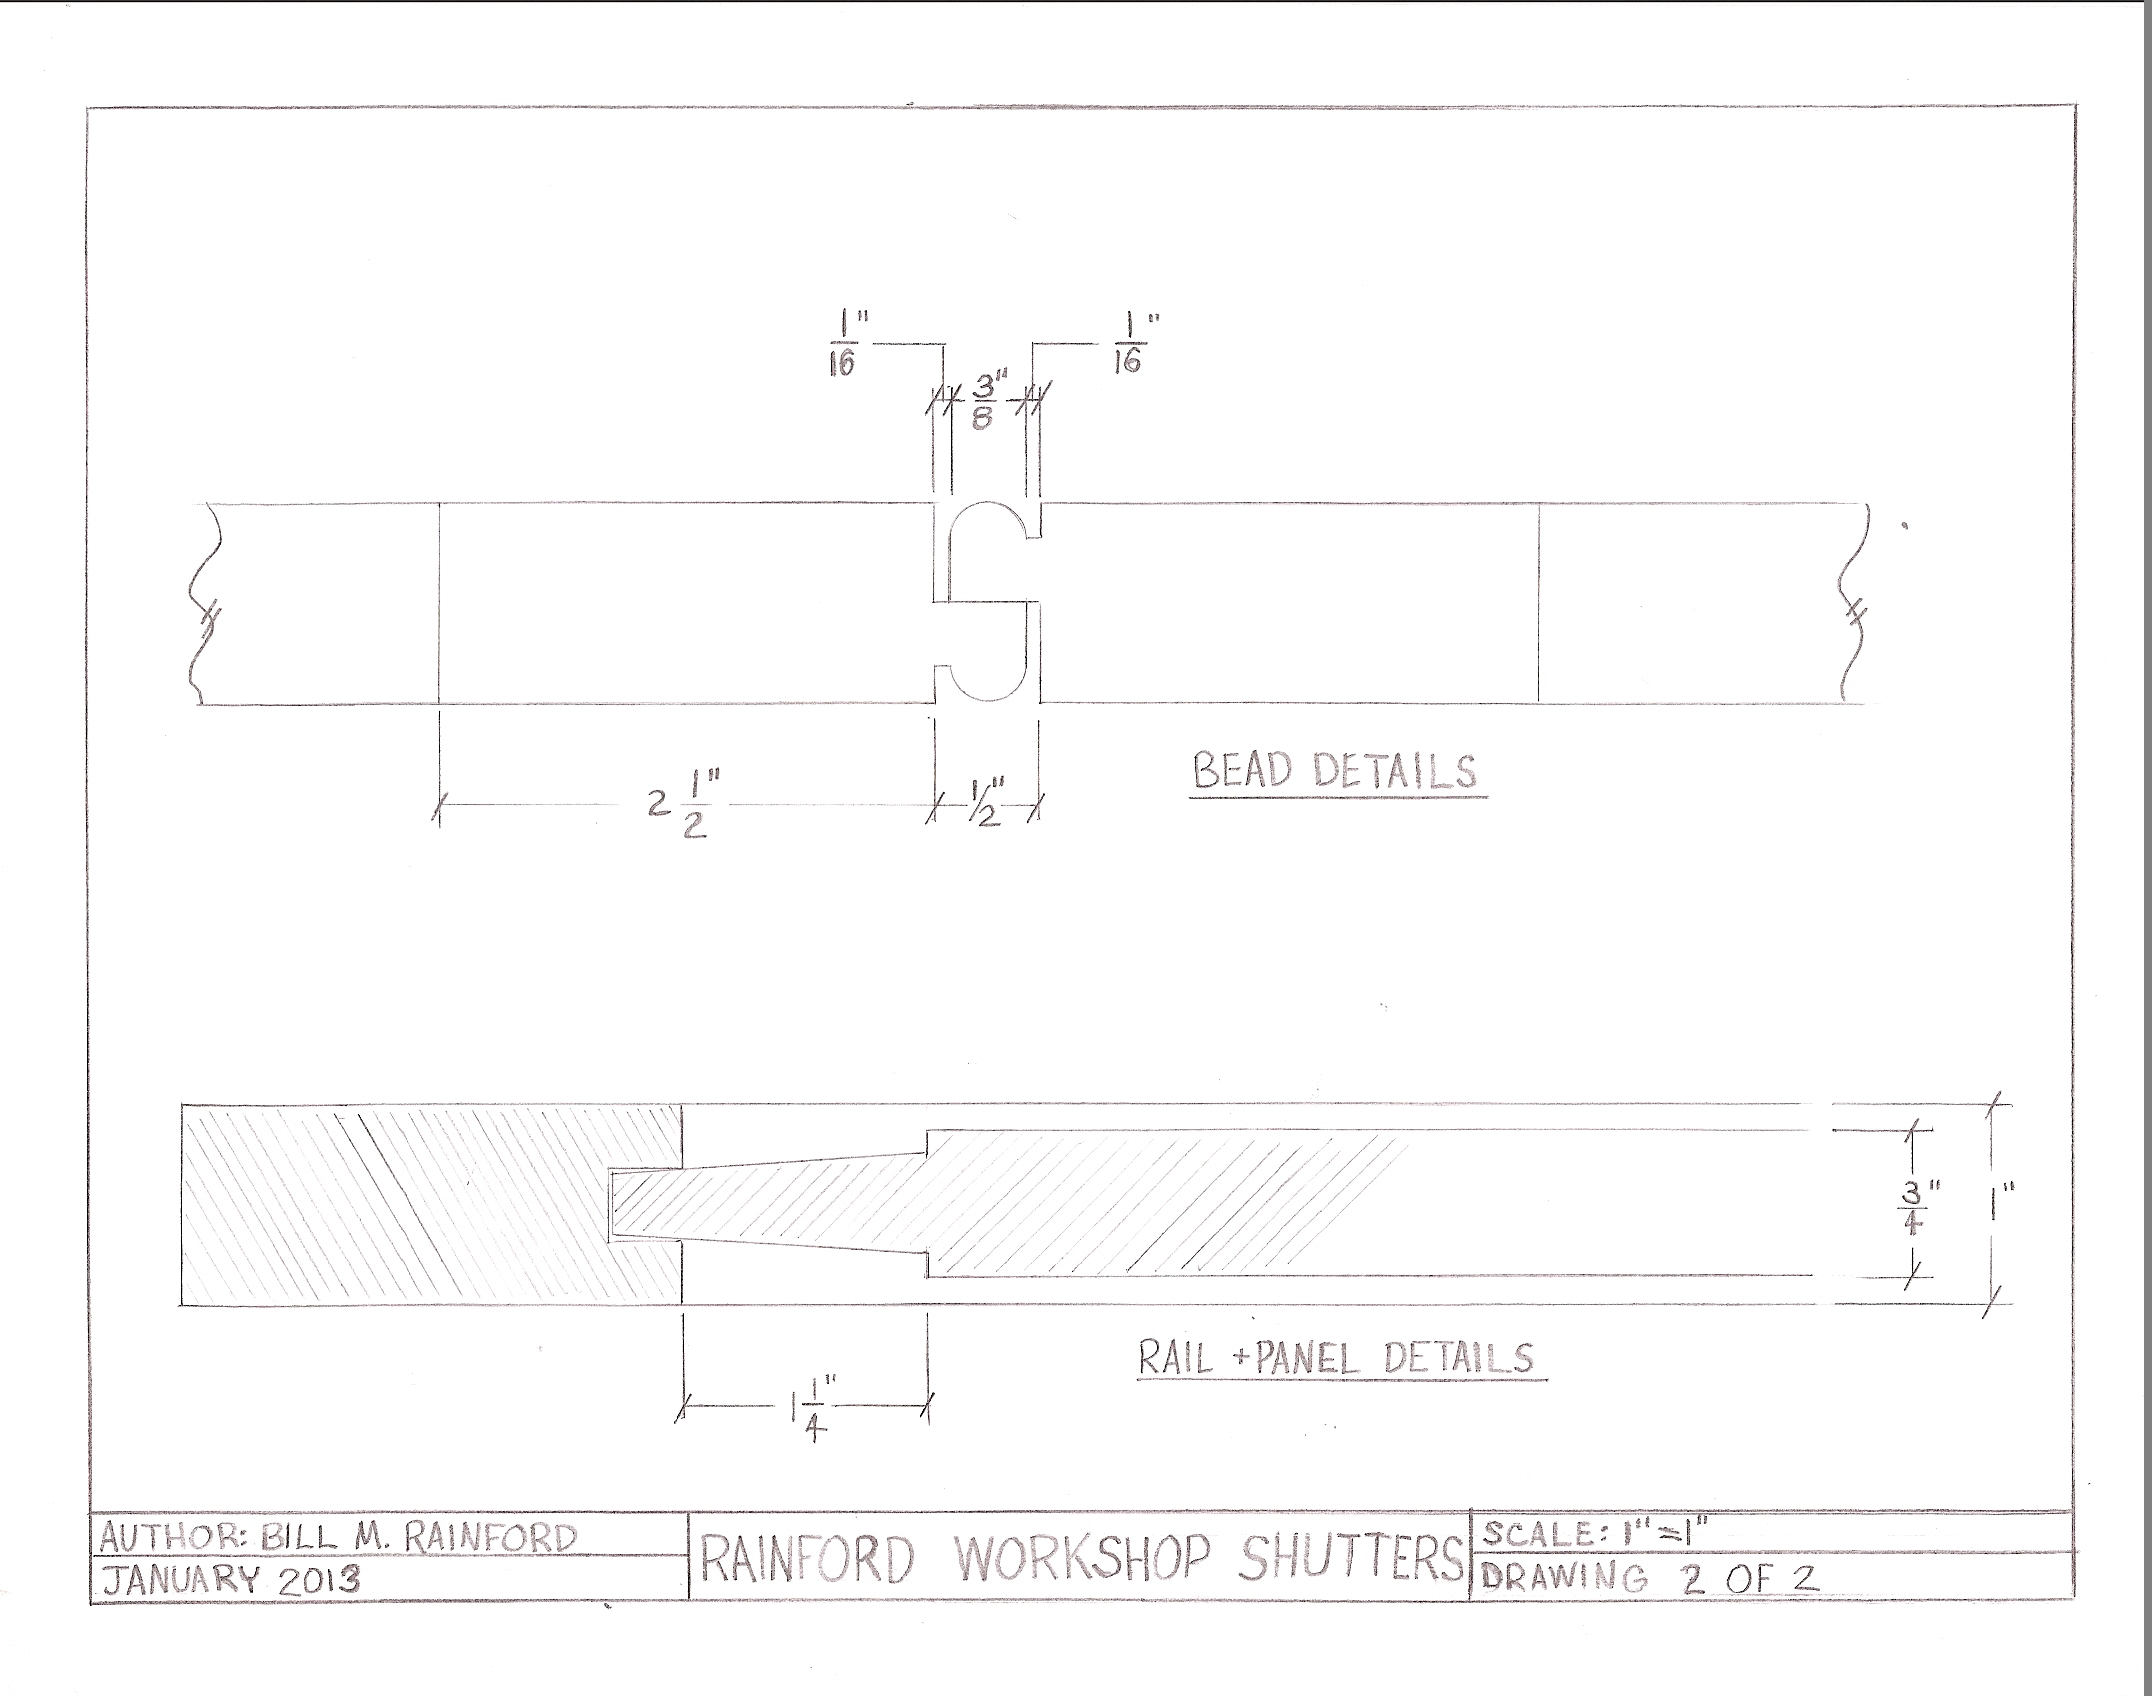
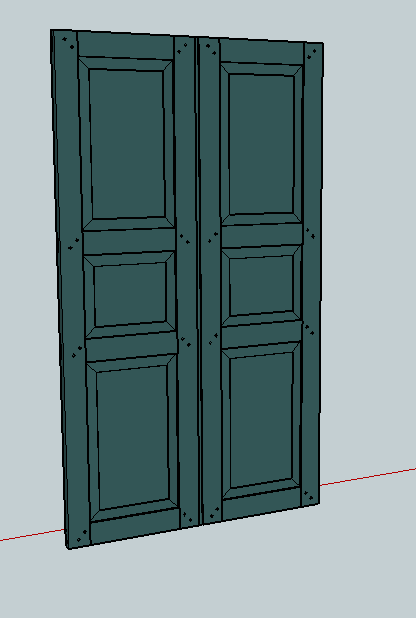
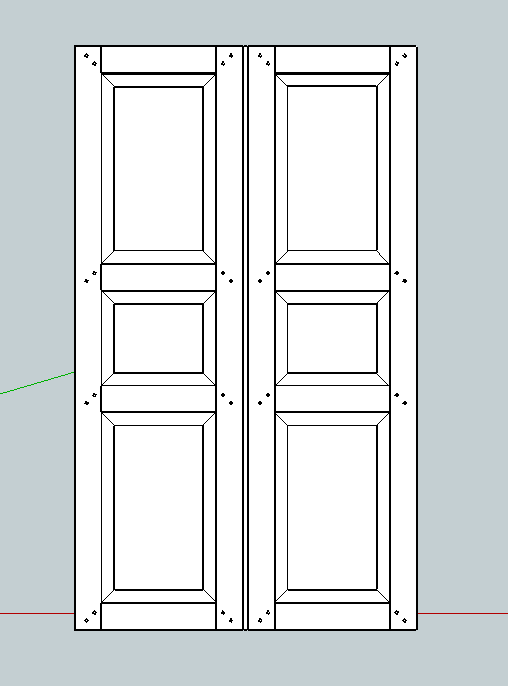
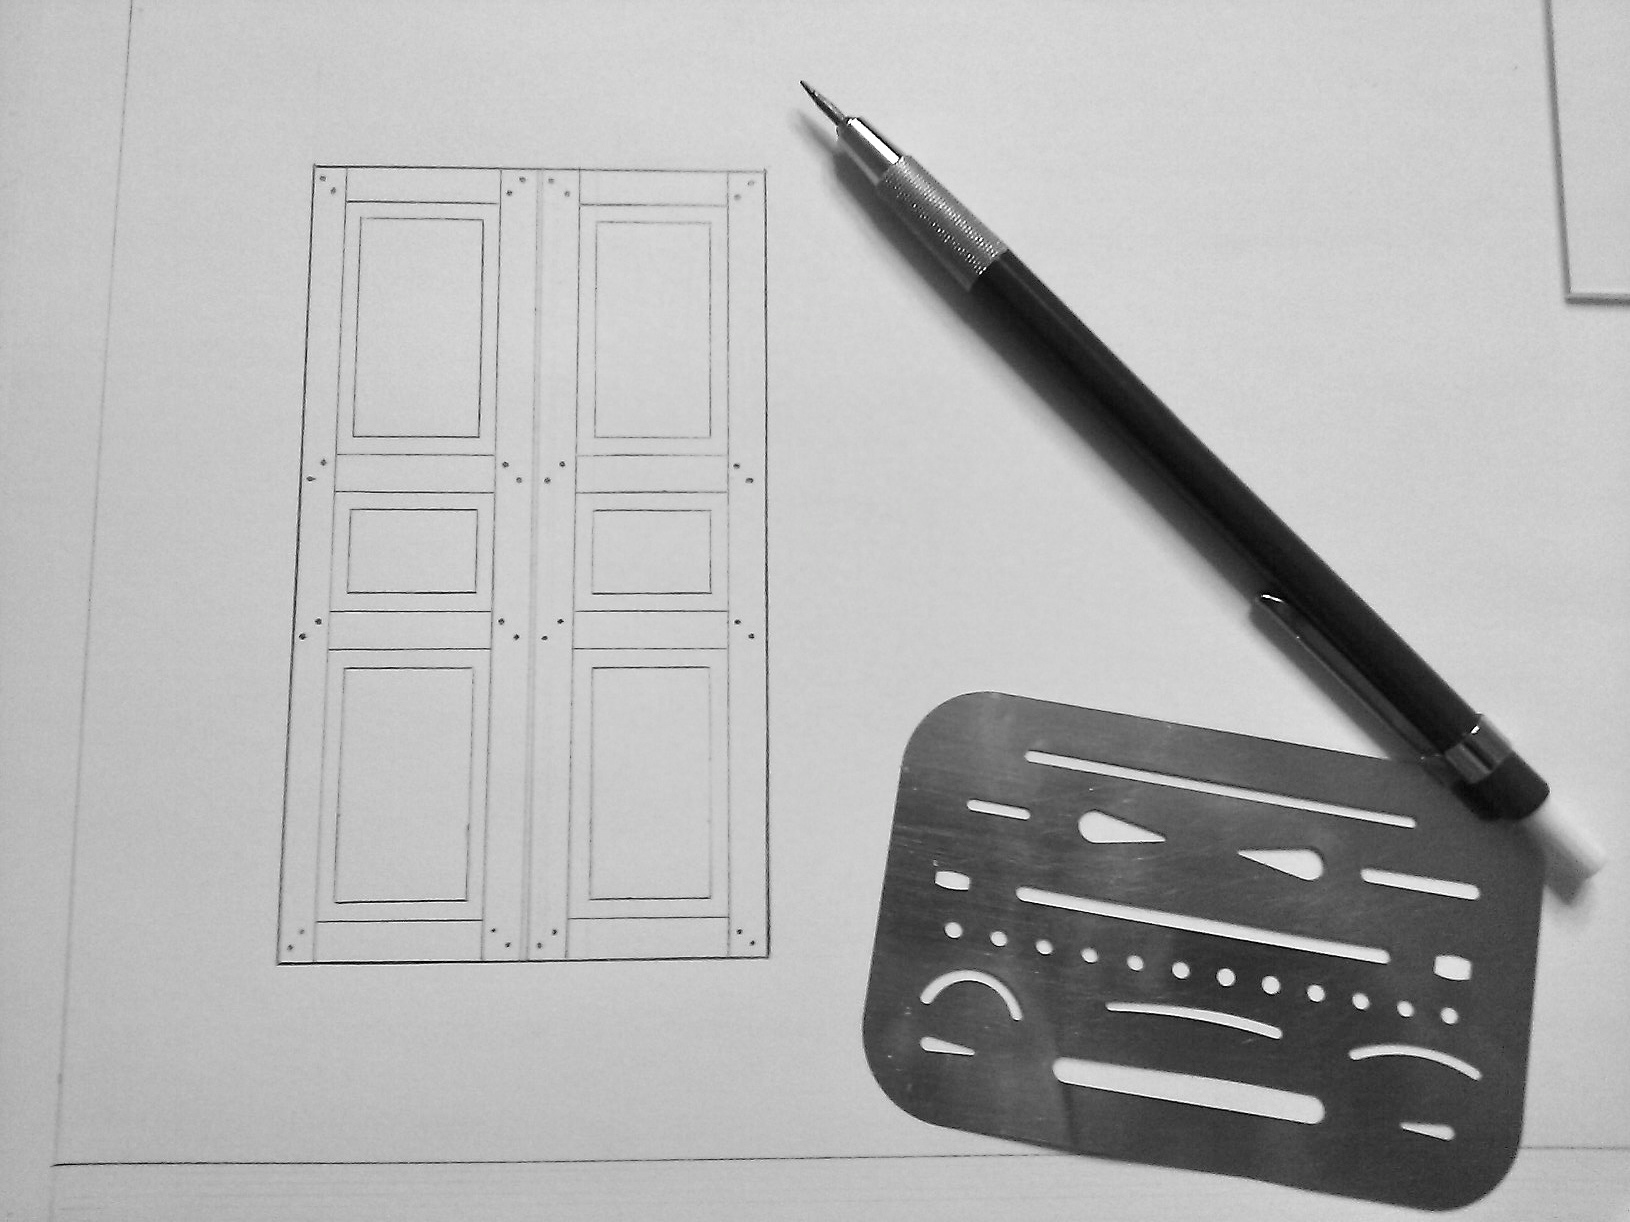
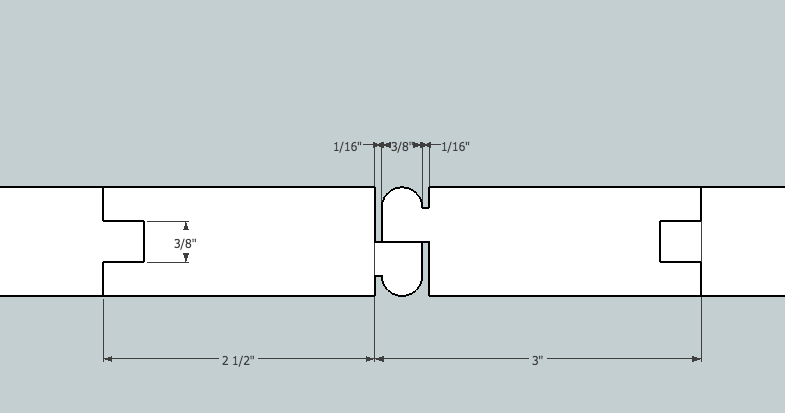
Earlier this year I made a 2 hour video ‘webinar’ for Popular Woodworking titled “Hand Drafting Skill Builder” wherein I talked about the basic tools and techniques required to draft by hand. I started with a terminology and supply overview, then walked through several samples and discussed appropriate practice exercises.

From the course description:

With the basic drafting skills covered in this course you can quickly and efficiently communicate ideas and generate working plans.With a solid set of plans in hand, your woodworking in the shop will benefit from all the design details you worked out on the drawing board, where changes are easier to make. Your wood rack and your wallet will also benefit from the decreased waste.

Course Highlights:

  • What constitutes a basic drafting tool kit
  • How to layout a good working drawing with standard elevations, scales etc.
  • How to properly draw lines and make use of line weights
  • How to dimension a drawing
  • Basic lettering
  • Correcting mistakes
  • Where to find more information

The recorded version of this course is now available online and you can learn more about the course and see a sample video here on ShopWoodworking.com

Drafting Scales
Drafting Scales

The above content is also available as part of a 9 piece bundle called ‘9 Key Tools For Better Furniture Design’ which includes a lot of other great resources for anyone interested in stepping up their furniture design skills and sells for half off of what the 9 items would cost individually. This bundle can be found online here.

Both of the above are digital download content so there is no waiting or shipping necessary.

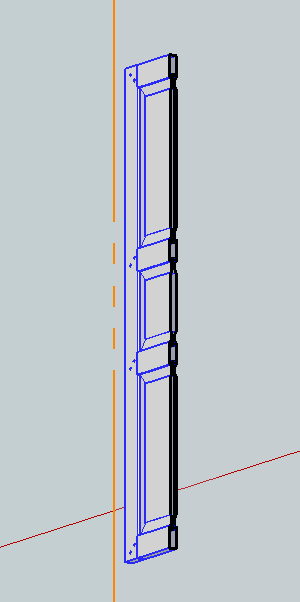
Last Minute Holiday Project Idea — Cutting Boards

I bet you have a lot of scrap around your workshop — most woodworkers are also wood hoarders. A cutting board is a great way to use up some of that scrap stock that has been haunting your woodpile for way too long. It’s also a great way to make room for the next project.

Holiday Drink — Gløgg

This classic warm Scandinavian holiday drink is great at a party and everyone seems to have their own recipe for it.  Here’s a good starting recipe.

With the holidays quickly approaching it’s time to don the holiday sweater, have a warm drink and a snack and start drafting the next project.

Happy Holidays.

Take care,
-Bill


Learn The Visual Language of Drafting

Learning to draw is akin to learning how to compose music. Everyone has to start somewhere and the rough earlier work will help you build up to more complex pieces.  As a kid I loved to sketch — I would copy comic book images by hand.  As I got older I wanted to flesh out designs in more detail which required the accuracy of technical drawing or drafting. In High School I first learned the basics of drafting.  I took a quarter of mechanical drawing, a quarter of architectural drawing, and a quarter each of the AutoCAD version of each. The drafting skills I learned there have served me well ever since — both with pencil and paper and on a computer. Back then we had a machine that made actual ‘blue’ prints from our drawings and an old DOS version of AutoCAD that was even old by 1990s standards but the basics learned there served me well in later versions and even when using SketchUp today. I can still remember riding my bike 2 towns over with my best friend Jesse to pick up some drafting supplies including architectural templates so we could design houses in our free time. I still use those templates today.

Sample Drawing
Sample Drawing

I’m thankful that in the late 1990s the West Islip High School (NY)  had a technology wing offering classes in drafting, electronics, woodshop, autoshop etc and that I had some great teachers — Mr. Gerard Weick and Mr. Edwin Ermanovics who taught Industrial Arts and fostered creativity. I loved taking those courses and I still have the ‘Industrial Technology’ award from graduation somewhere — likely at my mother’s house. 🙂

5 years later when I bought my first house I put the skills to use in designing a loft and a custom mantel. When it came time to pull a permit I had all my documentation ready to go. I had my plans reviewed the building inspector — he didn’t make a mark on them and said ‘Wow, I wish we had more people in town like you’ setting the stage for a great working relationship. Meanwhile at the table to my left I could see a professional contractor getting his rear handed to him by another inspector who apparently was not happy with that guys’ plans as it was covered in red ink and there was a lot of heated discussion going on. It goes to show that some careful planning and a clear drawing can go a long way to helping you efficiently go about the work you are interested in completing.

Architectural Scales

5 more  years down the road when I entered the North Bennet Street School I was able to apply those lessons to my drafting exercises and much like riding a bike it comes back to you quite fast. While in the program we had to draft every major project we worked on by hand — that not only helped with speed and accuracy in drafting but it also created a body of work that is handy to refer back to when needed. I still have many plans and story sticks from my time at the school.

Today in my work I usually draft an project by hand on paper — I can get my ideas down faster that way. Most of the time the hand rendered drawing is sufficient. Occasionally I’ll take my drawing and enter it into SketchUp — either to poke around a bit more in 3D, but most often just for the 3D renderings to dress up a blog post or presentation.

The ability to capture you thoughts and designs in a visual representation is quite powerful. A well thought out design on paper can save you considerable time and expense out in the shop. It’s much cheaper to fix a problem on paper than it is in wood — both the cost of the material and the labor involved. A clear working drawing also allows you to communicate to someone else how to fabricate your design.

If you are looking to learn the basics of drafting by hand, I encourage you to check out the Webinar I am teaching on September 10, 2014 8:30pm for Popular Woodworking University here. During the live event participants will have the opportunity to ask me questions etc. If you cannot make the event live the folks at Popular Woodworking will also offer a downloadable recorded version of the Webinar.

Sharpening
Sharpening

The course will cover the basic toolkit for drafting by hand, talk about how to draw a line, line weights, sharpening your leads, cleaning up your mistakes, laying out a basic drawing, lettering, adding dimensions and basic skill building exercises that will get you on the path to generating your own plans. With this basic set of skills under your belt you’ll soon be on your way to composing a great set of plans that will serve you well and make you a better, more efficient woodworker.

If you’d like to learn more about this course,  please check out the official description on ShopWoodworking.com here. [Editorial Note: Live event link removed since the course ran as a live event. The link now will take you to where you can purchase the recorded version of the webinar]

I look forward to seeing you there.

Take care,
-Bill

P.S. Mr. Weick and Mr. Ermanovics — Thanks again for all that you taught me — I hope that I am making you both proud as I look to share these skills with the next generation of woodworkers and craftsmen.

Drafting in the Digital Age

“An ounce of prevention is worth a pound of cure” — Benjamin Franklin

When it comes to design and drafting old Ben’s quote rings as today as it did in the 1700s. A good design and a clear set of plans can spare you from a lot of unnecessary frustration or wasted material. When I went to High School in the 1990’s I had the opportunity to take classes in traditional drafting on paper and using AutoCAD on old DOS based PCs that were old even at the time. The computer was viewed as the future, but the extra time for smaller projects and prices/availability of good software was a hindrance. For the sake of expediency and my wallet I generally broke out the drawing board when I needed to make a set of plans.

Workshop Shutters In Color + Perspective

Years later when I went to the North Bennet Street School they also espoused the use of traditional drafting with leads and full size drawings. No messing with expensive computers and ever-changing software. This works great for chairs and pieces with lots of complex curves. But for timber frames and buildings, often with many repeating elements a small change in the design could literally send you back to the drawing board for hours.

Workshop Shutters
Workshop Shutters

I recently got a copy of SketchUp and around the holidays found a real good deal on Robert Lang’s SketchUp for Woodworkers Shop Class on Demand Videos and watched them around Christmas. SketchUp took a bit of getting used to compared to my old AutoCAD days, but after watching Bob’s videos, and with my background as a software engineer and traditional draftsman I got up to speed quickly. (You may have noticed a proliferation in some computer generated renderings in recent posts) Bob Lang’s videos start with simple projects and tools and increase in complexity. I recommend getting both videos as the second video (‘Advanced Techniques’) was the most interesting to me wherein he shows the user how to create dovetails, work in the round, layout the model for printing dimensioned renderings etc.

Shutters Workshop
Hand Drawn Shutters

Save a Tree, Burn some Pixels

About a year ago I designed some traditional interior shutters for my workshop — I started out drafting them by hand. The plans sat on my TODO list for a few months and now with SketchUp in hand I decided to explore some other design possibilities with the raised panels.

Various Panel Options

Design Options Explored (Colors added for easier reference here, I’m not planning to build any shutters for a circus):

  1. Red — Raised, Sunk Fielded Panel
  2. Orange — Raised and Fielded Panel
  3. Green — Raised and Fielded Panel (rounded fielding)
  4. Brown — Flat Panel
  5. Purple — Raised Panel
  6. Blue — Bead and Butt
Panel Details
Panel Details

In the end I settled on #1 above which was part of my original design, but this software saved me from having to experiment with a few test panels to see how things looked from different angles — a nice time and effort saver which offset the perceived longer time it took me to draft this project in SketchUp in the first place. Each project I get a little faster with SketchUp and I think part of why I feel like it takes longer is you generally need to complete your model in most if not all details as opposed to some shortcuts I can take when drafting by hand. (Though I think I am getting a bit OCD as I created all the mortises, draw bored pins etc in full 3D)

Dimensioned Shutters in Color -- Rittenhouse Blue
Dimensioned Shutters in Color — Rittenhouse Blue

With SketchUp you can also experiment with colors and textures. Above you can see my shutters in Rittenhouse Blue to match my existing trim out in the shop. For other projects I’ve used actual textures which help give you a feel for how a surface would look with real wood grain etc.

Exploded View
Exploded View

The other big time saver is how fast you can generate other views — beyond top, bottom, front and back you can quickly generate an exploded view….

Section View
Section View

Or a section view…

Molding Details Dimensioned

or a dimensioned detail view. The dimensioning goes in quickly and the model can be probed in the future if you missed a dimension and want to see exactly how big a part or detail should be. All of these views help me create additional visual aids for this blog and for my teaching as I think a lot of woodworkers are visual learners. You can also share your models with other users or download thousands of models from the 3D Warehouse to save you some time.

I also like the fact that I can draft from the couch in front of the TV at night when I am too tired to be out in the shop and don’t want to be in another room hunched over the drafting board. If you have been waiting for a good reason to try out SketchUp, or draft something new you have no excuse — if you are reading this blog you are likely on a device that can be used to run SketchUp.  🙂

I look forward to seeing some of your new creations and hearing what others think about using the program.

Take care,
-Bill

P.S. If you’d like to build one of these shutters with me in person, there are still 1 or 2 seats left in my upcoming workshop at NBSS on this very topic. You can find more details here.
P.P.S. If you’d liked to check out Robert Lang’s SketchUp For Woodworker’s Shop Class on Demand Videos or DVDs  I bought my copies from here. (I don’t get any sort of kickback for this, just recommending a good resource)