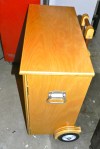
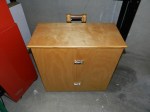
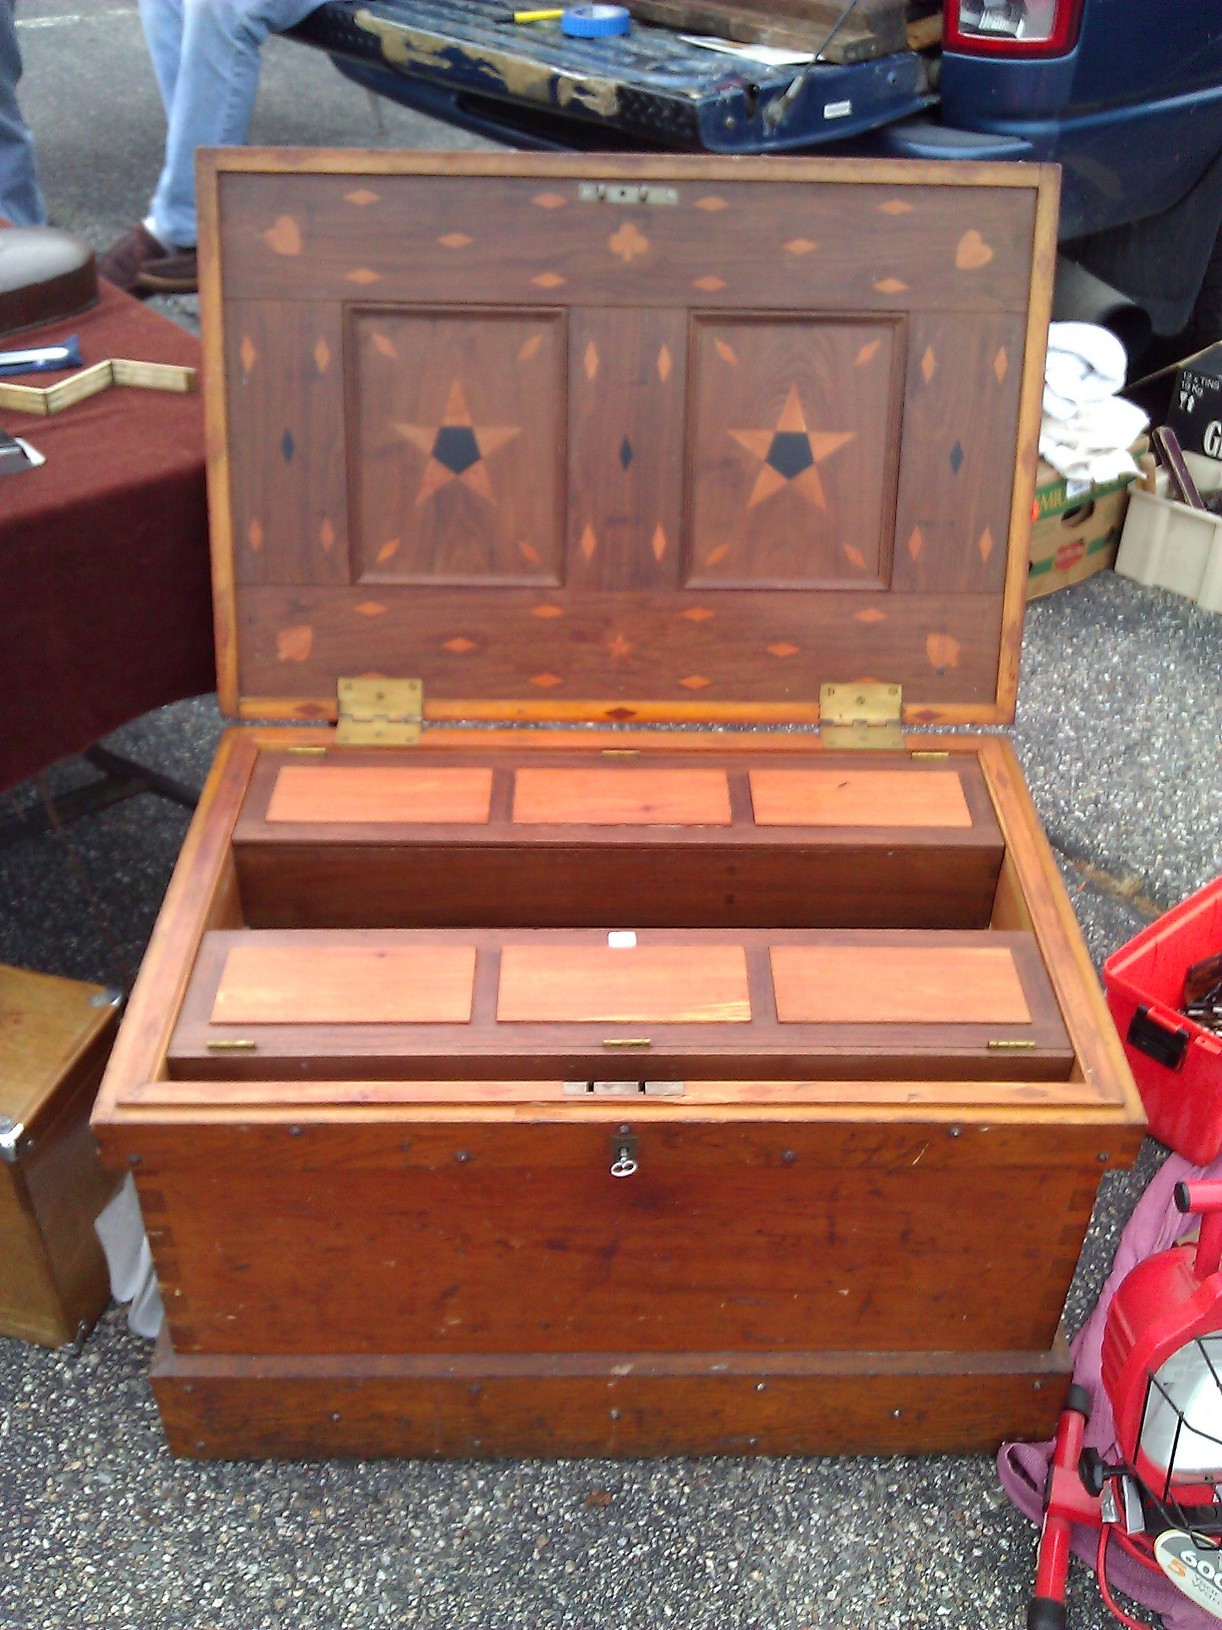
The spartan exterior of many traditional tool chests was as much a security system as it was a design element. When closed the clean lines and rugged exterior looked did not draw your attention and looked much the same as many other stoutly built traveling chests and trunks you’d see on a given day. While unassuming in travel or quietly sitting in the back of the shop, many of these chests contained a far more interesting interior.
How often do you see carpenter with a bucket of rusty tools and a paint splattered truck and wondered about ‘If this is how they take care of their tools and truck, what kind of slapdash work would they do for me?’
Beyond just a safe and secure place to store your tools, the way you build and customize your chest says a lot about you and how you work. A clean and orderly chest, worksite, and truck can be a great advertisement for the quality of work you do. I’ve found folks are drawn to a nice chest like moths to a light bulb.
What do you look for in a solid chest?
- It should be easy to find the tools you want to use and quickly pack and unpack them
- Invest in strong but light materials like Eastern White Pine and use denser woods only for wear parts
- Do not get caught up with fancy inlays, hidden compartments and nest after nest of drawers
- Don’t skimp on the hardware, screws and finish — they will see a lot of hard use over the life of the chest
- A strong lid, well secured with a tight fitting dust seal
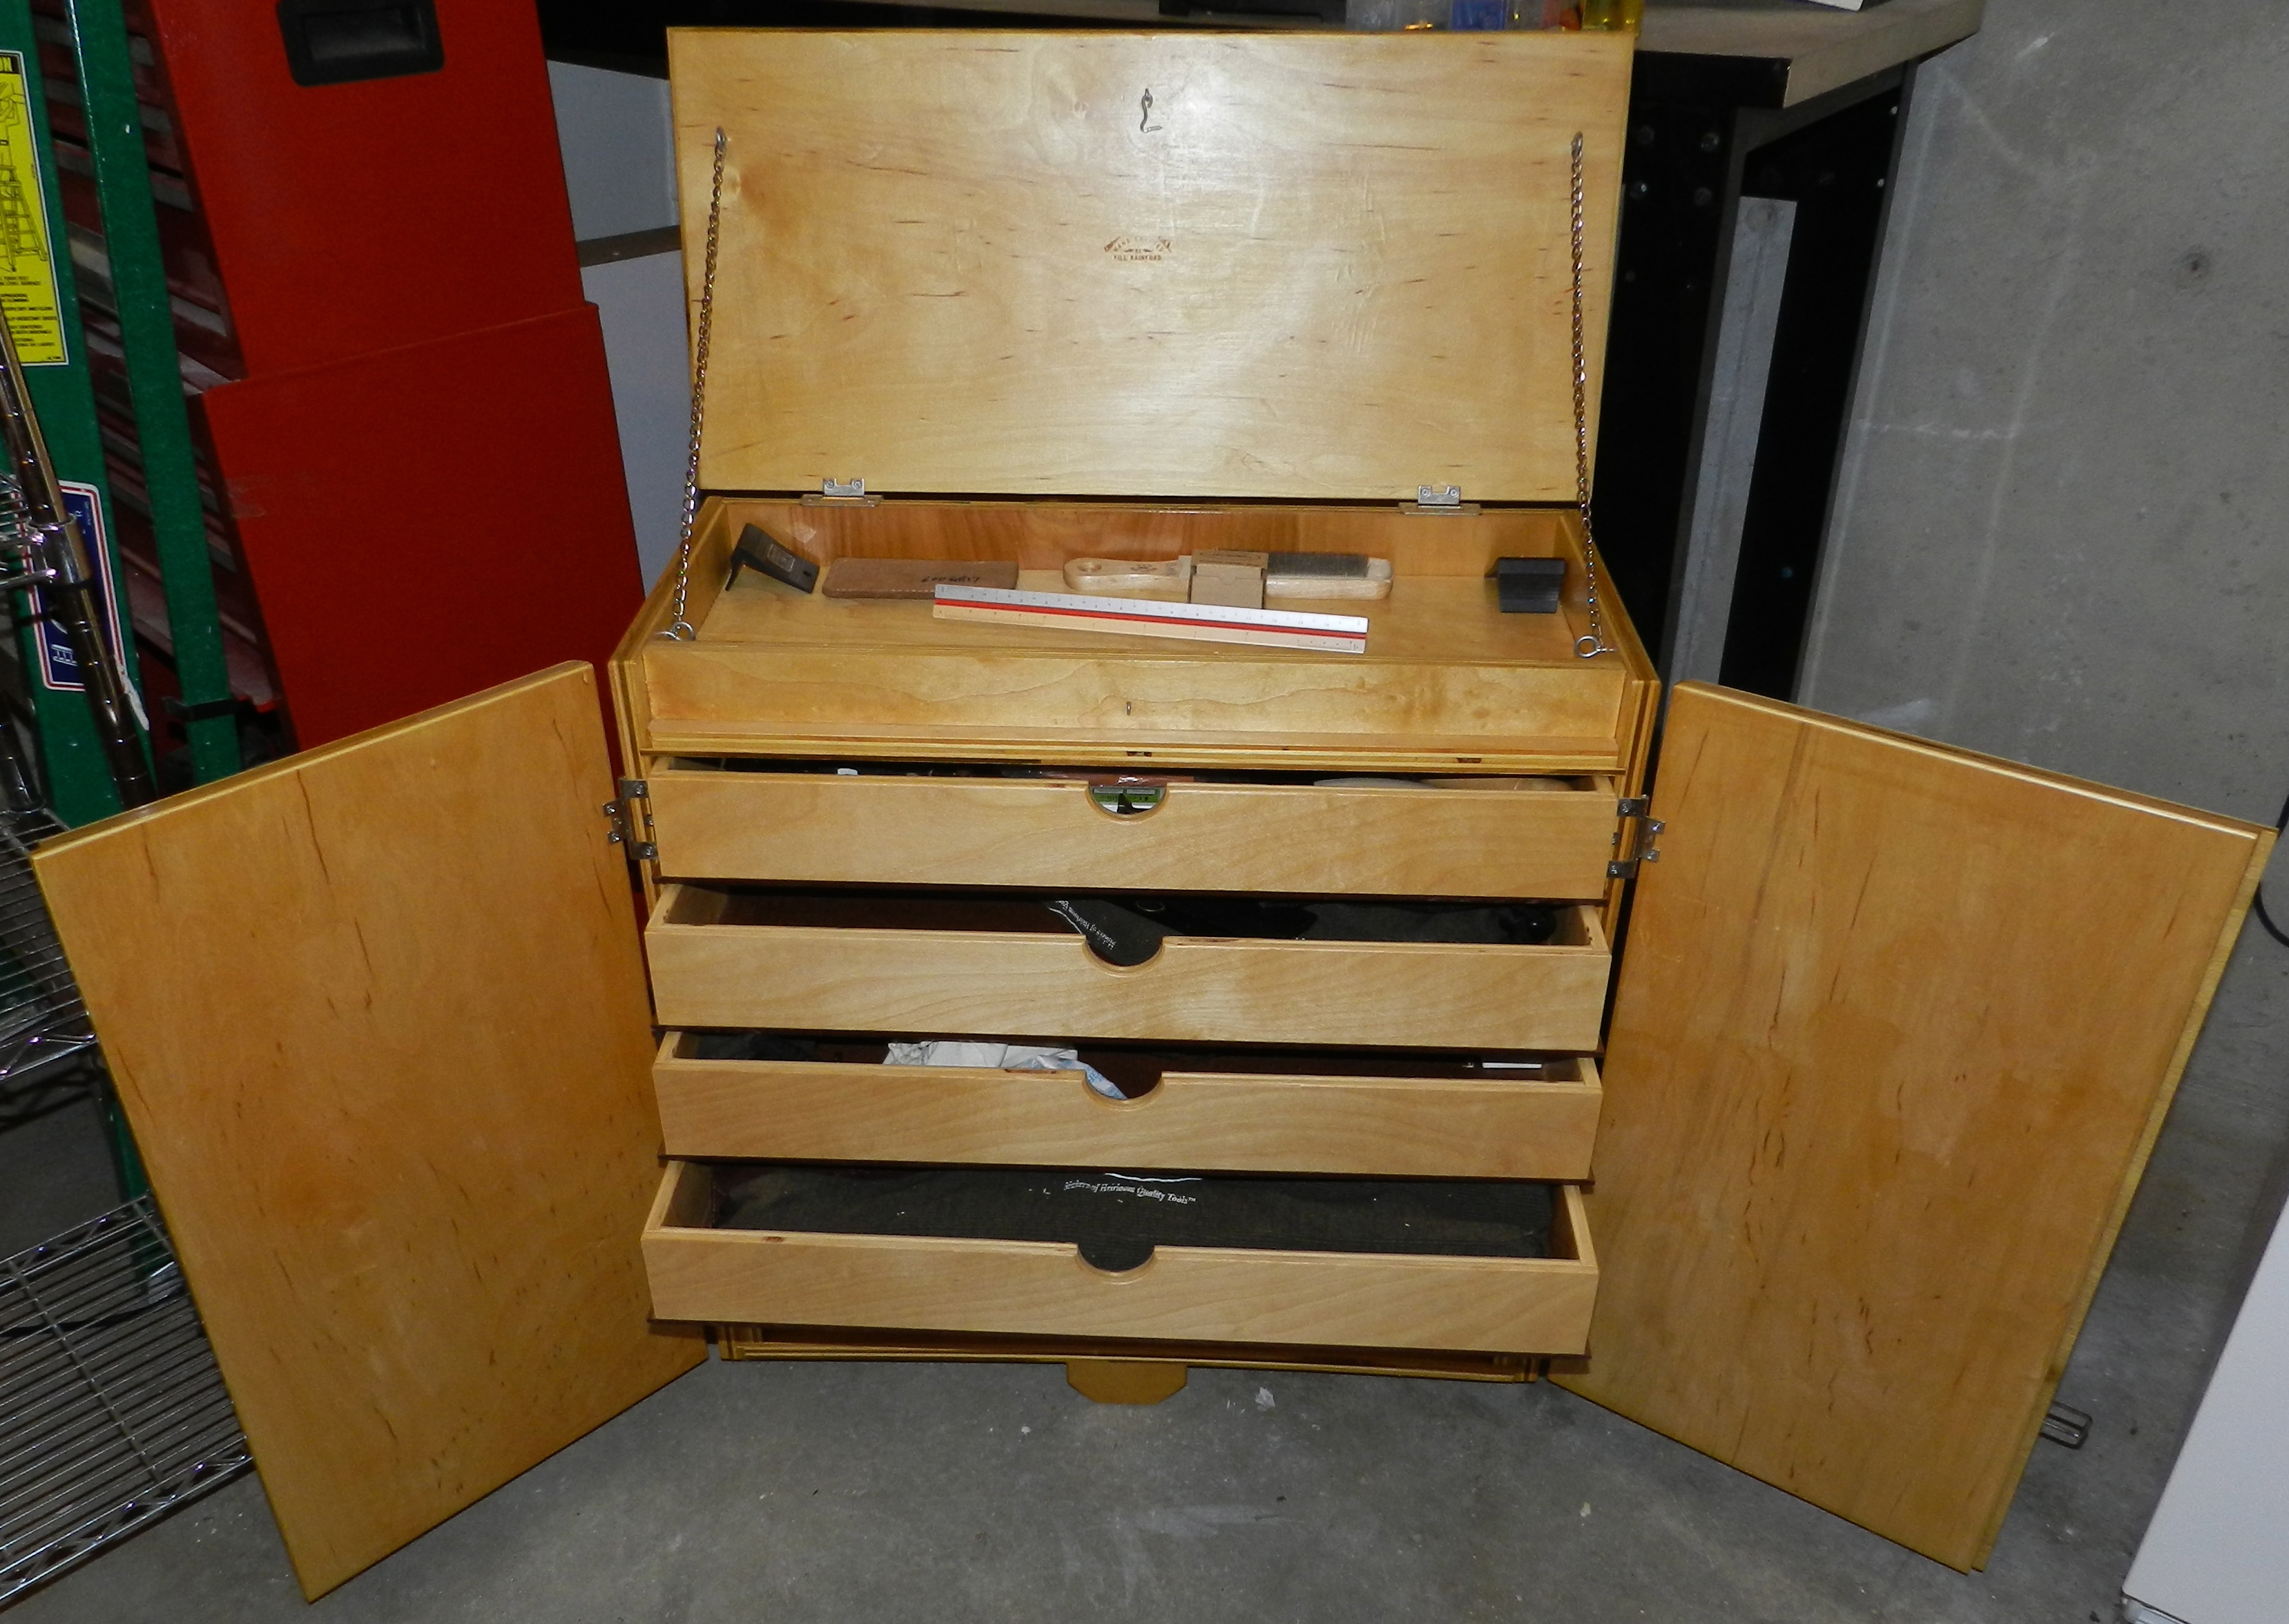
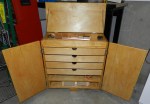
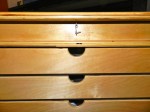
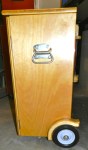
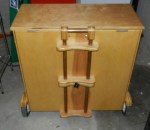
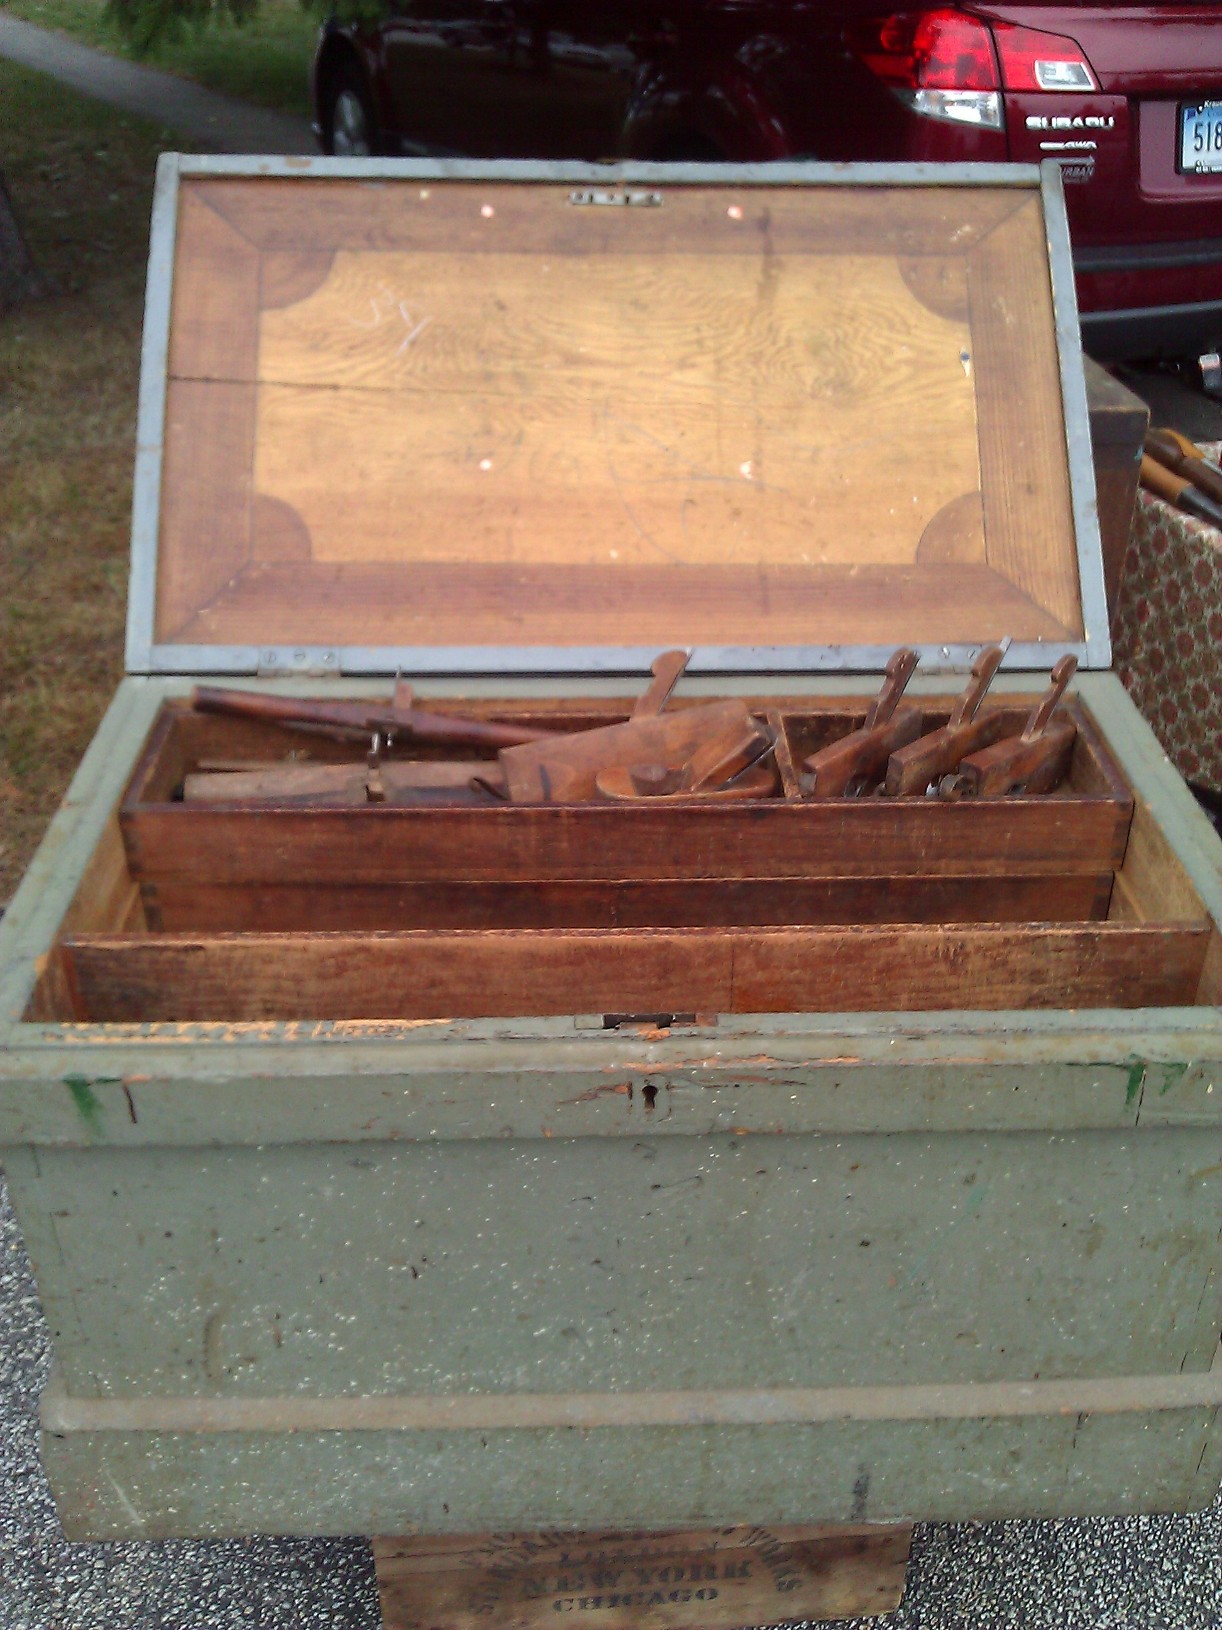
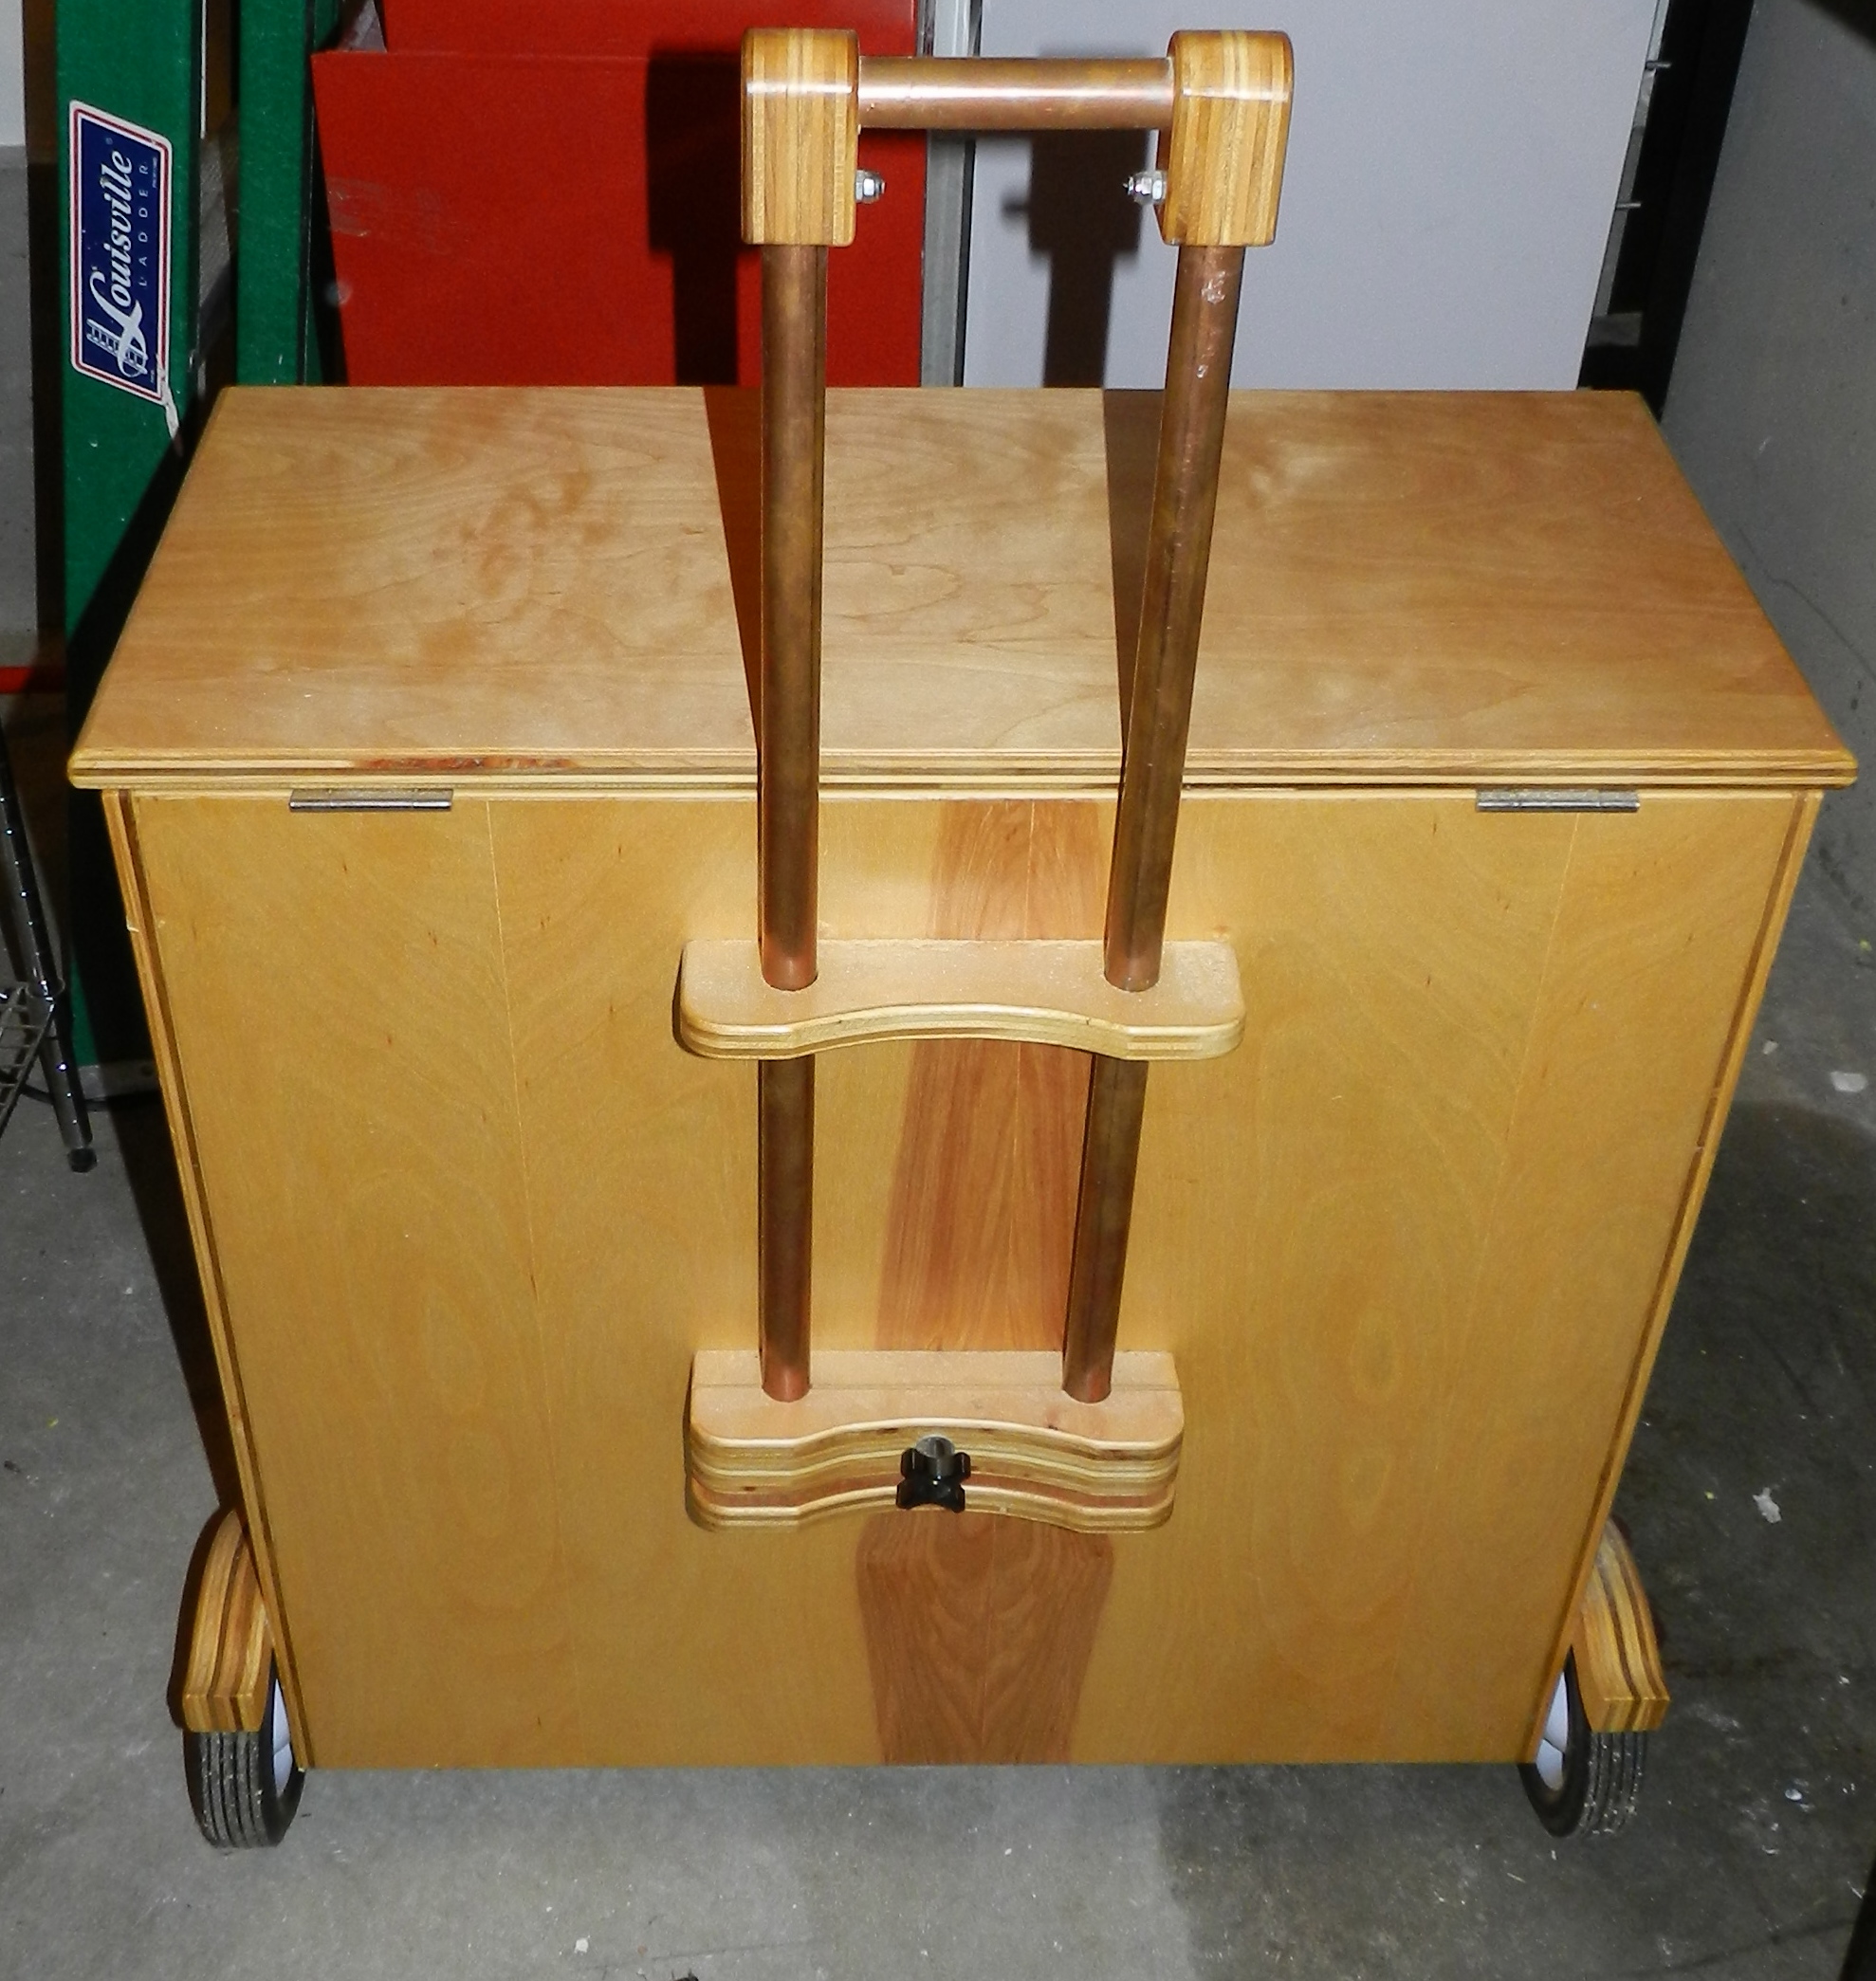
When I built a traveling toolchest for my own work I went with a utilitarian design that functioned much like rolling luggage of today. Inside there is a tray on top, a series of removable drawers to hold planes and small items and some open cubbies that were easily accessible and could be secured behind locking doors. The heavy chest lifts, telescoping handle and wheels make it manageable to move. The drawers can be swapped out depending on the needs of the current project and I could vary the height as needed — having a double deep drawer etc.
Tips for laying out the interior of your own chest:
- Design your chest from the inside out to fit your current tools and leave room to grow or modify as your tools and interests change over the years
- Start with your largest tool — for most it is a No. 7 or No.8 Jointer Plane or panel saws — and segment from there
- Tools you use most often should be the easiest to find — marking tools, squares, bench chisels, saws etc
- Make something you are proud of — you’ll be using this chest for years to come and it will be regularly inspected by all your woodworking friends
- Don’t be afraid to experiment — the great chests all evolved from earlier models, but temper that by remembering that simplicity and expressed construction will often serve you better than lots of glitz without substance
The above principles guide me as I build my own tool chests I and I hope they will help you as get out into the shop and build a chest that is a reflection of your woodworking skills and personality.
You can learn more about my thoughts on Tool Chests on my blog here.
-Bill Rainford
P.S. The above post is an extended version of what I wrote up for my friends over at Popular Woodworking as part of their Daily Woodworking Blog which you can find here.