After drafting a new project or case piece but before you head to the lumber yard, you have to make a stock list. This inglorious bit of work is a necessary evil if you want to get all the necessary supplies on your first trip. The past few weeks I’ve been working on drafting up several upcoming projects and as I used this spreadsheet a few times and thought it was worth sharing with you.
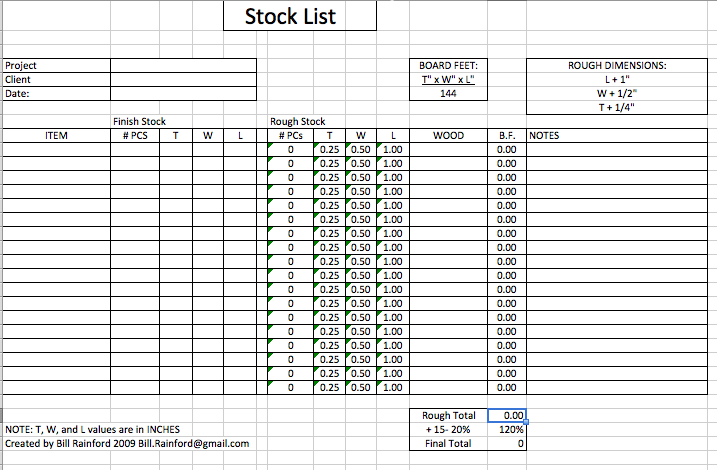
Empty Stock List
Back when I was a student at the North Bennet Street School they had a nice little photocopy of a stock list that looked like it was originally made in Excel. We’d enter all the details for our project and then calculate the board footage for our projects by hand with a calculator. This often tedious work was susceptible to the occasional human error so I’d usually wind up checking and rechecking my calculations as I went. After doing this a few times, the computer scientist in me thought ‘Wait a minute, I can code this up in Excel and let it do all the work for me’ — plus printing this spreadsheet for a customer or when dealing with a supplier looks better than a hand written version.
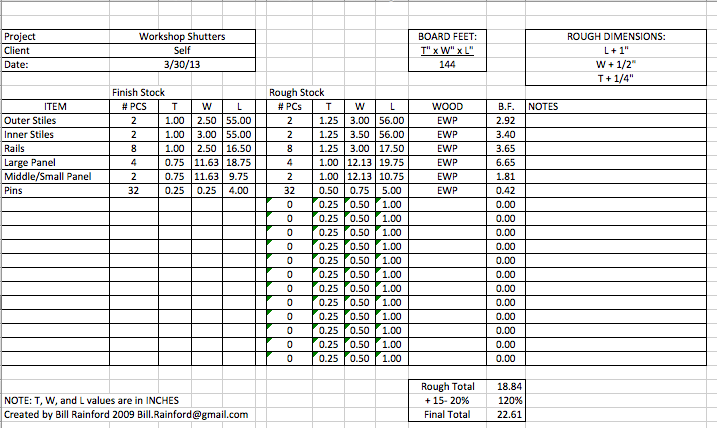
Example Stock List For Shutters
Highlights:
Keeps track of name of pieces, quantity
All values are in inches
Automatically calculates board footage
Adds common extra length (+1″), width (+1/2″) and thickness (+1/4″)
Totals up board footage
Adds extra at the end to take care of test cuts, small amount of scrap etc
This spreadsheet has worked well for me over the years and I hope you will benefit from using it as well. You can find a copy of it here (*.XLSX format):
Just a quick note: I will be teaching some new workshops this spring at the North Bennet Street School’s Arlington, MA location. My teaching schedule can be found here. I look forward to seeing some of you in class this spring or summer.
-Bill
Introduction to shutters @ The North Bennet Street School
Learn about traditional wooden shutters in this two-day workshop. Using traditional joinery, students will build a sample shutter and learn the skills needed to layout and build shutters for your own home. Discussion includes interior and exterior uses, fielded panels and louvered styles Students should be able to plane and square up a board by hand and have some experience laying out and cutting traditional mortise and tenon joinery by hand. Some experience with tuned hand tools and power tools is required. PLEASE NOTE THIS CLASS WILL BE HELD IN ARLINGTON.
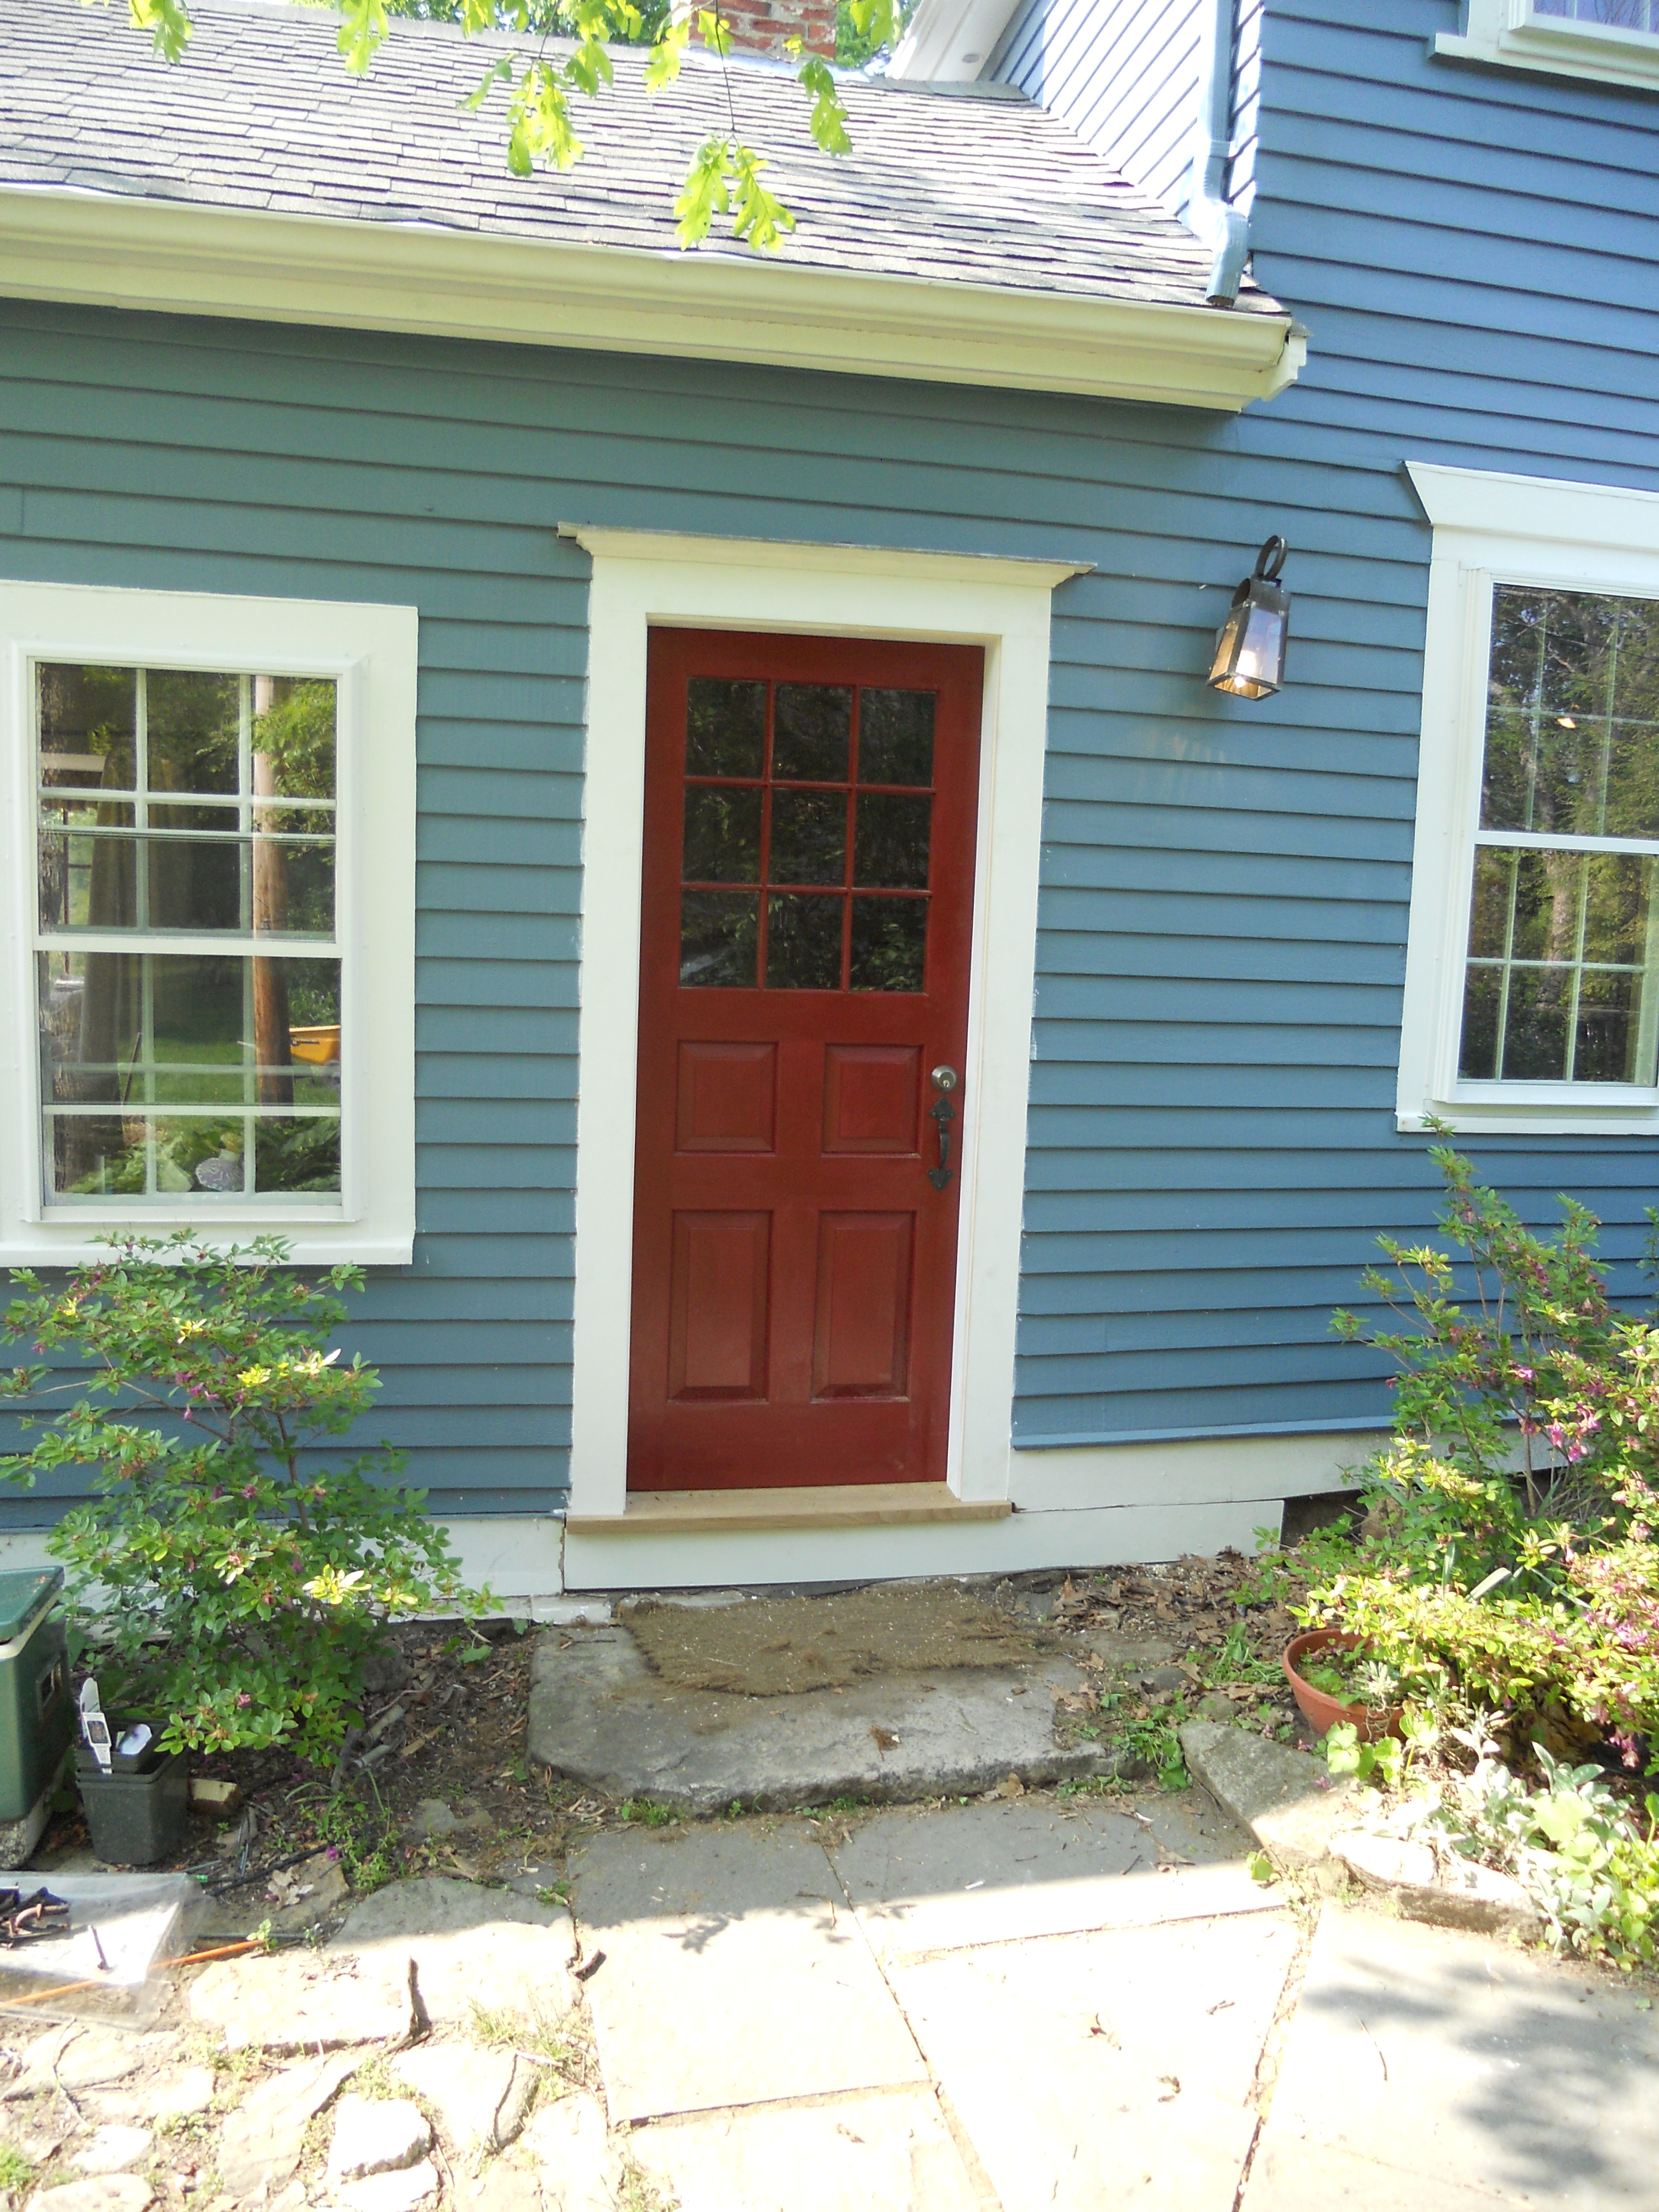
This one-day demonstration workshop includes installing a modern door, cutting to accommodate a door knob and lock set, mortising hinges, installing a modern window and related trim and flashing. We cover the proper tools for these projects and include ample time for questions throughout the day. PLEASE NOTE THIS CLASS WILL BE HELD IN ARLINGTON.
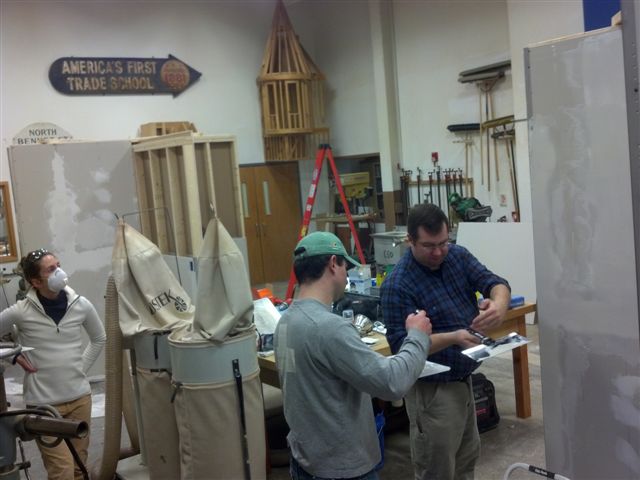
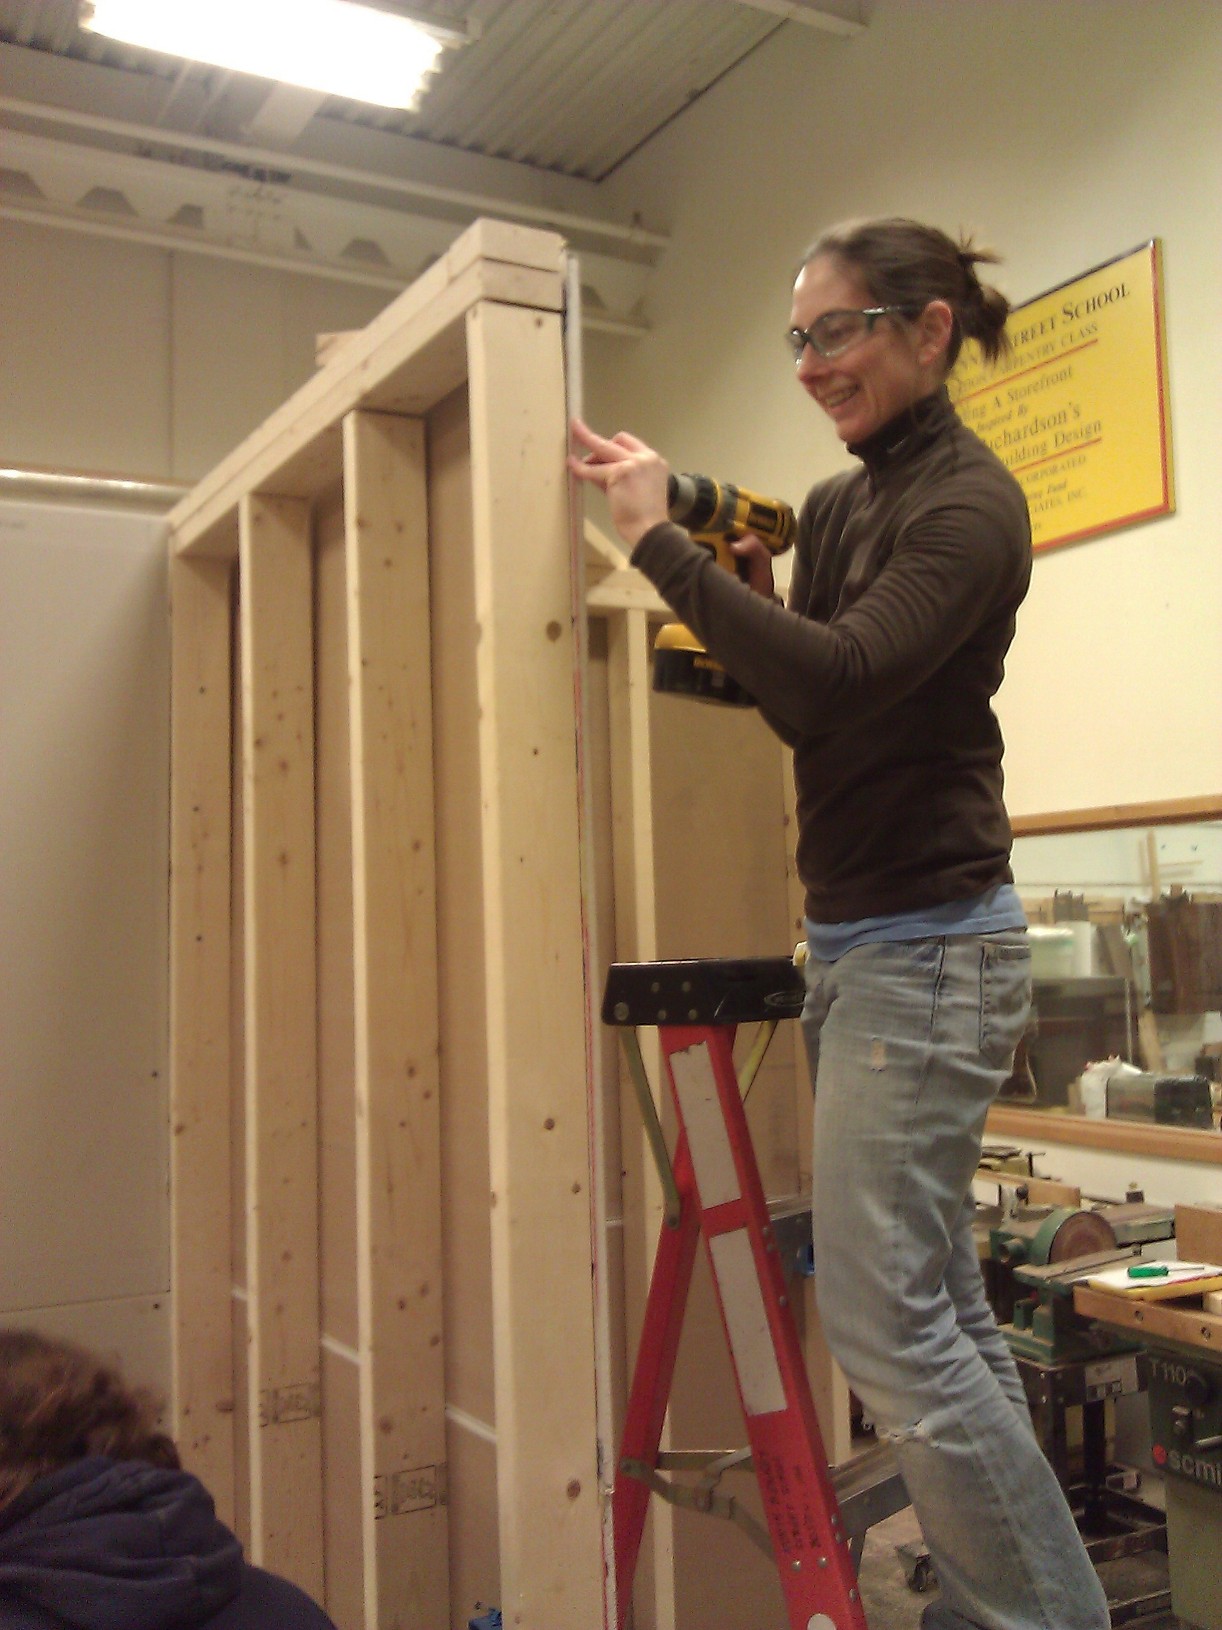
This past weekend at the North Bennet Street School I taught a new 2 day workshop that I designed on framing, drywall, mud and texture work. It was an opportunity for students to learn the techniques necessary to properly install or repair drywall around their homes, improve their finishing and texture skills and ask questions.
Bill discussing technique
It was a lot of material to cover in 2 days, but the class was enthusiastic and put in the hard work necessary to get through all the major exercises. Below is a highlight reel from the class:
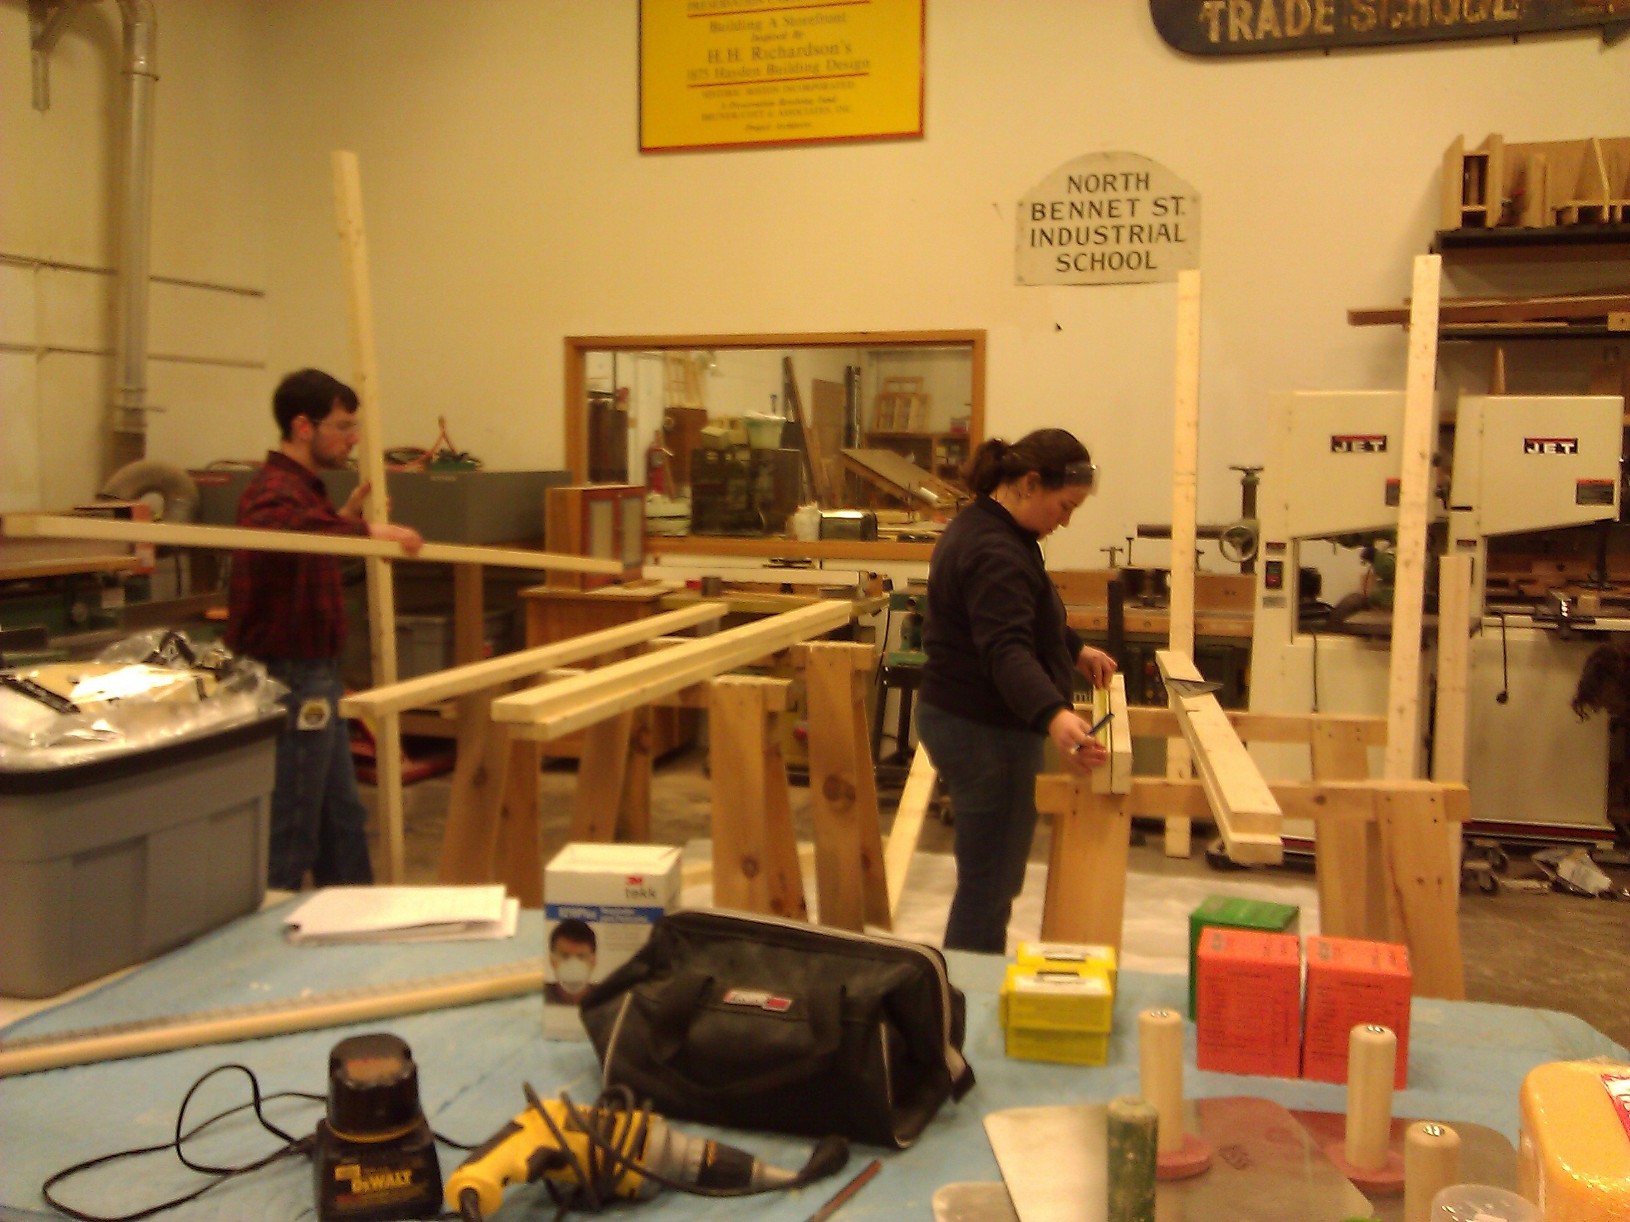
Laying out the frames
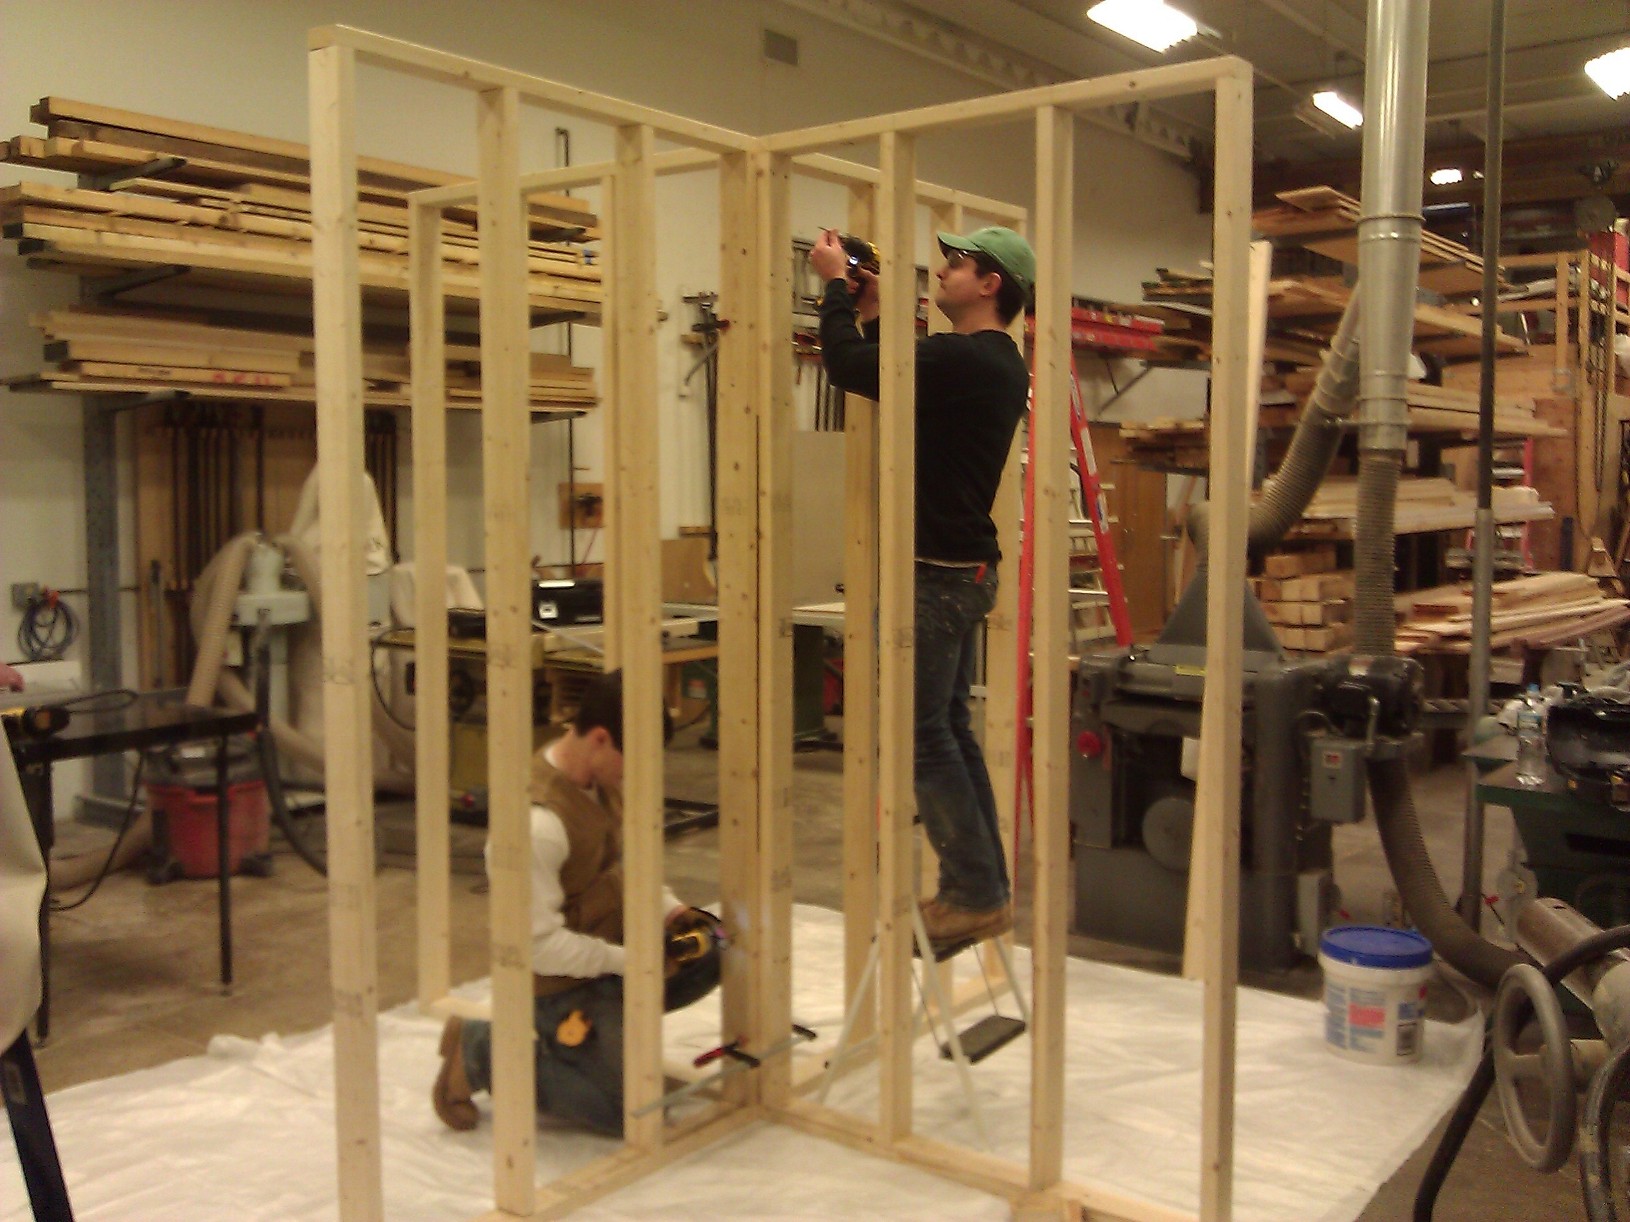
Once each student finished his/her frame they were assembled into wall sections.
Assembling the frame sections
Each student had their own workspace to practice in.
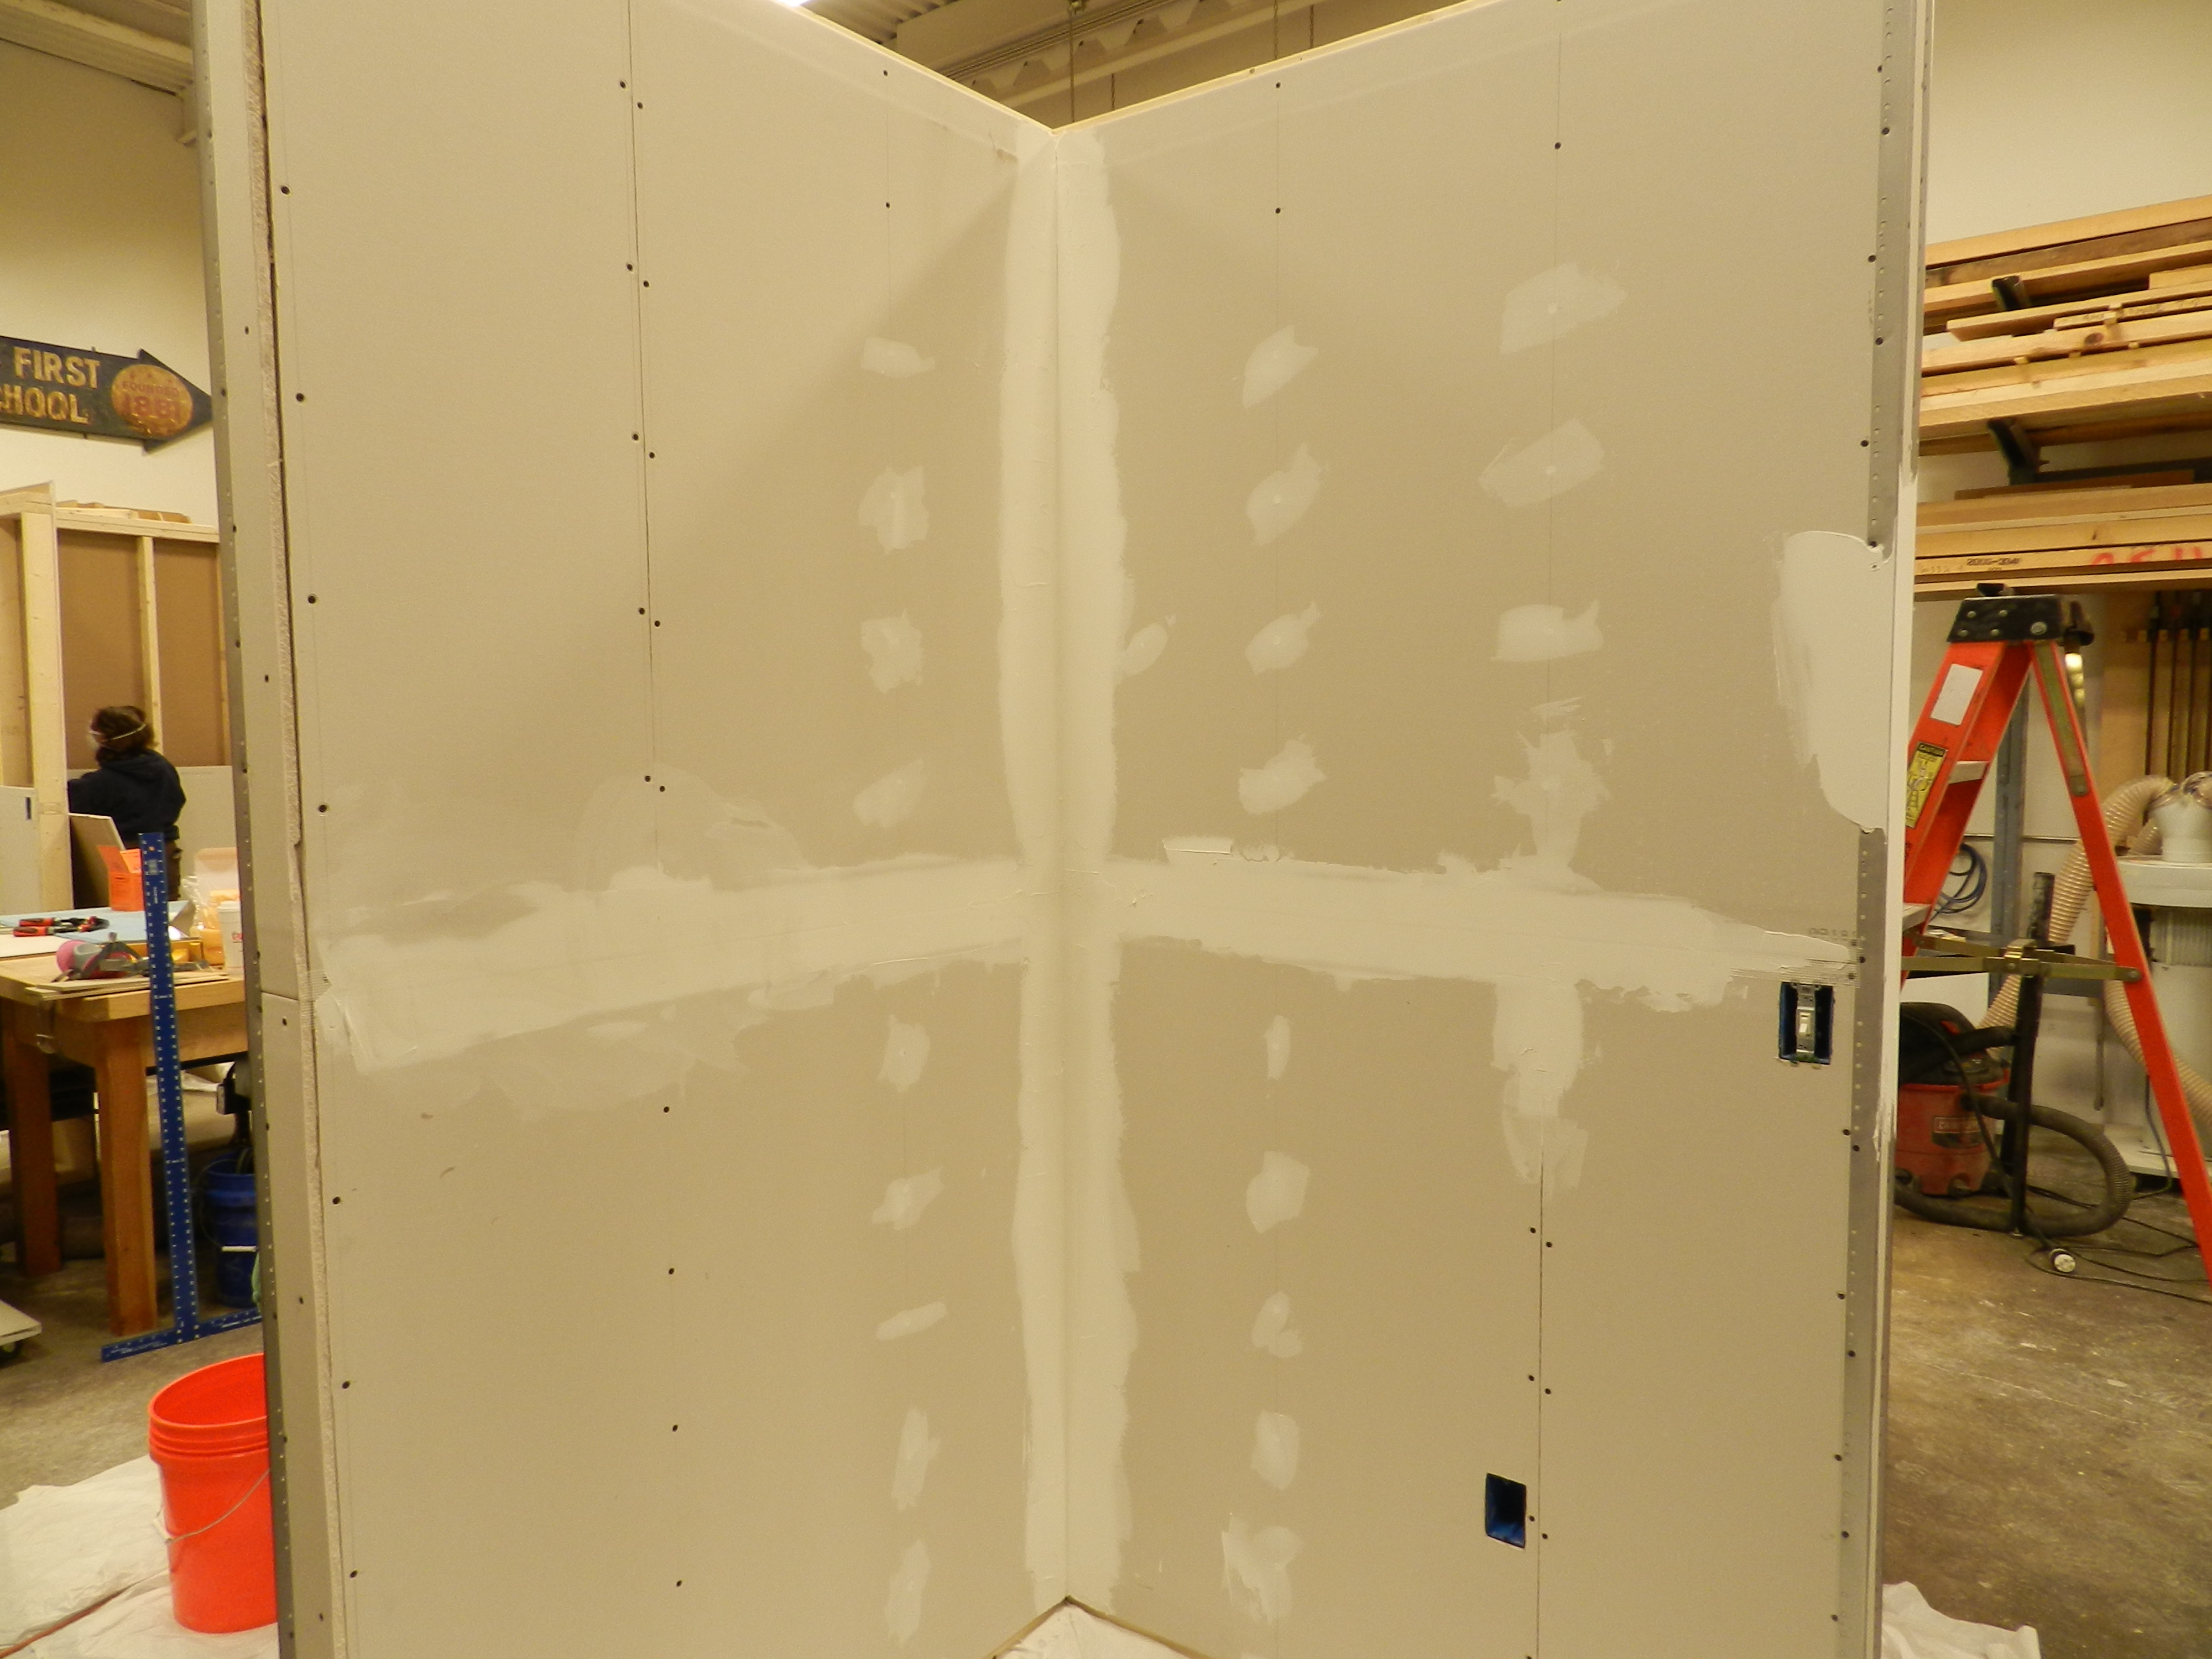
Cutting and hanging Sheetrock
Cutting, hanging, coursing, cleaning up edges etc.
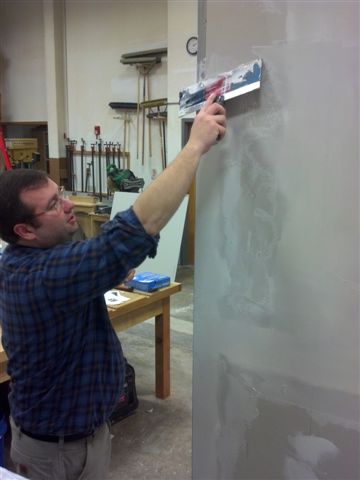
Bill demonstrating how to blend coats of mud
Hands on demonstrations of technique
Taping and initial mud work
Working around obstructions like outlet boxes, taping, and initial coat of mud.
Wet and Dry Sanding
Sanding the initial coat of mud and applying subsequent coats.
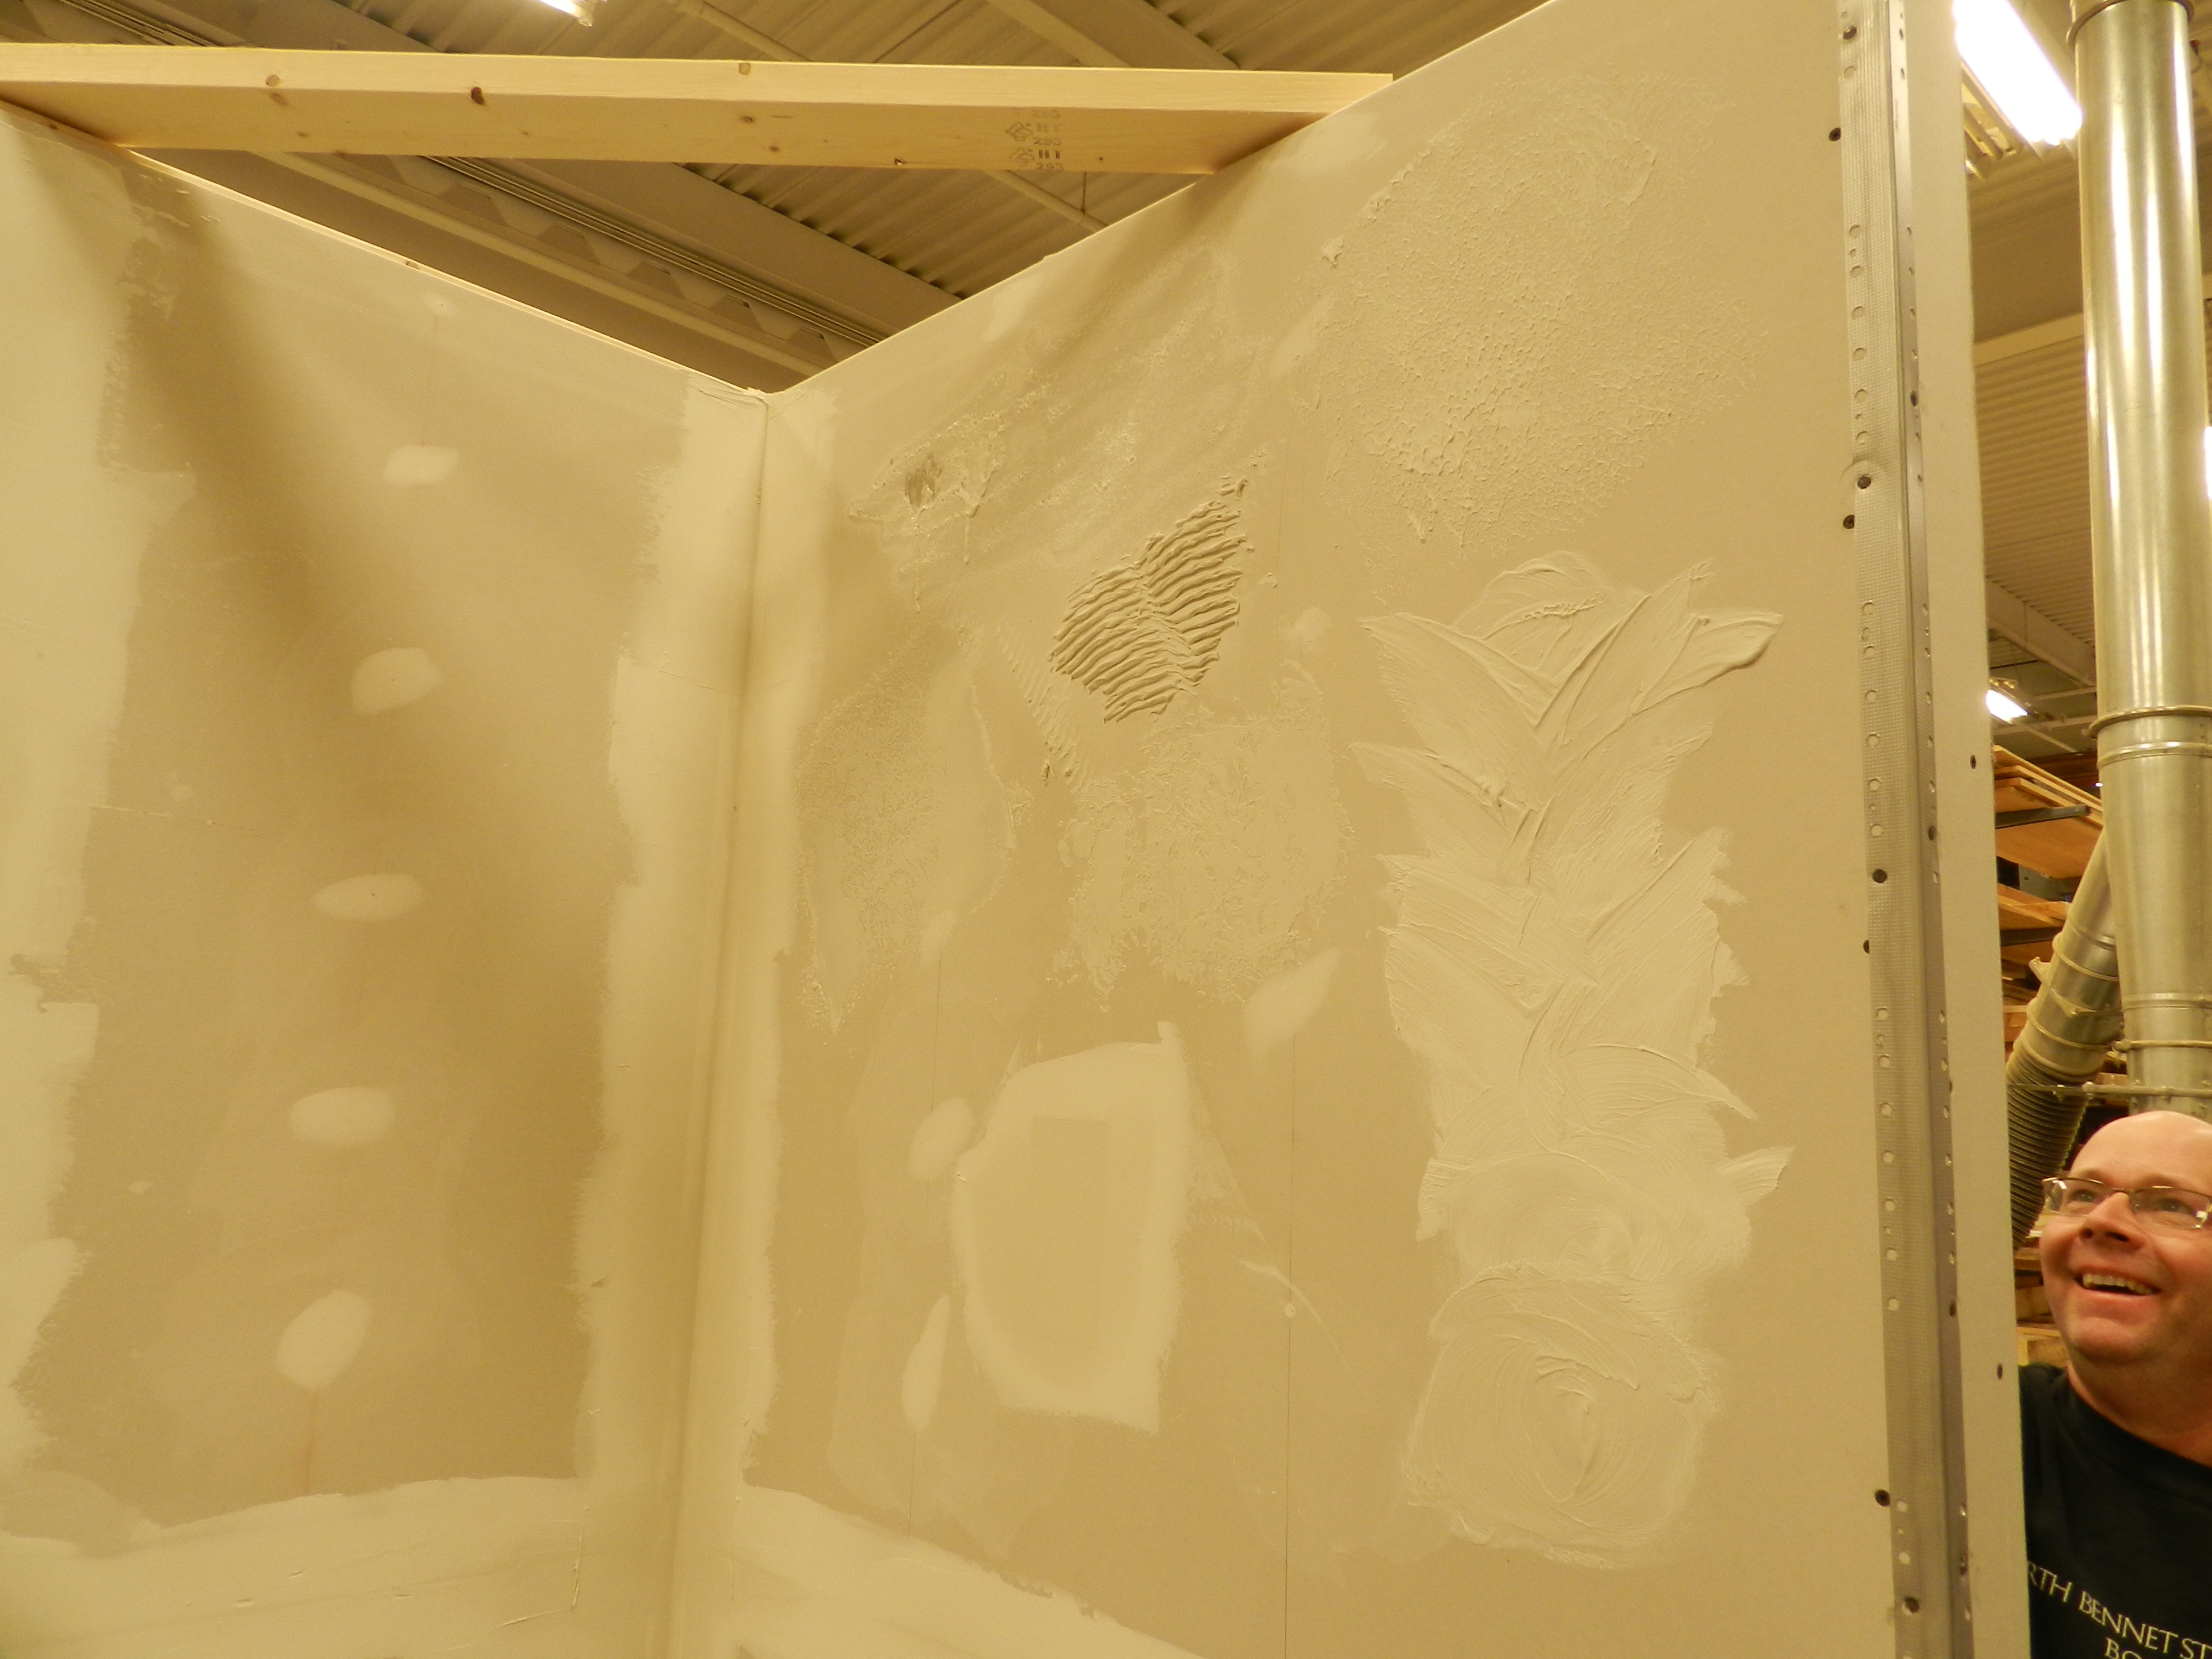
Applying Texture
Patching, repairs and applying various finishing and texture techniques.
It was an informative and enjoyable experience and I look forward to teaching similar workshops in the future. If you have requests for other workshop topics you’d like to see covered, please let me know.
The historic Wellington House in Waltham MA dates back to the late 1700s and has a long history which was almost lost to development. In recent years this house has seen some exterior restoration, but now things are progressing on the interior as well. This post is the tale of how the kitchen fireplace surround was documented and restored.
Front of the Wellington House
First some history about the house:
It was home to the Wellington Family from 1779 – 1930 when it was sold to the state and became part of the Middlesex County Hospital and was used as an office for some of the hospital administration. After the hospital closed the house stood abandon for 20+ years and the weather and neglect took a toll on the building
Interior Front Door of the Wellington House
This house is an interesting specimen of Massachusetts Architecture from the time of the revolutionary war, the local militia and the large percentage of original details that remain intact in the house, though many of them are in desperate need of preservation.
Central Stair Hall, Wellington House, Waltham MA
In 1989 the house was put on the National Historic Register of Historic Places. As a developer was looking to develop the acreage behind this historic property the city of Waltham had the foresight to ask that this house be donated back to the town along with funds to cover the restoration work. Since that time the roof was replaced, some structural stabilization was carried out and much of the exterior has been touched up, but the interior is another story. Once restored this building will eventually serve as the offices for the historical commission.
Now on to the interior of the main kitchen:
The ‘Before’ this was the kitchen fireplace surround as we found it
Above is what the kitchen looked like when I arrived at the house.
Steve O’Shaughnessy working with me on documenting what was left of this historic fabric
Steve O’Shaughnessy and I examined what was left and worked to document the fireplace surround, paneling, cabinets, hardware etc via photographs and site notes. Water had been infiltrating the chimney stack and was causing a lot of damage to this woodwork — along with various small animals. The paneling on the right side was bowed several inches off the wall. Sara Chase, NBSS adviser and paint analysis expert examined samples to determine the original color of the trim.
Carefully removing pins so we can disassemble the paneling
After initial documentation we carefully disassembled the paneling so the masonry could be examined and repaired and so the woodwork could also be restored.
Getting the large panel and surround down in one piece (Pictured Bill Rainford)
Getting the central panel out in a single piece was an accomplishment and while exhausted at the time we were happy that everything came out without breaking anything and it even revealed a nice surprise….
Signed and dated 1904 in beautiful cursive — likely when the panel was put back in to cover the earlier hole made when a stove was installed
Behind the large panel was a large signature in fancy cursive writing that read: “Ernest S Farr January 28th 1904” I did some digging around on the internet and found that there was an Ernest S Farr (ca 1874-1920) in Middlesex who was married to Ida Farr and had a daughter named Helen N Farr in 1895.
The masonry seeing the light of day for the first time in well over 100 years (At least since 1904, possibly since 1799)
With the paneling removed you could see the masonry work of the chimney mass. You could see the heavy wood lintel was sagging a bit, but otherwise the masonry was largely intact. You could also see the scars of installing a stove into the main chimney flue and also into the flue for the beehive oven. It appears that the work of Ernest S Far was to replace the fielded panel and cover in the stovepipe hole in the primary fireplace, which leads me to think the stovepipe in the beehive oven was the later addition. I also have to comment that Ernest did a very good job getting that panel in place without disturbing the other woodworking — when we removed the rest of the surround we could see the cut nail holes and the rest of the paneling were original to the first installation.
Martin Hickman fine tuning some hardware during installation
My friend and colleague Martin Hickman (also from NBSS) restored the woodworking that was removed. This was a laborious task that took many days to complete.
Restored paneling being re-installed (Pictured Martin Hickman)
Beyond the dissassembly, paint scraping and basic repairs , Martin also had to work to remove the large bow in the paneling caused by the water damage
Martin finishing up the final pieces of the installation
Martin’s efforts paid off well as the final product once re-installed would likely have looked very familiar to the original Wellington’s who once inhabited this house. This room will eventually be used as a conference room for the Waltham Historical Commission. If you notice the small patch above the fireplace that is an area deliberately preserving the long paint history of this woodwork and will be exposed as a reminder to the later inhabitants of the room.
The ‘After’ — the restored surround, paneling and cabinets have been re-installed and are looking great. The off color patch in he middle will be preserved under glass as a reminder of the change this woodworking has seen and for future paint analysis if ever needed again in the future.
While there is a LOT of work that remains on the rest of the interior the Wellington House is off to a great start and I hope that the rest of the building will be restored to its earlier glory in the coming years.
You can learn more about the Wellington House and some of its history here.
From meeting a lot of the top timber framer’s in the country, to great talks, joint busting and axe throwing there was a lot to take in. Below is a quick recap of some of the more memorable events from this year.
Conference T-Shirt, Wood Bookmark, Swag from the show
I was excited to meet a lot of the guys who helped to found the Timber Framer’s Guild and wrote many of the books I often reference in my work and teaching: Jack Sobon, Ted Benson, Will Beemer, and many others. It was also great to see lots of friends from the field and make new connections.
Keynote Presentation by Ted BensonHard, Slow Learning: We Weren’t Very Good Yet, but at Least We Were Skinny — from Ted Benson’s Talk
Rich Friberg, my good friend and the second year instructor at the North Bennet Street School gave an interesting talk on Preservation Principles and Methods and showed off some of the great work the school is doing.
Rich Friberg Talking About Historic Preservation Topics
We also got the chance to meet Thomas C. Hubka author of “Big House, Little House, Back House, Barn: The Connected Farm Buildings of New England” and learn about his current research as well as the other projects he’s been involved with including the Timber Framed Synagogue in Europe.
Thomas C. Hubka author of “Big House, Little House, Back House, Barn: The Connected Farm Buildings of New England”
I was excited to get up on stage Friday night and talk about some of the timber framing work I did with NBSS. Shown below I was discussing the new square rule barn and also the historic ~1791 two bay English Style Barn we restored at Brookwood Farm in Canton MA.
Bill Rainford (Me) talking about some work I did with NBSS at Brookwood FarmBill Rainford (Me) talking about some work I did with NBSS at Brookwood Farm on Friday Night
BANG — CRACK — SNAP — JOINT BUSTING! In a corner of the trade show portion of the conference during the inter-session breaks we got to see a lot of the joint busting competition. Basically you build a timber framed joint meeting some specific size specifications and it is placed into a hydraulic or pneumatic press that will apply an incredible amount of pressure to see what it would take to cause the joint to fail. This info is projected on the screen and also logged by computer sensor for research purposes. When the joint fails it often makes quite the sound.
Joint busting competition at the trade showSome of the many and varied joints that were busted this yearGreat looking joint with carved embellishments
Look out for flying axes at the AXE THROWING COMPETITION!
Outside the guild setup some targets and allowed us to practice our axe throwing before the big competition. I had never thrown an axe before, but after a quick lesson, it was a lot of fun and with a little practice we made some good shots.
Kim Catlin (NBSS Graduate) Throwing an AxeBill Rainford (NBSS) Throwing an AxeAxe in flightBill Rainford (Me) standing next to my bullseye shot
I had a great time at the show, I’m all fired up to get out in the yard and start hewing and framing some more outbuildings and I can’t wait to go back next year!
One of the many traditions at the North Bennet Street School is recognizing a distinguished member of the alumni community each year at the graduation ceremony. With so many talented individuals coming out of the school it is often hard to choose just one person, and this year was no exception. As part of the alumni council we each presented candidates from our own department(s) to the other members of the council and the school administration and at the end of the meeting took a vote.
This year I am happy to report that we have our first Distinguished Alumni Award (DAA) winner from the Preservation Carpentry Department — Brent Hull.
Brent Hull (left) and Robert Adam (right)
Brent was part of the class of 1993 and studied under Robert Adam. After graduating he returned to his native Texas and started his own company. From a modest beginning working in his brother’s garage, and a lot of hard work, Brent went on to build the Hull group of companies, which now employs over 50 artisans and related staff. He runs a successful construction and consulting firm, is the exclusive millworks provider for the Winterthur museum, has restored historic courthouses in Texas and worked on many private residences including those of Barbara Streisand. Beyond the commercial success, Brent has also been a prolific writer in the field of traditional interior designs and moldings publishing several books on these topics. Brent also enjoys educating his customers and the general public via teaching forums on the merits of traditional design and craftsmanship.
Brent Hull Speaking to both PC Classes
The day before graduation, Brent stopped by the Arlington shop to speak with the PC ’12 and ’13 classes. He shared his thoughts on what he enjoyed most about the program, shared some hard learned lessons, tips on how to start a business and select customers and some guidance around areas students should learn more about after graduating.
Rich Friberg, Bill Rainford, Brent Hull, Robert Adam (left to right)
Above, second year instructor Rich Friberg PC’04, Bill Rainford PC’11, Brent Hull PC’93 and Robert Adam long time PC department head and founder of the program gather in the office to celebrate the day. Robert also shared some of his wisdom with the students and reminded those who are from outside of New England that it has been his experience that the further students get away from Boston the more successful they often are given the concentration of graduates in the immediate area. This was great news for many of our students from around the country and abroad who will be going home with a great set of skills.
Johnathan Ericson handing out his Attendance Awards / Scholarship. Accepting the award is Frank Di Francesco PC’12
Rounding out the afternoon, Johnathan Ericson PC’11 gave out the Attendance Awards / Scholarship that he started last year. It consists of a certificate and scholarship for those students who maintained a record of perfect attendance while a PC student. The message is clear — that hard work and dedication to show up each and every day is something that should be rewarded and will help new graduates when they get out into the field.
Congratulations to Brent and the PC Class of 2012 — you have a bright future ahead of you!
A Joiner's Guide To Traditional Woodworking and Preservation


")

")

")


 talking about some work I did with NBSS at Brookwood Farm")
 talking about some work I did with NBSS at Brookwood Farm on Friday Night")


 Throwing an Axe")
 Throwing an Axe")

 standing next to my bullseye shot")

 and Robert Adam (right)")

")

