Building customized storage solutions is one of the joys of being a woodworker. I never seem to have enough storage at home or in the shop. On days when I don’t have a lot of time in the shop, when I have some nice scraps I want to use or when I want a quick warm-up, I often find myself making boxes and other storage solutions for items I want to take care of. Below are three posts I recently made for Popular Woodworking on their ‘Woodworking Daily’ blog to explore some of my thoughts on this topic. I hope that they will inspire you to get out into the shop and make something today.
Aging 100 Years in a Day
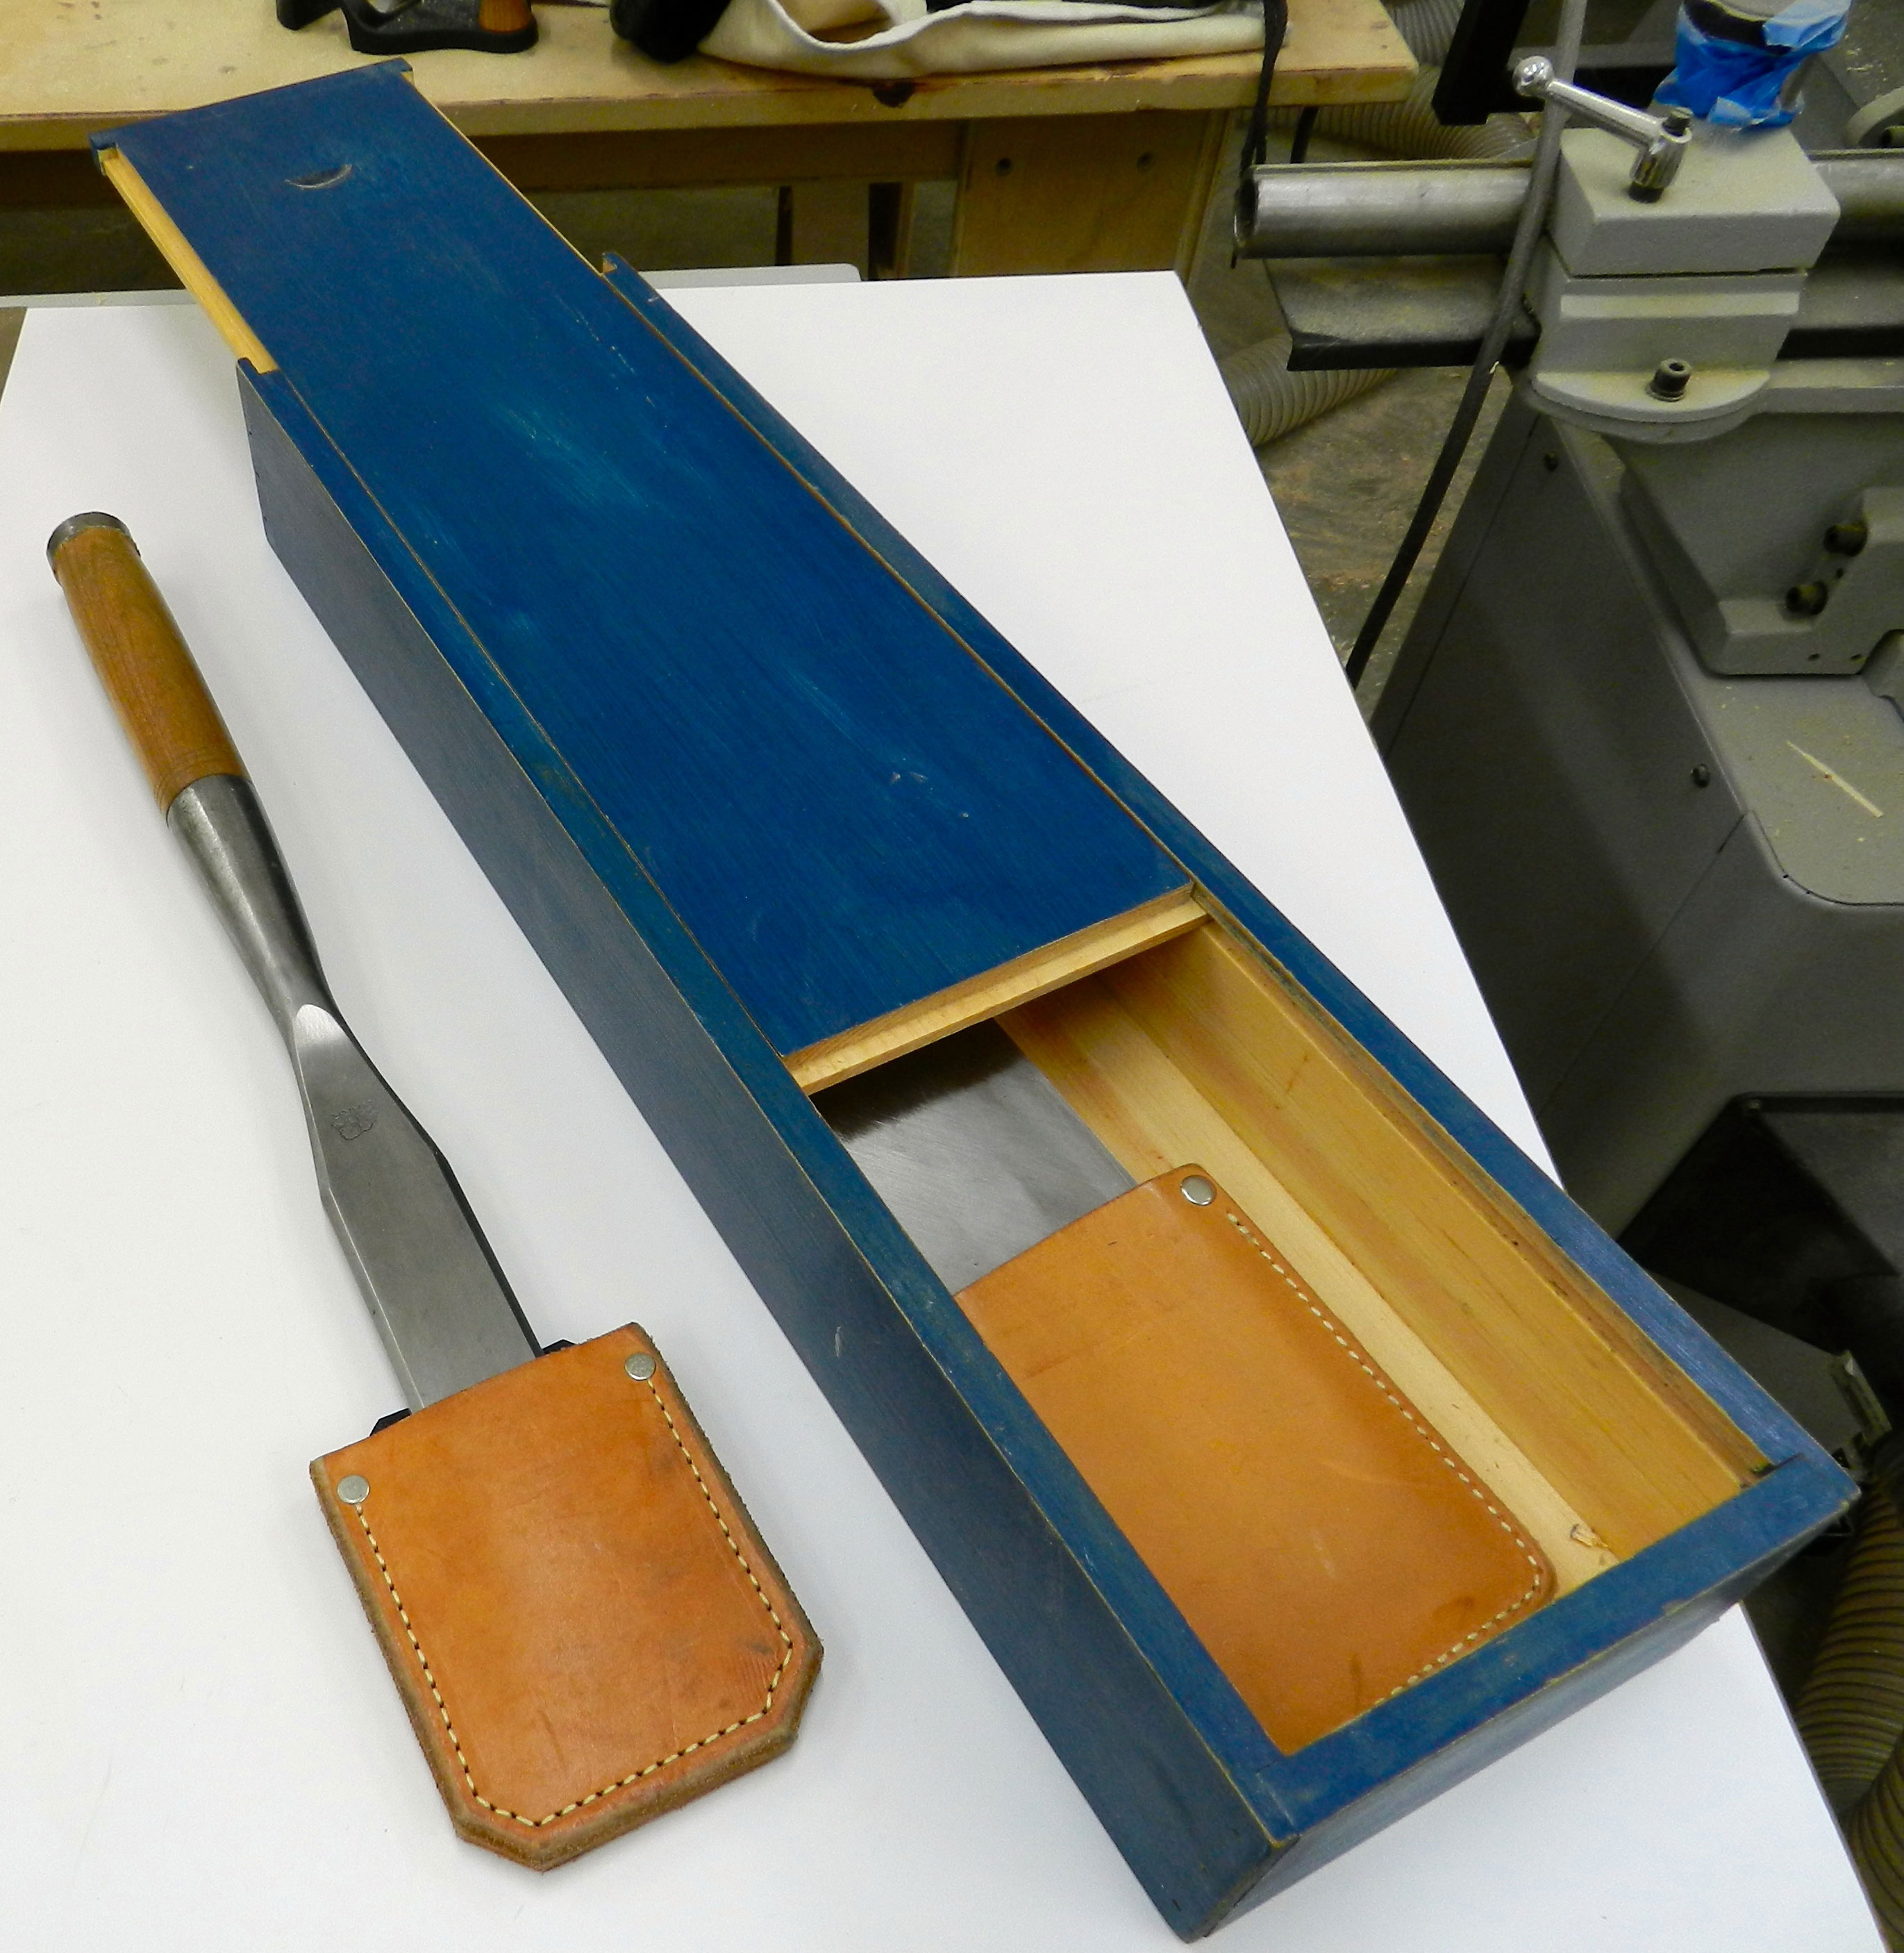
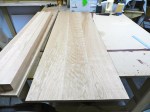
You can check out this post on making a sliding top timber framing chisel box from eastern white pine, simple rabbet joints and cut nails. It features a weathered finish made from milk paint and wax that will only look better with age and use. You can read the post here.
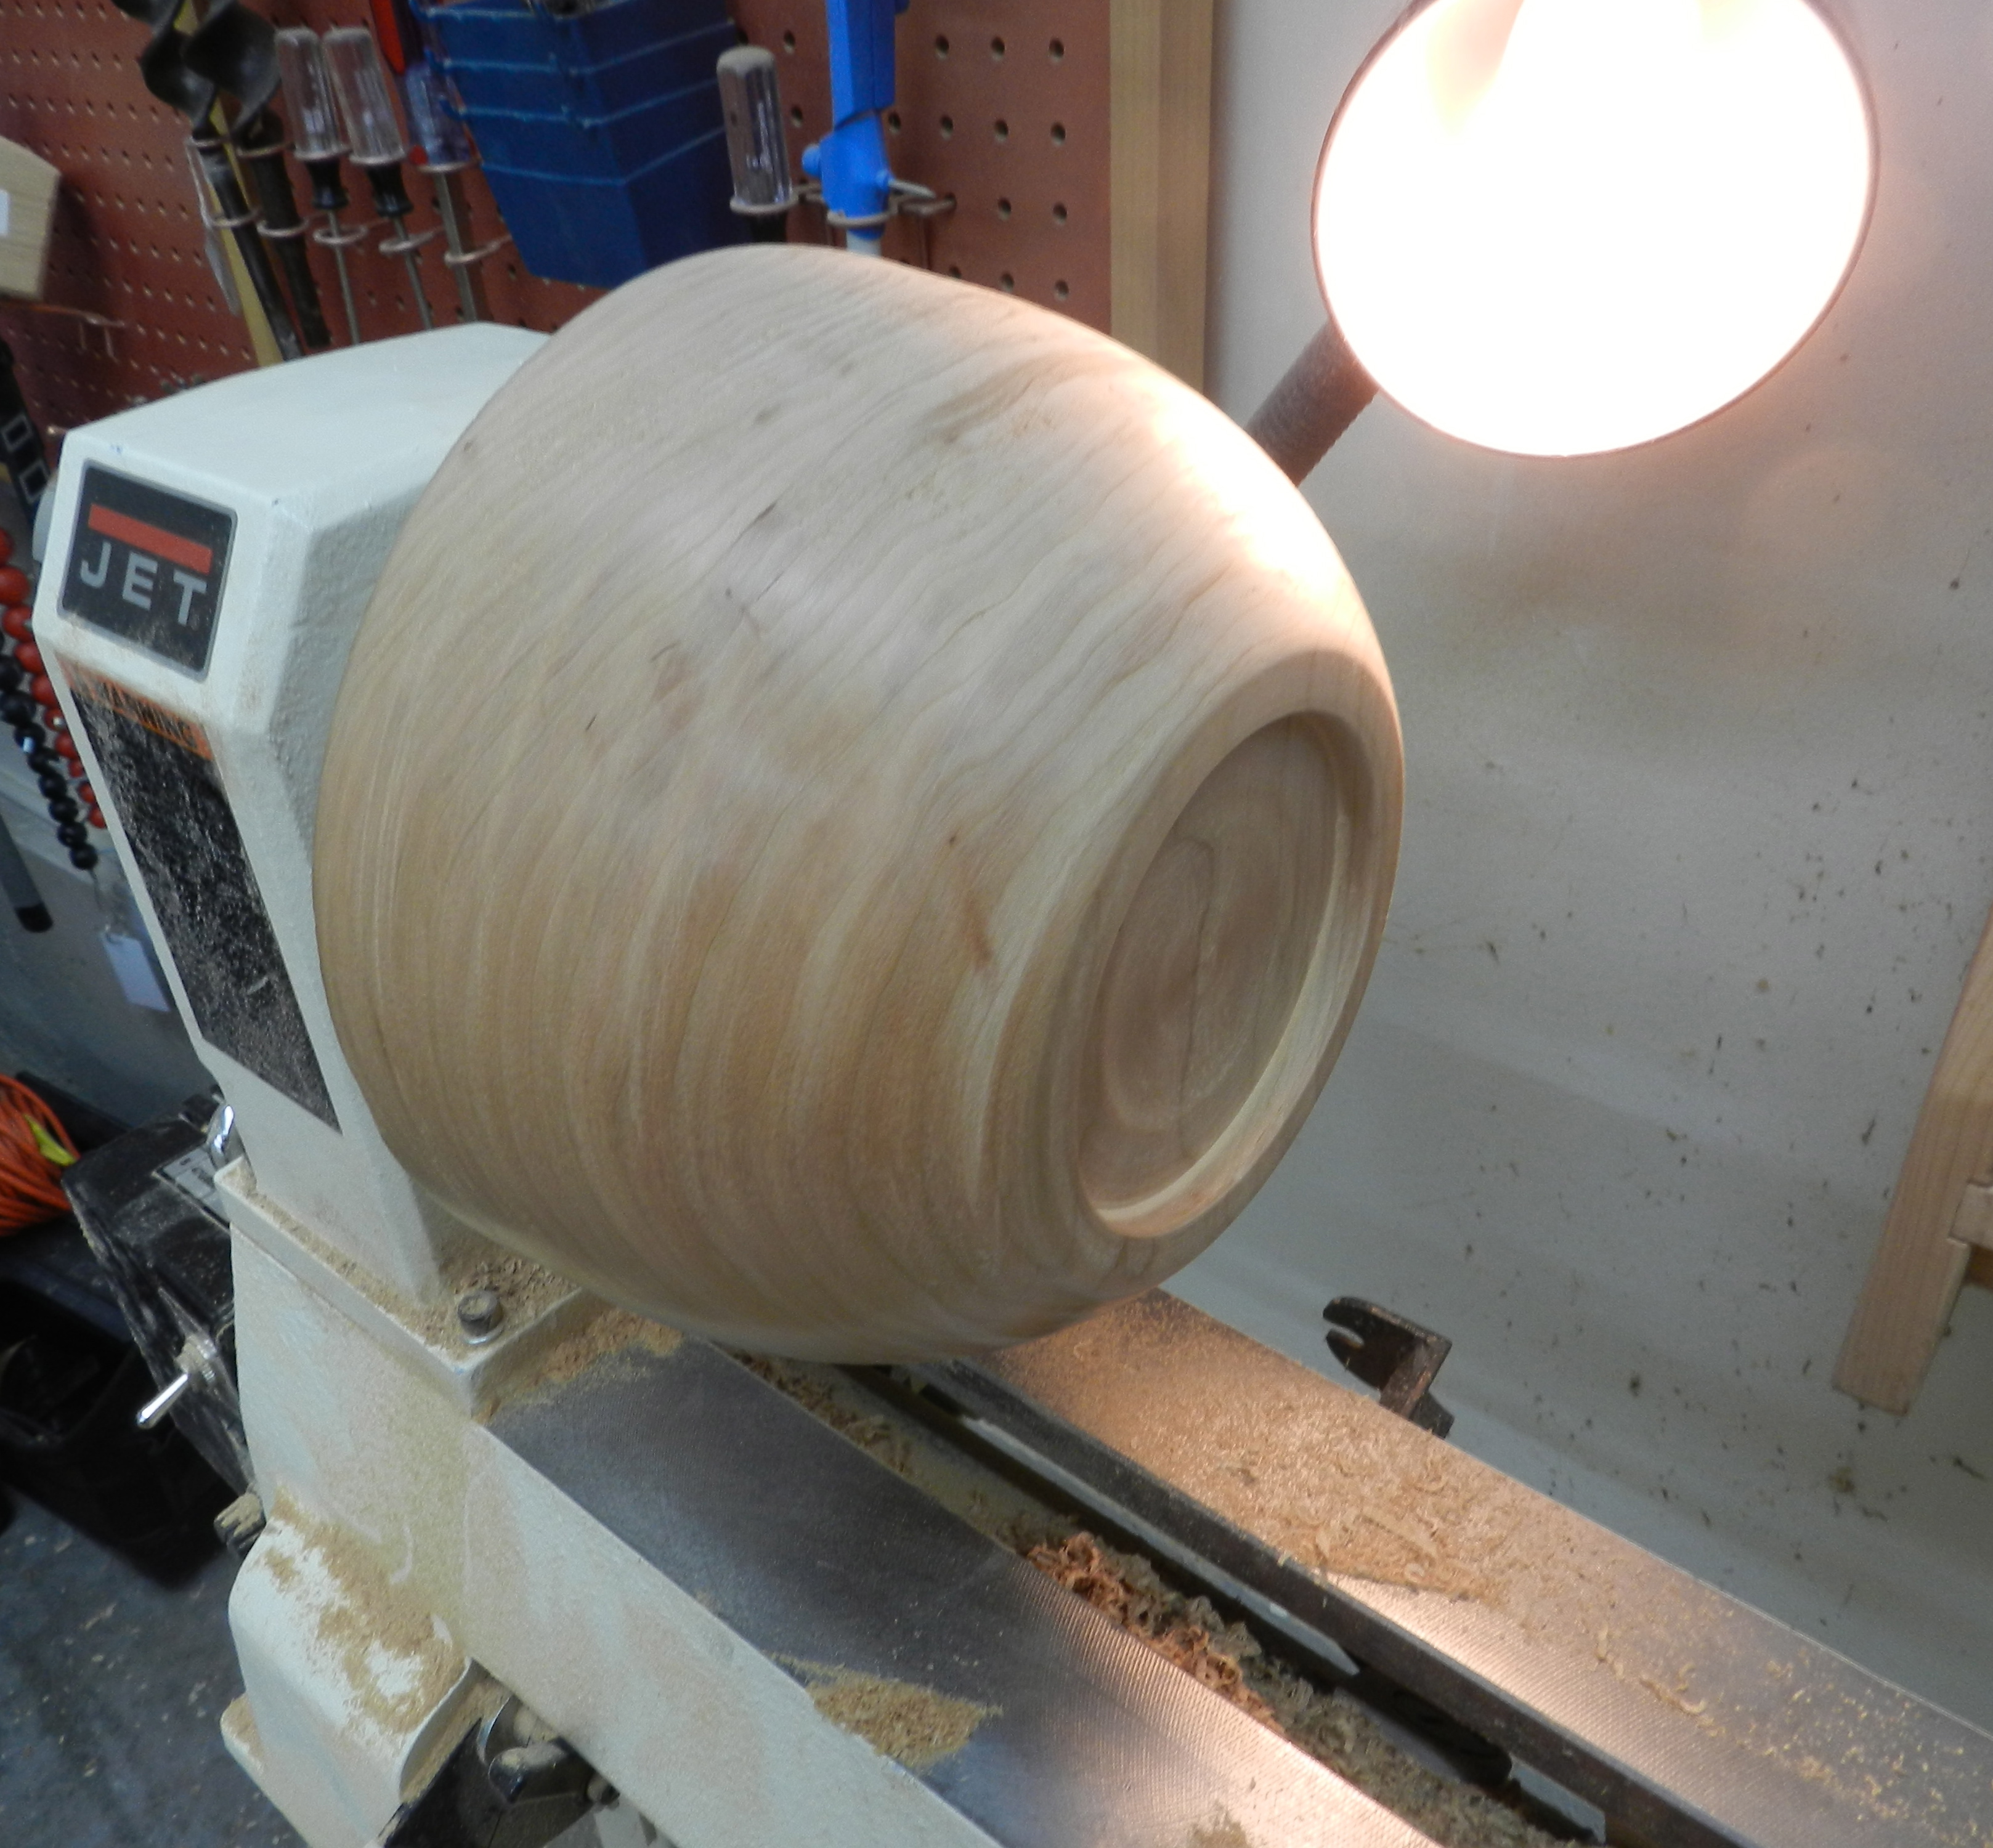
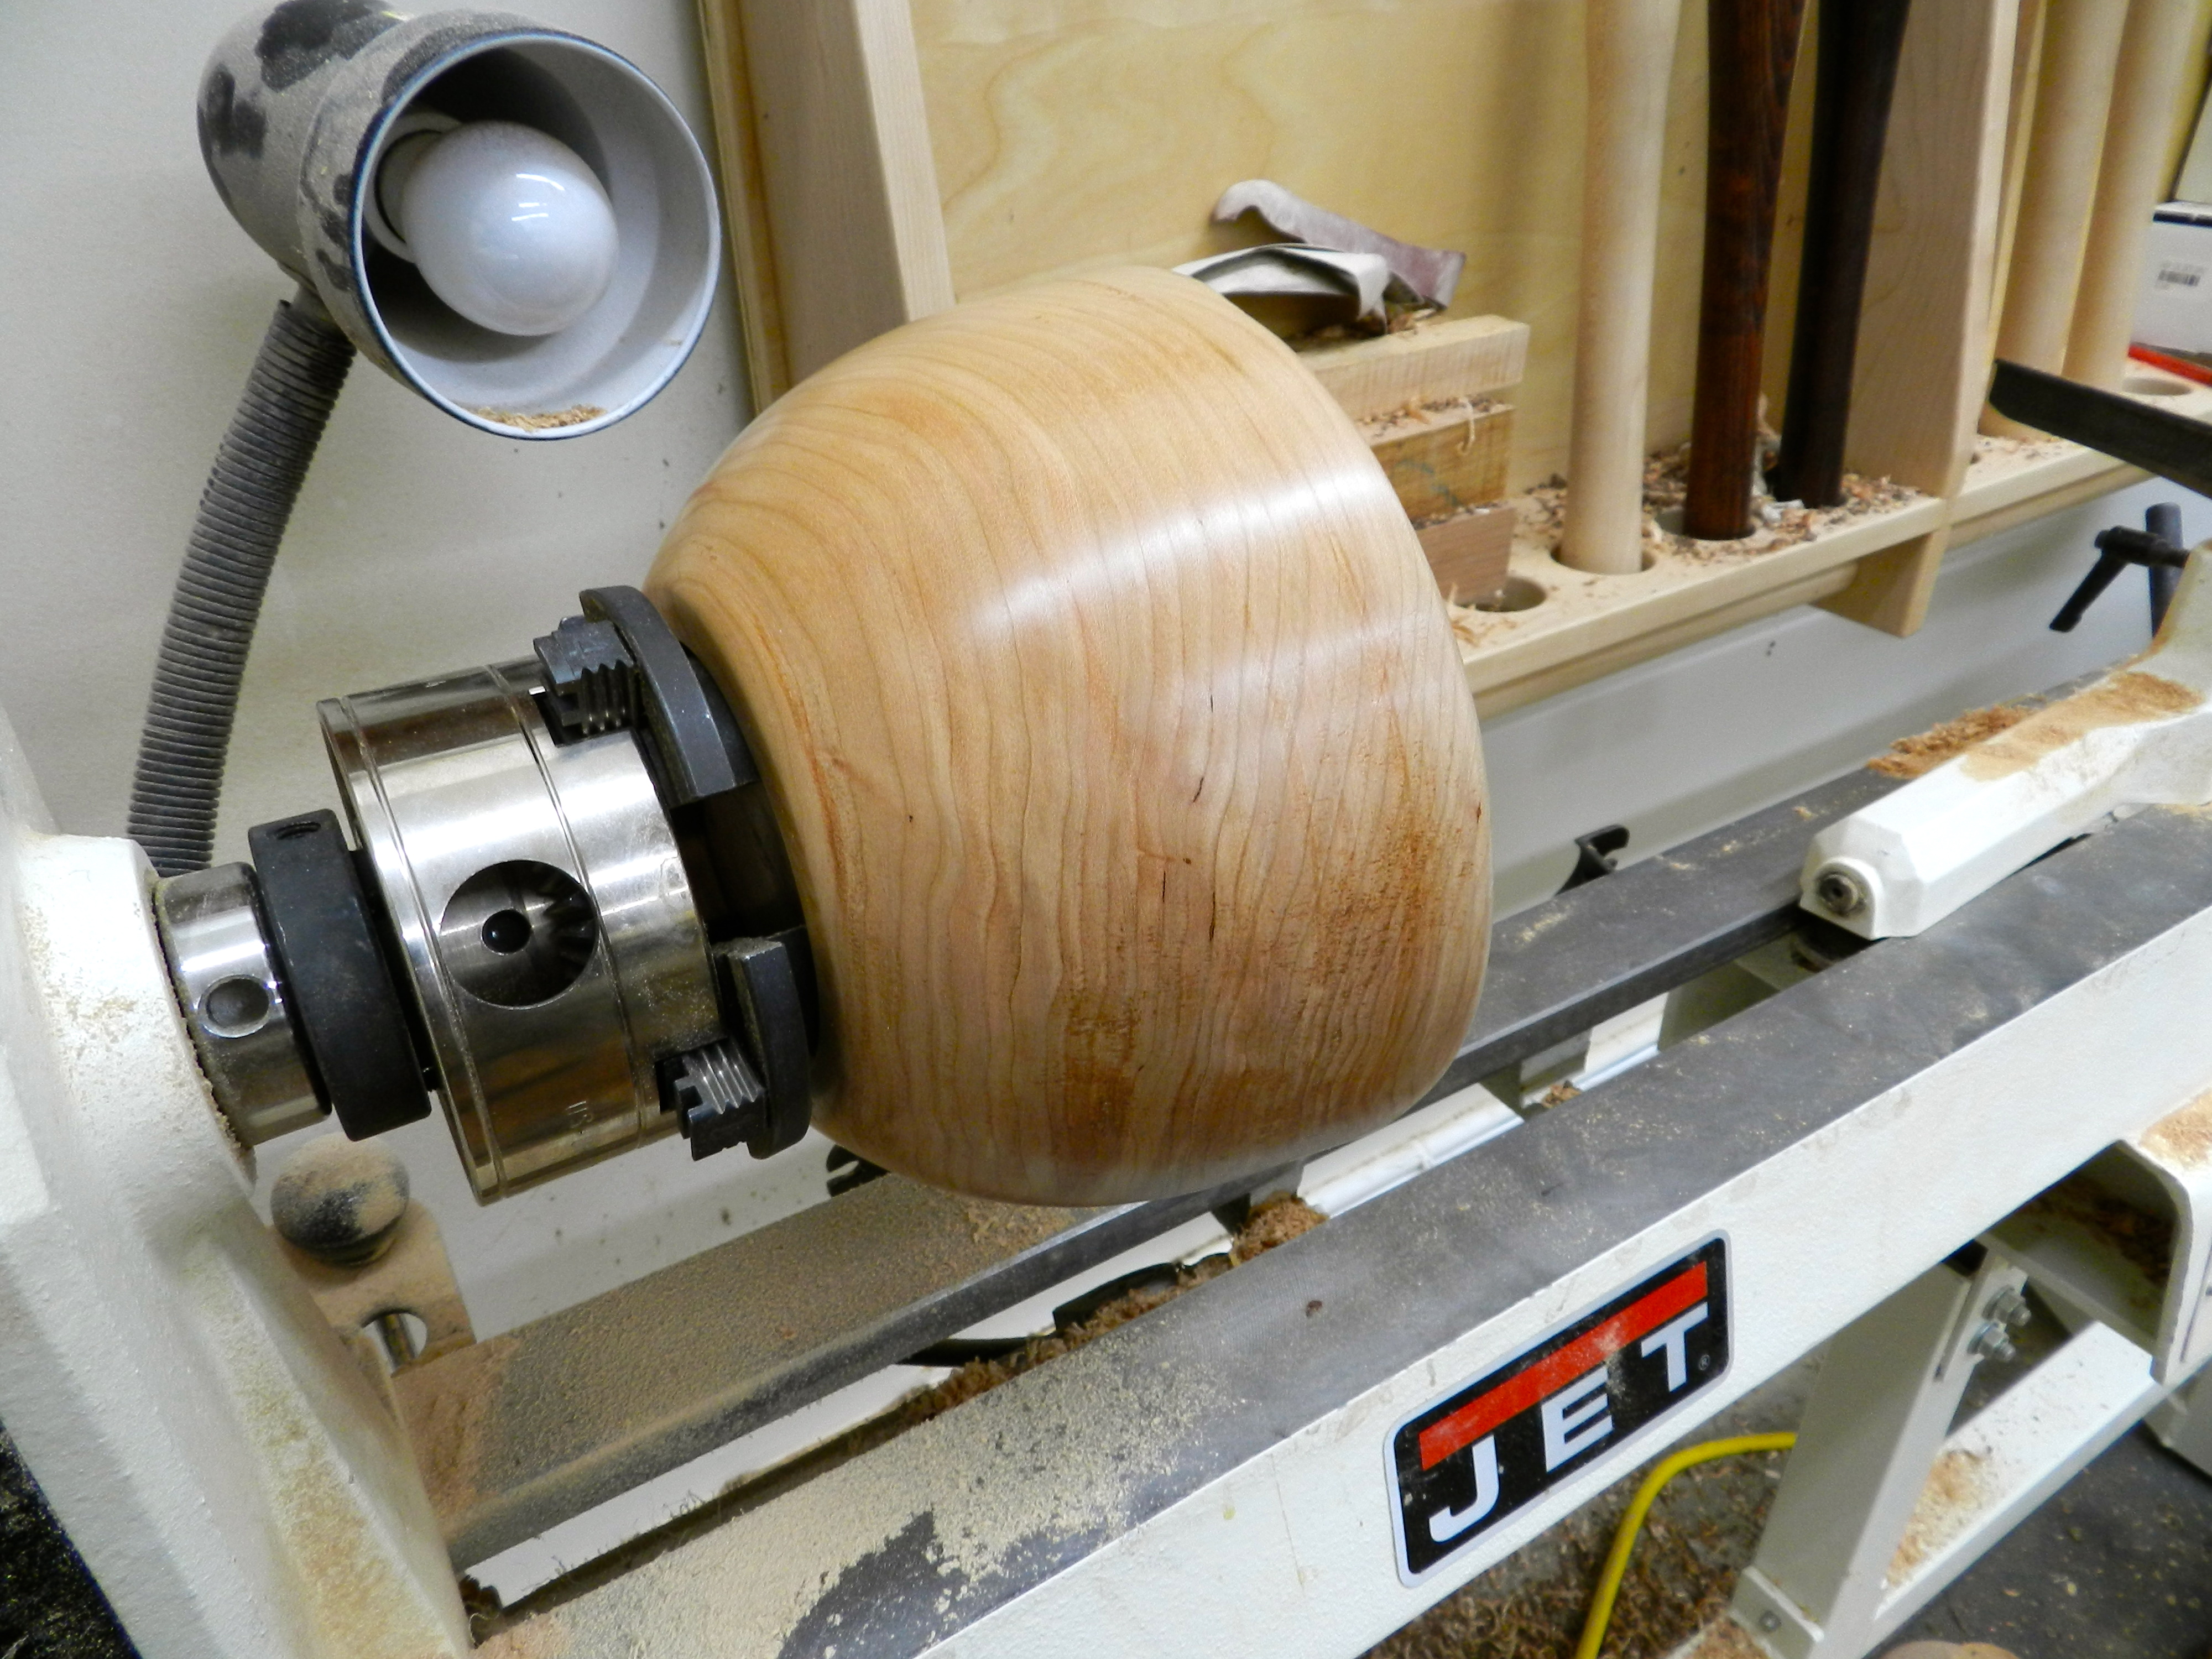
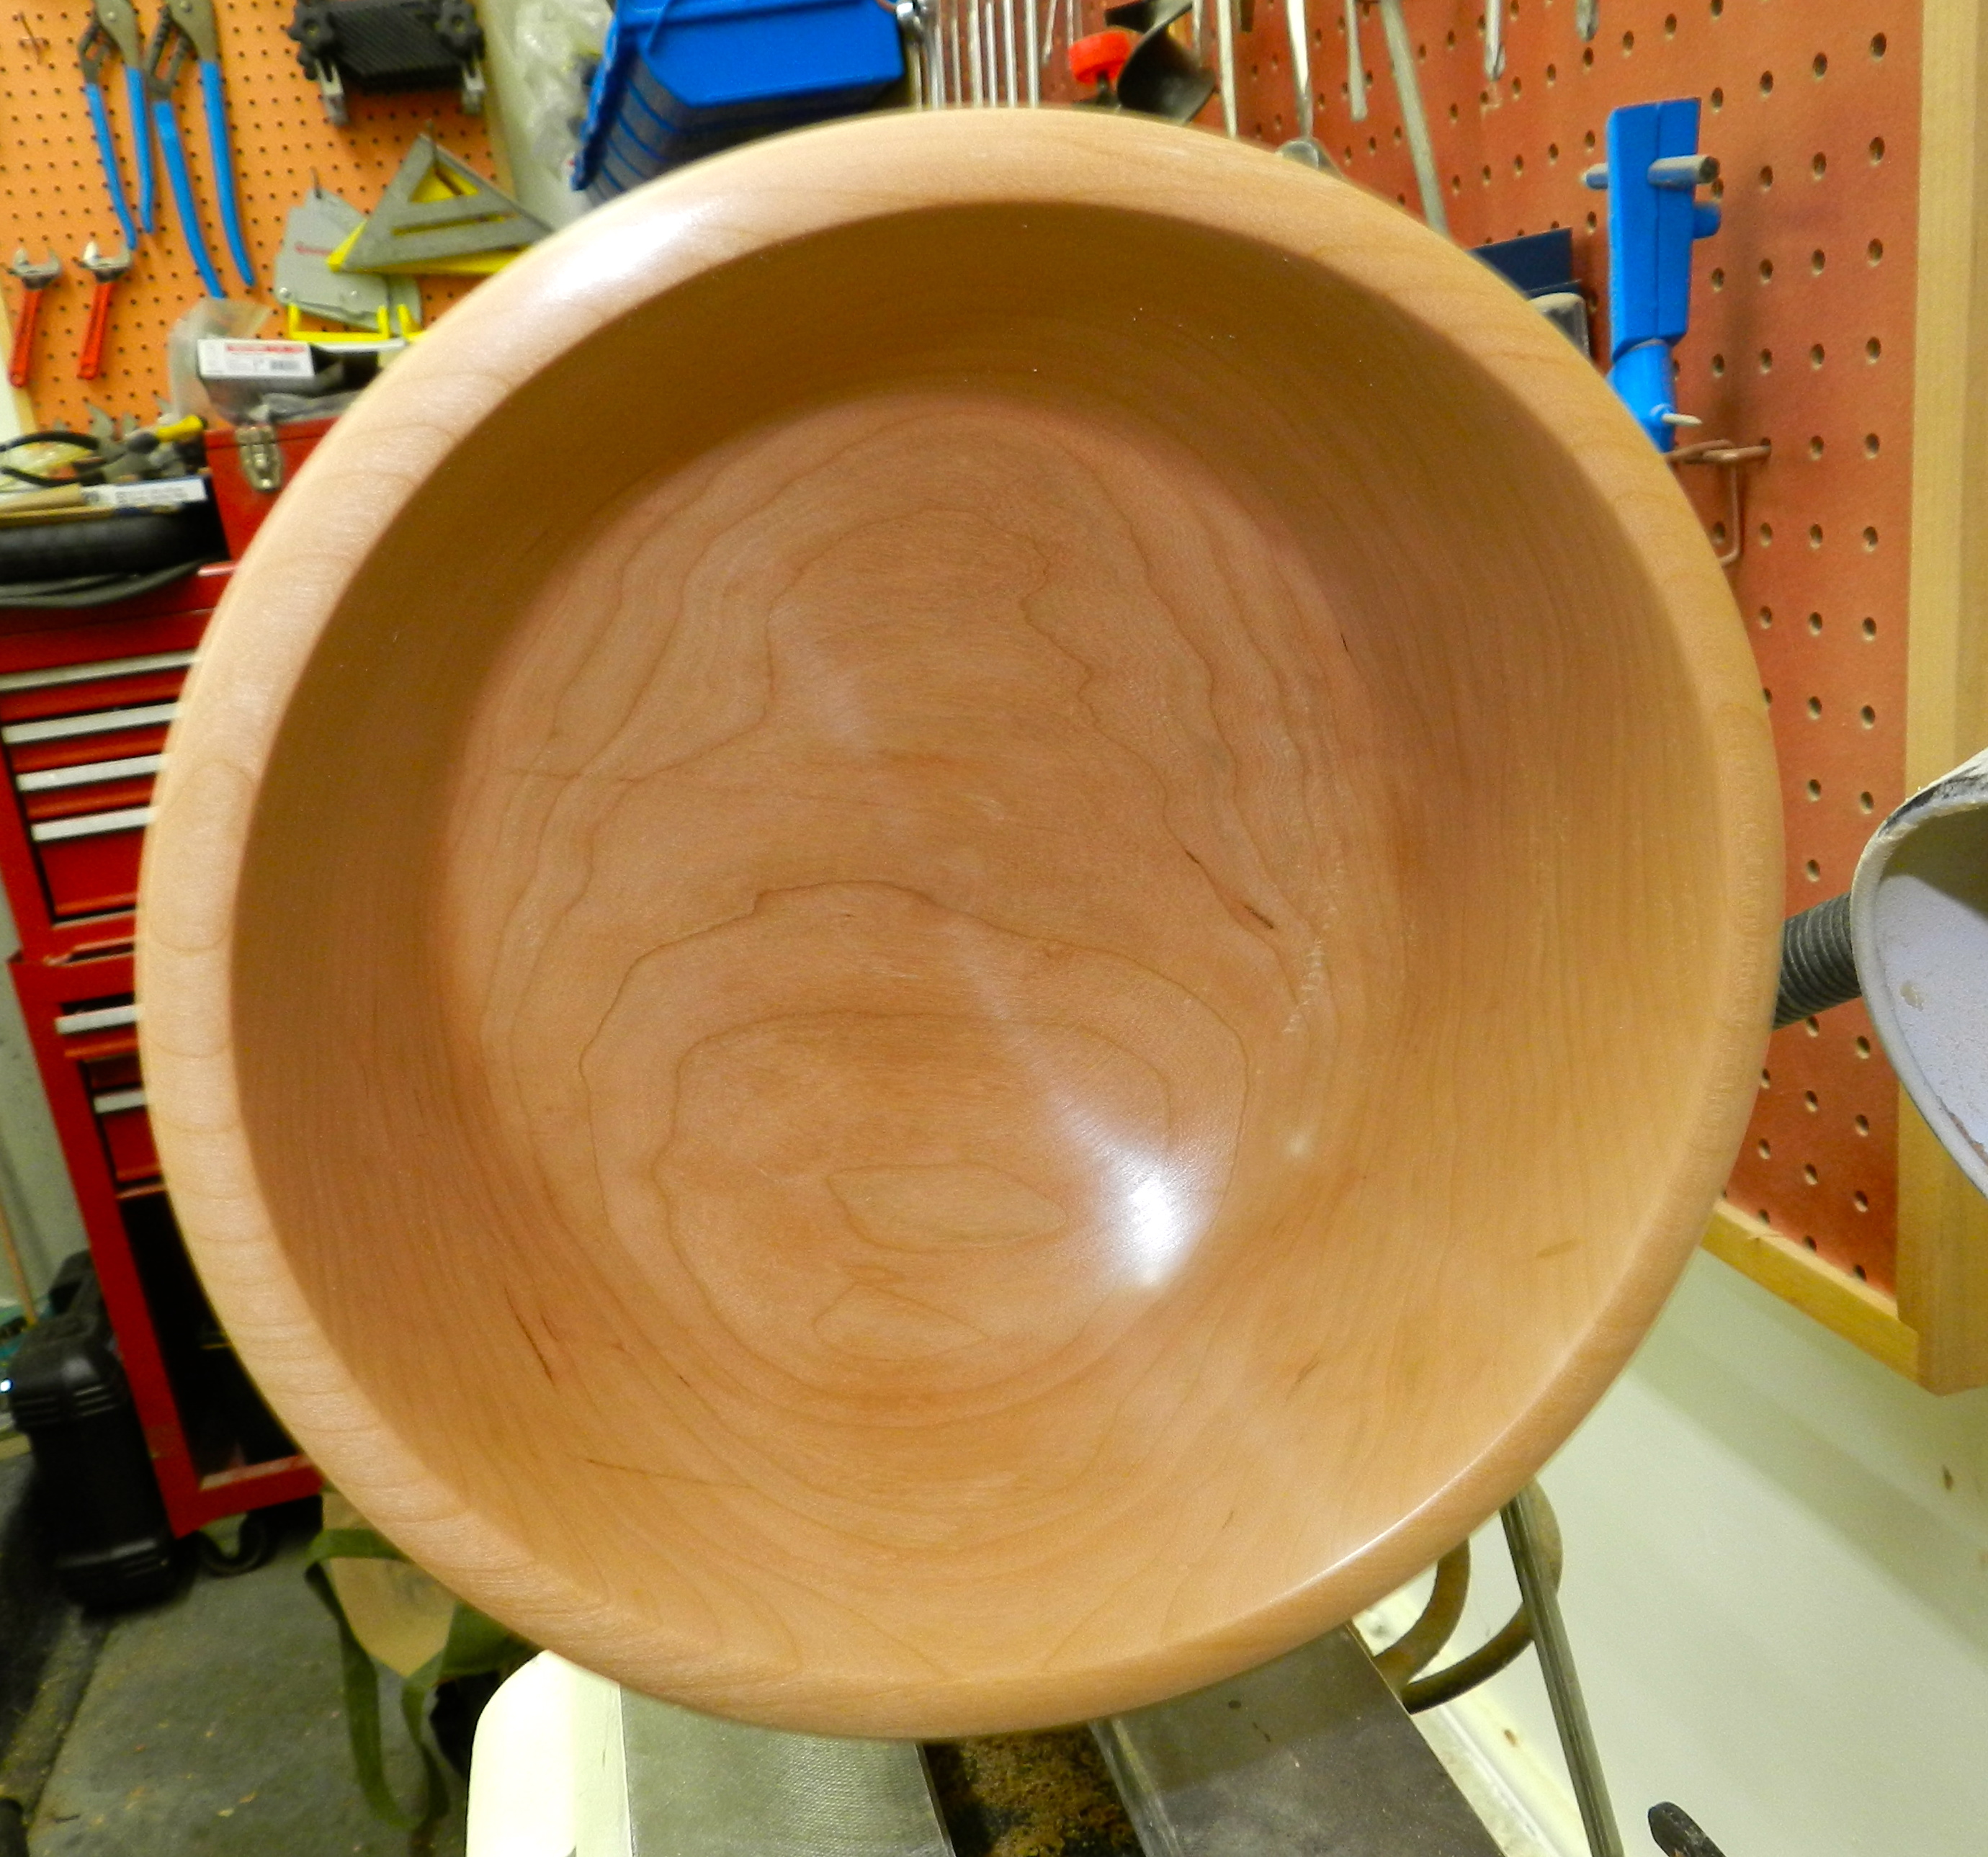
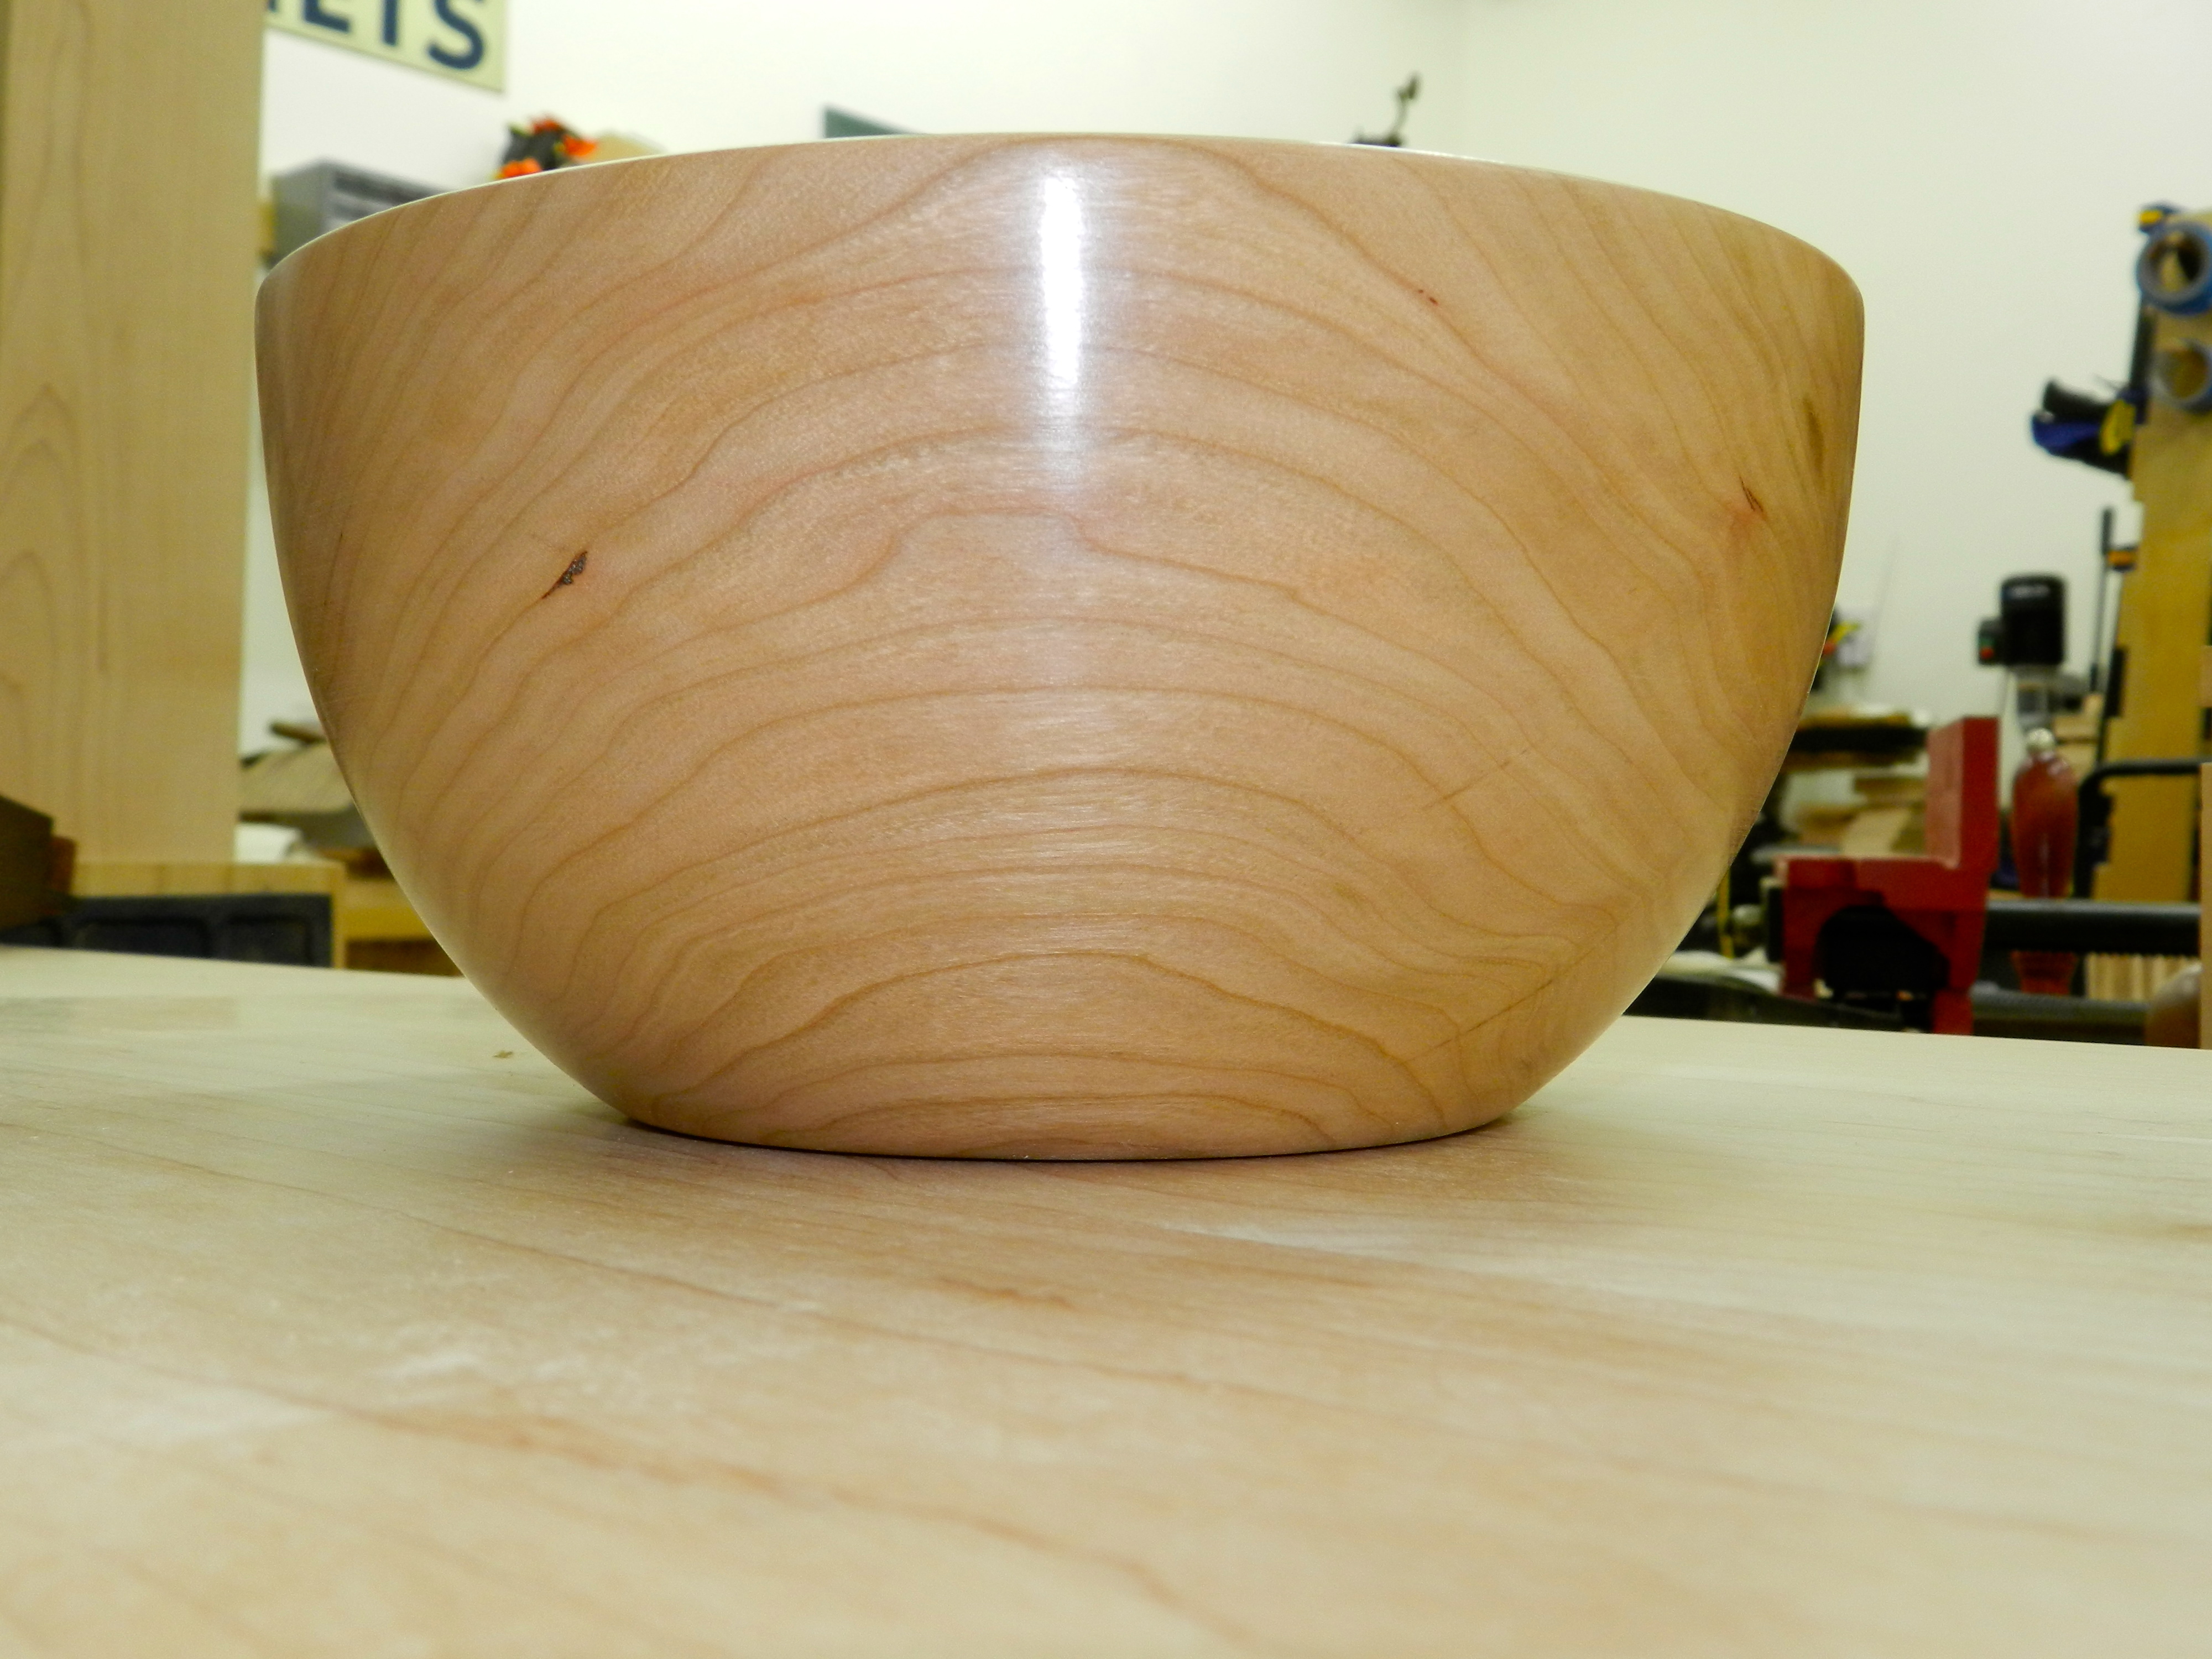
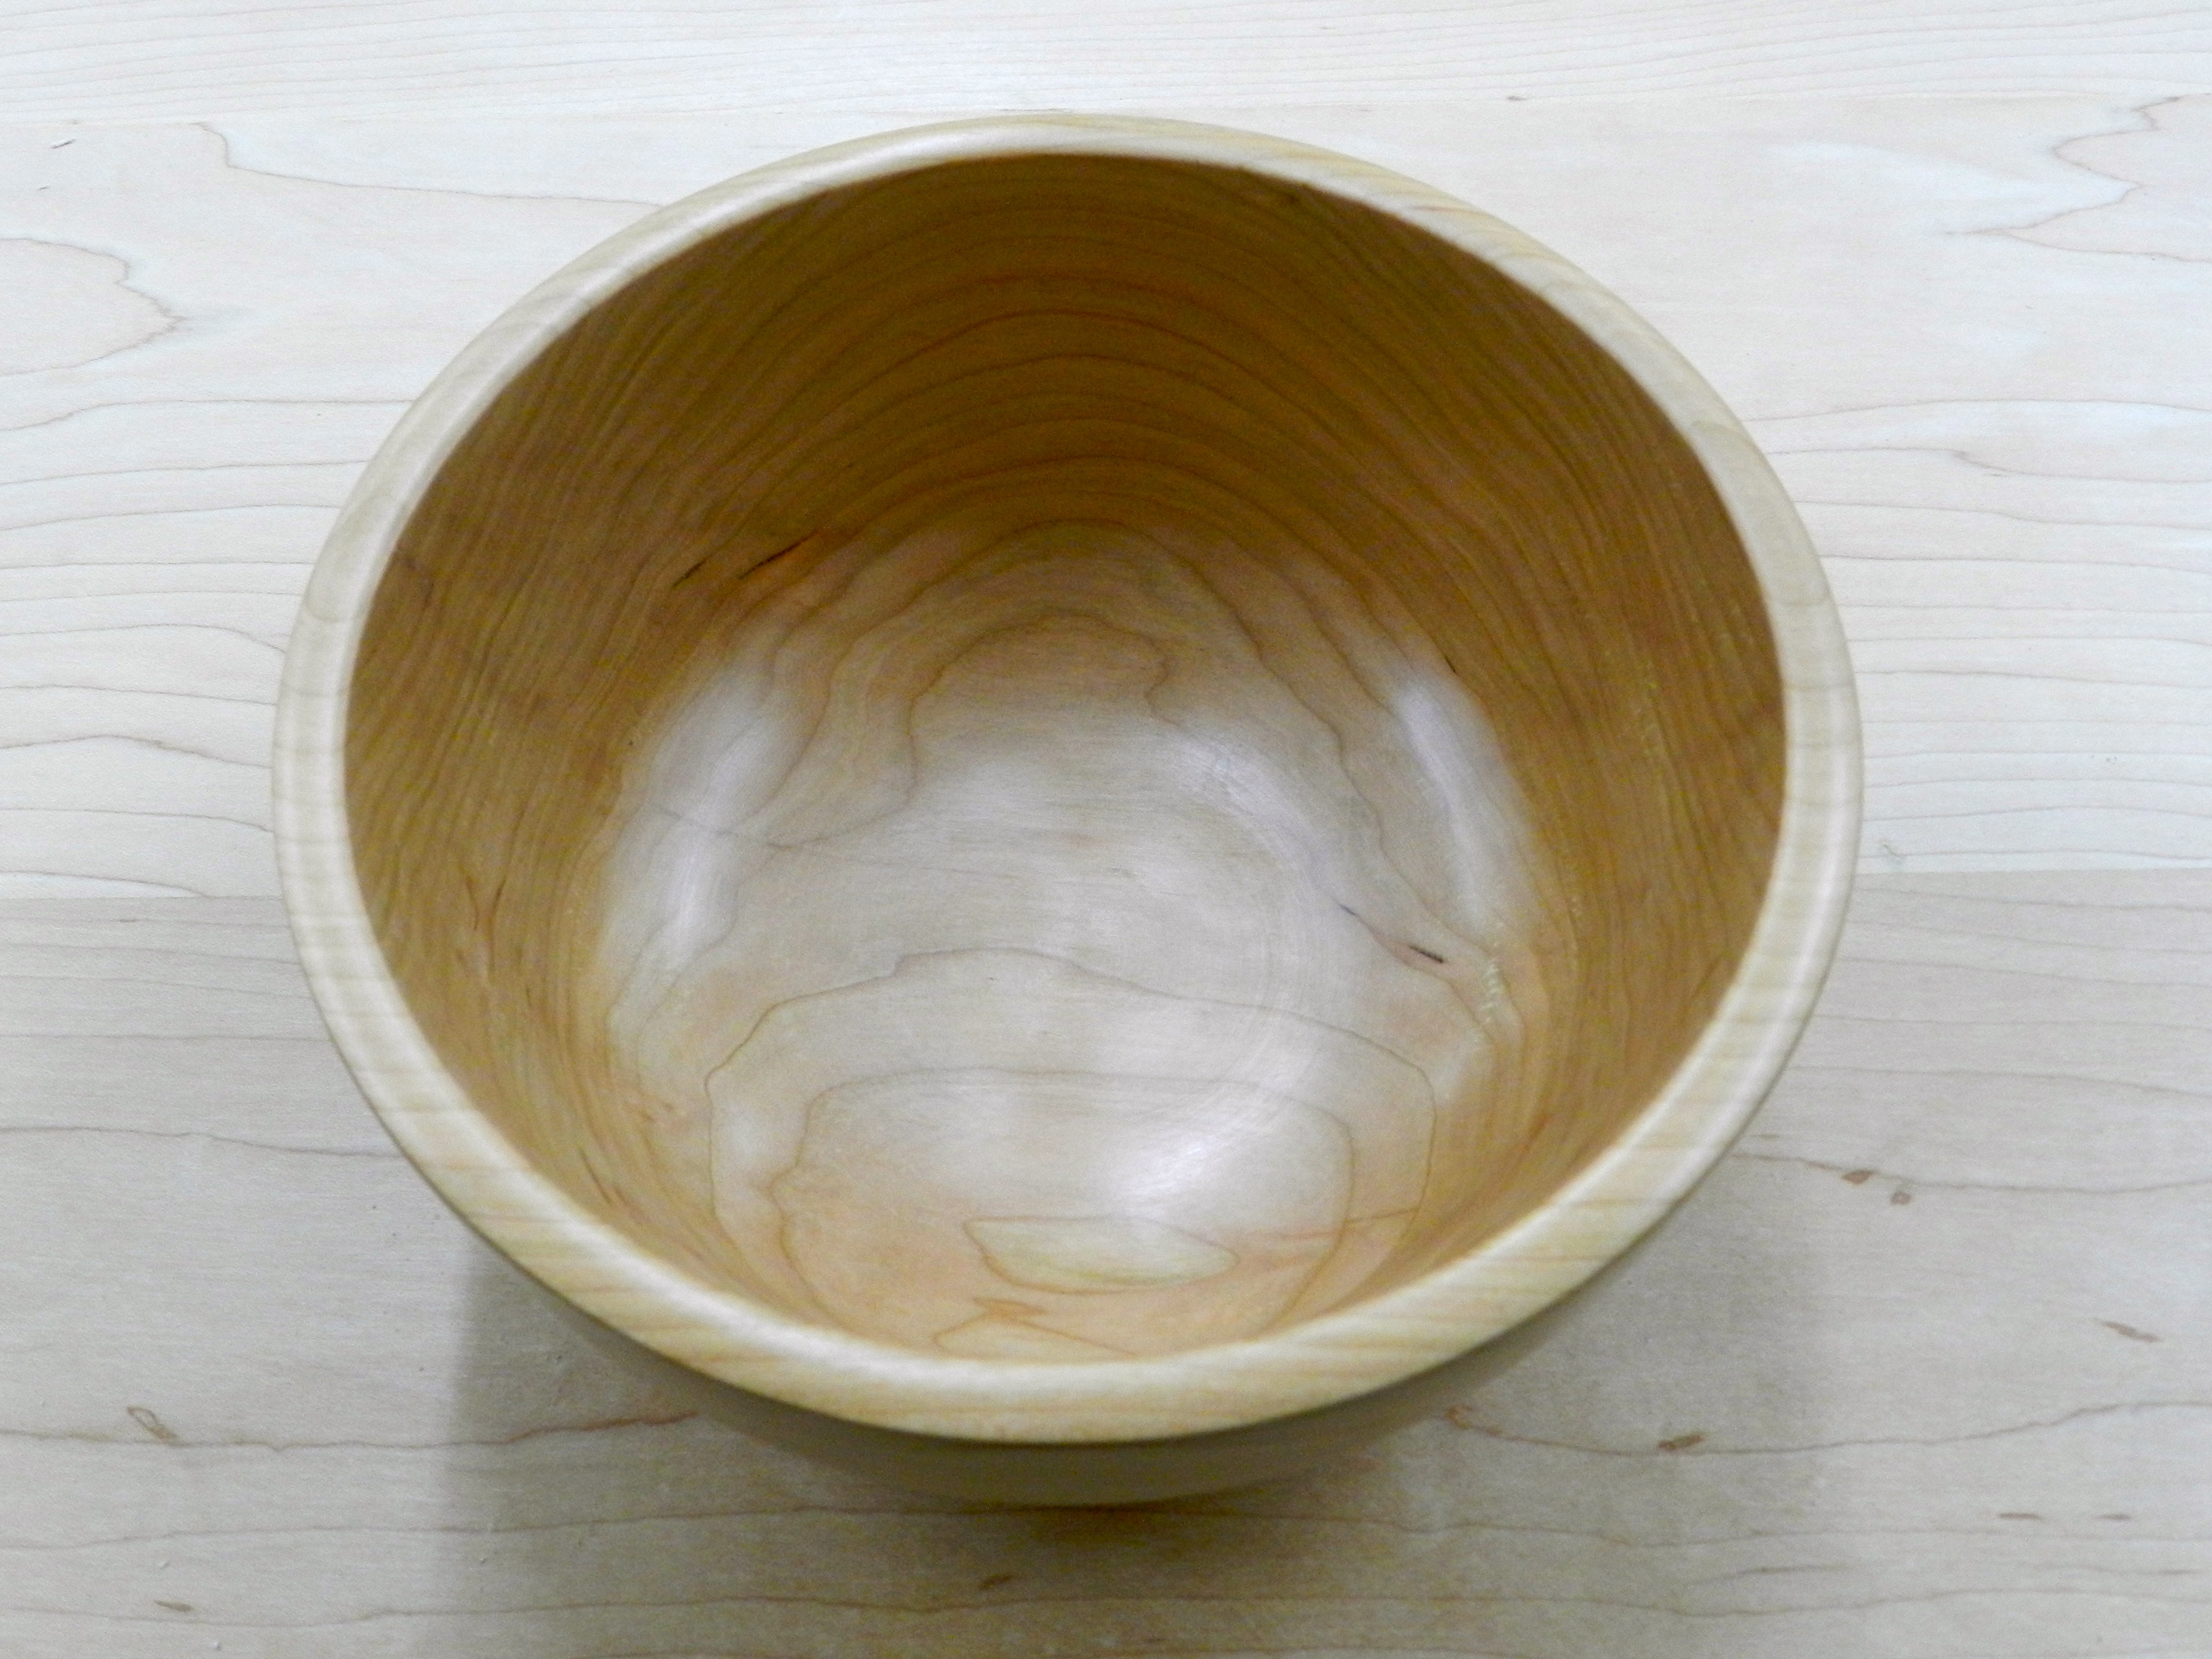
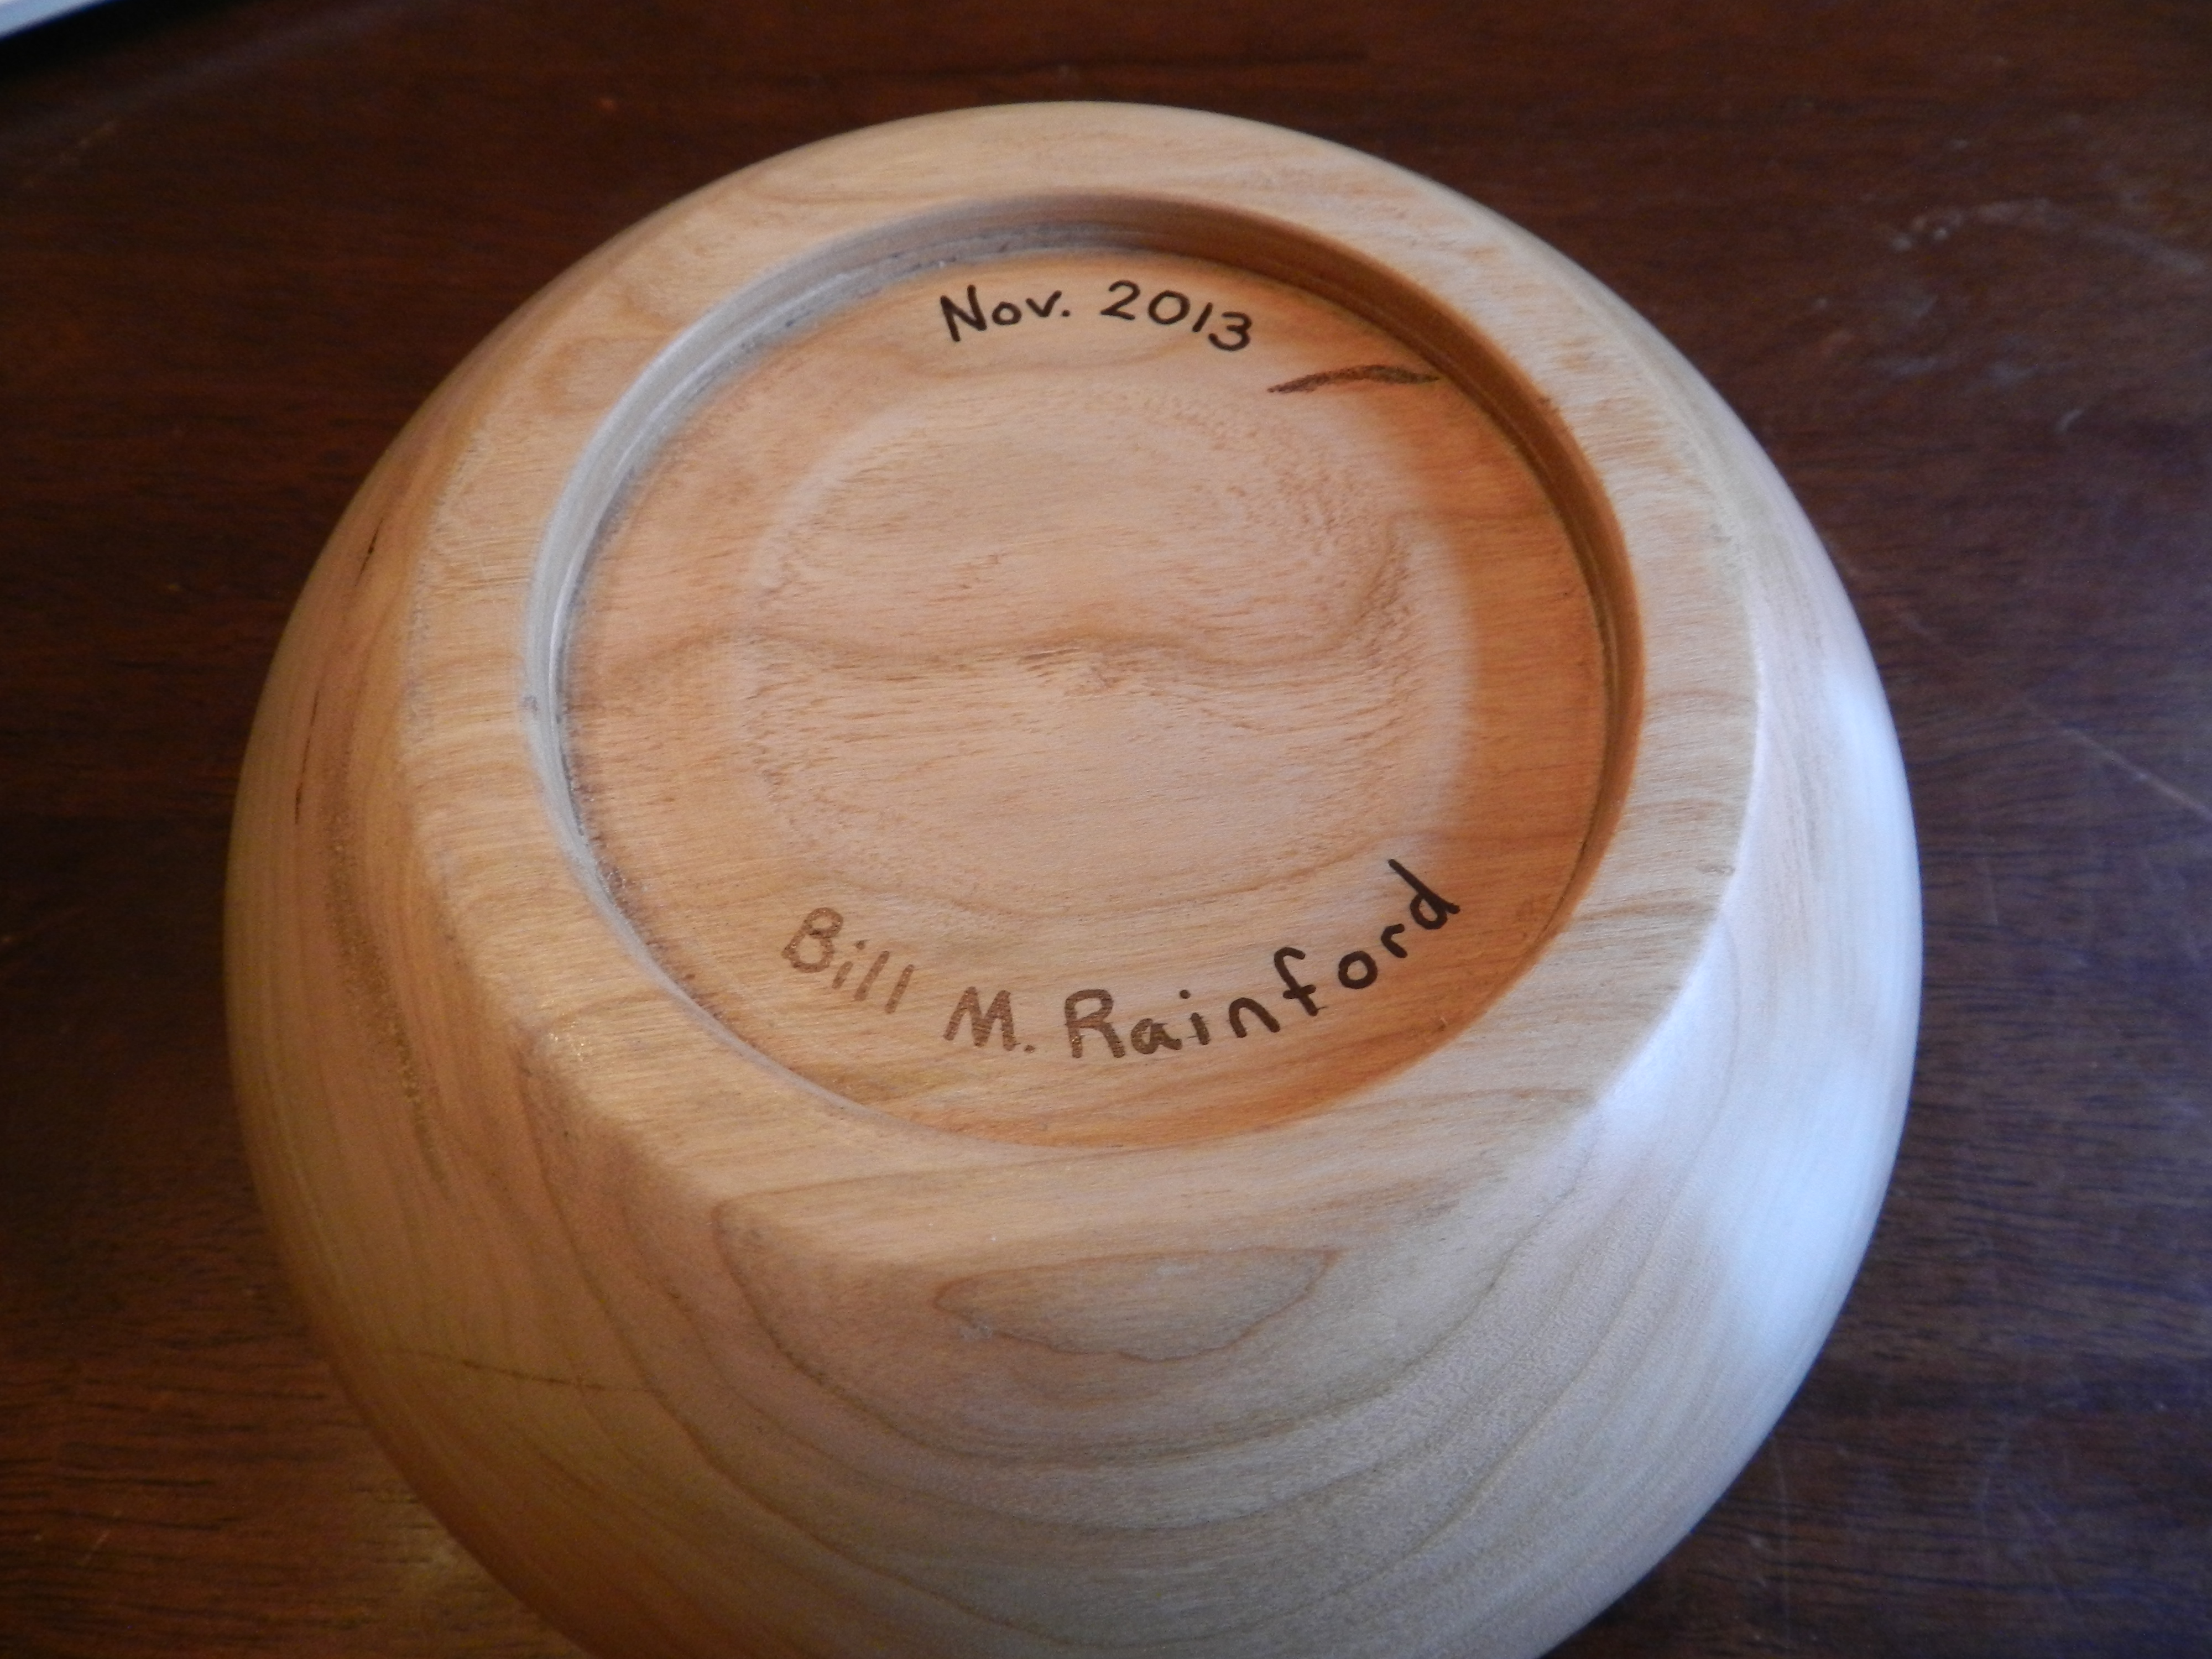
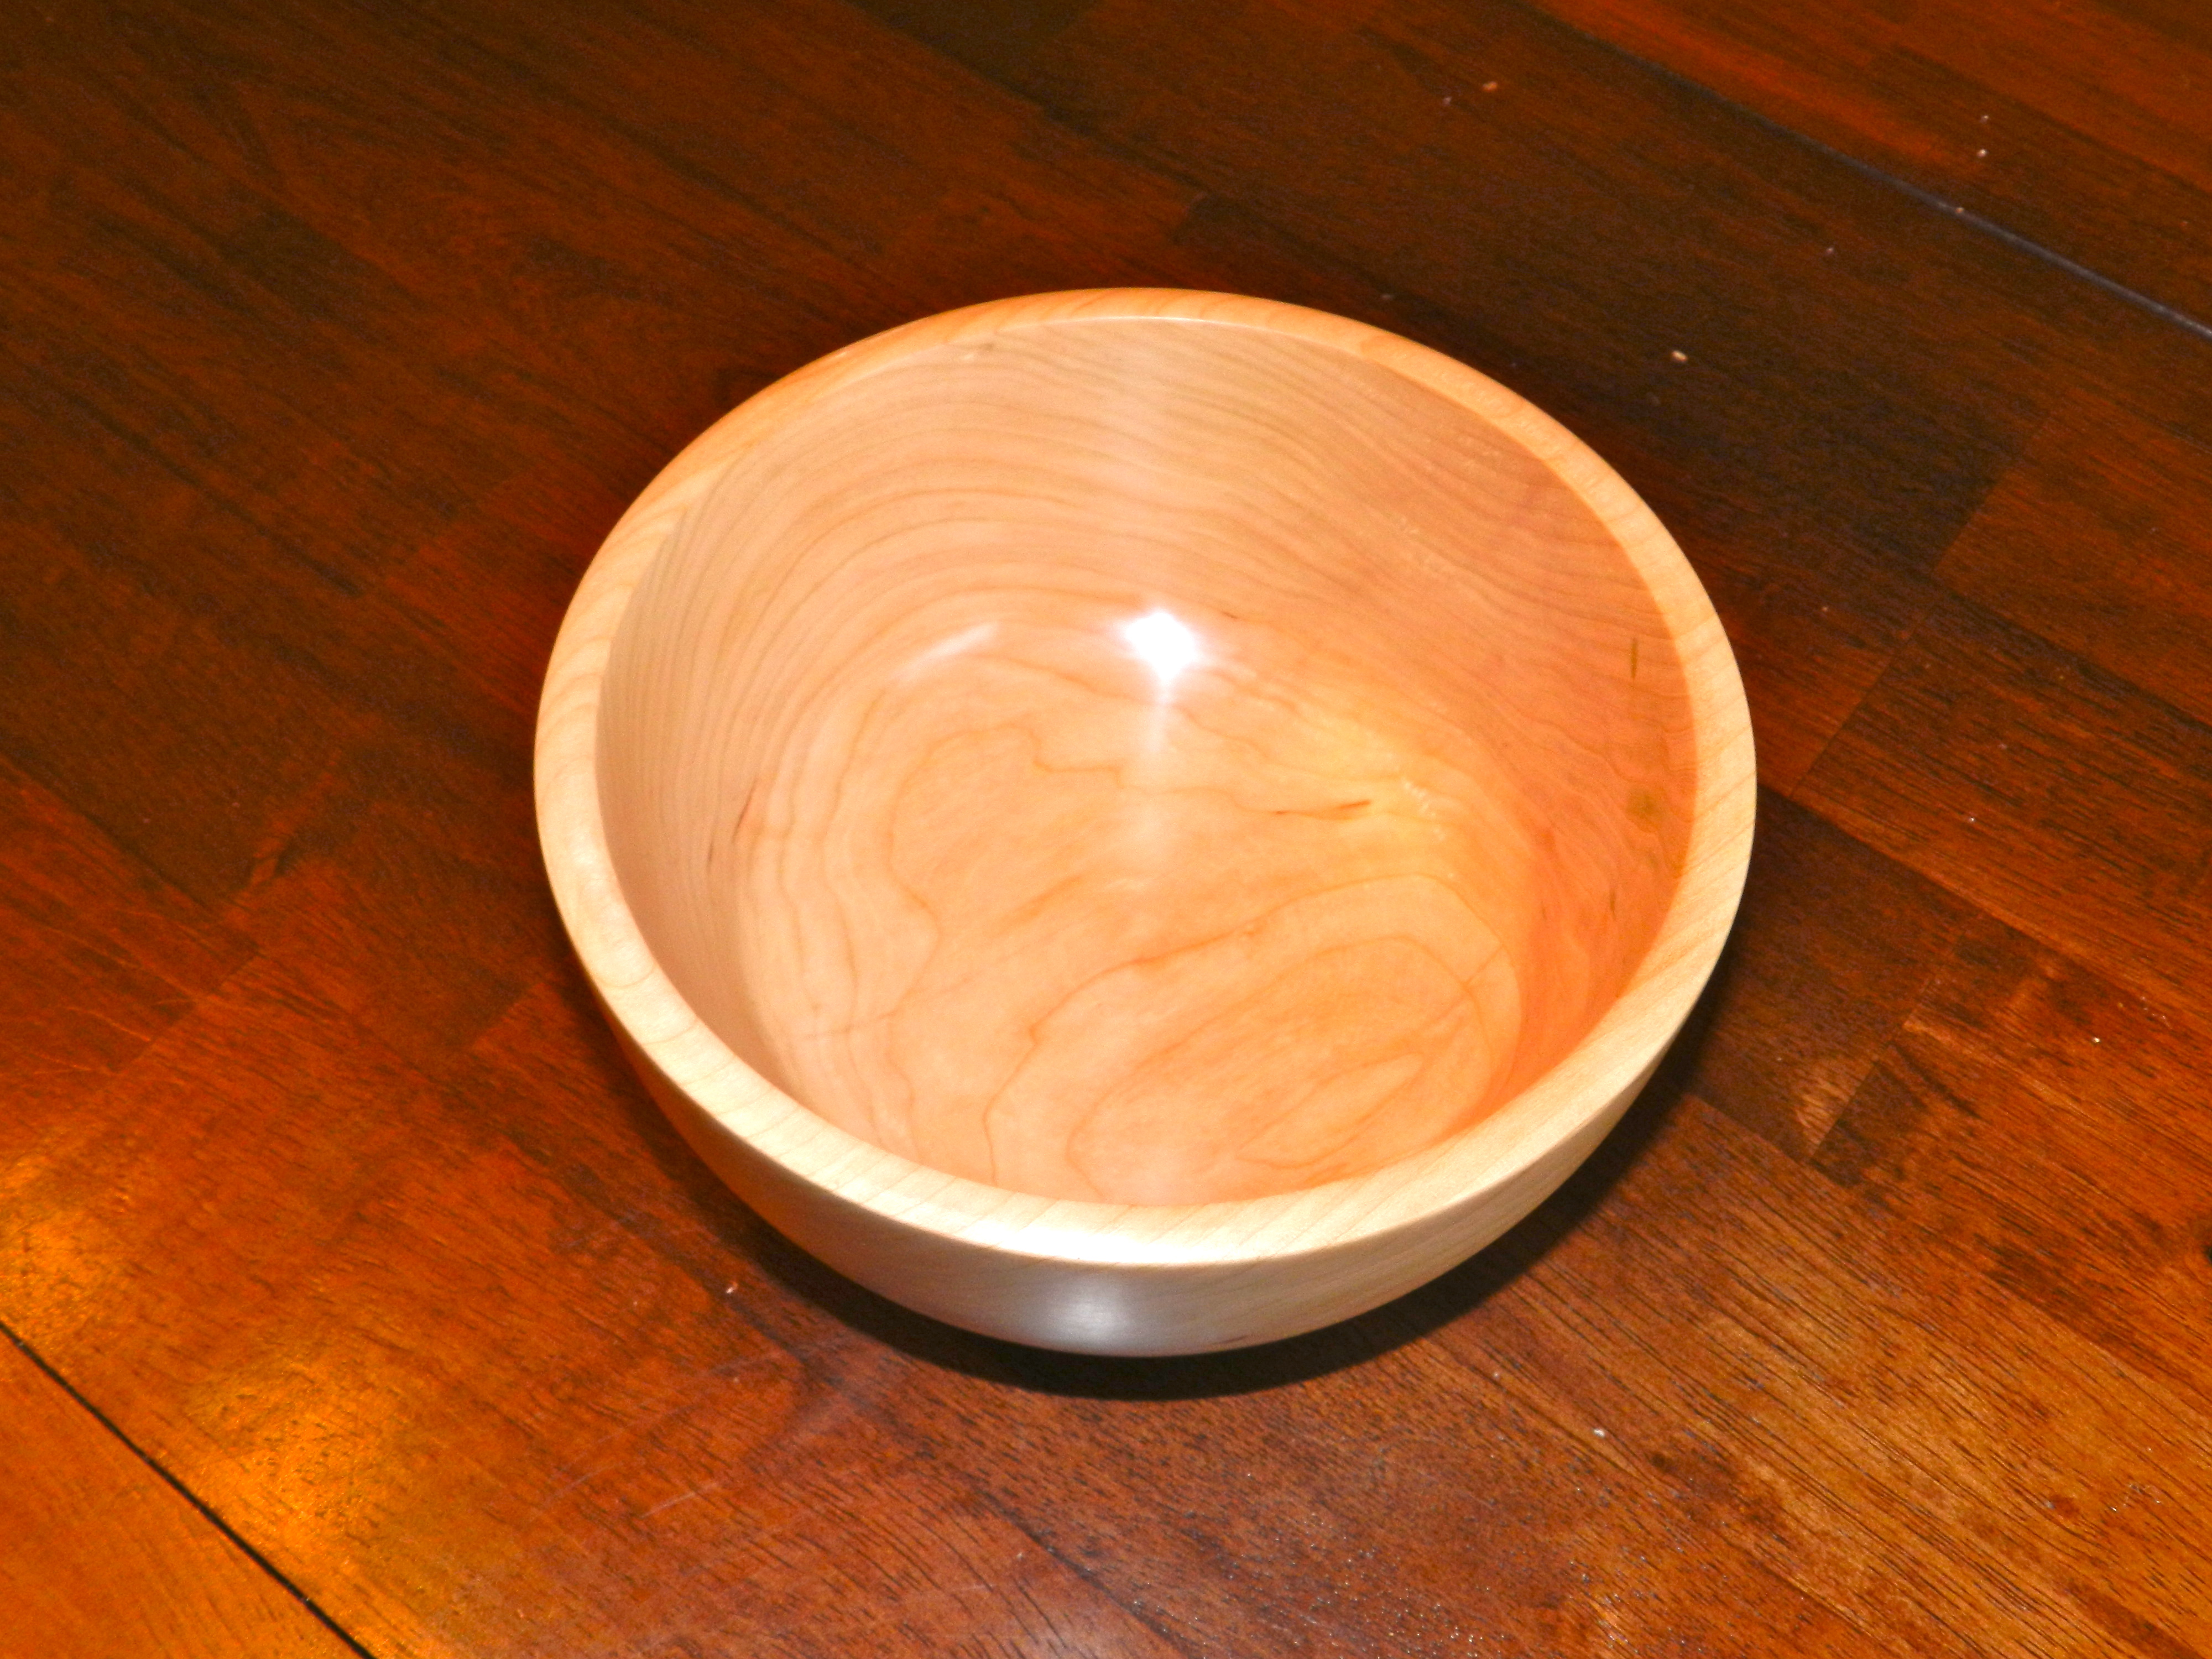
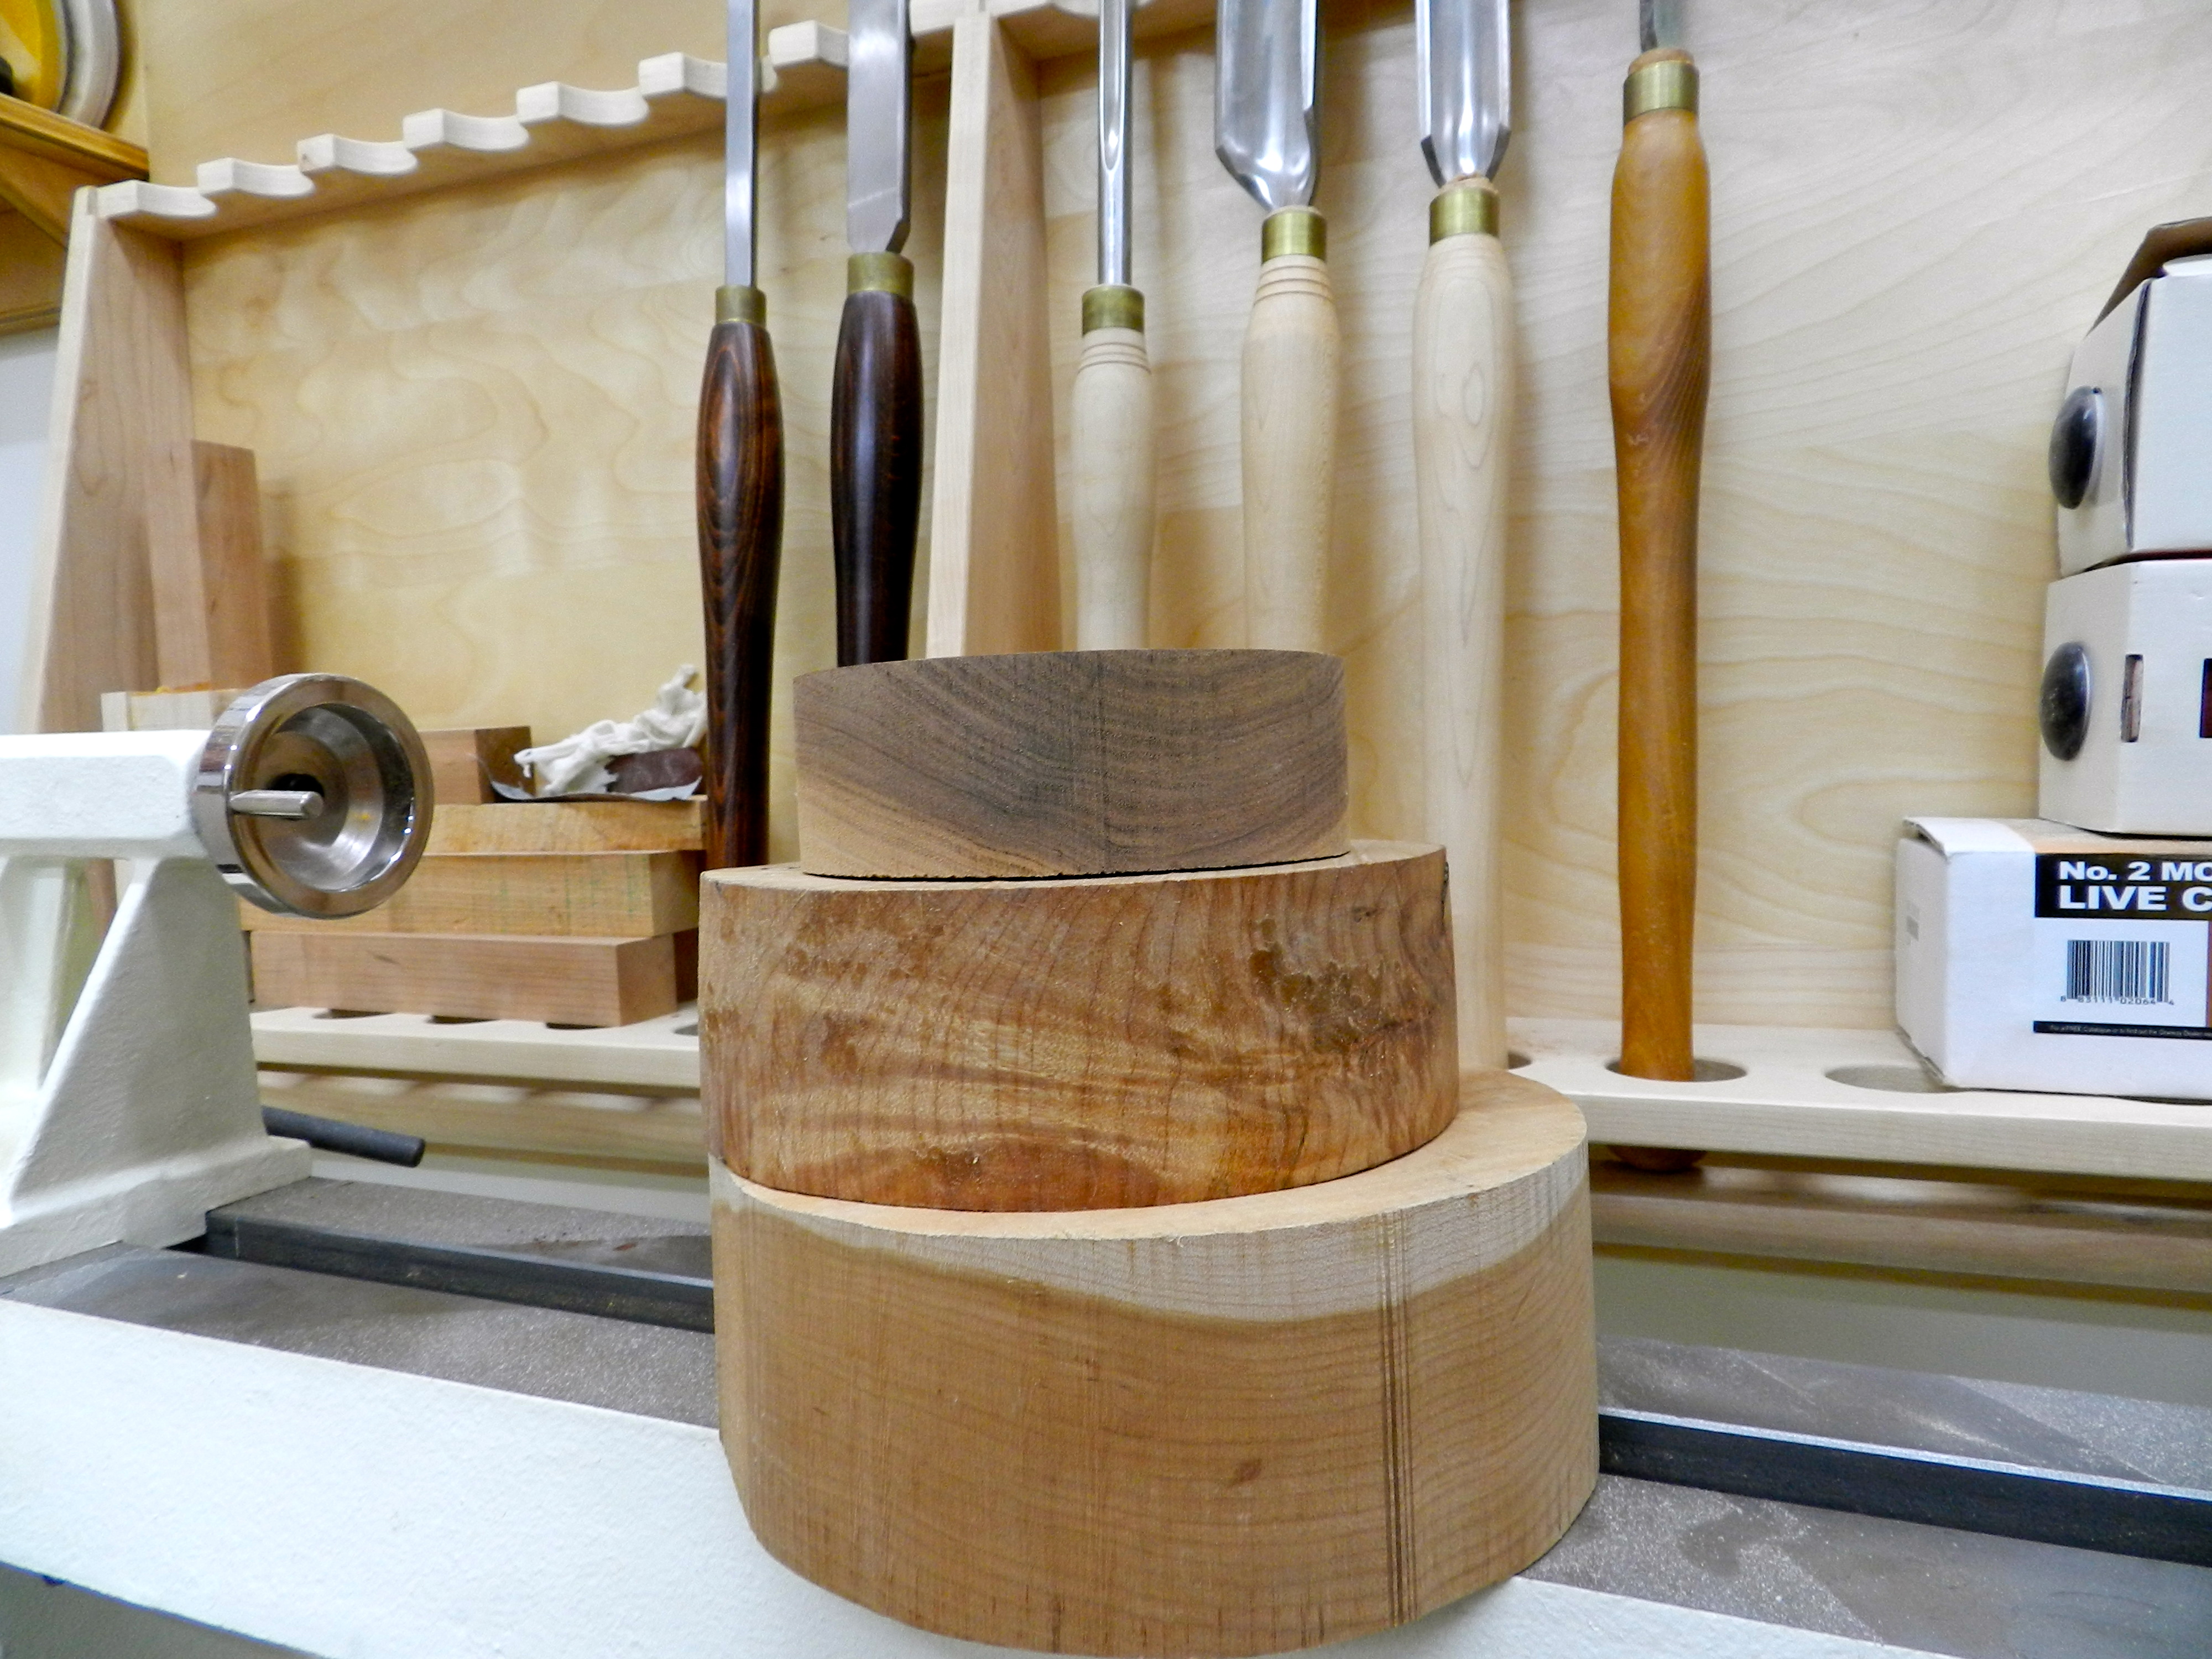
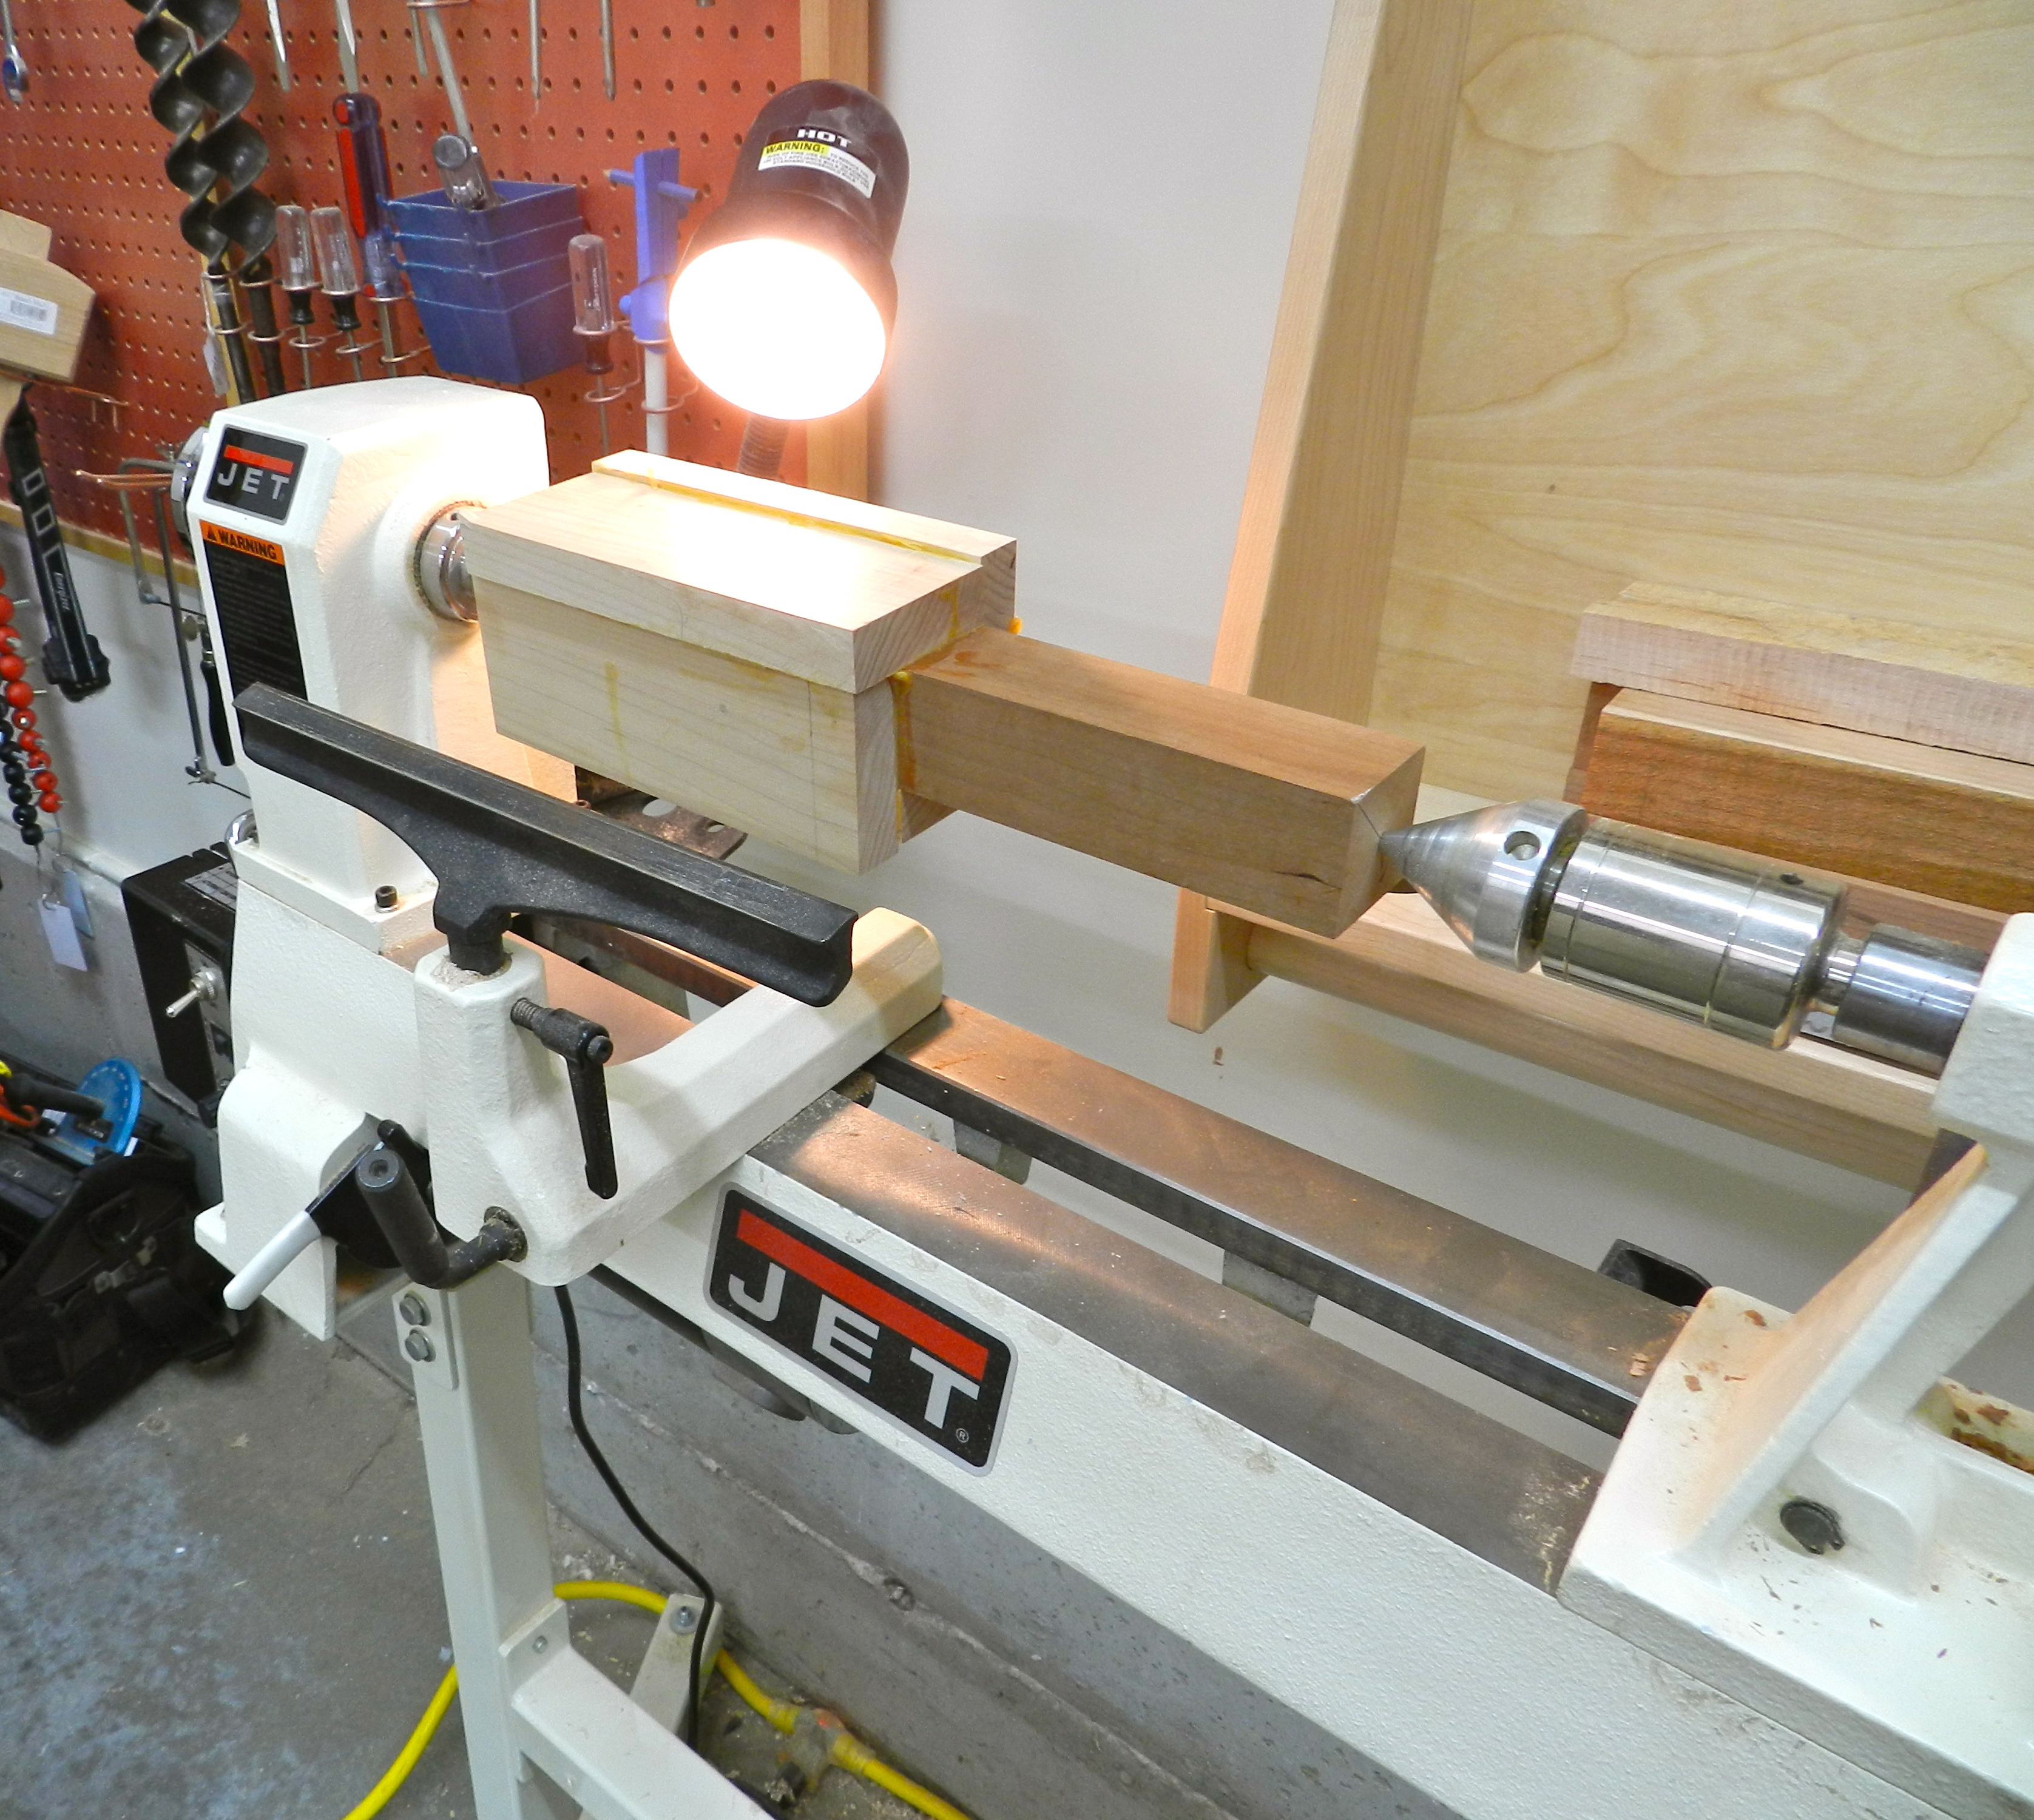
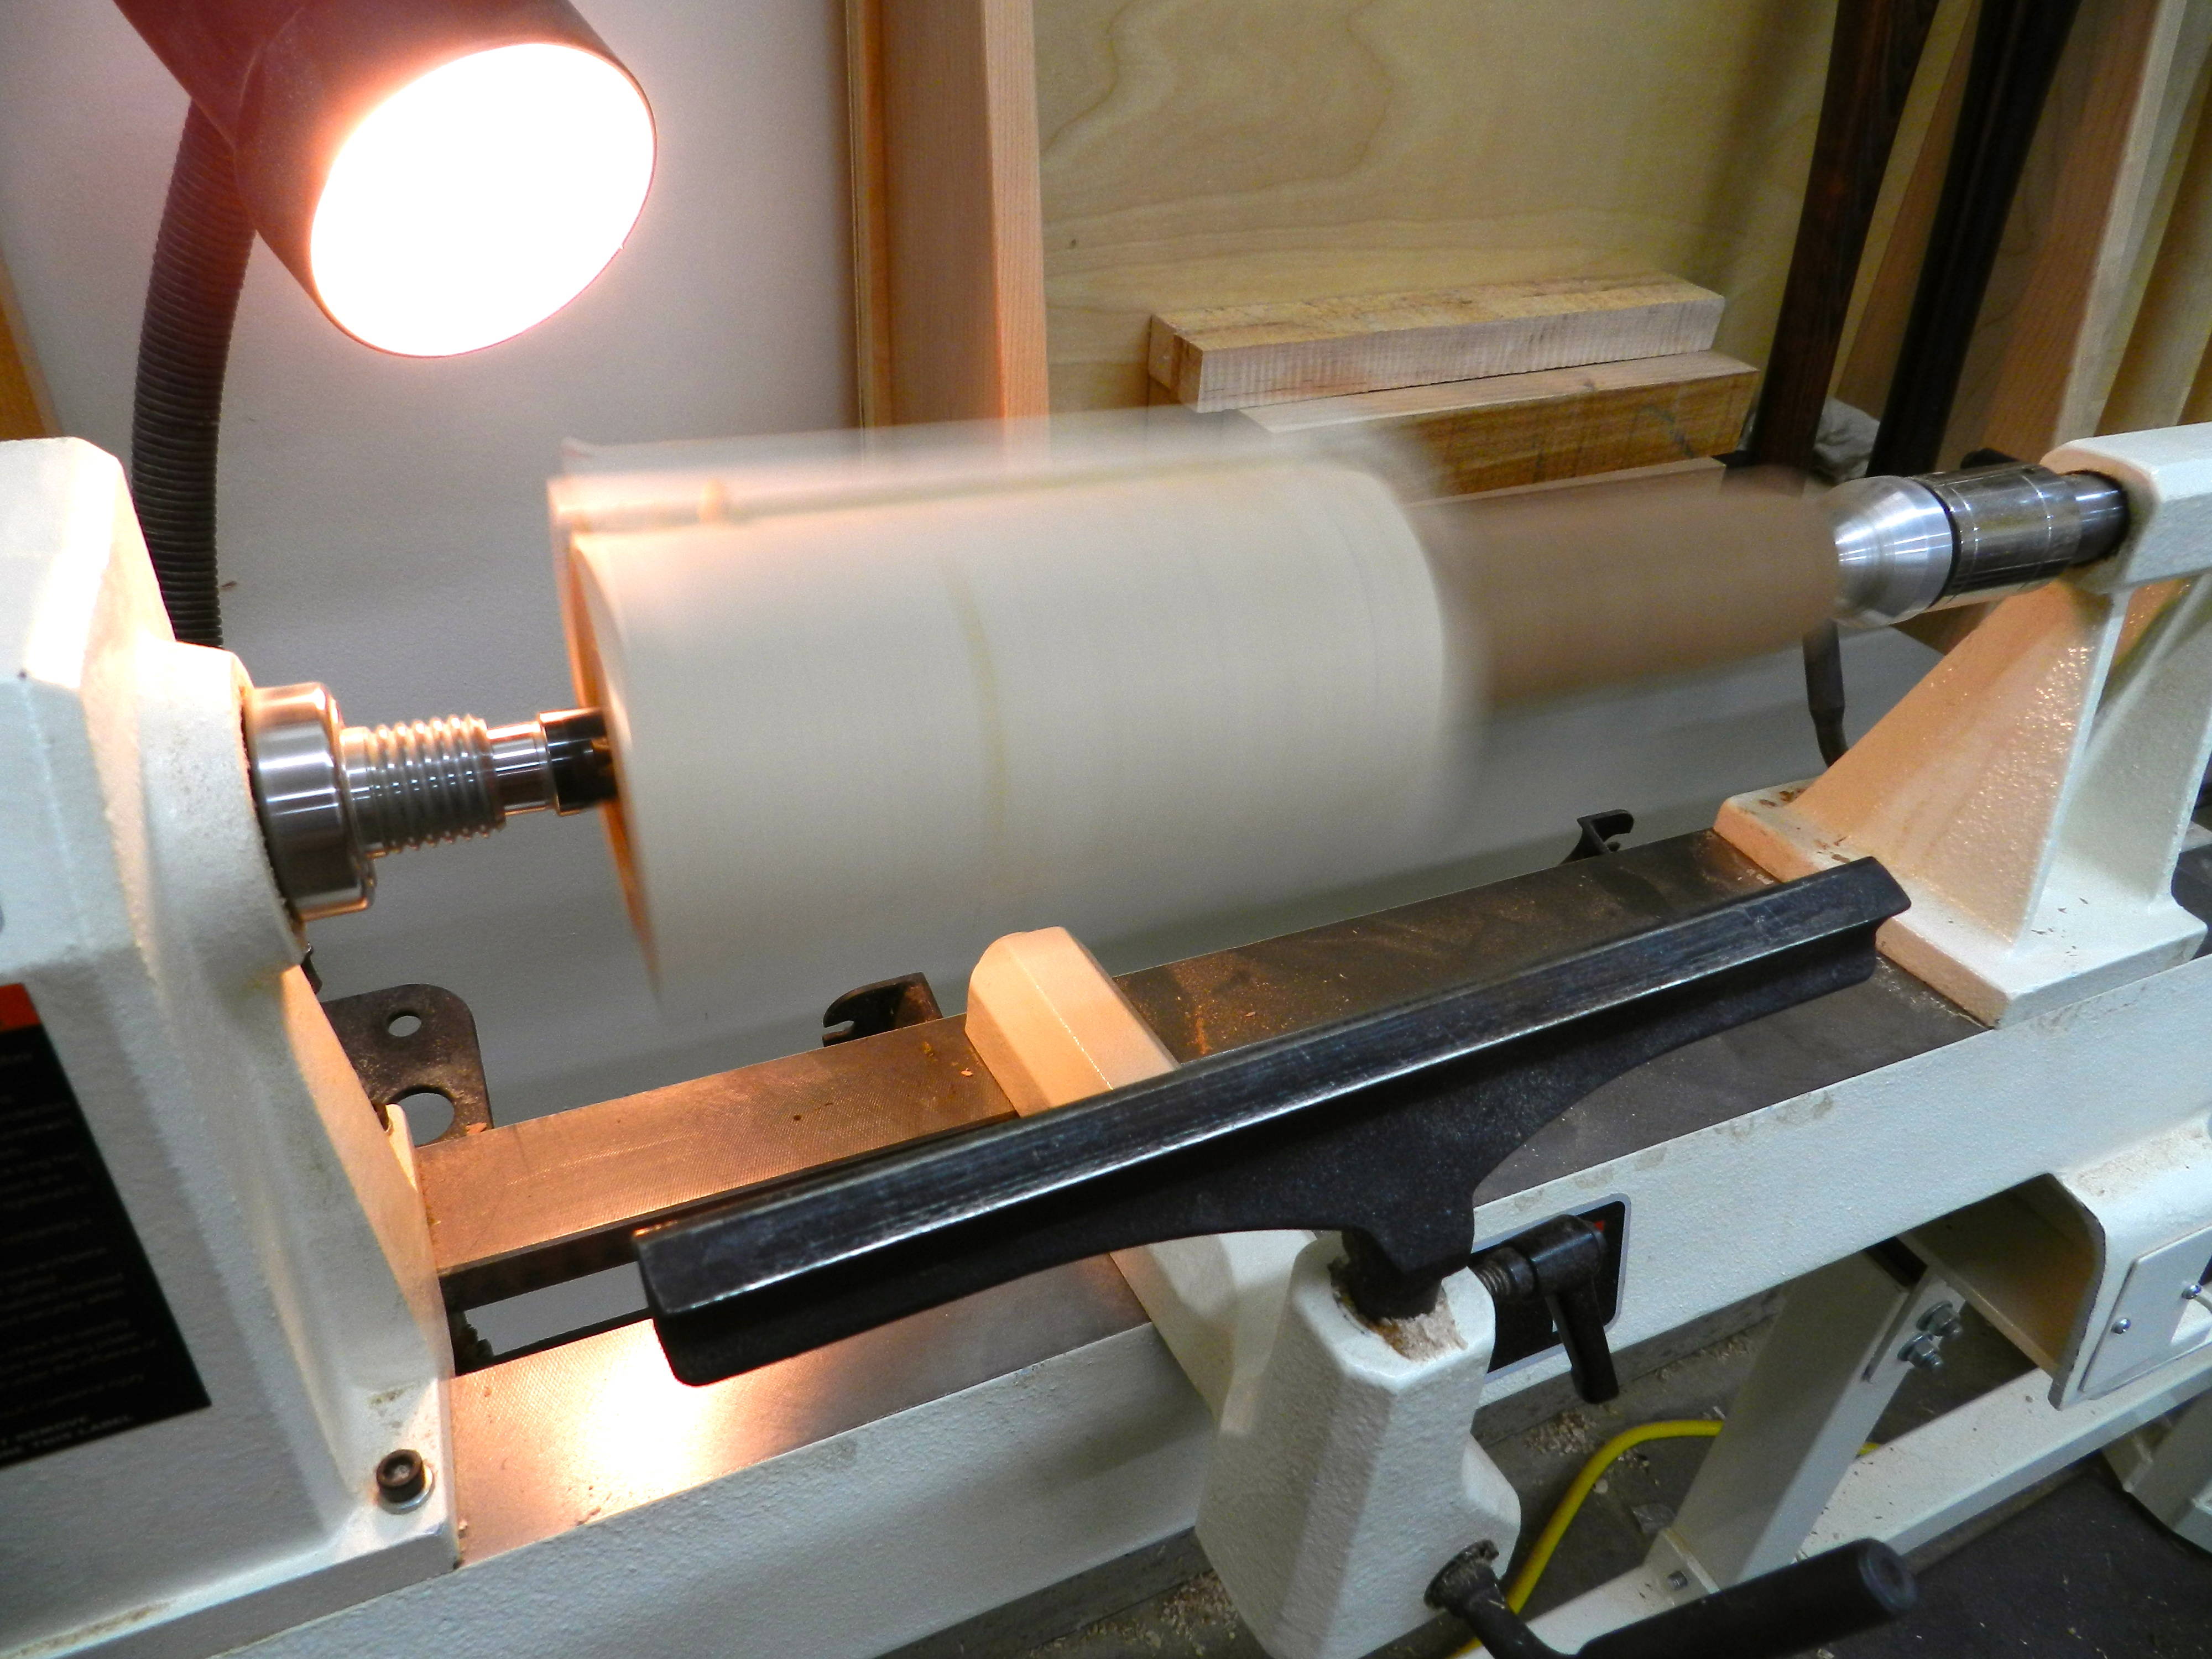
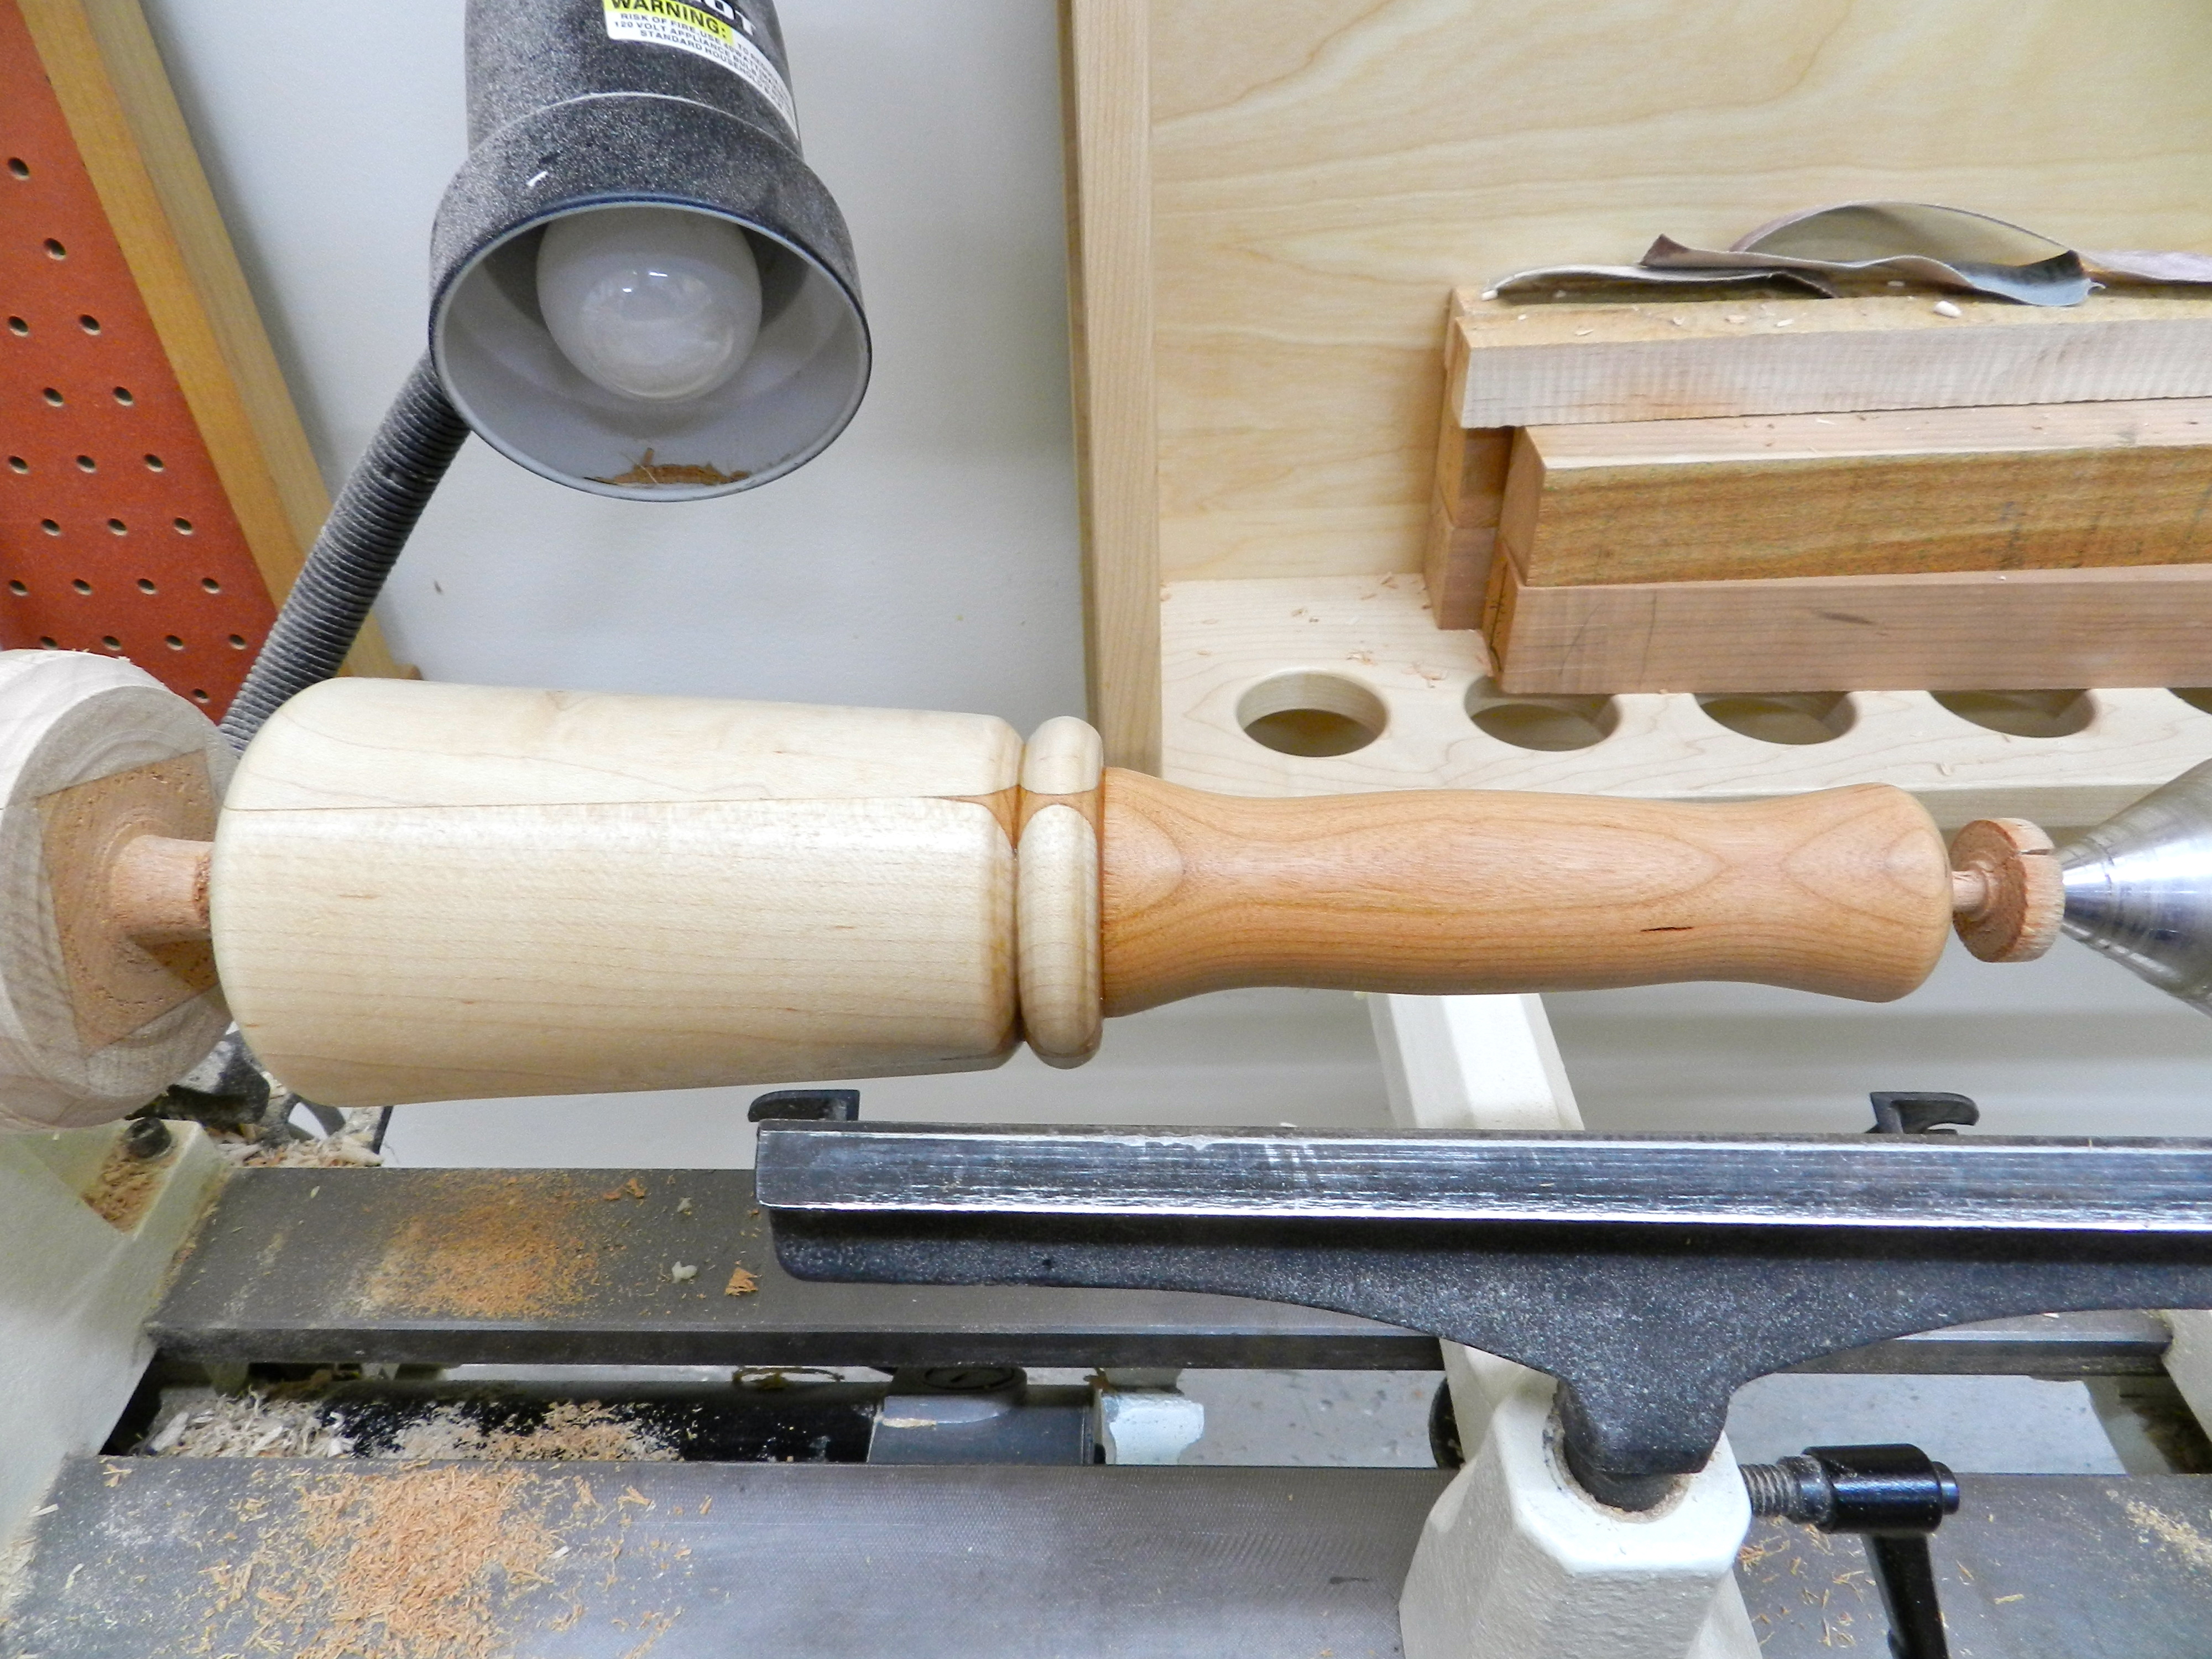
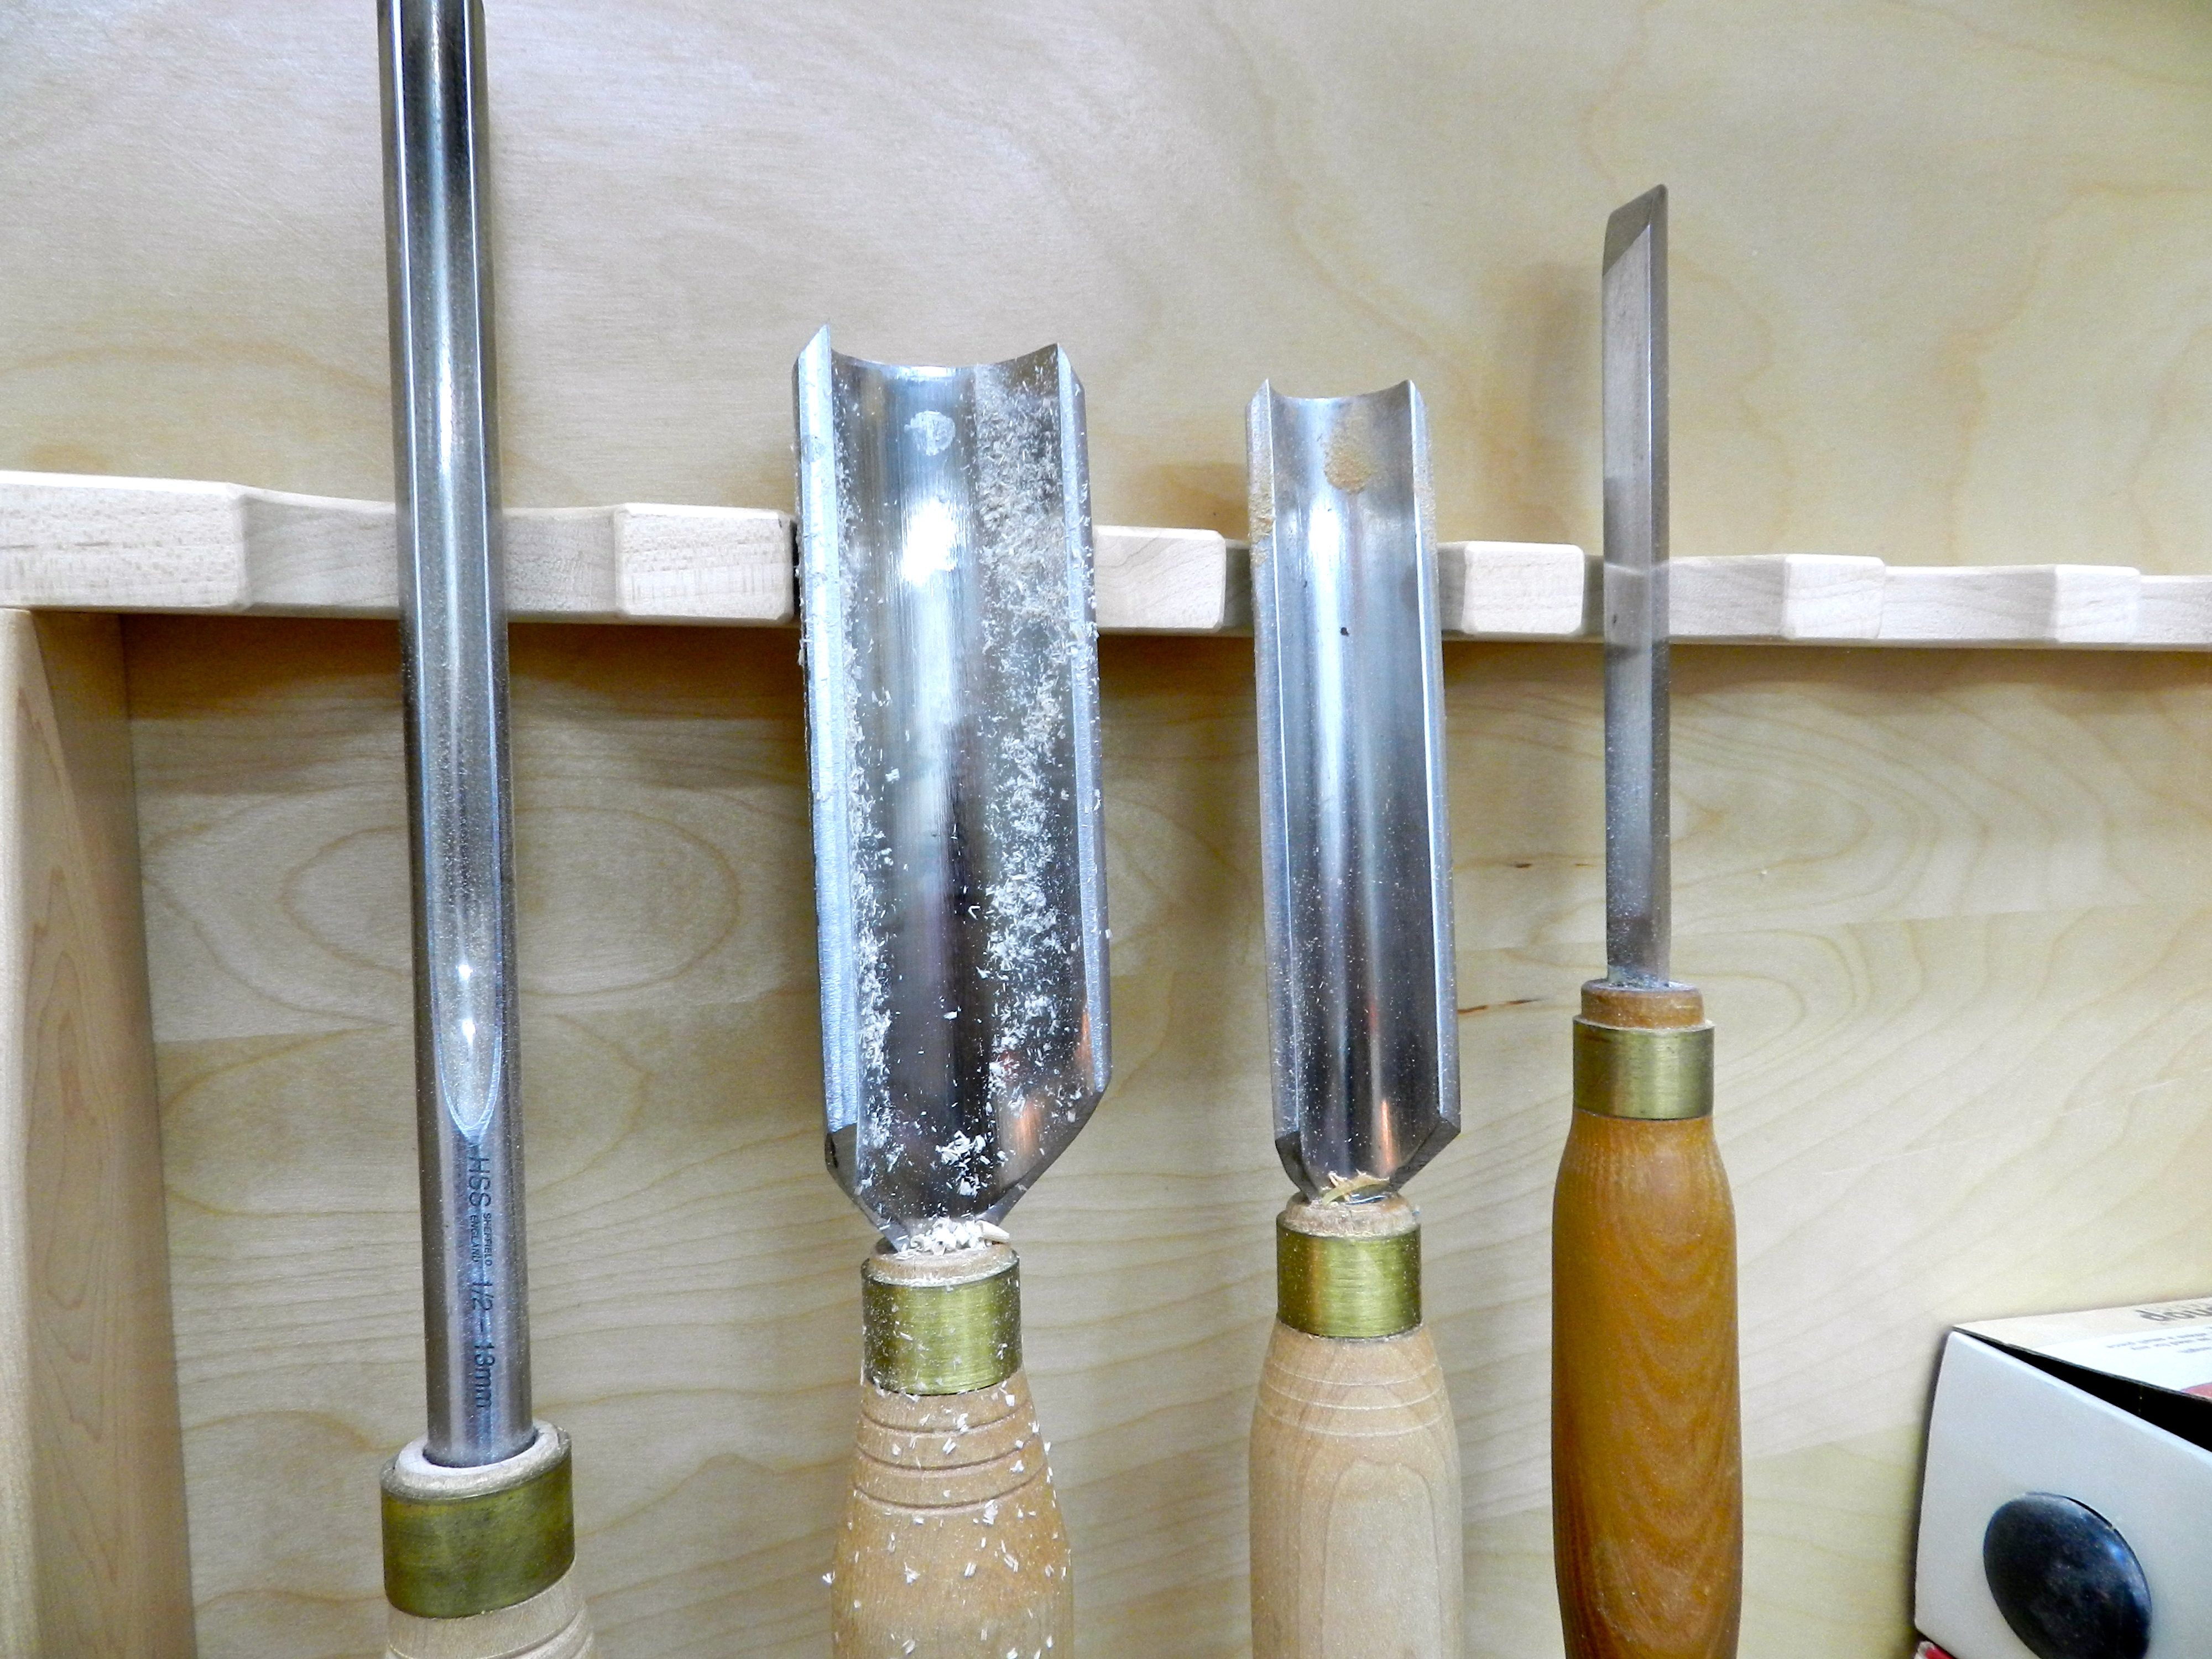
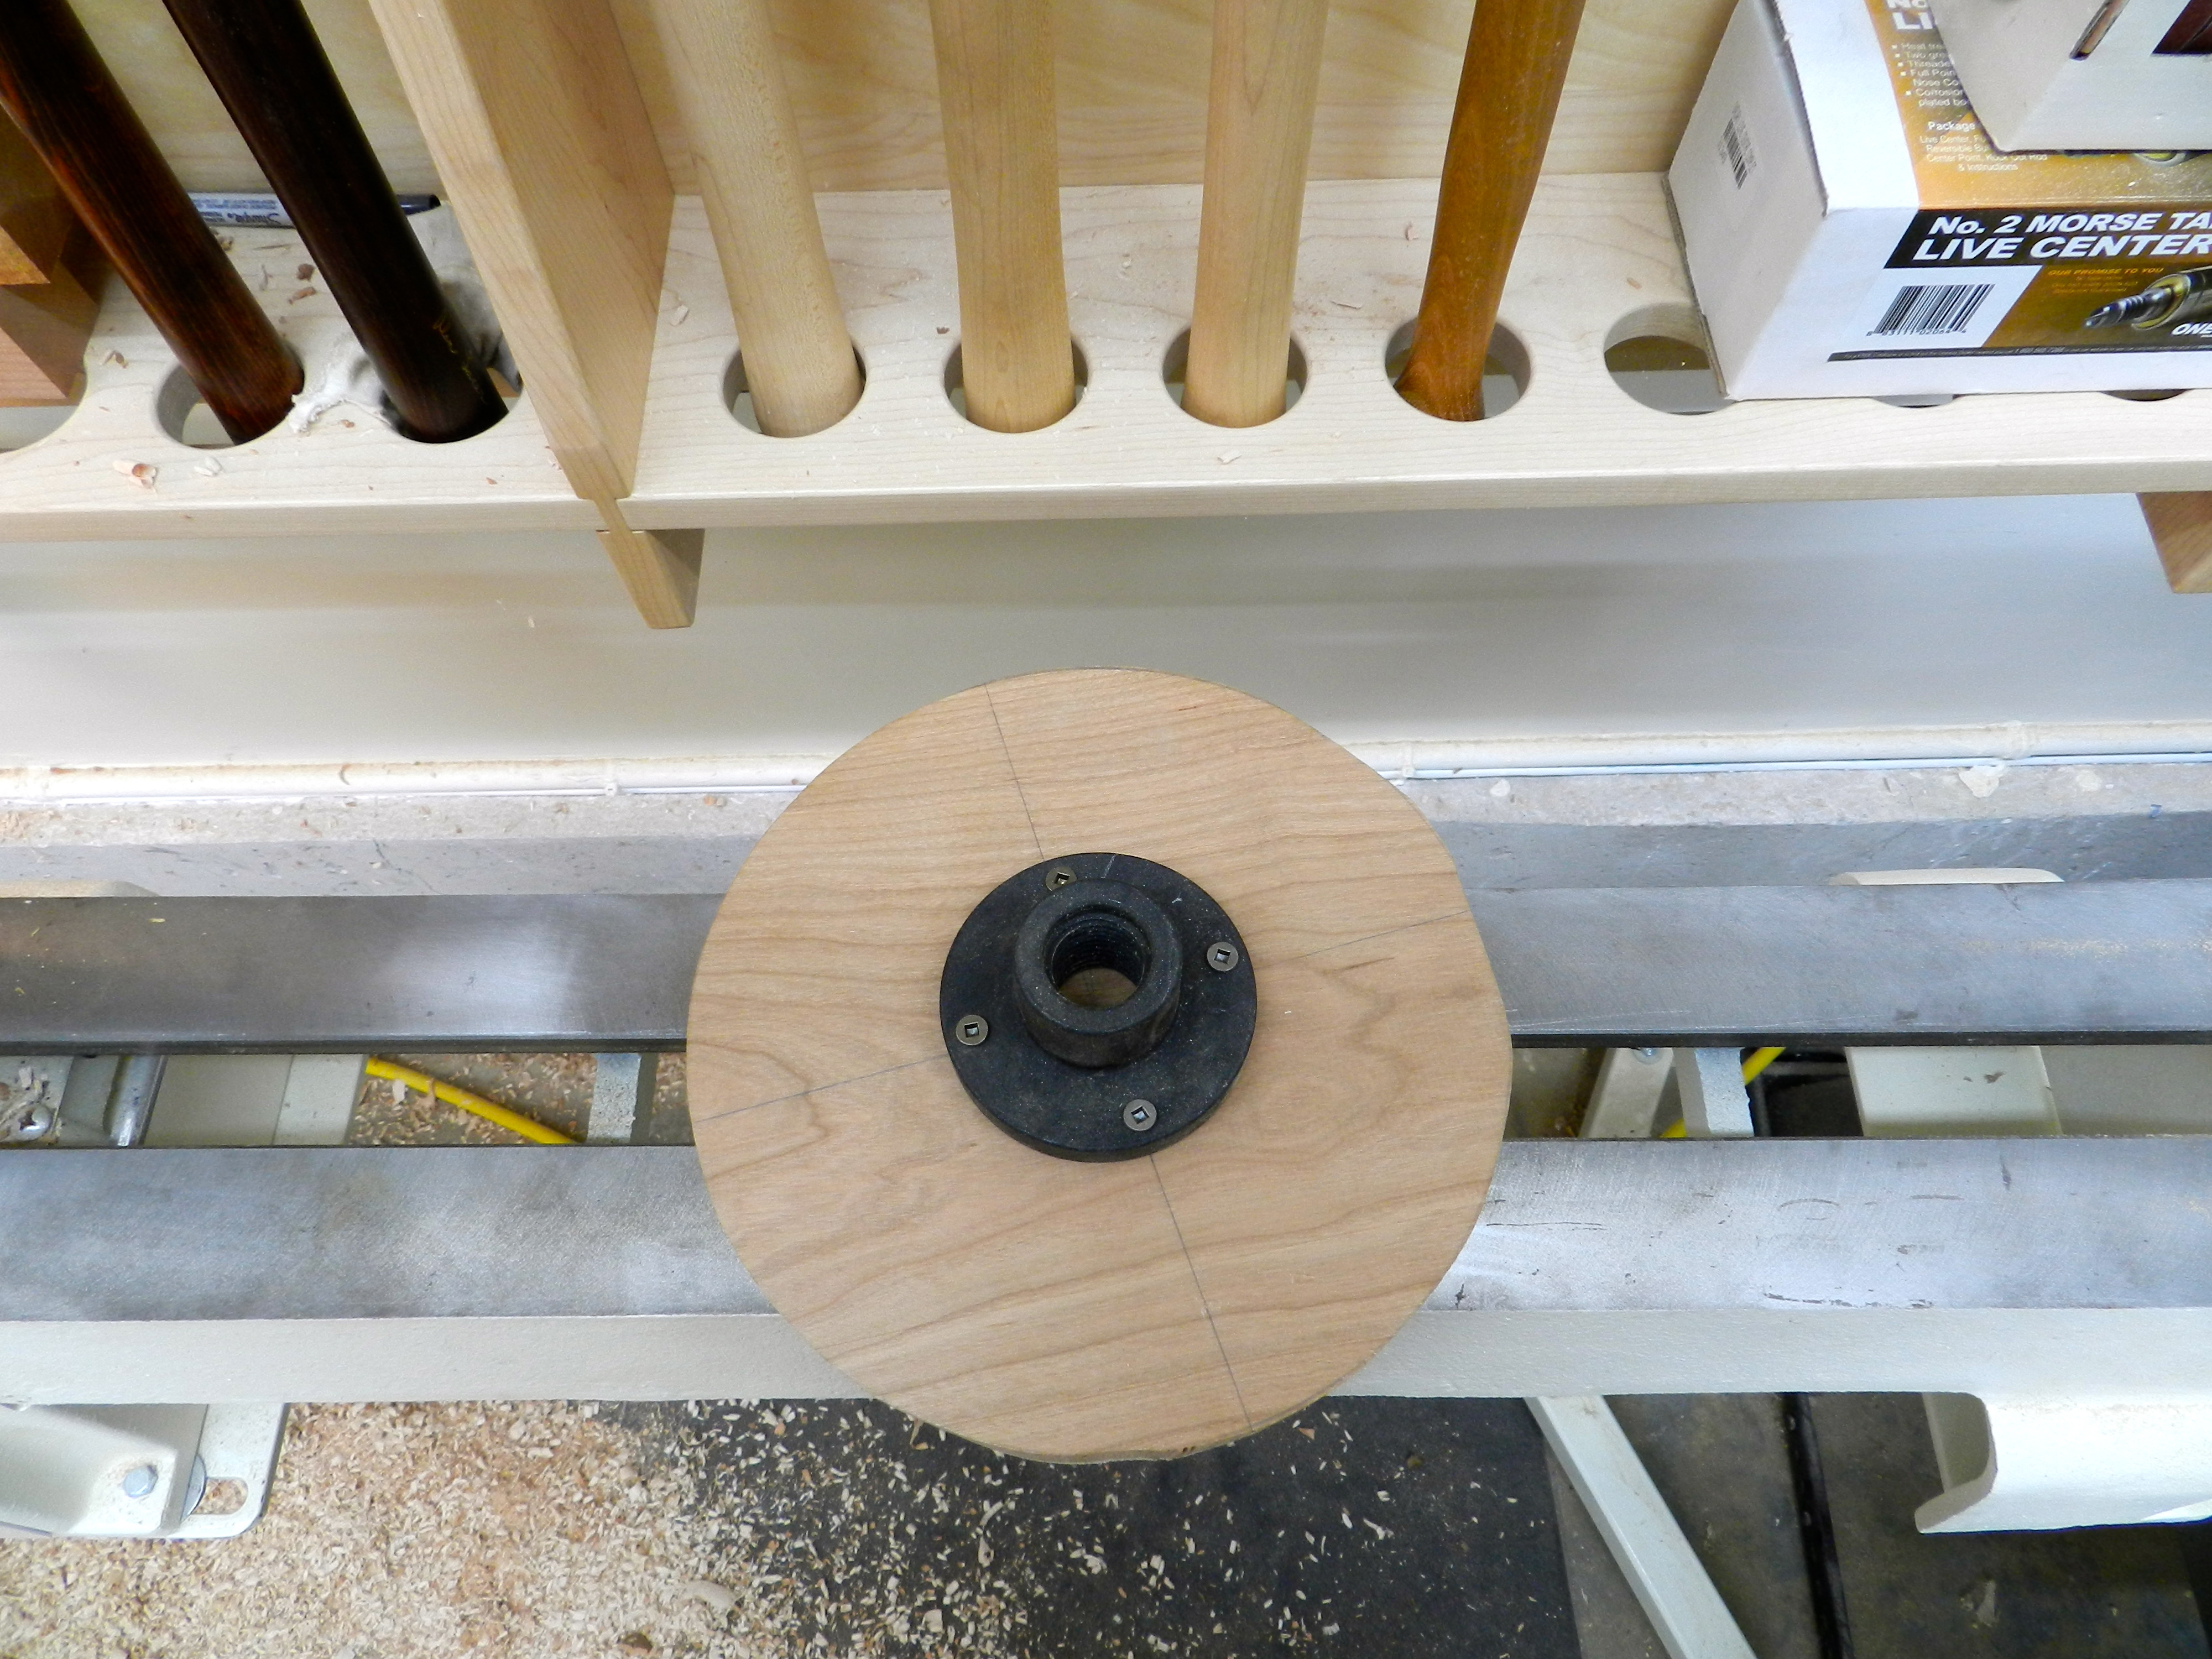
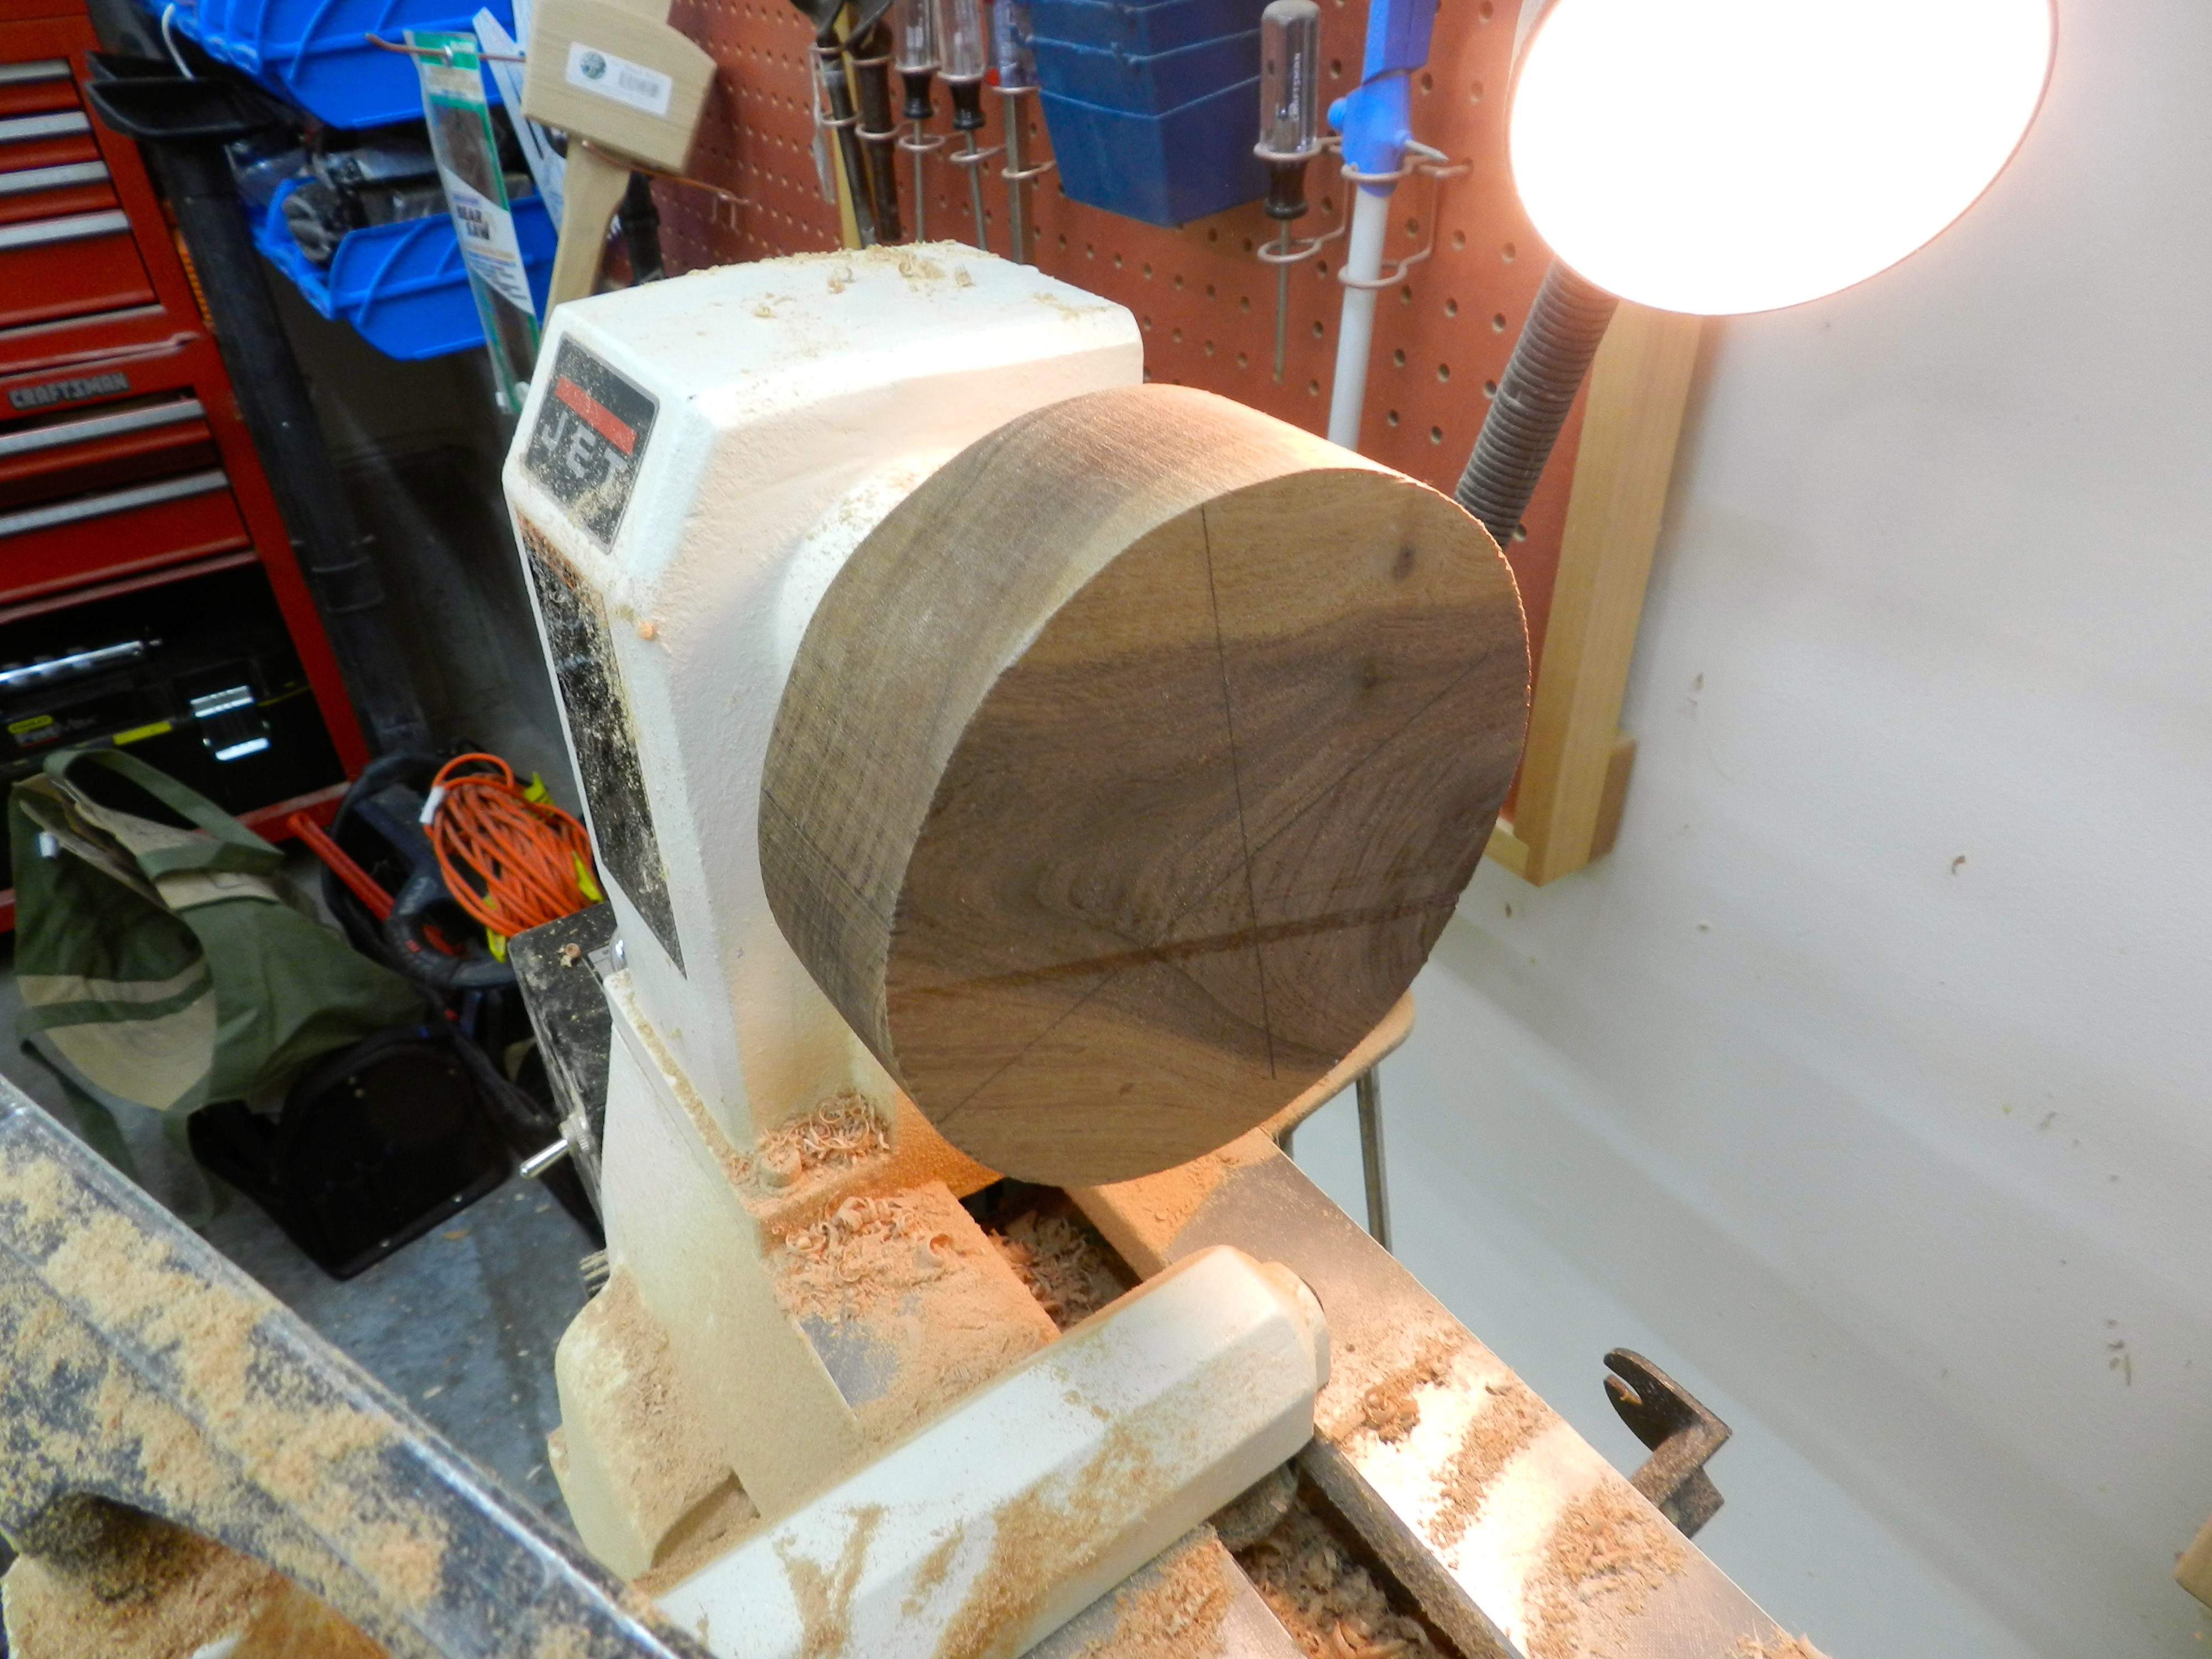
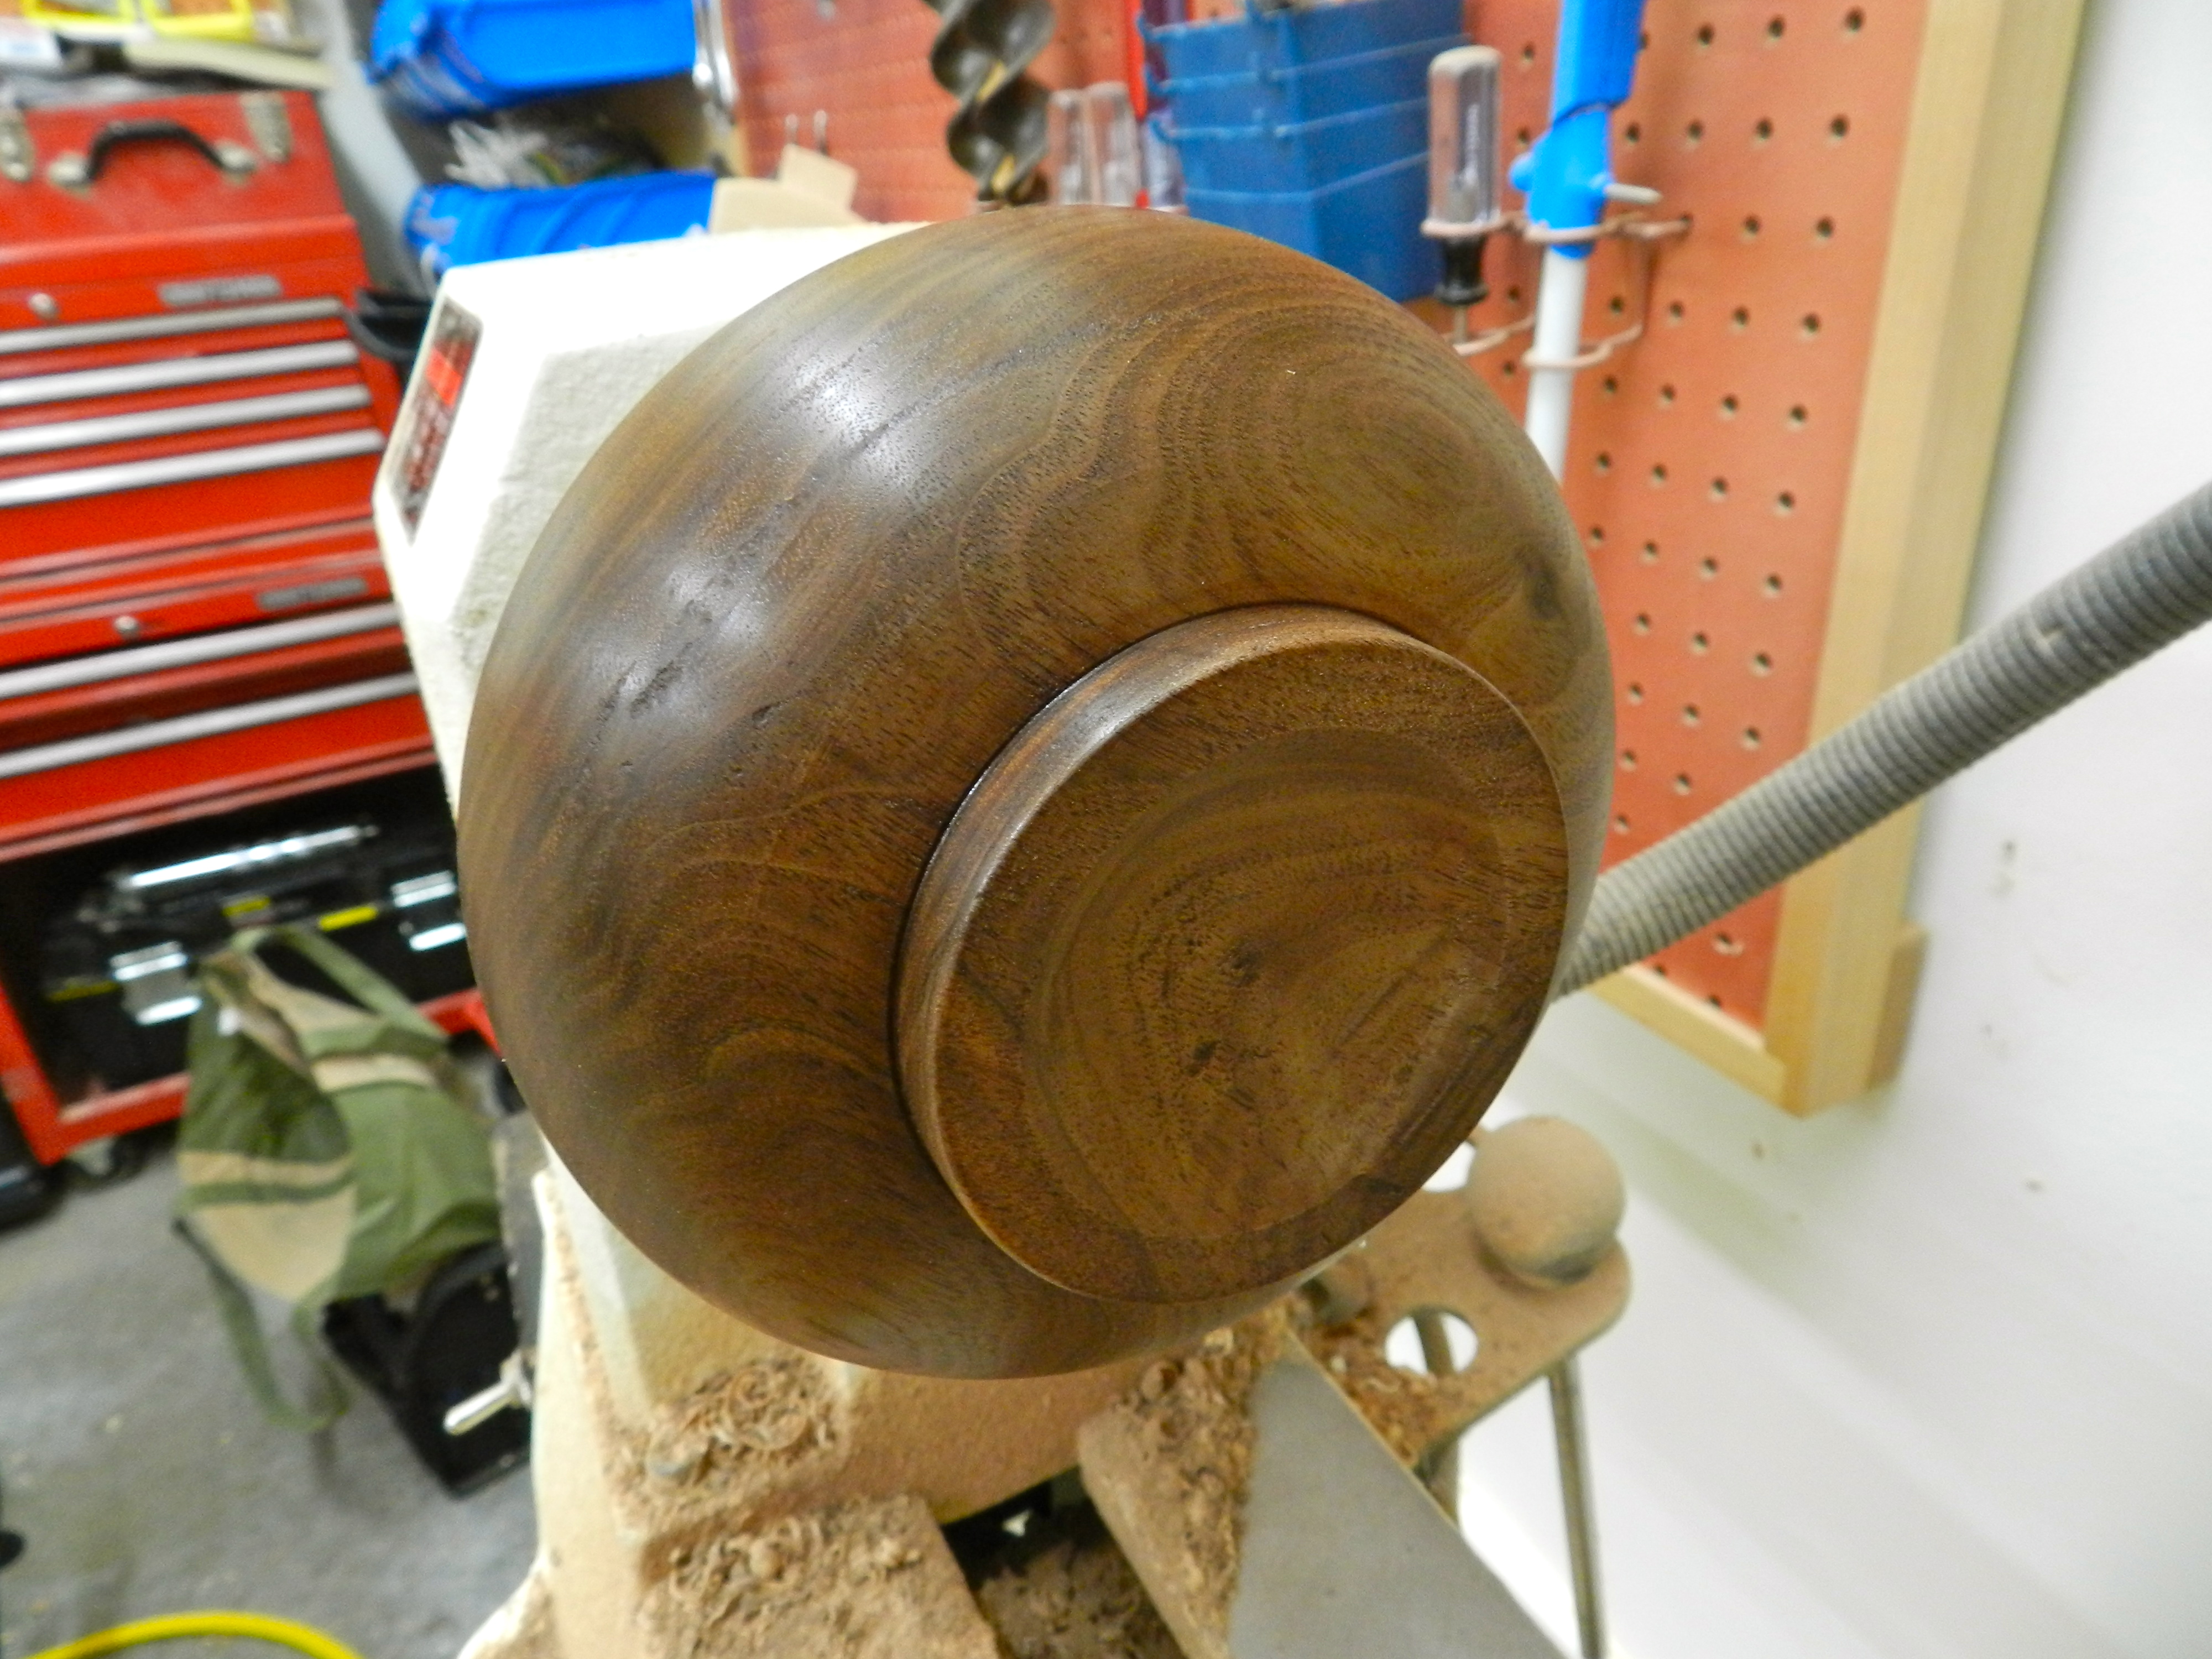
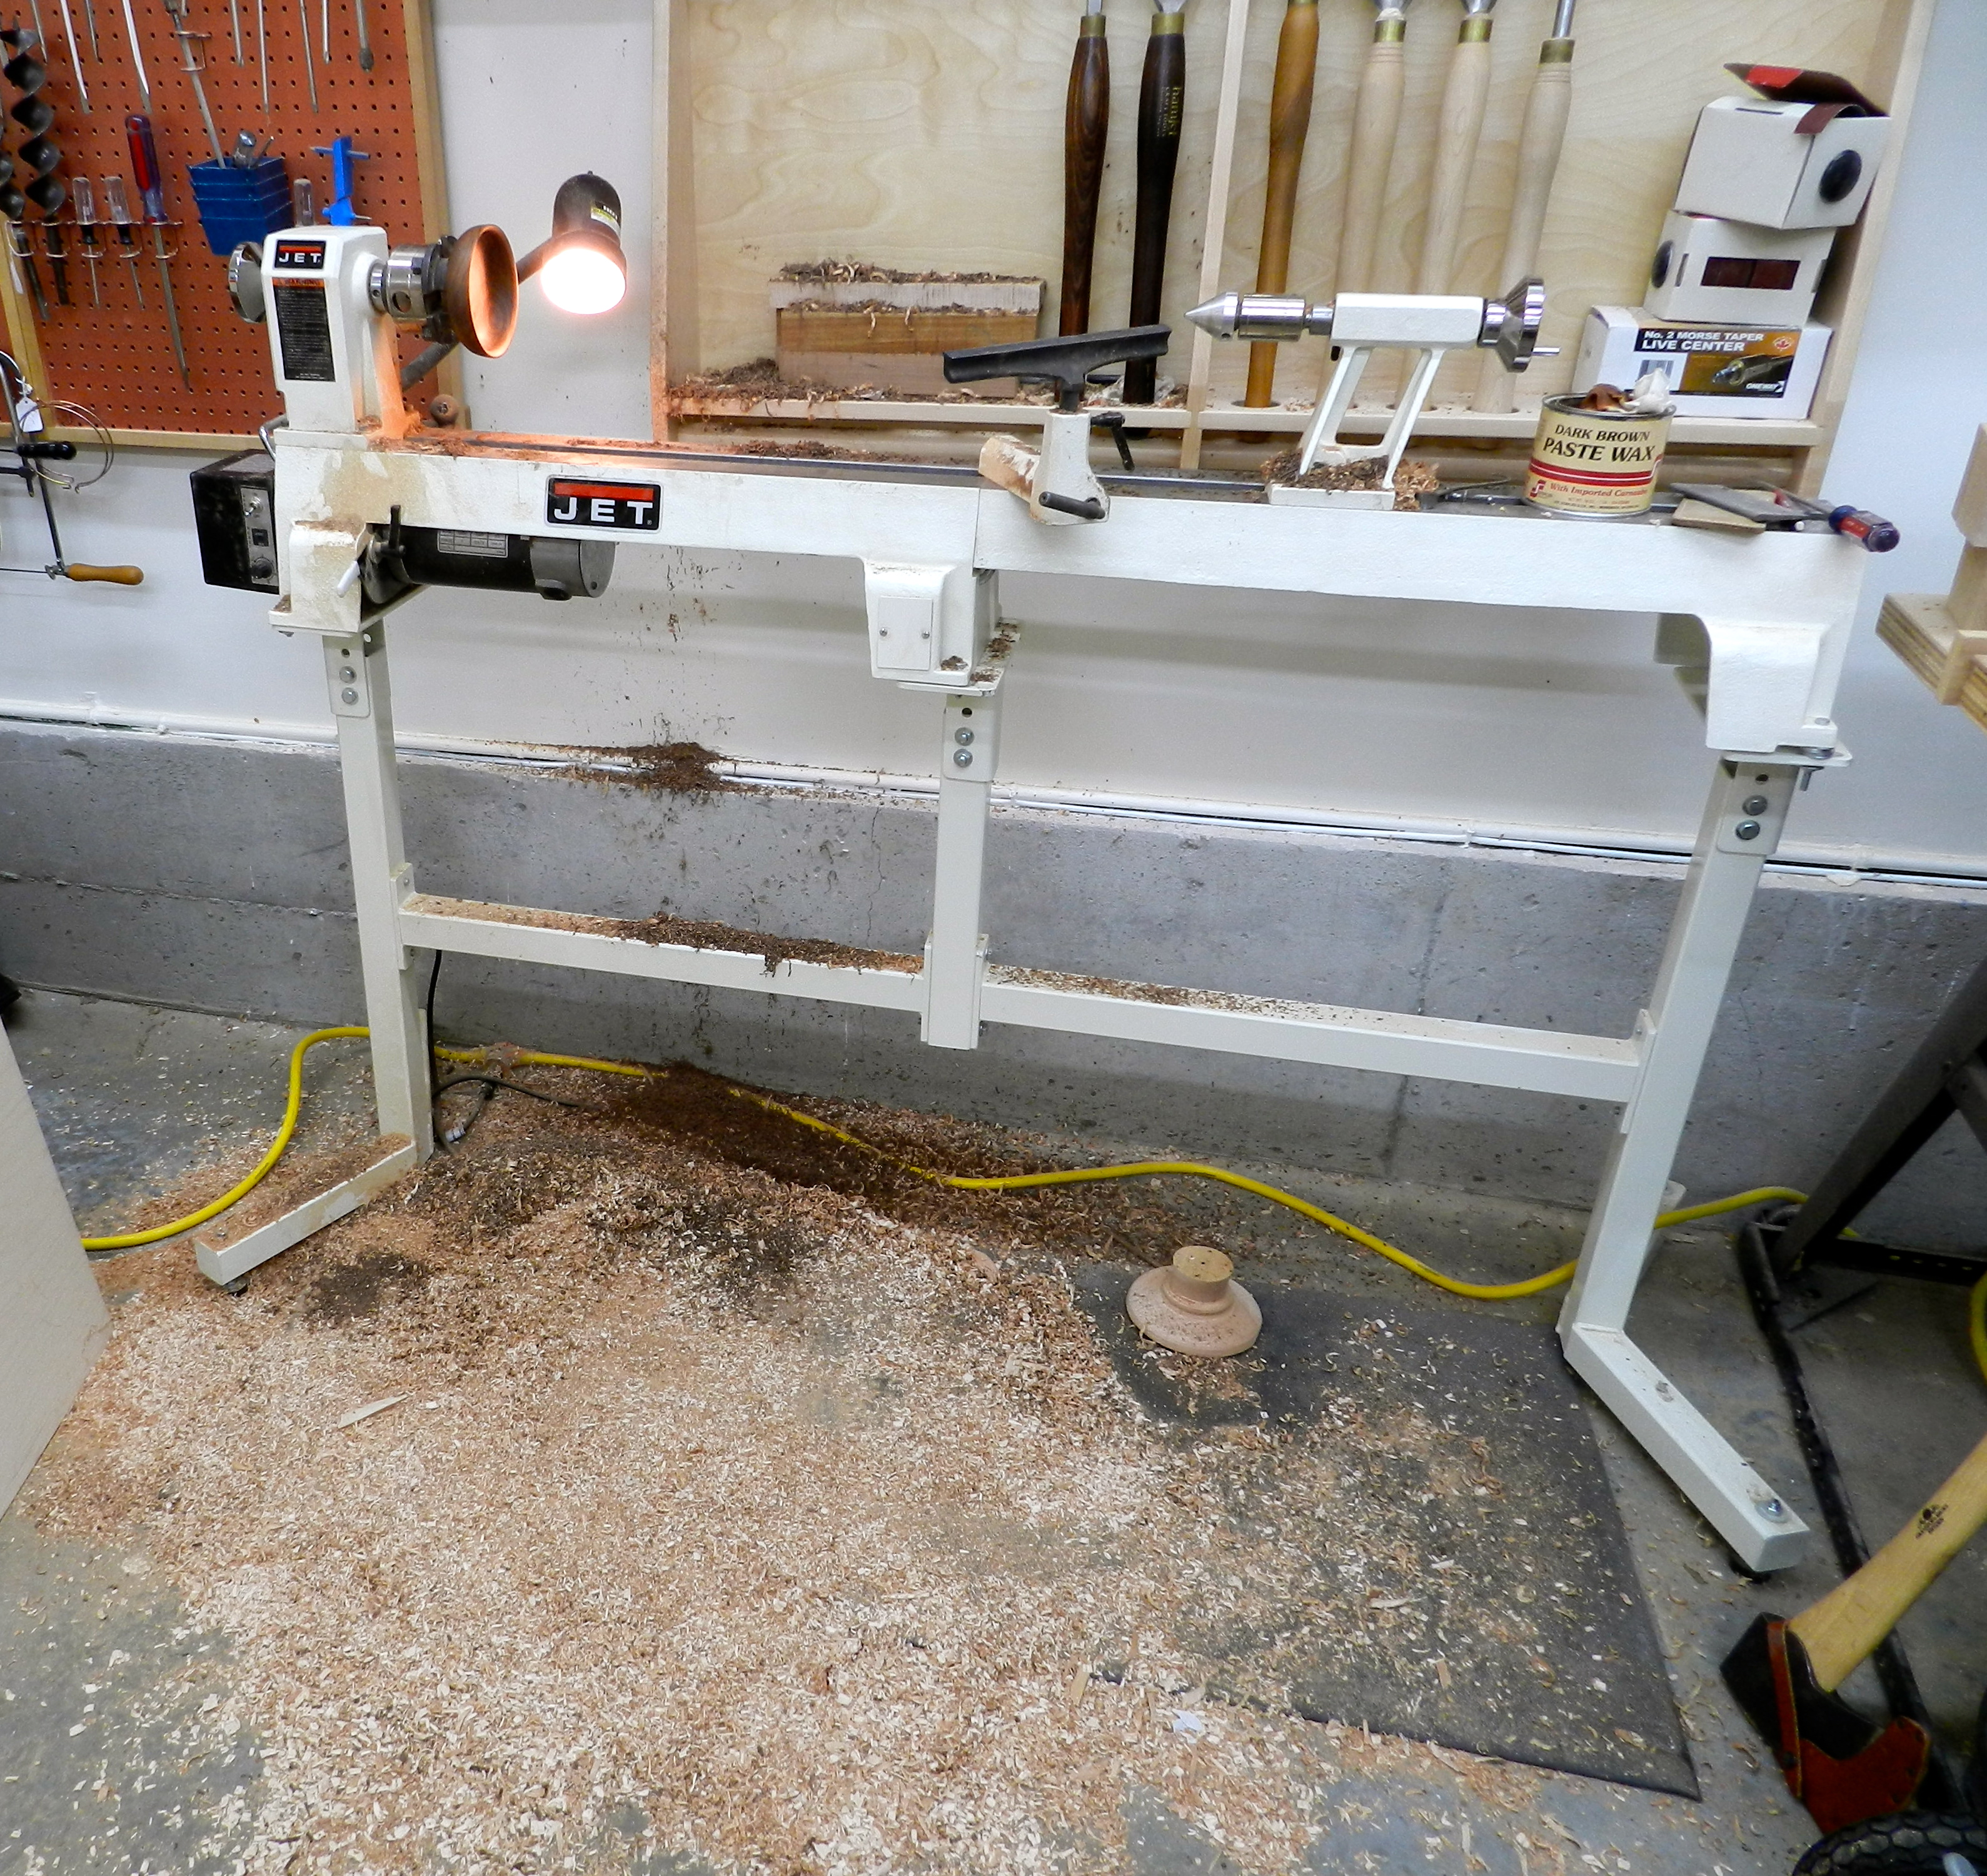
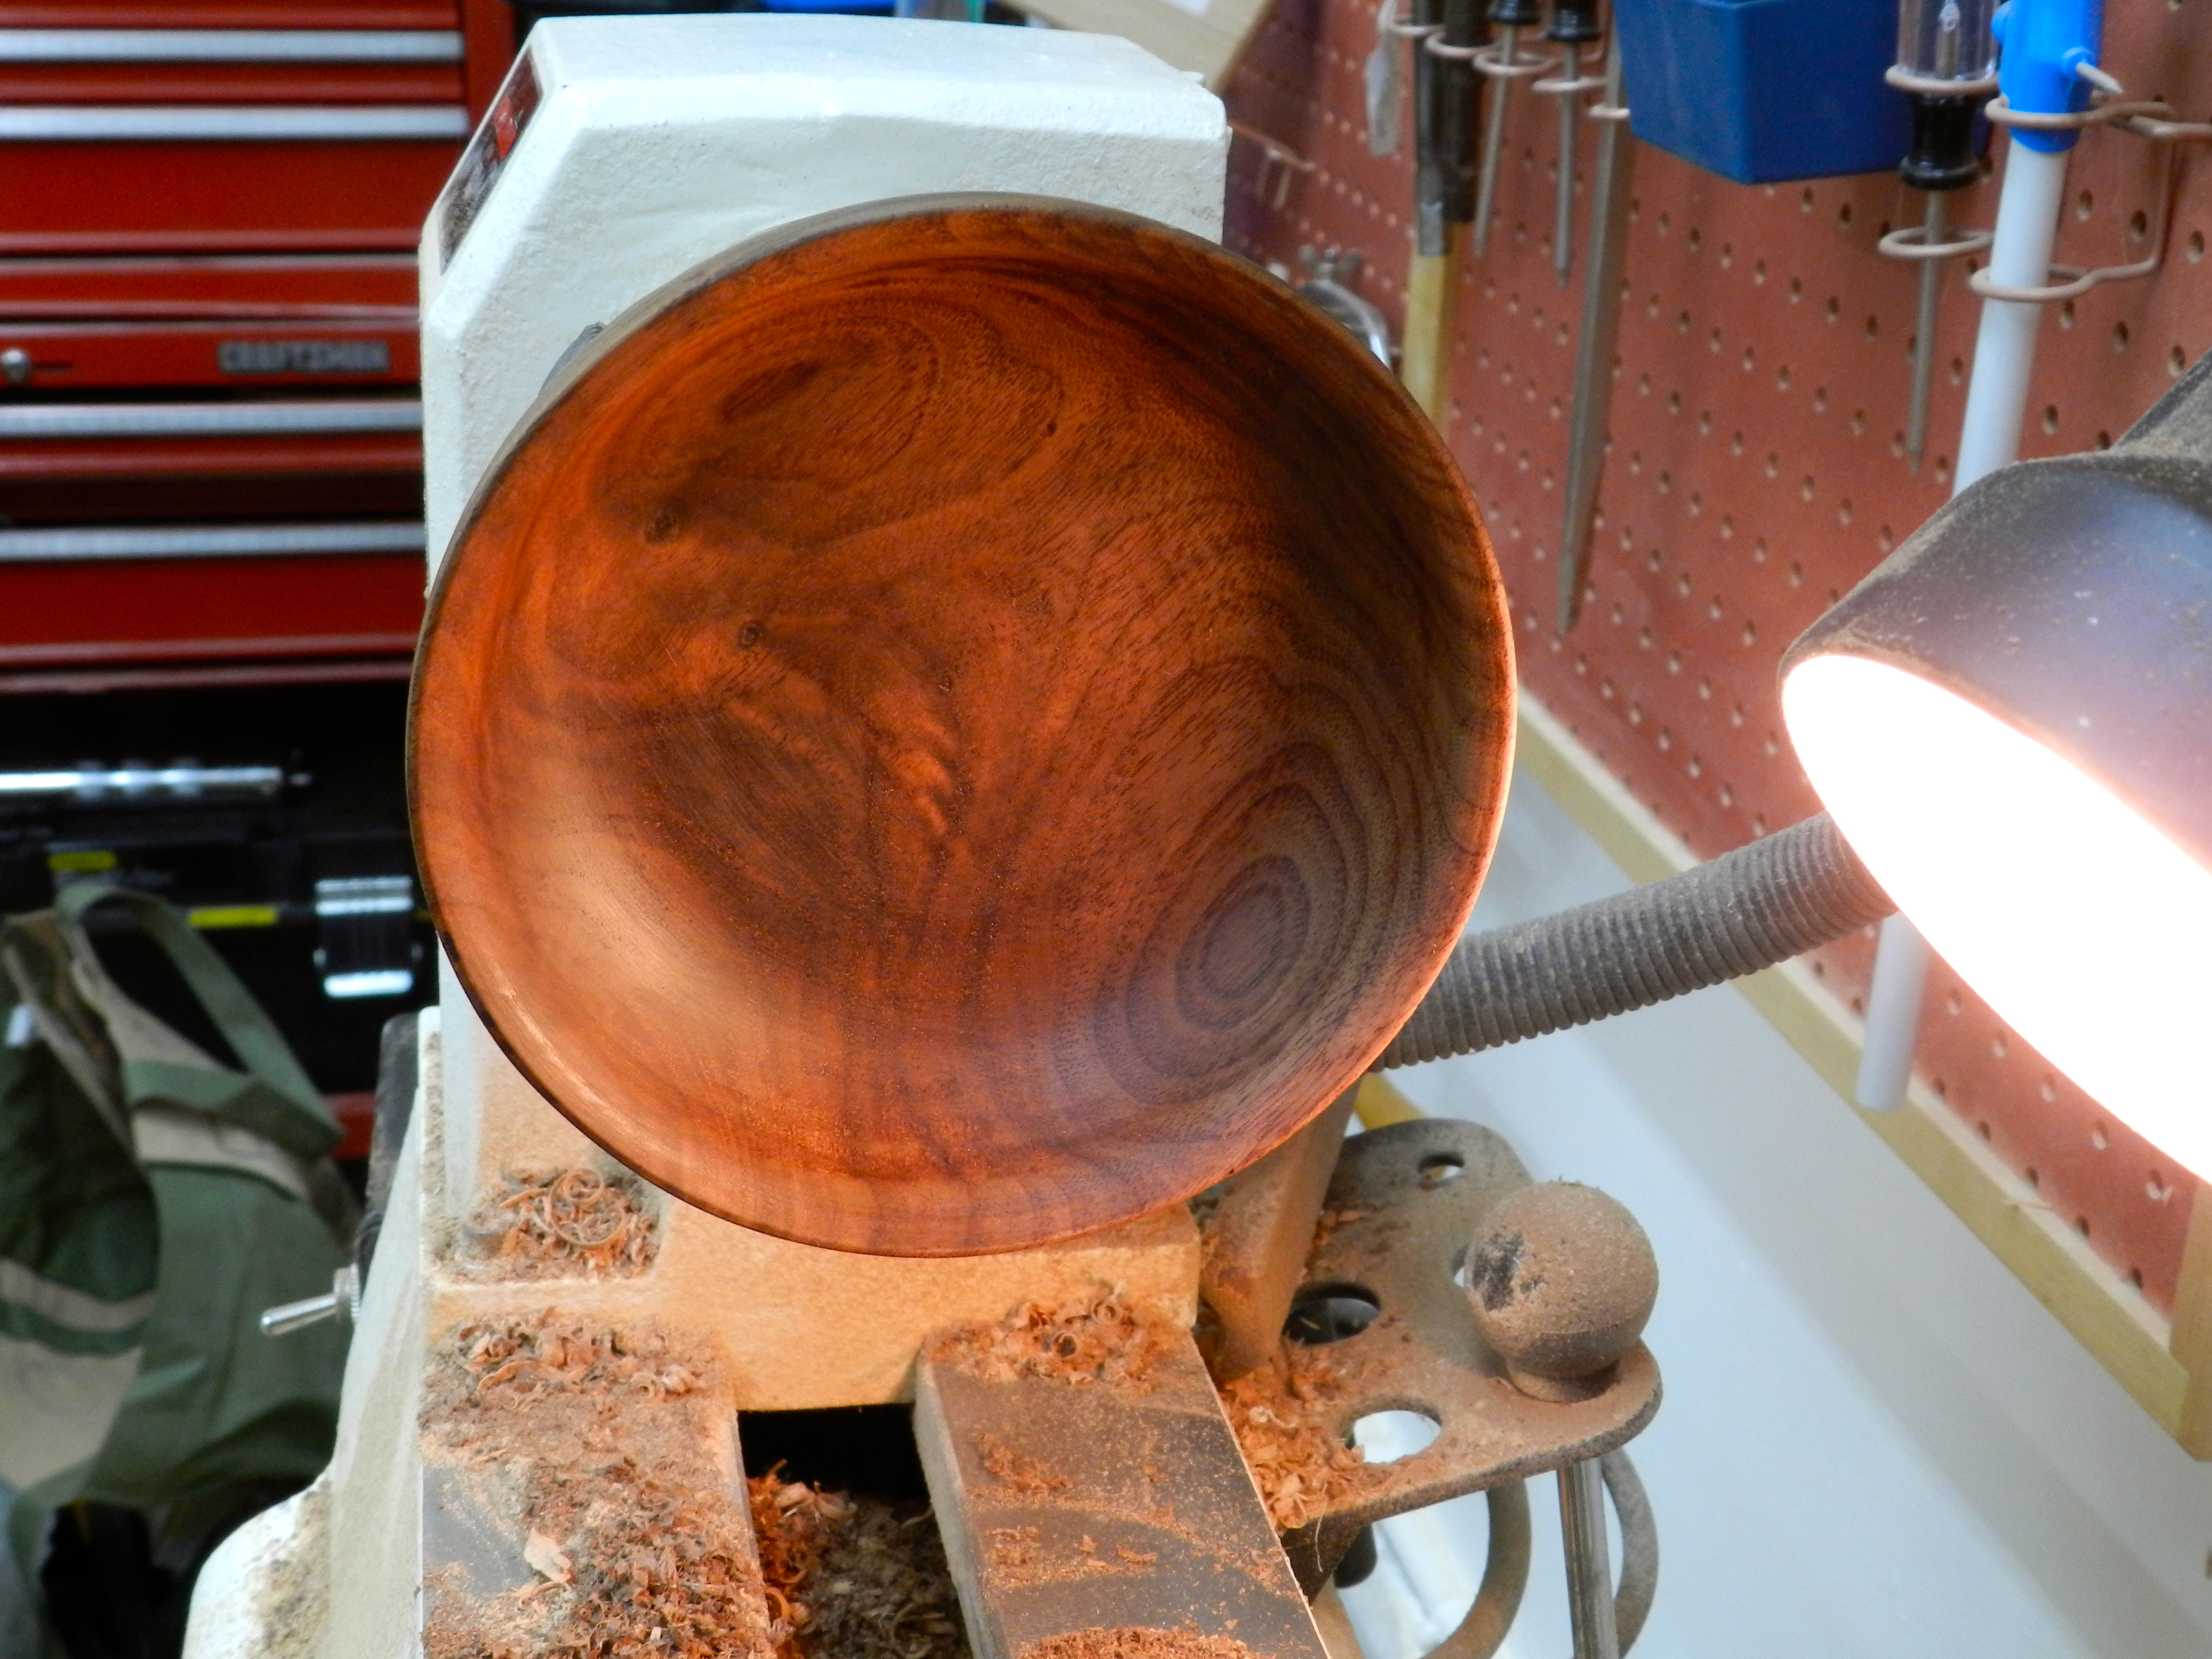
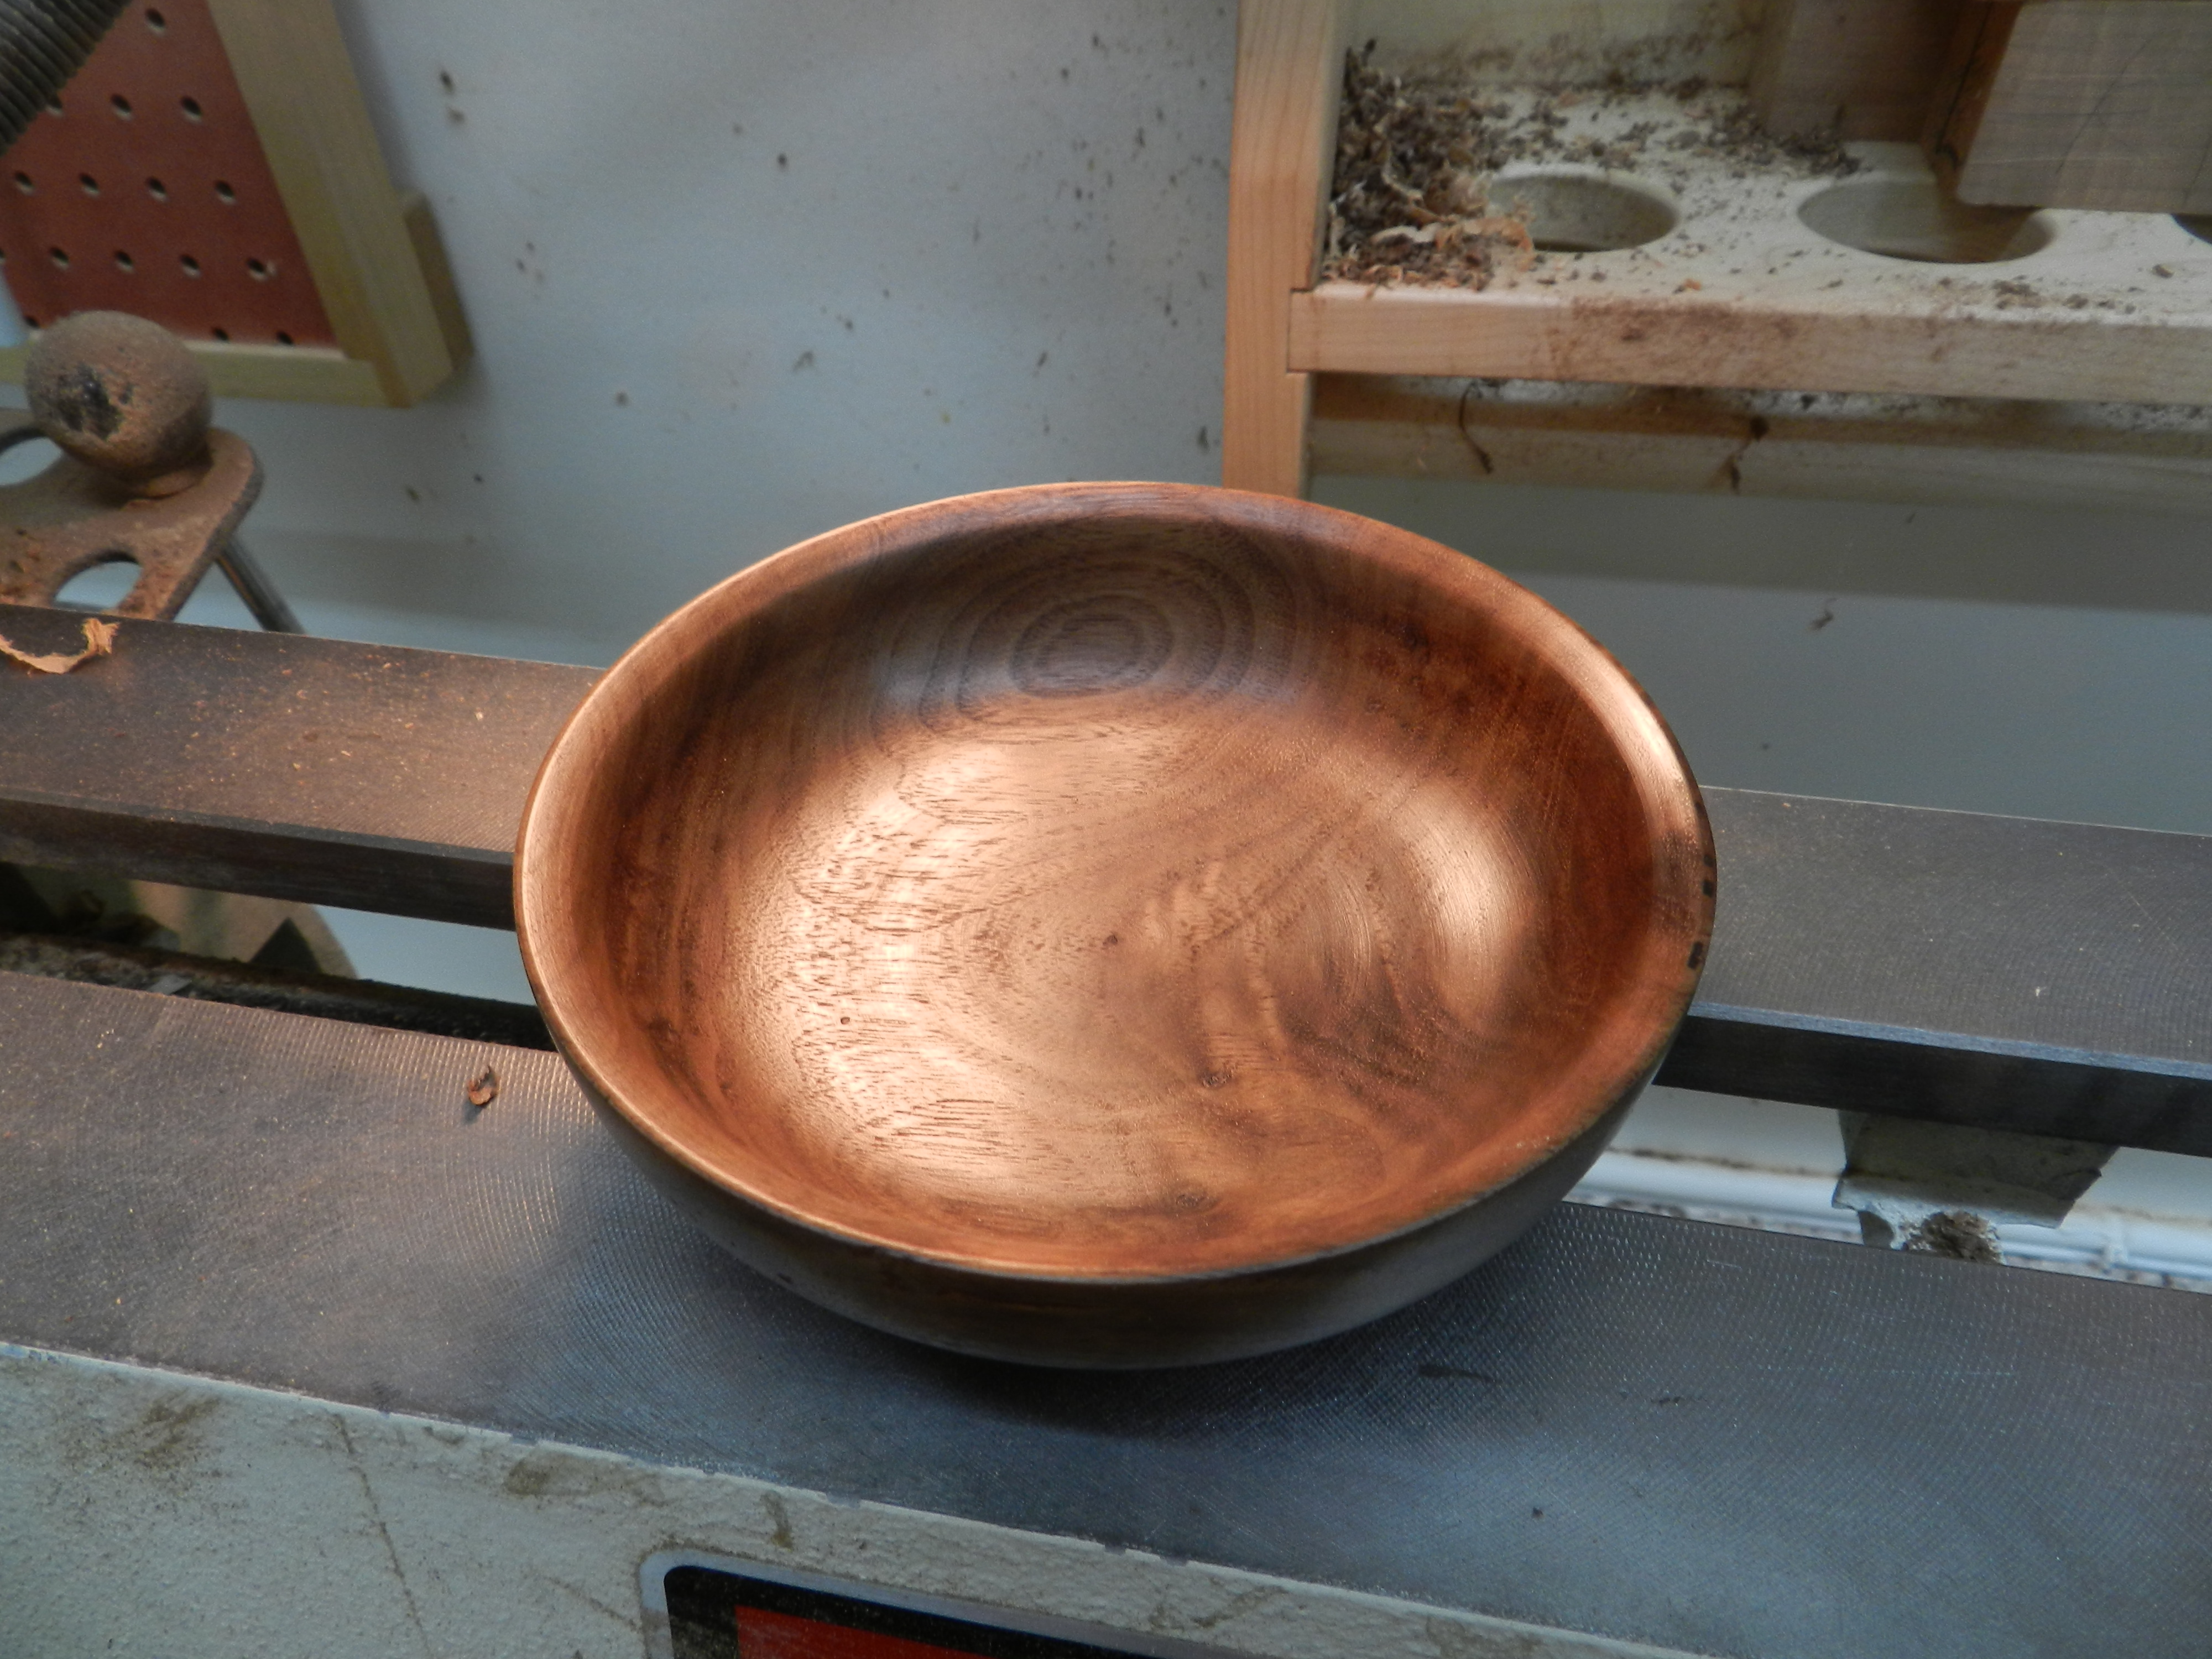
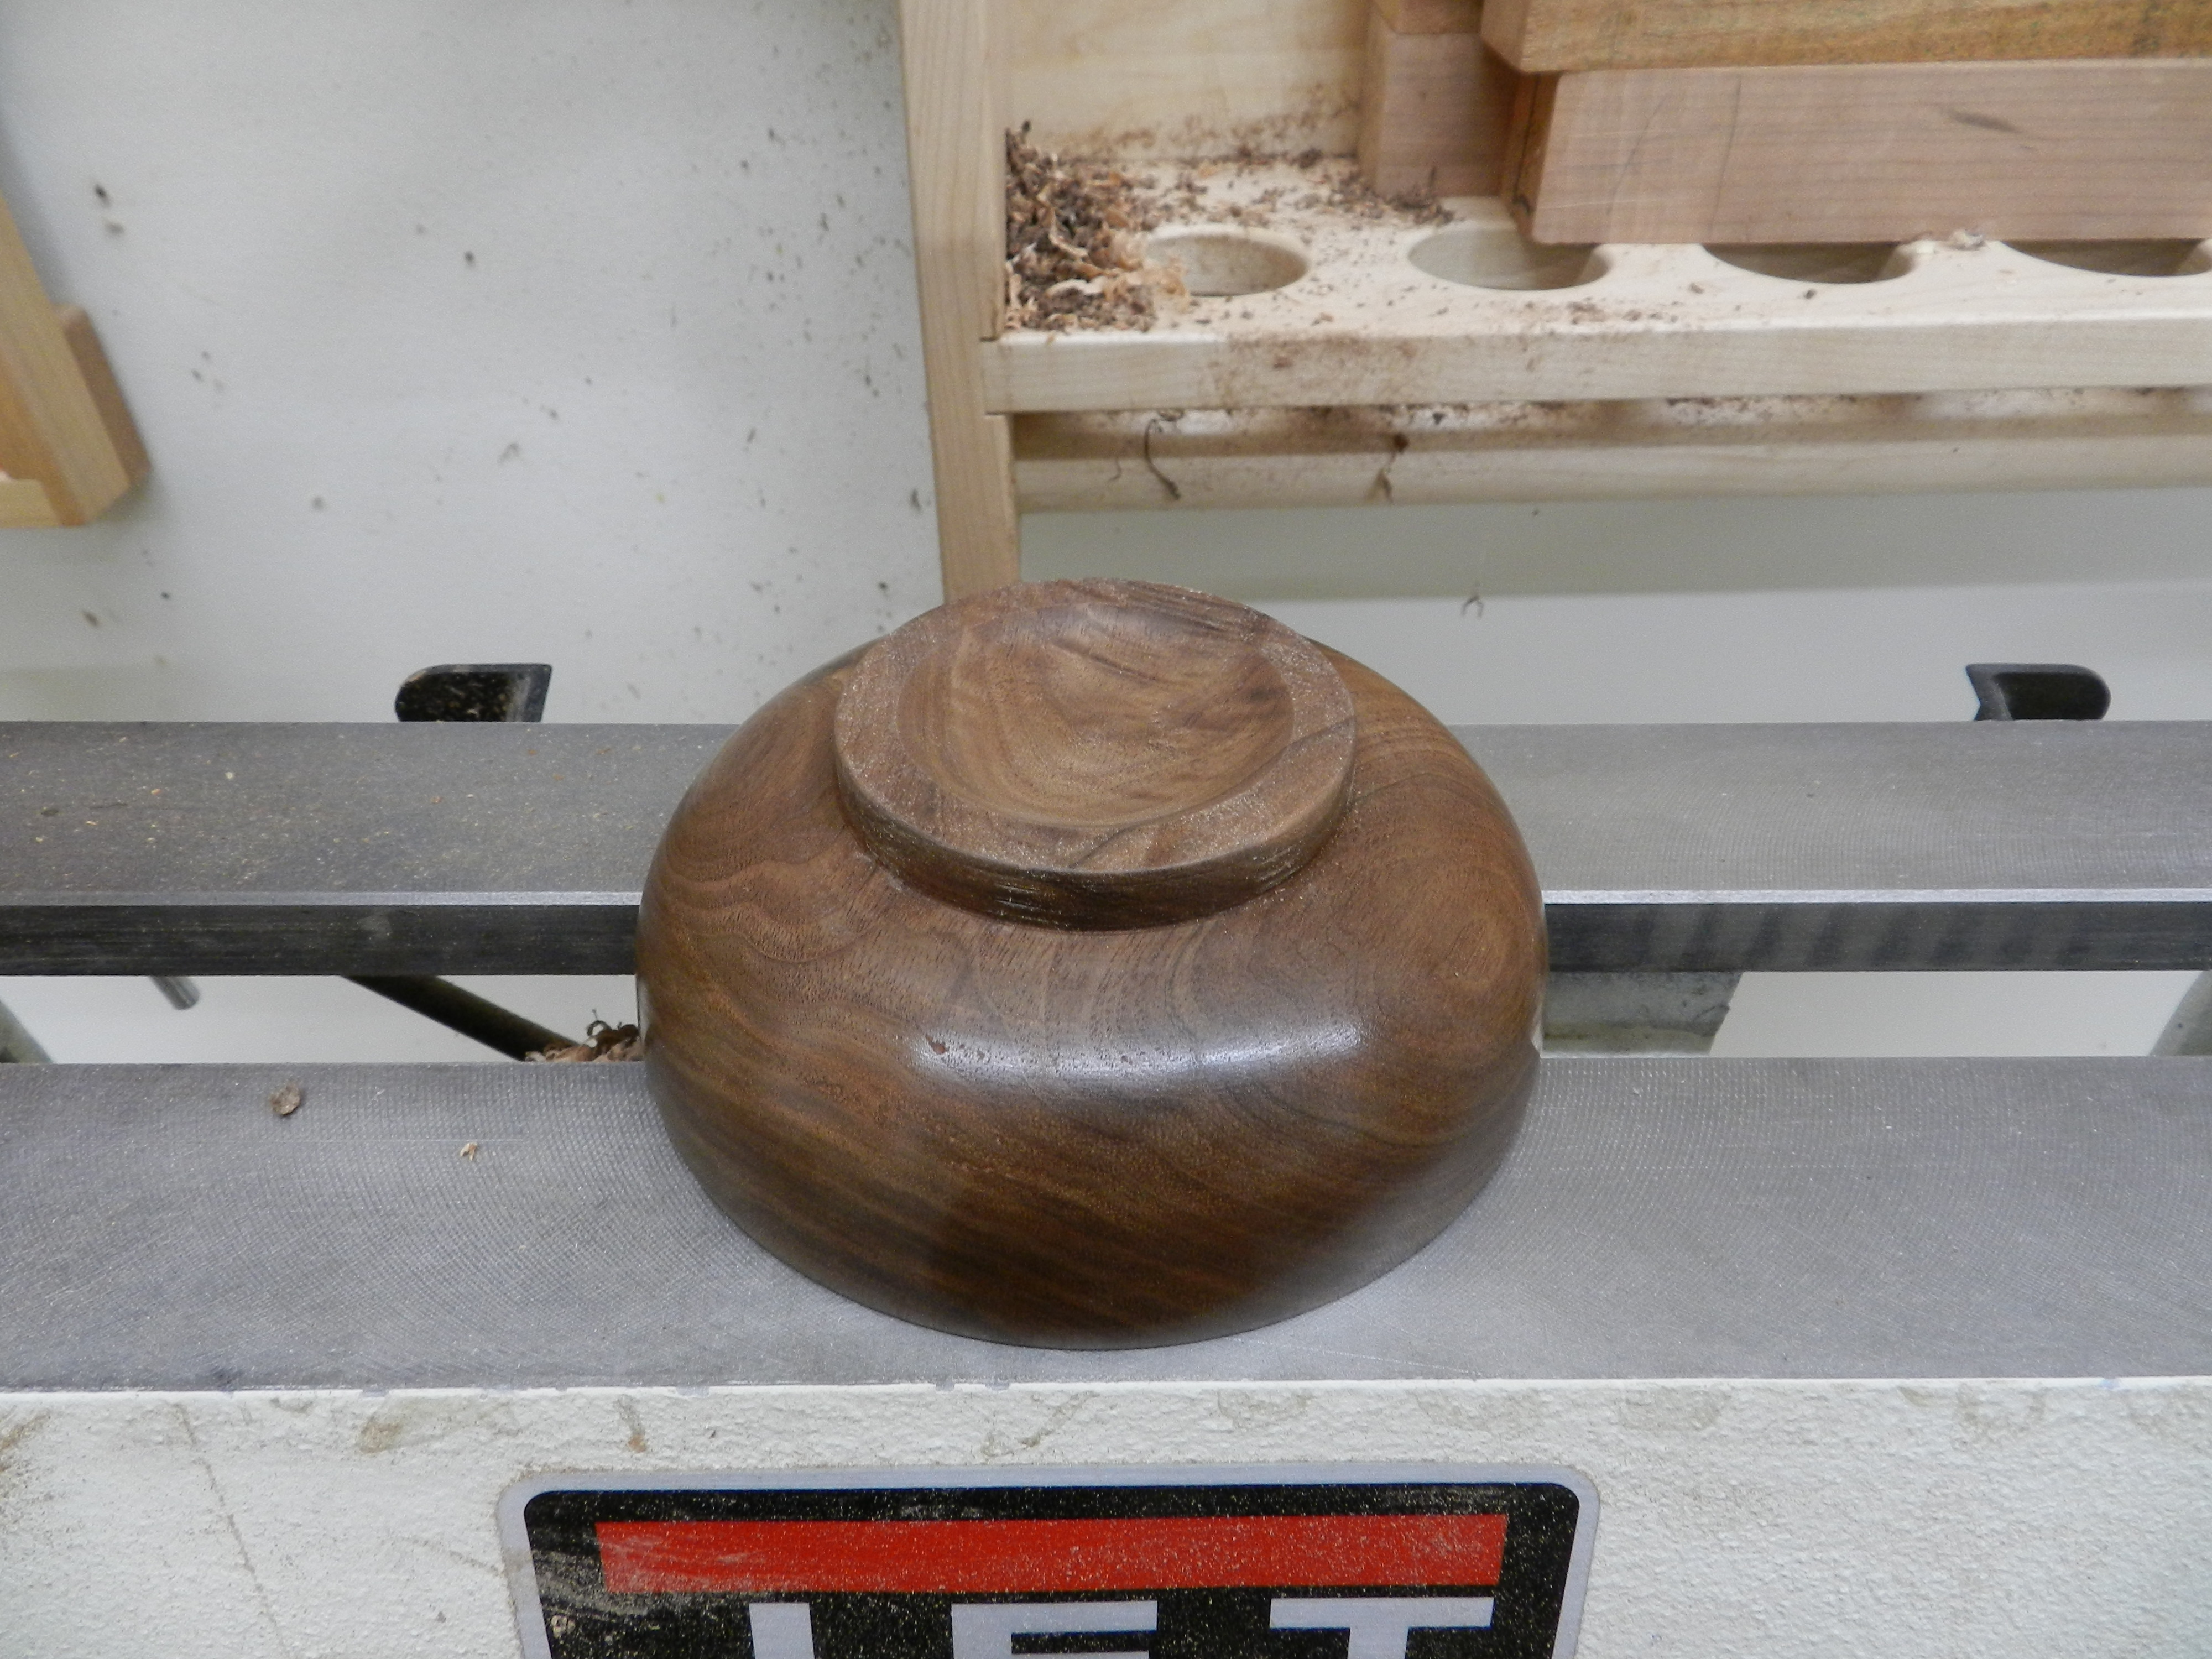
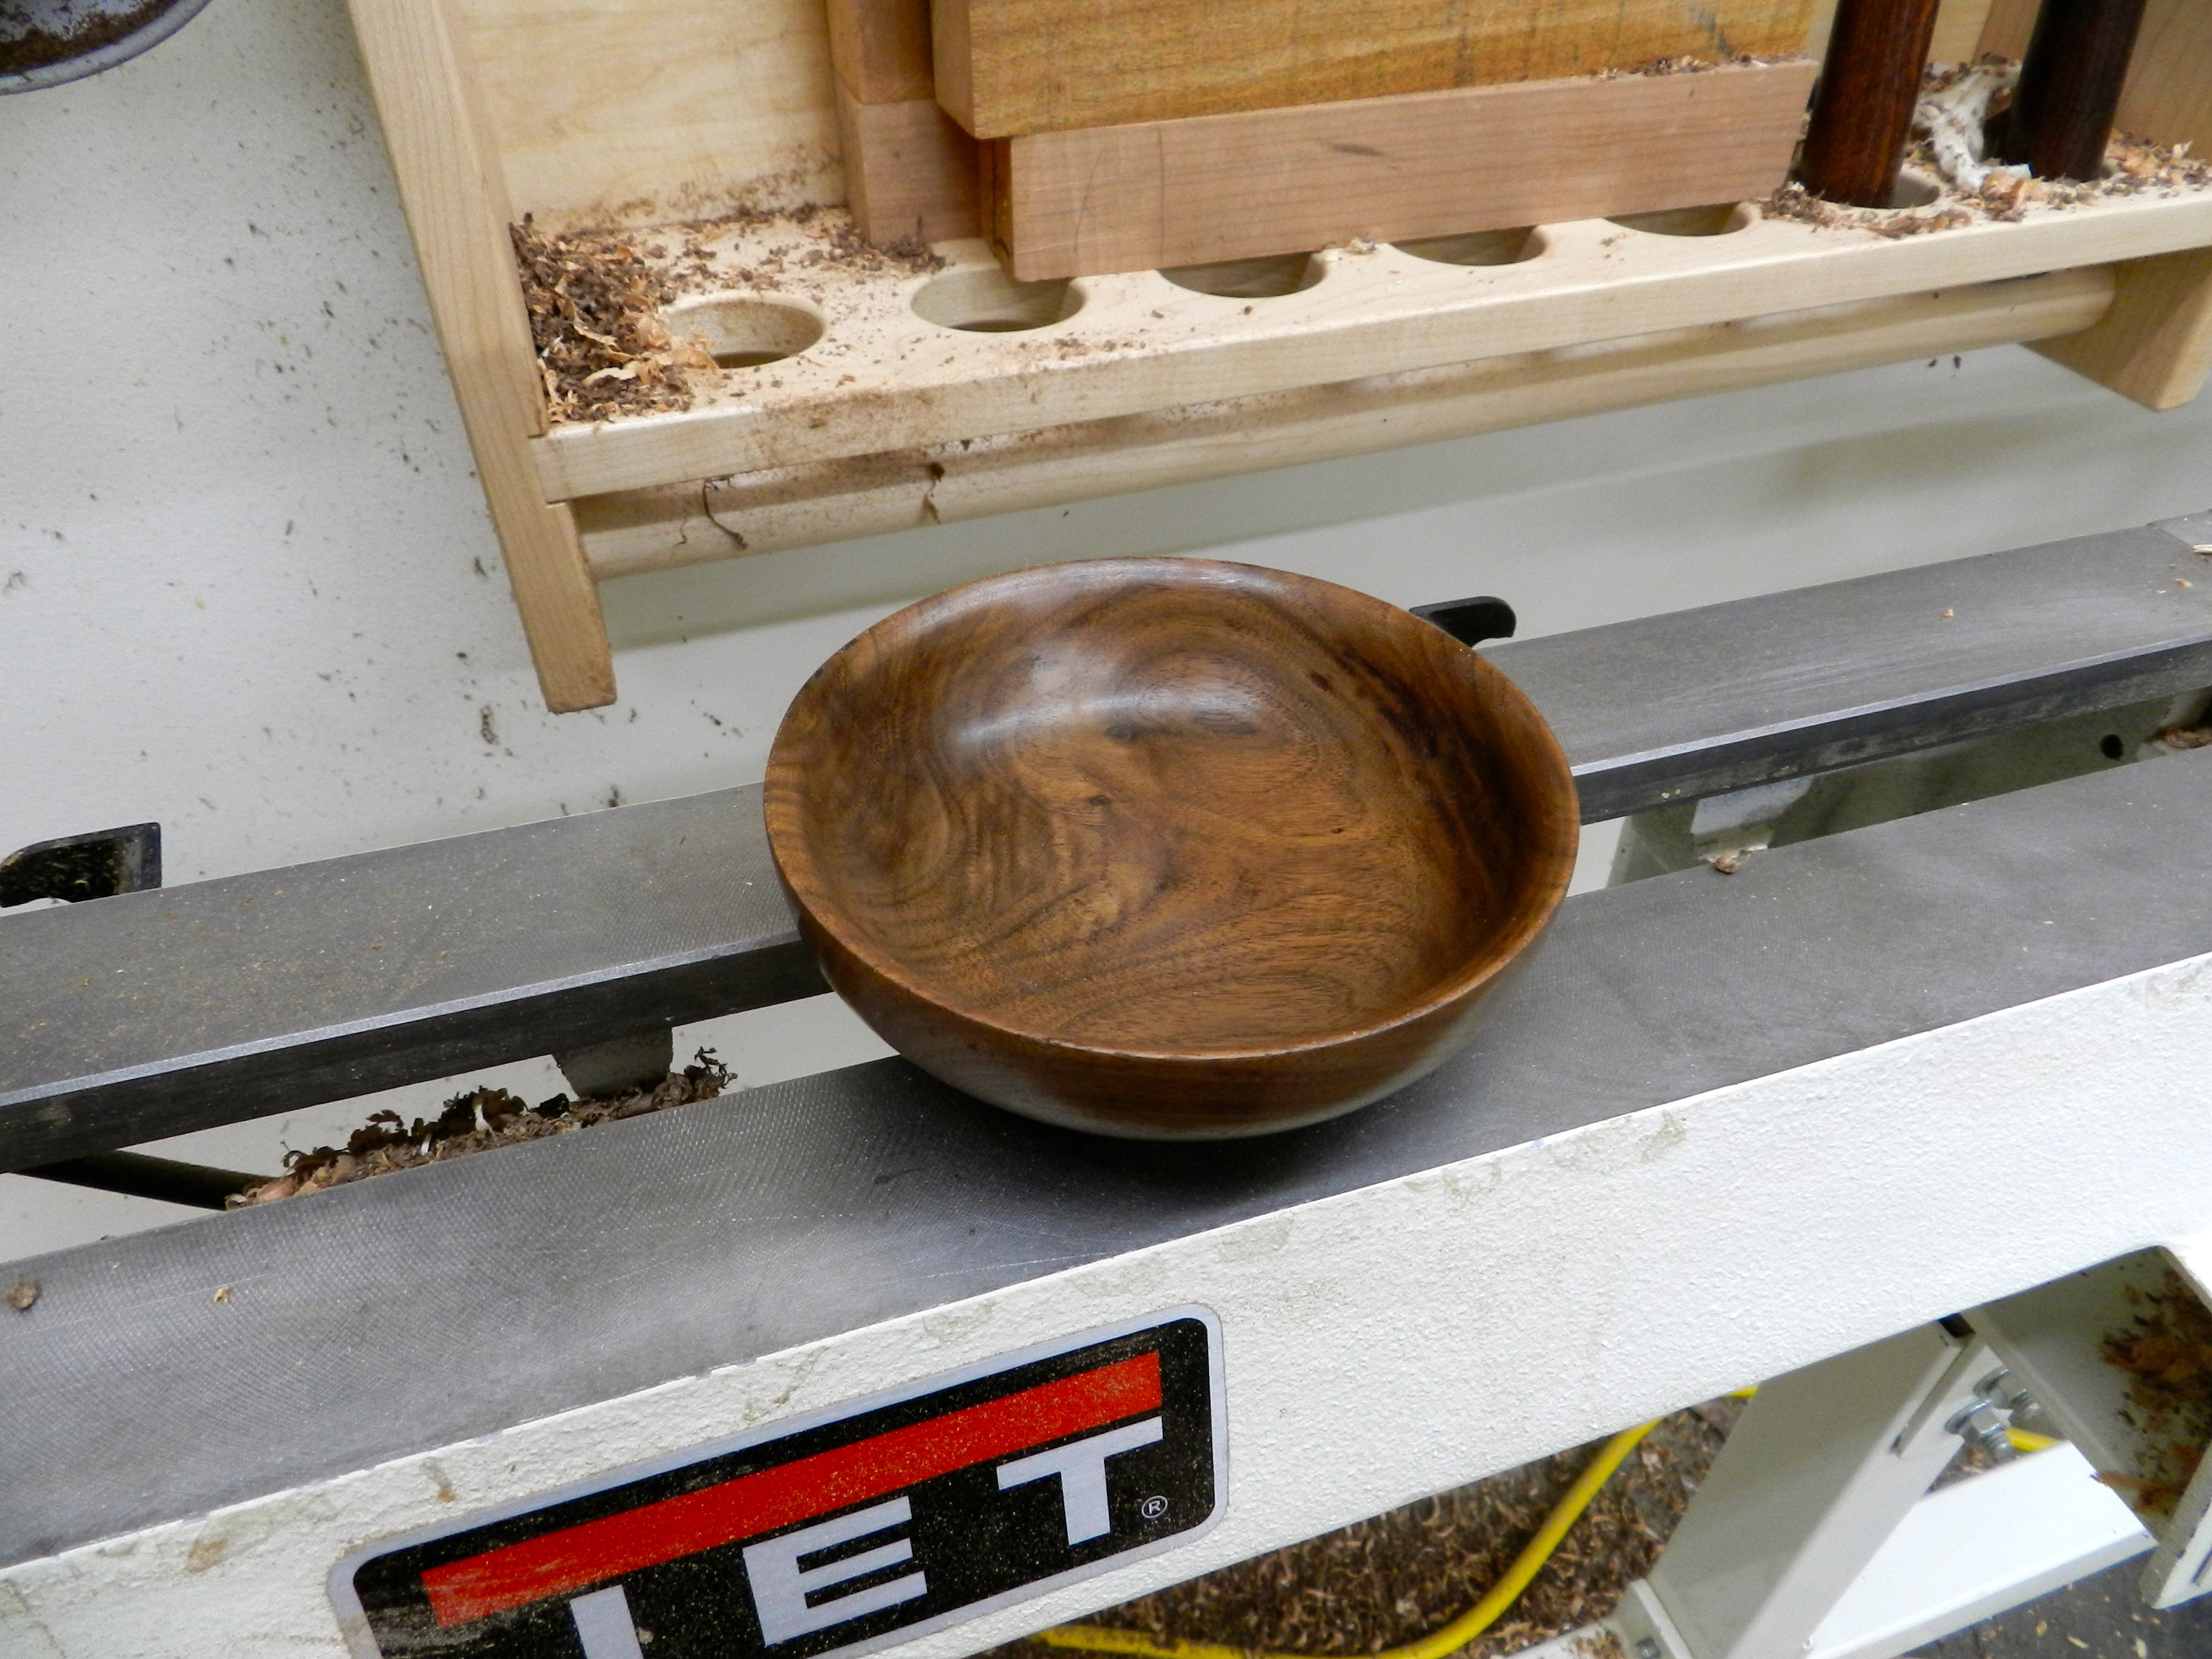
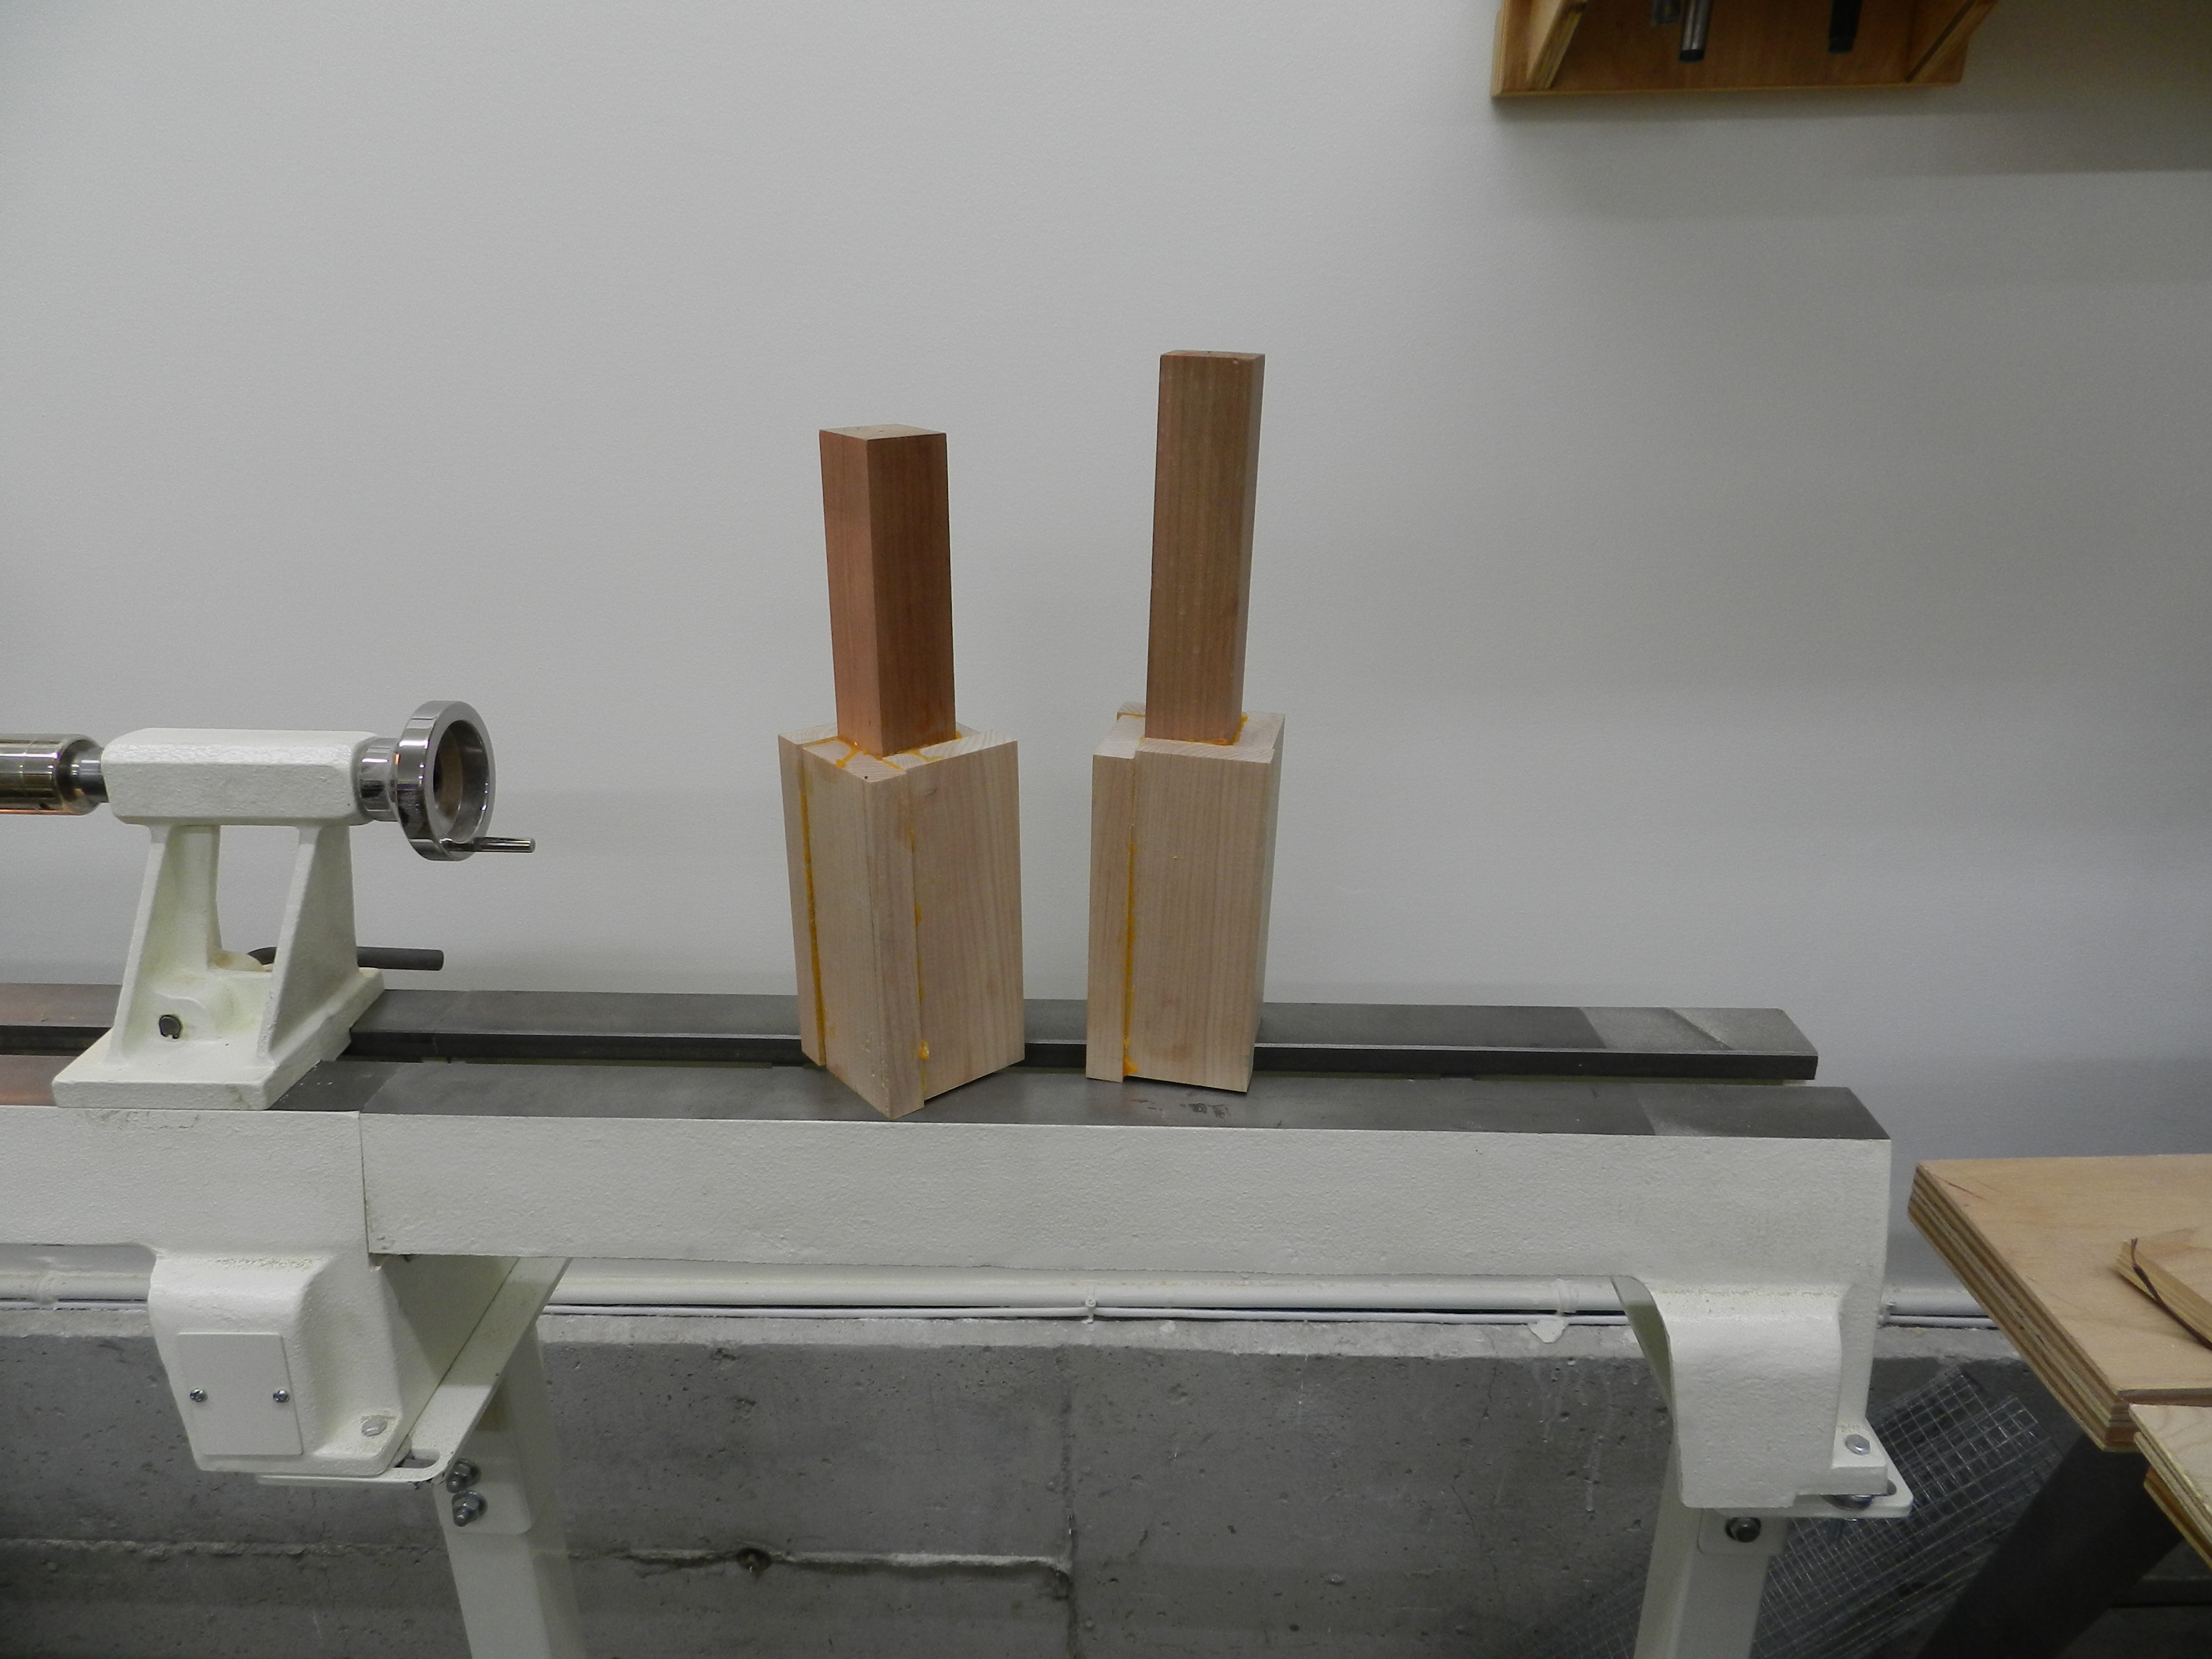
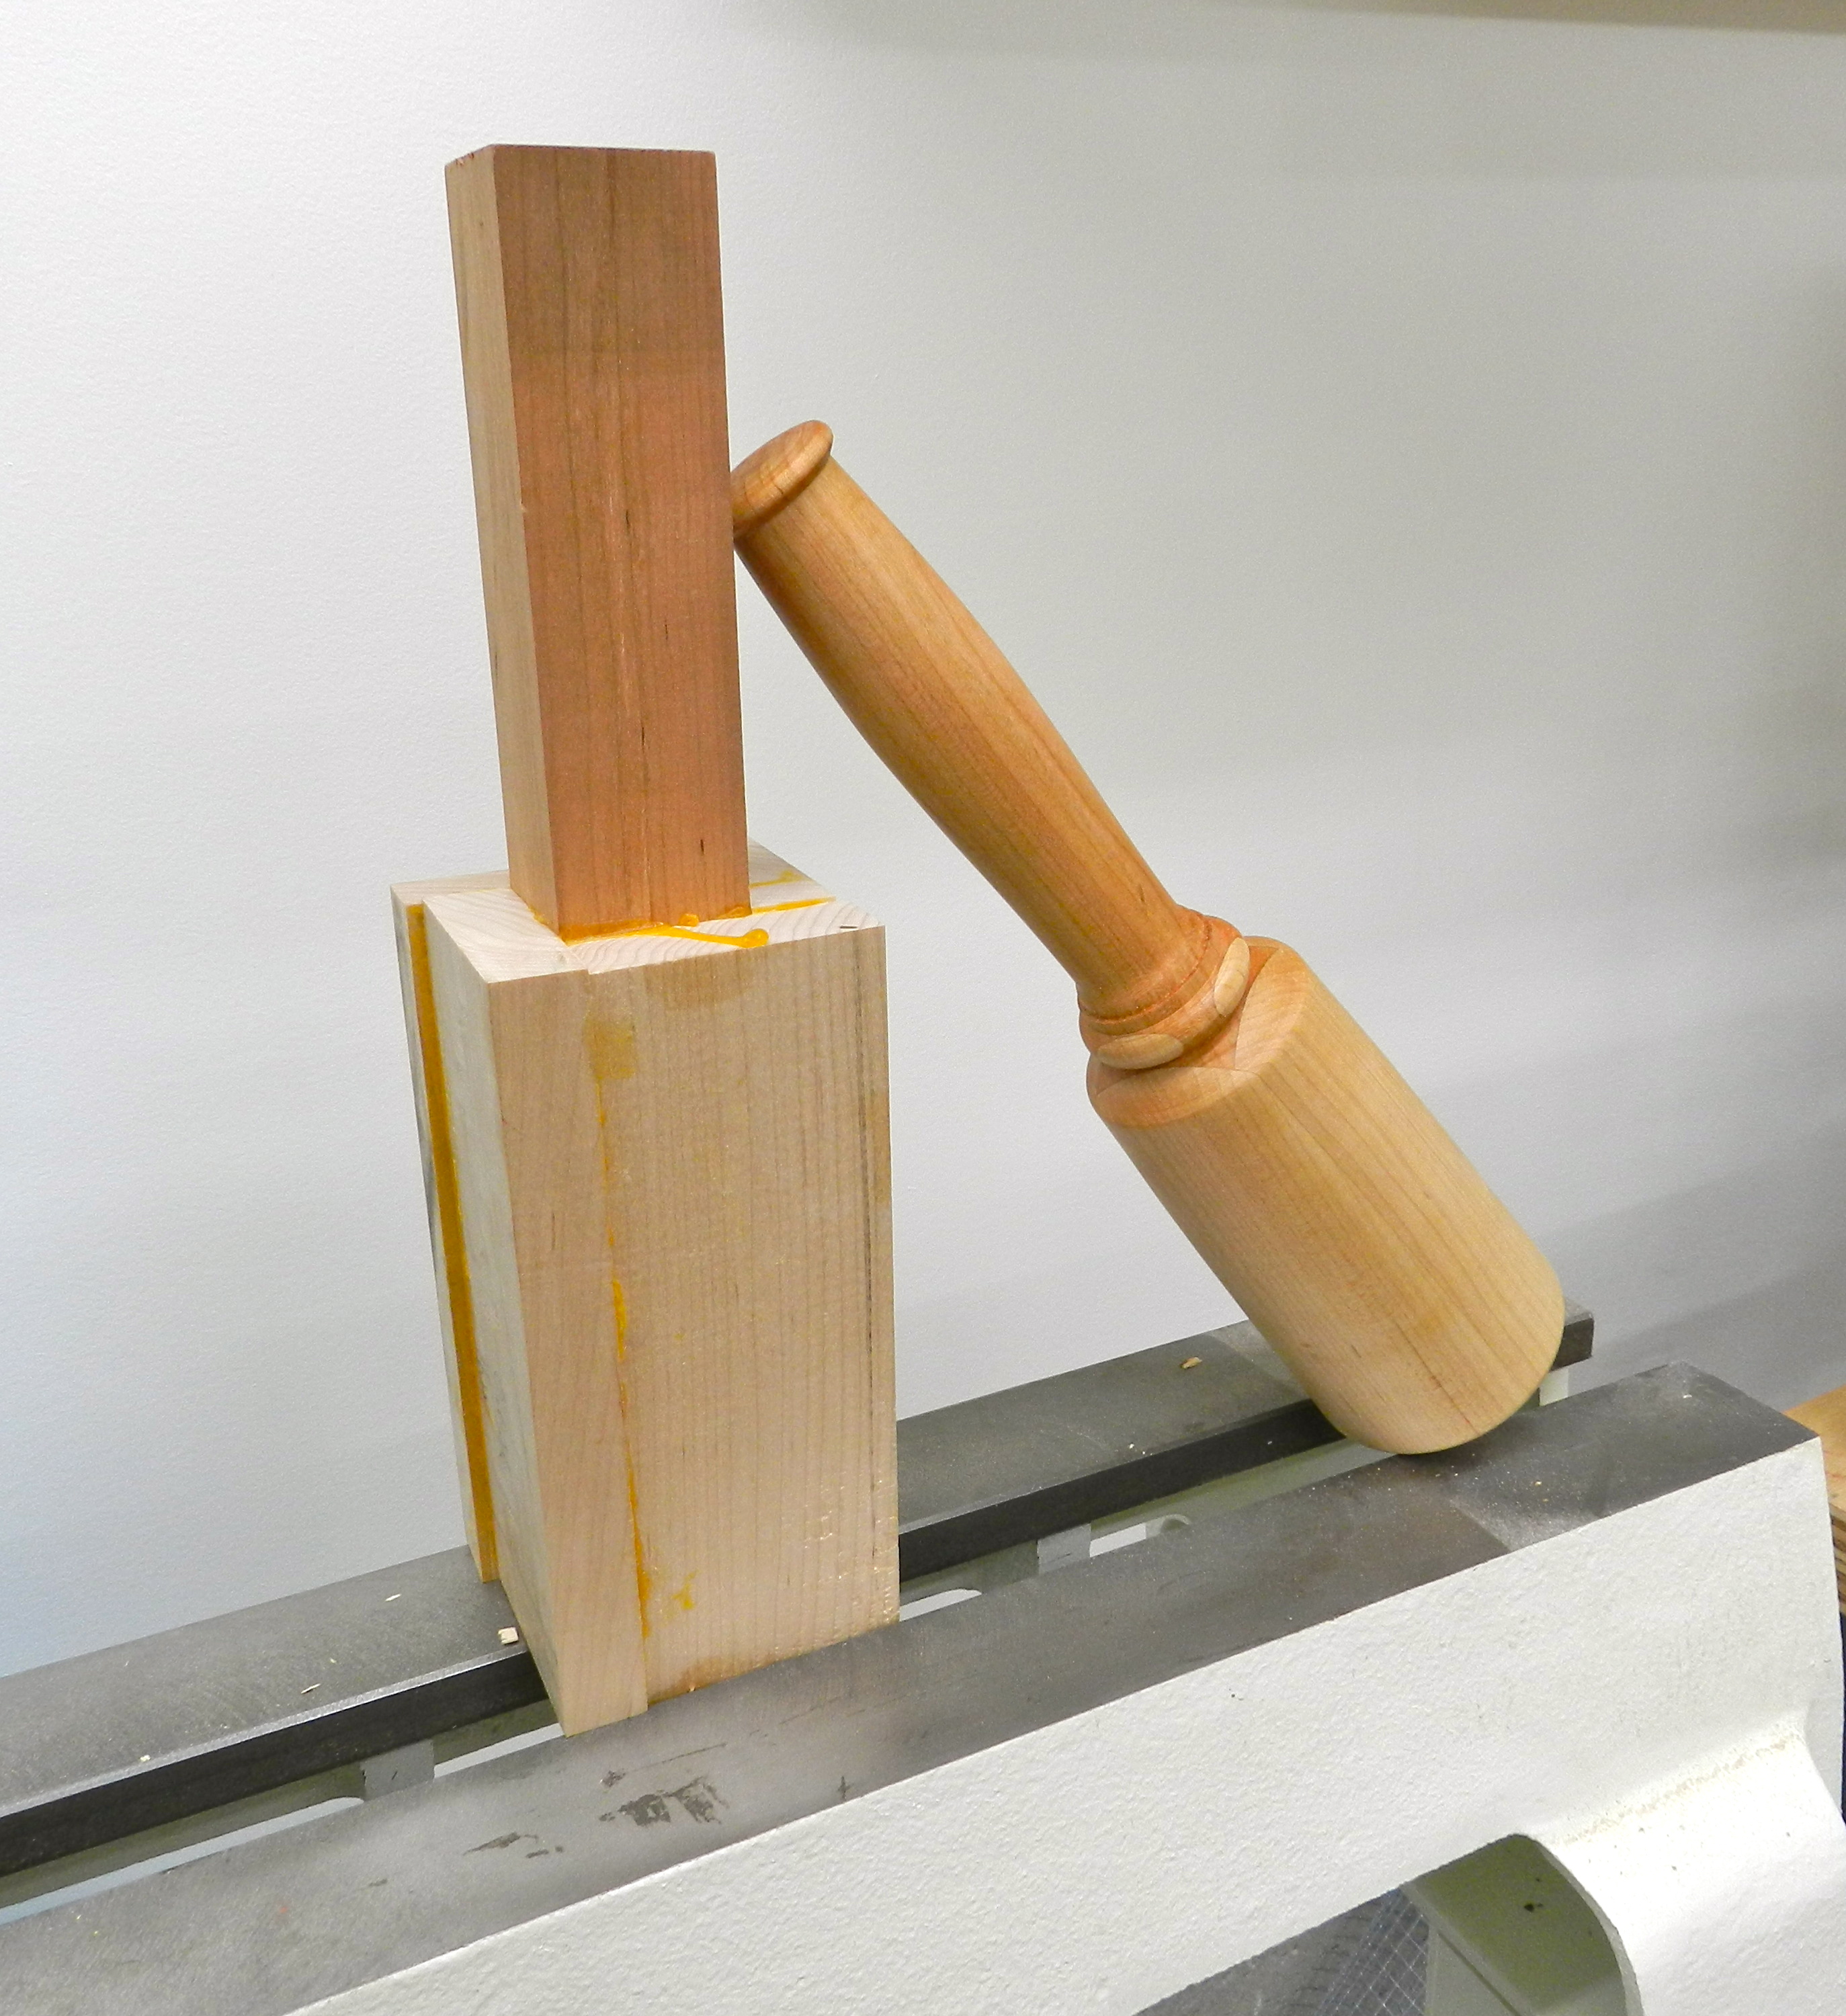
Working in the Round
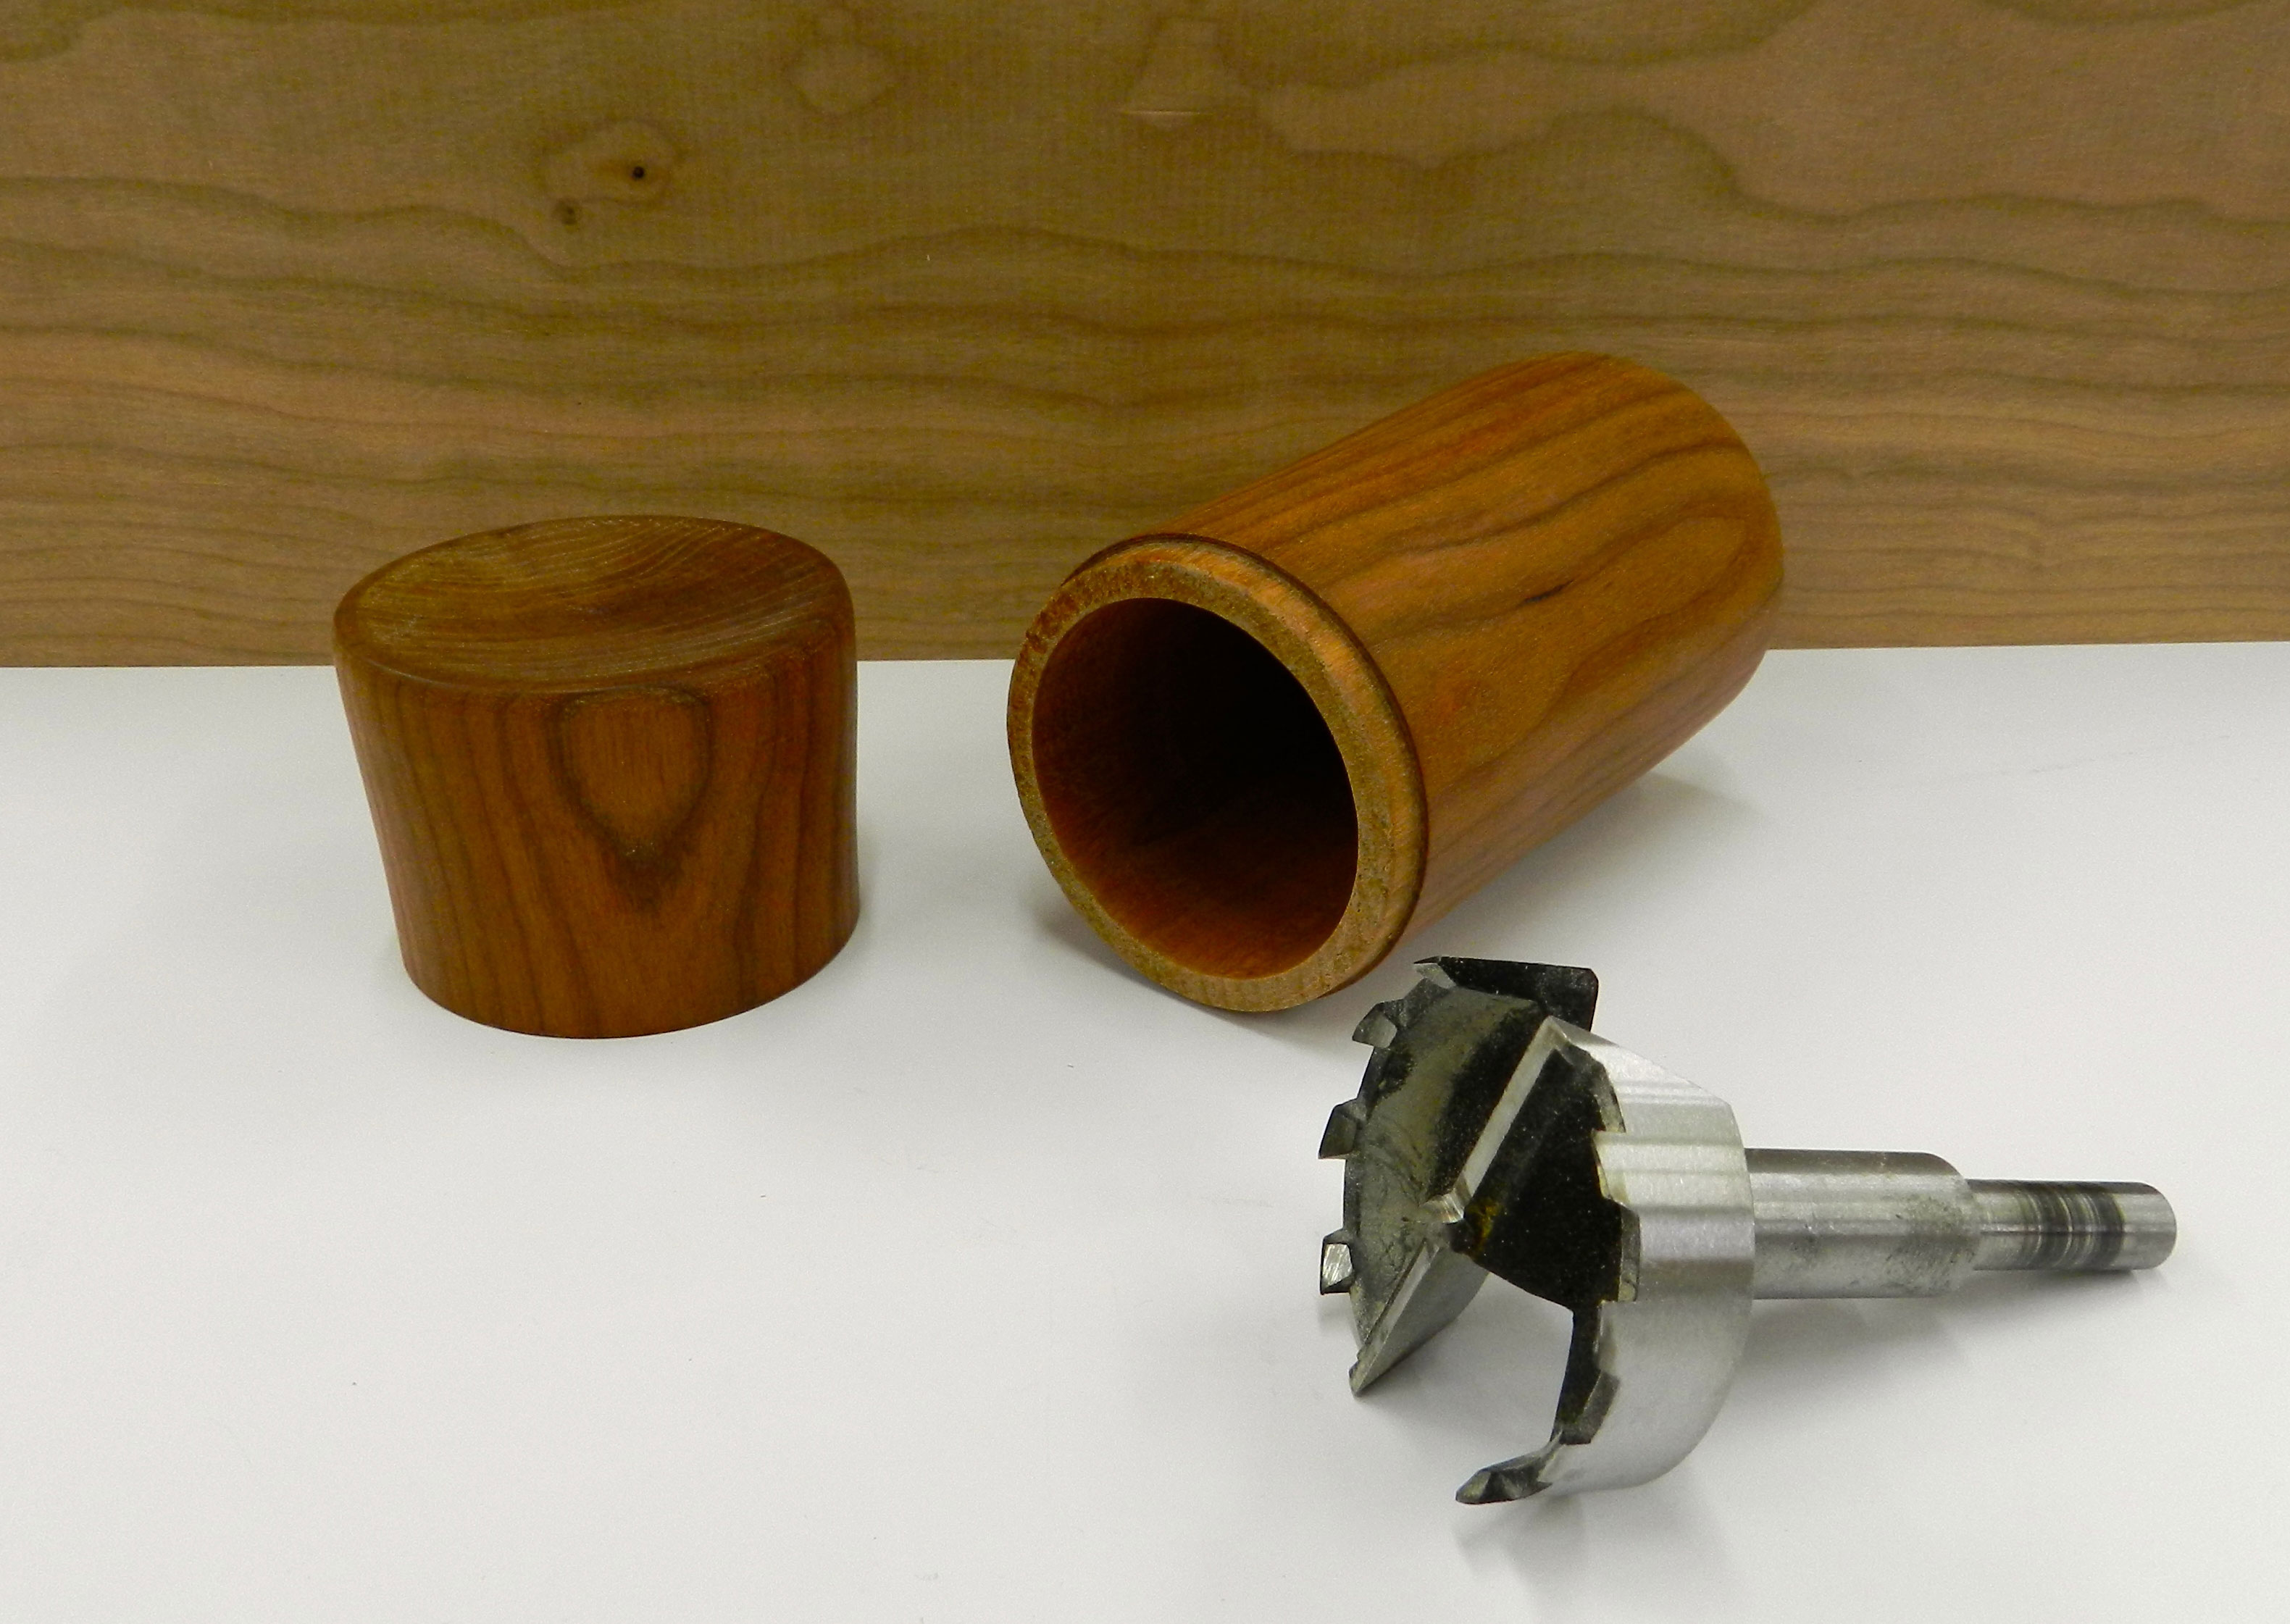
This turned cherry box is a great way to start turning round boxes. The hollowing is done via a large Forstner bit. You can learn more about how to do this here.
A Great Box to Have Dinner With
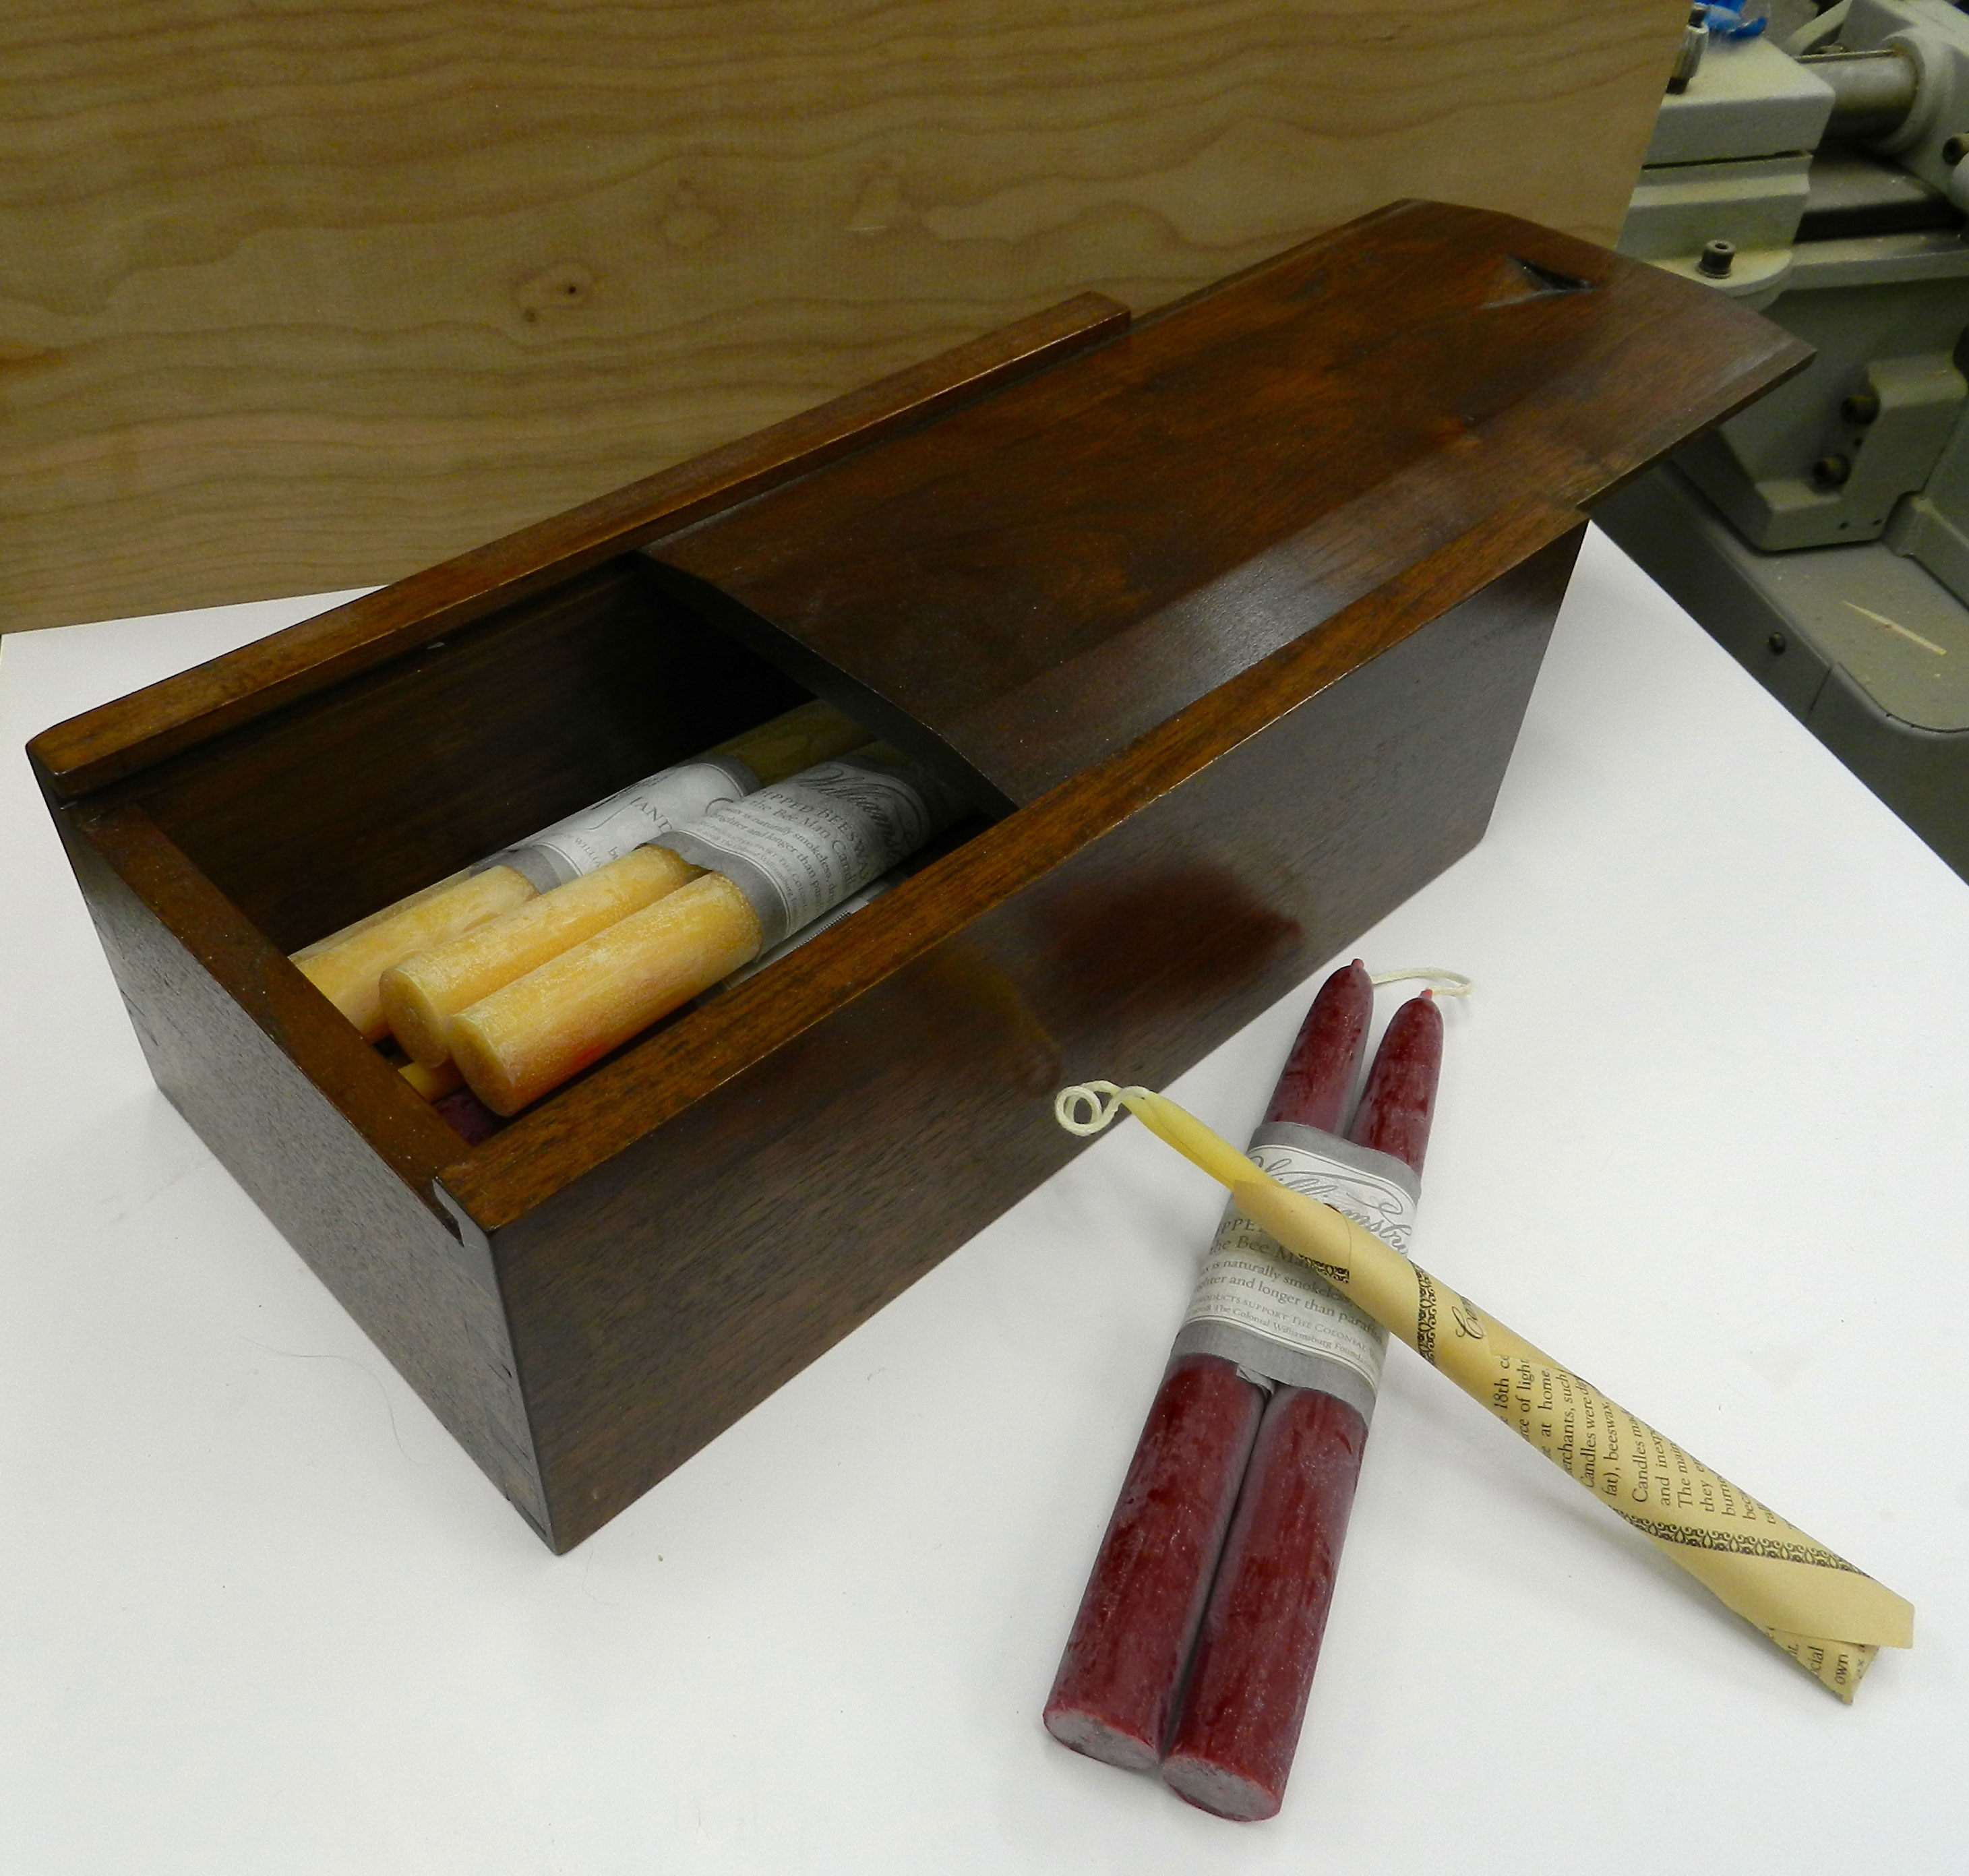
This walnut candle box was one of the first projects I built as a student at NBSS and we still use it today. I’ve seen similar boxes for sale at Colonial Williamsburg (Prentis Store) and various Shaker Villages, so even in our modern times there is apparently still some demand for candle boxes. Learn about some of the details you can apply to your own shop built version. You can read more about it here.
Take care,
-Bill