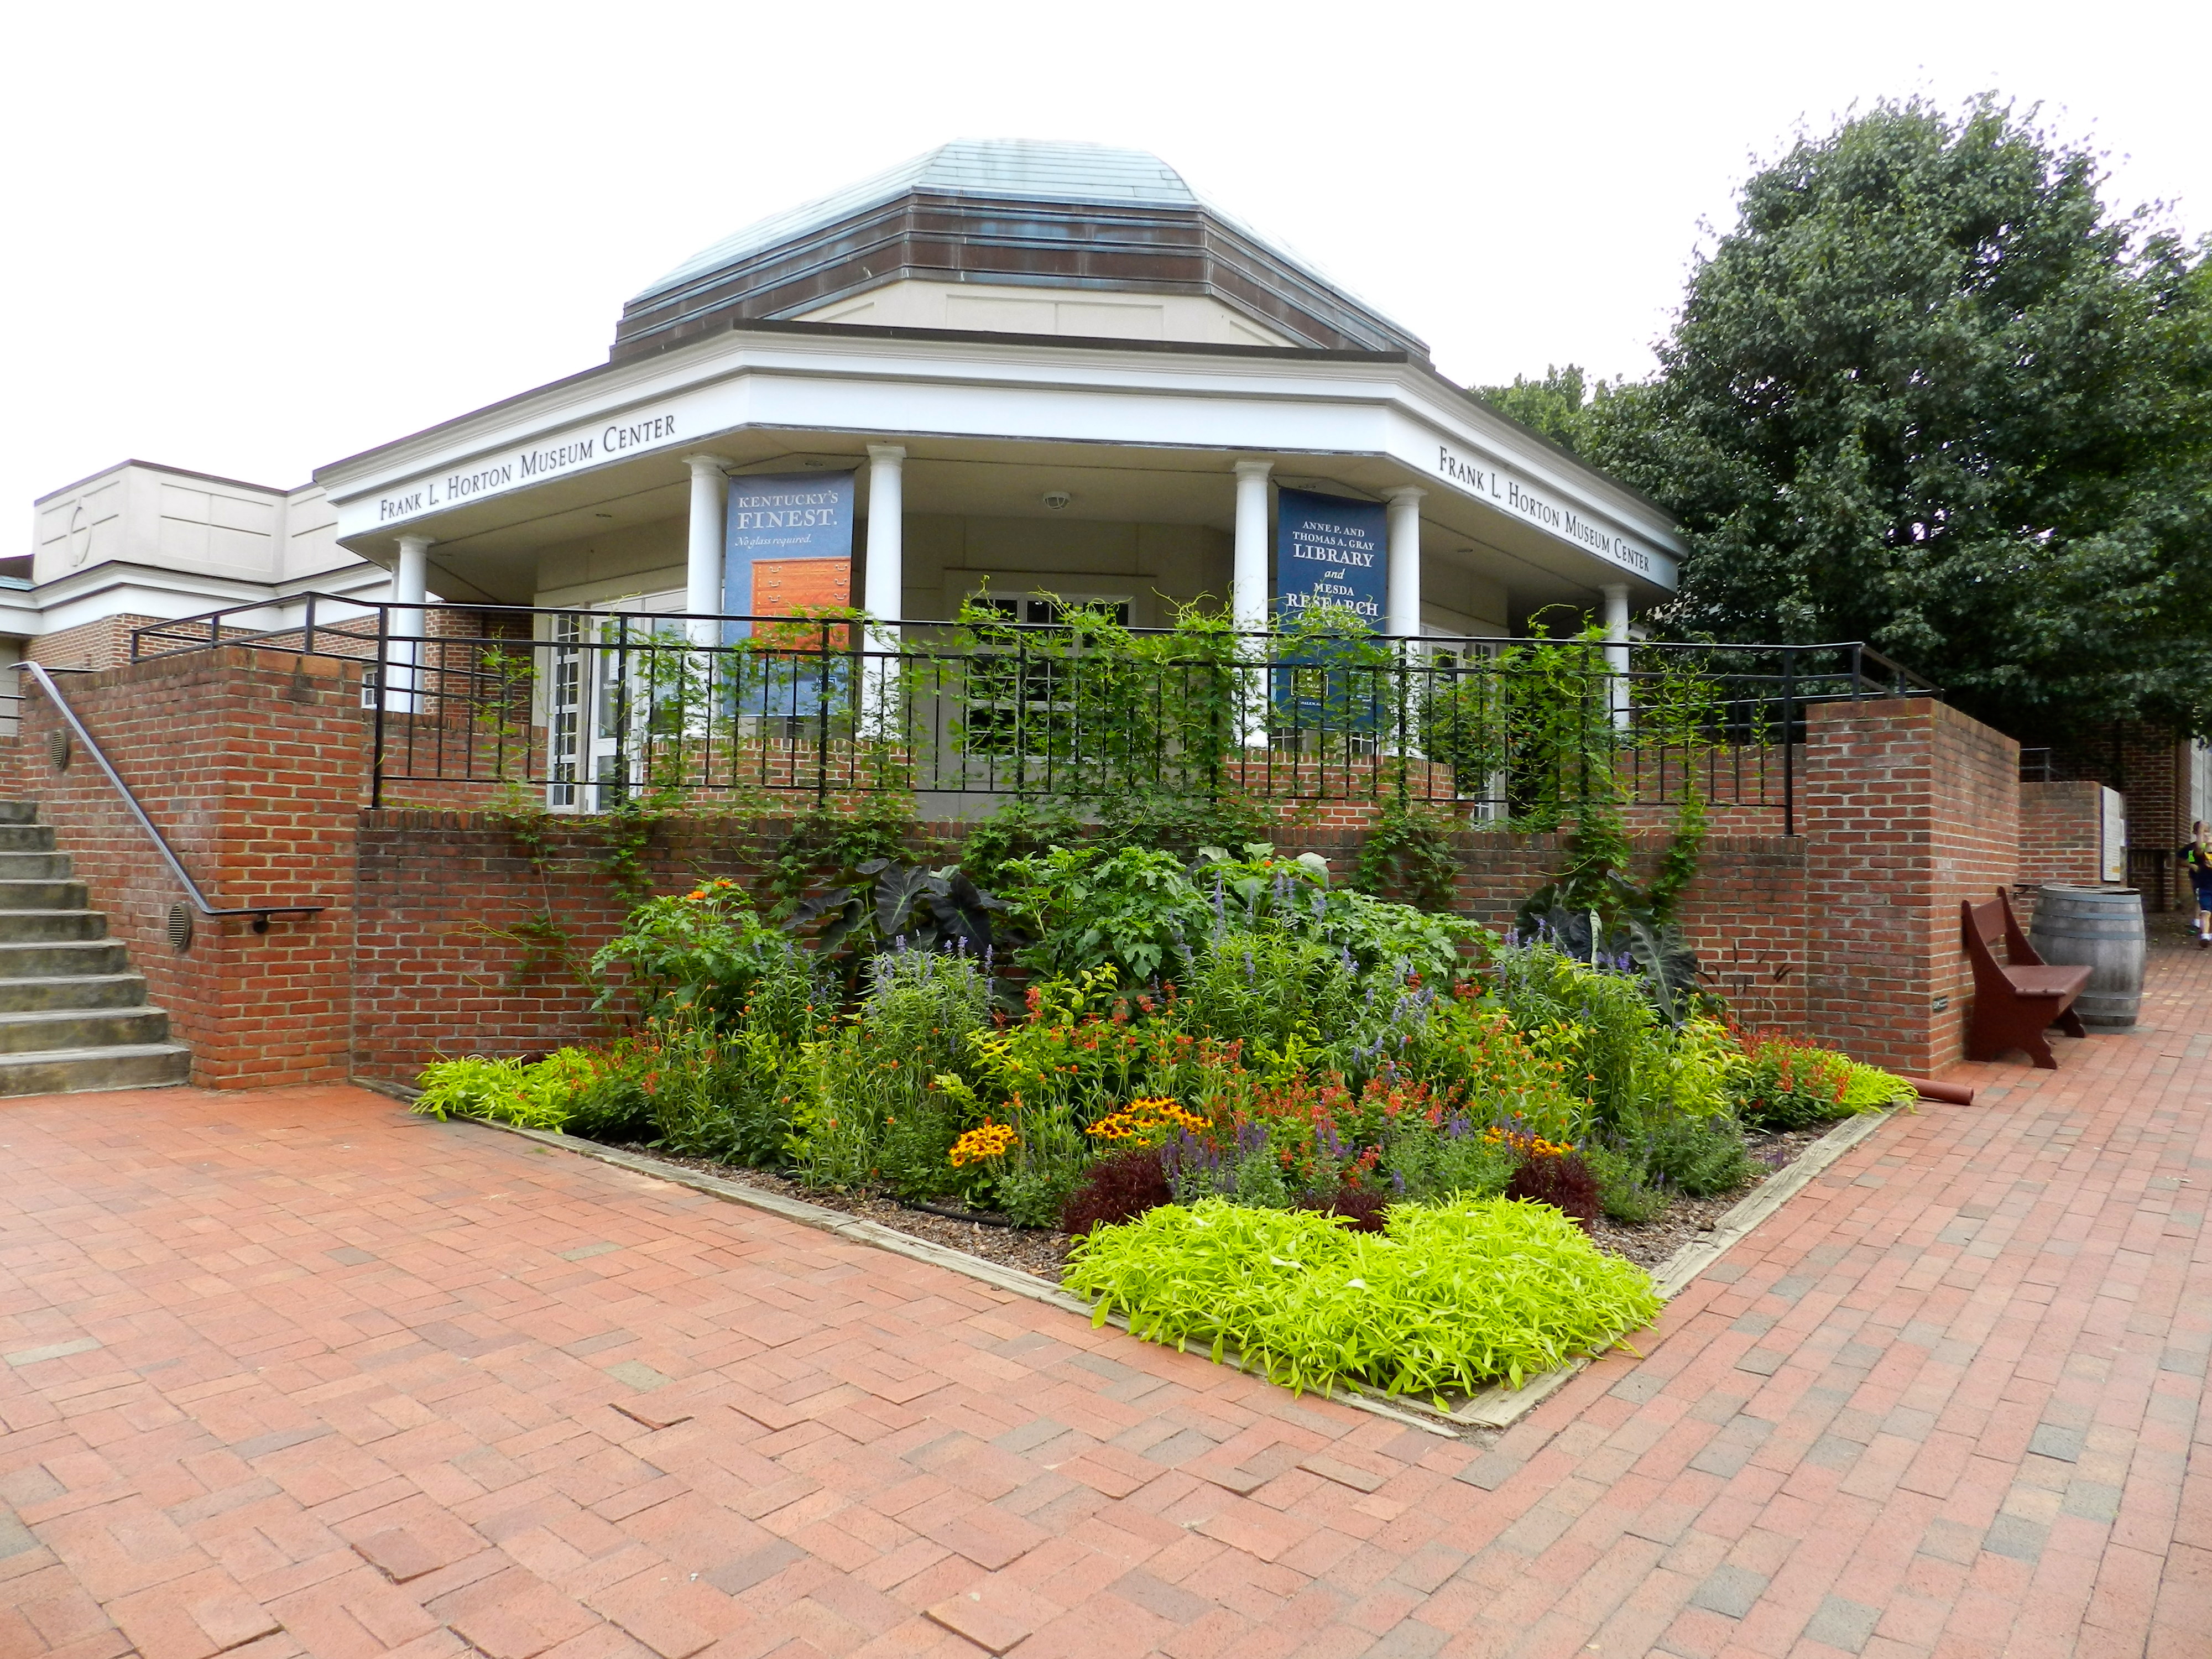
No visit to Old Salem Museums and Gardens would be complete without a visit to and guided tour of the Museum of Early Southern Decorative Arts (aka MESDA).
MESDA — The Museum of Early Southern Decorative Arts
Make sure to head over to the museum first and schedule a guided tour early — as they fill up fast. I learned about this museum from Glen Huey’s book ‘Furniture in the Southern Style’. Just as he said, the museum staff were extremely friendly and knowledgeable. After my tour and talking to the guides, I was invited back to see some of the other rooms. I had a great time and made some new friends.
As someone who grew up in the Northeast and New England it was great to see some more of the vernacular pieces from the South and be able to compare and contrast the details with those of my own work. I hope to tackle some Southern style pieces soon. The museum also has a great research library and a staff who enjoy sharing what they know — I look forward to doing some research there in the future.
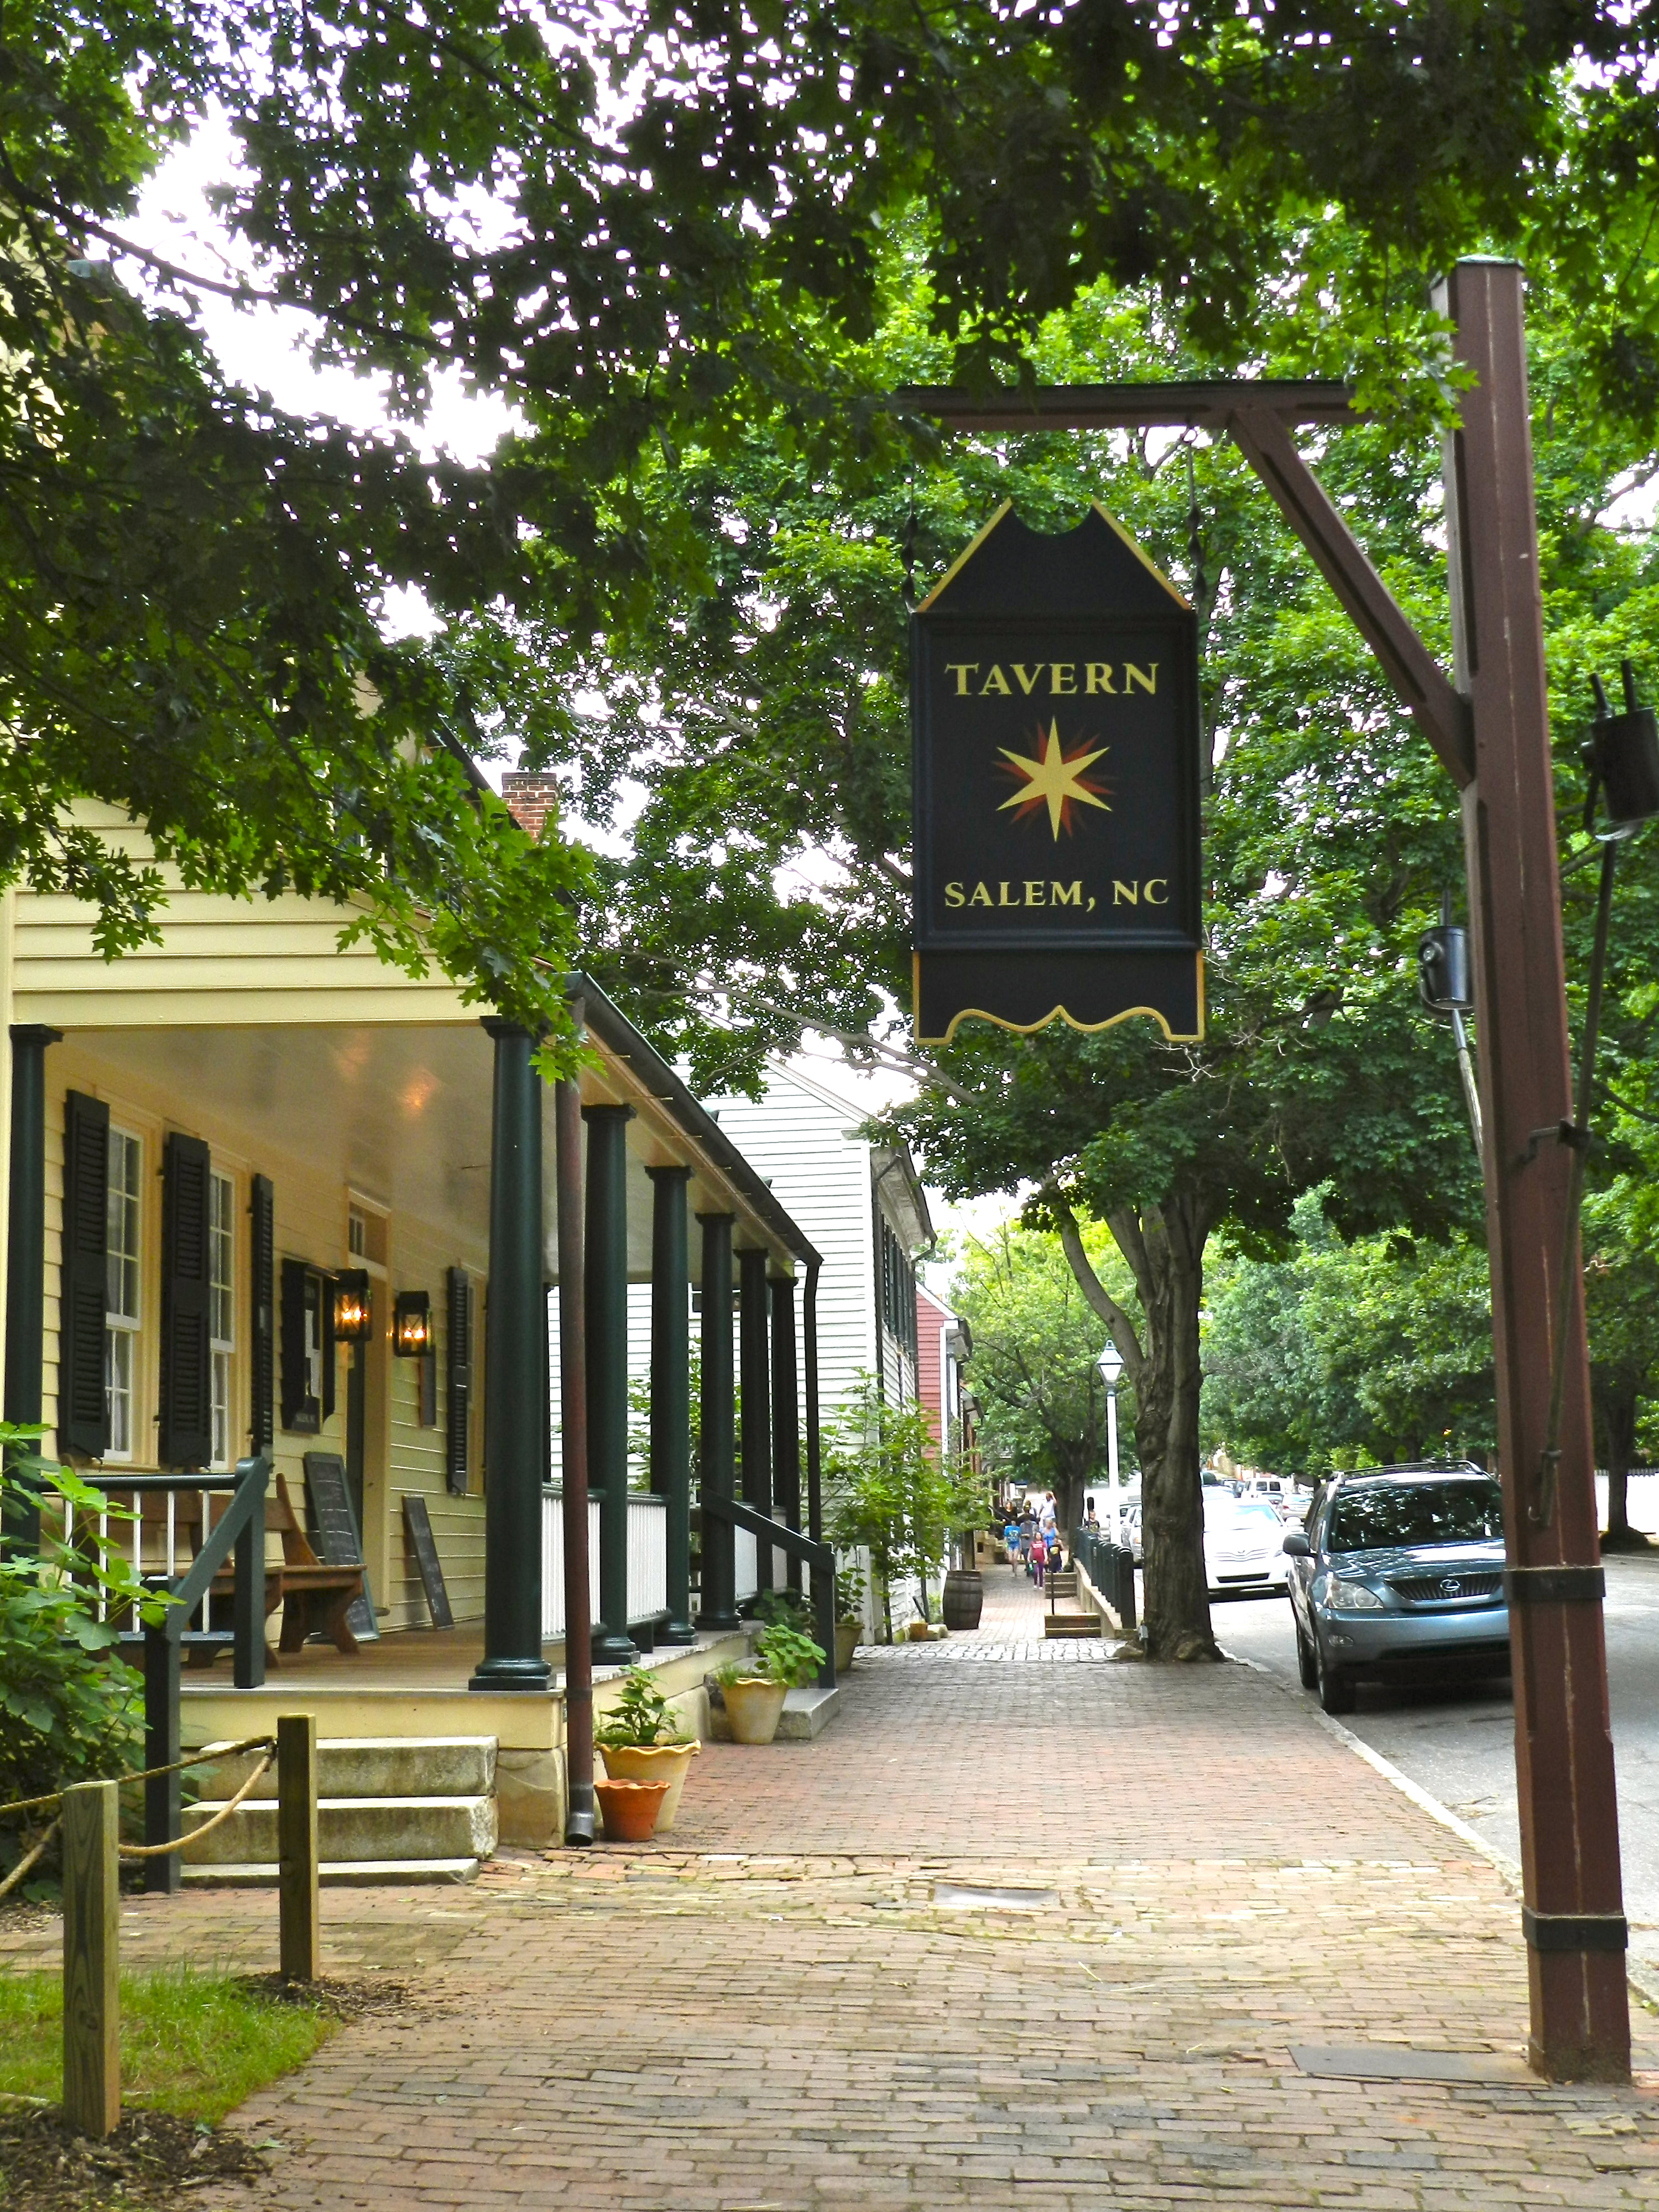
The Tavern at Old Salem
When lunch time came around we headed over to the Tavern at Old Salem. They had a newly revamped menu which included a lot of southern favorites and fresh local produce. I had a great pulled pork sandwich and warm German Potato salad — the best I ever had that was not made by family. I come from a long line of German ancestors, some of which were brewers, so much like the woodworking gene, I’m pretty sure a lot more things are hereditary. Love of beer, bratwurst, bacon, expressed construction in woodworking etc. I also think that German language has a nice sound to it — so that one must be subconscious as at a conscious level I don’t get it….
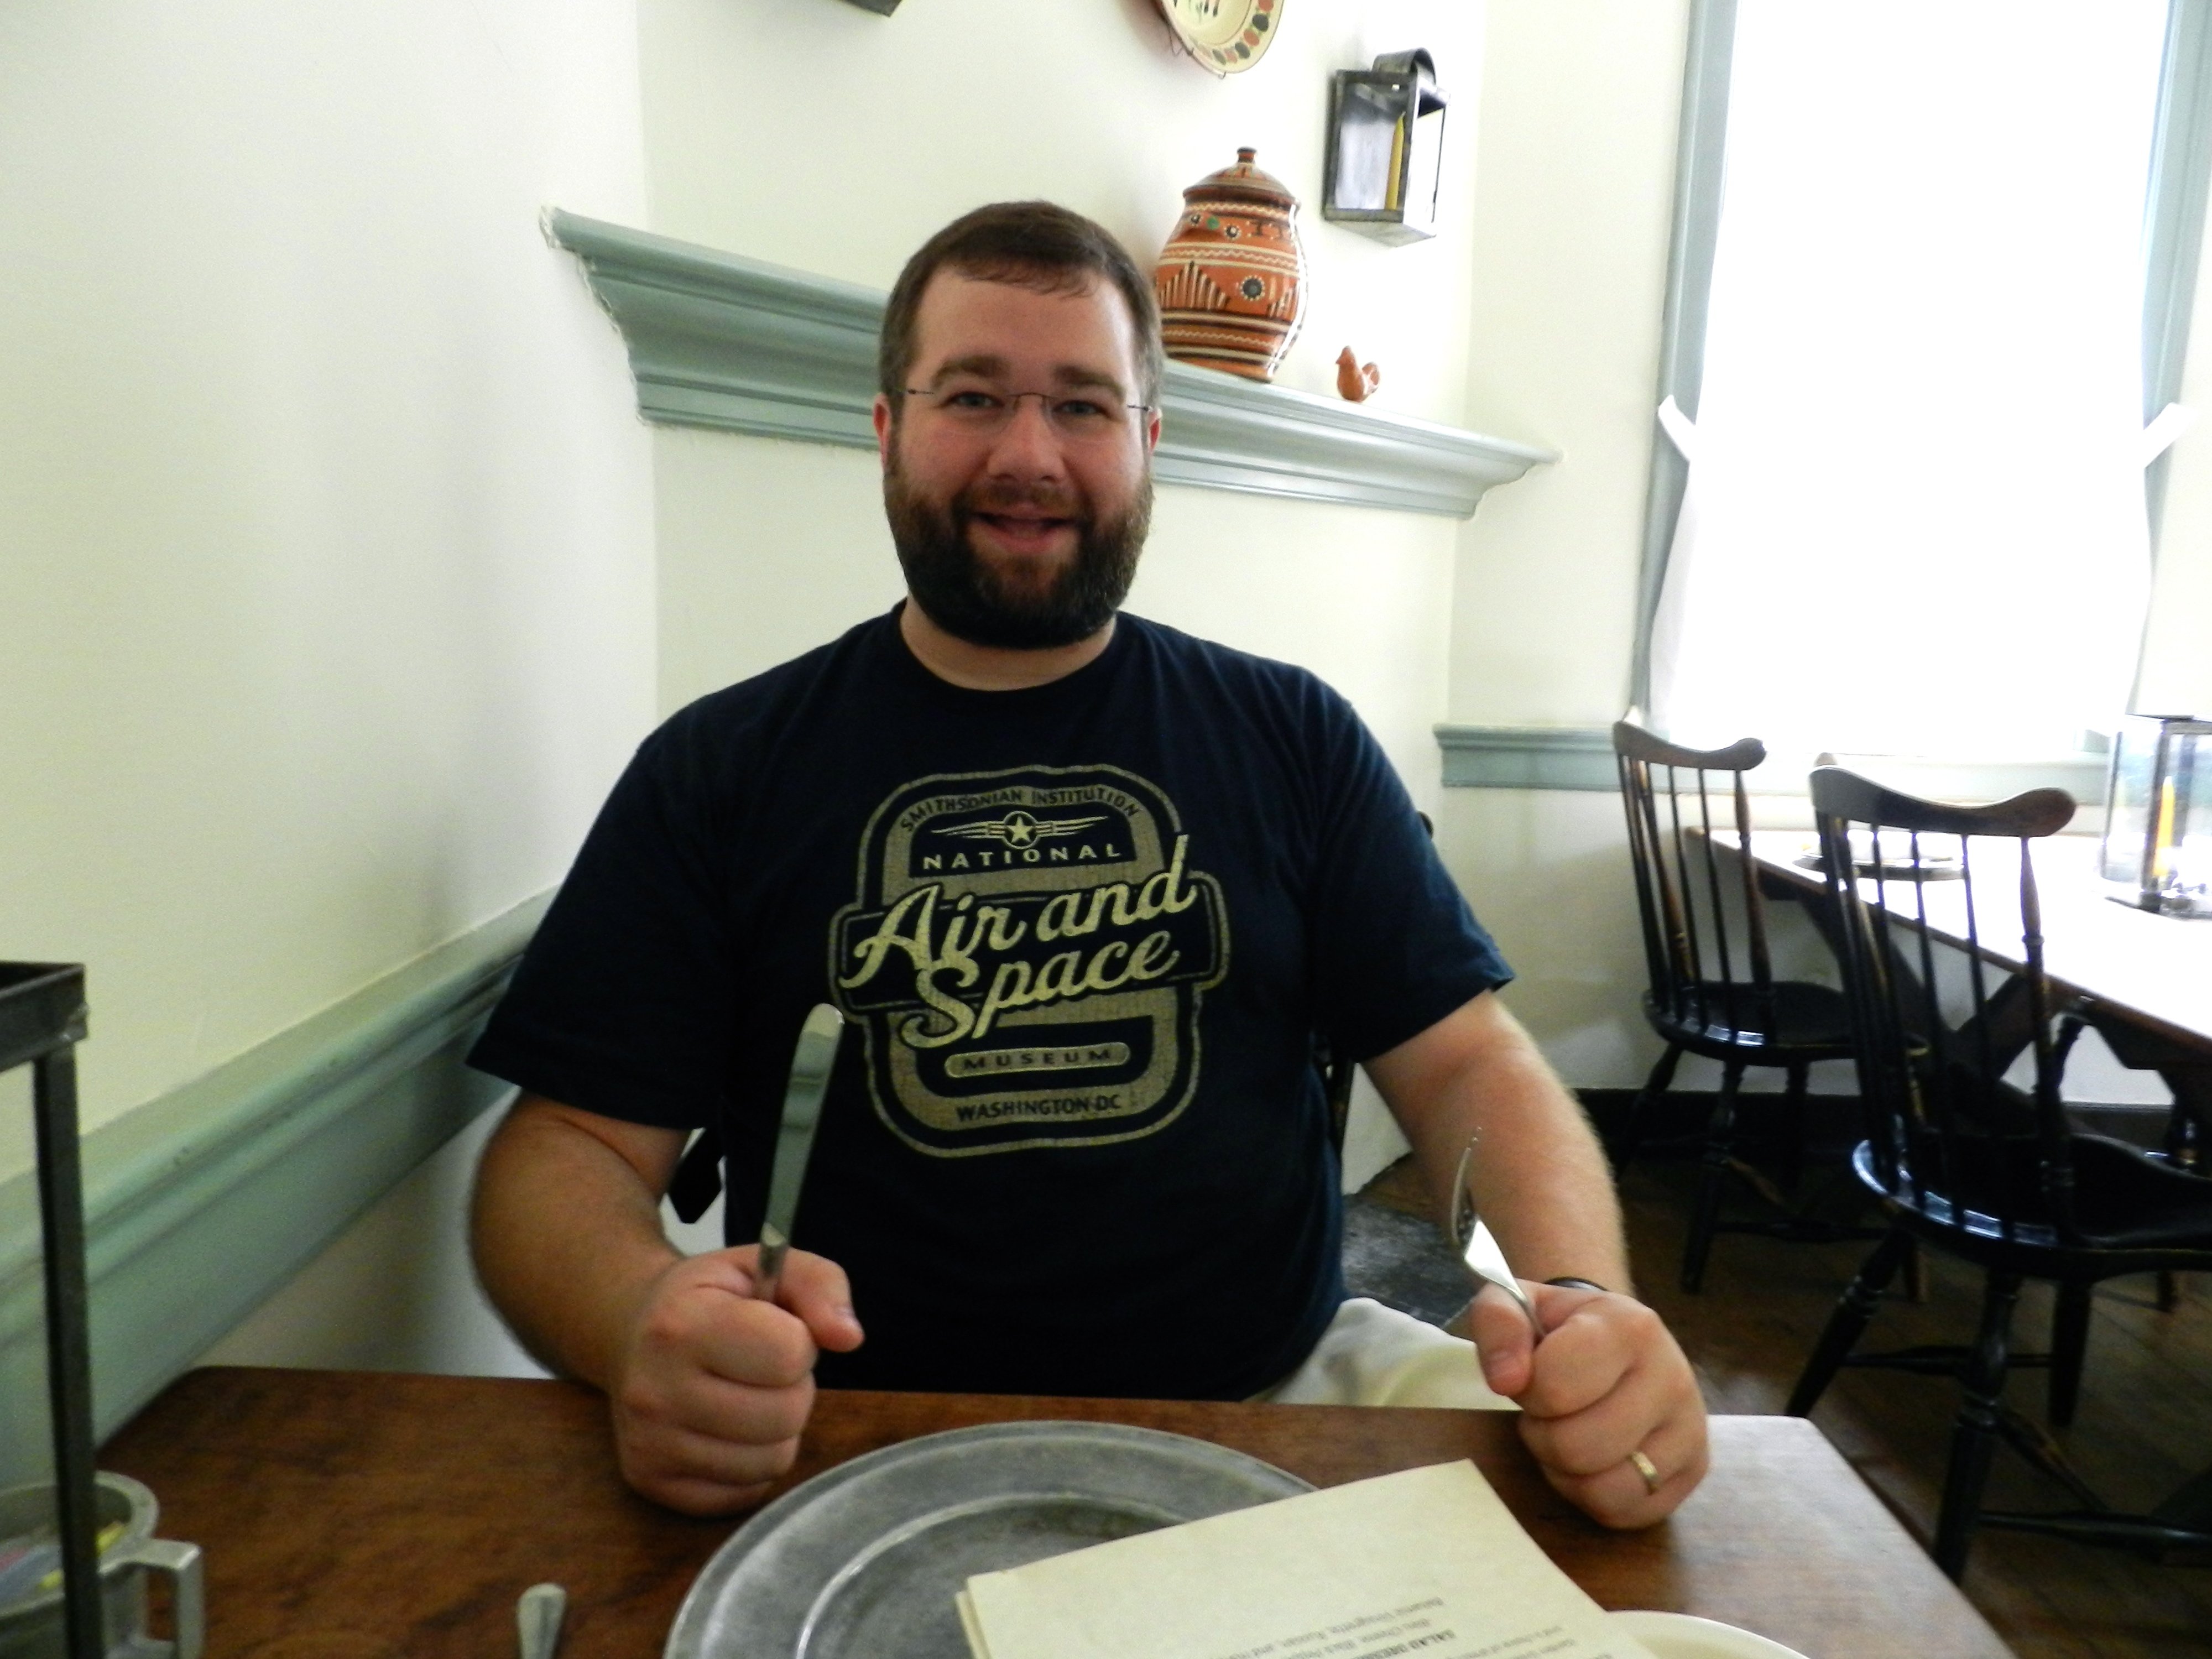
Ready to eat at the Tavern at Old Salem. (I had a great pulled pork sandwich)
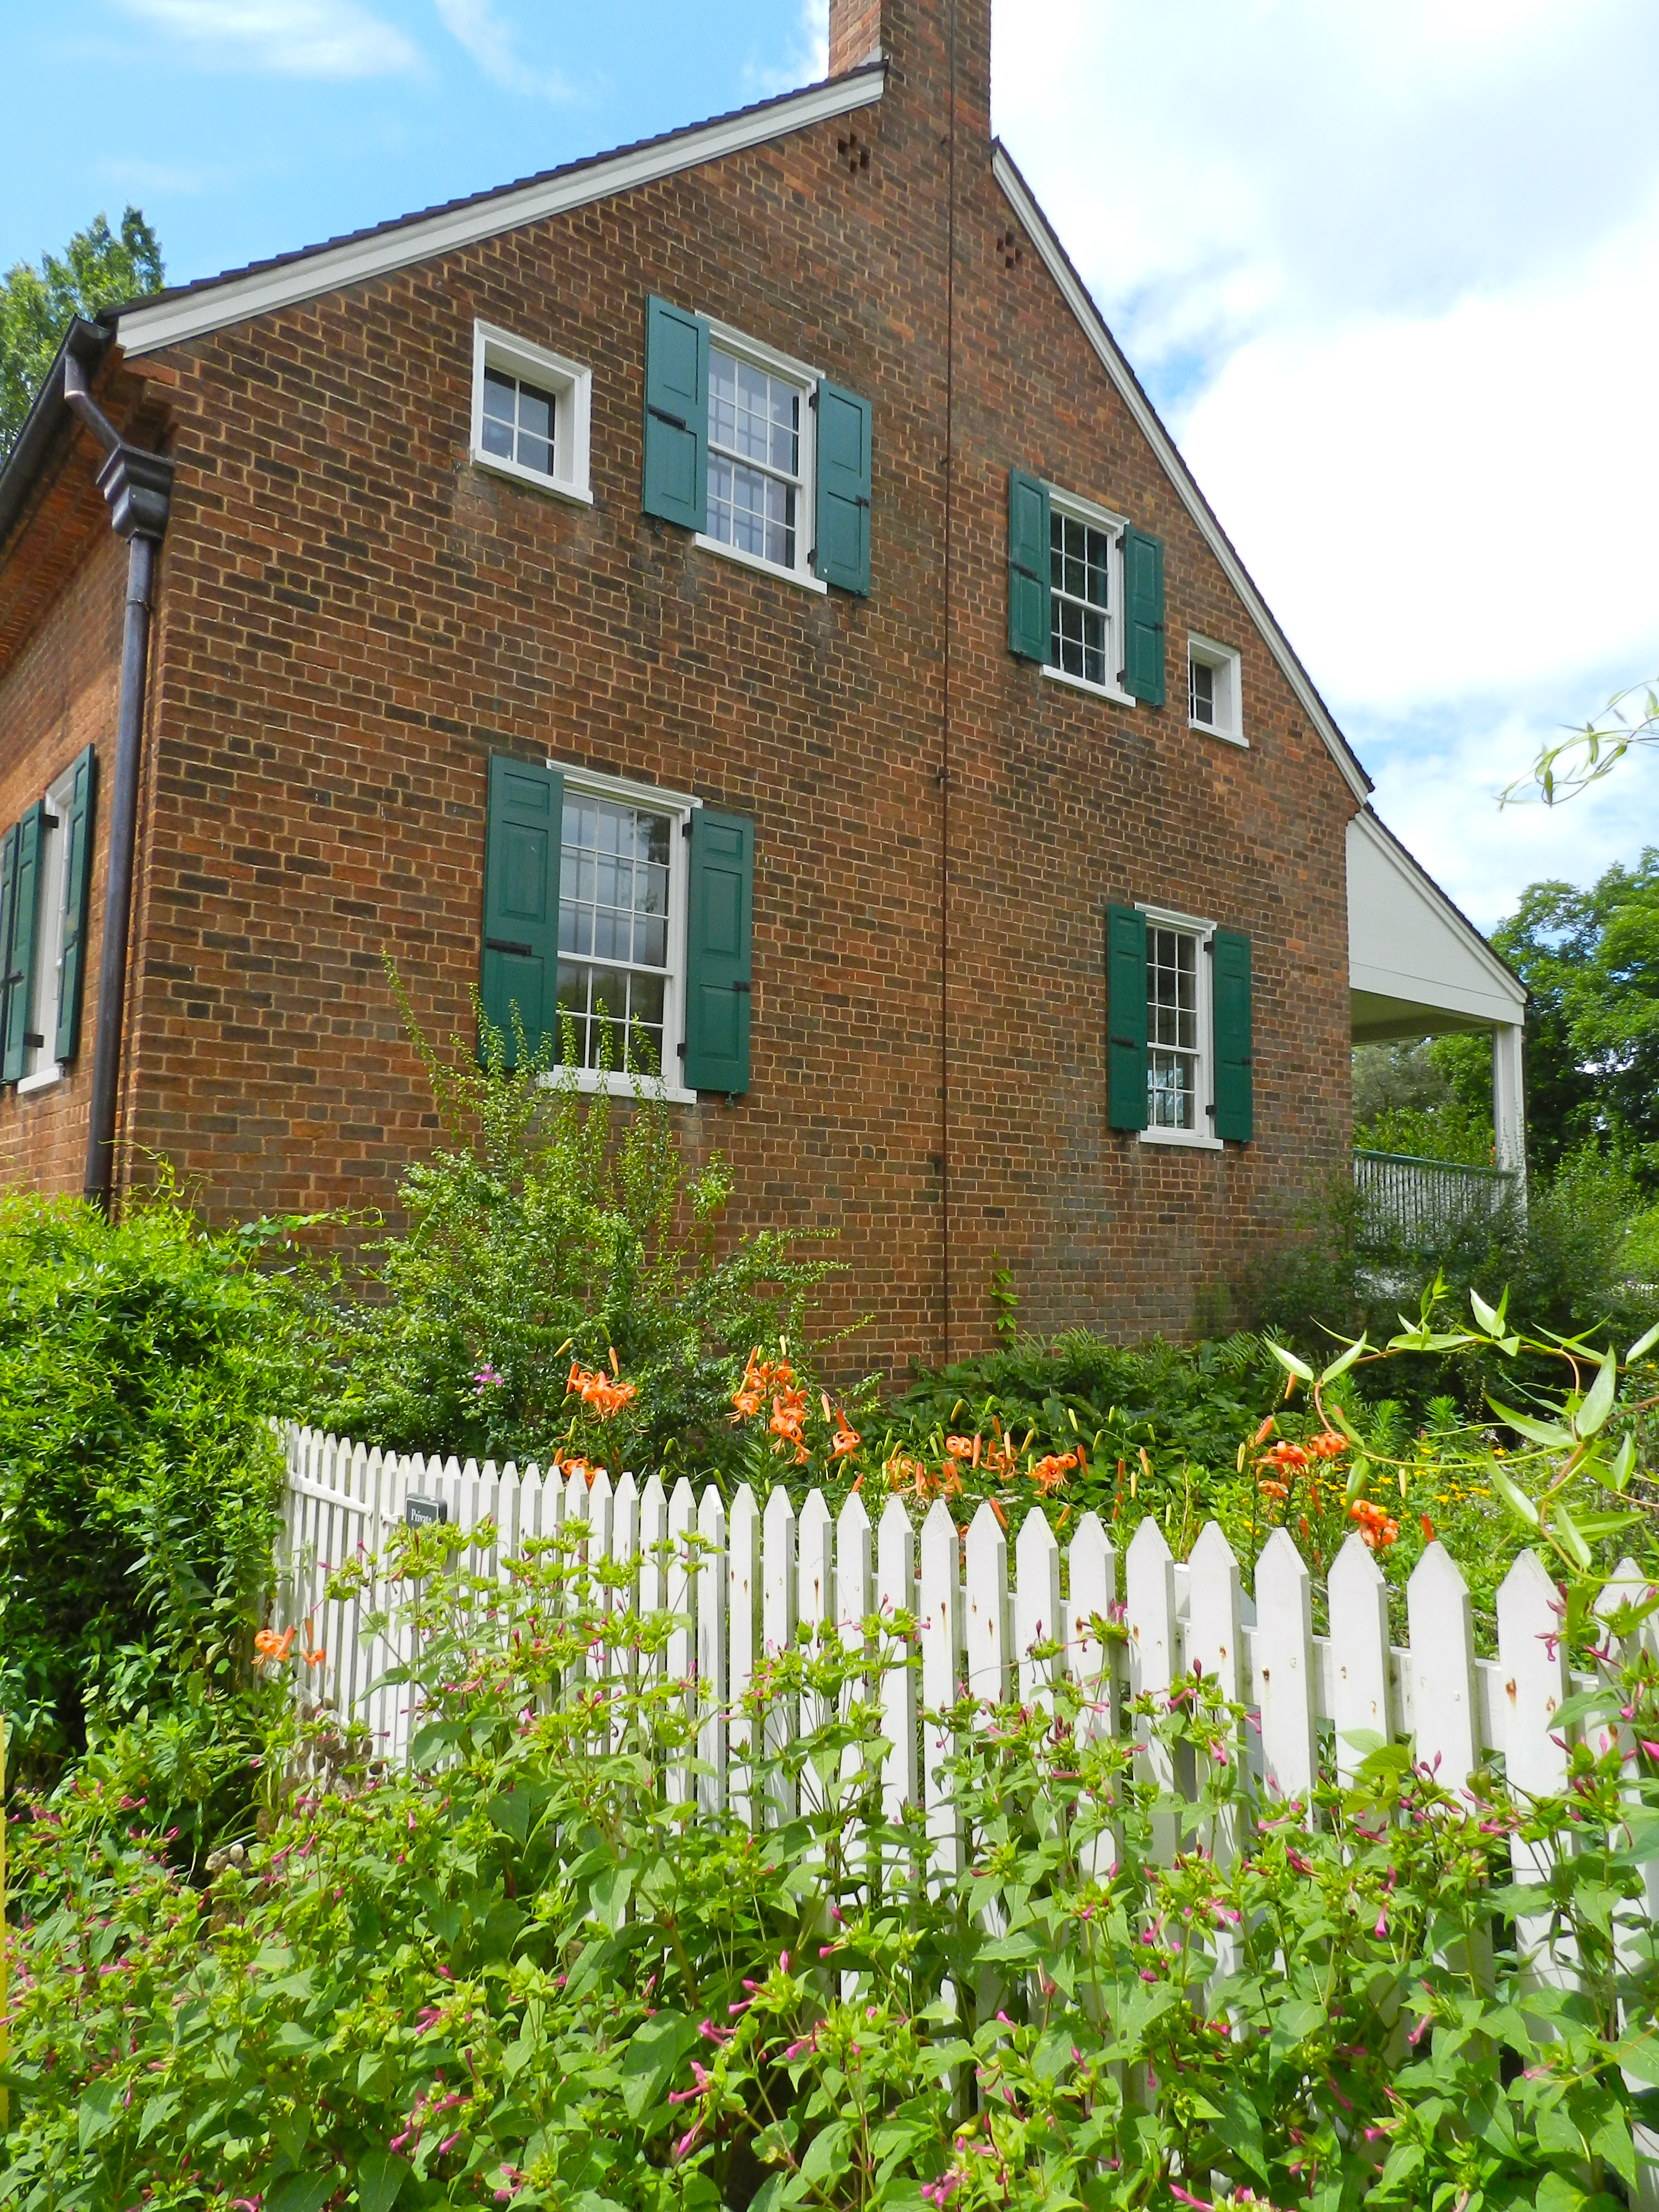
After lunch we had fun exploring the town’s many shops, houses and gardens.
Some of the beautiful gardens that are part of Old Salem Museums and Gardens
Below on the blog is a gallery of some of the more interesting architectural highlights from my walk through the village:
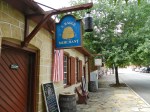
T. Bagge’s Merchant Shop
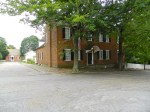
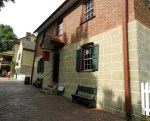
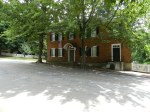
Nice brick home
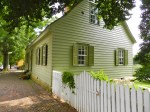
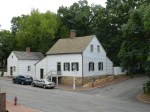
Well detailed house
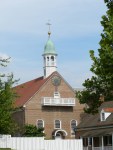
Great belfry
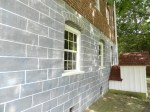
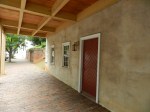
Rusticated walls (Not sure if its just a modern attempt or based on what was there historically)
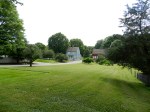
Open landscape and nice homes in the distance
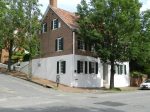
Another nicely appointed brick house
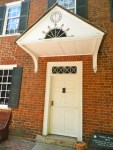
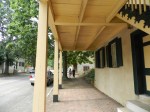
Note the interesting Germanic painting on the portico
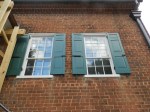
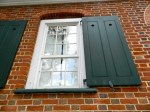
Working shutters with fielded panels and appropriate hardware
One of the many beautiful gardens at Old Salem
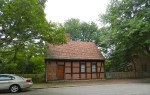
A half-timbered home. (A timber frame home where the timbers are exposed inside and out and infilled in between)
Some great old hardware on a barn at Old Salem
A lot of the design and trim details had a distinctively German look and feel to them which I enjoyed
A distinctive and Germanic door
The Bakery — another must see stop on our visit. Be sure to try items fresh from the oven.
Inside the historic tavern
The Haberdasher
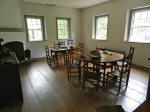
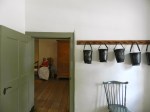
Interior view
Nice townhouse
Another great set of shutters
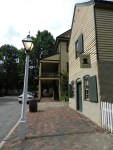
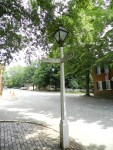
Great street sign
Across from MESDA
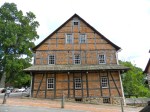
Gable end of the Single Brother’s House and Workshop
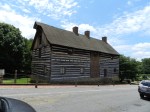
Great heavy timbered barn behind the Single Brother’s House
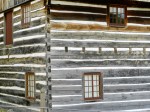
Detail view of the barn
You can easily spend a full day visiting Old-Salem and MESDA. In the evening things get pretty quiet in the historic area so plan your trip accordingly, but there are lots of other things to see in the surrounding area in the evening.
If you’d like to plan a visit to Old Salem Museum and Gardens you can check out their website here.
This summer I had the chance to take a week long road trip and travel around to a lot of historic sites in Virginia and North Carolina. One of my favorite stops along the way was my visit to Old Salem Museums and Gardens in Winston-Salem NC.
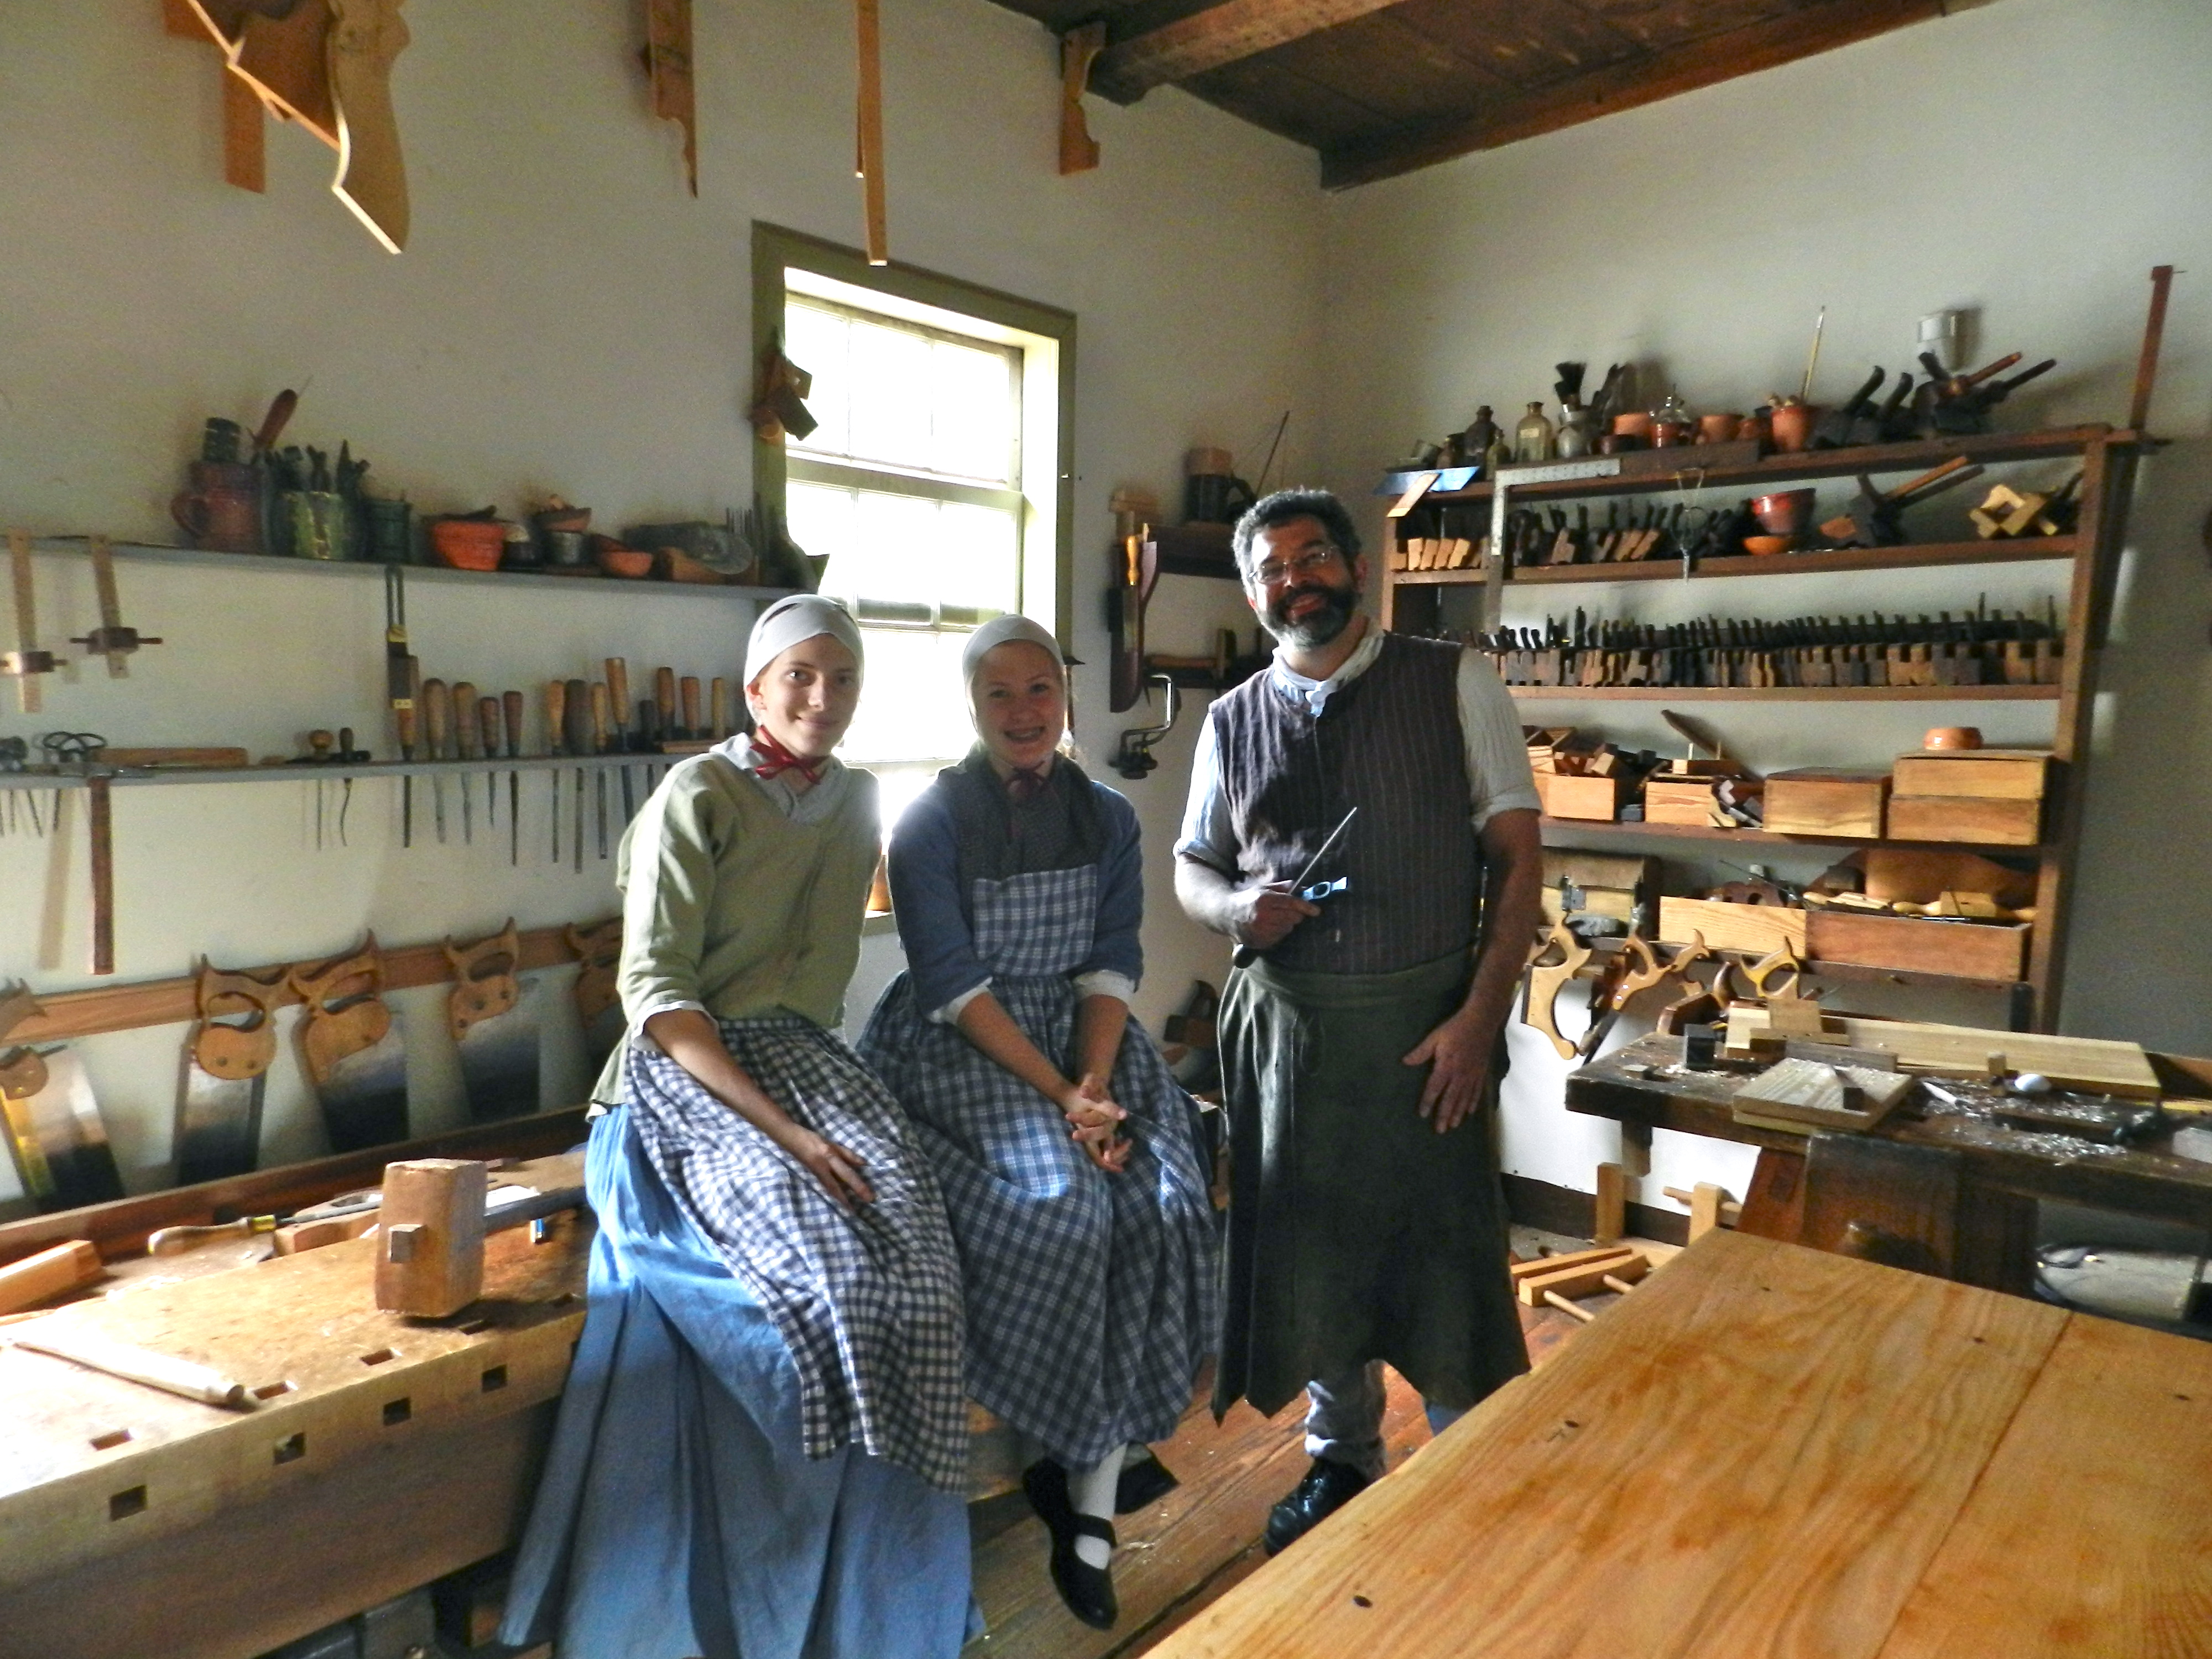
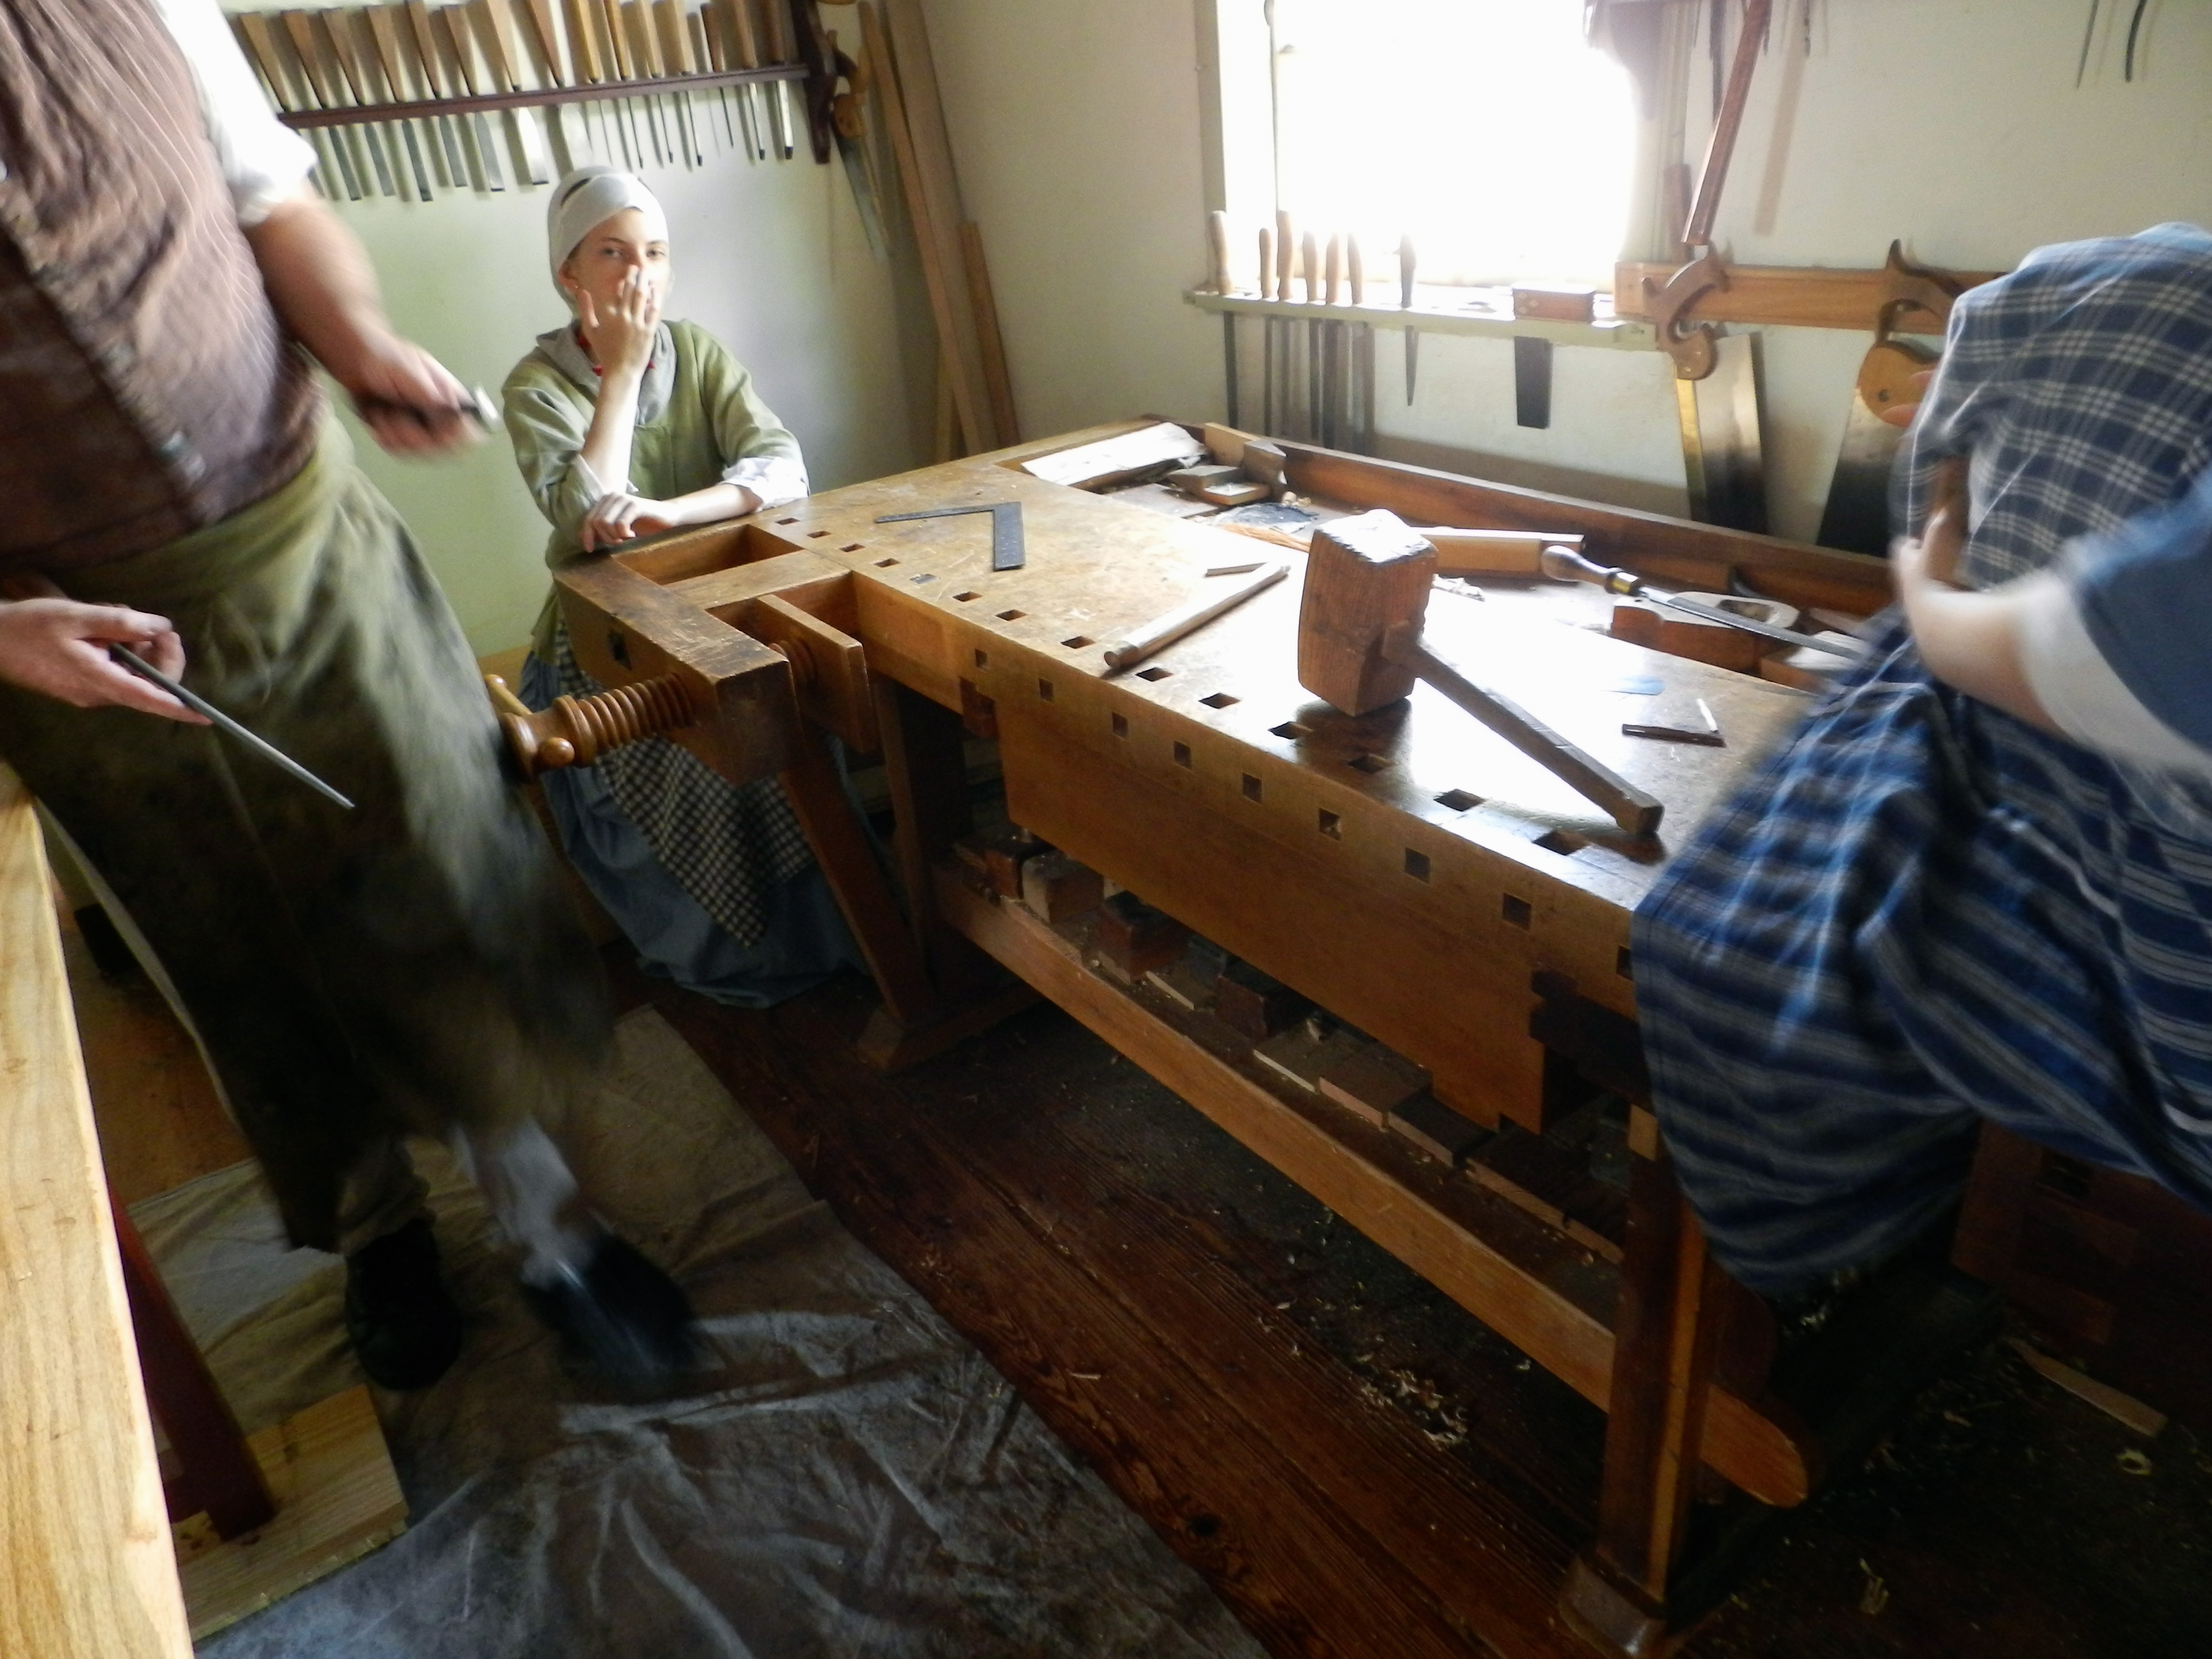
Interpreters in the Joiner’s workshop inside the Single Brother’s House Shop
I first learned about Old Salem while having dinner with Thomas Jefferson at Colonial Williamsburg. (No joke).
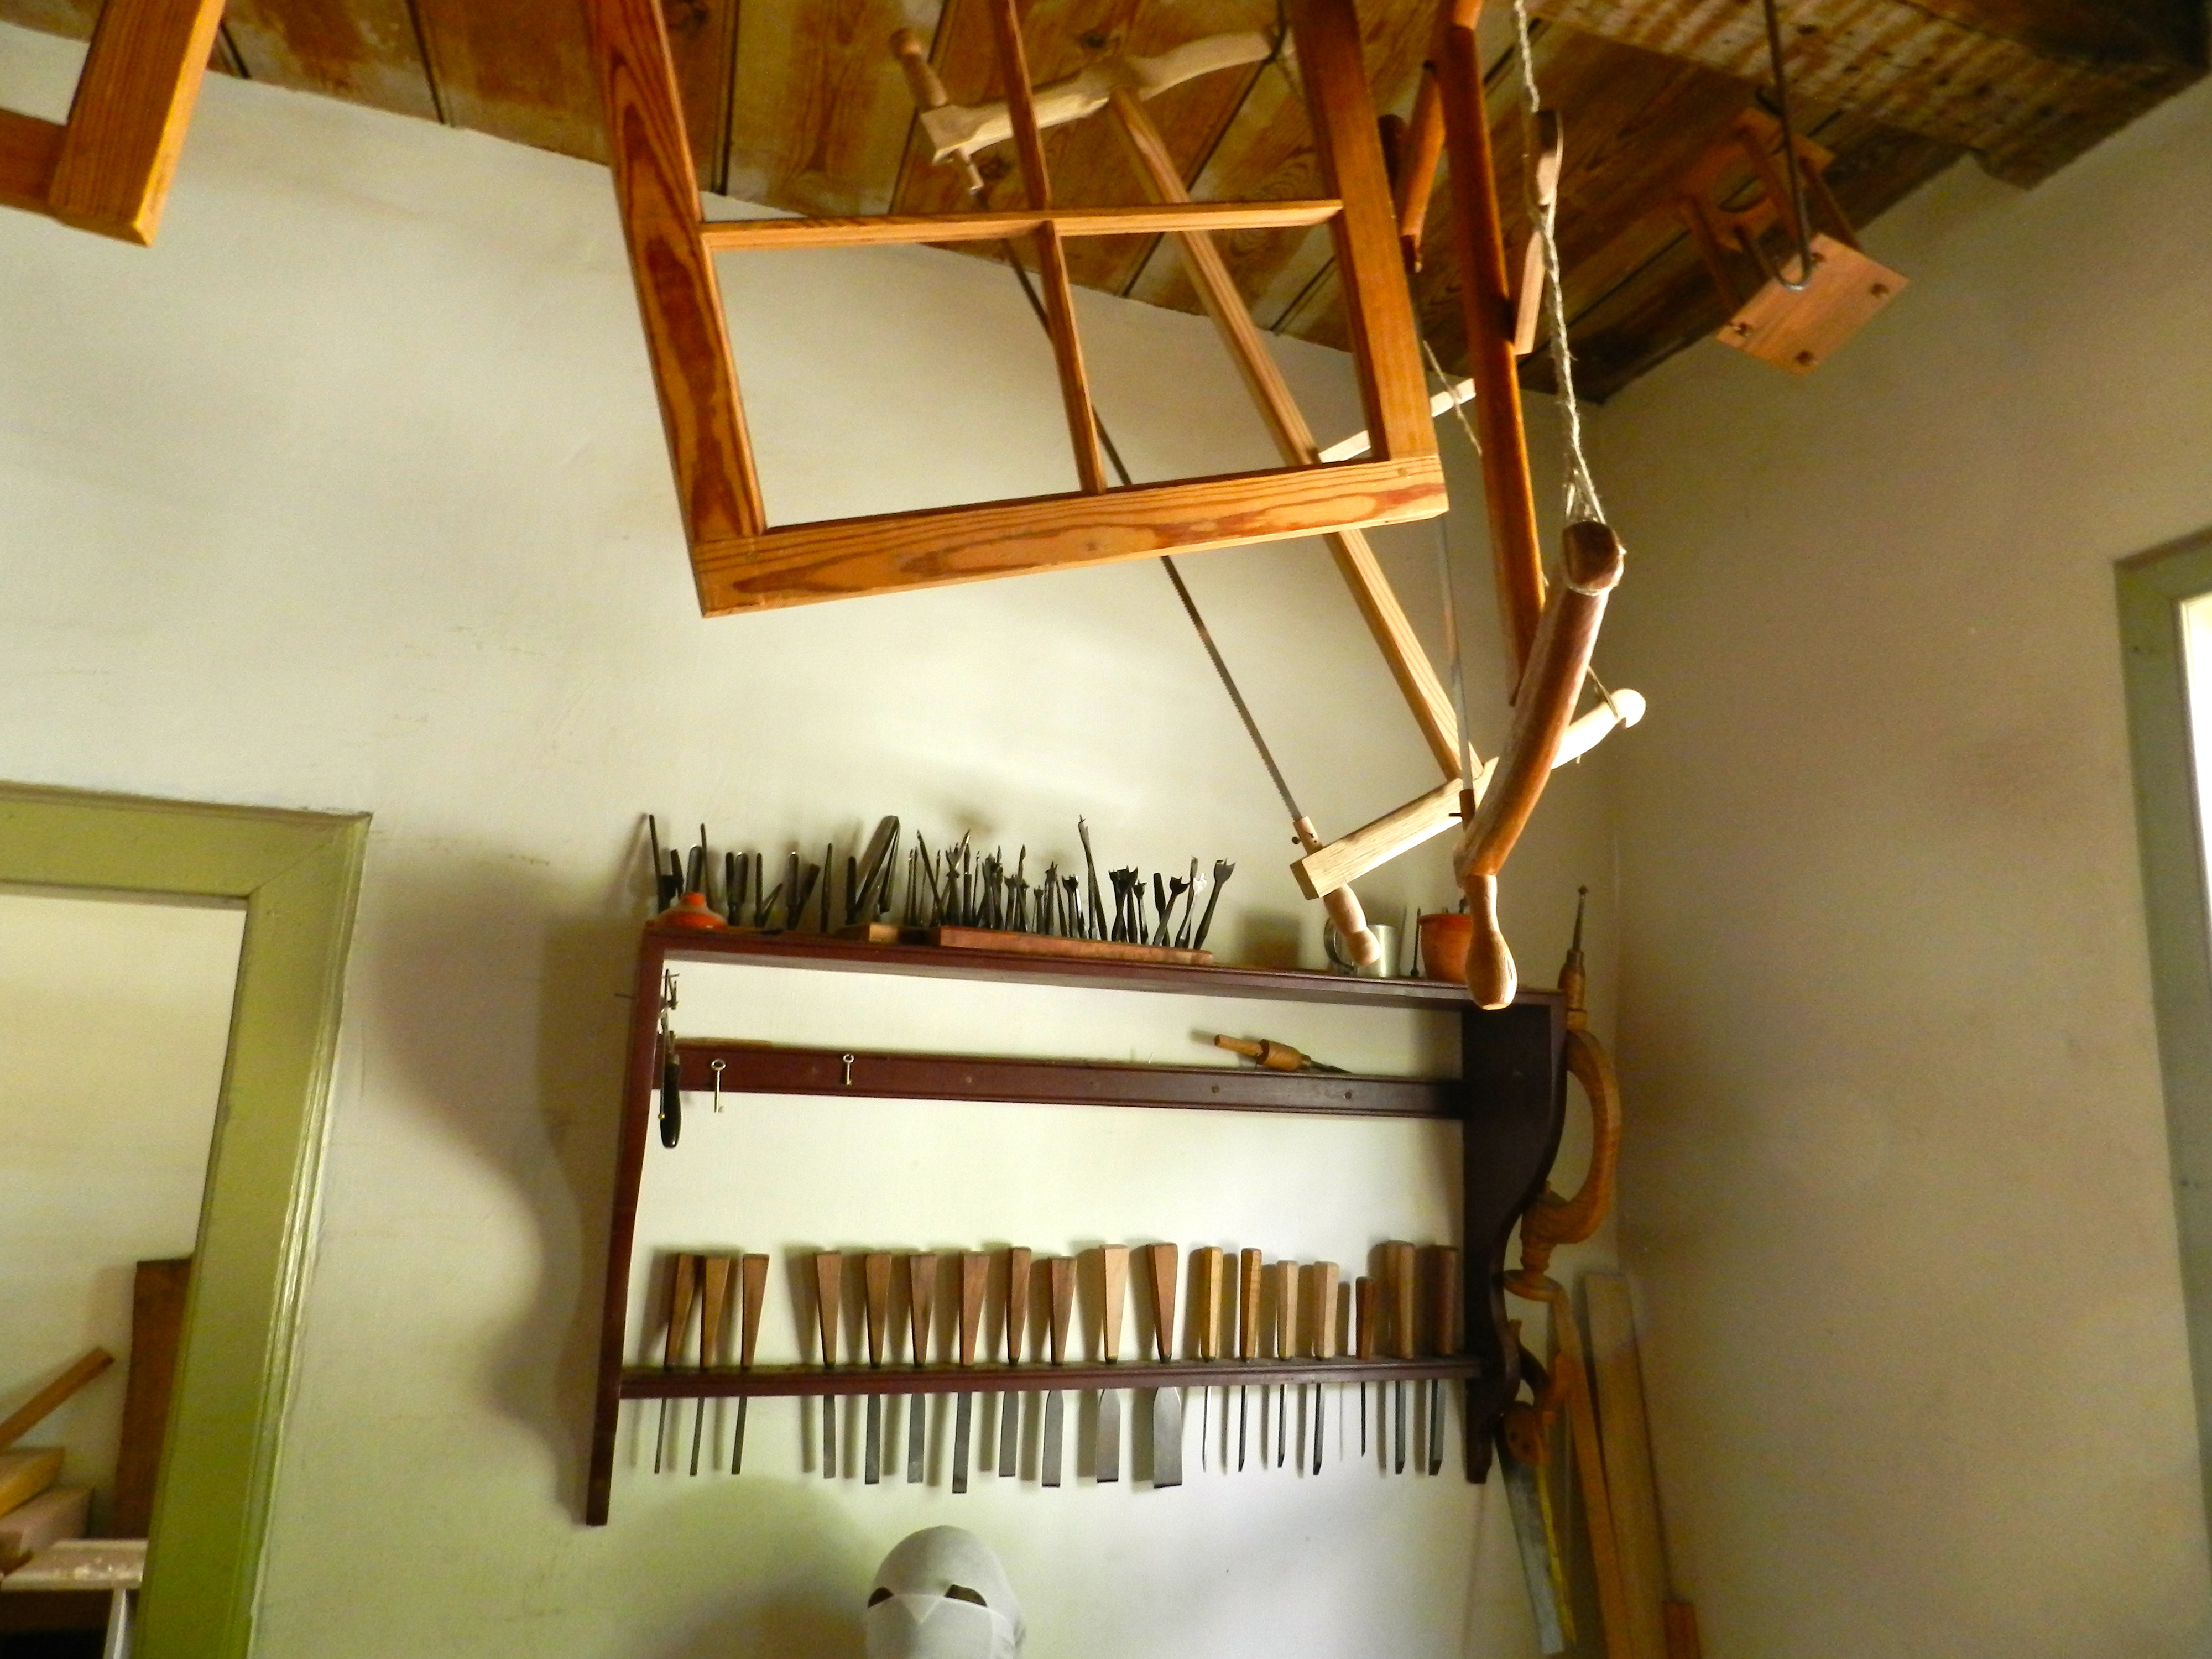
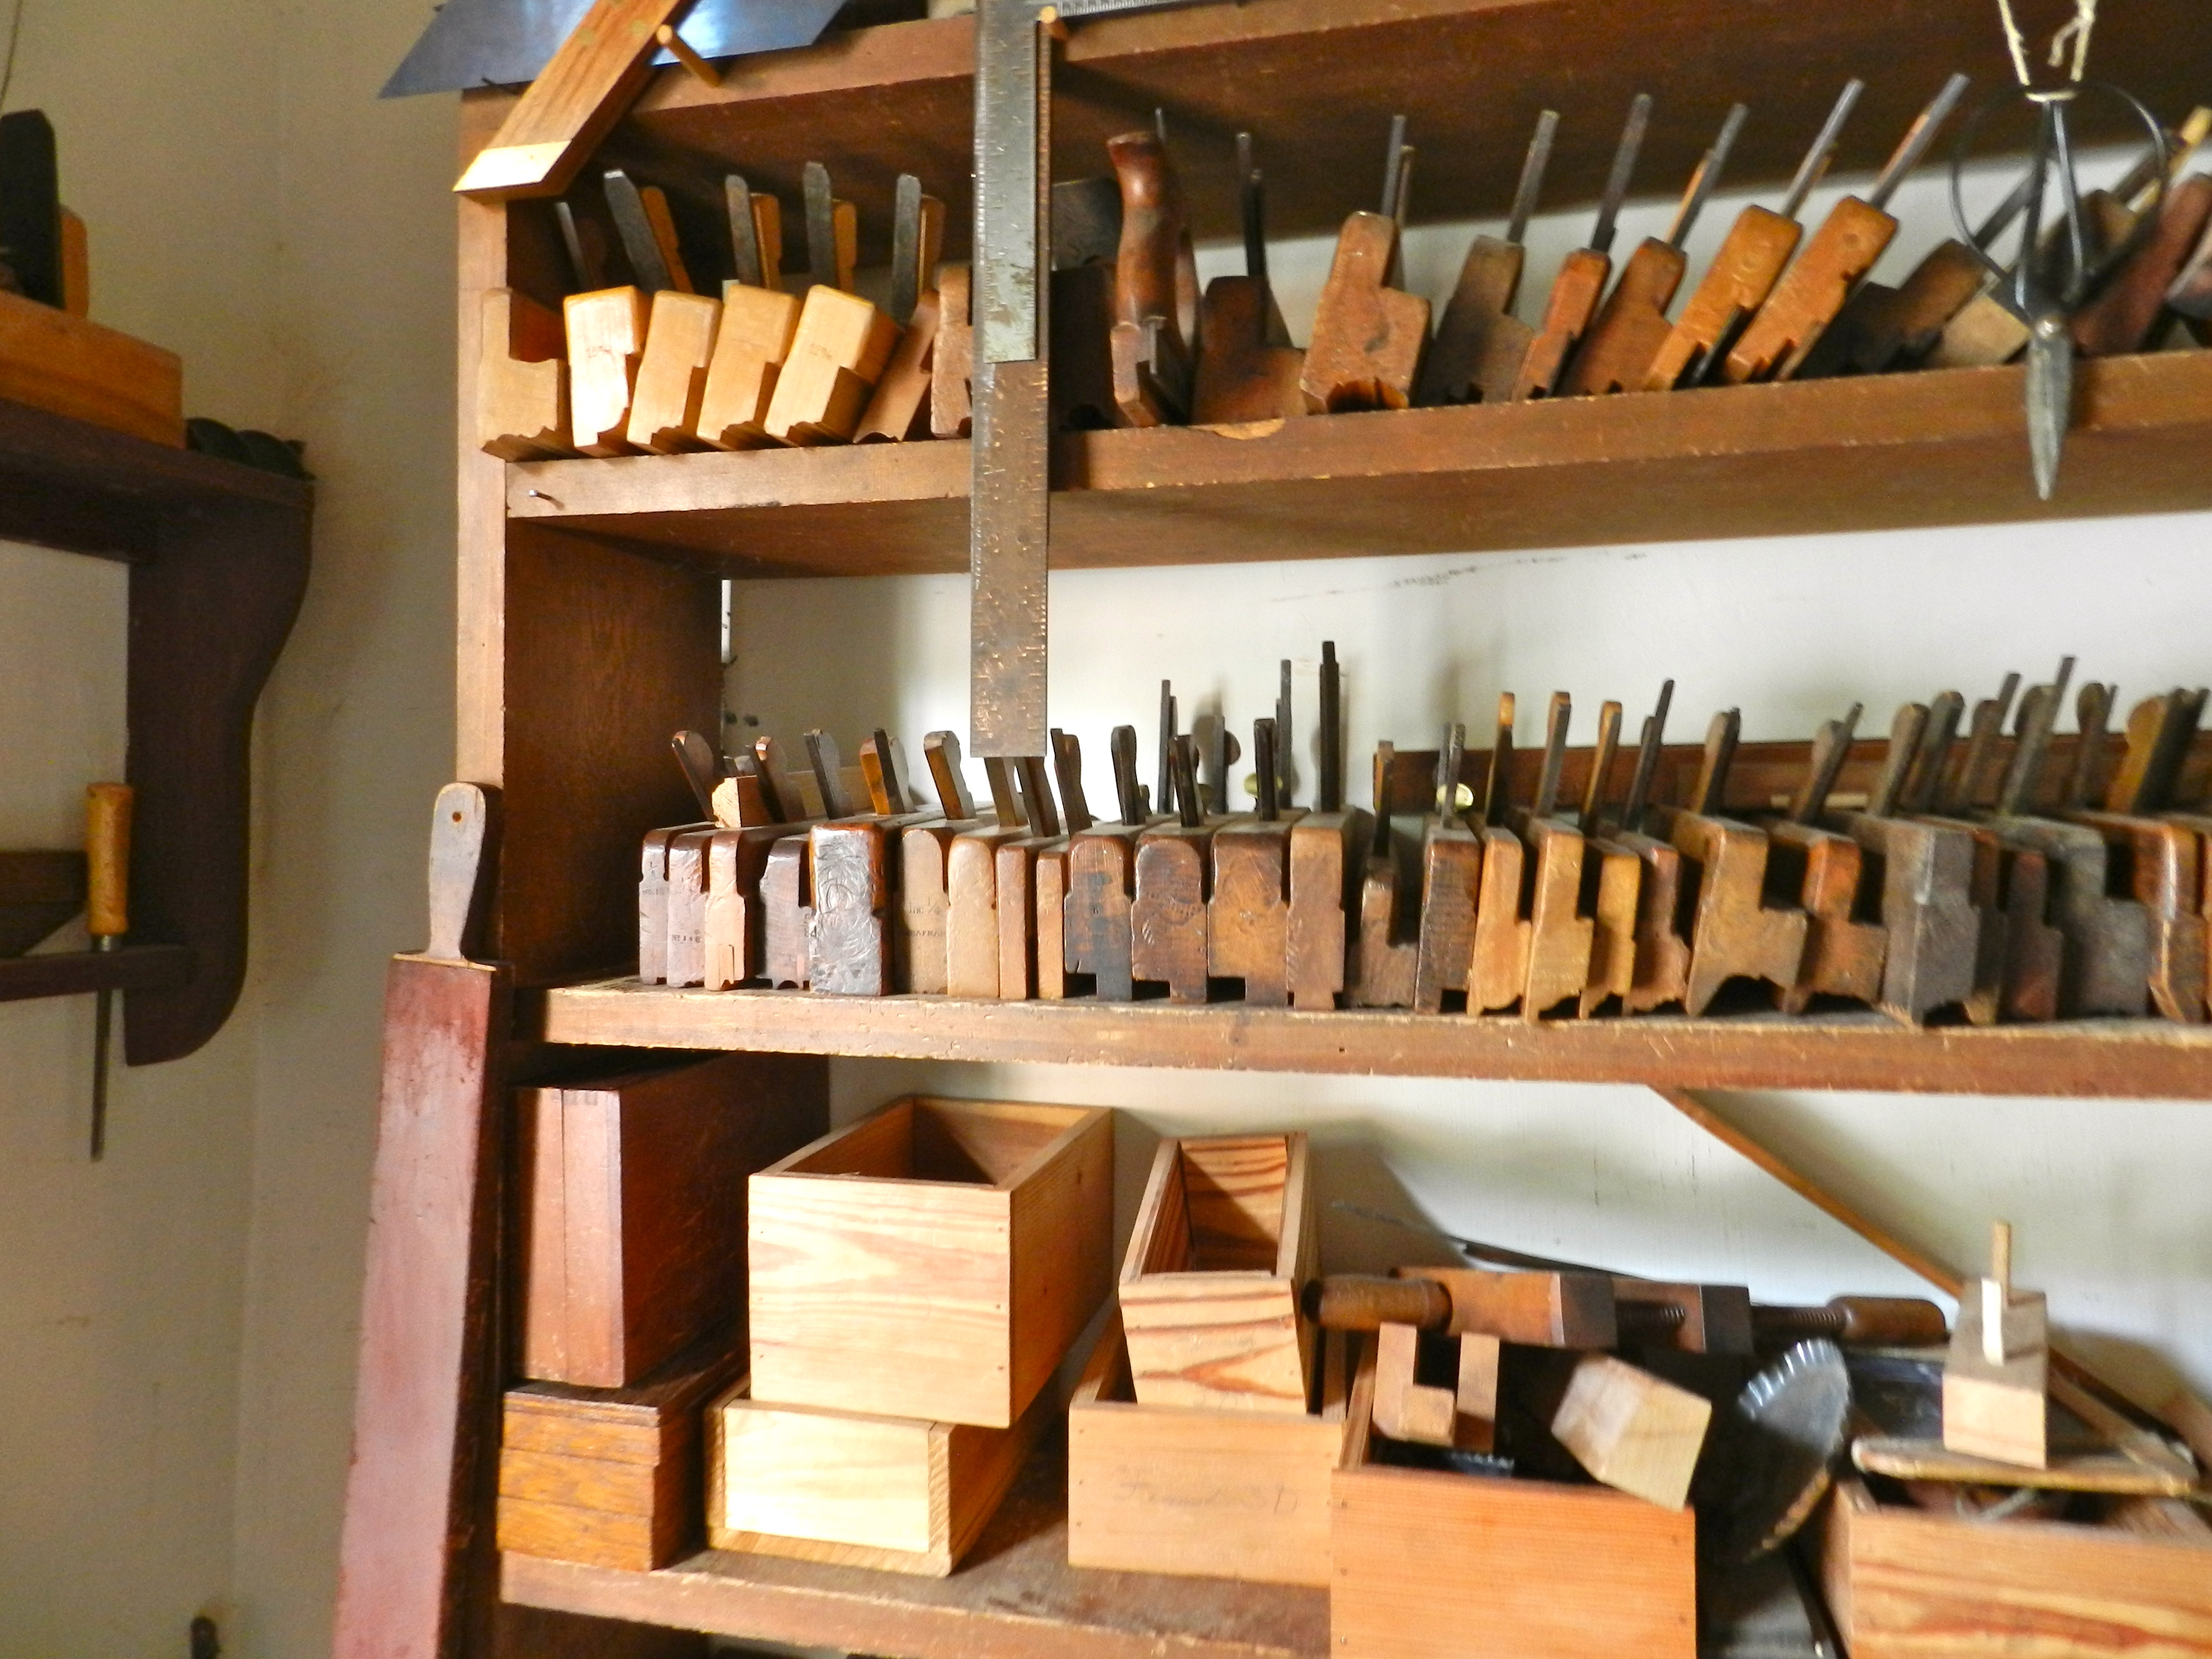
Window sash, drill bits, and chisel rack
I also heard good things about it from Glen Huey’s book ‘Furniture in the Southern Style’ which draws upon some pieces from MESDA (The Museum of Southern Decorative Arts)
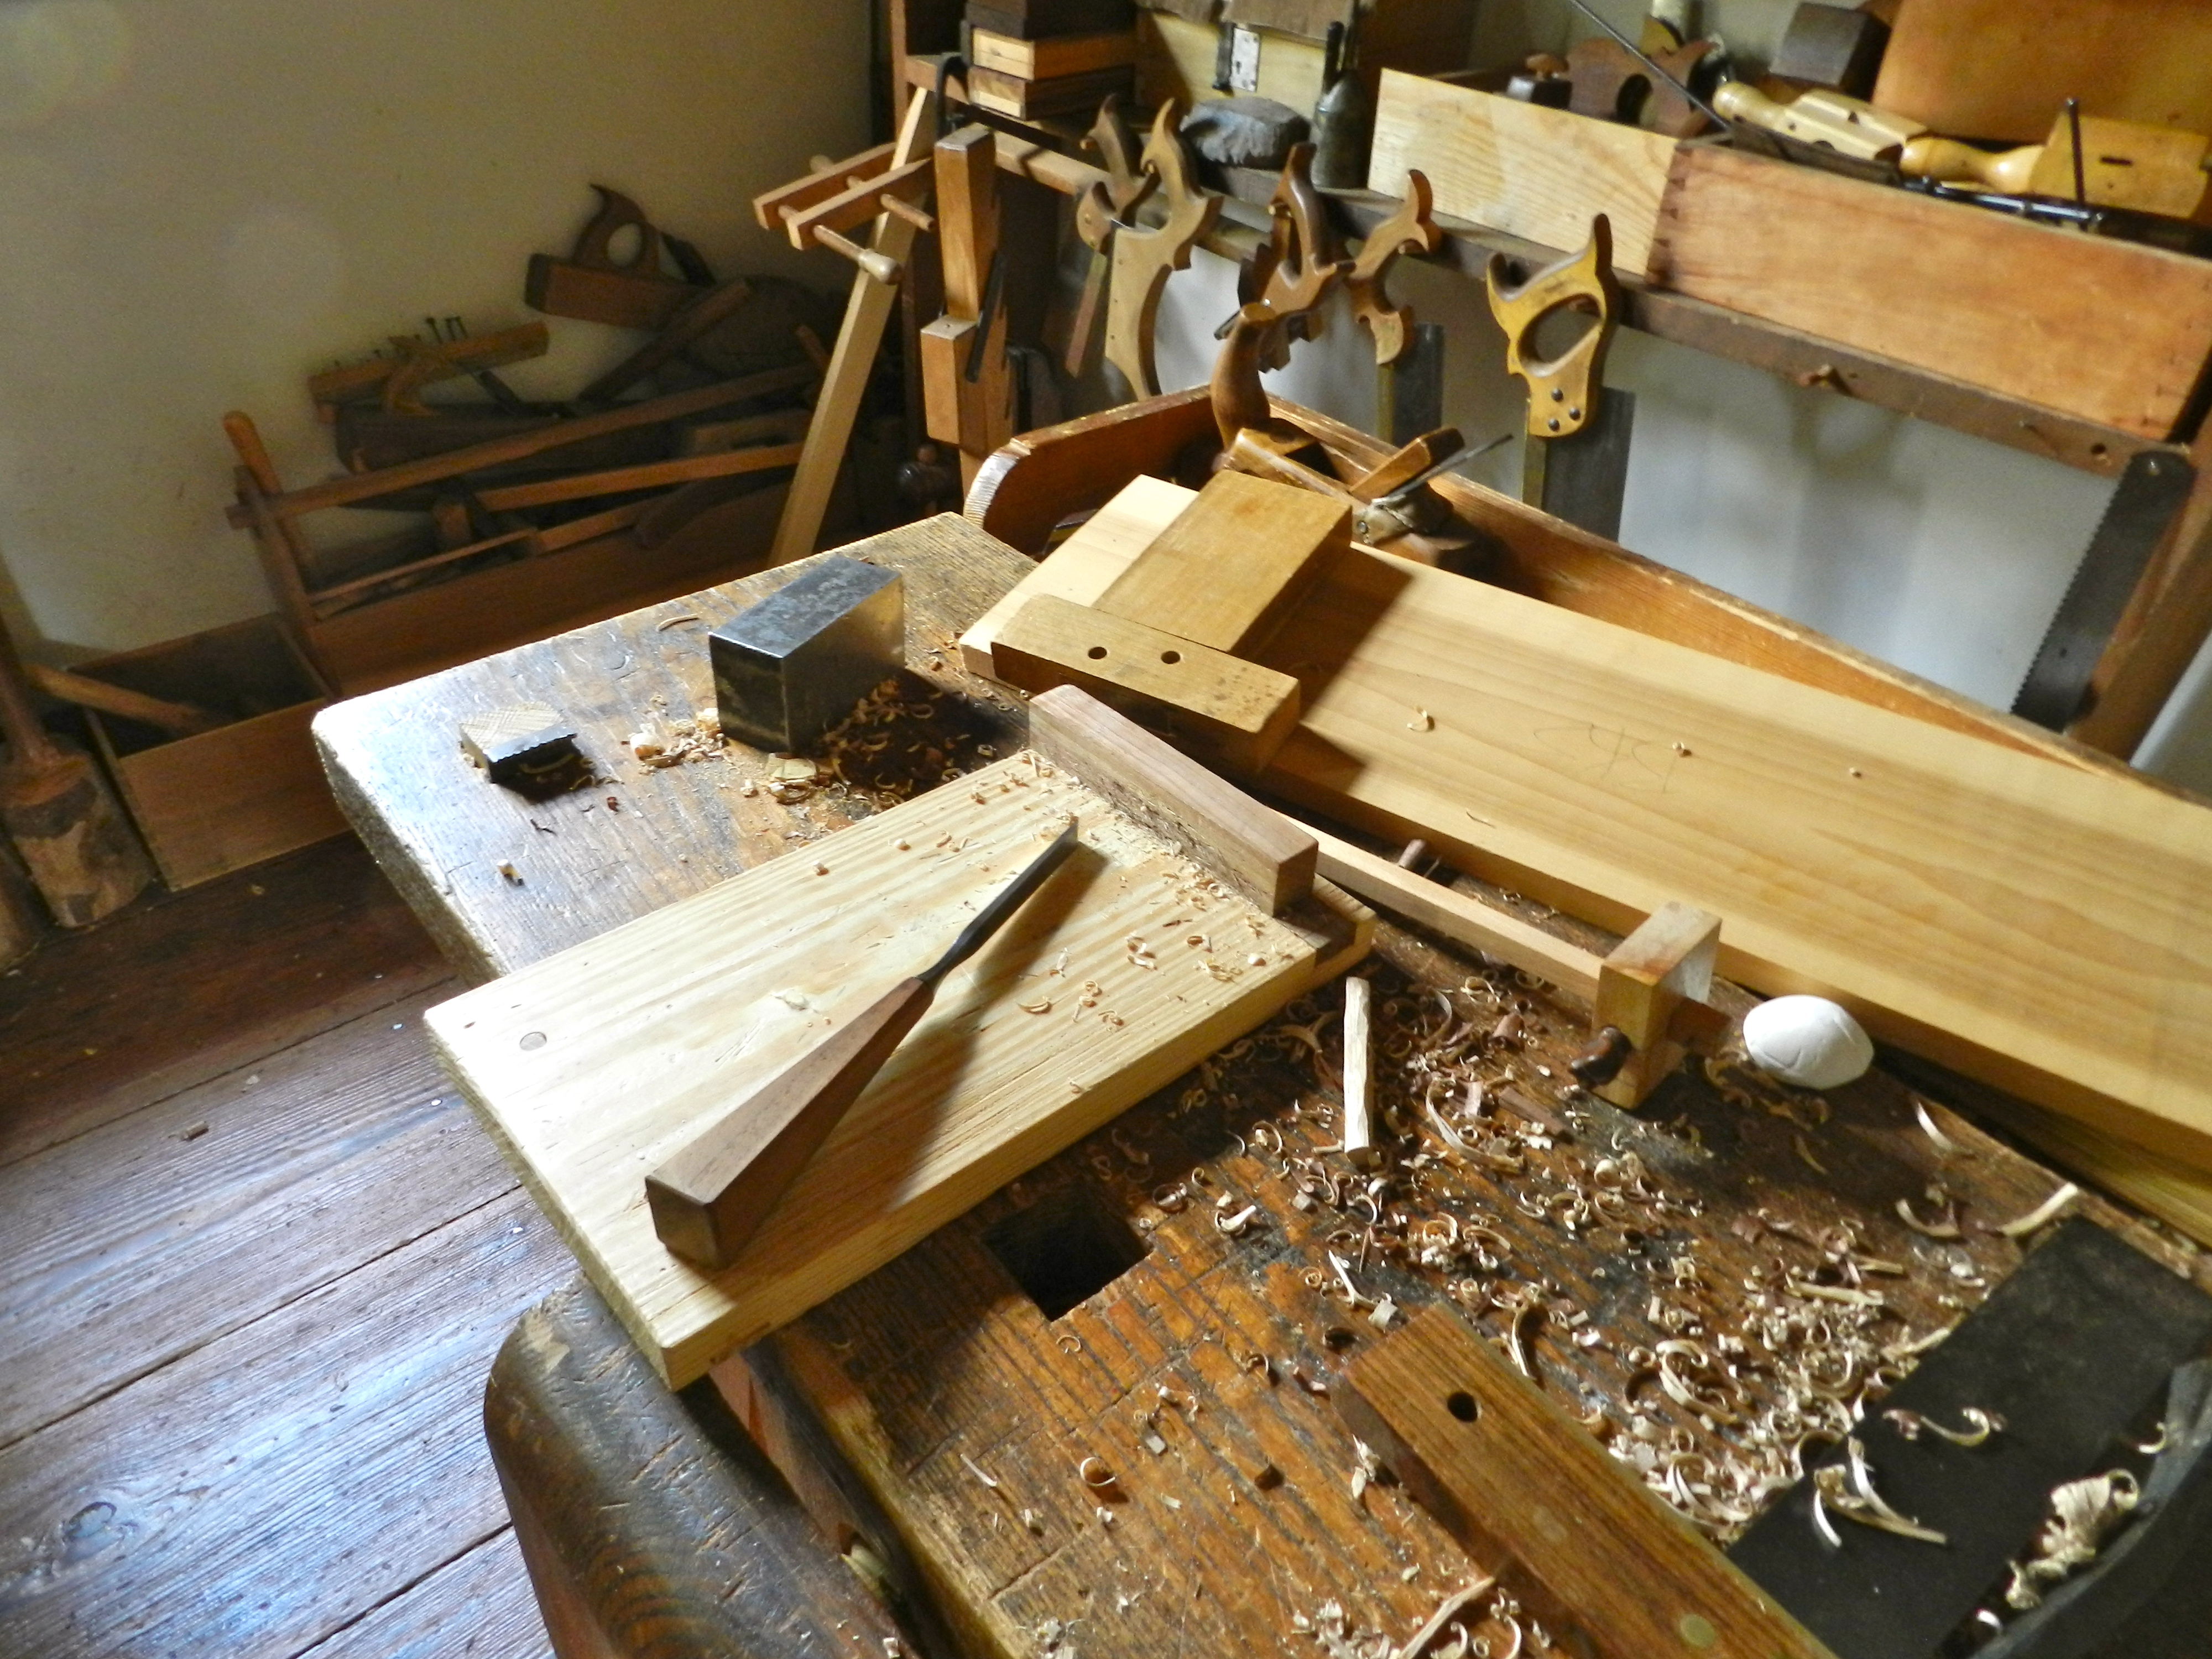
Carving over a bench hook
During our visit, my wife and I had a great time exploring the historic area and visiting the many shops and buildings.
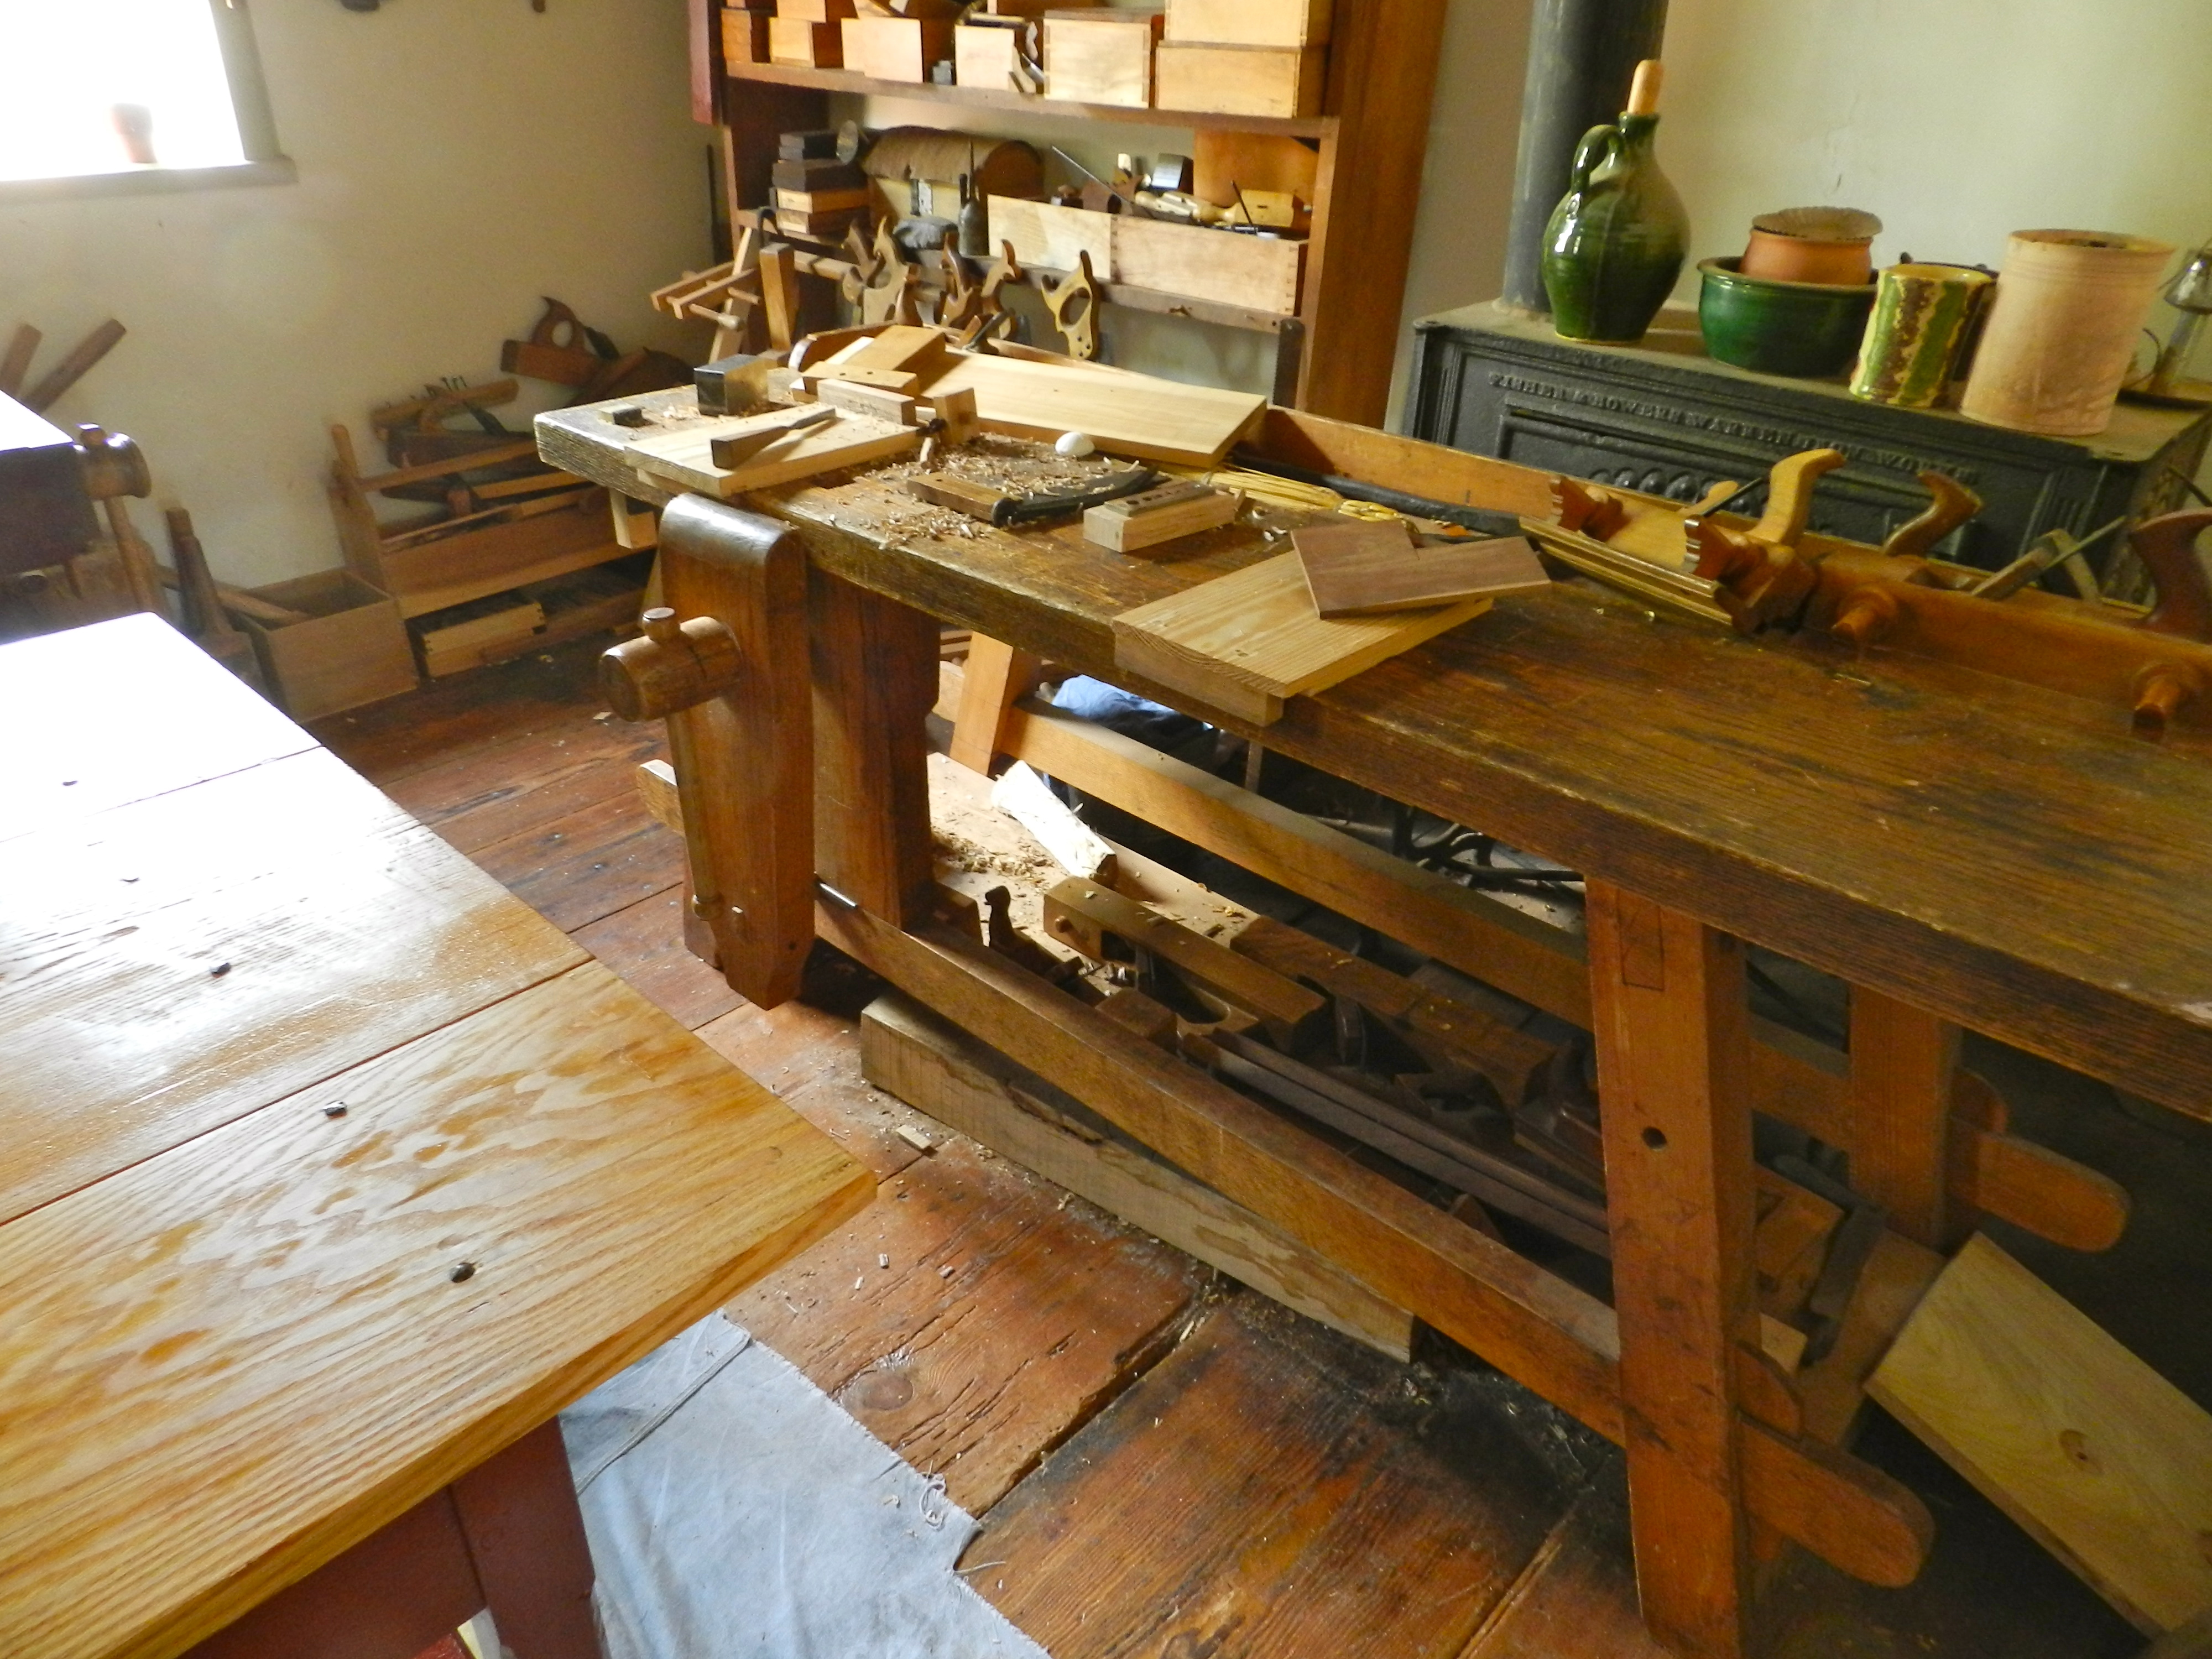
Great traditional bench — note how the shoulder vise is cantilevered out and there is a set of dog holes in the skirt as well.
As always, the most exciting part for me was visiting with all the craftspeople who work in the various historic trades.
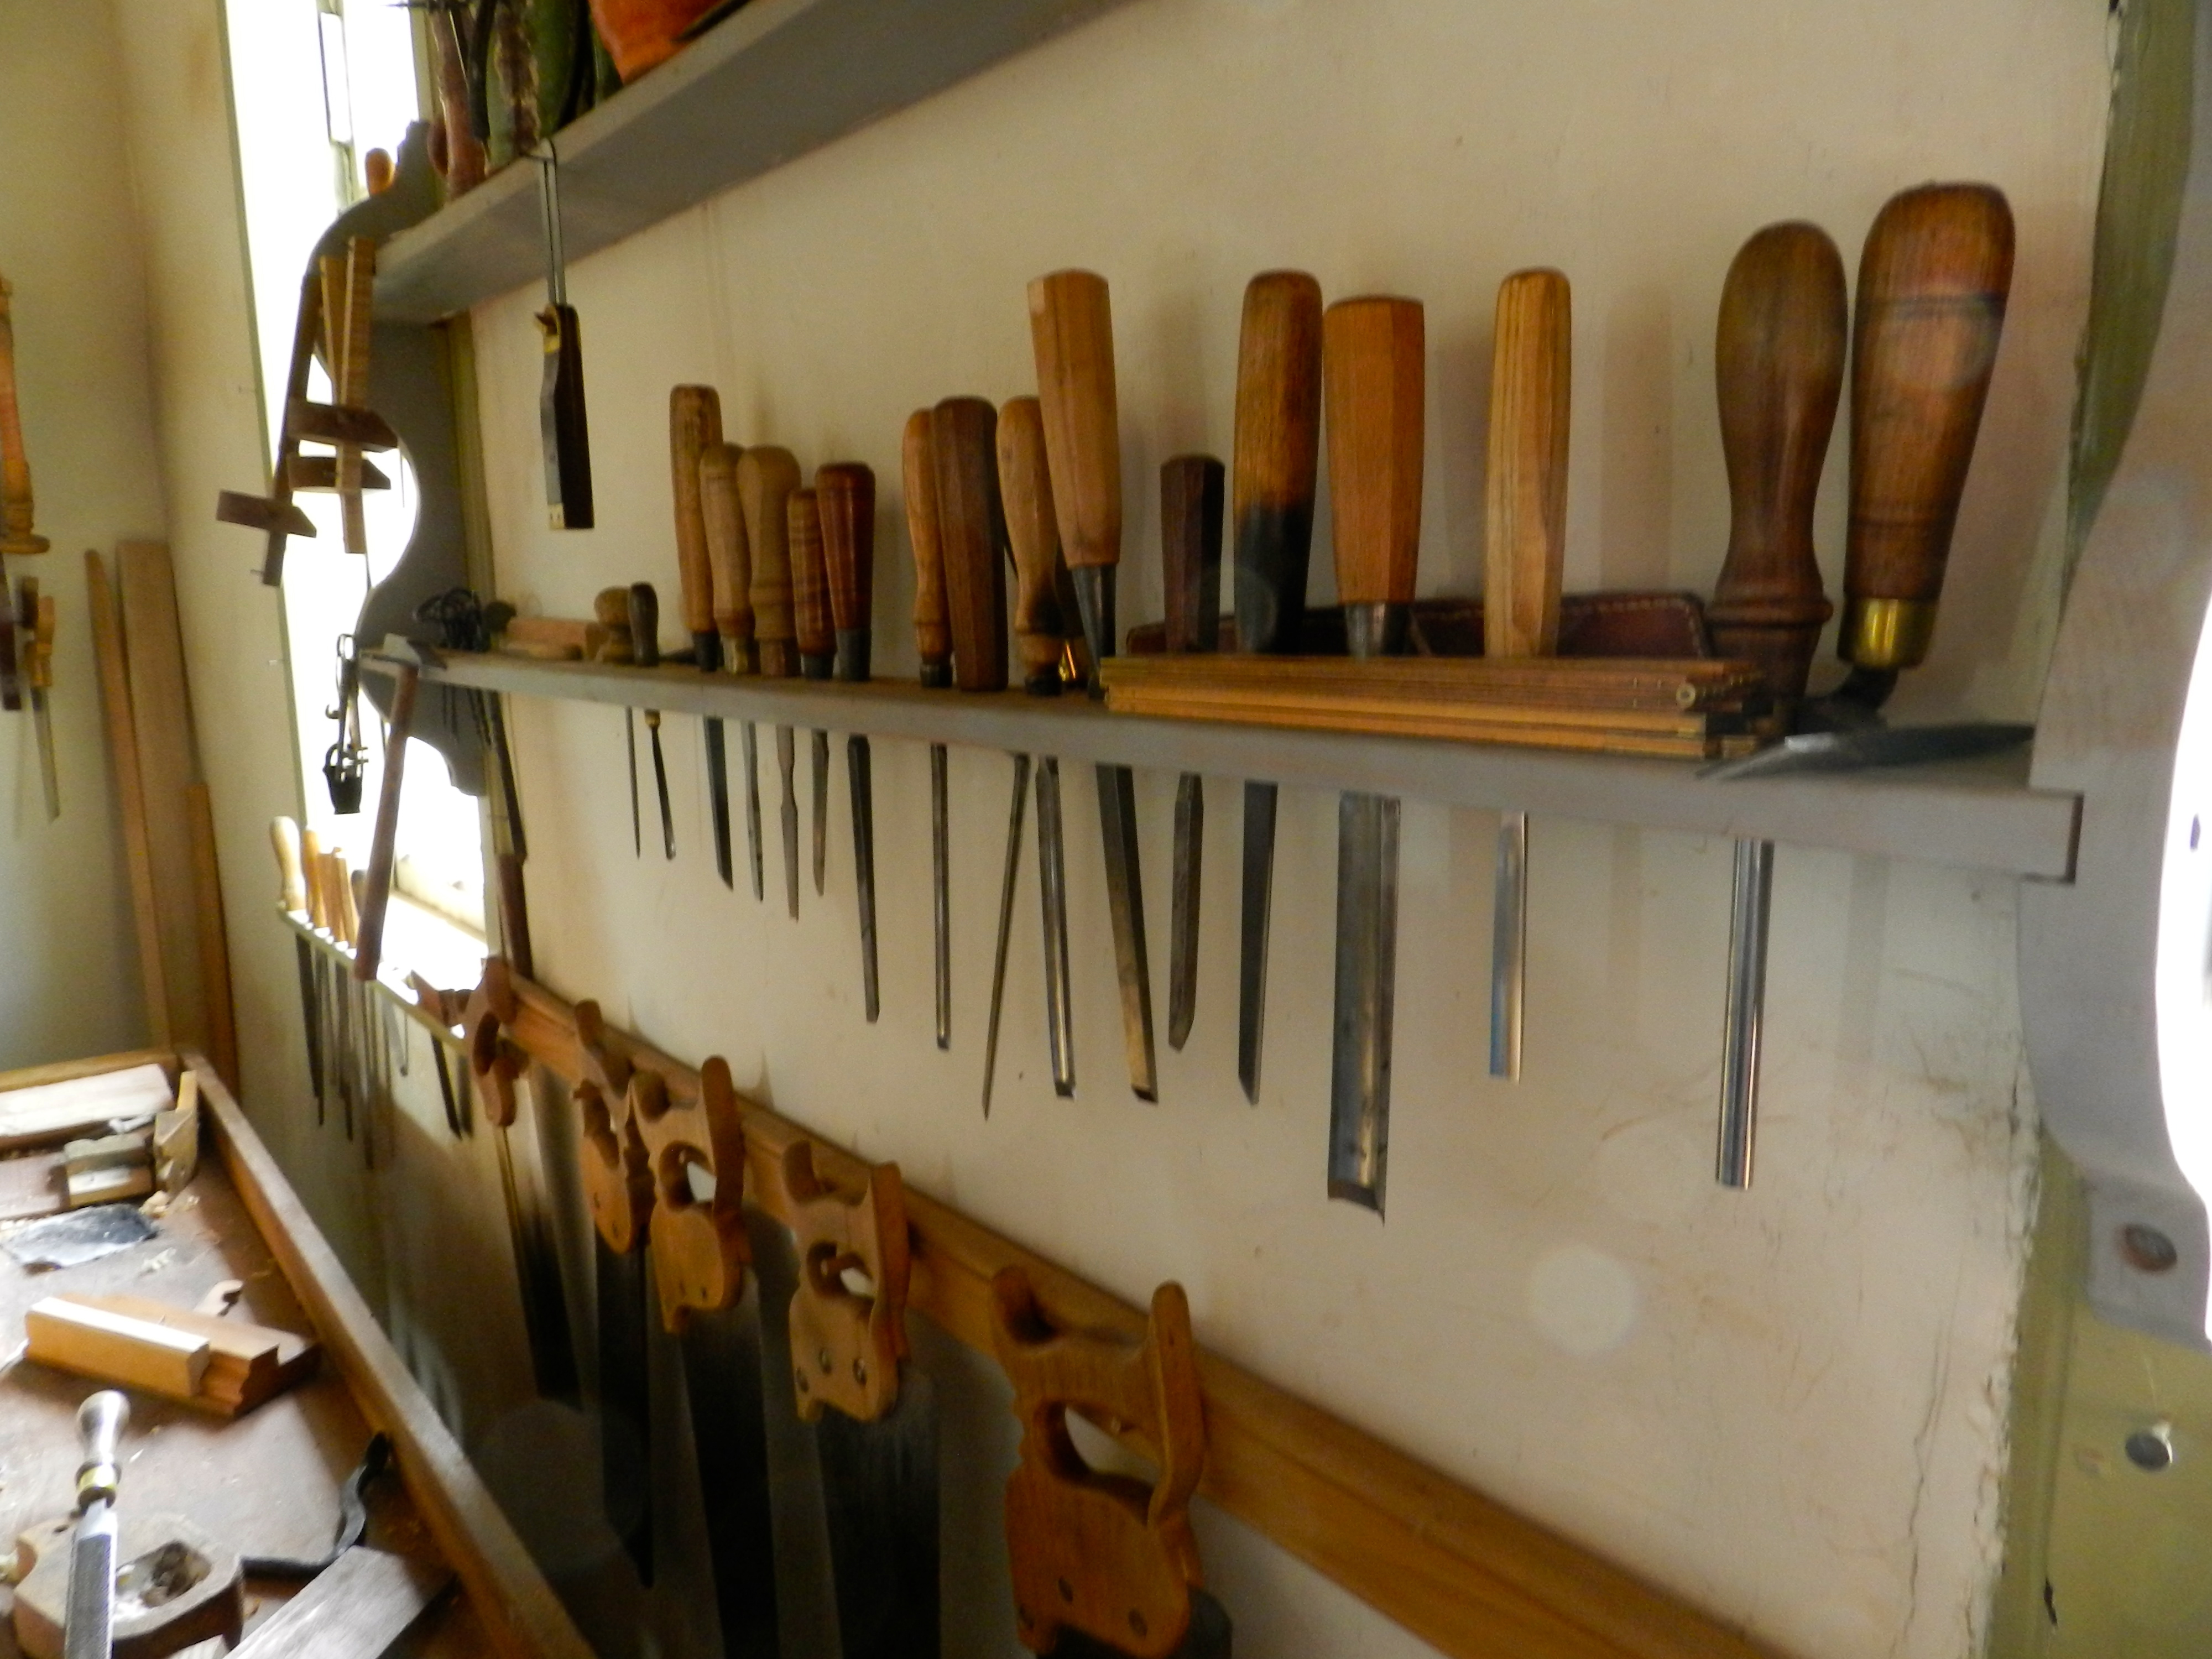
Full chisel rack
In the Single Brother’s House there were a series of workshops housing various trades that were vital to the community.
Molding planes
I felt right at home in the Joiner’s shop and if my wife would have let me I would have spent my day at the workbench talking to people….
Joiner’s bench with angled legs and wedged tenons
The workshop had a great assortment of jigs, fixtures, tools and unusual benches. Look at the great wedged tenons on the bench above. (Also check out the floating shoulder vise and skirt board with dog holes on the bench further up. Looks like they did not see as much use, but an interesting idea)
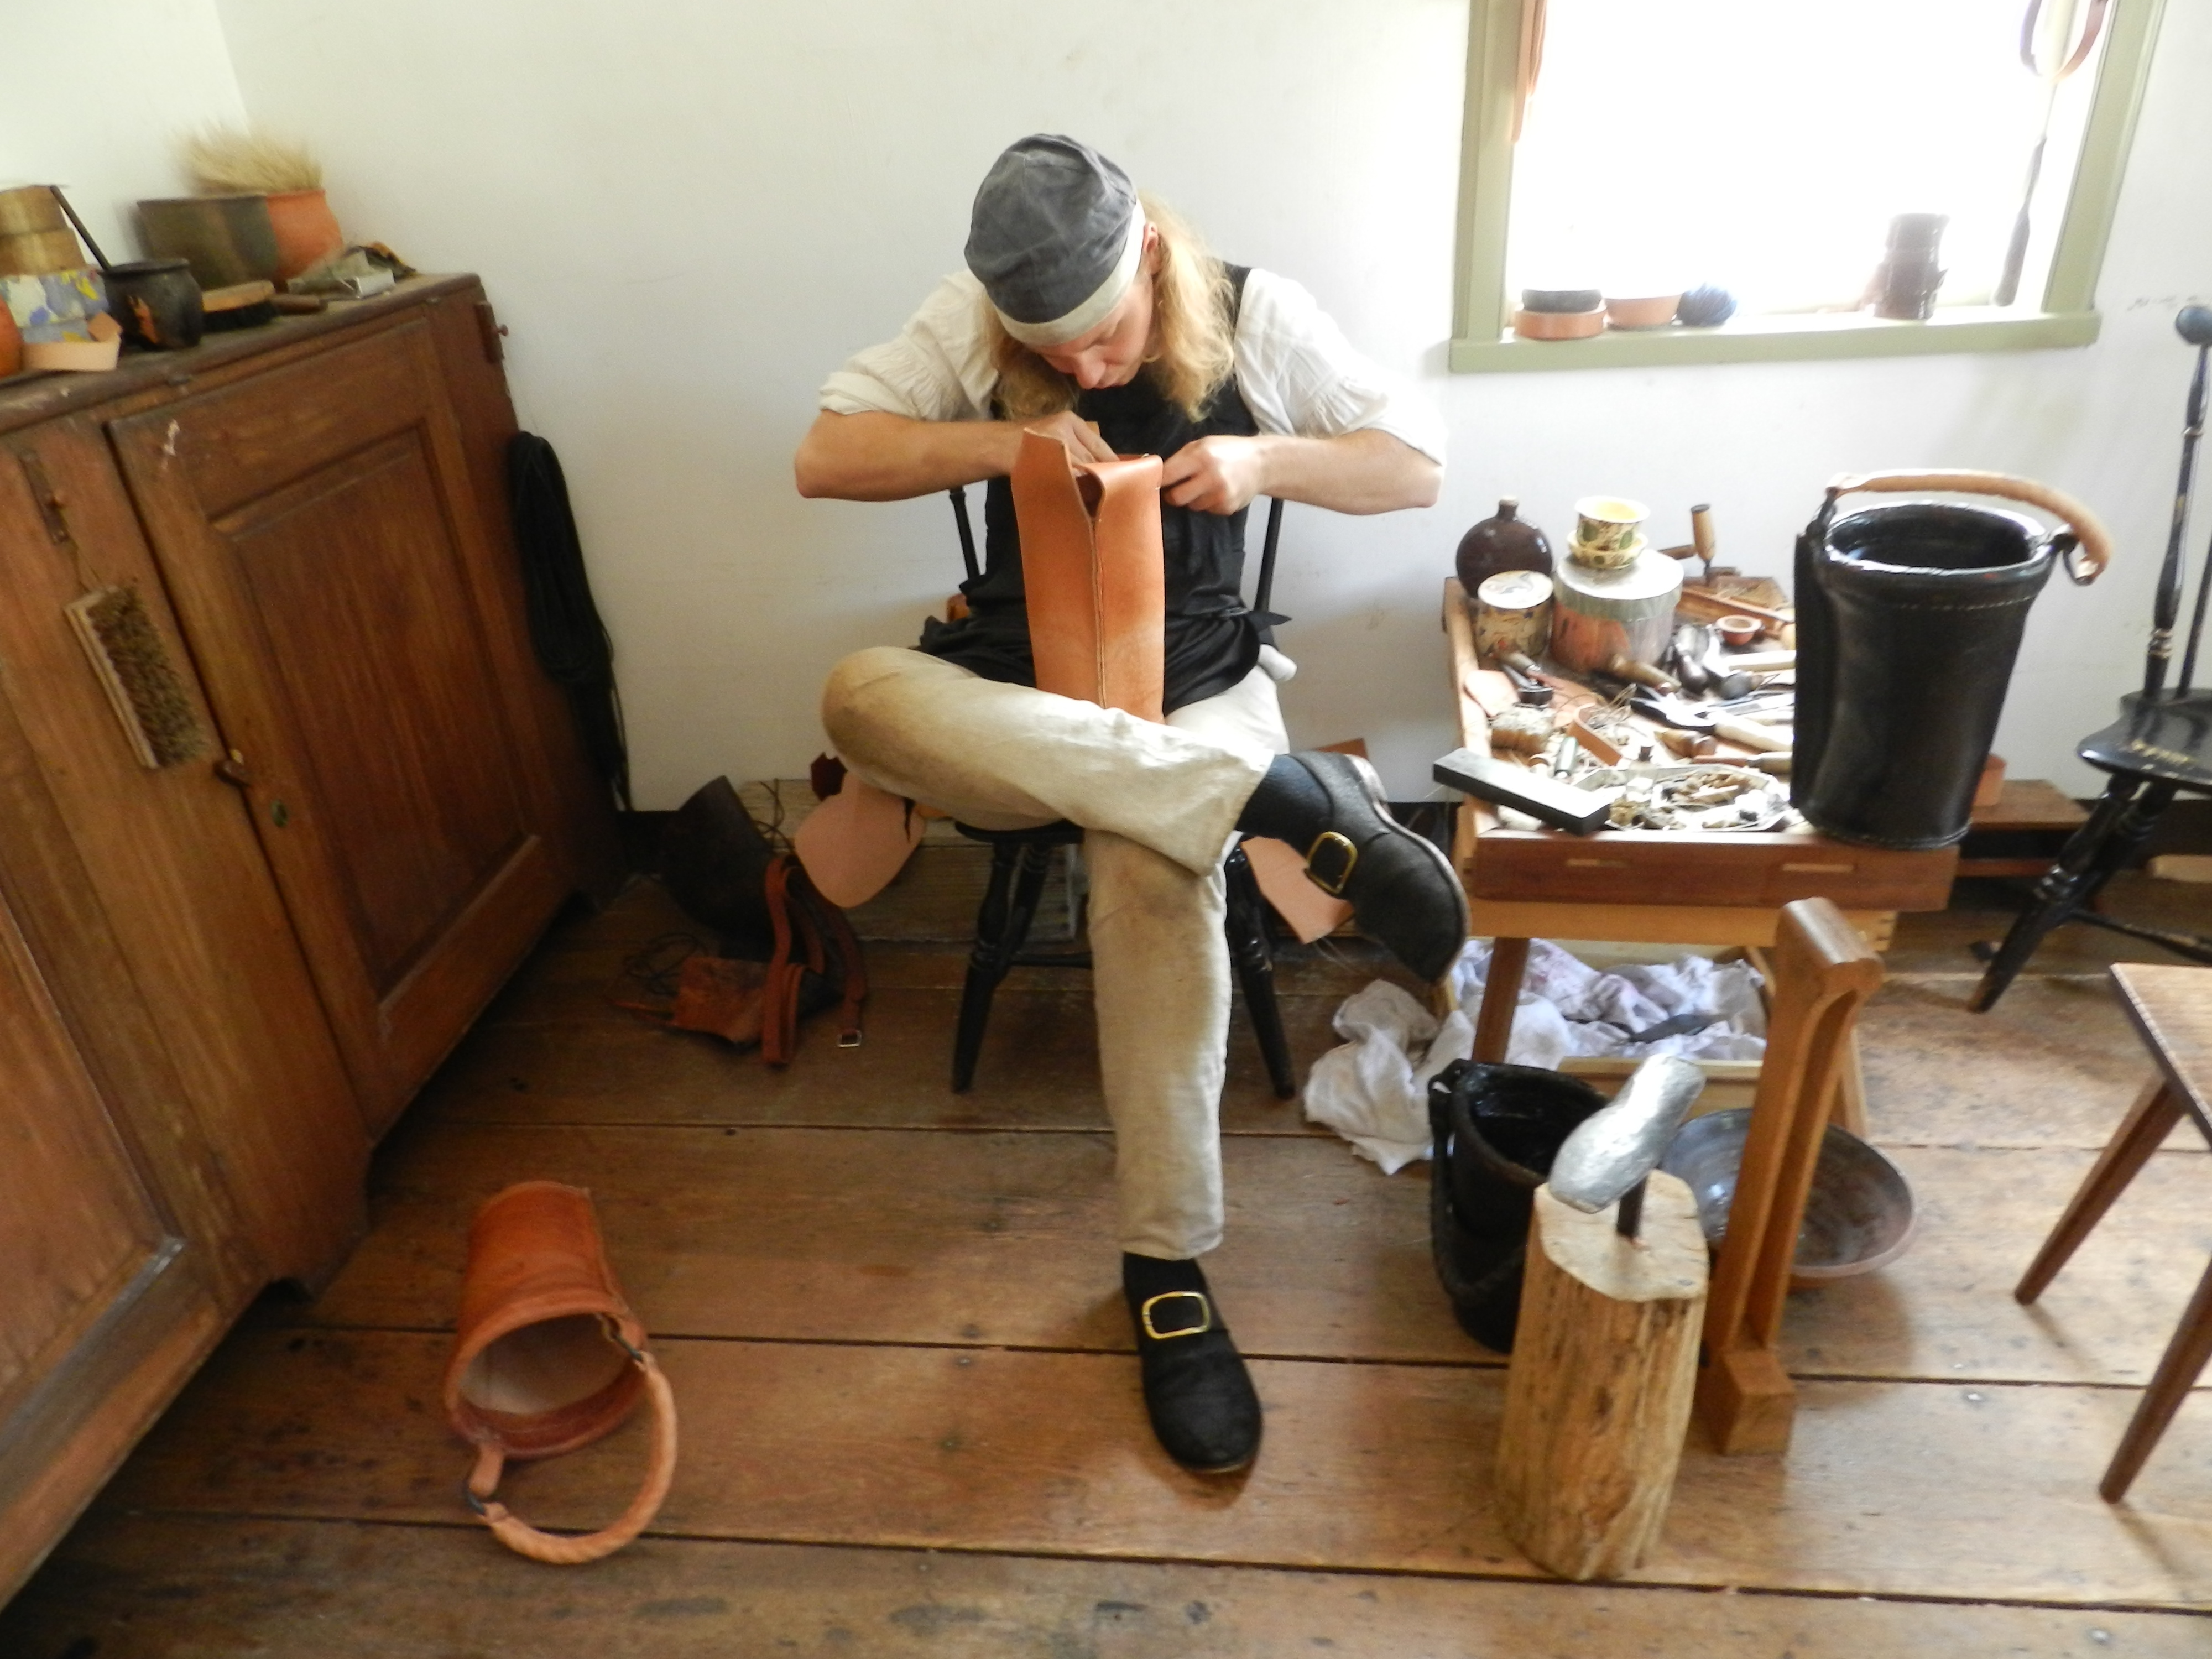
The shoemaker plying his craft — in this case making a leather bucket.
The single brother’s house was where young men of a certain age could learn the craft and ply their trade before they got married and moved on to their own homes. In the shoemaker’s shop we had a great chat with a shoemaker who was making a leather bucket which was one of the many other wares a shoemaker would make for the town.
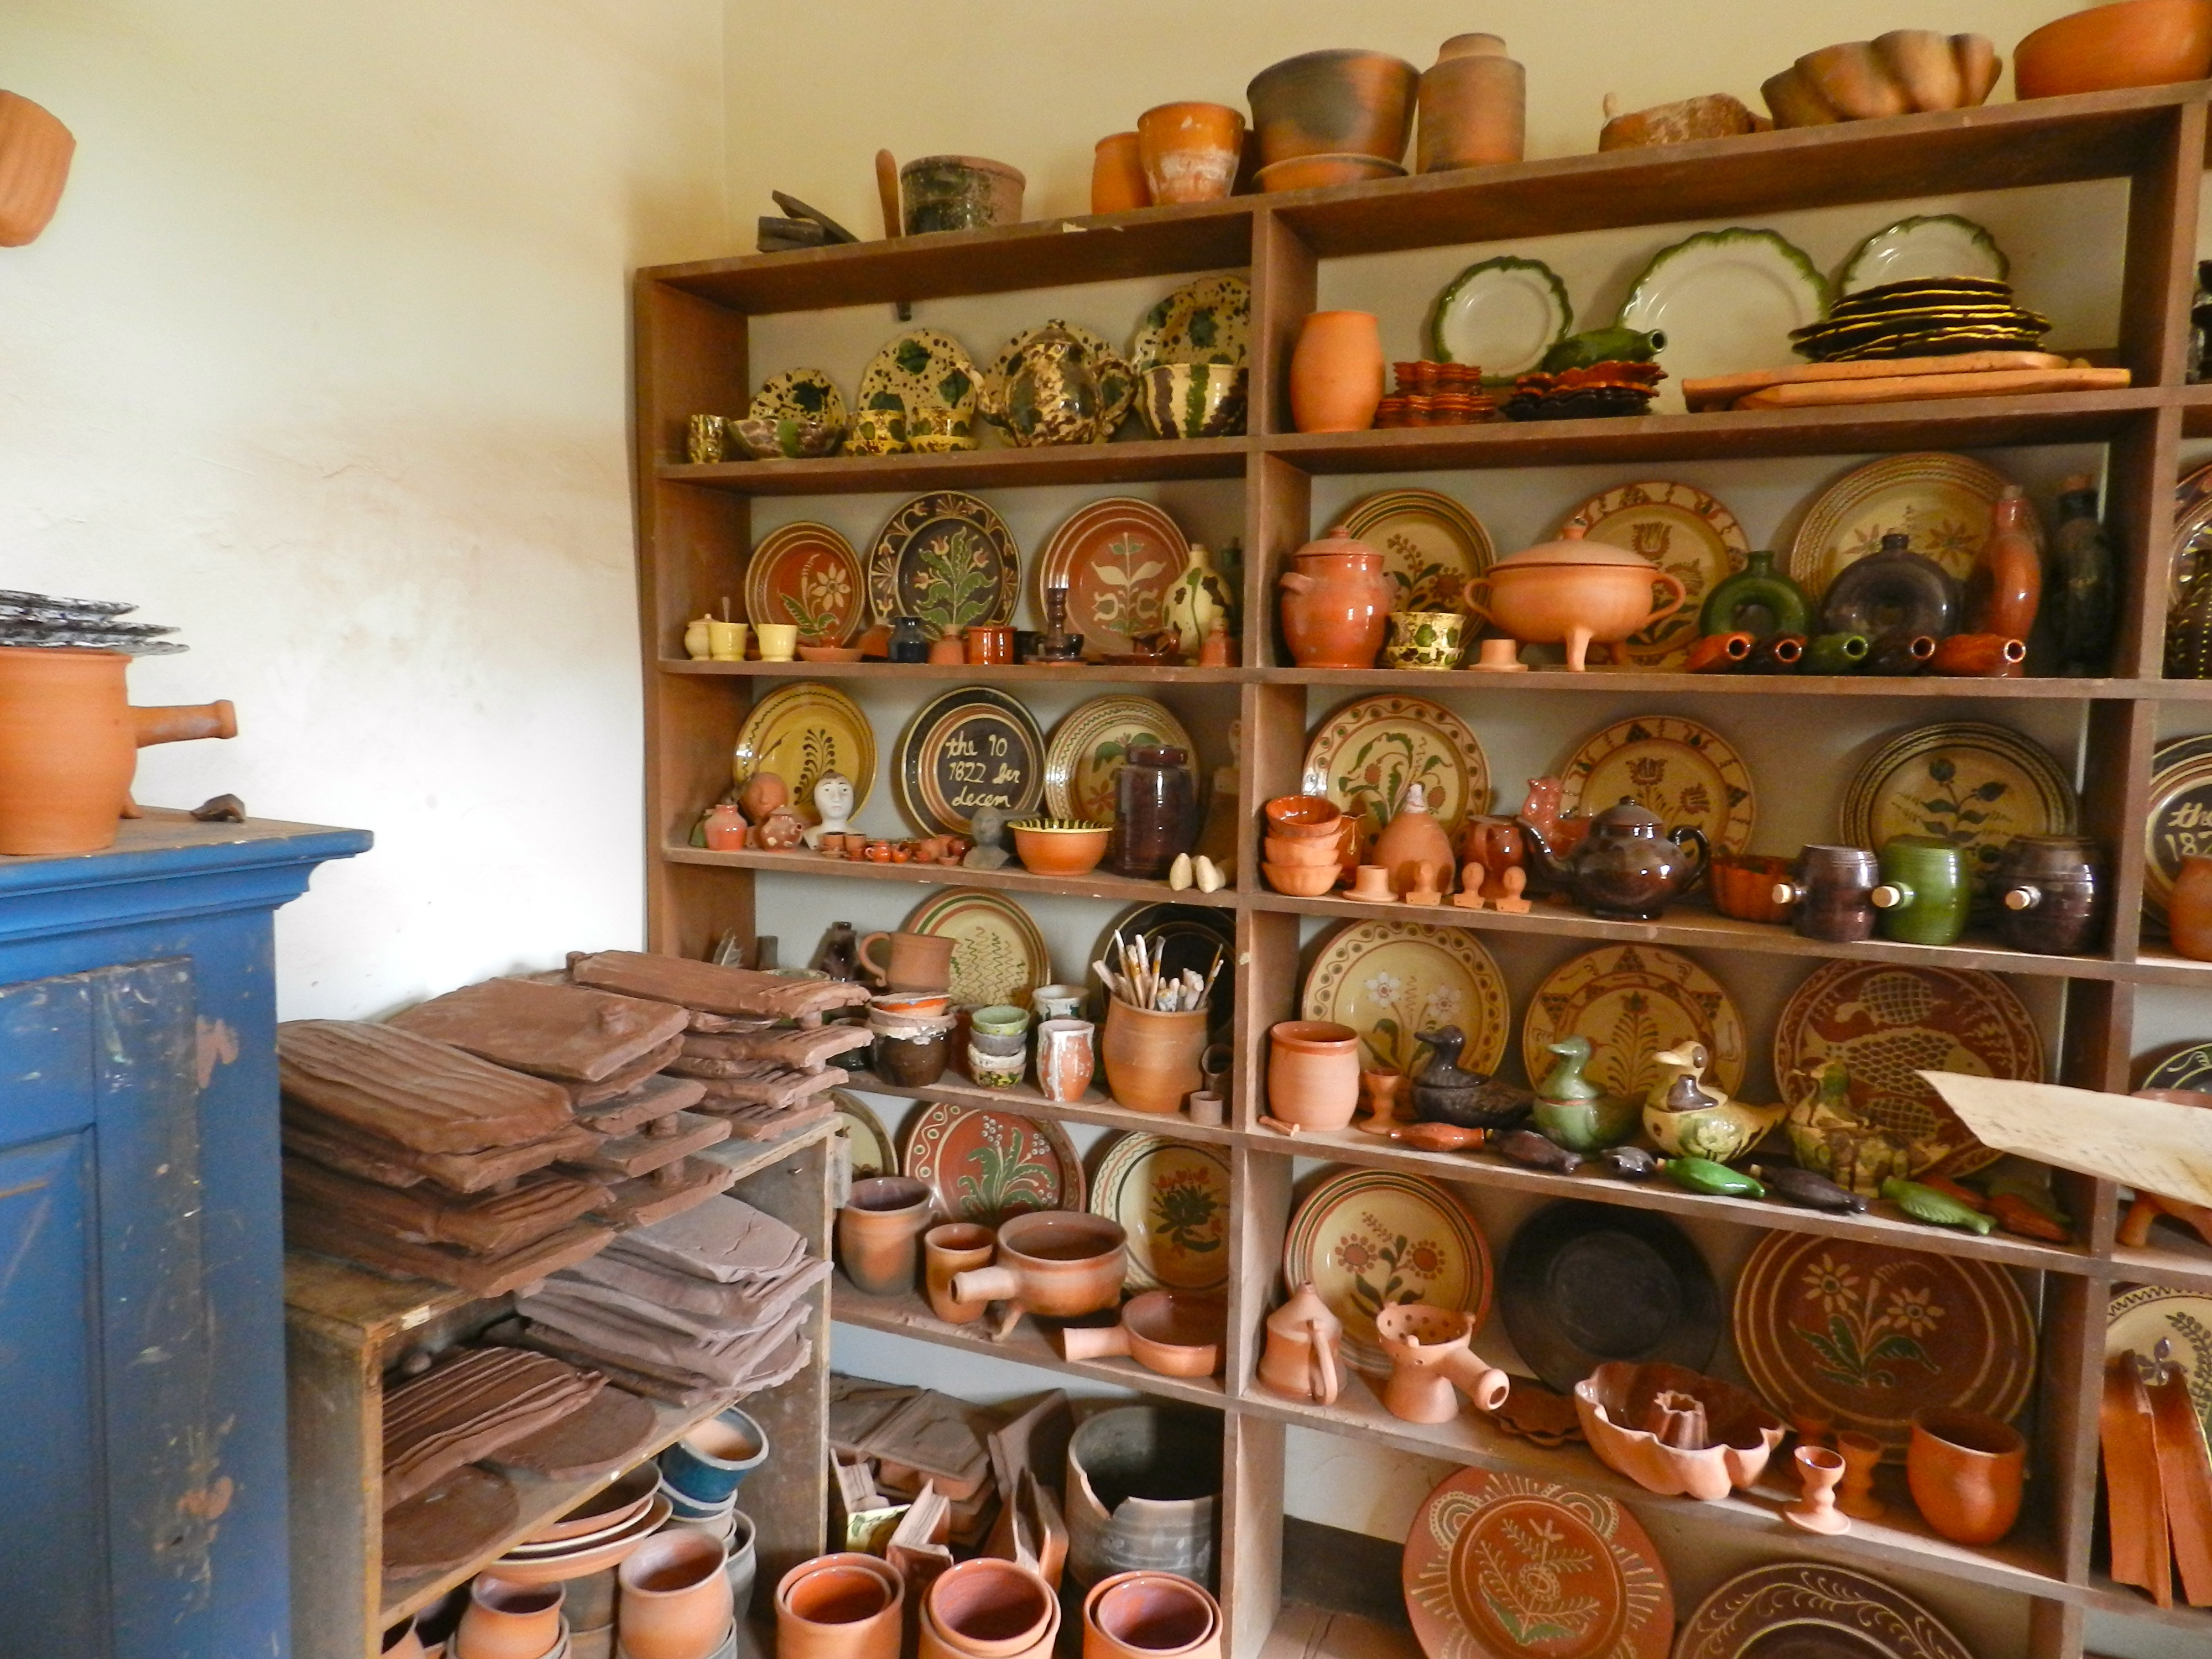
Some wares made by the Potter in his shop
In the potter’s workshop you could see on display a wide variety of earthenware dishes, cups, and other ceramic objects. Most interesting to me were the ceramic tile shingles which you can see in the restored village.
Other trades on display were the gunsmith, apothecary, tailor, tinsmith and gardeners.
If you’d like to learn more about the craftsmen and women who work in the historic trades at Old Salem you can read more here.
If you are ever in the Winston-Salem area I highly recommend visiting Old Salem and checking out the workshops.
When looking at the historic prices of tools, even after converting the dollar amounts into today’s prices it often does not give a truly accurate representation of what a tool really cost the person who bought it. I remember my first job in high school working in a retail clothing store for ~$5 an hour in 1997 which was the minimum wage in NY at the time. If I went to the store to buy something, part of that decision was always based on a calculation of ‘how many hours did I have to work to buy this item?’
Hammacher Schlemmer Sloyd Knife Ad — The School Journal July 2, 1898
I wanted to apply this same logic to some of the tools in the 1900 Sloyd tool chest list we talked about here. I did some research and found that the average carpenter in 1899 made $2.30/day**. So that would mean the Sloyd cabinet full of tools which cost $11.91 would be about a week’s worth of wages to purchase — 5.17 days to be exact.
Hammacher Schlemmer Sloyd Training Bench from 1898 ad in the School Journal
This summer I had a chance to chat a bit with my cousin, master NYC woodworker James Cooper. (Or as he is known to the family — Jim)
Jim has been working in the craft for a long time and it was great to pick his brain a bit on this topic. I’ll recount some of my interview with him here:
“In 1971 we worked for $4/hr (although we were often wrong in estimating the time required) and the only catalog I could find from that era, 1973, is of a small German American maker of chisels and carving tools where Pattern Maker’s Chisels, 6mm – 30mm, sold for $7.50 – $12.50 ea…….about 2 – 3hrs of labor! Today a competent mechanic in NY can earn $25/ hr and a decent 3/4″ (19mm) chisel can be had for $25 – $40 or rather less work then I exchanged 40 yrs ago. The most important point to emphasize is that whatever the cost, good to great hand tools will last a lifetime+ and, well used and cared for, will feed you for all that time, while never loosing value.
The early 20th Century Bailey 07 plane that I picked up, used but cleaned, at a flee market in 1981 for $100 (which at that time was about the cost of a new British Stanley) is worth $200+ today after my having used it for countless hours to realize 100s of projects over all that time…and it outperformed the British Stanley to boot! The $100 Bailey bought in 1981 was less then a days labor (about $125 / day at that time)!” — Jim Cooper
Taking the 3/4″ firmer gouge as an example I tried to plot it over time, and here are my findings so far:
Year
Price
Avg Pay Rate
Time to earn it
Notes
1900
$0.34
$0.23/hr
1.48 hours work
$2.30/day, so assuming an 10 hour day for hourly rate at the time
1973
$10.00
$4.00/hr
2.5 Hours
Assumption that during this time was potentially a low water mark for availability of quality tools in the US — all the old makers were on their way out, and new high end tools were only getting started
1981
$20.50
$12.50/hr
1.64 Hours
Based on estimate of about $125/day and assuming a 10 hour day. Price of tool inflation adjusted from 1973 data point. Note also this was the time of a large global recession.
2013
$49.99
$25.00/hr
2 Hours
Based on current price of a Henry Taylor 3/4″ in-cannel gouge from Traditional Woodworker which is very similar to that original gouge in the Sloyd tool chest
If any of my readers have some additional data points, I’d be happy to flesh this out more — especially before and after the world wars. So if you have an old tool catalog with prices from an earlier time (especially for a 3/4″ firmer gouge) or recall and are willing to share your pay rate at an earlier time (either hourly or daily) I would be happy to flesh this out more and see what else the data can teach us.
My conclusions based on all of this?
The availability of good quality tools, societies’ willingness to pay a craftsman a fair wage, tax codes, the macro-economic climate and the ability to find work in that field have all fluctuated over time which makes it hard to draw a lot of concrete conclusions without befriending an economist or gathering a lot more data. But having said that, I think all craftsmen and women have at one time or another done the mental calculation of current wage versus the price of that new tool and thought to themselves ‘I really need to charge a higher rate’ 😉
What to you think? There are only so many working hours in a lifetime. Are you spending more on tools today relative to your hourly wage compared to earlier decades? Or are you coping in other ways? (Refurbishing old tools etc which still takes up a lot of time). I’m interested to hear your thoughts in the comments below.
Most people relax on their summer vacation. After a day on a beach I get antsy and need to keep moving, exploring and building. For the second year in a row I spent my vacation last week sharing my passion for the craft by teaching the 8 day intensive that is part of the semester long ‘Traditional Building’ class I teach at the Boston Architectural College (BAC) in association with the North Bennett Street School.
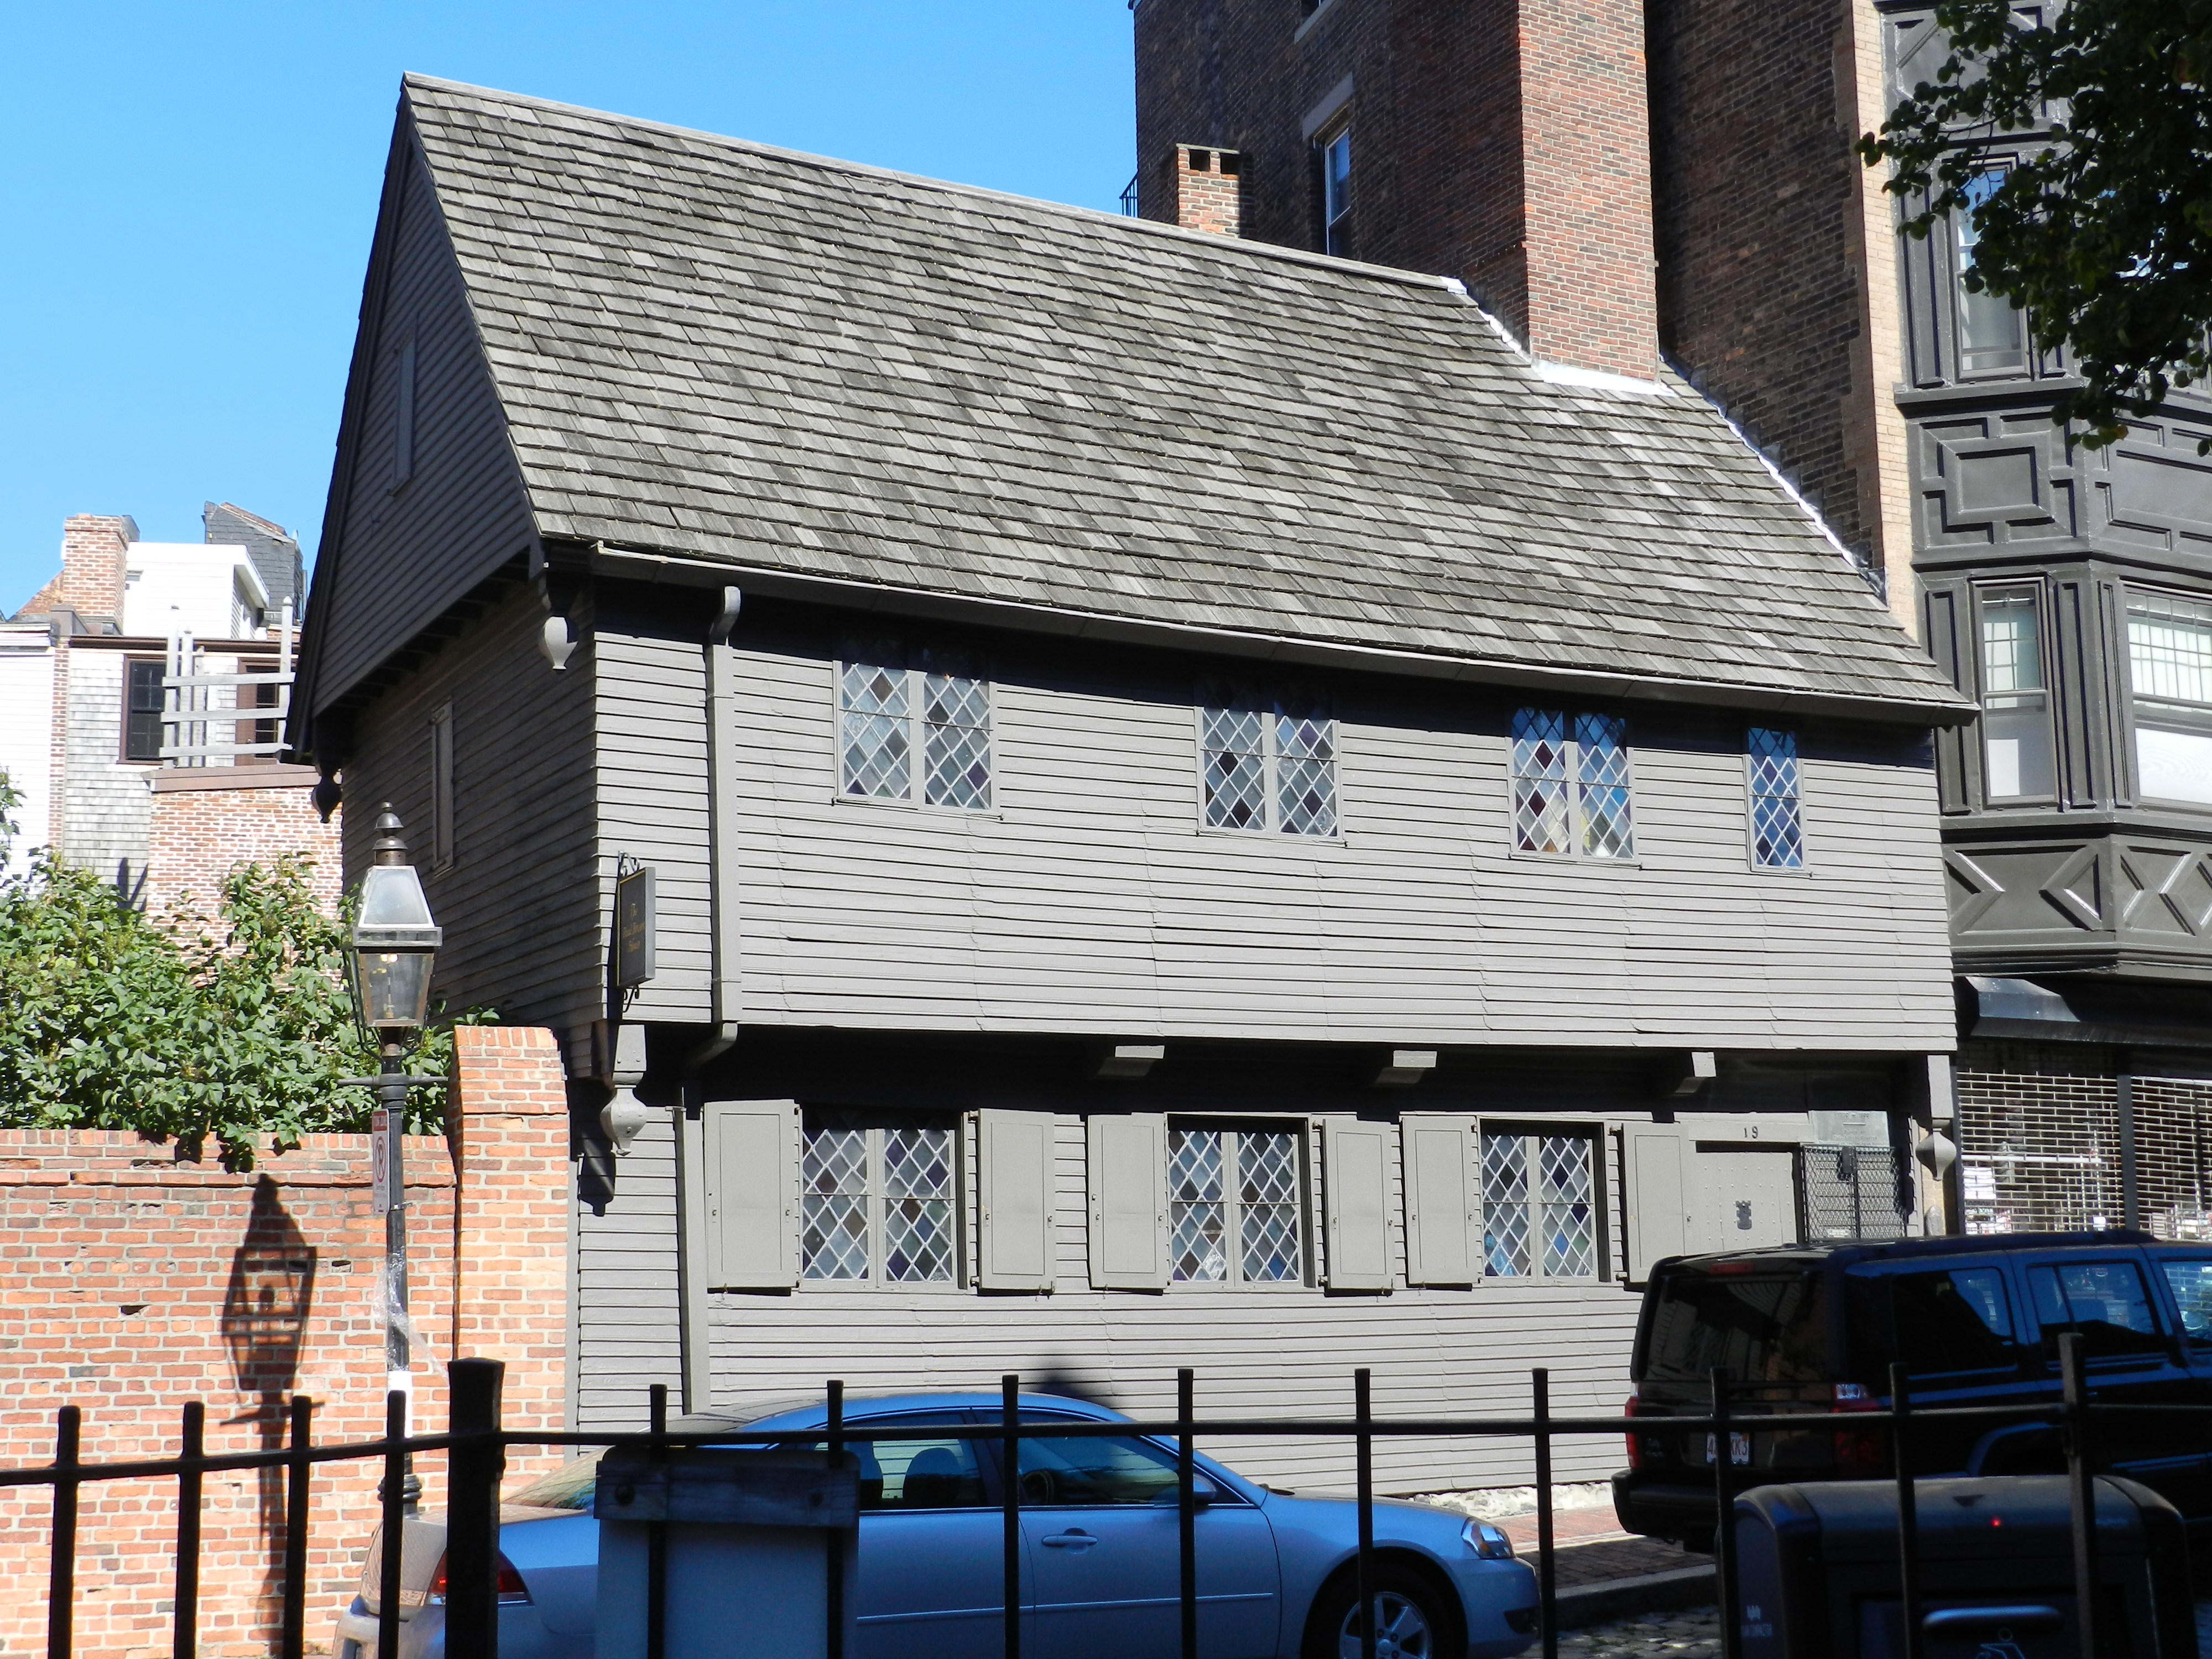
The Paul Revere House, Boston, MA
The class is part of the low residency Master’s Degree in Historic Preservation at the BAC. In this 8 week long class, 7 weeks are online with a series of interactive lectures/discussions and traditional coursework and one 8 day week is spent with the entire class in Boston participating in a hands on format. This works great for students who need to juggle work, family and other obligations while also seeking a quality degree on the way to a new or expanded career path.
Touring historic homes and buildings with Steve O’Shaughnessy
On the first full day of class we took a walking tour of the city with Steve O’Shaughnessy (NBSS Preservation Carpentry Instructor) visiting several historic house museums and notable structures in Boston. Having worked for Historic New England, Steve is an excellent tour guide with a lot of great information to share.
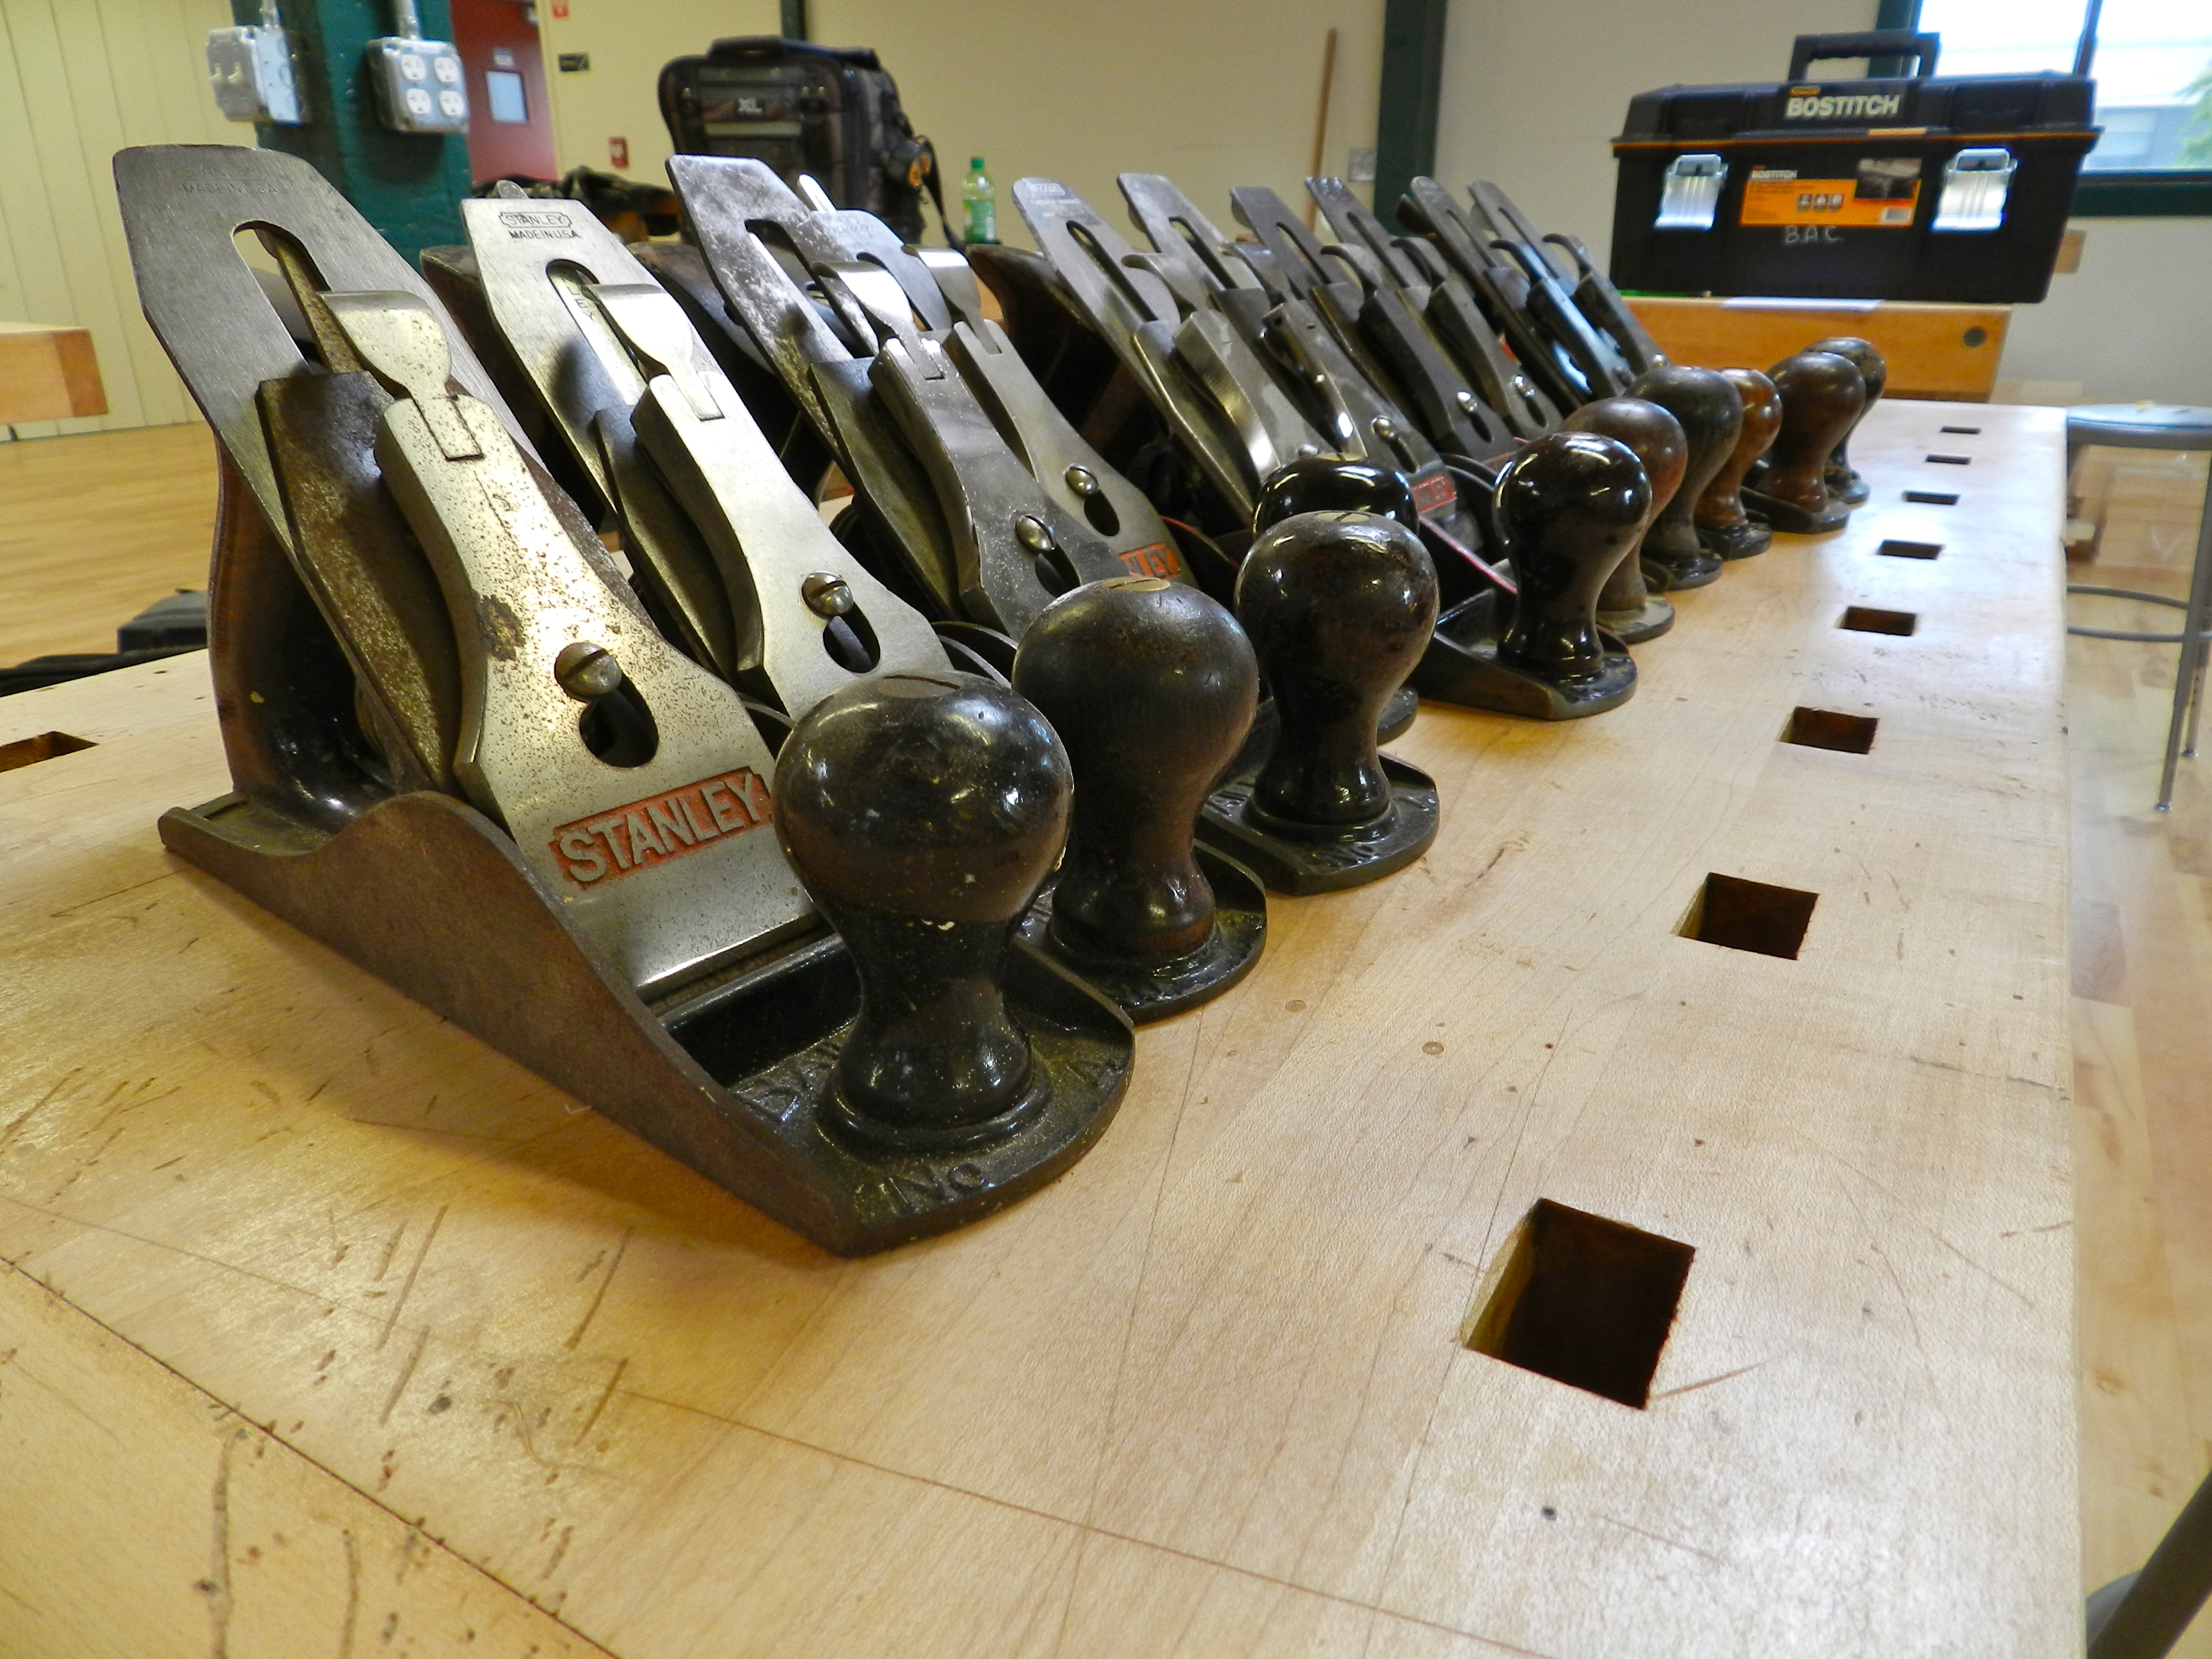
Traditional Woodworking with Bill Rainford
The second day I spent the morning teaching the basics of traditional woodworking — using a smoothing plane, molding planes, drilling, chiseling and other basic bench work.
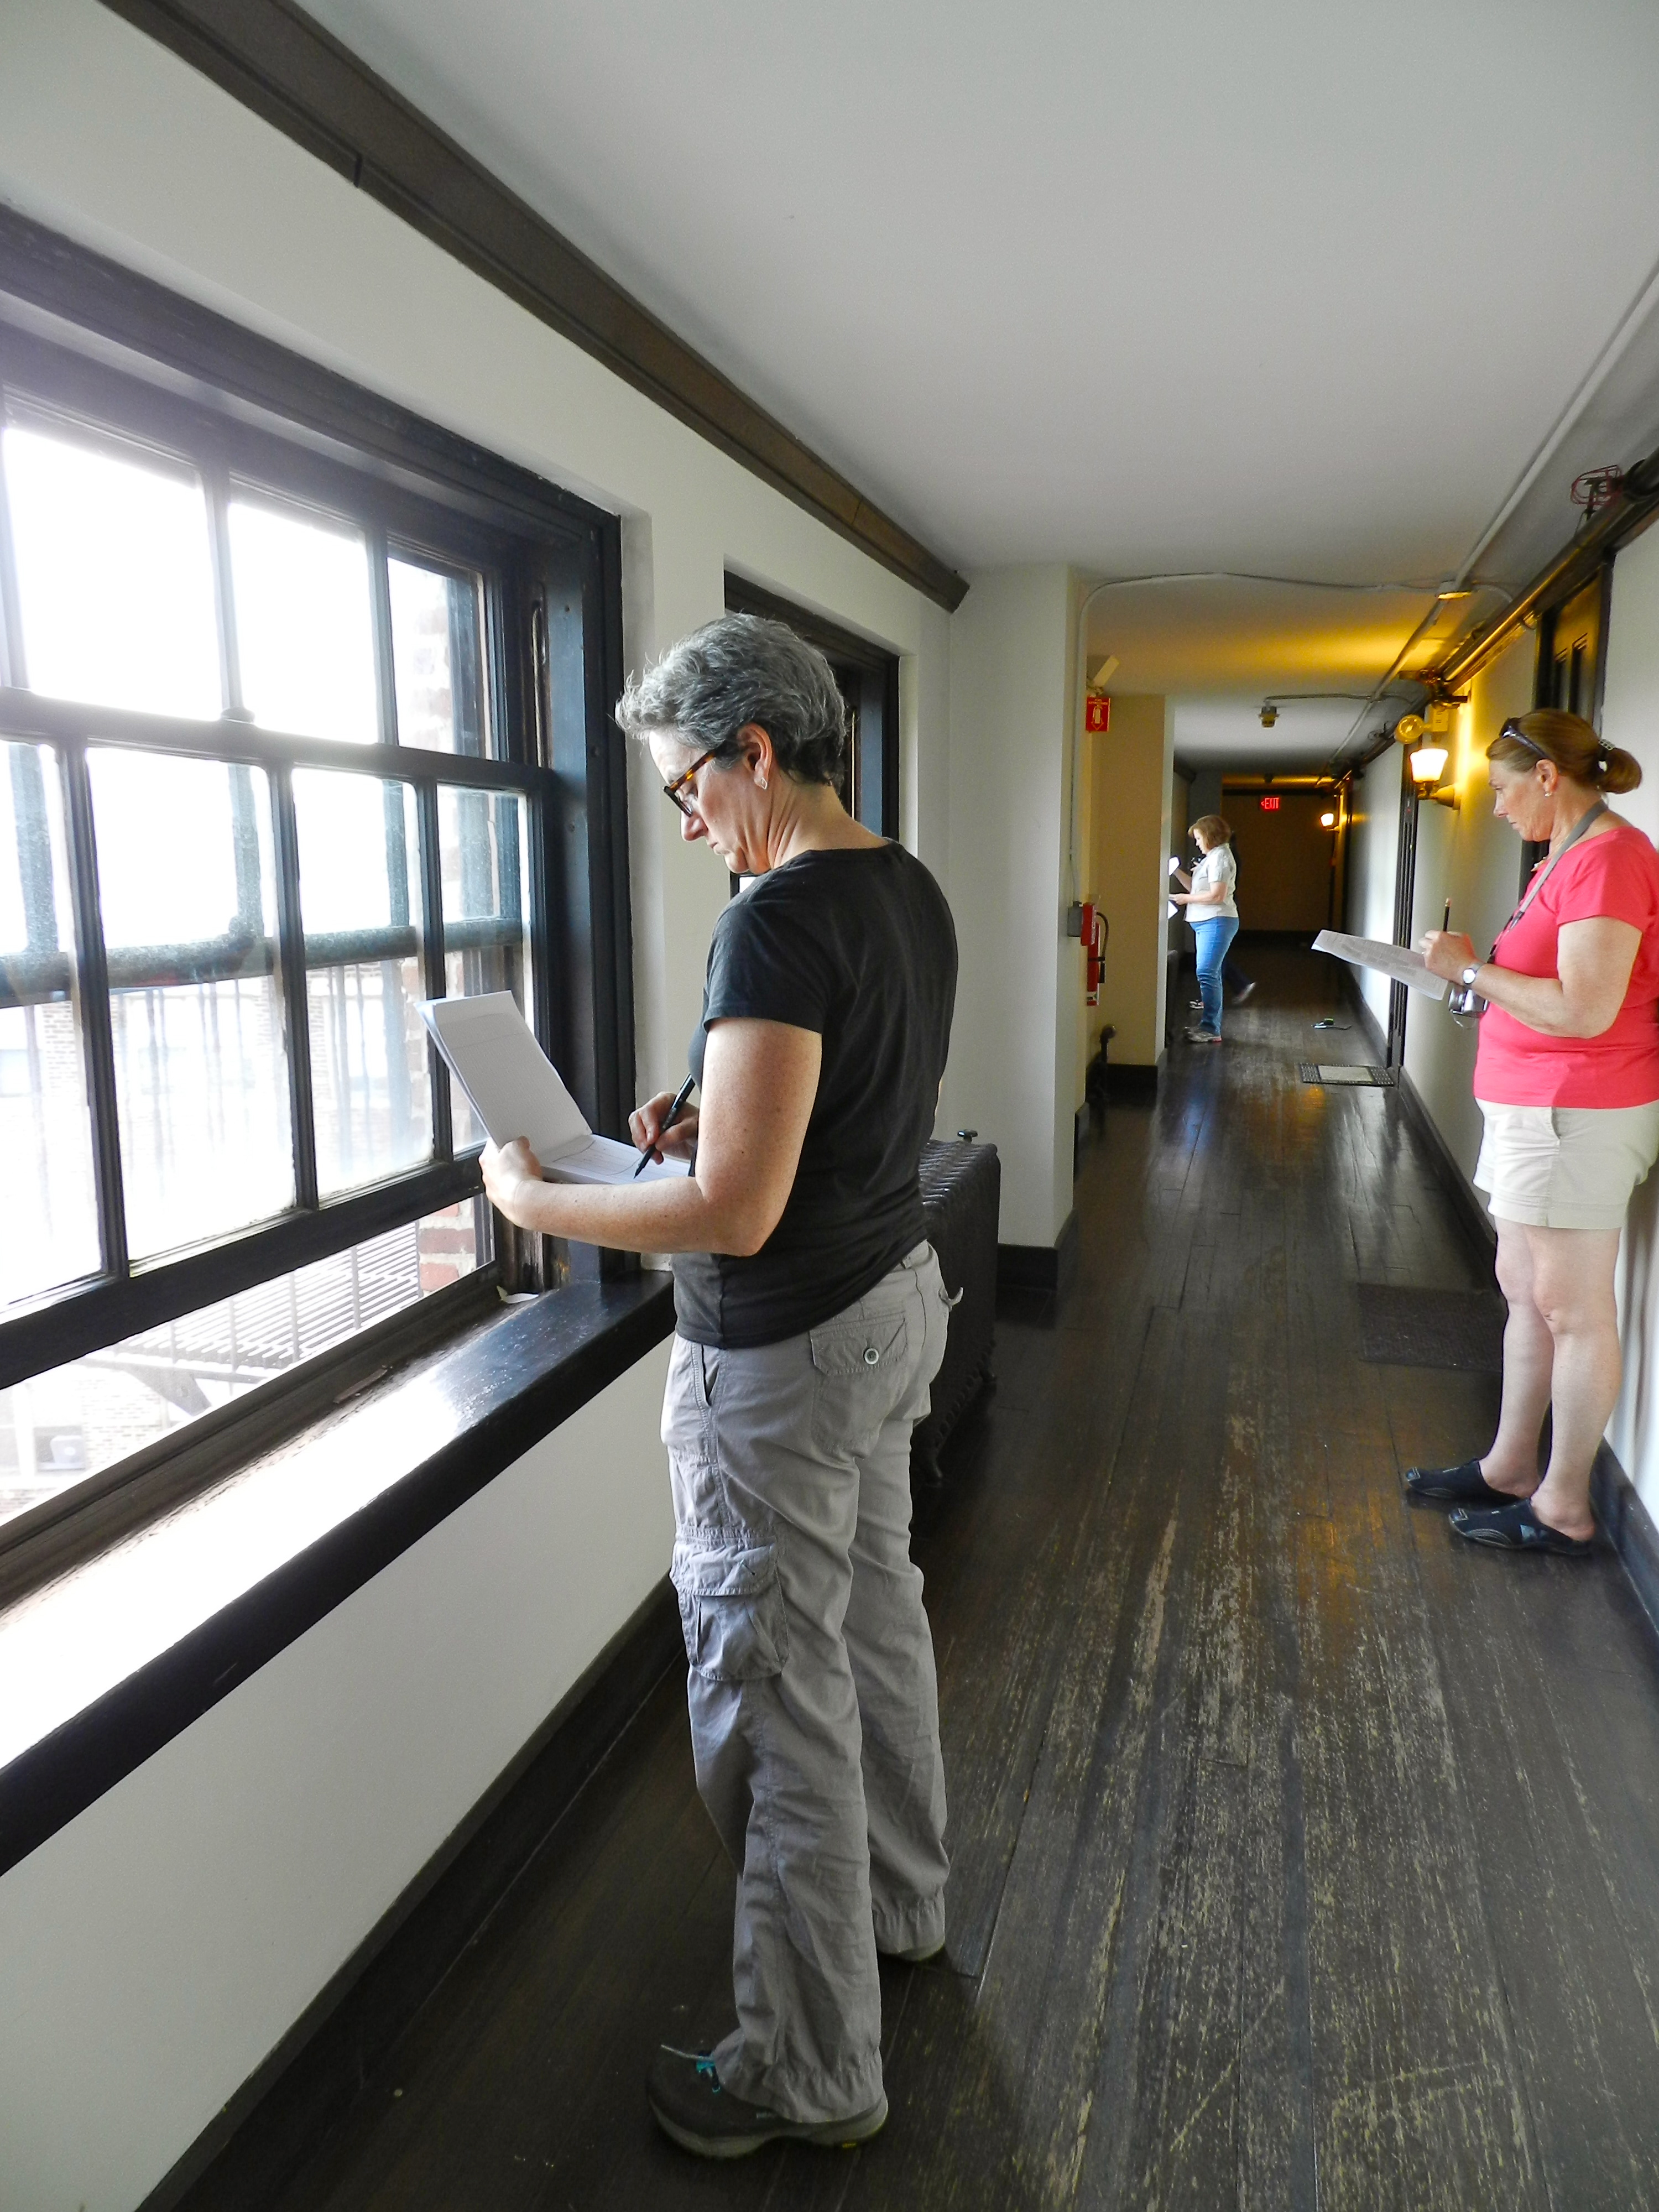
Field Work at Fenway Studios
In the afternoon I taught the class about window restoration, window reproduction and condition assessment reports. We then went out to do some field work at the historic Fenway Studios.
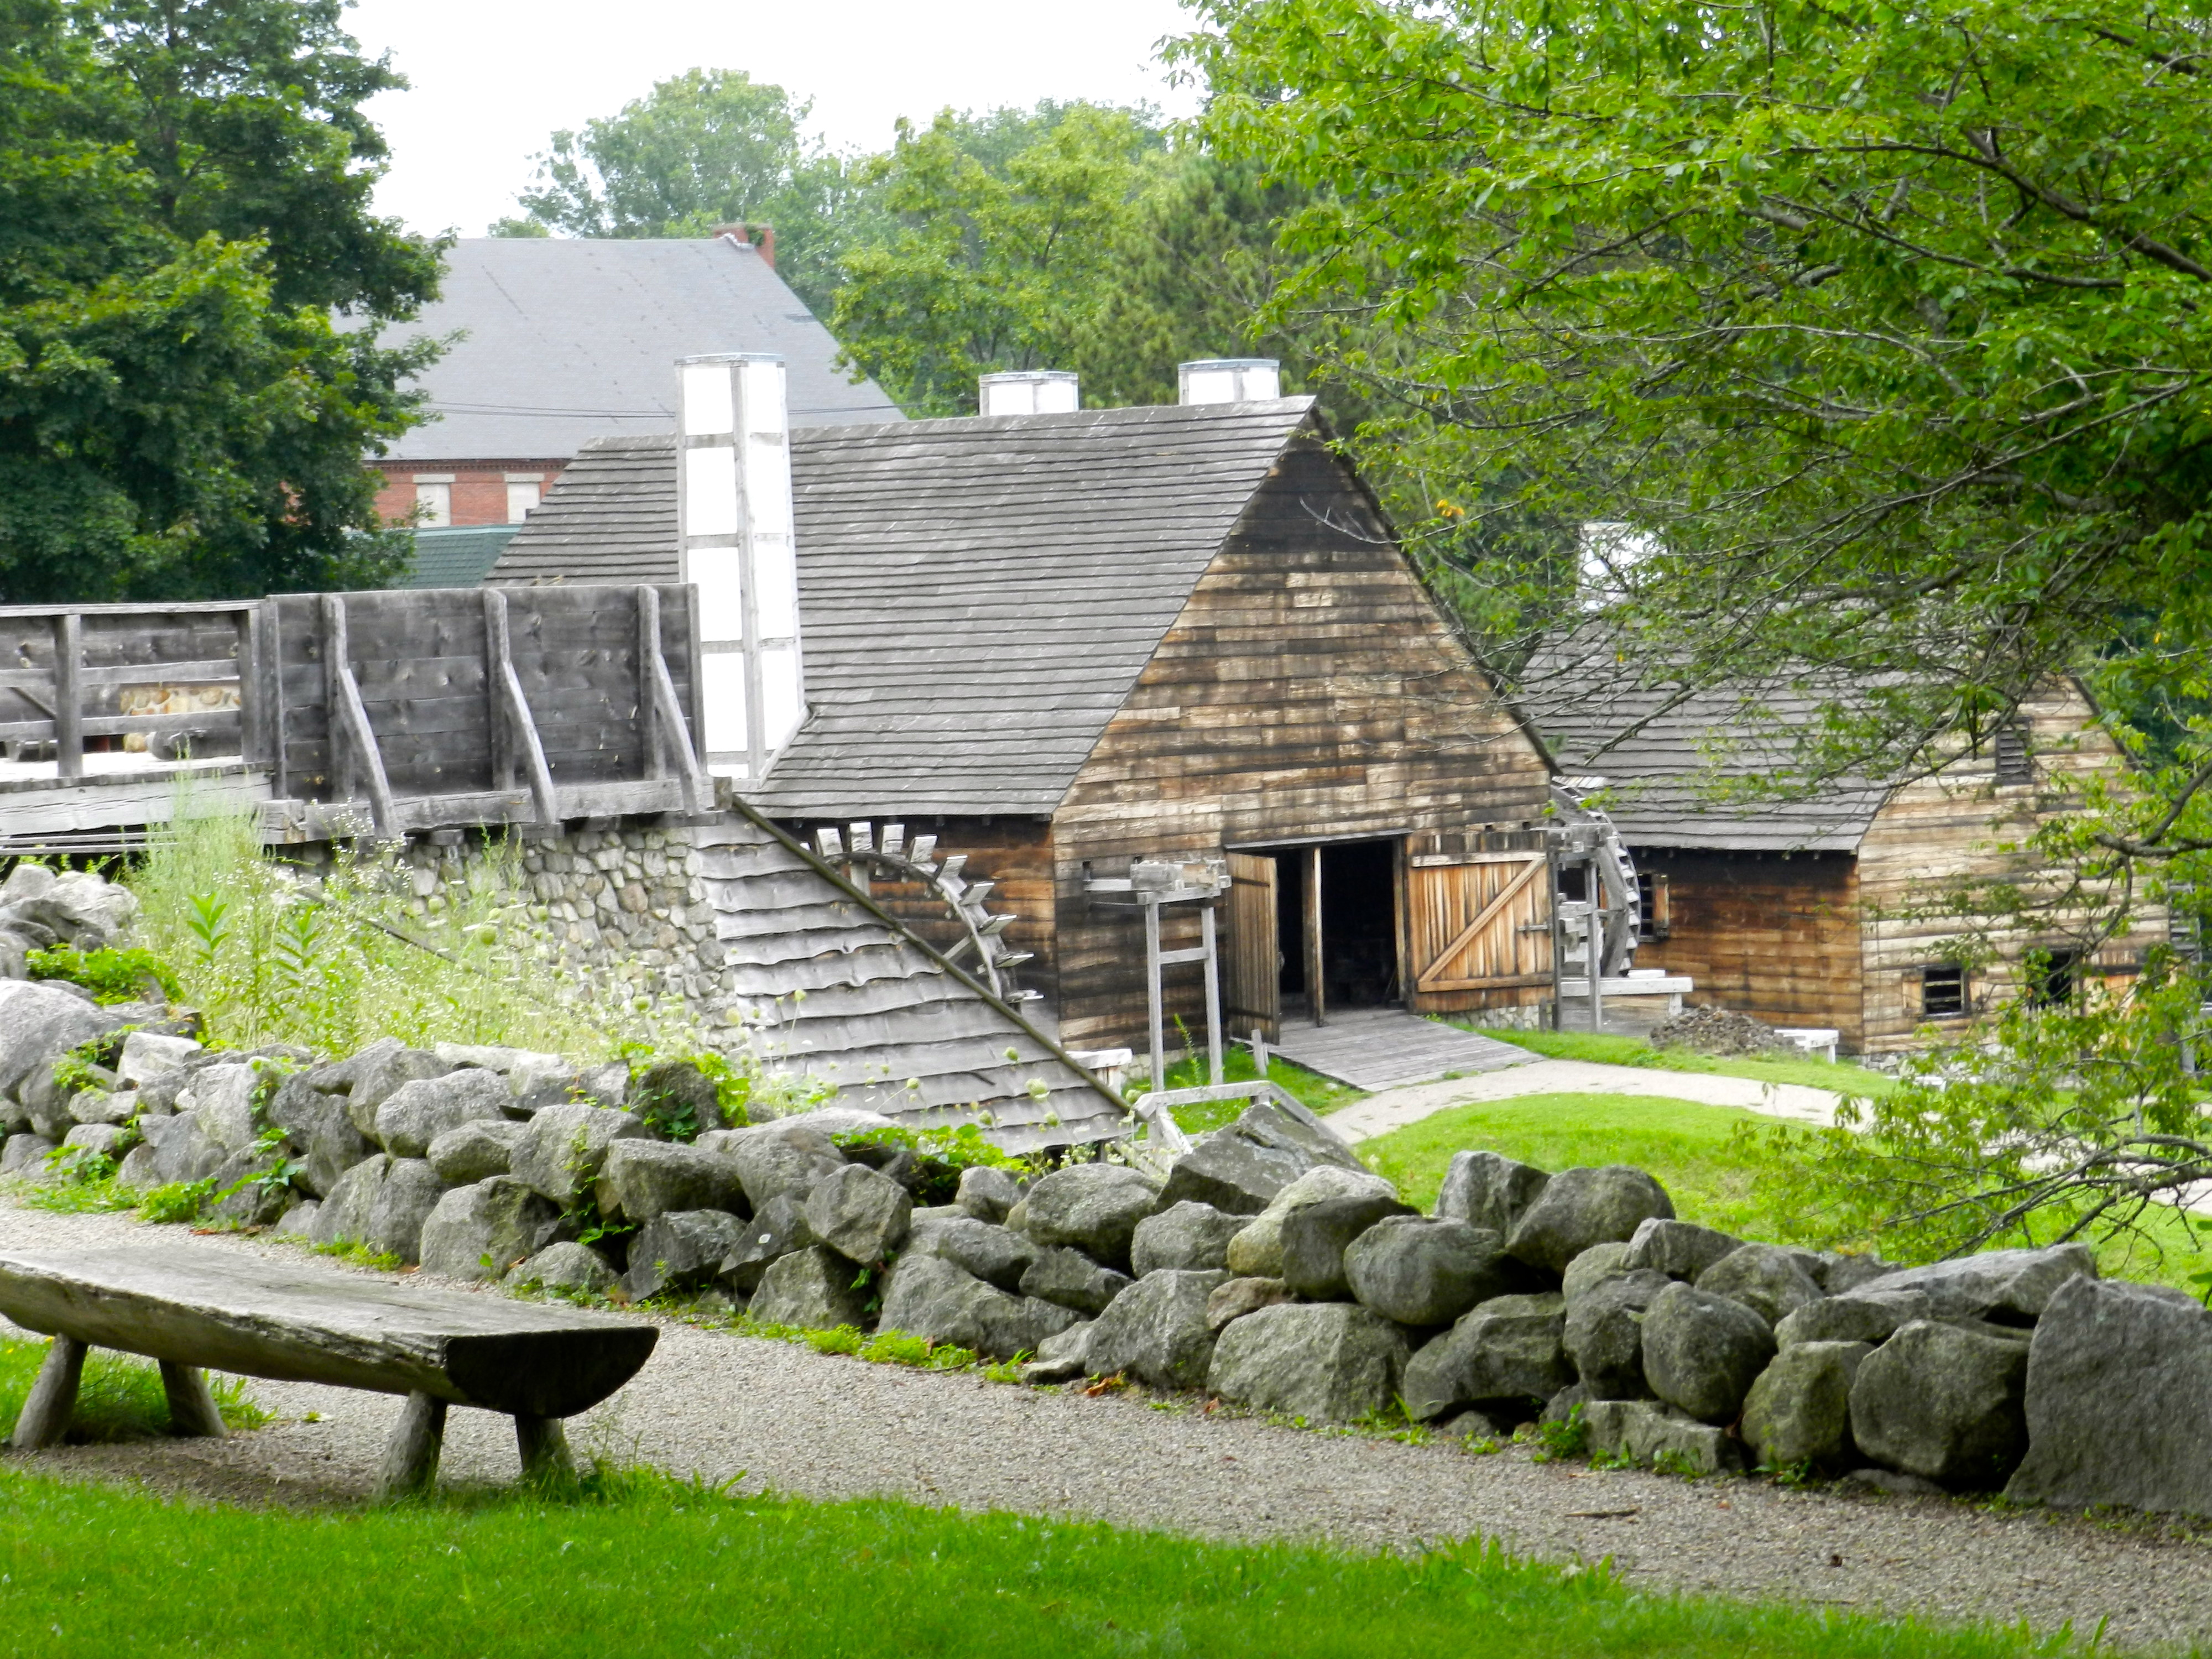
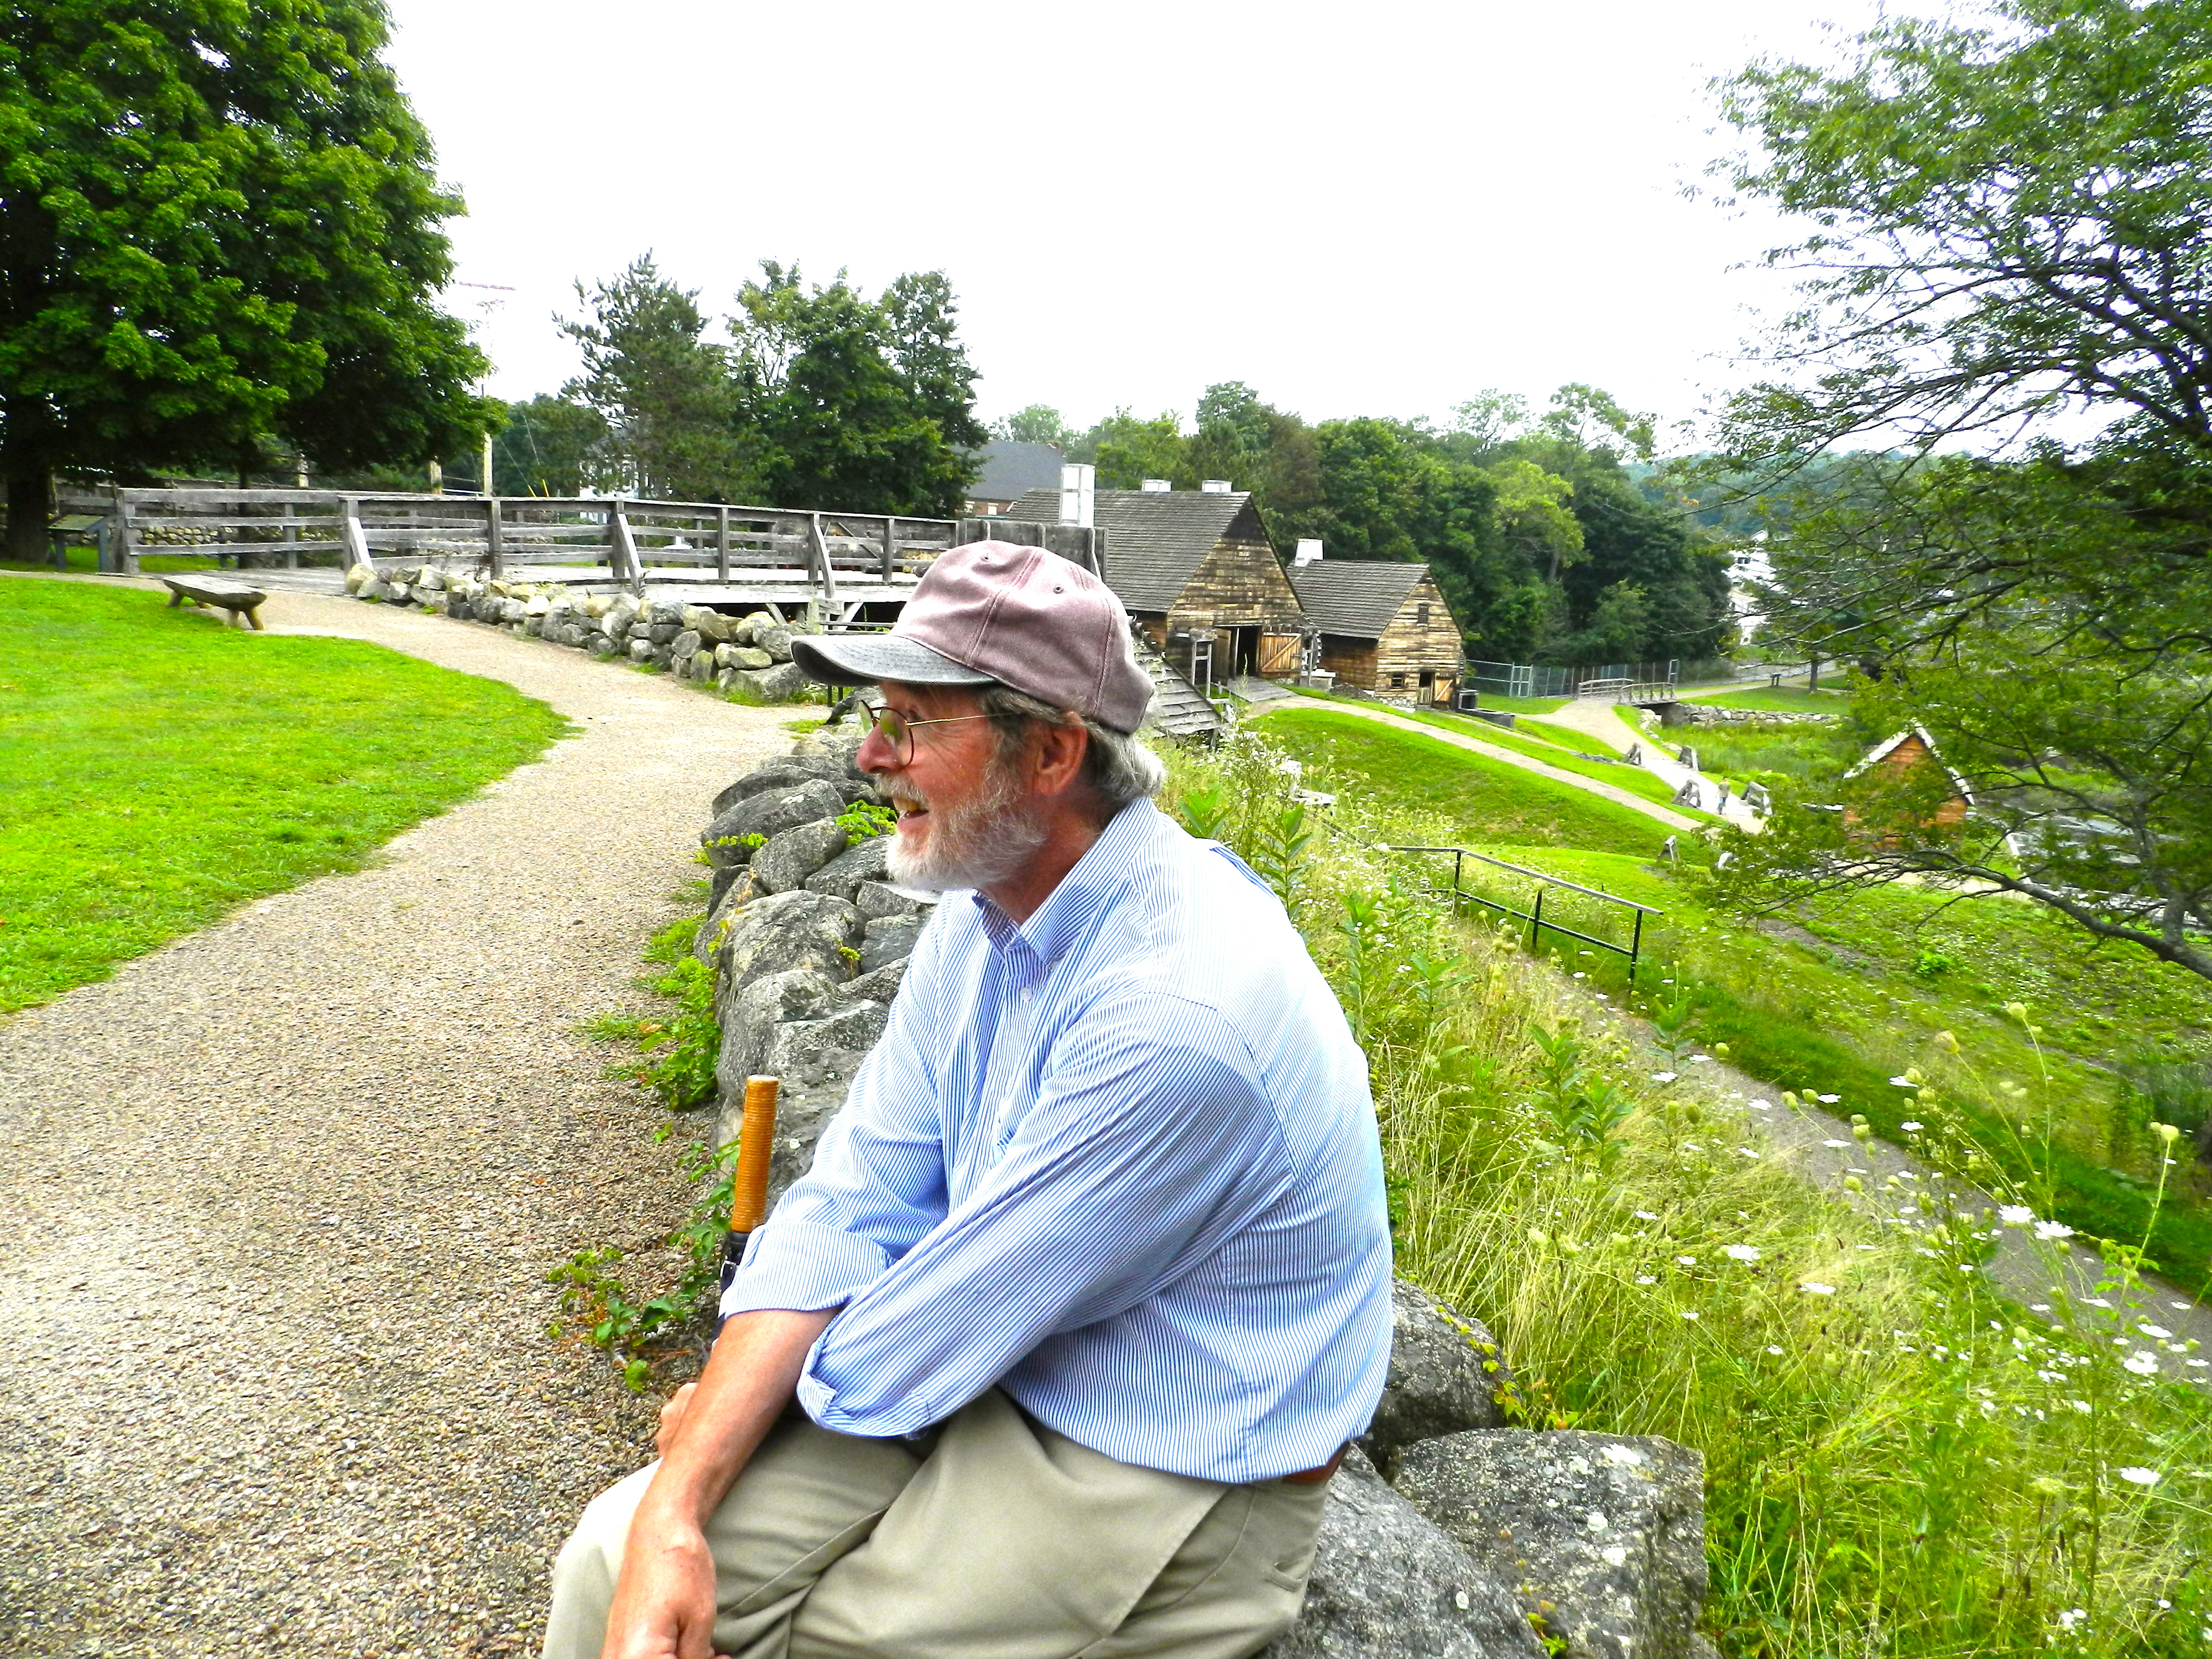
The Saugus Ironworks
Next up we visited the Saugus Ironworks which is a National Historic Park. Senior Park Ranger Curtis White was on hand to guide us through this landmark site and enthusiastically share with us his latest research about historic ironwork. (He’s a great resource and if you ever visit the park and run into him, tell him I sent you. )
Ranger Curtis White explaining how the ironworks produced iron
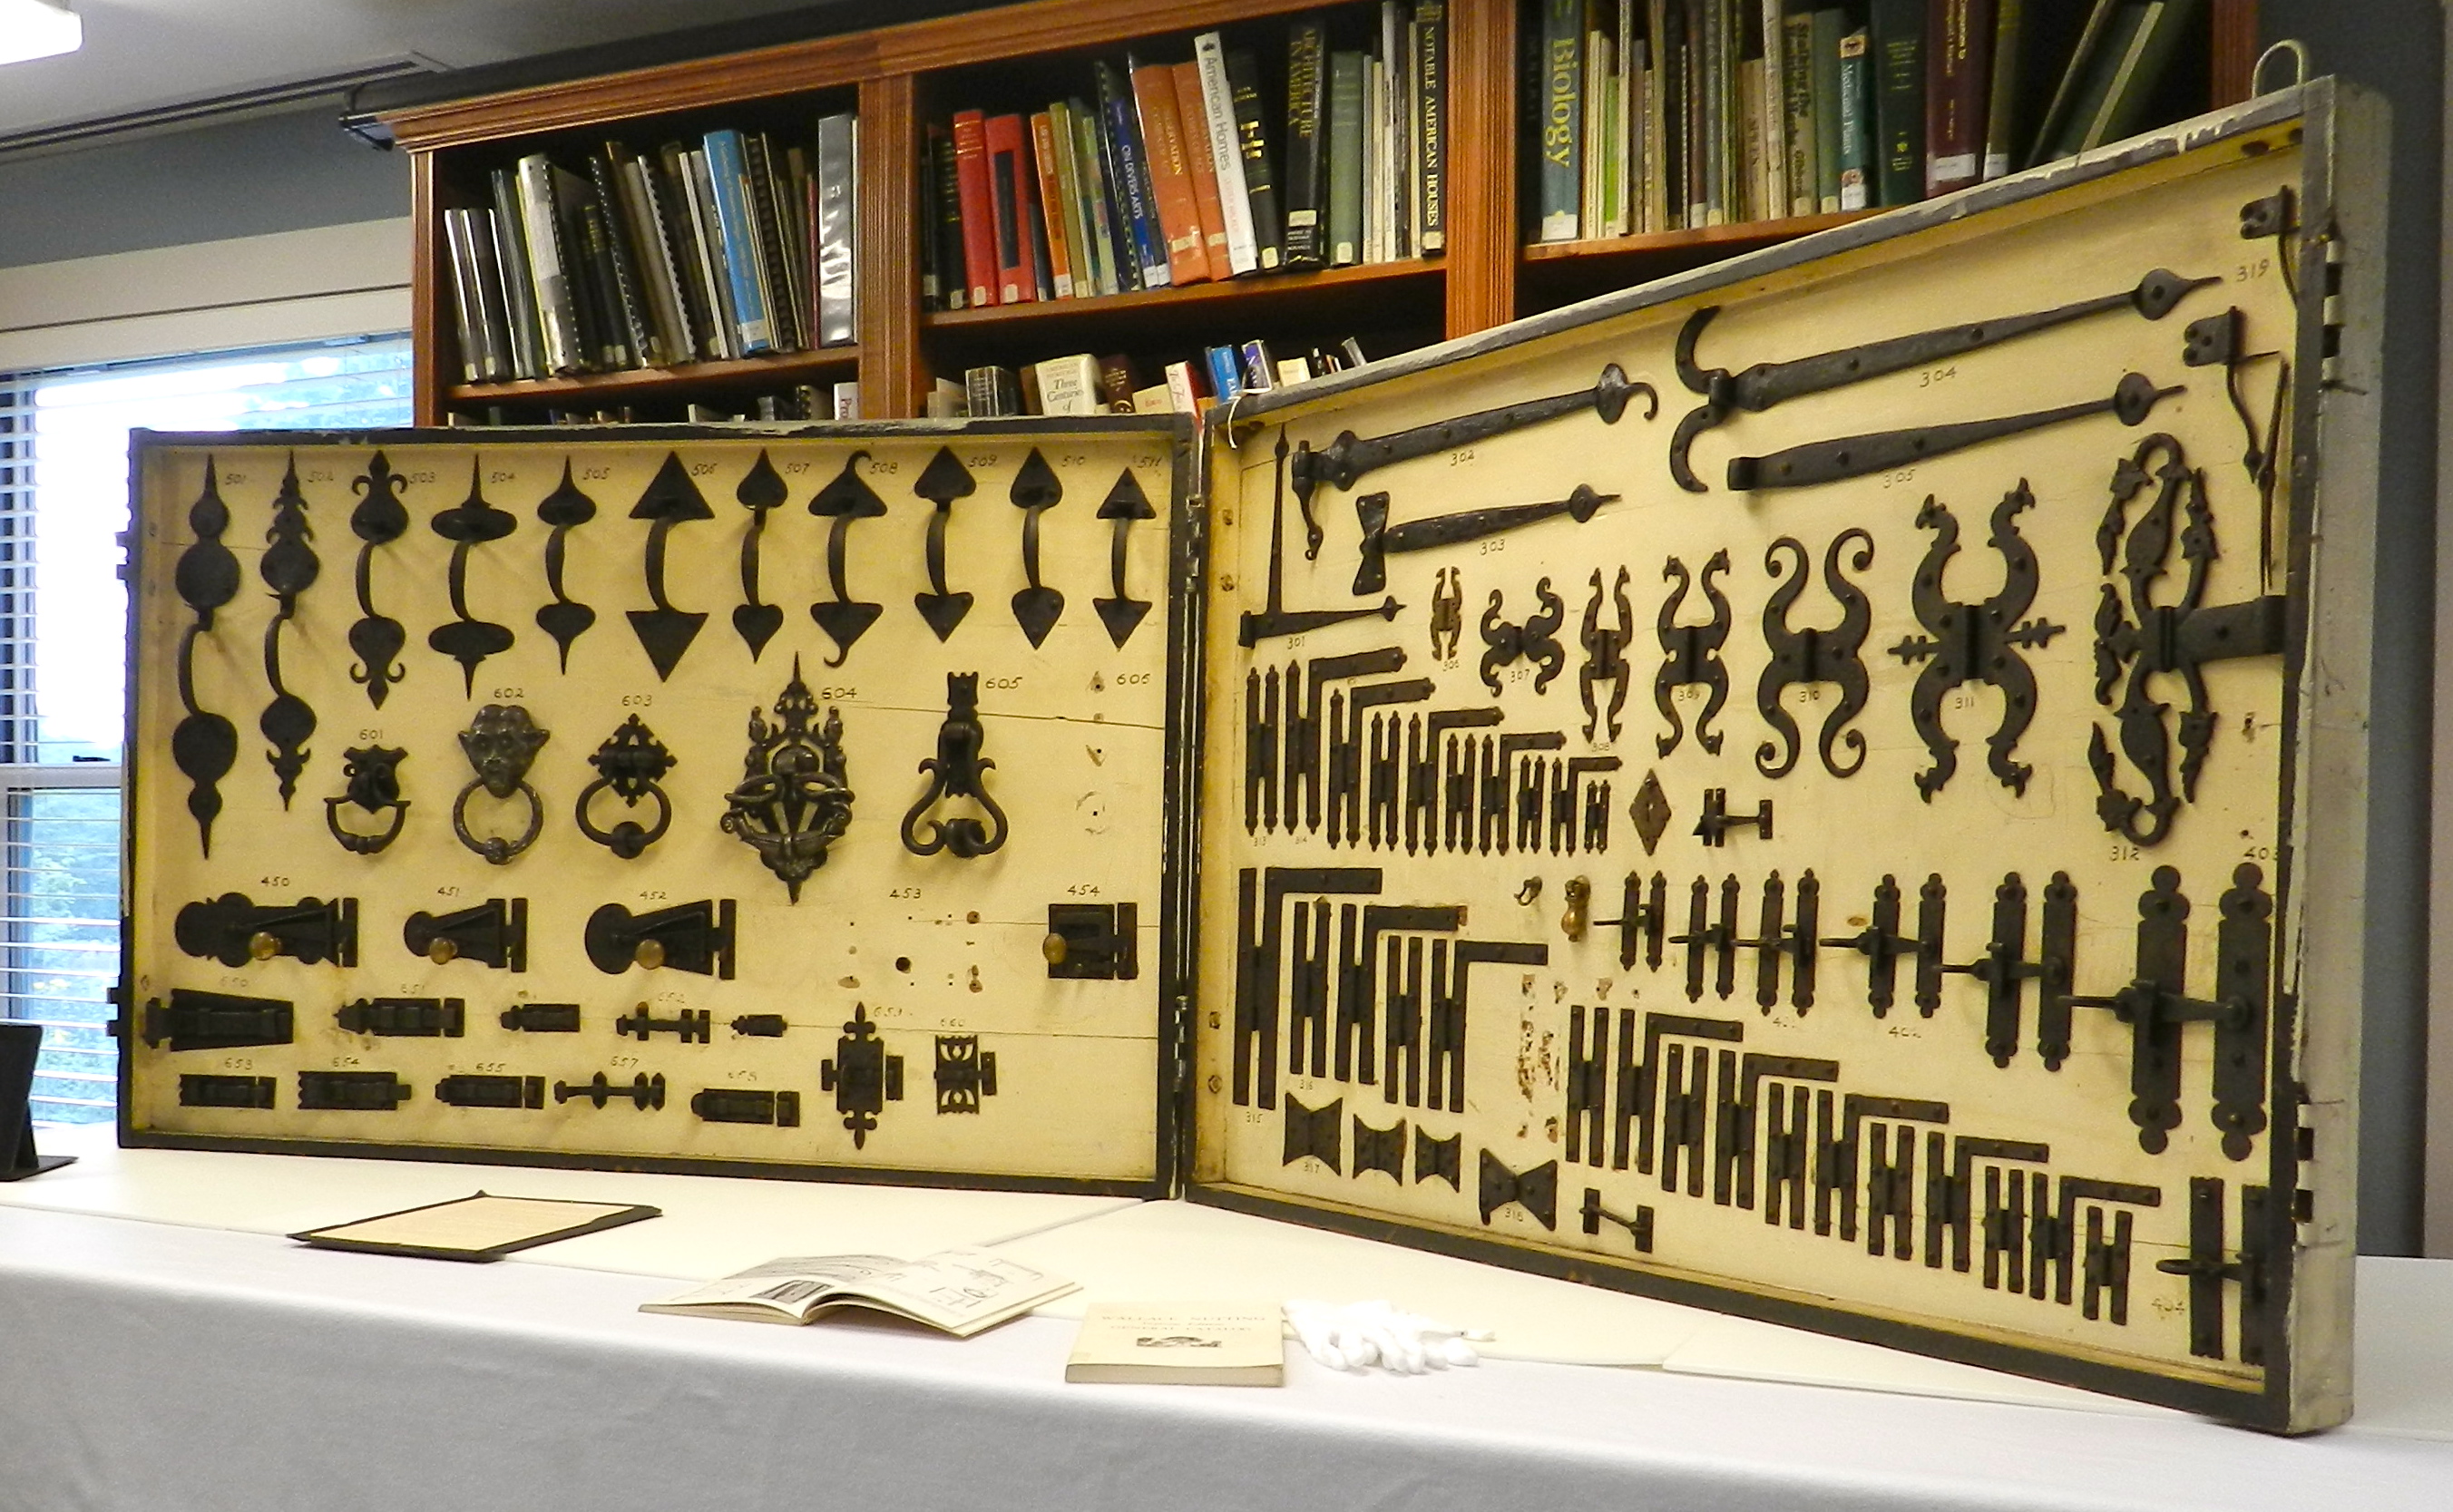
Robert Adam (Who started the Preservation Carpentry program at NBSS and is a noted preservation consultant) lectured about historic hardware and fasteners.
Robert Adam talking about historic hardware and fasteners
Robert’s brings a portion of his comprehensive collection of historic hardware and fasteners allowing students to closely examine these items up close and differentiate fine details.
Historic Hardware by Edward Guy
Sara Chase, a nationally known paint analysis expert and preservation consultant (+ advisor to the NBSS Preservation Carpentry Program) taught a session on traditional paints and their manufacture.
Making paint with Sara Chase
During this hands on session students not only learned how to identify various kinds of historic paints they also had the chance to mix their own paints in a traditional way and try their hand at applying them.
Mulling historic paint with Sara Chase
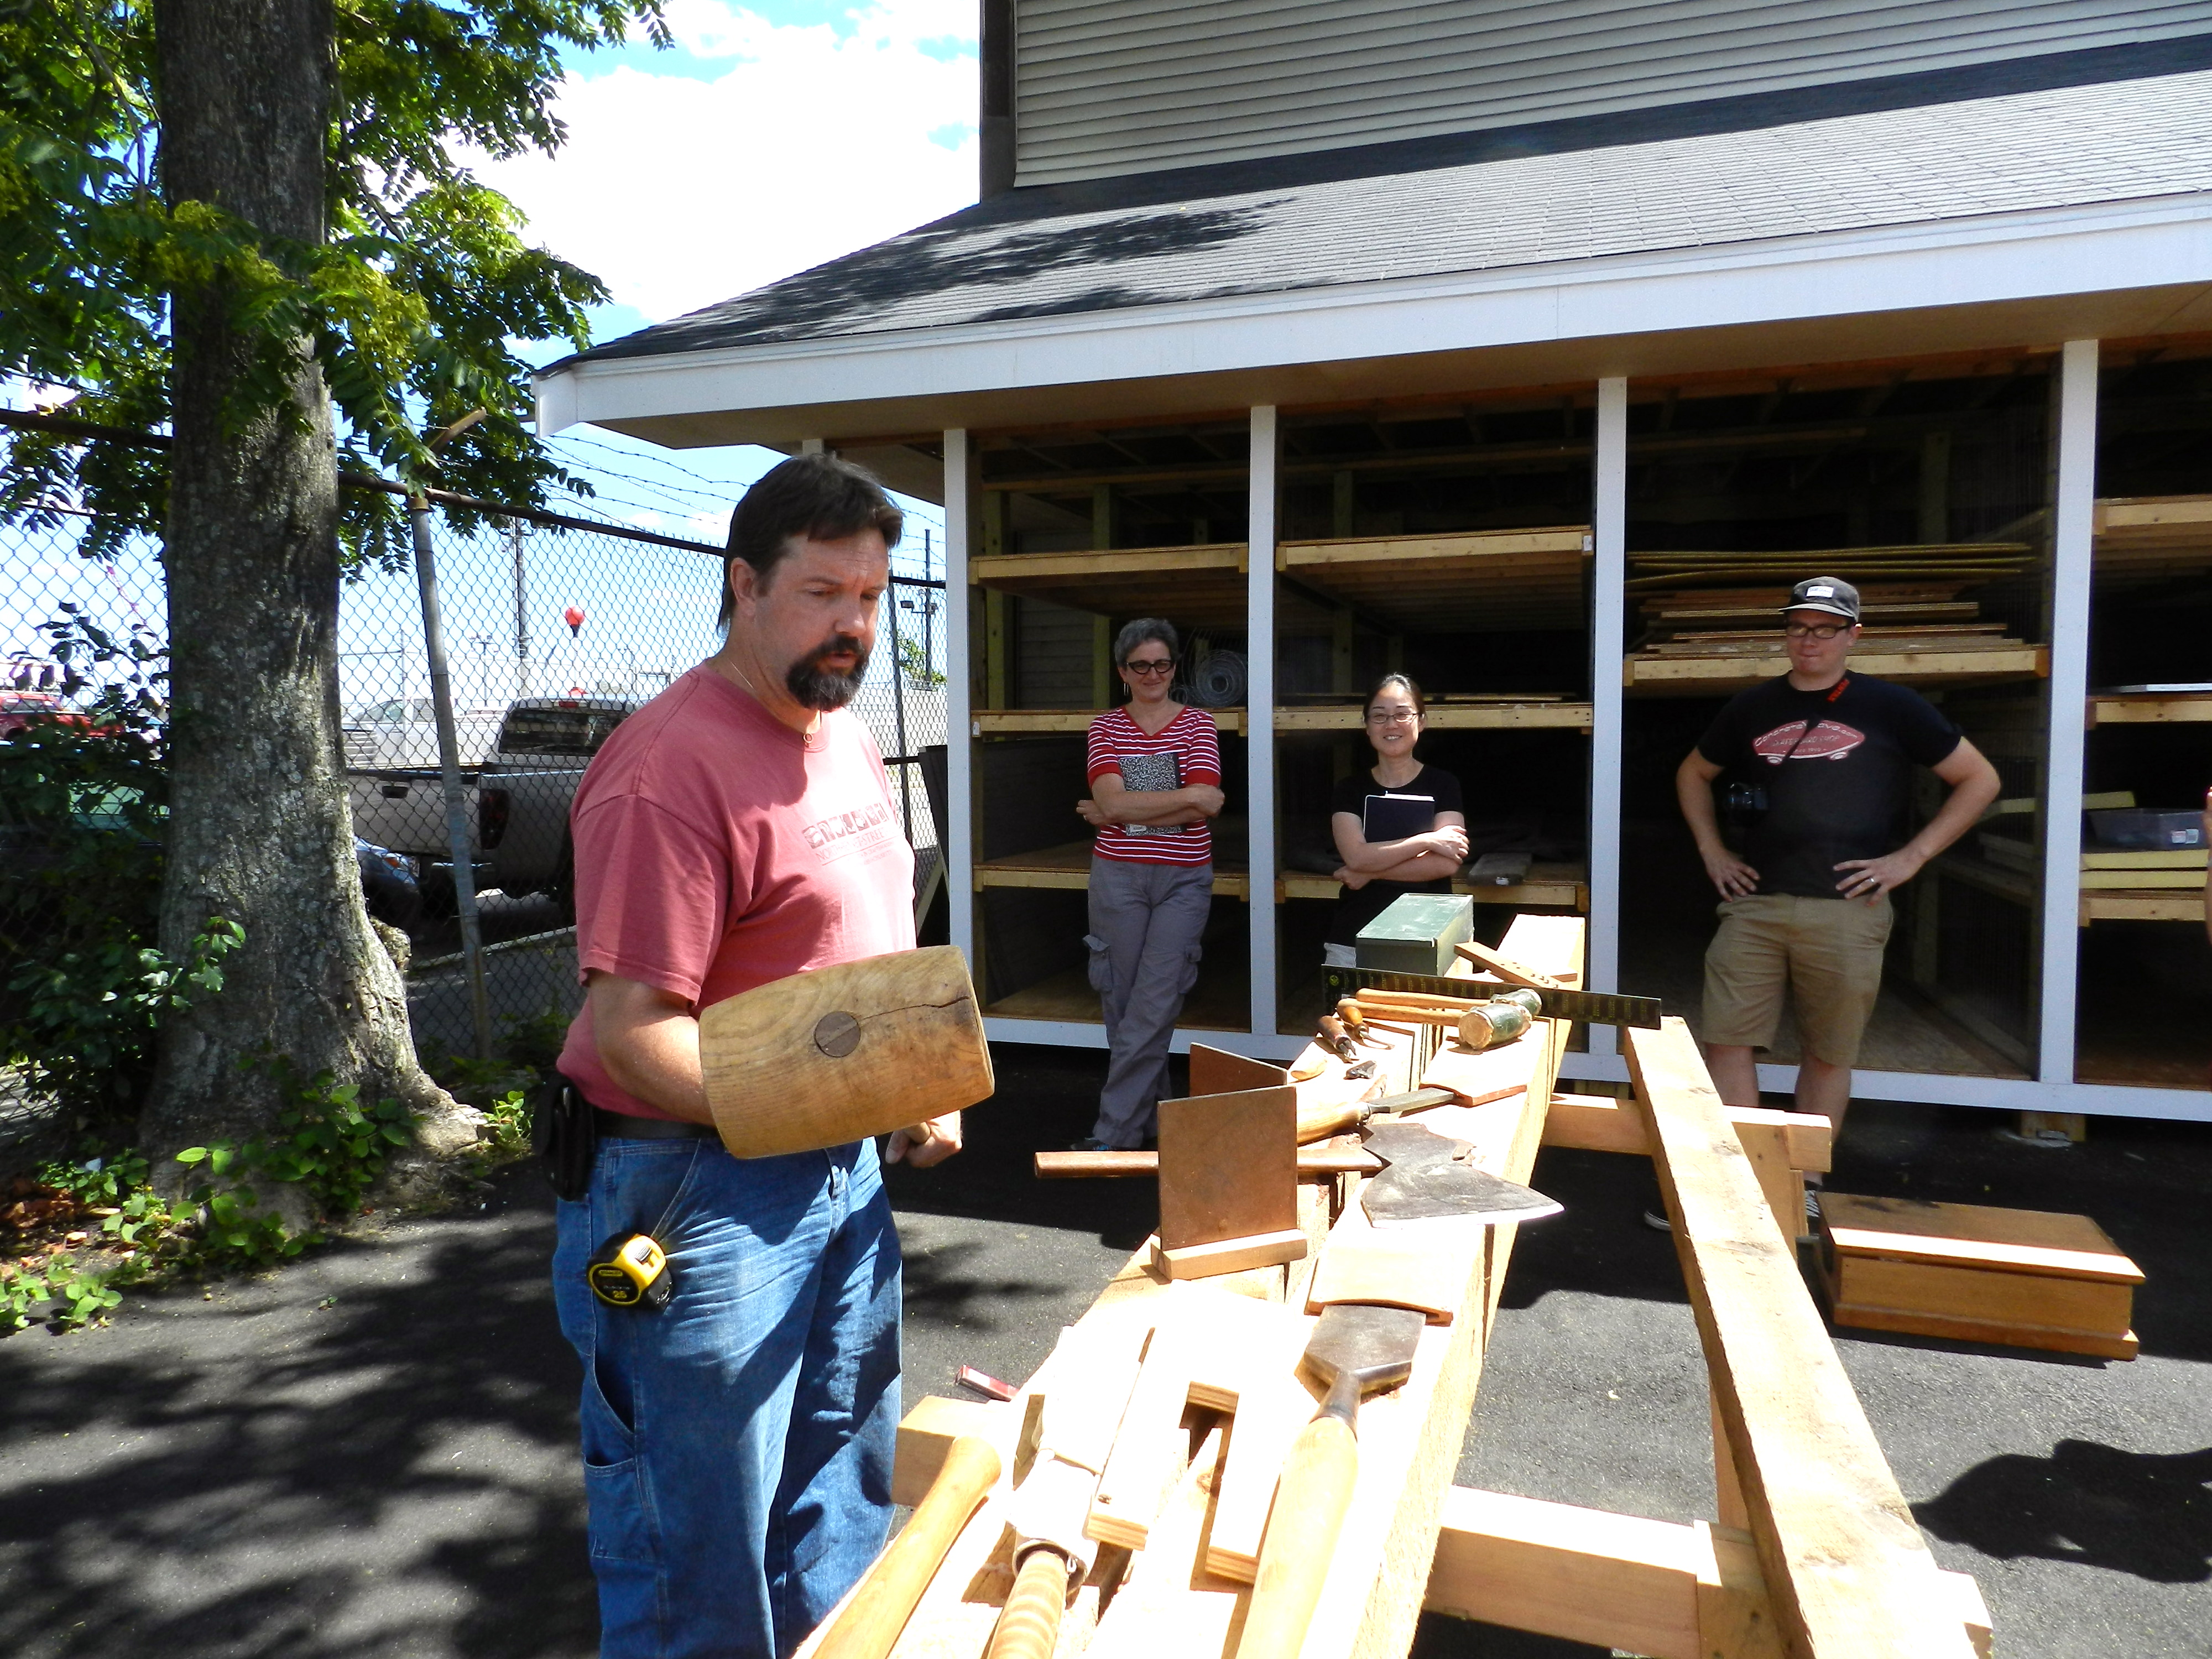
After a visit to the MFA in Boston, next up was NBSS Preservation Carpentry Instructor Rich Friberg to teach the basics of Timber Framing.
Rich Friberg Timber Framing Lesson
Rich brings with him a deep well of knowledge and a passion for teaching this craft.
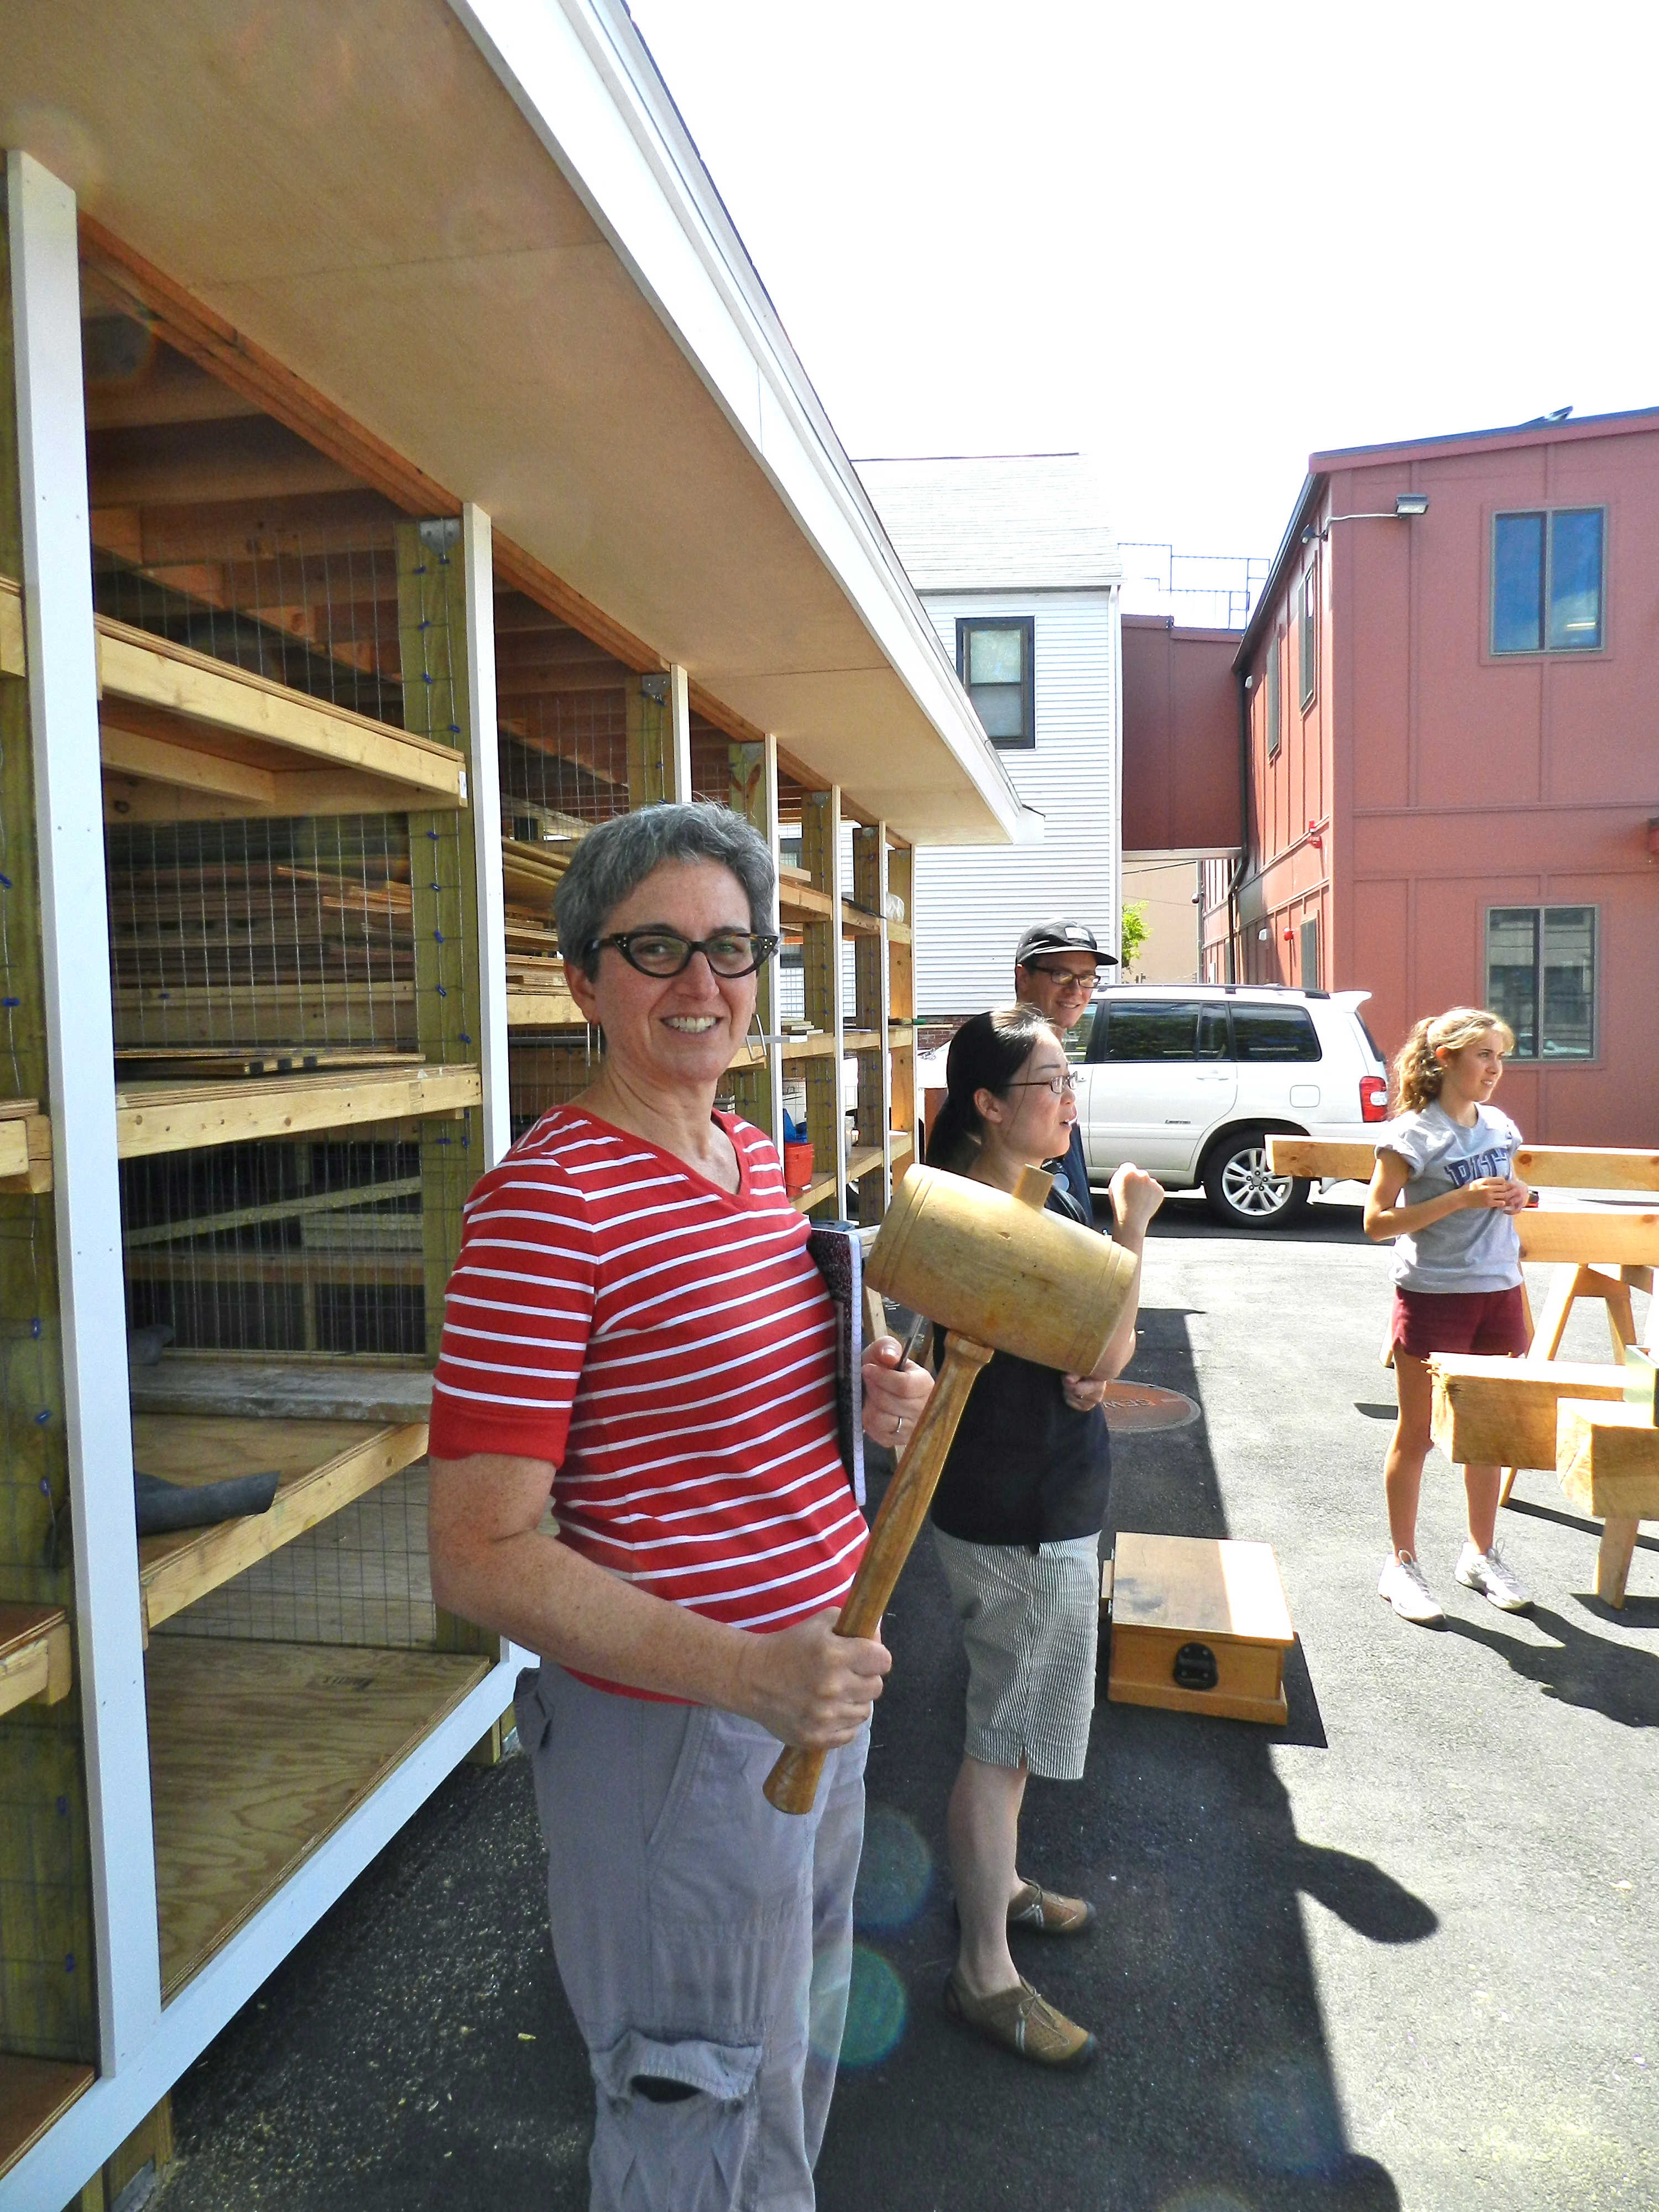
Jennifer wielding the ‘Beetle’ mallet
Students had a chance to layout and cut mortise and tenon joints….
Joey with the ‘Commander’ mallet
try out some joinery on the large scale with traditional timber framing tools…
Lisa mortising
and fit the joints they made.
Completed Timber Frame Sill
The completed 8′ x 10′ sill shown above would be the first major element of a modest sized barn or outbuilding.
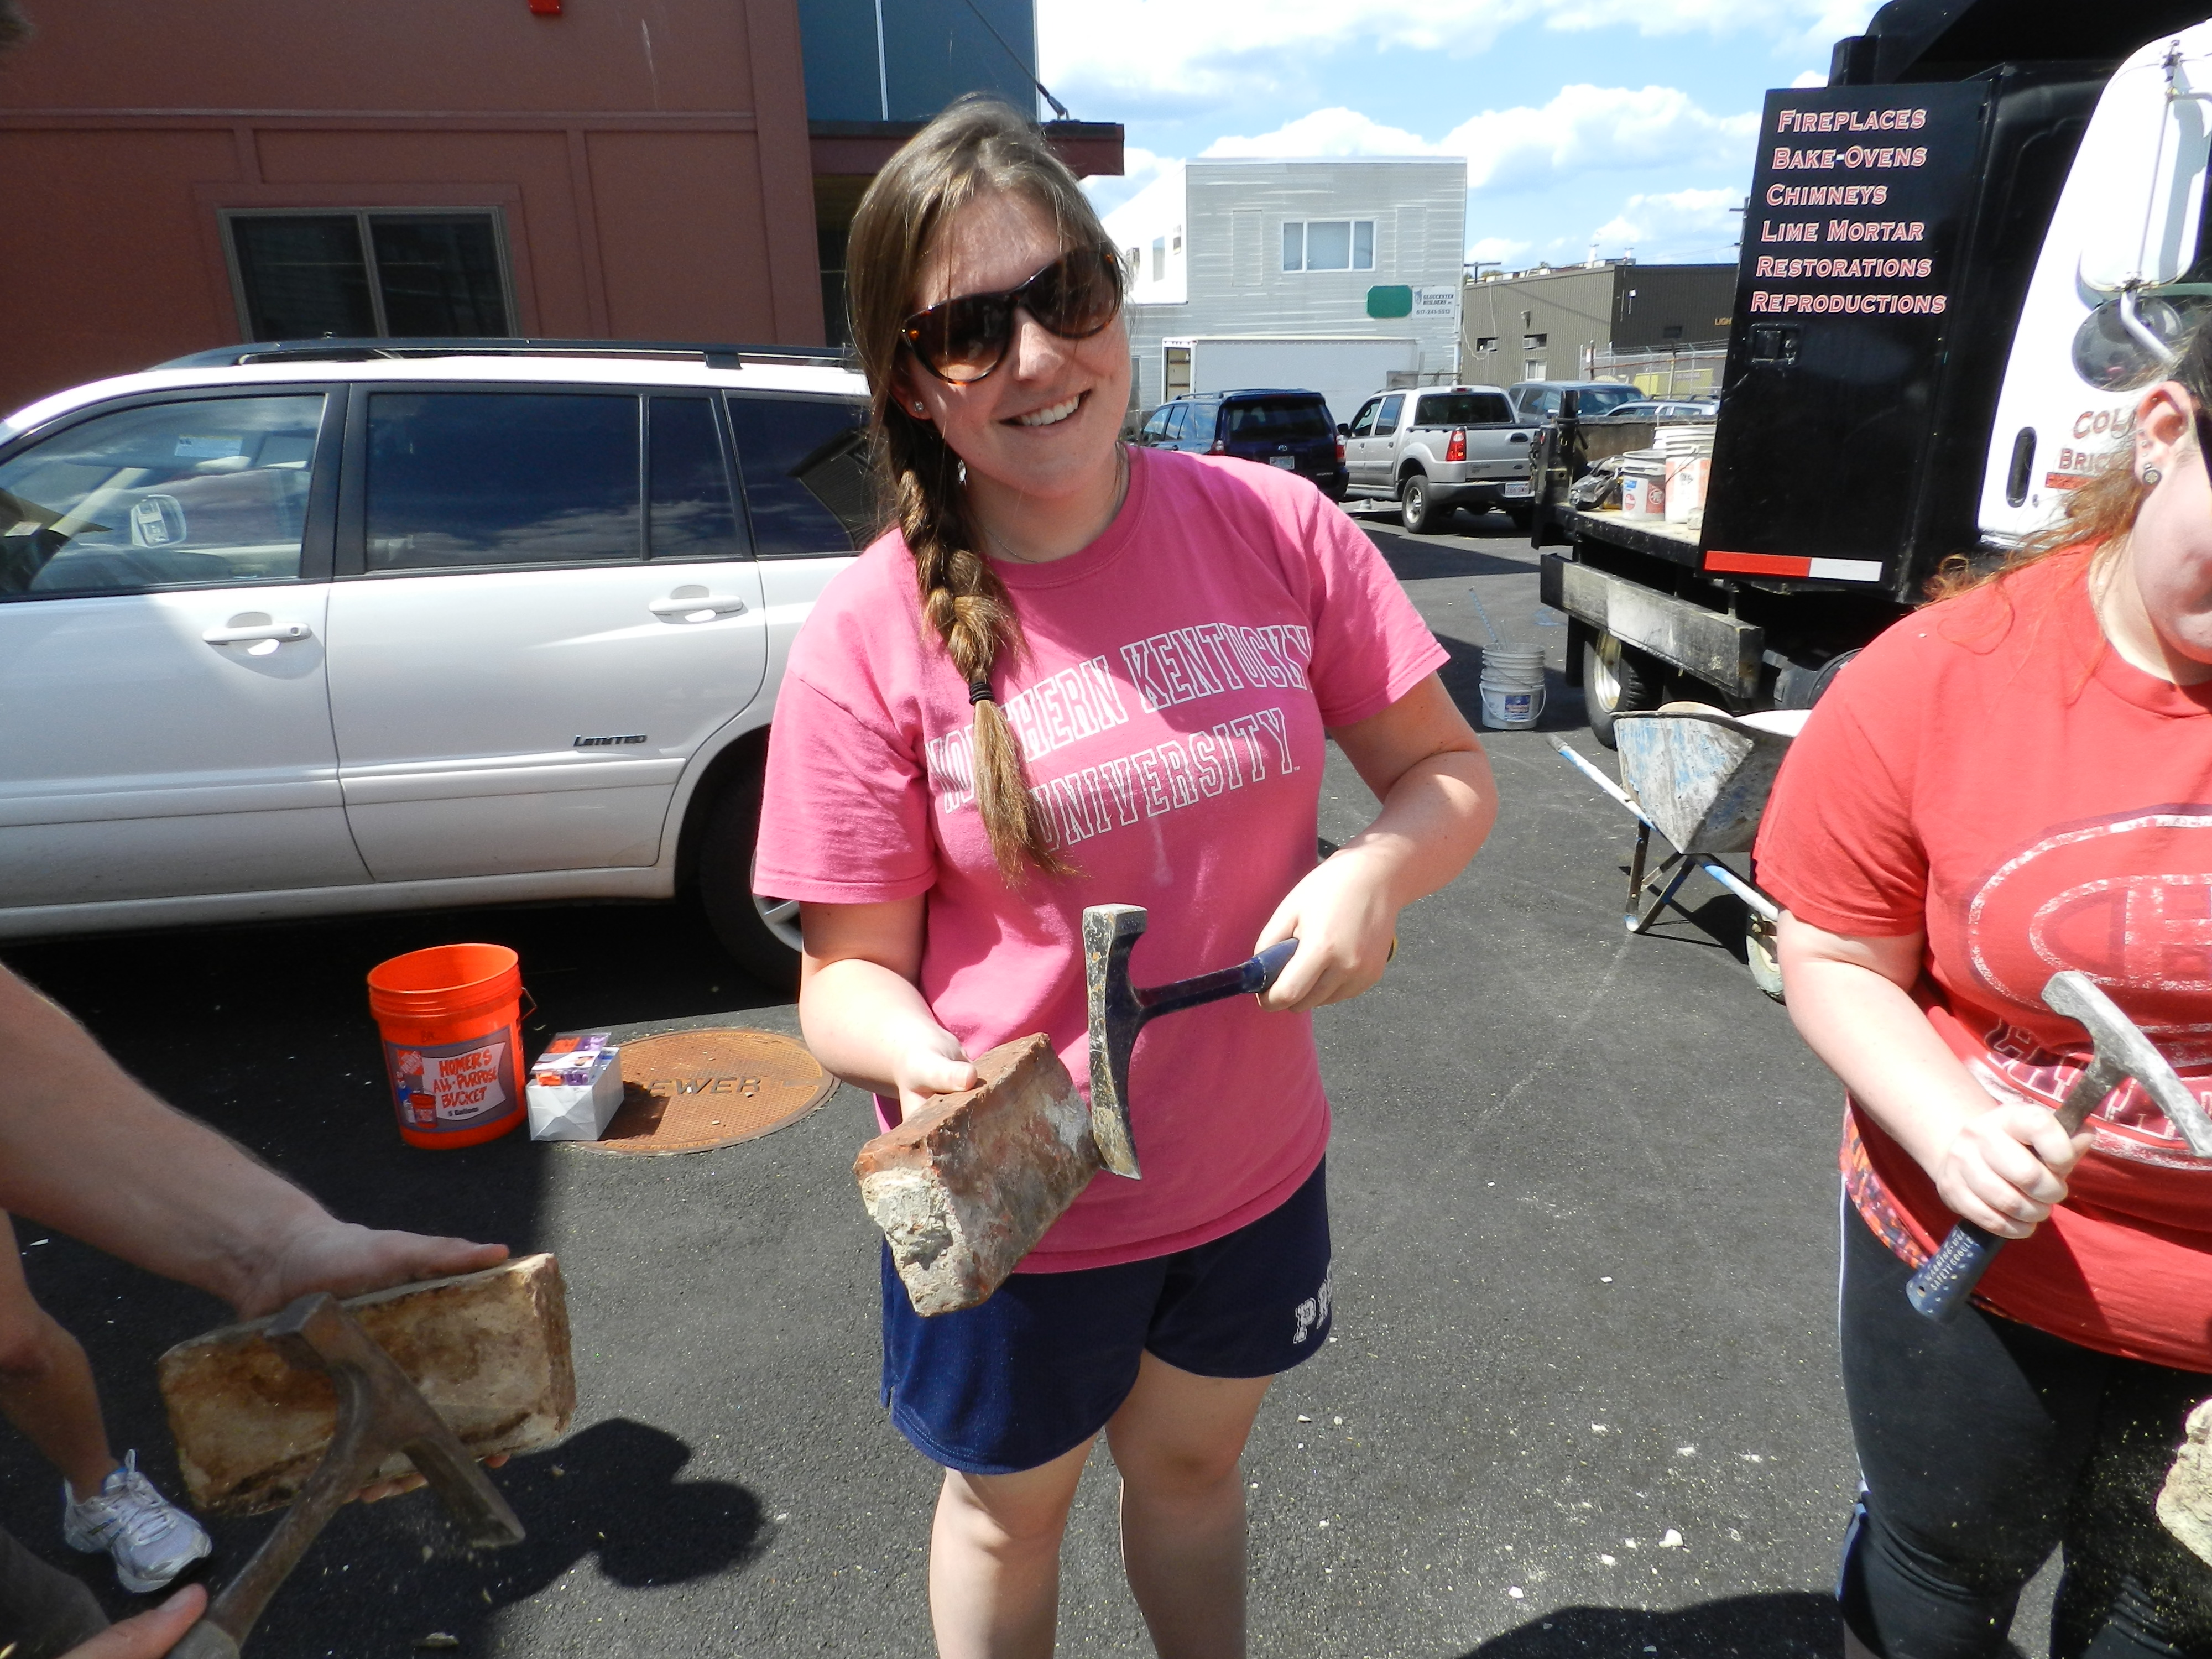
Matt Gillard teaching some basics of Masonry
Preservation Mason Matt Gillard (owner of Colonial Brick Works) and Matt Blanchette gave a great lecture on traditional masonry tools, techniques and evolution.
Rachel cleaning off some recovered bricks
This hands on session allowed students to mix traditional mortar, clean bricks, re-point, repair, lay brick and joint mortar.
Masonry group shot
At the end of the week the students also shared their presentations and research proposals. To celebrate the end of this very intensive week the Director of the Historic Preservation (HP) program Robert Ogle presented each student with an ‘I survived the HP intensive week 2013 @ the BAC’ Tee Shirt to commemorate the occasion. This well earned reward is one of three major intensives they will need to survive in order to complete the program.
‘I survived the BAC Historic Preservation Intensive 2013’ Tee Shirts
Given that we all survived this very intensive week and you survived reading this marathon blog post, I think it’s time for all of us to rest up and prep for next year. 🙂
You can learn more about this class and the program here or go direct to the video here.
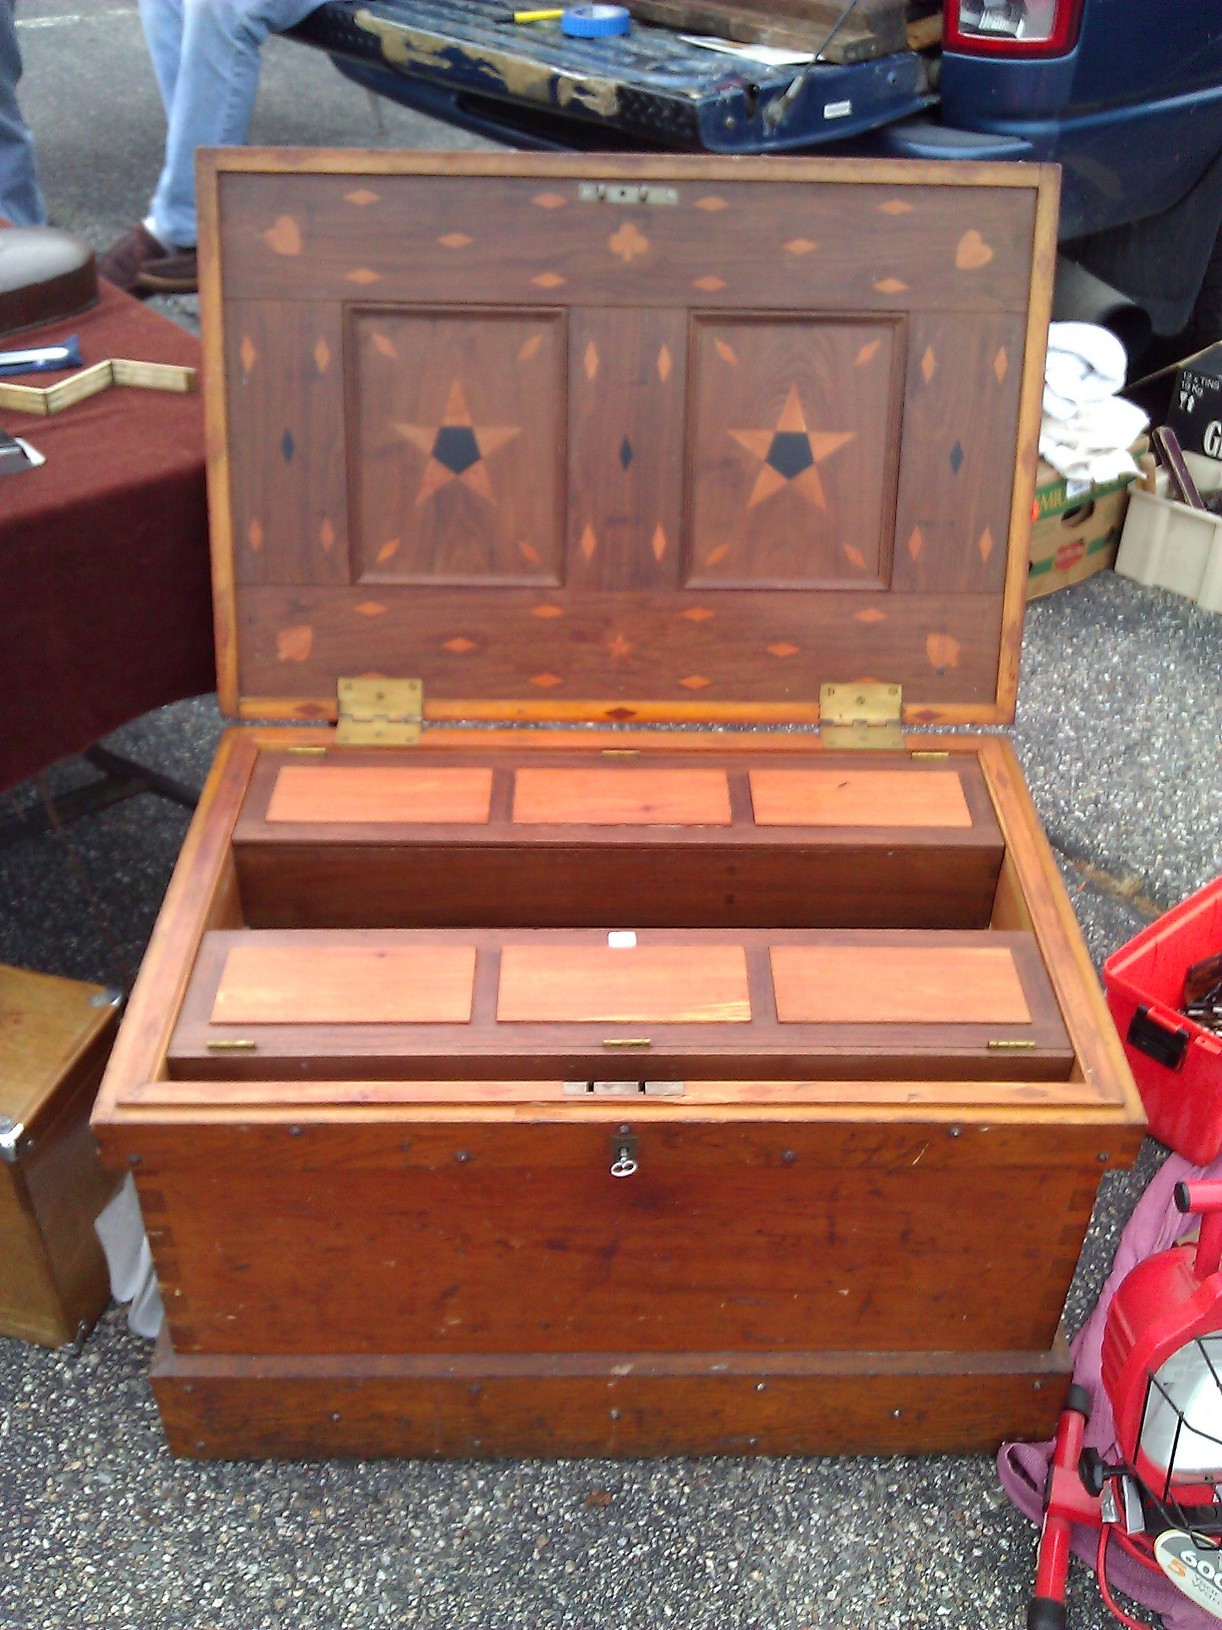
The spartan exterior of many traditional tool chests was as much a security system as it was a design element. When closed the clean lines and rugged exterior looked did not draw your attention and looked much the same as many other stoutly built traveling chests and trunks you’d see on a given day. While unassuming in travel or quietly sitting in the back of the shop, many of these chests contained a far more interesting interior.
Beautiful Tool Chest from 1849 with extensive inlay work, divided tills, half lock etc. (The maker of this chest clearly must have loved card games)
How often do you see carpenter with a bucket of rusty tools and a paint splattered truck and wondered about ‘If this is how they take care of their tools and truck, what kind of slapdash work would they do for me?’
Beyond just a safe and secure place to store your tools, the way you build and customize your chest says a lot about you and how you work. A clean and orderly chest, worksite, and truck can be a great advertisement for the quality of work you do. I’ve found folks are drawn to a nice chest like moths to a light bulb.
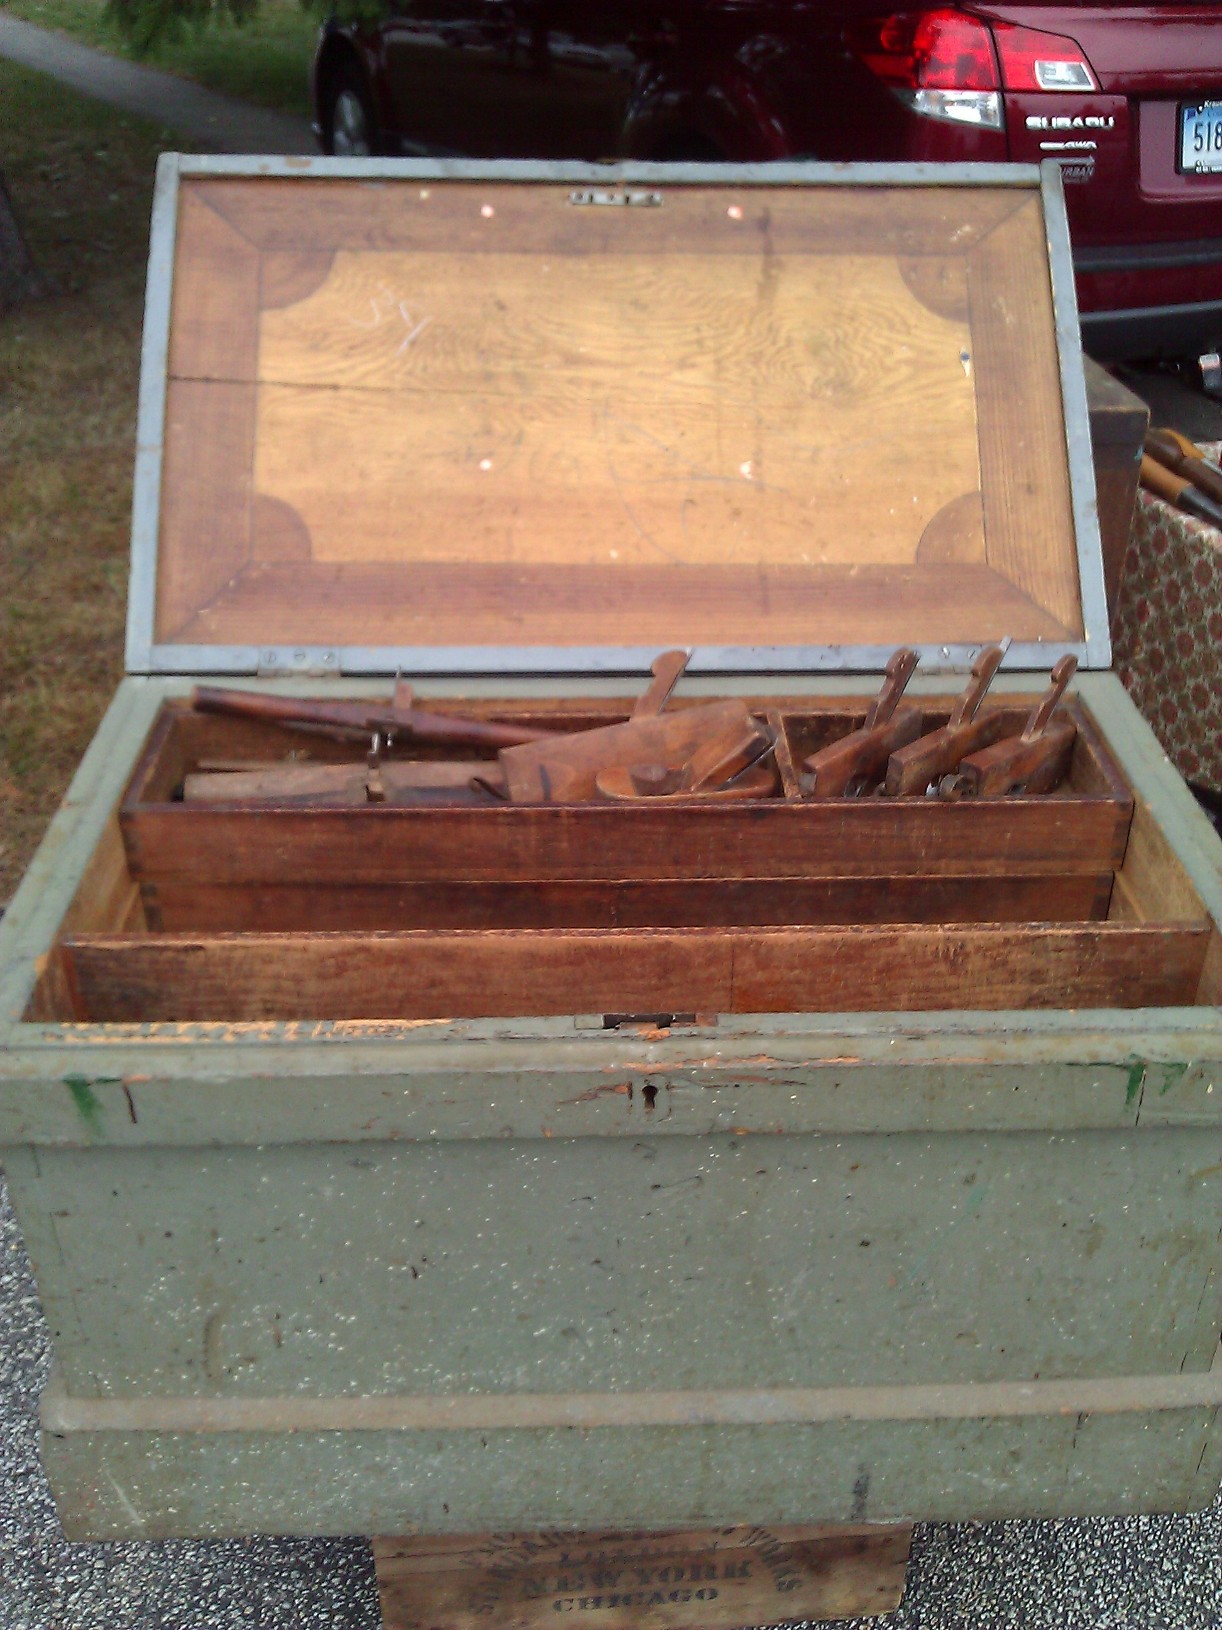
Large joiner’s chest with inlaid lid
What do you look for in a solid chest?
It should be easy to find the tools you want to use and quickly pack and unpack them
Invest in strong but light materials like Eastern White Pine and use denser woods only for wear parts
Do not get caught up with fancy inlays, hidden compartments and nest after nest of drawers
Don’t skimp on the hardware, screws and finish — they will see a lot of hard use over the life of the chest
A strong lid, well secured with a tight fitting dust seal
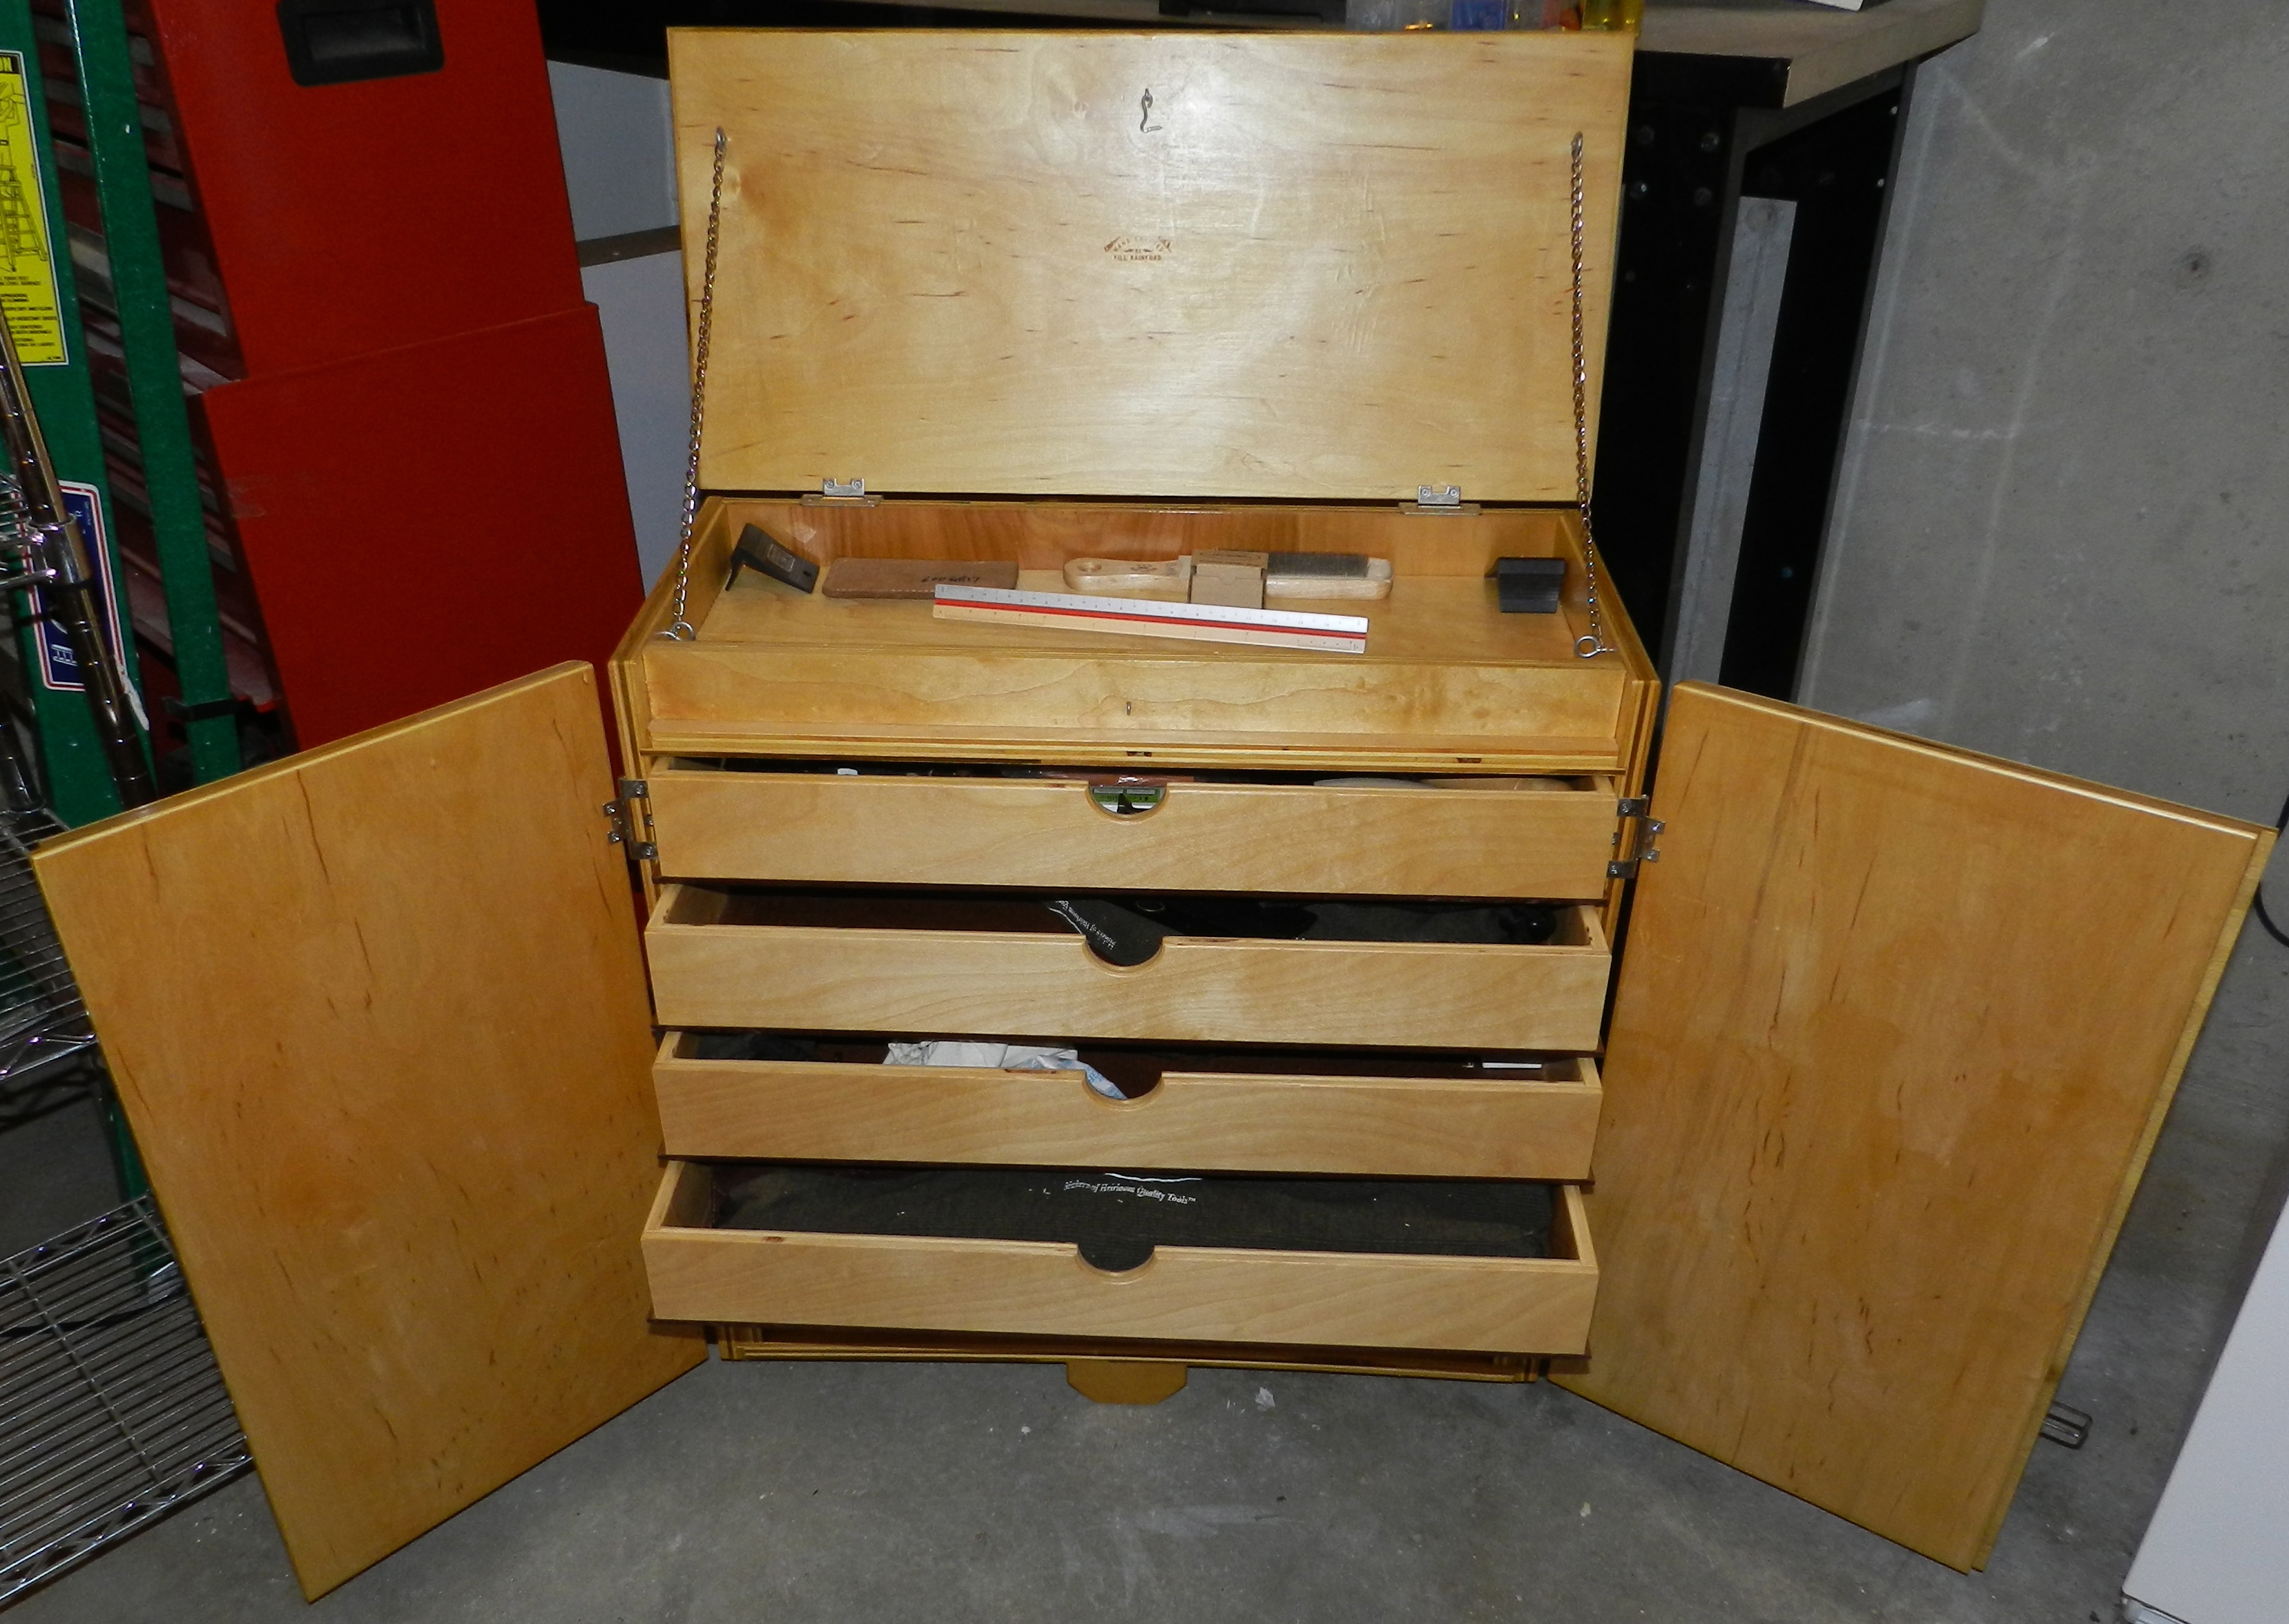
Front view with drawer’s opened
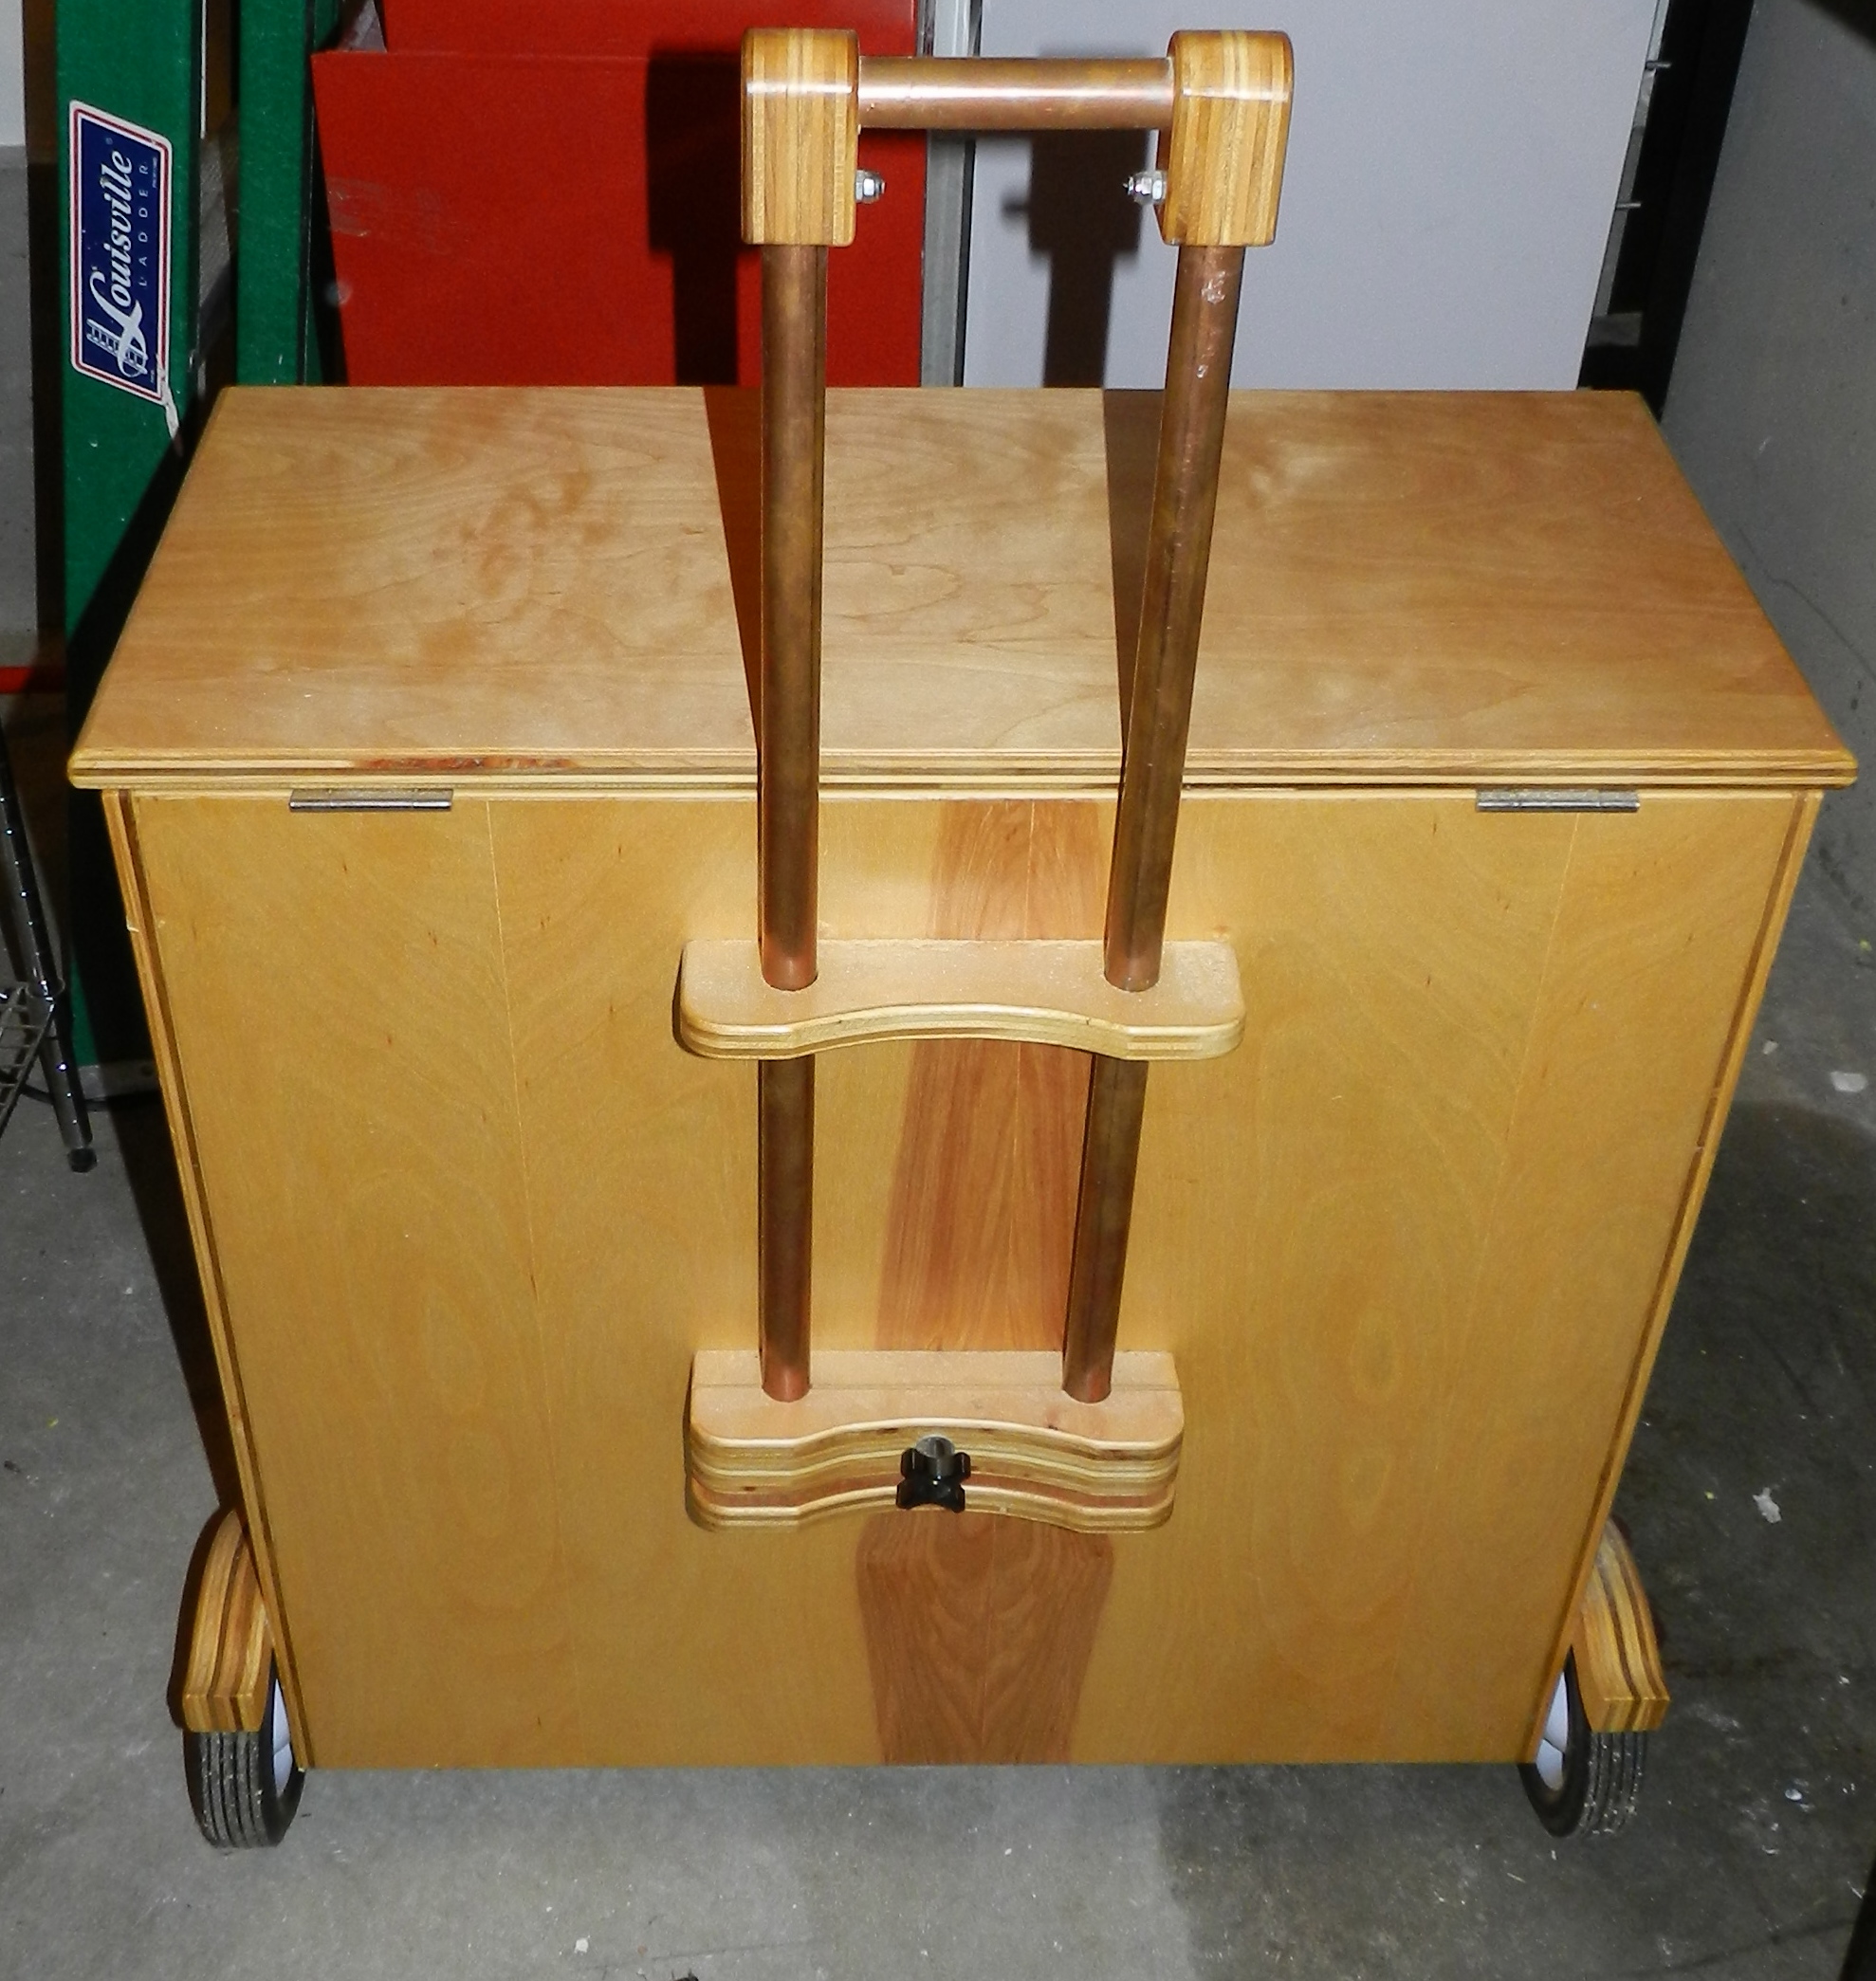
When I built a traveling toolchest for my own work I went with a utilitarian design that functioned much like rolling luggage of today. Inside there is a tray on top, a series of removable drawers to hold planes and small items and some open cubbies that were easily accessible and could be secured behind locking doors. The heavy chest lifts, telescoping handle and wheels make it manageable to move. The drawers can be swapped out depending on the needs of the current project and I could vary the height as needed — having a double deep drawer etc.
Rear view with luggage style handle extended
Tips for laying out the interior of your own chest:
Design your chest from the inside out to fit your current tools and leave room to grow or modify as your tools and interests change over the years
Start with your largest tool — for most it is a No. 7 or No.8 Jointer Plane or panel saws — and segment from there
Tools you use most often should be the easiest to find — marking tools, squares, bench chisels, saws etc
Make something you are proud of — you’ll be using this chest for years to come and it will be regularly inspected by all your woodworking friends
Don’t be afraid to experiment — the great chests all evolved from earlier models, but temper that by remembering that simplicity and expressed construction will often serve you better than lots of glitz without substance
The above principles guide me as I build my own tool chests I and I hope they will help you as get out into the shop and build a chest that is a reflection of your woodworking skills and personality.
You can learn more about my thoughts on Tool Chests on my blog here.
-Bill Rainford
P.S. The above post is an extended version of what I wrote up for my friends over at Popular Woodworking as part of their Daily Woodworking Blog which you can find here.
Have you ever felt like your life was just too hectic? Do you want to get away from the world and relax?
If so, then you can imagine how Thomas Jefferson felt as the 3rd President of the United States. Jefferson was a man who enjoyed his privacy. After decades of public service as a congressman, founding father, diplomat, Governor, Vice President and President, folks from around the world regularly called on him — including a seemingly never ending stream of gawkers and tourists peering in his windows.
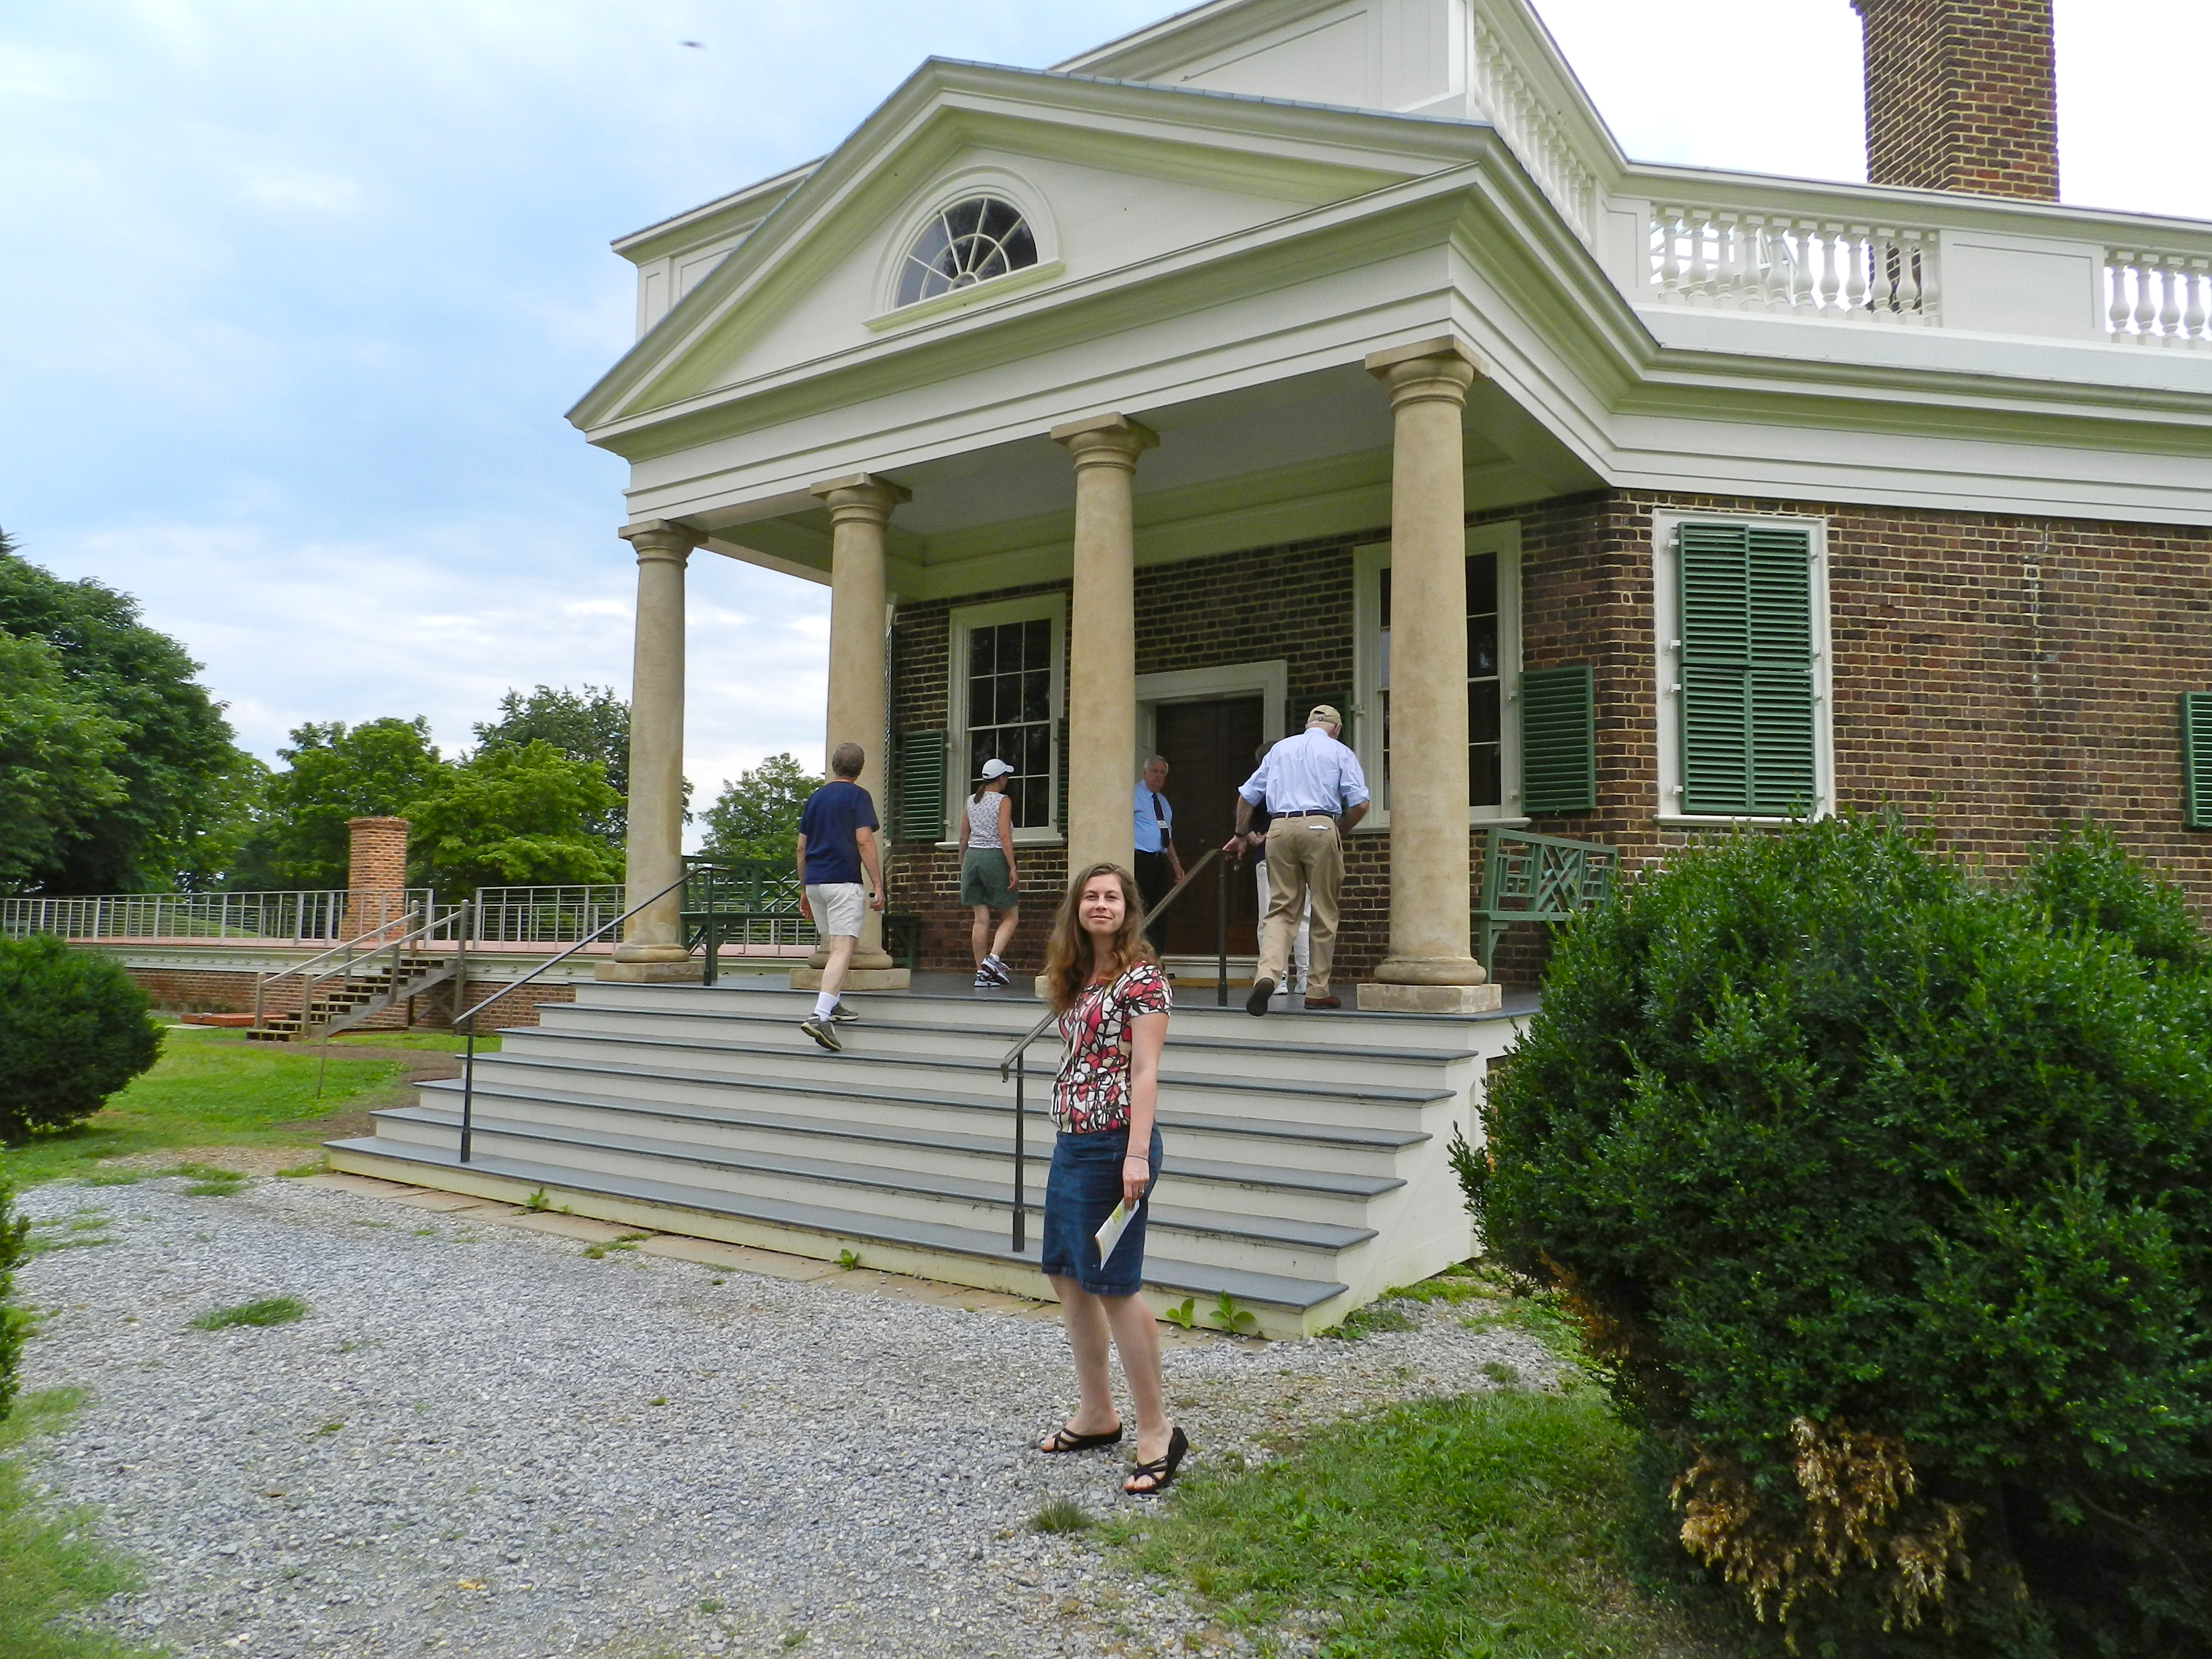
Front portico of Poplar Forest
This made it hard for him to find peace and quiet to pursue his diverse set of interests and be alone with his family. While President he found the time to design a retreat villa at Poplar Forest in what is now Forest VA. Based on the classical designs of European retreat villas and lessons learned from earlier architectural projects like Monticello and the University of Virginia, Poplar Forest is considered to be Jefferson’s apex in terms of design.
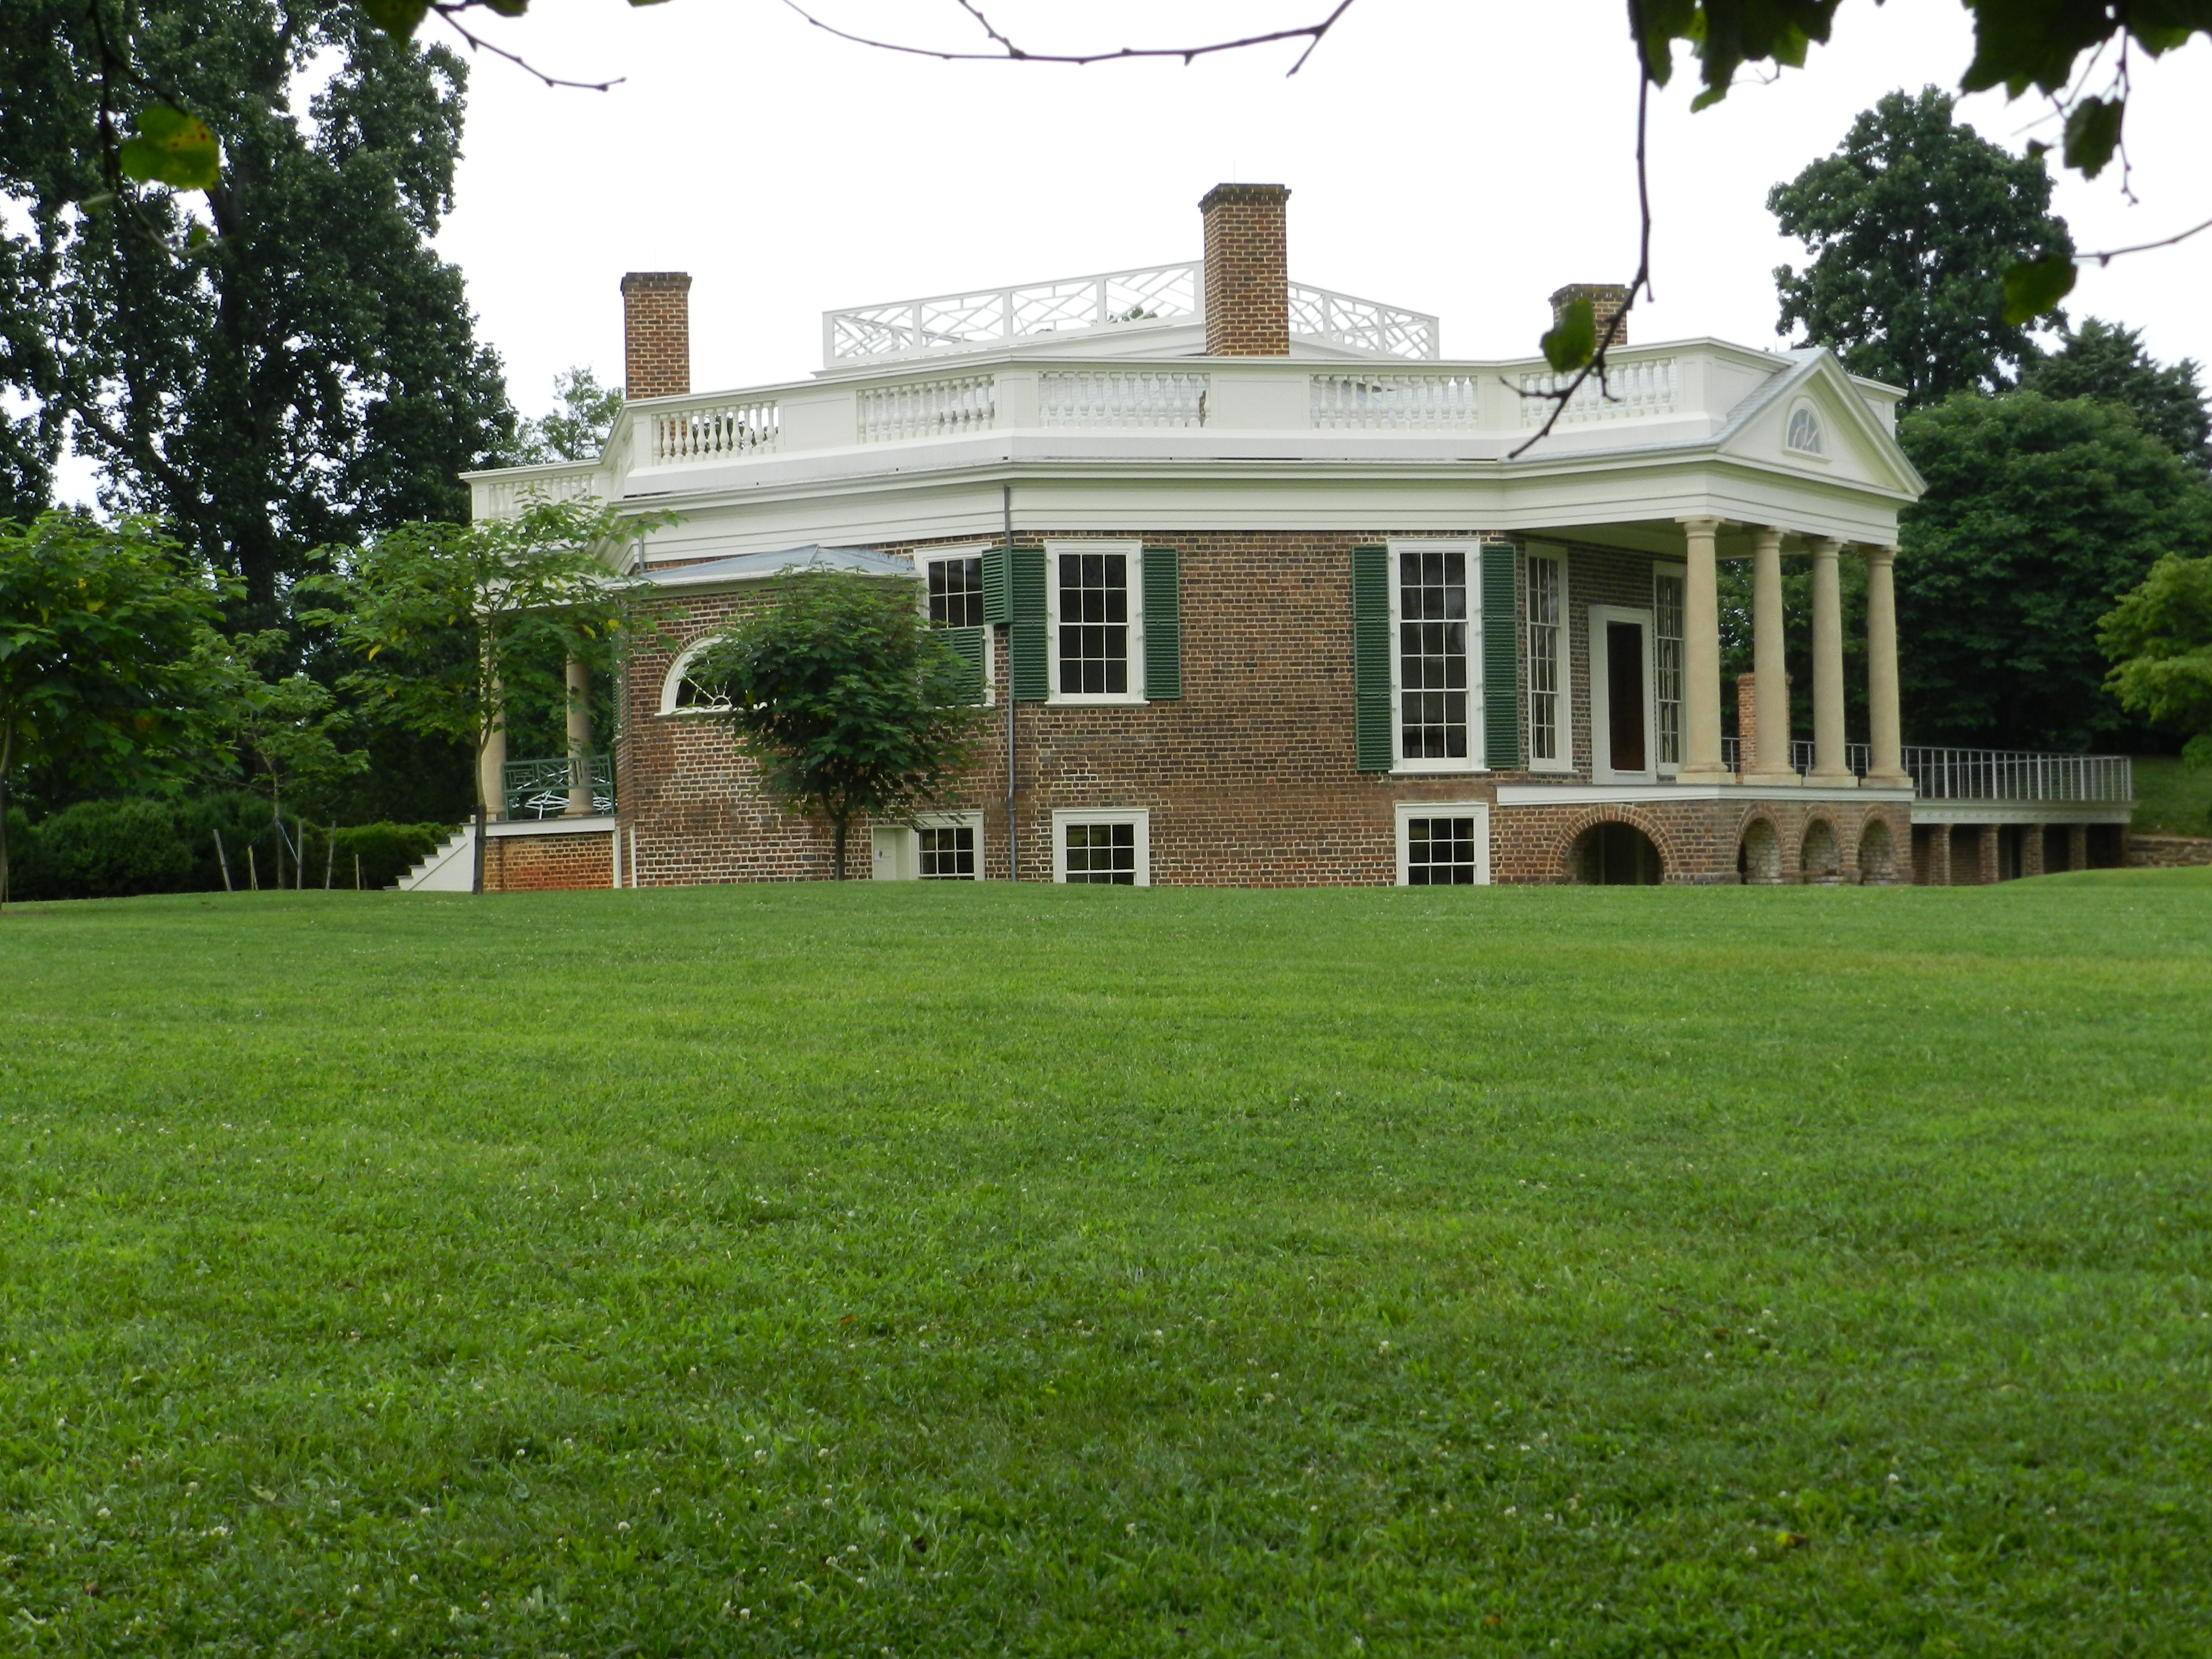
3/4 View of the main house at Poplar Forest
Jefferson enjoyed his time at Poplar Forest during the last 20 years of his life where he was able to ‘seek the solitude of a hermit’. The drive up to the mansion gives you a taste of how secluded this house was designed to be, though for the lucky few who visited, that first glimpse of the house at it appeared ahead of them must have been breathtaking. The house also gives an interesting look into the private life of this very public figure.
The restored roof-line and building footprint
During Jefferson’s time the house was largely unknown to the outside world. After his death the house and a portion of the lands were left to his grandson Francis W. Eppes who lived their briefly before moving on to Florida where he went on to a successful political career. Given its semi-remote location, and the fact that the house did not function well as a more modern house much of it has survived and is now a museum.
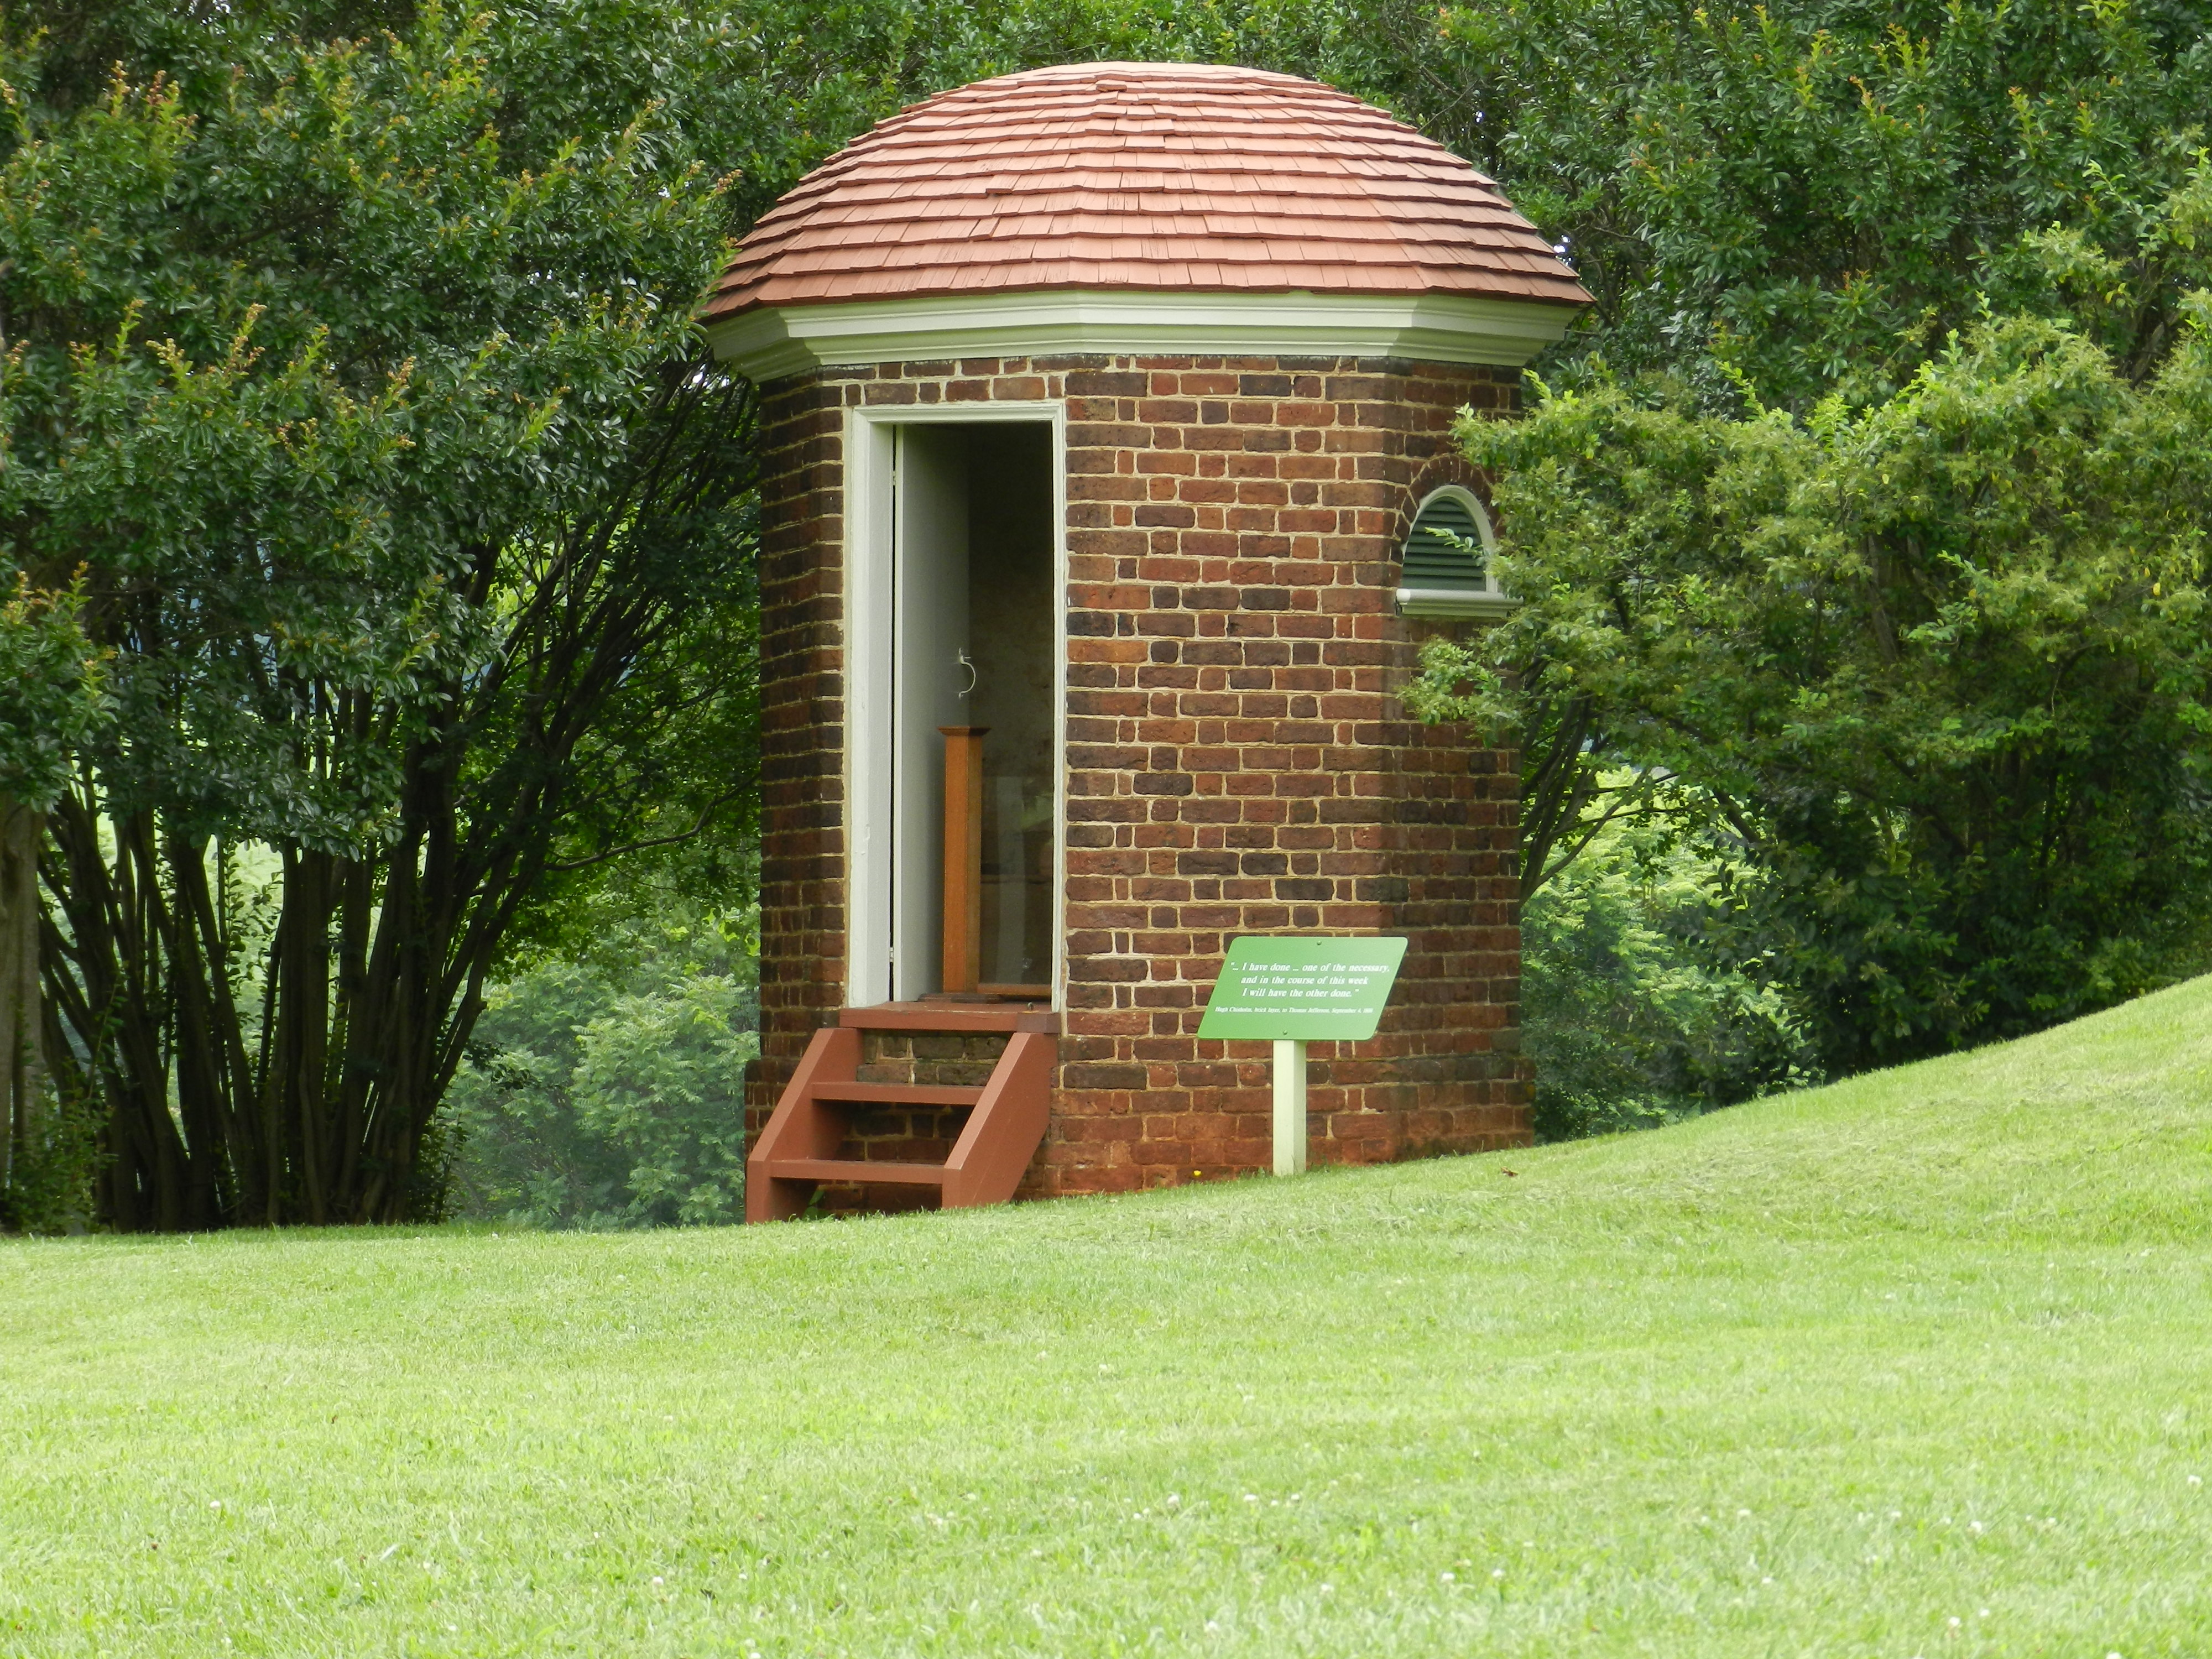
Octagonal ‘Necessary’ or ‘Privy’ with its original intricate roof framing
The museum and the non profit foundation that backs it have been working on restoring the house to how it looked at the end of Jefferson’s time there. Fire, later owners and weather have all taken their toll over the years, but the craftsmen and scholars who work on it have been doing an excellent job of bringing the house back to its earlier grandeur. With each visit there is always something new to see.
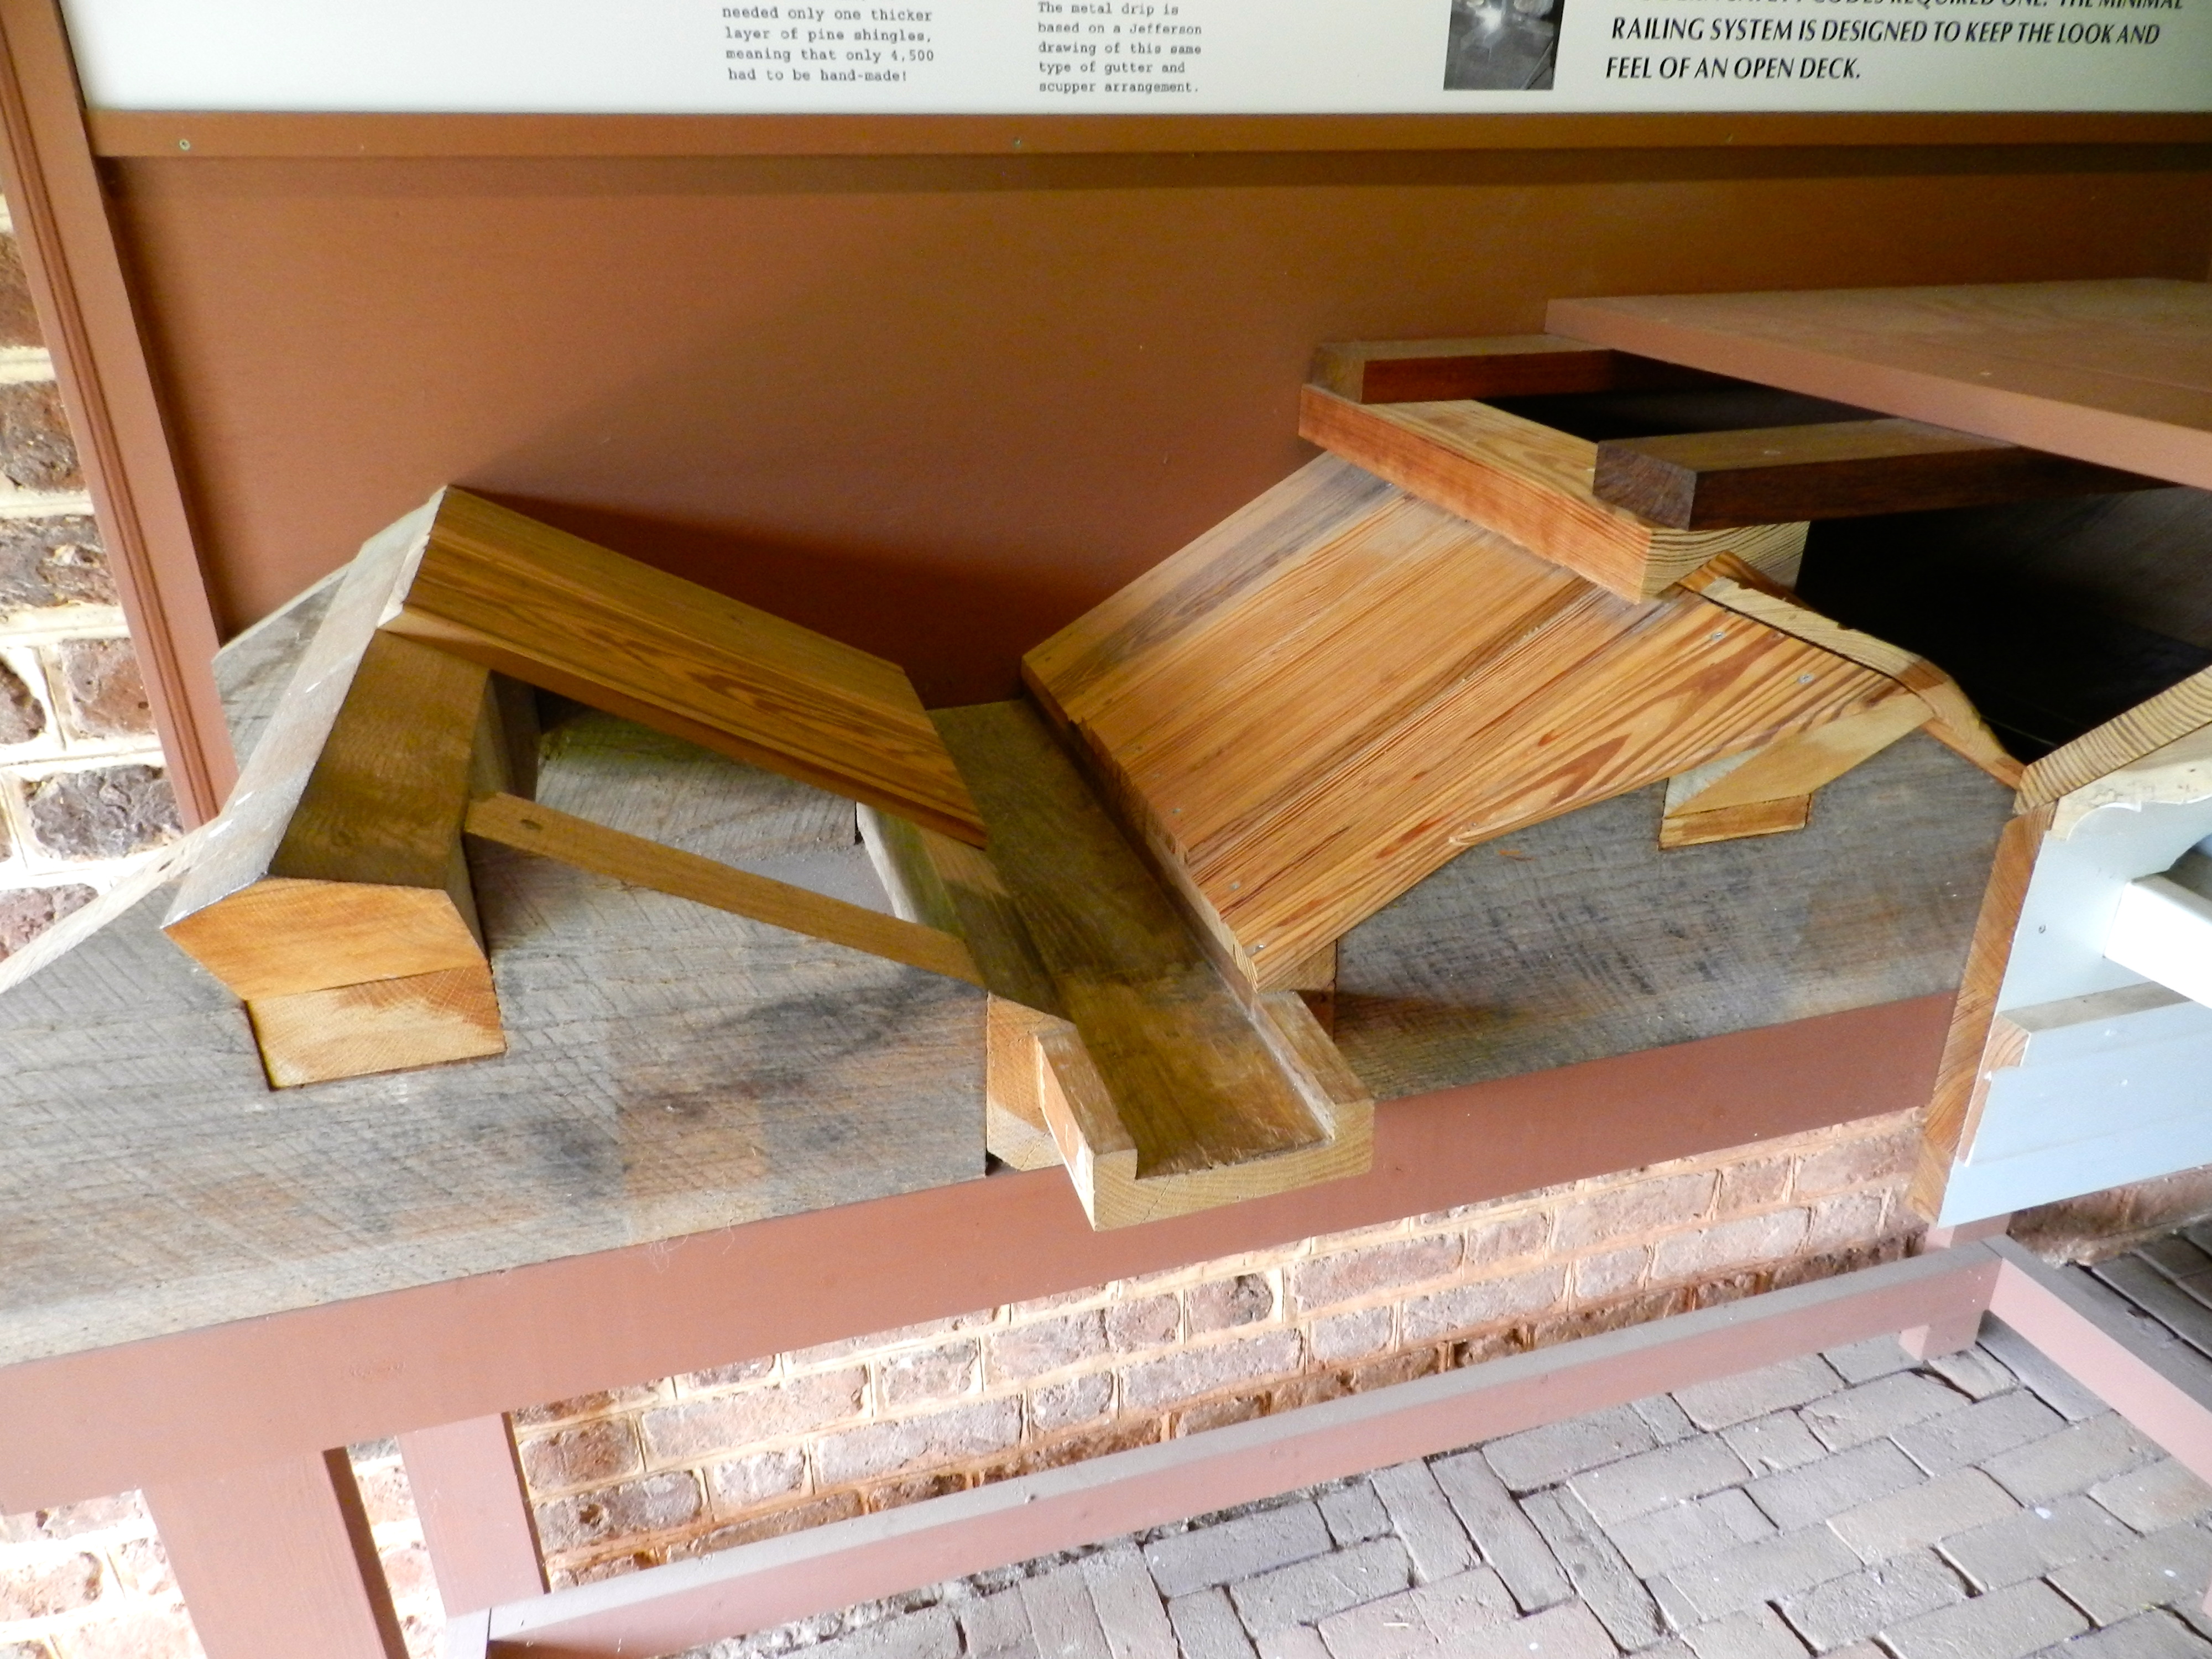
Model of the Jefferson designed flat roof structure above the wing of ‘Offices’ that funneled water away from the roof and allowed folks to walk on the roof.
Jefferson loved the idea of having a flat decked roof that one could stroll out onto and refined the details of how to accomplish this several times over the years with varying degrees of sucess. You can see other examples of how he attempted this at Monticello and Montpelier. The model above shows how the decking sat atop a series of small ridges that were shingles and funneled water out to a series of spouts you can see in the photo below. It will be interesting to see how well it ages.
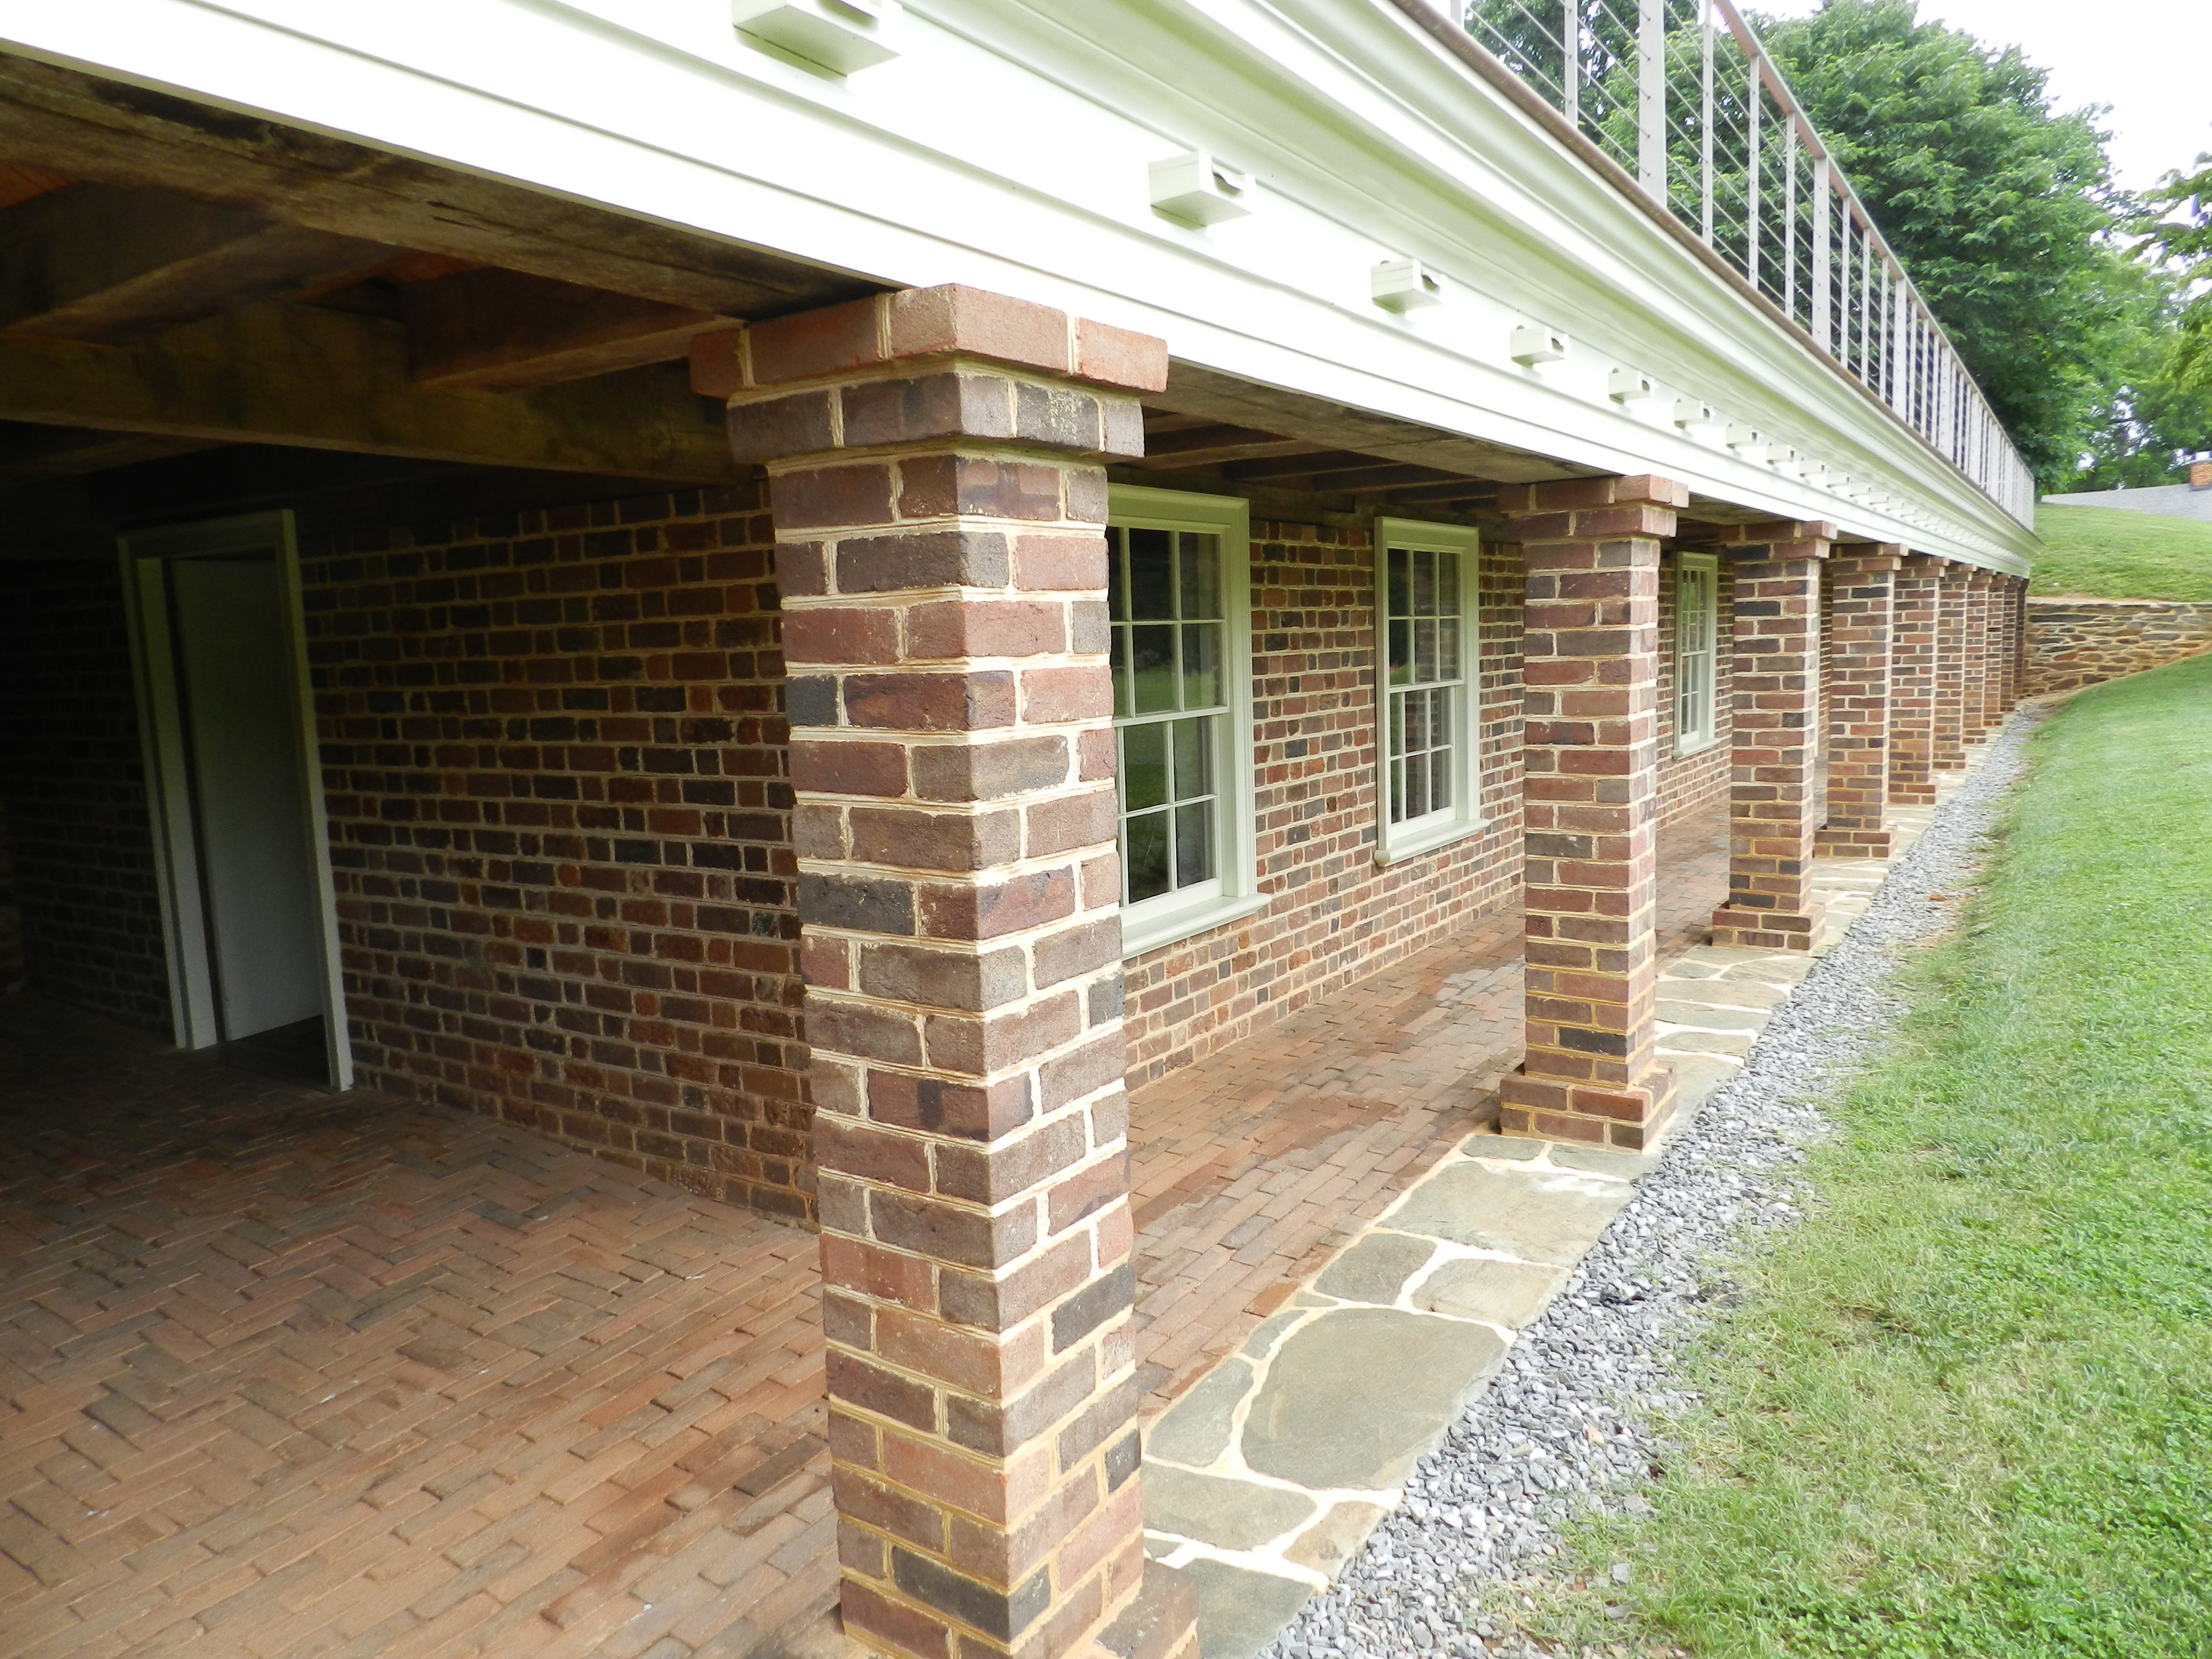
Wing of ‘Offices’ which contained a storeroom, kitchen, smoke house, laundry etc
This wing of ‘offices’ as they were called were designed to house the kitchen, store room, laundry and smoke house all of which served the main house. It also hid the logistics from Jefferson and his guests — he could stroll out on top of this wing and not see the busy servants going about their business below.
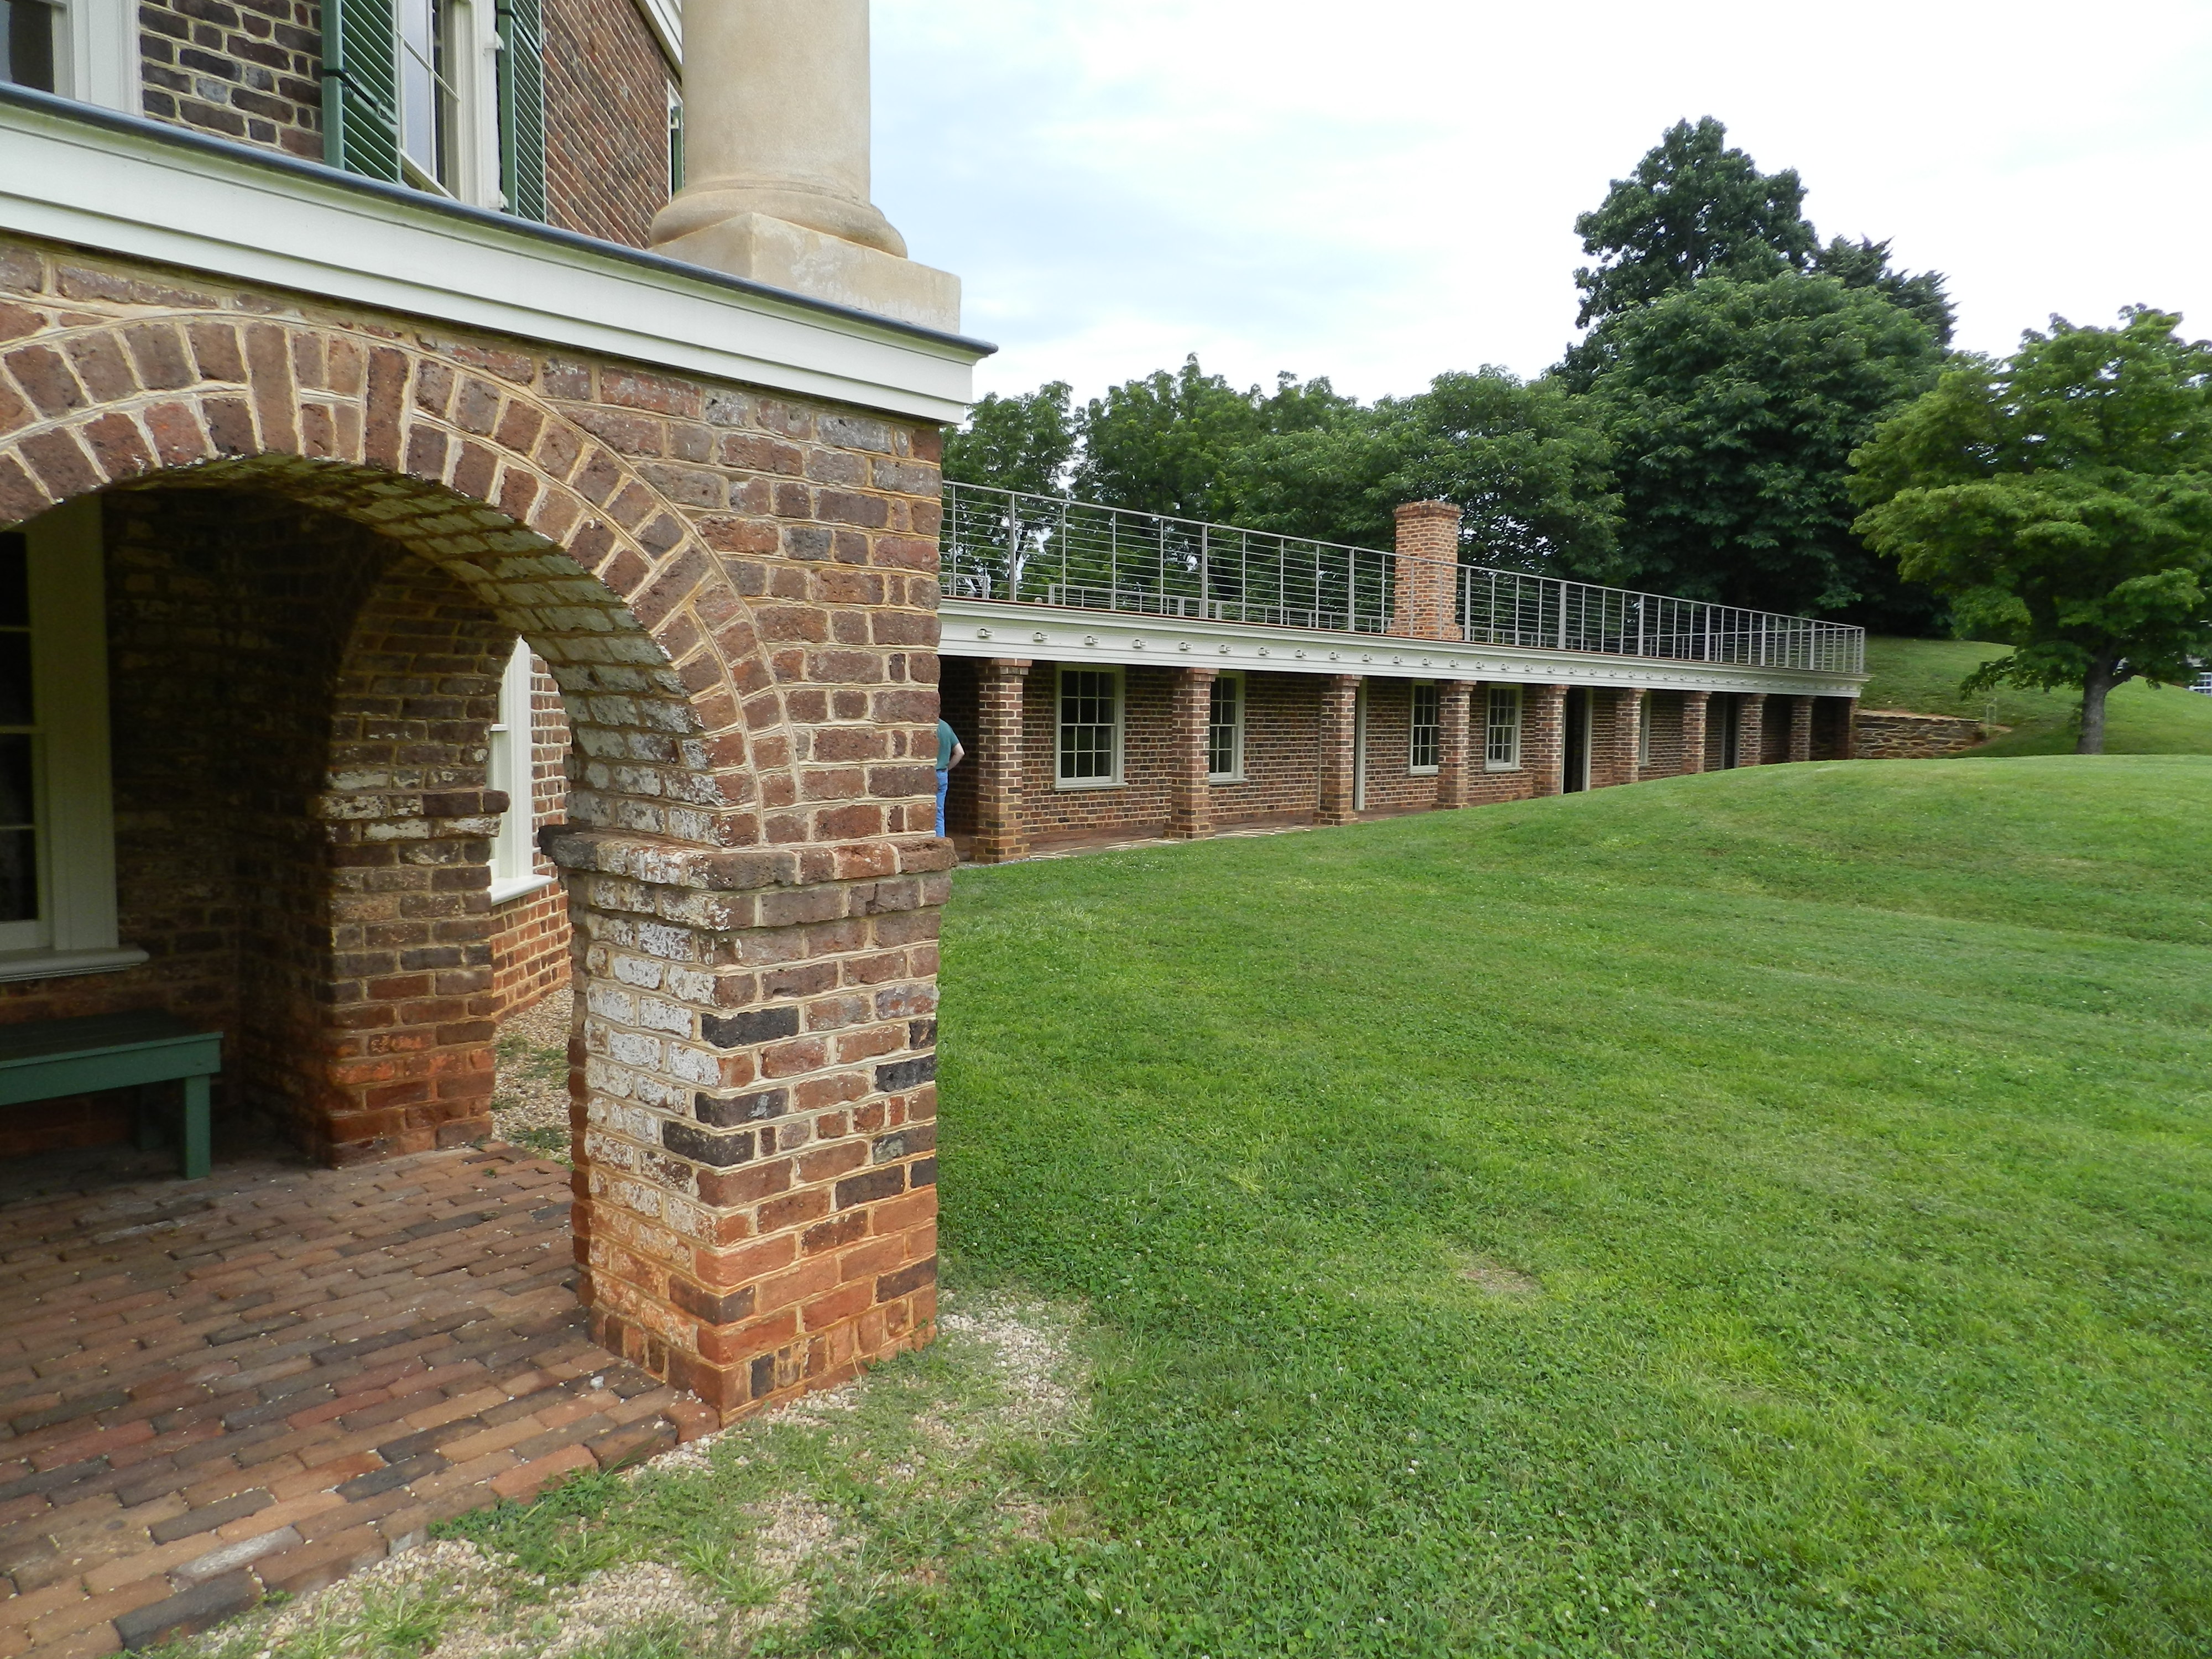
Wing of ‘Offices’ designed to blend into the landscape and barely be visible from the front
Beyond the building architecture and historical connections, the home is also notable for its stunning landscape design. From the front of the house the wing of ‘offices’ is barely visible. A combination of trees, mounds, bushes, and other natural elements allowed the house to project a sense of symmetry and scale that made it look like a grand European retreat Villa. Over the years Jefferson continued to refine his vision and expand the site even in the face of mounting debts.
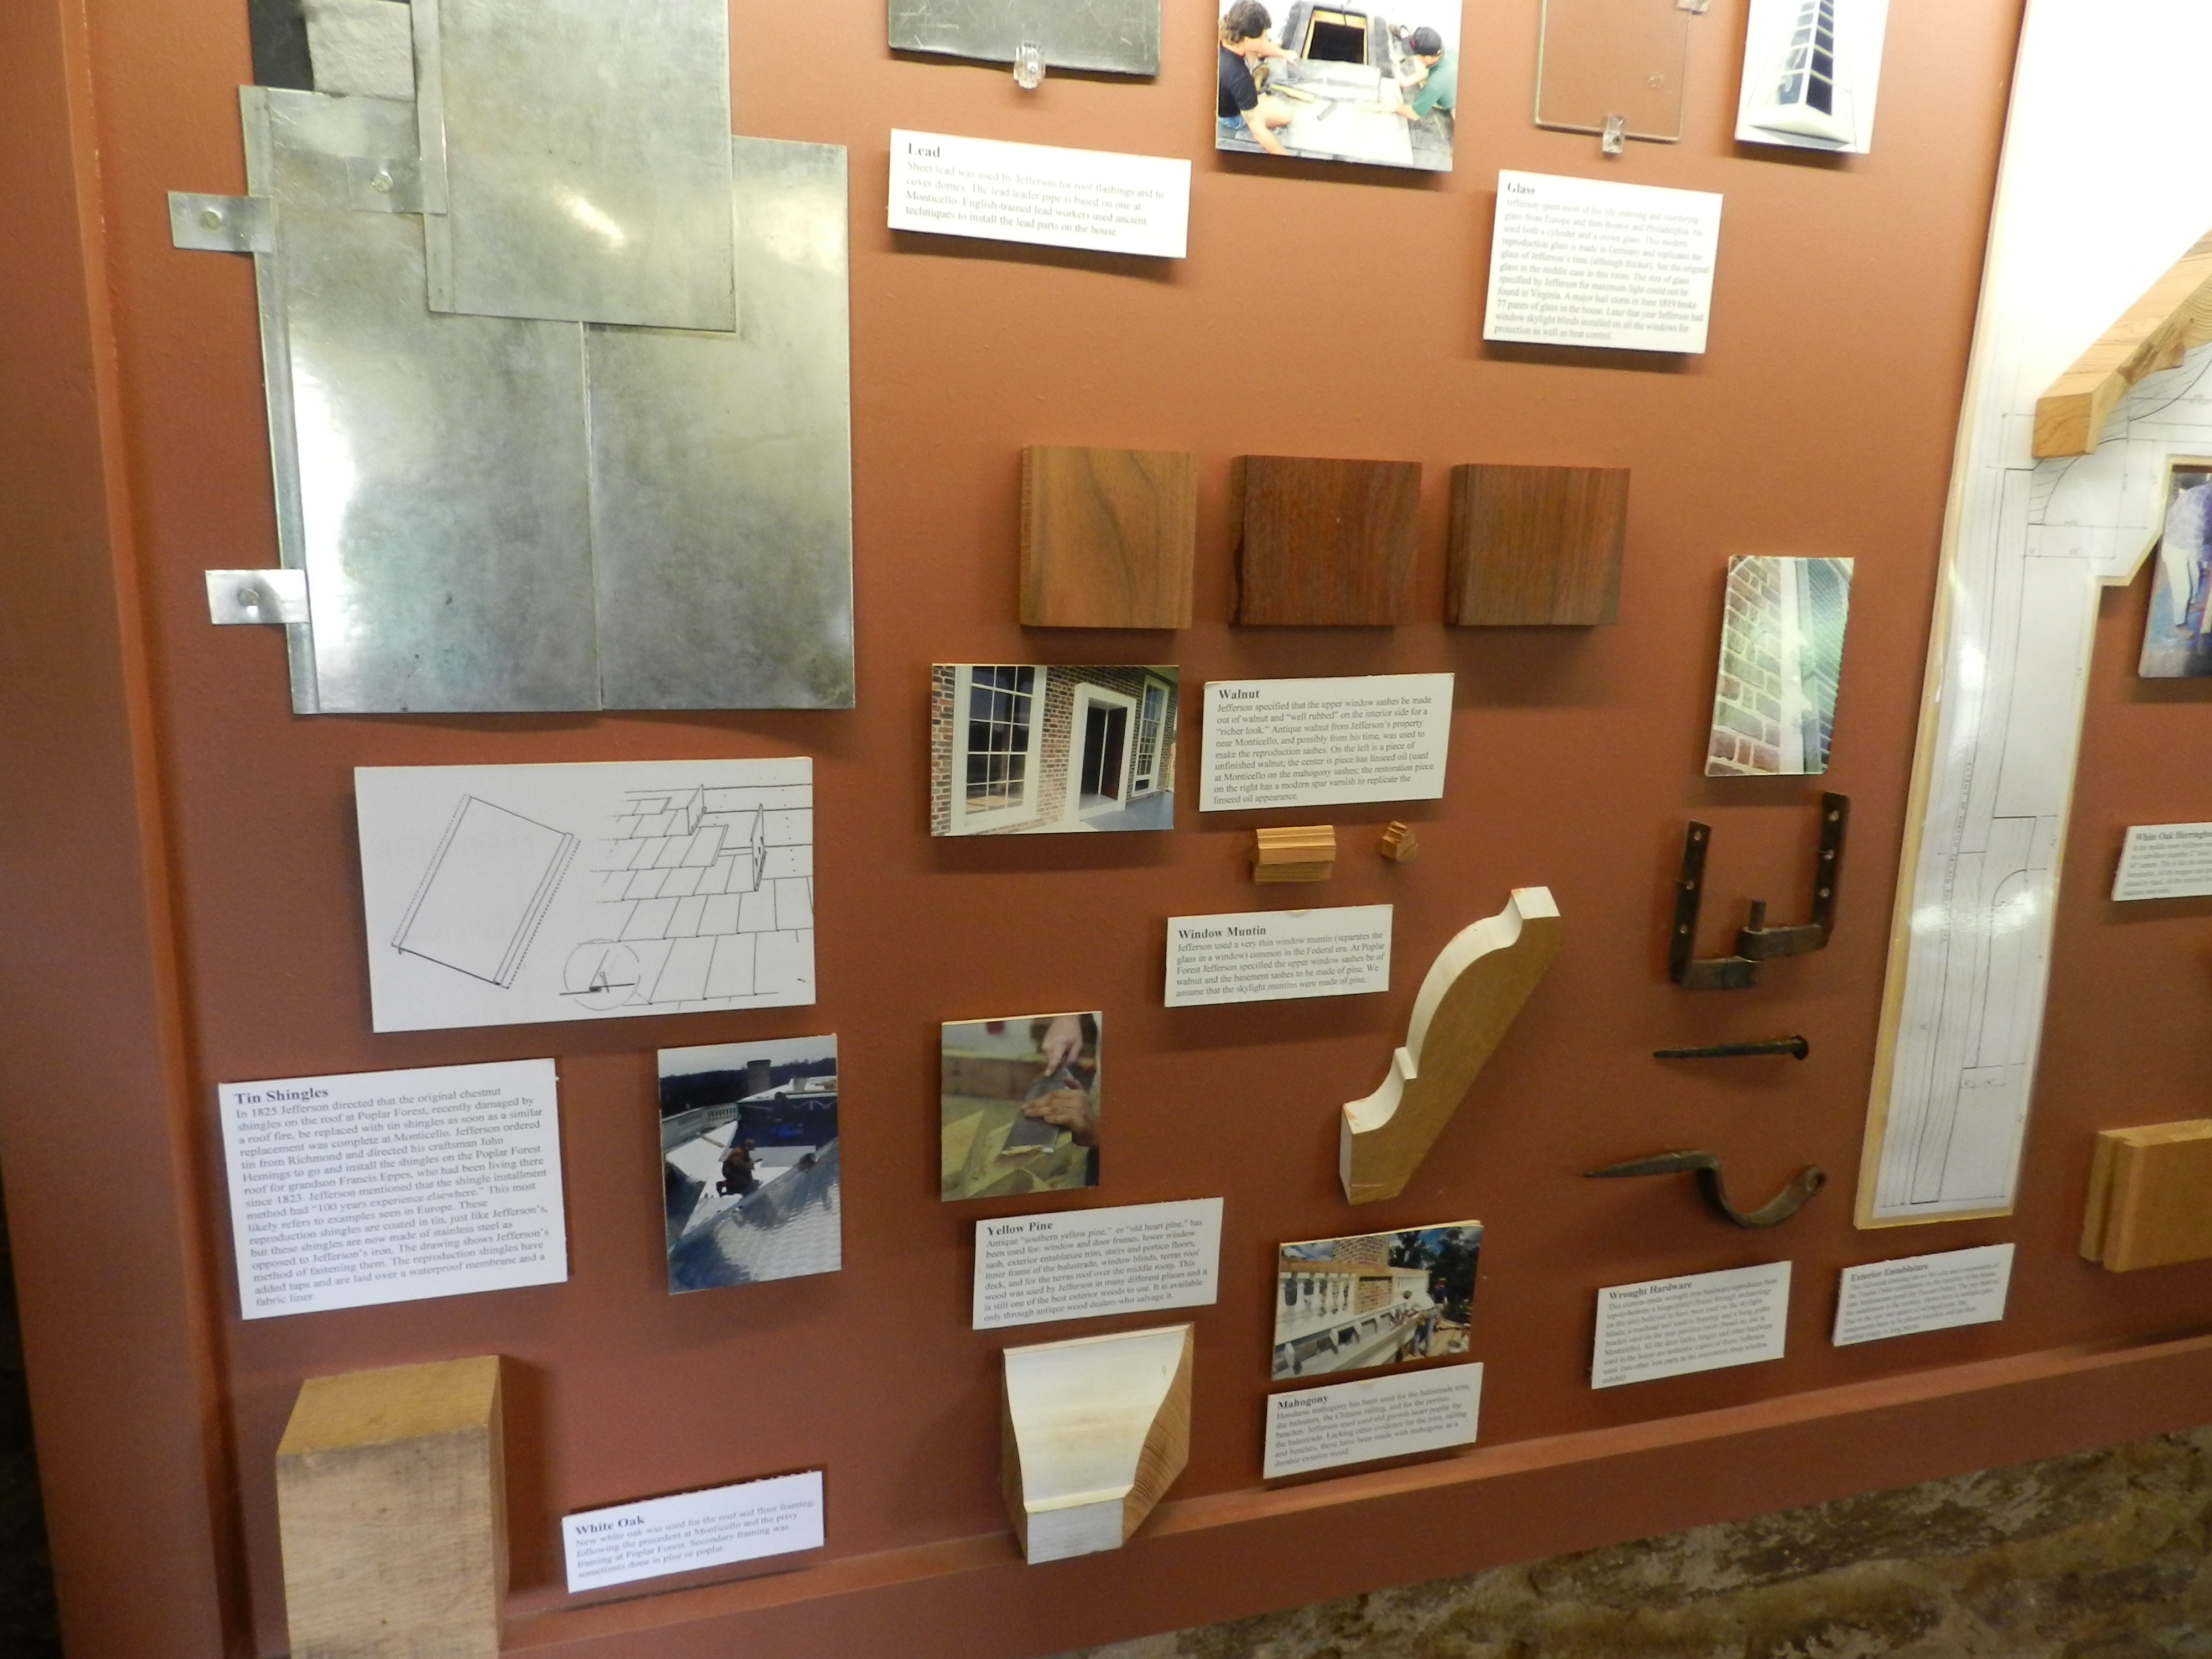
A nice display showing some of the restoration efforts that have been going into the site.
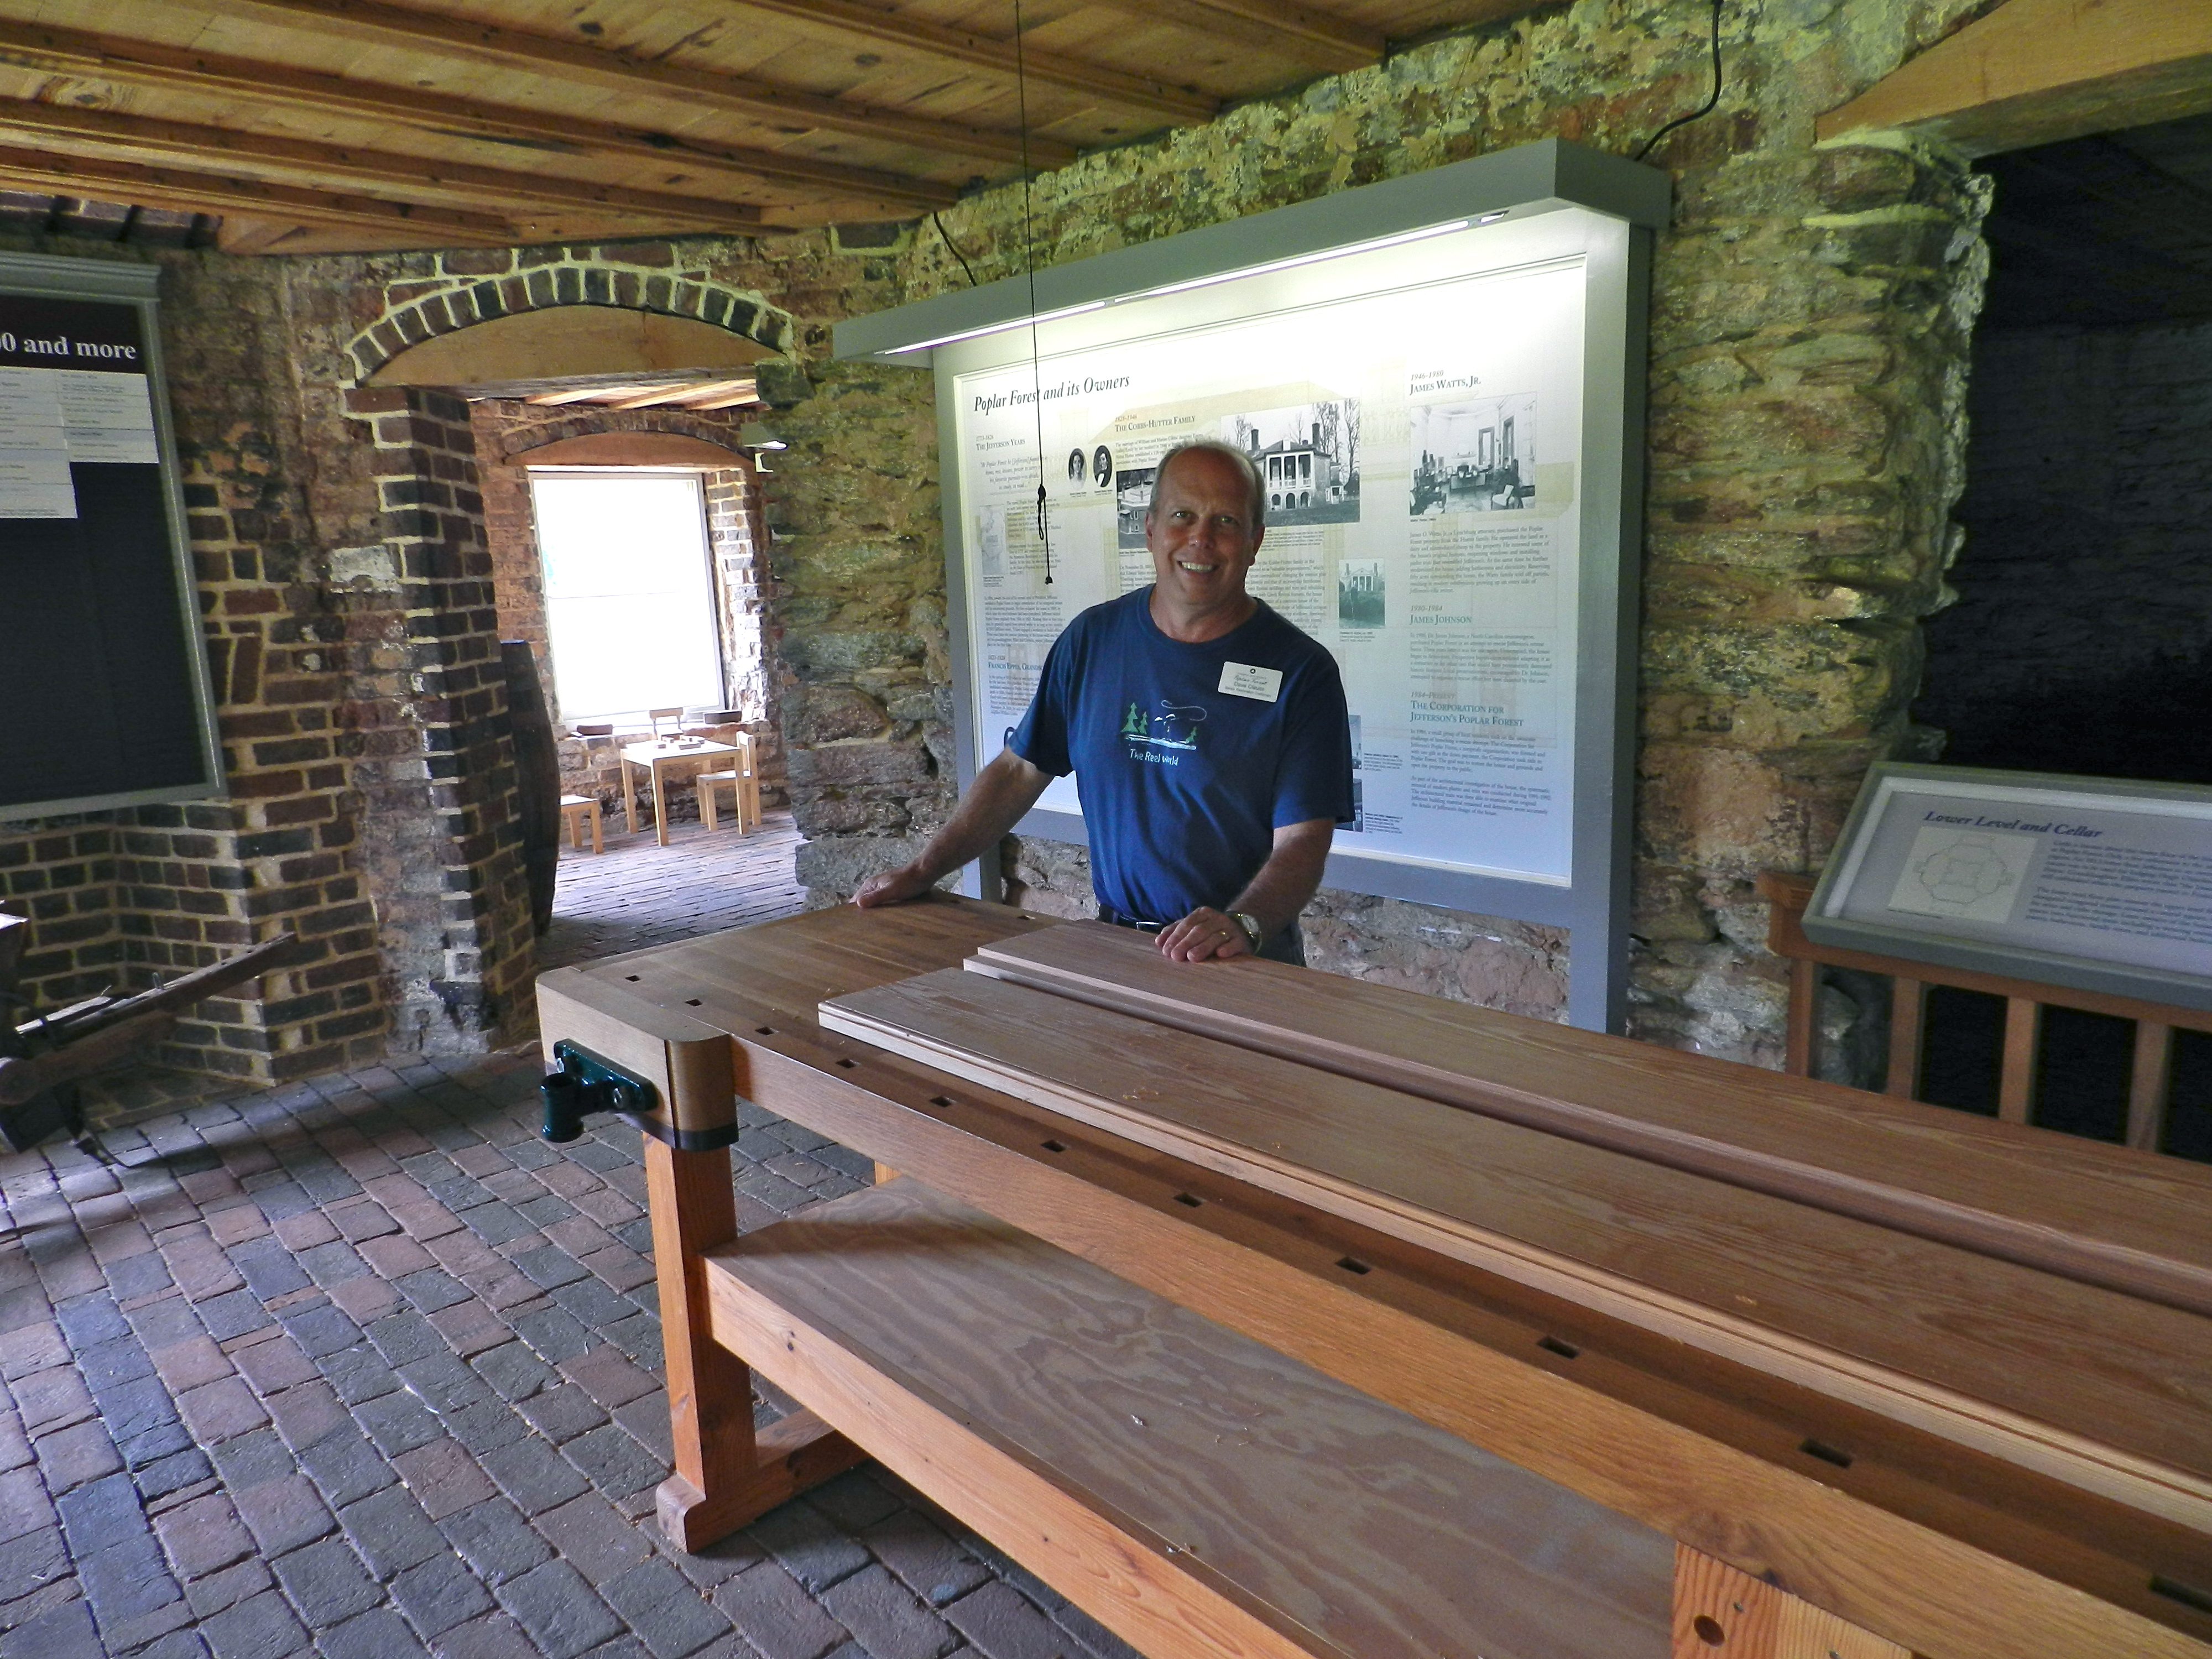
In the basement of the main house is a series of displays that describe the painstaking process the restoration craftsmen have been going through to restore the house over the past 20+ years.
Senior Restoration Craftsman David Clauss with the long joiner’s bench he build
I had a great time hanging out with my friend David Clauss who is a Senior Restoration Craftsman for Poplar Forest. Much like Montpelier I love visiting Poplar Forest since much of the restoration work was done recently and is ongoing — so I feel right at home.
Restoration Workshop Sign
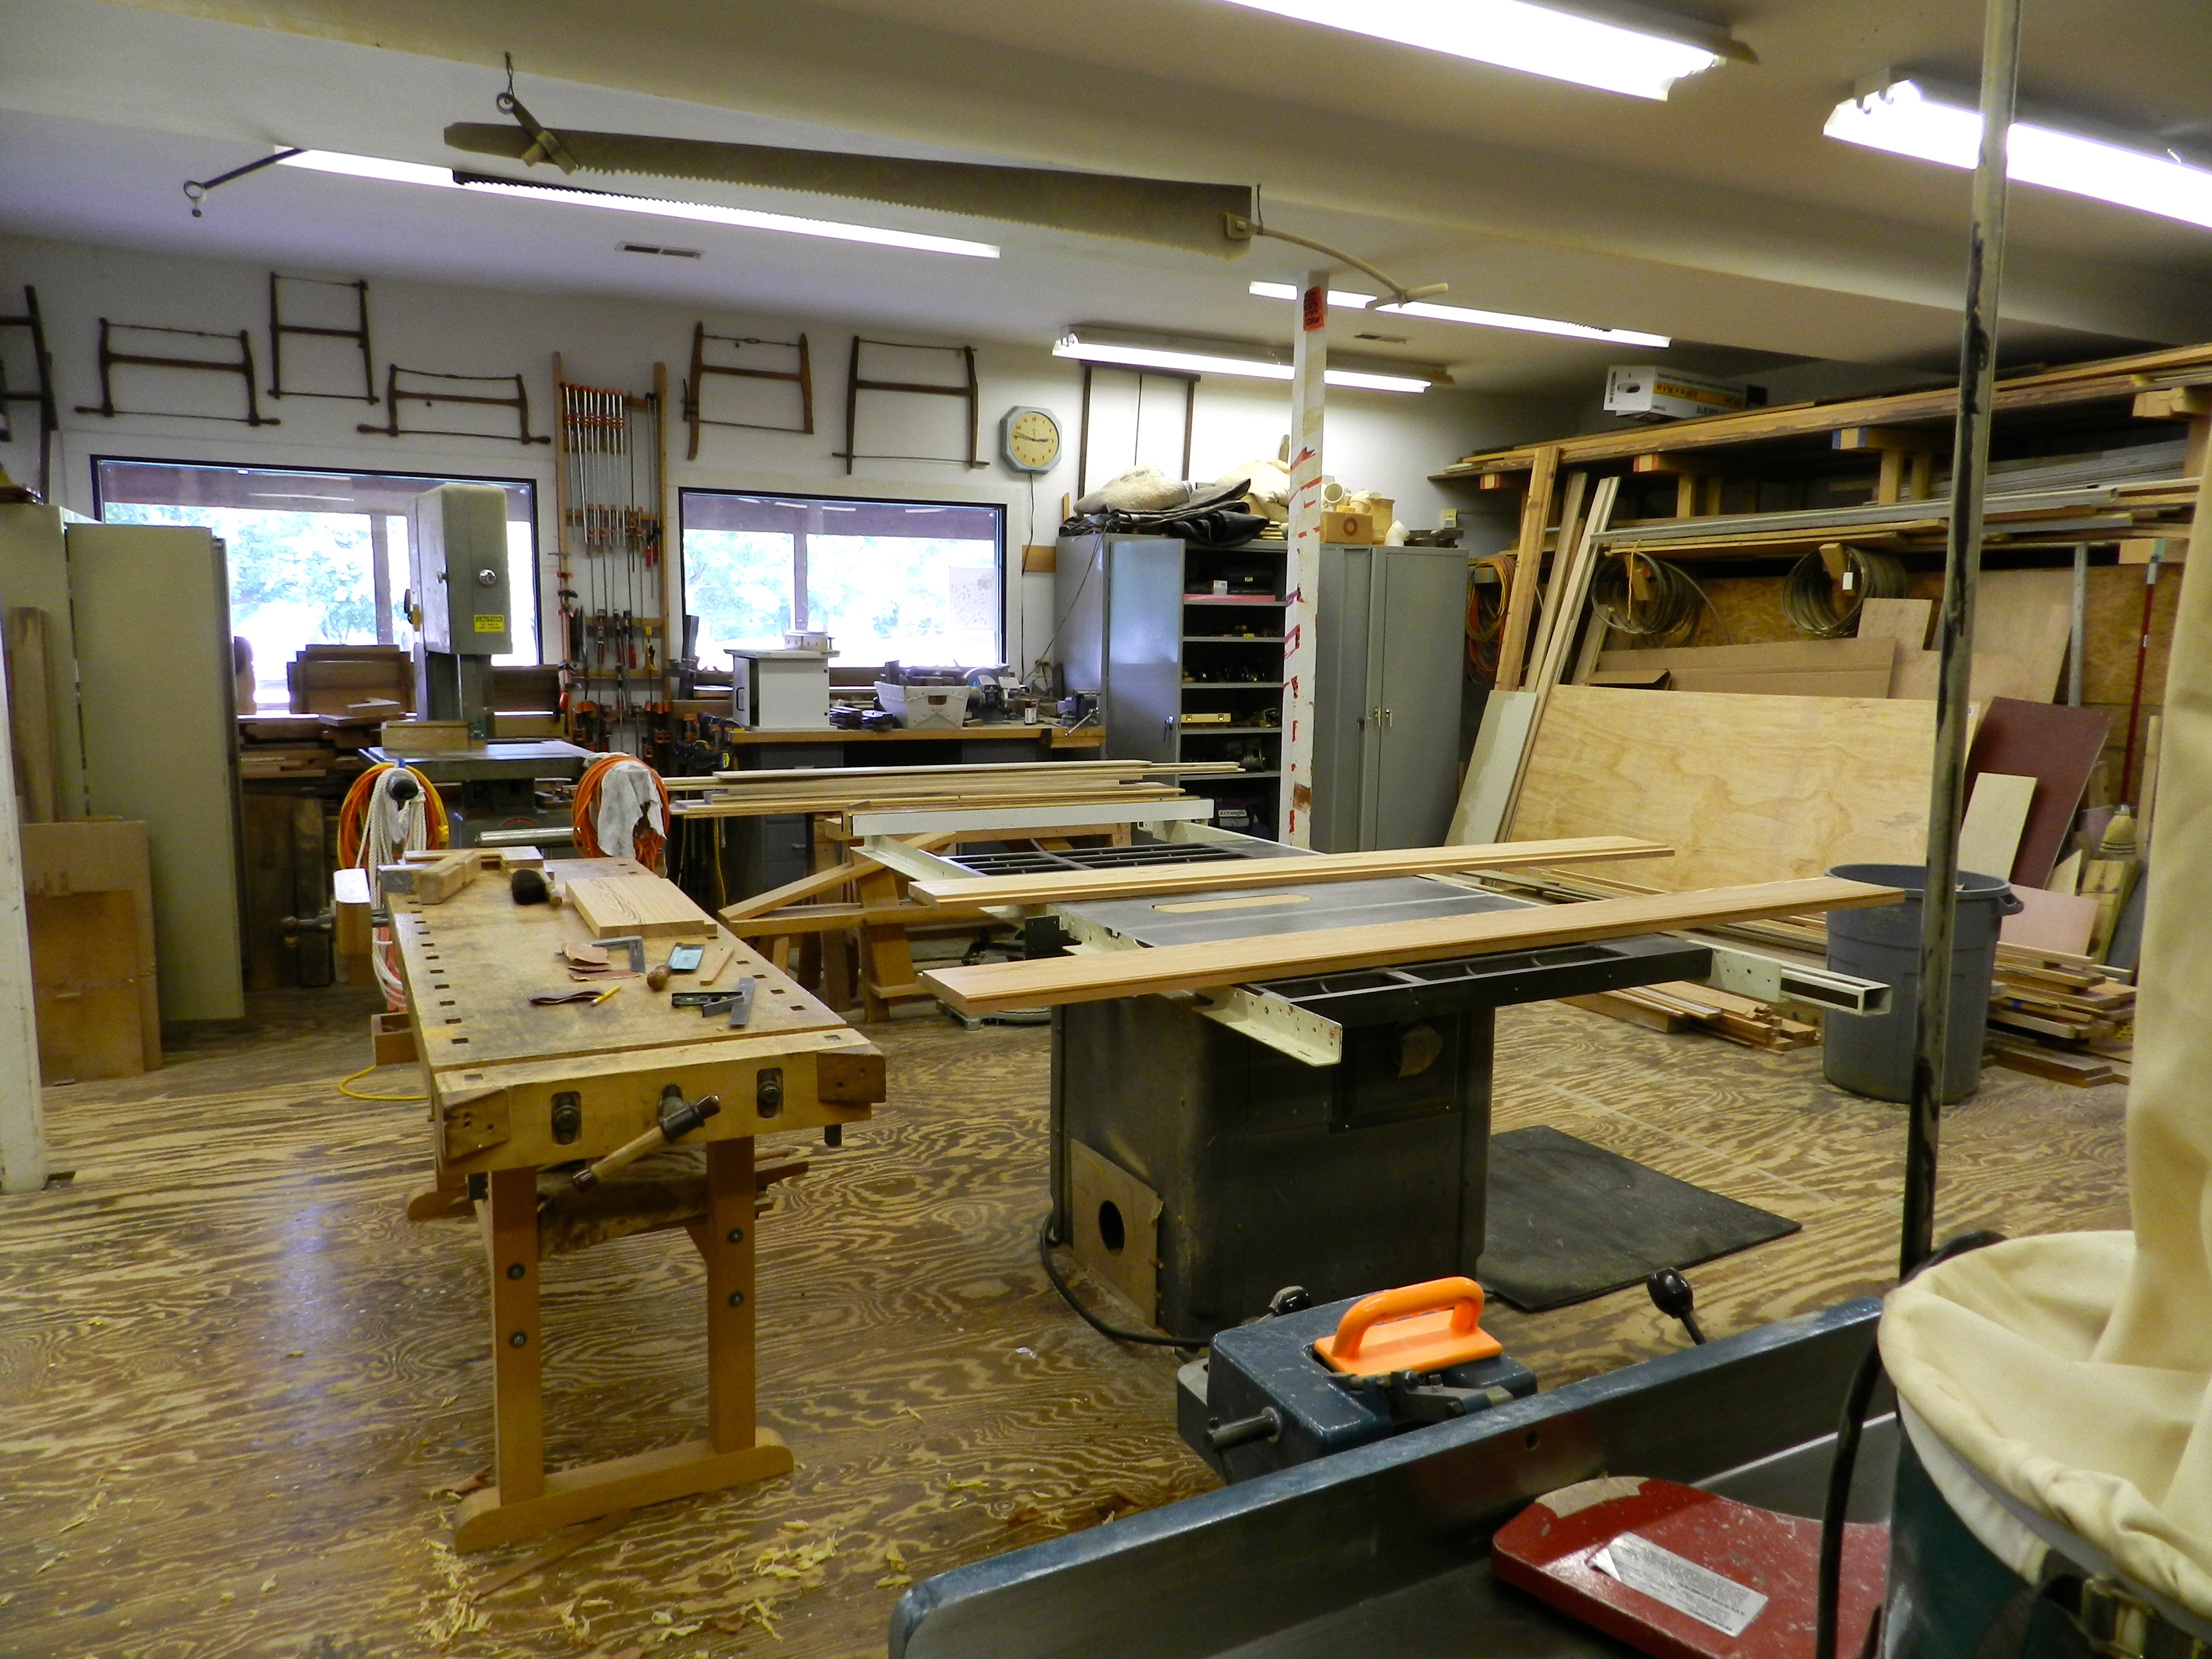
Dave was kind enough to also show me around the restoration workshop which is well equipped. Using traditional tools and materials, and the occasional time saving of some power equipment the craftsmen have restored many aspects of the house — from window sash and doors to the massive skylight in the central room and elaborate moldings.
Restoration Workshop
If you’d like to learn more about Poplar Forest you can watch a recent episode of the Woodwright’s Shop where Roy visited Poplar Forest here.
As a preservation carpenter and traditional joiner I spend a lot of time trying to retrace the steps of early craftsmen. While the fruits of their labors survive in pockets — the buildings and pieces that survive; the places where they worked and plied their trades often did not. Thus we often have to look for tool marks, log books, letters and newspapers to piece together the life and work of individual craftsmen.
This summer my wife and I had the opportunity to visit the Winterthur Museum and Gardens in Delaware and visit the Dominy Clock and Furniture Shop exhibit which was an exceptional window in the life of an 18th and 19th century family of craftsmen.
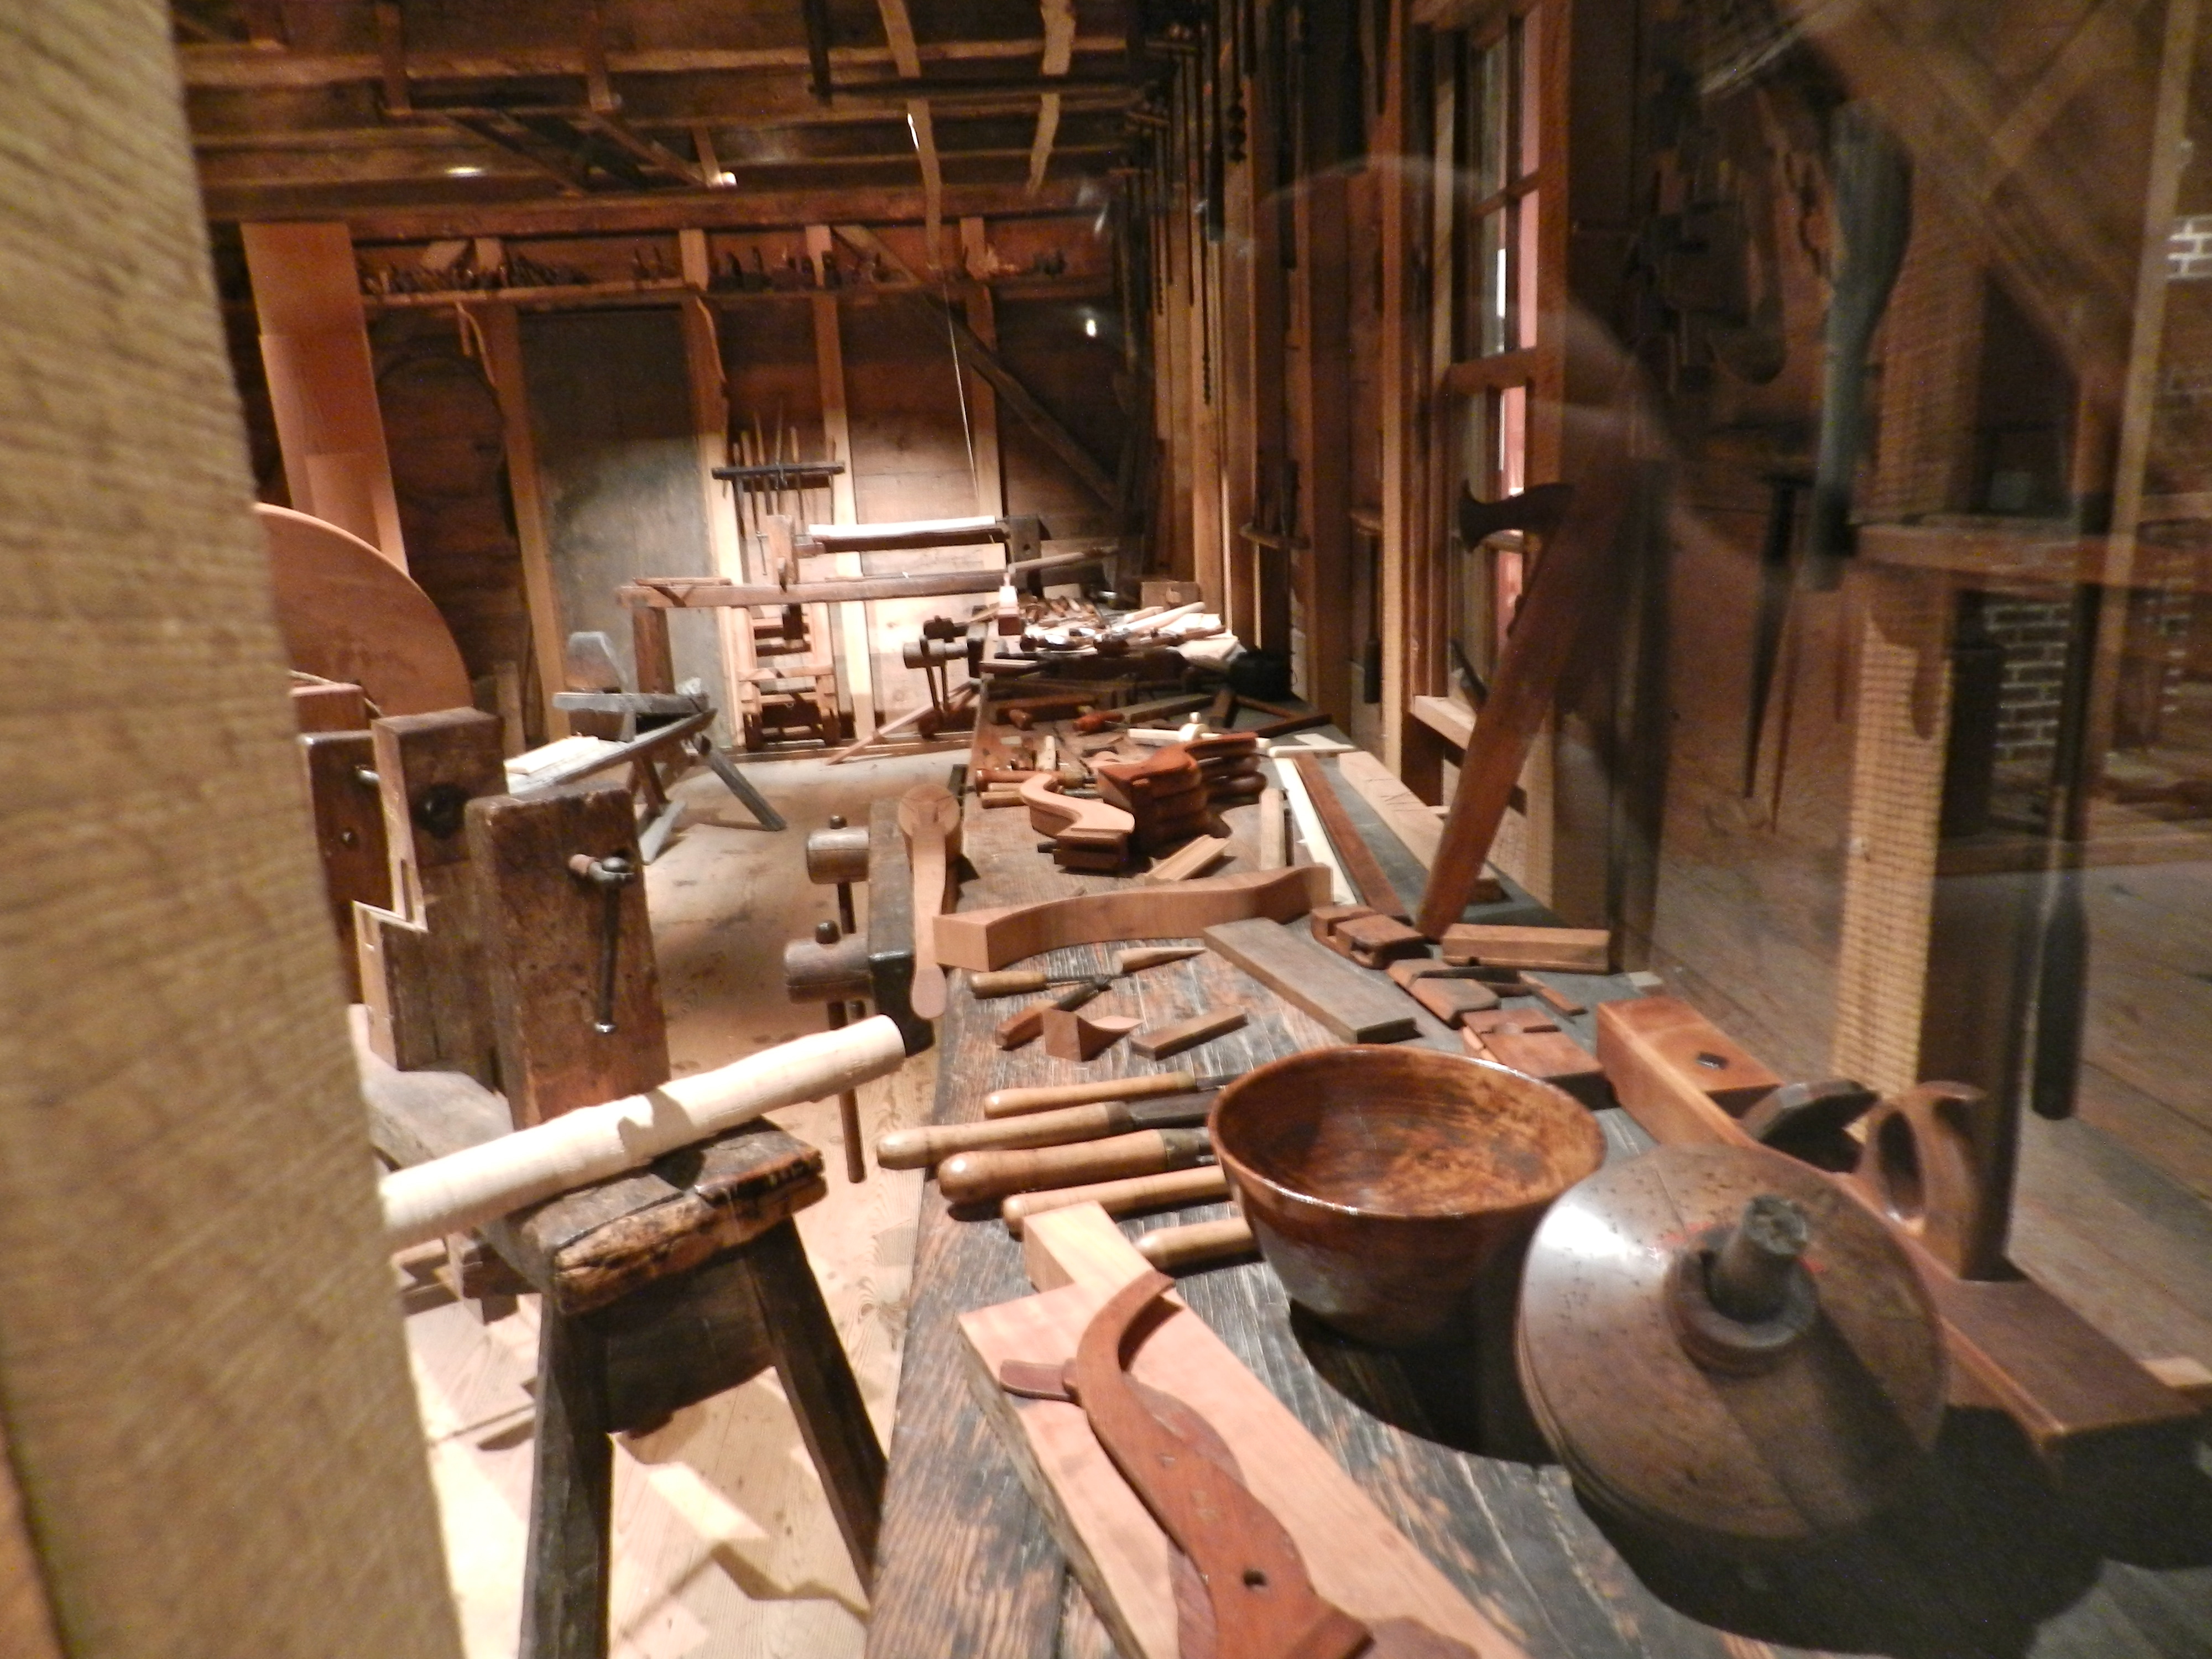
Nice long joiner’s bench. Chisel racks in the wall and nice big windows to provide light to work by.
The Dominy’s were a family of craftsmen from Easthampton New York — out on the east end of Long Island, not terribly far from where I grew up in West Islip, NY. Over the course of four generations and active from ~1750-1850 this family produced fine clocks and furniture pieces that were sold locally and in regional markets. The surviving pieces are now prized by collectors.
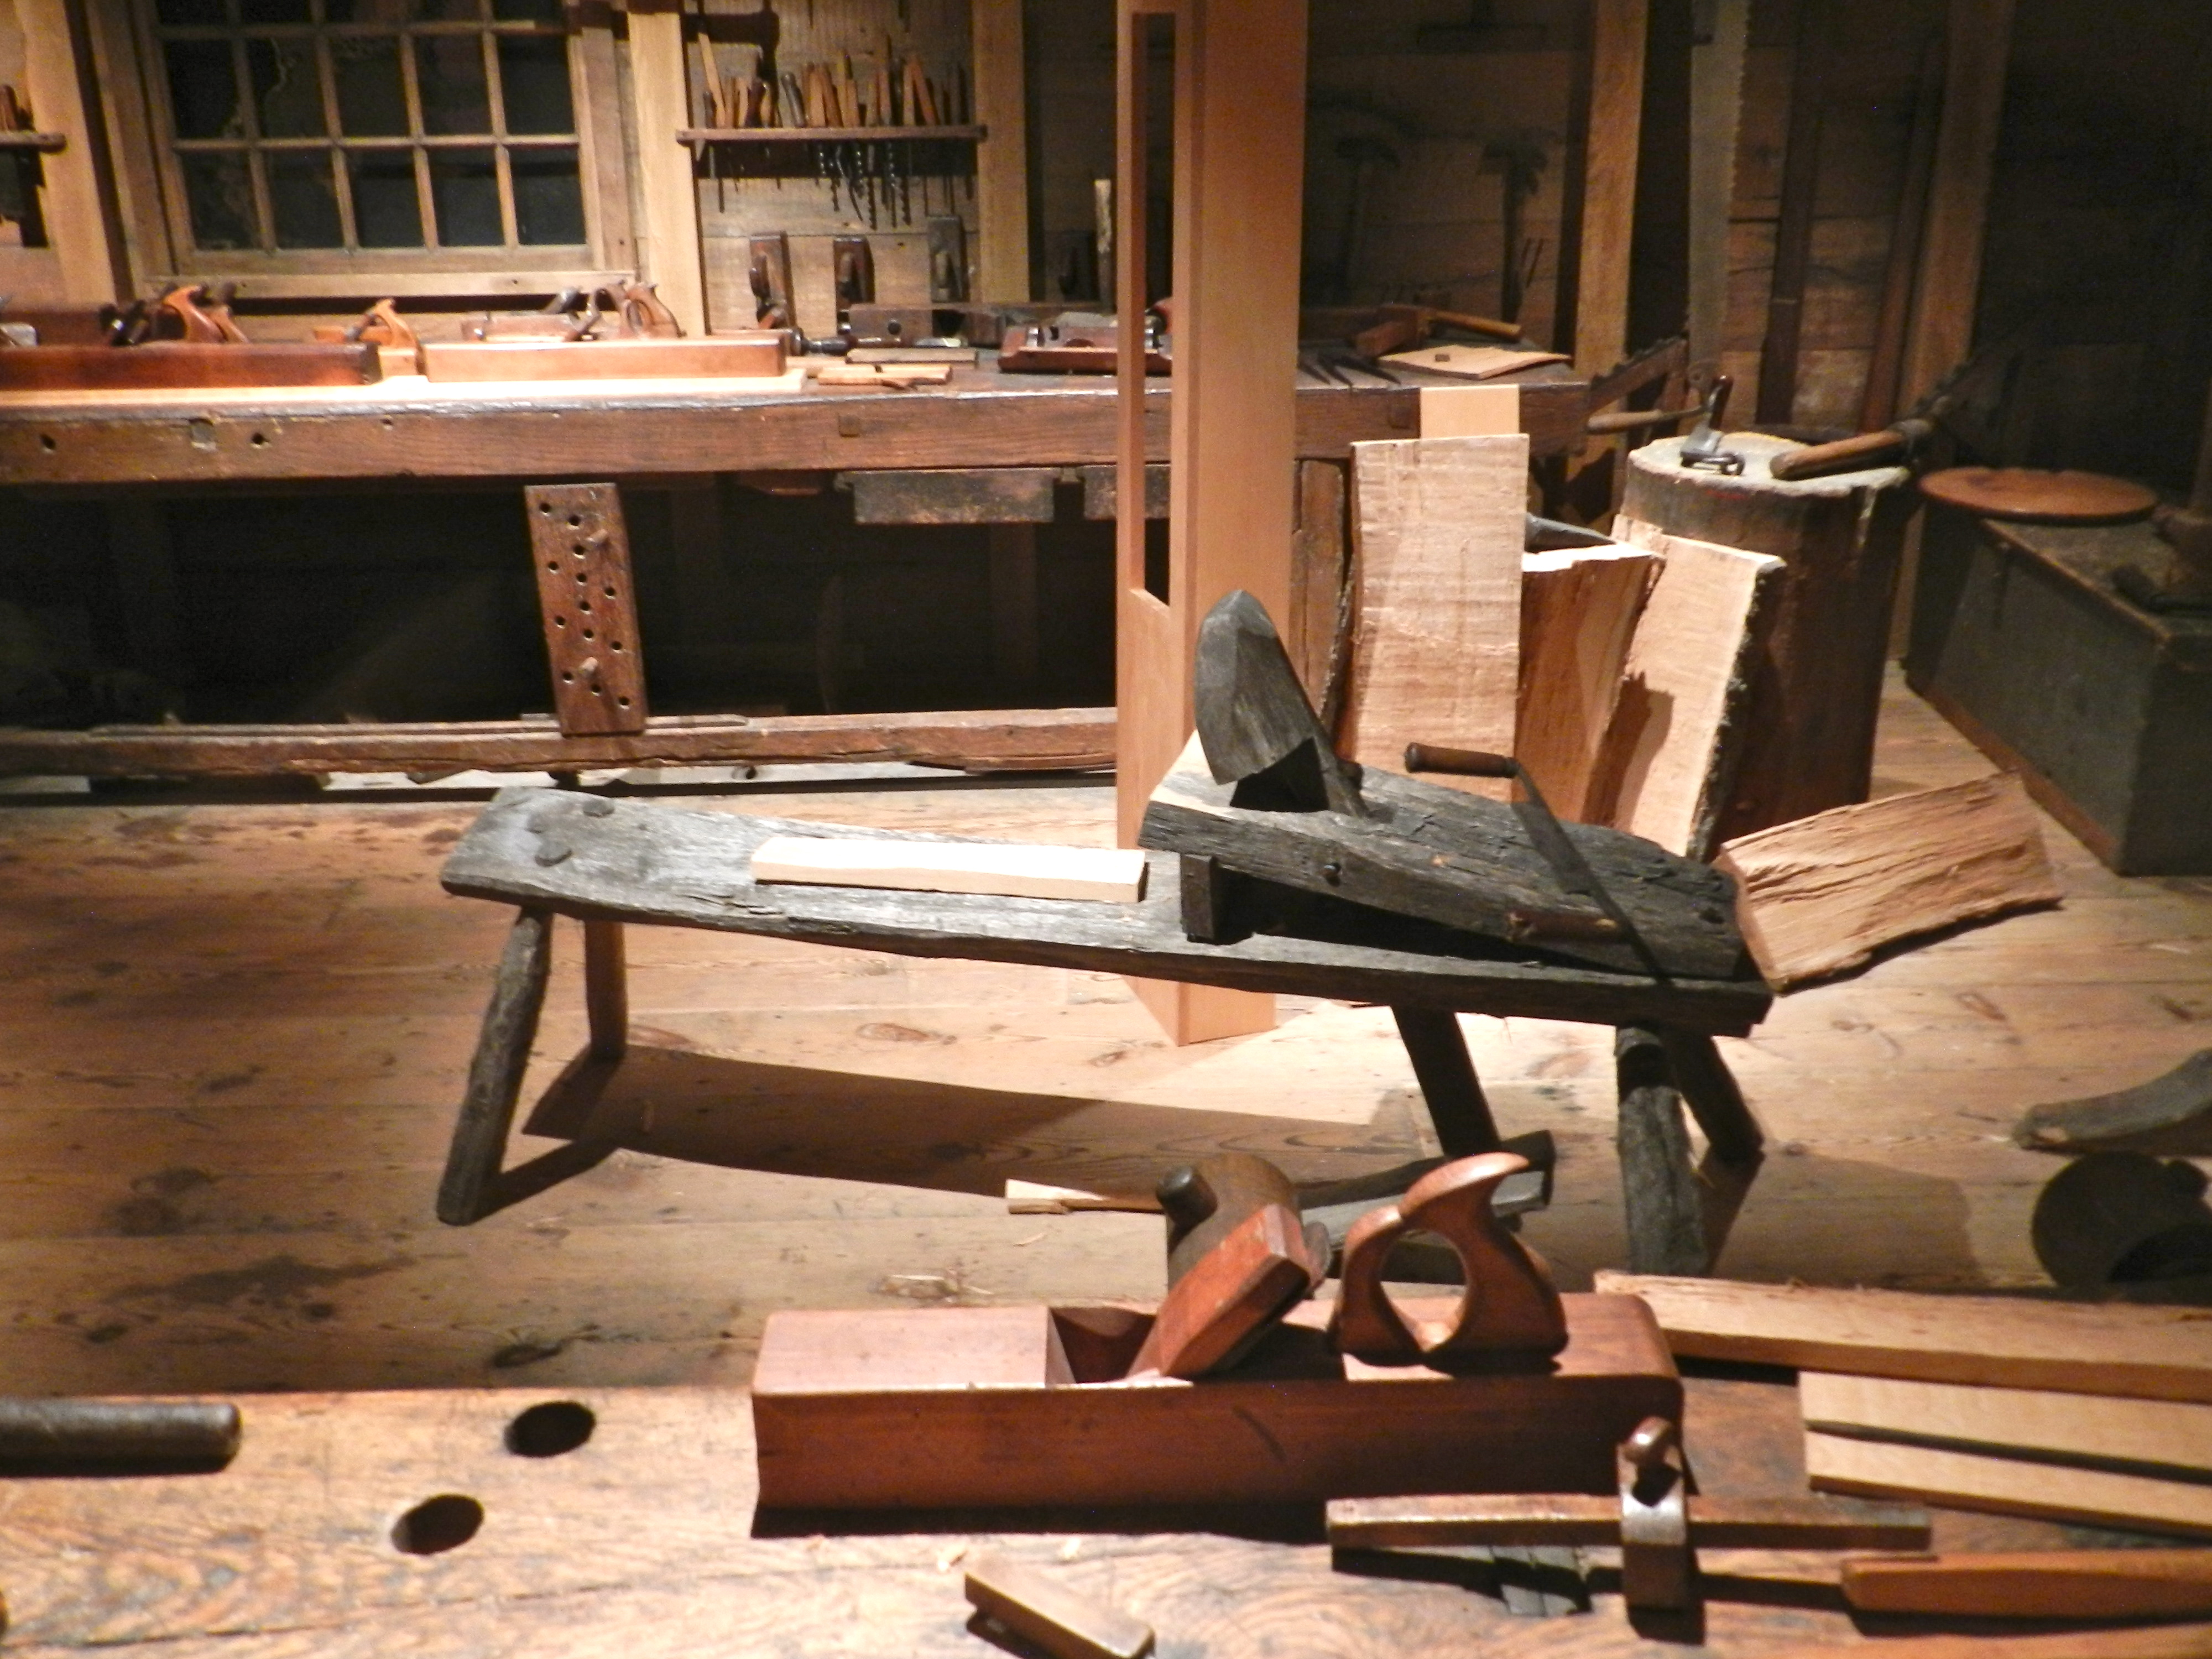
Templates in the Dominy Furniture Workshop
Beyond the body of their work the shop is notable for how intact it is. The shop and it’s contents were cataloged and moved from Long Island in 1957 then reassembled and put on display at Winterthur starting in 1960.
Massive hold-fasts that would have made Roubo proud. Note that for the hold-fast on the bench, the arm is at an unusual angle.
The tools, benches, templates, partially completed pieces, log books and parts of the original shop building survived together.
Traditional style bench full of tools, templates and parts ready to go.
It looks as if that last Dominy walked off the job and and could be expected to come back and resume work at any moment.
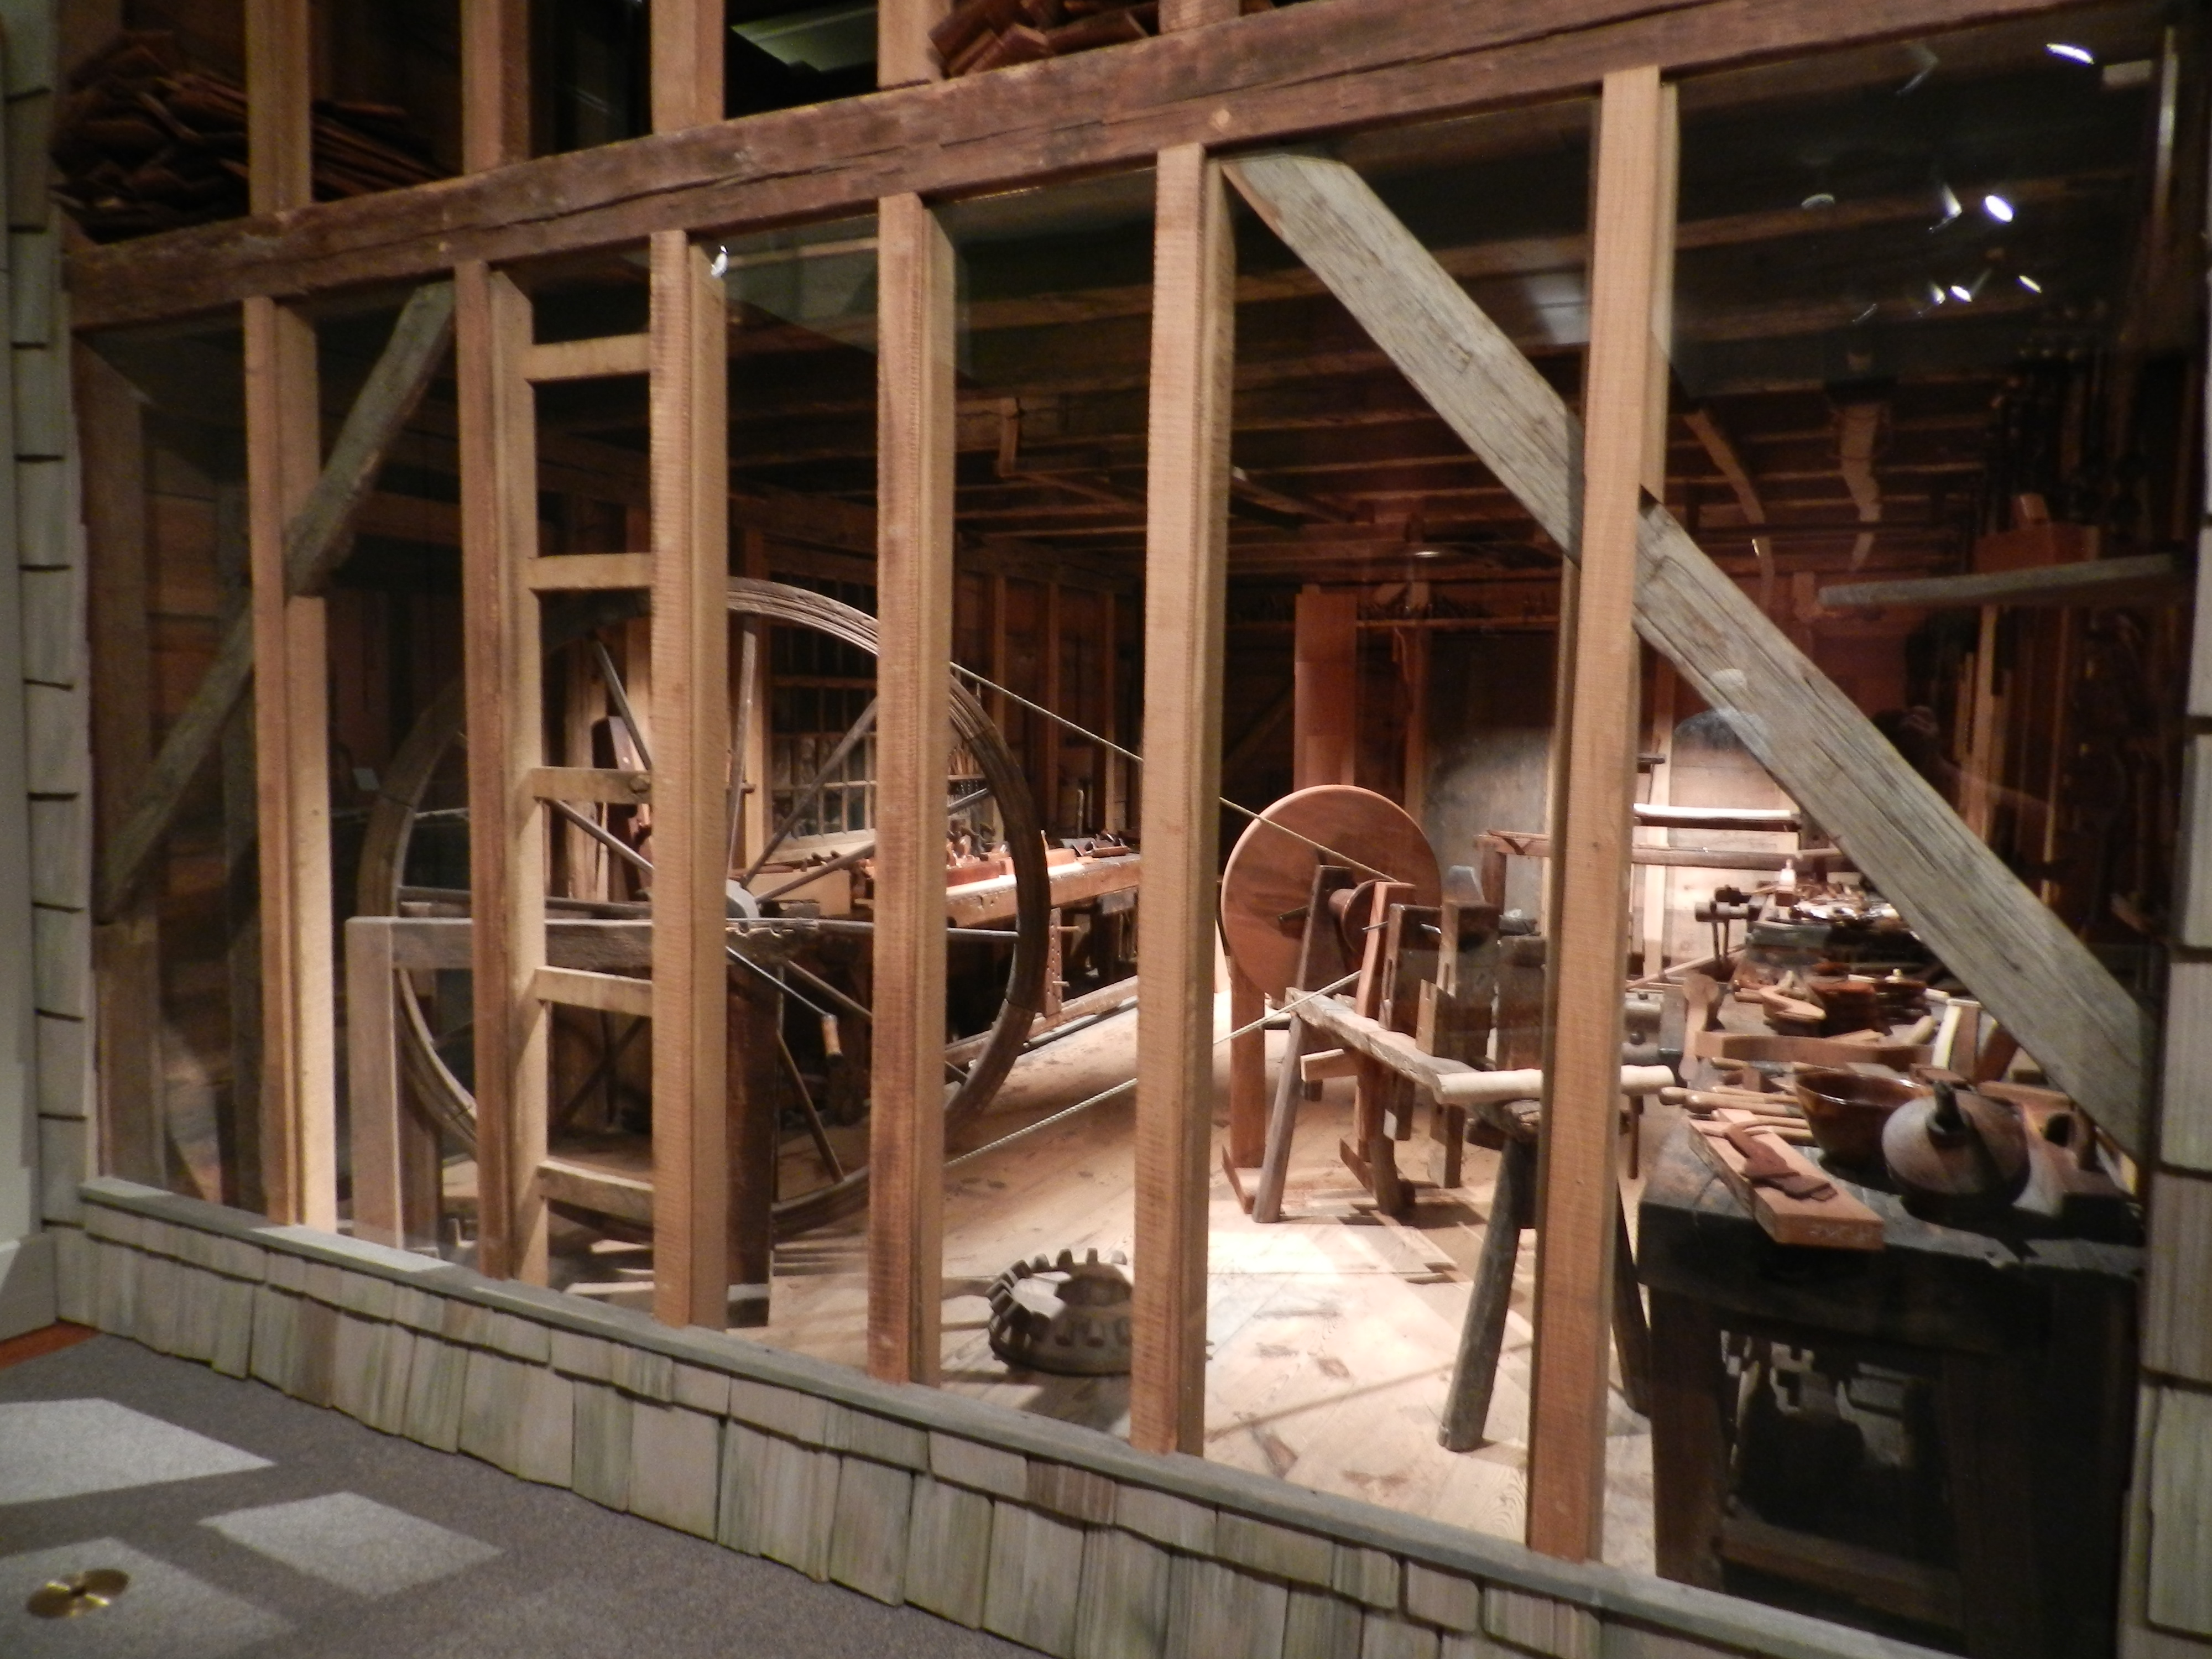
Peering into the Dominy Furniture Workshop from Long Island, NY you can see the great wheel lathe and workbenches
From the great wheel lathe, to the benches and shave-horse they had a sizable and well laid out shop for the time period. The tools were a mixture of locally made and imported tools.
Lathe setup and ready to by used some more
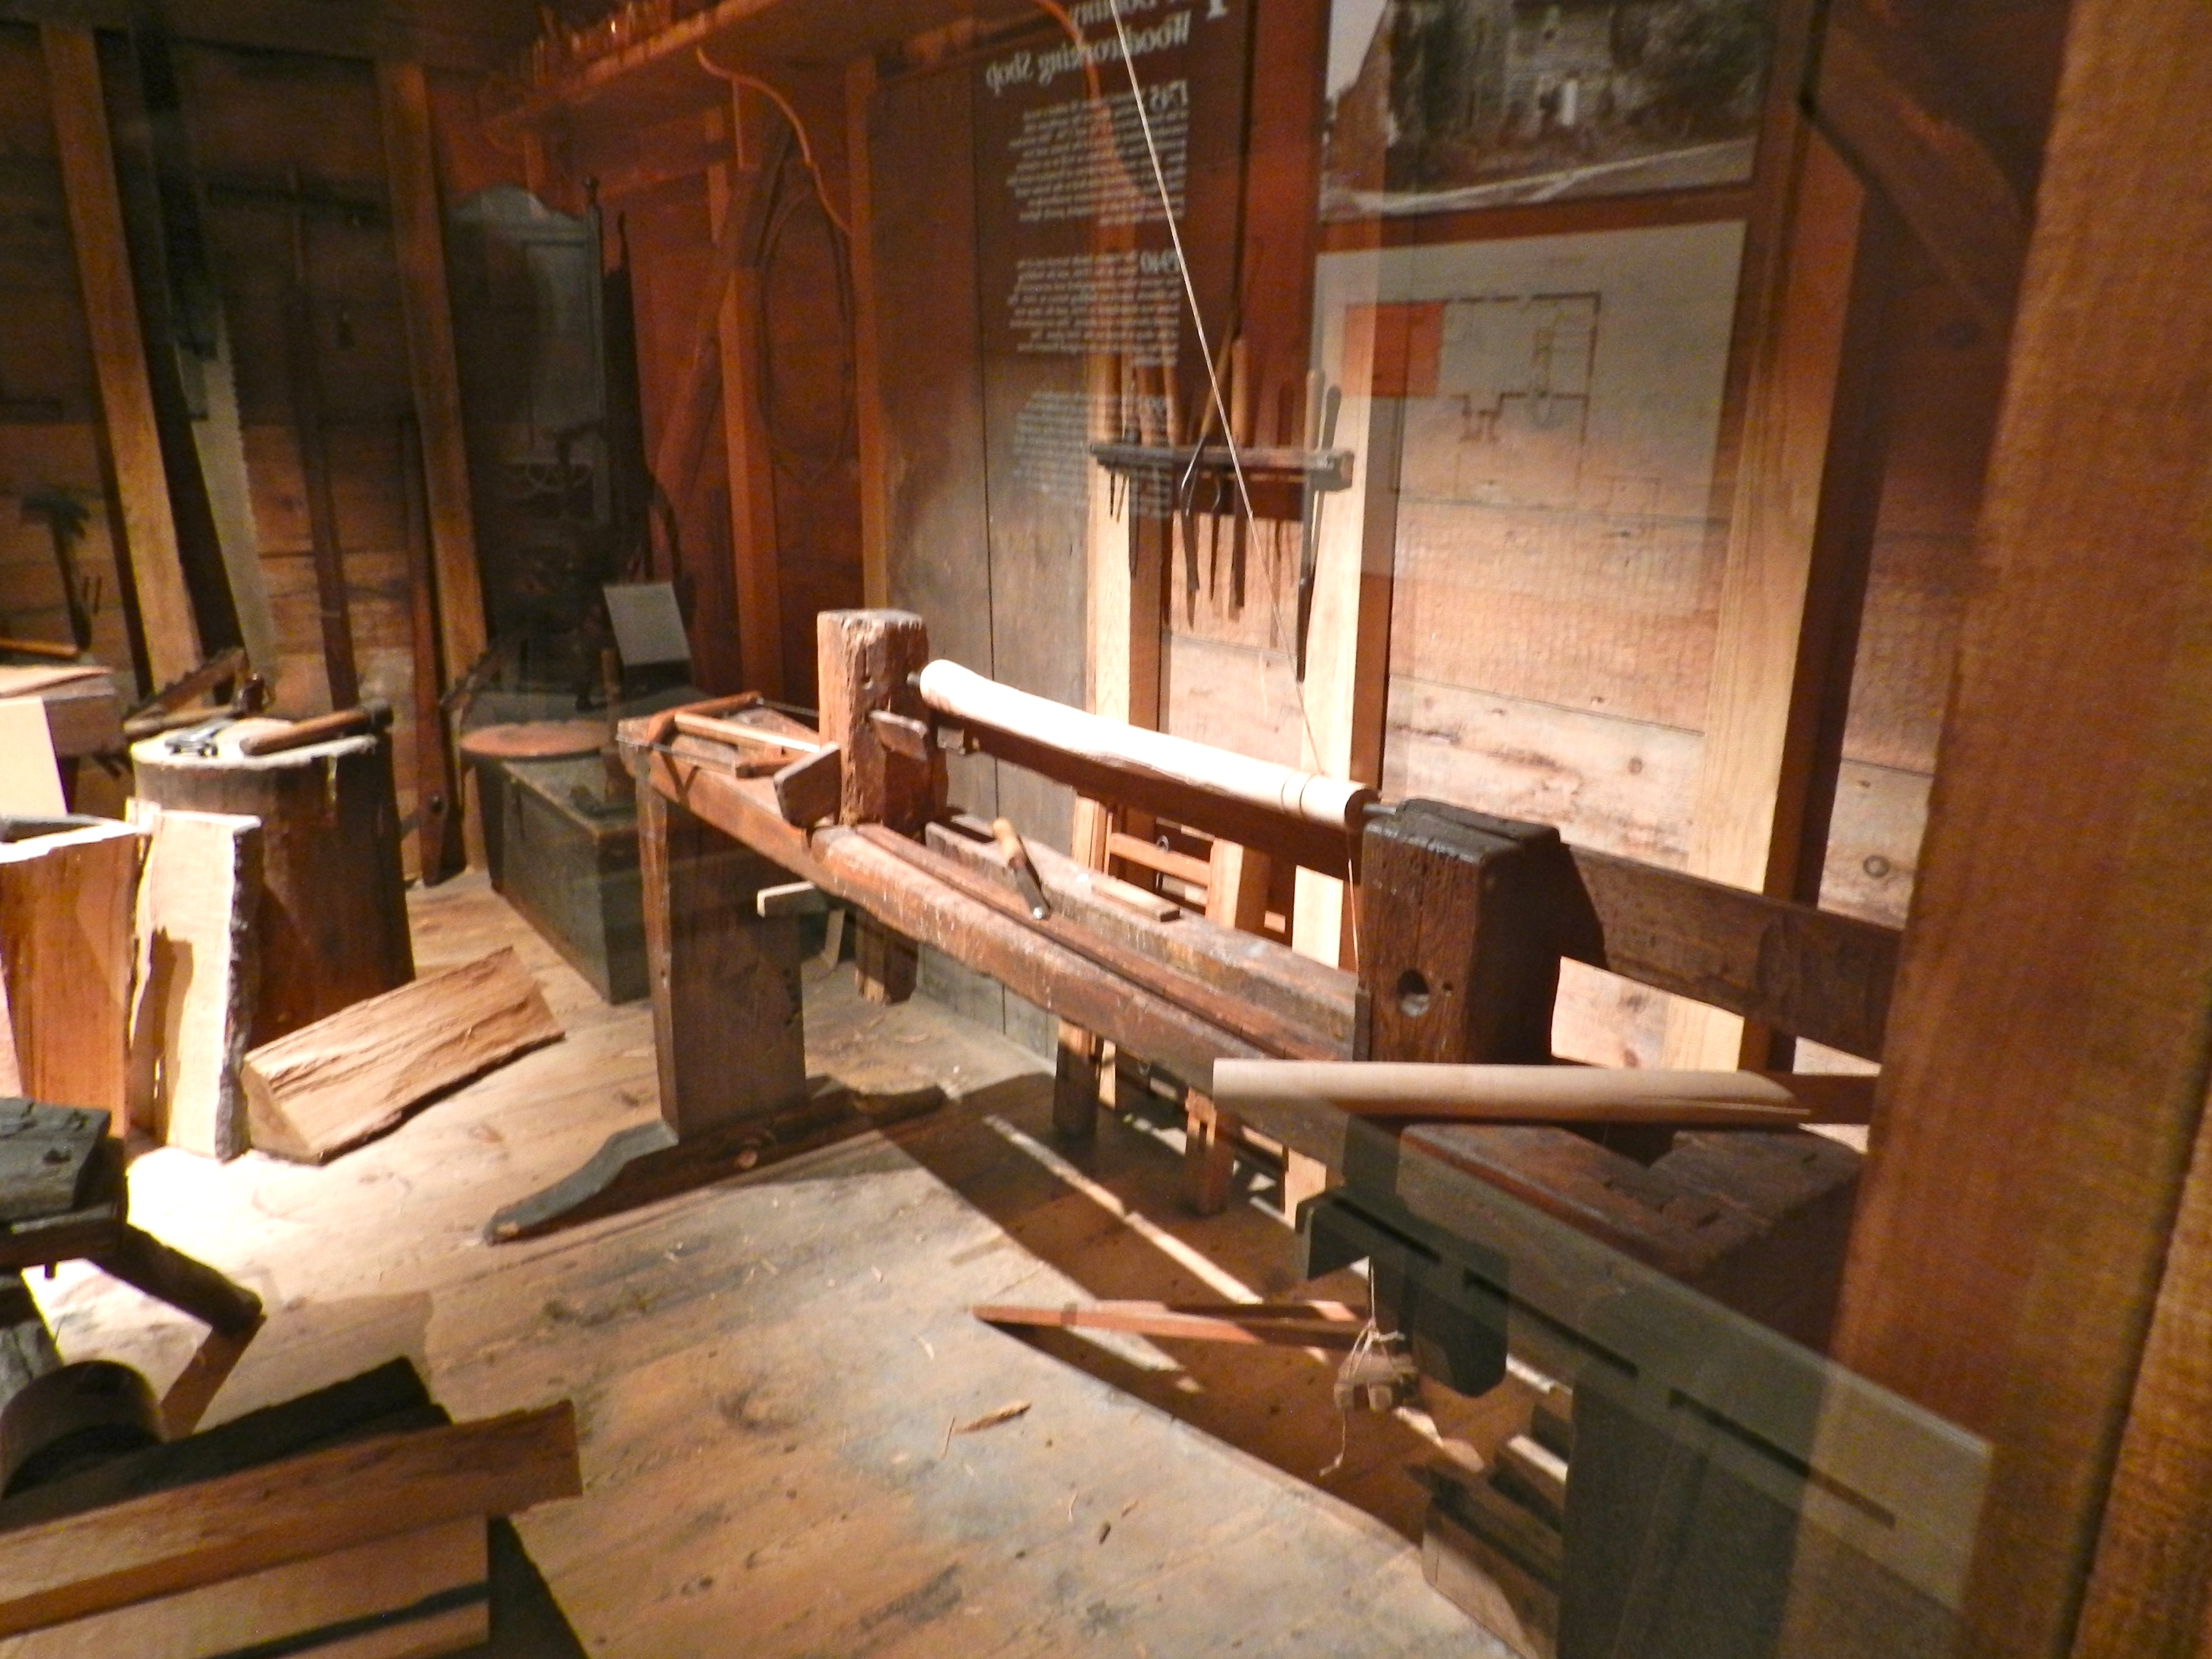
I was fascinated by the tool marks, storage racks and modifications similar to things I’ve done in my own work.
Shave-horse ready to go. Note the sliding deadman on the bench in the background
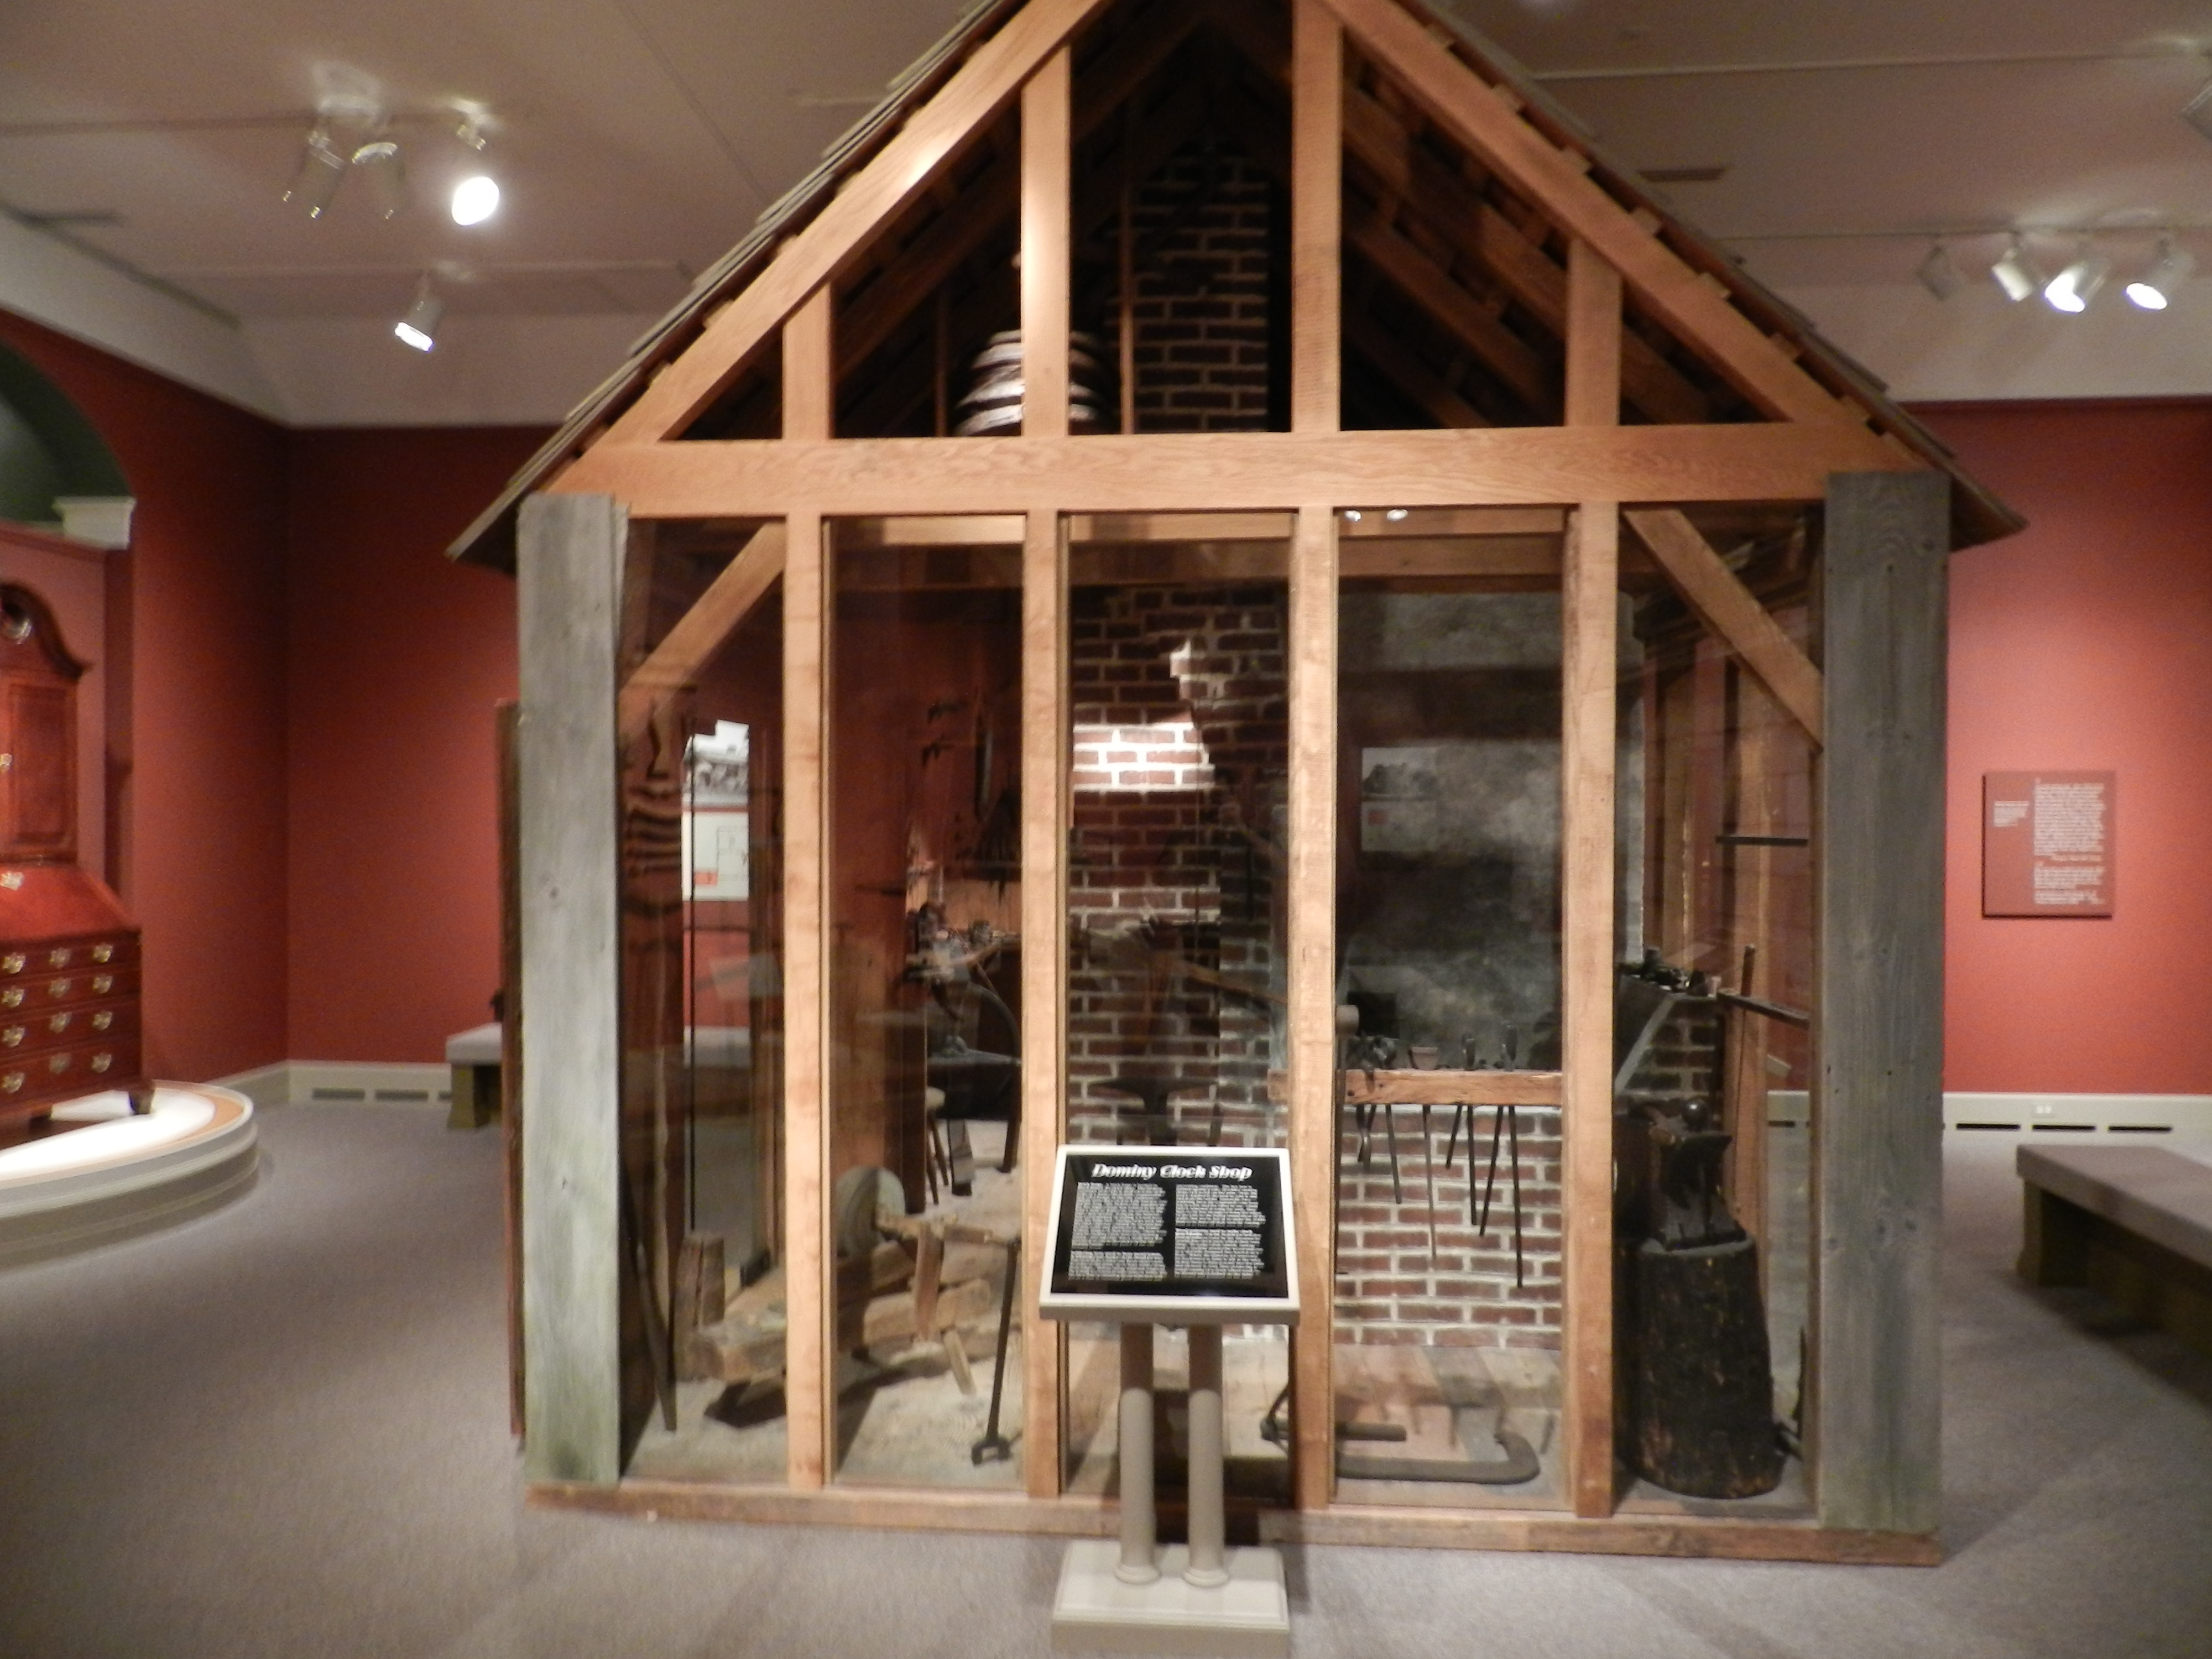
In addition there is also the diminutive Clock Shop which is packed full of metal working tools needed to craft intricate gears and other clock component.
Dominy Clock Workshop at Winterthur
Written to go with the exhibit was Charles Hummel’s seminal book ‘With Hammer in Hand’ (1968). The book can be hard to find and on the pricey side as it has long since been out of print, but is worth every cent. I finally obtained a copy this spring as part of the EAIA’s annual fundraiser auction. The book explores the family, the tools, and the work they did in a way that was enjoyable to read. It paints a vivid picture of what life was like for these skilled craftsmen.
If you’d like to plan your own visit to see the Dominy exhibit you can learn more about it here.
If you’d like to visit on a budget, you can view some online video tours of the gallery below as Roy, Norm and even Bob Vila have segments about the shop.
Roy Underhill Visits the Dominy Shop (towards the end of this clip)
Norm Abram visits the shop and builds a replica clock at the New Yankee Workshop
and Bob Vila explores the shop
Take care,
-Bill
39.802890-75.591593
A Joiner's Guide To Traditional Woodworking and Preservation