Tag Archives: Rainford Workbench

Flexner’s Danish Workbench

Yesterday evening in the weekly Popular Woodworking ‘Week in Review’ email summary I saw a nice post by Bob Flexner — Contributing Editor to Popular Woodworking and well known Finishing Expert — sharing his thoughts on Danish Workbenches.

Bob Flexner's ETA brand Danish workbench
Bob Flexner’s ETA brand Danish workbench

You can read Bob’s post here. Bob shares his thoughts on this form of bench along with some interesting anecdotes on his time in Denmark and importing some ETA benches.

Bob also had a couple questions/comments that I wanted to reply as they are good topics of discussion:

“The first was the top surface. Bill uses two 12¼-inch wide “slabs.” He suggests using three boards instead of two if you can’t find these widths. My workbench is made with slightly less than 1-inch wide boards laminated to form the wide surface. Wider boards could warp over time with humidity changes and water spills. The laminated narrower boards seem to me a better idea.” == Bob Flexner

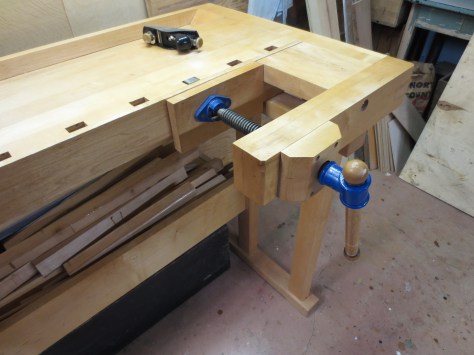
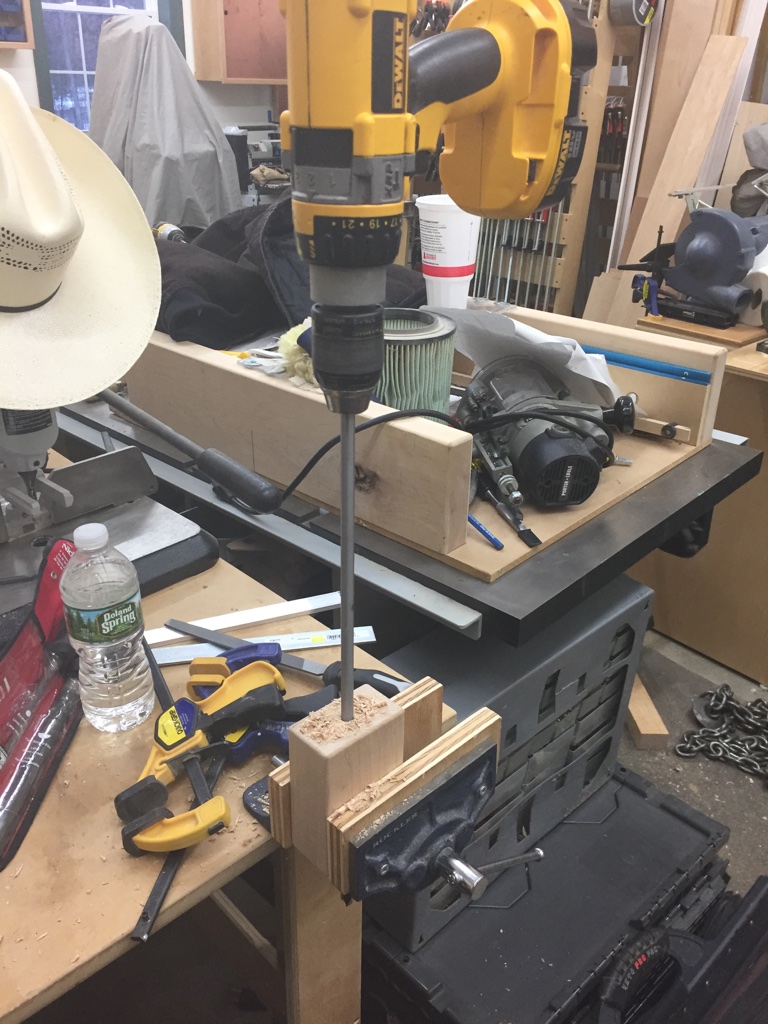
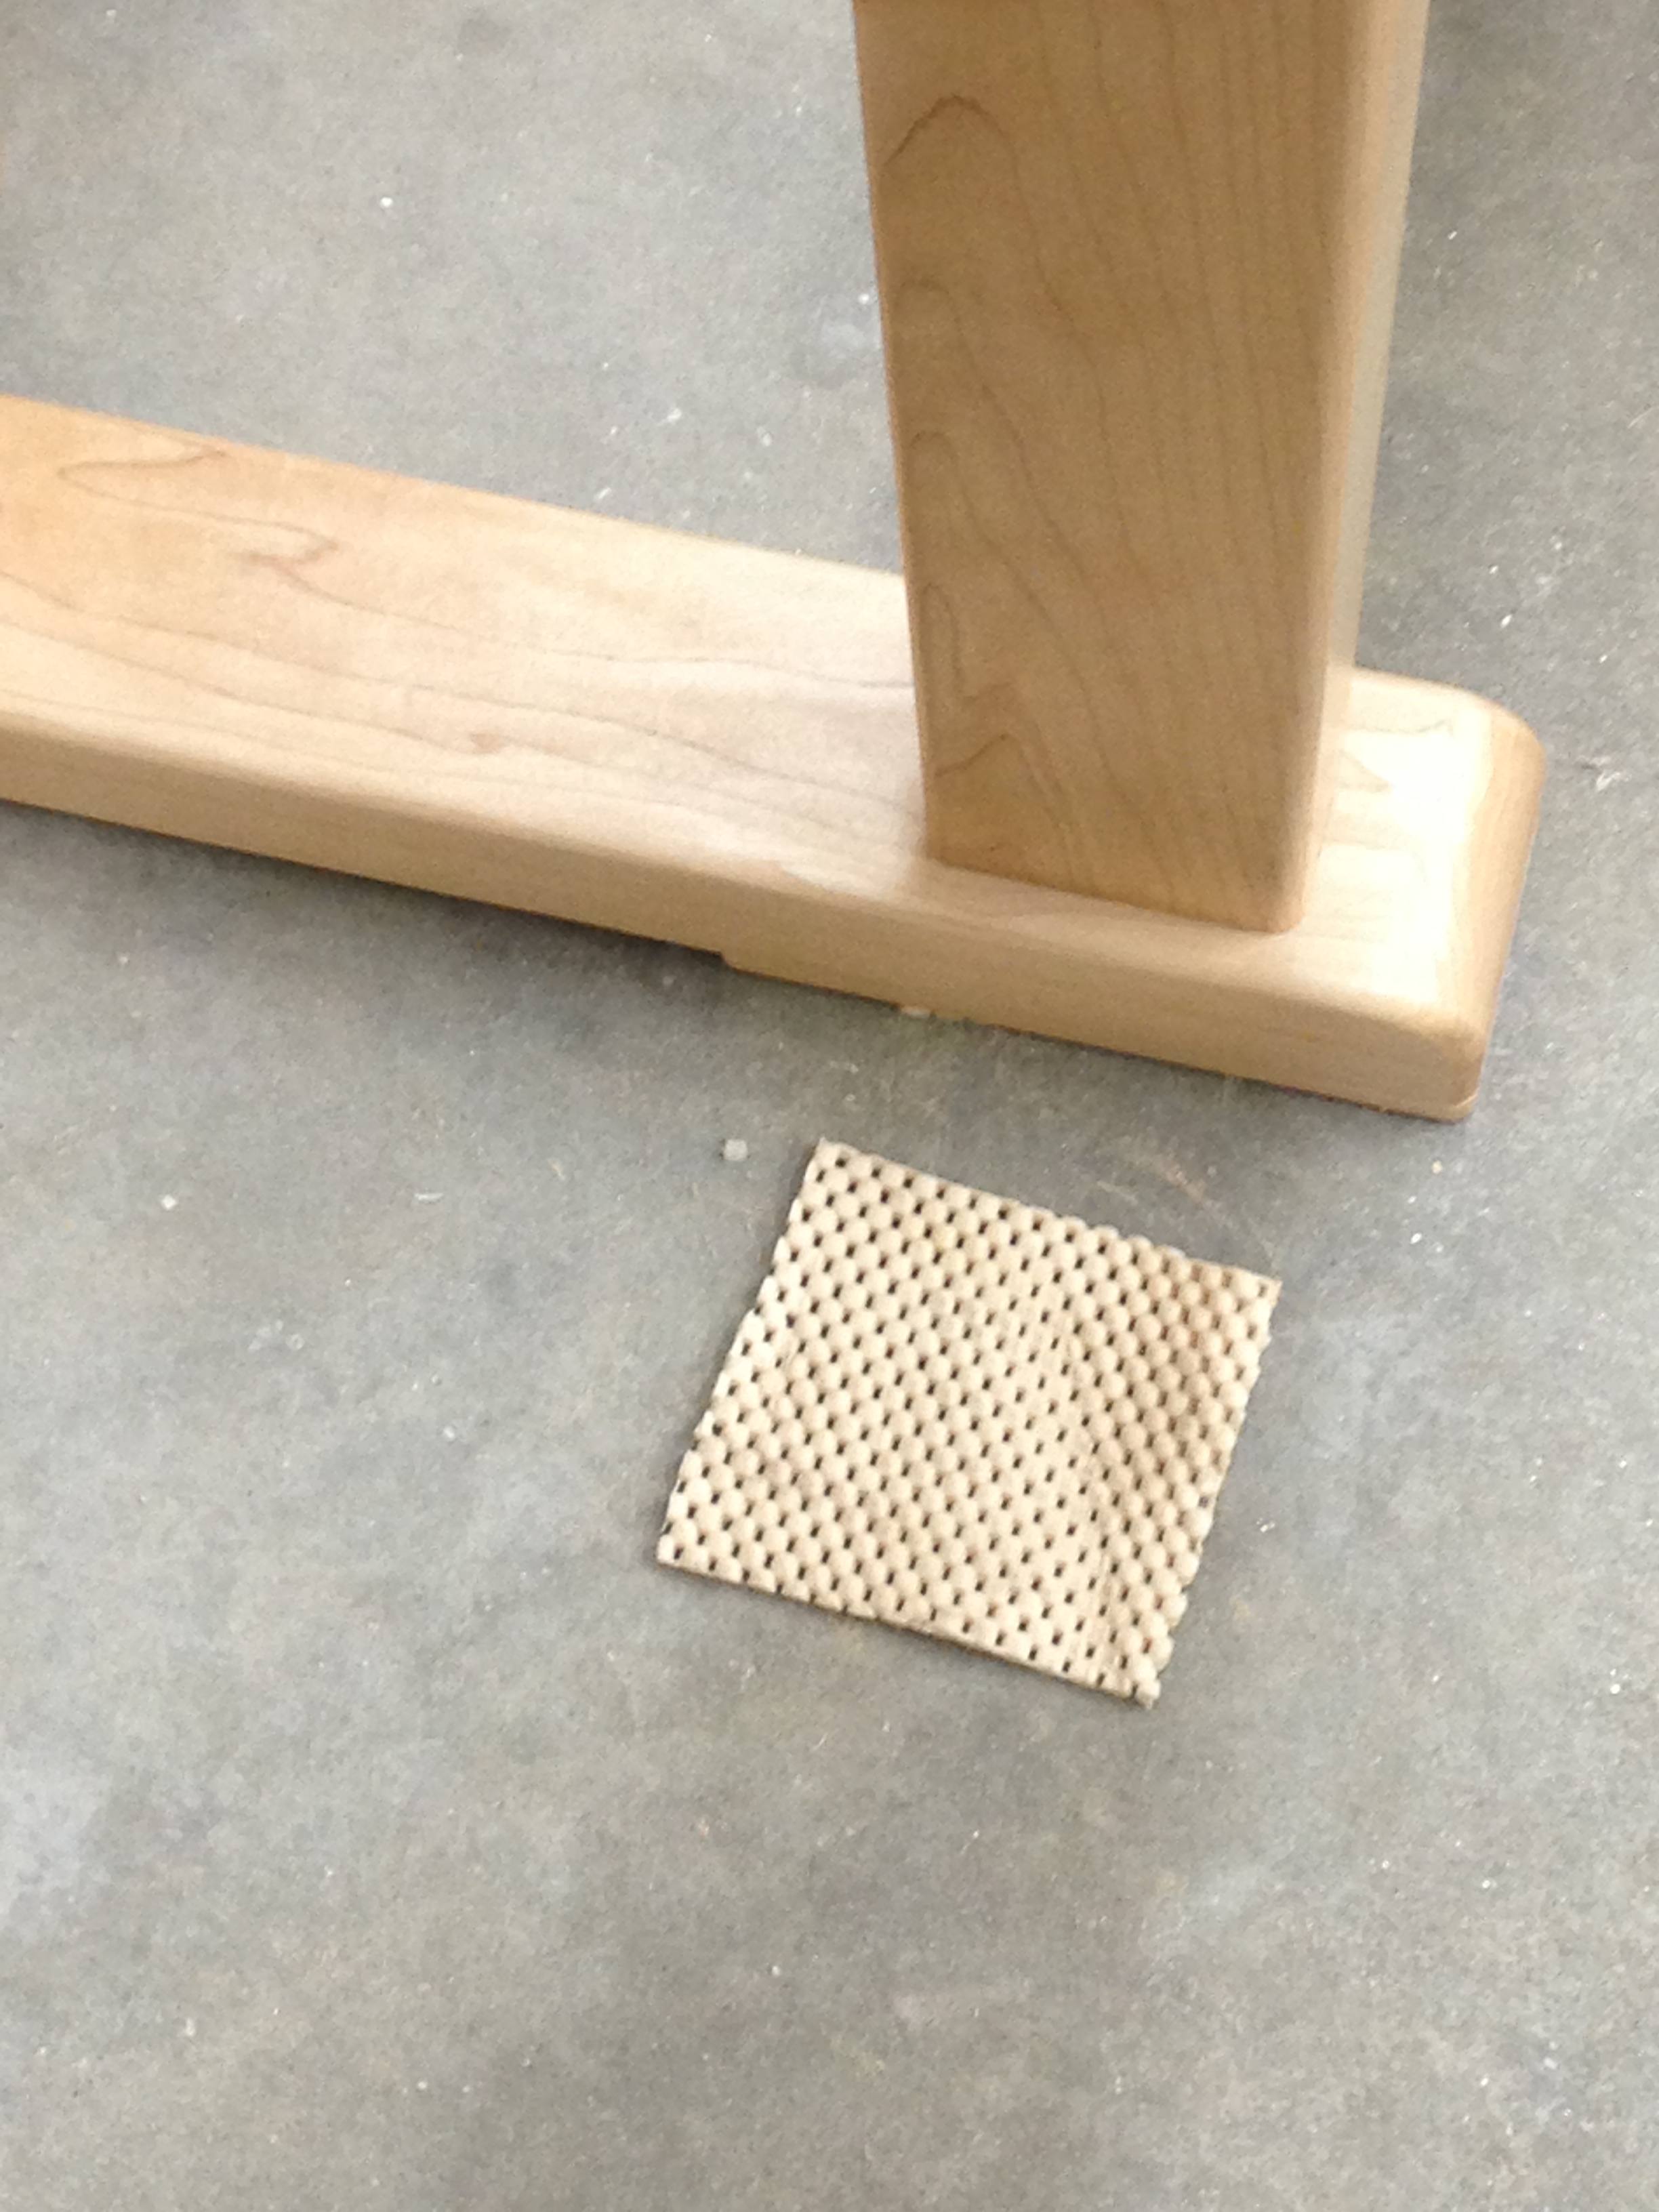
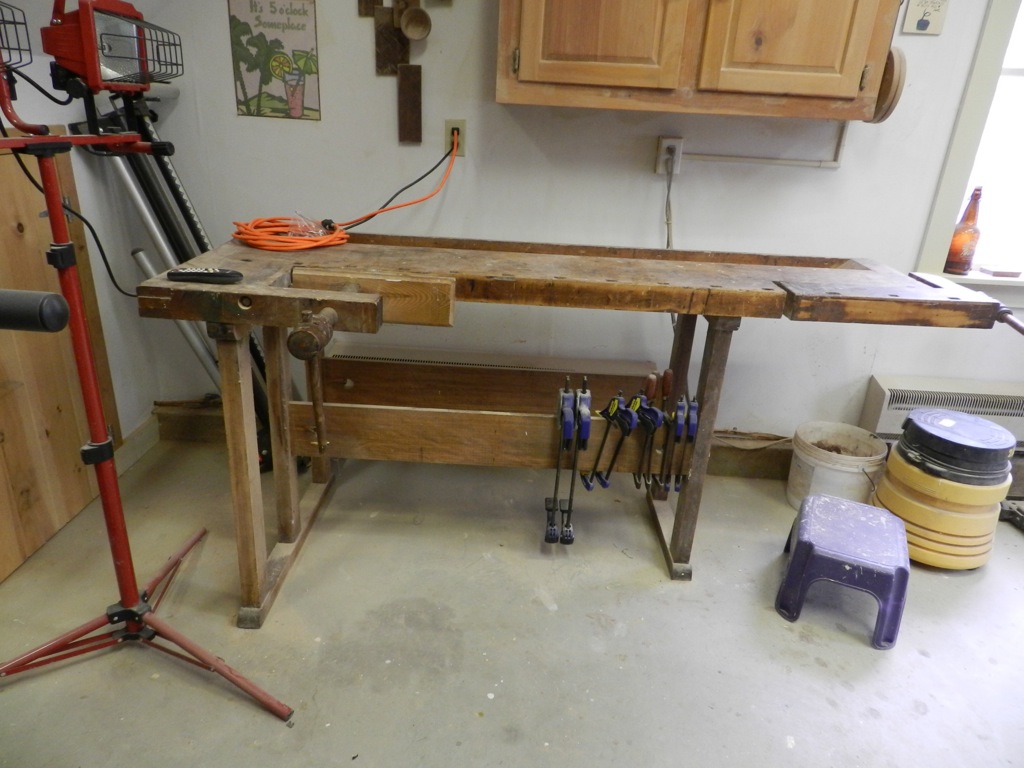
The slab portion of my bench-top is only 12-3/4″ wide and was composed from two ~7″ wide 8/4 boards that were hand selected. I chose pieces with nice tight and even growth rings oriented to be reasonably stable — trying to get as much quarter sawn grain as I could from those pieces. The wood also sat in my reasonably climate controlled shop for a few years before I got around to building this bench. In the 3 years or so I’ve been working on this bench I haven’t had to re-flatten it at all so far.

When building the bench I gave serious consideration to deviating from Frid’s design and building the top from narrower laminated strips. Given the stock on hand I didn’t think I was buying myself much as it would have been a lot of ripping and jointing and gluing to get a very similar grain profile to what I had. If I didn’t have the quality of wood I had on hand, or if the bench top were thicker, say 4″ thick instead of 1-3/4″  or 1-7/8″, I definitely would have laminated up strips as Bob suggests.

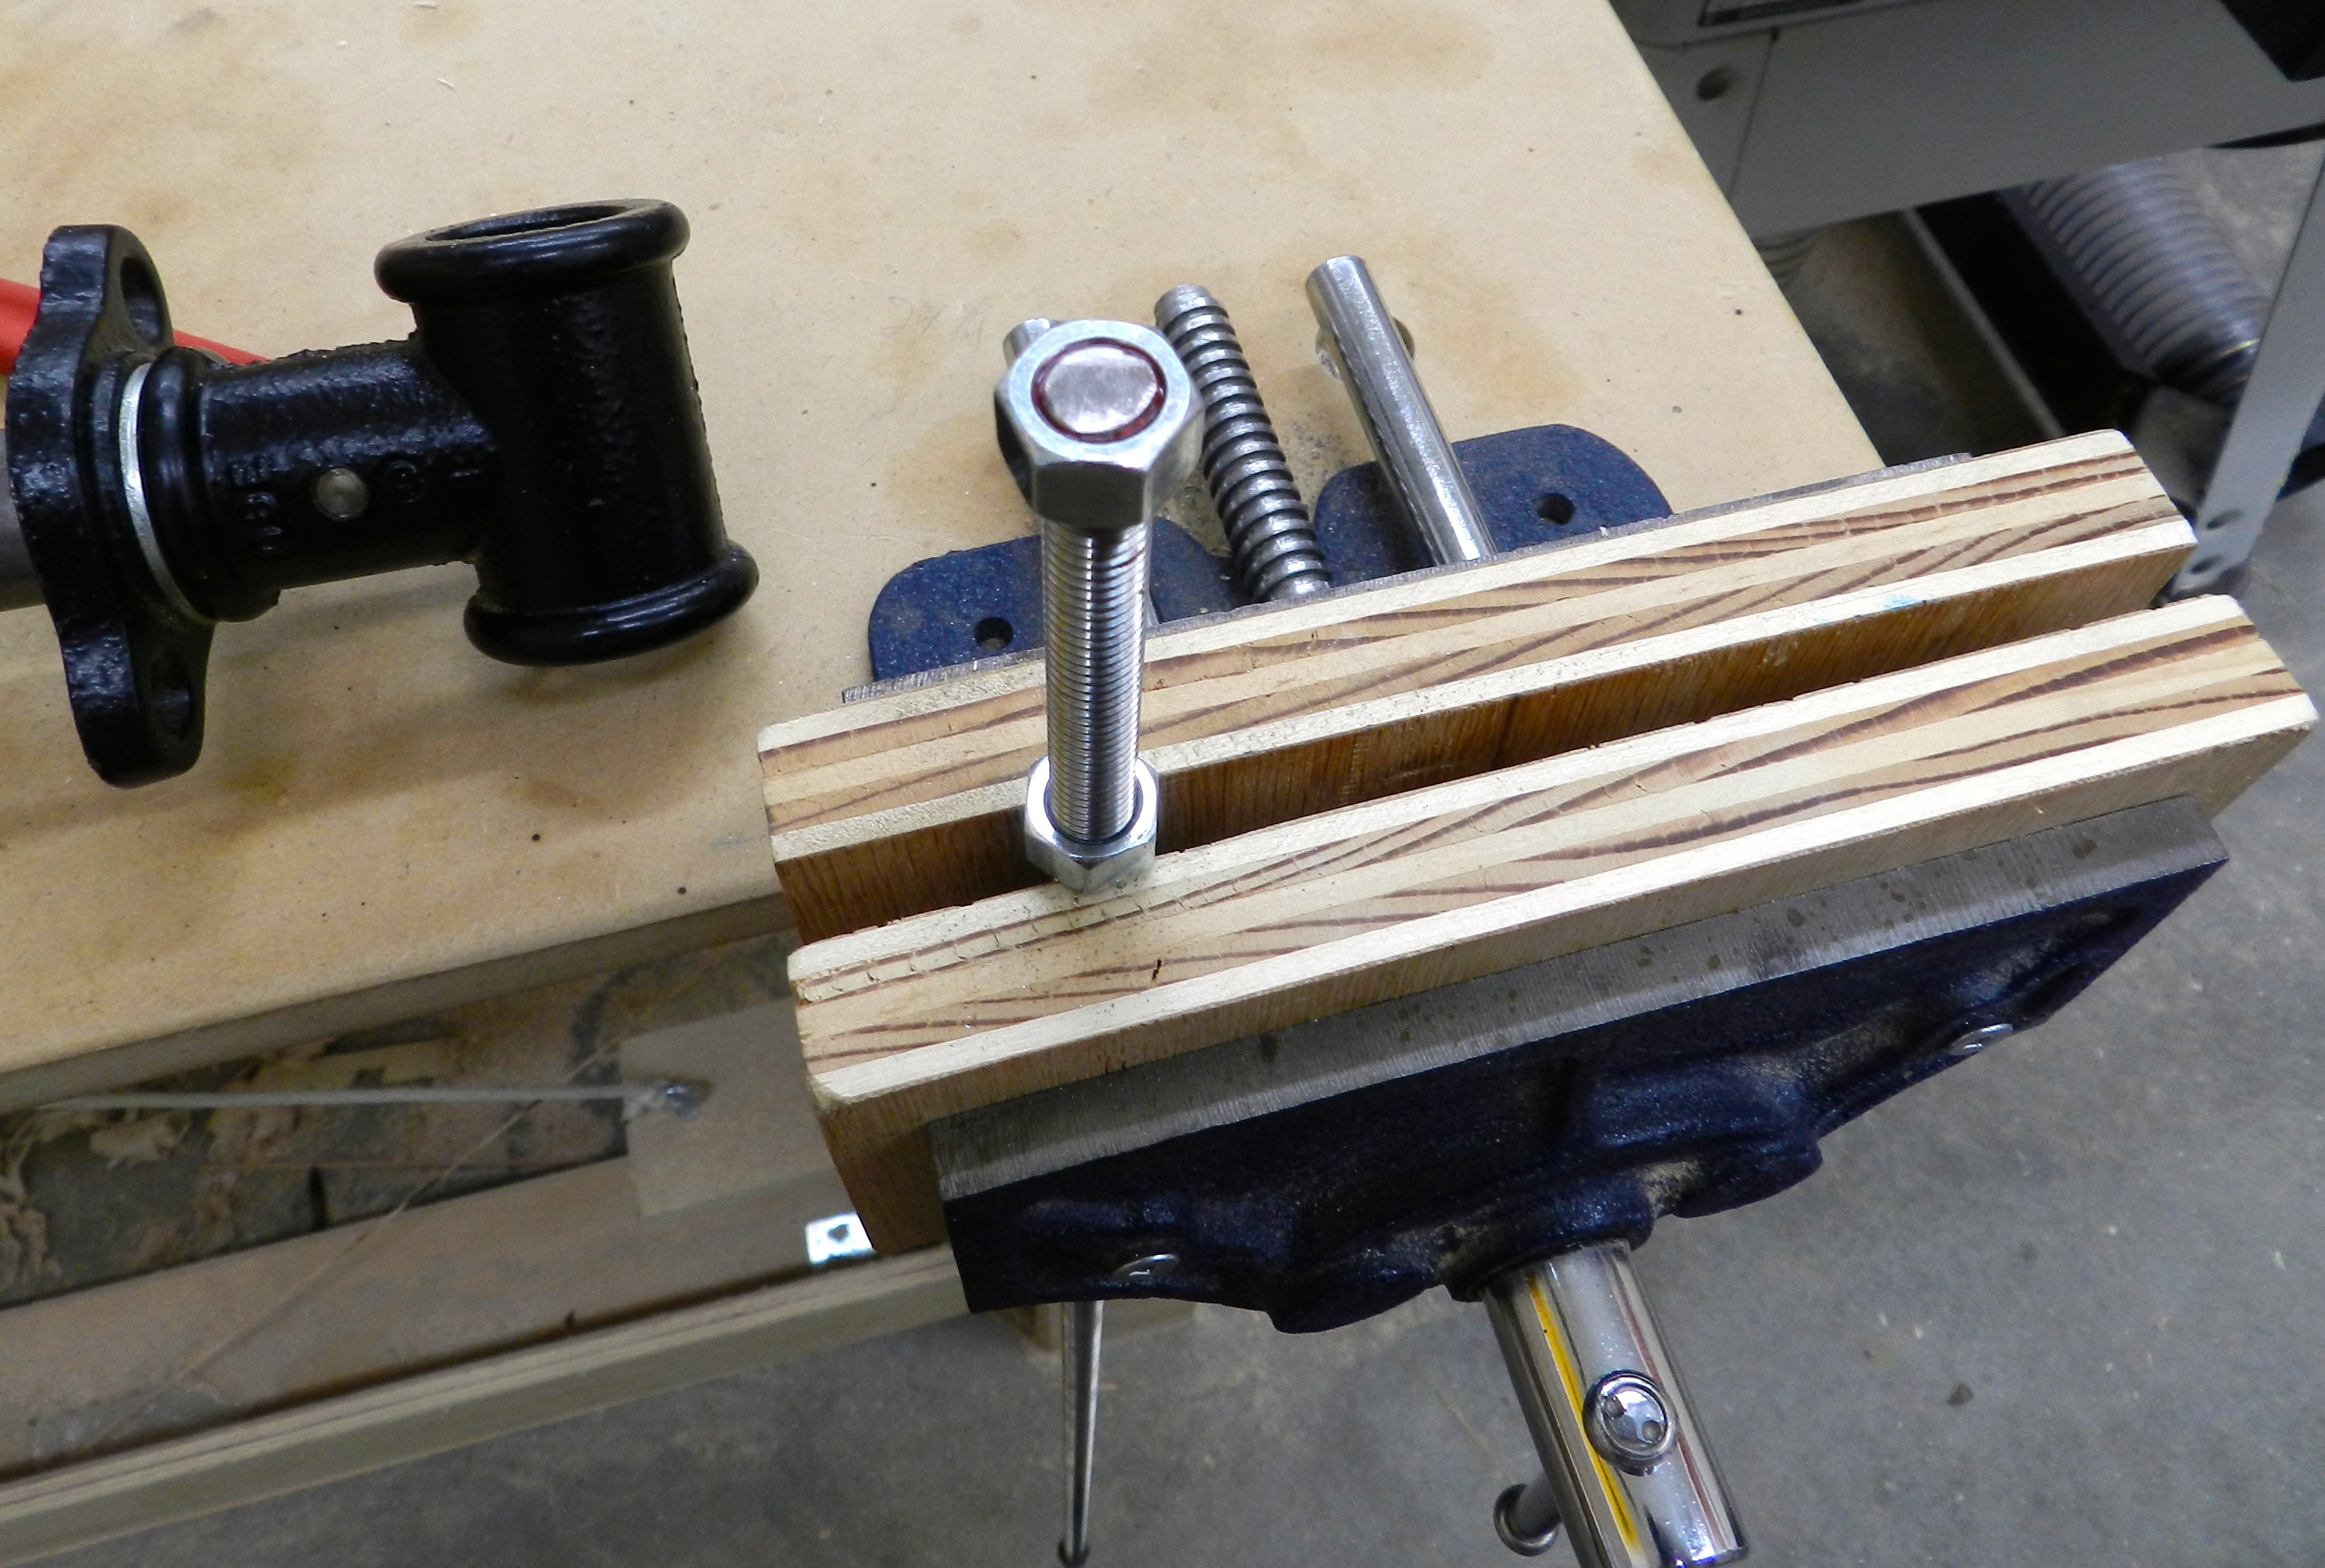
“One more thought. Once or twice in forty years the mortise-and-tenon joints at the top and bottom of the legs have worked loose and the workbench became lose front-to-back. To tighten them I removed the bench top, which just sits on the frame, and drove the wedges that tighten the joints a little deeper. So I don’t understand Bill’s rationale for gluing the wedges in place.”

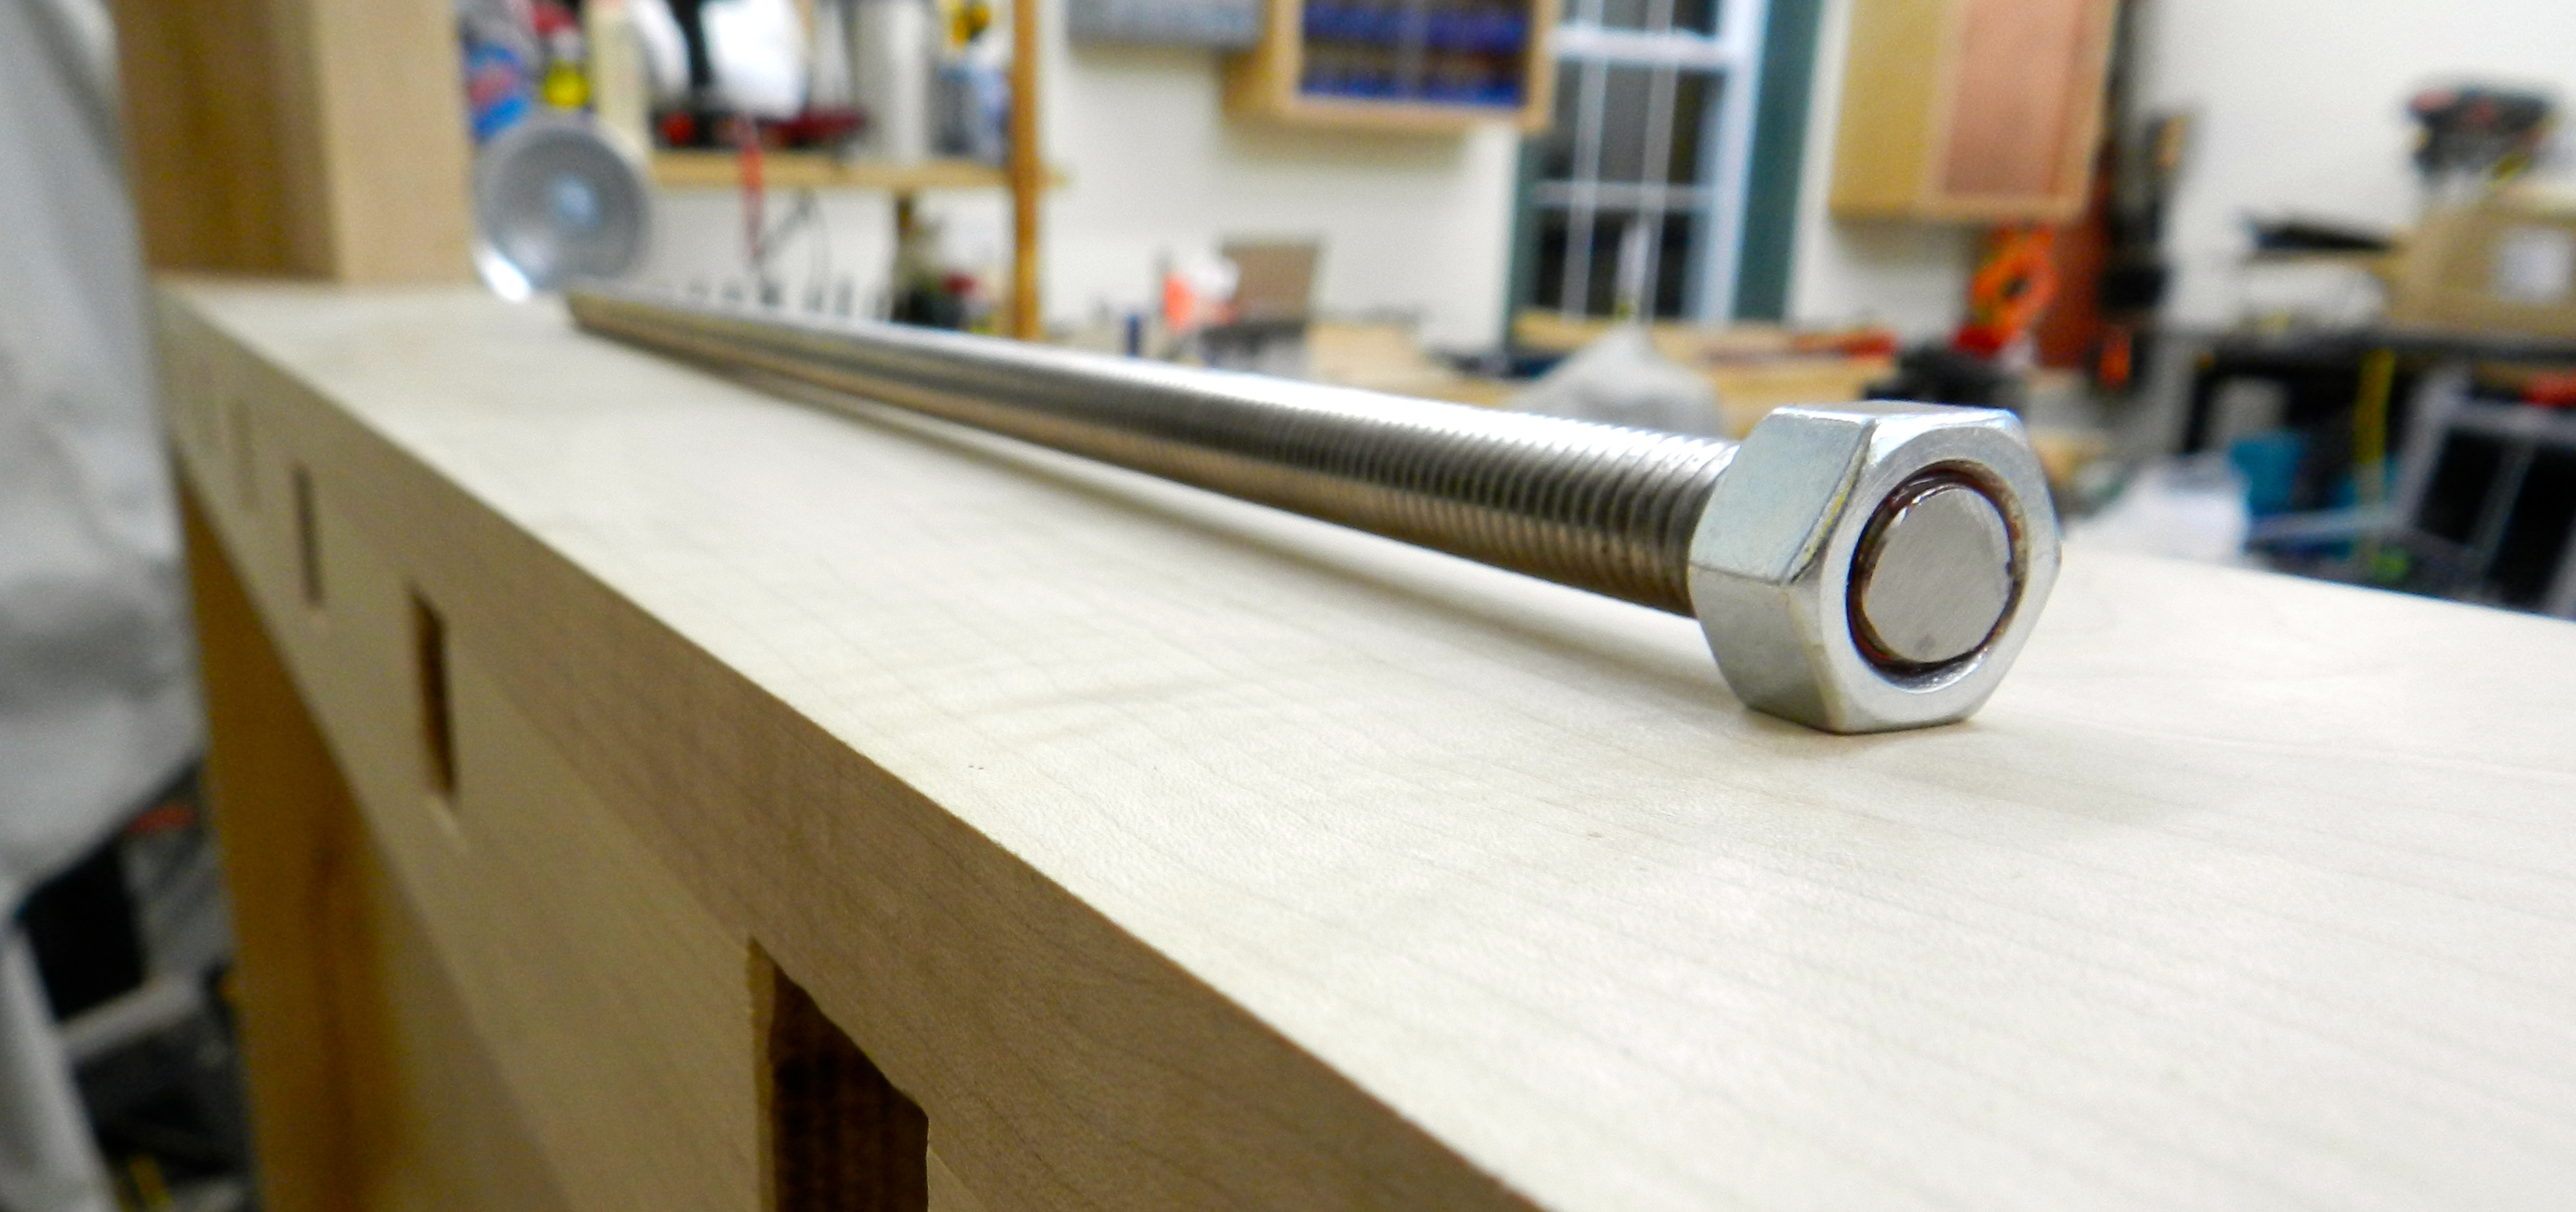
When gluing the wedged mortise and tenons in place I was following Frid’s advice directly from his books. I believe he used PVA glue, but chose to use hot hide glue so I could have a longer open time and potentially repair it if need be in the future.

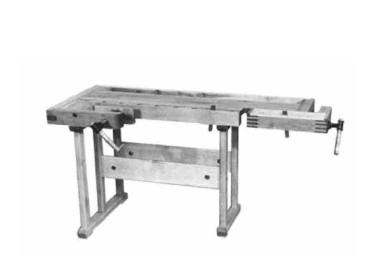
Side Note: Below is a photo of one of Frid’s extant benches at the home of his son Peter Frid. (Check out this earlier post wherein I got to meet Tage’s son Peter and Grandson Oliver) This bench seems to pre-date the ones shown in Frid’s article and books. The example below is likely from the ~1950s.

One of Tage Frid's Original Workbenches that pre-dates his famous articles and books.
One of Tage Frid’s Original Workbenches that pre-dates his famous articles and books.

Notable differences compared to the workbench in his book include hand cut dovetails on the tail vise, a much thinner skirt board and dog-hole strip, wooden screw in the shoulder vise with much larger wooden jaw, a little less refinement in terms of details on the vise jaws and undercarriage. Nonetheless this bench seems to have over a half century of use to its credit and the legs were still solid and the vises moved surprisingly well. It gives some interesting insights into how even Tage Frid’s interpretation of this sort of workbench changed over the years.

I hope to have and use my workbench for many more years to come and I’m sure it will acquire some more scars over the years that become part of its history.

Take care,
-Bill
@TheRainford

P.S. You can check out some other posts related to the Tage Frid inspired workbench along with a simple Deadman, Side-clamps and other similar workbenches out in the wild here.

Sinister Workbench


I haven’t seen a lot of left-handed, or ‘sinister‘ workbenches out in the wild. I suspect most are from the mid 20th century or later with the assumption that earlier southpaws were likely forced to work right-handed much as a lot of the left-handed folks in my family were forced to learn to write with their right hands in school. If my woodworking research friends have actual information to the contrary I am interested to learn more about left-handed woodworkers. Given that in earlier times craftsmen usually made their own benches it seems logical left handed benches would be easy enough to make unless the social stigma and/or dominance of right handed tools outweighed the convenience.

3/4 view of workbench
3/4 view of left handed Tage Frid workbench by Paul Van Pernis

My friend Paul Van Pernis, former president of the Early American Industries Association (EAIA) , recently reached out to me and shared that he built a pair of left-handed workbenches based off of Tage Frid’s original plans — one for himself and one for his youngest son.

Paul Van Pernis at the EAIA Annual Meeting 2015 holding my son Bradley. :-)
Paul Van Pernis at the EAIA Annual Meeting 2015 holding my first son Bradley 🙂

Paul did an great job building his bench and it sounds like it has served him we’ll for 20+ years. It was great to see all the finger joints and other details much as what Frid had in his book and FWW article.  The bench-top and vises look like they have all held up great.

Detail view of the shoulder vise

Paul’s original note about his workbench, how he acquired the materials and built them was too good not to share:  (Shared with his permission):

The bench is still my primary bench.  I use it all the time. Unfortunately I don’t have any pictures of my son and I together at the bench. It’s not like my wife to take a lot of pictures of me or my kids down in my basement workshop.  The wood was milled at a local mill just 25 miles south of us in Mellen, Wisconsin called North Country Lumber.  I knew the owner of the mill and his brother.  I took care of their families when I was still practicing family medicine.  I told the owner Bob Stilen that I was interested in building the benches and asked him if he could provide me with some 8/4 clear hard maple select or better.  He was surprised that I knew a little about trees, sawmills, and furniture grade wood, but said he could get the wood.  He called me about a month later and we agreed to meet at the saw mill the next Saturday when I wasn’t on call.  The mill was closed, but both Bob and his brother were there when I got to the mill.  After a cup of coffee and a lot of bad jokes and stories from a couple of real northern Wisconsin characters (think the movie, Grumpy Old Men) I got a private tour of the mill and the drying kilns.  Then he showed me the wood he had selected for me.  It was a gorgeous pile of absolutely clear northern Wisconsin hard maple all cut to 8/4 thickness, kiln dried and planed on two sides. The boards were all 8 feet long or better and many of them were 12 inches wide.  It was drop dead gorgeous wood!  I was thrilled and had a smile from ear to ear.  I asked how much I owed them for the wood and both of them said to me, “Take it it’s yours. You’ve taken such good care of our families and especially our mom (she was elderly and one of my residents in the local nursing home), this is our gift to you.”

It was a wonderful gift and very typical of the good people who work hard and live well in the woods of northern Wisconsin.  Bob Stilen started the saw mill on his own and had grown it into a significant business that employed about 80 people and was supplying hardwood to several furniture manufacturers throughout the U.S.  They practiced great forest management (select cutting only) and gave good jobs and good salaries to their employees.  Both Bob and his brother have passed away, but the sawmill is still in business.  A lot of the teenagers in Mellen get their first summer job piling lumber and stickering it came off the saw.

I brought the wood home and have great memories of the time my youngest son and I had making those benches.  My youngest son is now a Prebyterian minister in Howard Lake, Minnesota and still likes working with his hands.  He and his wife are the ones I built the bed frame for that you saw in the picture I sent.  My other memory of building those two work benches was that I burned out the ¾ horse motor on my old 1978 Sears table saw trying to rip that 8/4 hard maple.  I replaced it with a 3 horse Baldor electric motor and switched from 110 to 220 and after that I had no problems.  I retired that table saw about 18 months ago (it went to the son of a friend a local farmer from whom we buy 1/3 of a pig each fall) and invested in a Sawstop table saw which I really love.

My guess is that we built those workbenches in about 1990 or 1991, so they’re at least 26 years old. As benches do, they’ve acquired a few scratches, gouges, and dings, but they are both still doing well.  After working with the benches there are really not any significant things I’d change about them.  So, that’s the story.

Warm Regards,
Paul

Here are a few more photos of the bench from Paul:

If you built your own Tage Frid inspired bench, either from Frid’s book and/or article or my recent revisit in the February 2017 issue of Popular Woodworking, I’d love to hear your story as well.

Take care,
-Bill Rainford
@TheRainford
RainfordRestorations.com

P.S. Check out Paul’s excellent series of blog posts on various planes from the Stanley Model shop over on the EAIA blog here.

P.P.S. I’m the webmaster for the EAIA website as well so if anyone has a  relevant story they’d like to share with the EAIA, please feel free to contact me.


Side Clamps Revisited…Already

Workbench side clamps are not something I think anyone would generally use on a daily basis, but when the job calls for the sort of clamping they provide, they do a great job. I think one of the reasons they were not used often is the time it takes to affix them to the workbench — usually requires the use of nuts and wrenches.

How can I improve the likelihood I will use my new side clamps? 

The 3/8″  5 star knobs I ordered from Rockler for my side clamps arrived yesterday and I gave them a shot.

Side clamps with 5 star knobs

On the left you can see both knobs on the same side of the clamping block and on the right you can see one knob on the top and one knob on the bottom. Either configuration works well. With a 5 star knob you can easily loosen both knobs and remove one knob to move the block around.

The verdict?

The above tweak is not an earth shattering change but it does remove the need for a wrench and make it a little more likely I’ll break out the side clamps with the need comes up.

Take care,
-Bill
@TheRainford

P.S. If you’d like to read up on how to build your own pair of side clamps you can read my earlier post on that topic here.

A little clamping on the side

Have you used your side clamps lately?  Wait, what are side clamps?

Close up of the side clamps

Side clamps are a pair of adjustable wooden blocks that mount on the outside of a traditional continental workbench with one block mounted to the tail vise and one mounted to the fixed portion of the bench top. In this experiment the blocks are mounted to the bench via 3/8″ diameter, 6″ long threaded bolts and some shop made metal plates.

Background: 

When building my Tage Frid inspired Scandinavian workbench I spent a lot of time looking at examples of Frid’s benches — some early extant examples in person, his Fine Woodworking article on his bench (FWW Issue #4, October 1975), the chapter in Tage Frid Teaches Woodworking Volume 3 and various online searches.

In the FWW issue #4 diagrams and text there was a very brief mention of a set of ‘side clamps’. I couldn’t find any photos of these clamps online and they didn’t seem to make it into the book version of the bench. I was curious if they were cut to save space or if in fact they didn’t turn out to be useful.

I decided to build my own version of these clamps based on that lone diagram and experiment with them.

Building a pair of side clamps:

Using some scrap hard maple left over from the workbench I made two 1.75″ thick, 3″ wide and 4.5″ long blocks. I planed them and rounded over the edges with a 1/8″ radius router bit.

Use a self centering doweling jig to start the 3/8" holes
Use a self centering doweling jig to start the 3/8″ holes

Next up was drilling a 3/8″ diameter hole through the center of the block, the long way. I started off the drilling by using a self-centering doweling jig (see photo above), and went as far as the bit would let me drill into the block.  Then using that first hole as a guide I used a longer electrician’s style 3/8″ drill bit to drill the rest of they way through the block. (see photo below)

Use a long electrician's style 3/8" drill bit to finish the centered hole.
Use a long electrician’s style 3/8″ drill bit to finish the centered hole.

With the woodworking complete, it was time do to some metal working to make a series of small plates that are used to affix the clamp blocks to the dog holes in the bench by way of the 3/8″ bolts. I bought some 1/8″ thick x 1″ wide zinc’ed steel bar at my local hardware store and cut them to 2-7/8″ long. (Note this is 1/2″ shorter than what Frid called for as I as felt 3-3/8″ would have too much slop/space. I also could not find 1/4″ thick bar stock, but think 1/8″ thick is still plenty strong for anything I plan to do with these clamps. Make sure to leave at least 1/4″ of metal on all side around the holes).  I cut the pieces to length using an abrasive cut off chop saw, but a hack saw could also get the job done.

Zinc'ed steel bar, cut to size, corners ground round and edge burs removed
Zinc’ed steel bar, cut to size, corners ground round and edge burs removed

I took the metal blanks over to the slow speed grinder and rounded over the corners and chamfered the edges a bit to remove any burs.

Drilling all four blanks at once.

Next up I stacked/ganged up all 4 pieces and drilled 3/8″ diameter holes at the drill press. The pieces were held together with some strong tape and held in place against my makeshift fence via the scrap block in the foreground of the above picture. Make sure to use some cutting oil and make sure you don’t overheat the metal nor your drill bit. Also use some scrap underneath the blanks to protect your drill press table.

Using a file to clean up and remaining burs and fine tune the work you did on the grinder

With the holes drilled out I took the metal blanks over to a vise wherein I made sure the bolts fit through the holes, cleaning things up with a rat-tail (round) file. I then used a flat mill file to clean up any roughness on the outside edges left from the work at the grinder.

Given my background as an engineer, and touch of OCD I decided to add some self adhesive cork to the sides of these metal plates that might come in contact with my bench top

Self-adhesive cork sheets

I cut the cork to rough size, affixed it to the plate and used a utility knife to cut off any excess around the edge and a 3/8″ drill bit to remove any waste inside the drilled out holes.

Use a utility knife to clean up the cork around the edges of the plate and the 3/8' drill bit to clean up and cork in the holes
Use a utility knife to clean up the cork around the edges of the plate and the 3/8′ drill bit to clean up and cork in the holes

With the metalworking completed, it was time to install the nuts and bolts and try out the clamping blocks. One bolt goes through the top plate, the wood block, the bottom plate and is secured with a nut or five star knob. (I ordered some knobs from Rockler but at the time of this writing they’d didn’t arrive yet, once they come I’ll add some post script to show the clamps with easier to use knobs in place.) The other bolt goes through the top plate, the dog hole, the bottom plate and is secured with another nut.

Assembling a side clamp

Given the use of square dog holes on this bench, and the fact that that blocks are 1/2″ longer than the bench is thick, this allows the side clamps to pivot a few degrees in either direction. This gives you the ability to securely clamp some tapered or irregularly shaped pieces.

The blocks can be moved to different dog holes as needed or removed from the bench altogether. In testing these clamps on a few different items and shapes I found the blocks were surprisingly easy to use and held oversized items with ease.

Large objects are easily held between these side clamps

The Verdict: (So far…)

It was a fun project to build and experiment with. These clamps are useful for specialized clamping needs, such as large items, re-working the edges of a drawer box, planing dovetails flush, and similar operations.

Do I think they will get used every day? No. Do I think they can do a few jobs that would be tougher to do on the bench-top secured via bench dog, hold fast, face or shoulder vise? Yes.

For the small amount of wood, metal and time it took to make these side clamps I think they were a nice addition to my workbench.

If you build some side clamps for your workbench, please share what you thought of them in the comments below.

Take care,
-Bill Rainford
@TheRainford

P.S. If you’d liked to learn about the workbench featured in this post, please check out my related article in the February 2017 issue of Popular Woodworking Magazine which can be found here.

Popular Woodworking February 2017 Cover


Go, Go, Go: The Life, Influence and Woodworking of Tage Frid

I have some big news to share with everyone today, I’m proud to say that I am the process of writing a book for the Lost Art Press tentatively titled “Go, Go, Go: The Life, Influence and Woodworking of Tage Frid

Bill Rainford with his felling ax. (Photo by Doug Levy, 2016 http://douglaslevyphotography.com )

You can read more about my background and the premise of the book in this post I made on the Lost Art Press Blog here.  It’s an exciting opportunity and look forward to sharing my passion for Frid’s work and Danish Modern furniture design.

Bill standing next to his Tage Frid inspired workbench. (Photo by Doug Levy, 2016 http://douglaslevyphotography.com )

Related to the above book I’ve also written an article for Popular Woodworking Magazine on my Tage Frid inspired workbench which will be the cover story for the February 2017 issue which is coming out later this month.  Once it is published I’ll be sure to share more related links and details.

UPDATE: The February 2017 issue of Popular Woodworking is now out and you can read more about it or purchase it here on PopularWoodworking.com

–Bill Rainford
@TheRainford

P.S. A big thank you to Doug Levy for allowing me to share two of the excellent photos he took for the upcoming article. You can check out Doug’s photography work here. He also has a great series on New England Craftsmen here.

The best $1 you can spend on your workbench

I recently finished off my never-ending project — building a proper workbench. I snapped some photos figuring it will never look this pristine again. Time to press the bench into service…

Things started off great, but I wanted to set my jack plane to take a heavy cut and see how just how aggressive I could get before the bench started to move. I’m 6′-1.5″ tall and 240lbs, so if I really get going I’ve moved many a sizable bench over the years. At 7′ long and made of solid maple the bench has a good amount of mass. The problem I have is a very smooth concrete floor which provides little traction for wood.

With a concrete slab I won’t be bolting the bench to the floor so I needed an alternative. I ran through several alternatives in my head but couldn’t come up with a good solution that didn’t jack up the bench. As I sat on my sawbench looking around the shop I recalled a blog post by Chris Schwarz from earlier in the year wherein he put some sandpaper on a shim and have very good results. (You can see Chris’ post here). Sandpaper didn’t get much traction on the concrete floor, but it triggered a different thought. Years ago Rockler marketed a ‘routing mat’ which was effectively an expensive roll of rubber drawer liner. The cheap Yankee in me promptly went out and bought a roll of drawer liner for a couple of dollars and he has served me well for a decade or so now.  I went to my router station, grabbed the mat and cut out four squares roughly the size of the foot pads on my bench. I put them under the bench and repeated my experiment…

Rubber mat can help your bench stay put

To my surprise it worked great. The weight of the bench compressed the pad so much the bench height is negligibly higher off the ground. I was able to aggressively plane some hard maple scraps left over from the bench and it was solid and stationary. I’m sure someone who really wanted to move it enough could find a way, but the increase in traction was impressive. If you’re also living with a concrete floor in the shop you’ll want to give this a try — it’s about the best $1 bench upgrade you can make.

Take care,
-Bill

P.S. I’ll make some posts about building the bench, but right now I have a some competing priorities taking my much of my time. We have a baby on the way in August, I need to build a crib, and I’m teaching for much of the rest of the summer. I’ll be posting as I get some free time here and there but it may be in spurts.

P.P.S. In digging up the the blog post above from Chris I learned that I am not the first to do this sort of thing with various forms of rubber padding — nonetheless the simplicity and the results were still worth sharing.

Tage Frid — The Great Dane

Woodworking is a lifelong journey of discovery and rediscovery. Along the way you’ll meet a lot of great folks and interesting characters who are surprisingly willing to share advice and help you out. The craft has been passed down this way for millenia.

Everything Old is New Again

Modern woodworking media seems to go in cycles much like clothing styles or car designs. Right now it’s popular to study the early works of Moxon, Roubo and Nicholson etc., or prove you have the best router or table saw trick. Others are interested in espousing the mix of old and new tools and techniques which is not a new concept. Manual training programs like those at NBSS have been doing it for over 125 years and the Shakers before them etc.

I want to buck the current trend and take a trip back to the 20th century. When I got started in traditional woodworking one of the first teachers I had was Tage Frid via the  ‘Tage Frid Teaches Woodworking’ 3 volume set with its iconic white covers. I haven’t seen these books or Tage’s work come up much lately and thought it would be helpful to blow the dust off those books hopefully re-kindle some interest as I think they are a great resource.

Tage Frid

Tage (Pronounced ‘Tay’) taught me and countless other woodworkers the basics via his books and teaching.  He grew up in Denmark and apprenticed as a cabinetmaker. His time as a journeyman took him to various other shops including the Royal Danish Cabinetmakers. In 1948, at the age of 33, the American Craft Council persuaded him to immigrate to New York and teach woodworking. Tage lead the woodworking program at the School for American Craftsman in Alfred NY which was later moved to the Rochester Institute for Technology. From 1962-1985 Tage was a professor of Woodworking and Furniture Design at RISD helping to propel that program to national prominence.

Tage Frid
Tage Frid

Also notable was Tage’s involvement with Fine Woodworking where he worked as an editor from it’s inception in 1975, through 171 issues until his passing in 2004. Described as having a sharp tongue and an ‘impish’ smile you can get a small taste it it through his writing and interviews which often have some memorable nuggets.

He could cut a dovetail while joking and flirting with the ladies. He referred to nails in furniture as ‘Swedish dowels.’ When critiquing a piece of work, which was nerve-wracking for students, the blow was slightly blunted by his sarcastic humor.  Hank Gilpin recounts some memorable zingers:

“Oh, good curve. Too bad it’s the wrong one”
“Nice dovetails. What’d you use — a chainsaw?”
“Beautiful legs Henry. What were you thinking about — an elephant?”
And the classic: “Congratulations, you’ve just figured out the most complicated way to hold a board 30 inches off the floor.” [*]

The goal was not to put anyone down, it was to help each student stay humble and push him or herself to reach new heights in a fatherly kind of way. I had a similar experience during my own training and find myself rehashing some Frid one liners and Rich Friberg-isms in my own shop and classroom. Thankfully the flavor of sarcasm I learned from Rich is a little less harsh, but still fun.

Tage Frid Teaches Woodworking Boxed Set by The Taunton Press

Teaching

When asked about teaching repetitive topics Frid had the following to say:

Don’t you get bored demonstrating the same old dovetail?
“Maybe you left too early. I always demonstrate difficult joints and techniques depending on what the audience wants. The dovetail is just the overture. What I like about teaching is that I learn something new every day. A student asks me, ‘Why can’t I do it this way?’ and I think, ‘Why not?’ Then we figure it out.” — Tage Frid (excepted from an old interview in Fine Woodworking you can read here.)

Levity aside, Frid’s teachings focused on teaching solid joinery — form should follow function, wood has a beautify of its own that should be enhanced and not hidden and instilling an innate sense if proportion via a keen eye for detail.

“The best tool is the eye. Train the eye. The eye guides your hands to achieve the form. If the eye says ‘It’s right’, it is right” — Tage Frid [*]

With a solid grounding in the basics and exposure to a wide range of tools and techniques students are able to take on whatever challenge a project or shop can throw at them. During his lengthy career as a teacher, writer, editor and studio craftsman Frid helped teach several generations of woodworkers. You can see his work live on through his students and their students.

Tage Frid Stool
Tage Frid 3 Legged Stool

Design

Working in the Danish-modern style a lot of Frid’s pieces had a distinctive look compared to many of his American contemporaries. They were generally lighter looking with delicate lines and curves that celebrated the grain. The designs are especially interesting when you view them in the context of the time they were produced — the 1940s-1980s.  Many of them were years ahead of what we think of as the the mainstream designs of the time .

For me, one of his most iconic pieces is the now famous 3 legged stool. If you read his 3rd book you’ll learn about how he came up with the design while watching a horse show and sitting on a fence. It was an interesting case study as he explains some of the revisions he went through to hone the design. These stools have been on my mental to-do list for about a decade now and I hope to eventually build some for myself.

When he first arrived in the US in the 1940s there were no good places to get a solid workbench. As a result Frid had to design and build a bench for himself and for his classrooms.  Based on a traditional continental design with a shoulder vise and a tail vise the bench below was well suited for a cabinet maker. Over the years many a student, both in person and via his writing, would build and use one of these benches or a similar variant.  In some upcoming posts you’ll see me build a scaled up version for my own shop.

Tage Frid Workbench
Tage Frid Workbench

What’s with the book report on Tage Frid?

Tage Frid’s work has shaped several aspects of my woodworking, design and teaching and I had a laundry list of odds and ends I wanted to share with you here. I also have been working to finish off my Tage Frid inspired bench and wanted to set the stage for it.  And lastly because once I saw it, I could not un-see it — my Dad (who was my first woodworking instructor) is a bit of a doppelganger for Tage Frid. (Check out the picture below and compare it to the first picture of Tage Frid in this post) They both have very similar body shapes, taste in glasses, hairline and half smiles. I can’t talk too much because I look a lot like my Dad, I’m just the taller model at 6′-2″, so I suspect there will be a similar picture of me someday in the shop.

William D. Rainford -- My Dad -- And Tage Frid Lookalike
William D. Rainford — My Dad — And Tage Frid Lookalike

If you are interested to learn more about Tage Frid please check out the links below, it’s worth the time.

Other Tage Frid Resources:

Time to get back out into the shop — it’s cold outside.

Take care,
-Bill

P.S. I never got to meet Tage Frid in person, he passed away while I was living out in Seattle but I would have loved to meet him. If anyone knew him personally I’d be curious to know a few things I haven’t been able to find online:

  • What happened to his shop, bench and tools? Are they in a museum somewhere? Did they go to his grandson?
  • Anyone have a picture of him in the classroom near the iconic benches he used to build?

Bolt Stretcher

What do you do when you need a very long bolt? Most hardware stores only stock bolts up to about 10″ or 12″ in the sizes most woodworkers use — 1/4″, 5/16″,  3/8″ and 1/2″ diameter.

Time to break out the bolt stretcher?

Assuming you don’t have such a mythical machine you can make your own longer bolts.

Start with some threaded rod and appropriately sized nuts…

Filing off the rough machined edge

File off any paint and machine/mill marks from the end of the threaded rod.

TIP: Place a nut a 1/2 in or so down onto the threaded rod before filing. Once you finish your filing you can remove the nut, and in the process will clean out the top threads which may have been deformed by the filing. Use should also use this technique when cutting threaded rod or bolts.

Why do I need such a long bolt?

In this case, I am building a workbench with a shoulder vise — this bolt helps make sure the massive vise screw does not blow out the wood joinery.

From Tage Frid Teaches Woodworking Volume 3 he suggest brazing a nut onto the end of a threaded rod, so I figured I’d give that a shot…

Mapp + Oxygen cutting and welding torch used for brazing

Time to break out the Mapp + Oxygen cutting/welding/brazing torch and some brazing rod which works much like solder. (Make sure you work in a well ventilated space and take all necessary safety precautions). Clean the mating surfaces and apply flux, then braze the nut to the threaded rod.

Brazed nut
Brazed nut

Once it cools down you can file off any excess and use this newly made bolt. I’m no expert on welding, but the amount of hardware, time, and cleanup seemed excessive. Even with some filing, wire brush work and then some polishing I was not happy with the result — this end of the bolt would be visible in the finished bench. The coloring was off and now the nut looked a little off.

Is there another way?

I thought back to my days working on my Mustang and old F-150 and a remembered good old Locktite Red Threadlocker 271.

Locktite 271 Red Threadlocker

This little tube packs a heck of a grip. You apply some threadlocker on the threads and inside of the nut, put them together and let it cure for 24 hours. You would need to exceed 500 degrees F and 245 ft/lbs of torque in order to break the bond — so in other words, plenty of strength for my use.

Threadlocker curing
Threadlocker curing

Once cured I cut the bolt to length, filed off the hacksaw marks and cleaned up the leading threads using the tip above.

15" Long Bolt
15″ Long Bolt

Now I have a nice custom sized bolt ready to go. If the need arises I hope you’ll give these techniques a try. If you do, let me know in the comments.

Take care,
-Bill

Where did all the paraffin wax go?

Paraffin wax has many uses around the shop and can often be found in my tool belt or shop apron. It’s something I often take for granted and rarely thought about until recently when I needed to replenish my stock and could not find it in any of the usual places…

The Hunt for Paraffin Wax:

I tried all the places I’d swear I had seen it before…

  • My local food stores — Shaws, Hannafords, Market Basket, and Stop and Shop
  • The big box stores — Target and Walmart. (Walmart even listed it in stock on the website with a product ID but after searching on my own nobody in the store had a clue about it and all claimed people regularly come into the store expecting them to have things the website says are in-stock but nowhere to be found)
  • Any other place I thought might reasonably have it — Walgreens, Rite-Aid, CVS, True Value

No luck.

The next best idea I had was to try some craft stores. Michael’s and AC Moore didn’t list it on their websites, but Hobby Lobby claimed to carry some but was sold out online. After clearing snow in the evening and feeling a bit of cabin fever I decided to give Hobby Lobby a try in person. After hunting around I finally found some in the candle-making section. Given all my hunting around I bought the last two 1lb blocks of paraffin — likely a lifetime supply for most woodworkers.

The Strategic Paraffin Wax Reserve

My favorite workshop uses for paraffin wax:

  • Lubricating screws — especially when driven into hard woods or when the screw made of a softer metal like brass it lubricates the threads and makes it easier to drive the screw. It does not affect the screws ability to hold in the wood, and is accomplished quickly by dragging the threads through a block of wax
  • As part of a workbench and similar shop finish — From Tage Frid and other sources he would dissolve paraffin with turpentine and boiled linseed oil and use it as a durable renewable workbench finish
  • Sealing metal and tools — by dipping them into melted paraffin
  • Lubricating planes and saw blades — a quick rub with some paraffin will help your planes and saws glide easily through the wood
  • Lubricating wood on wood moving parts — such as the tail and shoulder vises in a traditional workbench or on a drawer slide
Waxed Screws In Hard Maple

Tips on working with paraffin:

  • You can cut up the block of wax into any size chunk you like using a large kitchen knife. I tend to use a block about the size of a hotel bar of soap
  • Be careful in the summer as it can melt in the sun, so be careful where you store it in warmer weather. I normally have an old Altoids tin in my toolbox to keep it from getting on everything
  • For making a finish be careful as paraffin is flammable so you’ll want to melt it in a double boiler or slice it very thin or use an old cheese grater to increase the surface area before mixing it with your solvent(s)

Where did all the paraffin wax go?

Paraffin wax is generally a bi-product of the gasoline production industry and is most often used to make candles, seal jars, and as a USDA approved coating for candies and some fruits and vegetables. For folks that used to can their own food they would often seal the jars with paraffin wax (often marketed as ‘Gulf Wax’ in the food store near the Ball Jars — it came in a white box and was cut neatly into 4 bars.) From looking online it seems the USDA has advised against using wax to seal your preserves and canning seems to be less popular in recent years as most food stores no longer stock Ball jars and that sort of thing — replaced by ziploc containers and other modern plastic disposable junk. Without the connection to food, I could see food stores dropping it from their shelves.

I suspect there might be more to the story, so if you have a better theory on why paraffin seems to be a lot harder to find, or have spotted some recently, please share your thoughts in the comments section below.

Take care,
-Bill