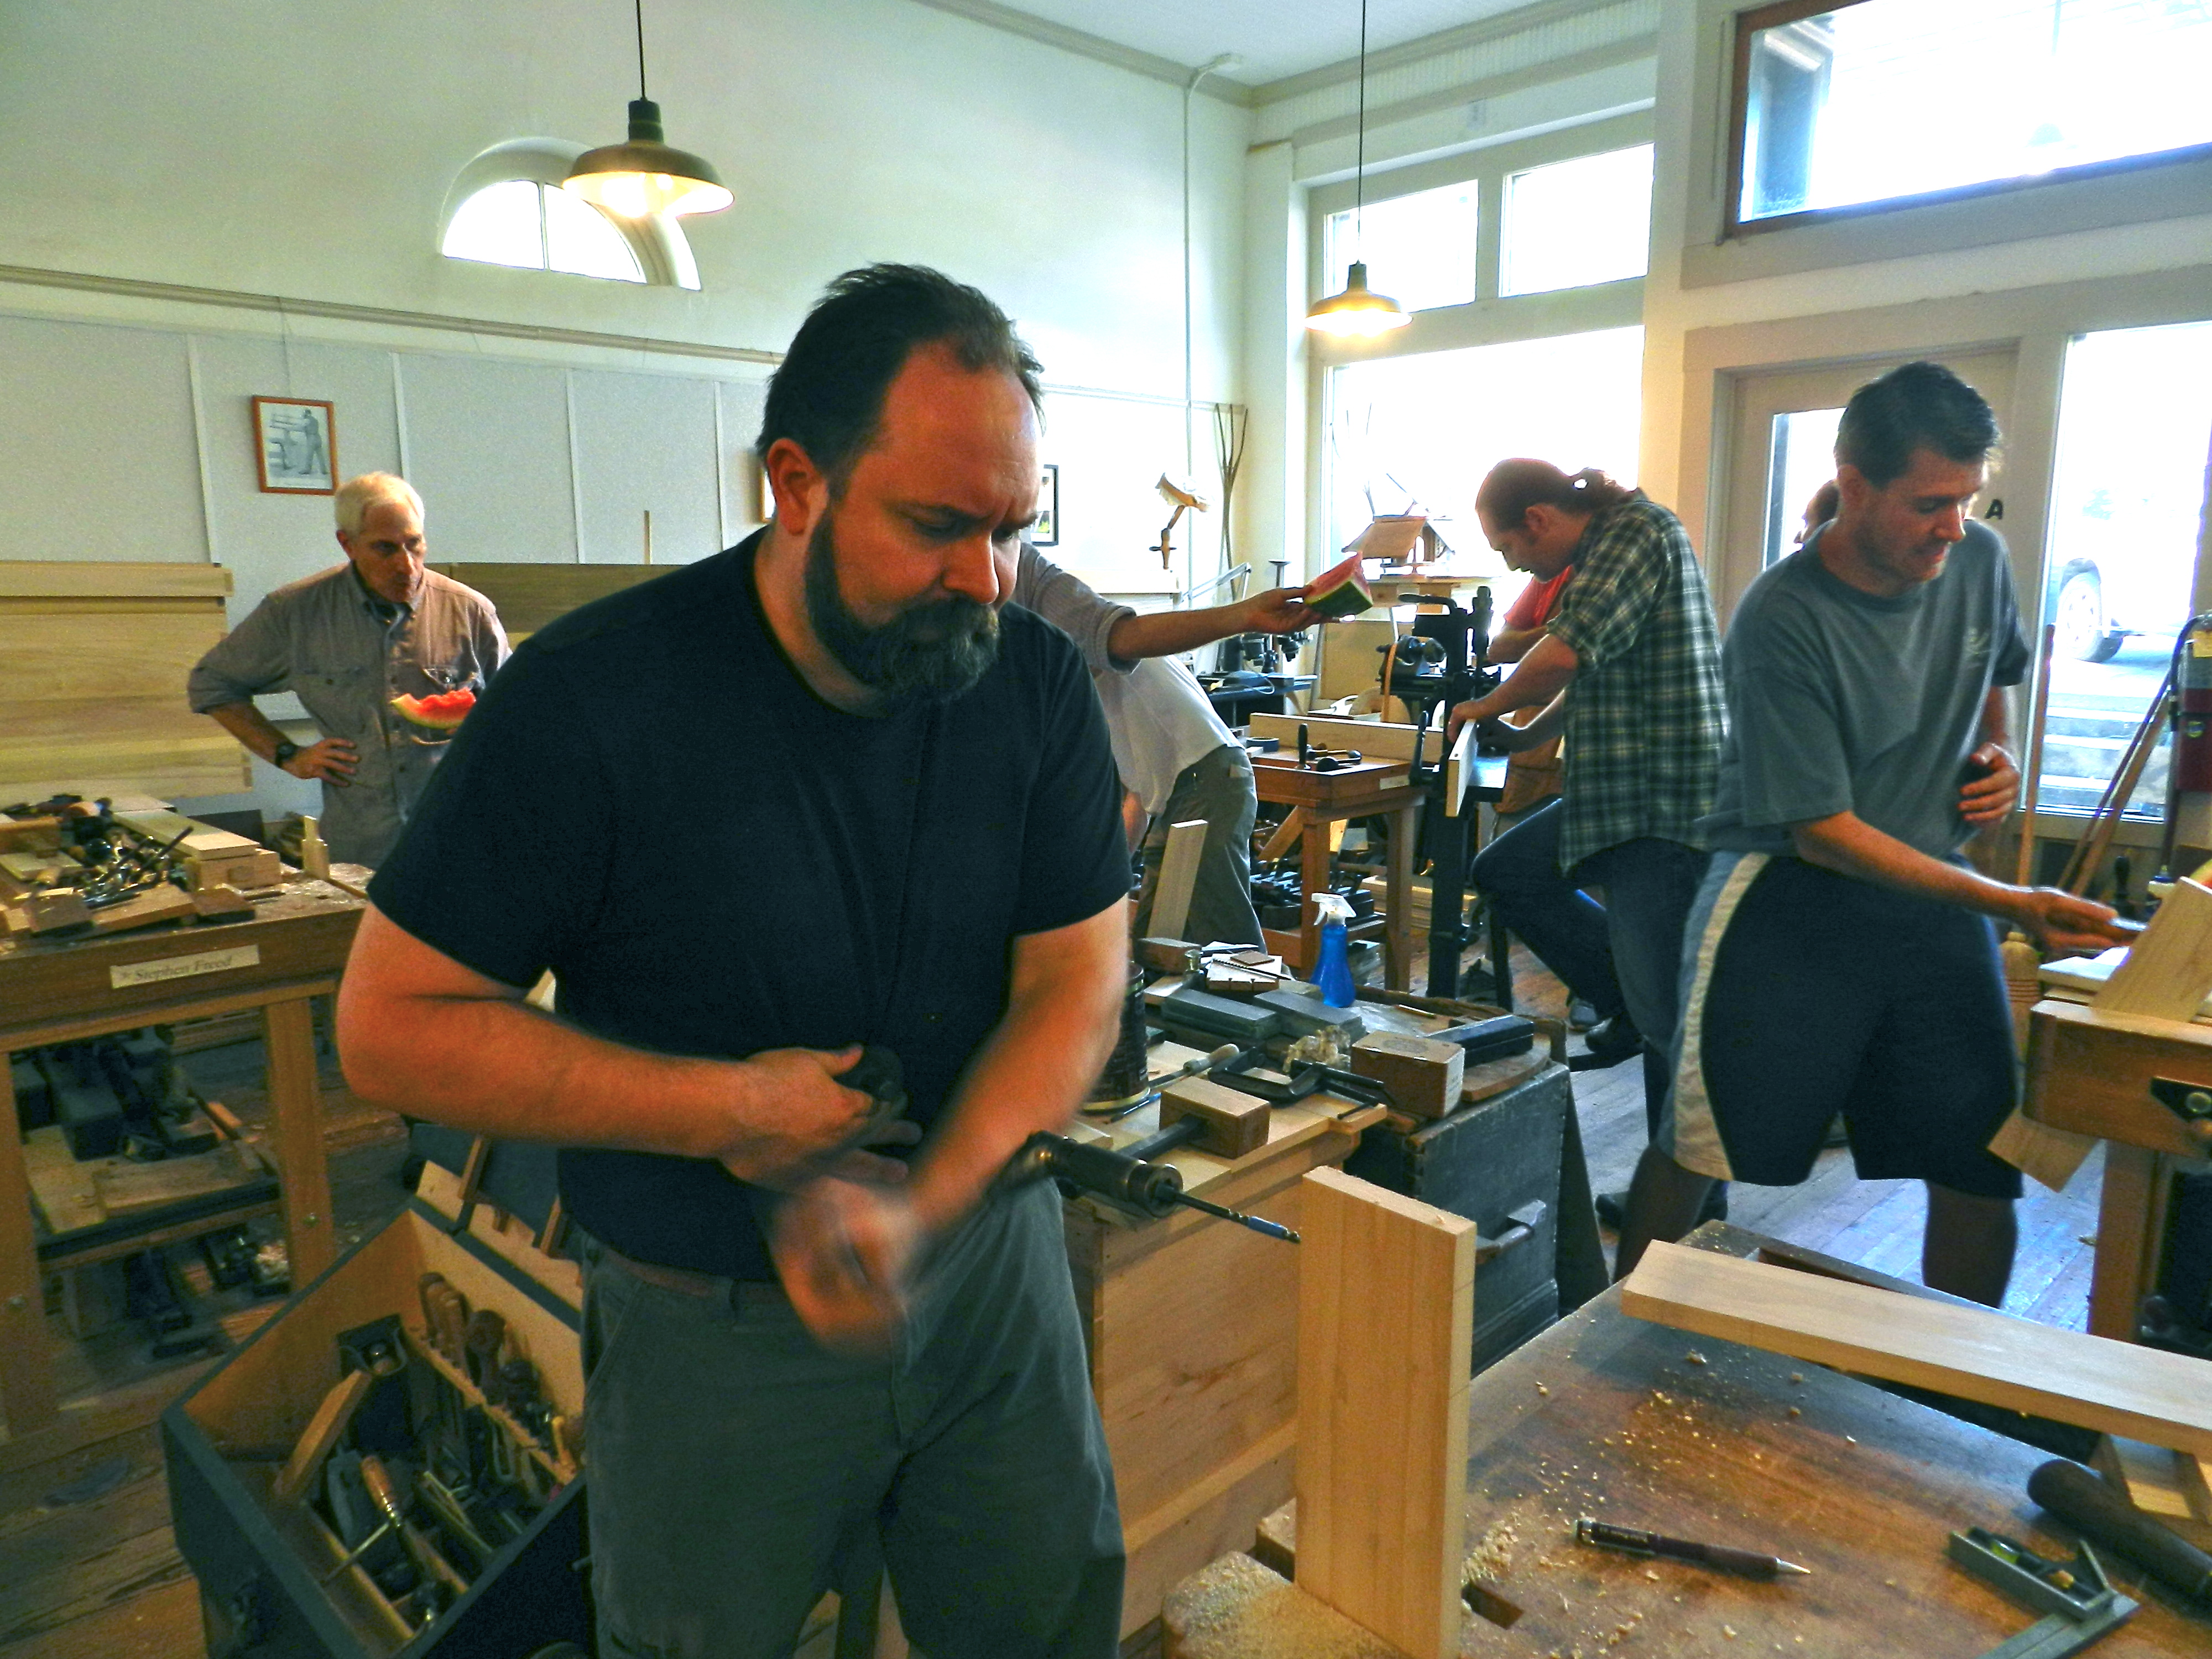
Some woodworking projects are for fun, some are skill builders, some are to keep the lights on and some are for necessity. As they say “necessity is the mother of invention.” When taking a woodworking workshop at the North Bennet Street School one of the challenges is often lugging all your tools to class. The school is set in the North End of Boston and most folks take public transportation to get to the school as parking in that area is expensive and in short supply. I’ve seen folks use bags, backpacks, plastic toolboxes, 5 gallon buckets, rolling carts, suitcases, you name it. I can still remember lugging big toolboxes on the subway when I was student.
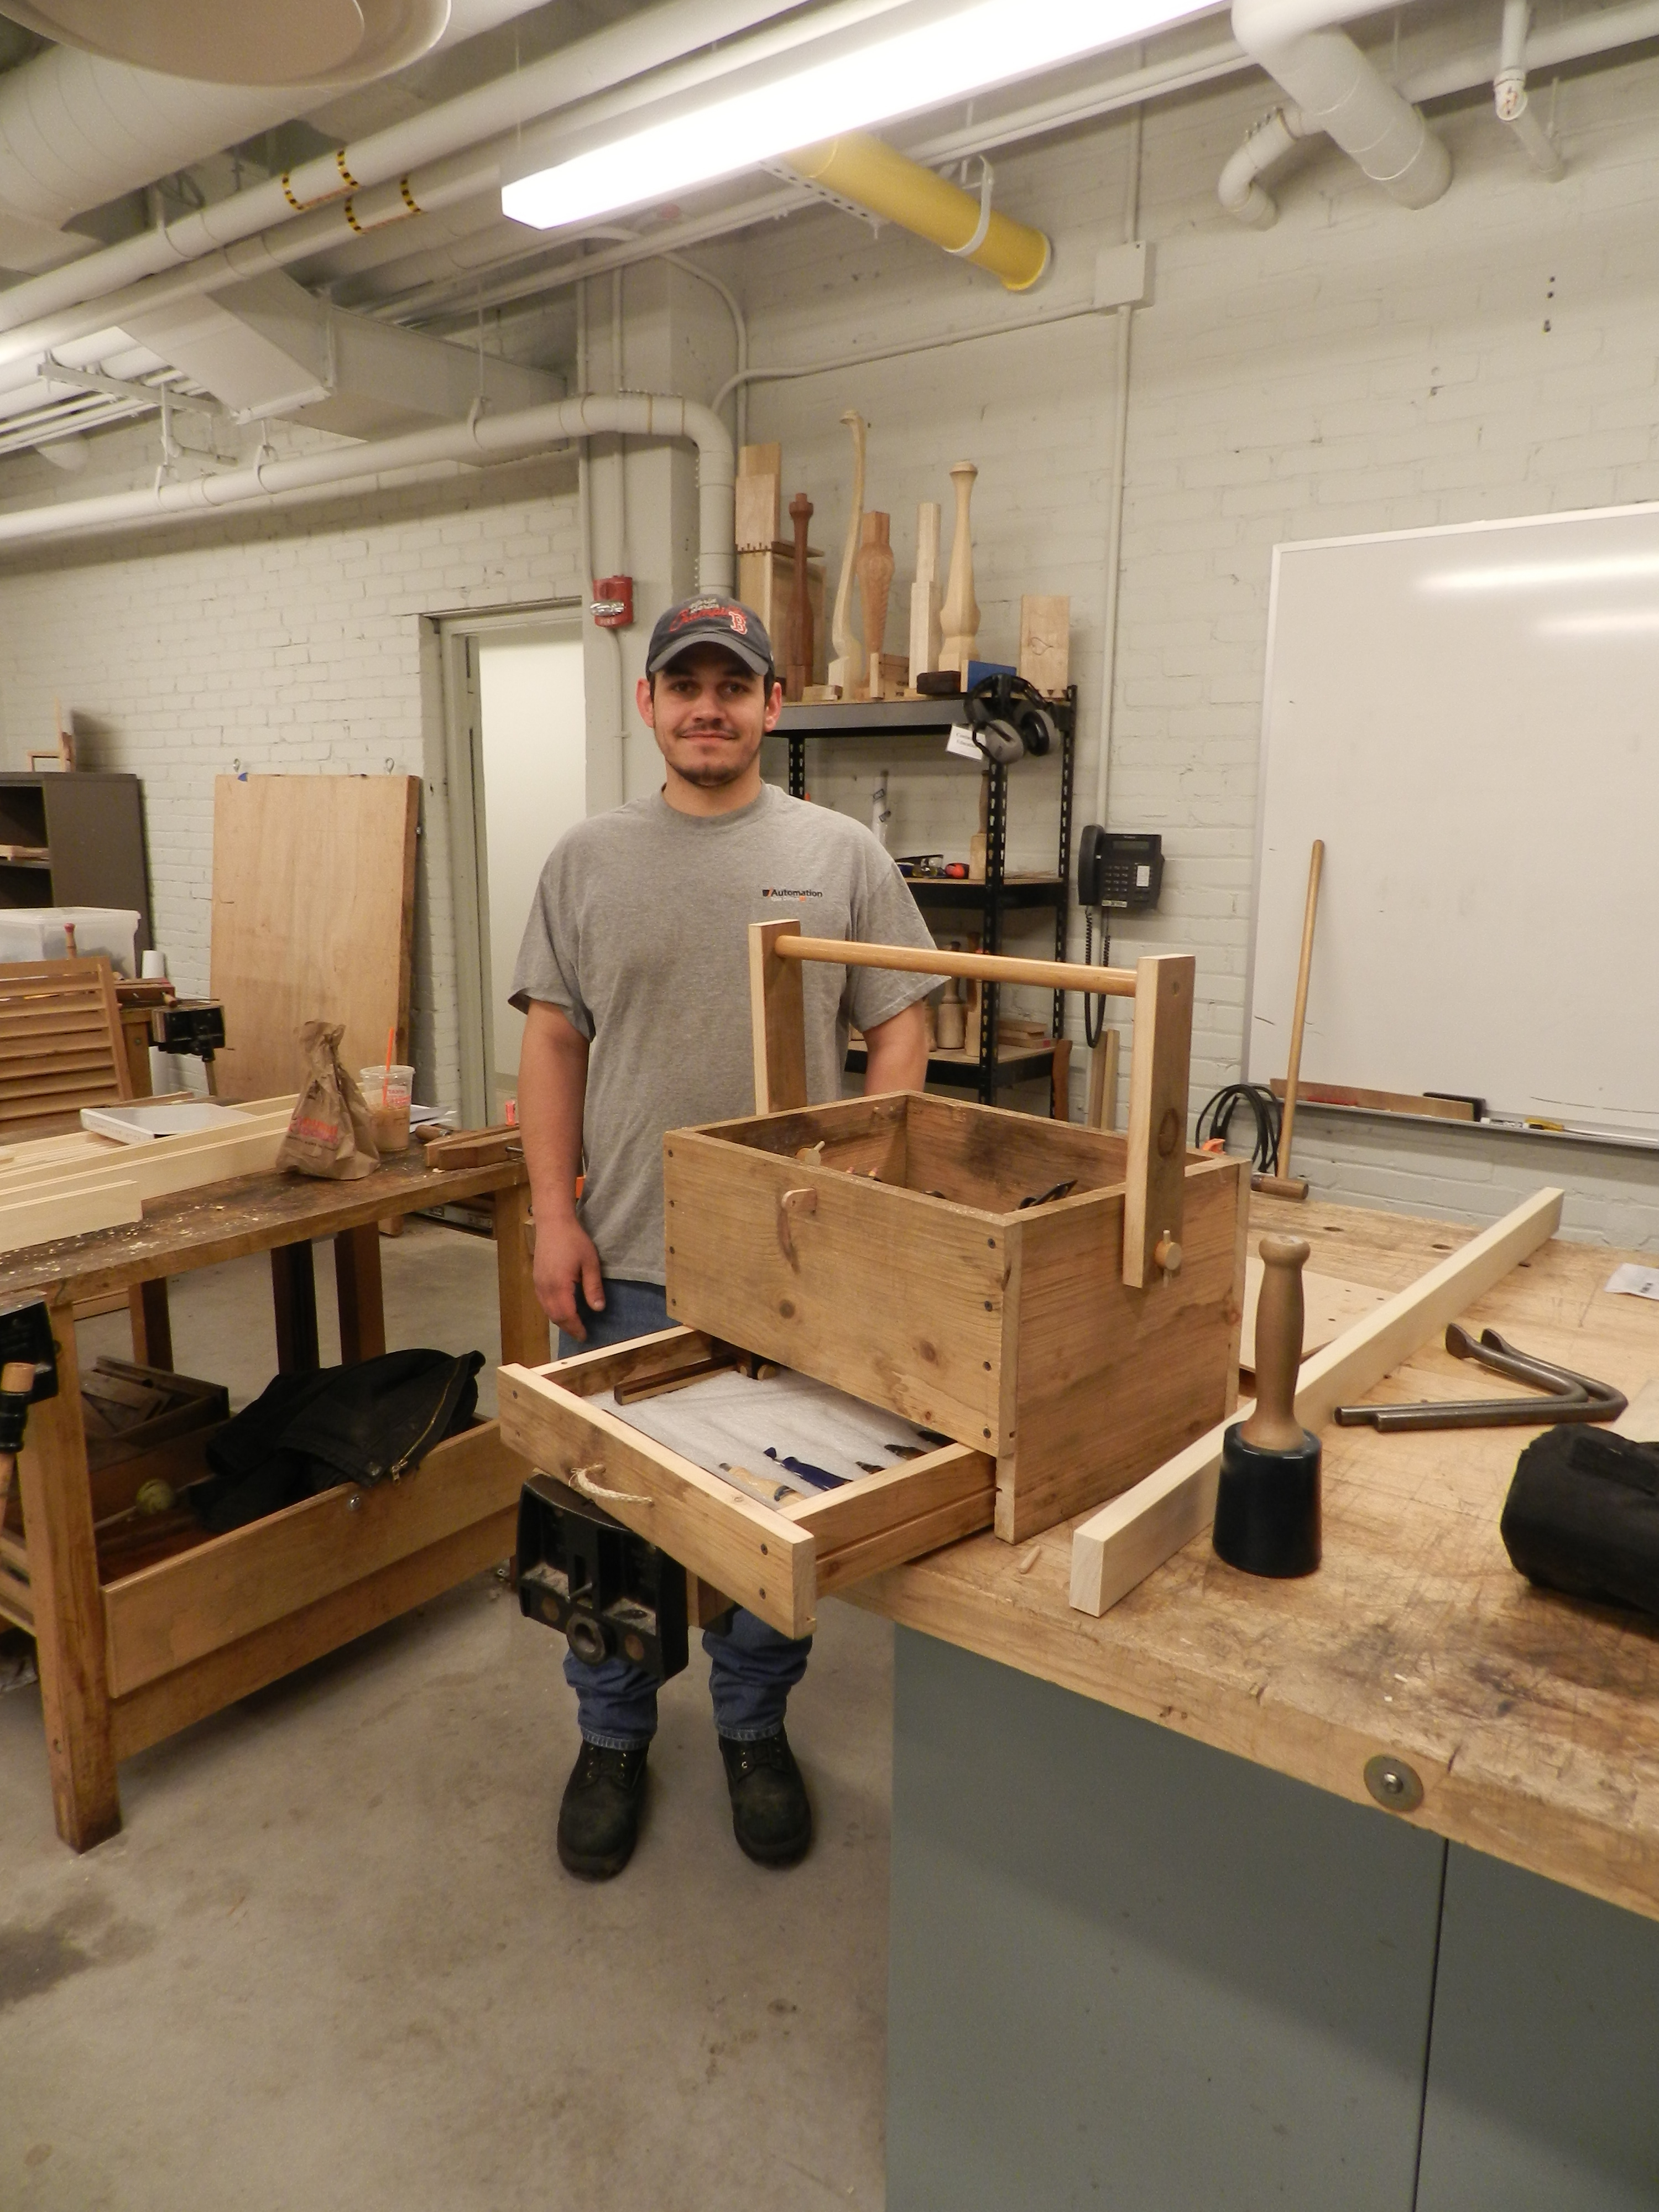
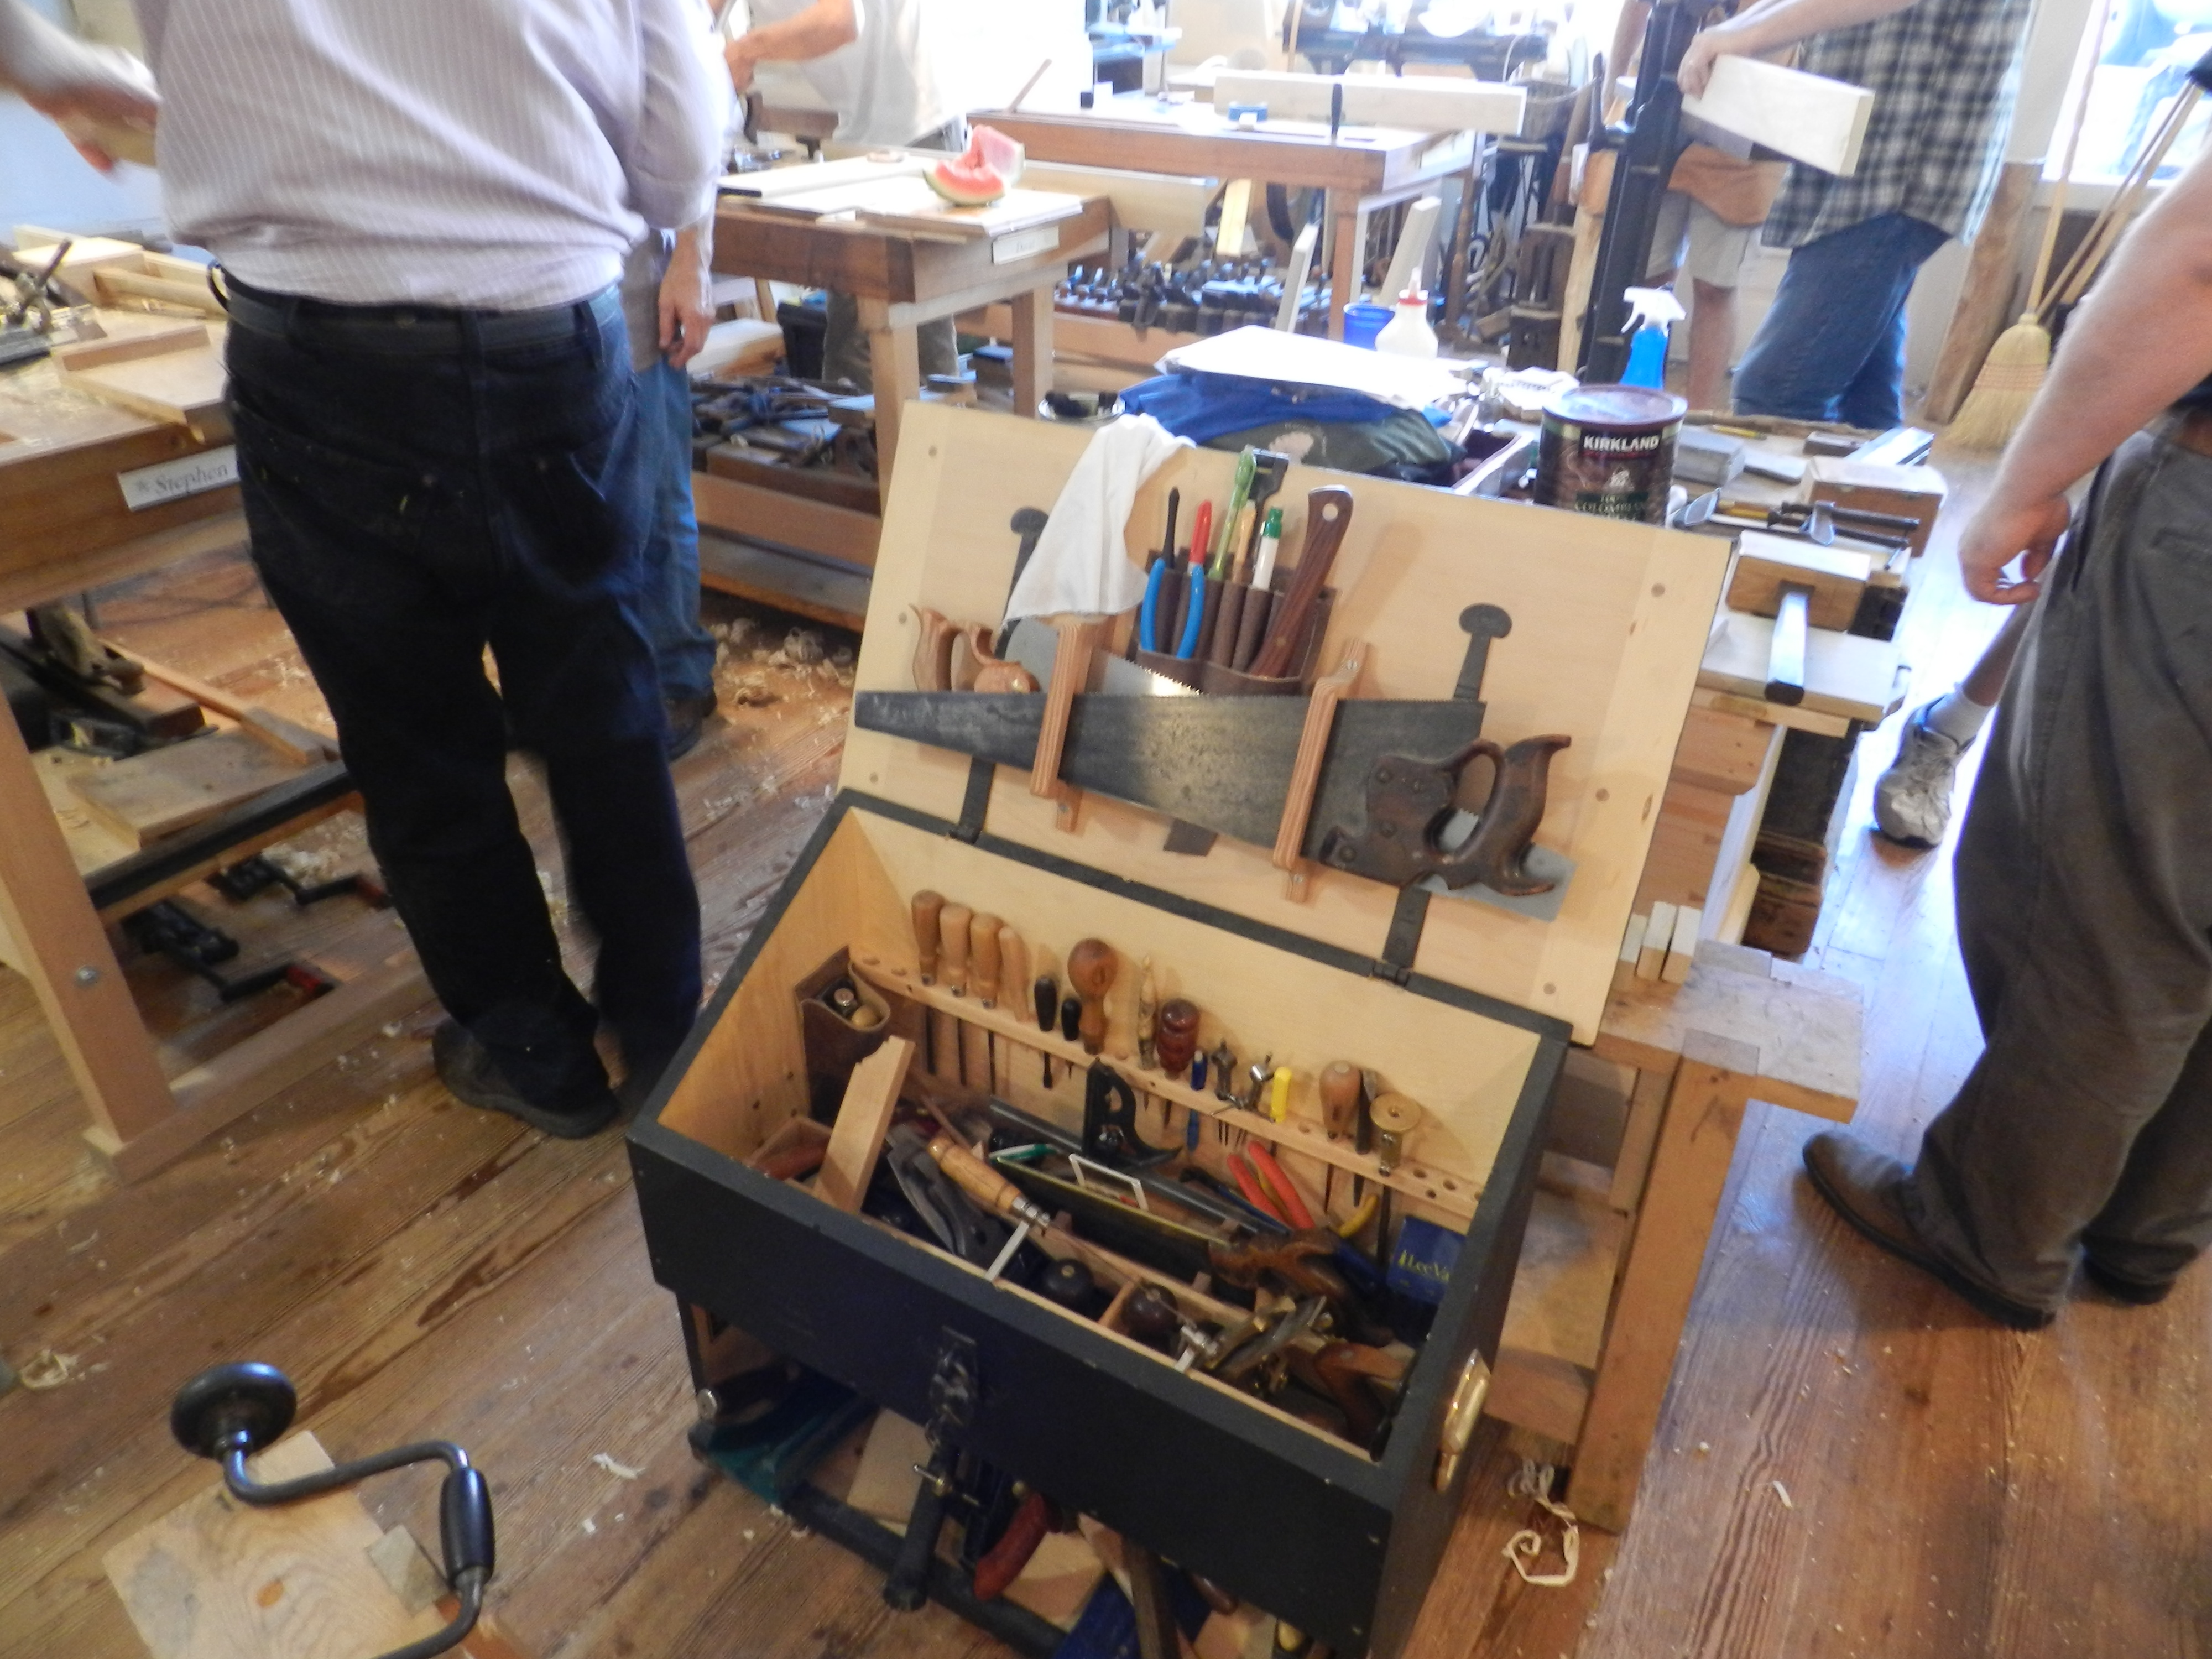
This past weekend one of my students, Jordan Ruiz, showed up to my Introduction To Shutters Workshop with the toolbox you see below:
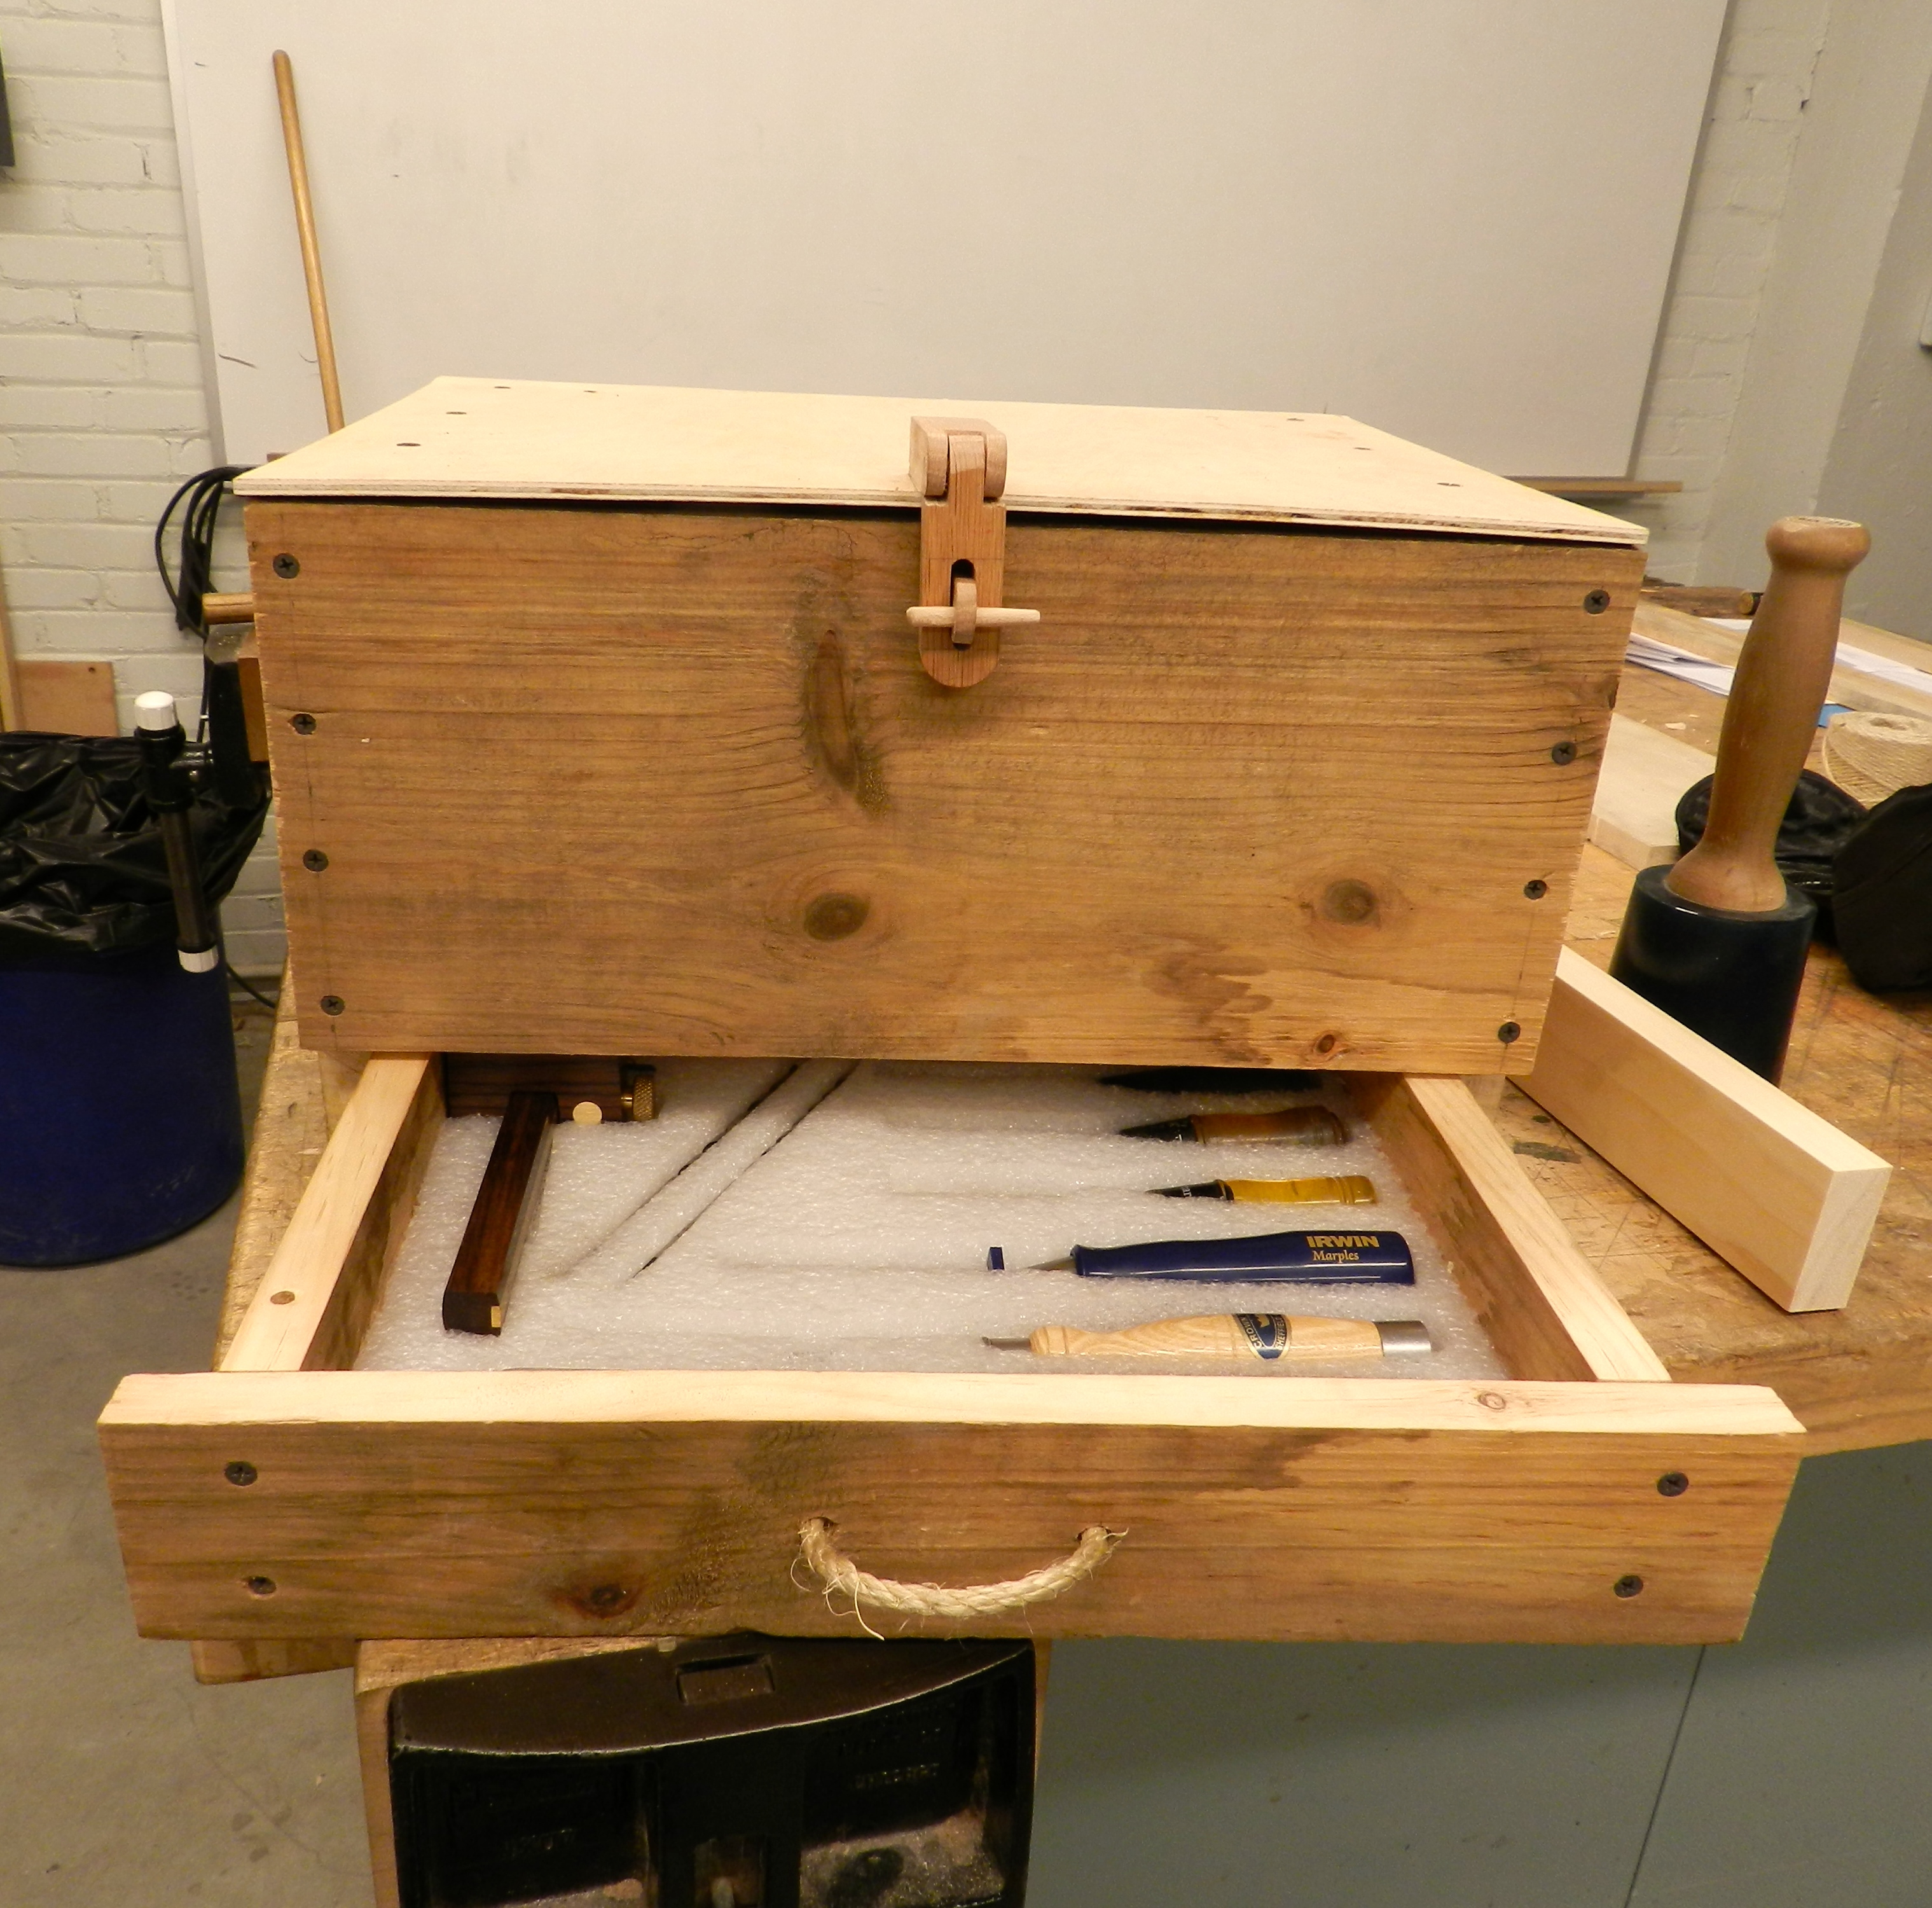
Closed toolbox with oak hasp
He designed it off the top of his head and made it mostly from a single pine board.
Open drawer
What I like about his utilitarian design is how he translated a lot of the traditional hardware needs into wooden or other natural equivalents. Note the oak hasp which is articulated and secured with wooden pins. A hemp rope drawer pull. Dowels to secure the moving wooden tote handle, sliding top secured by a captured dowel etc.
French fitted packing foam to keep the tools in place
I also like how Jordan used some packing foam to ‘French Fit’ all of the tools into his toolbox.
Jordan Ruiz with his toolbox
If he’s willing to do all that work to prepare for a workshop I can only imagine the dedication and creativity he’ll have at the job site. I think Jordan has a bright future ahead of him in the woodworking field. (He also made a very nice shutter as seen in the previous post)
You don’t often see a good working pair of shutters on a newly constructed home. Most times you see a pre-fab set of vinyl shutters screwed on to the side of a house or no shutters at all. The vinyl shutters usually have no hardware and often are not properly sized for the windows they are adjacent to. I want to reverse that trend and make sure at least a few folks know how to make a traditional wooden shutter.
Shop plans for my Shutters Workshop
I designed and taught an Introduction to Shutters Workshop at the North Bennet Street School this past weekend which was a lot of fun. Beyond my usual hand drawn plans I also modeled this project in SketchUp. (You can read more about that effort here).
The class hard at work
In the class students learned how to make a shutter using traditional hand tools and via power equipment. They were able to weigh the pros and cons of each against their skill sets and use what was most appropriate to their project. (Some folks will be repairing a few shutters, others will be making enough for an entire home)
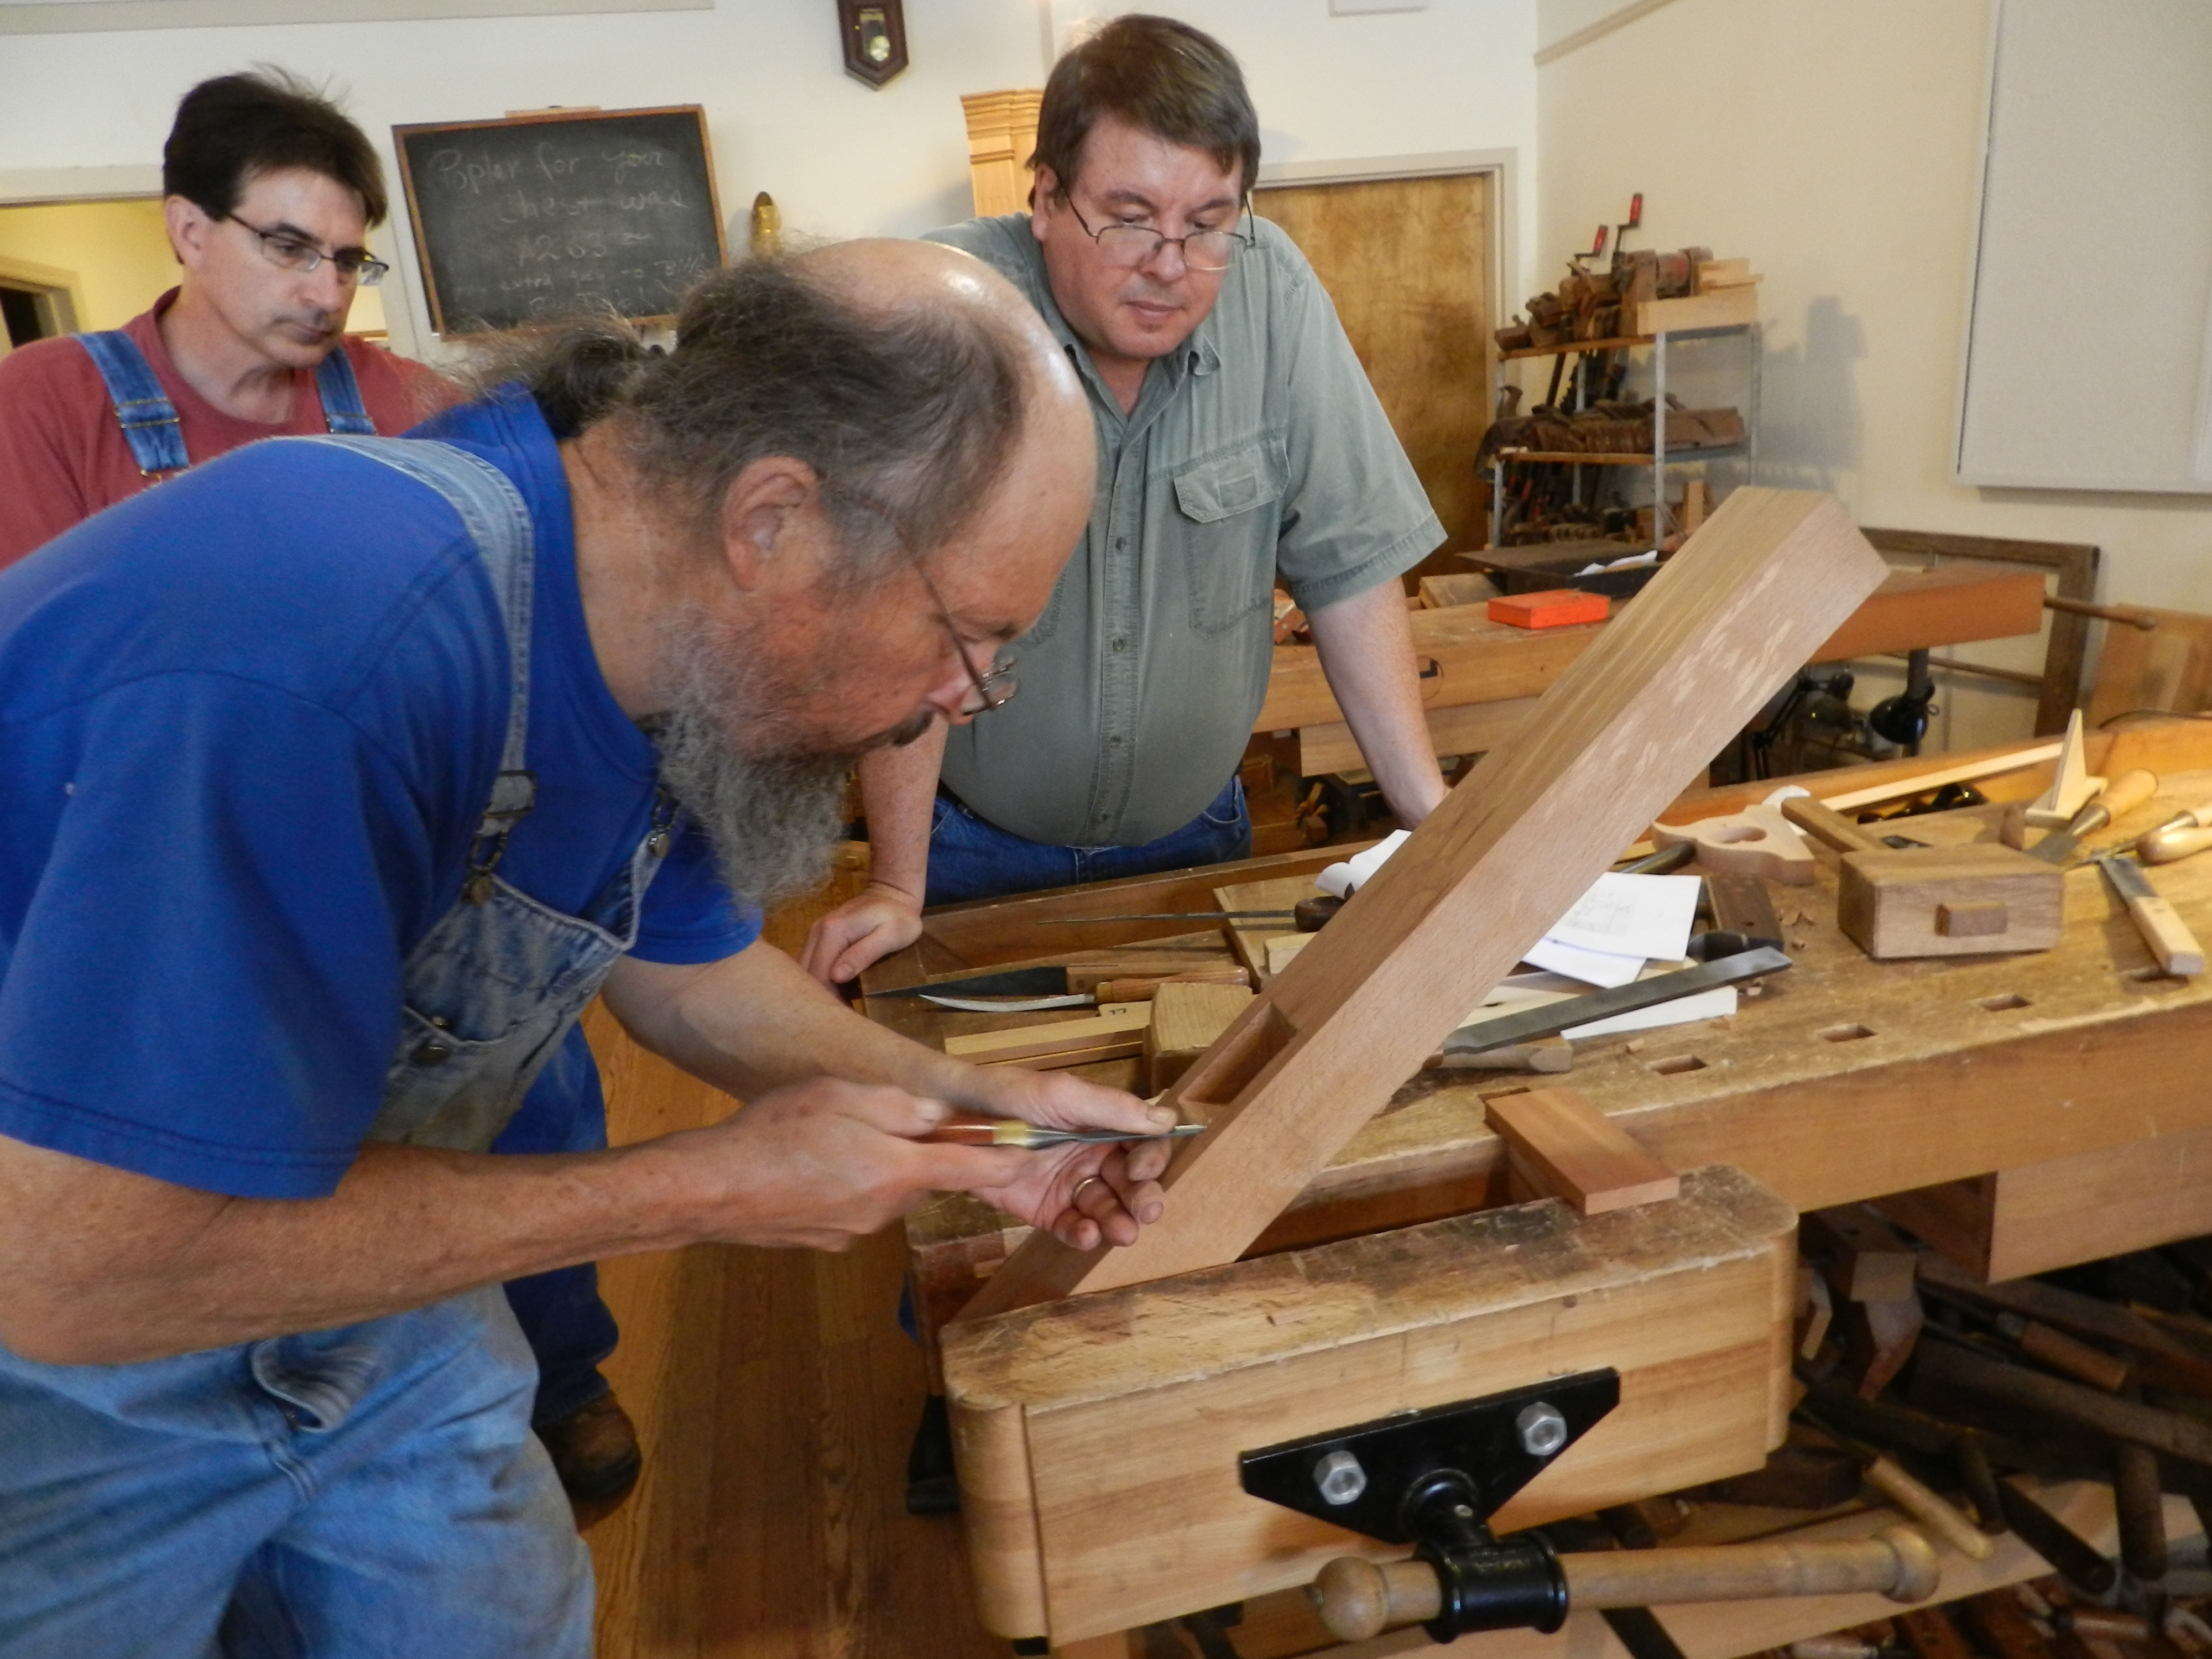
Making octagonal pins
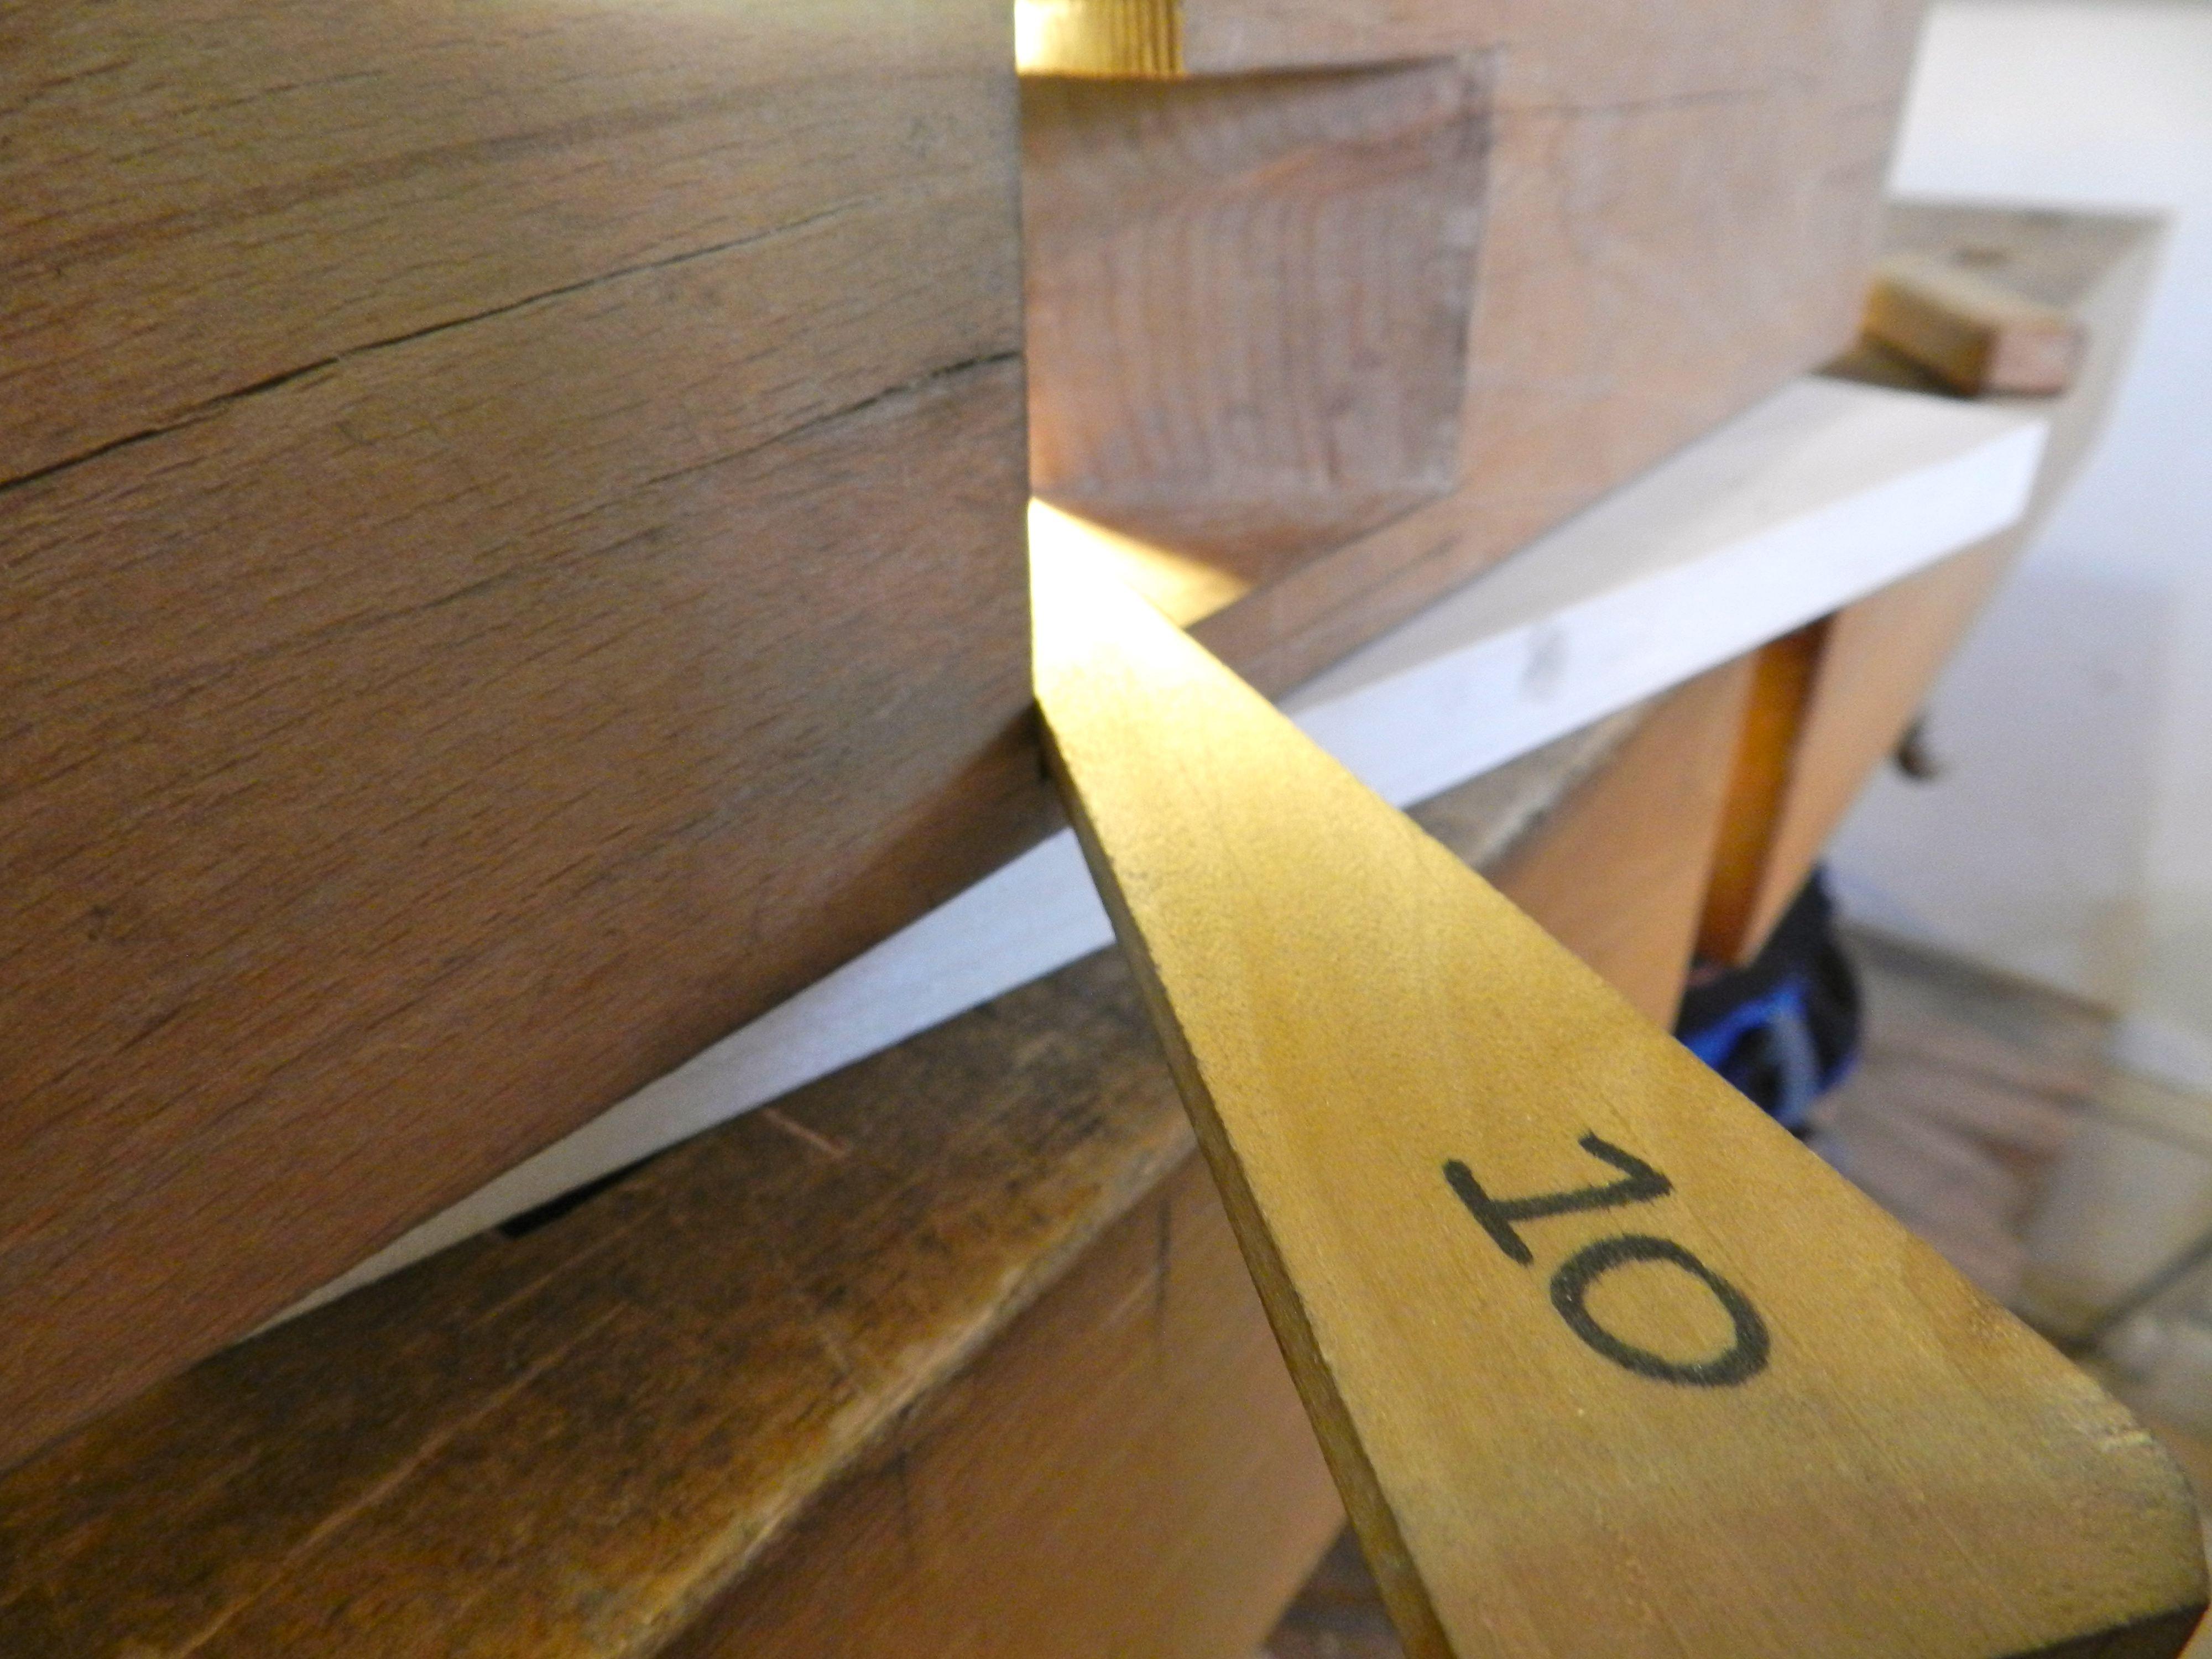
After building the frames, cutting all the mortises and tenons, and fielding the panels, everyone learned about traditional draw-boring. By making and using tapered octagonal pins and driving them through the offset hole drilled into the tenon, the joint is drawn together. This joint uses no glue, is quite strong and can be serviced in the future if a rotten piece needs to be replaced.
John finishing up his shutter
We also discussed many design options, regional variations and examined several examples we had on hand. It was a busy two days, but I’m hopeful that we’ll see some proper new shutters start popping up in the area.
Group picture with some finished shutters
Take care,
-Bill
P.S. I have several more workshops coming up at NBSS over the next 3 months if you are interested in joining me — there are still a few seats available. Up next is Traditional Molding with wooden Molding Planes in April, Saw Horses and Saw Hurdles in May, and Making a Window Sash in June. You can learn more about each of them here.
Teaching a weekend workshop is often like a two day stage performance. I’m up at dawn to prep, drive down, unload, on my feet non-stop for the class, then cleanup, head home, quick dinner, then out like a light, and lather rinse repeat. For most people that sounds like torture, but for me it’s fun.
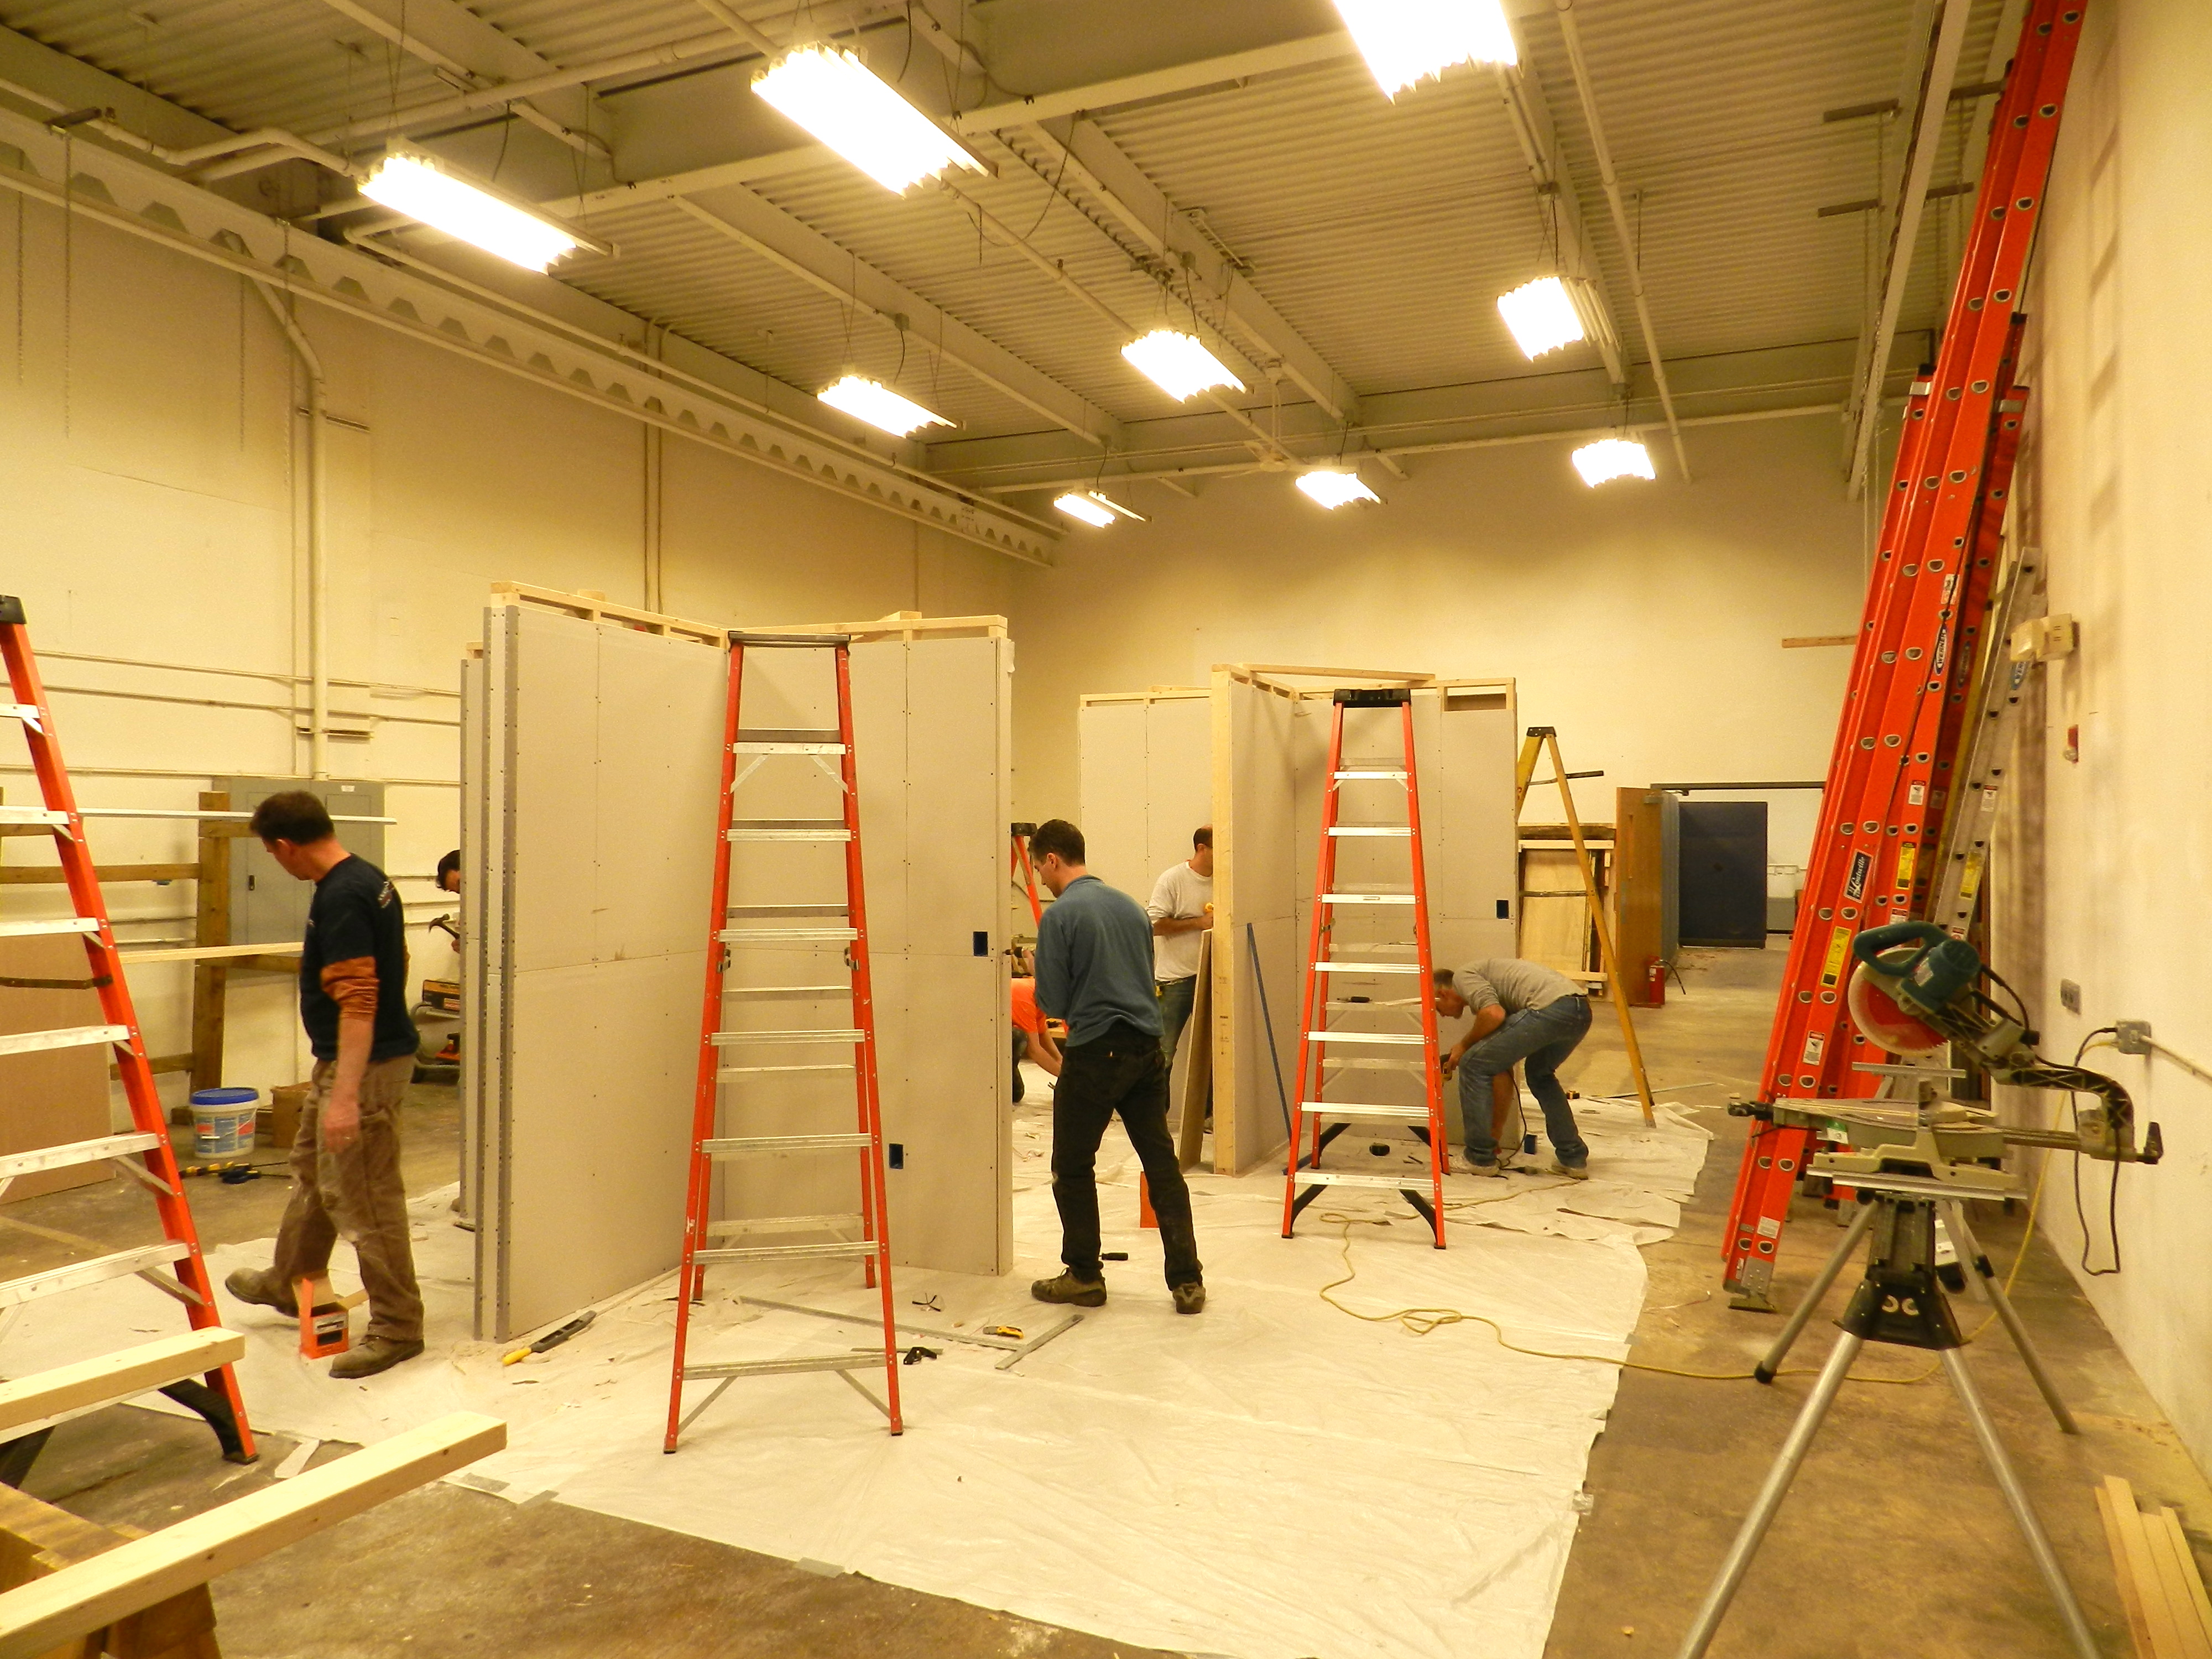
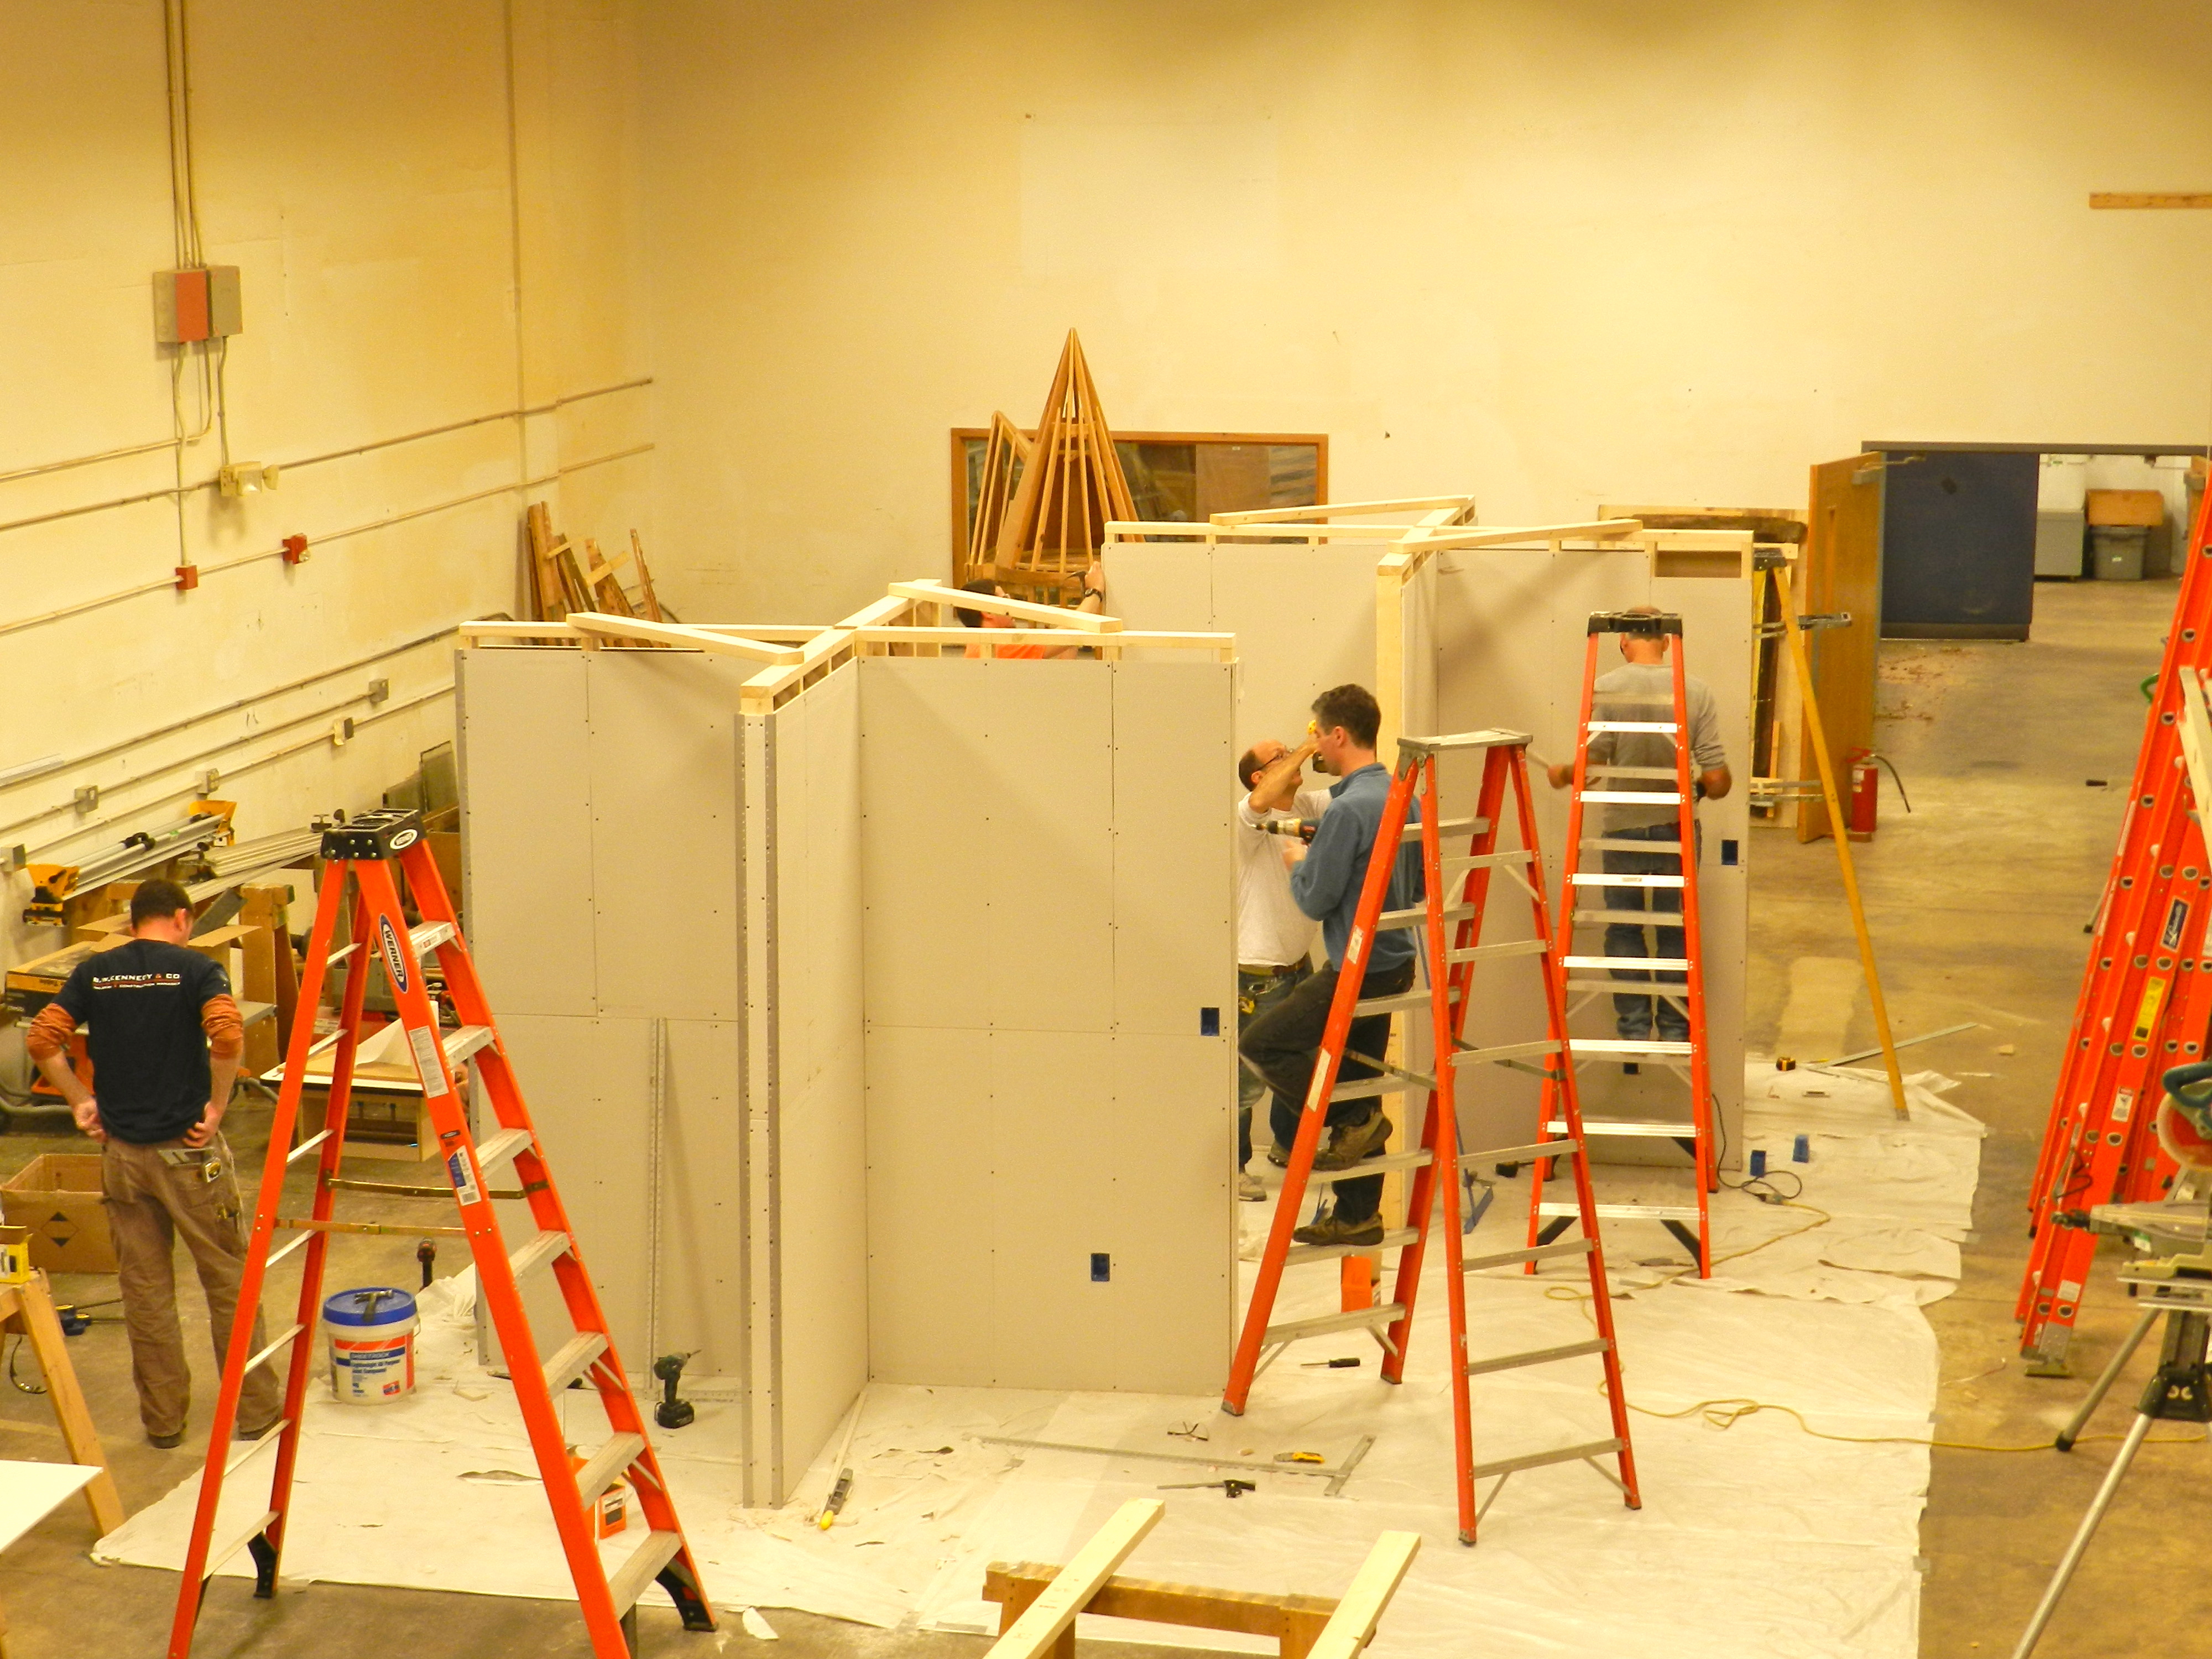
Light stick framing lesson, then hanging Sheetrock
I love to share my passion for woodworking with others and teaching helps to feed the tool and and supply kitty for my various projects .
Closing in the wall
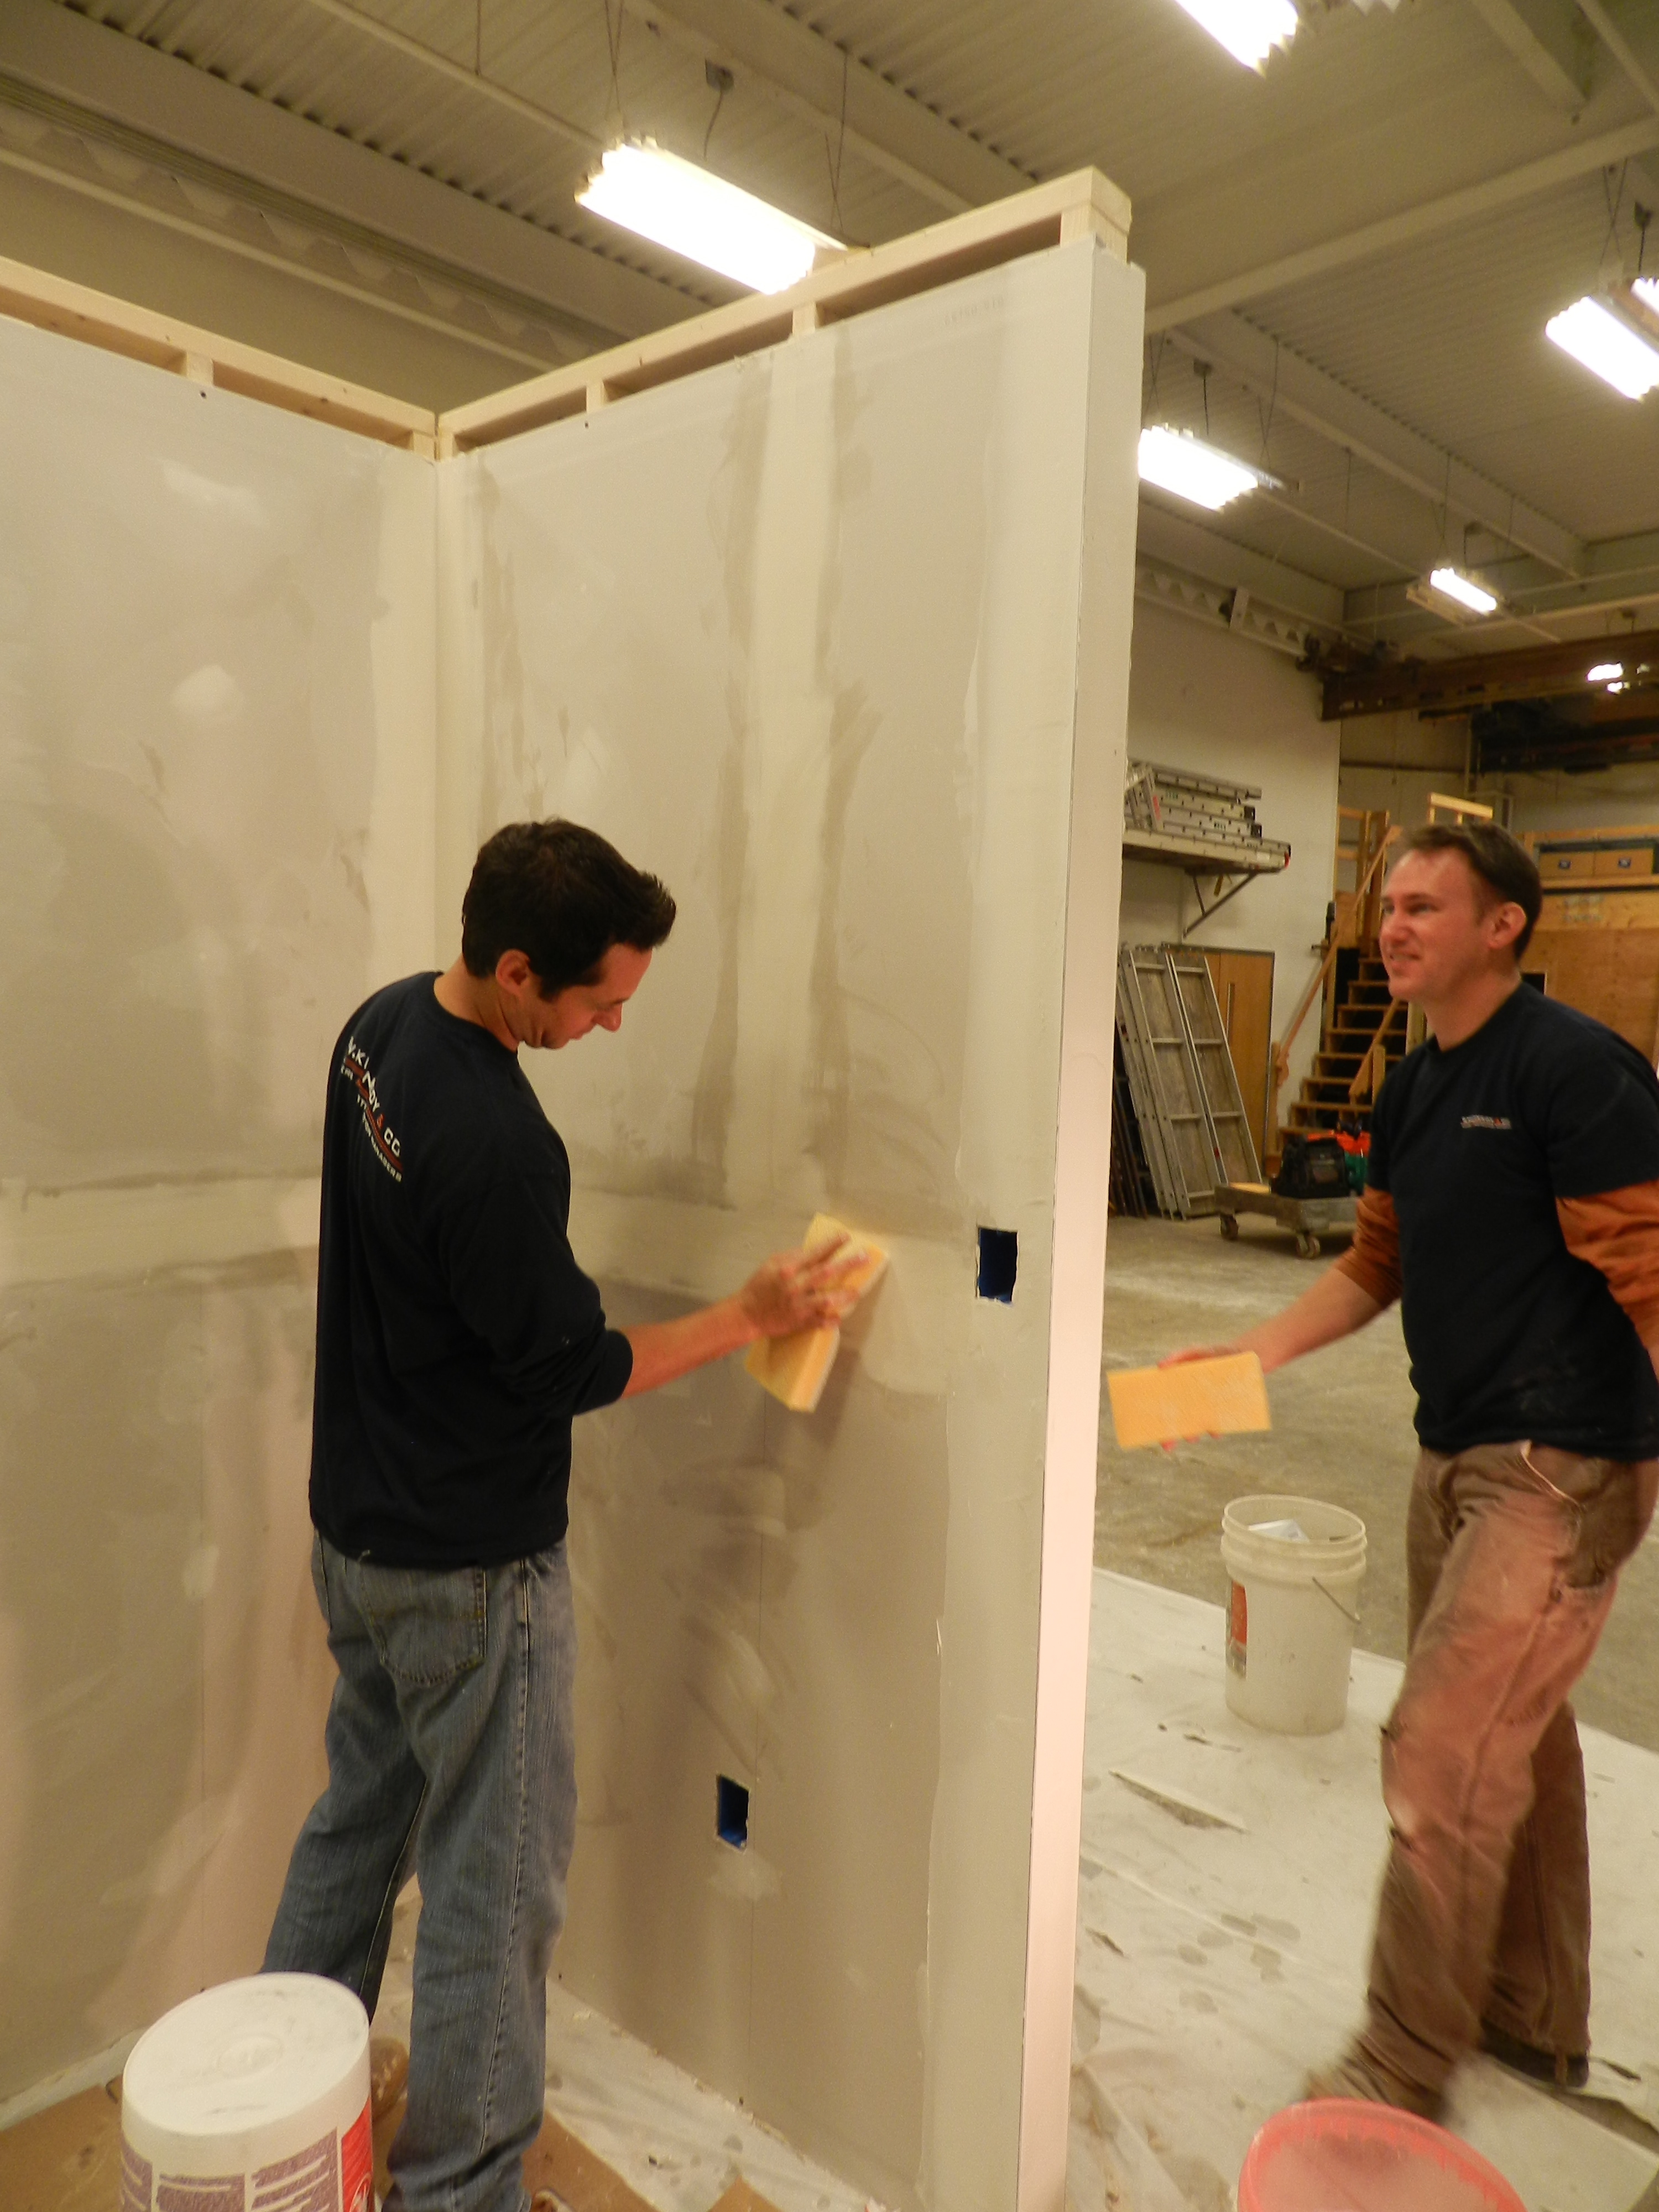
Last weekend I taught a two day workshop on drywall, mud work and textures. I designed the class last January and this was the second time we ran it. I’m happy to say that it sold out both times and we covered a lot of ground given we only had 2 days to work.
Aerial view of the class
Each student had the opportunity to learn all the basics needed to tackle a new drywall installation or repair project.
Using a hawk and applying mud to the corner joint
The course covered a wide range of topics including:
Basics of Stick Framing
Hanging Drywall and Coursing
Taping, Inside and Outside Corners
Working with ‘Mud’
Wet and Dry Sanding
Texture Work
Repairs
Wet sanding
My last workshop back in May was going to be the last workshop the NBSS Arlington Location which is a 10,000 square foot workshop which was my home when I was a student at NBSS. (It used to be the workshop and classrooms for Preservation Carpentry and Carpentry departments at the school). The school has now relocated all the programs back under a single roof on North Street in the North End of Boston a couple of blocks from where the school spent its first 134 years. This workshop requires a lot of space, ceiling height and access to a large dumpster and with all the hustle and bustle of the school setting up at the new location it made sense to run this workshop in the old and largely empty space left in Arlington. The class went great, but the the one sad part for me was at the end of the second day when I had to say goodbye to the Arlington space for the second time. But like all good-byes, it is also a new beginning…
The good news is that I have a few workshops scheduled in the spring at the new campus location. You can learn more about them here.
The North Bennet Street School (NBSS), America’s Oldest Trade School, has been a Boston institution located at 39 North Bennet Street in the North End since 1879. The school was incorporated in 1885 and has a long history of offering vocational training and forward thinking social services which continue through today.
After more than a century at the original location the school eventually grew beyond what the old assemblage of buildings (an ex-church, sailor’s retirement home, townhouses etc) could fit and some of the programs had to move to other locations around the Boston area. In an effort to re-unify the school, update the facilities, and get everyone under one roof again the school embarked on an aggressive fundraising campaign and has now moved to 150 North Street in Boston (about 1/3 mile from the original location). This new building takes up a city block and has recently opened for the new school year. This new set of buildings once served as the Boston City Printing Press and a Police station. They sit above the entrance to the Callahan tunnel right on the Greenway. The buildings have a stately facade, are stoutly constructed and have an interior fitting for a school of this kind.
Wednesday night was the first North Bennet Street School Alumni Meeting at the new building. We had the opportunity to tour the new facility.I took as many pictures as I could with my iPhone and have shared them below as a virtual tour of the new building. This small set of photos do not do it justice, so I recommend coming by to see it in person yourself during this year’s open house events Nov 8-9. If you click on any of the photos below you can see it in a larger size and can also cycle through them like a slide show.
Front of the building complex which touches the Rose Kennedy Greenway
Scale — the 2 buildings stretch a full city block in the North End of Boston
Architectural Details of the Building
Rear corner of new building. 1st floor in the corner is Preservation Carpentry. Above that is Carpentry. Above that is Cabinet and Furniture Making
Part of the new NBSS marketing campaign ‘Do what you love, every day’
Student work already on display in the new Gallery
Boyd, the new NBSS Gallery Manager in the new Gallery Space
Early NBSS Sign that we used to have in the PC dept. in Arlington
A violin in progress
Violin-making bench room
One of the many awesome views of Boston from the new building.
Bookbinding Dept
A nice change is that each student will have a locker to store and lock up personal items
First year Preservation Carpentry Bench Room
Rich’s sweet new teaching space in the second year classroom
Timber framing models in the second year Preservation Carpentry Bench Room
Human powered miter and mortising machines in the PC dept.
More models and kitchenette in the Preservation Carpentry Classroom
Preservation Carpentry Machine Room
Loading dock and wood rack in Preservation Carpentry
NIcely redone skylghts with indirect lighting — it’s almost too nice for NBSS — ‘Where’s the dank Moe? The dank?”
Locksmithing Department
NBSS Feeling more like home — some of the many great sample walls have migrated to the new space.
One of the cabinet and furniture making bench rooms.
A CFM Student’s tool chest.
More CFM Bench Room. Great to see all the natural light.
Piano technology and repair classroom
Great new common space for students to gather, have lectures, display work etc.
Entryway to the carpentry department
NBSS Alumni Association touring the new facility
Jewelry making and repair department bench space
Jewelry making and repair department work area
Nice view from the atrium.
Great indoor space for big lectures etc. I love seeing the old exterior facade exposed inside of the building.
As a graduate of the Preservation Carpentry Program and workshop instructor at the school, the old building will always hold a special place in my heart, but I am happy to see this new building come together as it took an incredible amount of work by the school and its many supporters to pull of this move.
You can learn more about the history of the school here and here.
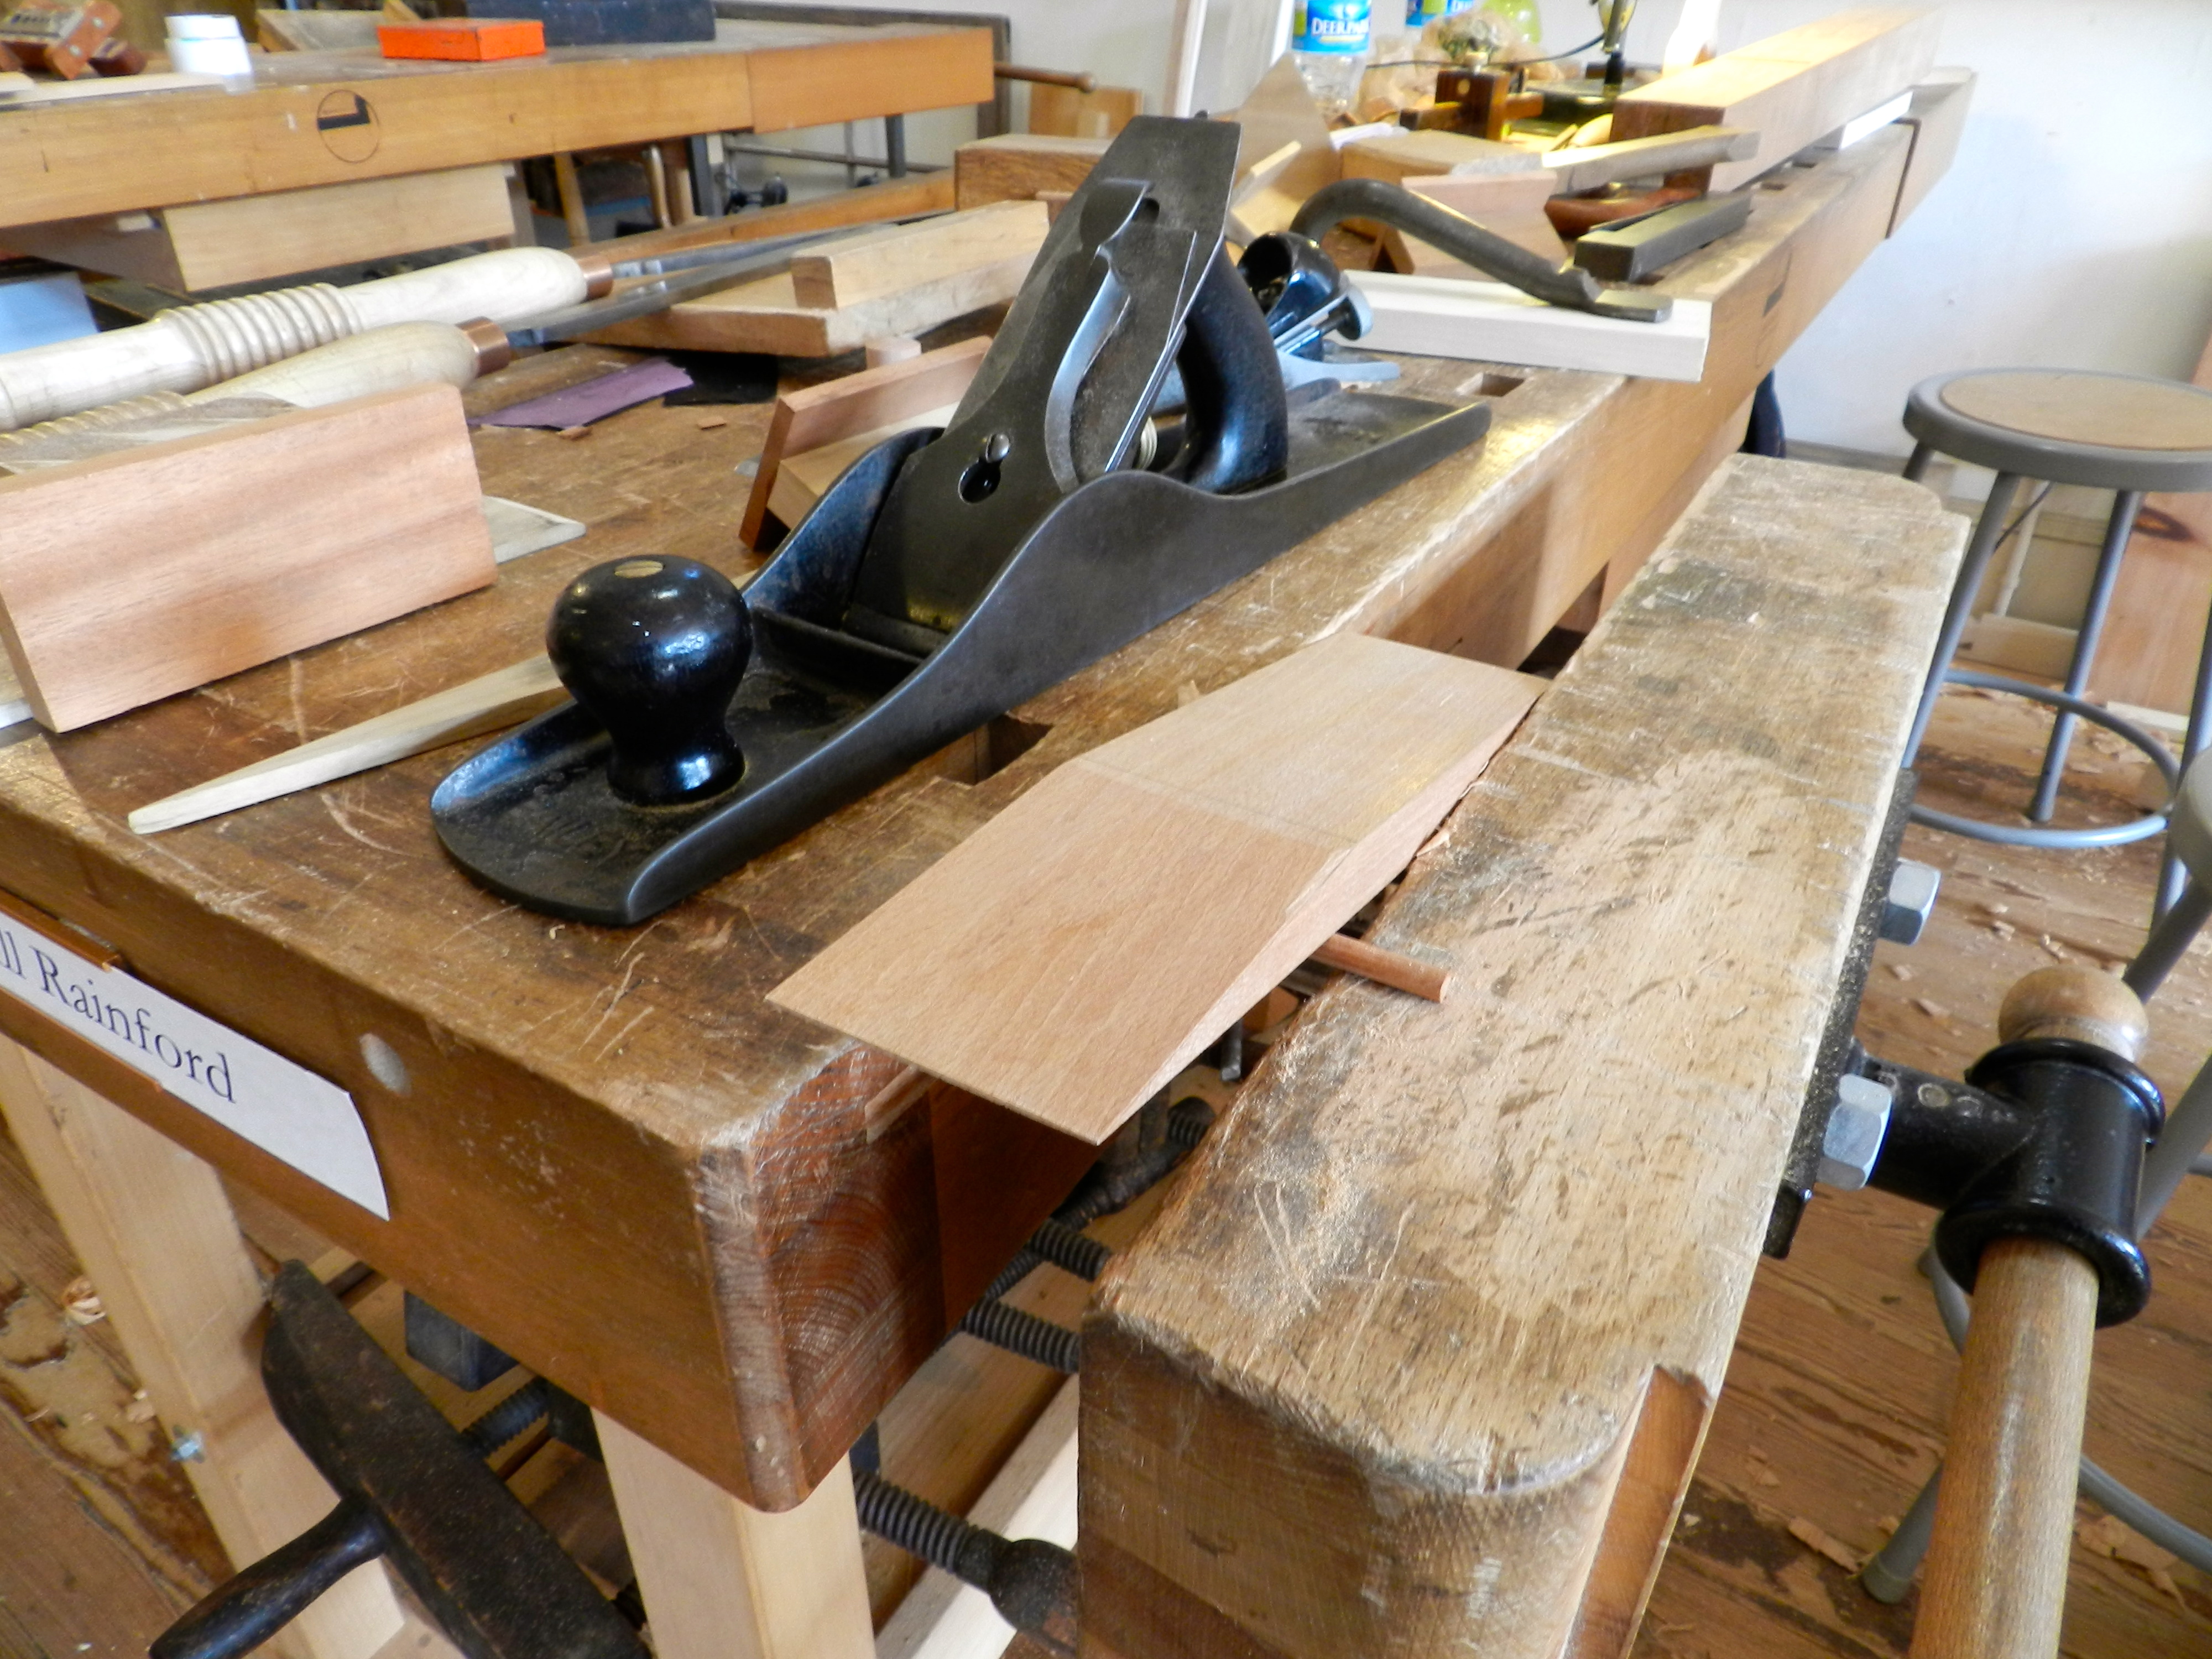
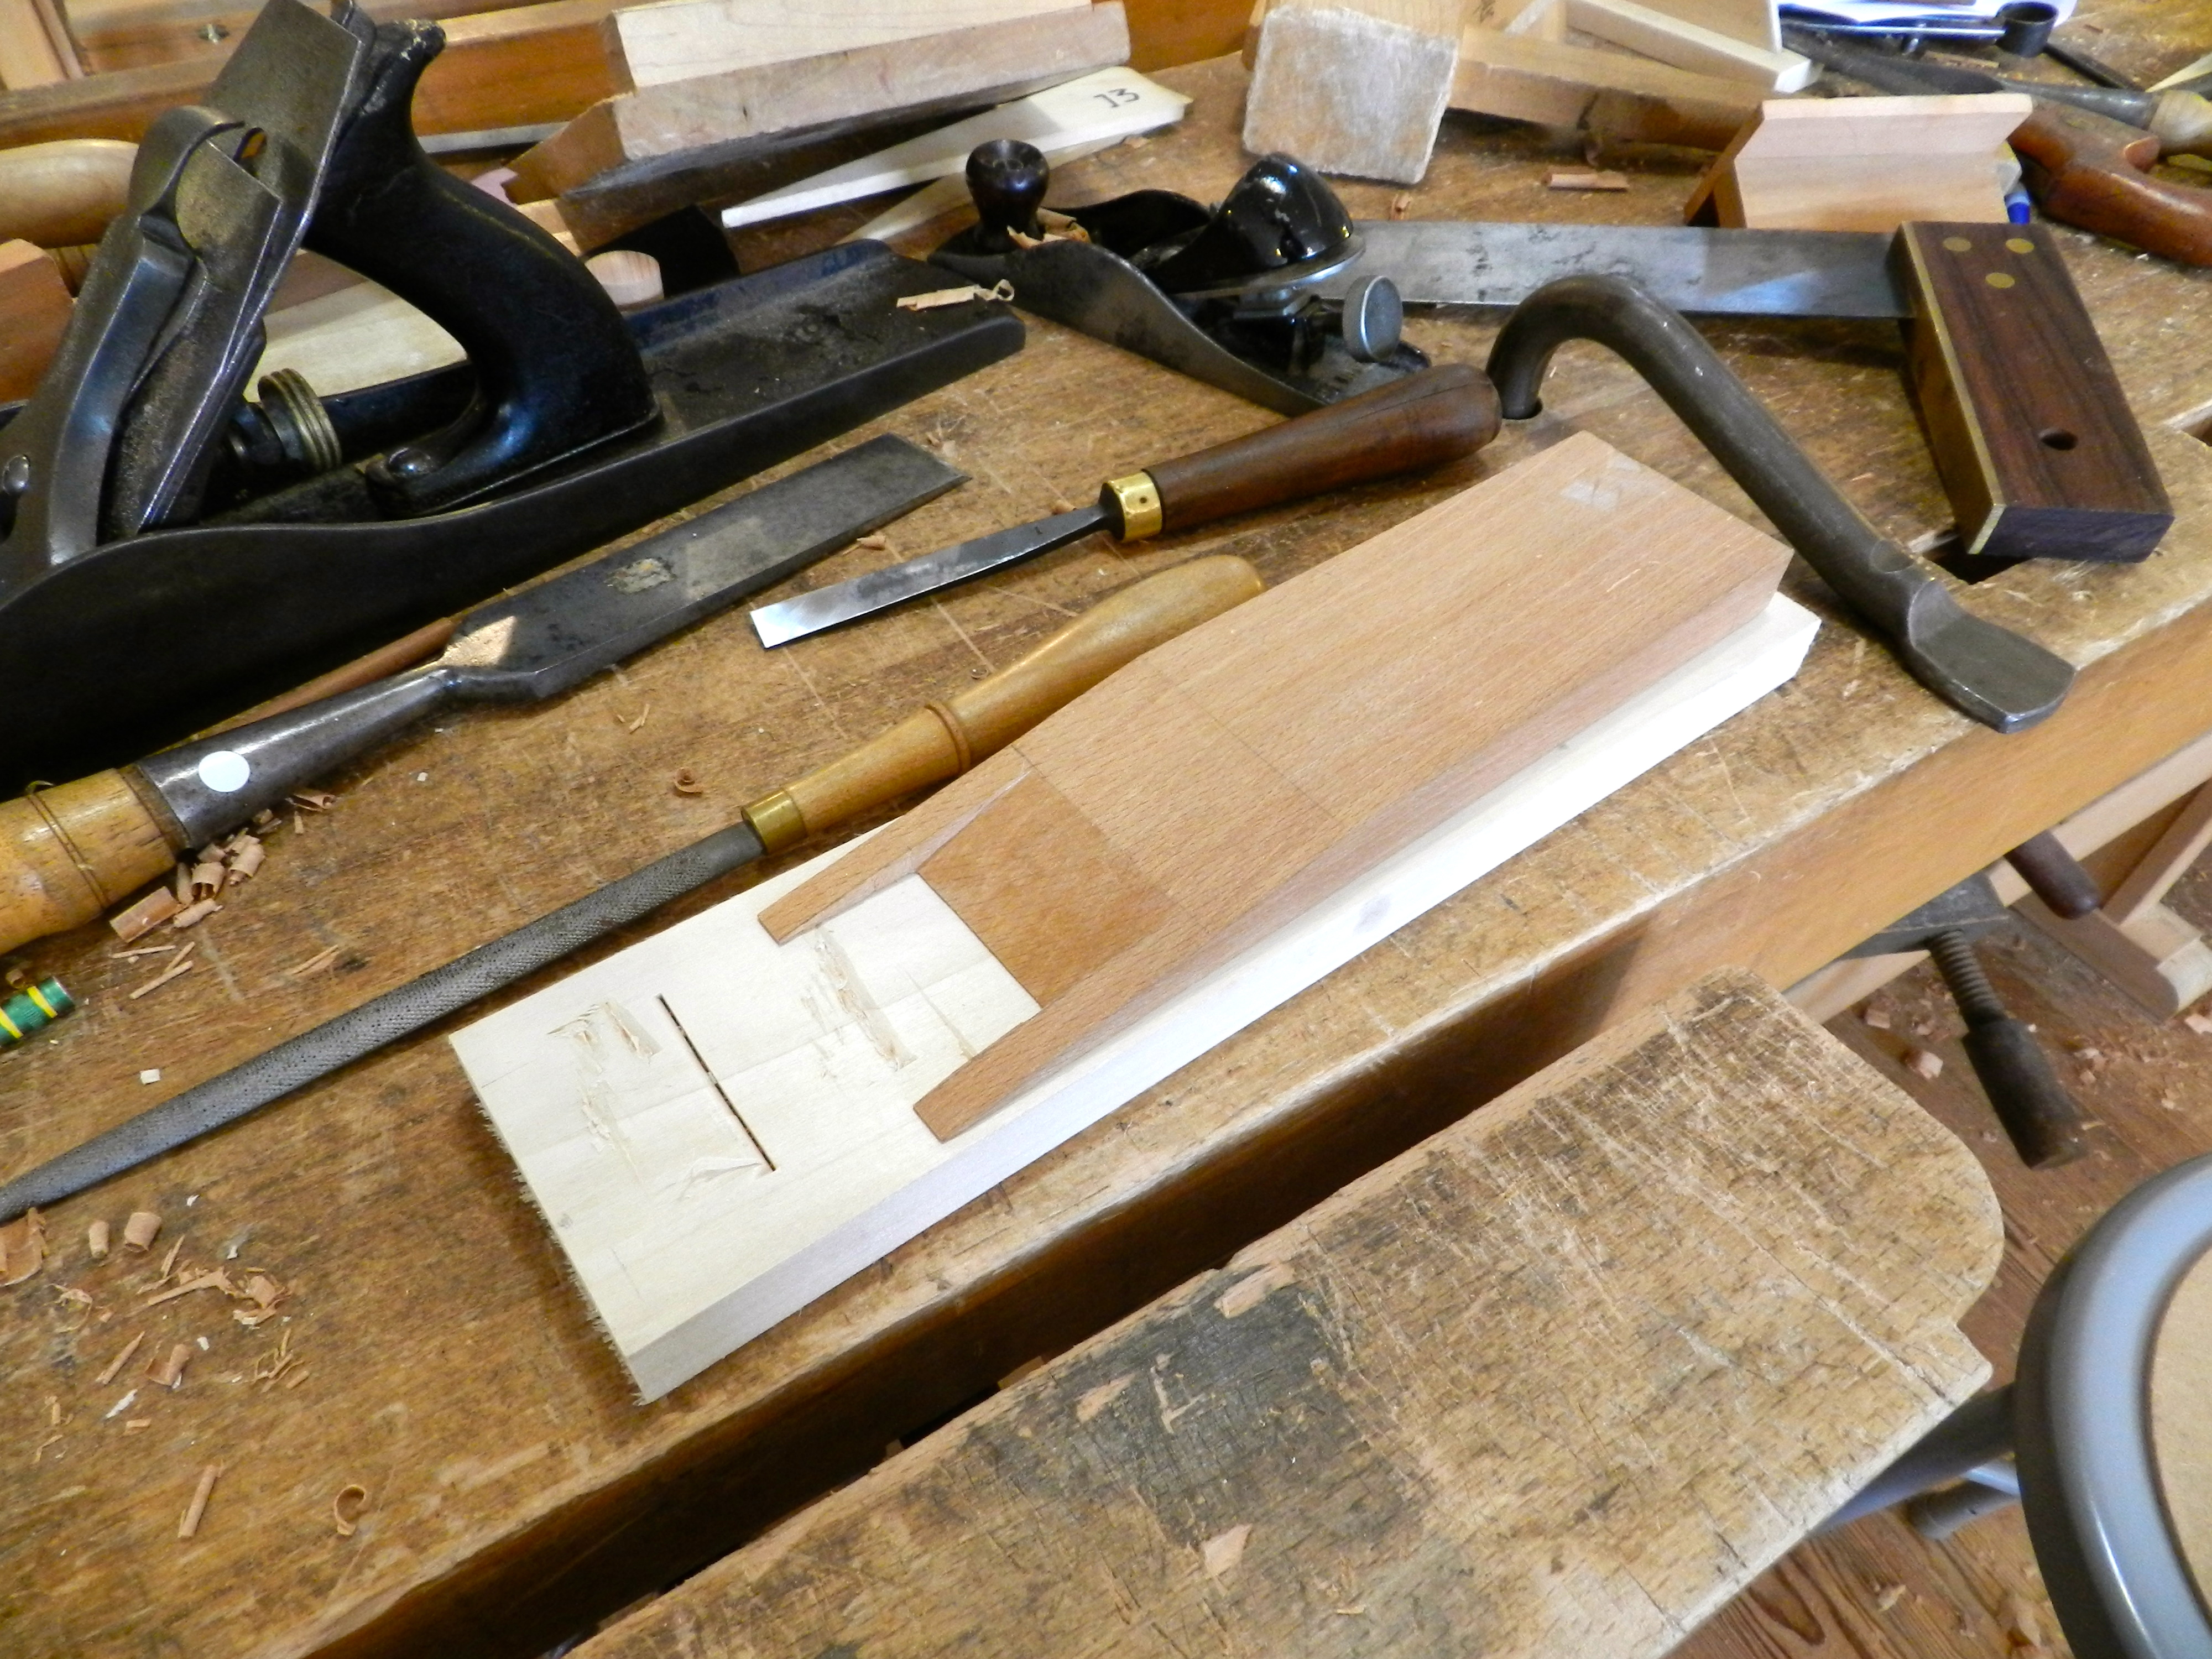
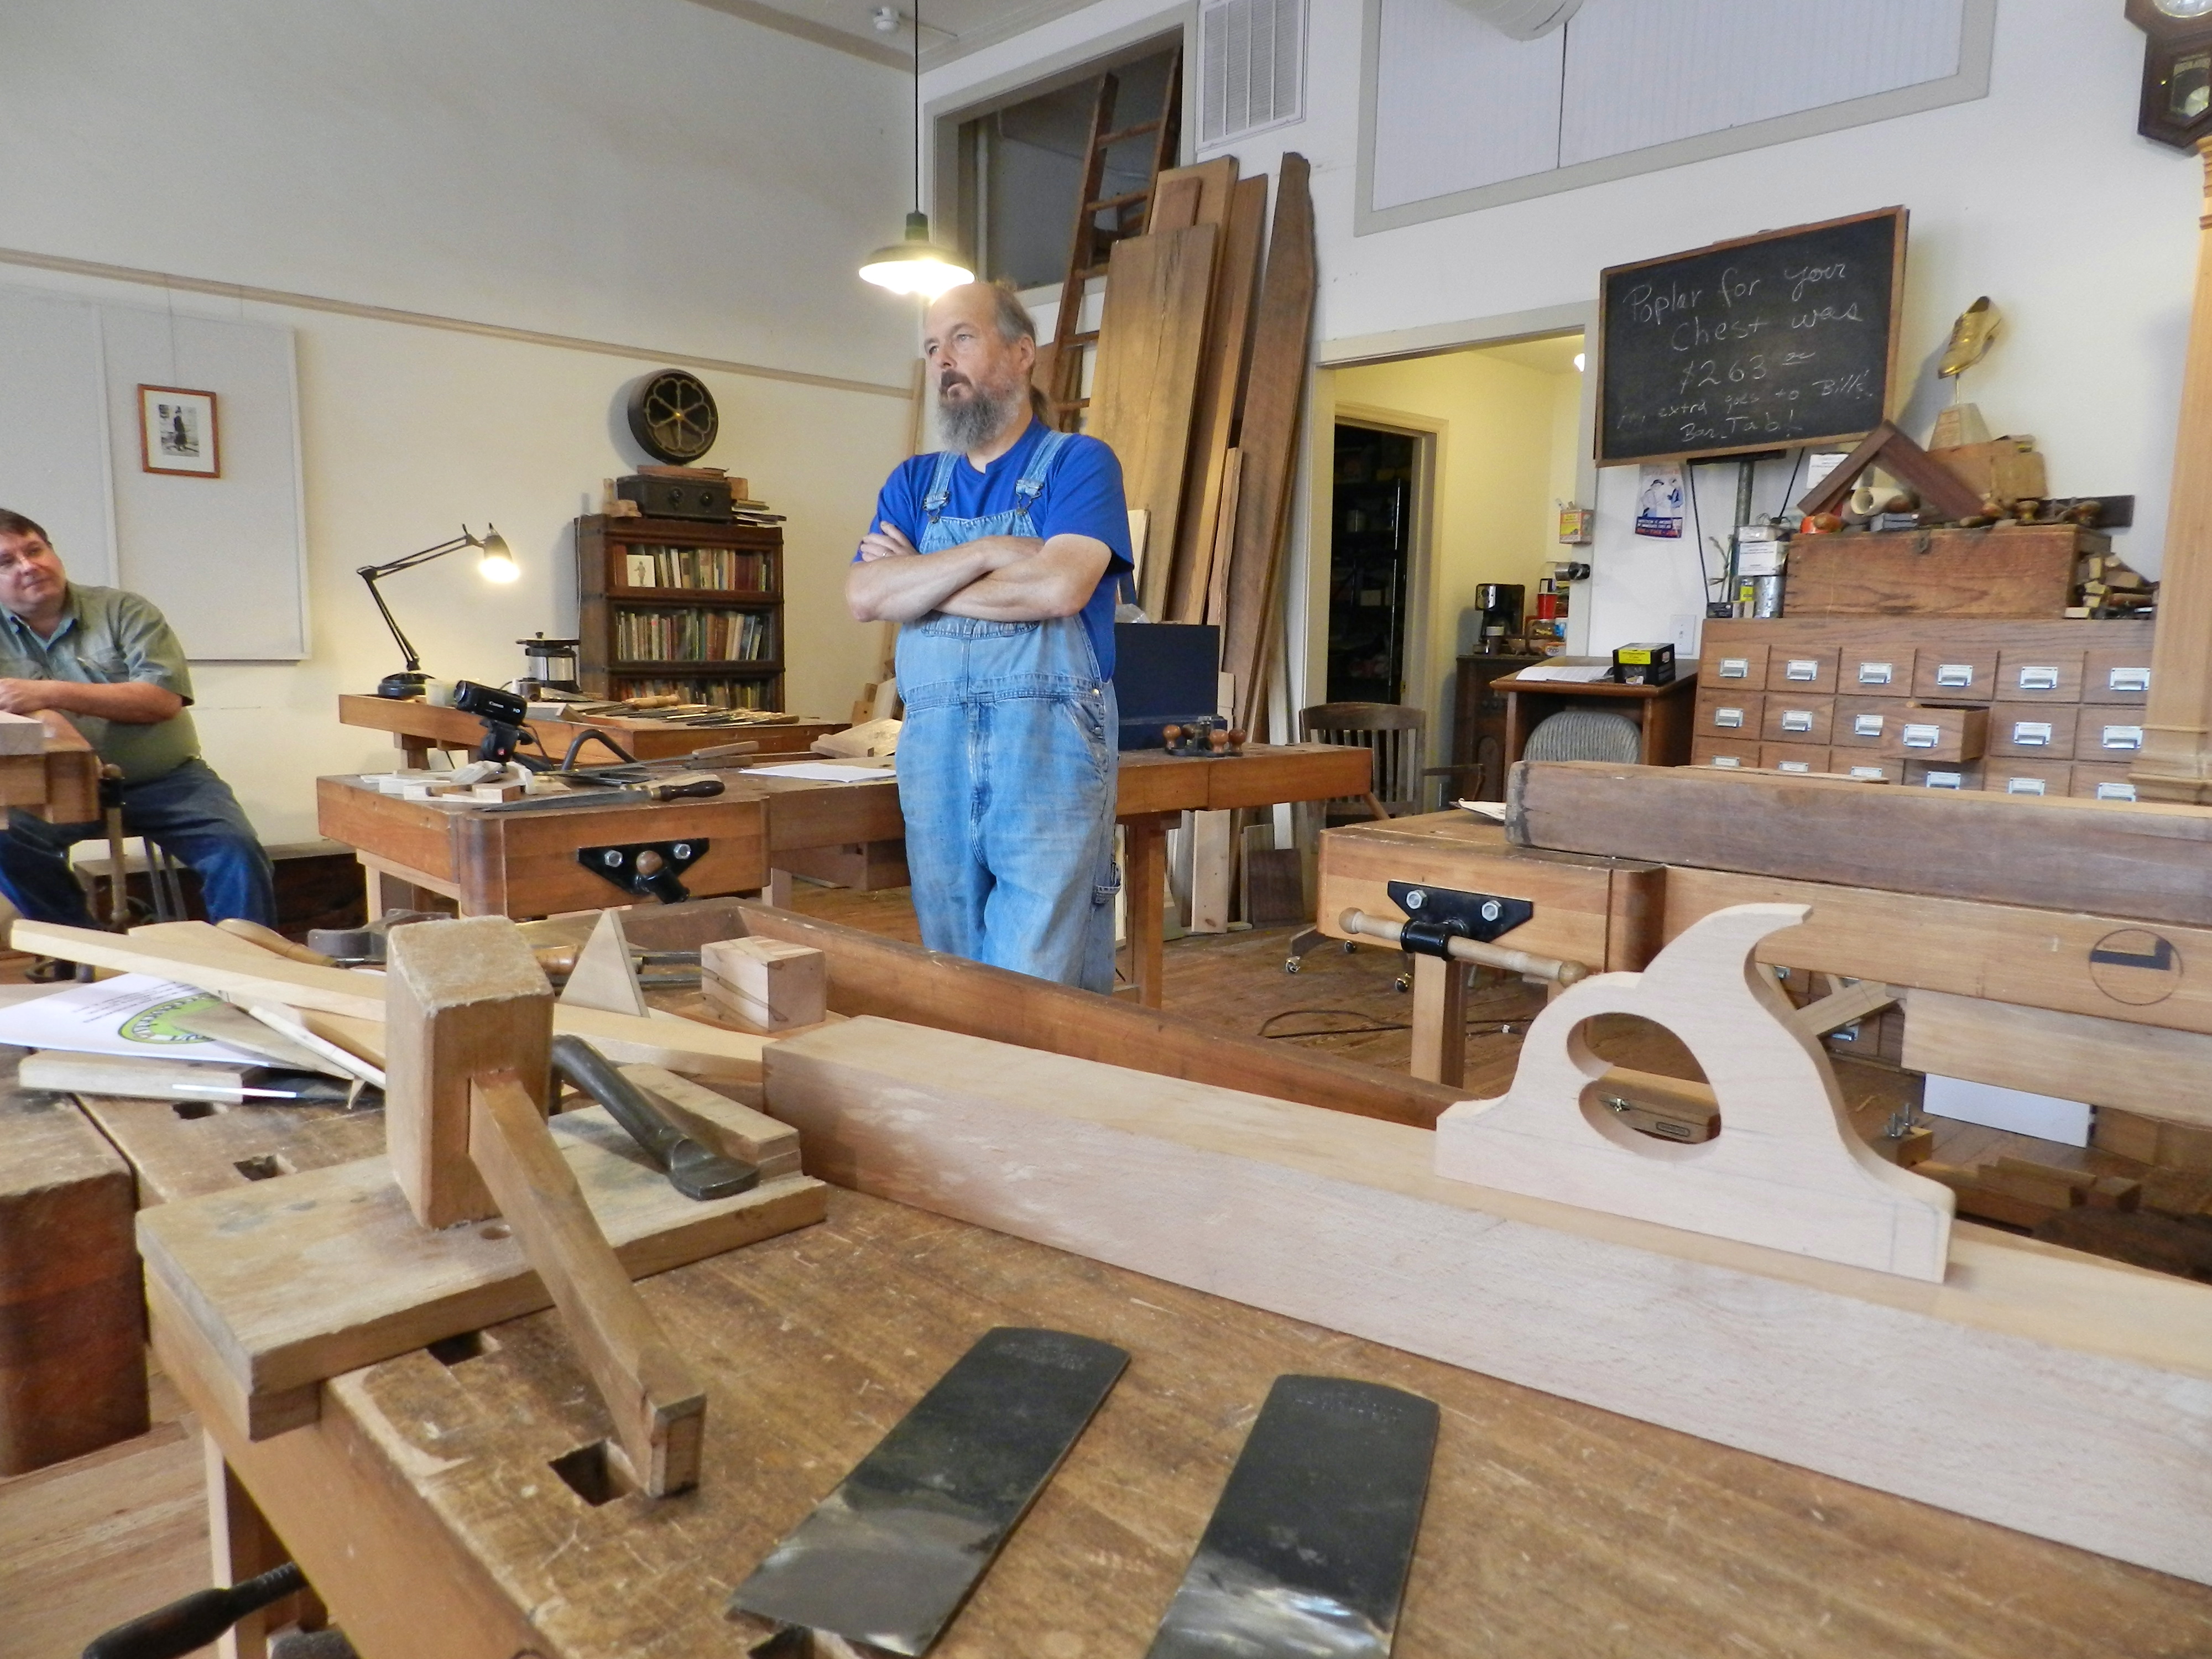
When last we left our plane-making heroes they were in the process of making a traditional single iron jointer plane with my friend Bill Anderson at the Woodwright’s School.
Bill demonstrating with a great bench plane cross section model
Bill had a great cross section model of how this sort of bench plane works — made by one of his students. With the body of the plane taking shape, next up was tuning the mouth opening and the abutments. If the mouth is too wide or too large the plane may not cut cleanly so you need to carefully fit the iron to the opening. If the abutment is not carefully placed when you re-flatten the sole of the plane you’d also be opening the mouth more. You also need to take care flatten the face of the bed that supports the iron — if there are high points the iron can pivot on those and make it tough to use the plane. One of the many testing/fitting gauges Bill had was a ‘bed testing gauge’ which looks and works much like a pair of ‘pants’ we use in timber framing to test out the thickness of a tenon, except in this case you are using it to check the thickness of the cheeks and how close your bedline is getting to the line scribed on the side the plane body.
Planing the wedge
With the mouth and throat all set, next up was making the wedge to hold the iron in place. The wedge needs to be carefully planed to fit the abutments inside of your plane and tightly hold the iron in place. Again here you are using an abutment gauge (wooden wedge of a known profile in degrees) to test your work as you go. With all the gauges and specialized tools you can quickly see why plane-making was its own dedicated craft specialty.
Shaped and fitted wedge
The wedge is further relieved so that the shavings can clearly escape the plane body.
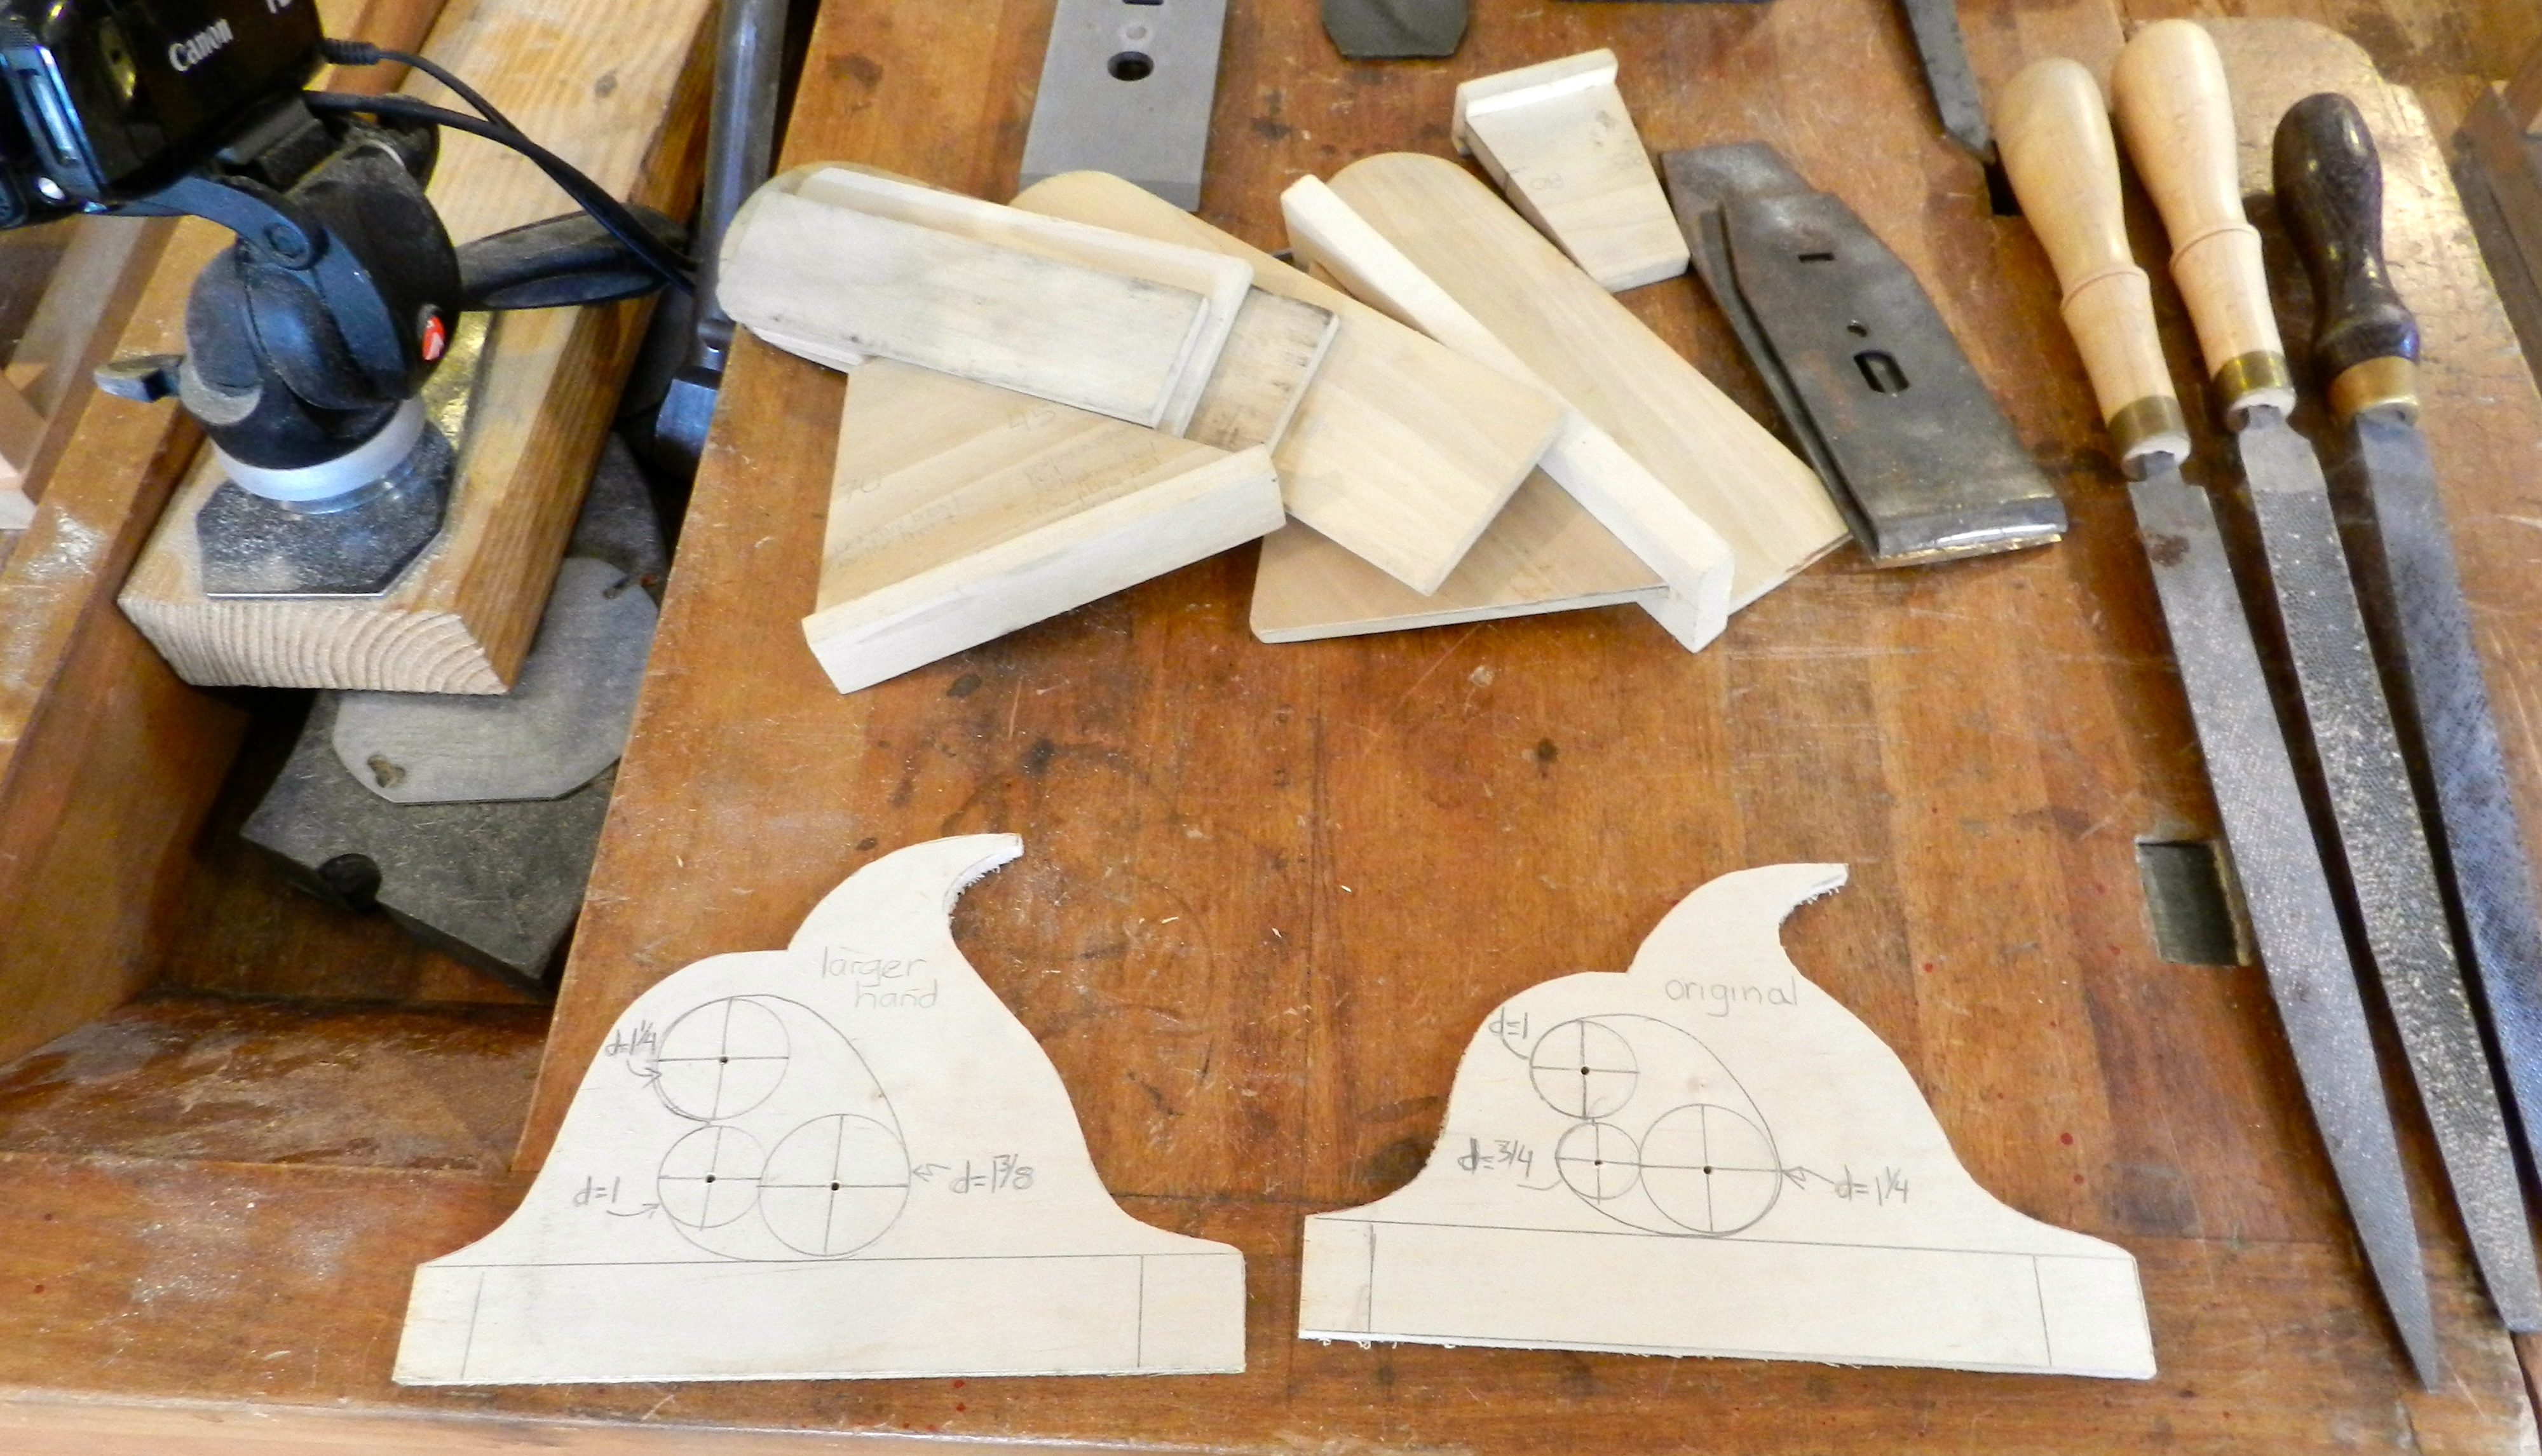
Templates, bed gauges blocks and pants
Above you can see some of the many gauges used in laying out and testing parts of your plane, along with templates for the handles.
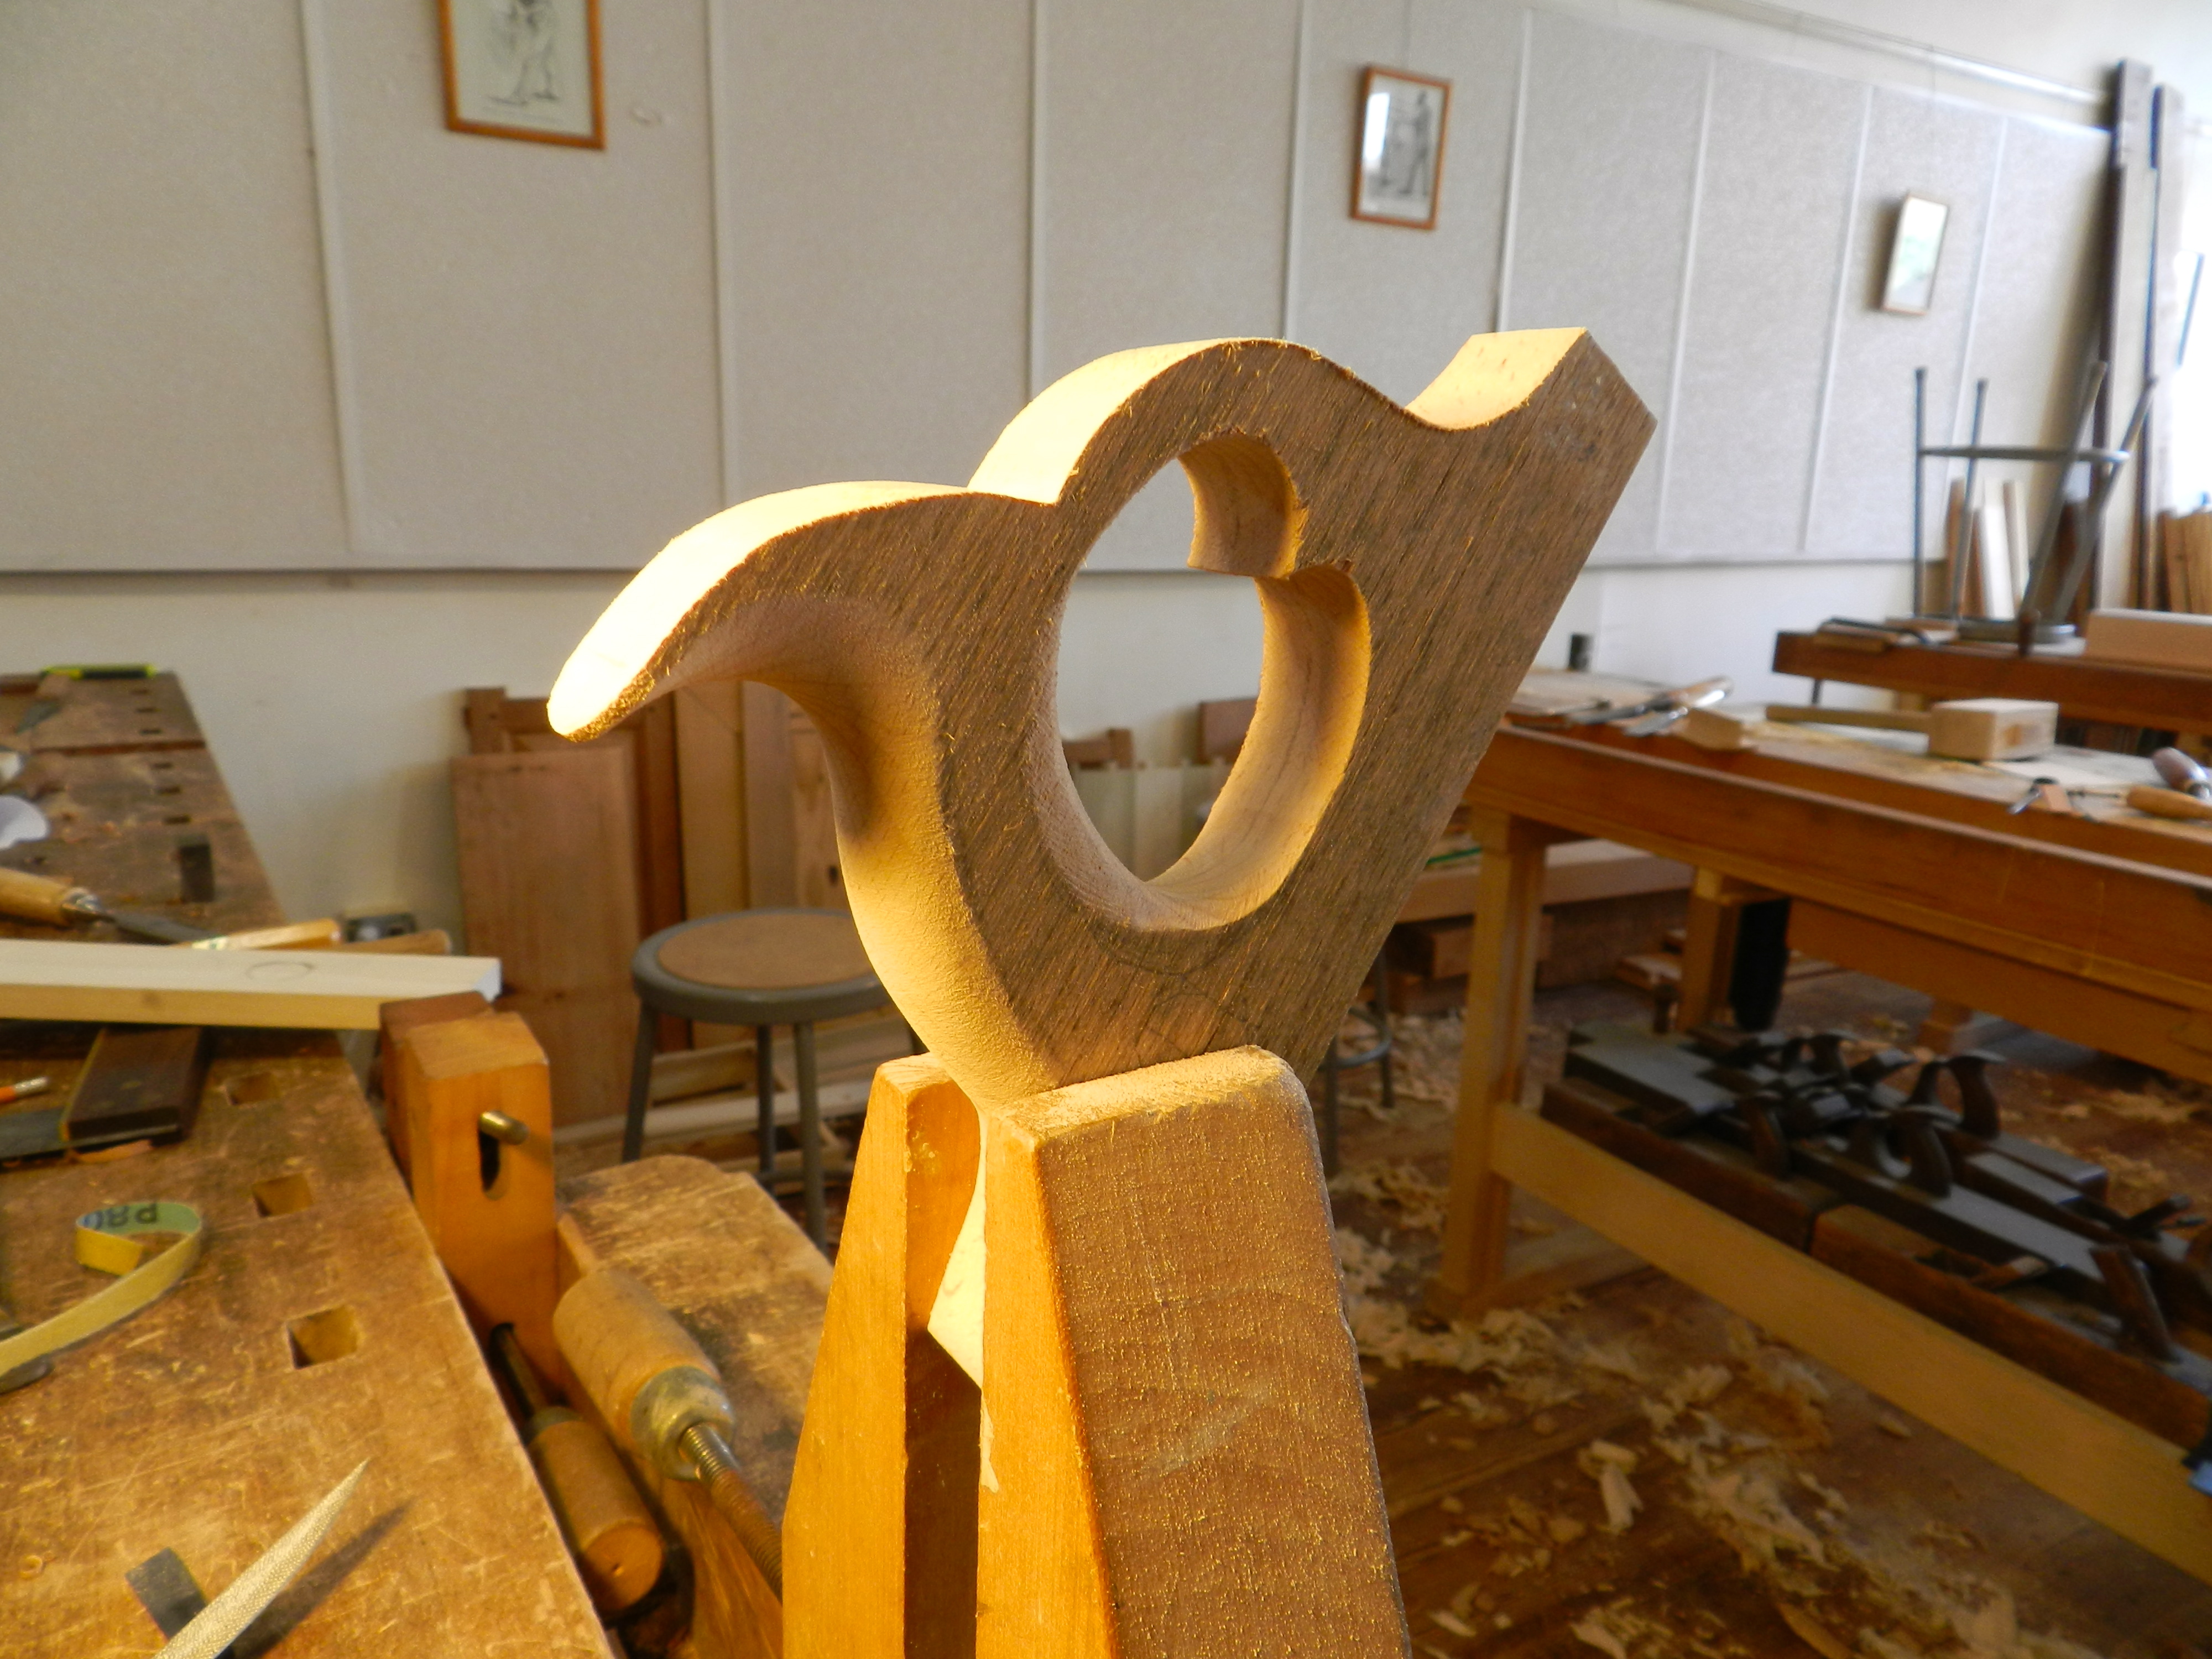
Starting to shape the handle
The handle is first cut out from a rough blank and then carefully shaped by hand to have flowing, graceful lines similar to that of a quality hand saw. The result is a handle that fits the hand so well it, the whole plane feels like an extension of your body.
Auriou rasps used to shape the handle — they were a pleasure to use
Various rasps, files and sandpaper are used to shape the handle. Using crisp hand stitched Auriou rasps made quick work of shaping the handles.
Finished handle
Above is the handle after a bit of light sanding.
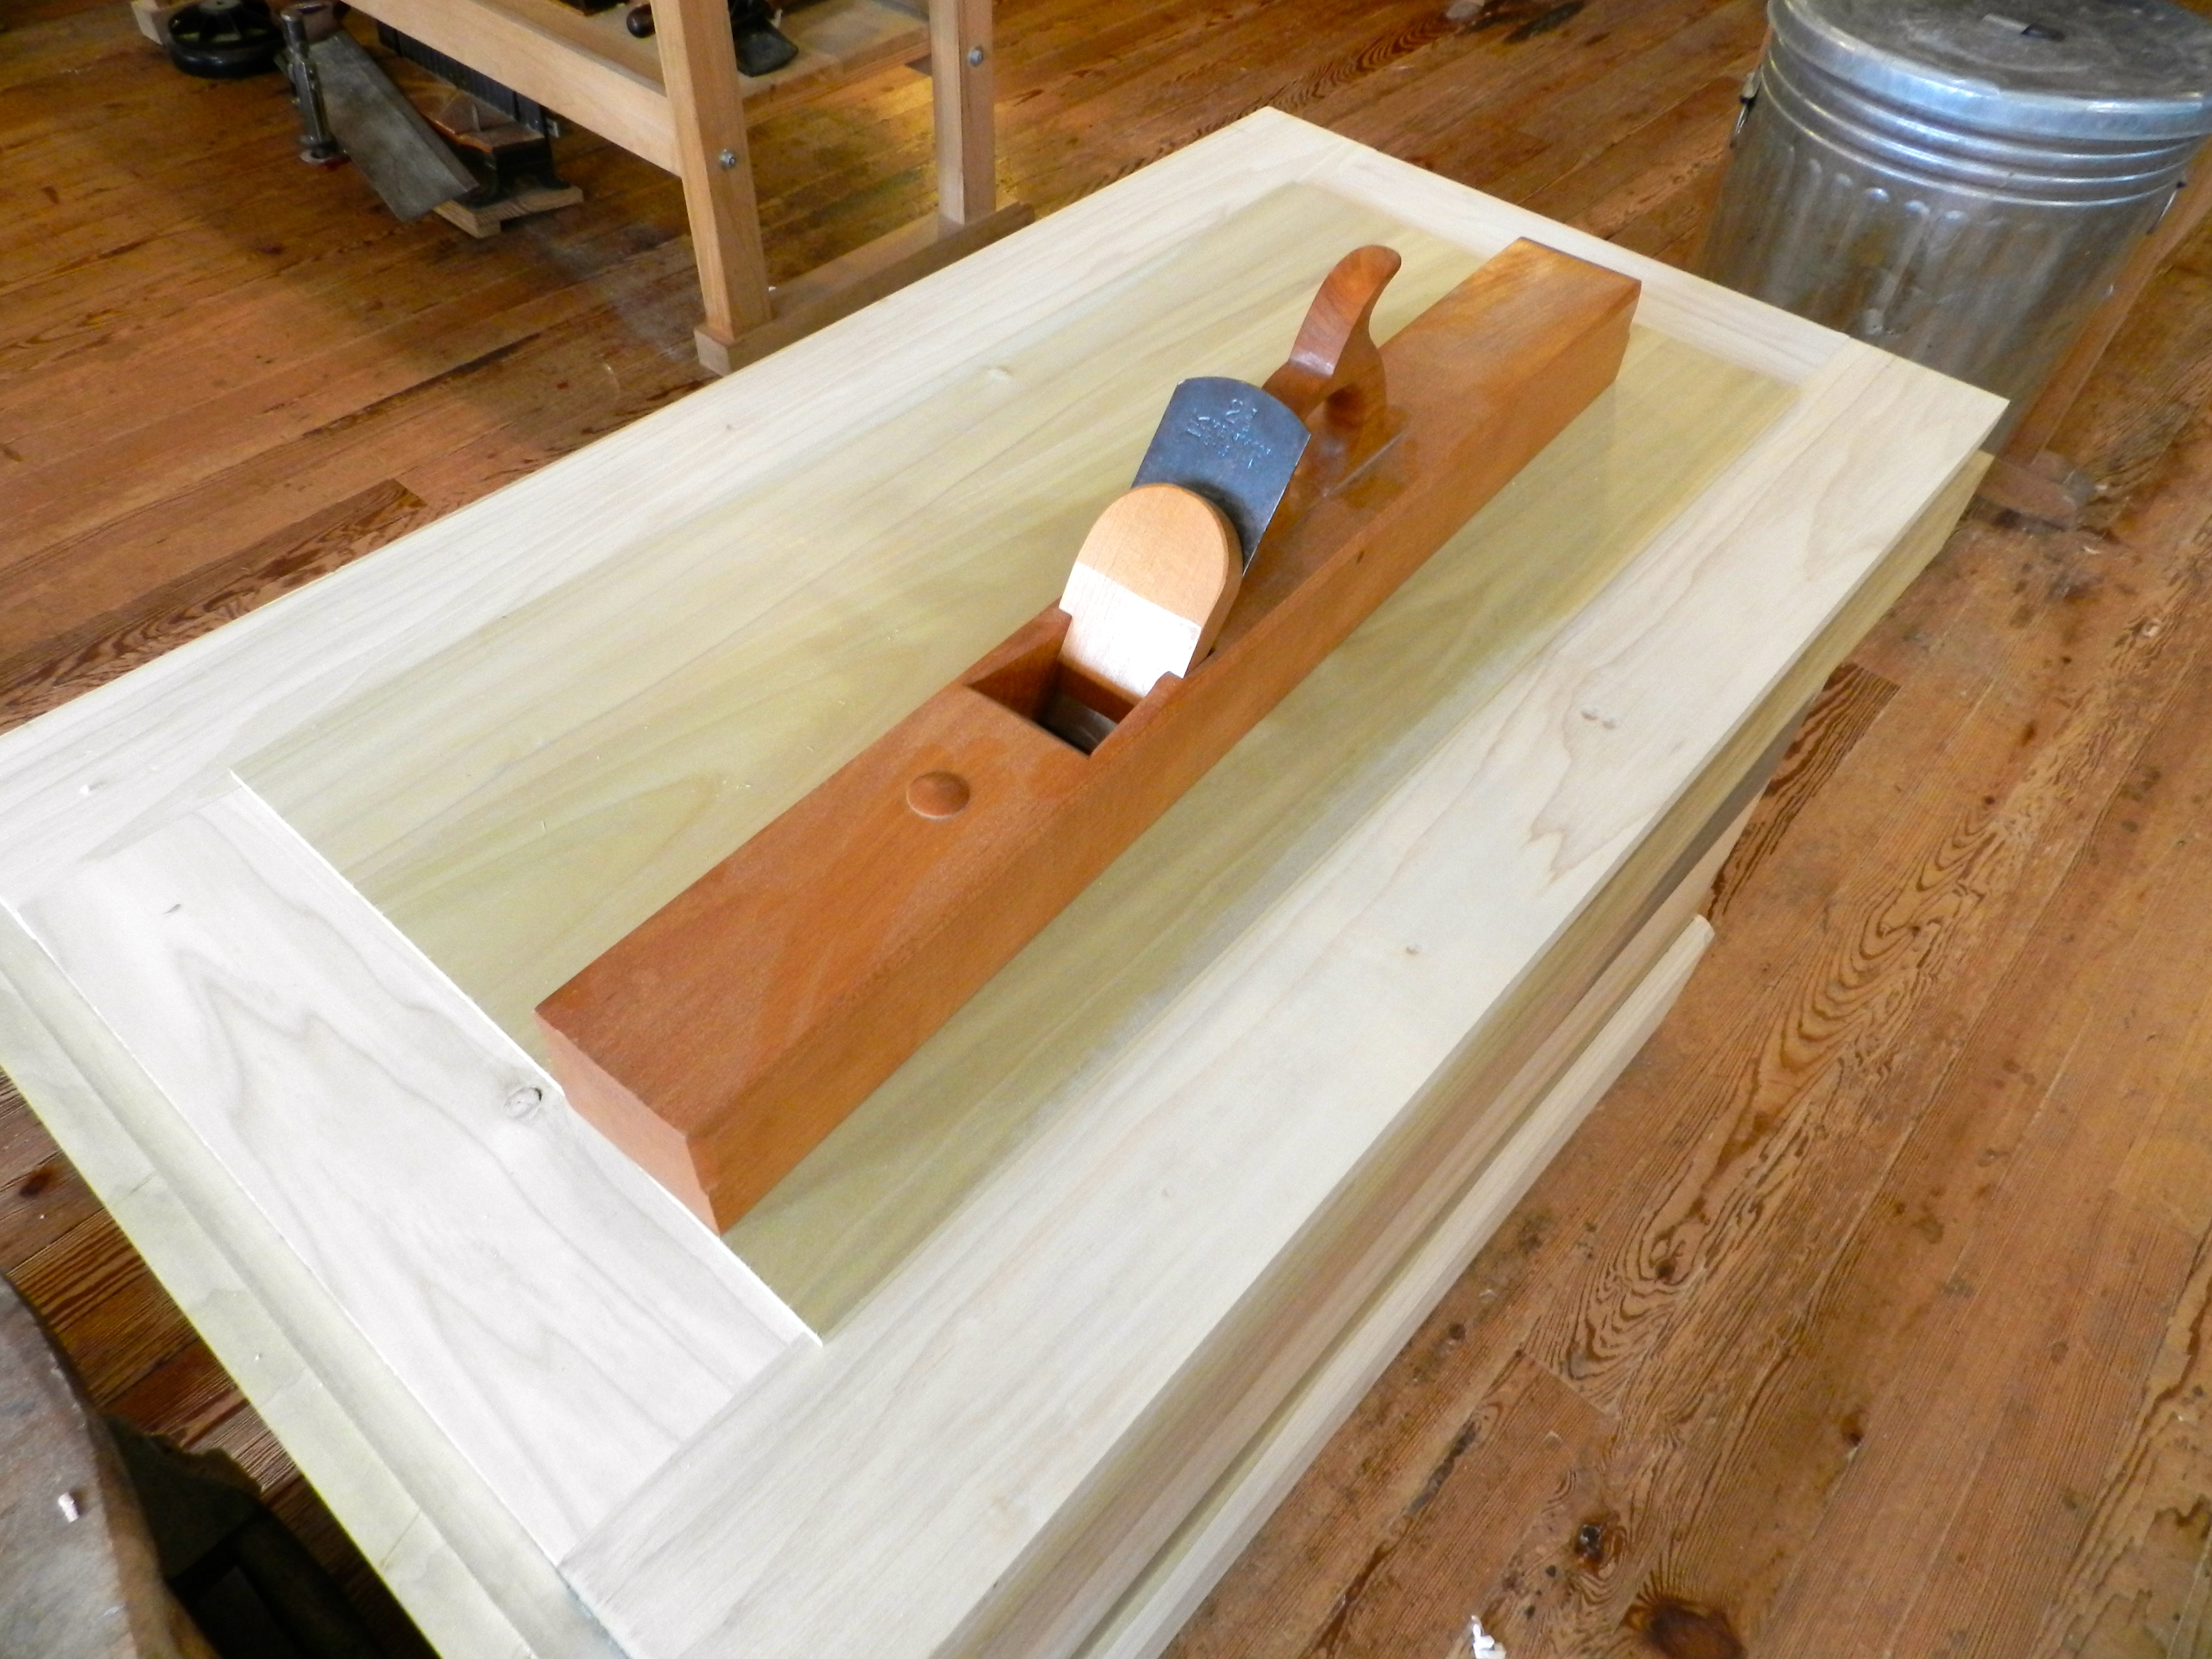
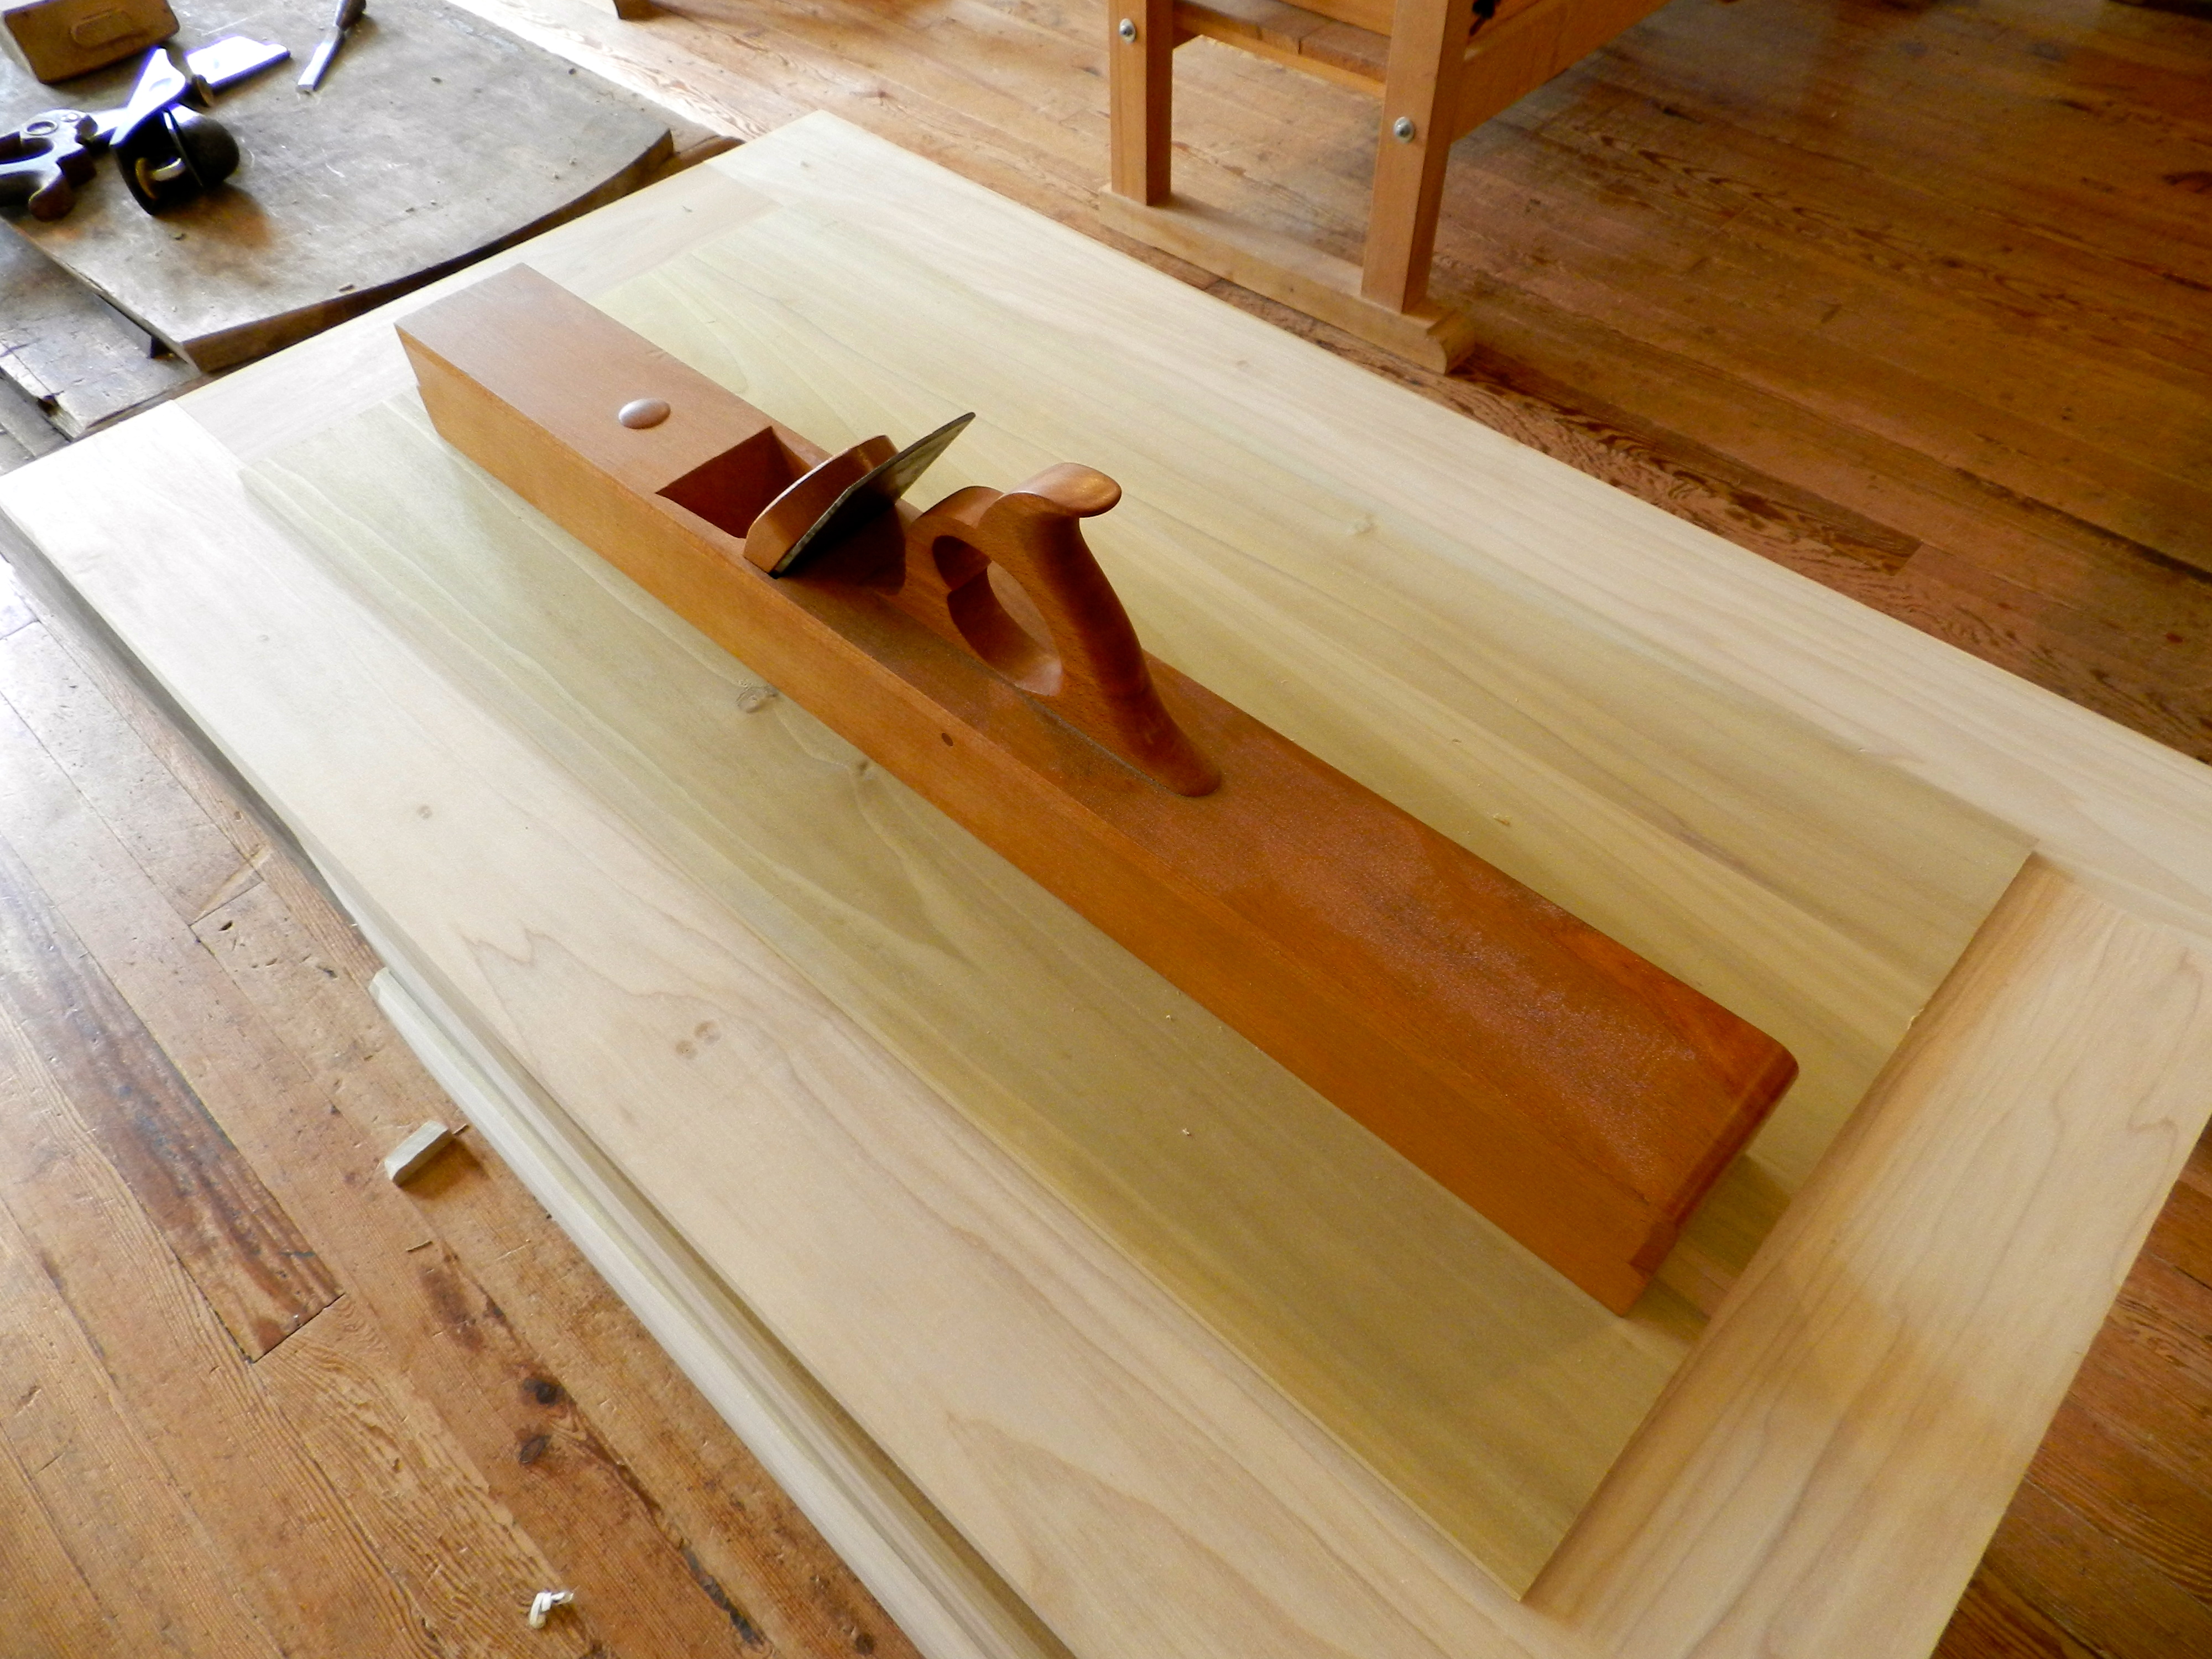
A finished Jointer Plane
Shown here you can see Bill’s finished/sample plane which is based on an historical example. I’ll post the final shots of my own plane when I finish it soon in my shop.
Rear 3/4 view of the completed sample plane
At the end of the workshop one of the most important tasks was to make sure you plane can take a nice shaving. I’m happy to report that I was able to get a nice full width shaving with my mostly completed plane. (I need to finish setting the handle, trim the edges, apply some finish and use my maker’s name stamp and it will be ready for regular use in the shop).
Making the first shaving with a new plane…
In an upcoming post I will complete this series with how I finished off the plane. Stay tuned…
In the meantime, if you’d like to learn more about Bill Anderson or take a class with him, and I highly encourage you to do so, please check out his website here.
-Bill
P.S. You can see the first post on making this jointer plane here.
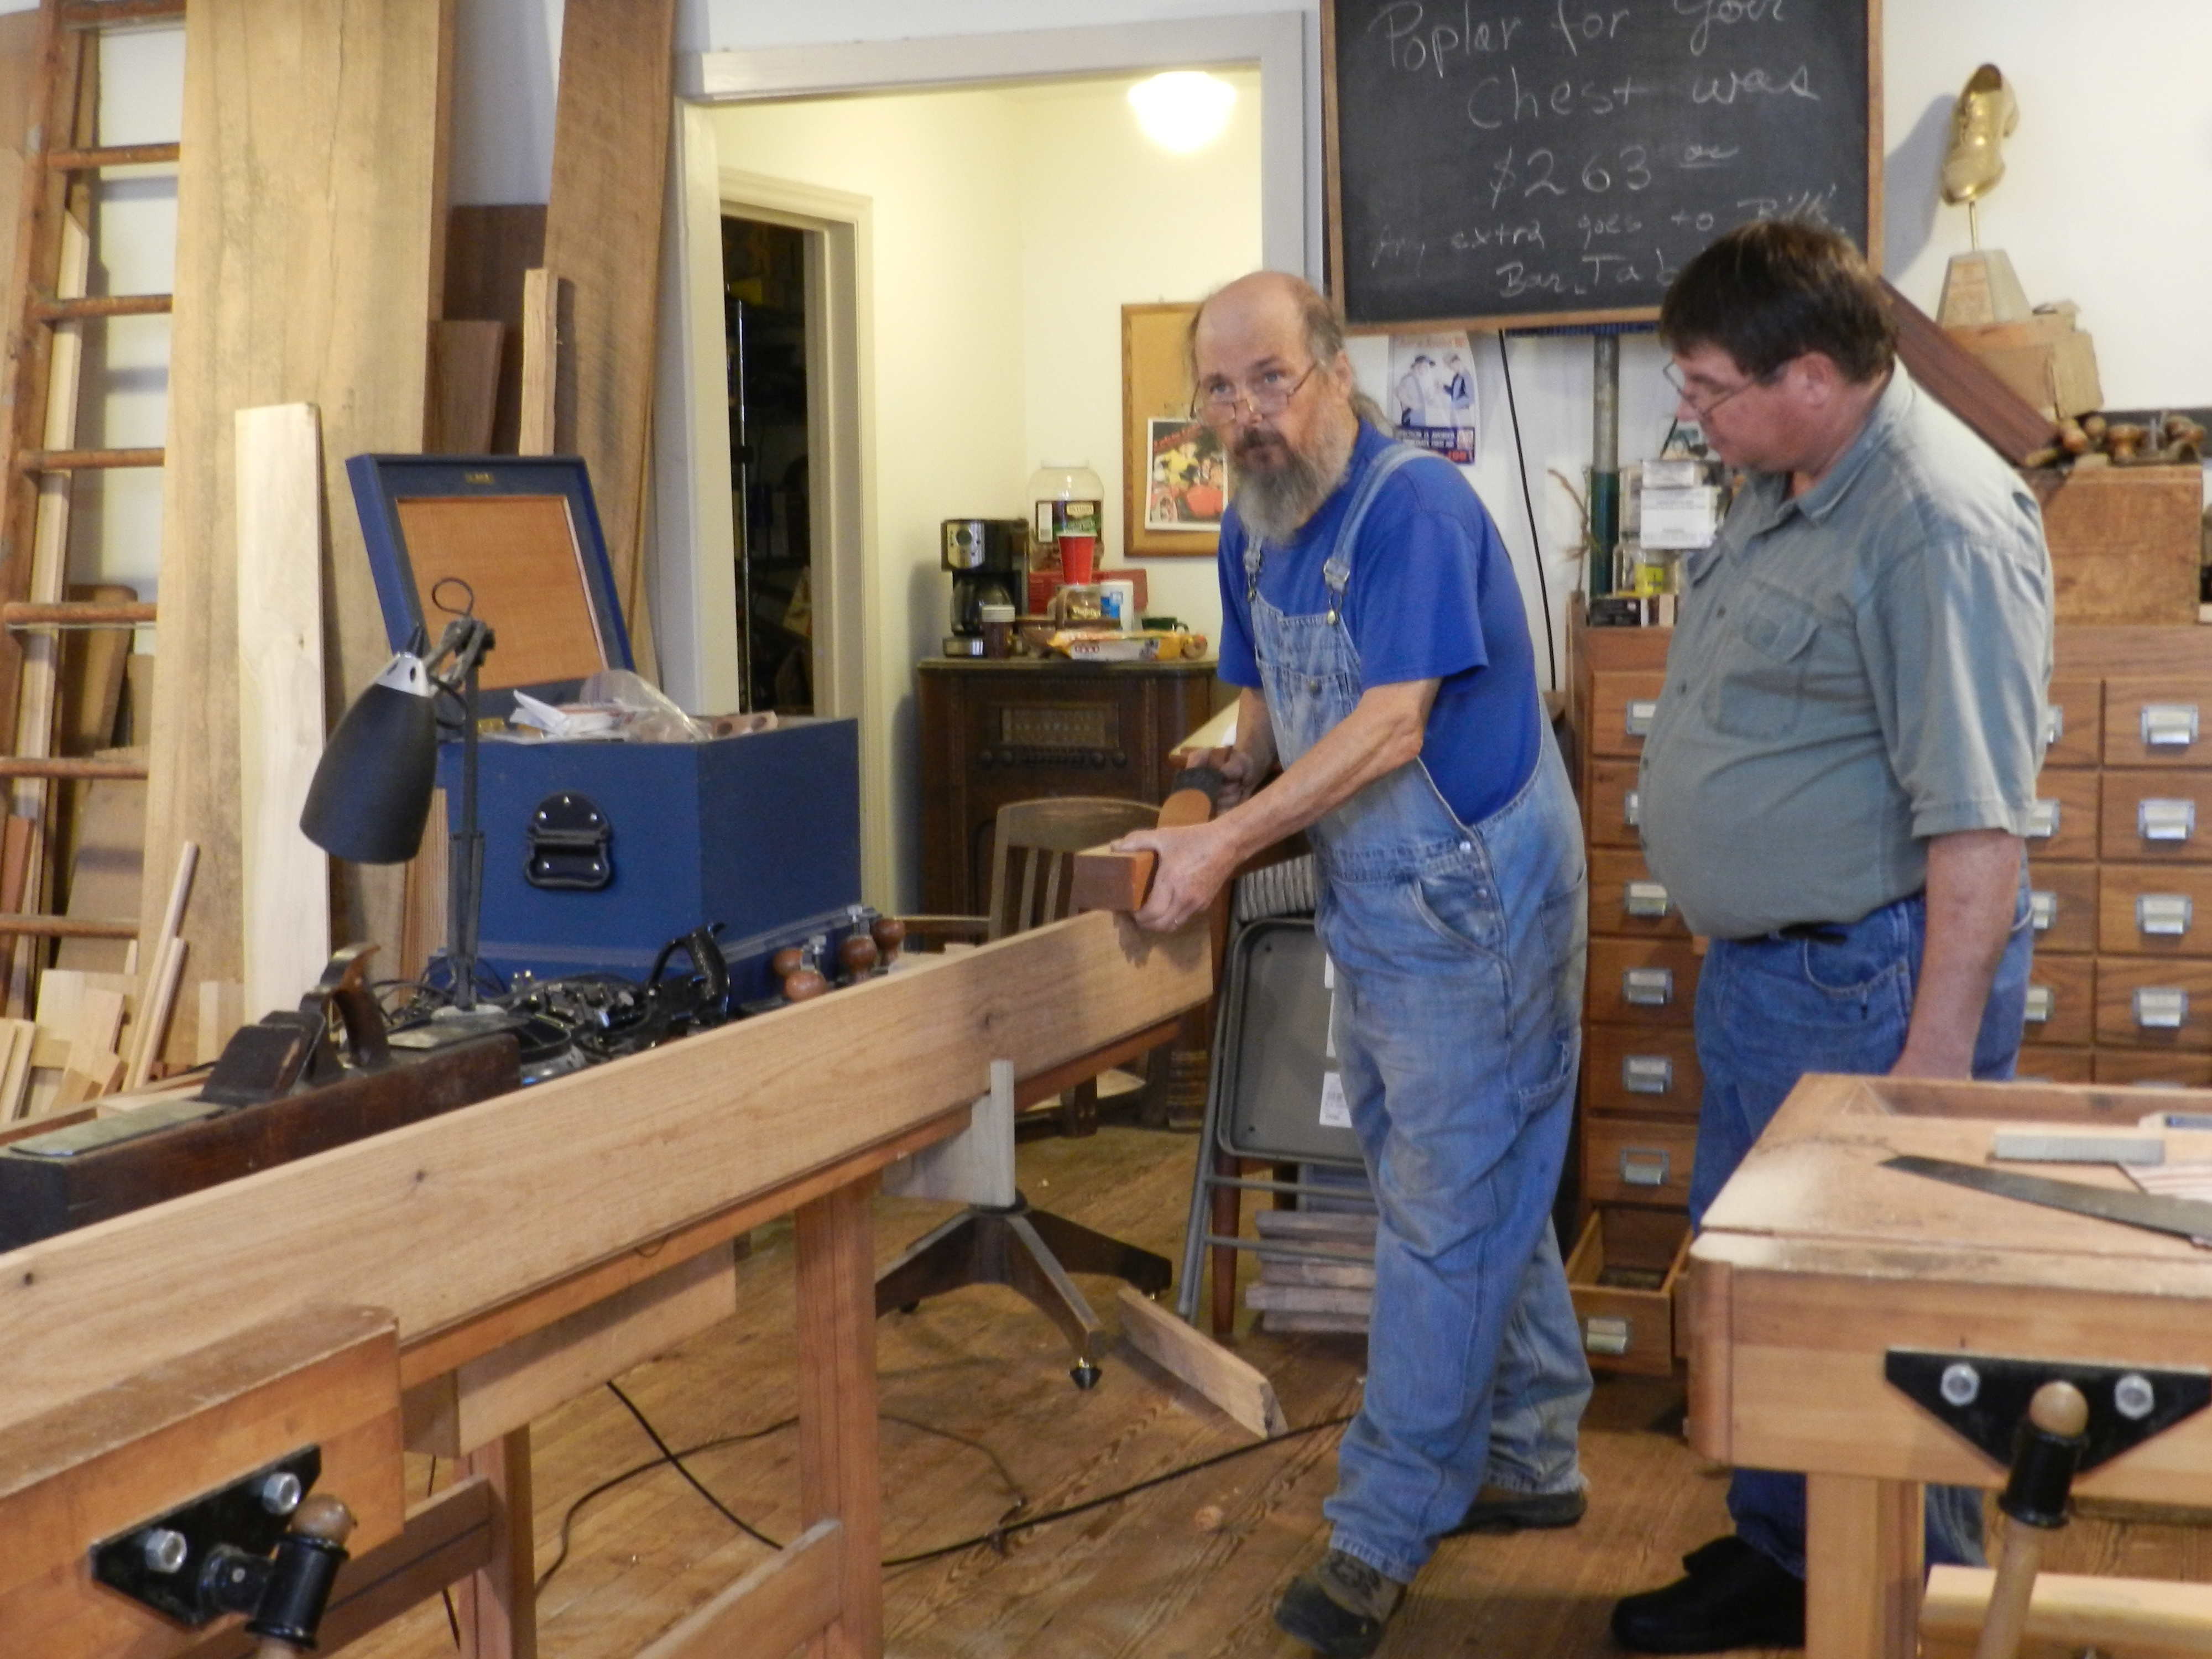
A single iron jointer plane is one of those tools you have use yourself to truly appreciate. Over Labor Day weekend I was fortunate enough to have the opportunity to make one of these planes with Willard ‘Bill’ Anderson at the Woodwright’s School in Pittsboro, NC.
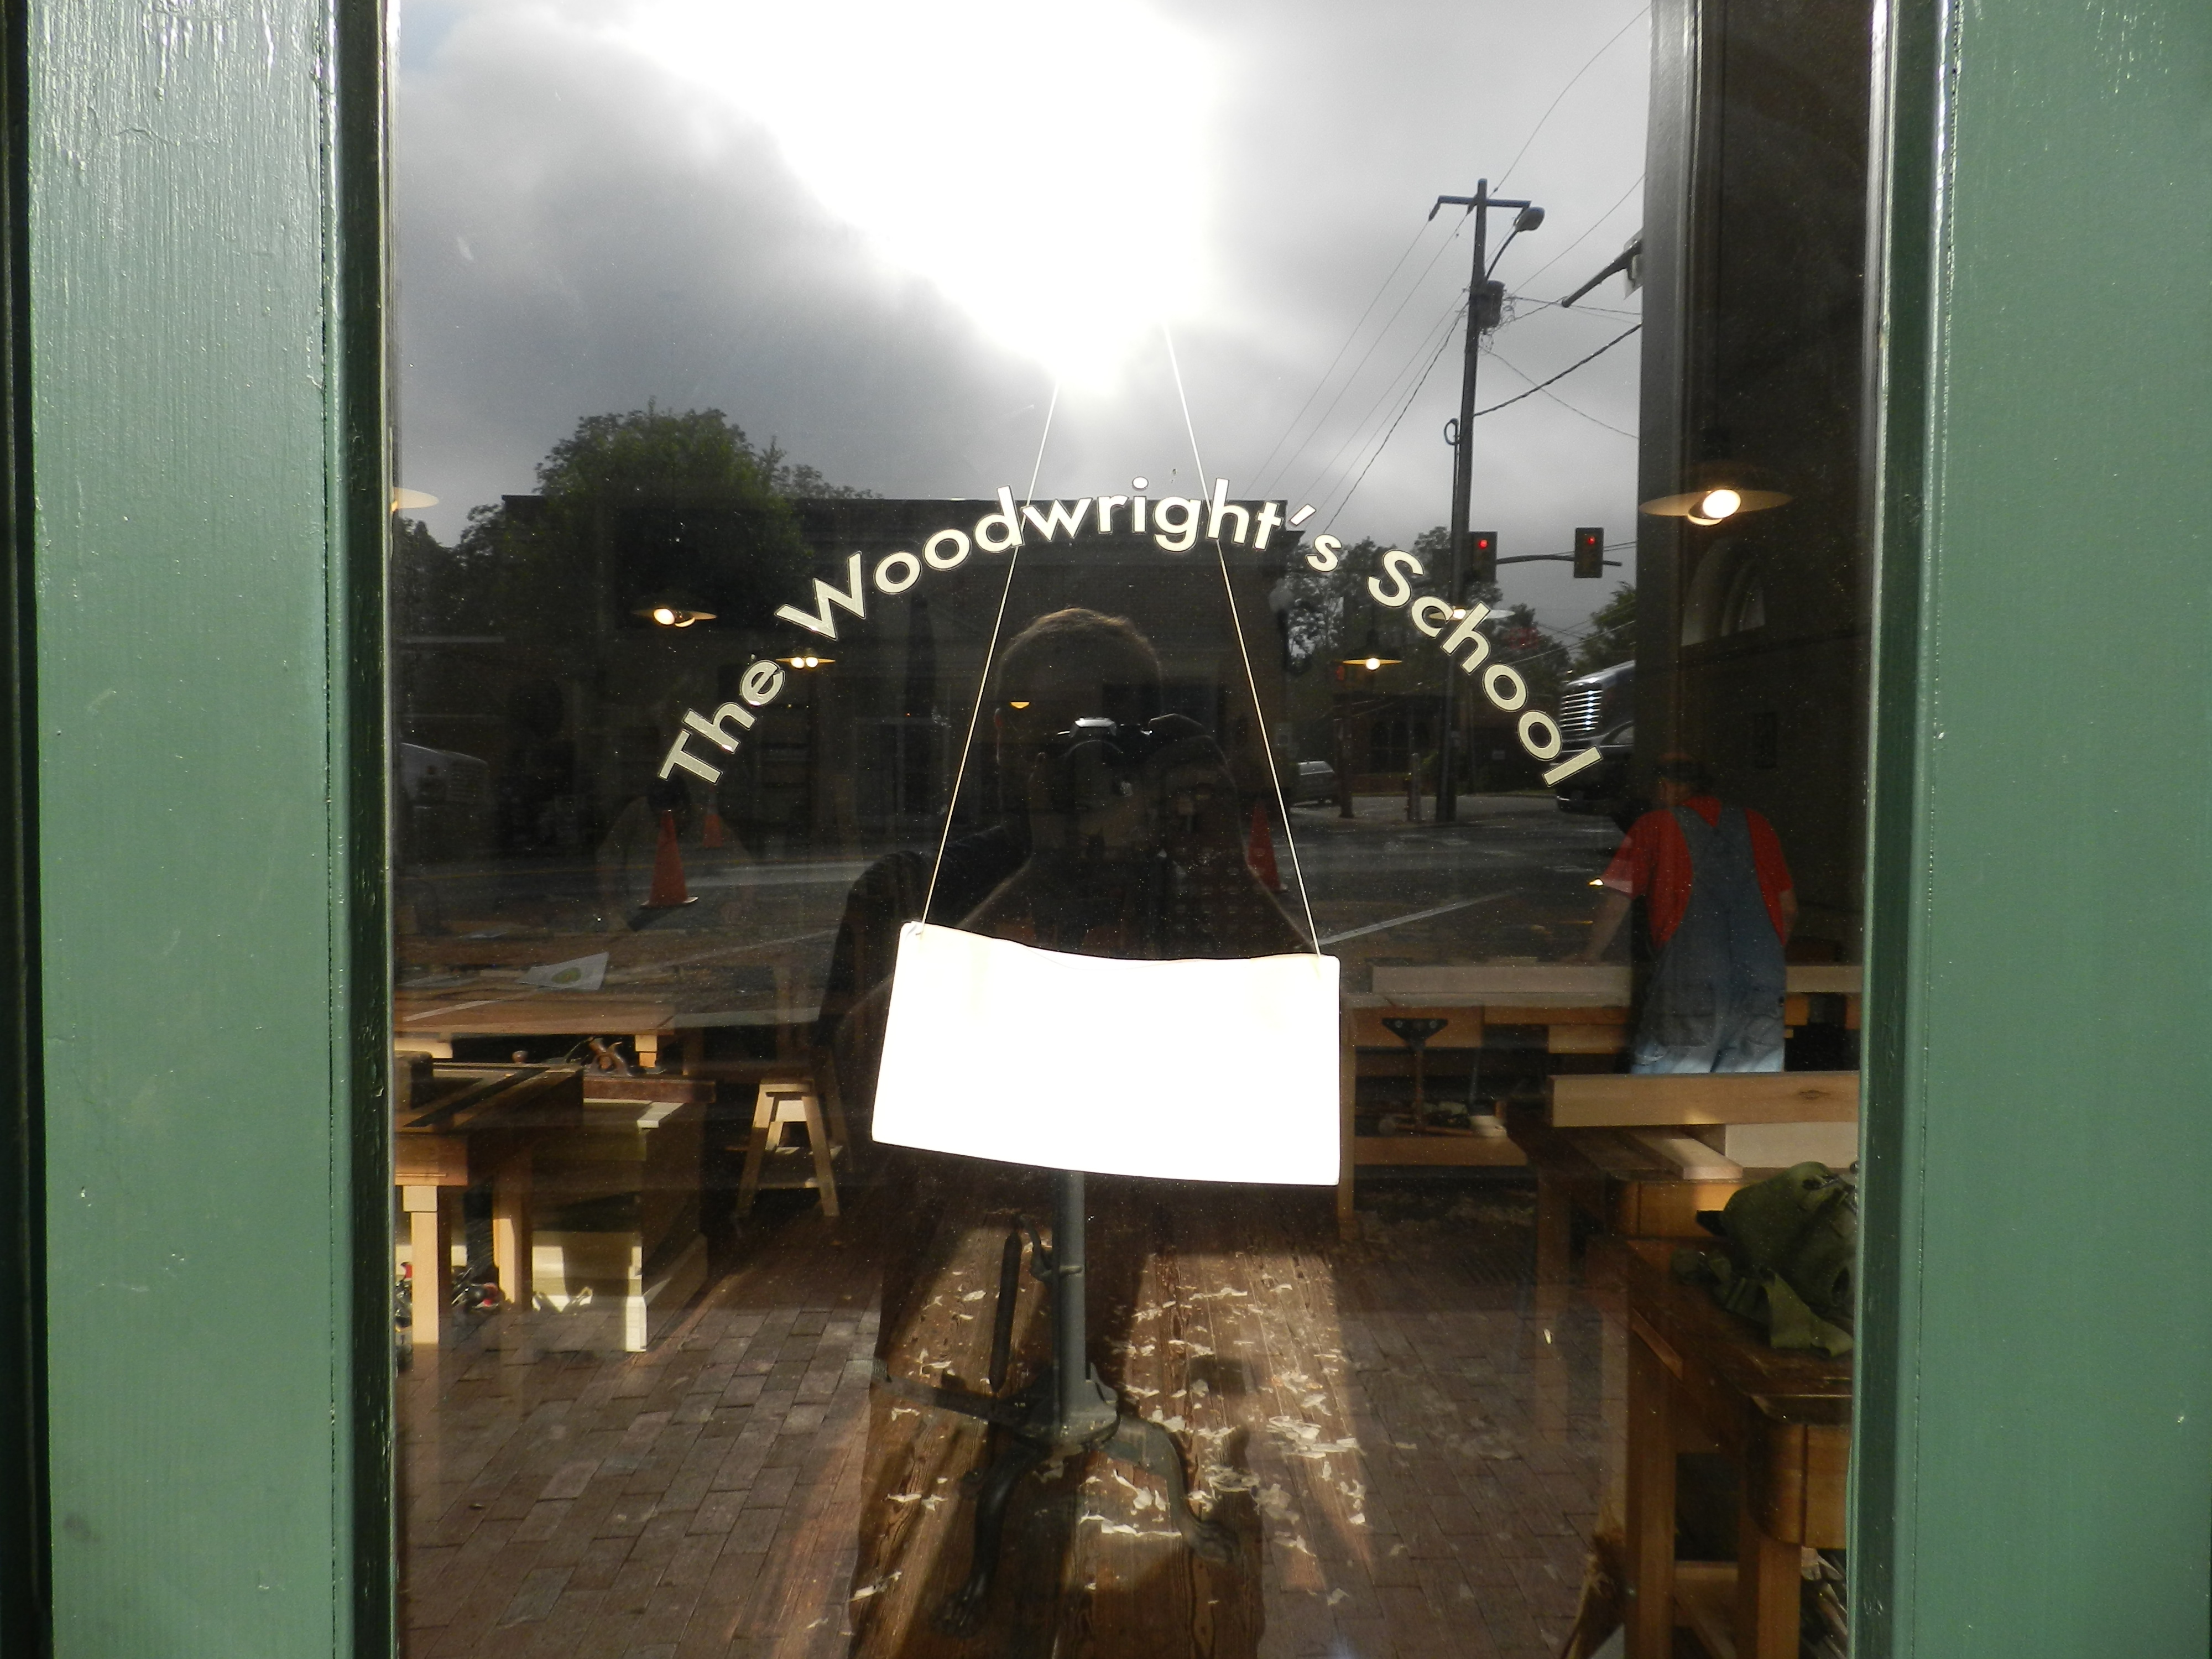
Entrance to the Woodwright’s School
Bill is a passionate woodworker and skilled teacher. You may recognize him from his appearances on Roy’s television show or the articles that he’s written. He’s a molding plane aficionado and has studied plane-making and general furniture-making with many masters in the field. He recently retired from being a Scientist for the EPA so I see a lot of parallels to my own life working in software.
Getting started, with Bill Anderson
The plane is made of air dried American Beech and a new old stock English iron.
Squaring up the air dried beech blank
We started out by squaring up the stock using a wooden straightedge and winding sticks.
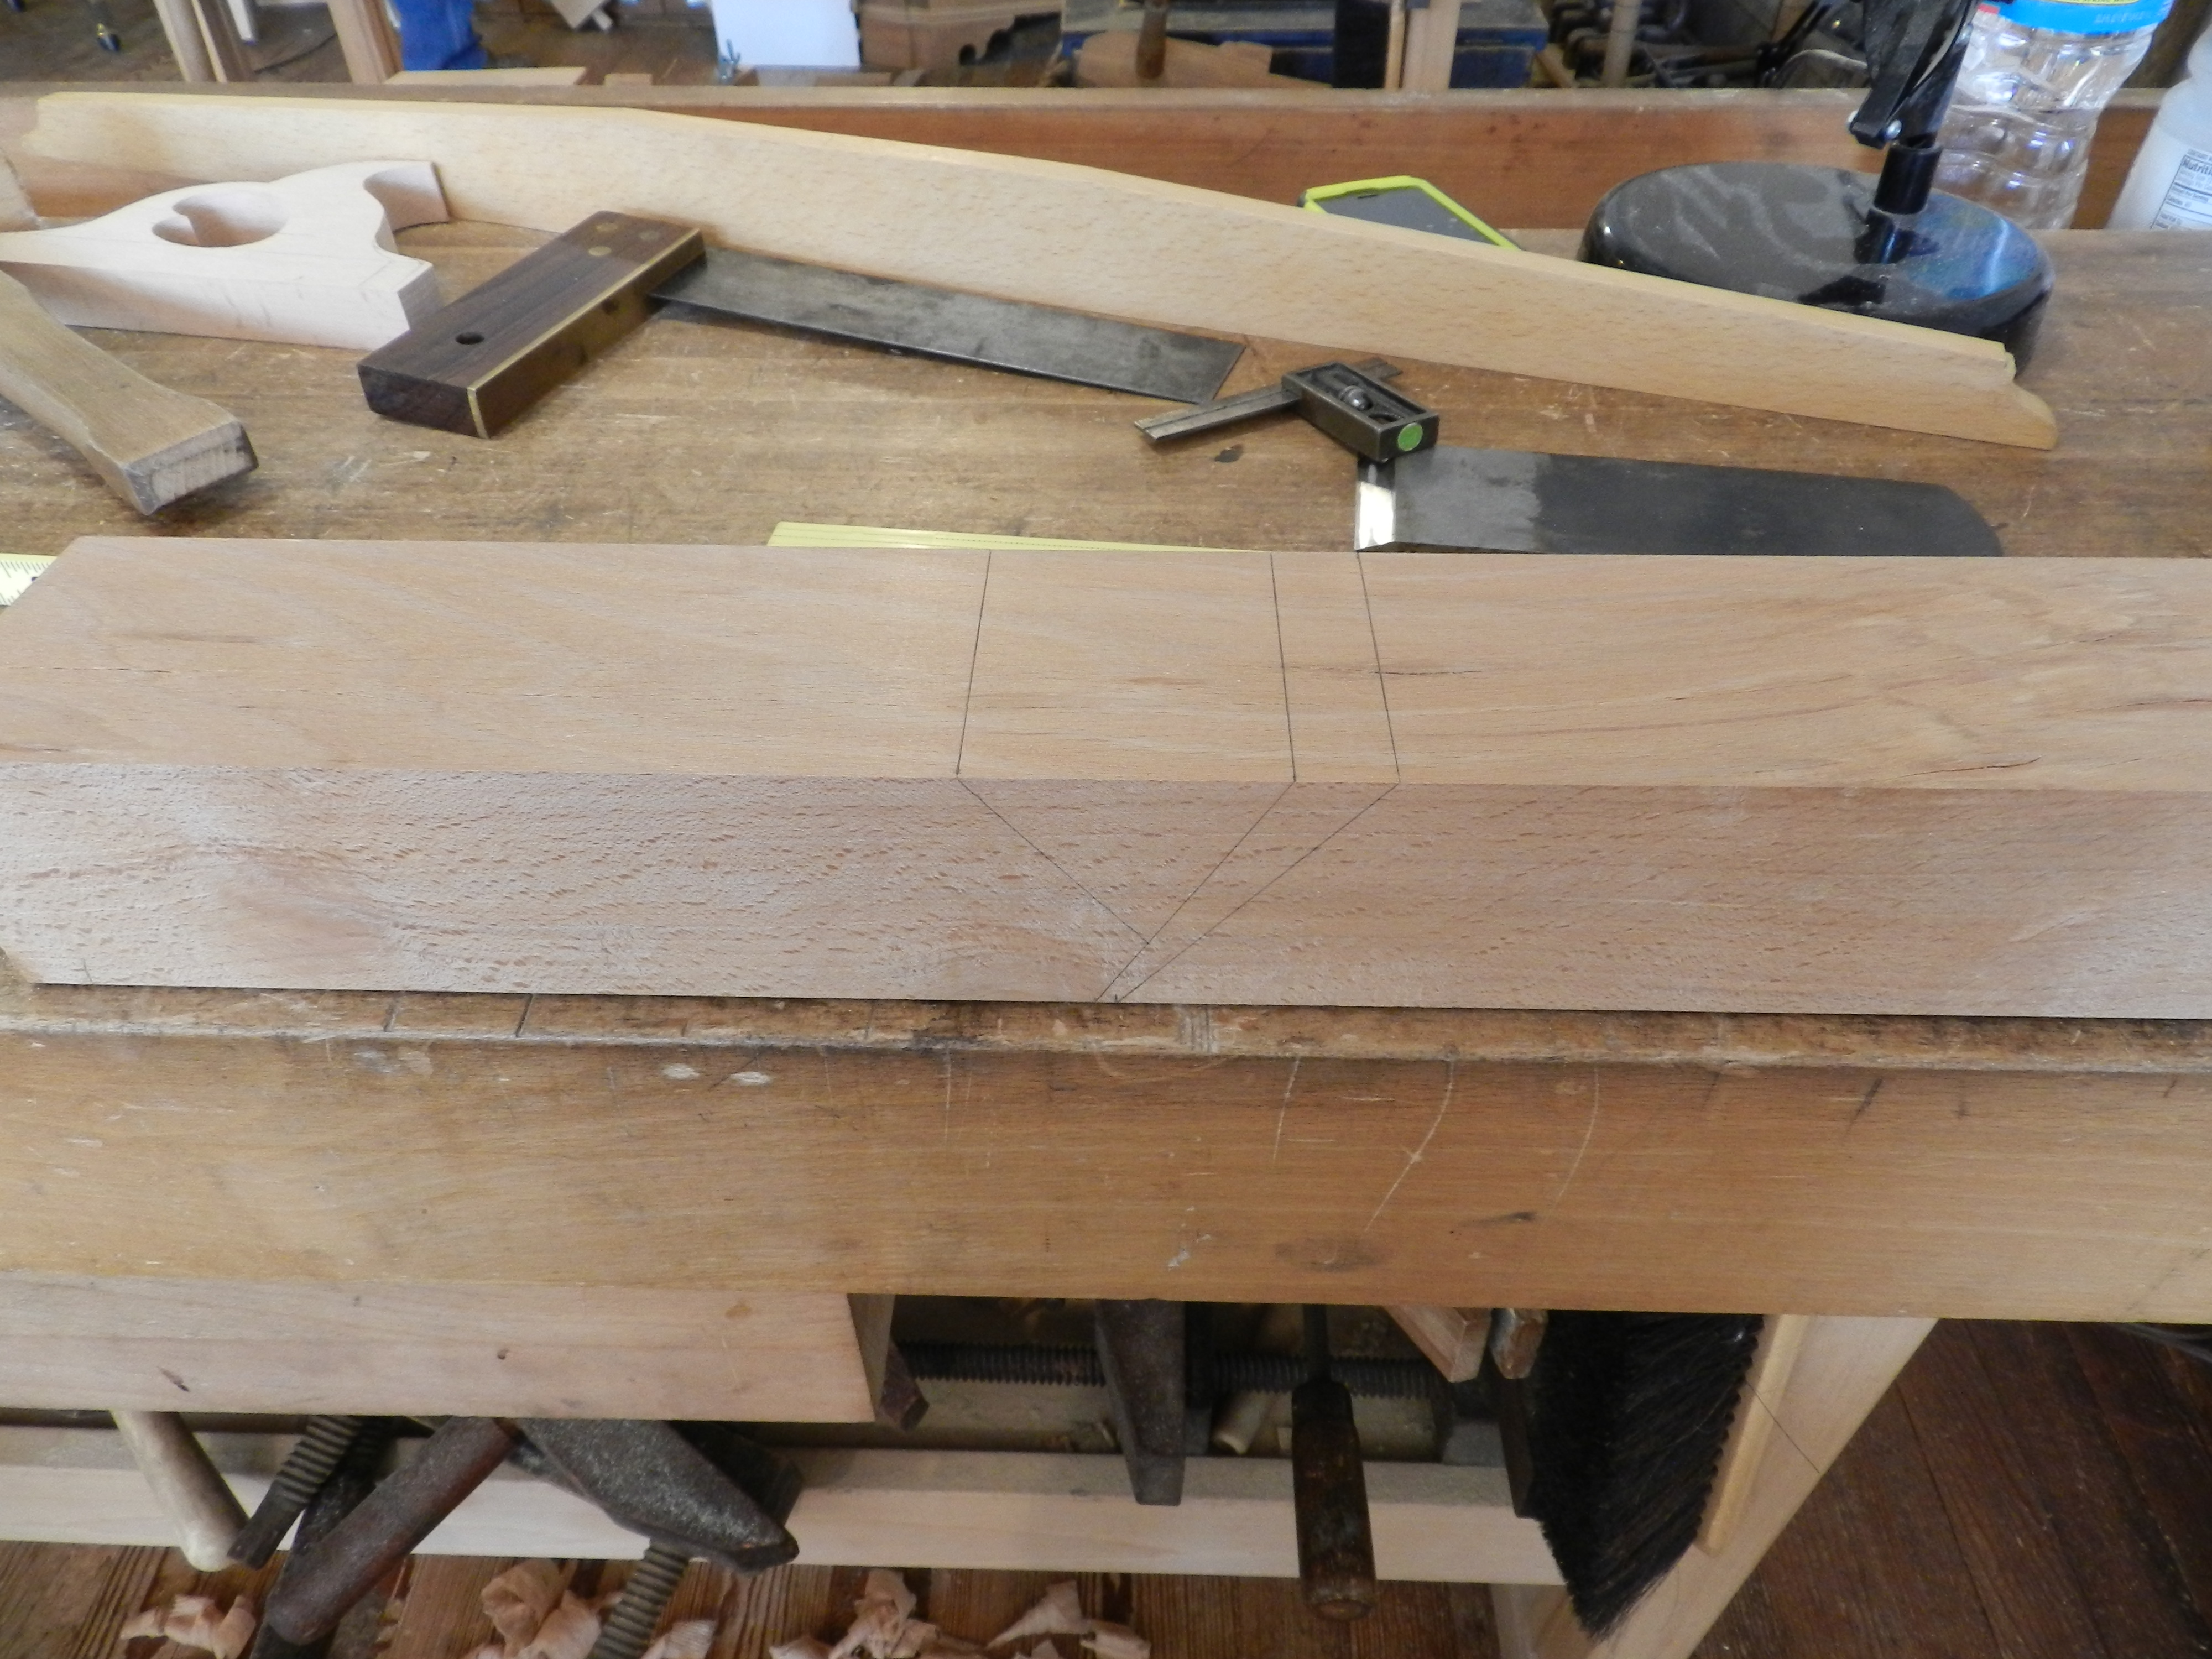
Laying out the mouth and abutments
Next up was laying out the mouth and throat. The mortises are all chopped by hand with a chisel and refined via a series of floats and scrapers. It was my first time using that many different floats, and for what looks like it might be a fairly coarse tool, when sharpened leaves a remarkably good surface.
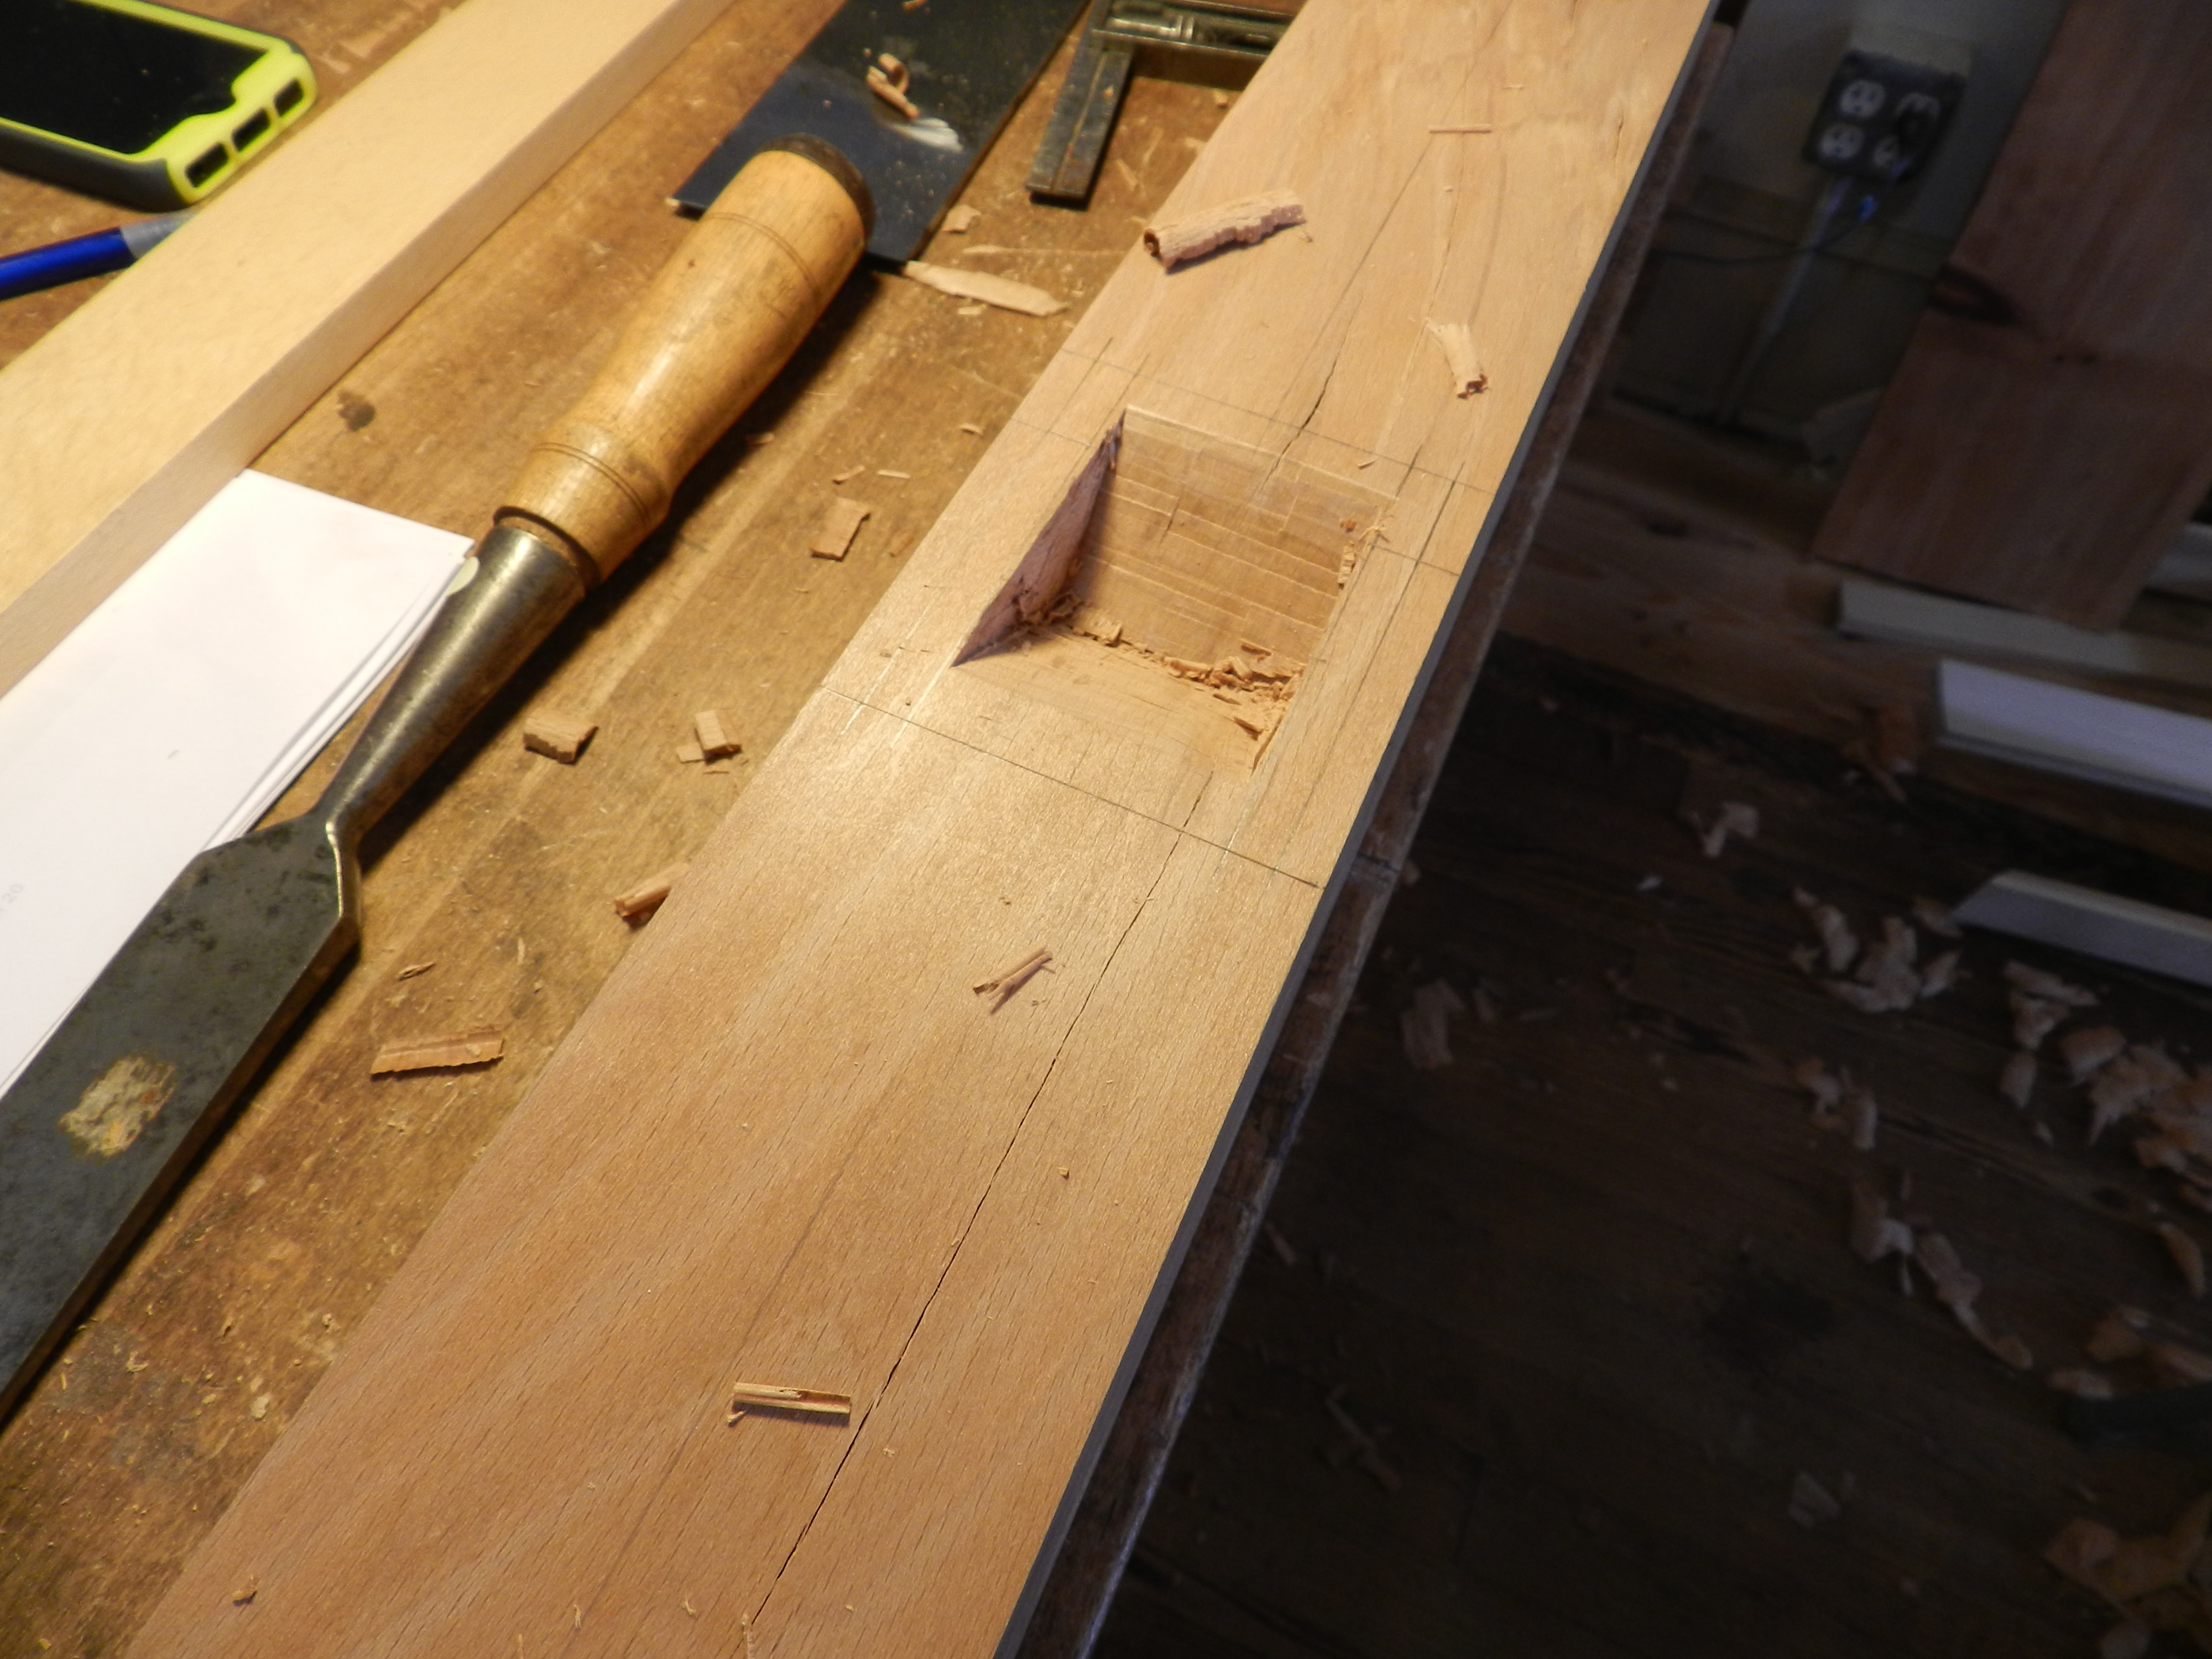
Chopping the mortise by hand
As we worked through the throat mortise a key was to make sure you don’t overshoot and chop through the abutment.
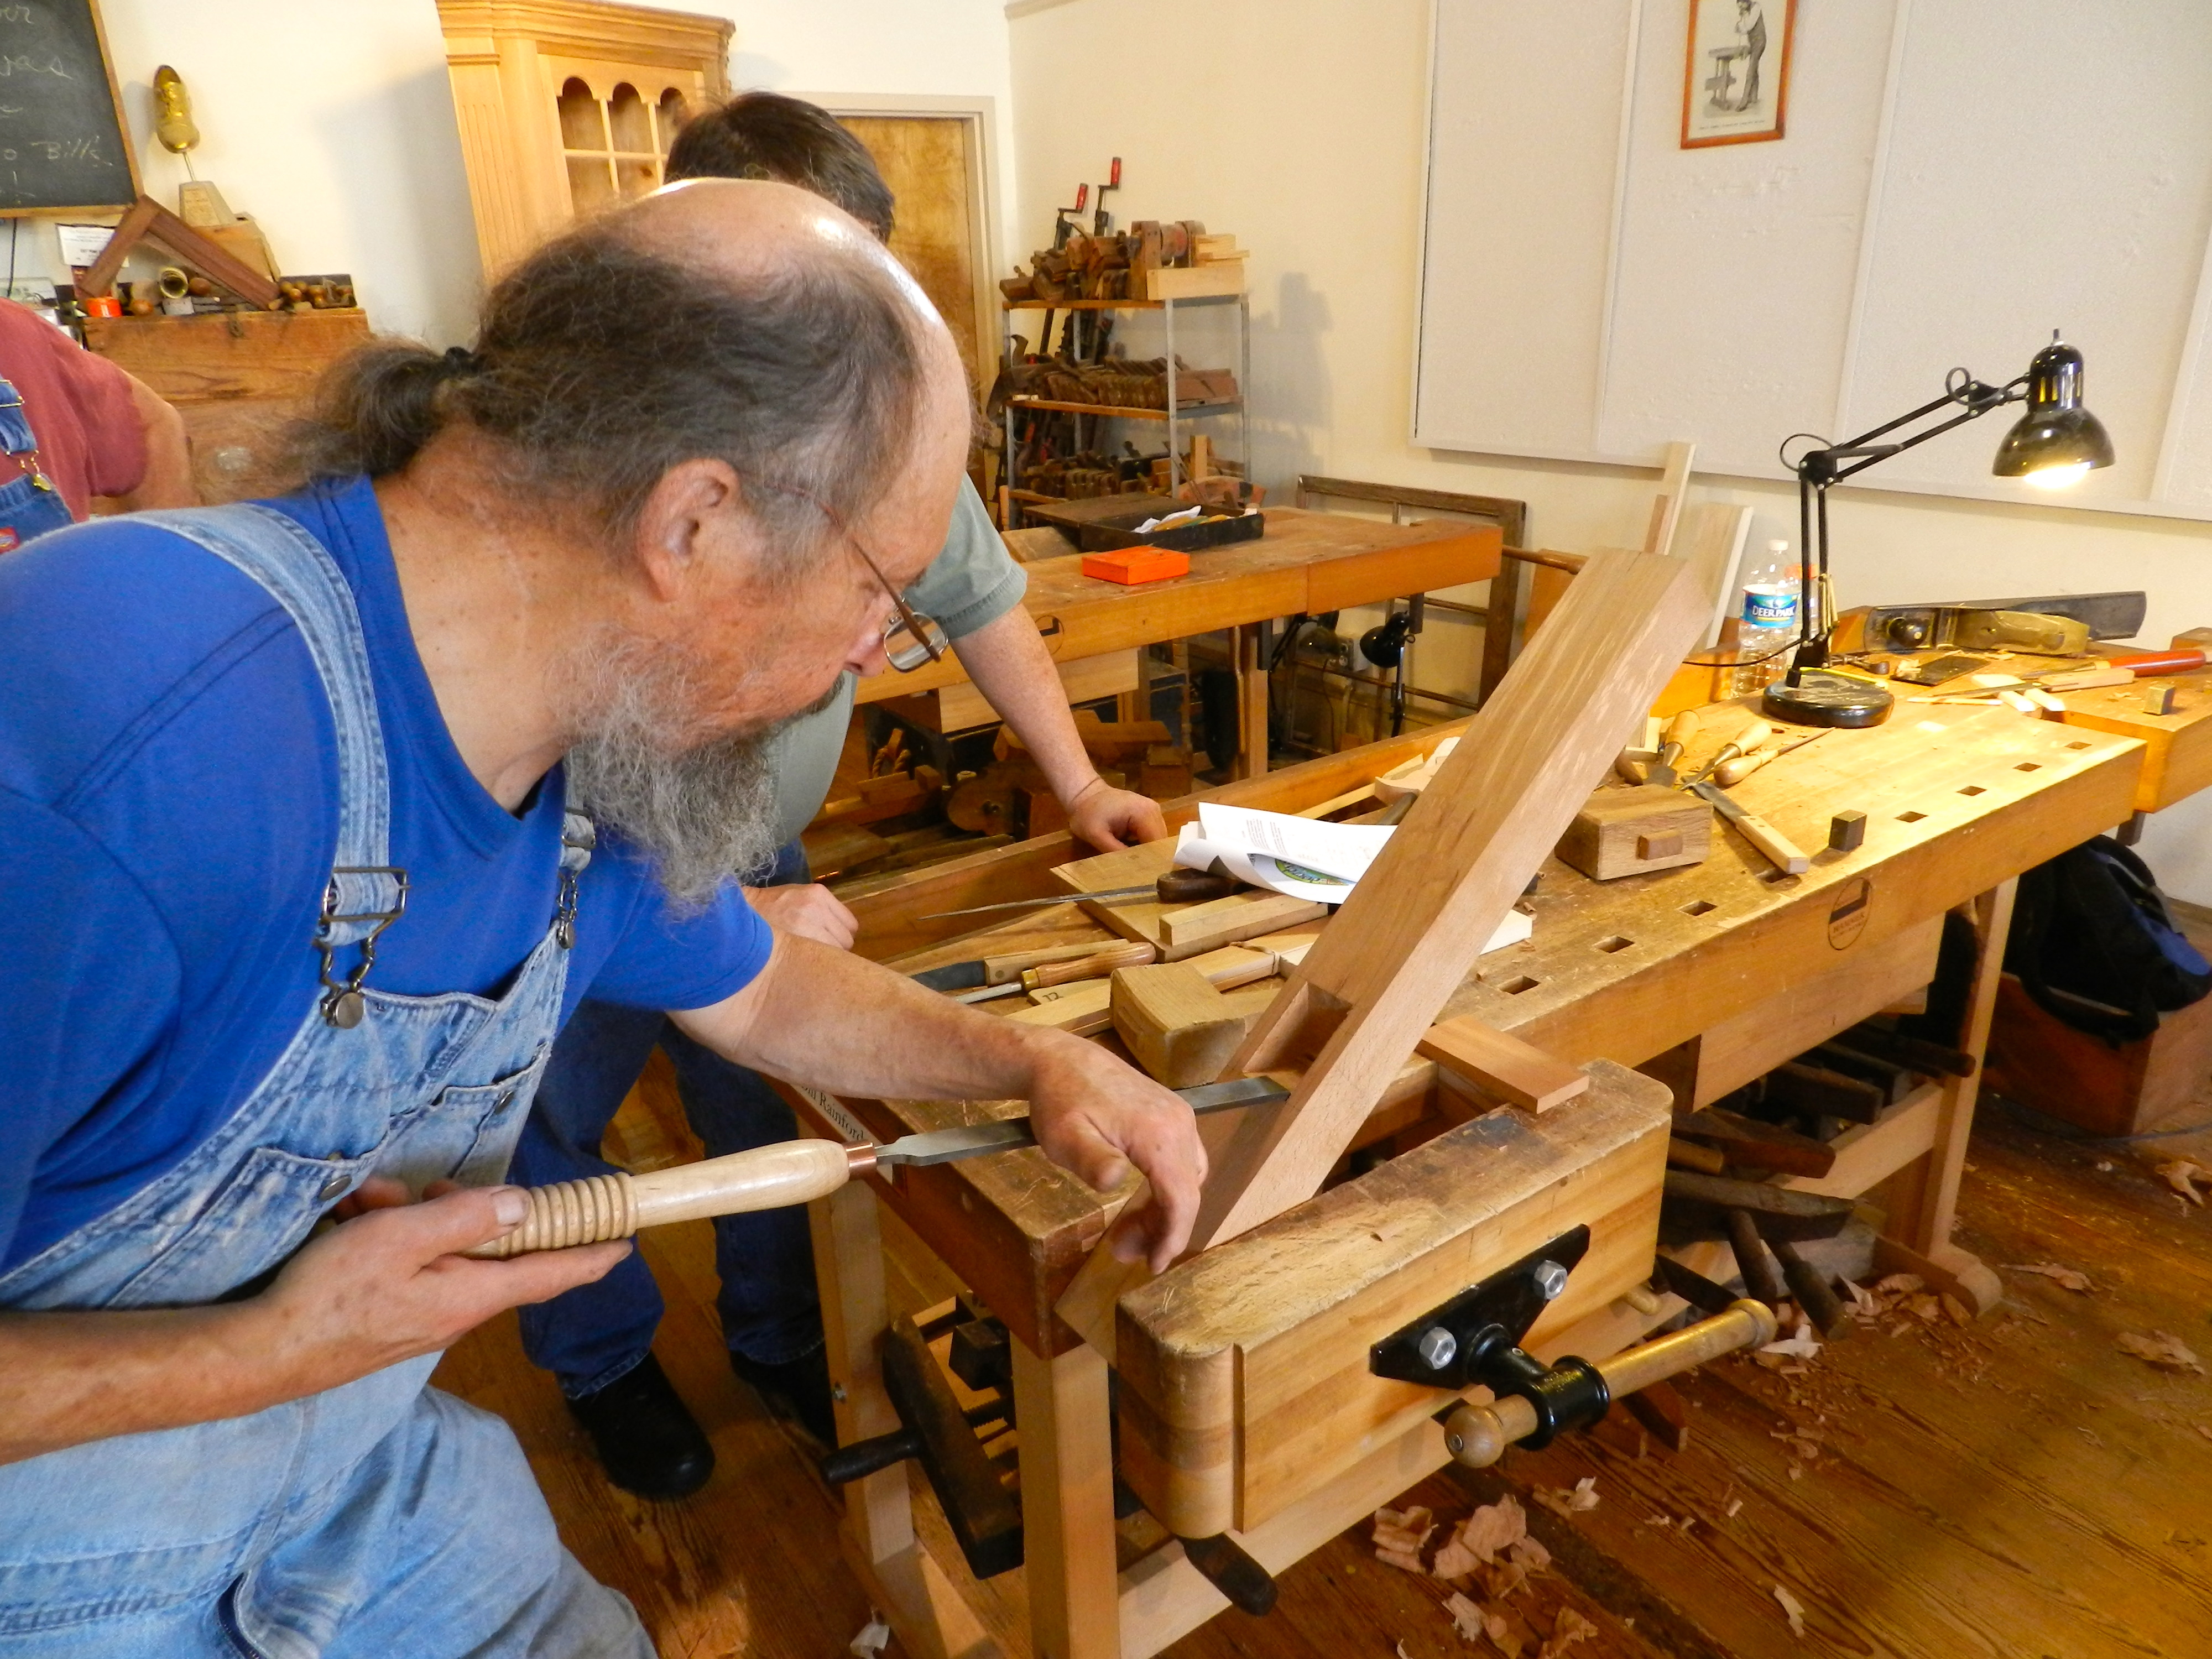
Scraping
One of the last steps in refining the abutment and sides of the throat was to scrape the surface using a scraper chisel.
A very nice scraping chisel that Bill made
This beast of a chisel was made by Bill and heat treated by Peter Ross. It was based on some research Bill did into traditional plane making tools. The long bar of tool steel and handle allow you to put a lot of your weight into it as you scrape the surface flat. The cutting edge is a very steep angle similar to a scraper you’d use with a lathe (upside down compared to the lathe tool) but works well since you are only removing a little bit of material at a time.
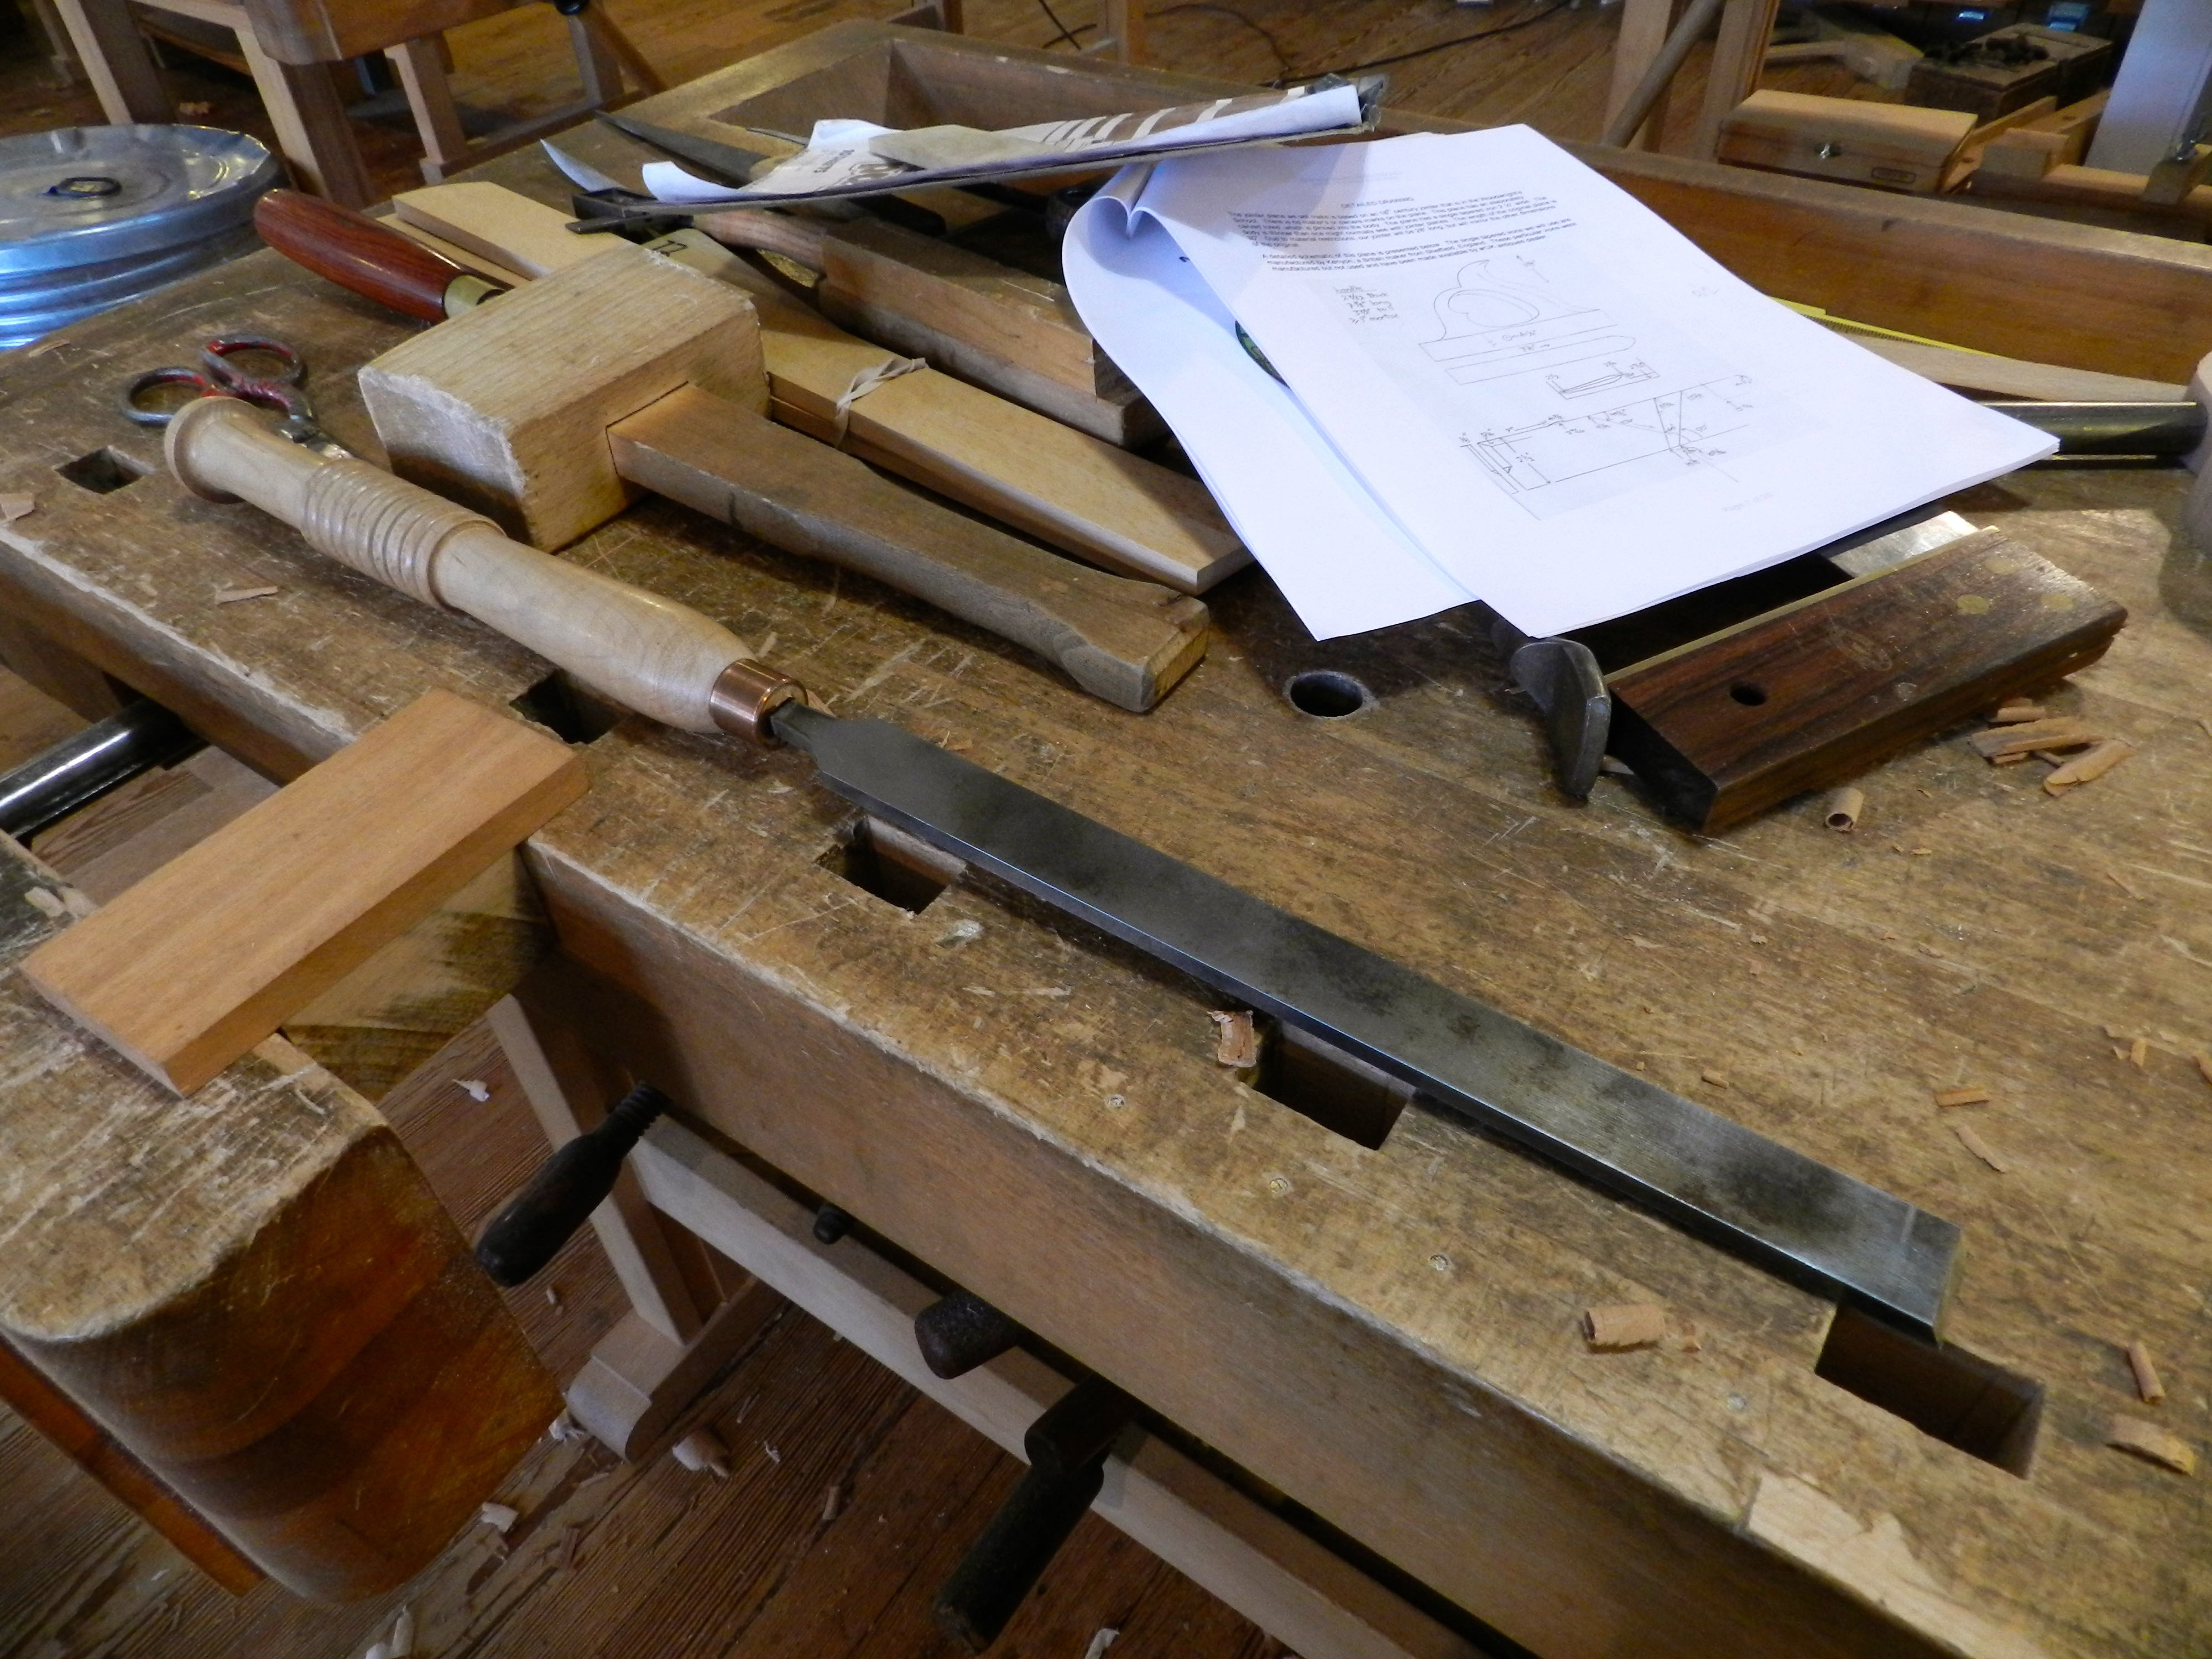
Paring away any fuzz
Regular bench chisels are used to clean up any fuzz in the corners. Next up is cutting in for the wedge and cleaning up a cheeks. This is an operation that requires a steady hand and the ability to work to an exacting standard. You want your test wedge, and eventually your actual wedge, to fit tightly against the abutment so the iron does not move when you are working with the plane. I took my time and was very happy with the results.
Fitting with test wedges
In upcoming posts I will document more about my experience in building and finishing this plane.
In the meantime, if you’d like to learn more about Bill Anderson or take a class with him, and I highly encourage you to do so, please check out his website here.
The Woodwright’s School is already hallowed ground for a lot of woodworkers, but hovering above workshop is Ed Lebetkin’s Antique Tool store….
Up the stairs and take a right at the large model plane
Before heading up there, I was warned to leave my wallet behind as there would be a lot of temptation at the top of the stairs….Ed’s store is filled with just about every kind of traditional woodworking tool and accessory you could want.
Wide angle view of Ed’s Antique Tool Store
An amazing assortment of chisels, planes of every kind, marking gauges, braces and bits.
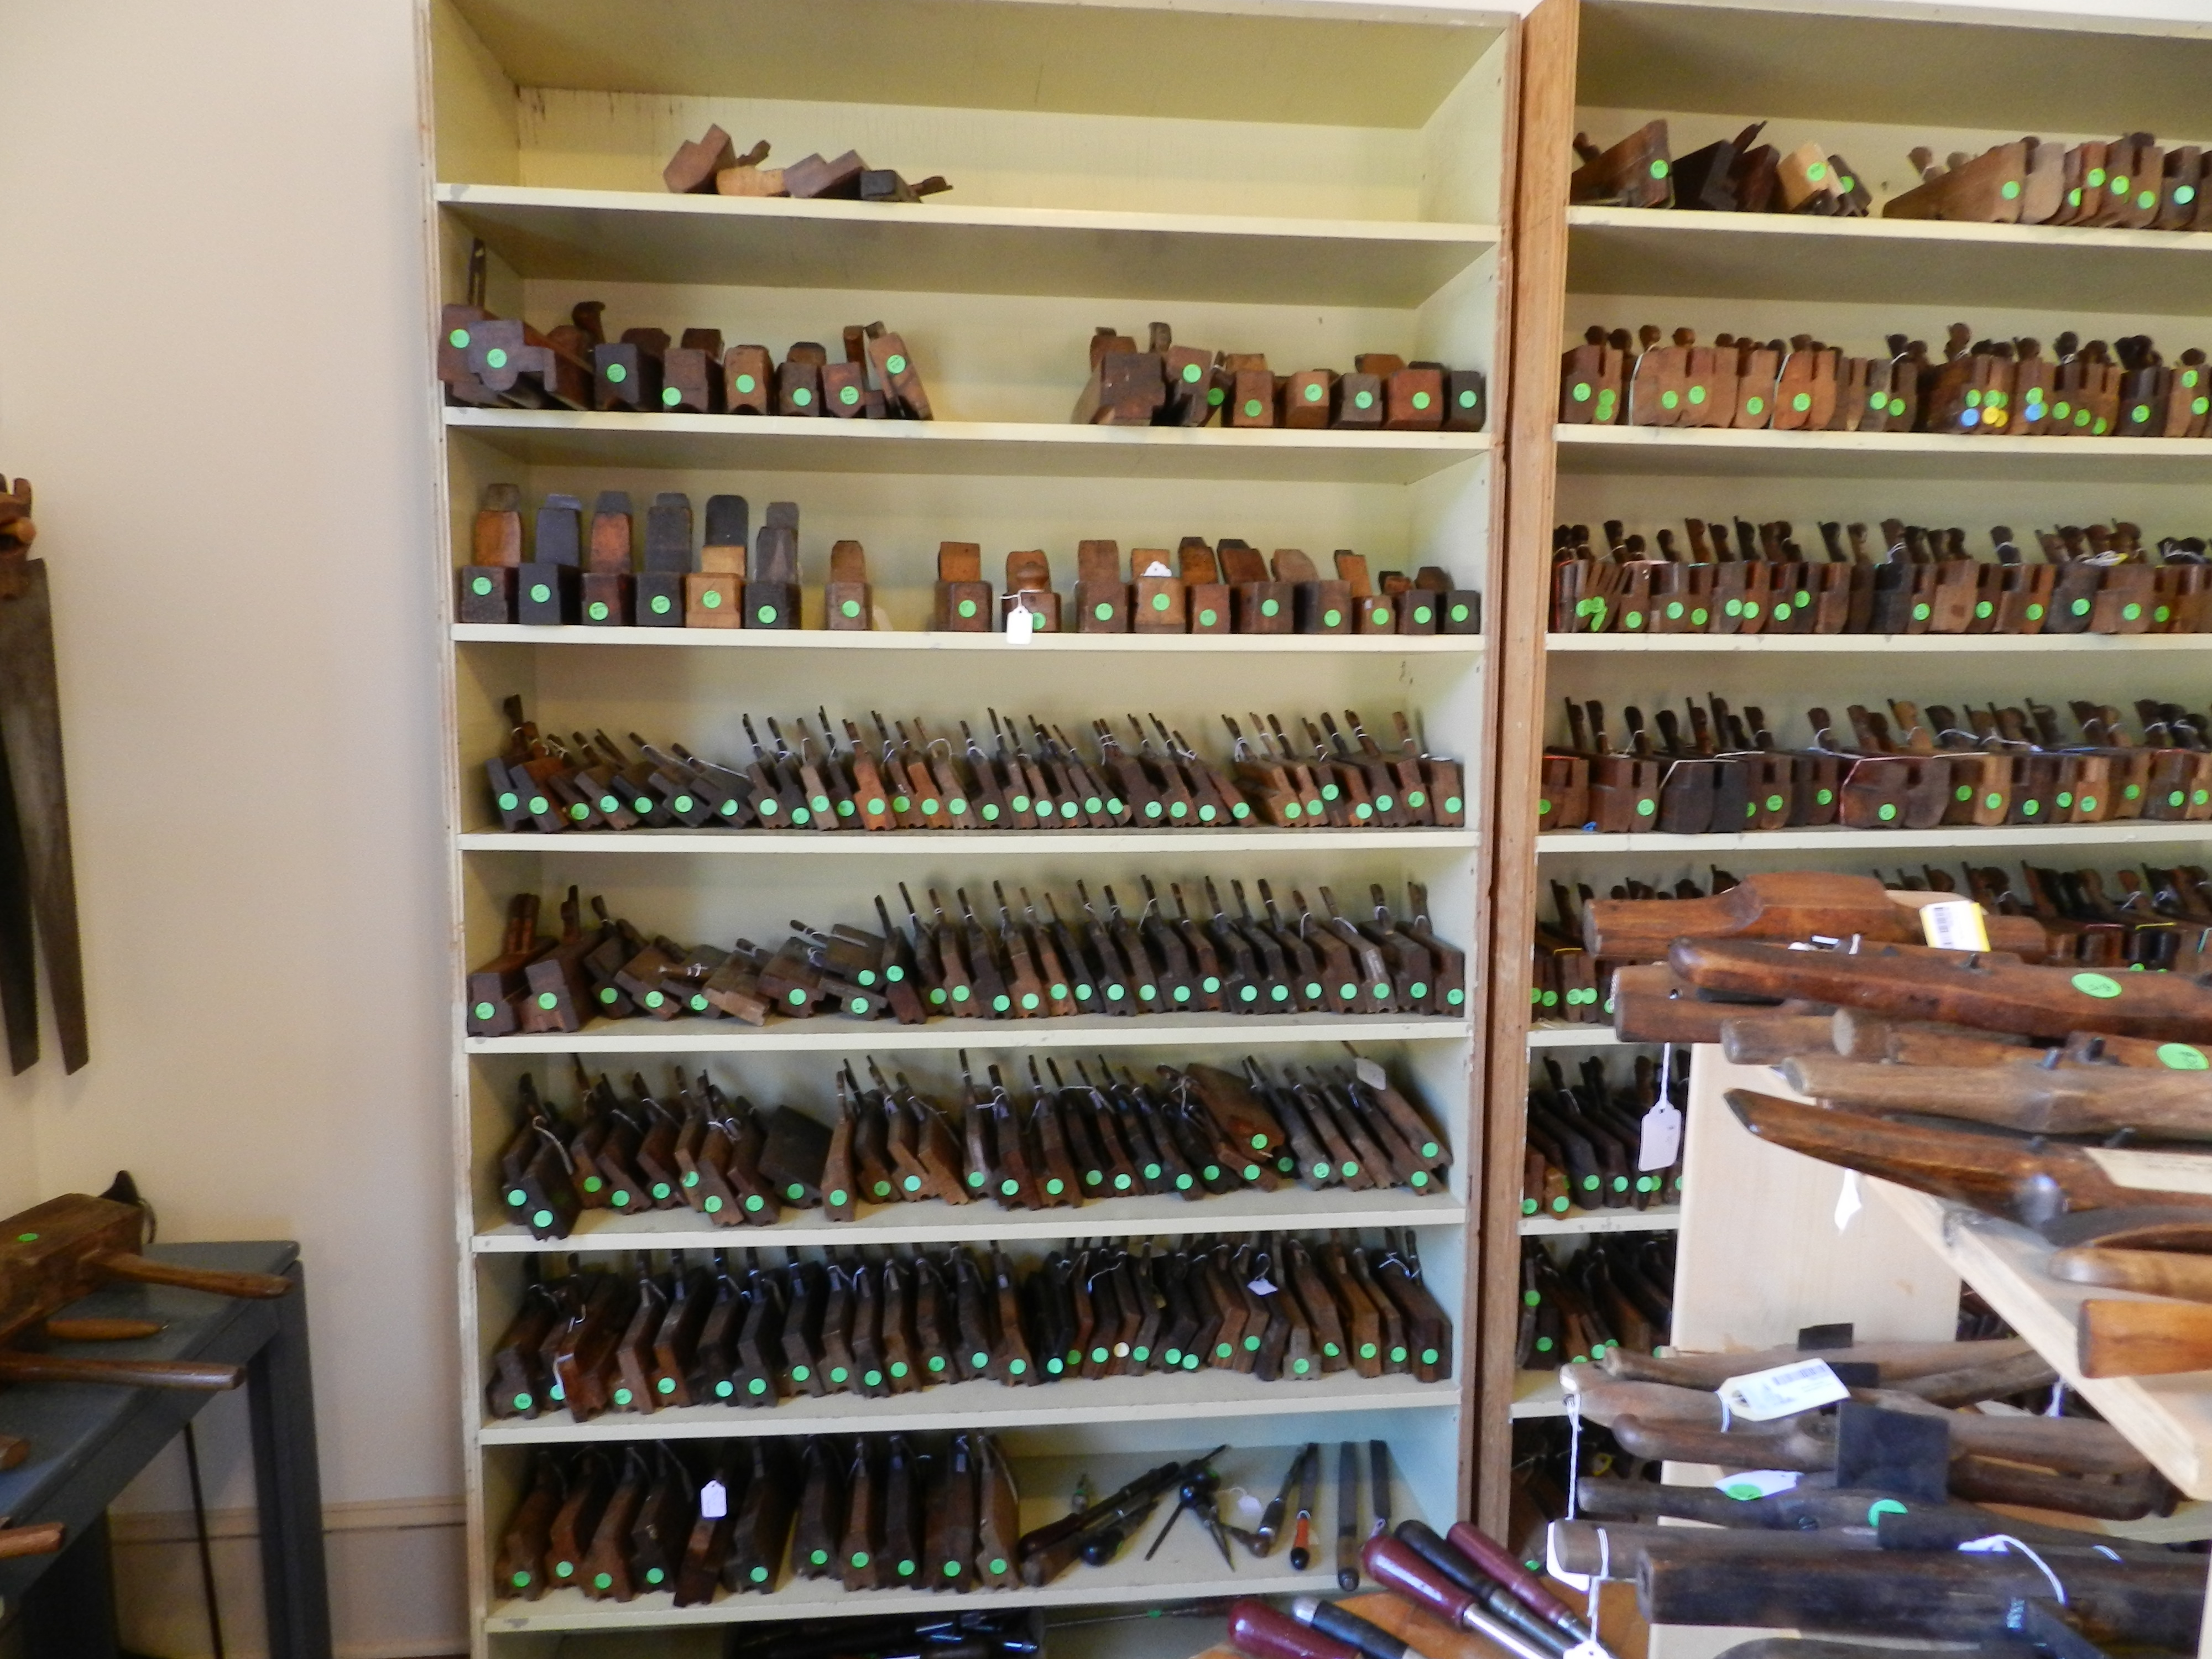
Wall of molding planes
One whole wall of the shop is filled with molding planes .
Chisels, mallets, auger bits etc.
New stuff is always coming and going so you’ll want to visit often — or see about renting a space to camp out and be first to check out the new arrivals. 😉
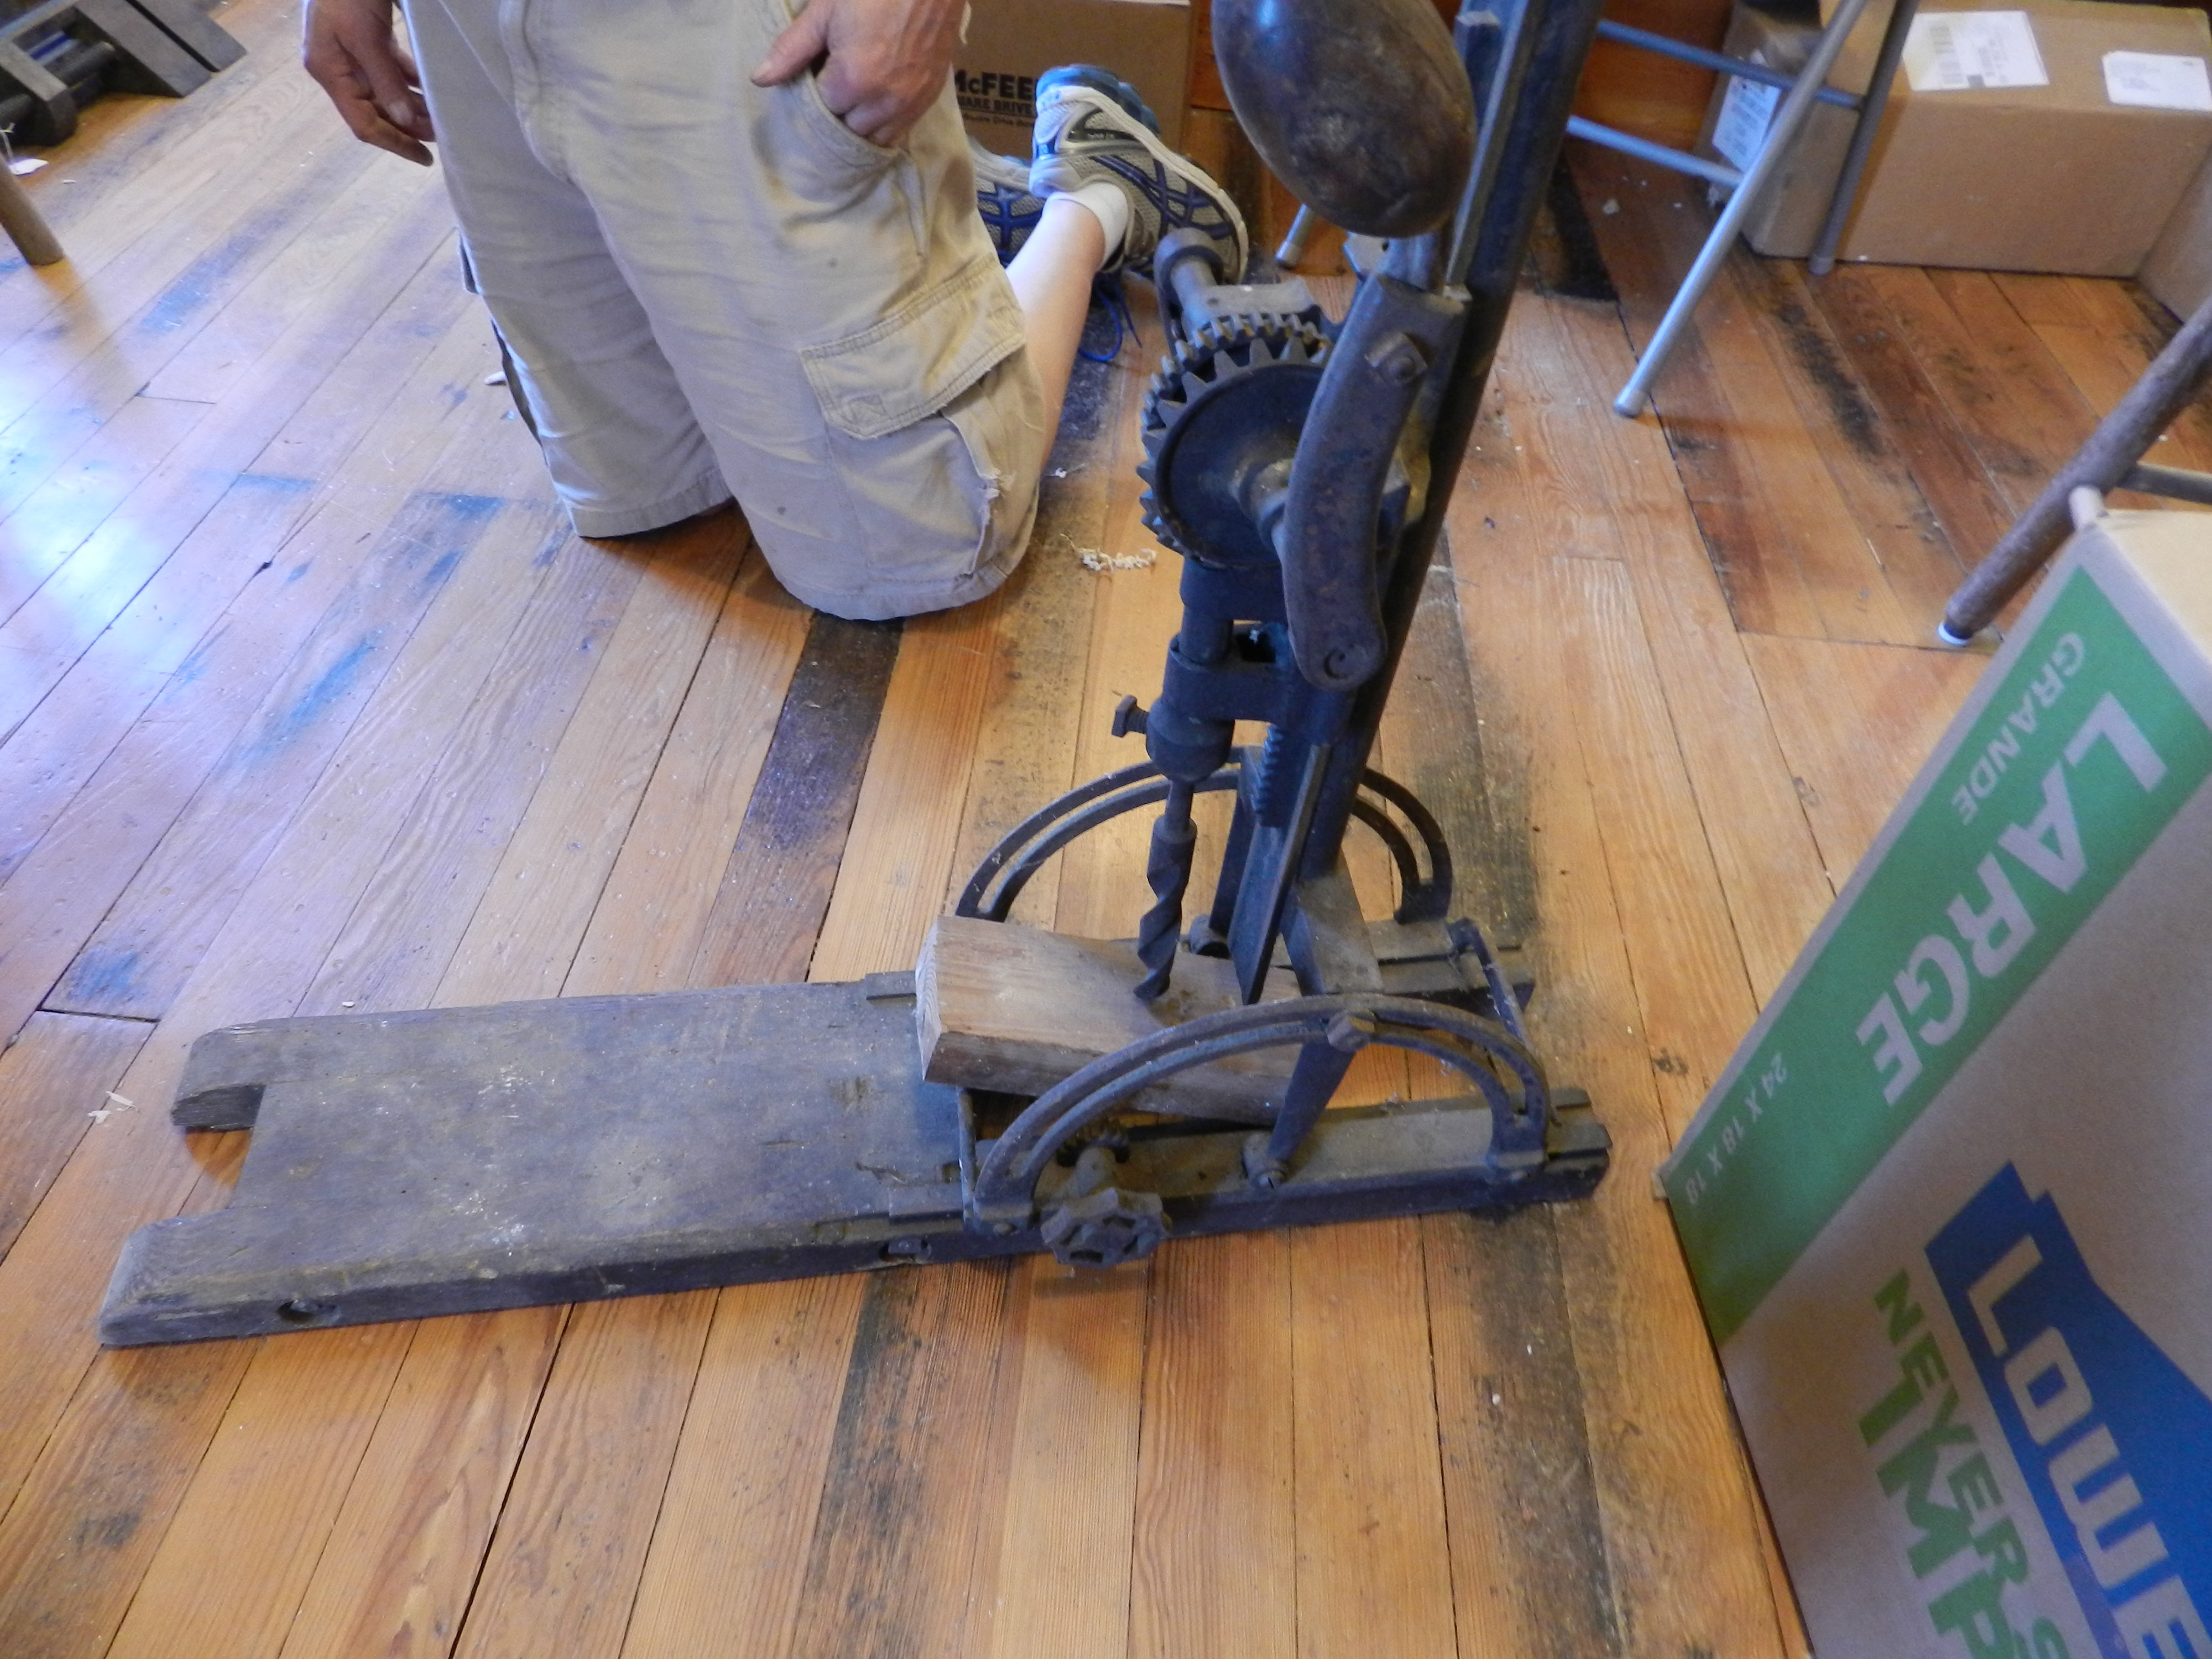
Self-advancing Boring Machine
During my visit I was enamored with an unusual boring machine. The castings on the tilt mechanism look similar to my old Swan boring machine but what made this machine unusual was the mechanism to advance the business end of the unit horizontally via the large knob on the bottom — rather than the whole dance of shimmying yourself and the unit up the timber and re-aligning the auger to make the next hole. The runners and support structure for it was all metal which leads me to believe it was a later design towards the end of that era.
New toys from Ed’s tool shop
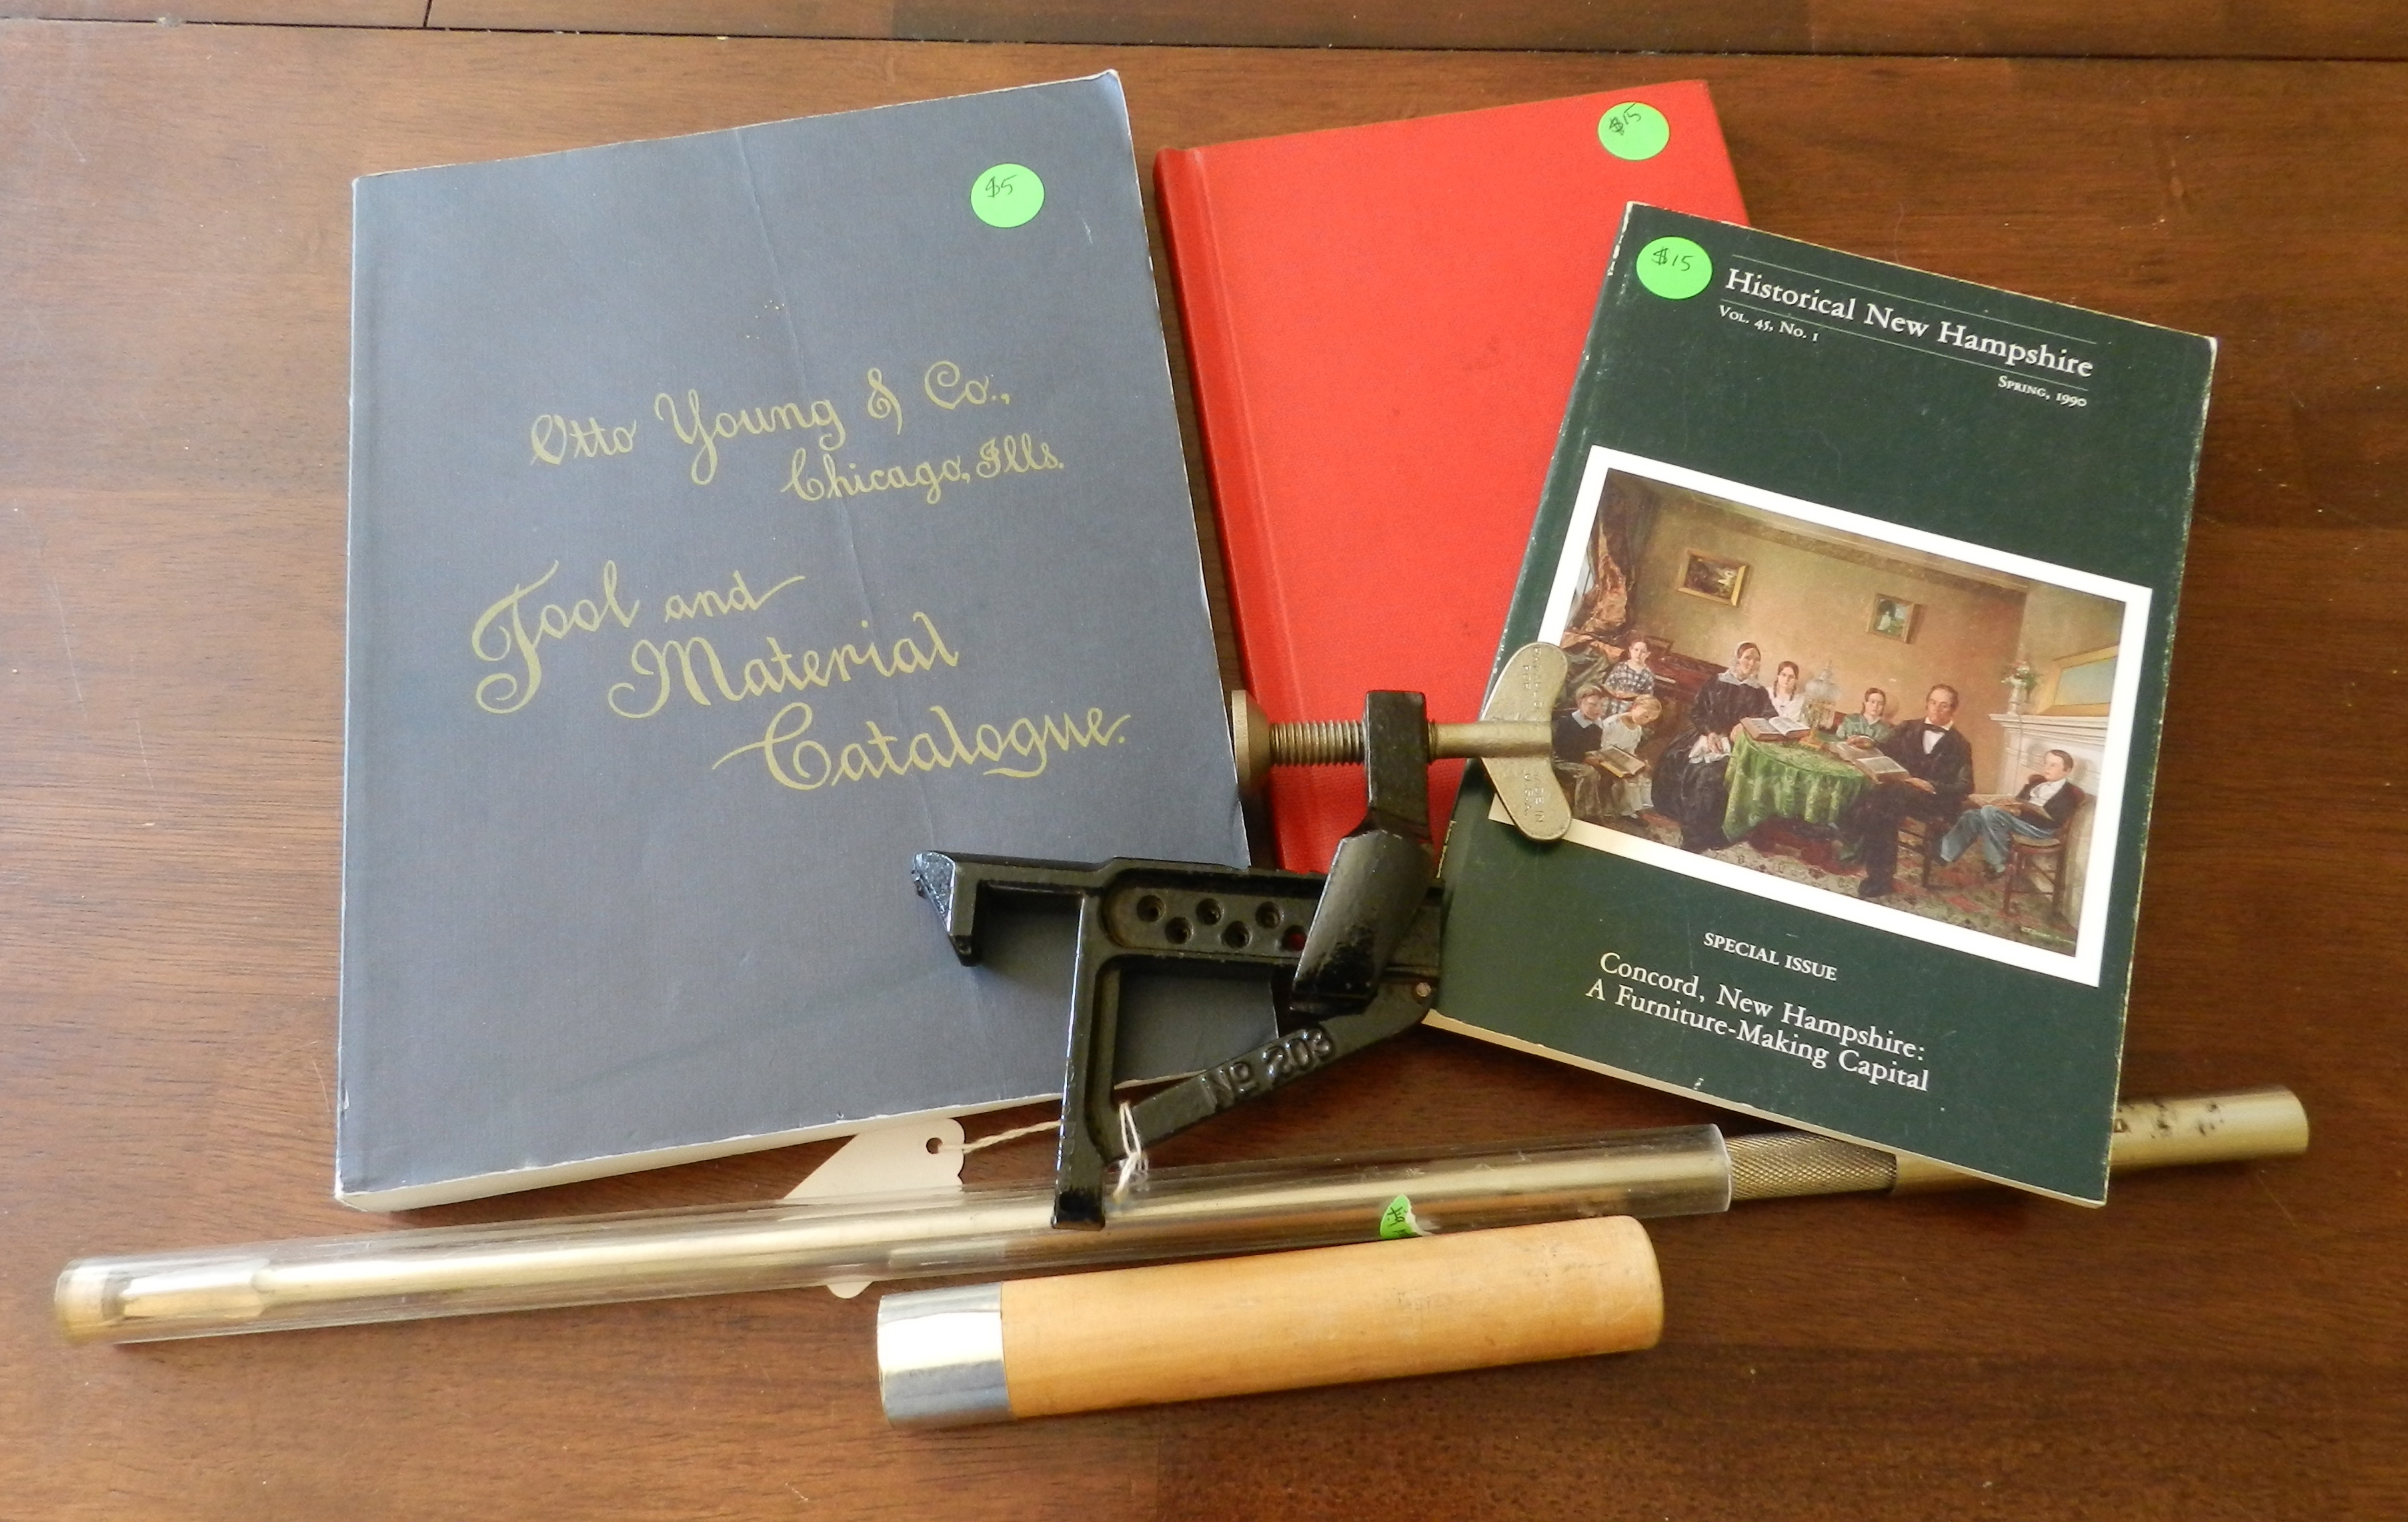
I tried my best to get out without buying anything — especially since the Nashua Live Free or Die Tool Show and Auction is coming up in a couple of weeks, but it’s like Ed knew I was coming. I found a great reprint book on Concord NH furniture makers, a book on the Shaker Barn full of tools at the Shelburne Museum in VT which I wrote about here, a MWTCA reprint of a tool catalog, a nice old Stanley auger bit extension for use with a bit brace, and a Stanley 203 bench clamp. This neat little clamp is something I’ve looked at in the past — and makes a nice addition to any bench with a sliding deadman. I look forward to giving it a try.
I’m looking forward to my next visit. If you’d like to plan a visit to the tool store or contact Ed you can find his contact info on the store’s web page here. Ed’s a great guy. If you meet him, be sure to tell him I sent you. 🙂
For Labor Day weekend this year I flew down to the Woodwright’s School in Pittsboro, North Carolina to take a 3 day class on making a Jointer Plane with Willard ‘Bill’ Anderson (more on that in an upcoming post).
My flight got in early on Friday and I had the chance to hang out with some friends at the school during the last day of a class on building the Anarchist’s Tool Chest with Chris Schwarz.
The Woodwright’s School
The Woodwright’s School is located in downtown Pittsboro which is a scenic town about 20 minutes from Chapel Hill.
Roy Underhill planing a groove
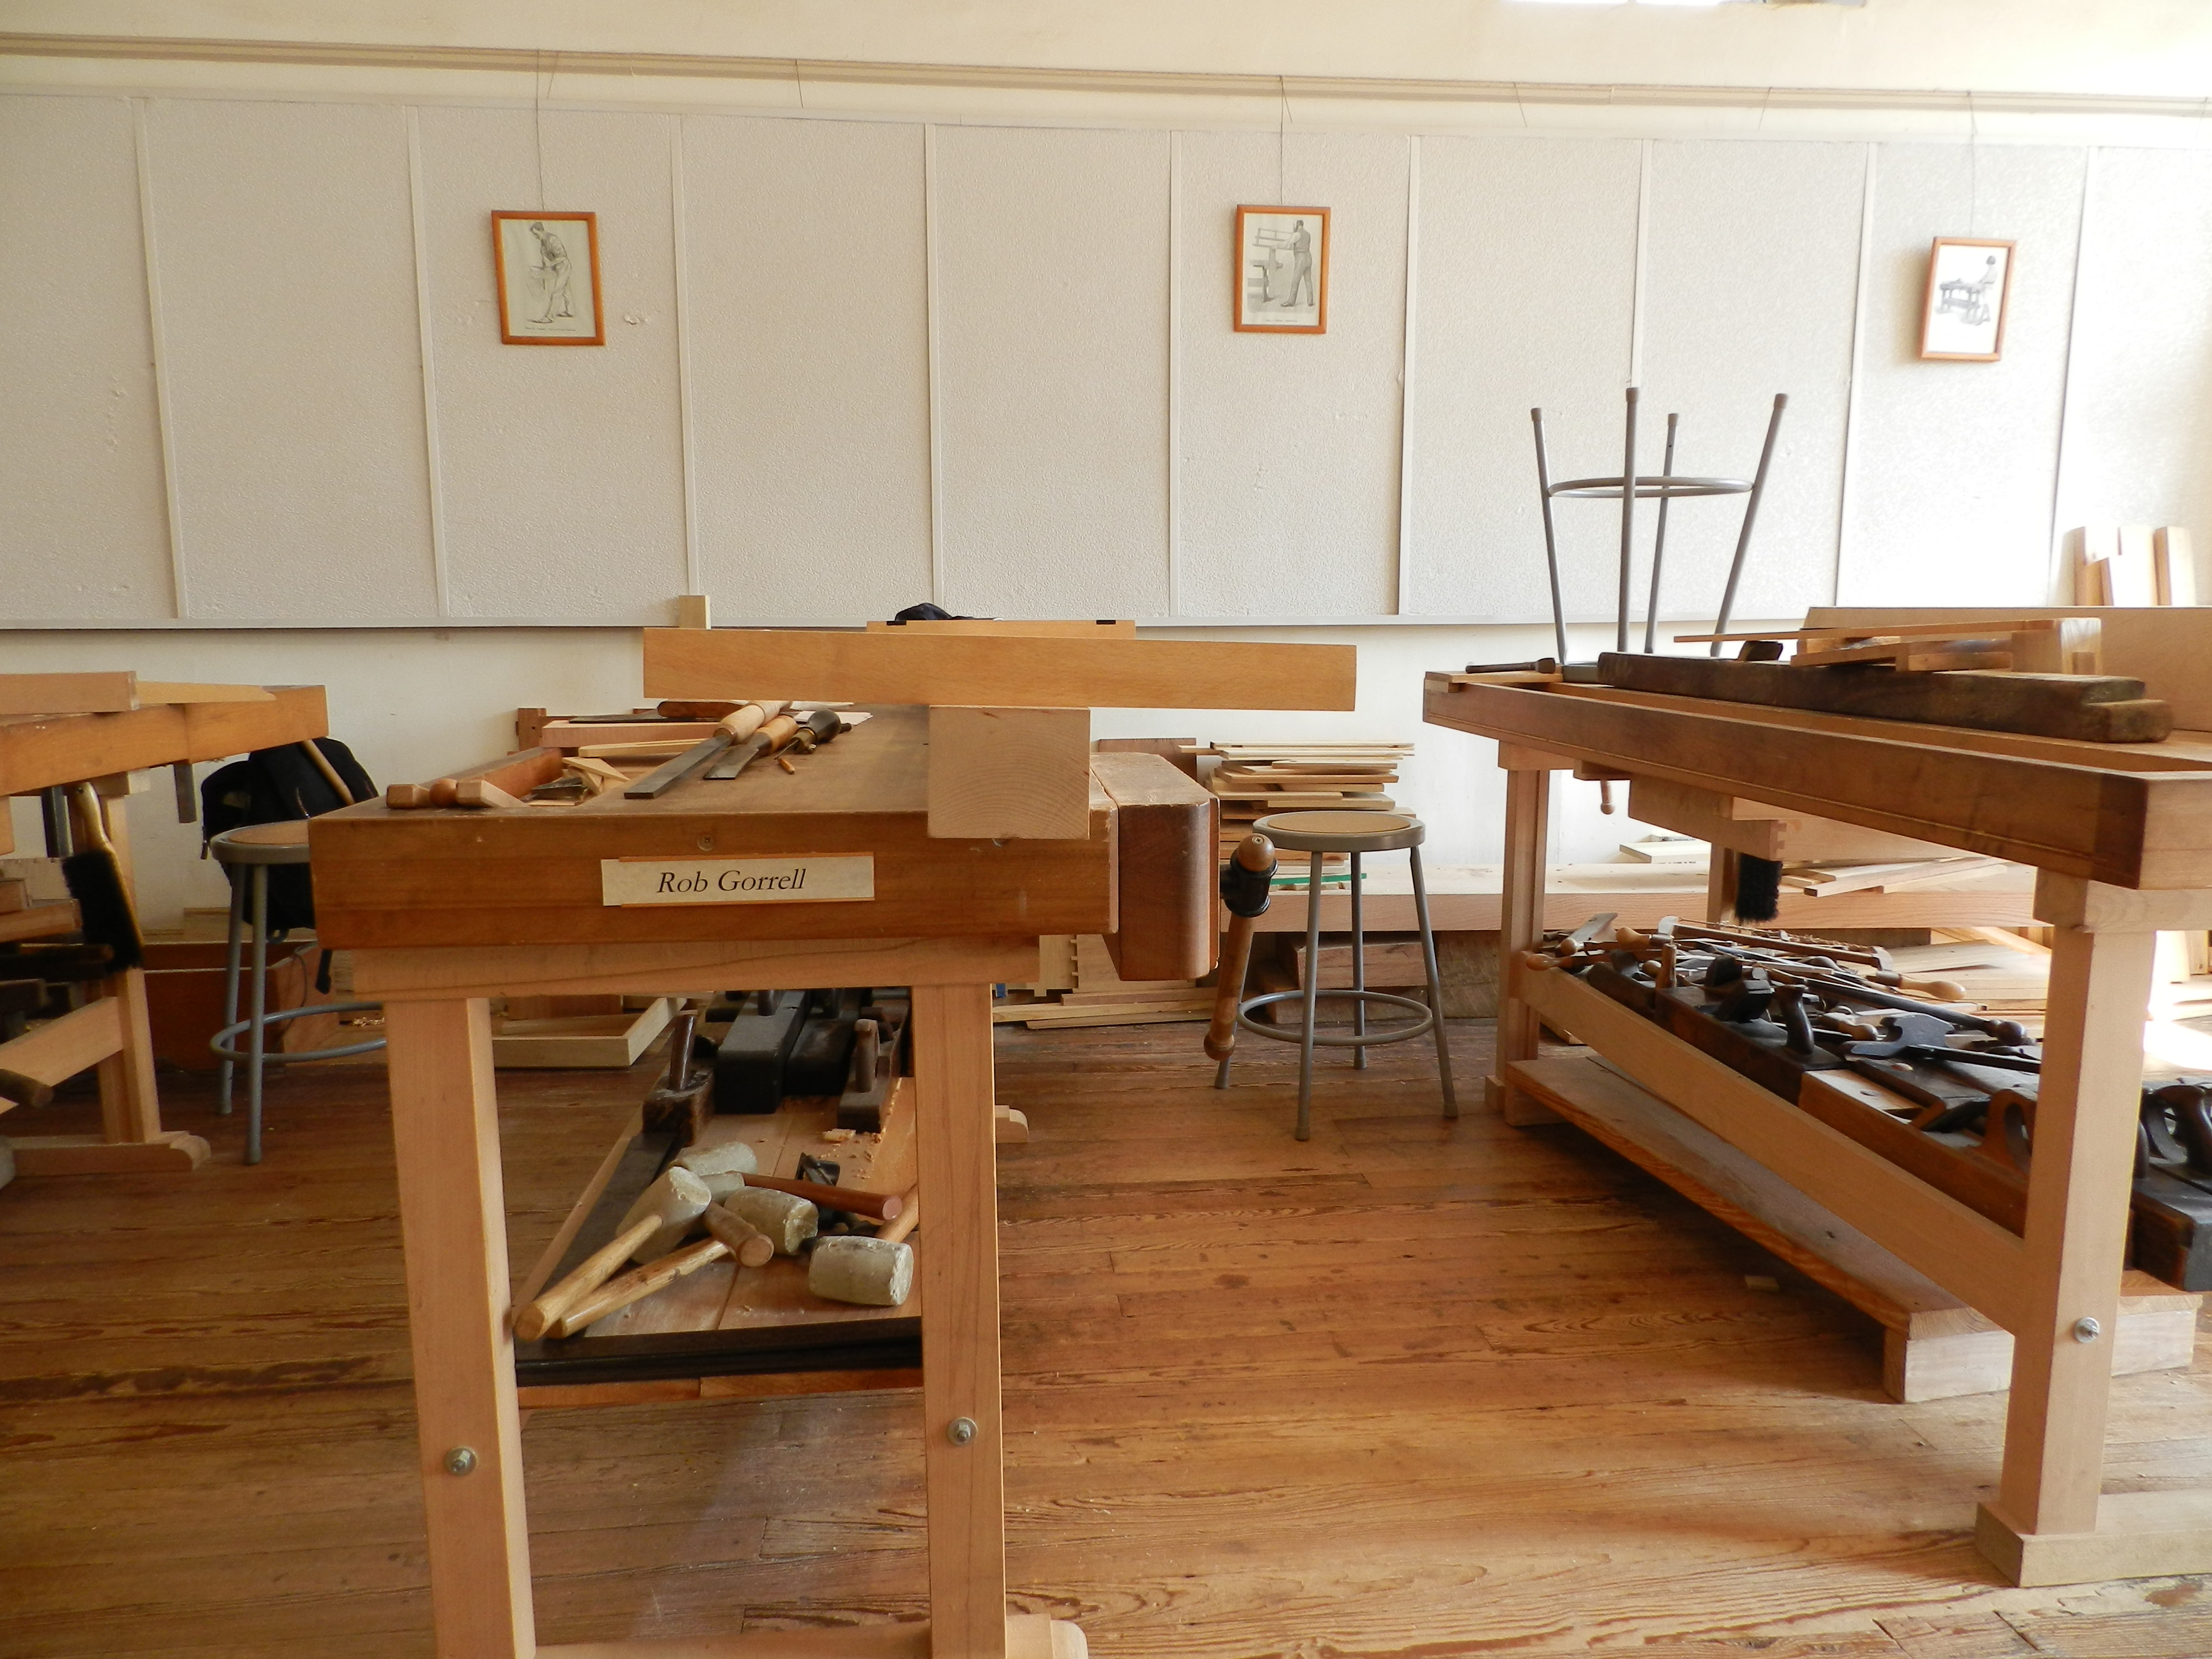
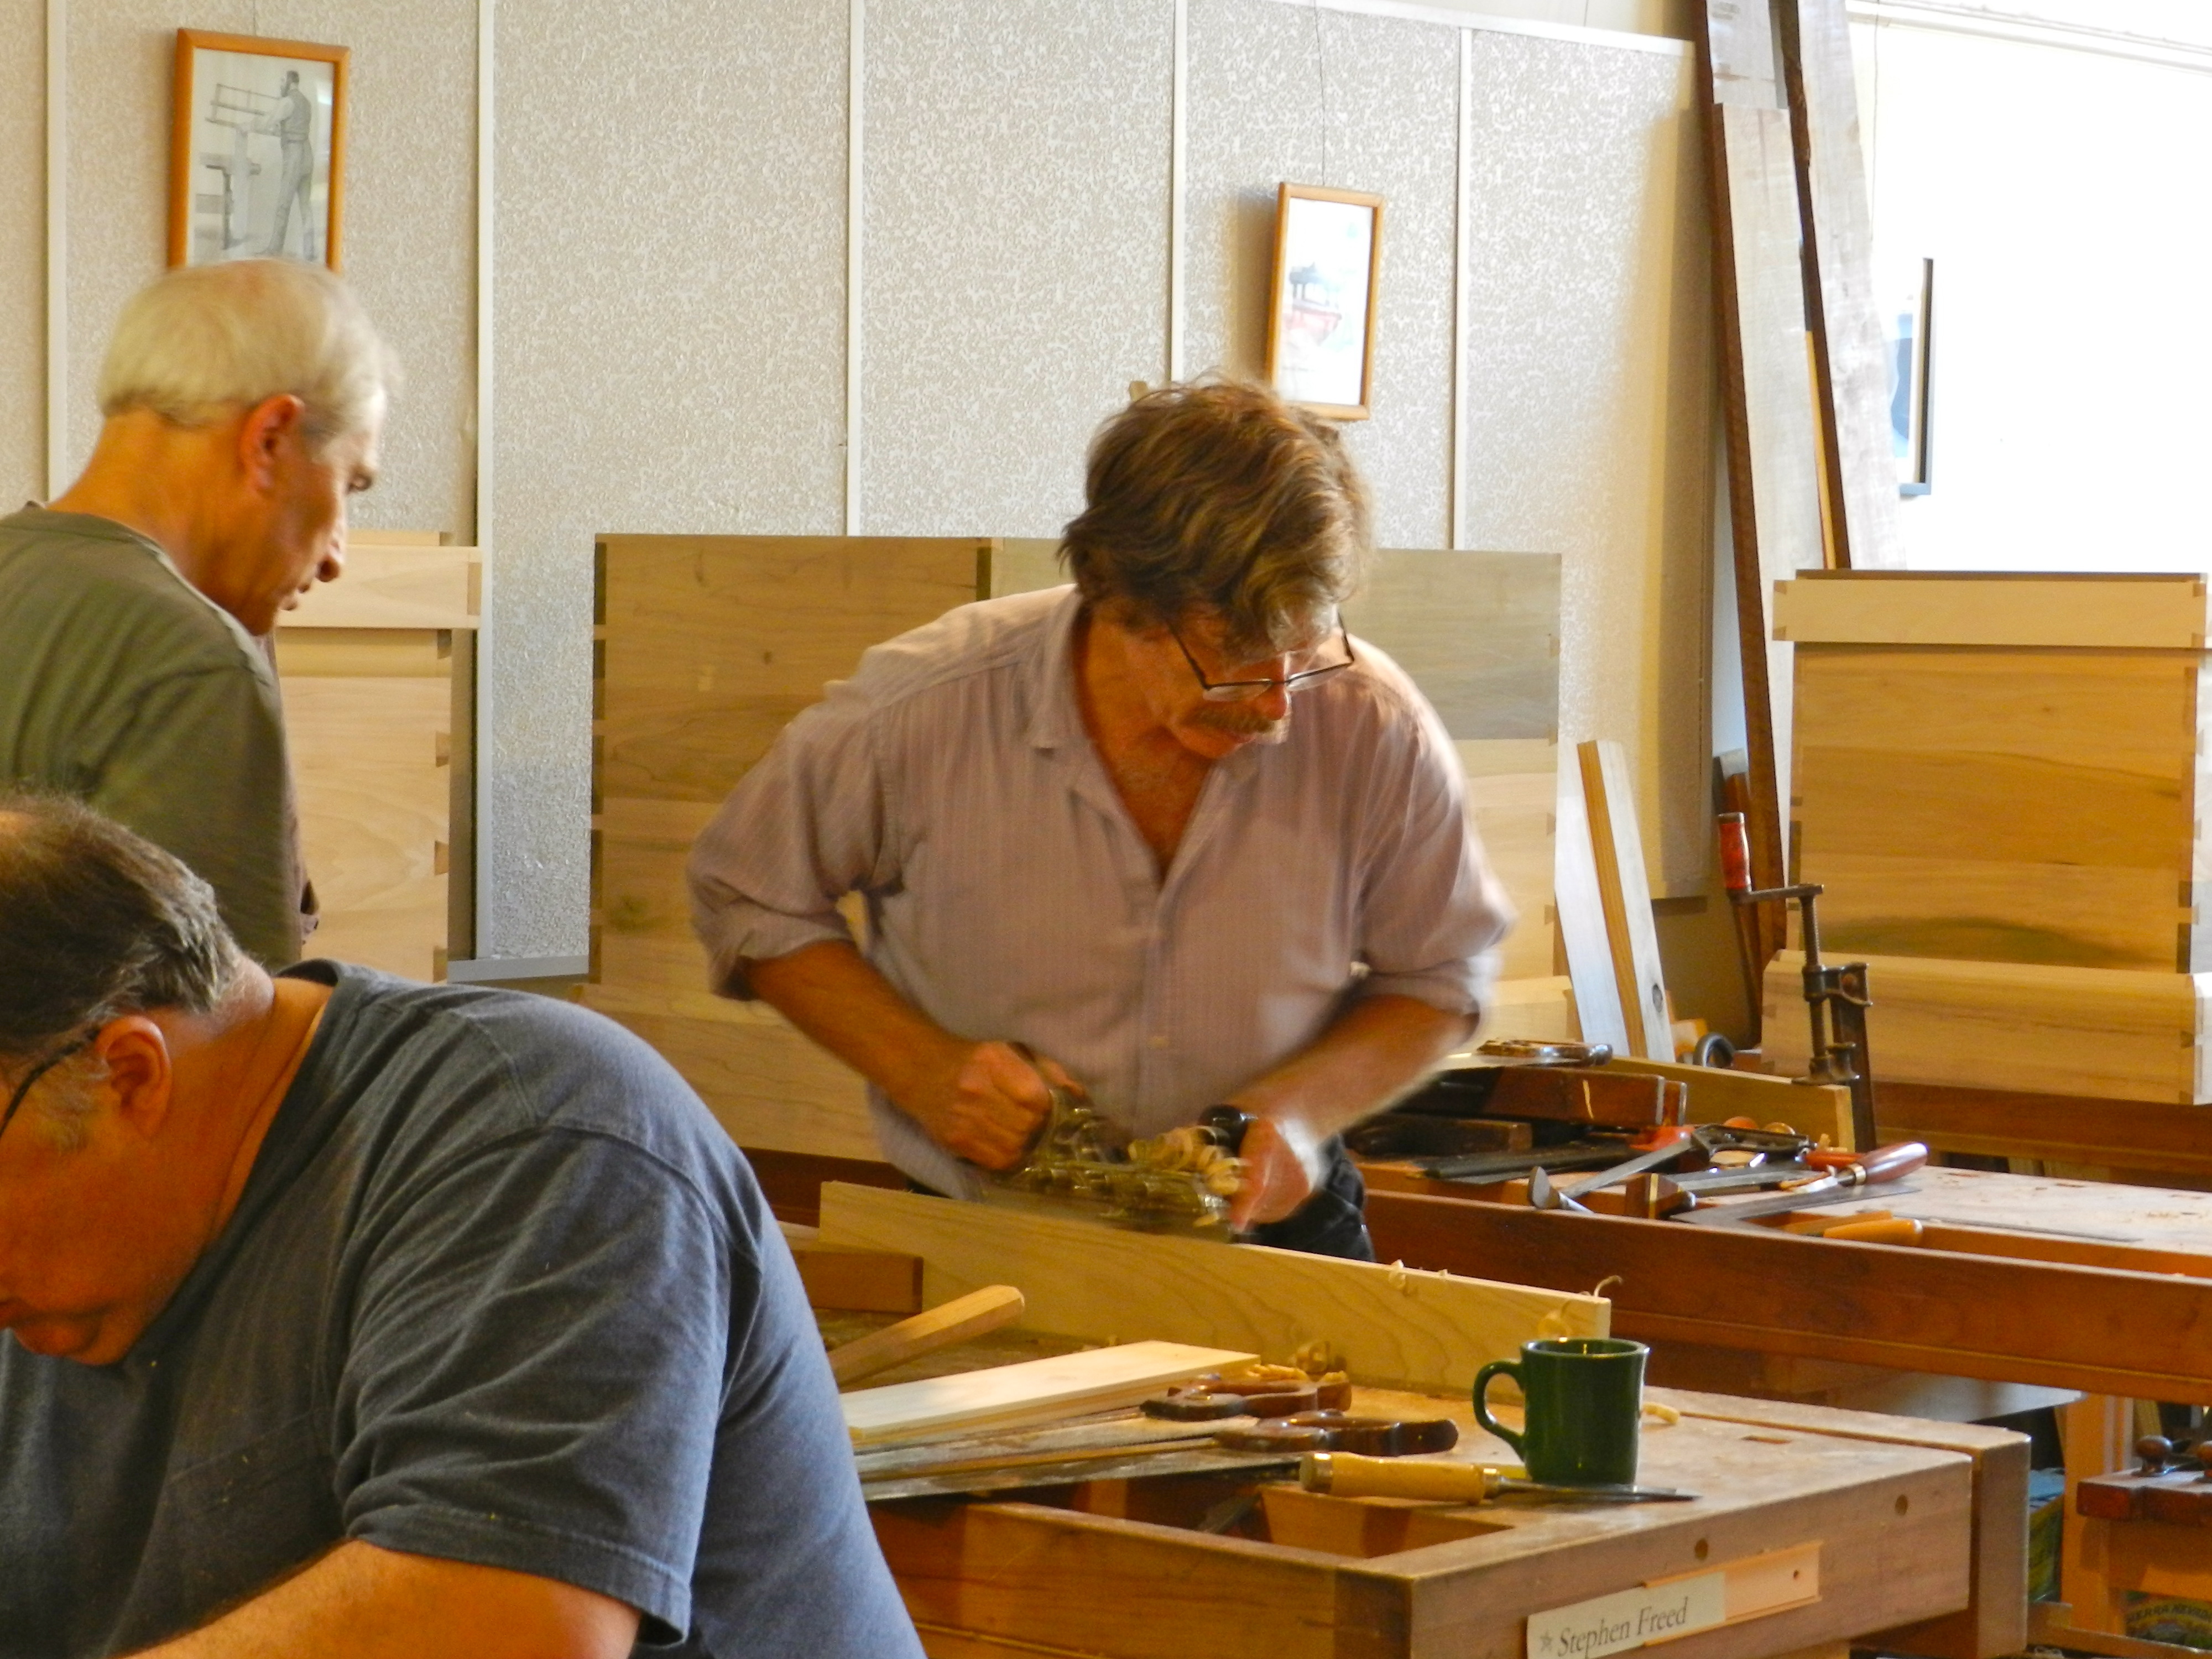
Don’t let the sometimes quiet streets fool you, once inside the school you are in a lively space full of folks who as passionate about woodworking as you are. Roy was on hand to help students as they worked their way through the last day of week long class on building a traditional English tool chest based on Chris’ book ‘The Anarchist’s Toolchest’.
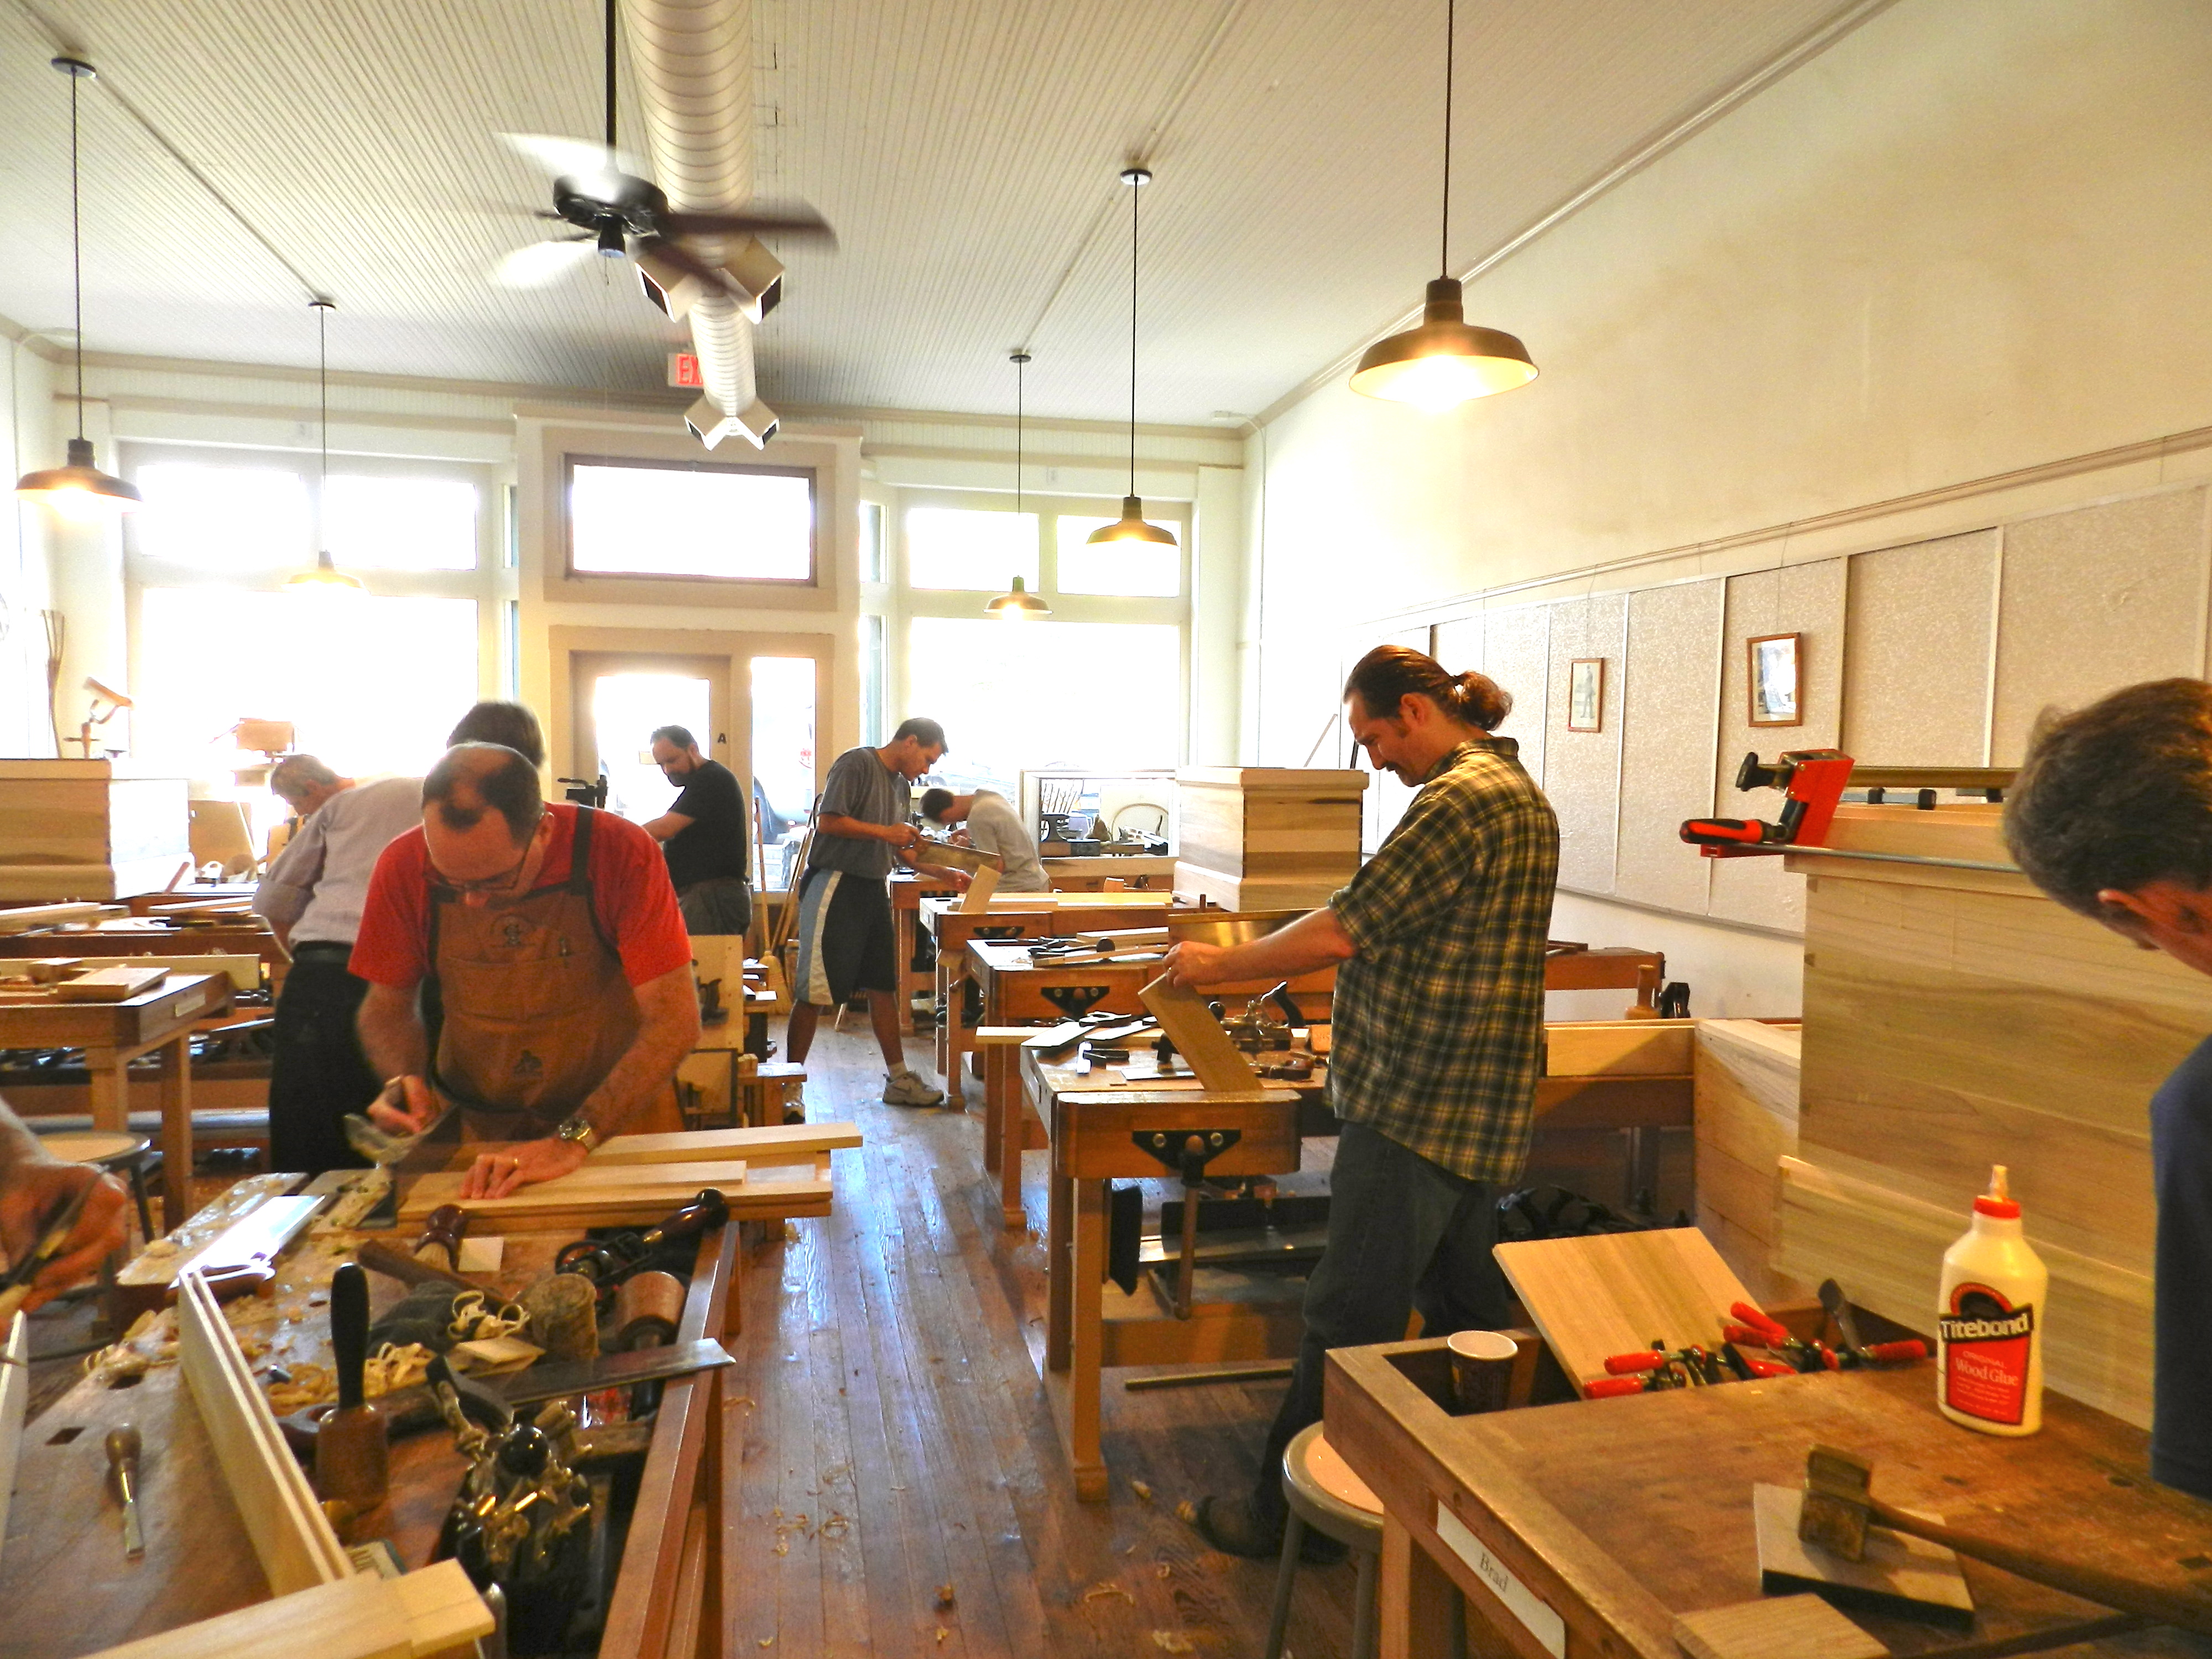
The class busy working on their Anarchist’s Toolchest
One of the attractions to Roy’s school is its focus on only using traditional English/American hand tools — there were no whining power tools, no Dozuki saws and no plastic handles to be seen — or at least none that I saw when Roy was making his rounds. 😉
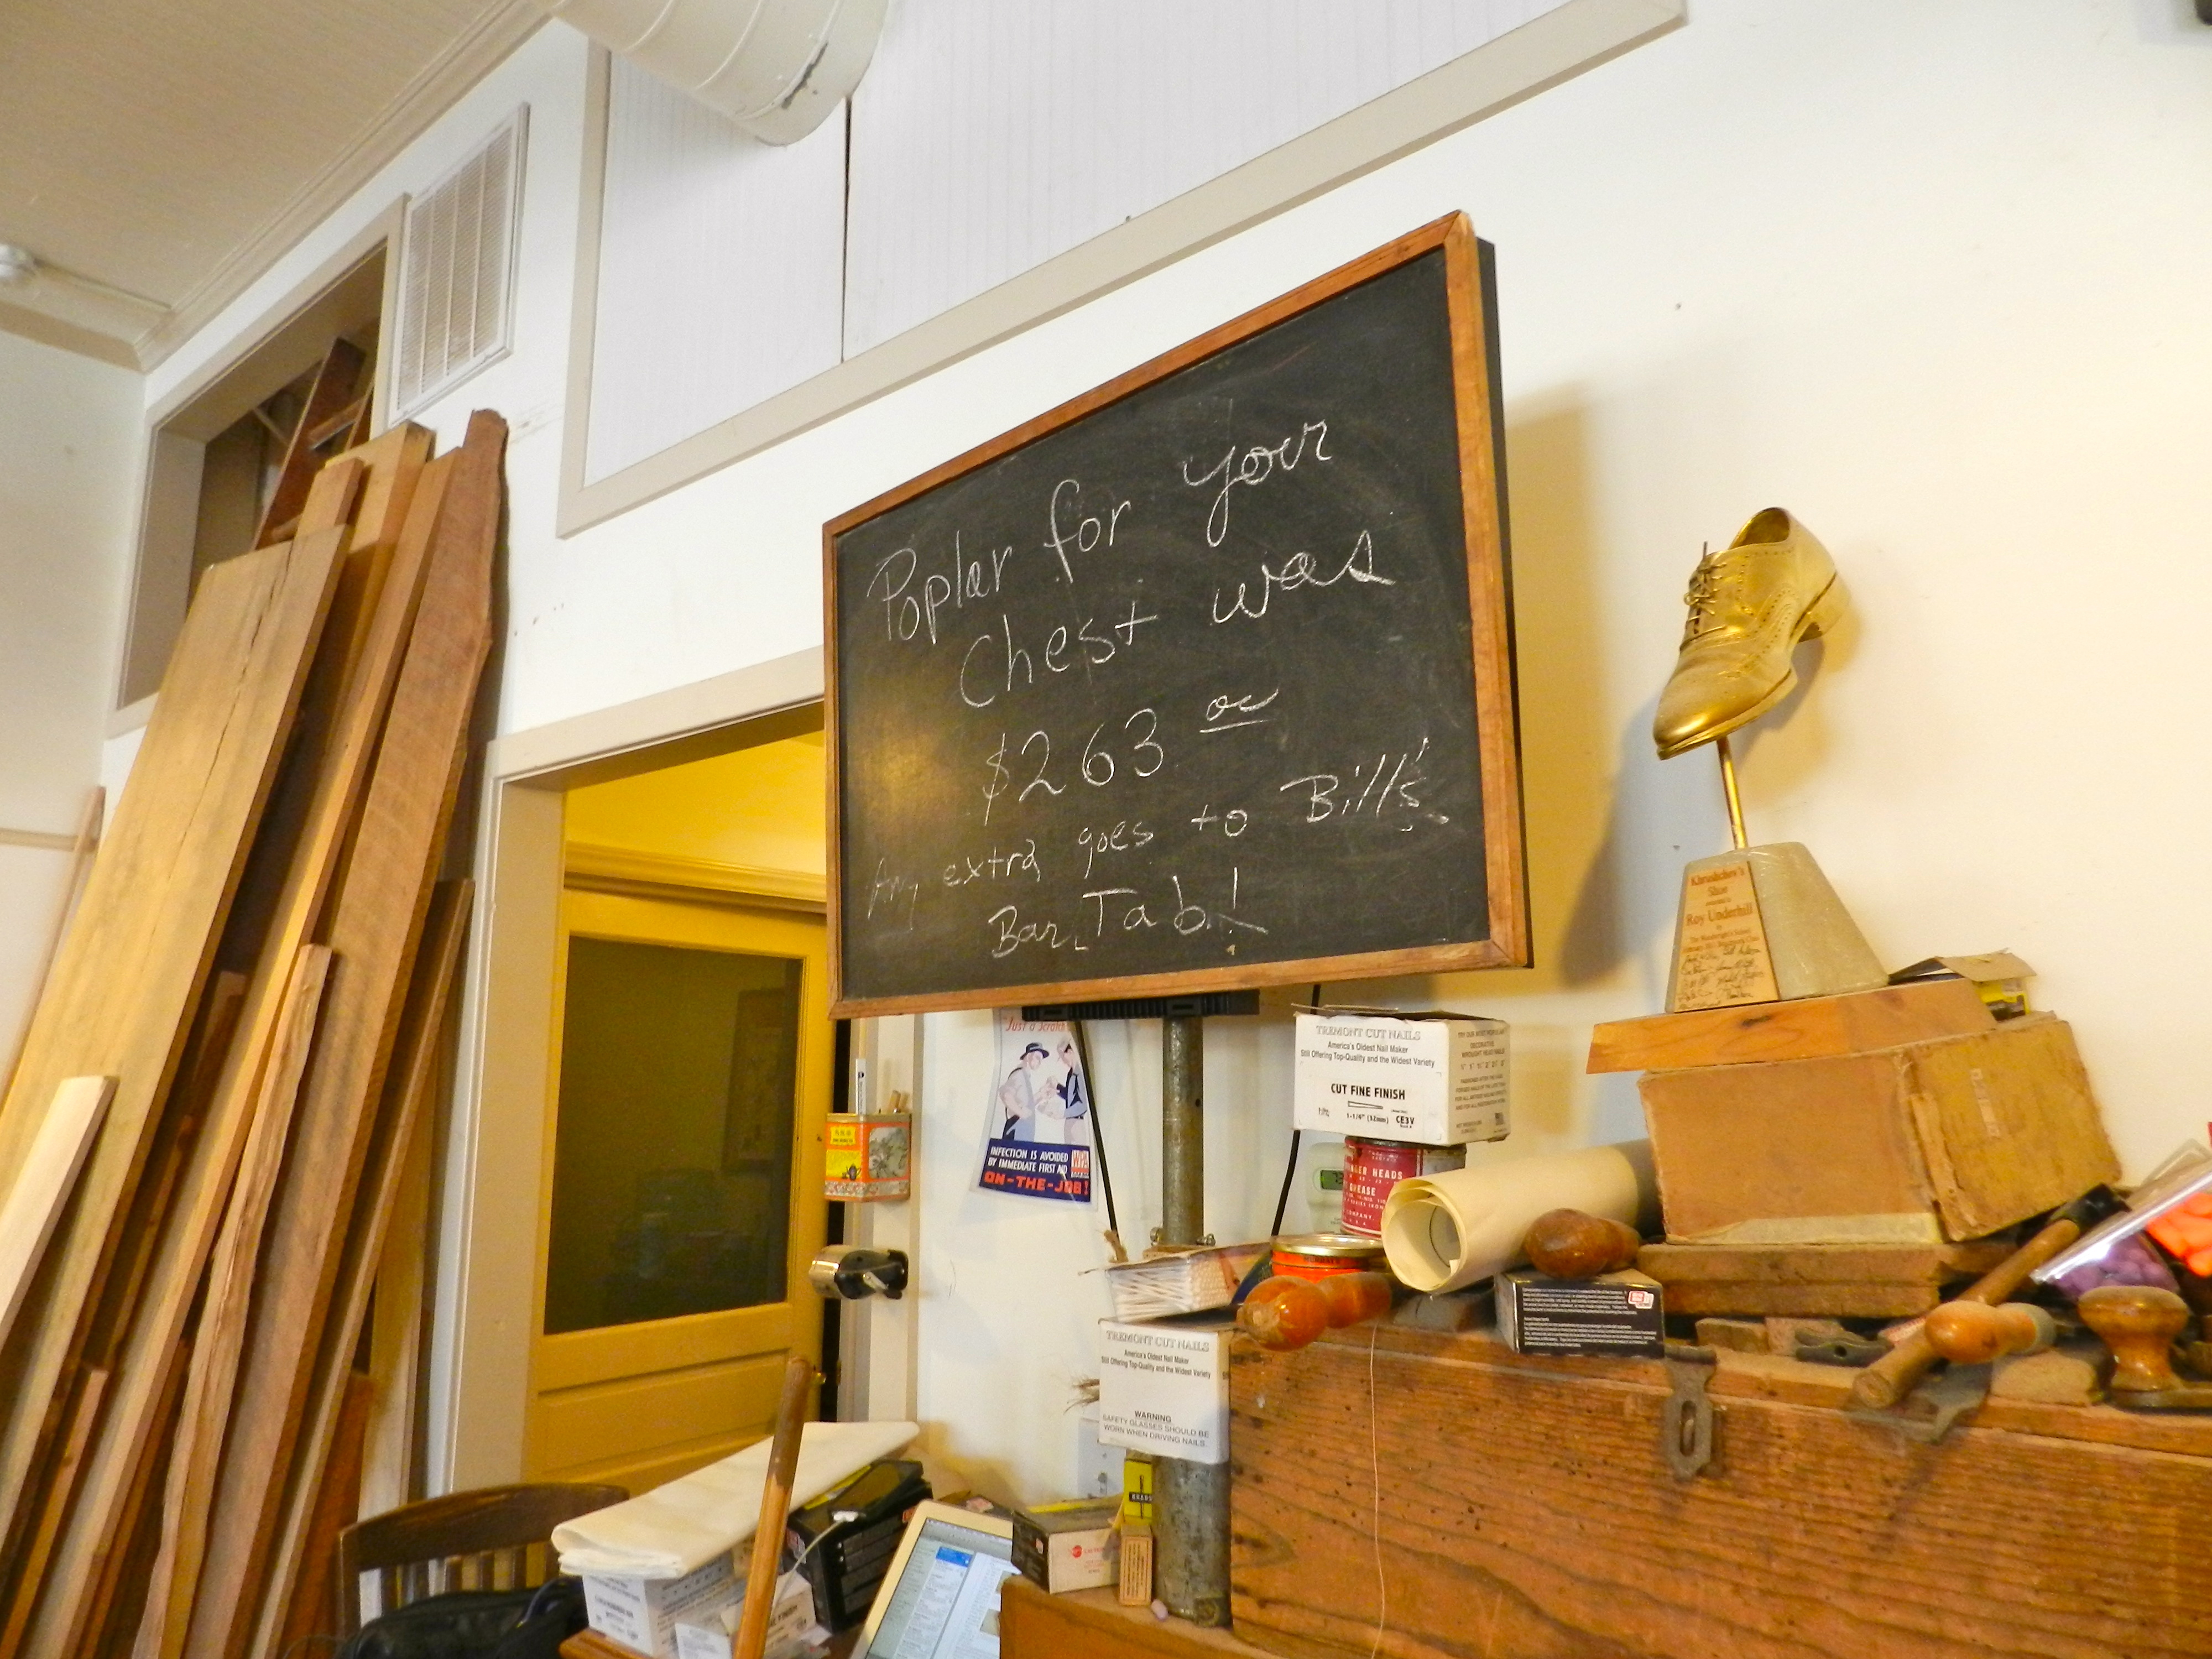
Feeding Bill’s bar tab and Khrushchev’s shoe
If you ever read Roy’s book on public speaking you’ll get why Khruschev’s shoe is an interesting trophy. Beyond the witty stories and advice on how to keep a crowd engaged and entertained, the last chapter on the morning after a presentation was the one that resonated the most with me. Applying the advice therein has improved several lectures I have to make each year.
Drilling out a mortise
Traditional woodworking can feel like a very small world at times — the gentleman in the photo above was also in the class I took earlier this summer on making a Name Stamp with Peter Ross at Roy’s school — even though I was 700+ miles from home I happy to see that I could still run into people I knew.
Roy’s corner cabinet
Loitering in the back of the classroom is a corner cupboard you may recognize from Roy’s show. I heard his wife has been waiting on it for a while — which made me feel a tiny bit better about the dresser I owe my wife Alyssa — which reminds me I need to get working on that again….
Chris Schwarz teaching
It was also great to spend some time hanging out with my friends Chris Schwarz and Megan Fitzpatrick including a stroll through Ed’s tool shop above the school.
Chatting with Megan Fitzpatrick
No toolchest is ever completely filled and Ed’s shop has a huge collection of traditional tools on par with some of the best regional tool shows. I tried my best to be good and save my pennies for the Nashua tool show later this month, but I did find some new toys.
Chris’ Dutch Tool Chest
I had fun chatting with everyone, examining some interesting tools and helping to sweep up before a trip to the City Tap — which is a awesome bar just behind the school with great food and drinks.
Roy helping a student
On my way out of the school I saw my old friend Otto Salomon and various other proper woodworking models from the Teacher’s Handbook of Sloyd.
Sloyd Prints
It seems the Woodwright’s School is full of new and old friends that are literally popping out of the woodworking.
If you’d like to learn more about the school, make some new friends, meet up with old friends, or sign up for a class you can check out the school’s website here.
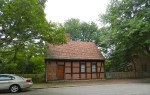
No visit to Old Salem Museums and Gardens would be complete without a visit to and guided tour of the Museum of Early Southern Decorative Arts (aka MESDA).
MESDA — The Museum of Early Southern Decorative Arts
Make sure to head over to the museum first and schedule a guided tour early — as they fill up fast. I learned about this museum from Glen Huey’s book ‘Furniture in the Southern Style’. Just as he said, the museum staff were extremely friendly and knowledgeable. After my tour and talking to the guides, I was invited back to see some of the other rooms. I had a great time and made some new friends.
As someone who grew up in the Northeast and New England it was great to see some more of the vernacular pieces from the South and be able to compare and contrast the details with those of my own work. I hope to tackle some Southern style pieces soon. The museum also has a great research library and a staff who enjoy sharing what they know — I look forward to doing some research there in the future.
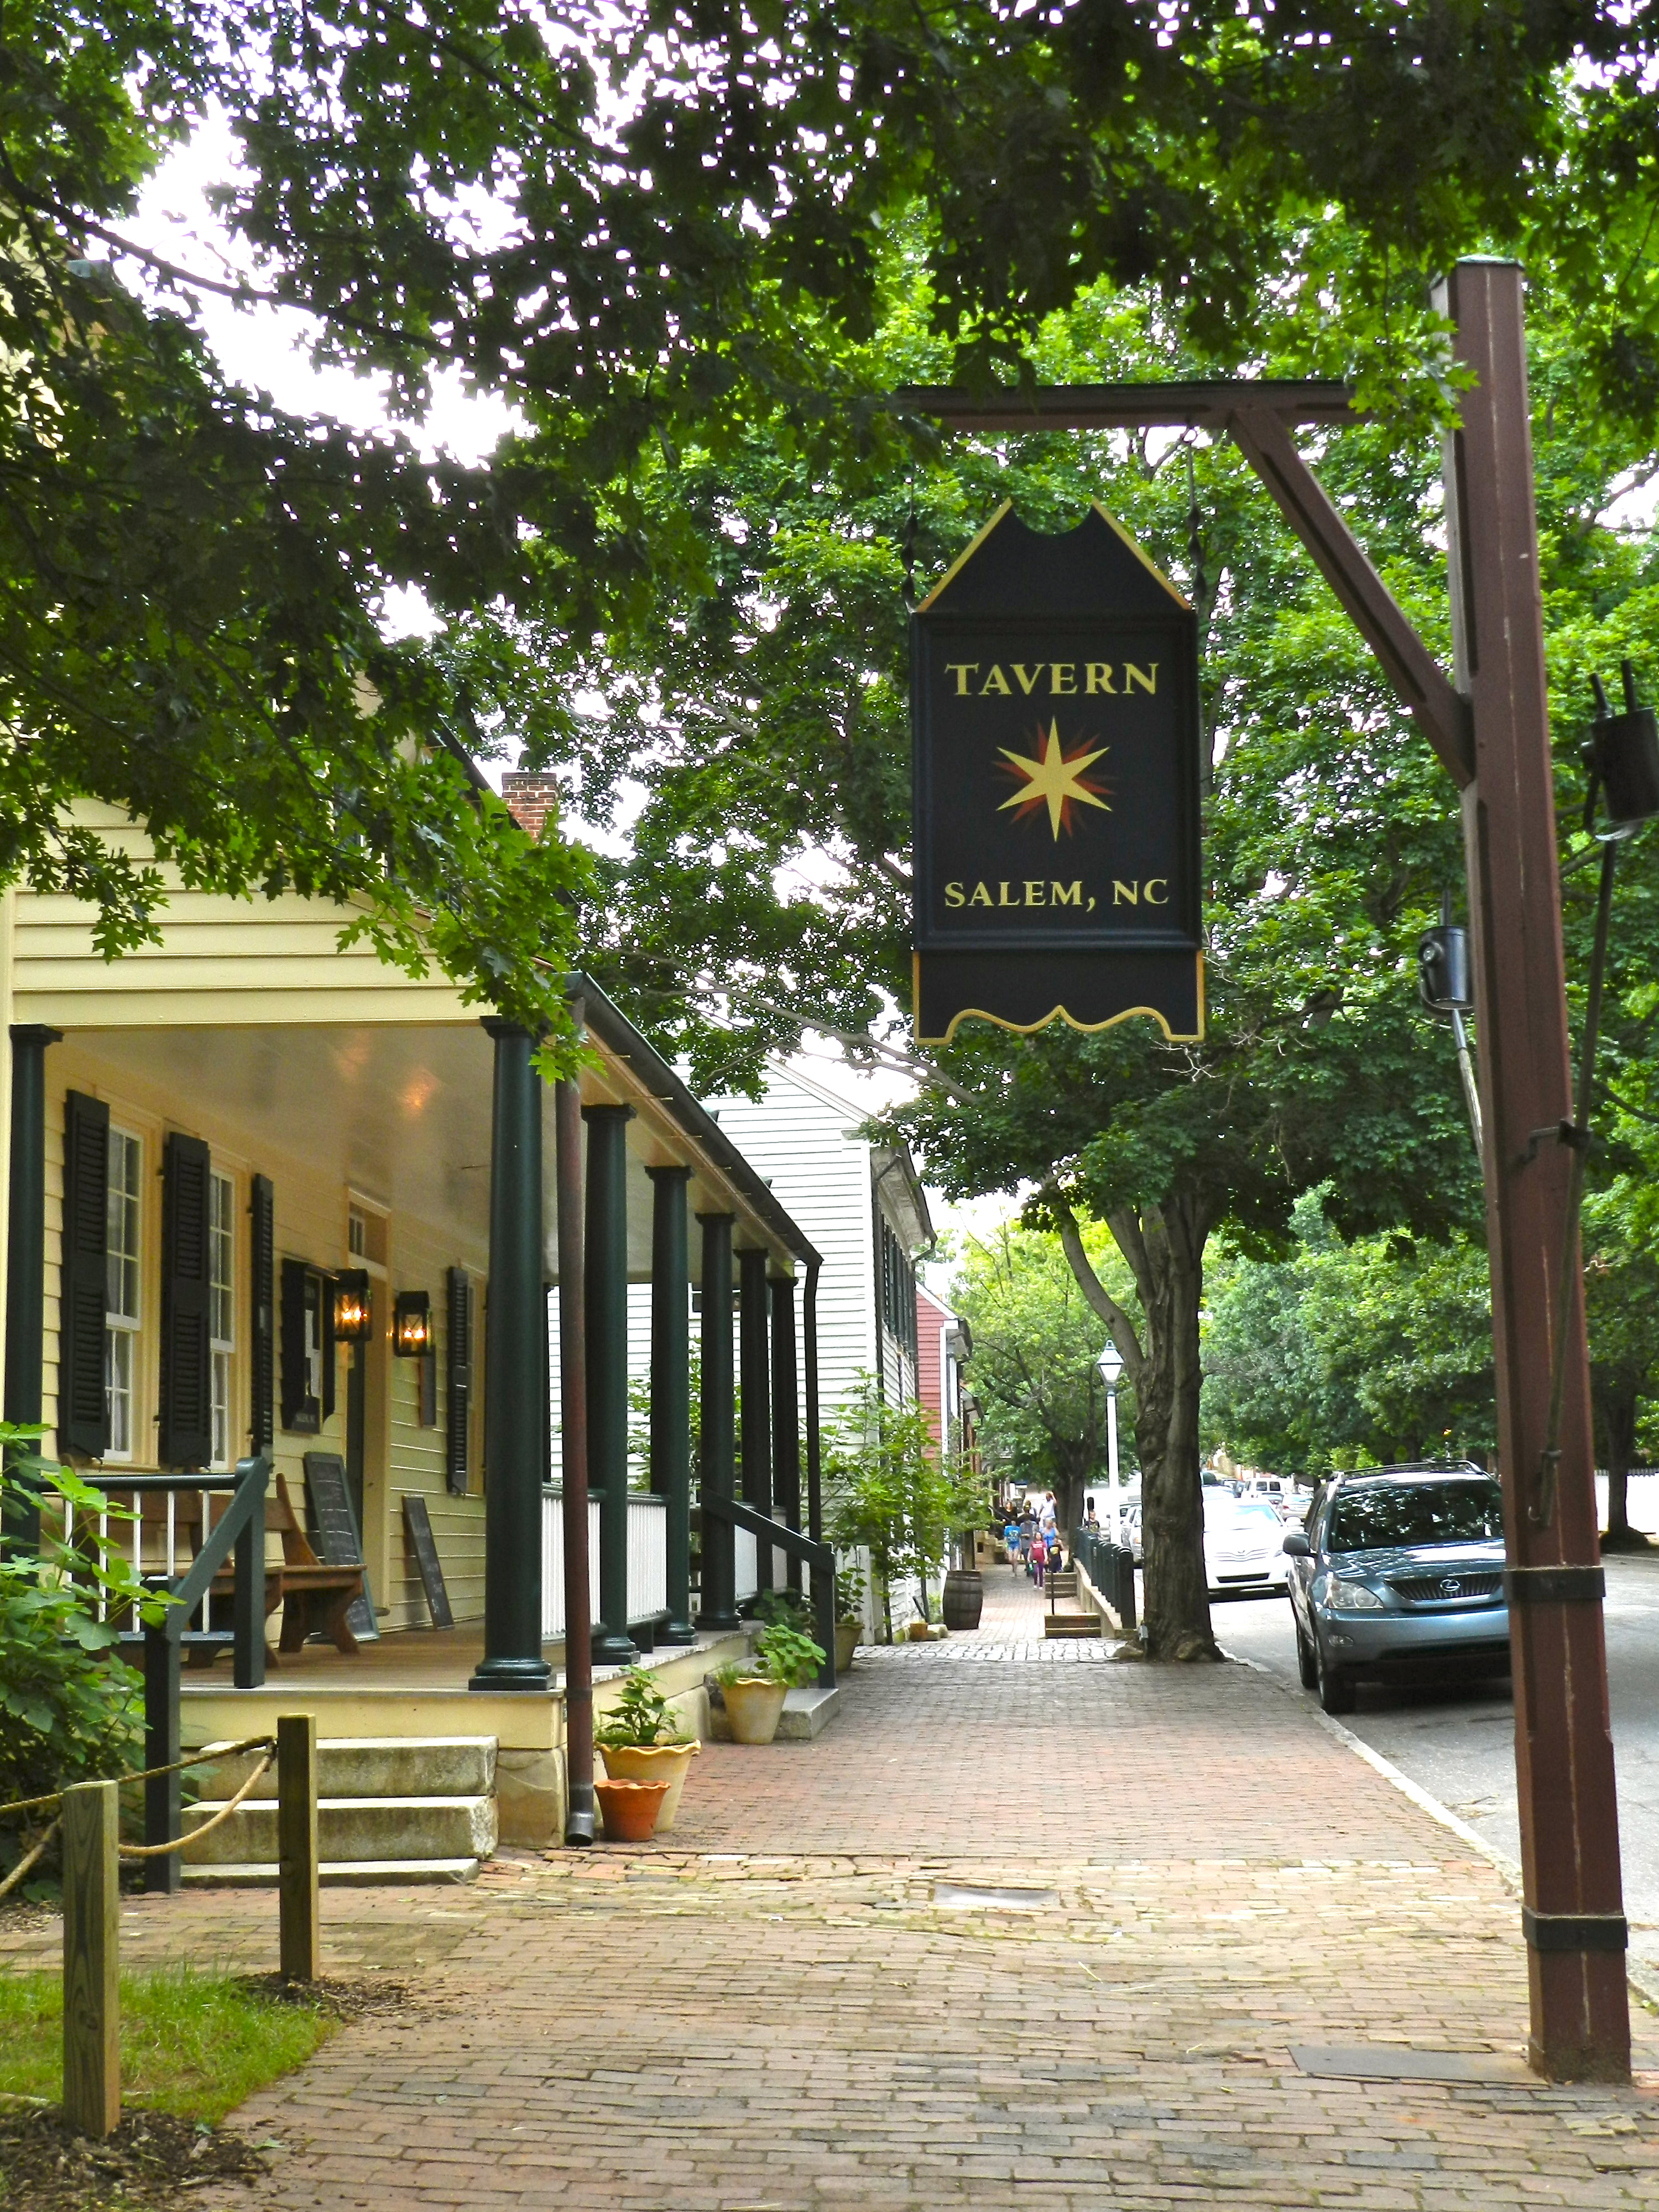
The Tavern at Old Salem
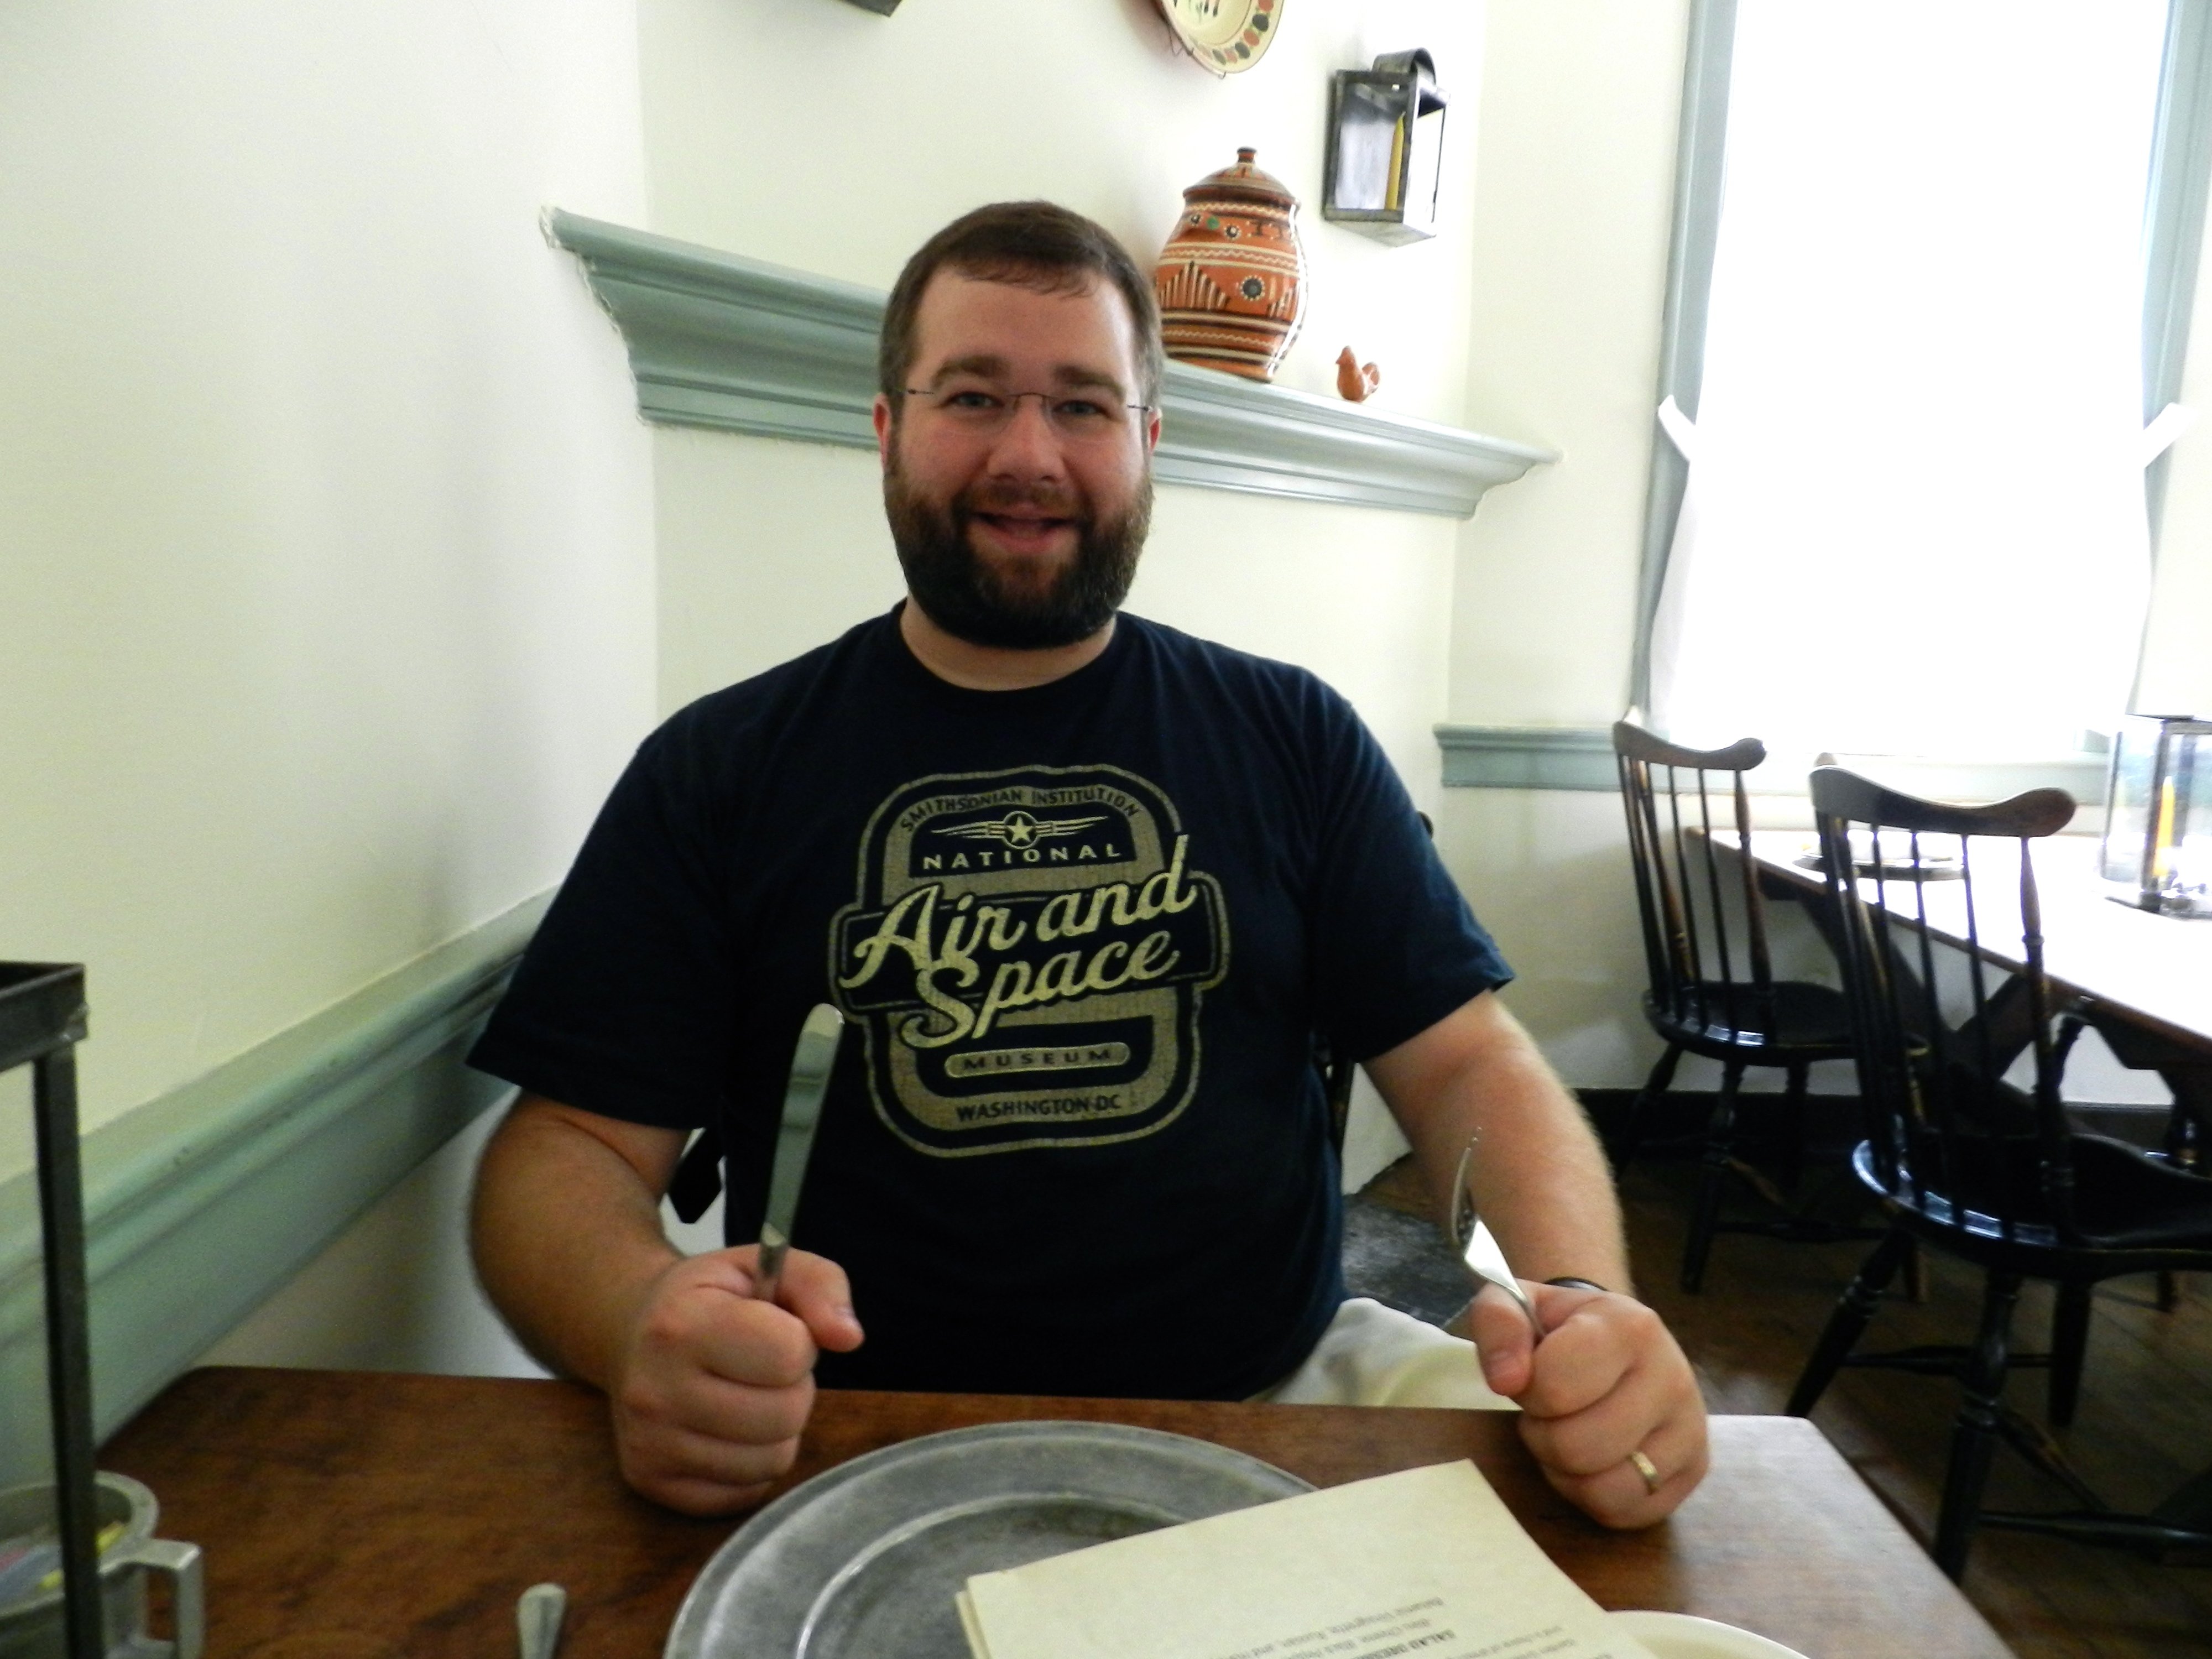
When lunch time came around we headed over to the Tavern at Old Salem. They had a newly revamped menu which included a lot of southern favorites and fresh local produce. I had a great pulled pork sandwich and warm German Potato salad — the best I ever had that was not made by family. I come from a long line of German ancestors, some of which were brewers, so much like the woodworking gene, I’m pretty sure a lot more things are hereditary. Love of beer, bratwurst, bacon, expressed construction in woodworking etc. I also think that German language has a nice sound to it — so that one must be subconscious as at a conscious level I don’t get it….
Ready to eat at the Tavern at Old Salem. (I had a great pulled pork sandwich)
After lunch we had fun exploring the town’s many shops, houses and gardens.
Some of the beautiful gardens that are part of Old Salem Museums and Gardens
Below on the blog is a gallery of some of the more interesting architectural highlights from my walk through the village:
T. Bagge’s Merchant Shop
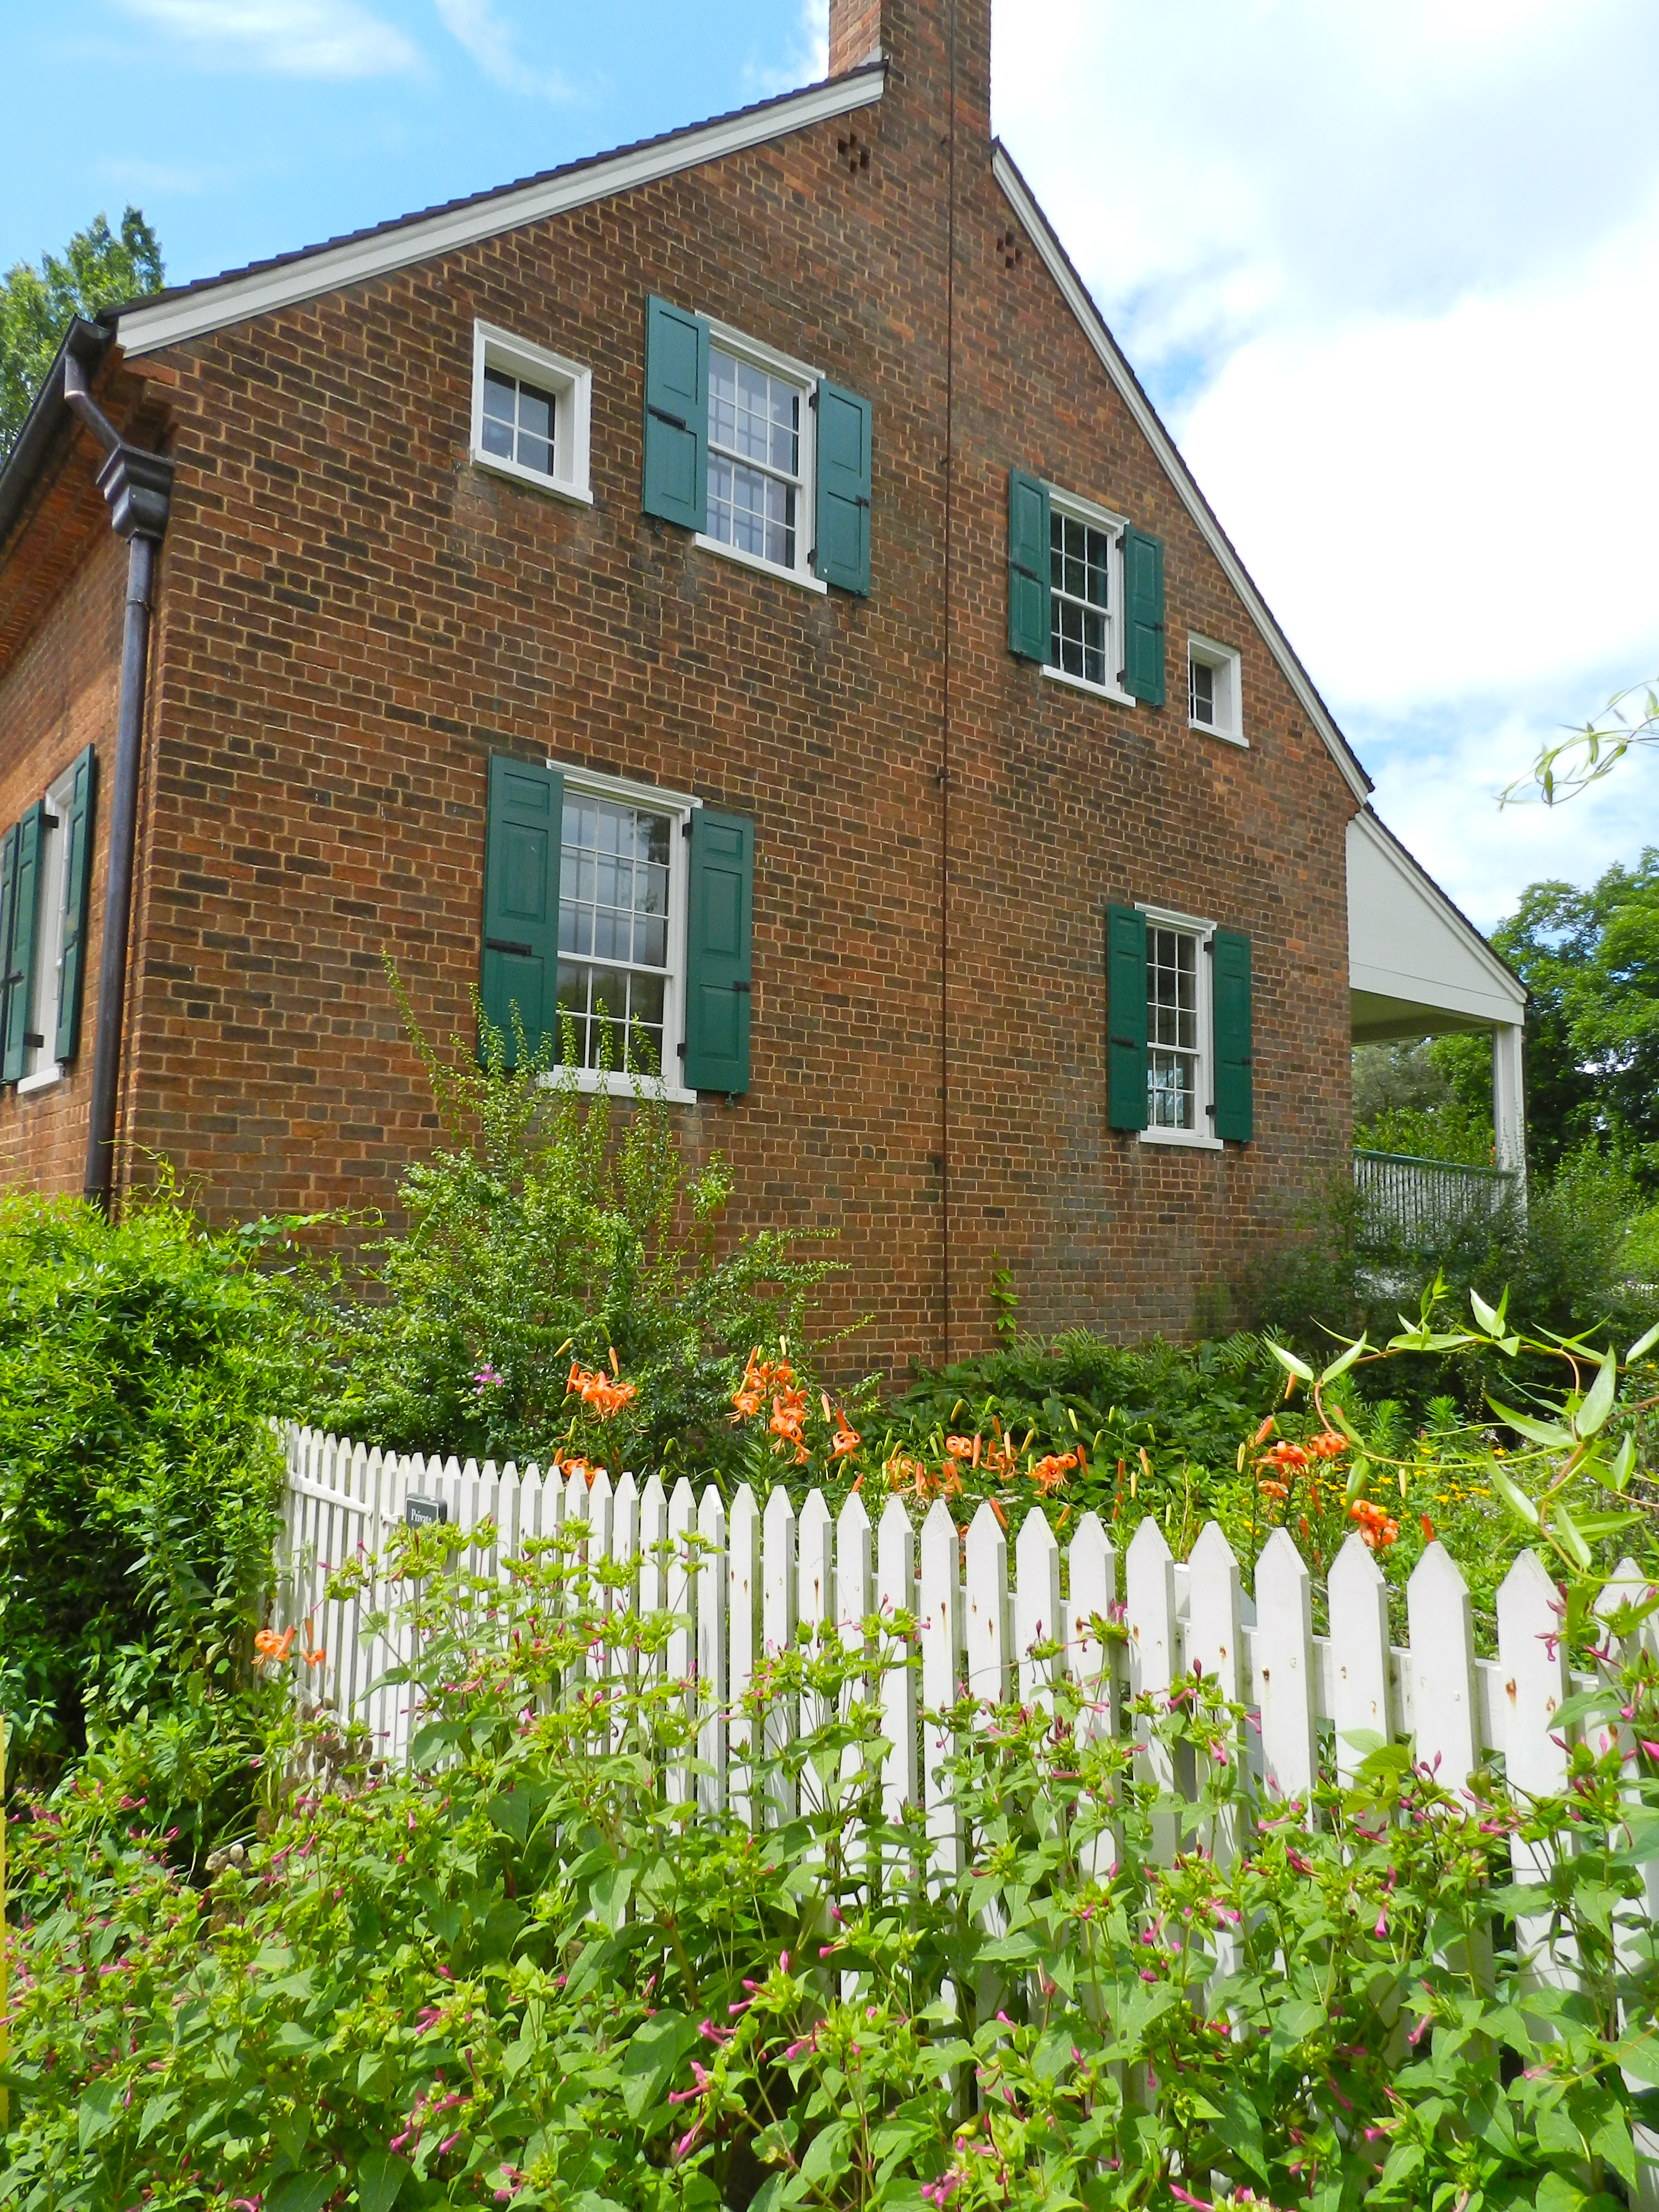
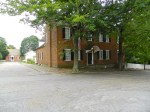
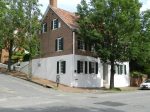
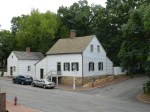
Nice brick home
Well detailed house
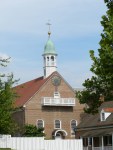
Great belfry
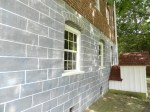
Rusticated walls (Not sure if its just a modern attempt or based on what was there historically)
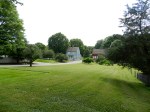
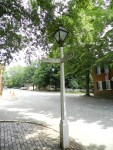
Open landscape and nice homes in the distance
Another nicely appointed brick house
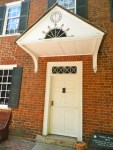
Note the interesting Germanic painting on the portico
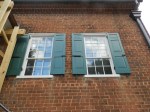
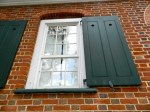
Working shutters with fielded panels and appropriate hardware
One of the many beautiful gardens at Old Salem
A half-timbered home. (A timber frame home where the timbers are exposed inside and out and infilled in between)
Some great old hardware on a barn at Old Salem
A lot of the design and trim details had a distinctively German look and feel to them which I enjoyed
A distinctive and Germanic door
The Bakery — another must see stop on our visit. Be sure to try items fresh from the oven.
Inside the historic tavern
The Haberdasher
Interior view
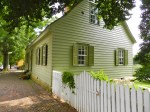
Nice townhouse
Another great set of shutters
Great street sign
Across from MESDA
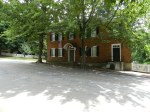
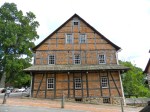
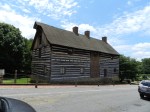
Gable end of the Single Brother’s House and Workshop
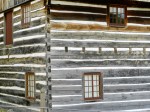
Great heavy timbered barn behind the Single Brother’s House
Detail view of the barn
You can easily spend a full day visiting Old-Salem and MESDA. In the evening things get pretty quiet in the historic area so plan your trip accordingly, but there are lots of other things to see in the surrounding area in the evening.
If you’d like to plan a visit to Old Salem Museum and Gardens you can check out their website here.
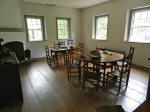
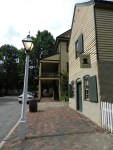
This summer I had the chance to take a week long road trip and travel around to a lot of historic sites in Virginia and North Carolina. One of my favorite stops along the way was my visit to Old Salem Museums and Gardens in Winston-Salem NC.
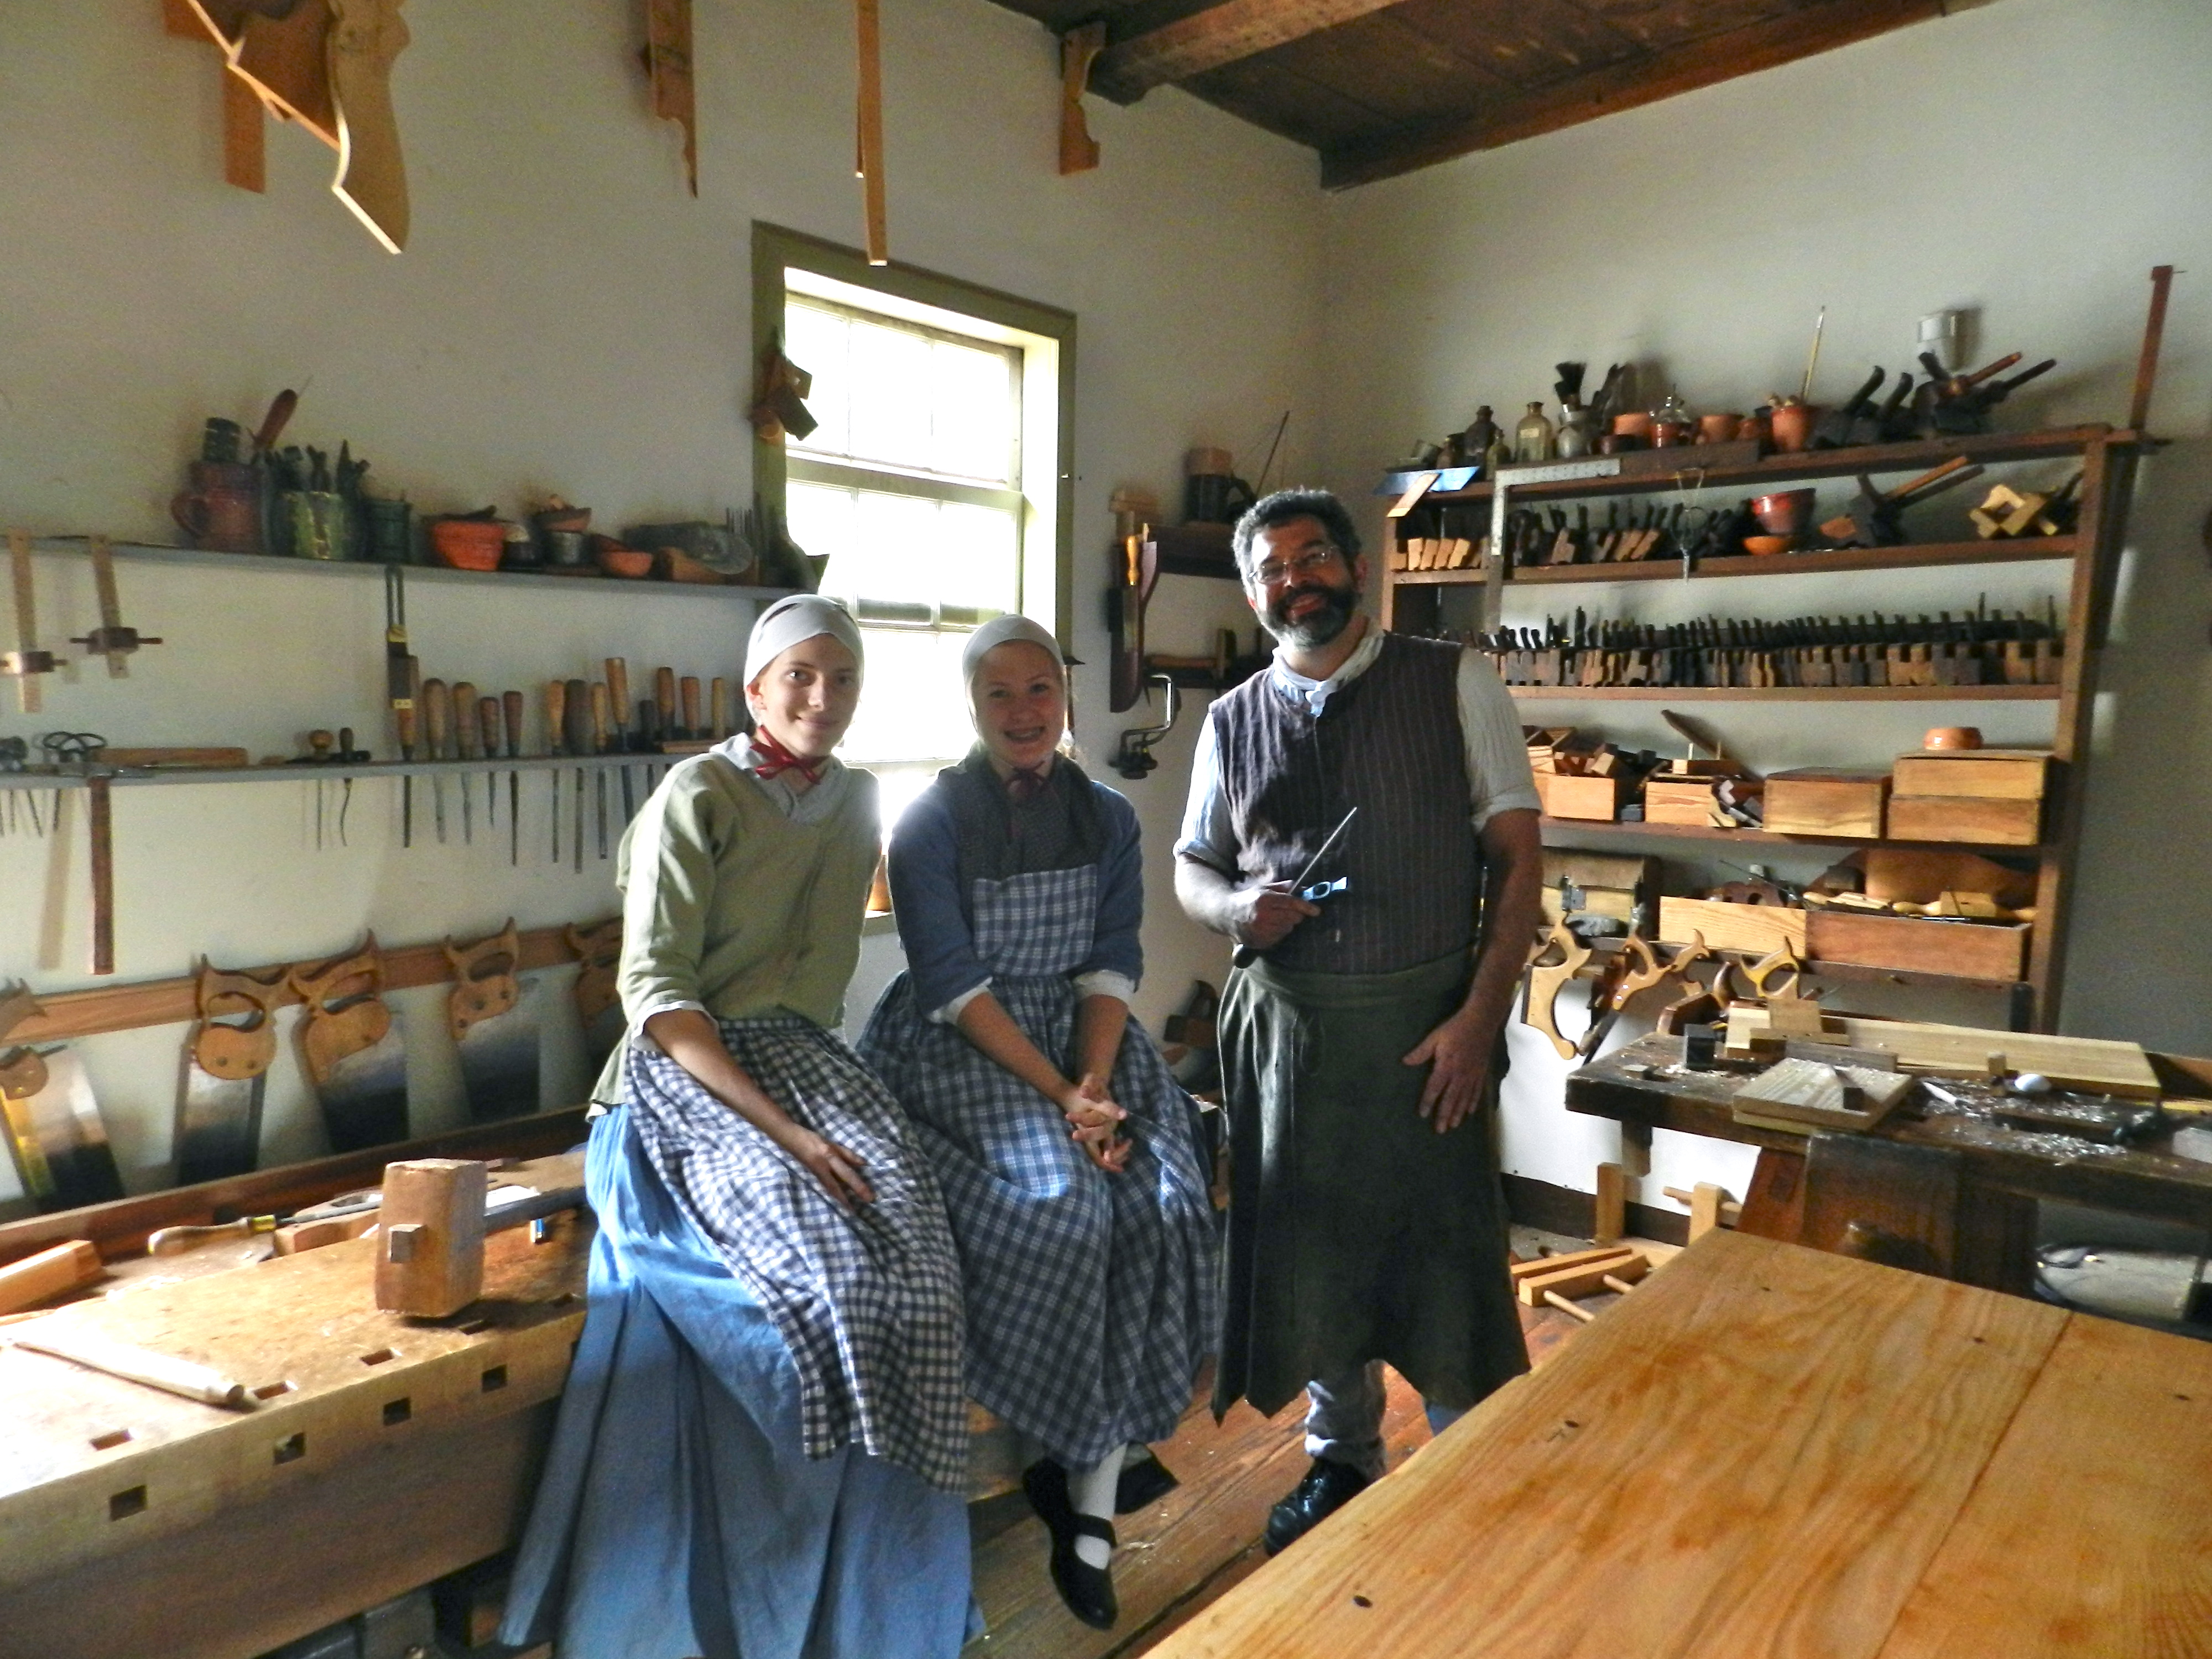
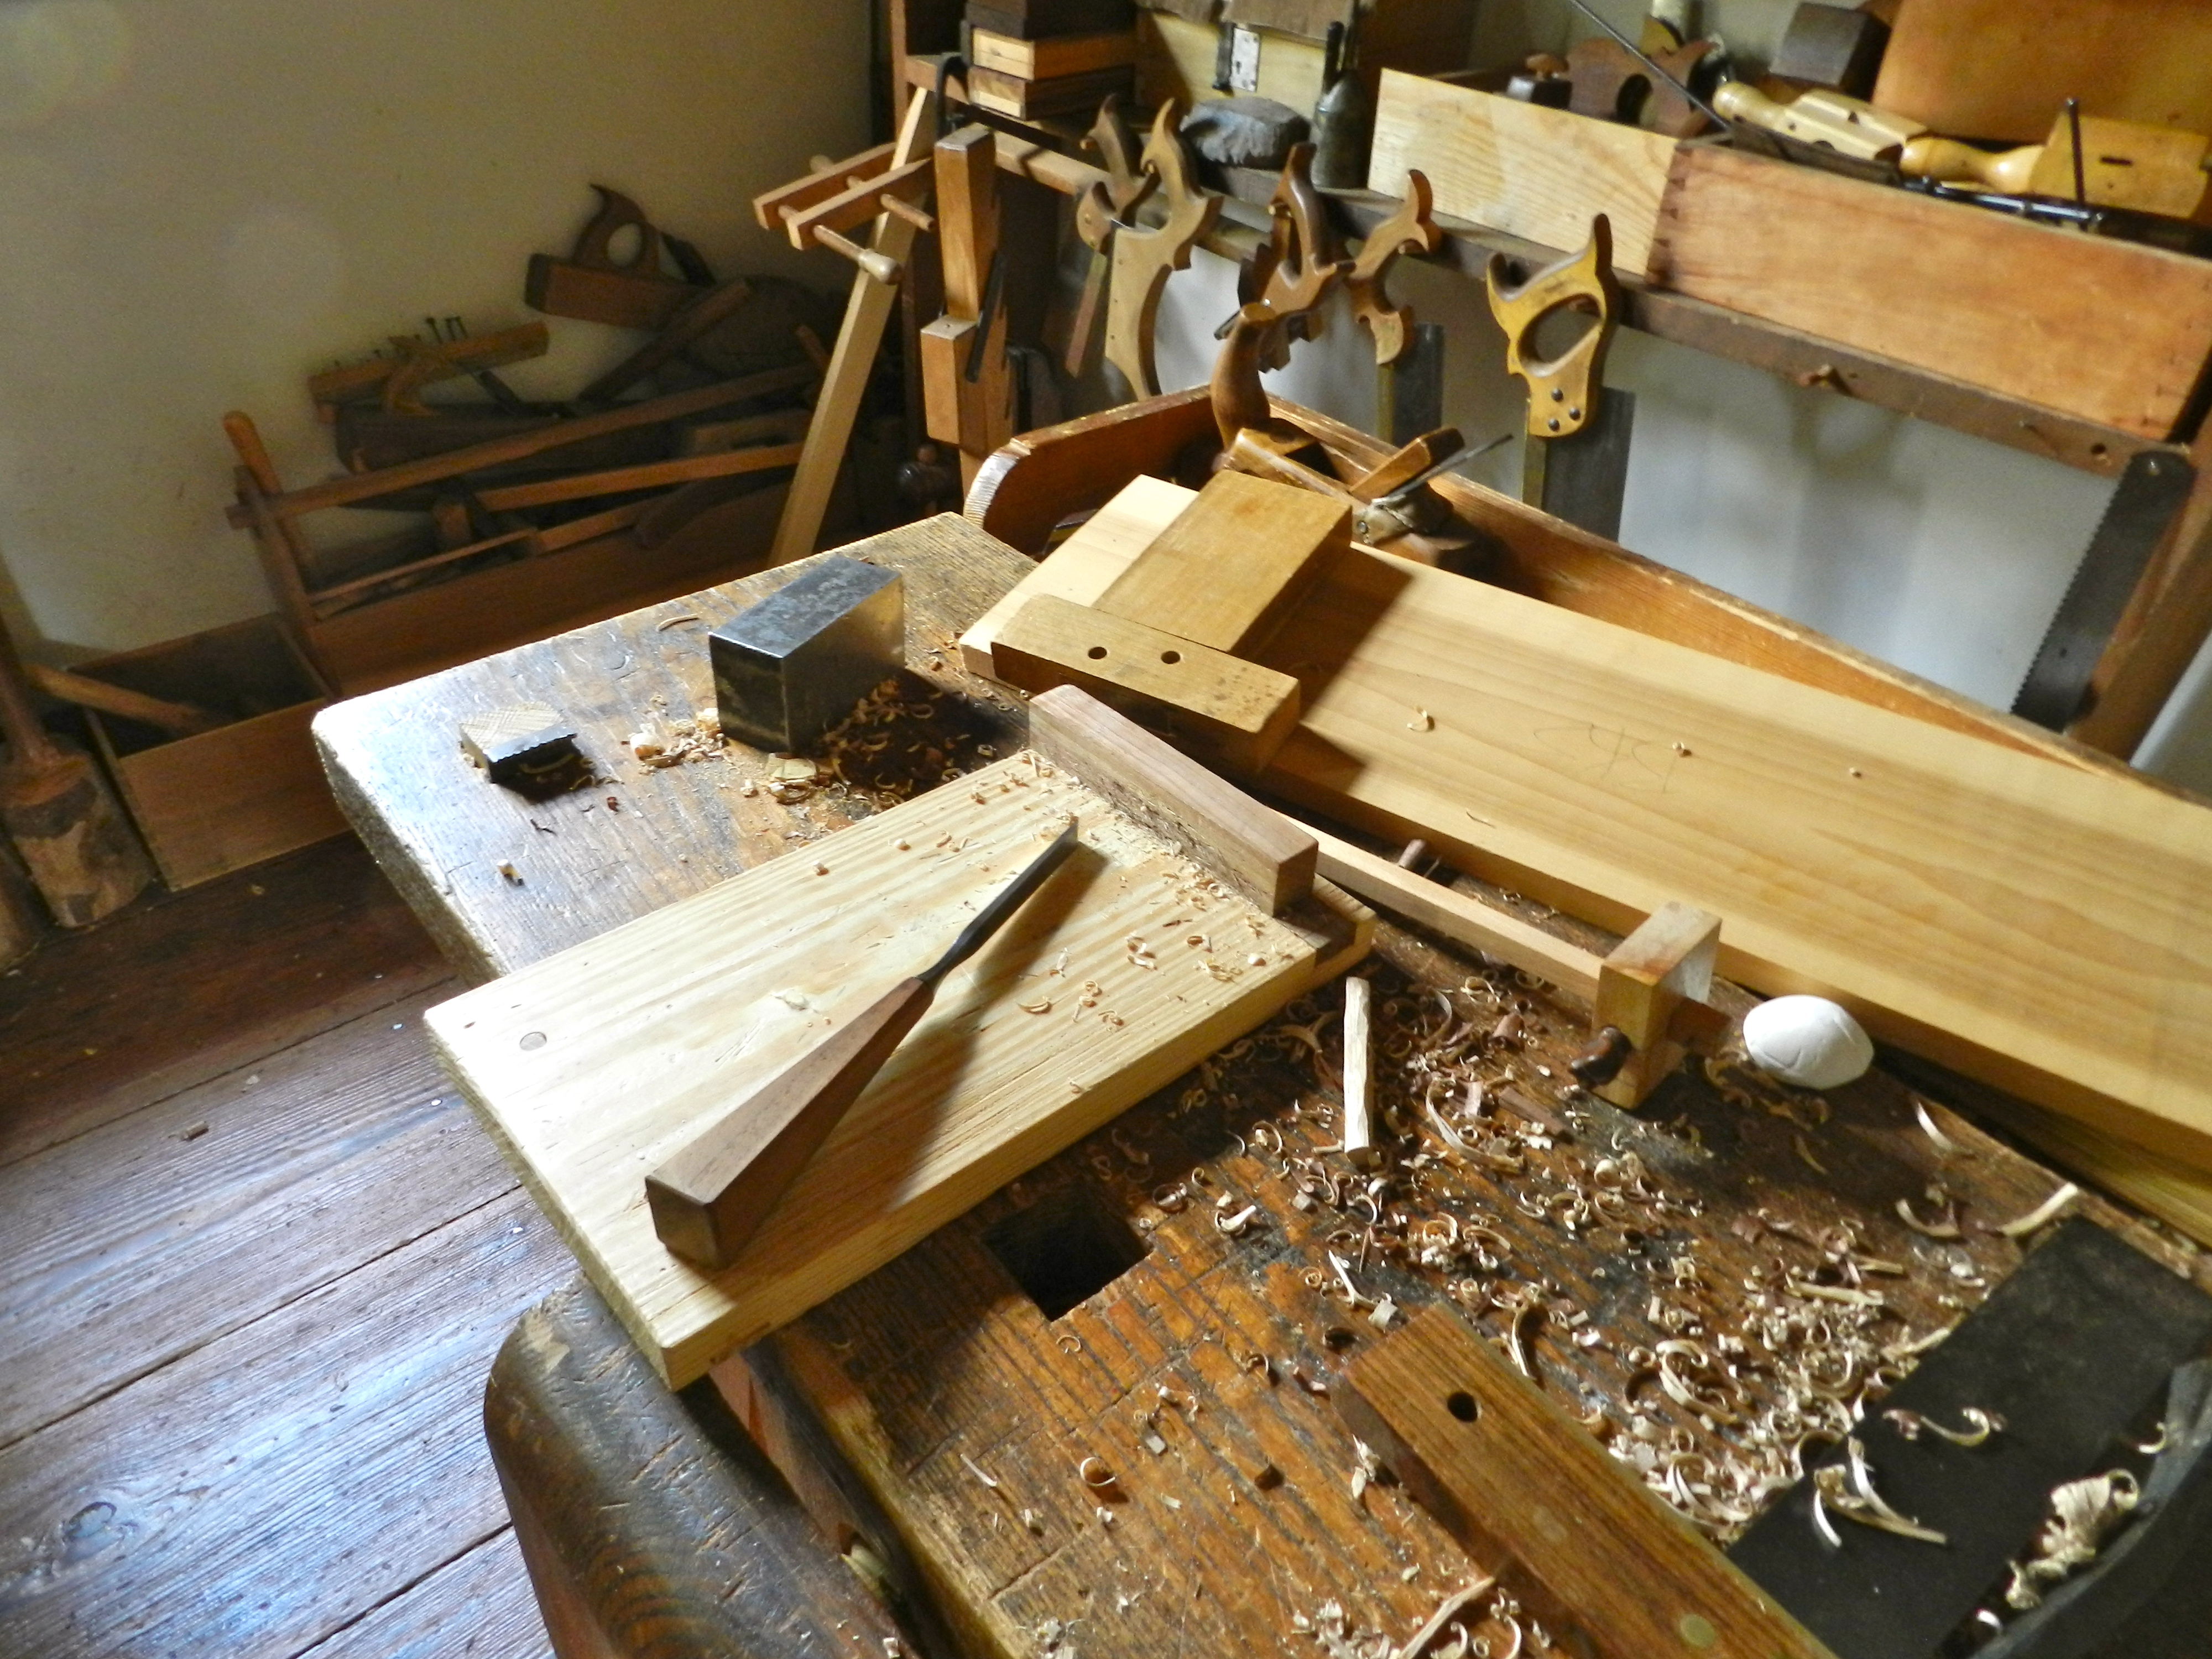
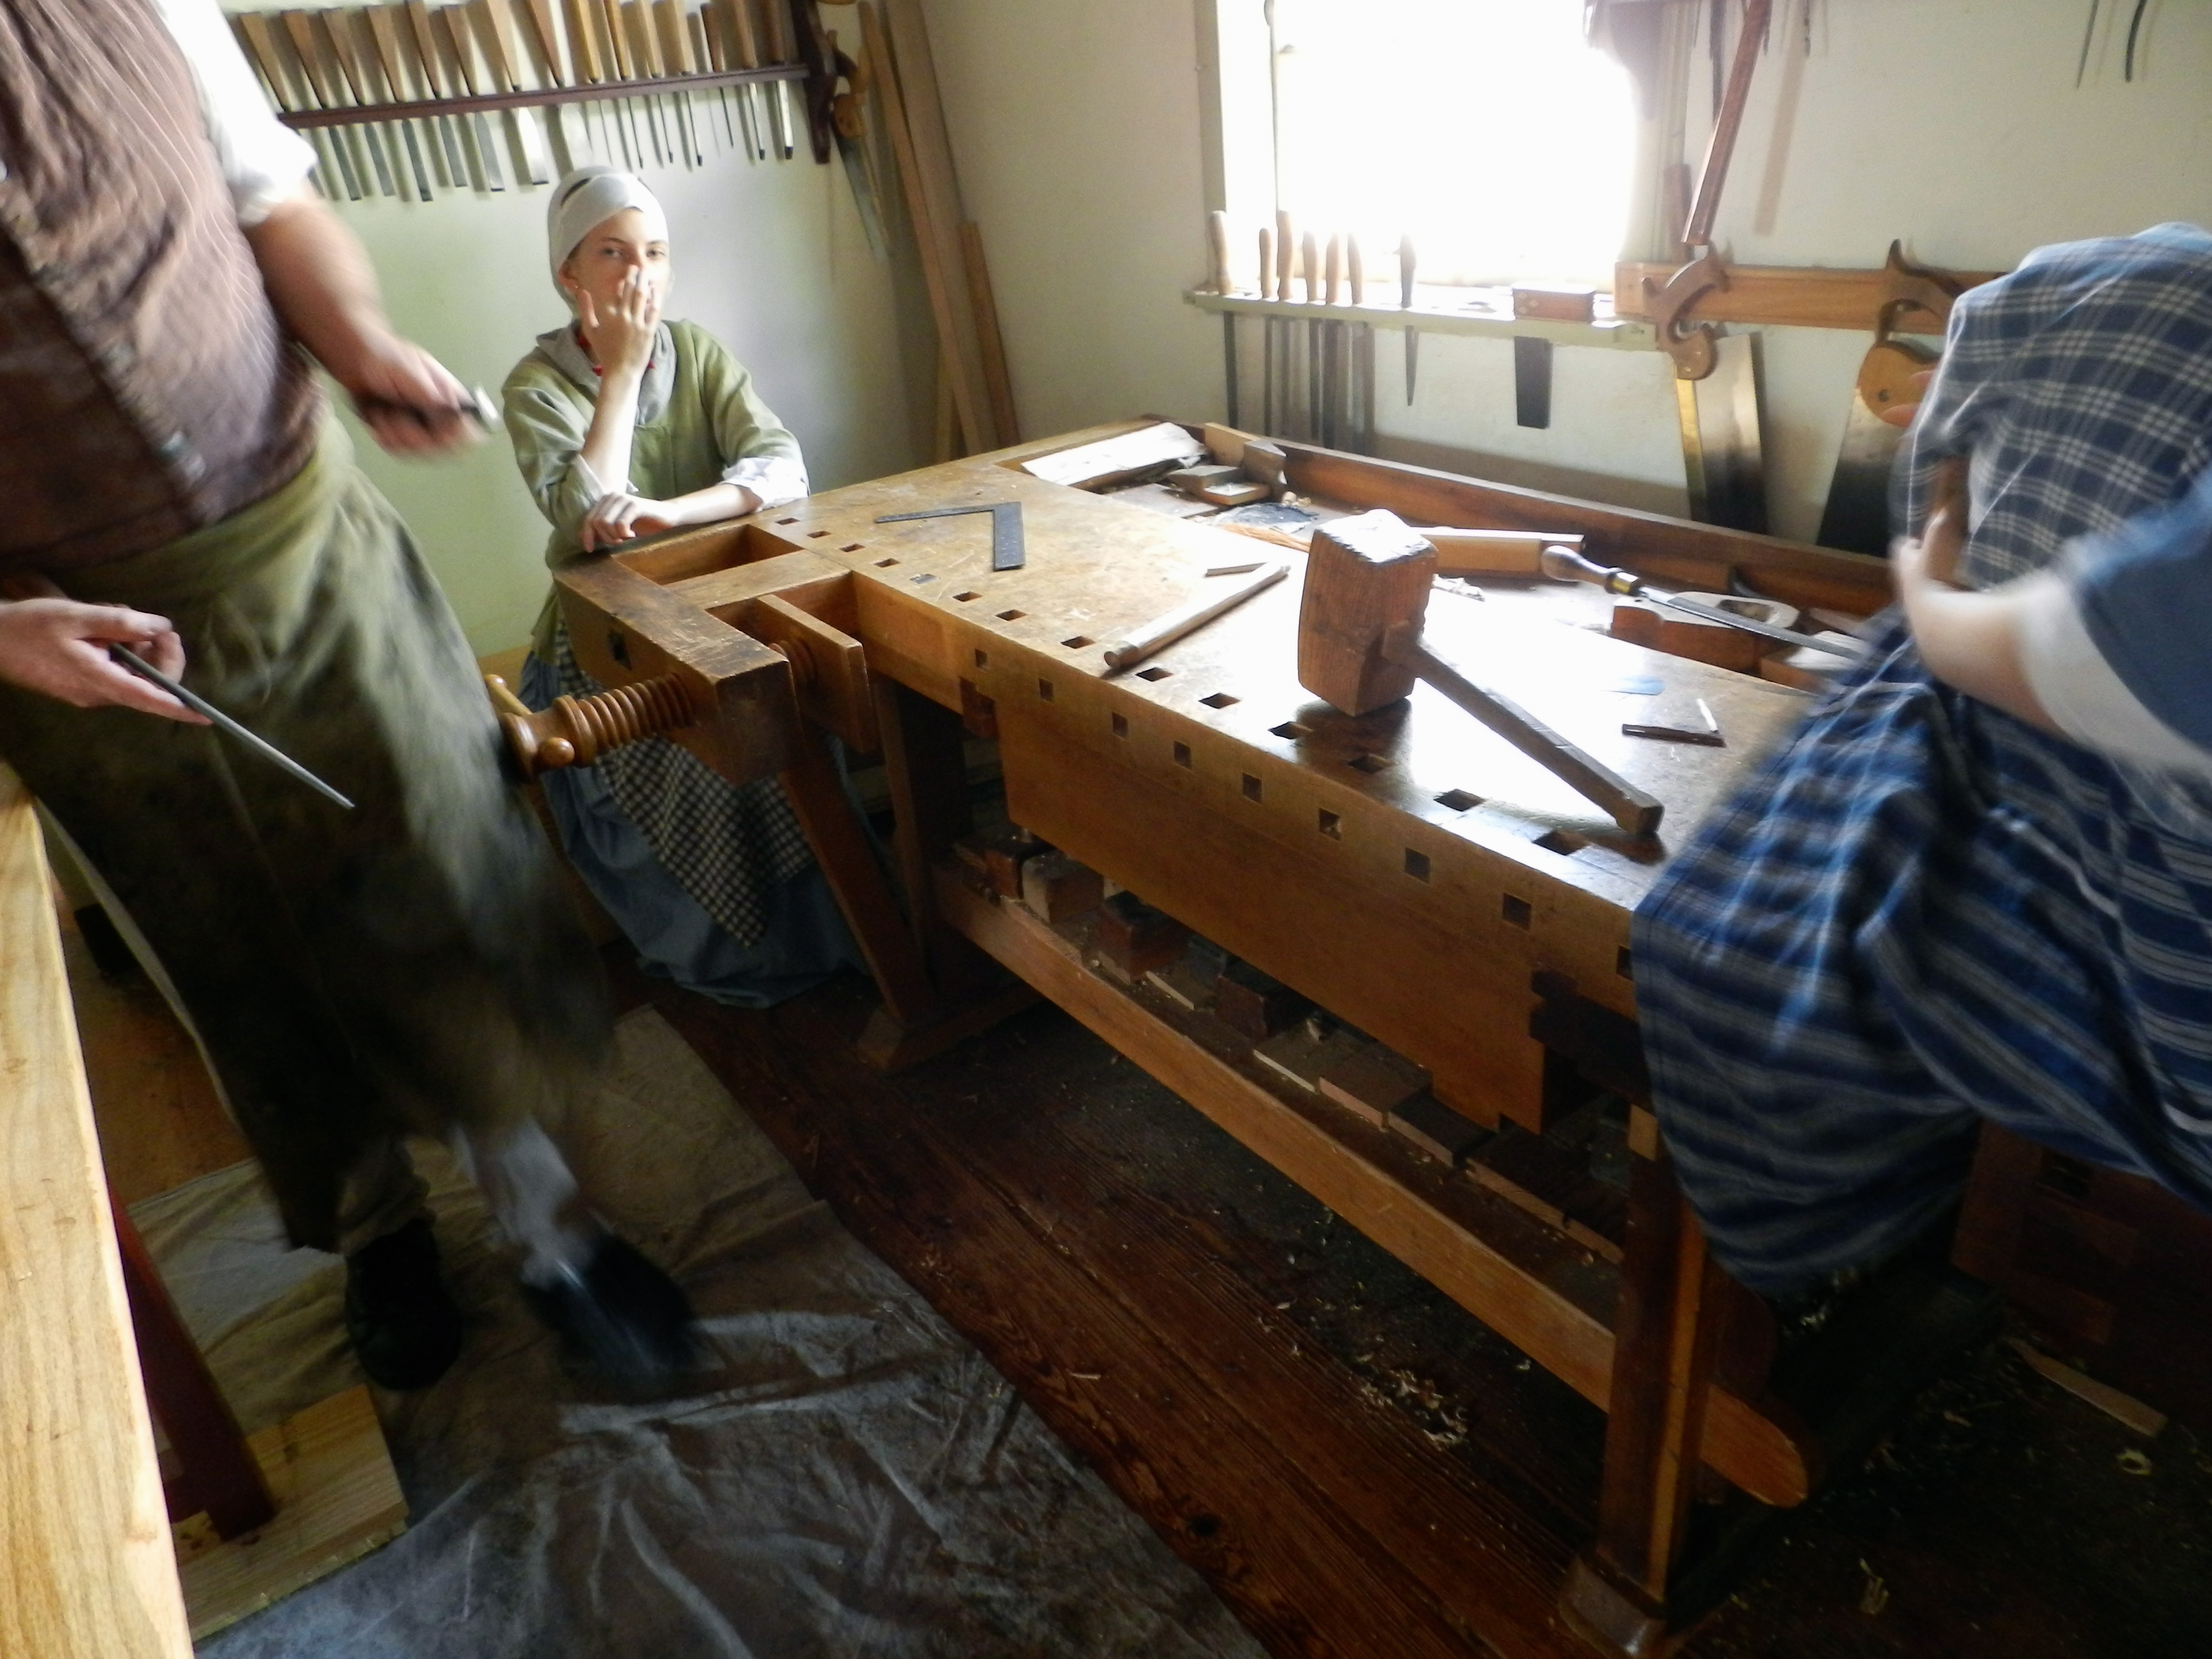
Interpreters in the Joiner’s workshop inside the Single Brother’s House Shop
I first learned about Old Salem while having dinner with Thomas Jefferson at Colonial Williamsburg. (No joke).
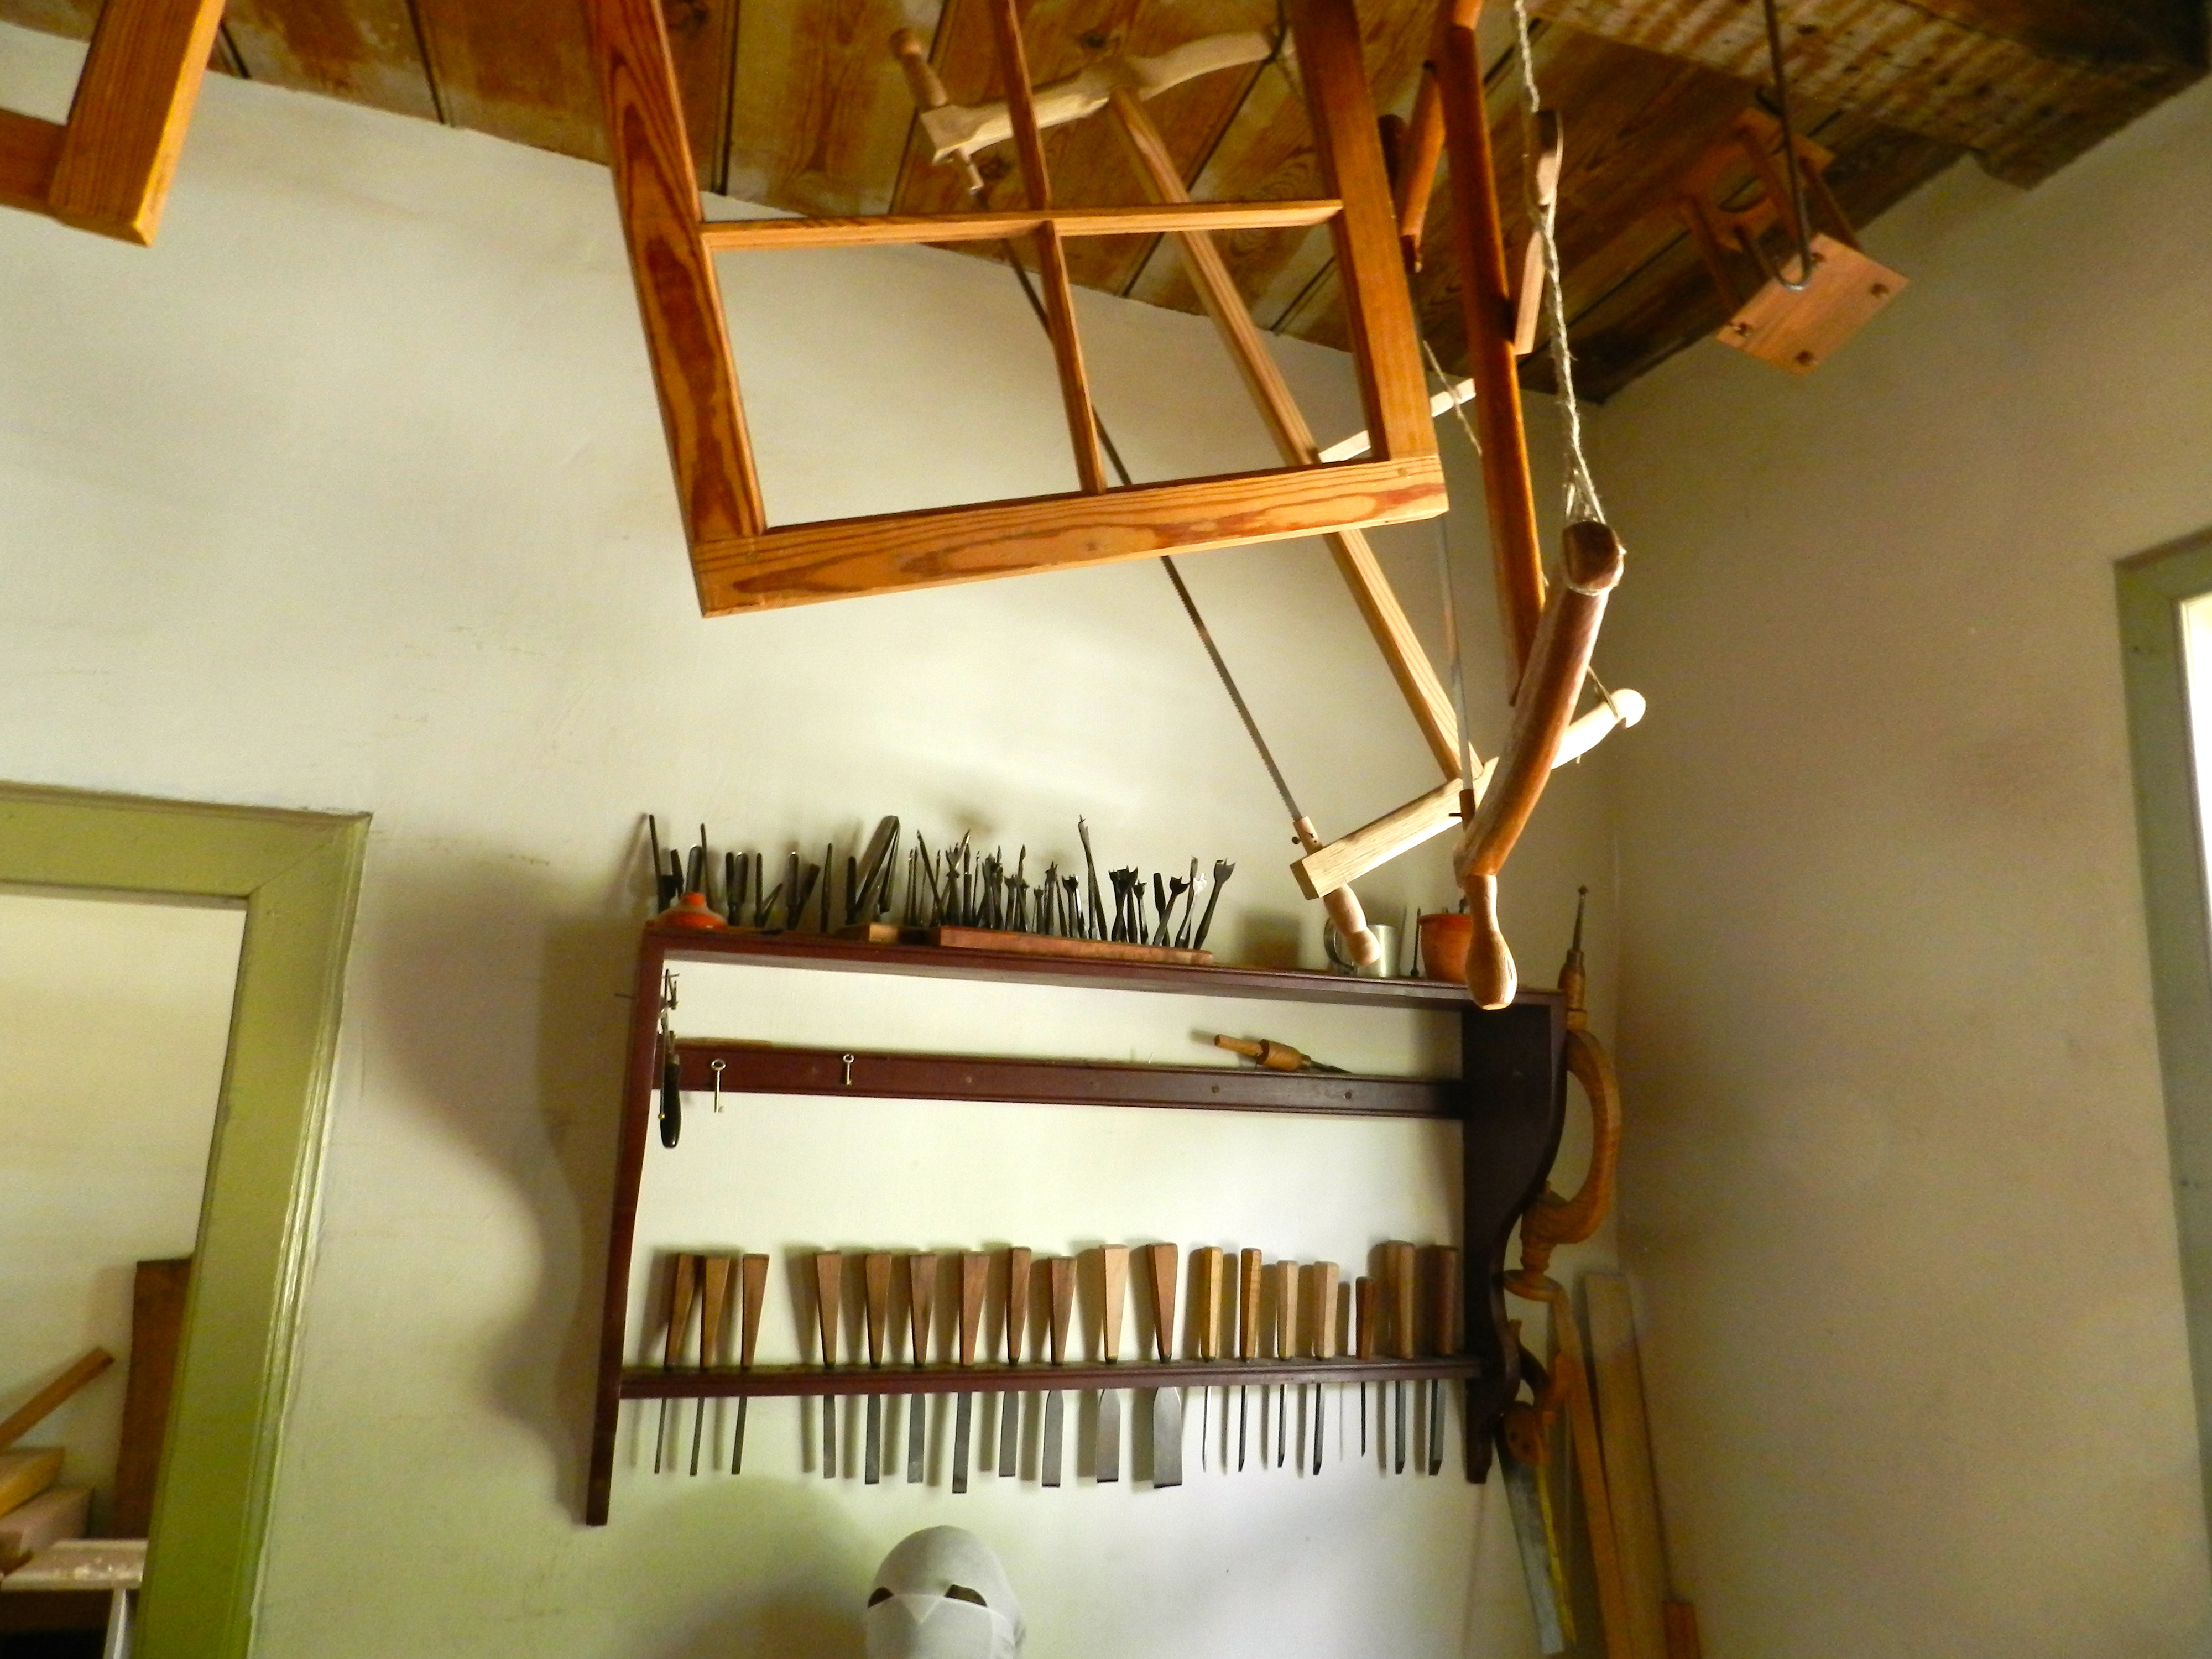
Window sash, drill bits, and chisel rack
I also heard good things about it from Glen Huey’s book ‘Furniture in the Southern Style’ which draws upon some pieces from MESDA (The Museum of Southern Decorative Arts)
Carving over a bench hook
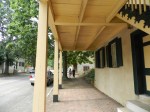
During our visit, my wife and I had a great time exploring the historic area and visiting the many shops and buildings.
Great traditional bench — note how the shoulder vise is cantilevered out and there is a set of dog holes in the skirt as well.
As always, the most exciting part for me was visiting with all the craftspeople who work in the various historic trades.
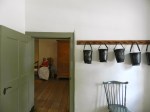
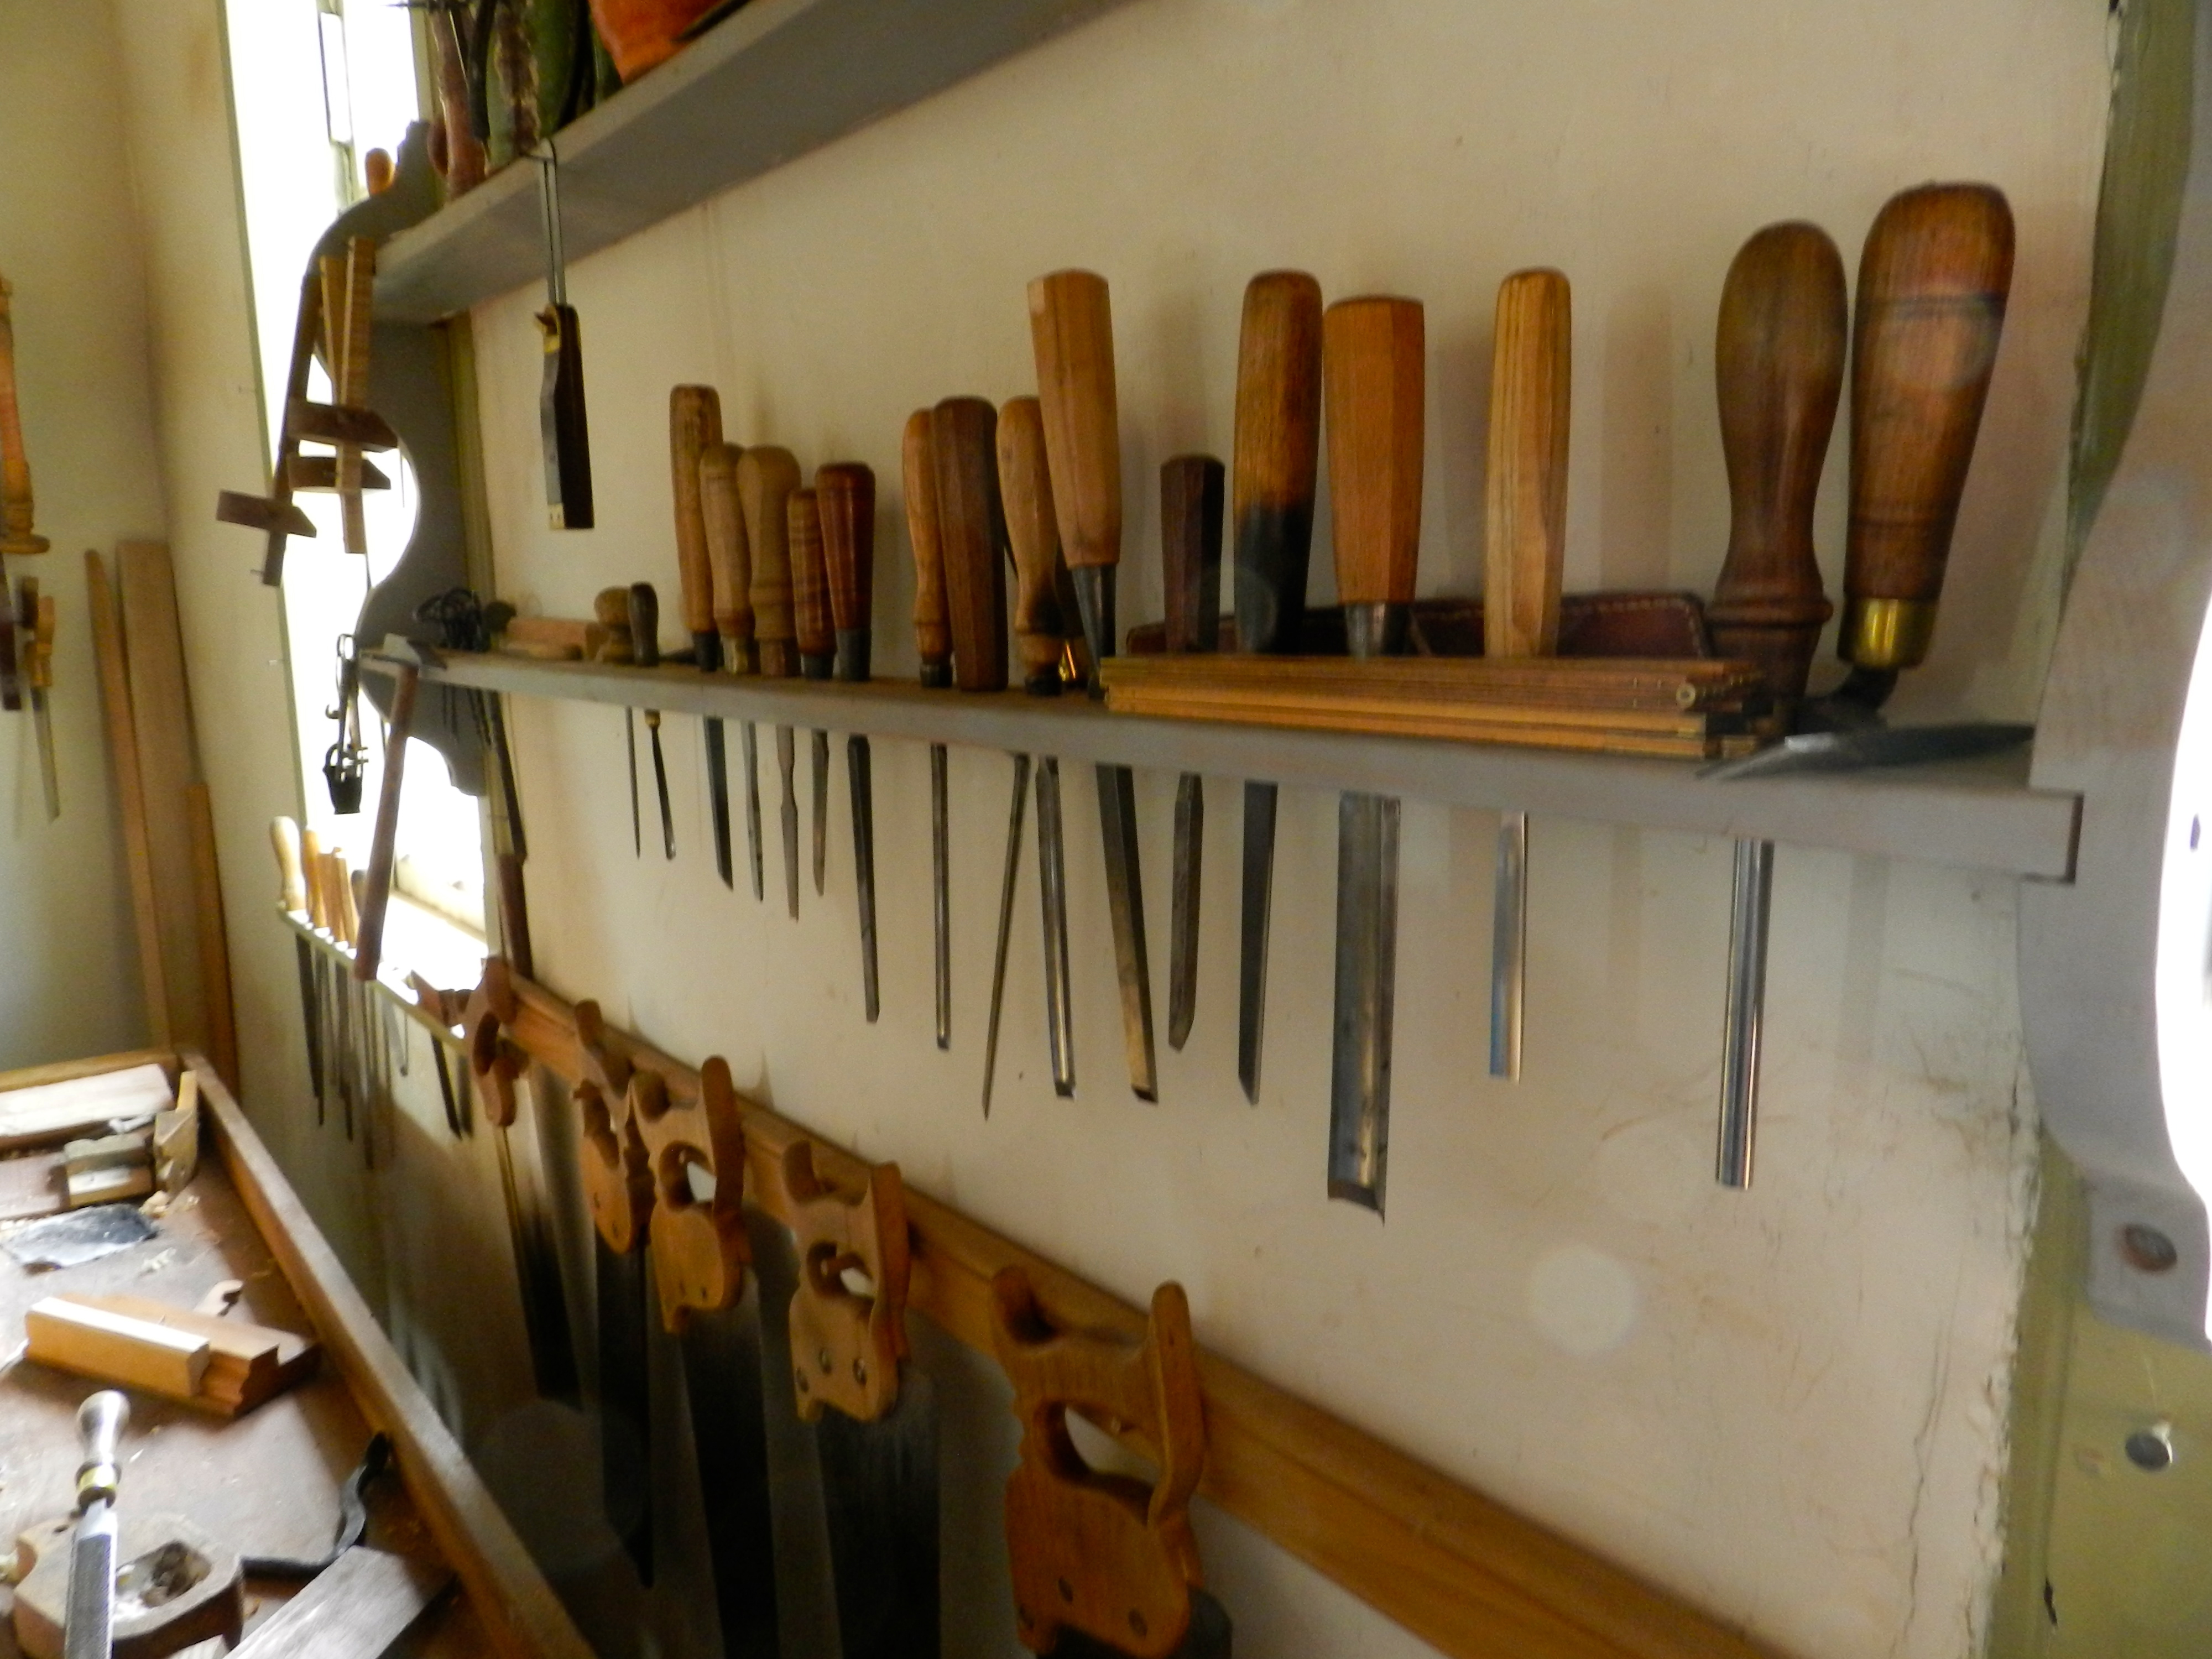
Full chisel rack
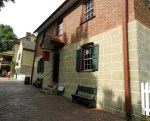
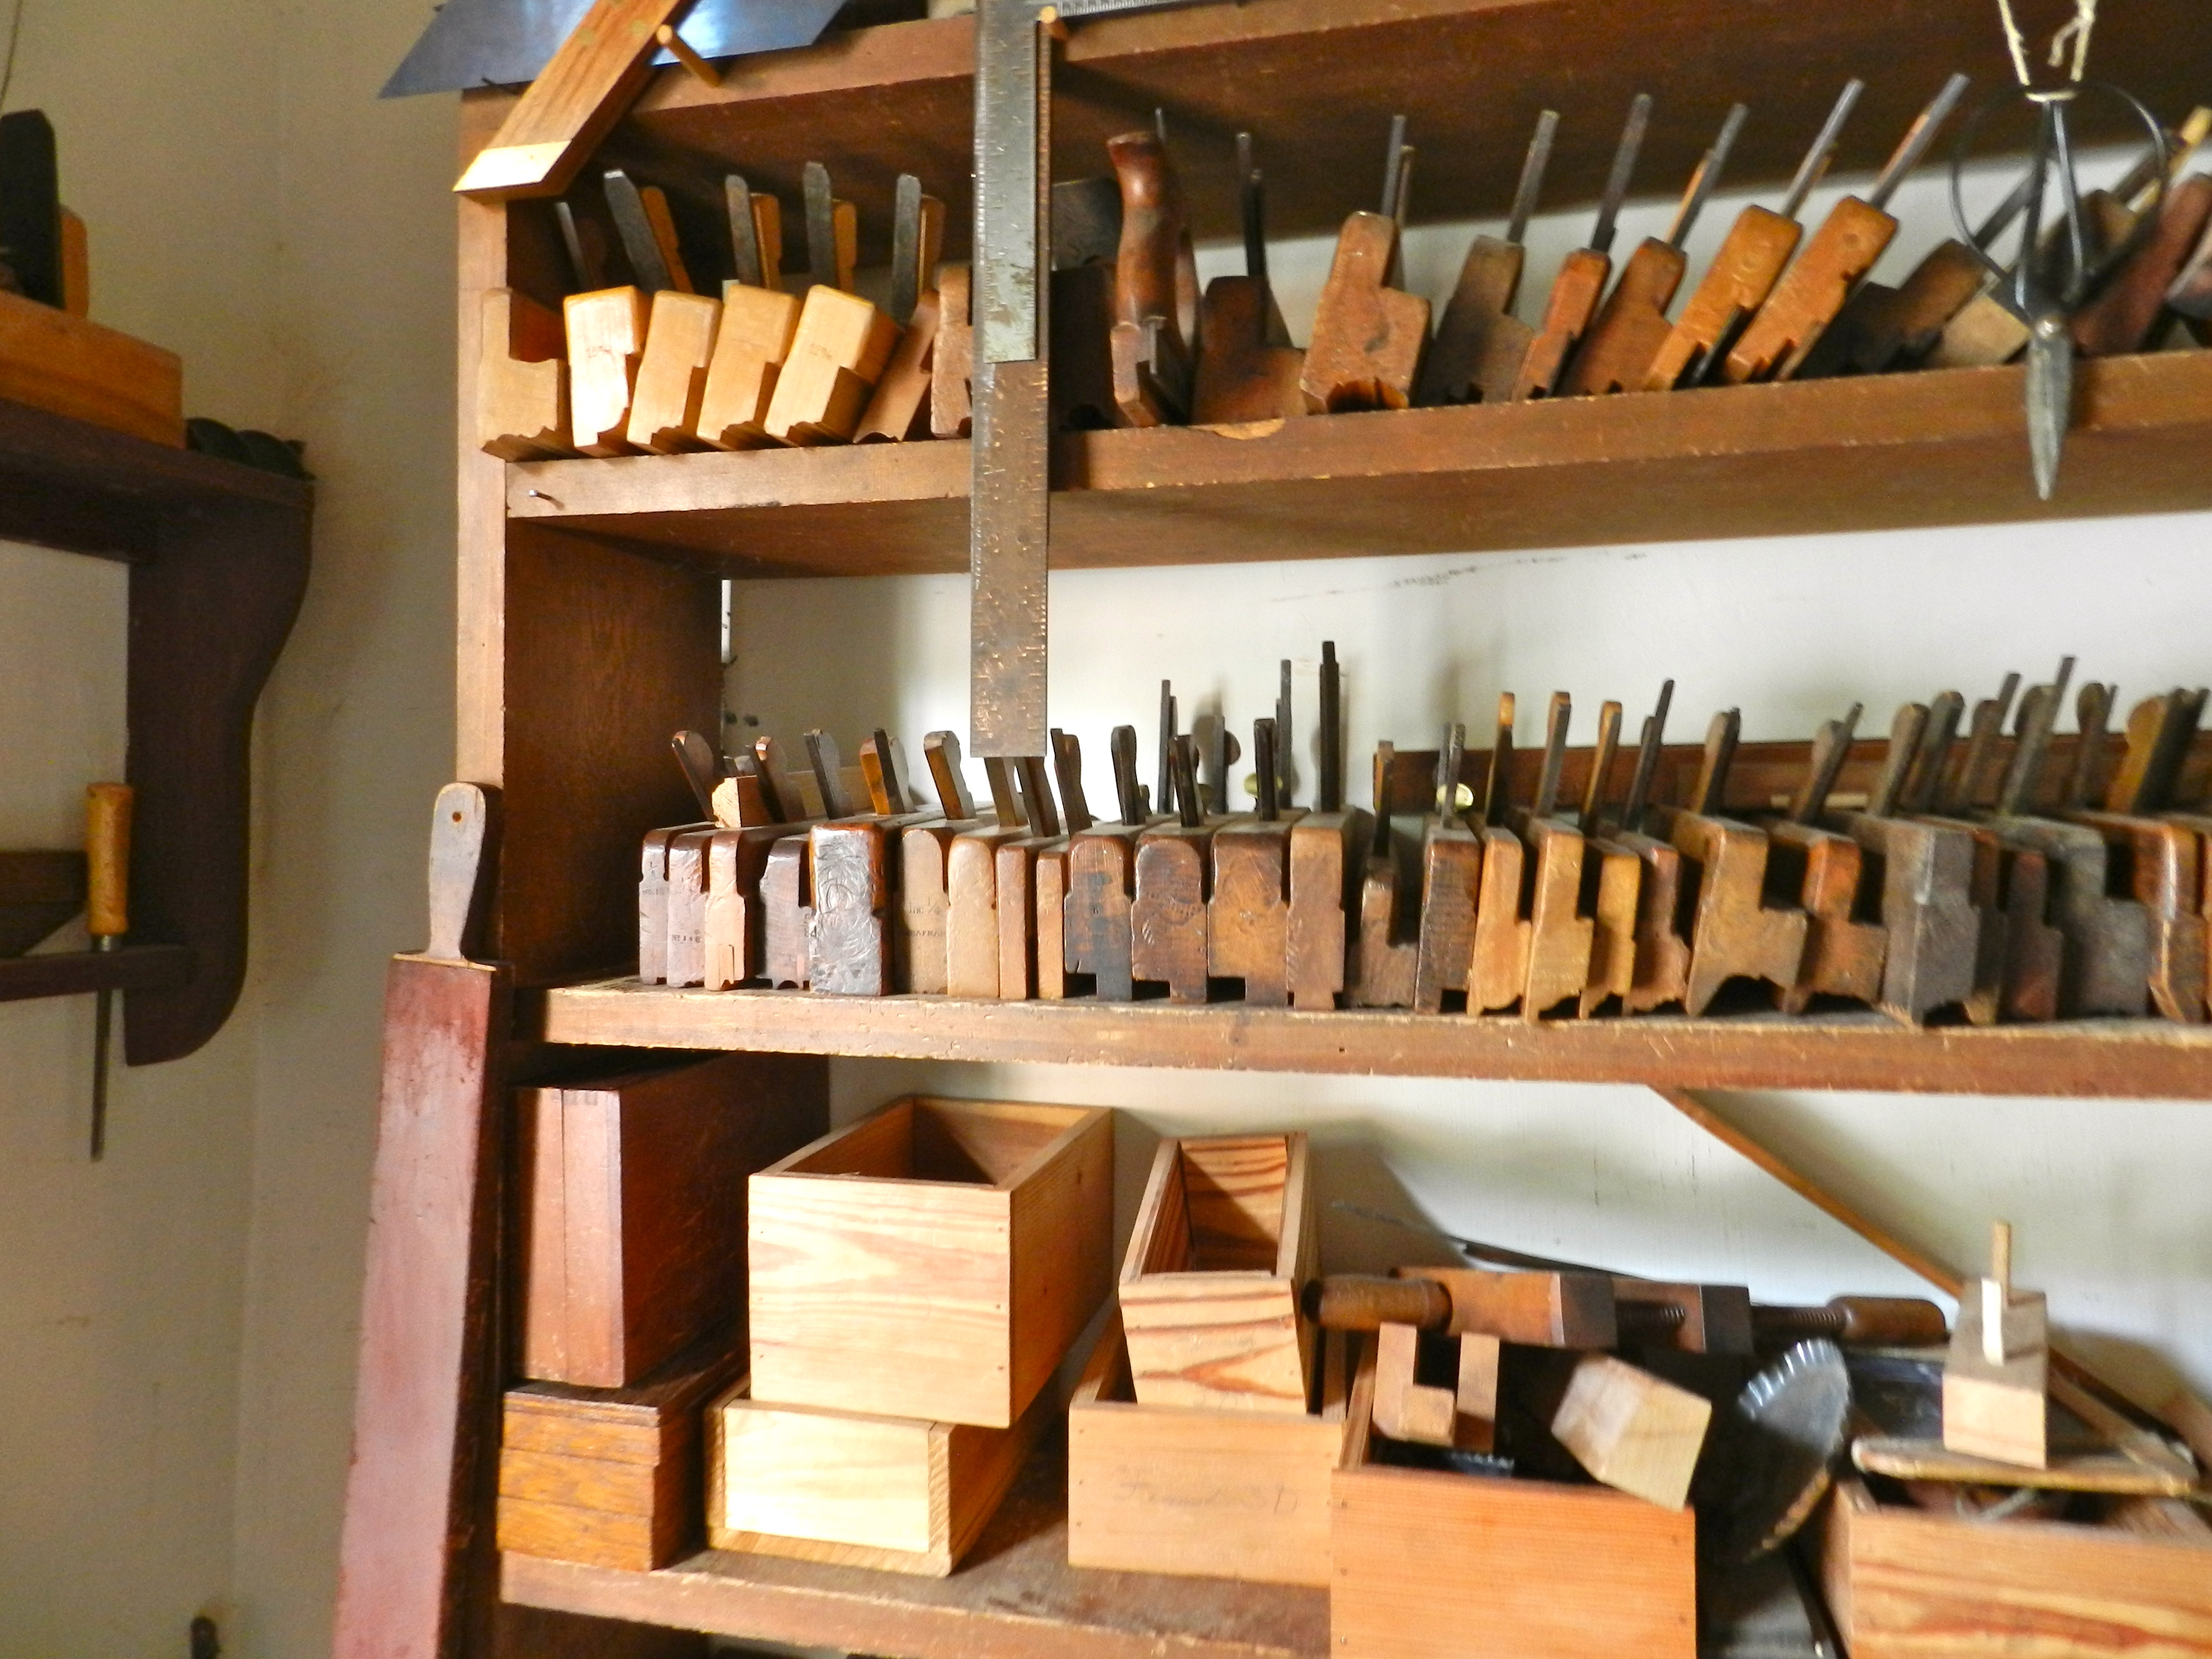
In the Single Brother’s House there were a series of workshops housing various trades that were vital to the community.
Molding planes
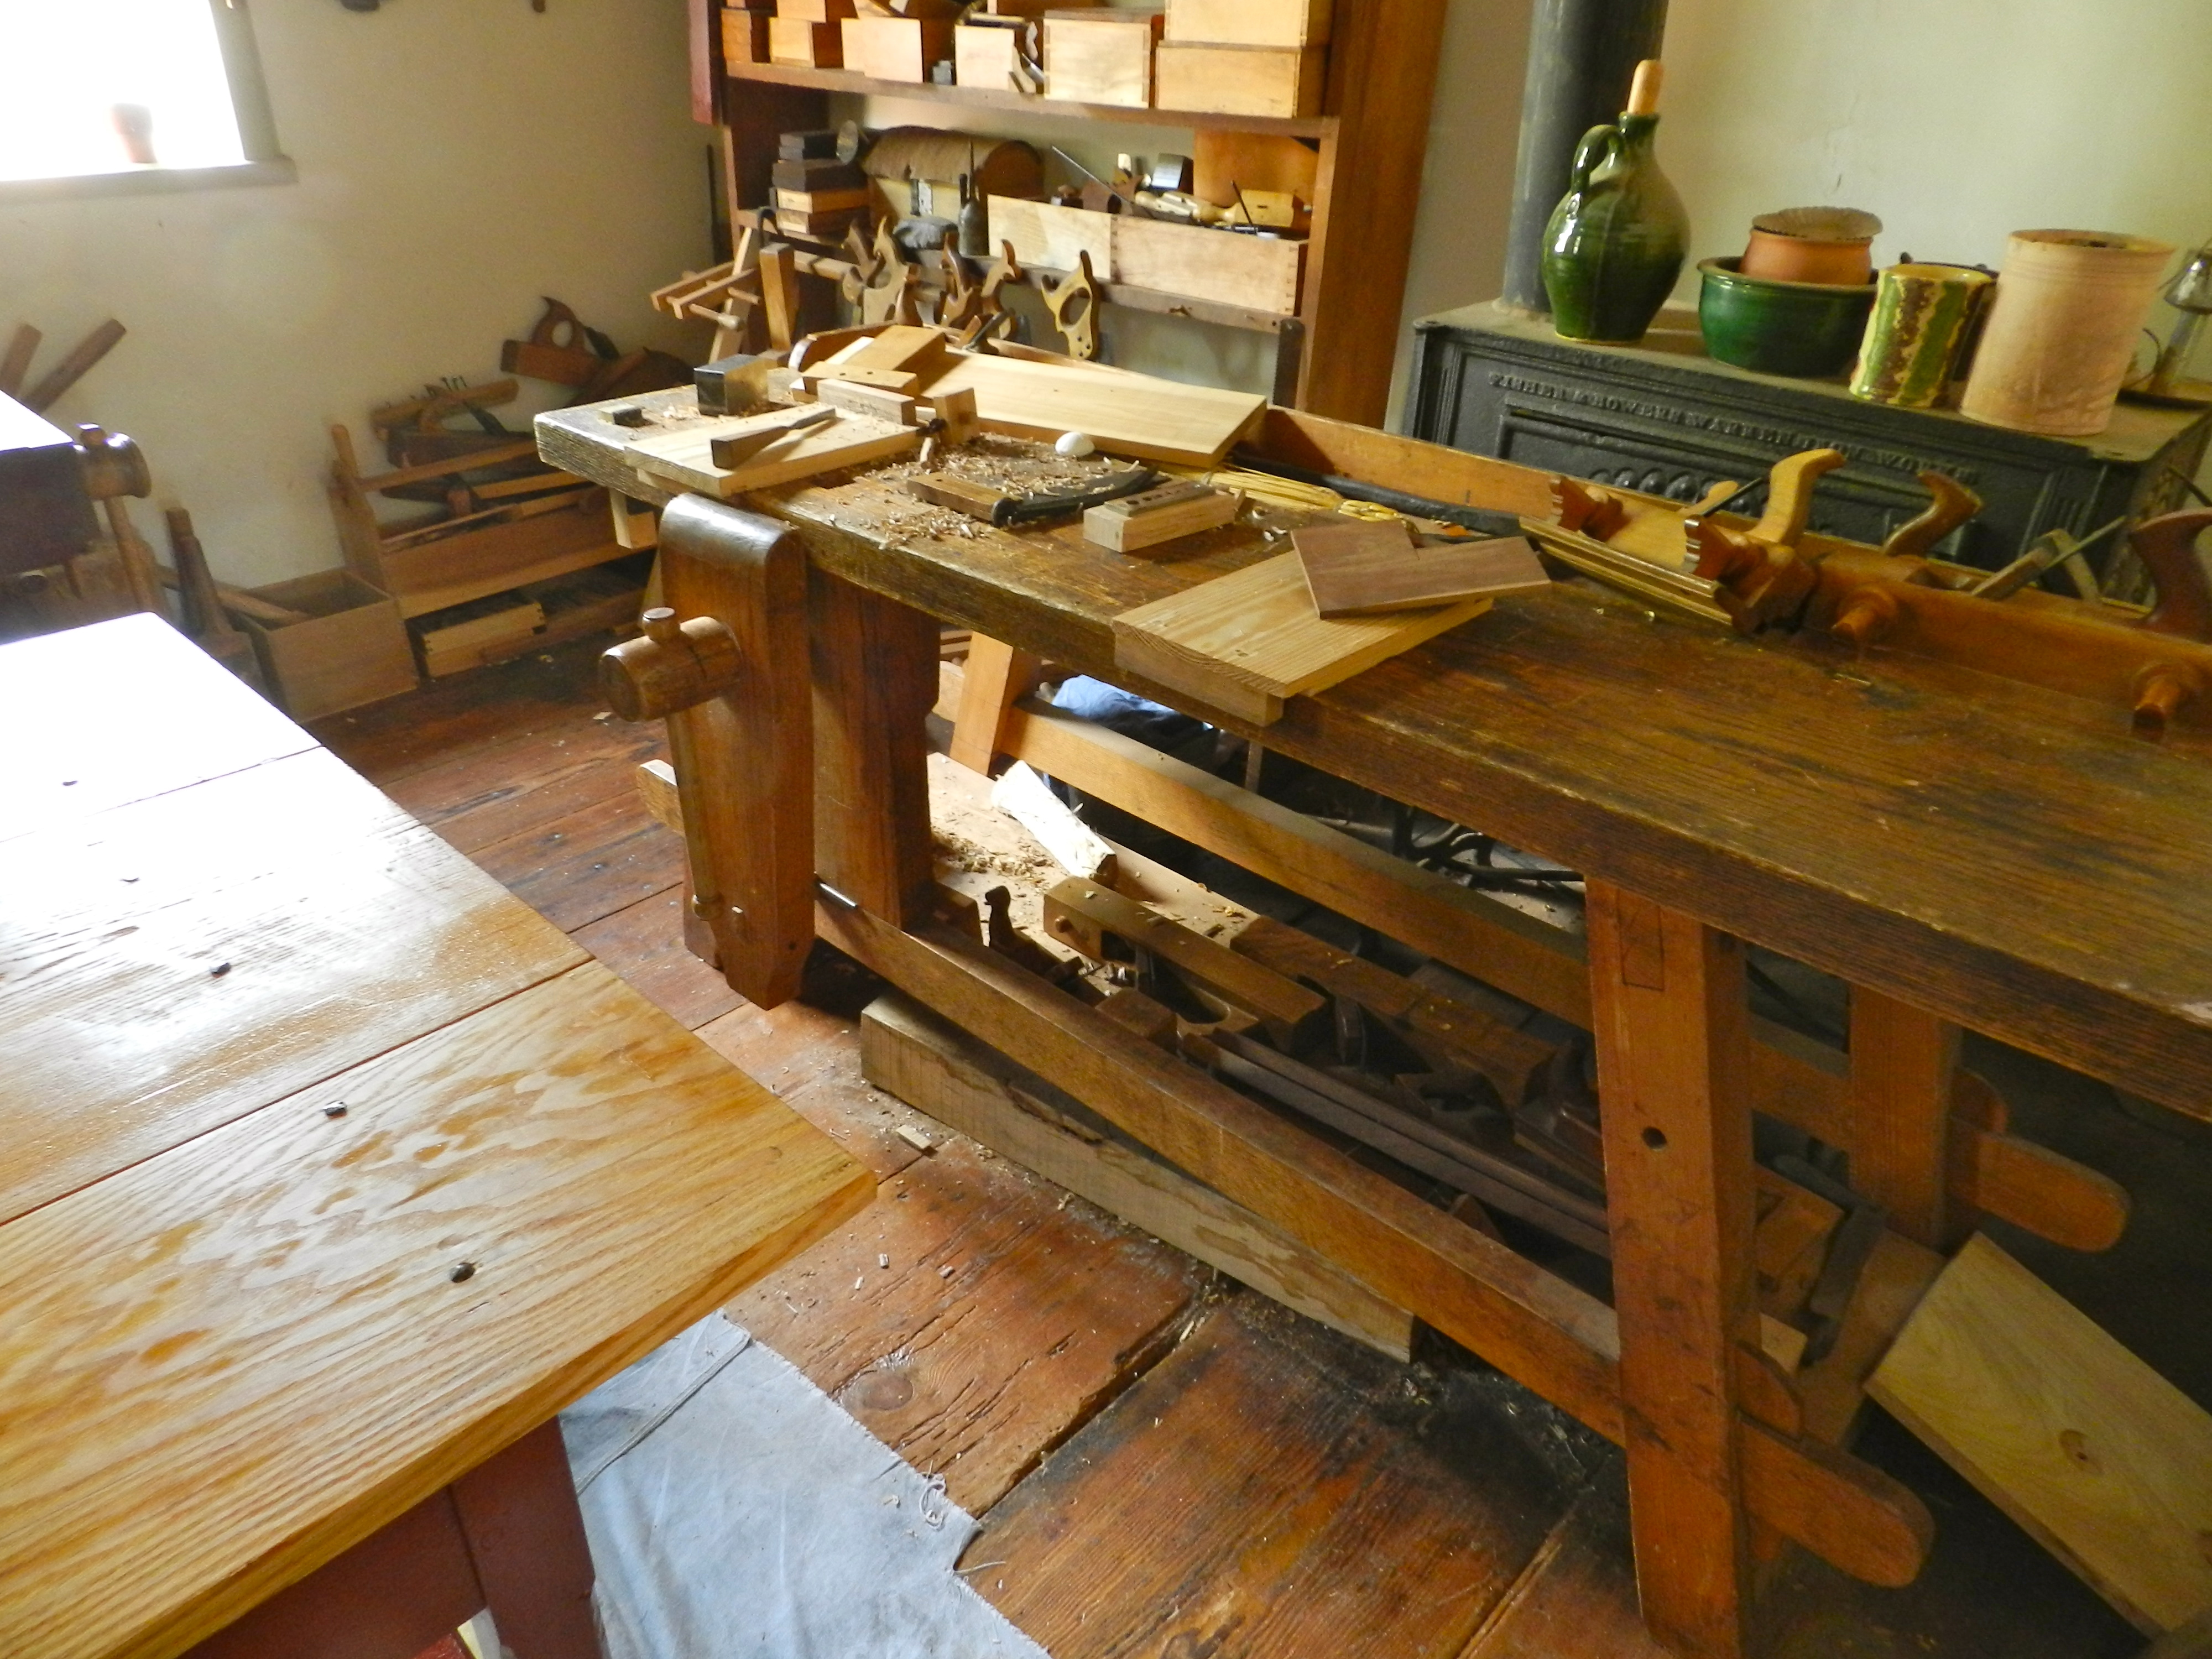
I felt right at home in the Joiner’s shop and if my wife would have let me I would have spent my day at the workbench talking to people….
Joiner’s bench with angled legs and wedged tenons
The workshop had a great assortment of jigs, fixtures, tools and unusual benches. Look at the great wedged tenons on the bench above. (Also check out the floating shoulder vise and skirt board with dog holes on the bench further up. Looks like they did not see as much use, but an interesting idea)
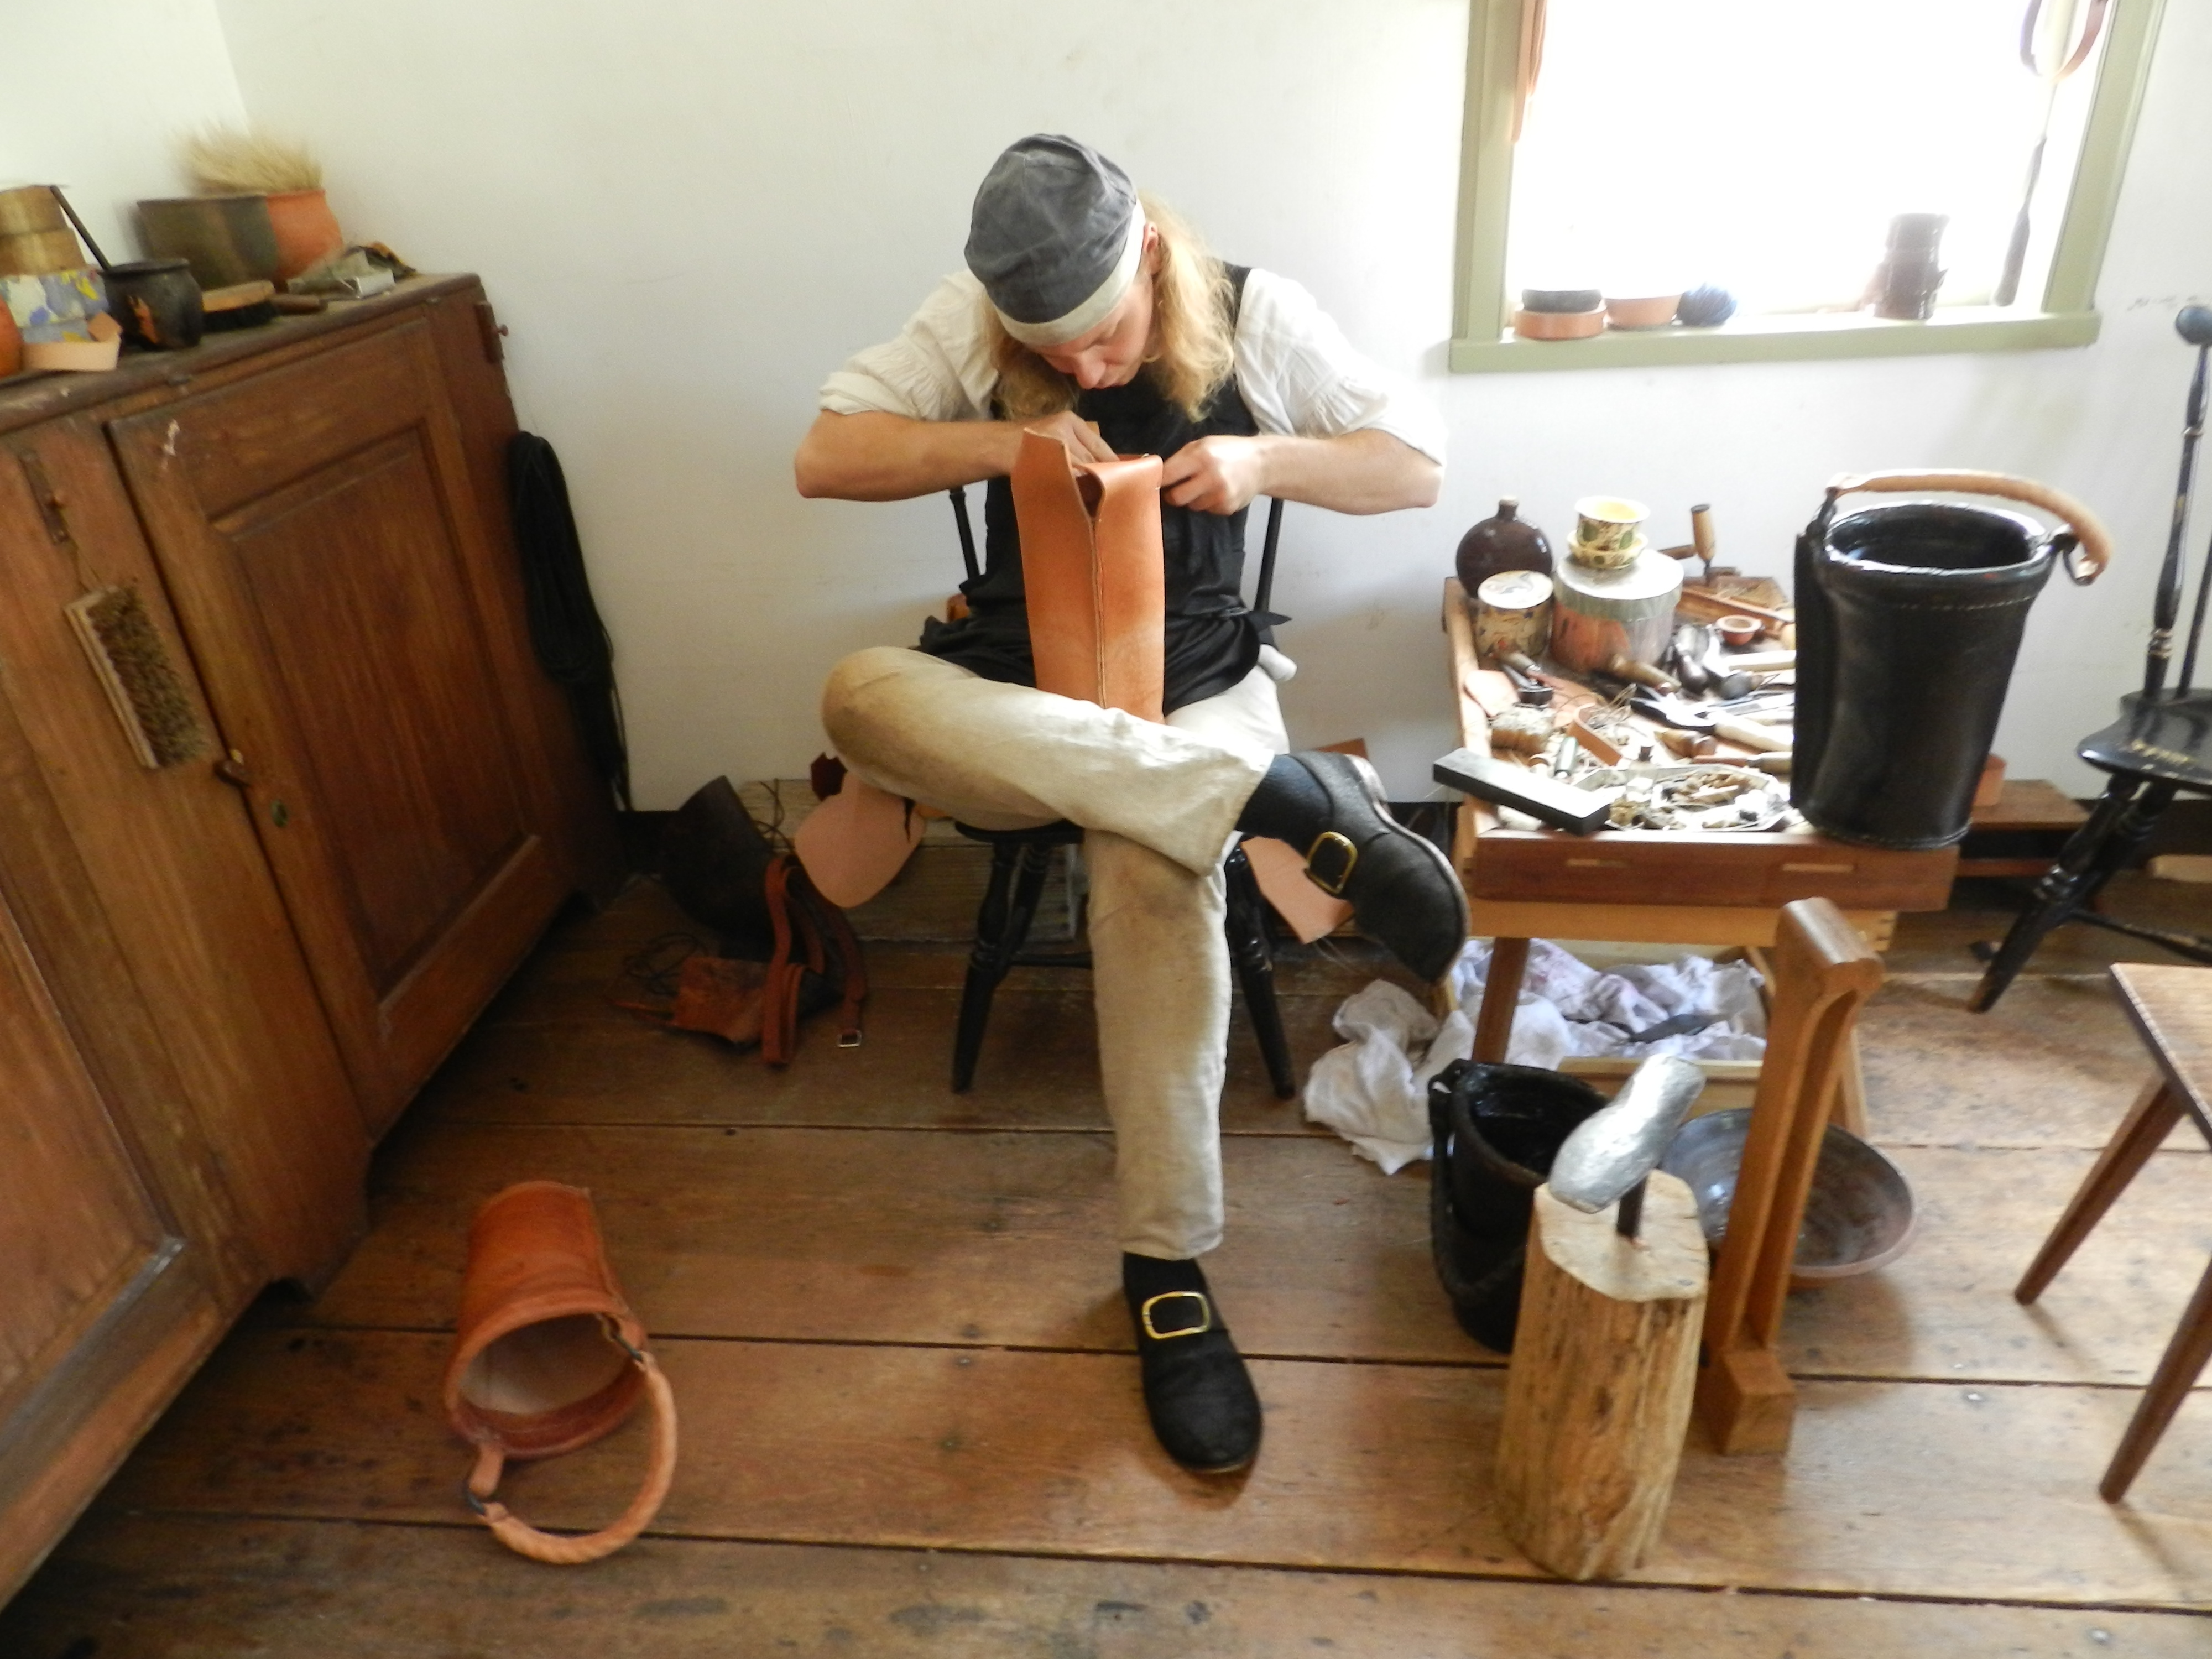
The shoemaker plying his craft — in this case making a leather bucket.
The single brother’s house was where young men of a certain age could learn the craft and ply their trade before they got married and moved on to their own homes. In the shoemaker’s shop we had a great chat with a shoemaker who was making a leather bucket which was one of the many other wares a shoemaker would make for the town.
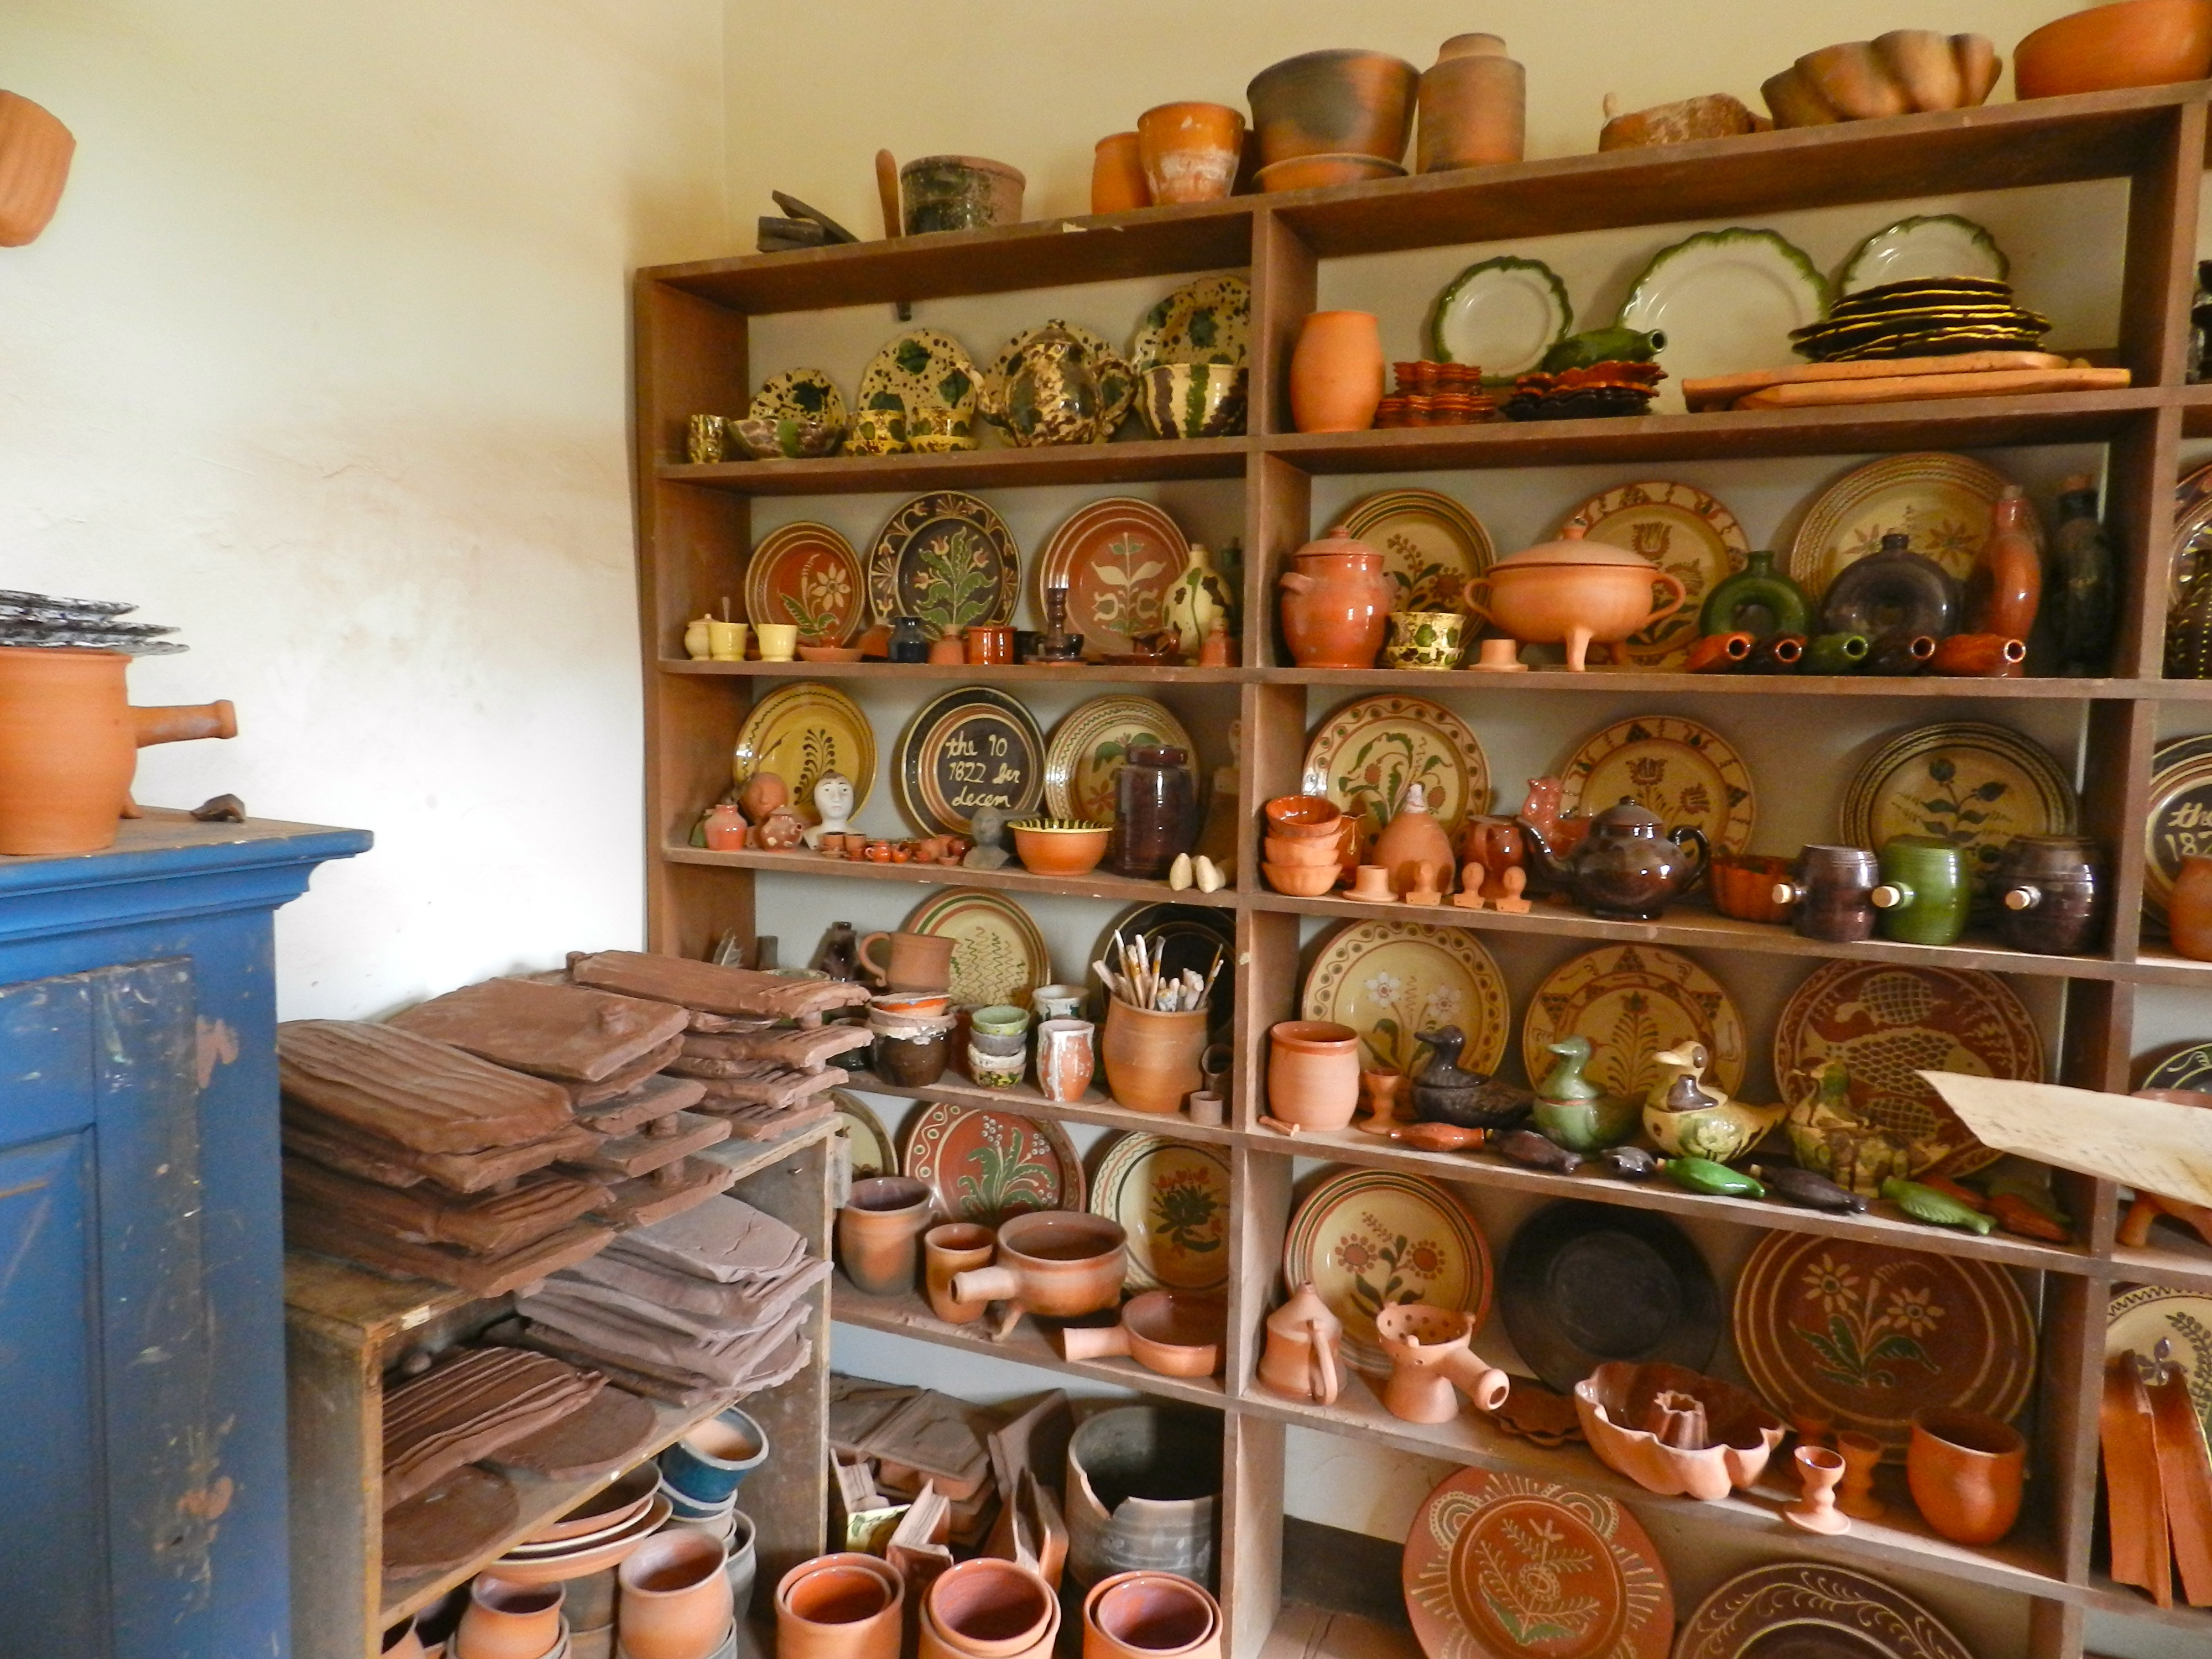
Some wares made by the Potter in his shop
In the potter’s workshop you could see on display a wide variety of earthenware dishes, cups, and other ceramic objects. Most interesting to me were the ceramic tile shingles which you can see in the restored village.
Other trades on display were the gunsmith, apothecary, tailor, tinsmith and gardeners.
If you’d like to learn more about the craftsmen and women who work in the historic trades at Old Salem you can read more here.
If you are ever in the Winston-Salem area I highly recommend visiting Old Salem and checking out the workshops.
A Joiner's Guide To Traditional Woodworking and Preservation