In woodworking we often spend an incredible amount of time and energy trying to make things rectilinear. Most trees I see do not have a lot of square edges on them to start yet many woodworkers have trouble thinking in the round. Lately I’ve been doing some more green woodworking and wood turning and have been enjoying the explorations of different forms and techniques. When turning free form work I love how the wood speaks to me and tells me what shape it would like to be.
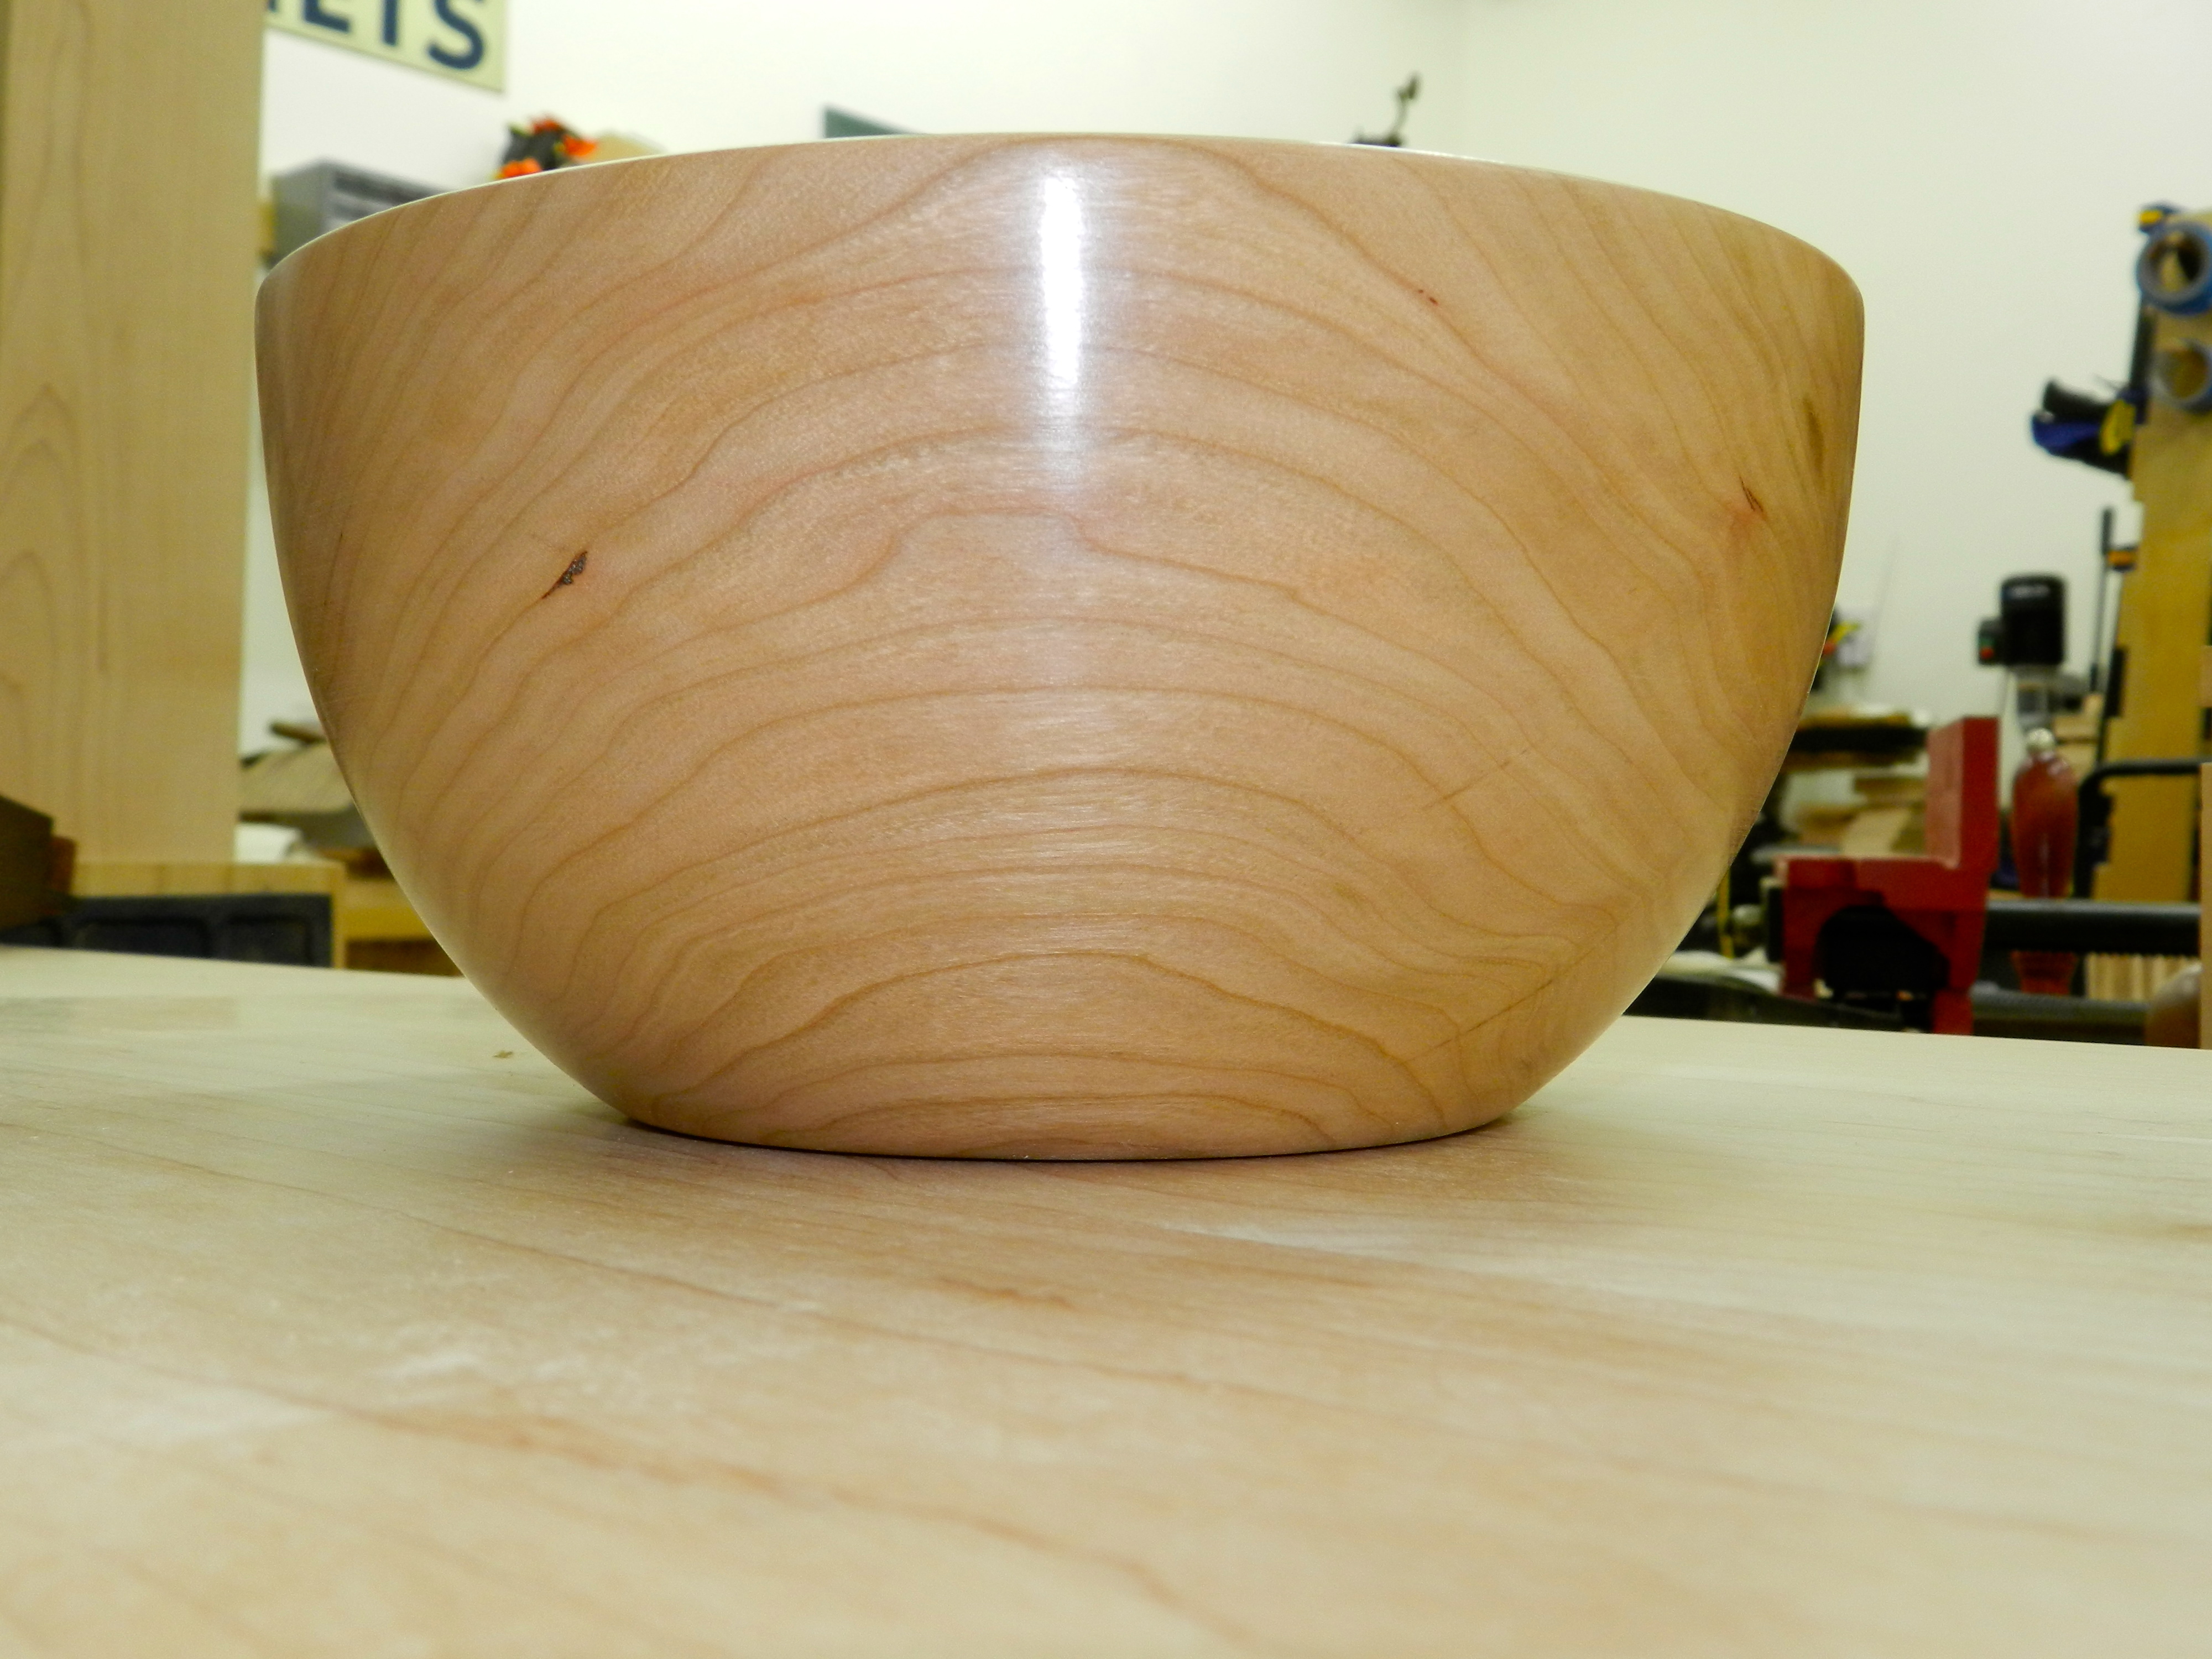
The cherry bowl below was a change from the very traditional colonial forms and delicate/thin shapes I spend a lot of time working with. I wanted to make a deep bowl with simple lines to let the grain and color speak for itself. I think mentally I was picturing something Asian inspired, though this piece could be at home on a very traditional table.

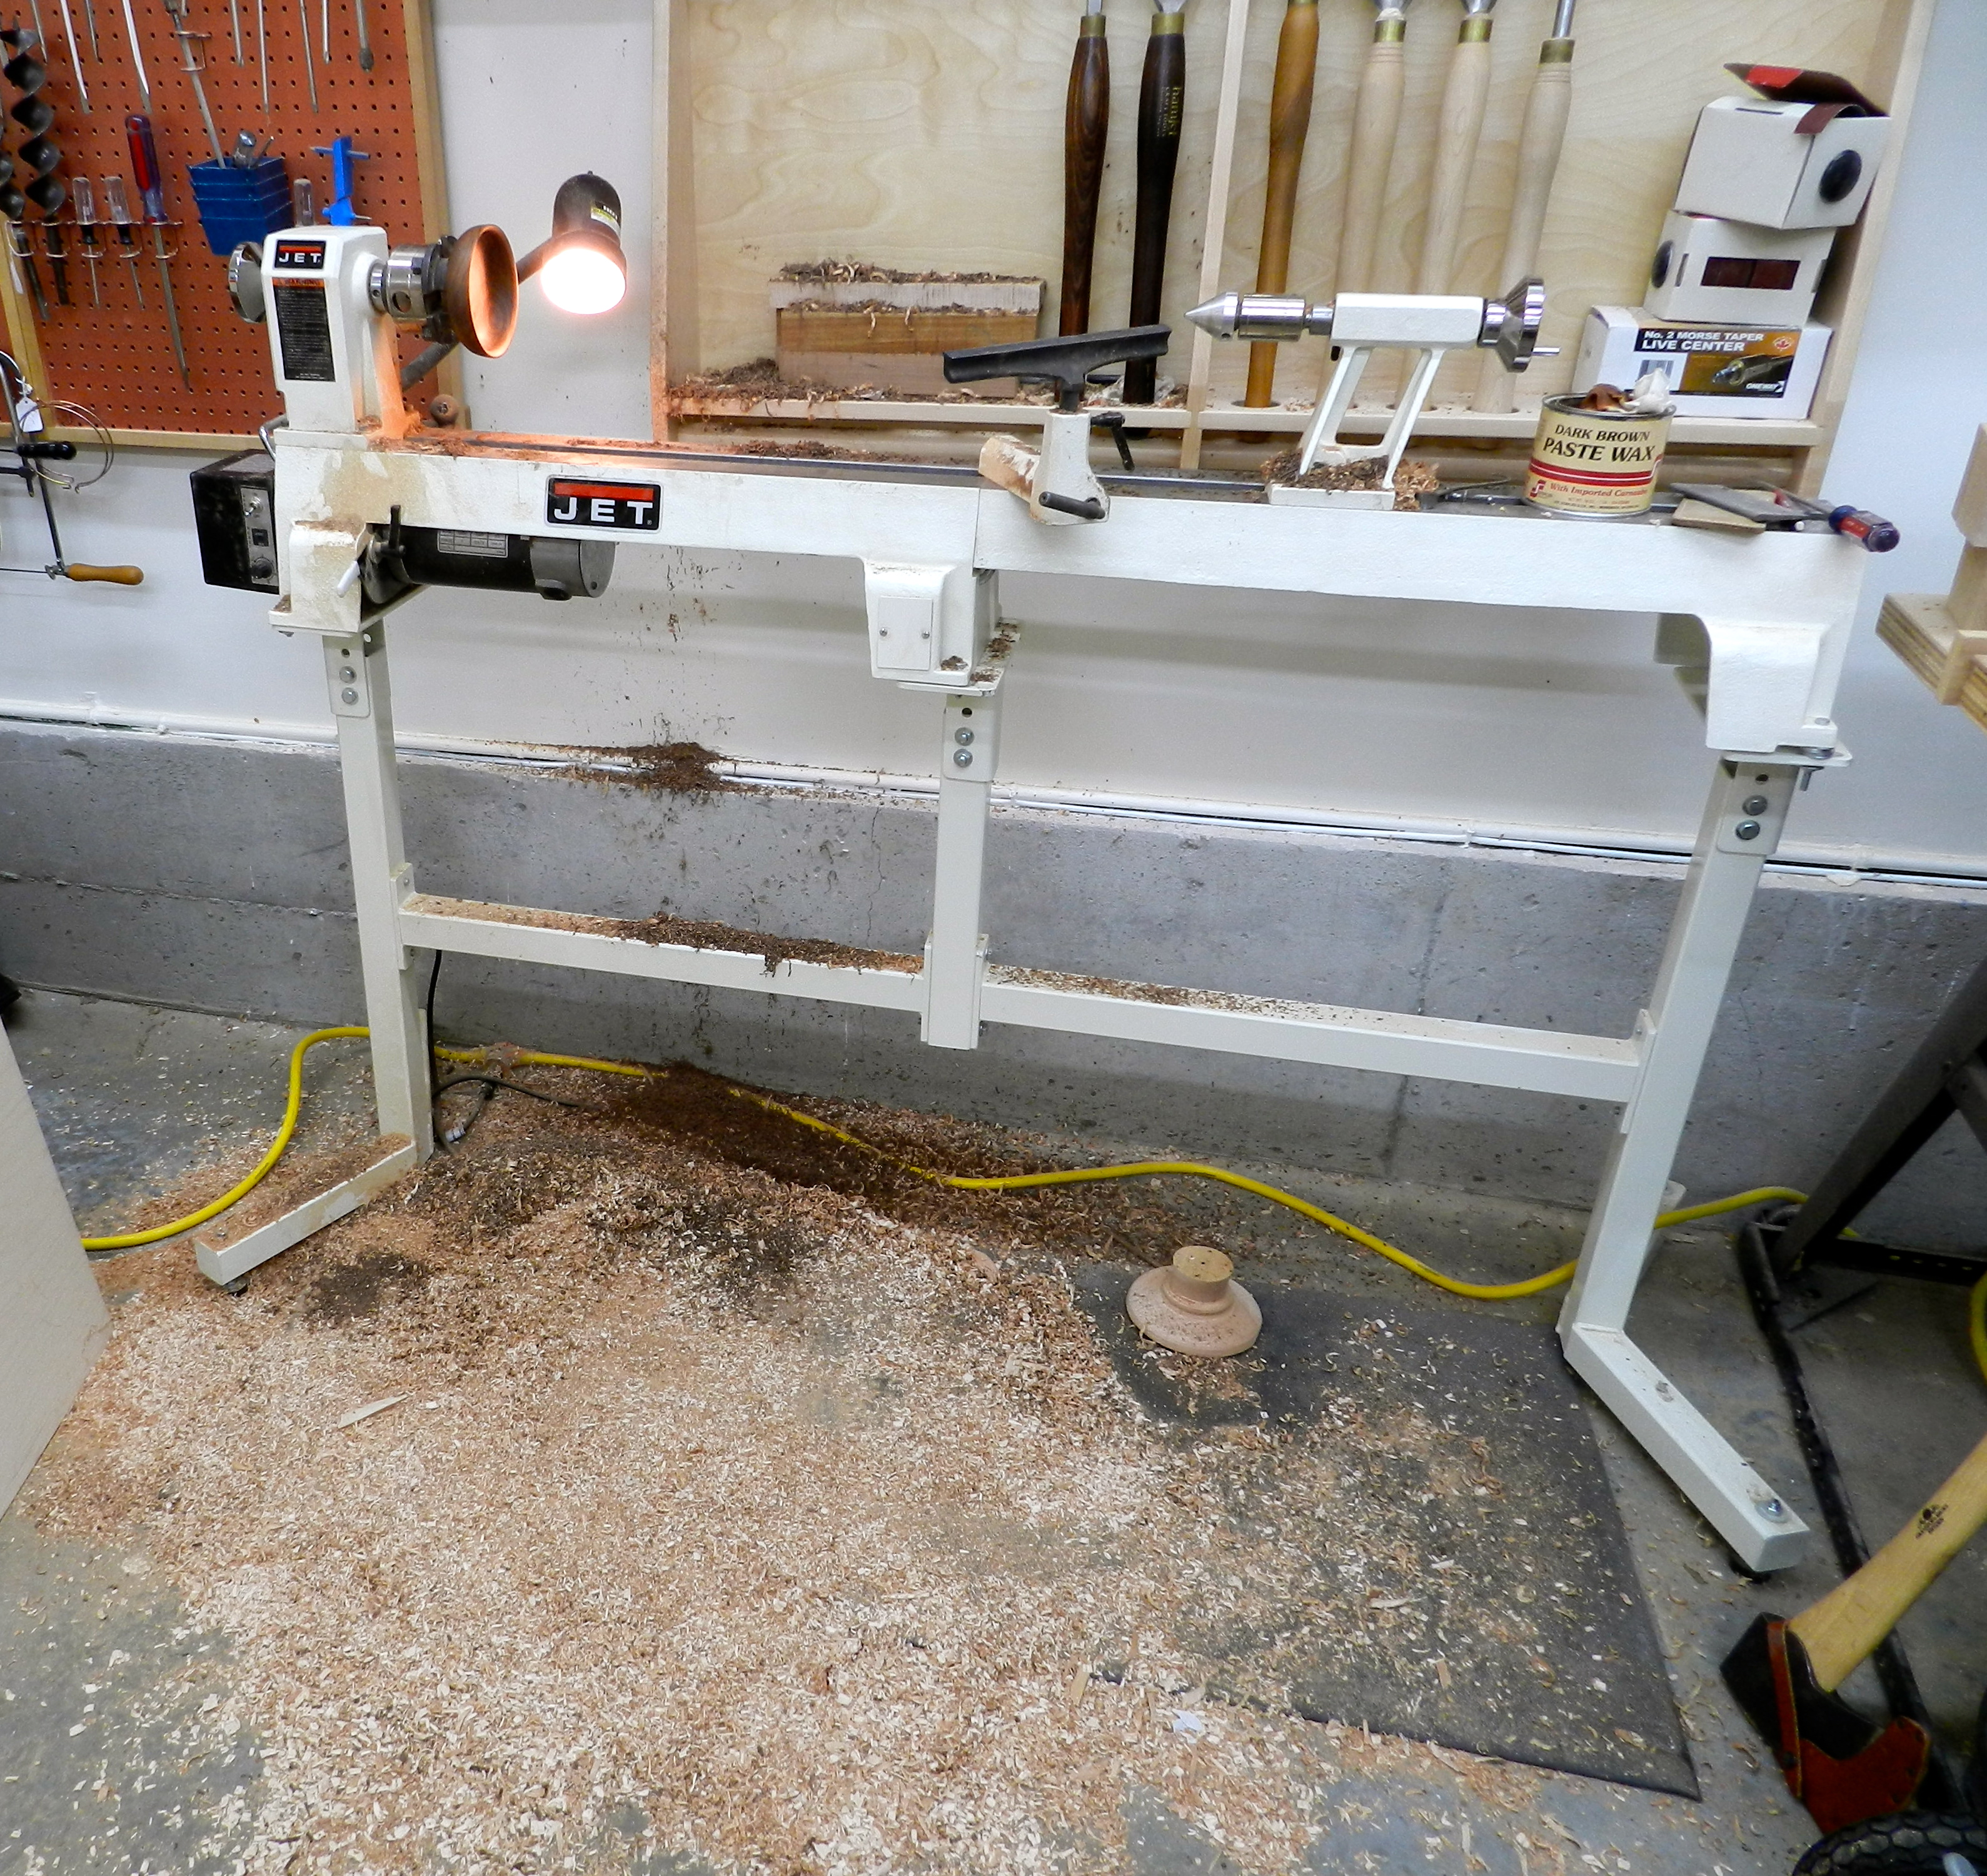
Recently I had a weekend out in the shop and turned this bowl as a thank-you gift for a good friend. Below is a quick chronicle of the process:

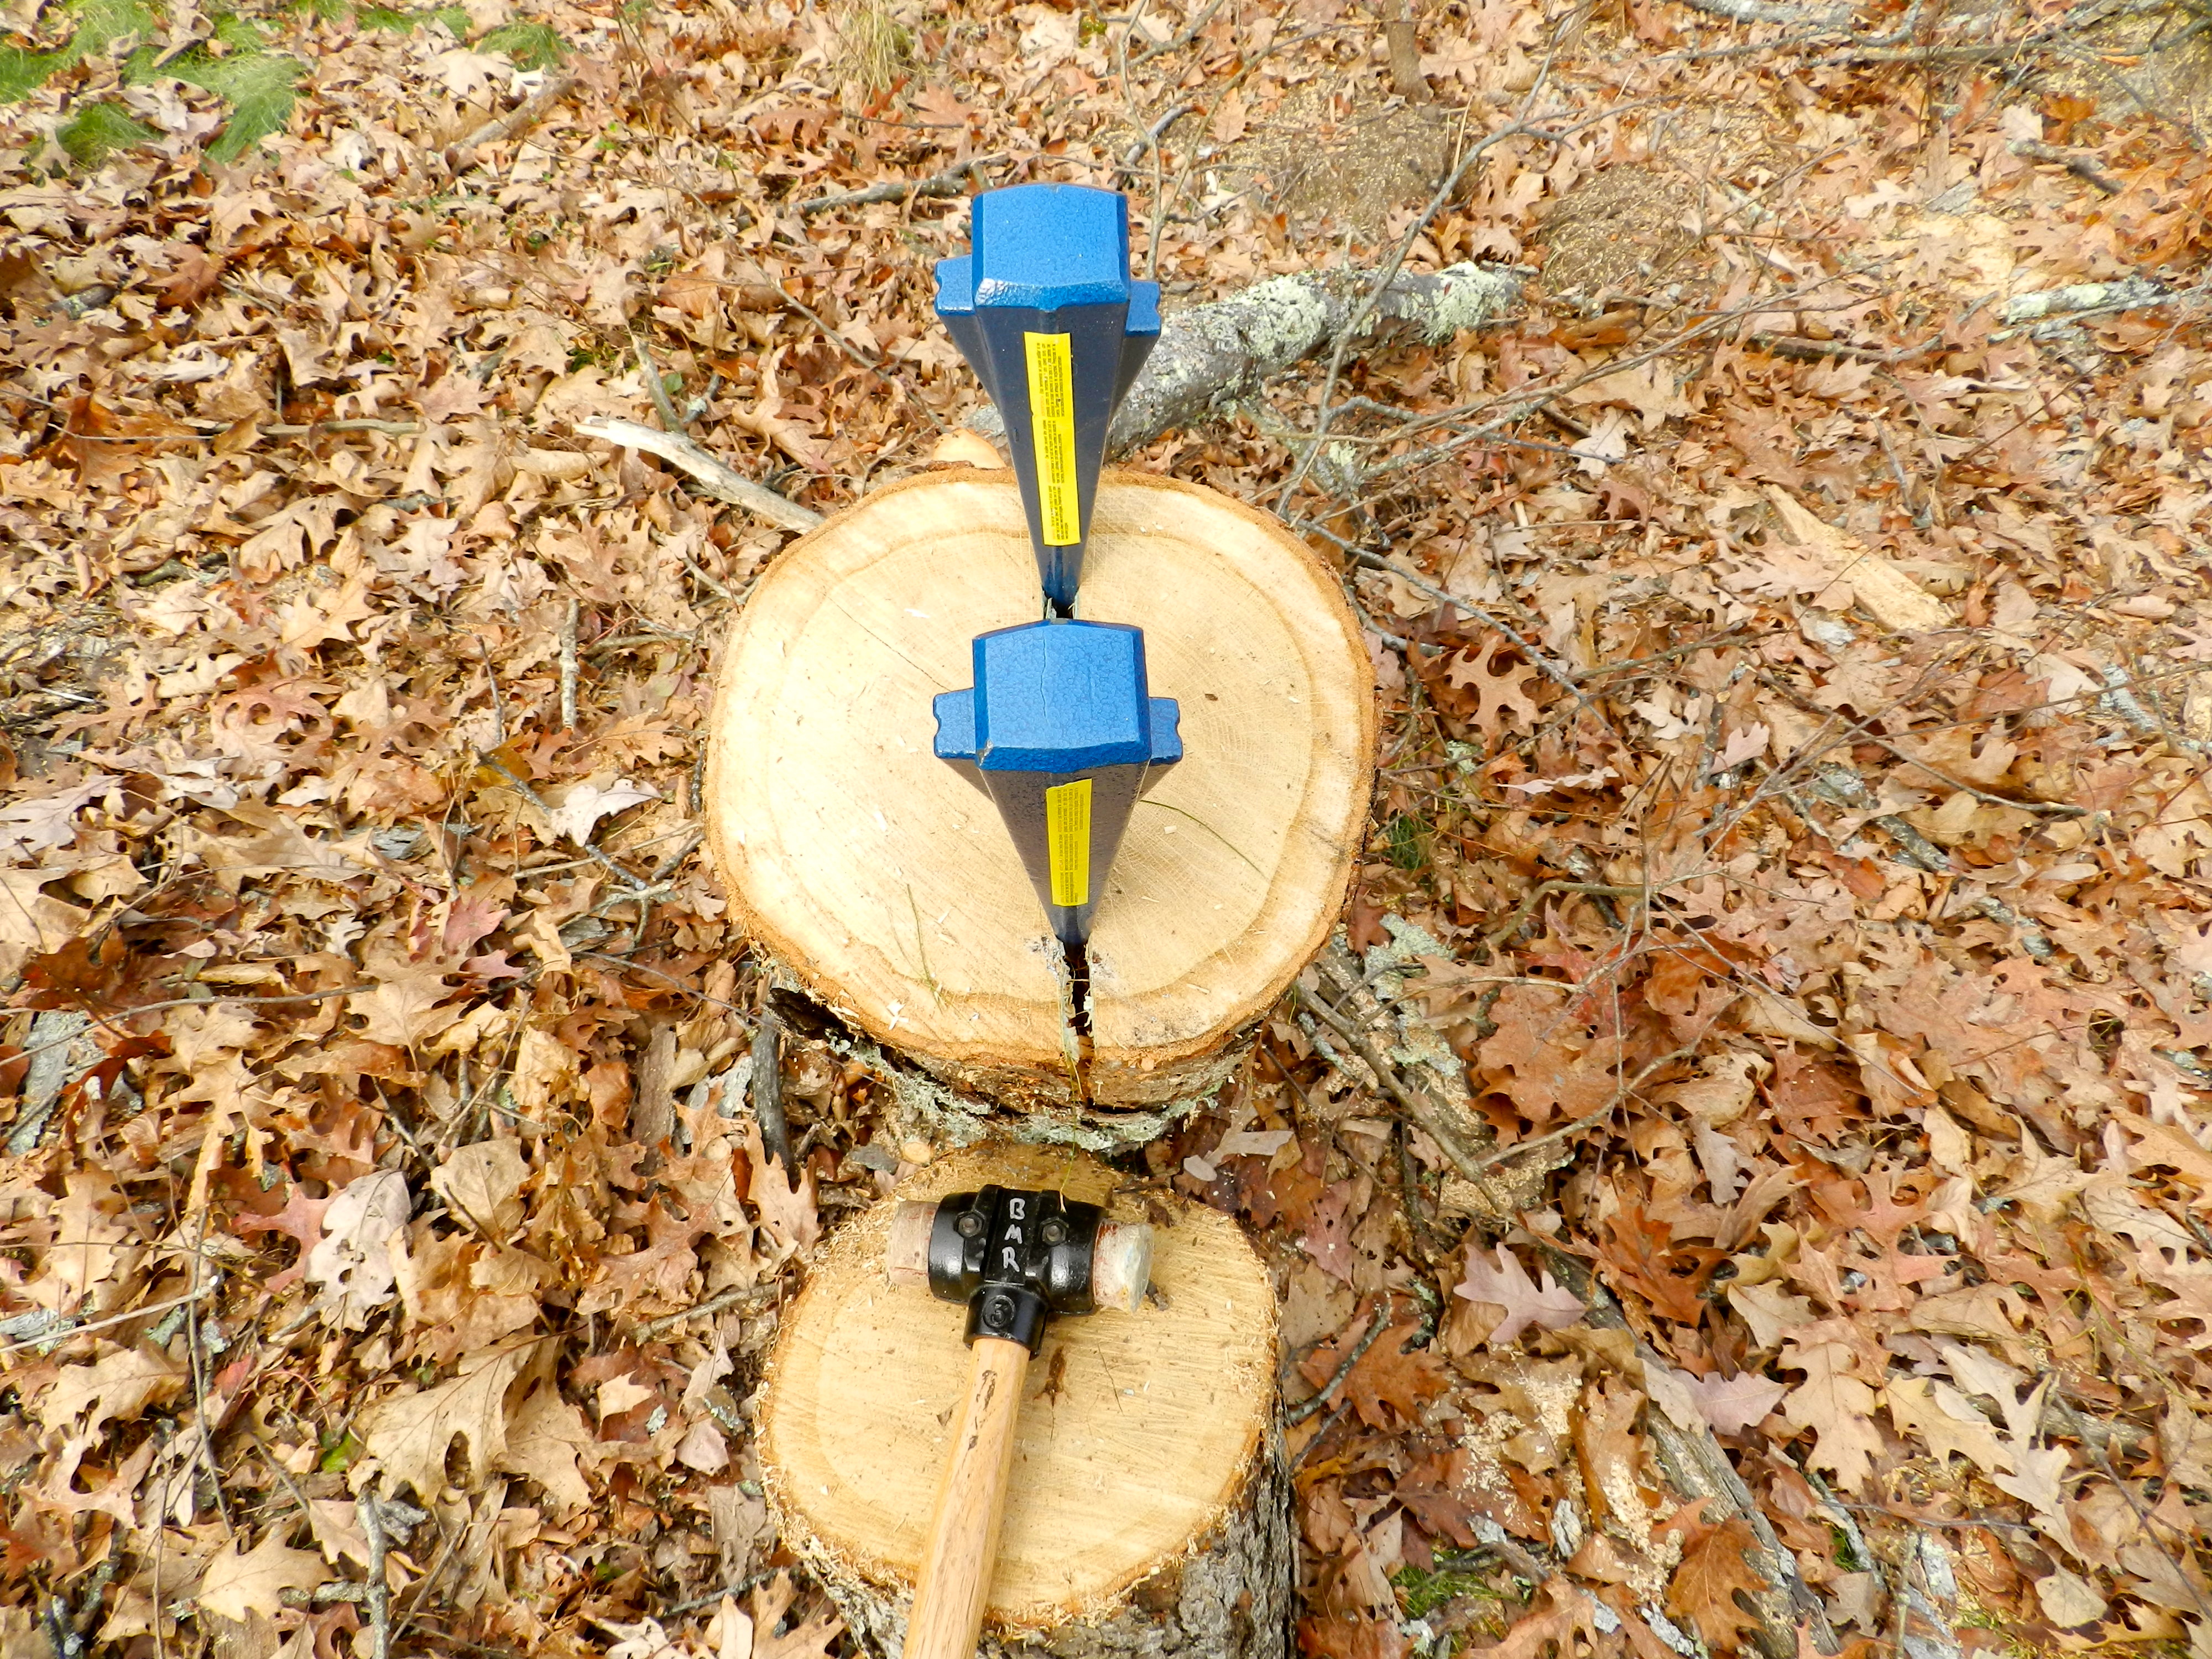
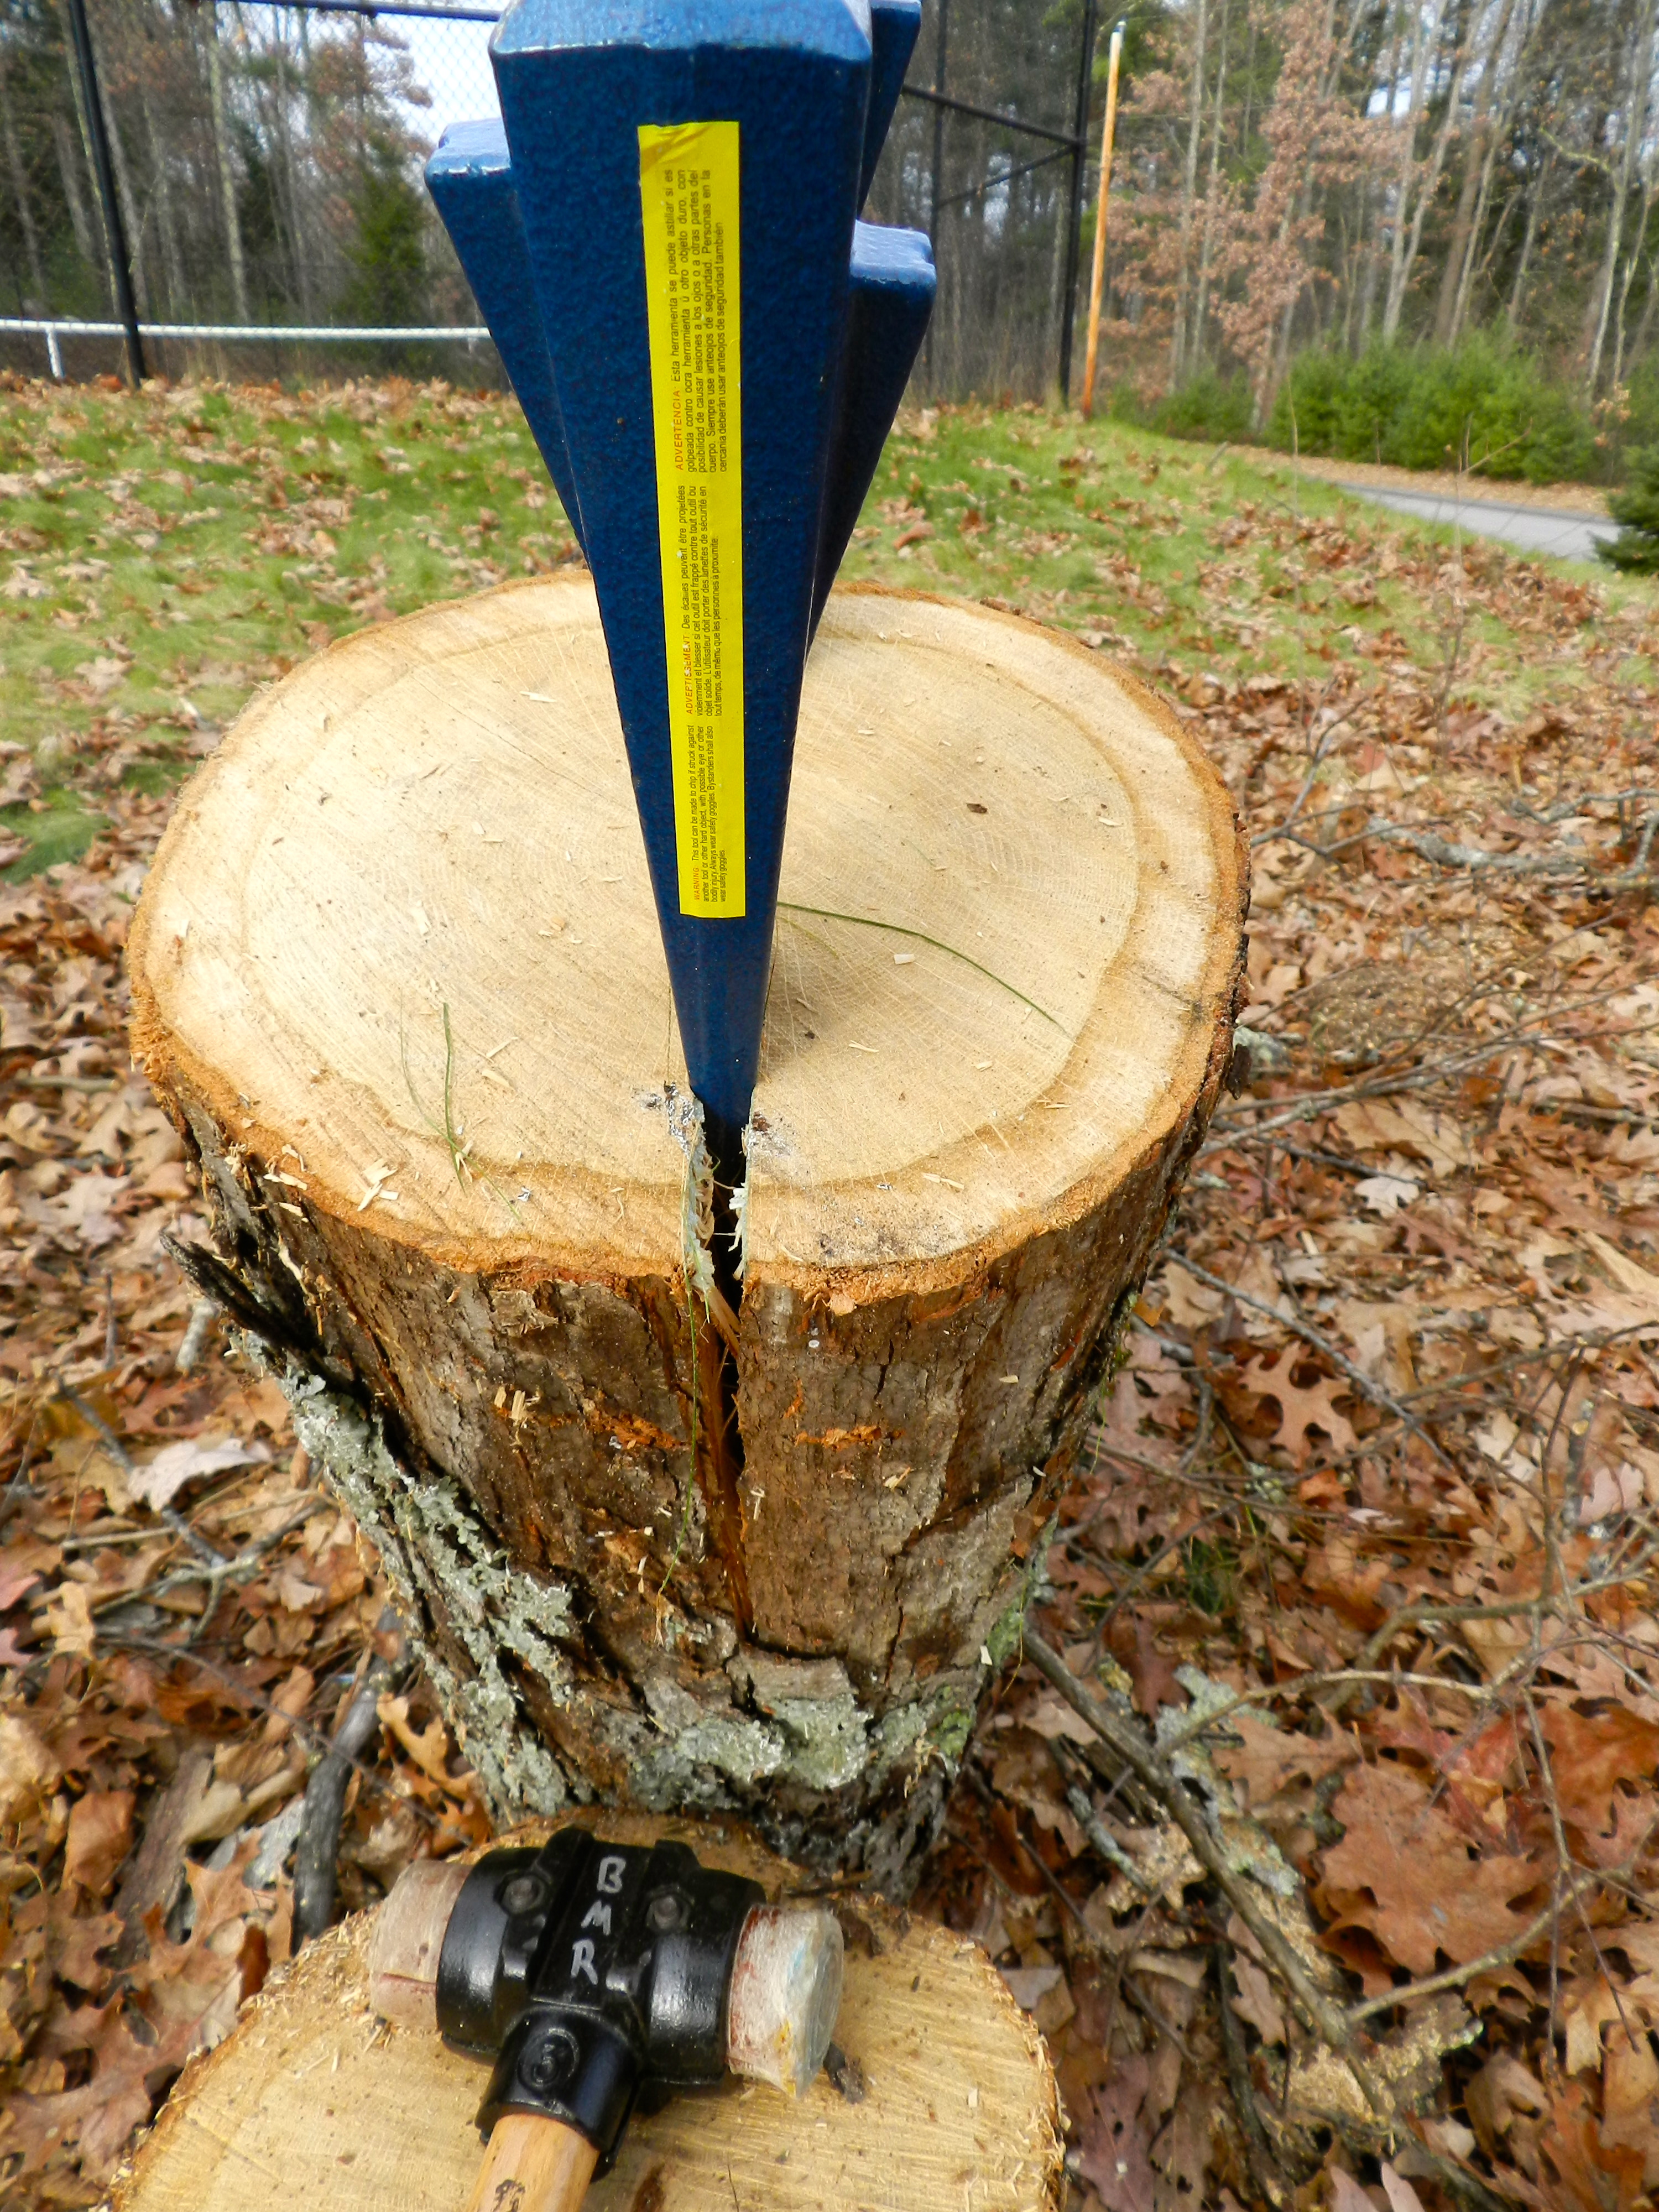
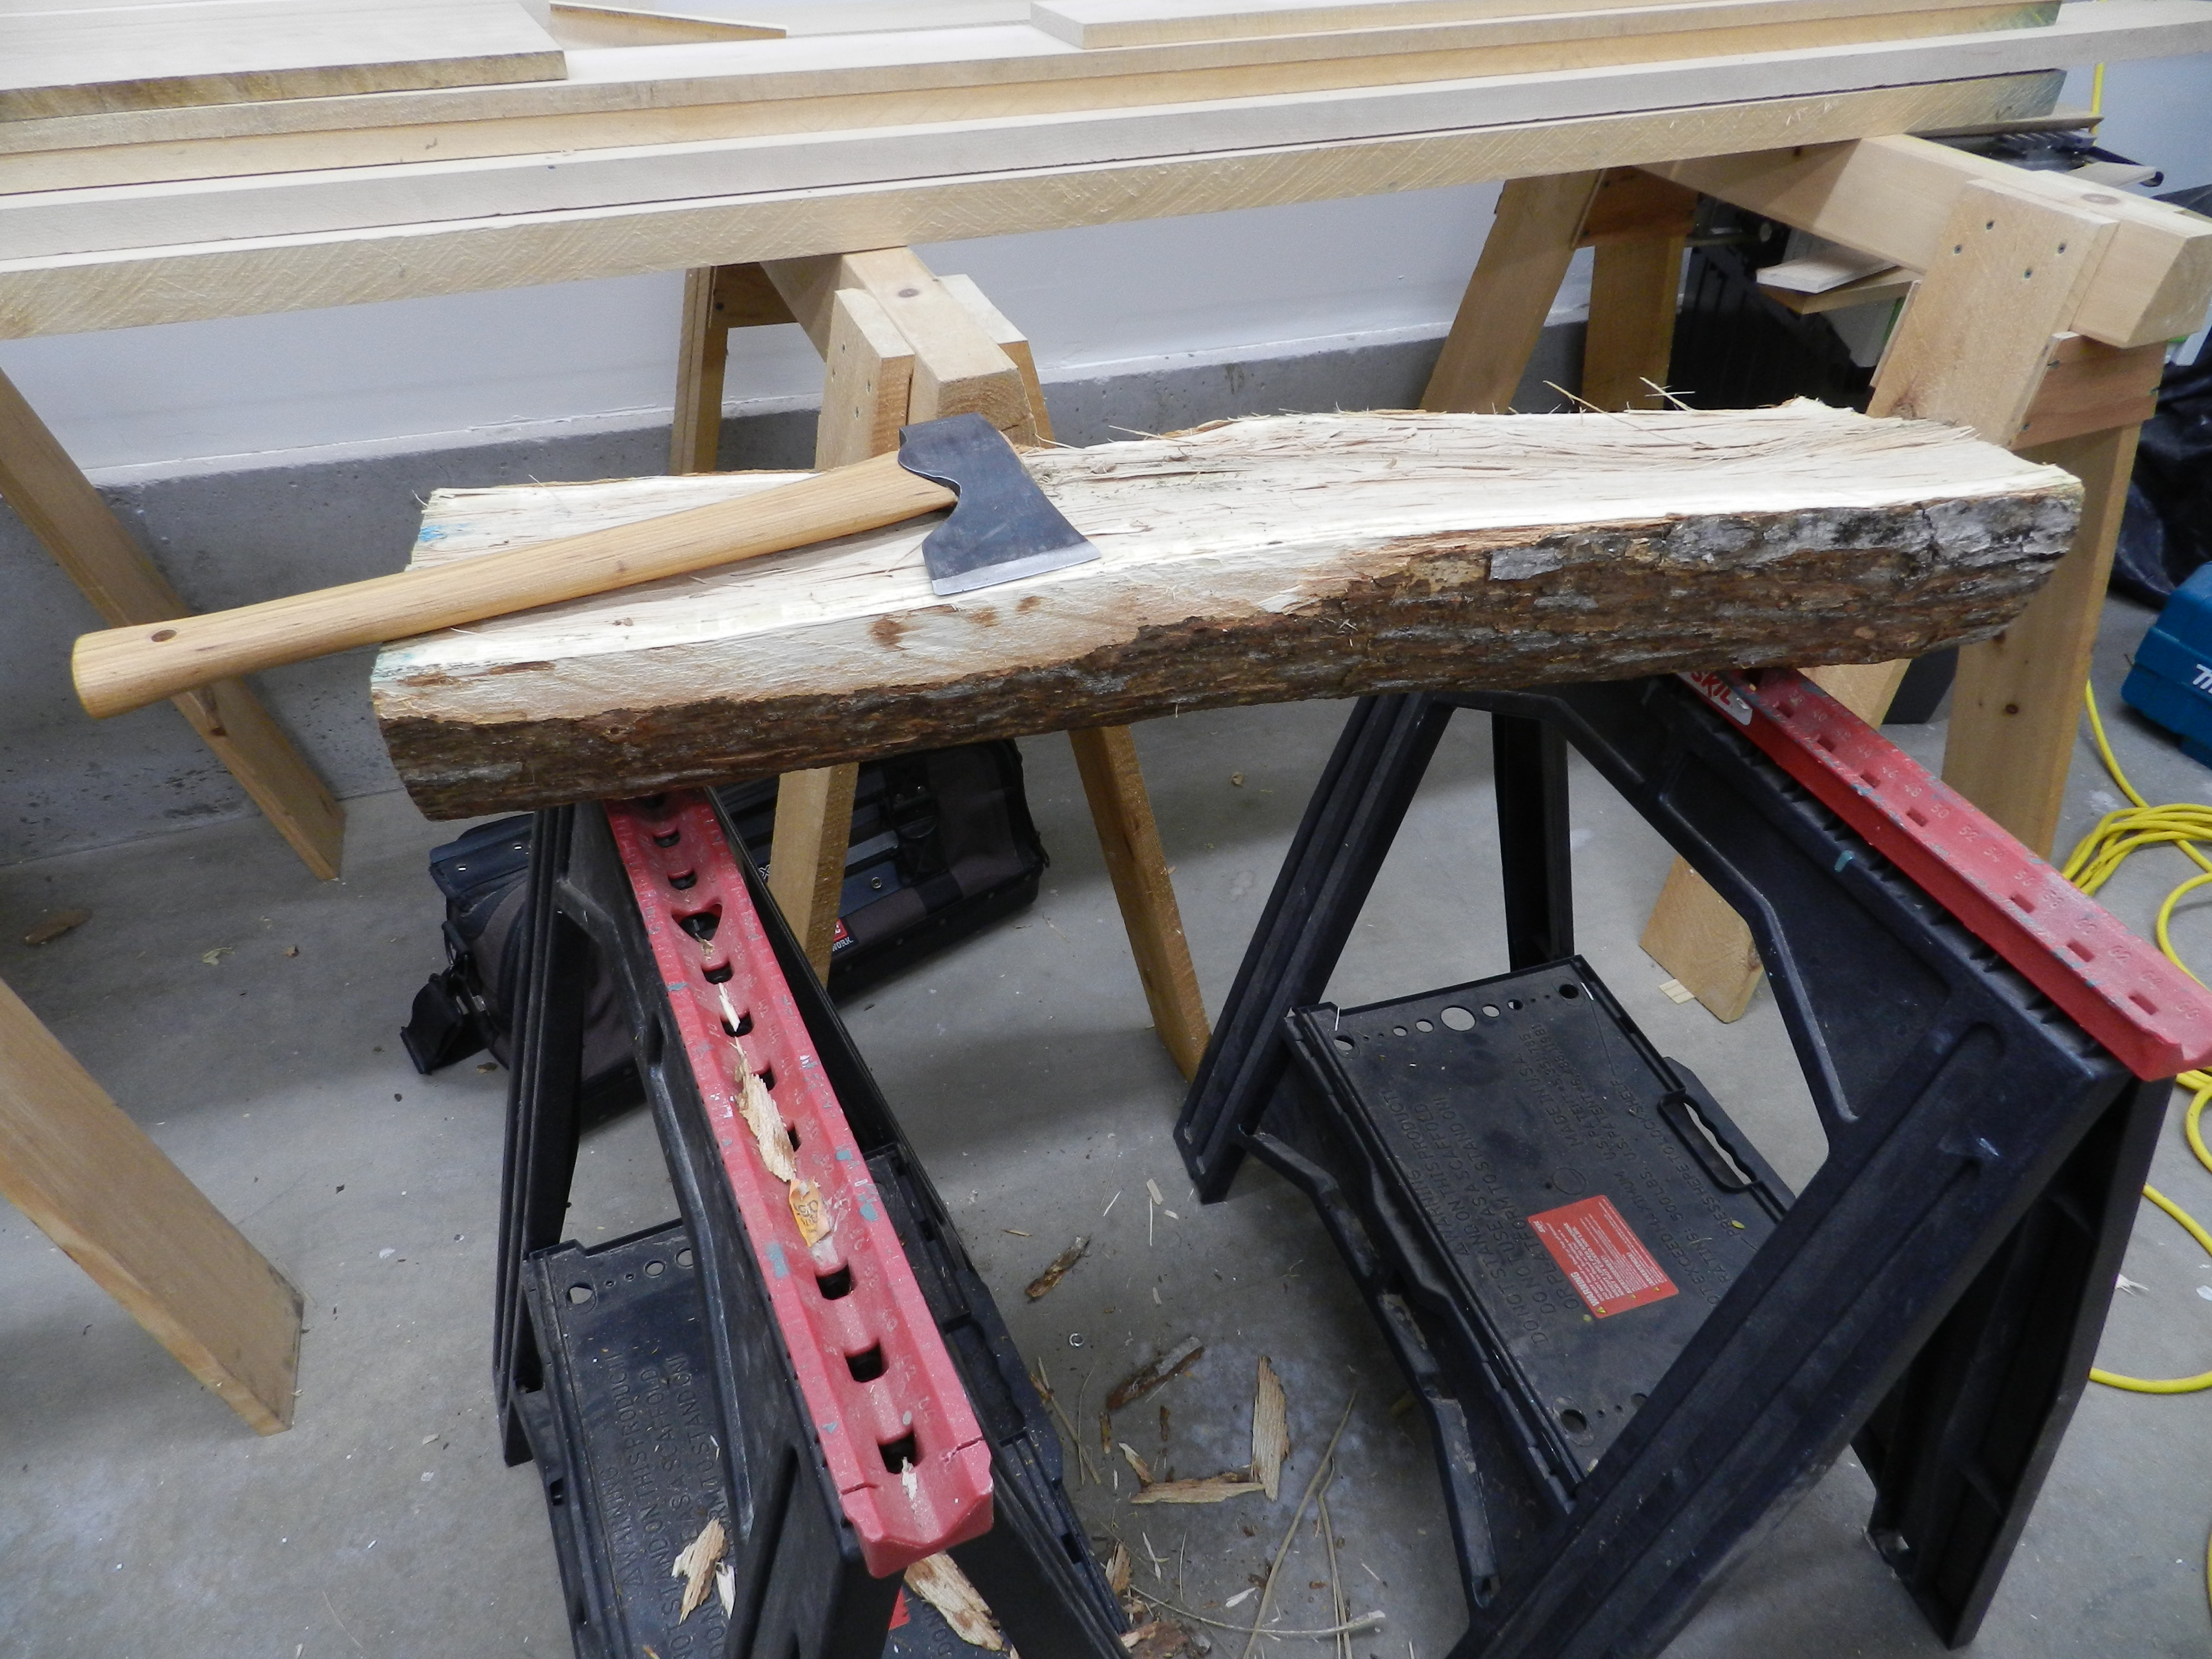
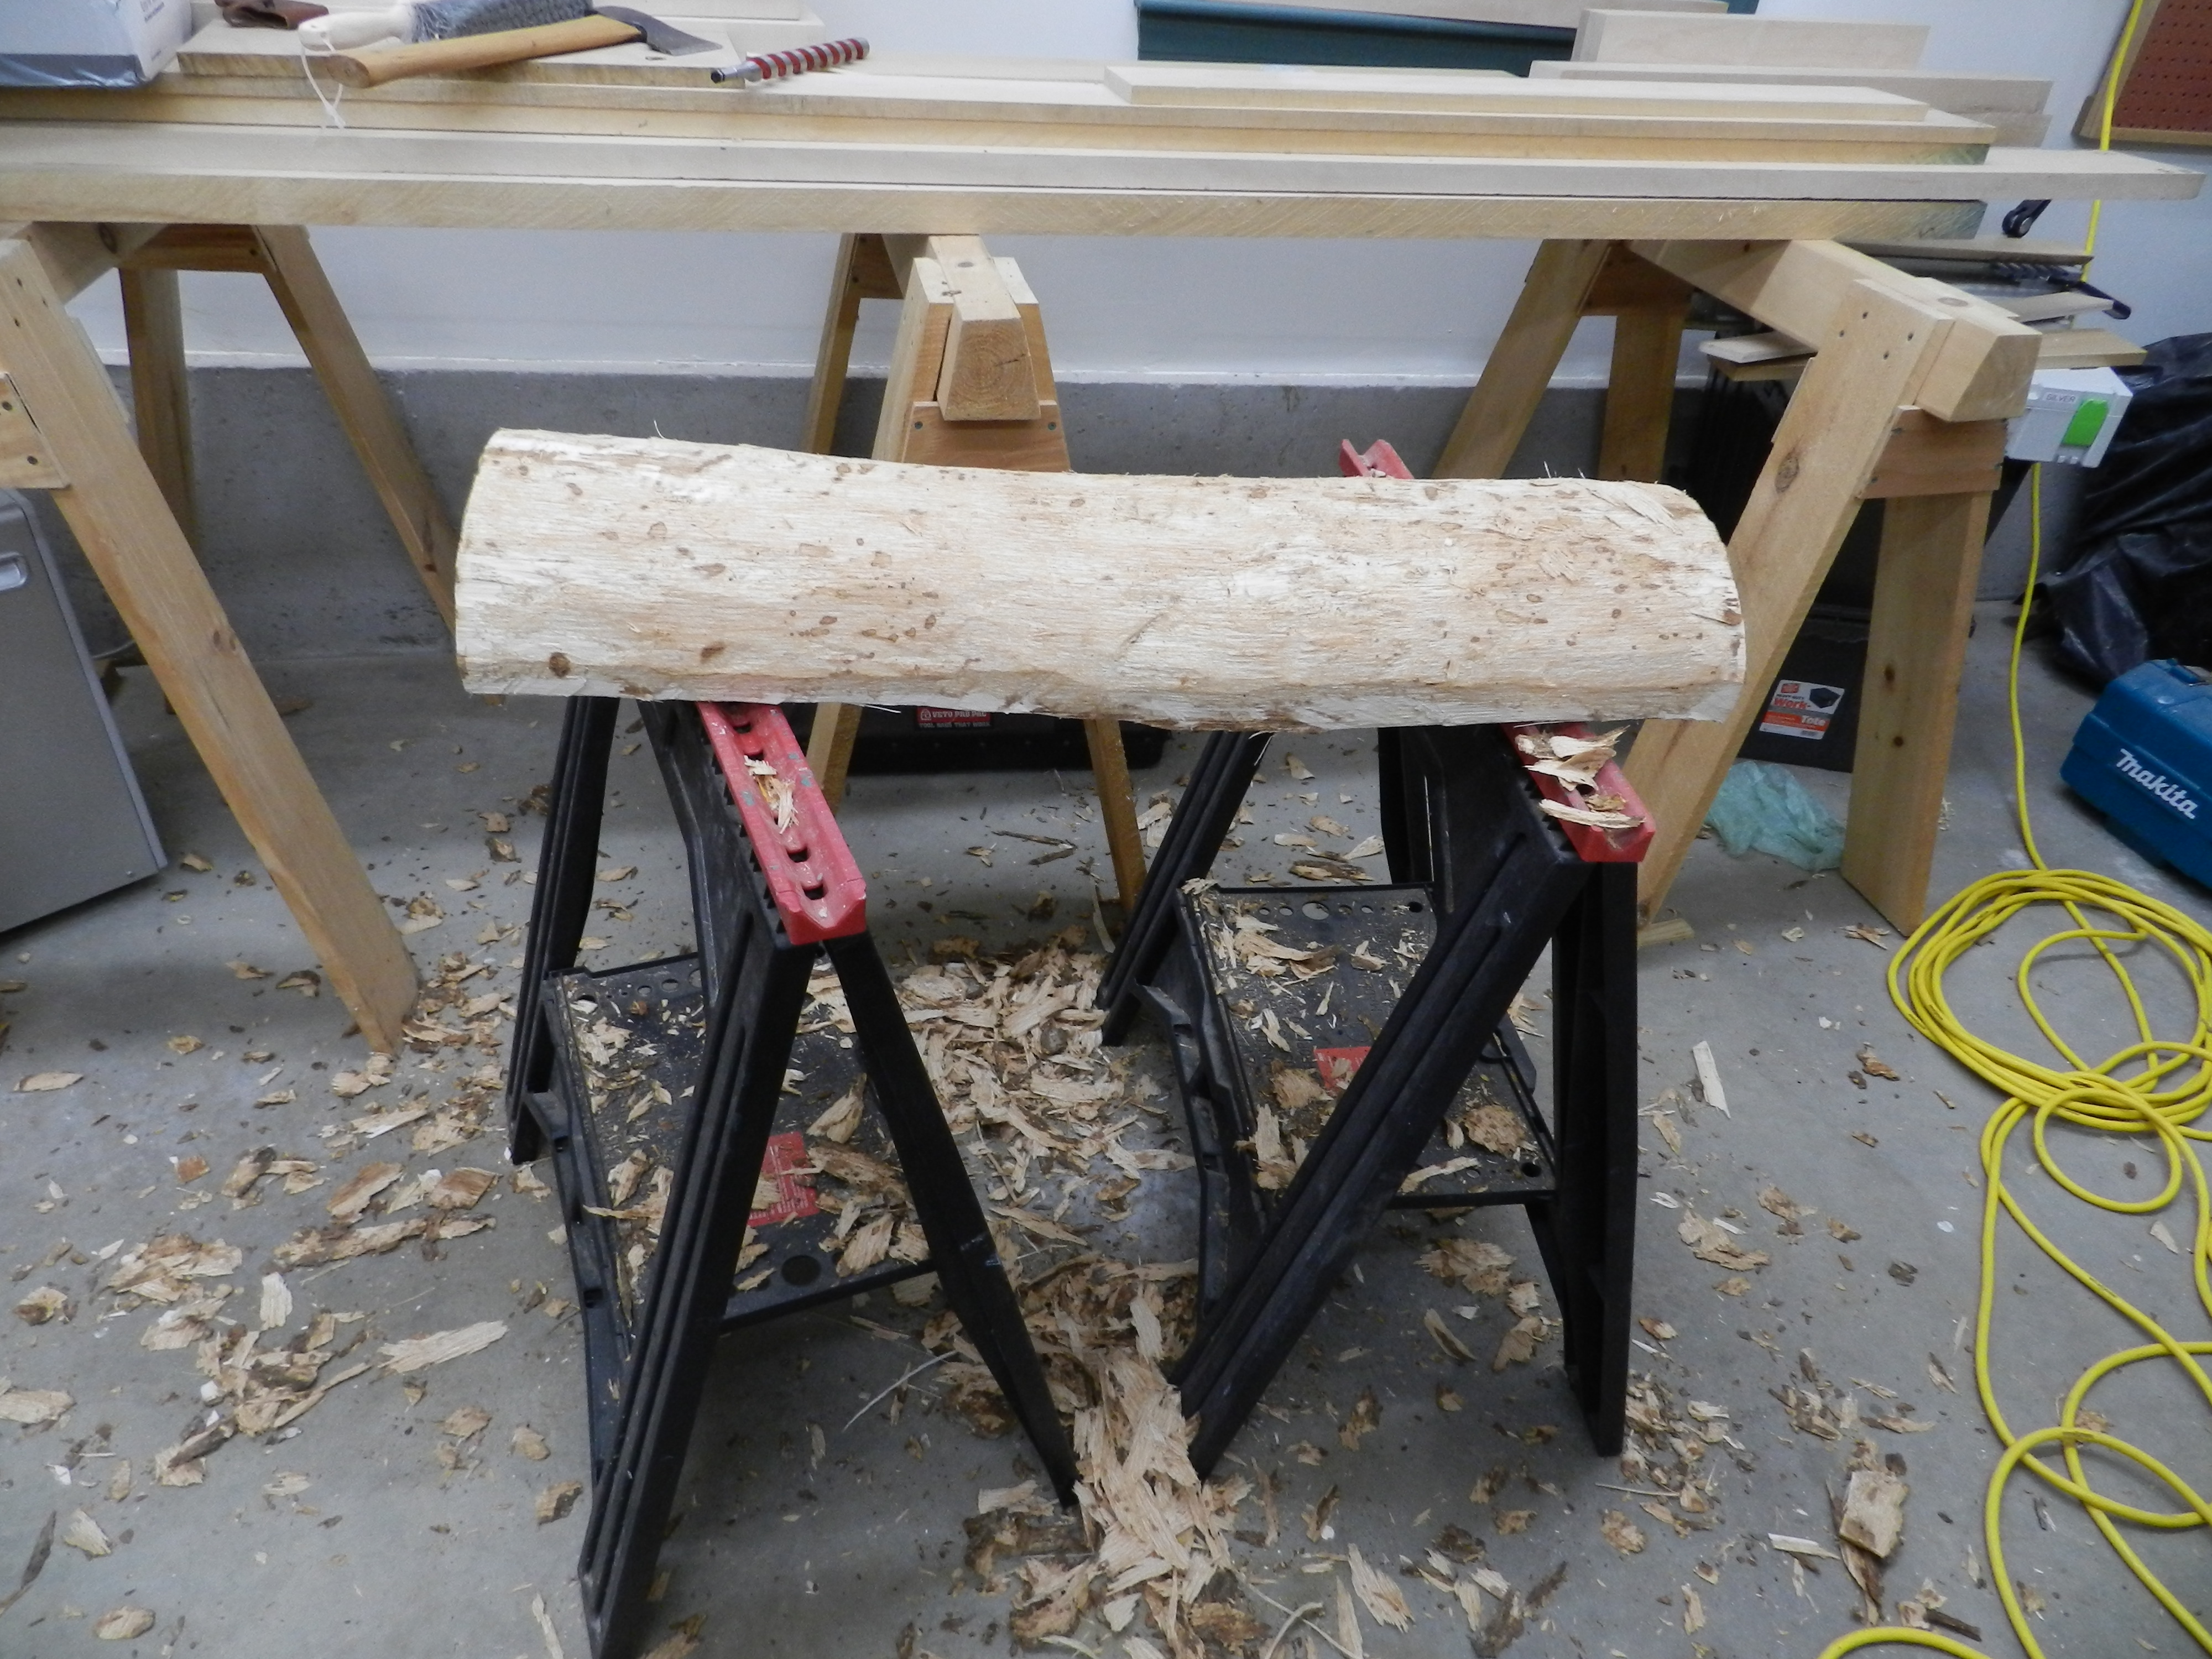
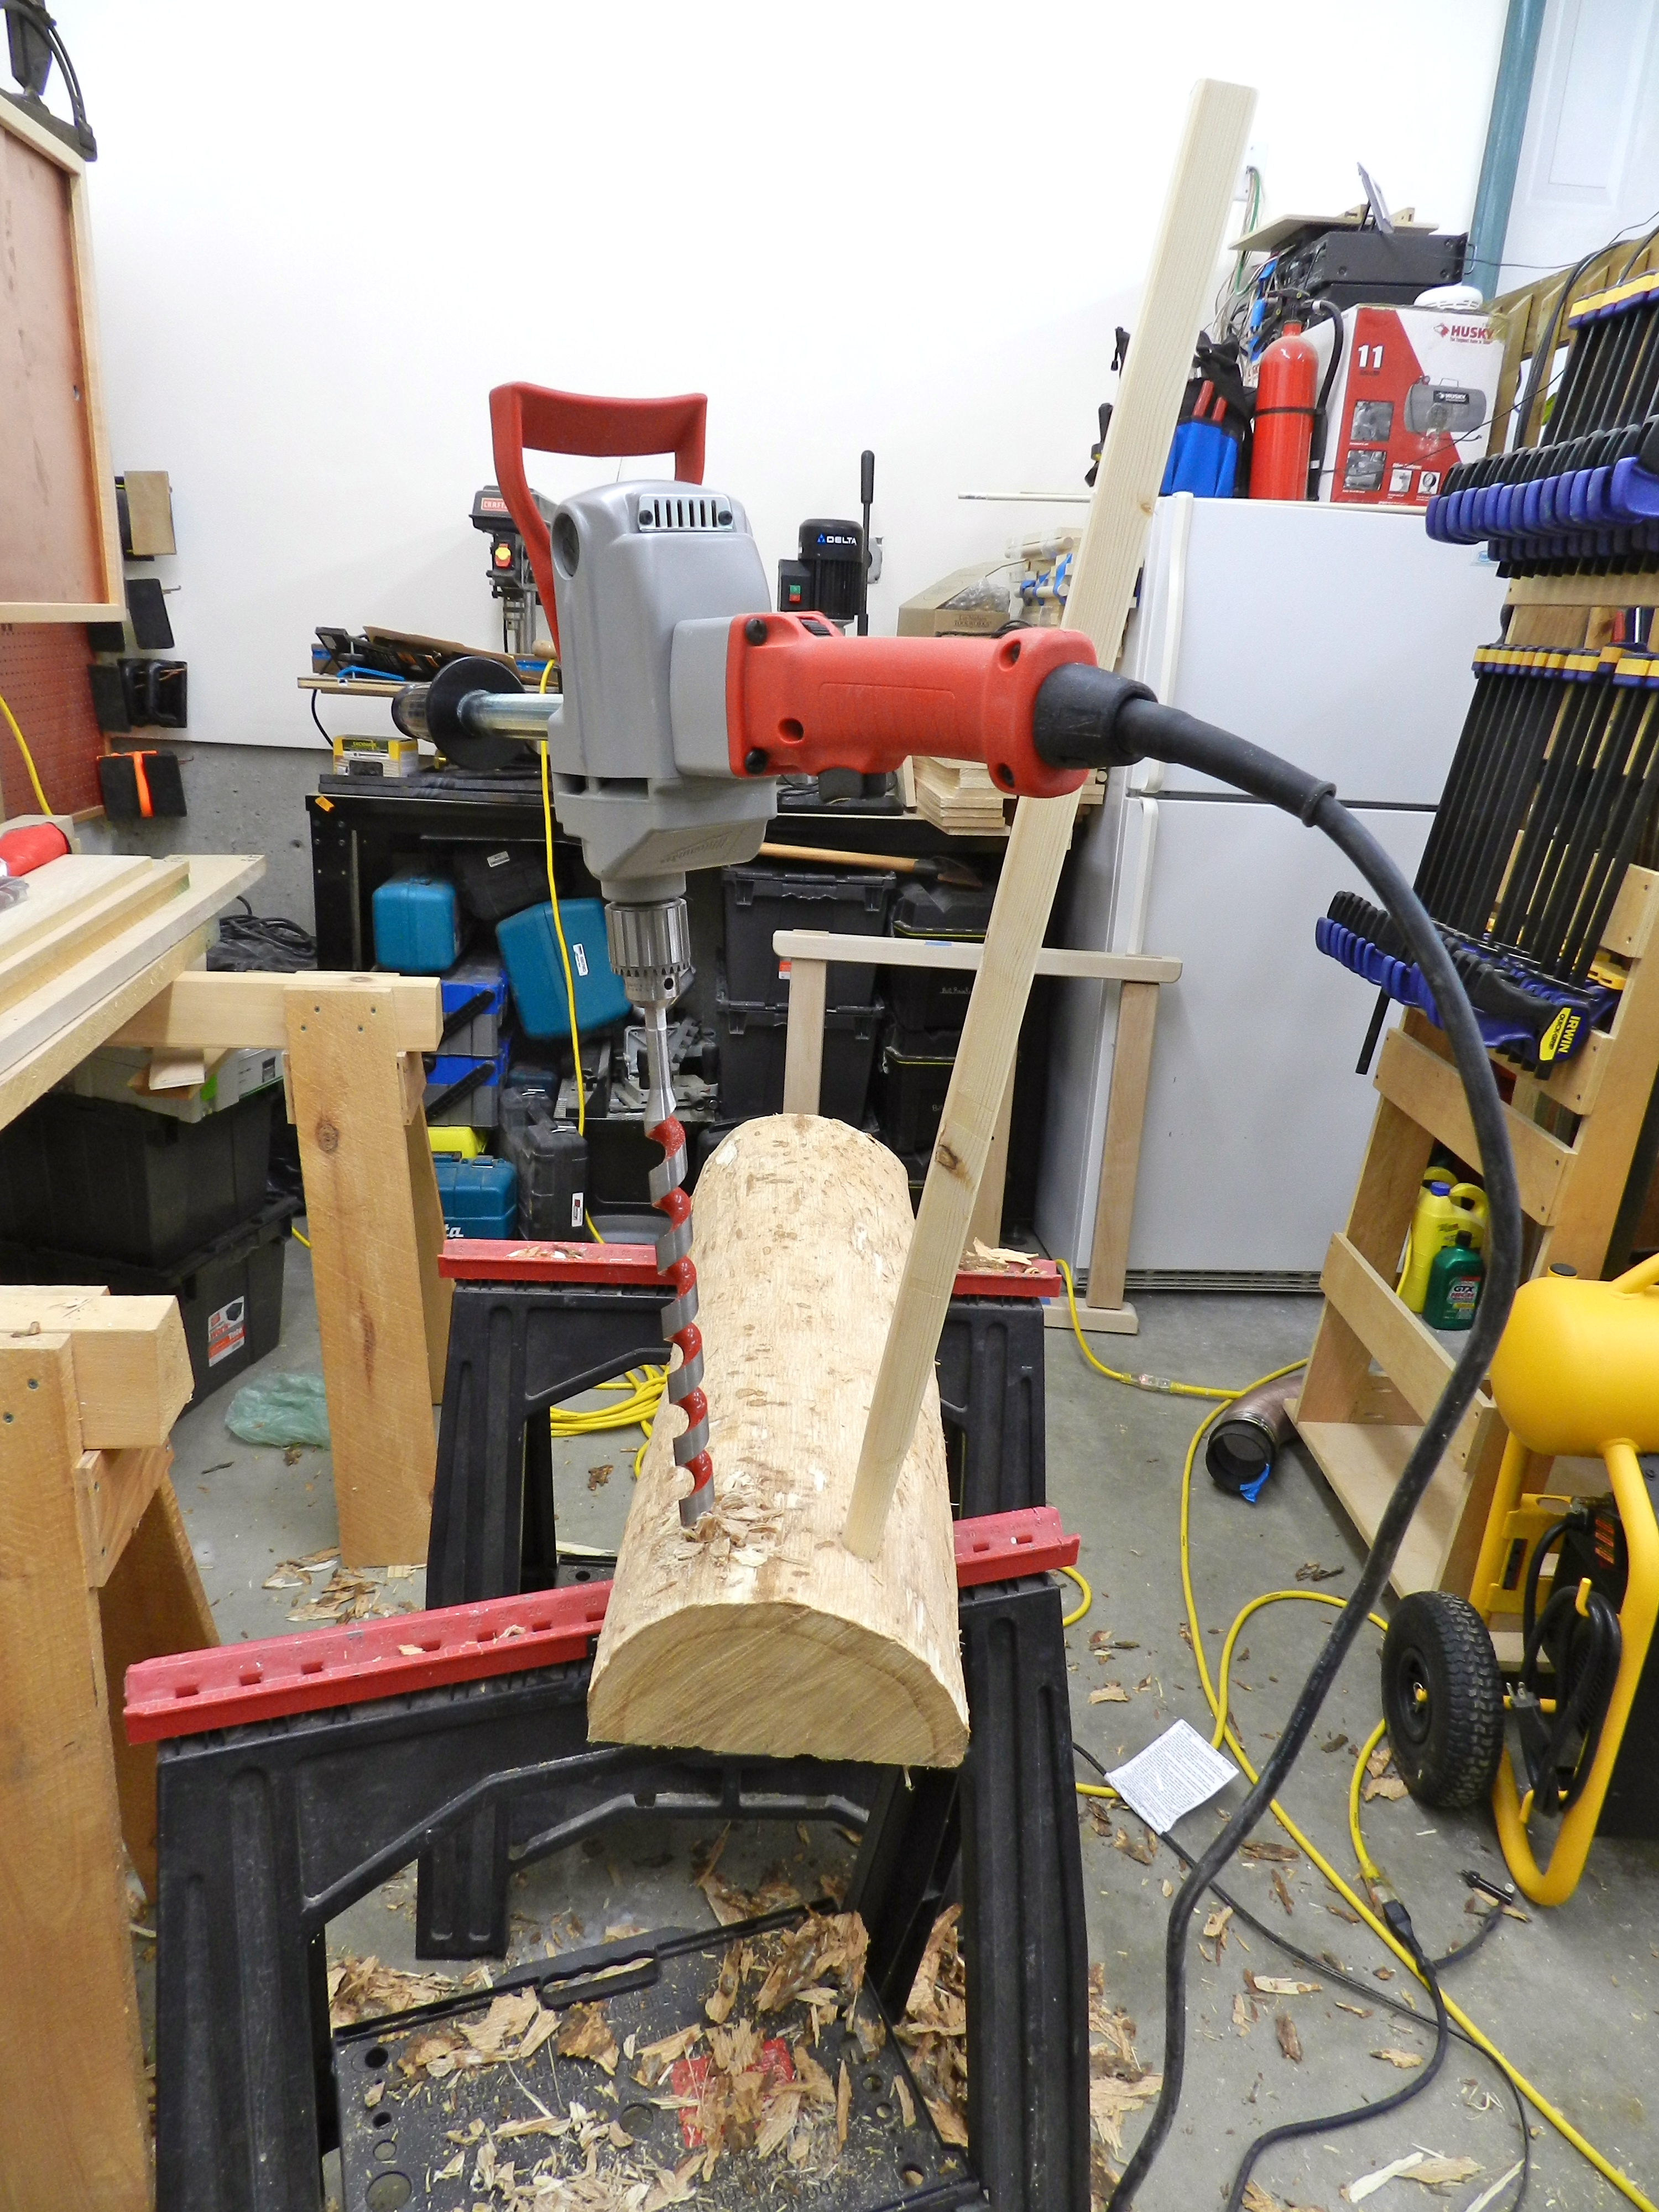
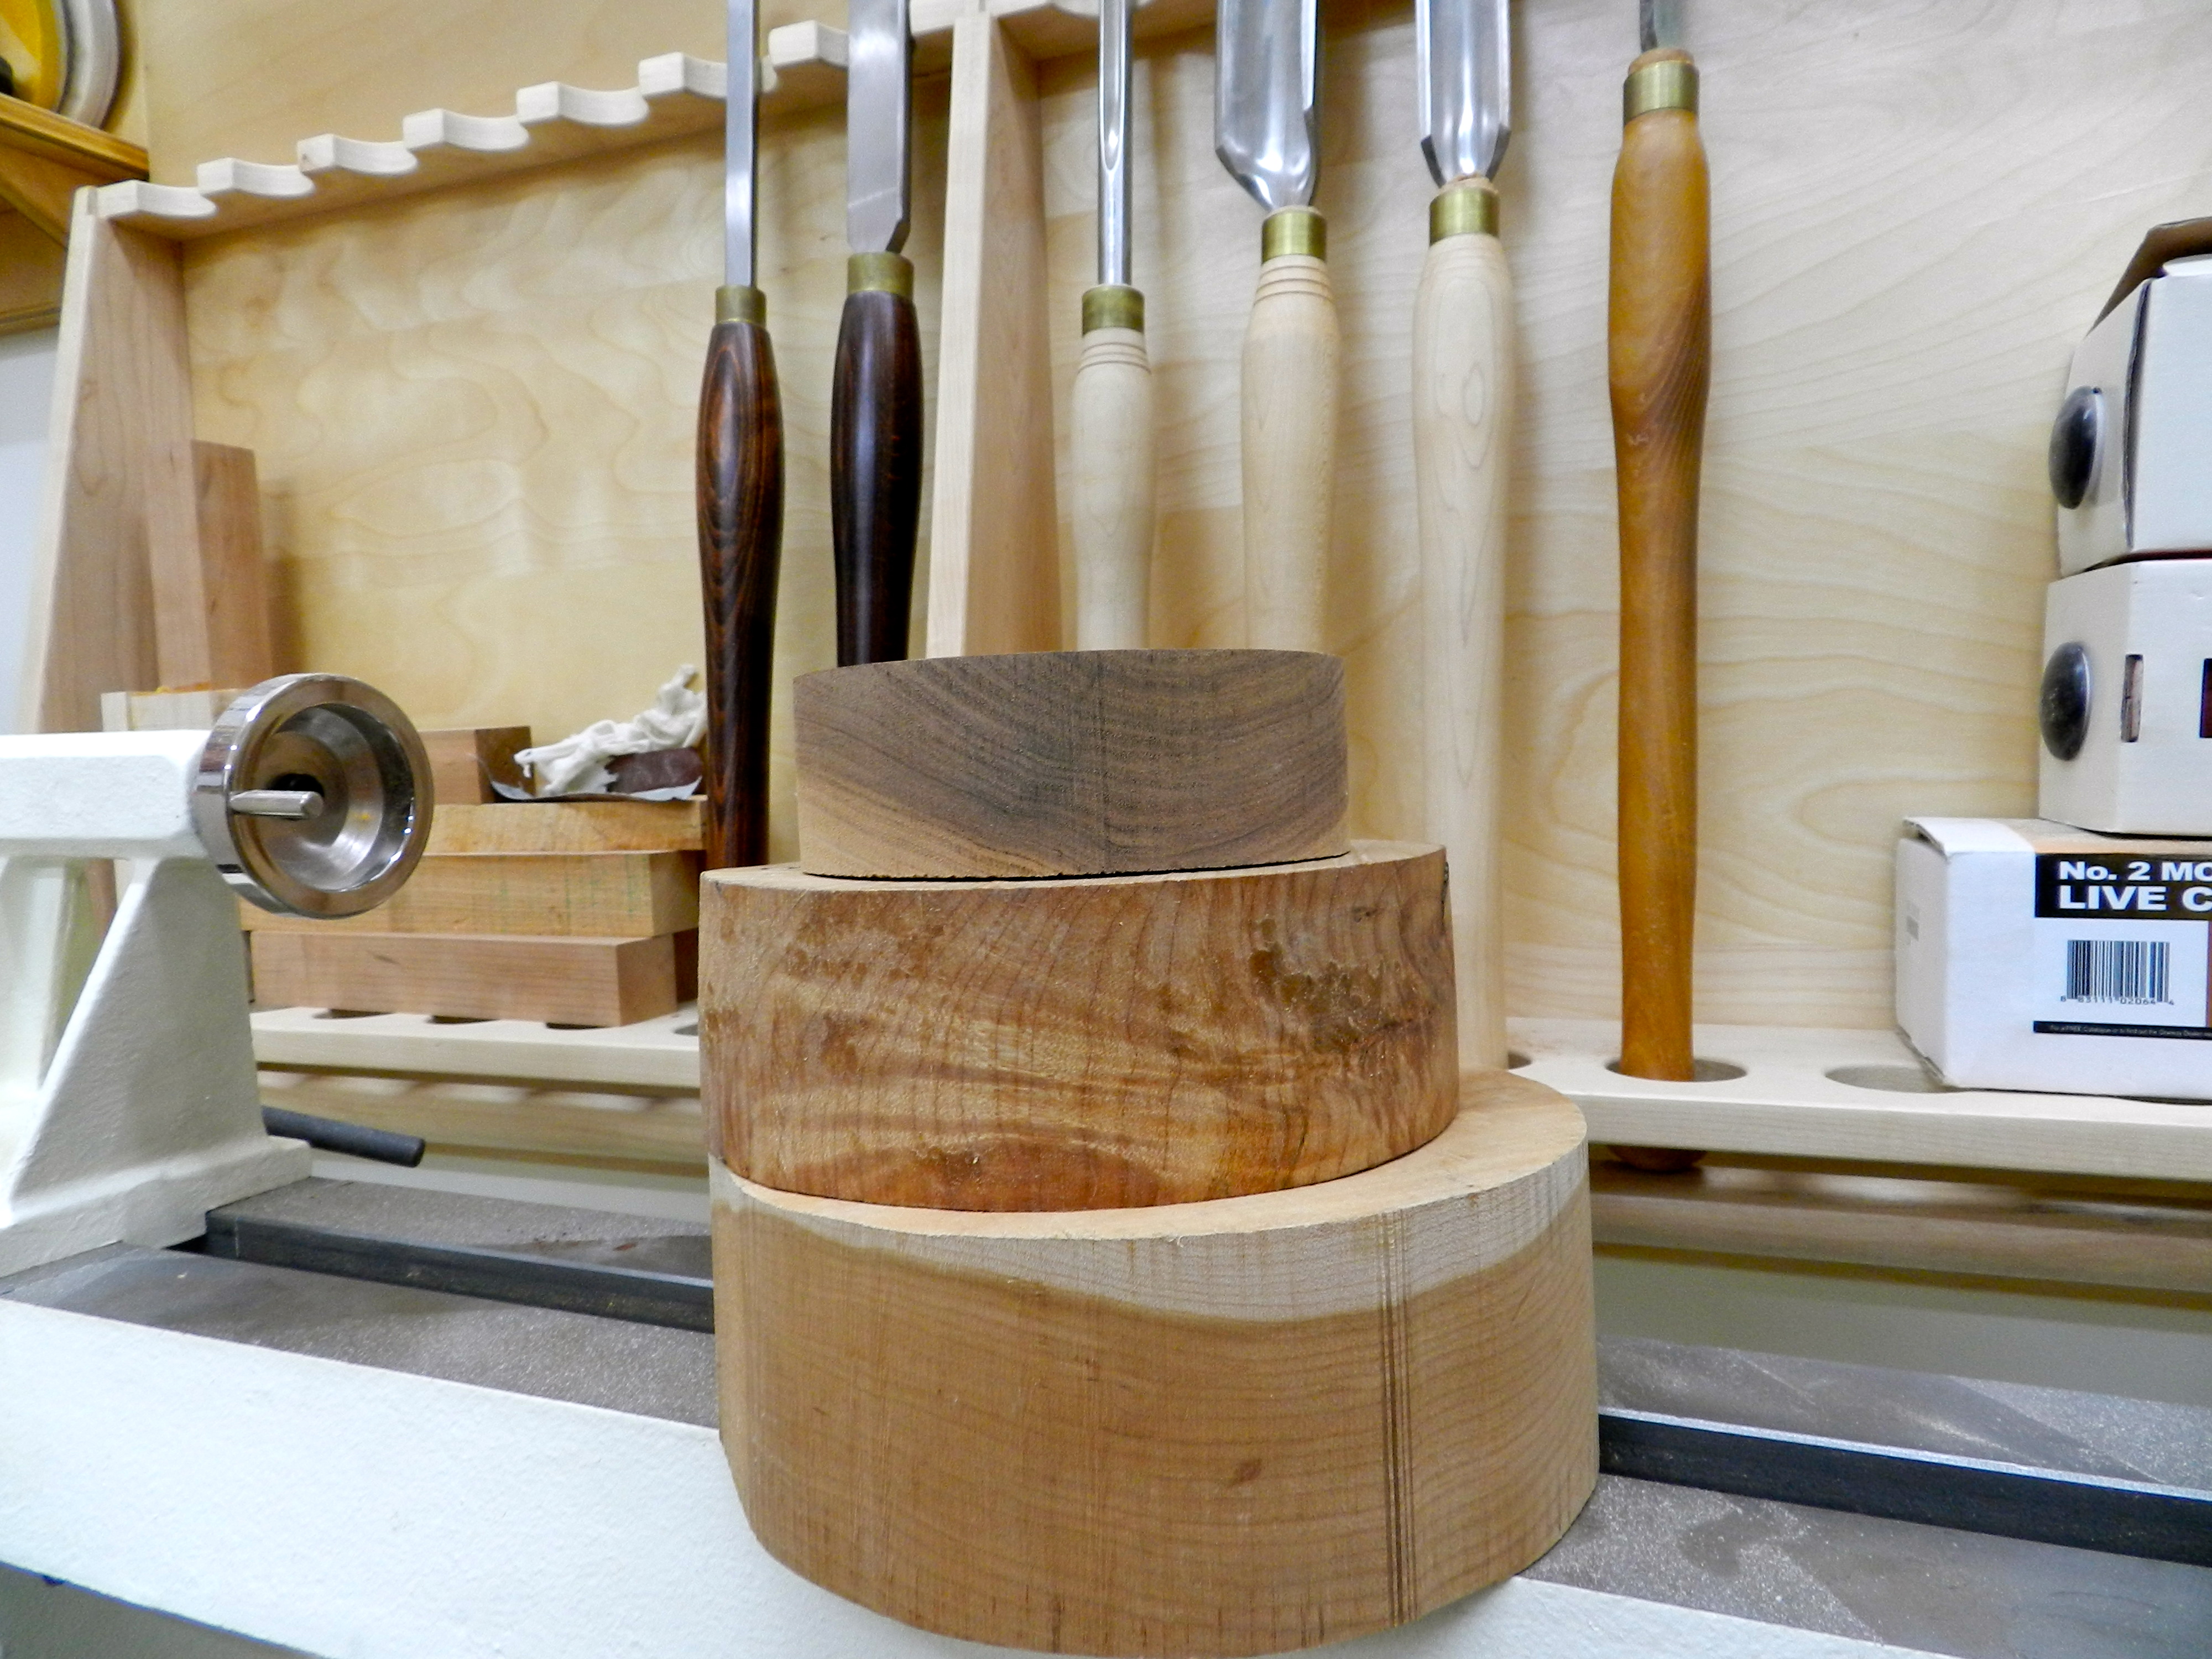
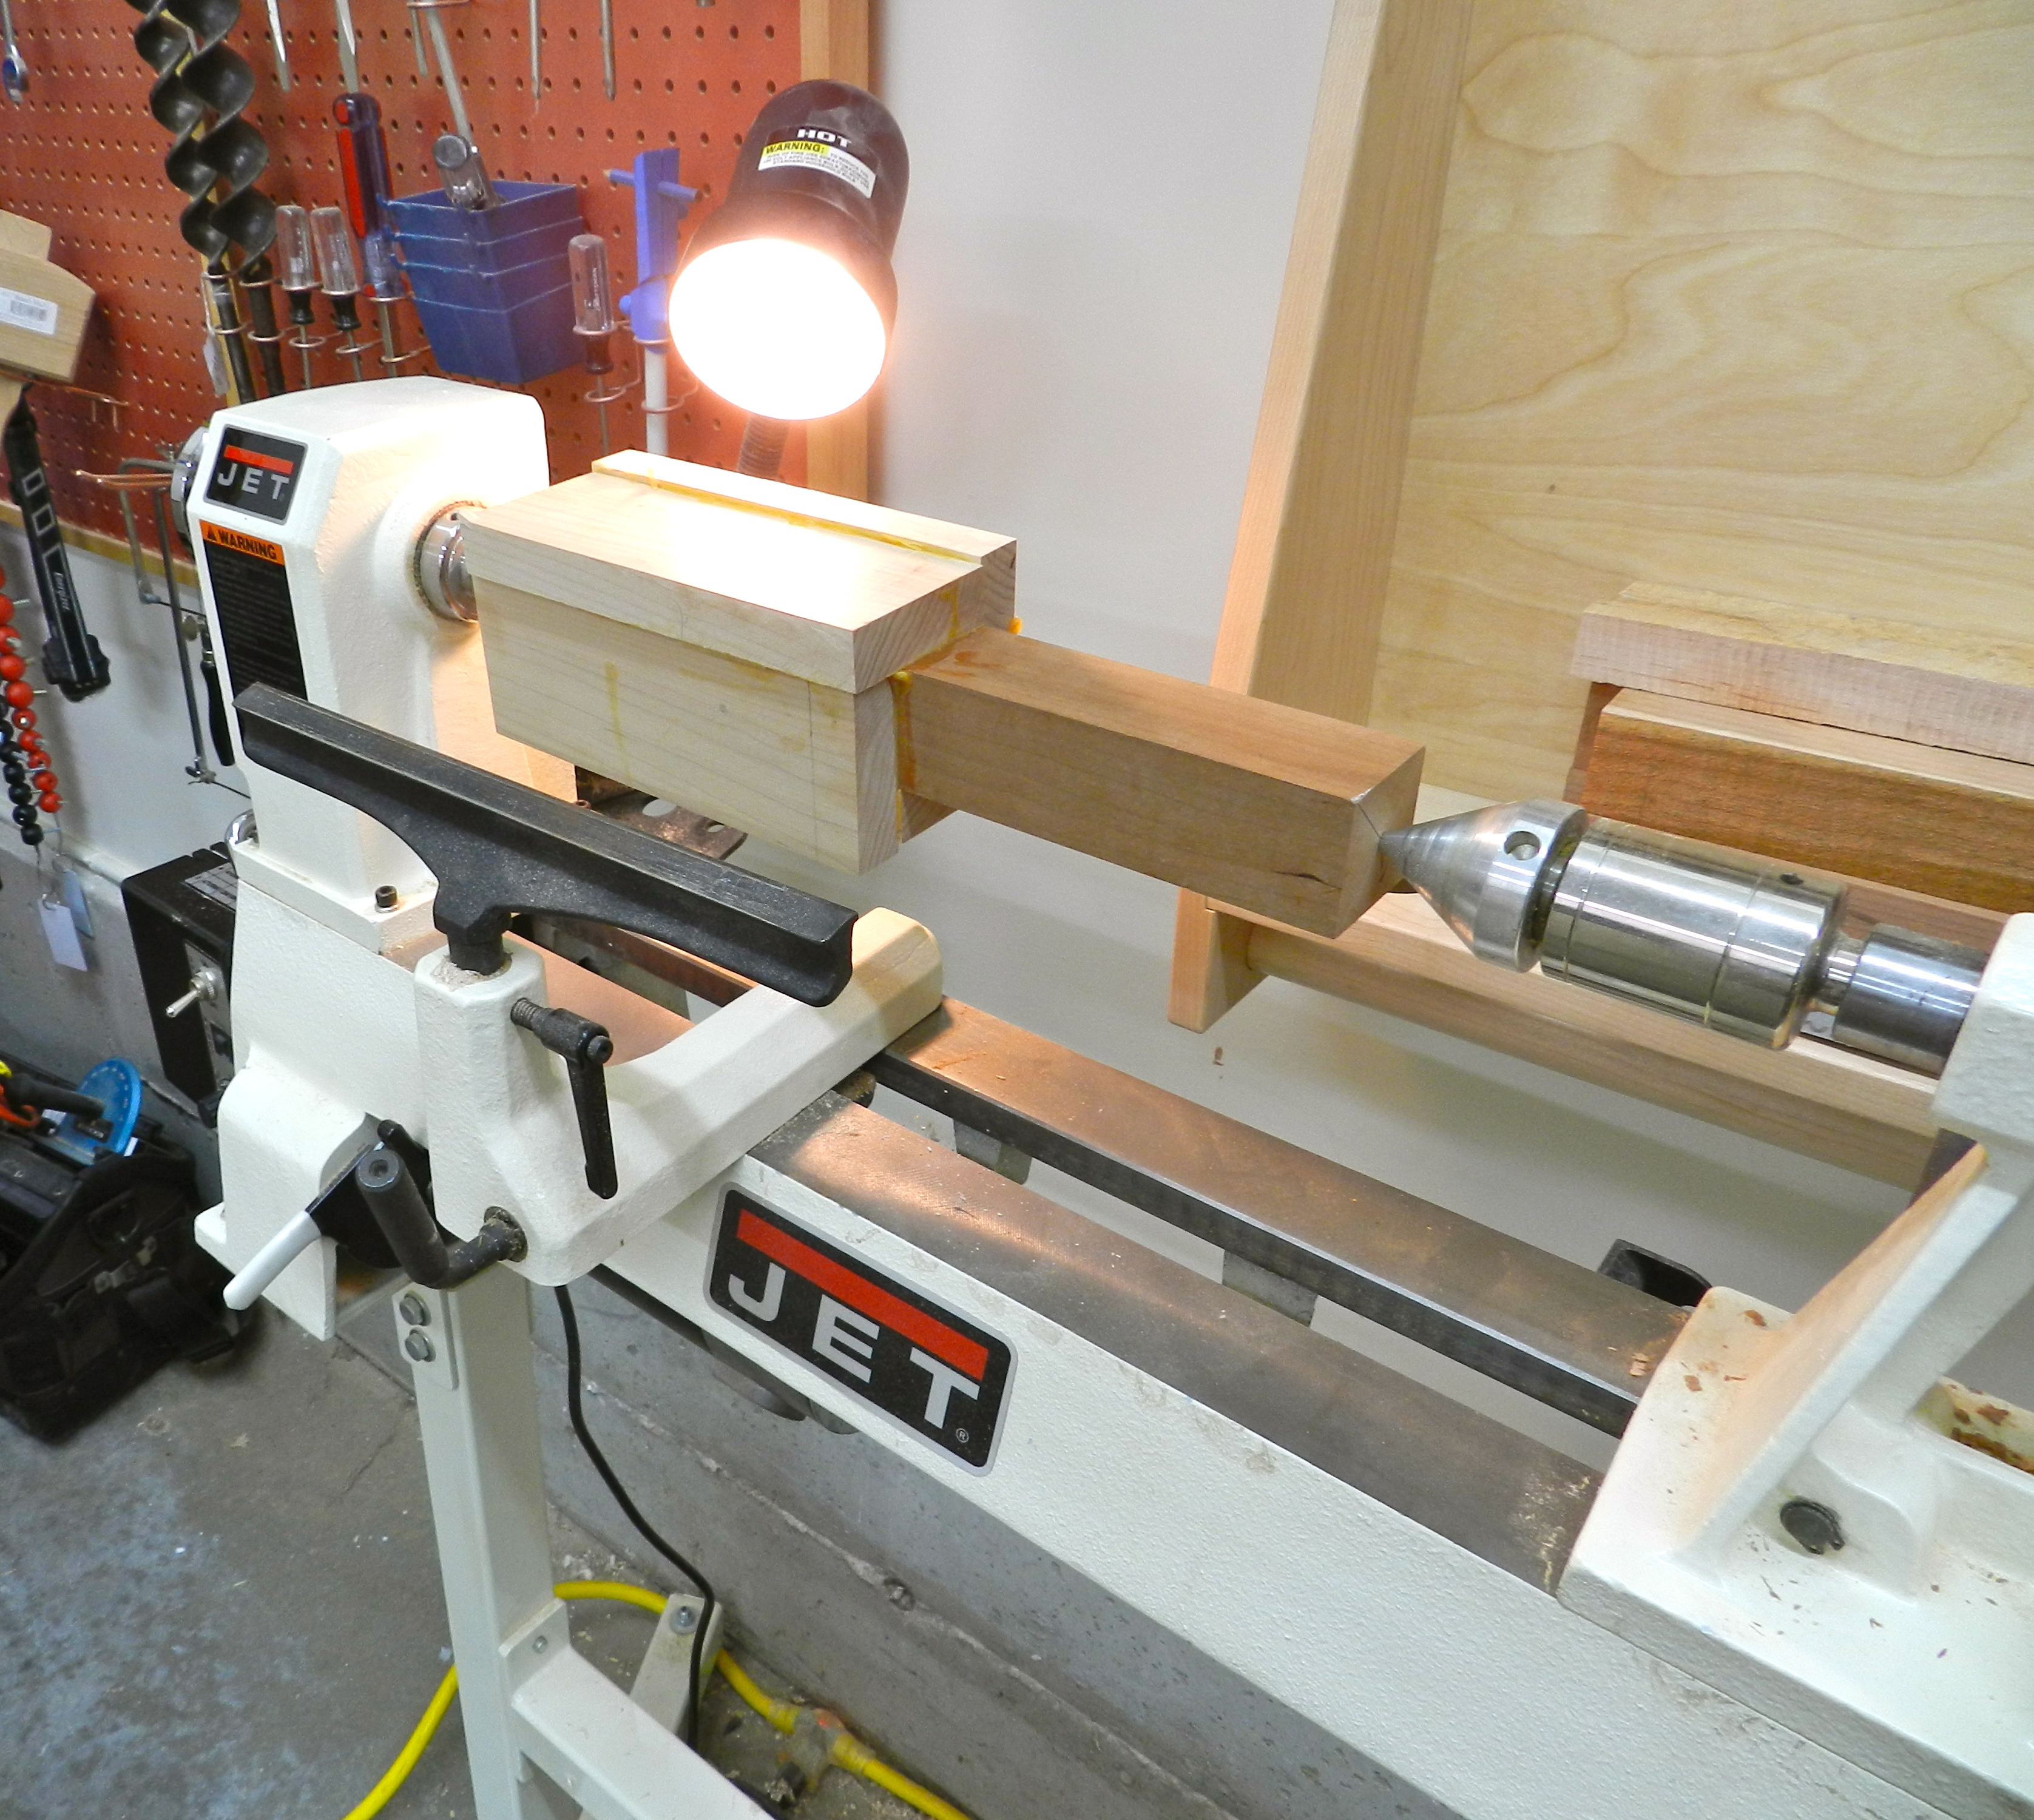
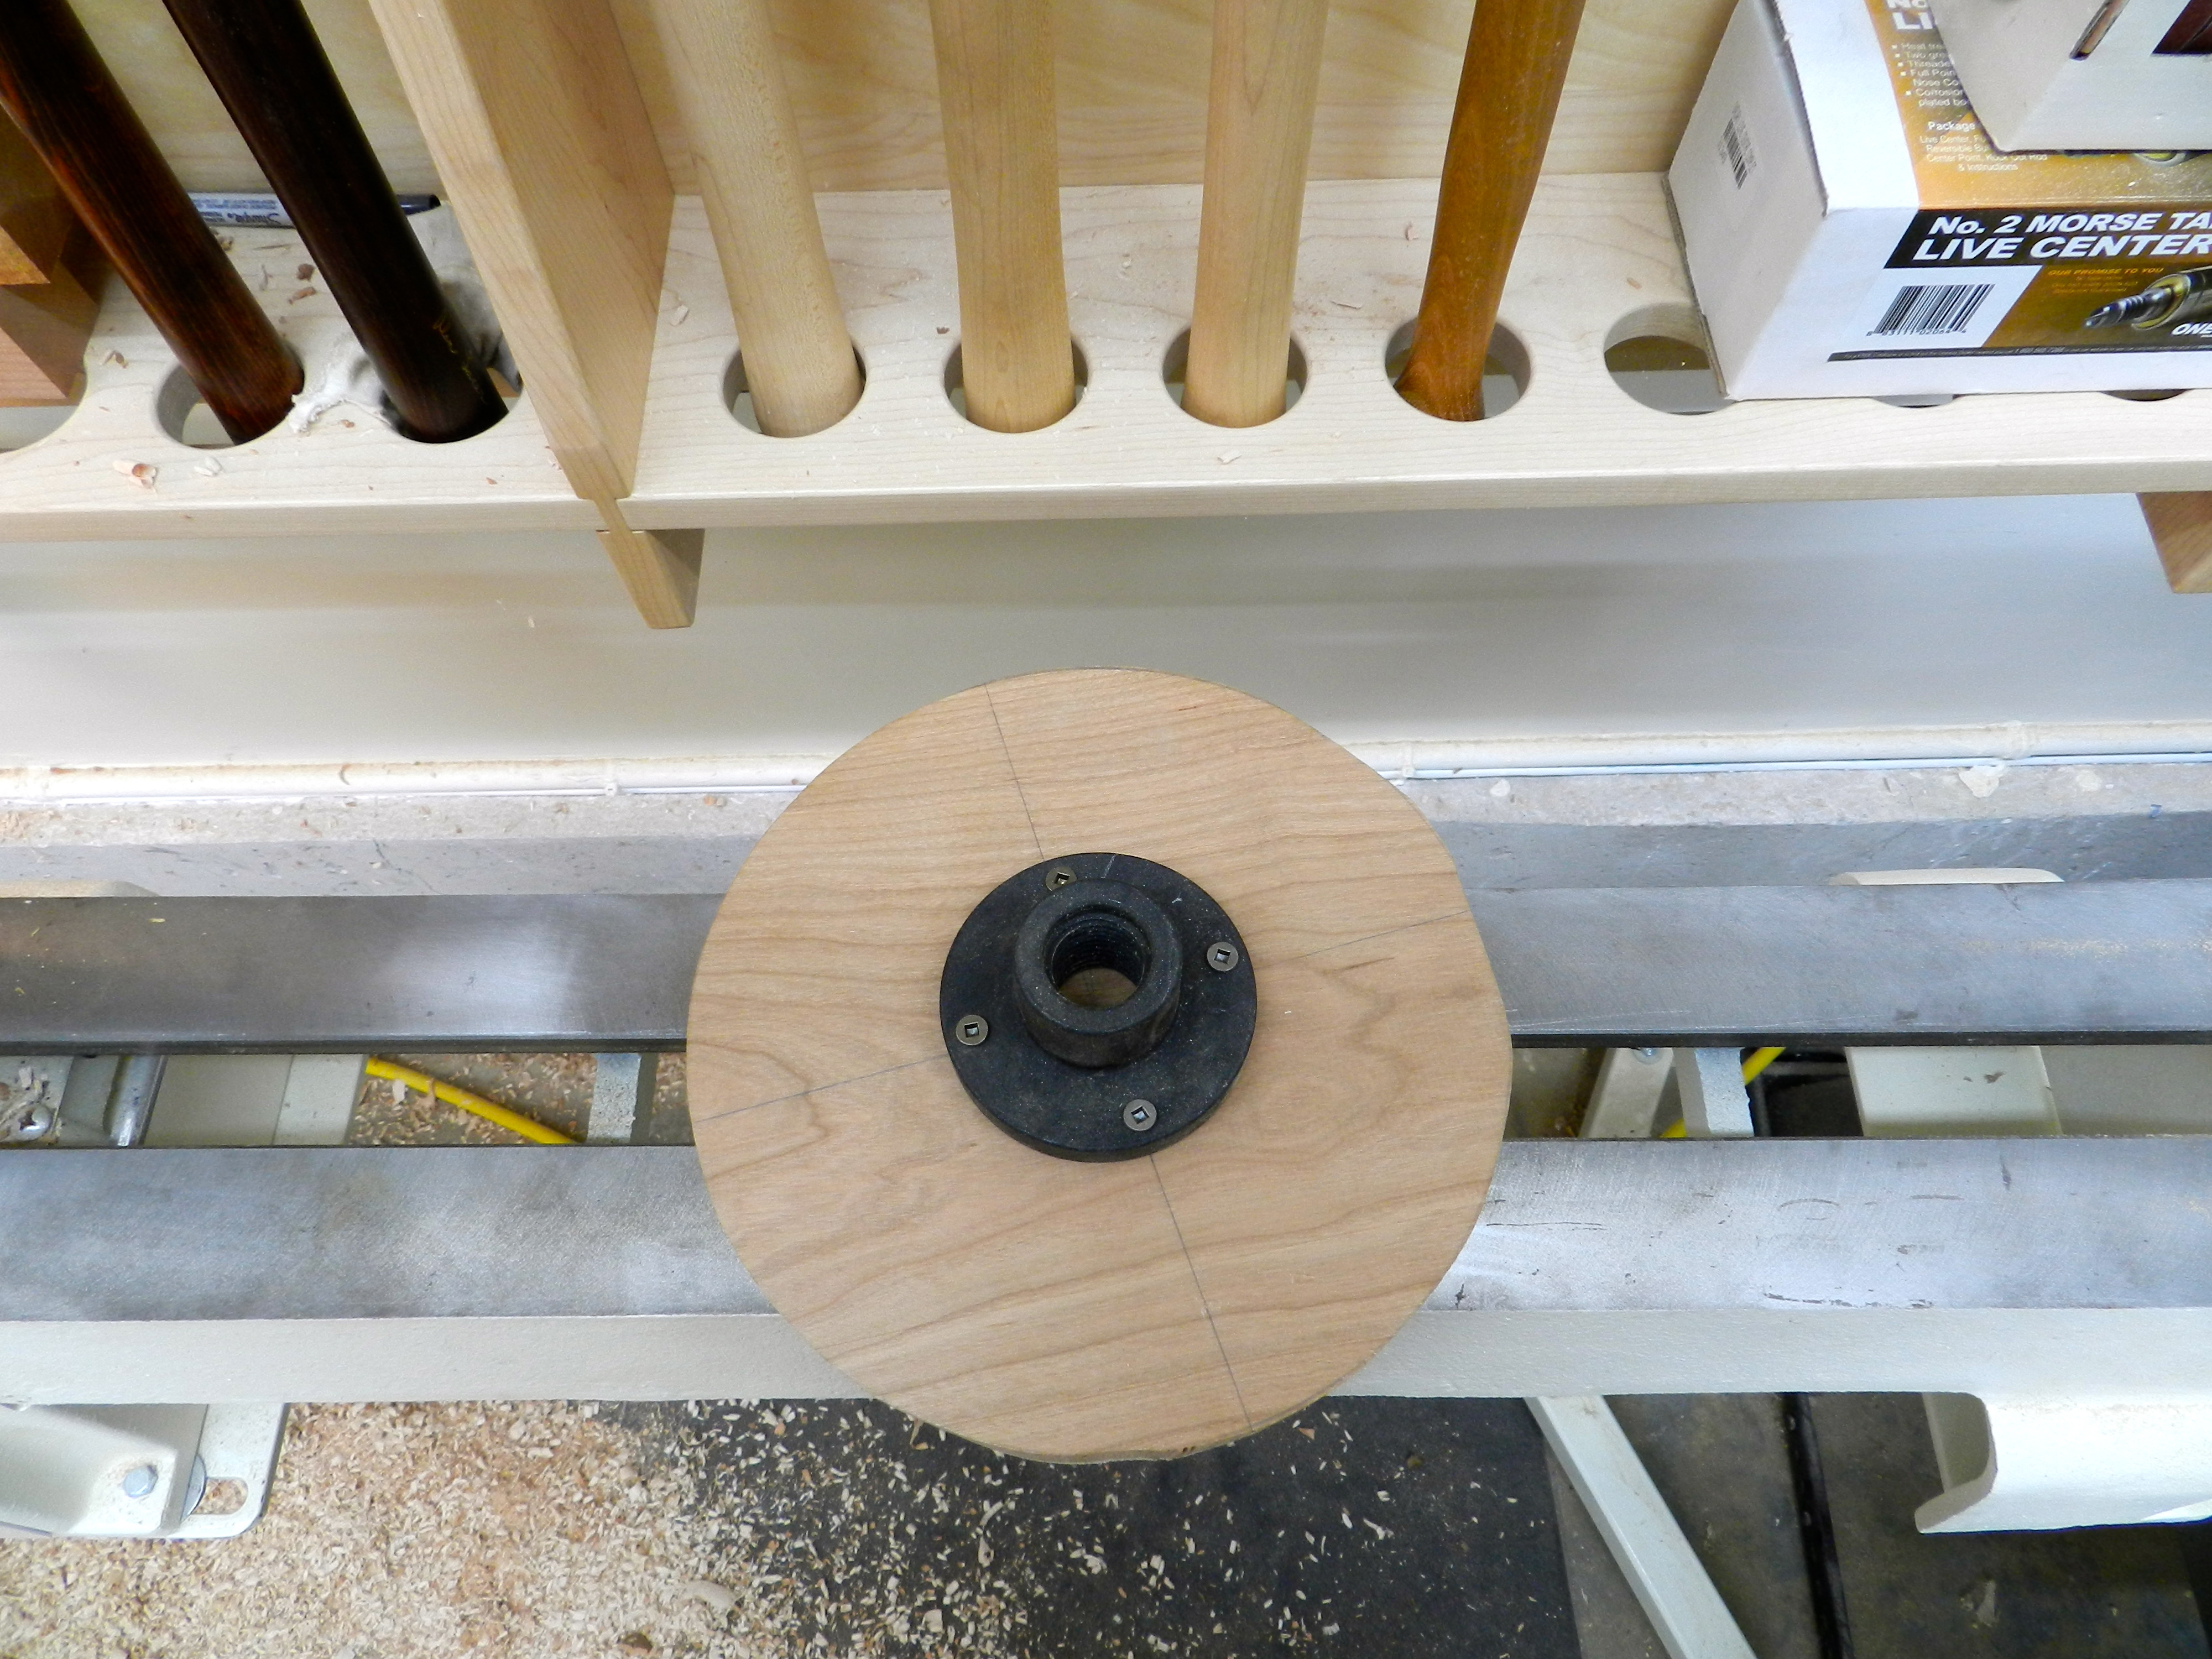
I had a nice bit of 16/4 Cherry in my shop for a long waiting for it’s time to transform into a bowl. Using a compass I marked out the largest circle I could get out of the blank, cut it roughly round on the band saw and mounted it to a faceplate for the lathe.
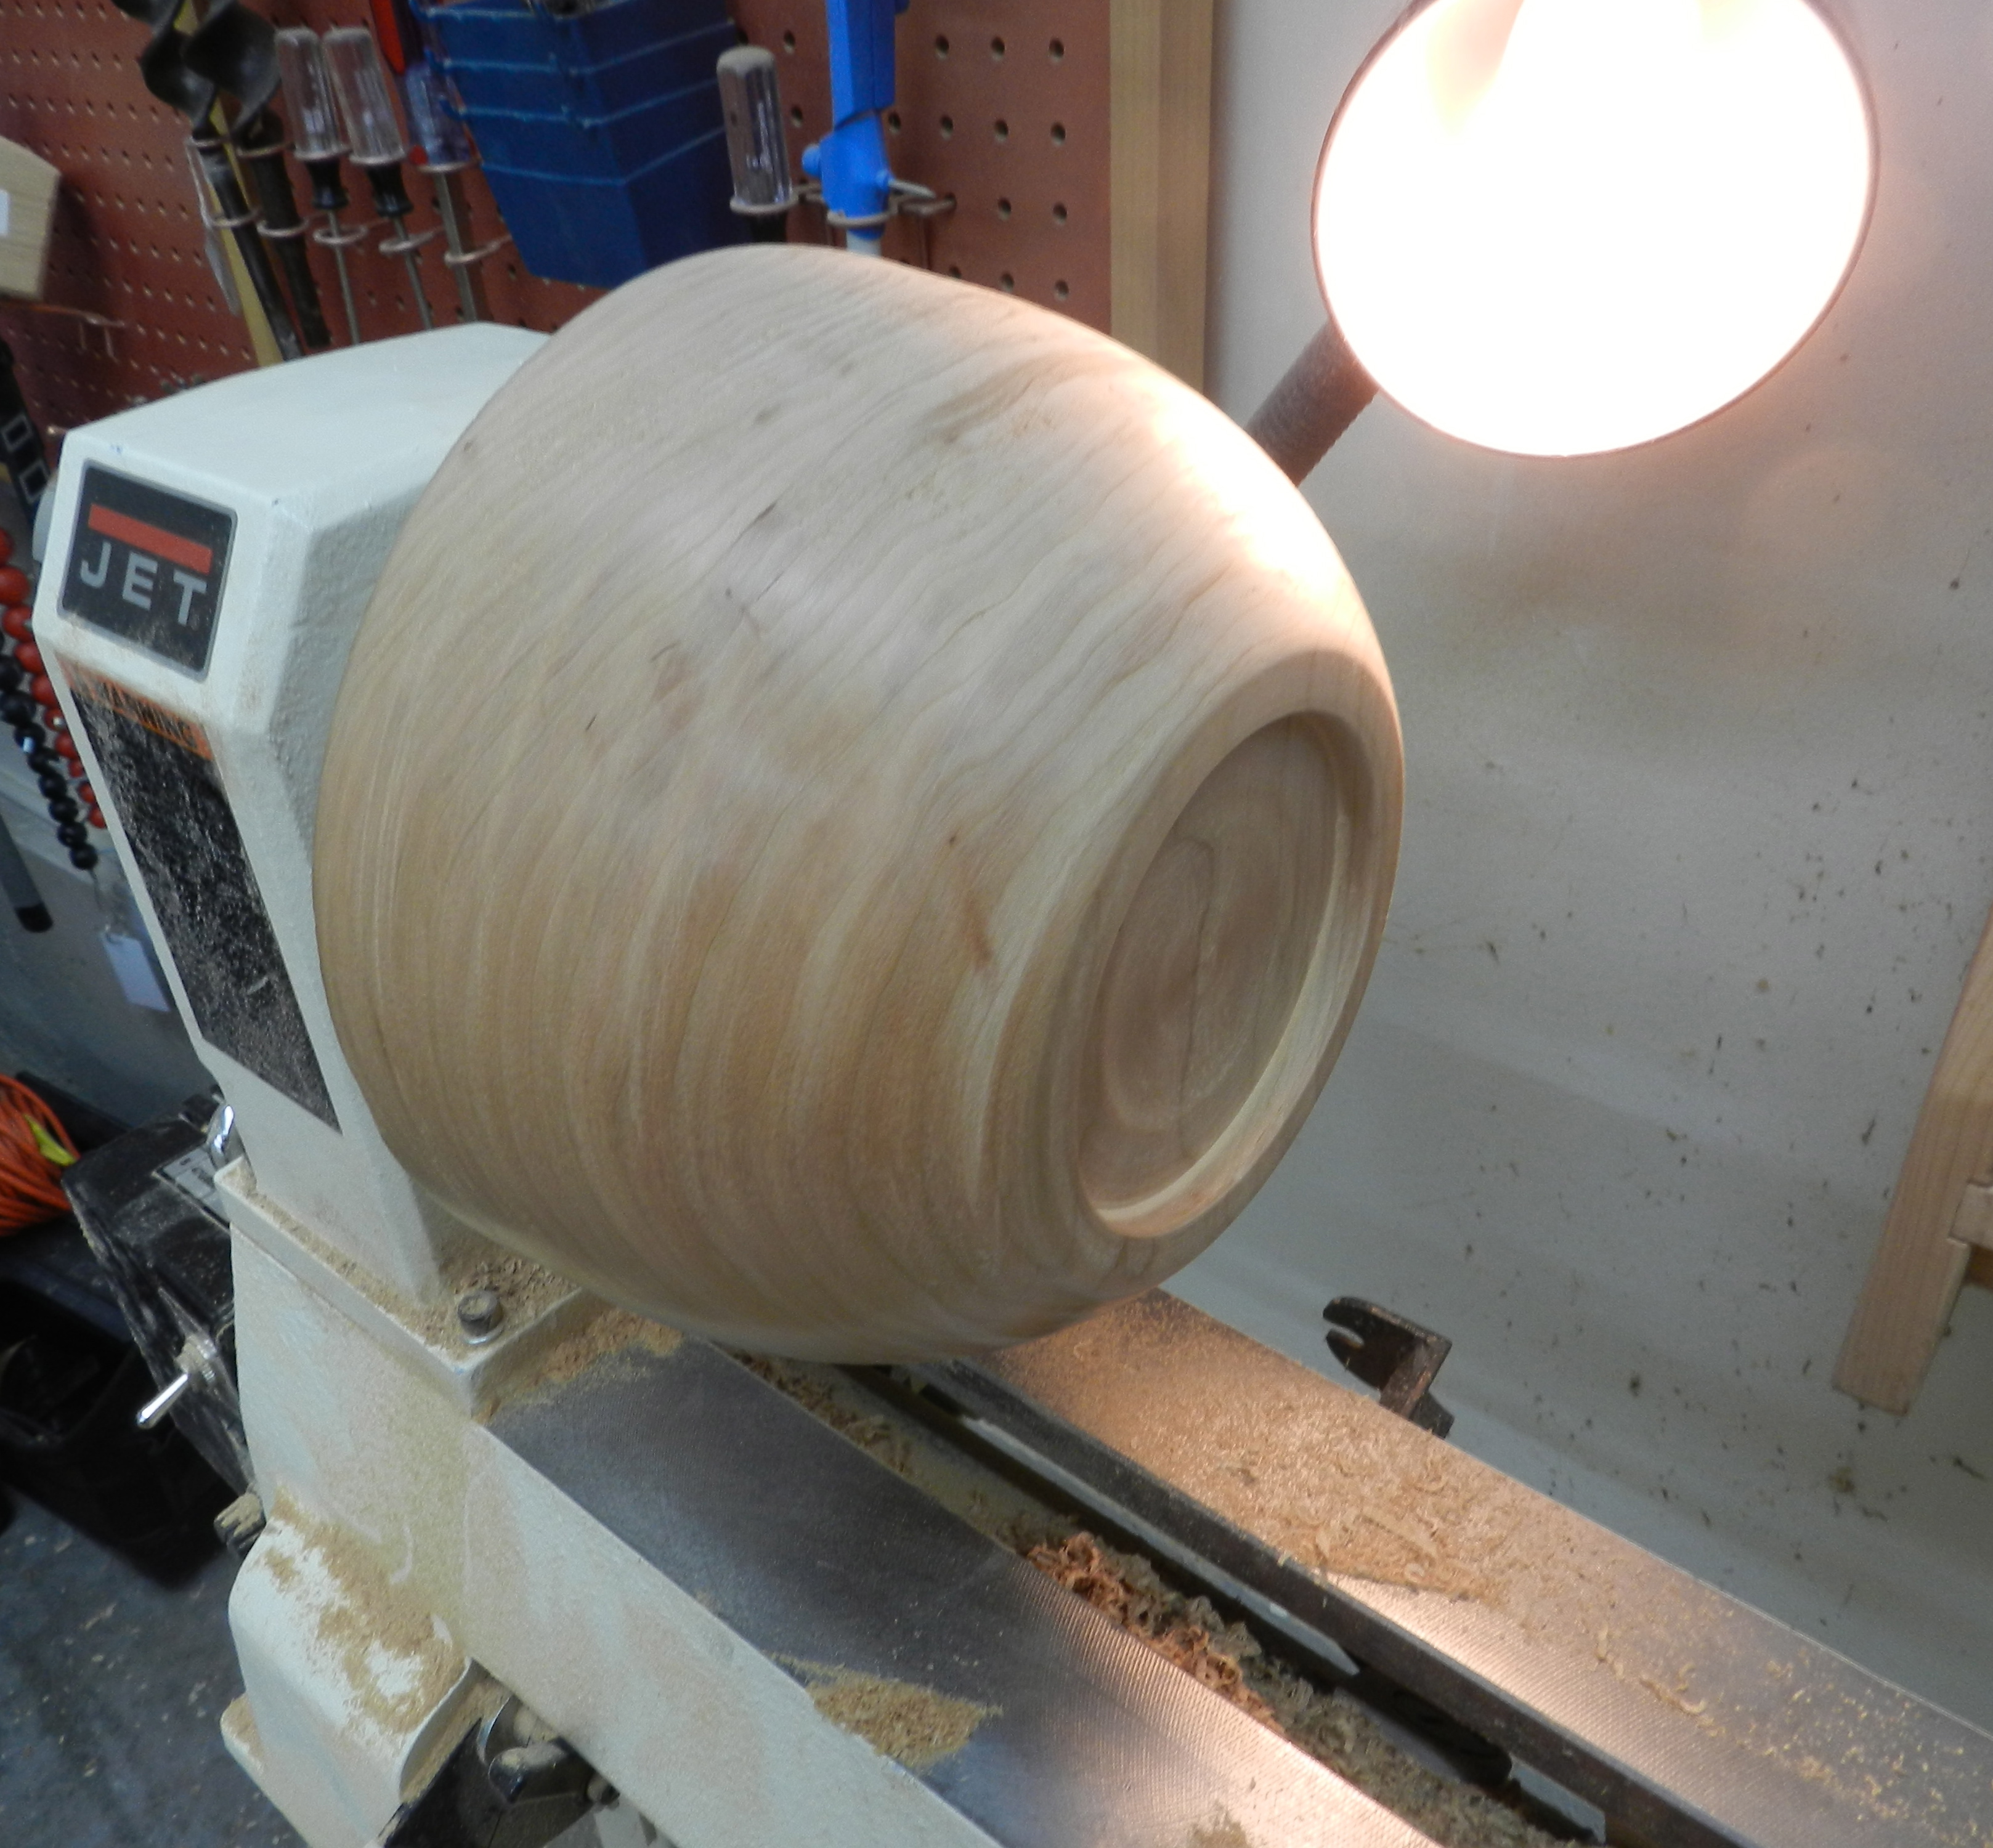
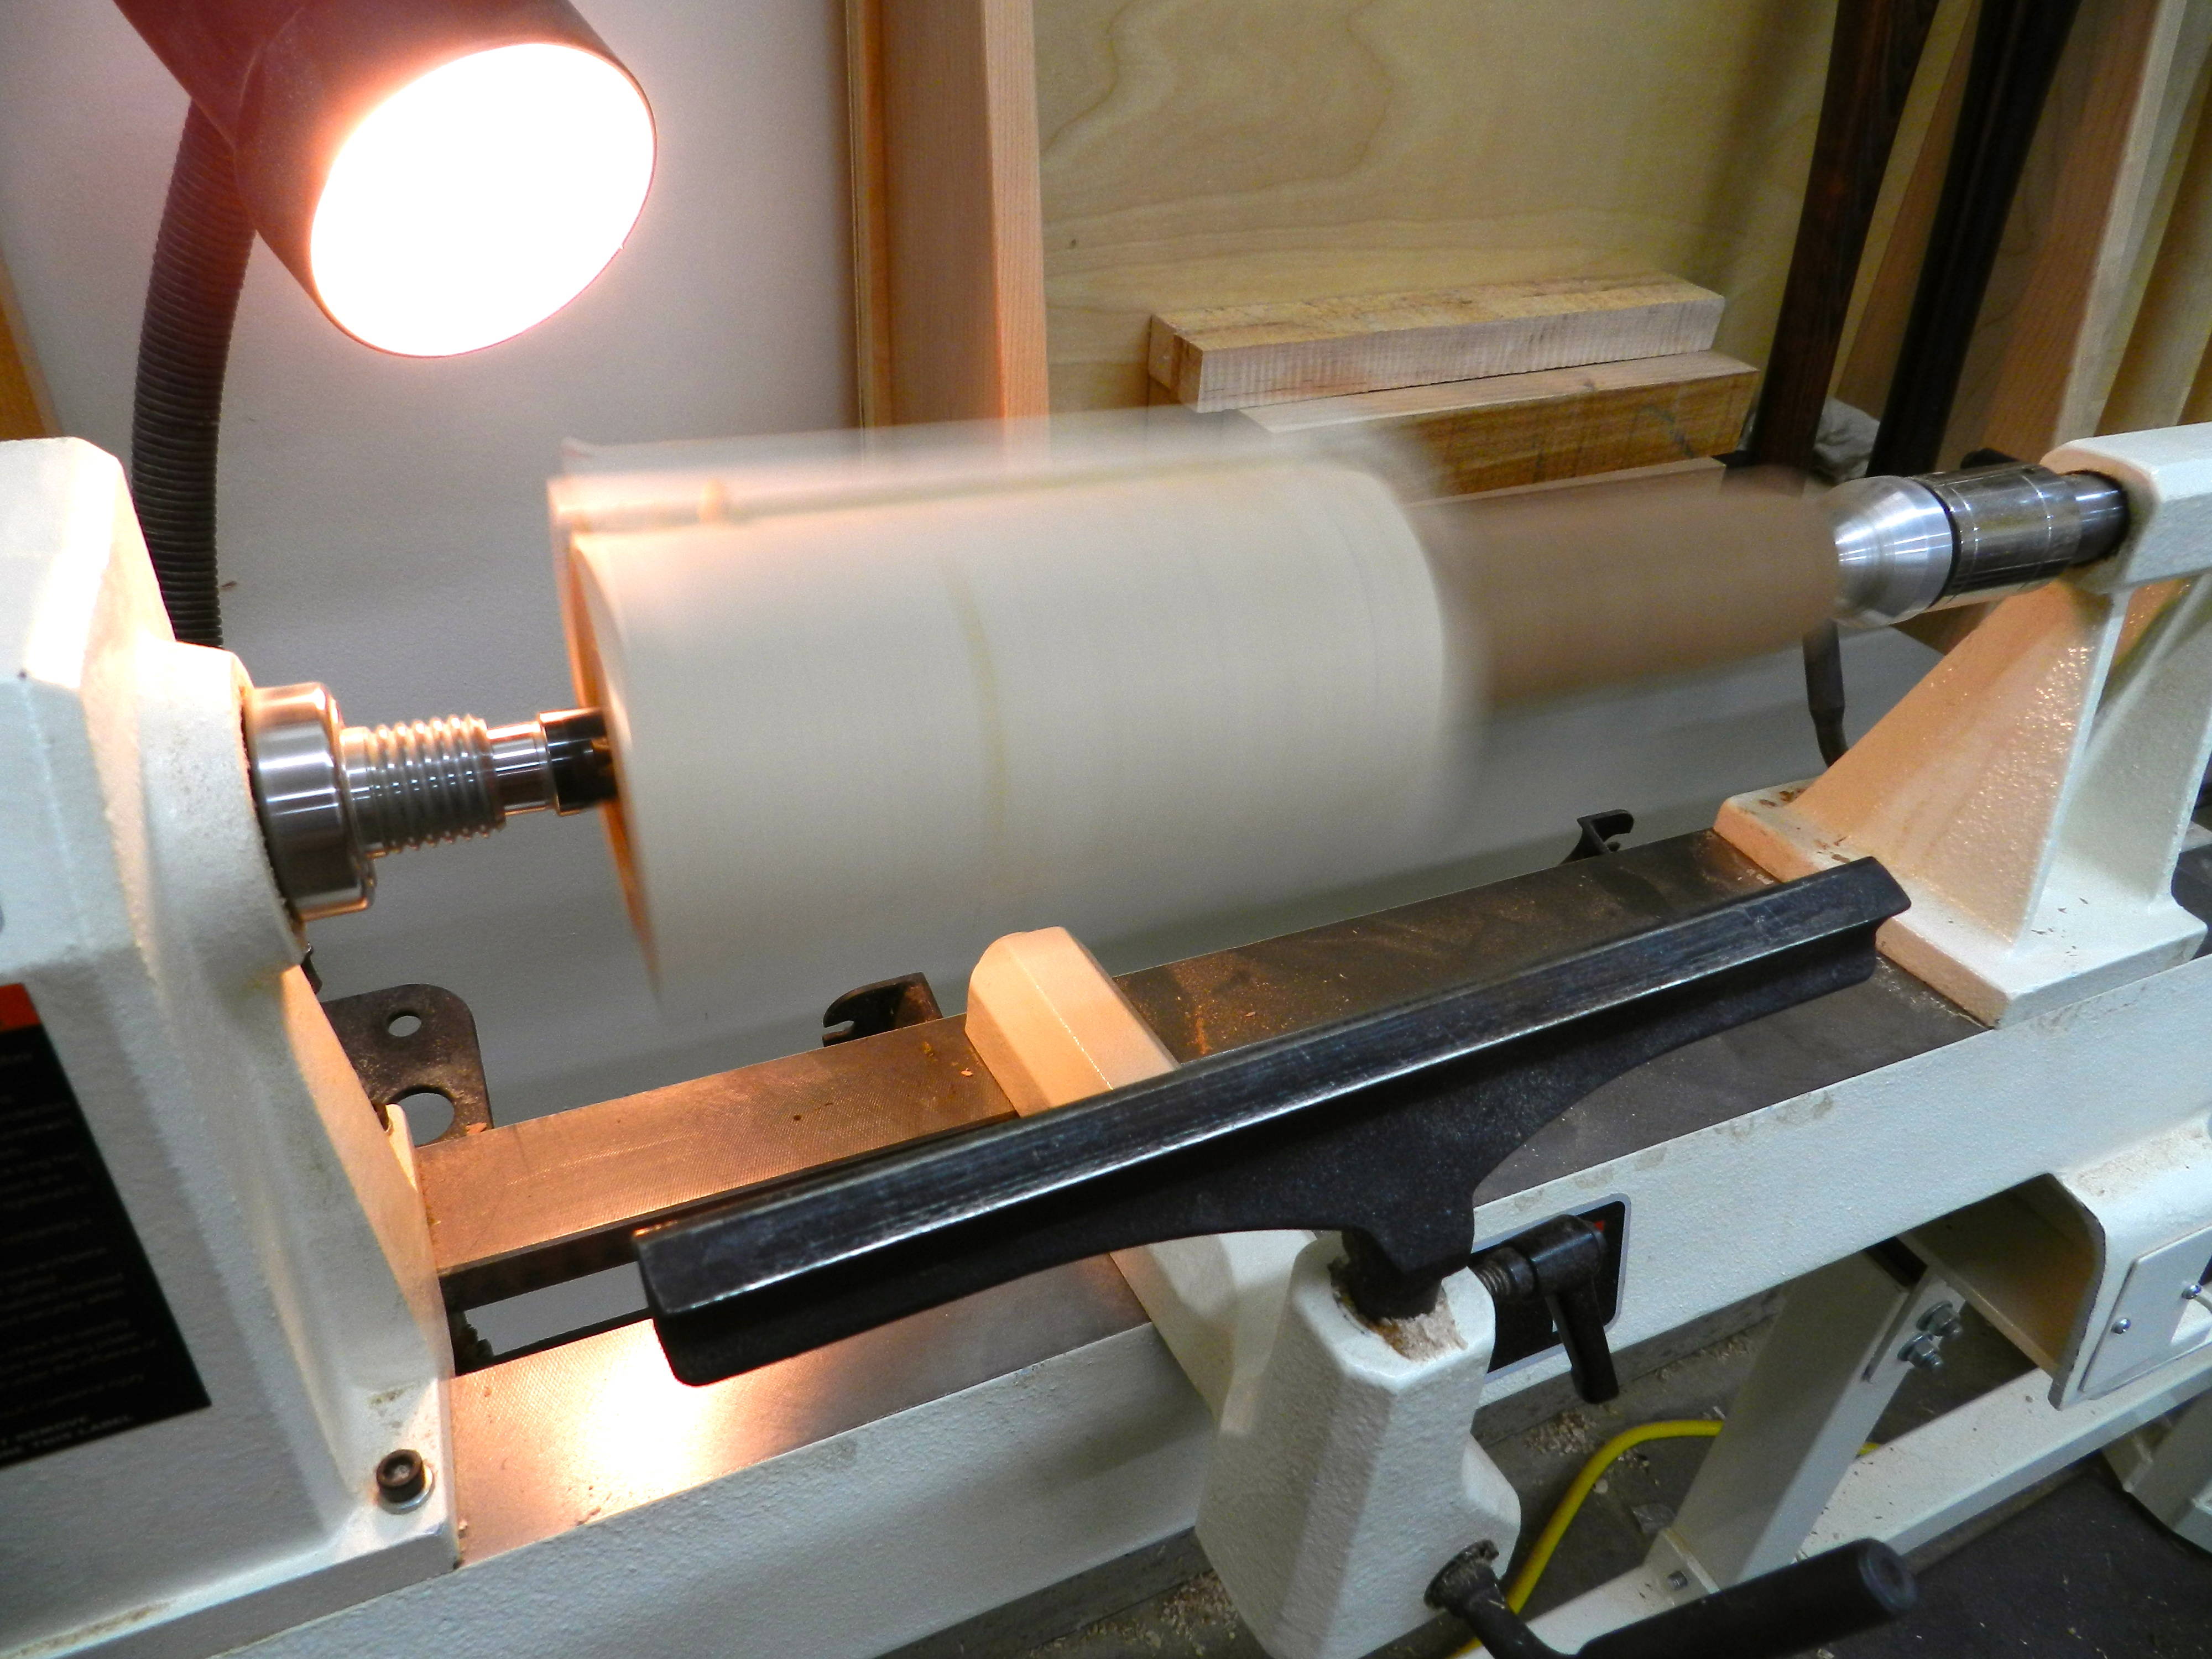
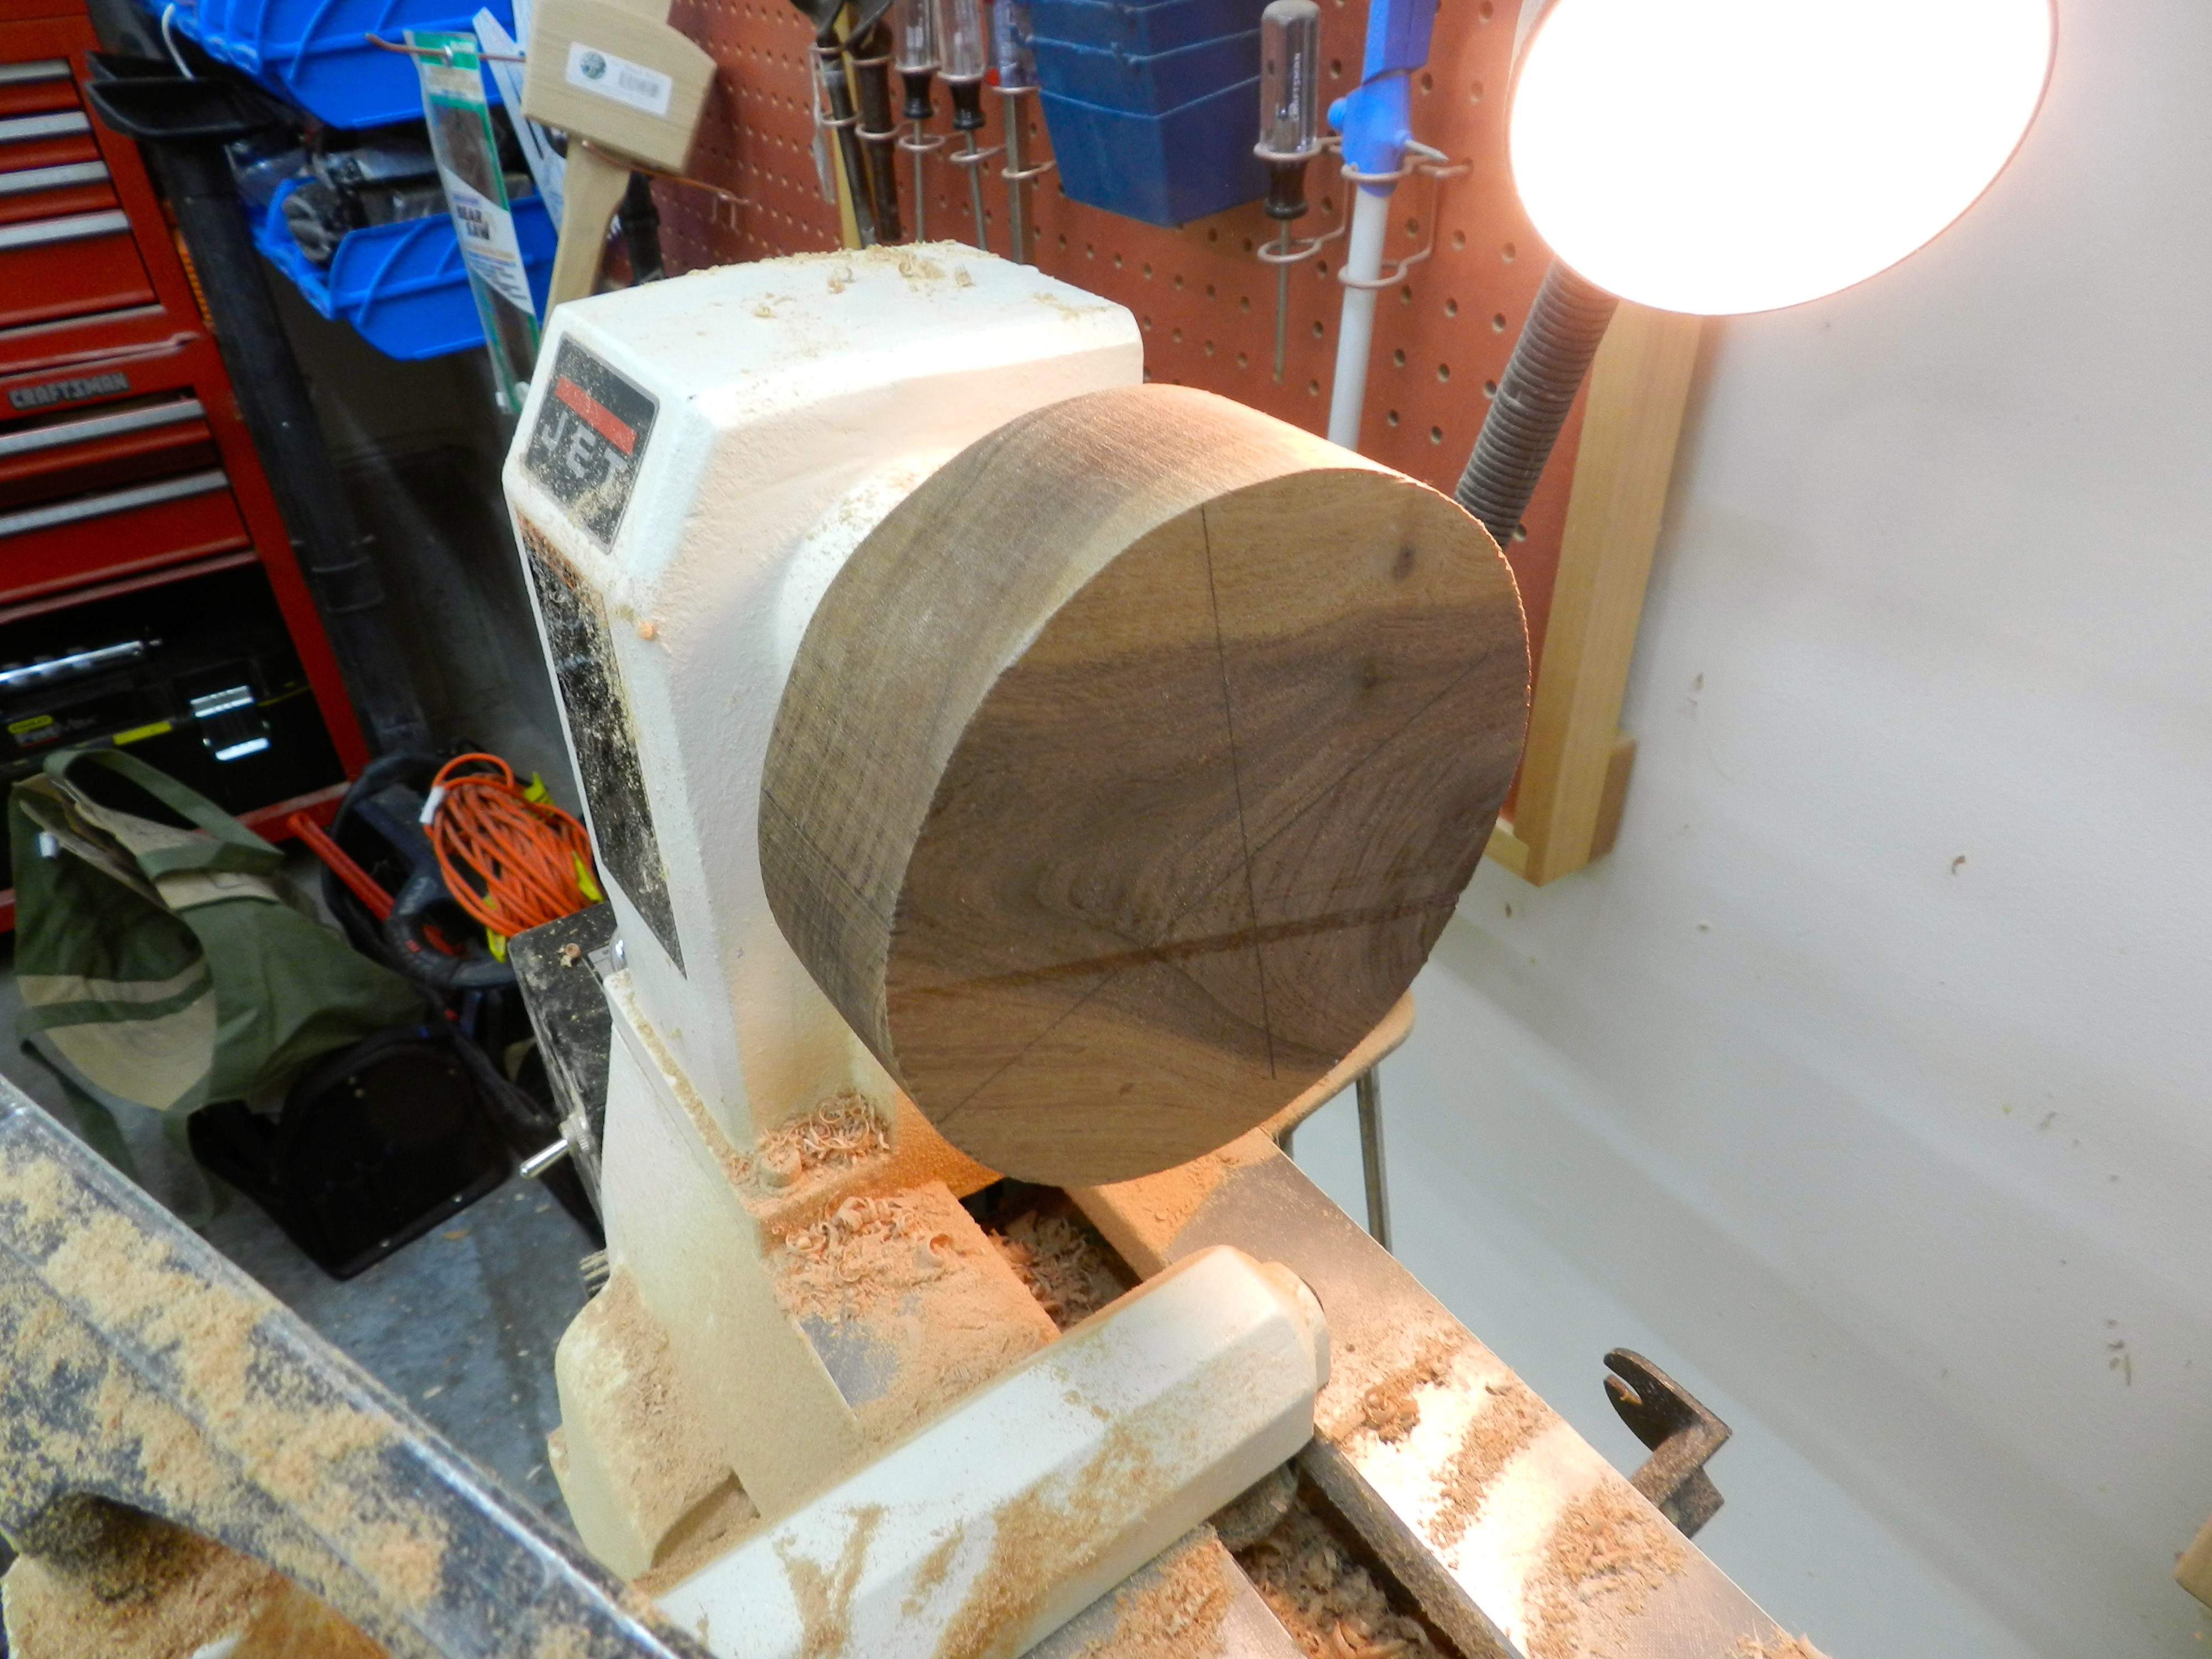
Once mounted on the headstock I turned the bowl round and formed the exterior shape of the bowl. For this bowl I wanted to try something different, so rather than turning a tenon which would decrease the external depth of bowl I could get from the blank I relieve the bottom of the bowl so that the bowl chuck could expand to hold the bowl rather than clamping down on a round tenon.
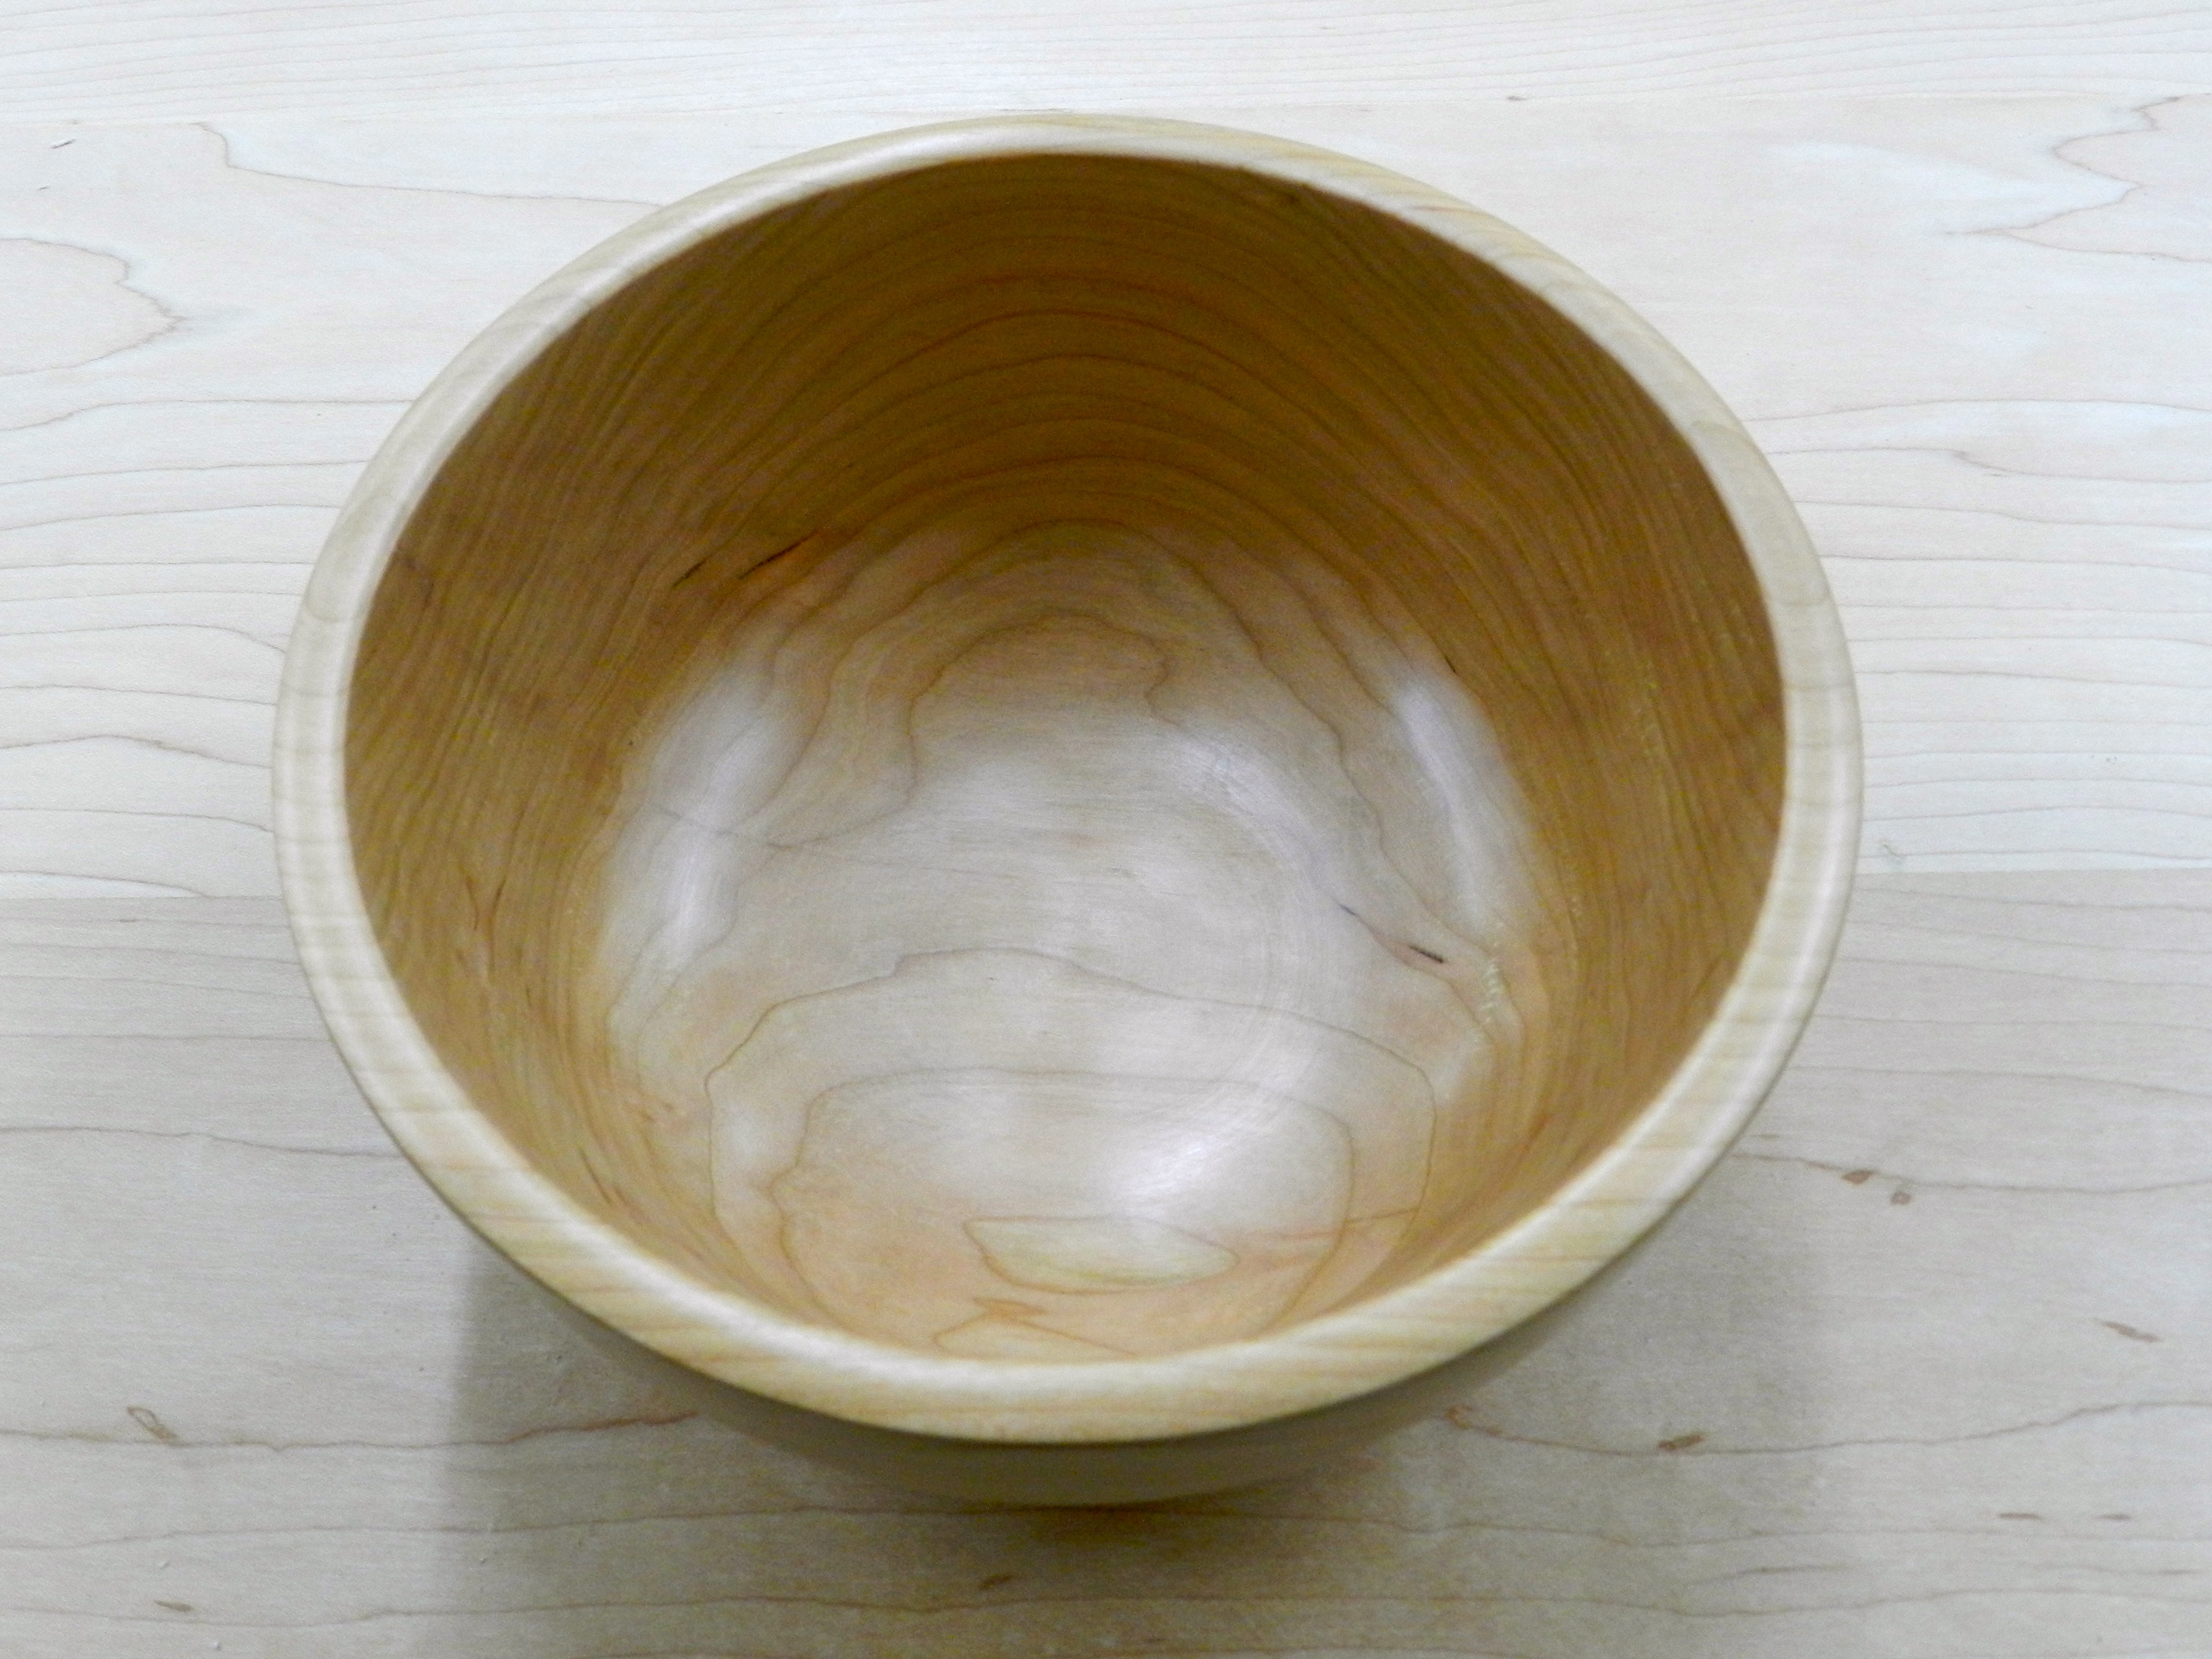
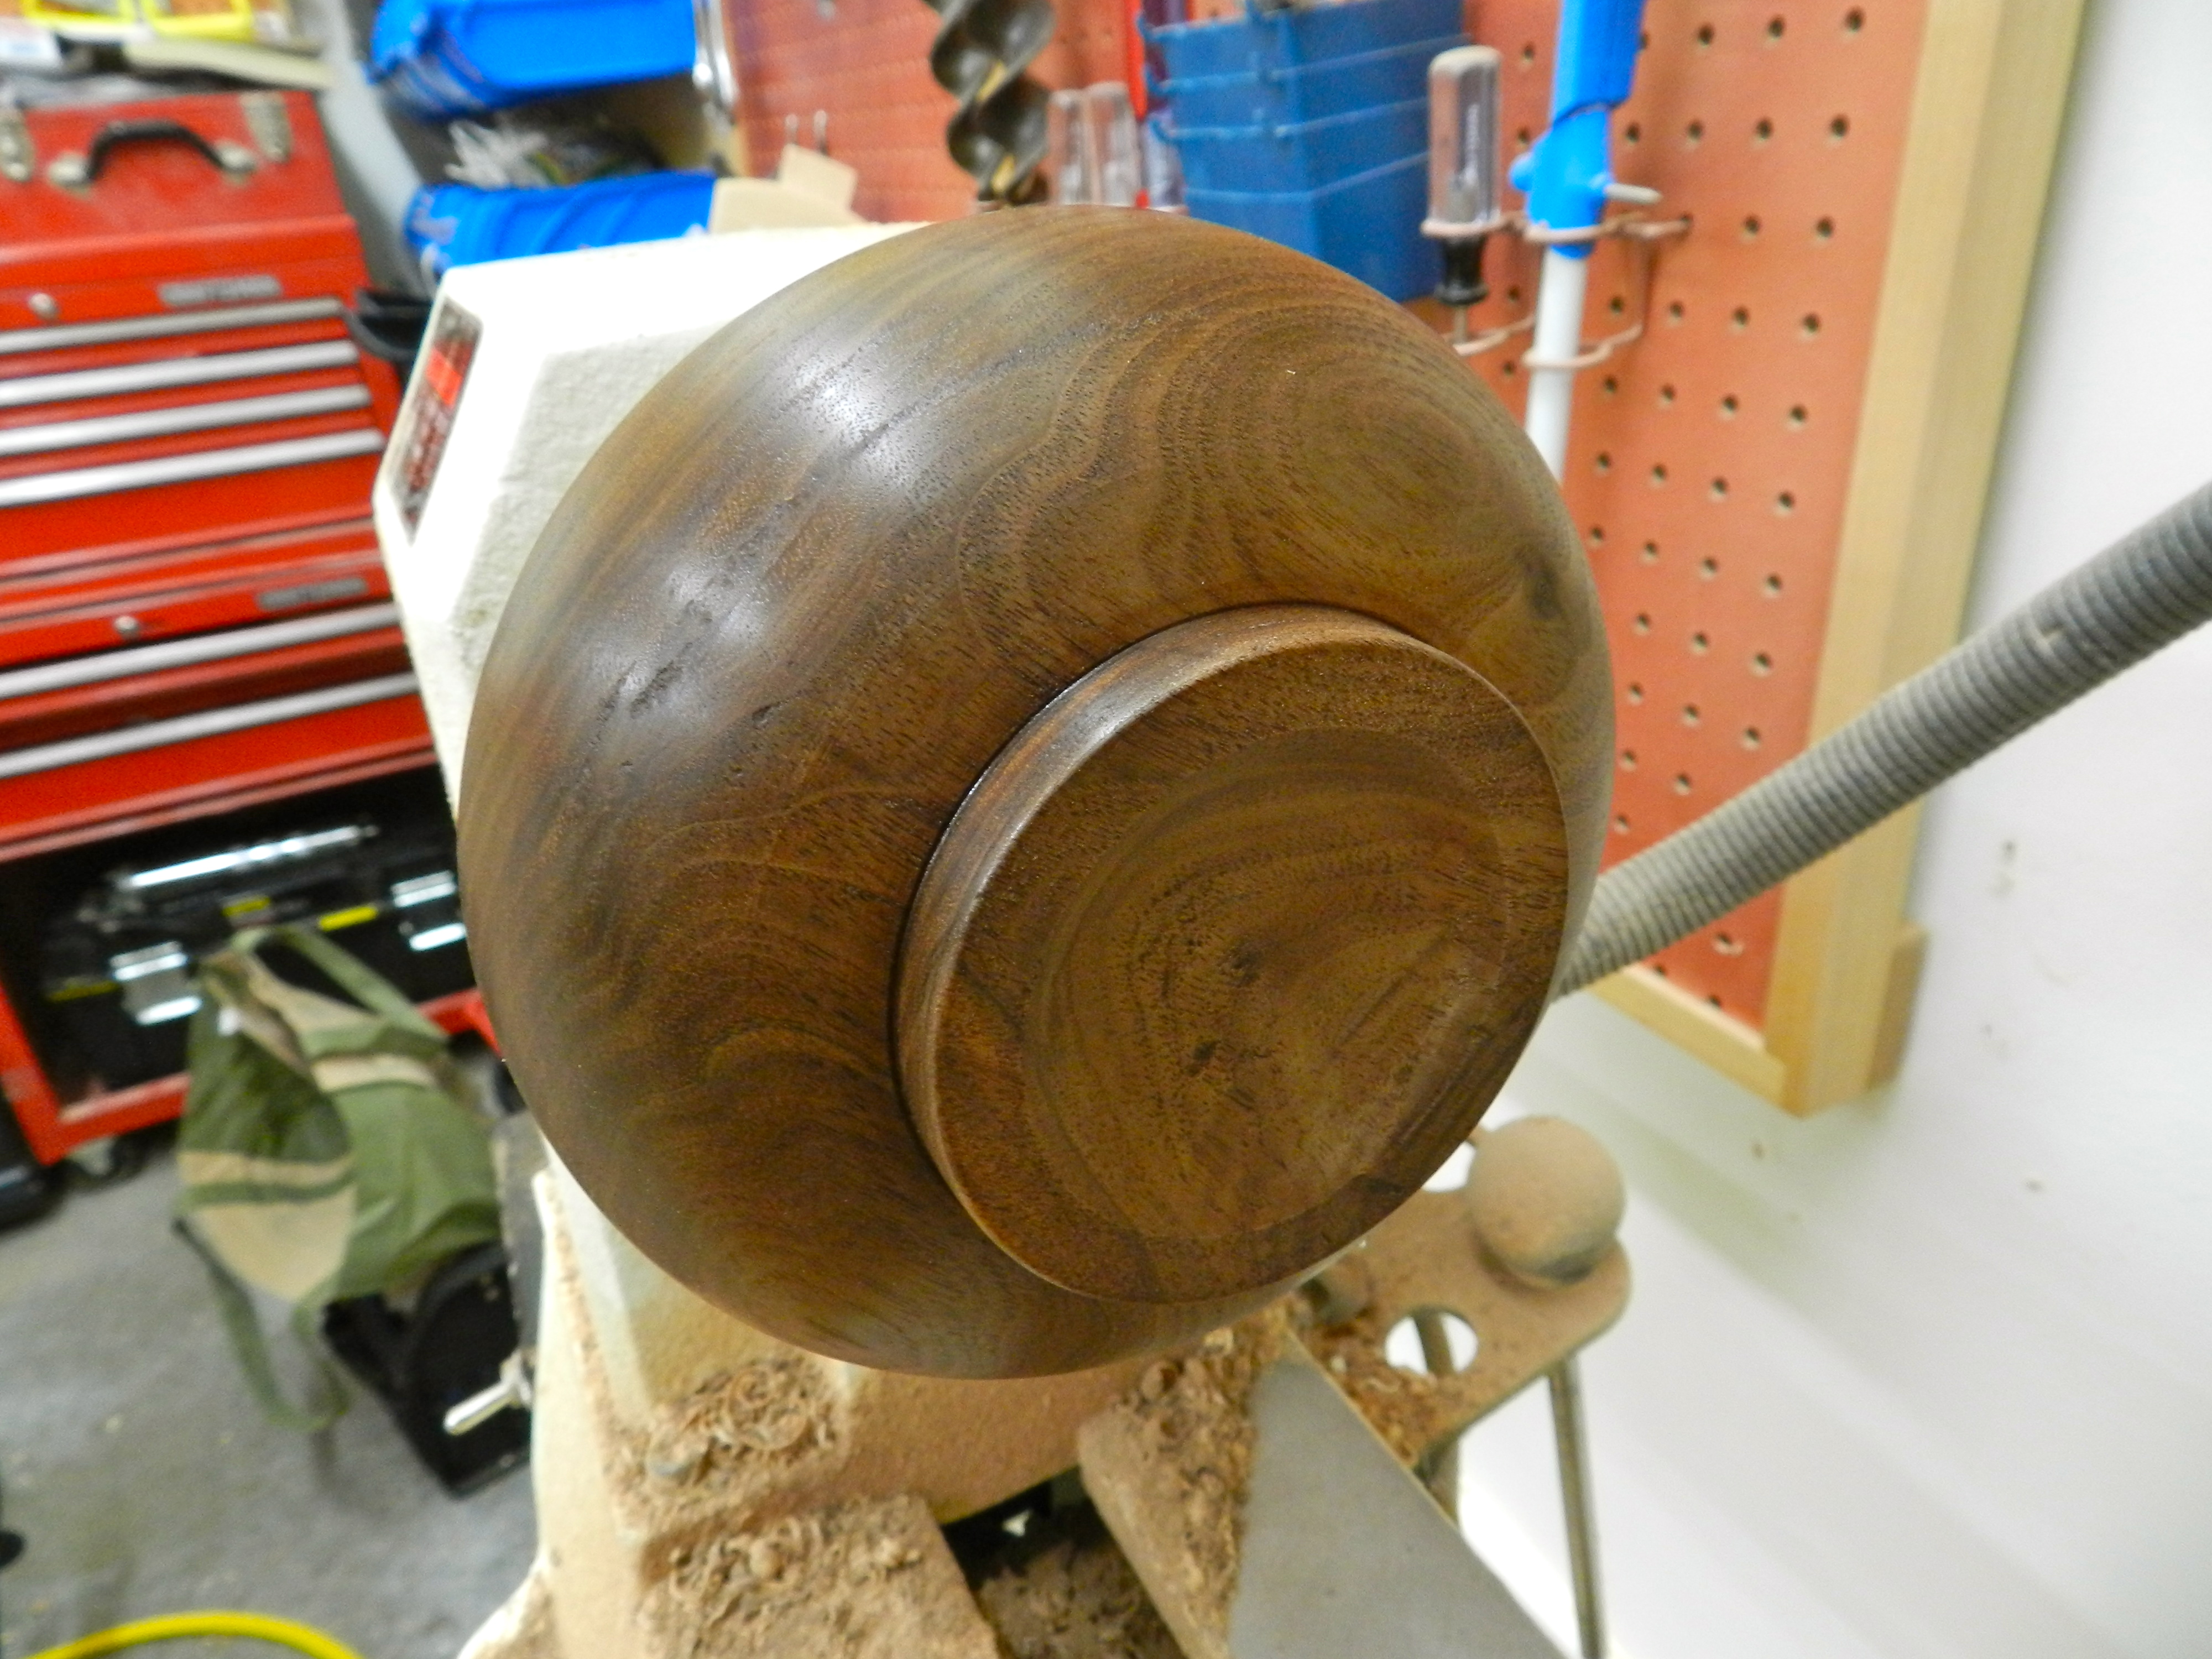
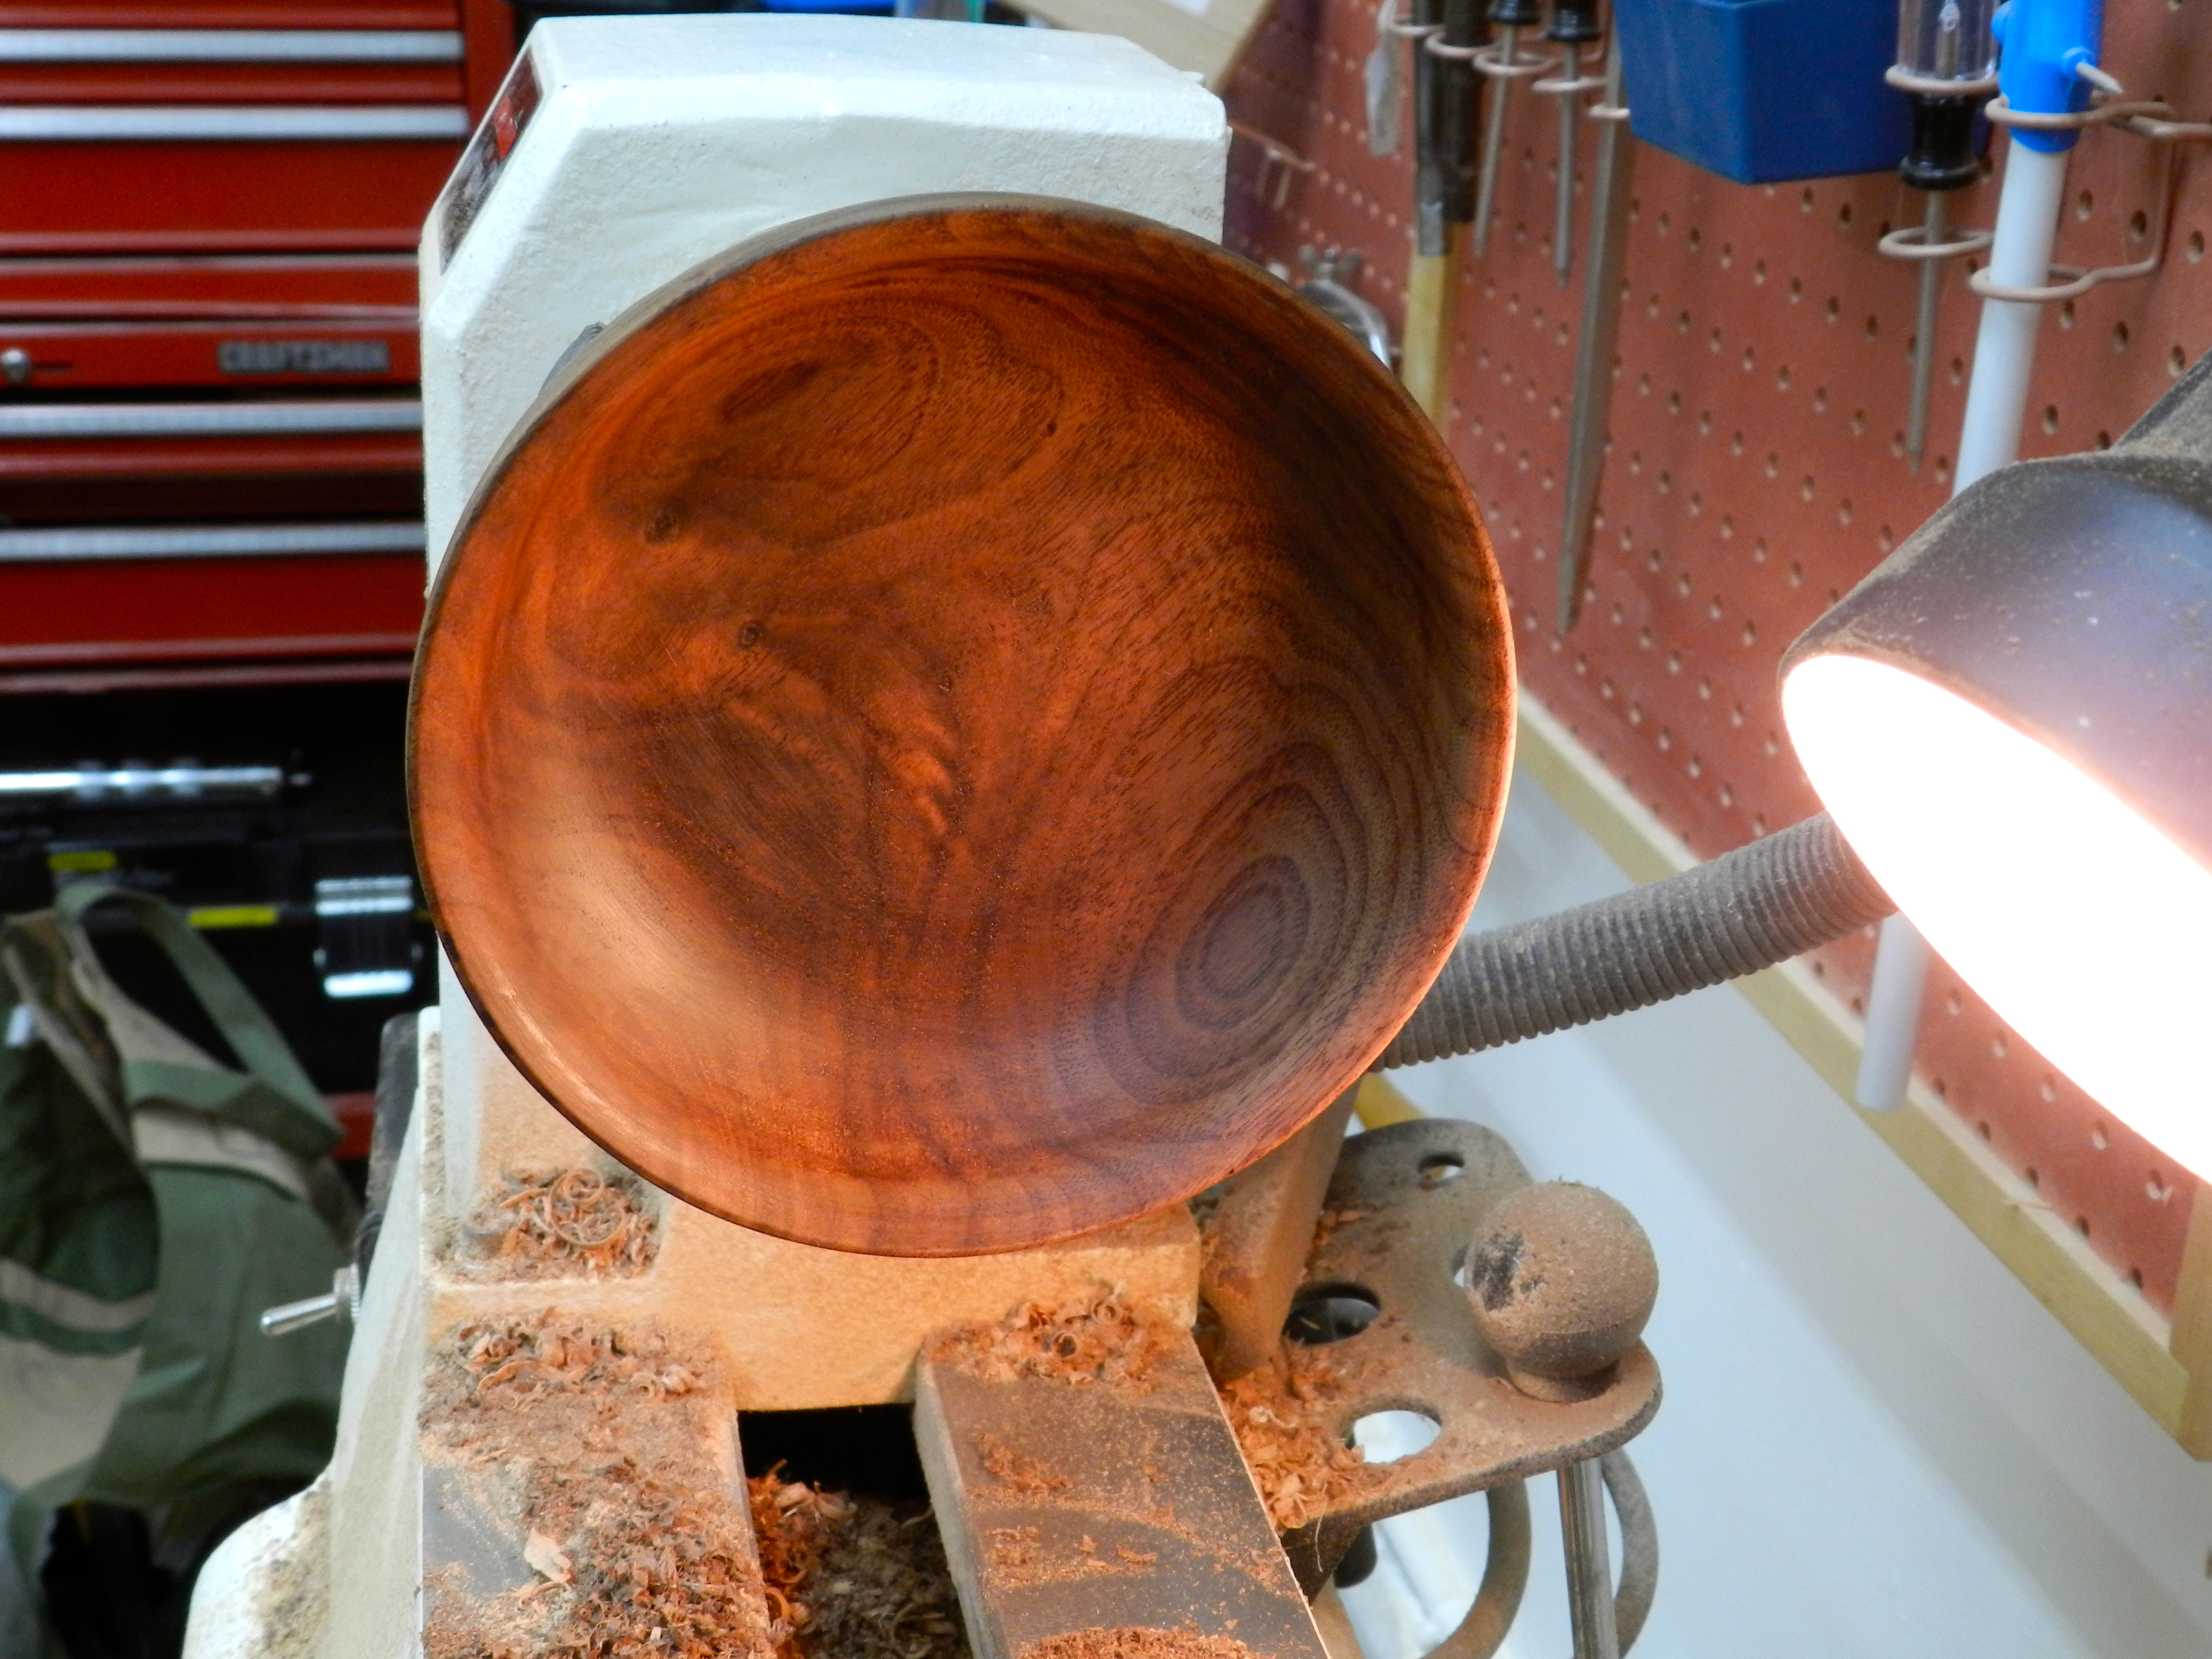
Once I got the outside of the bowl shaped the way I wanted it, I reversed the bowl and mounted it in the bowl chuck. Next I hollow out the bowl being careful to not go too deep and blow out the bottom or sides of the bowl.
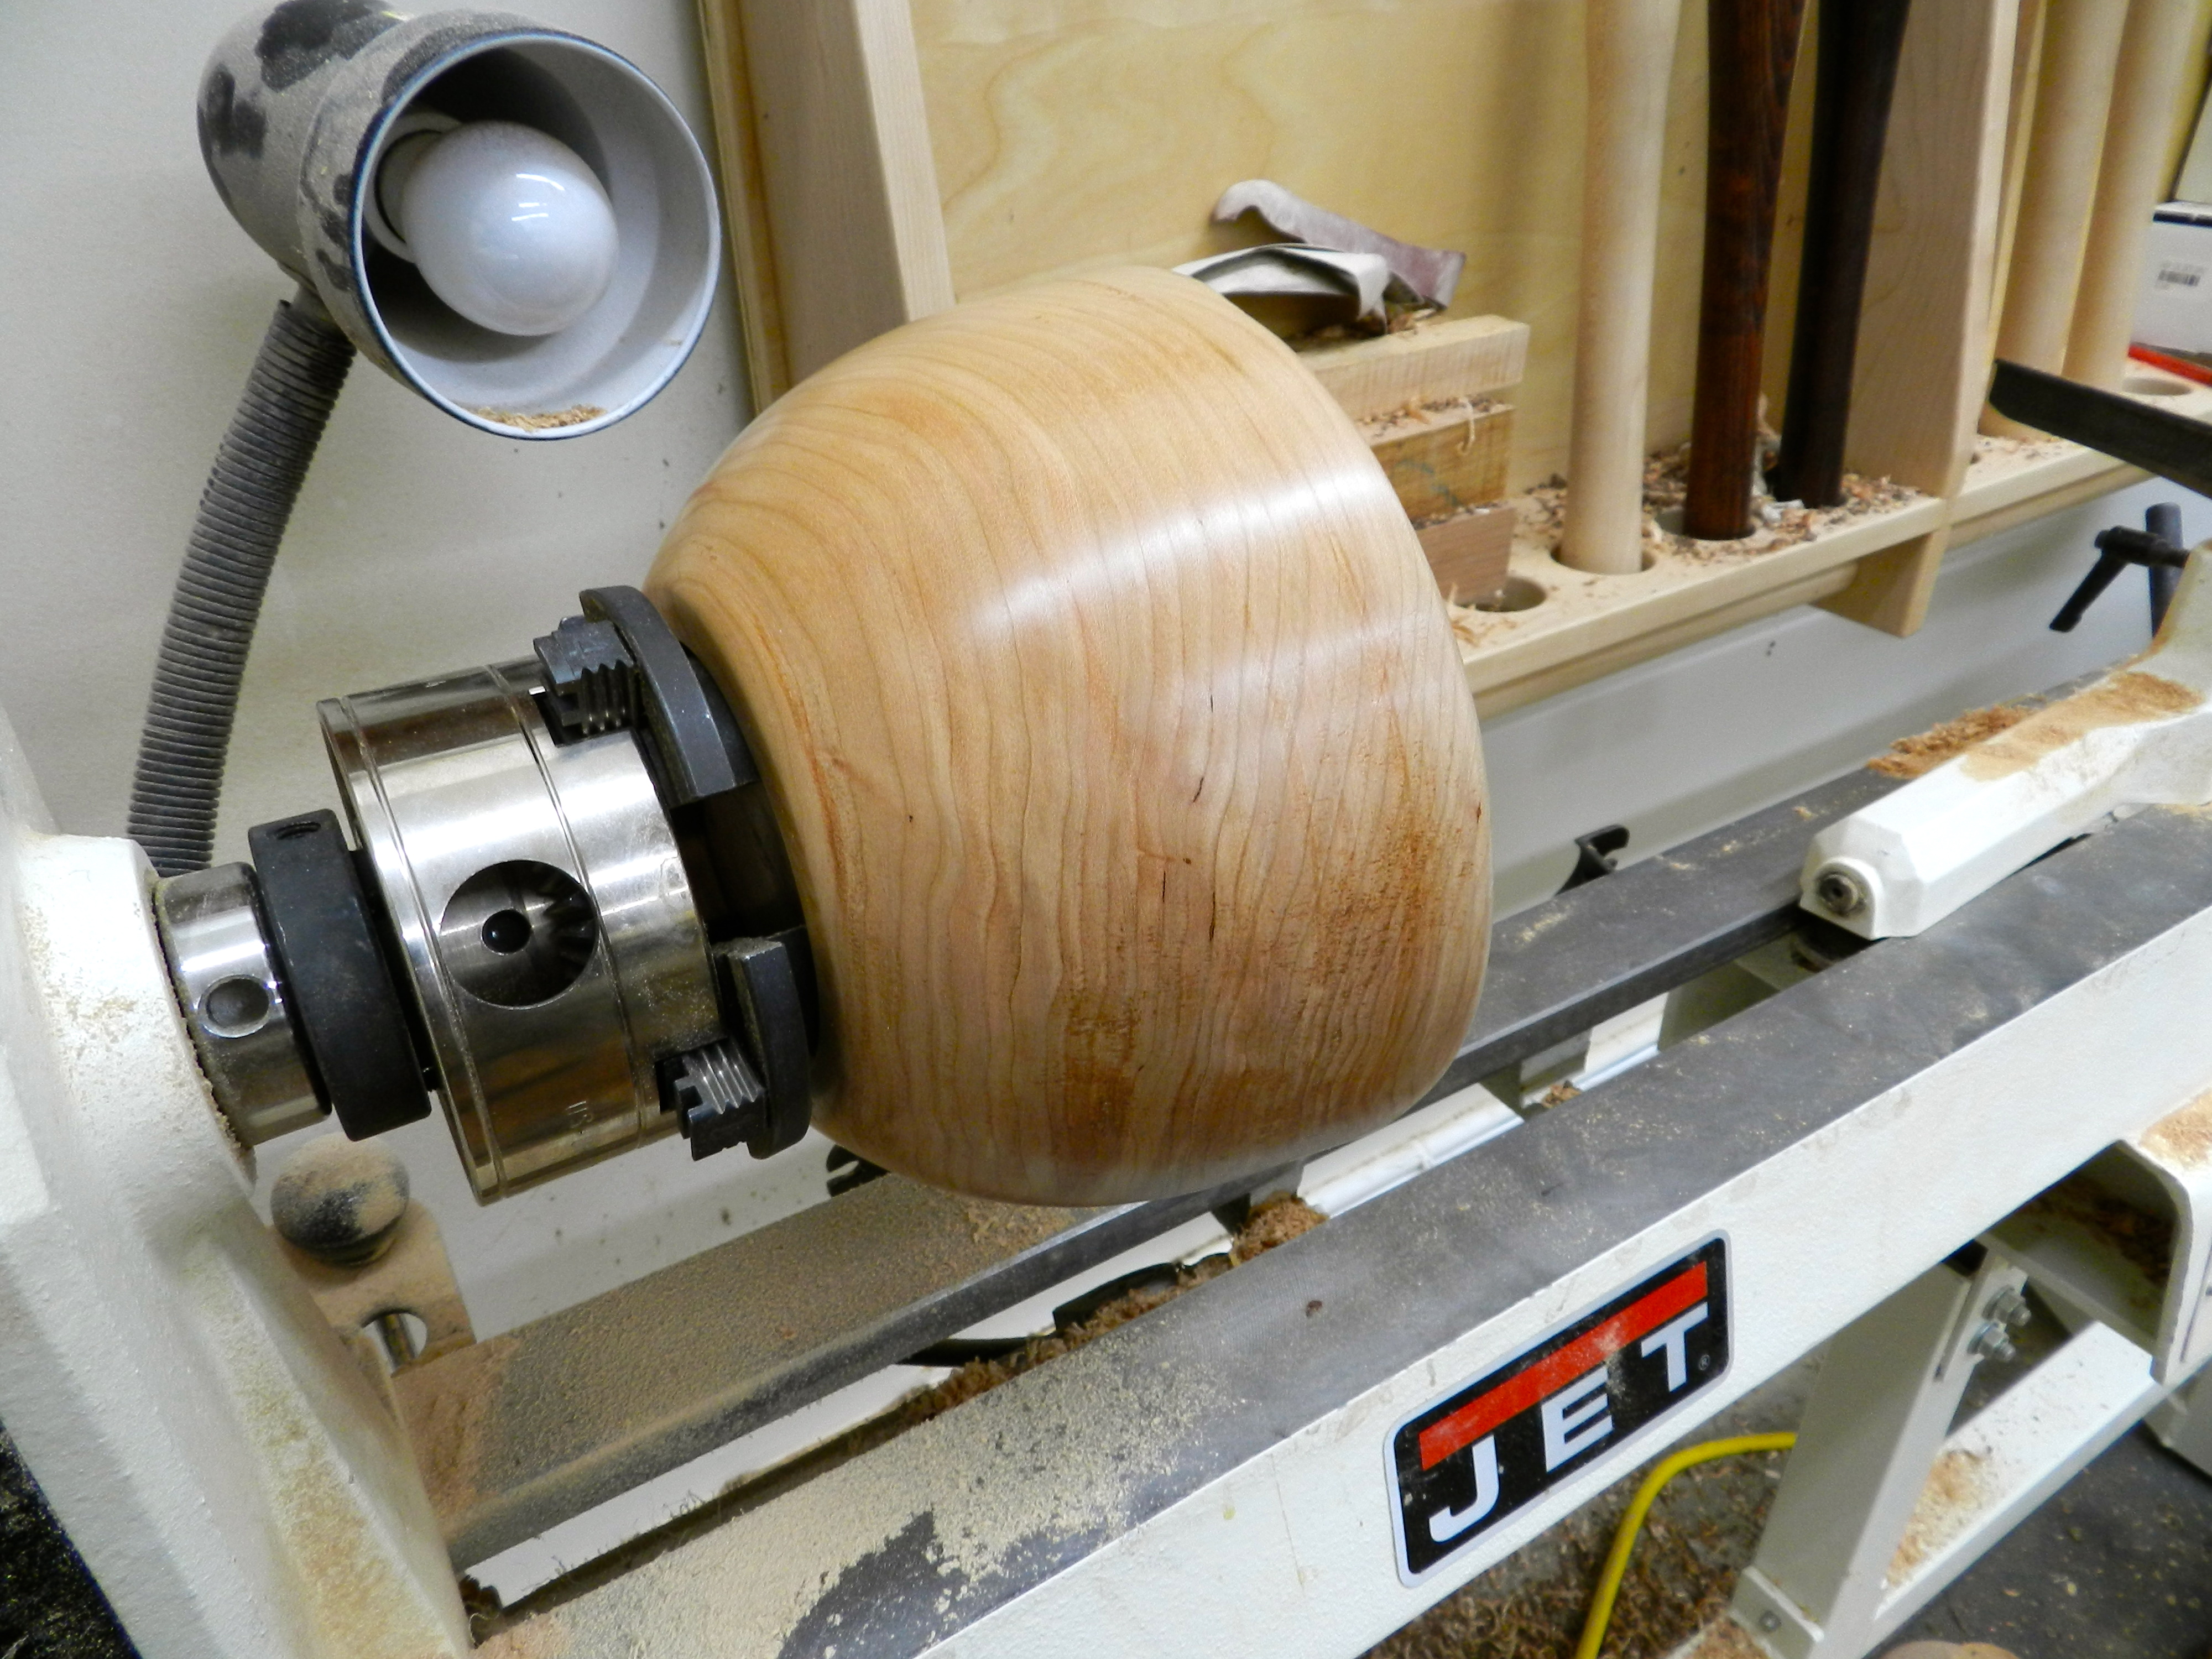
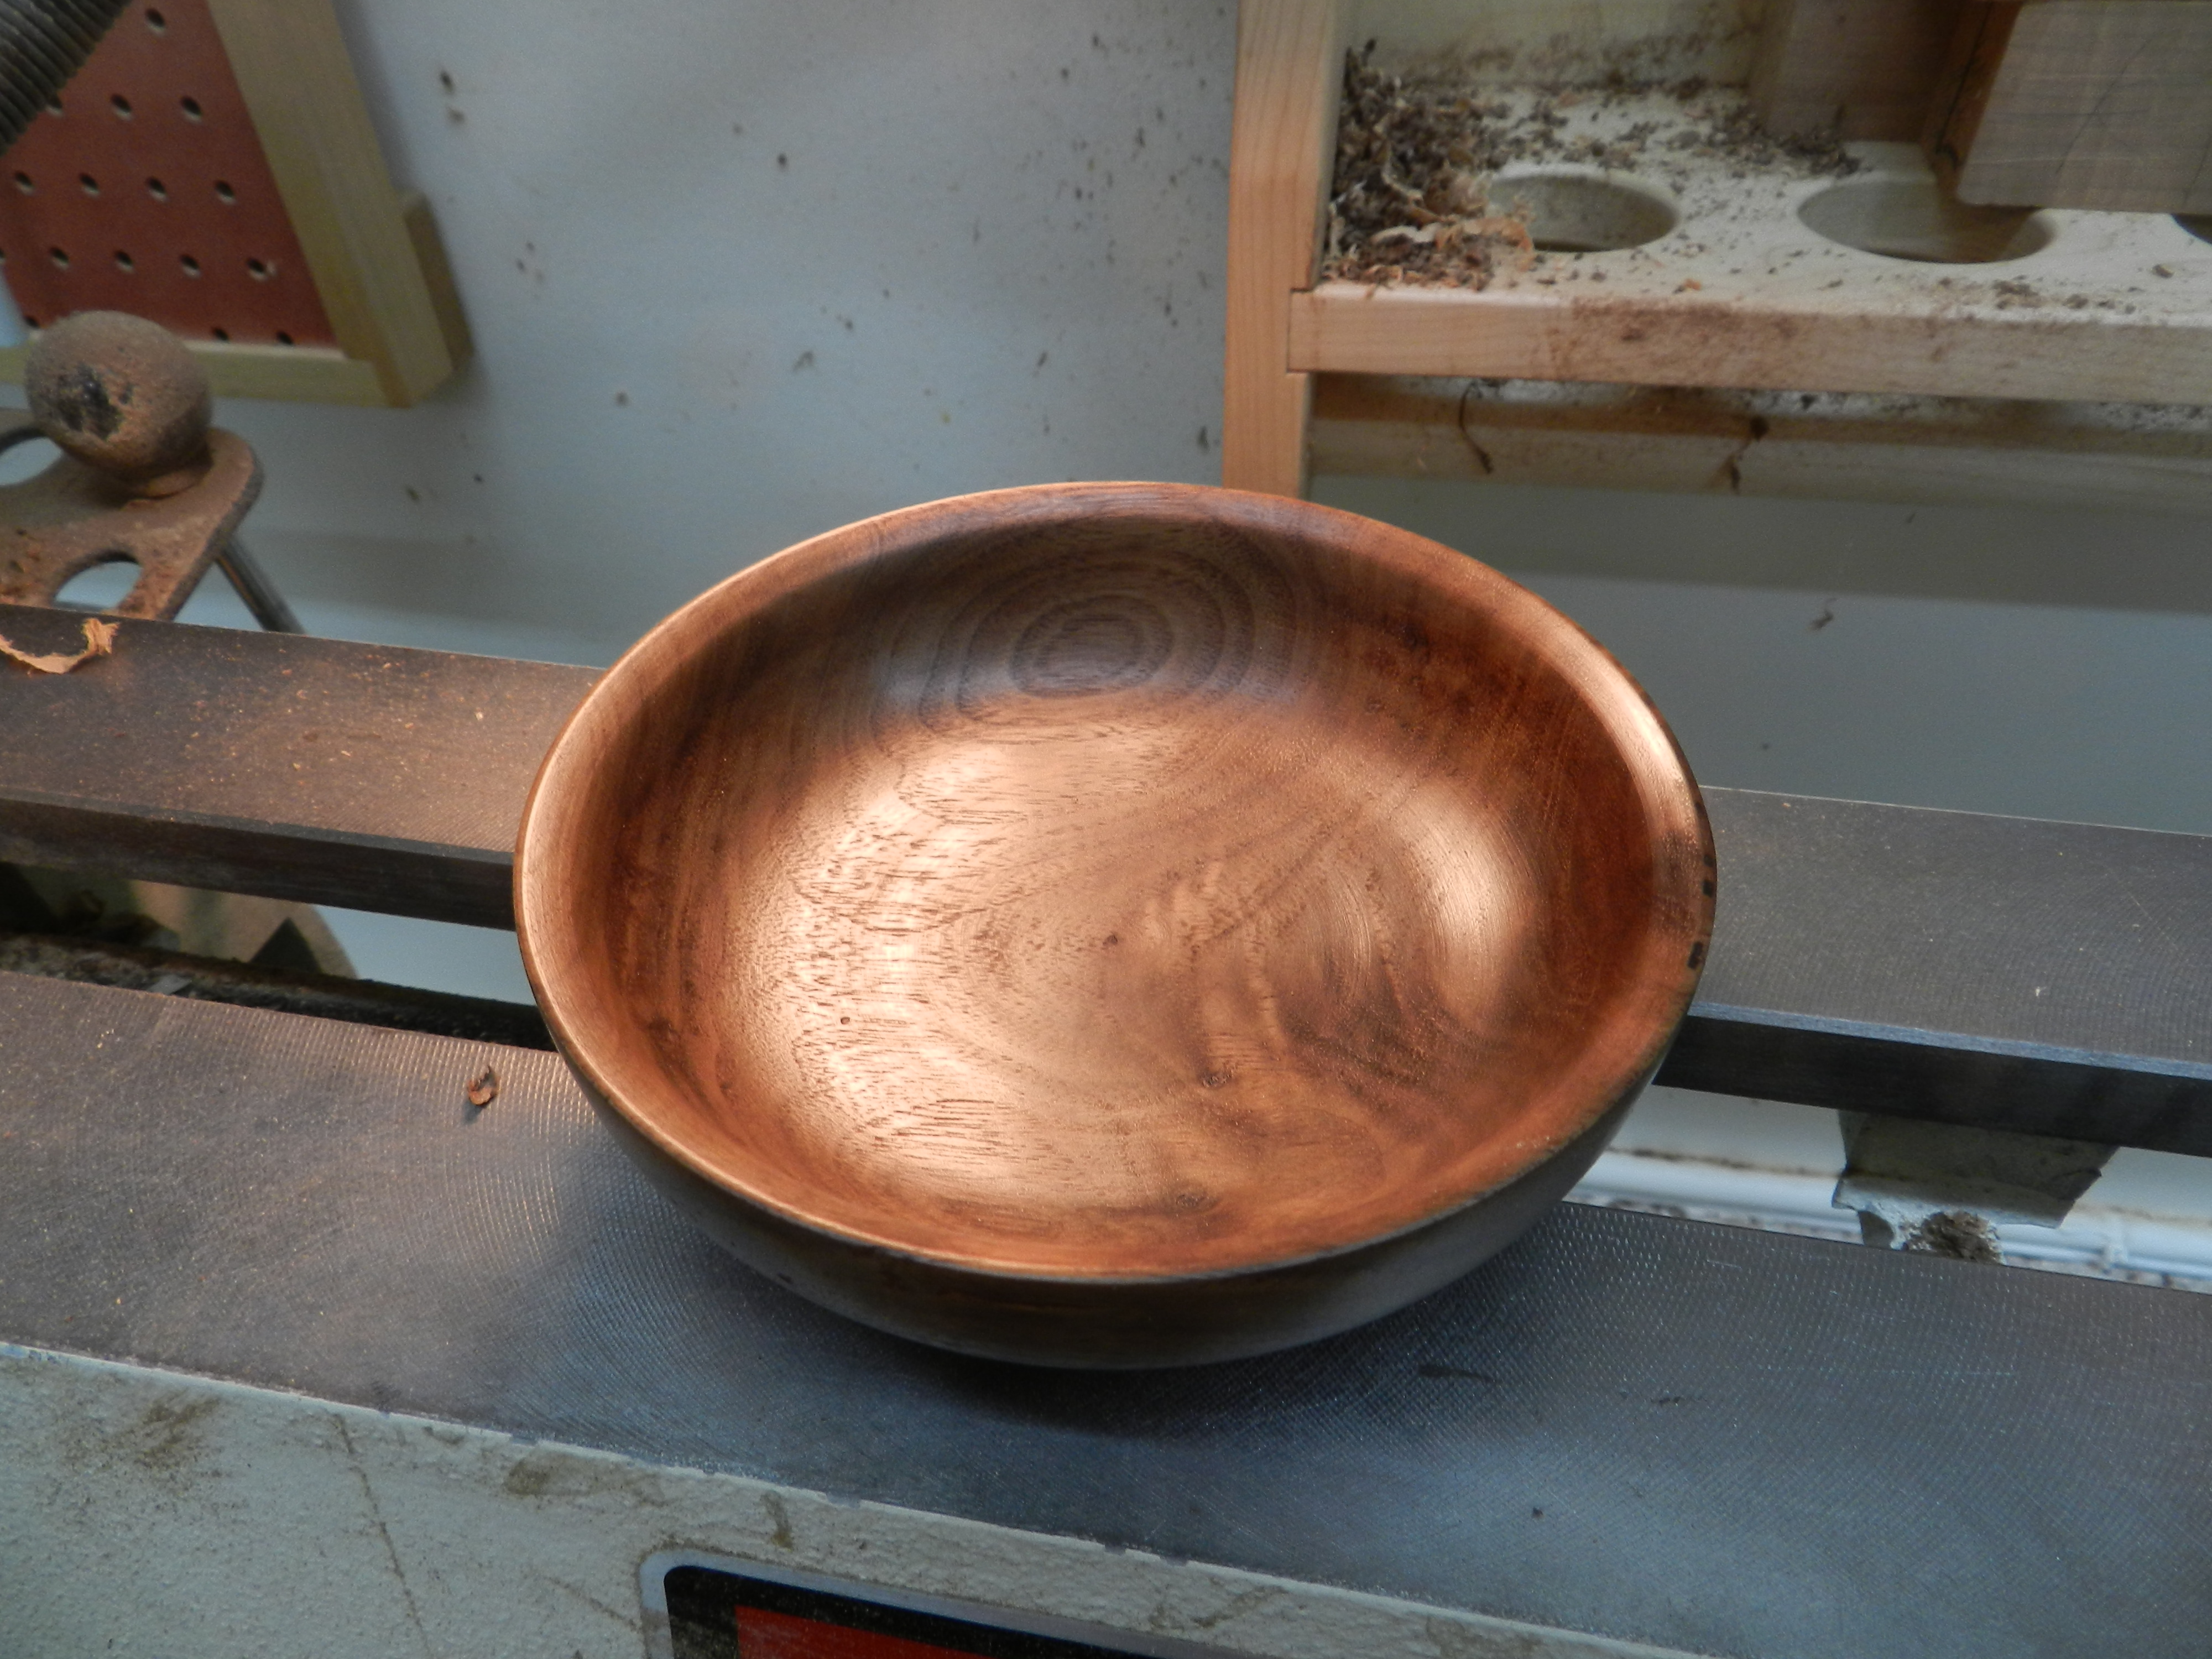
With the bowl still on the lathe I was able to apply finish to the bowl which helps speed up the process. As the bowl gets polished up, you can really see how the figure of the wood pops.
This bowl is finished with tung oil and wax.
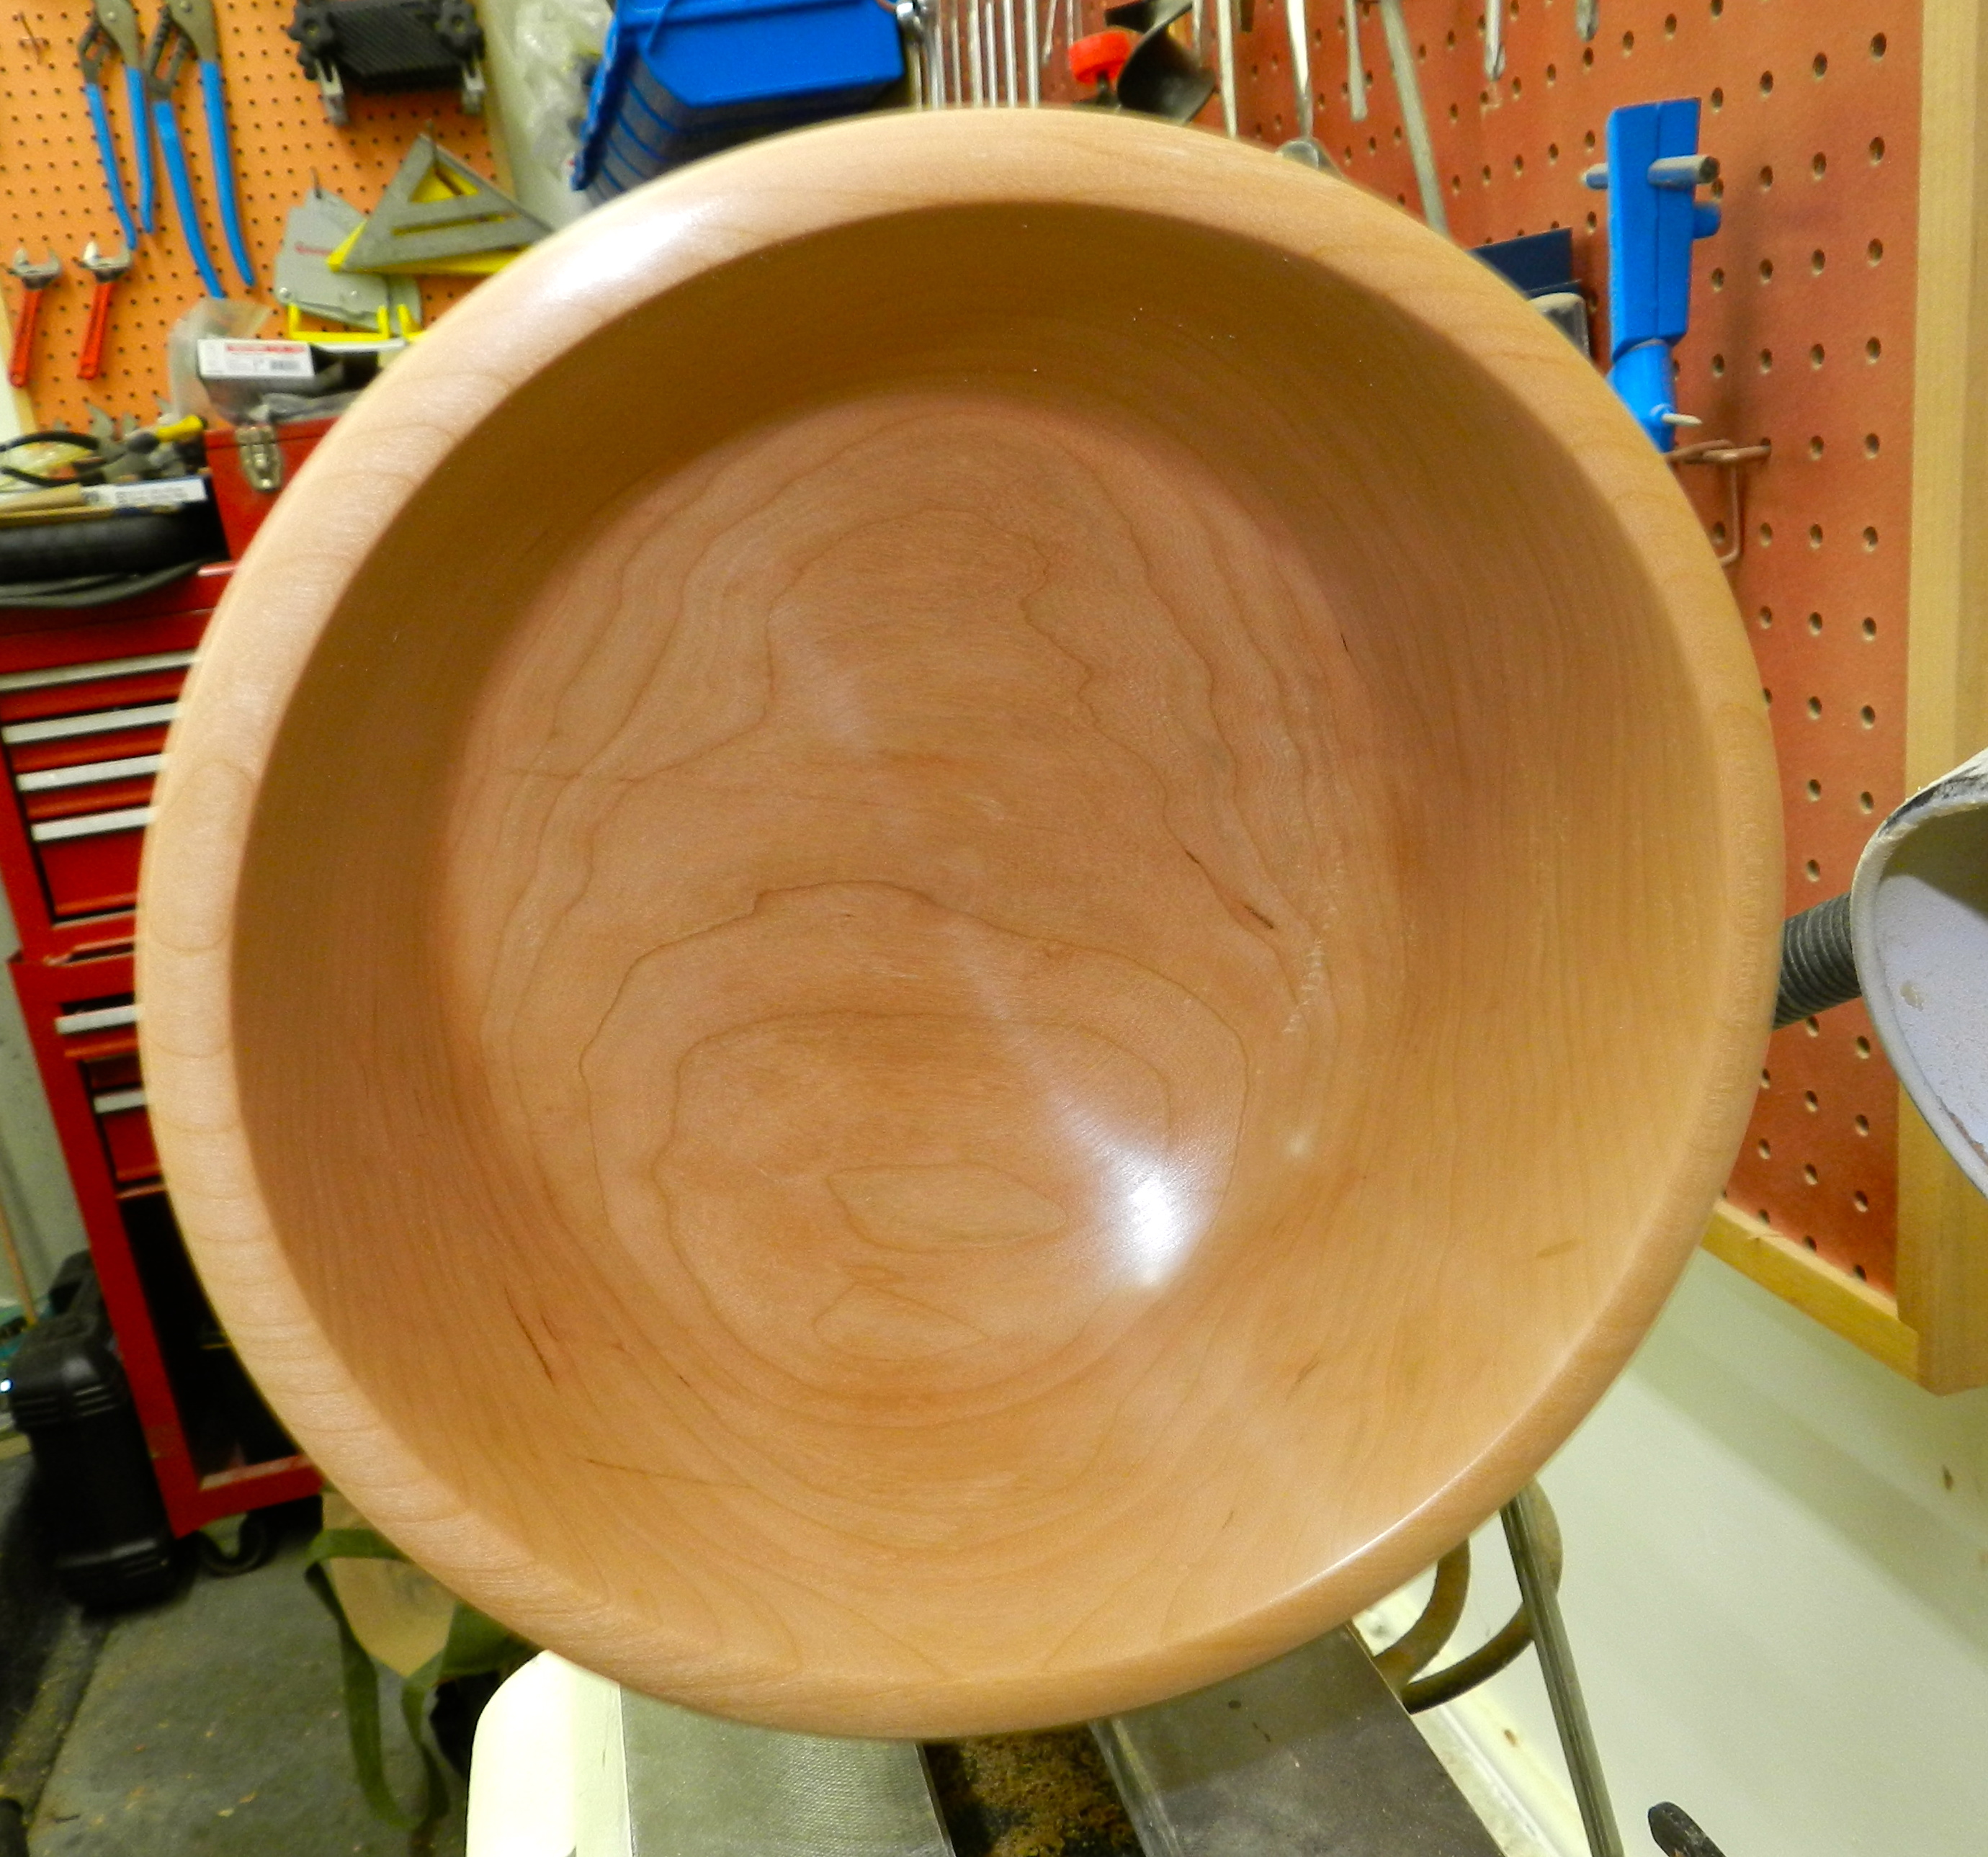
Freshly turned the cherry looks pretty light on top of my maple bench, but with time and exposure to daylight it will darken up nicely and take on the warmer color you expect from cherry.
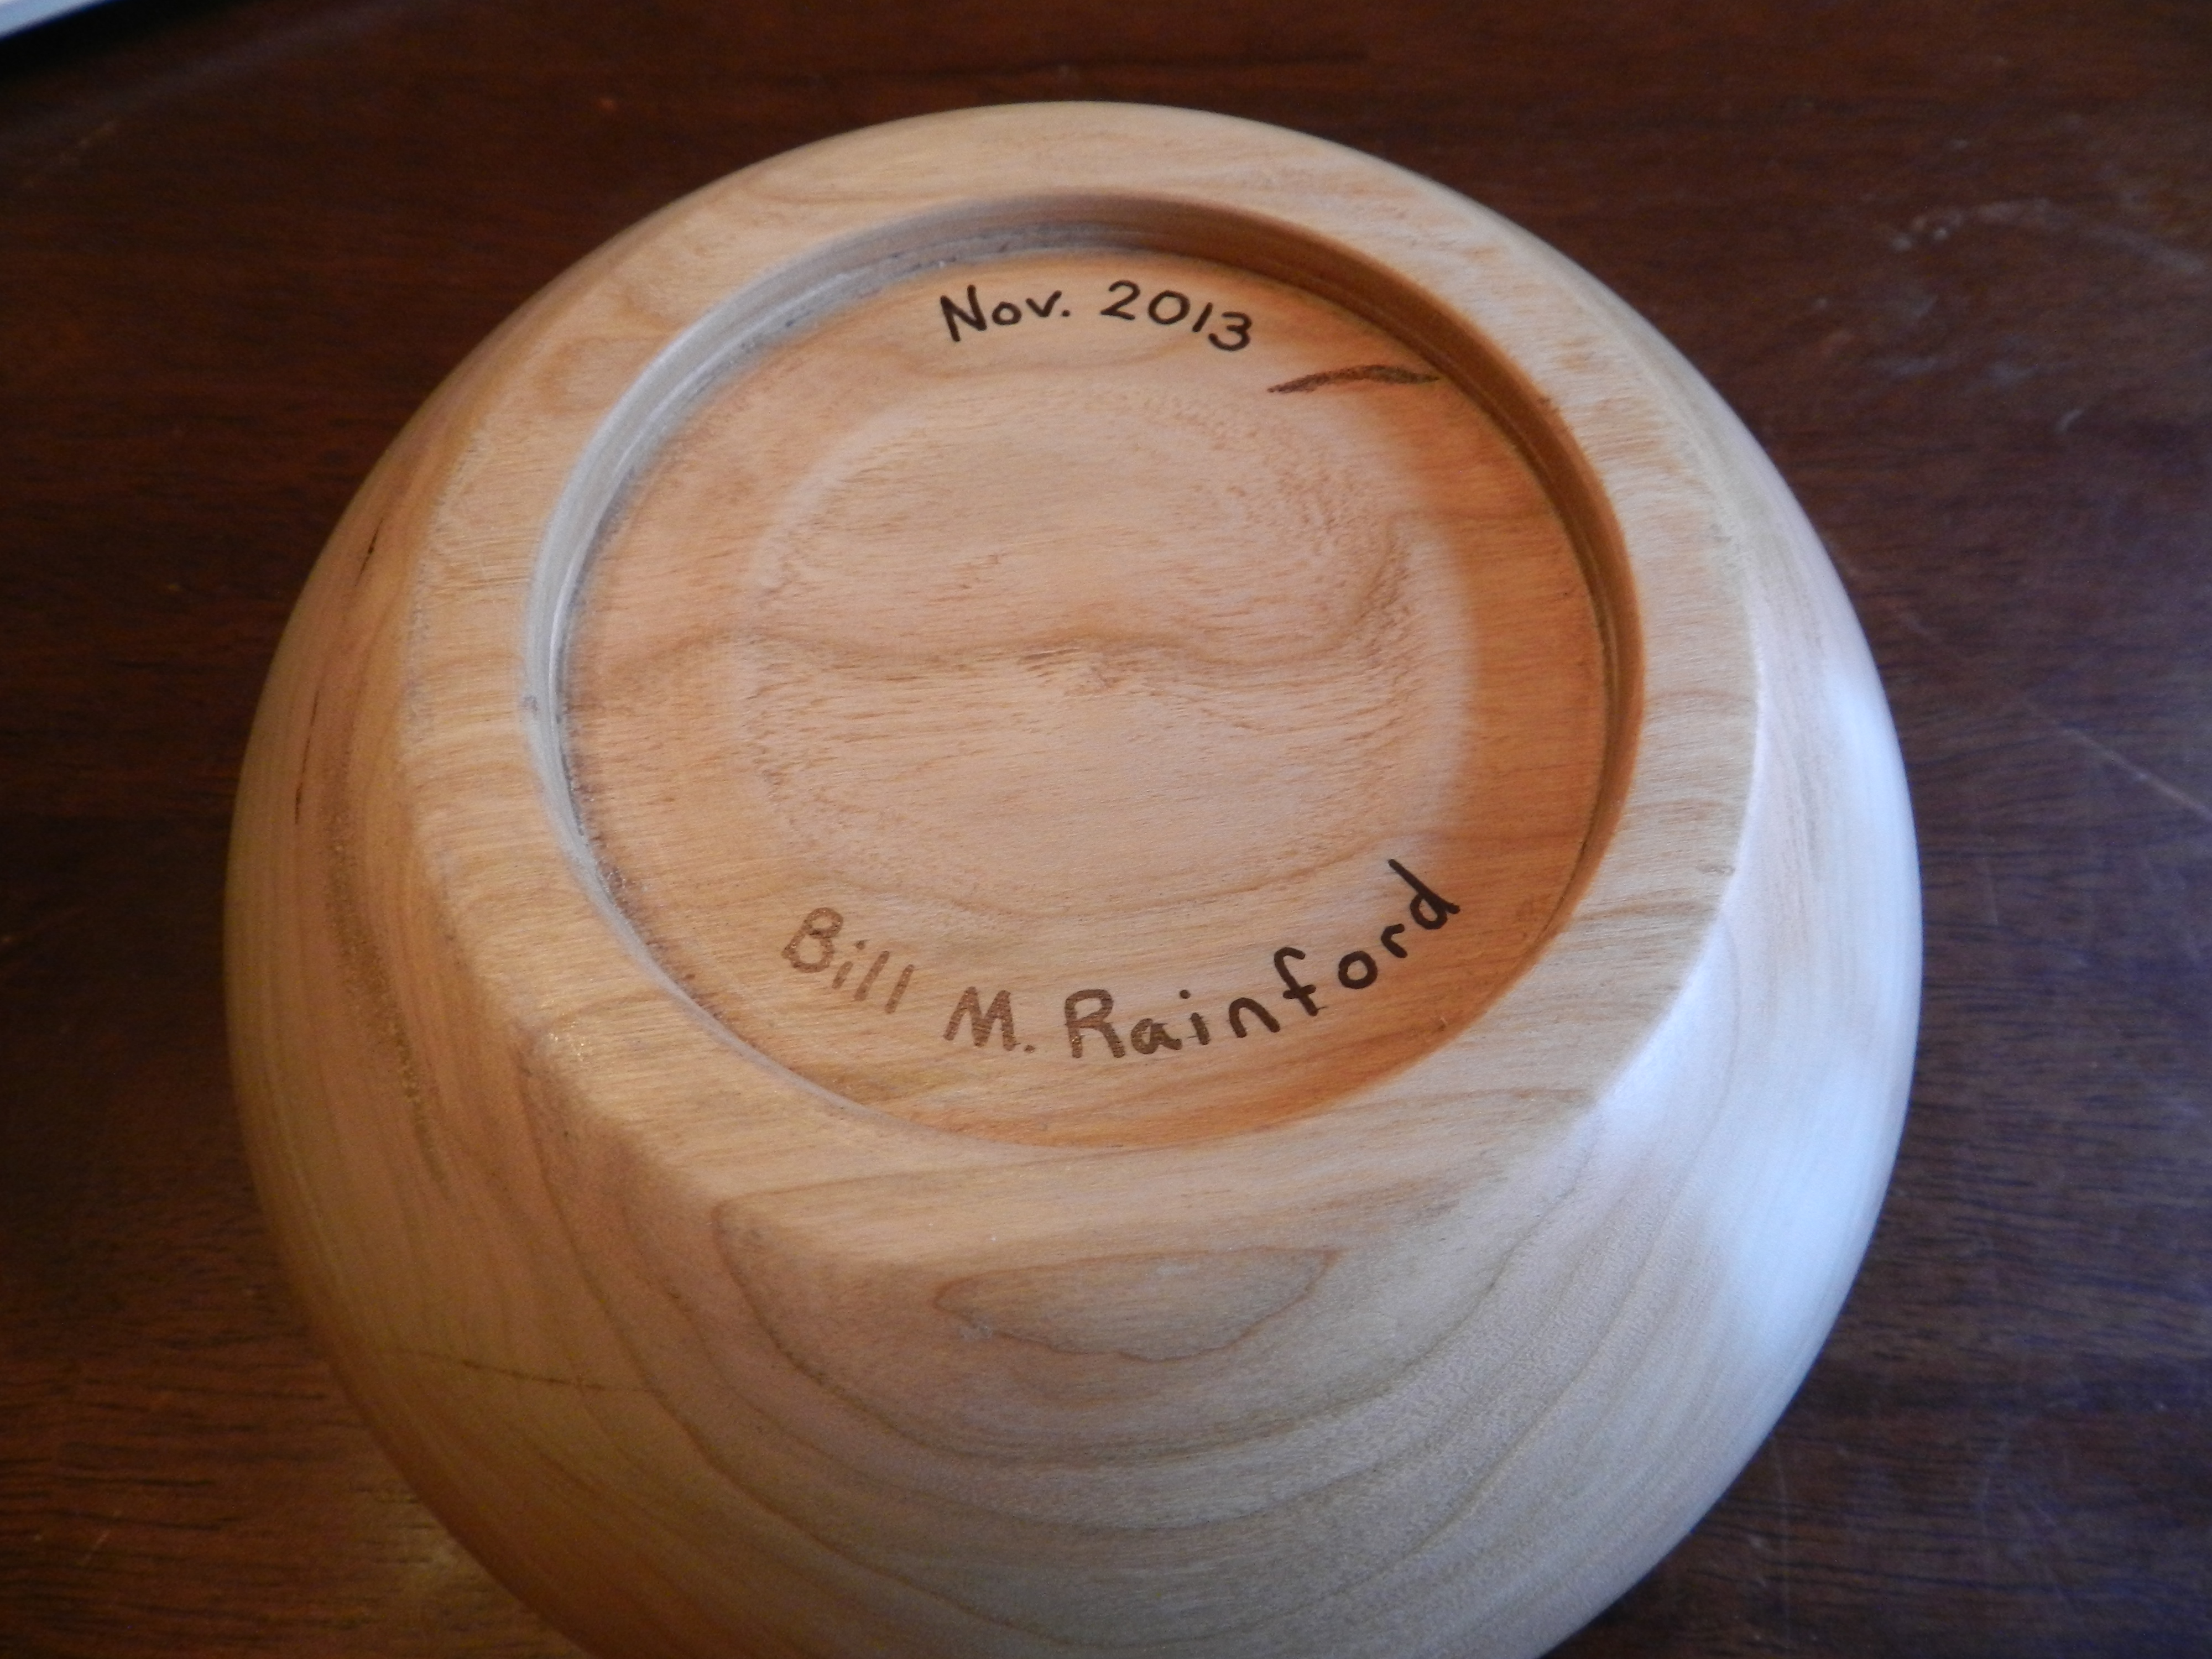
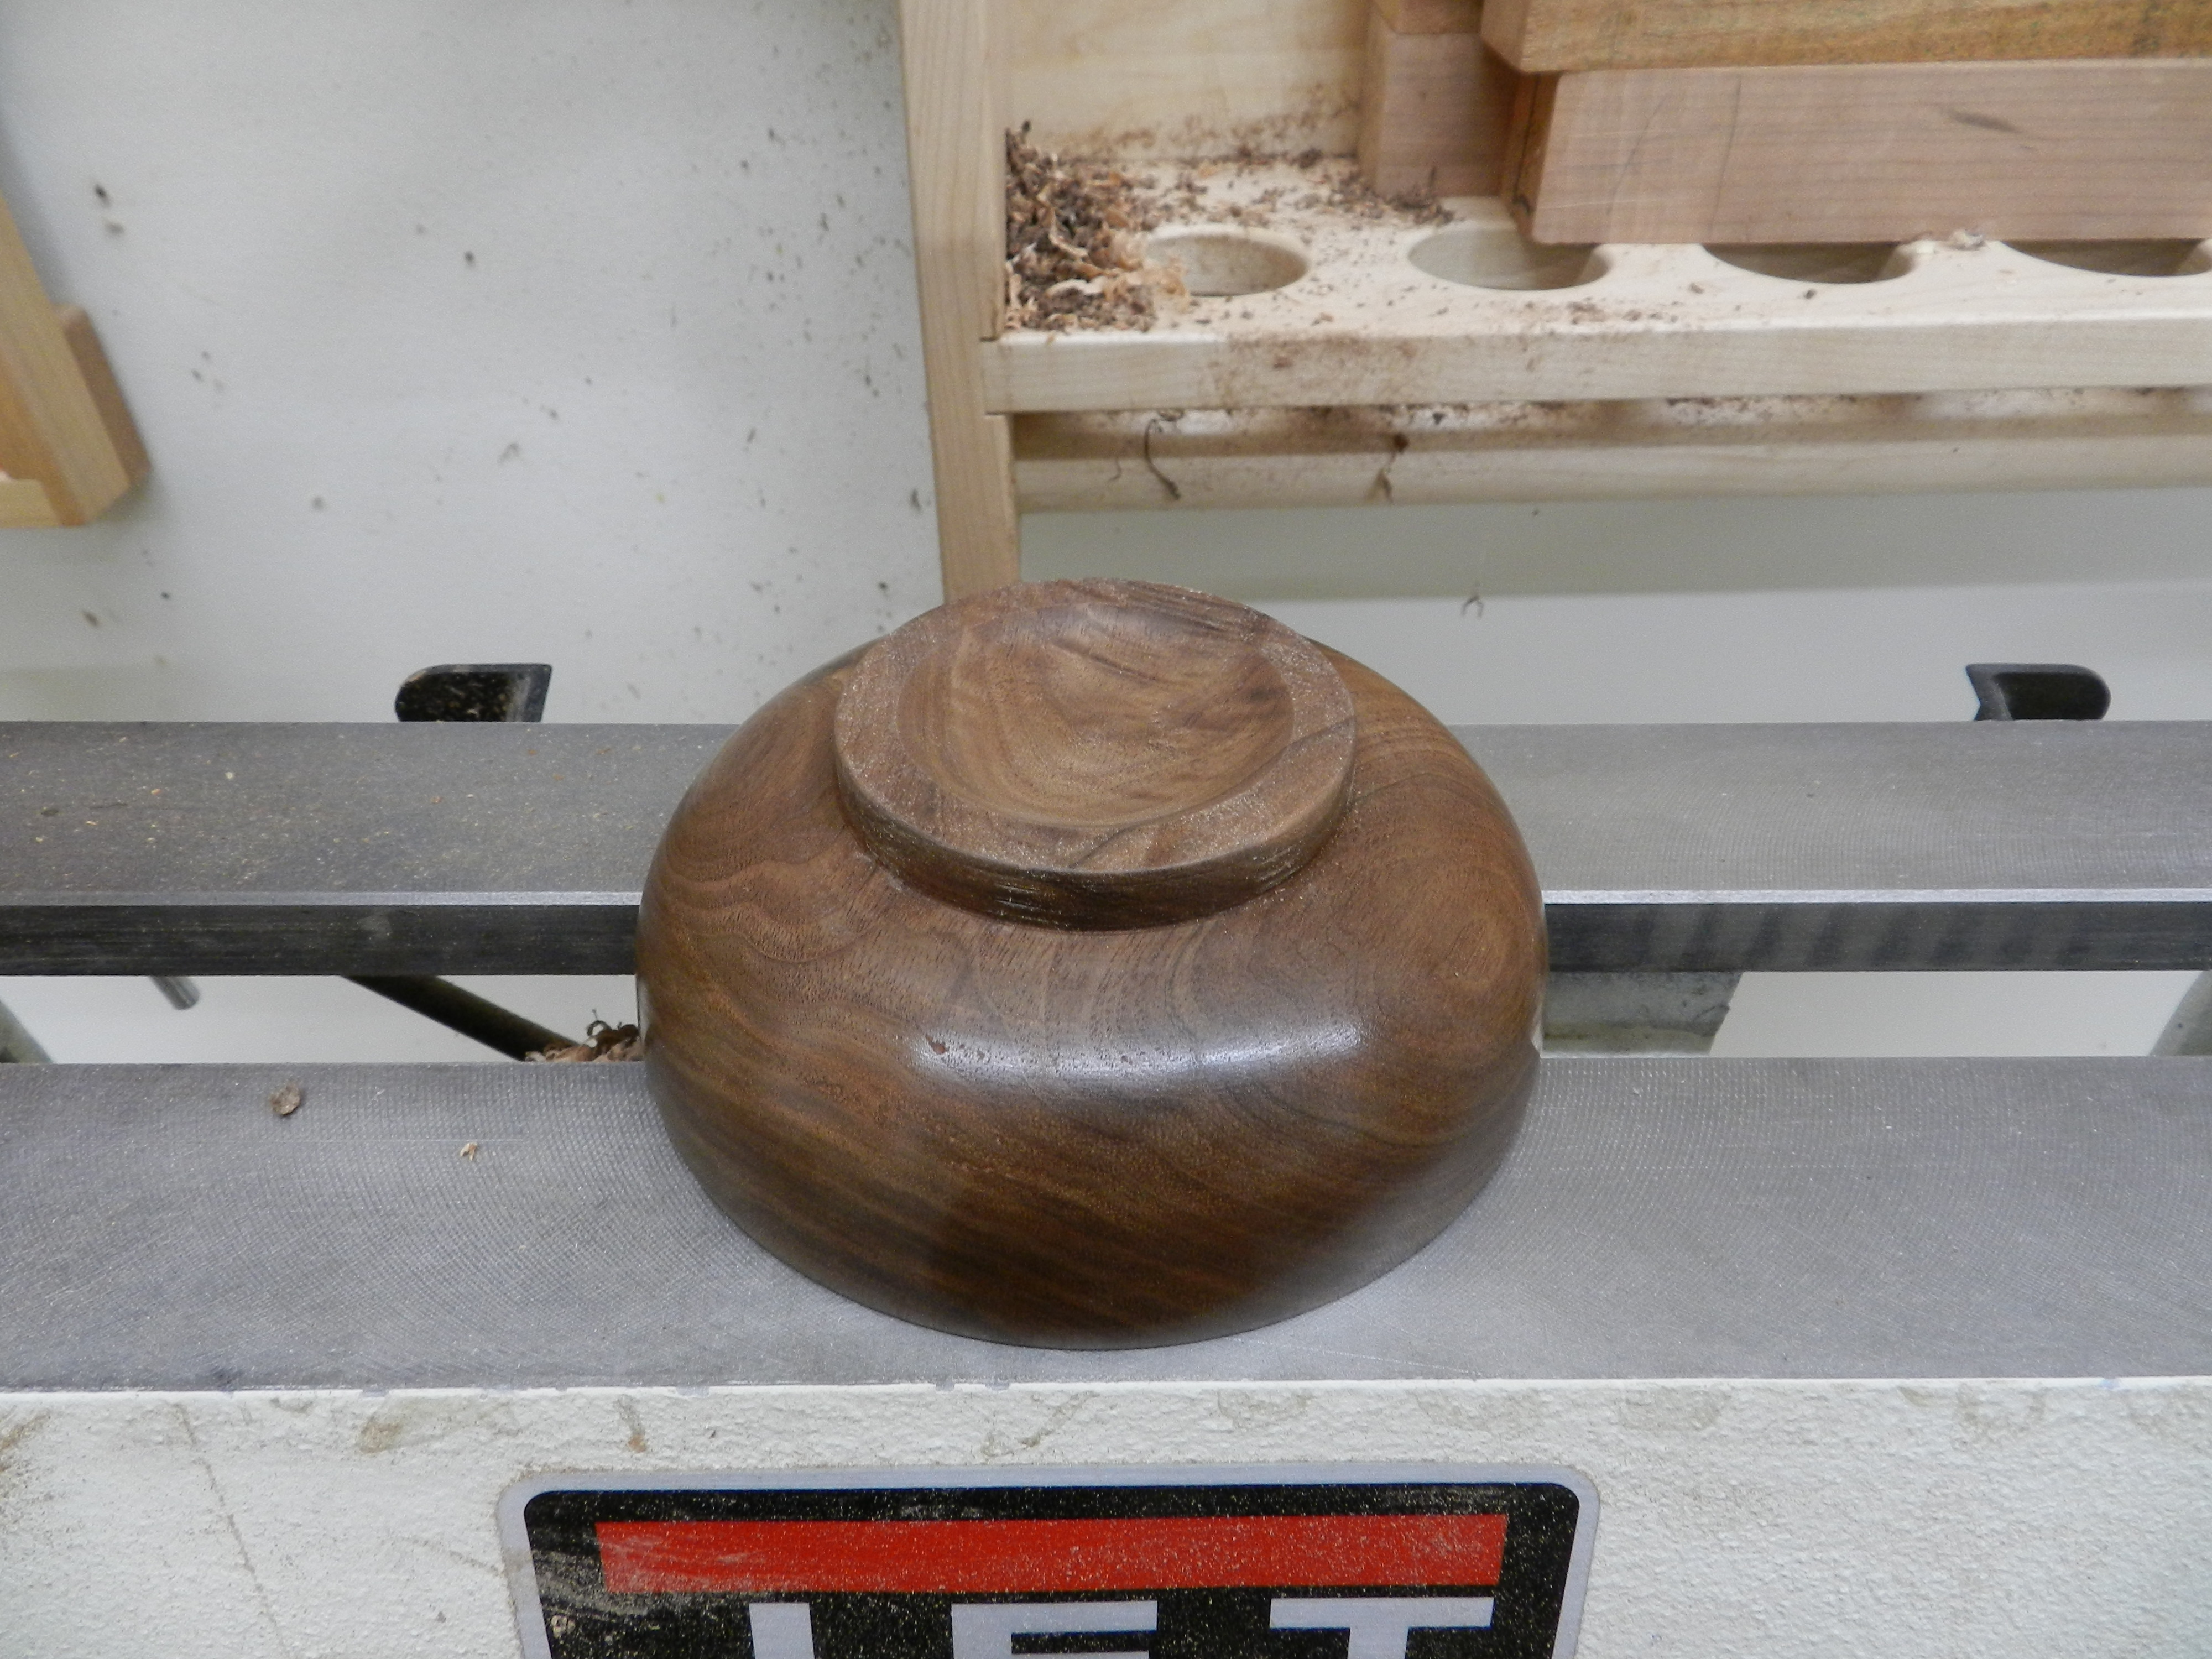
I learned to turn from Alan Lacer and Rich Friberg and one thing they both taught me was to add little details to surprise or delight folks who took the time to inspect what you made. On the bottom of this bowl I varied the surface under the bowl to give more visual and tactile interest.
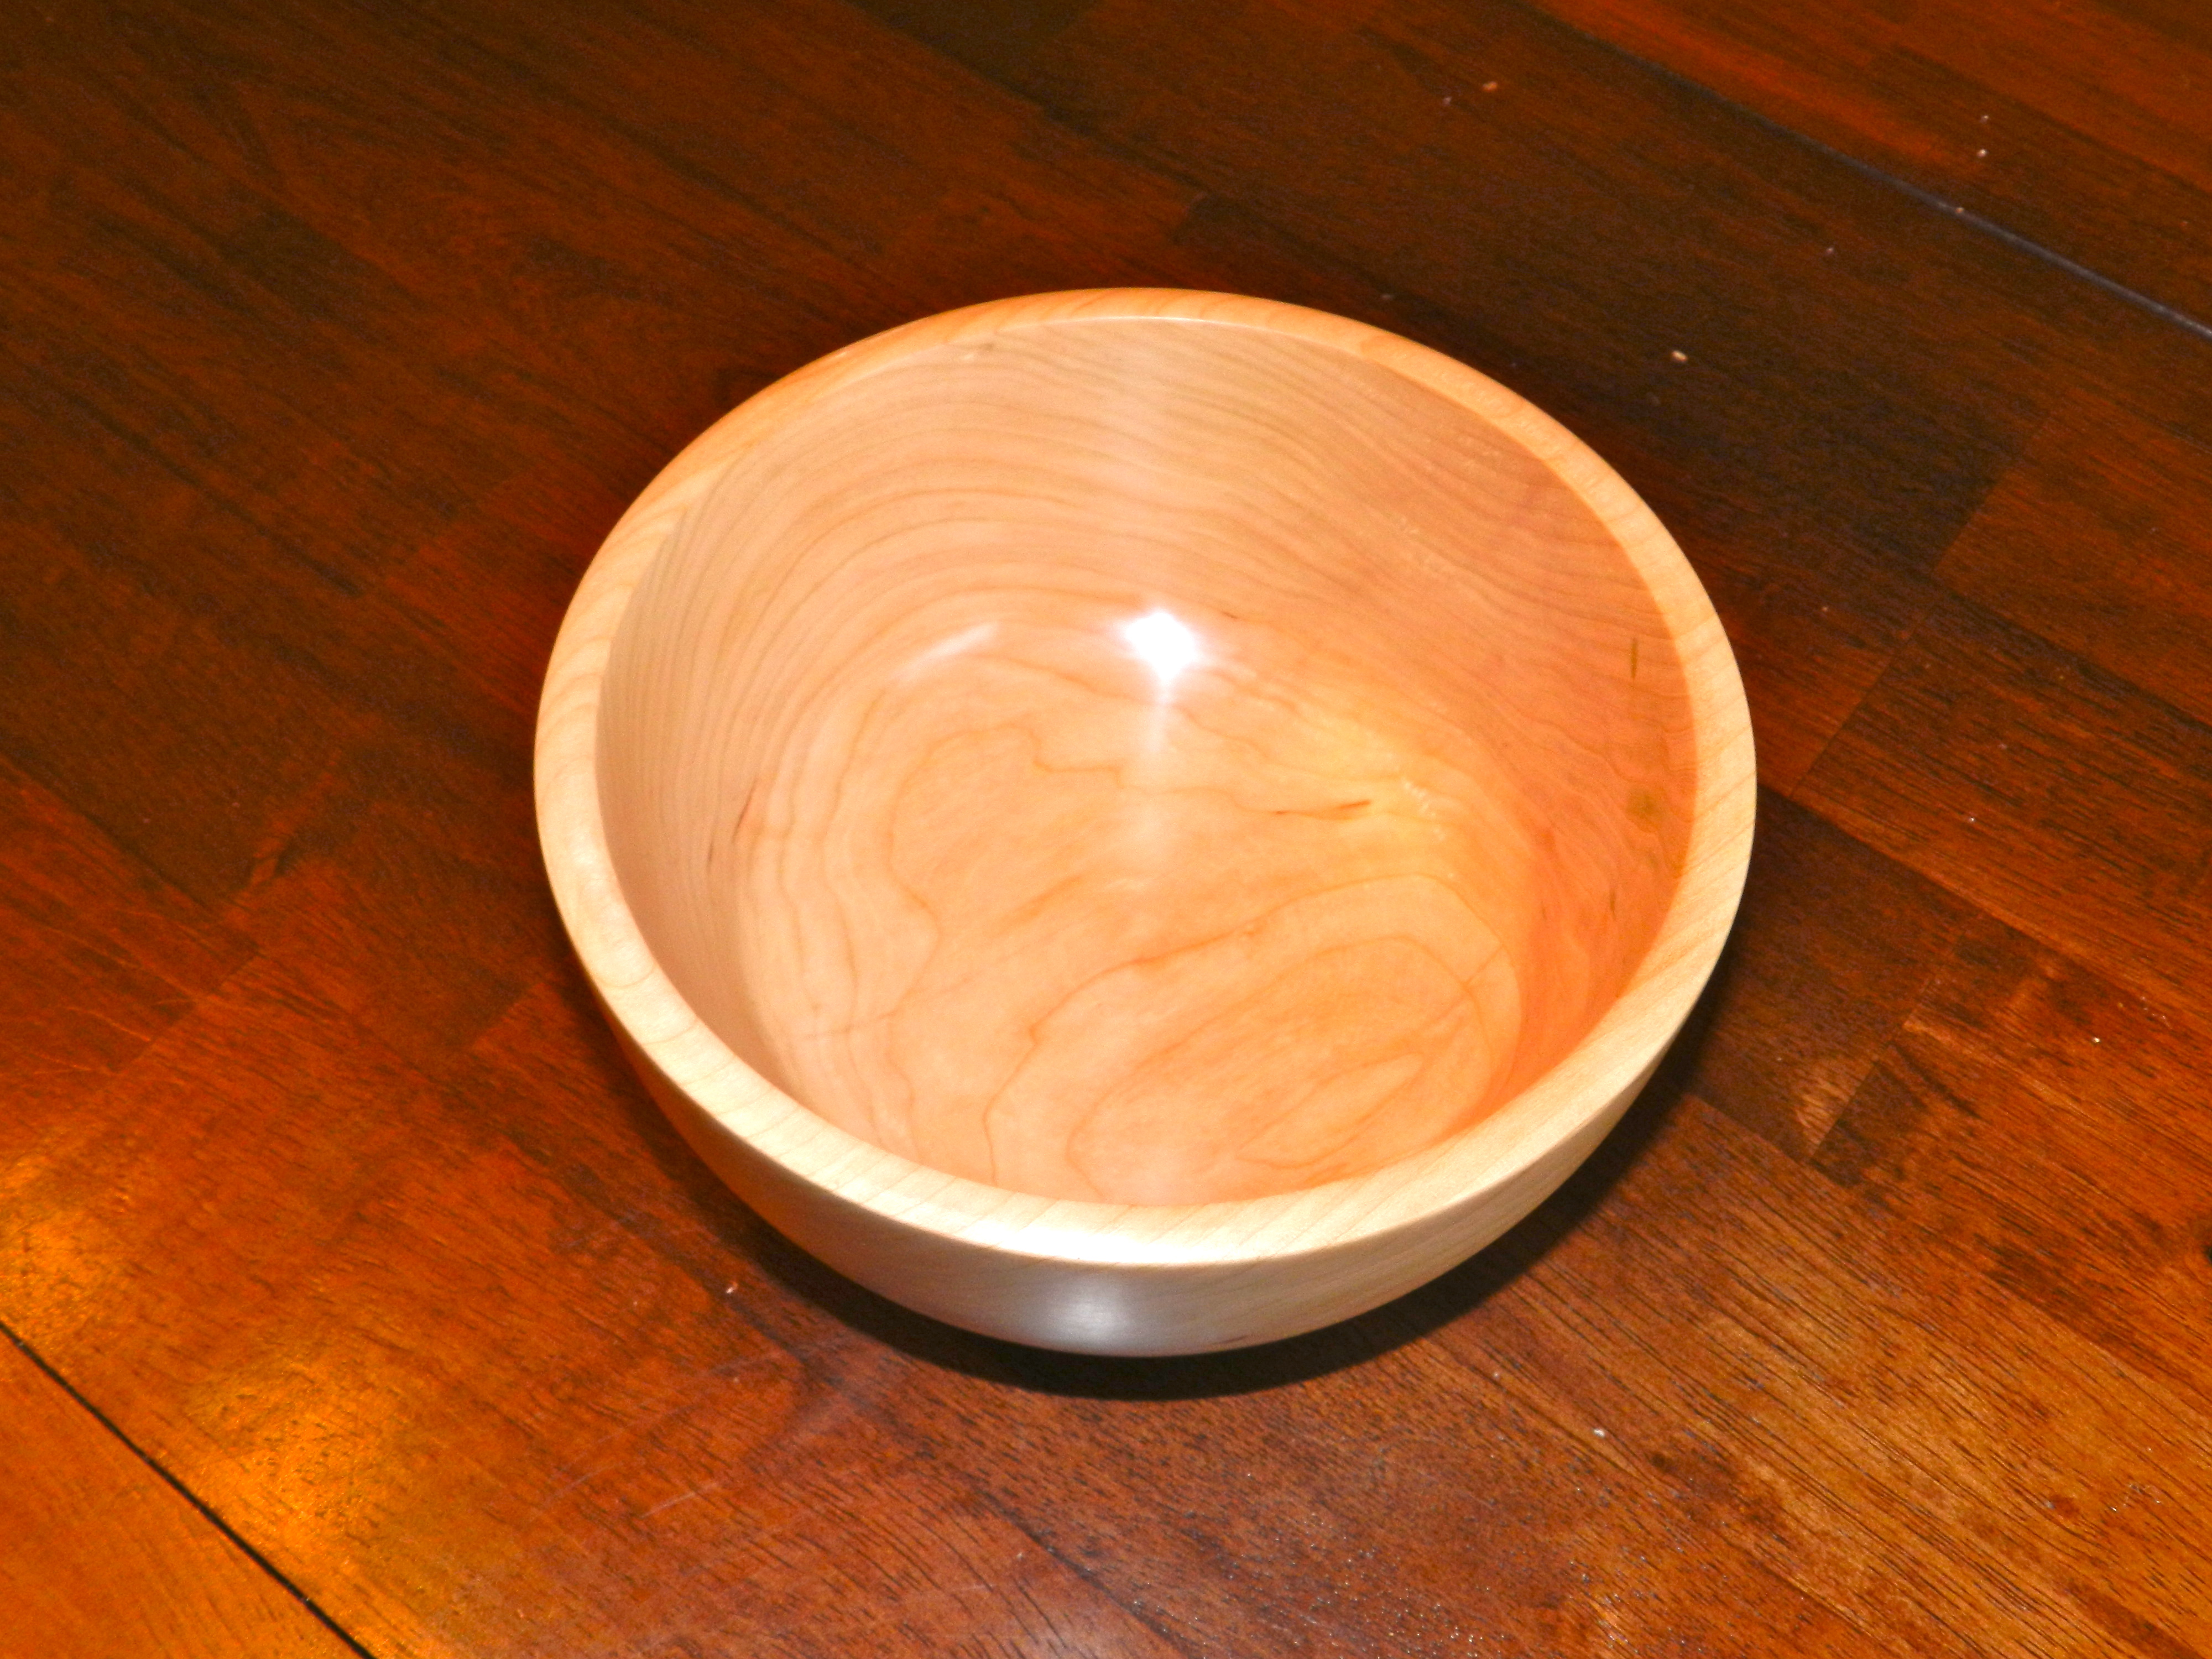
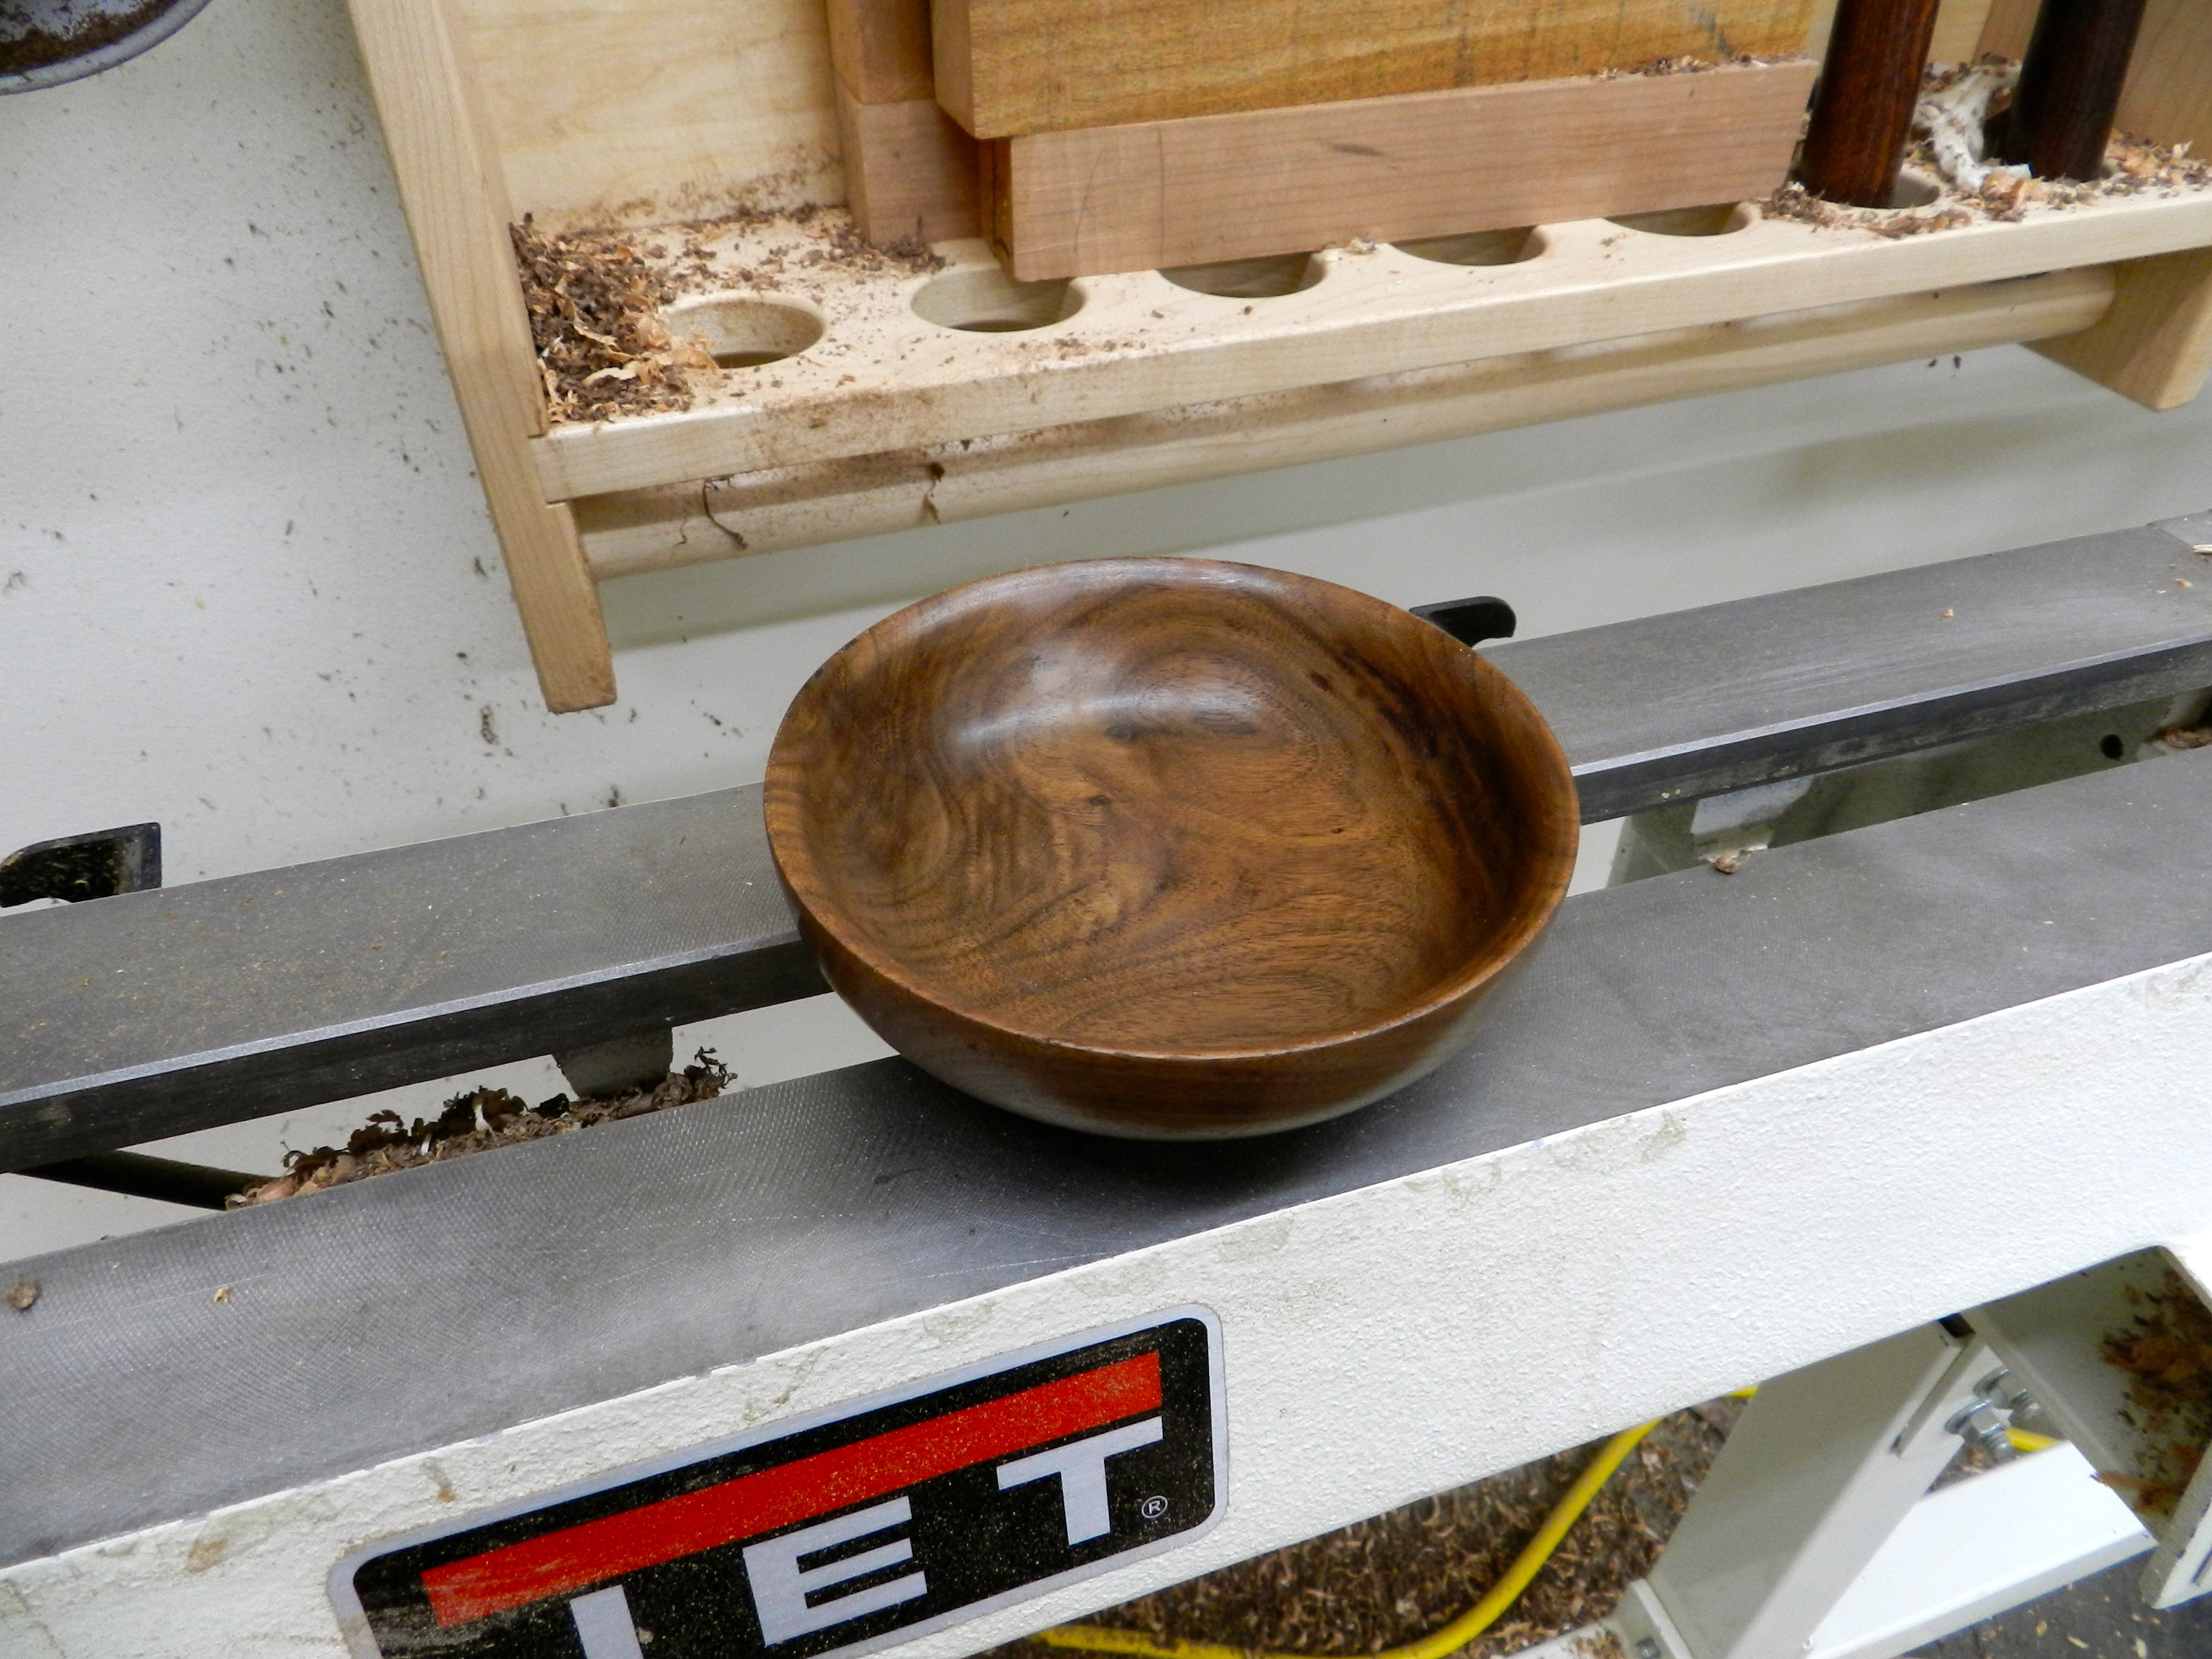
I am happy with the results and hope this sturdy little bowl has a good life.
Take care,
-Bill


")


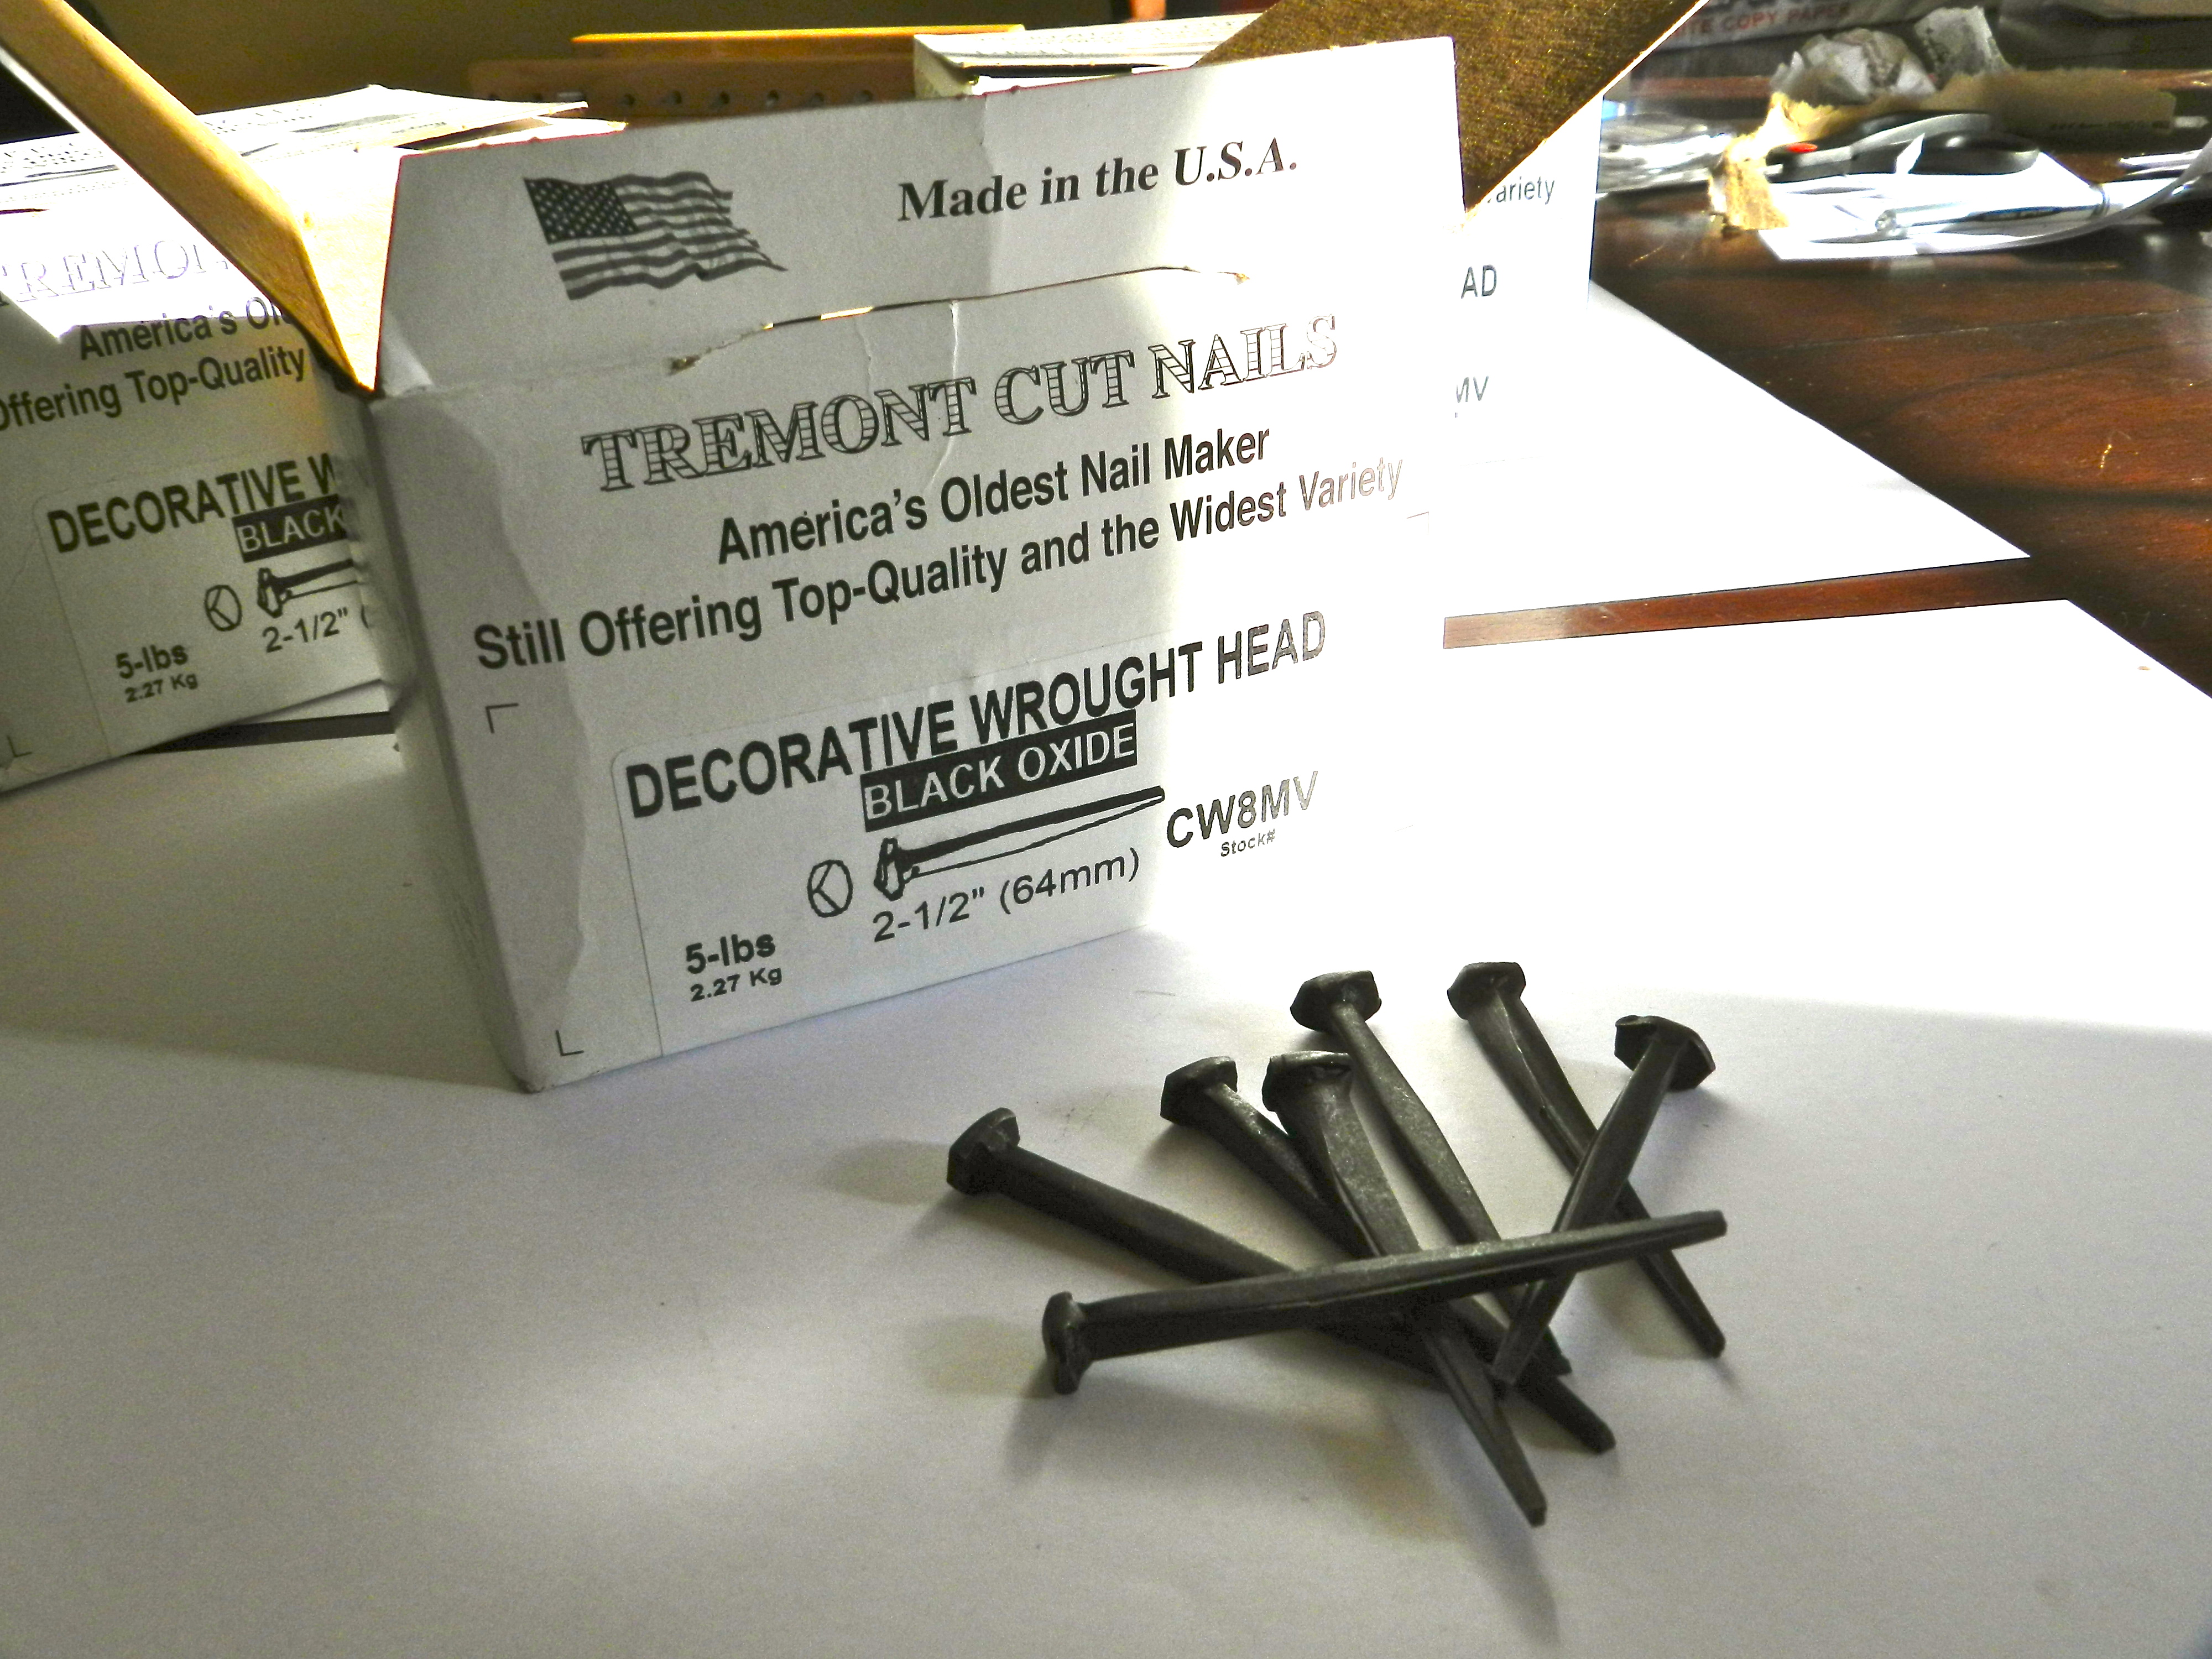
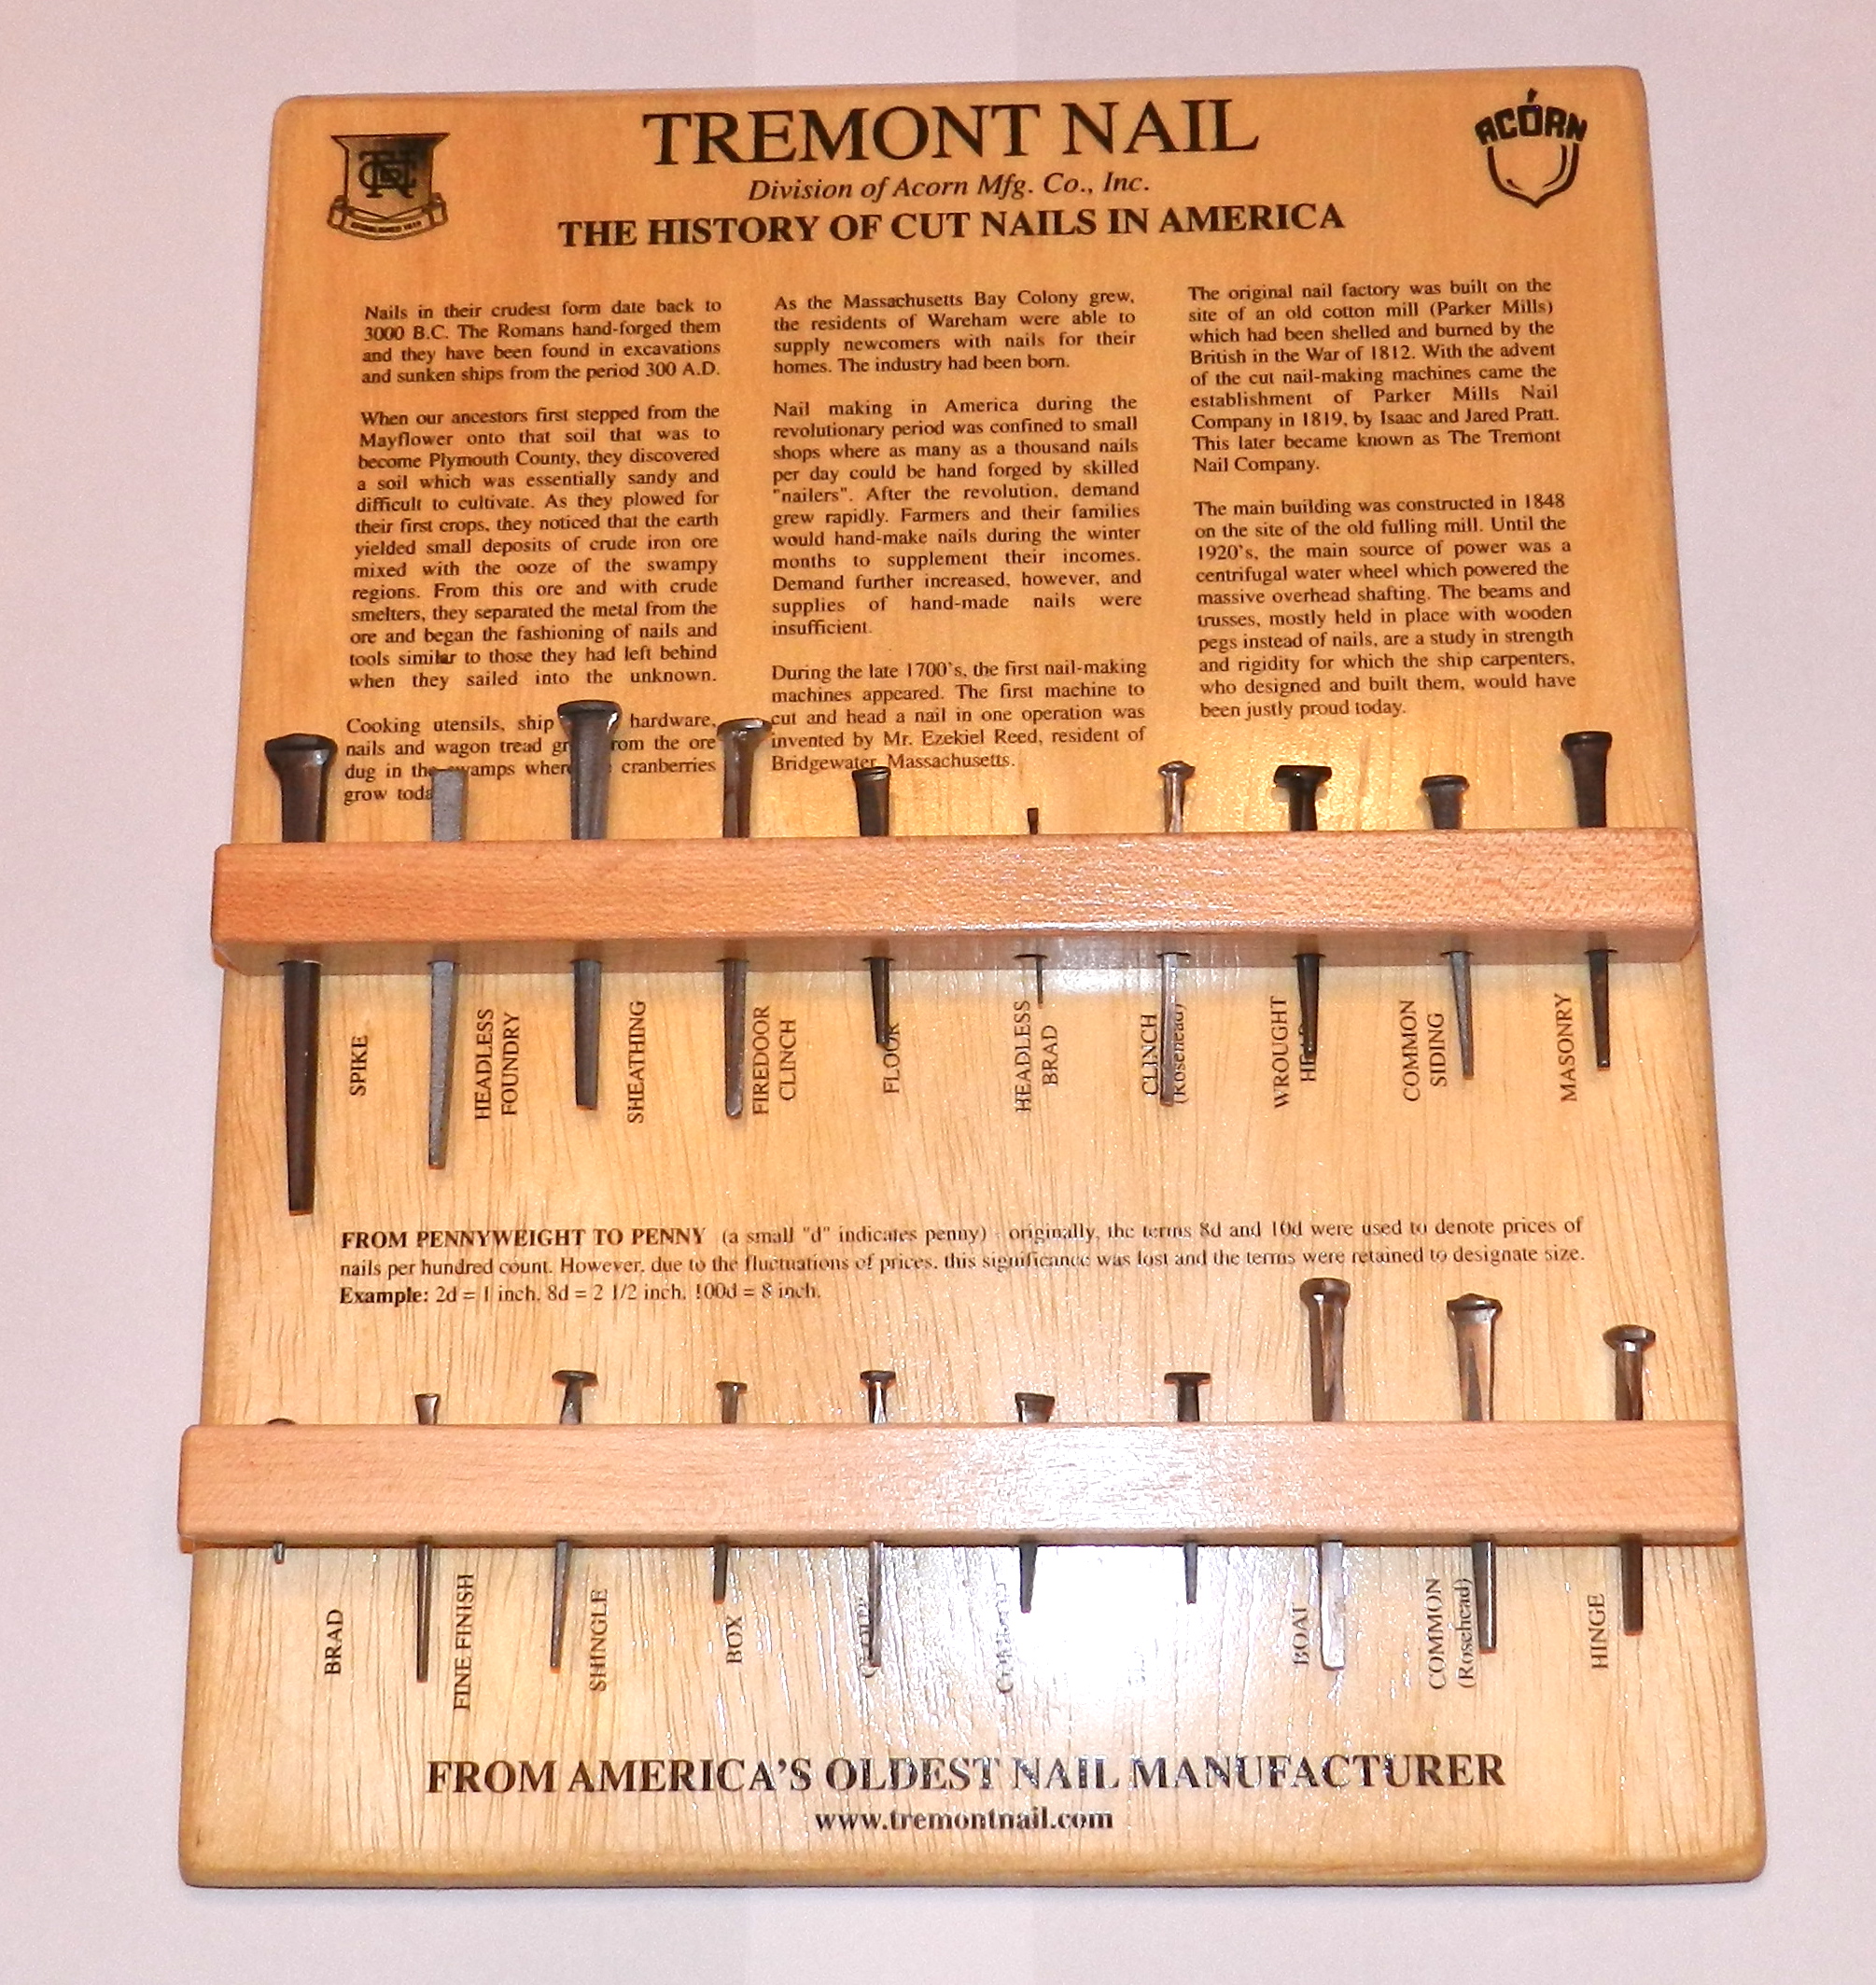
 Cut Nail")