Tag Archives: Bill Rainford

Working with cut nails…

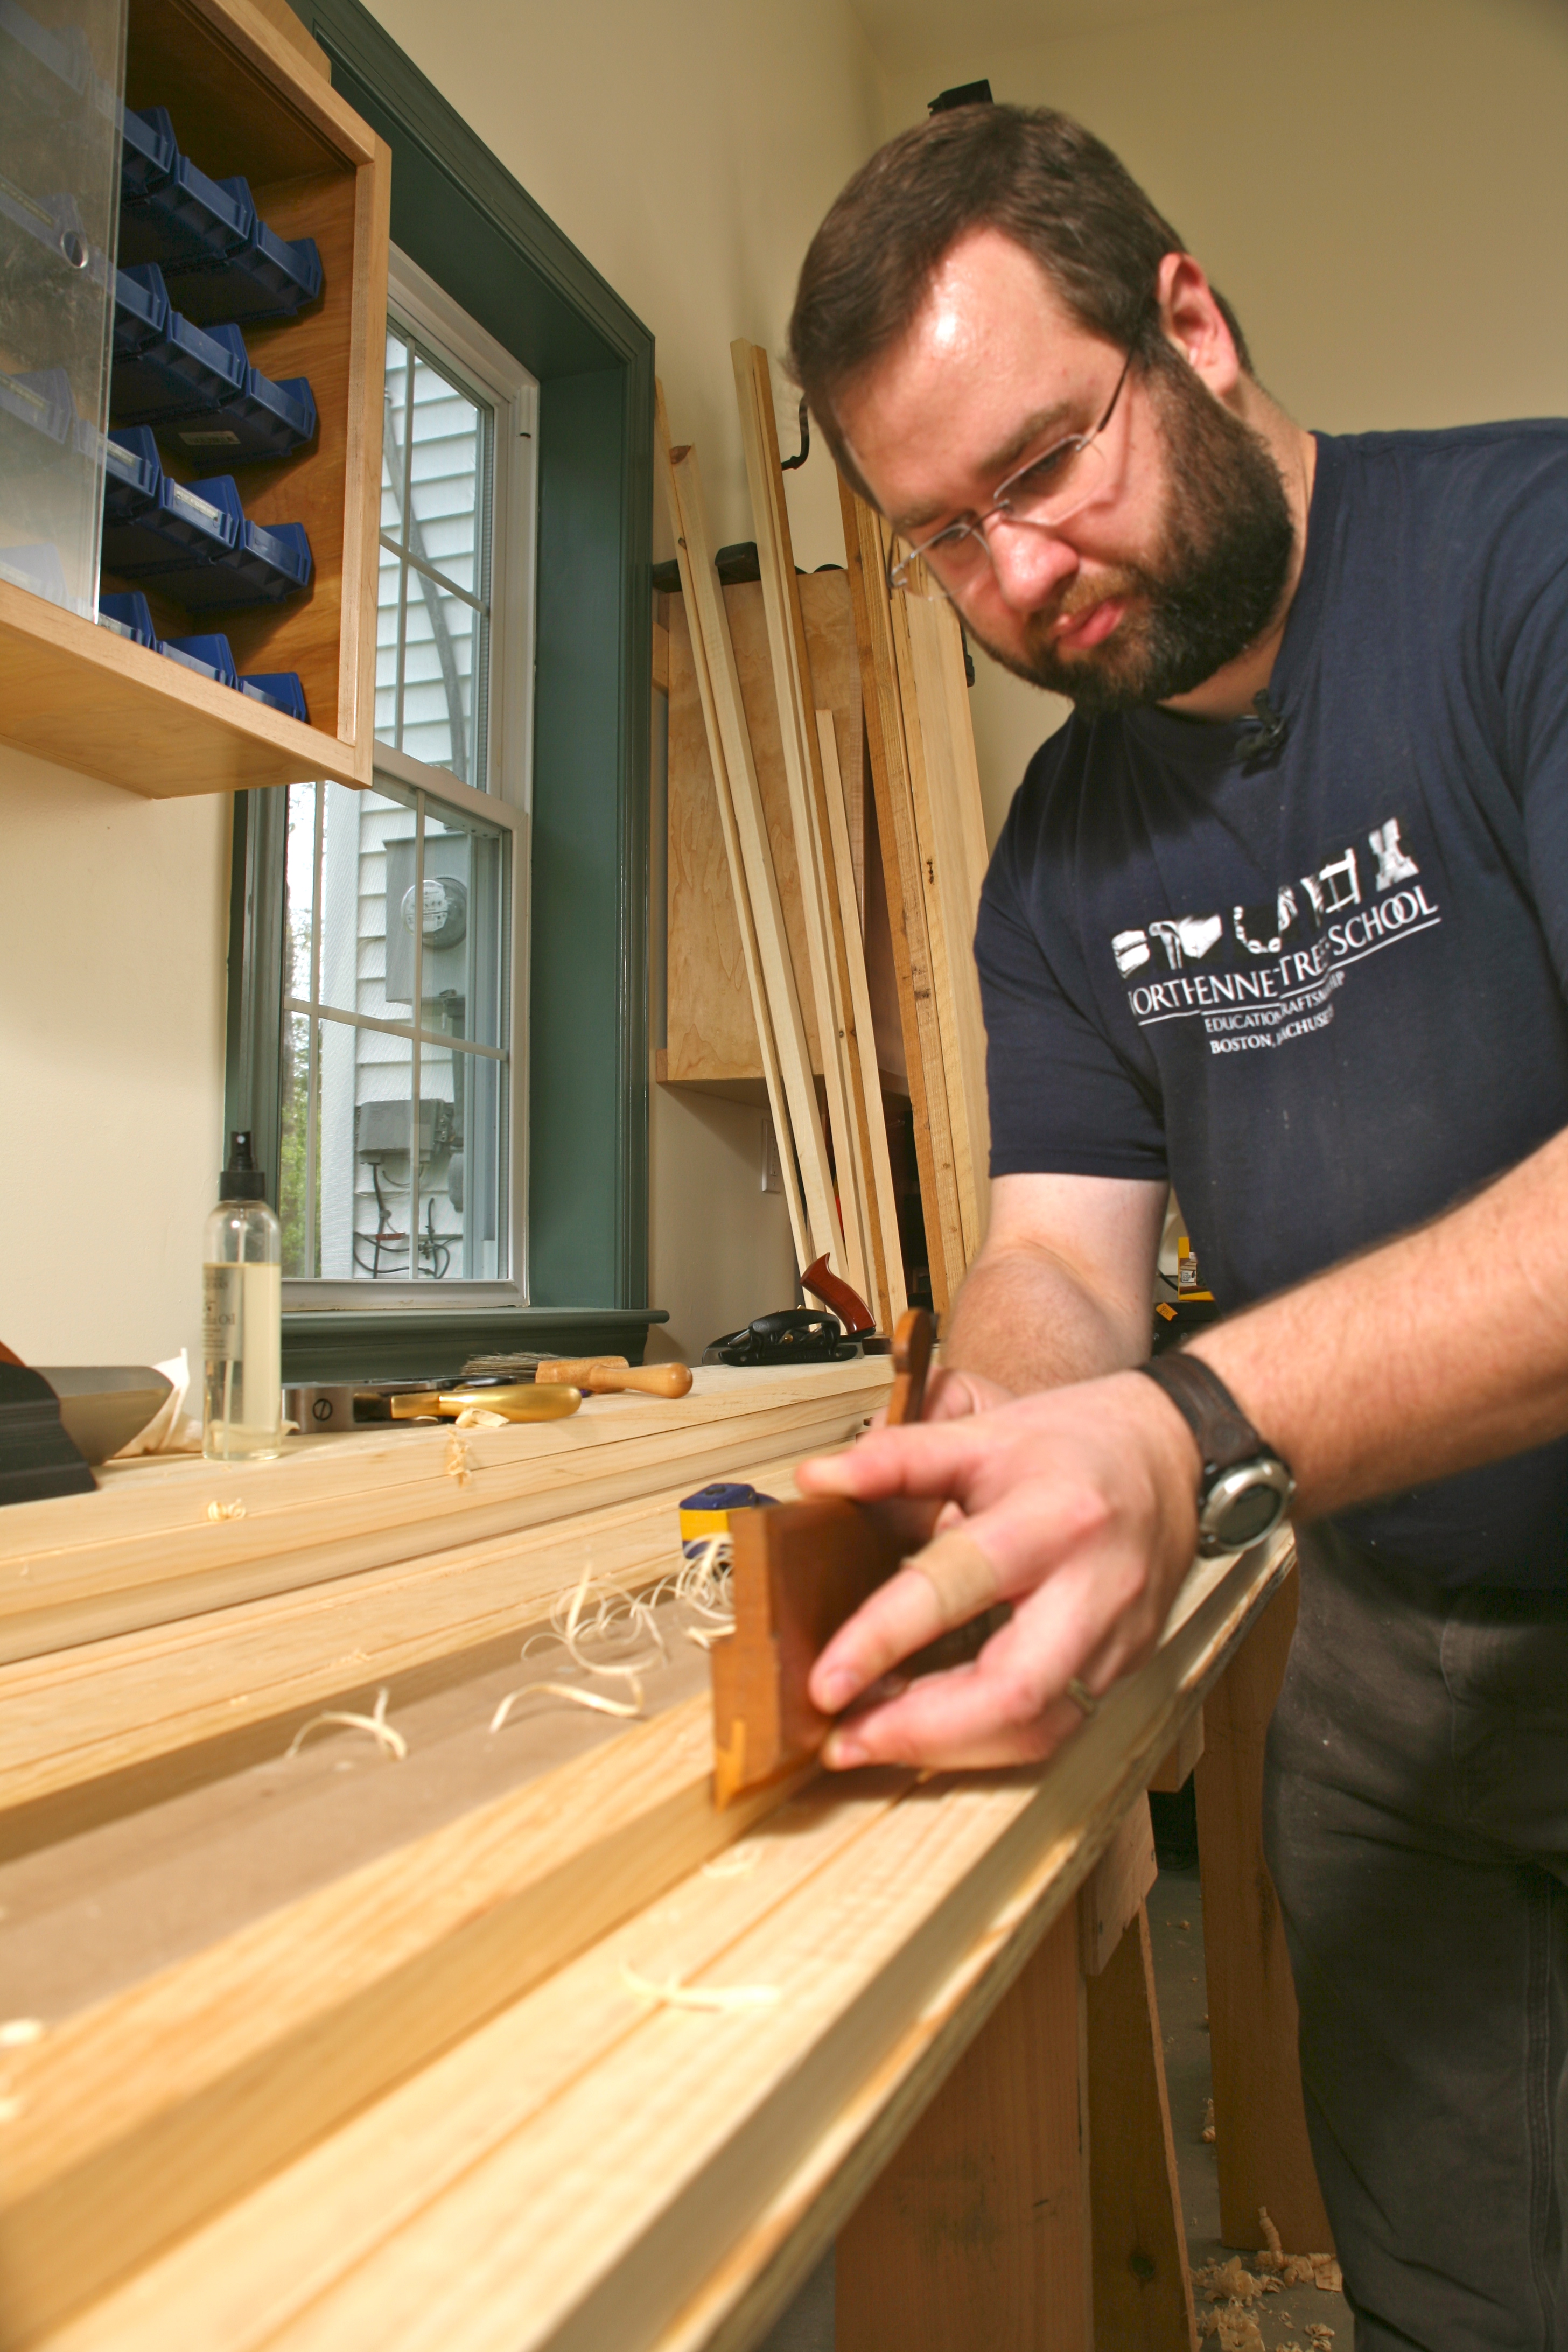
As a preservation carpenter and joiner my work regularly requires me to work work with a wide variety of cut nails. A lot of recent woodworking publications focus on cut nails appropriate for cabinetmaking and smaller projects, but that barely scratches the surface of what was still available if you know what you want and where to look.

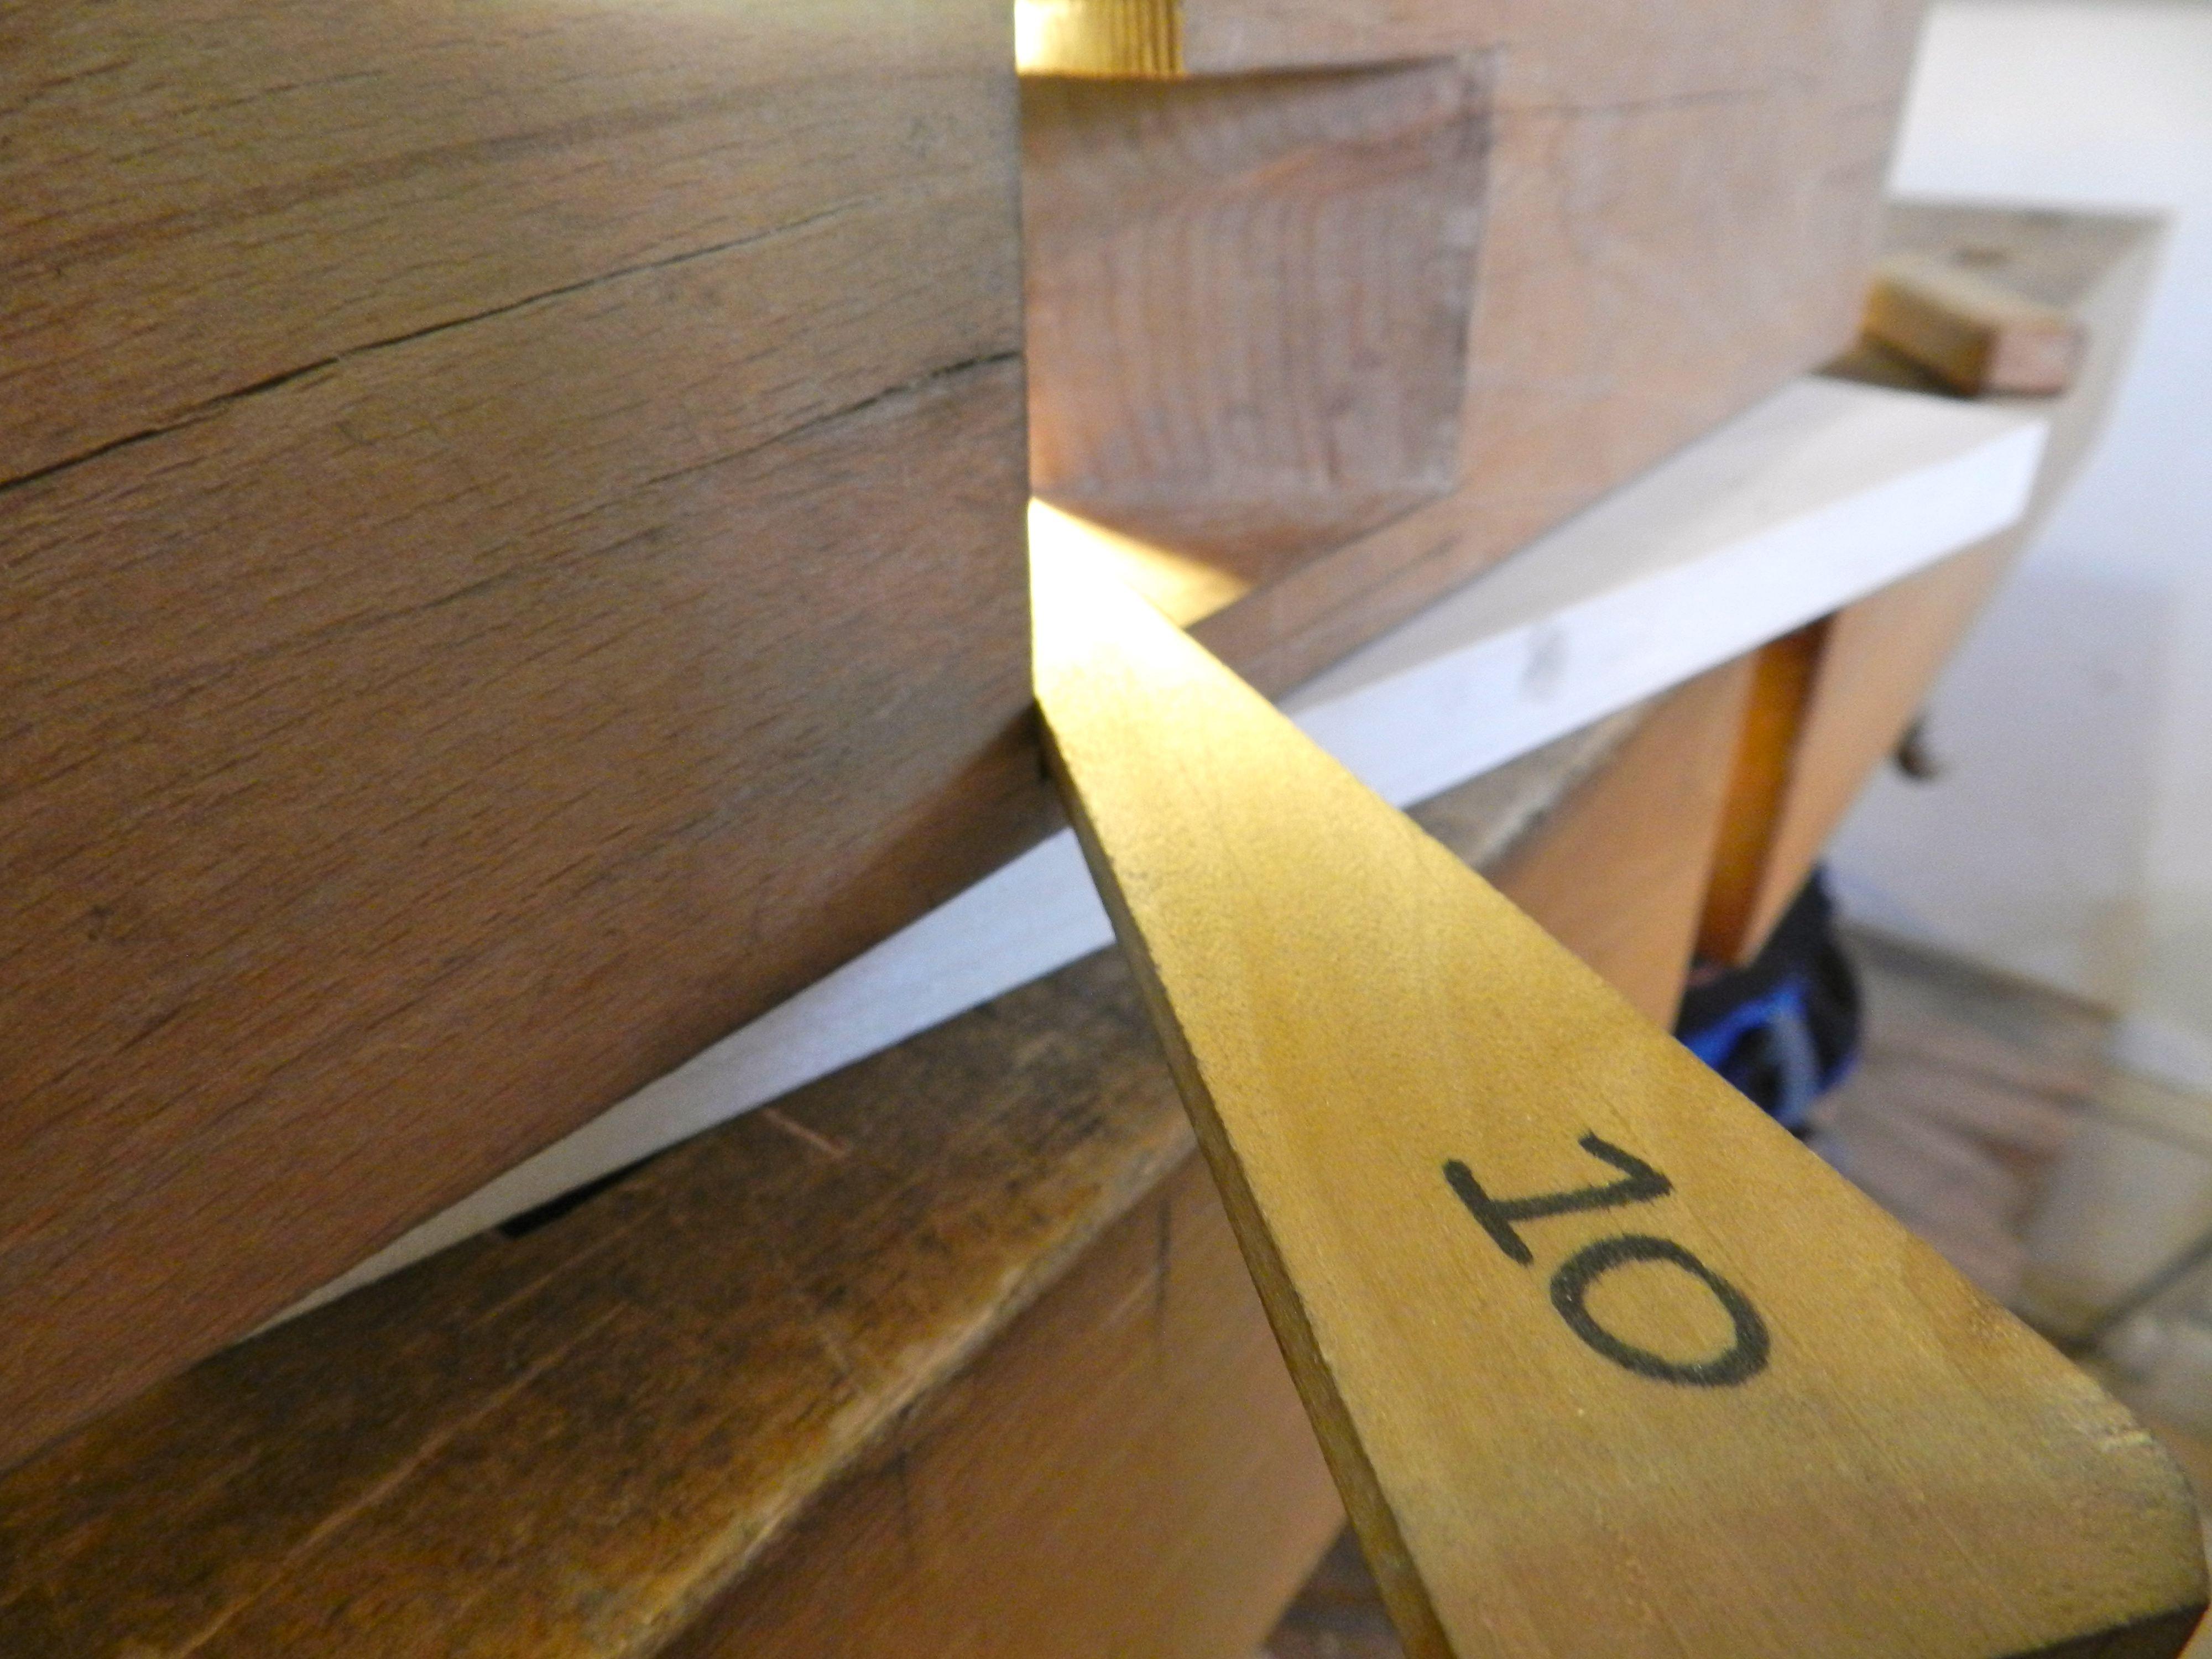
From small projects requiring a few nails…

Brooklyn Tool and Craft bags of cut nails

To larger jobs needing them in bulk…

Decorative wrought head cut nails used for wide pine flooring

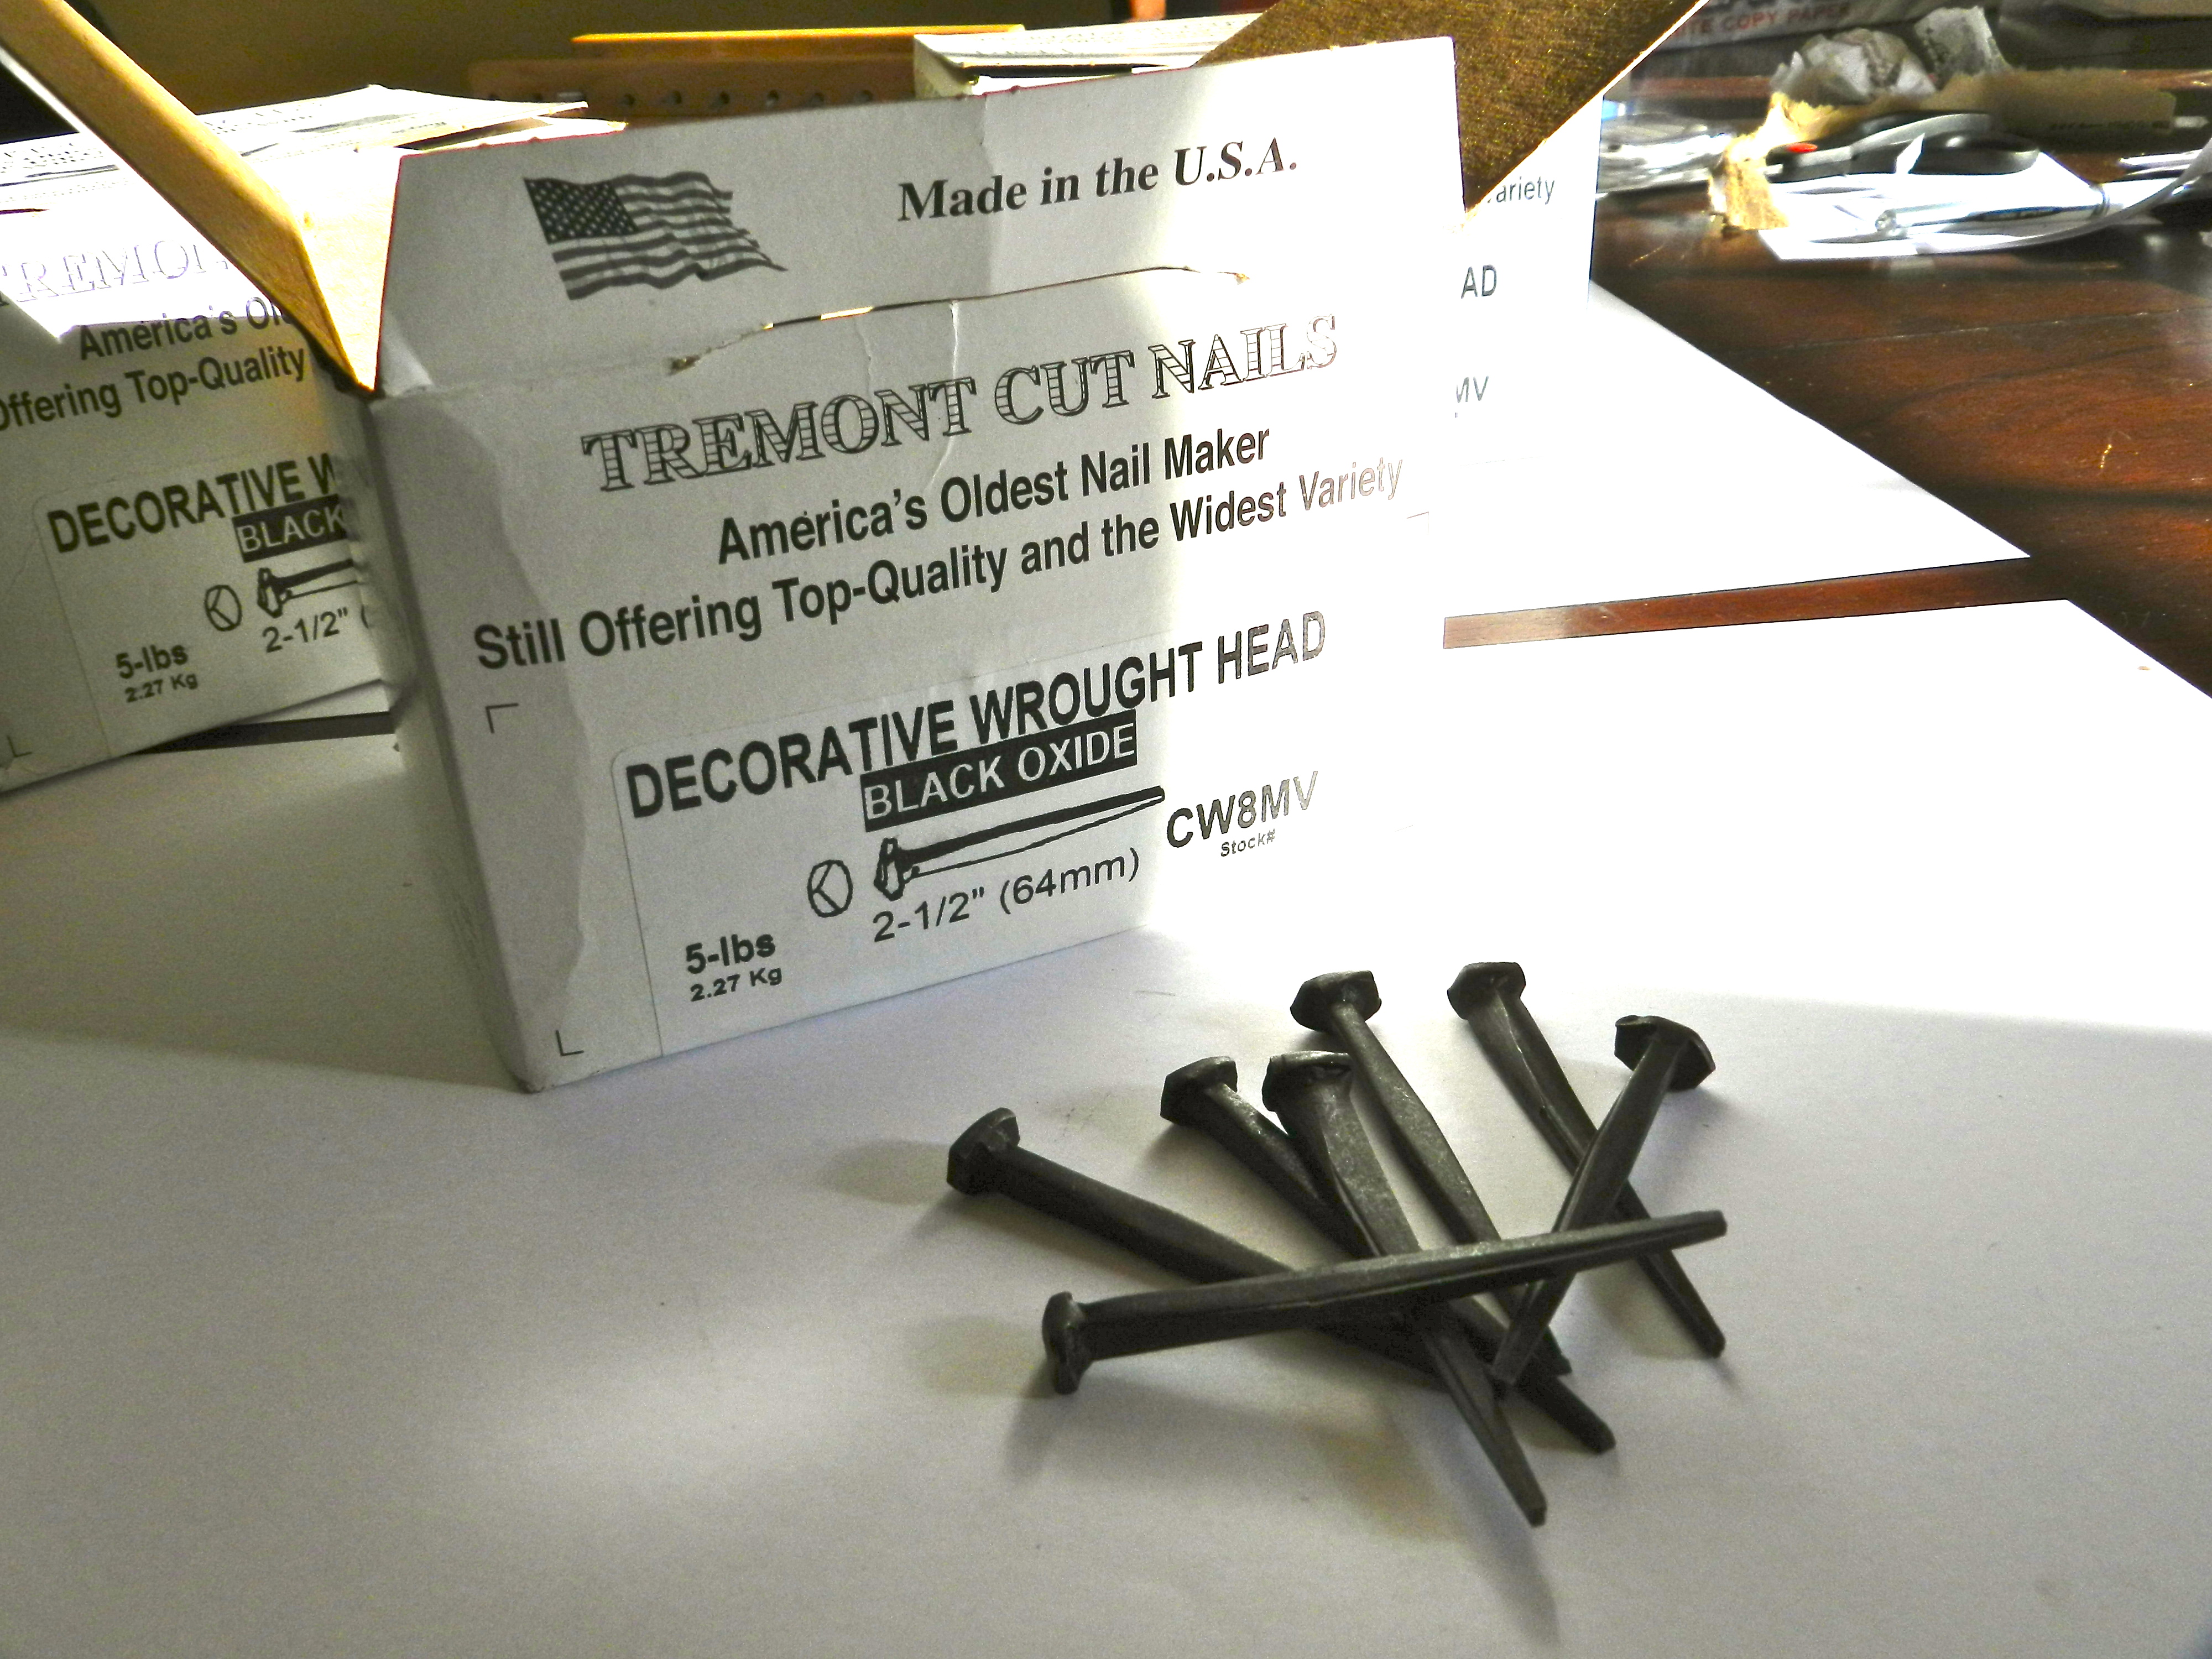
You can still get cut nails, even galvanized steel cut nails from Tremont, the oldest remaining and most prolific cut nail maker that is still around.

Why do I want to use cut nails?

Cut nails offer several advantages over modern wire nails:

  • The chisel shape of the end of a cut nail helps to severe fibers as it is driven into the wood as opposed to wire nails that compress the wood around it
  • The wedge shaped profile and sharp edges that result from how the nail is made help the nail hold better when compared to wire nails
  • The distinctive square head, or decorative wrought head can be quite pleasing to the eye on new and old projects
  • Cut nails with the wrought head can be a cost effective alternative to blacksmith wrought nails for larger or less historic projects
  • Cut clinch nails can be clinched (bent over onto itself) which makes them a very effective fastener much like a large staple
  • For preservation or reproduction work it is important to get the small details right — including use of the correct period appropriate fasteners
Tremont Nail Display Board

All that sounds well and good, but is it worth the extra time and expense to track down these sometimes hard to find nails?

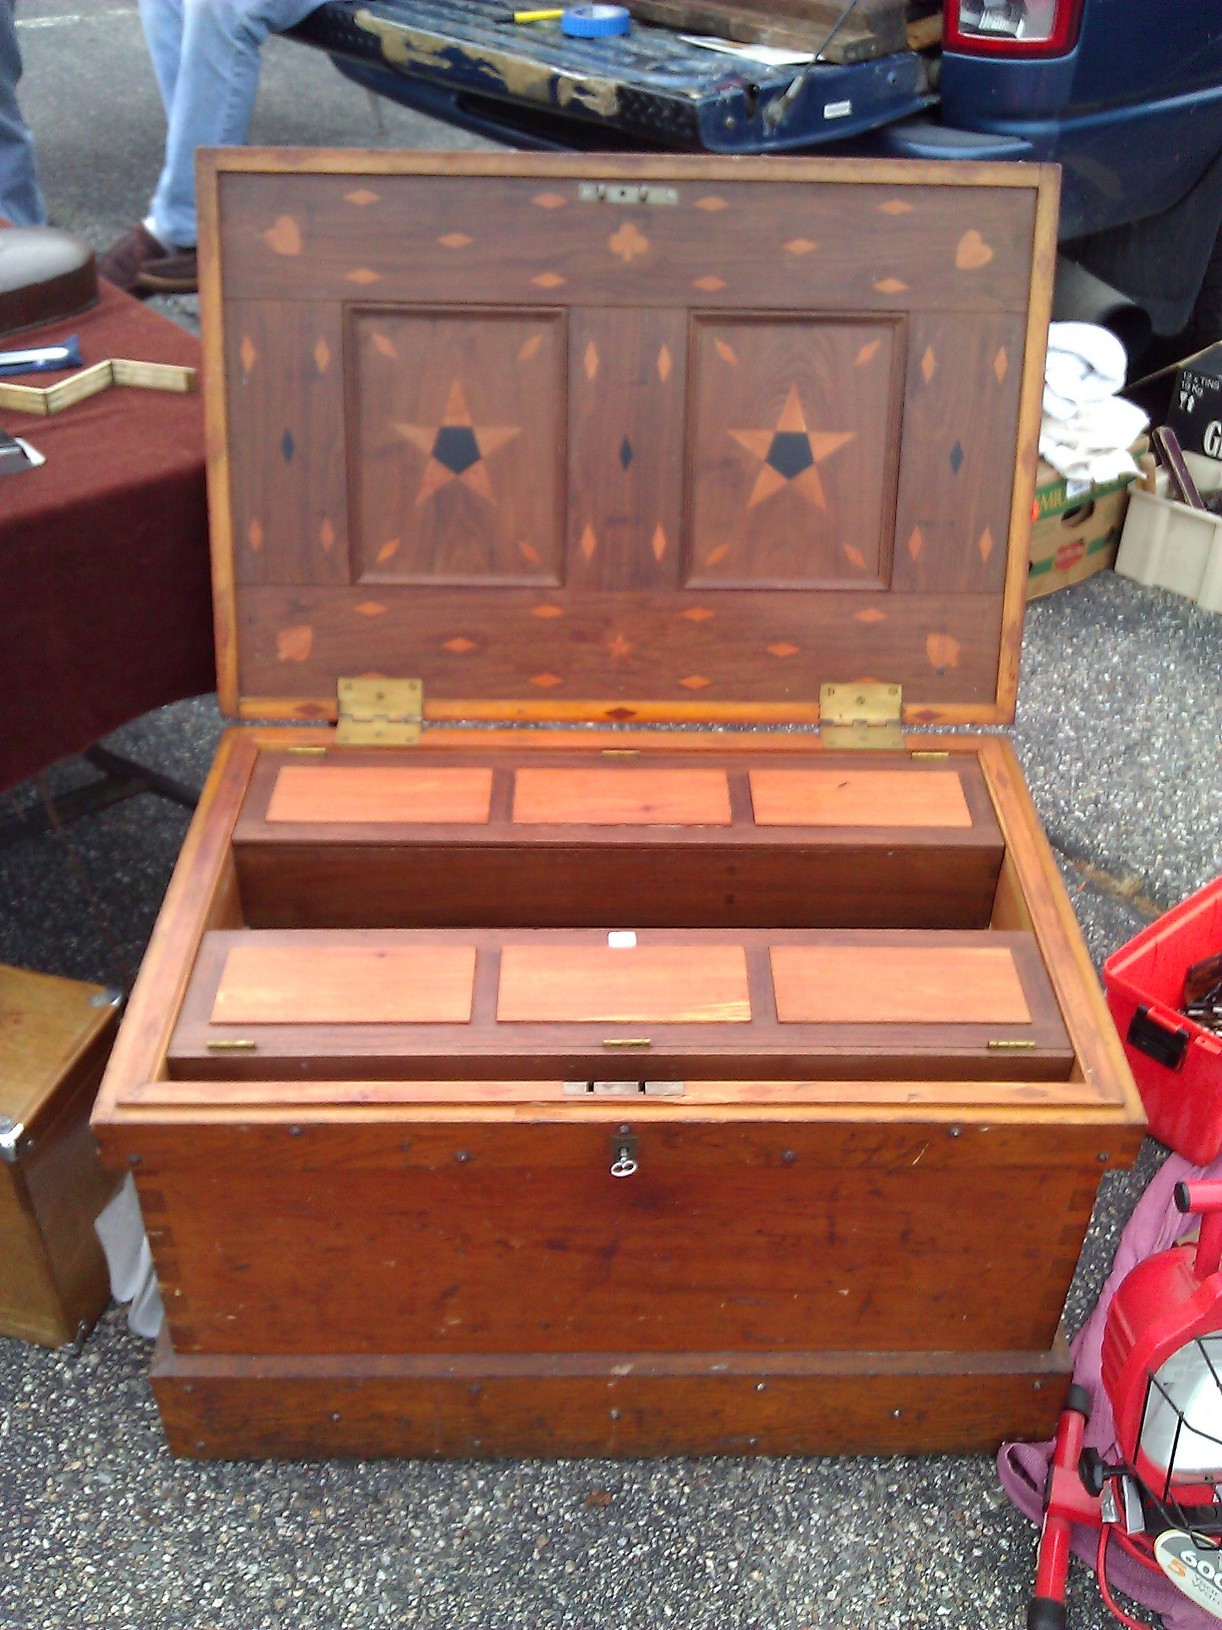
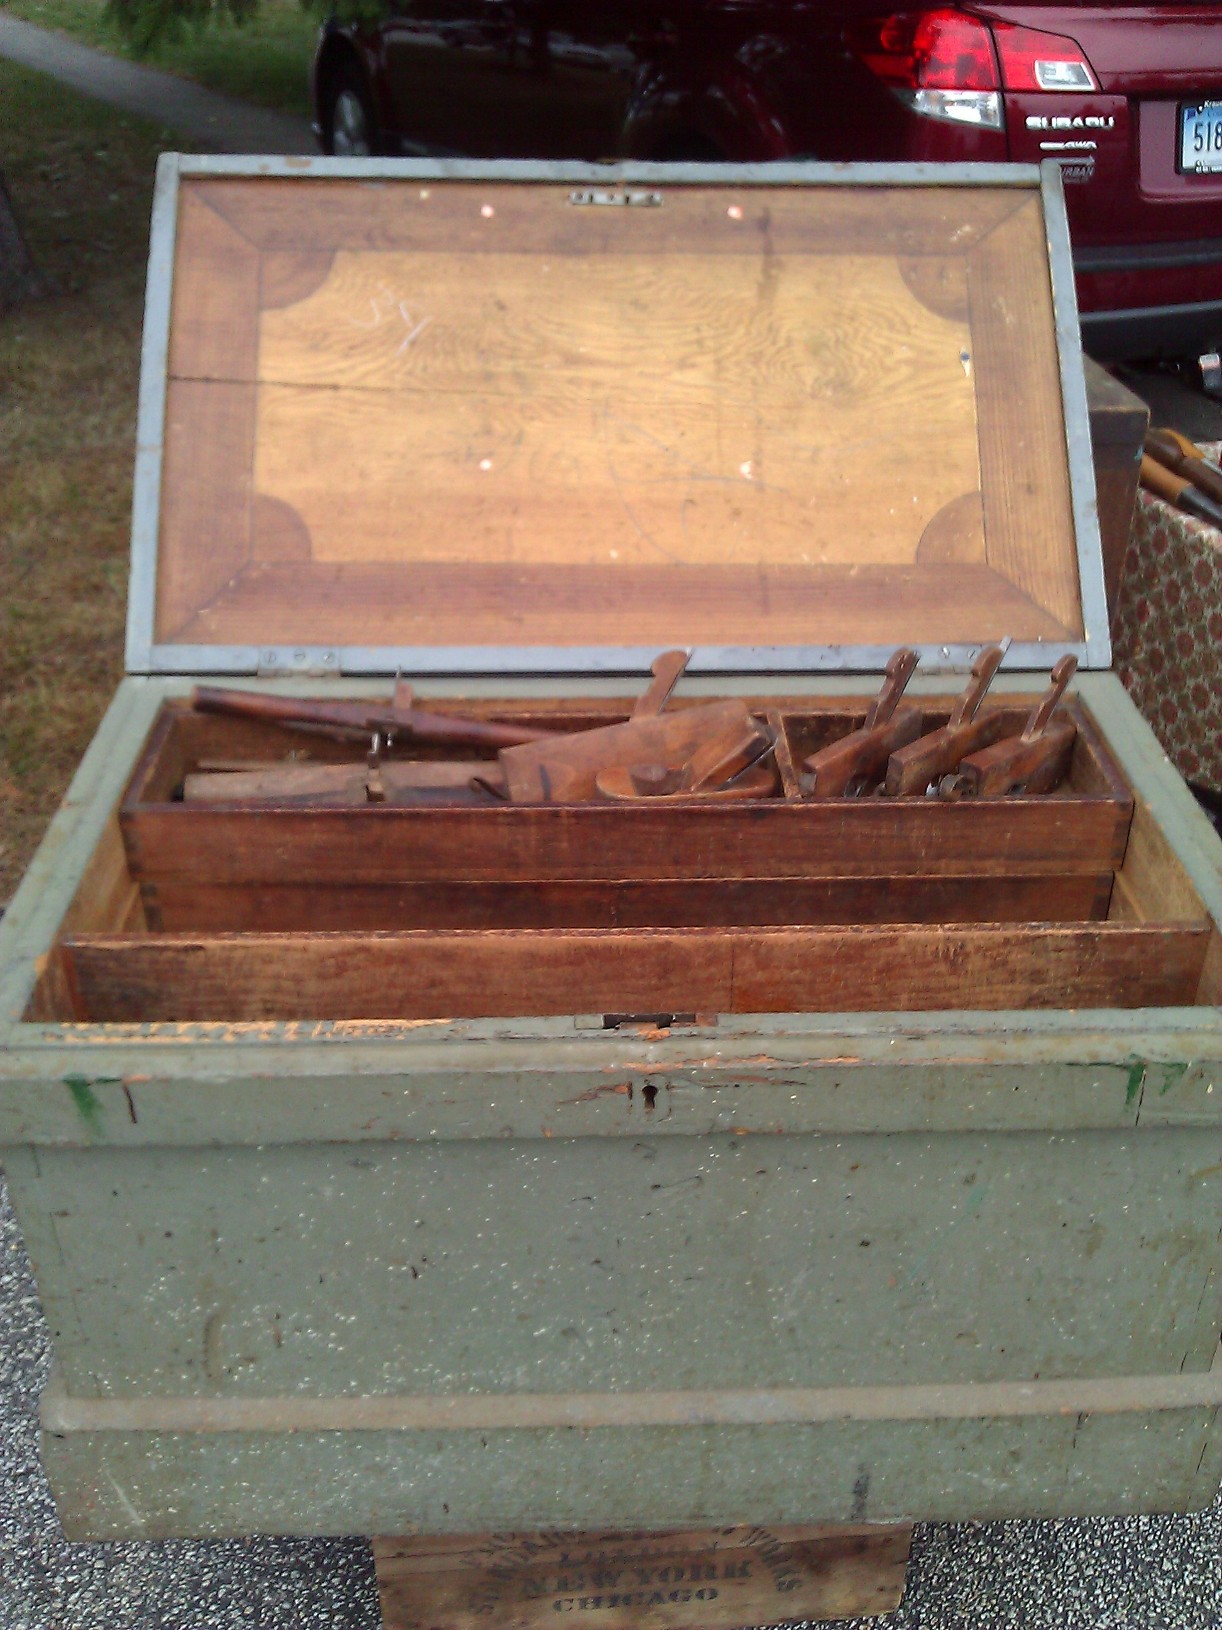
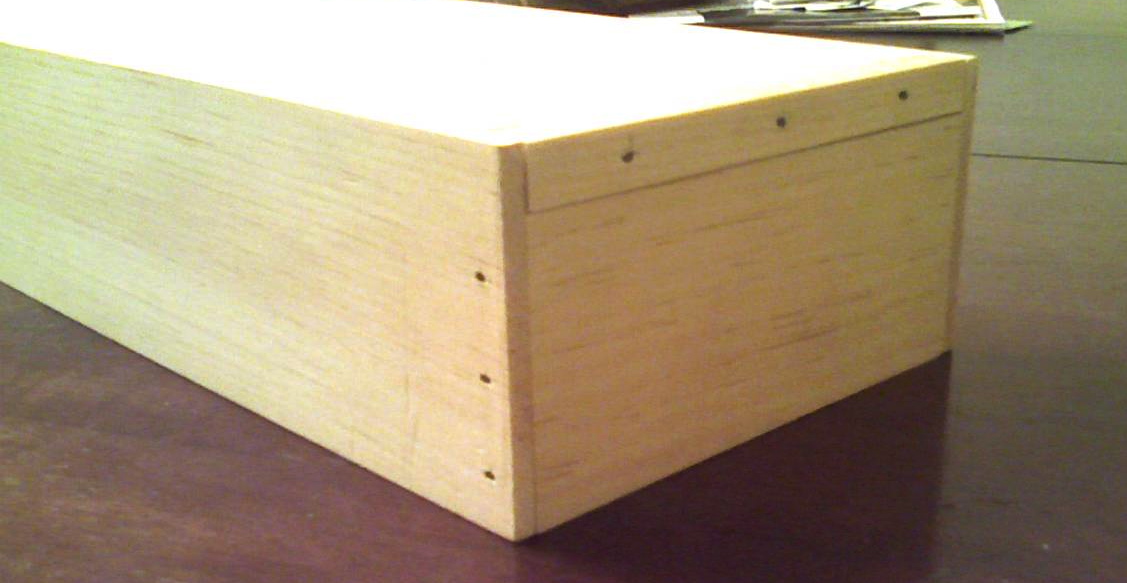
I’d say it’s hard to argue with good results, so let’s take a look at some common uses for cut nails. From simple traditional boxes and drawers…

Chisel box with cut nails

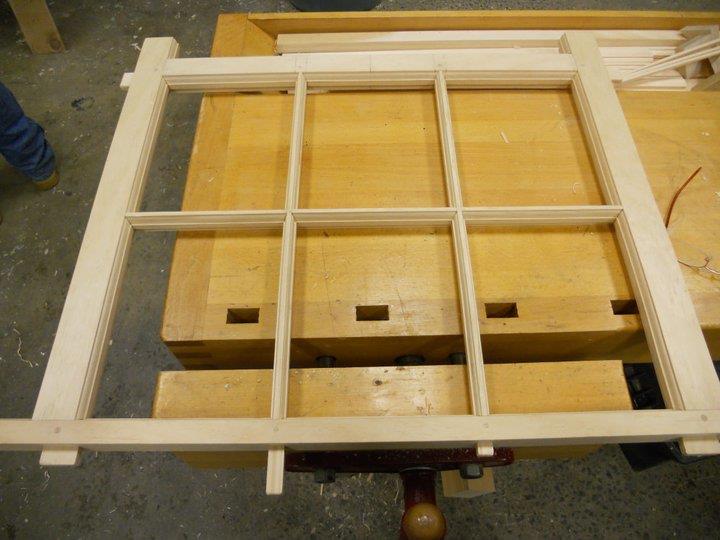
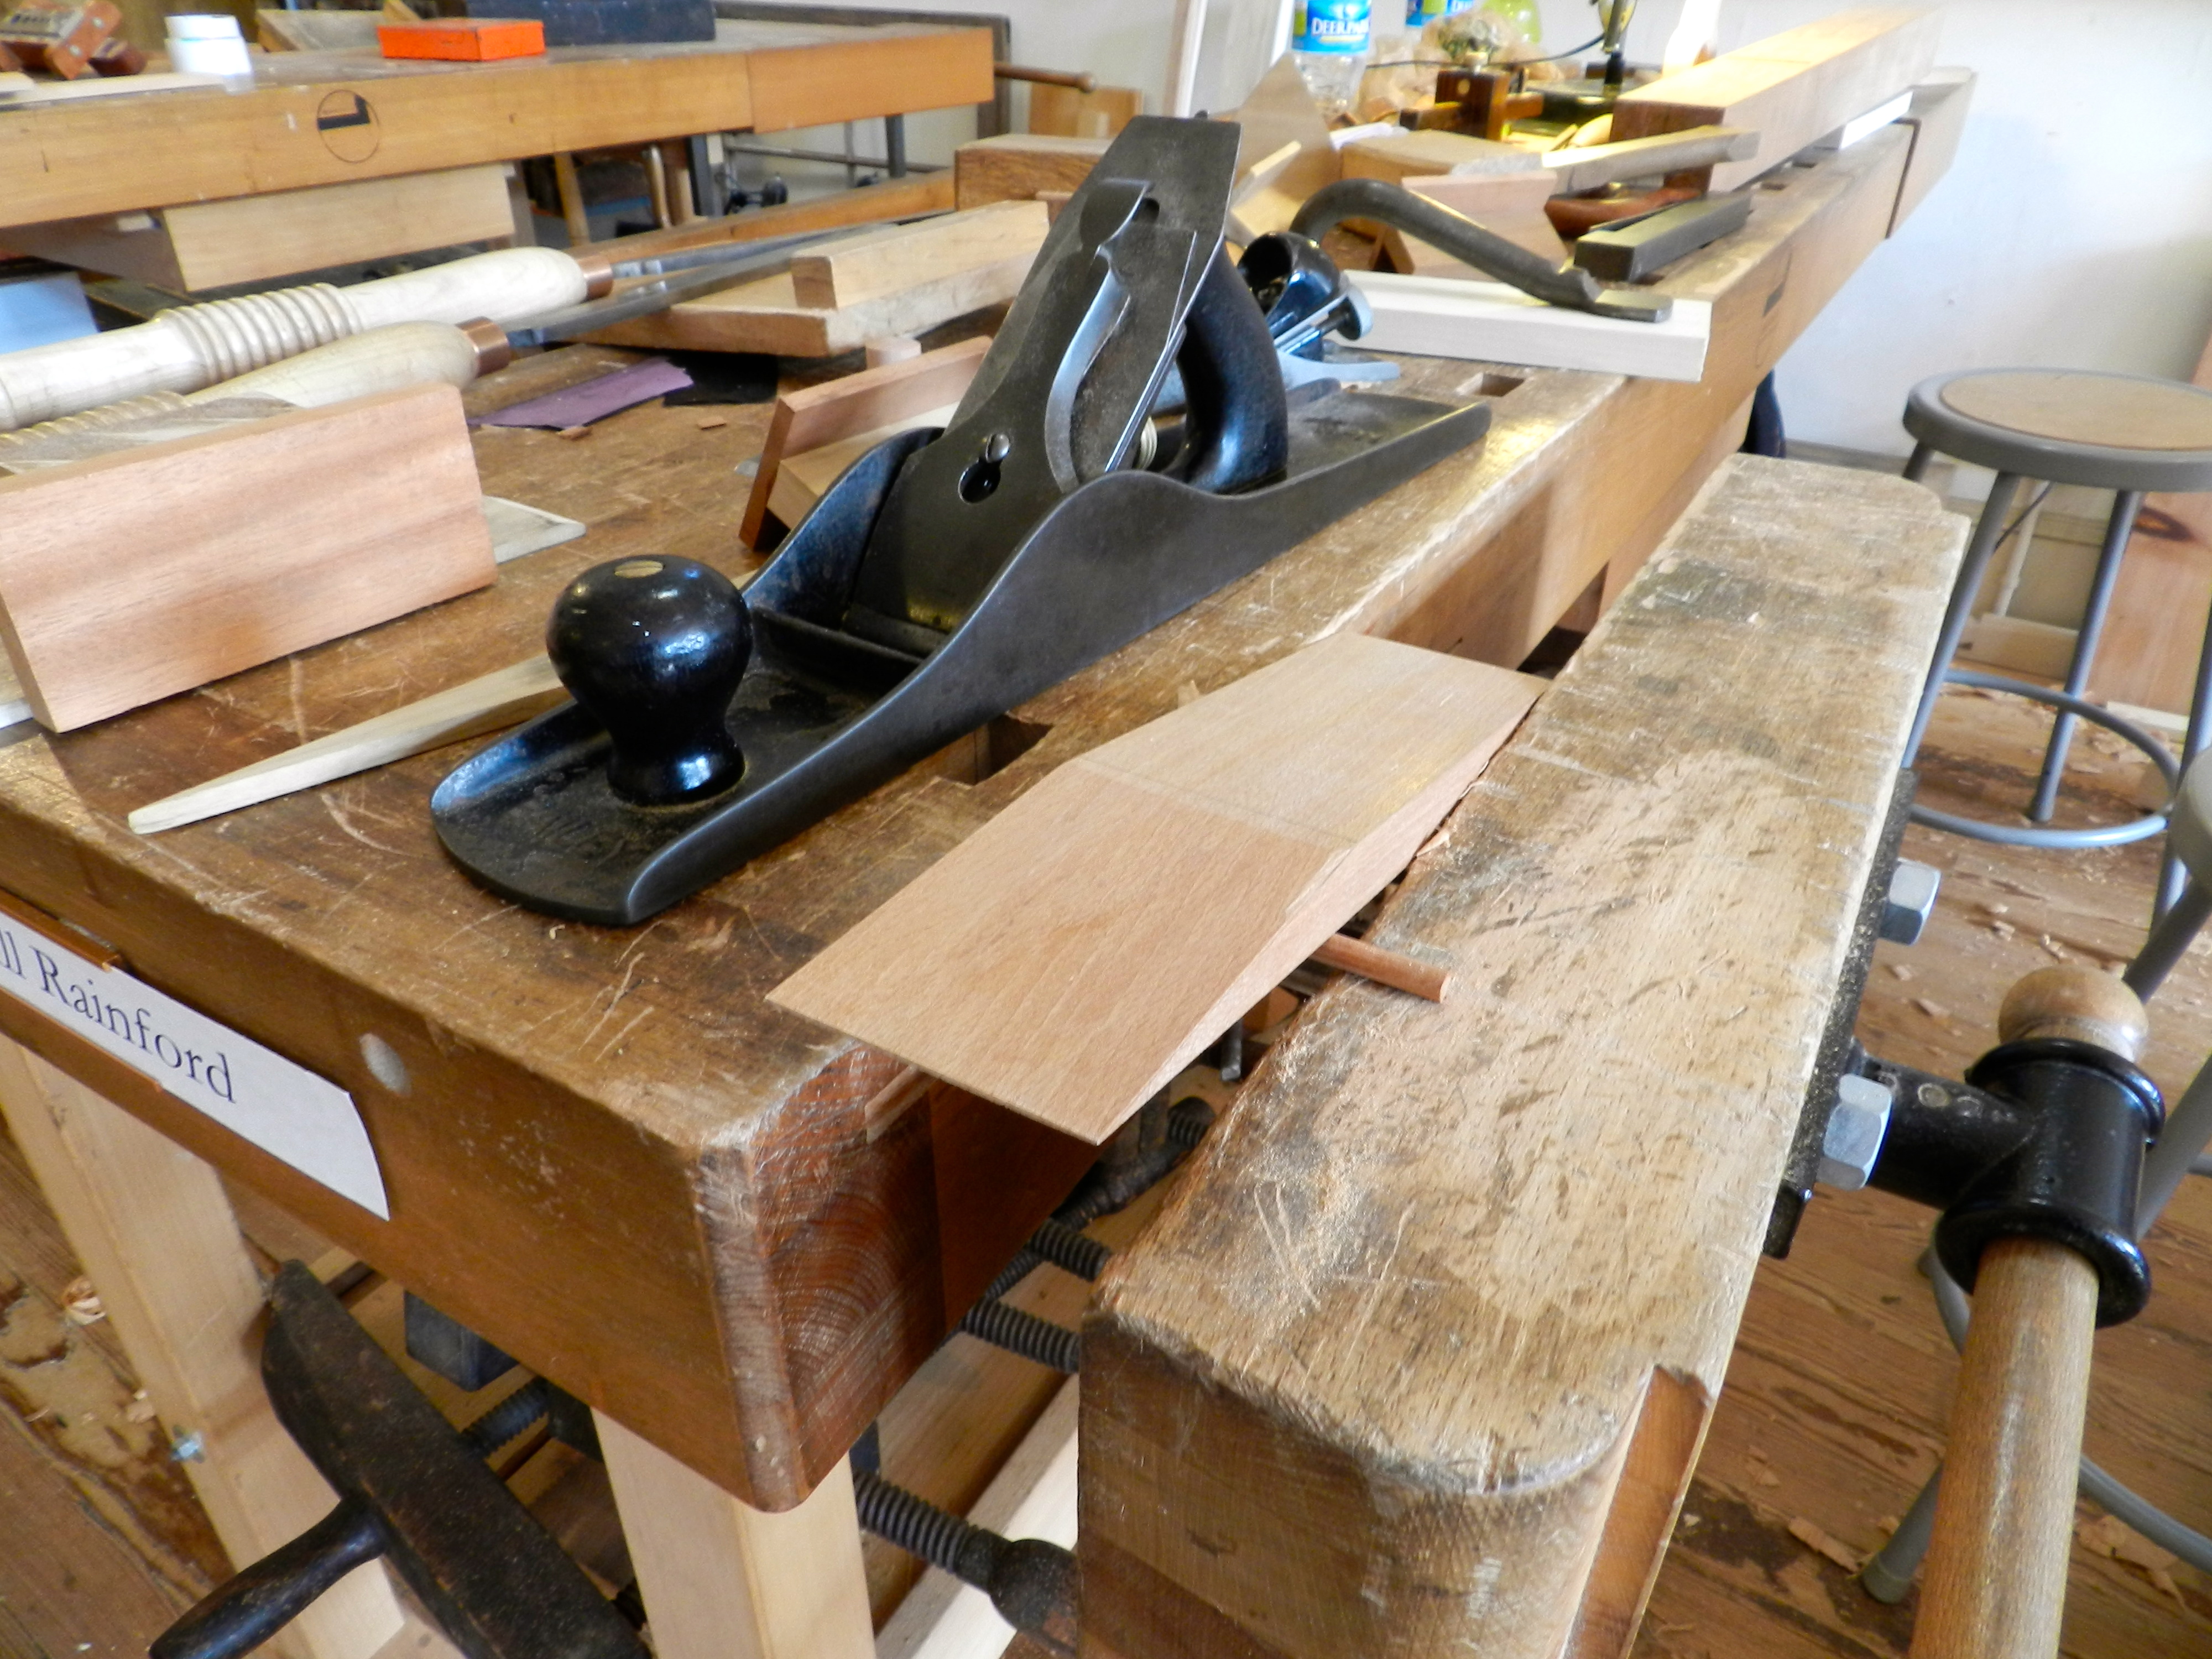
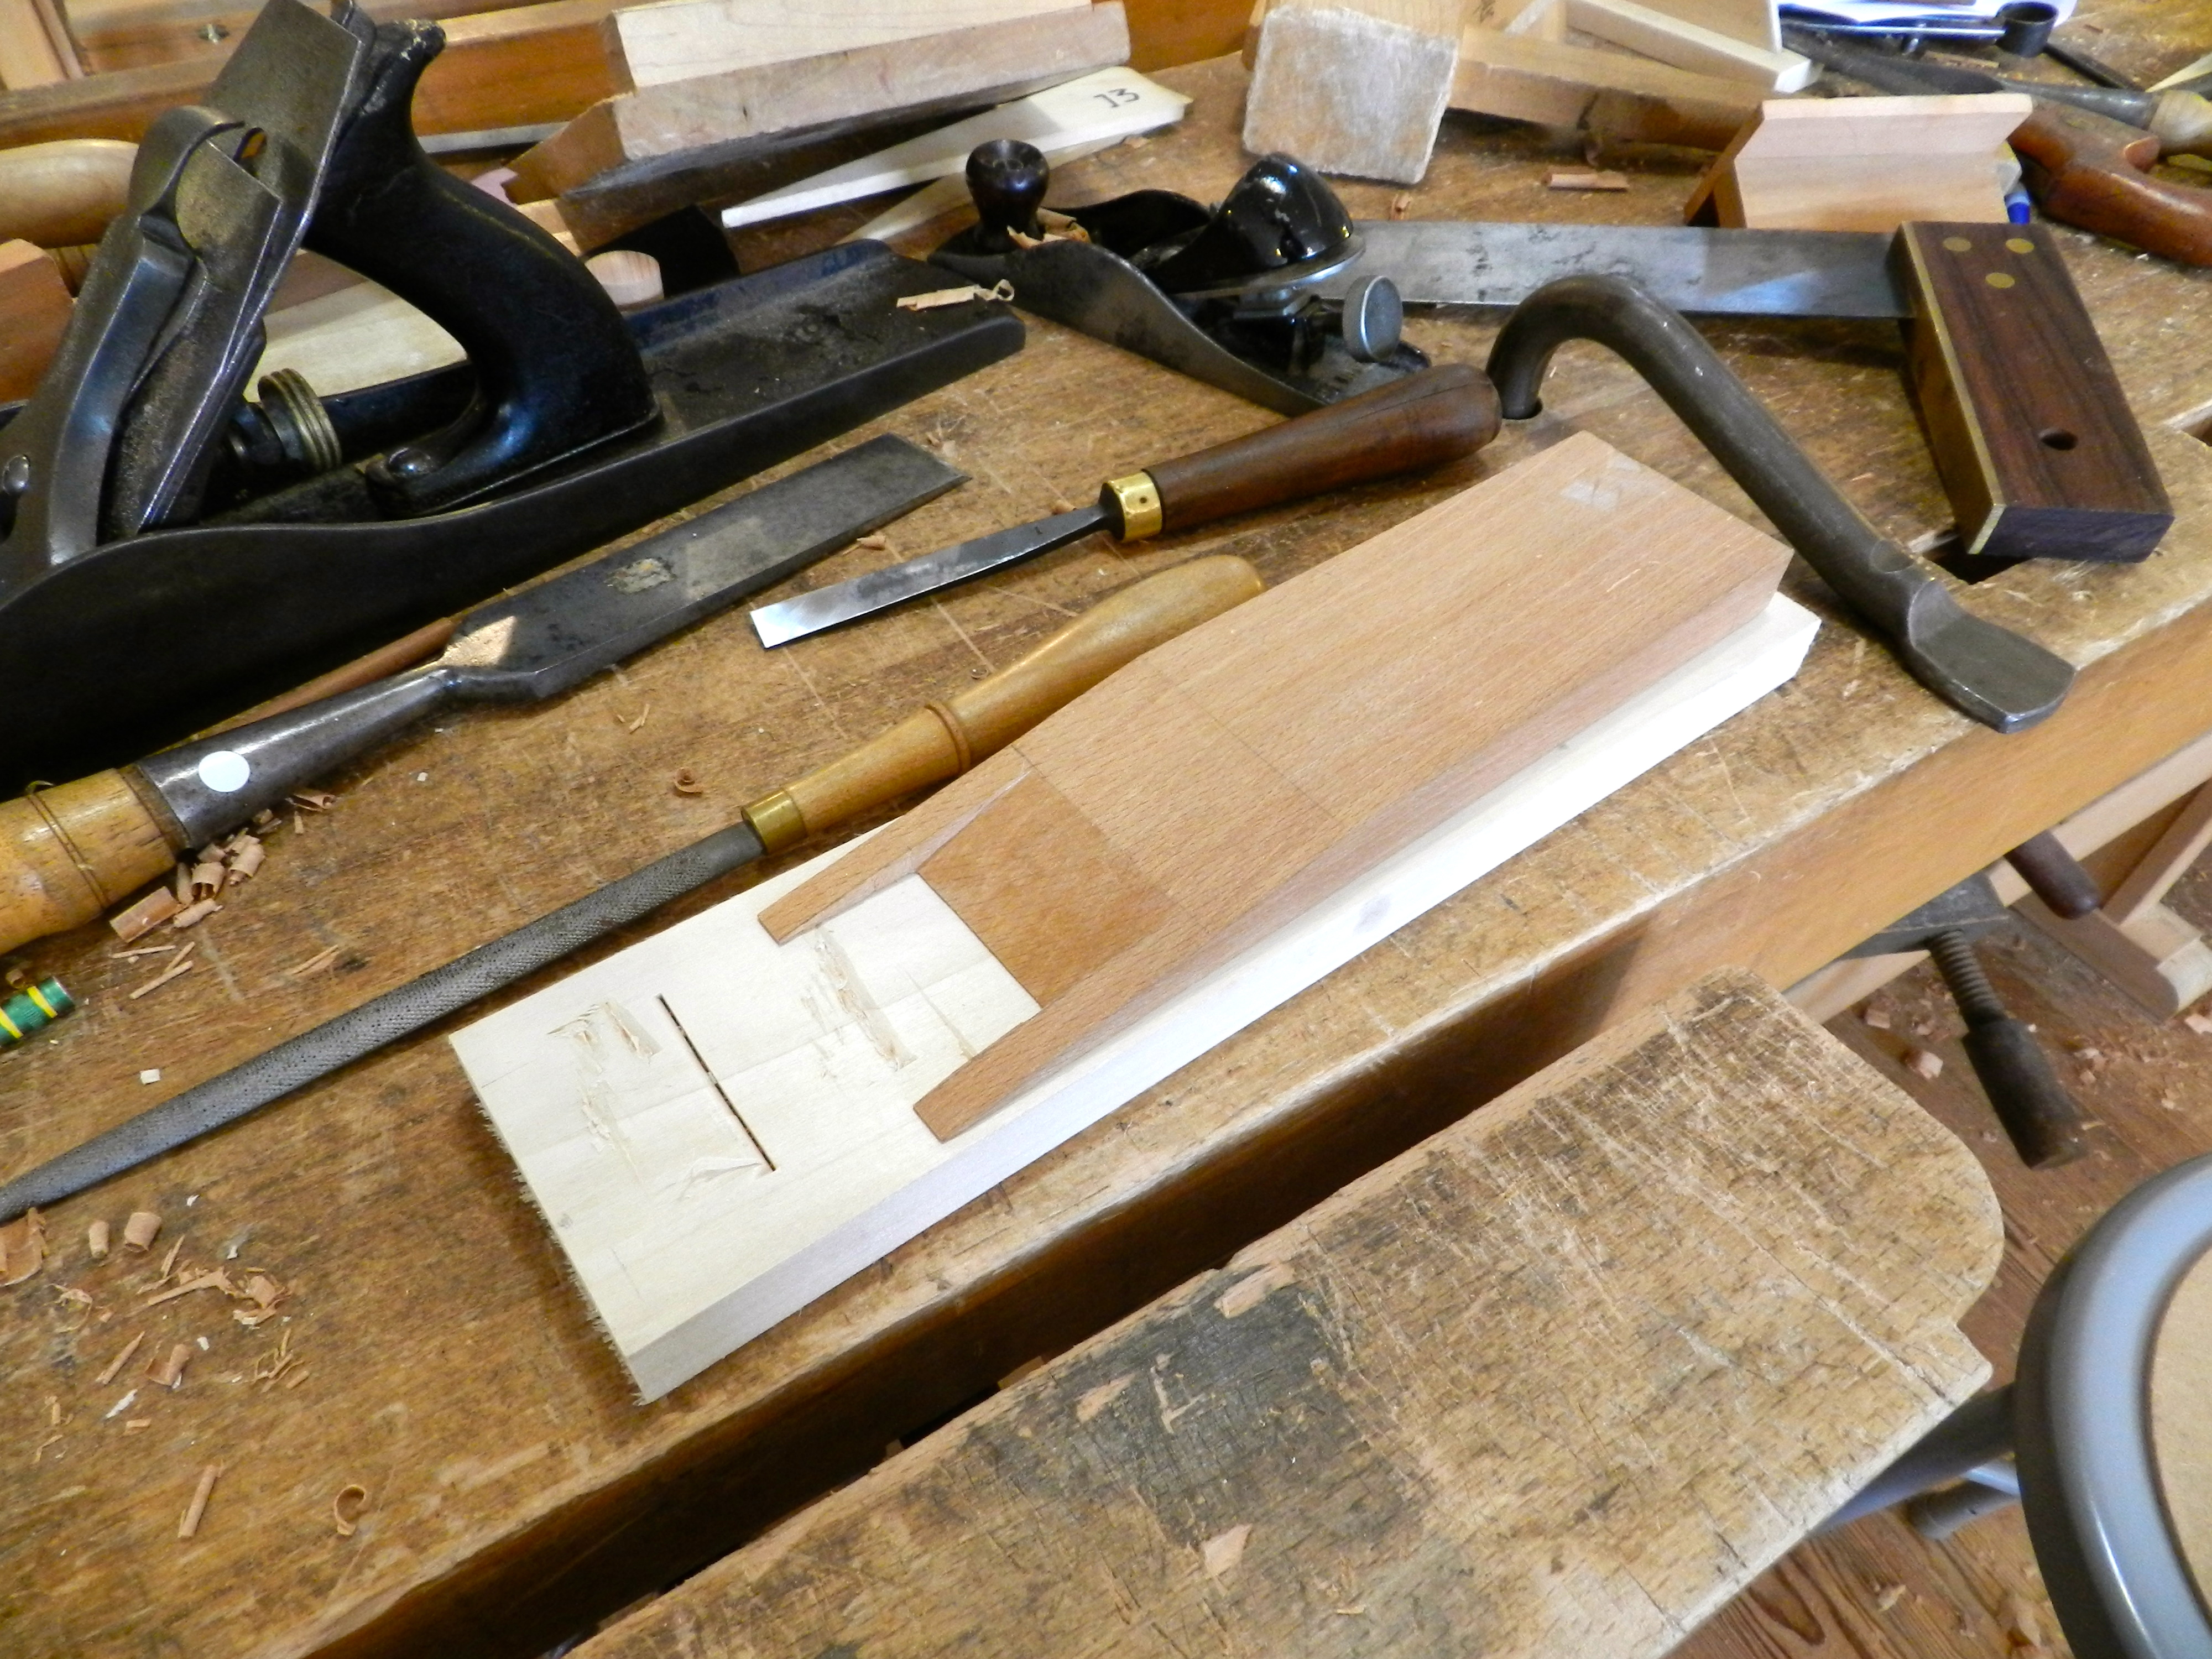
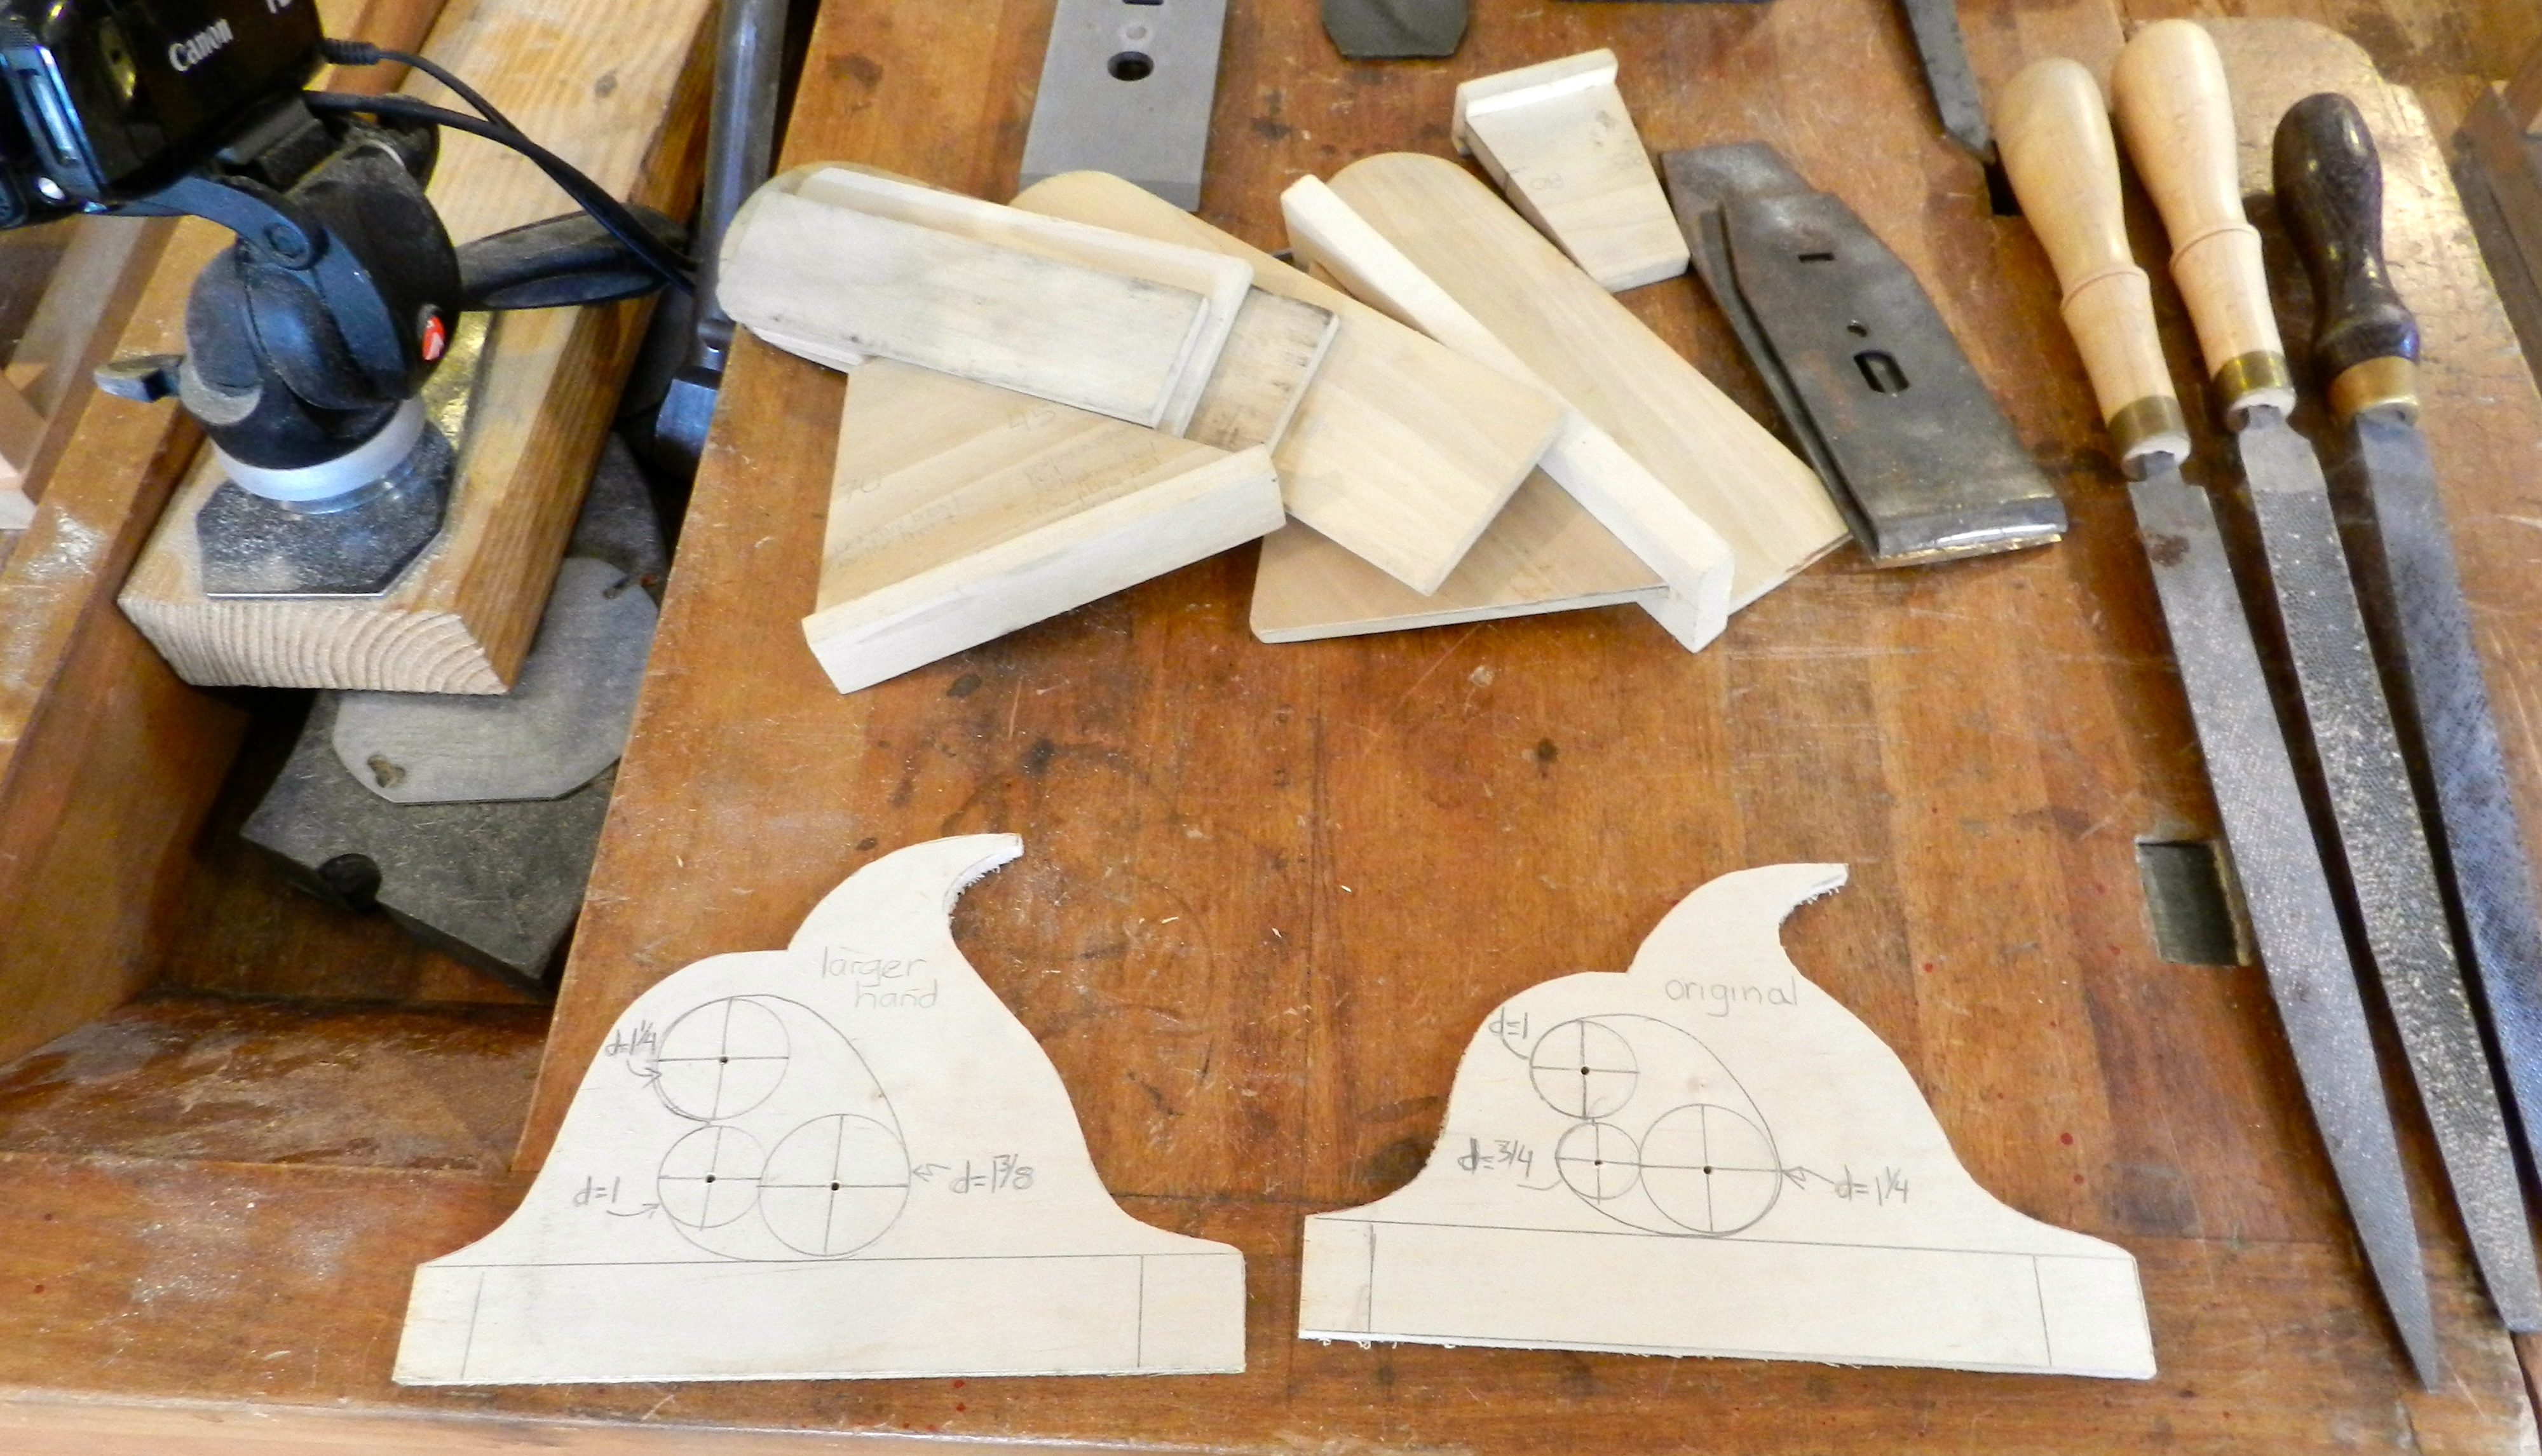
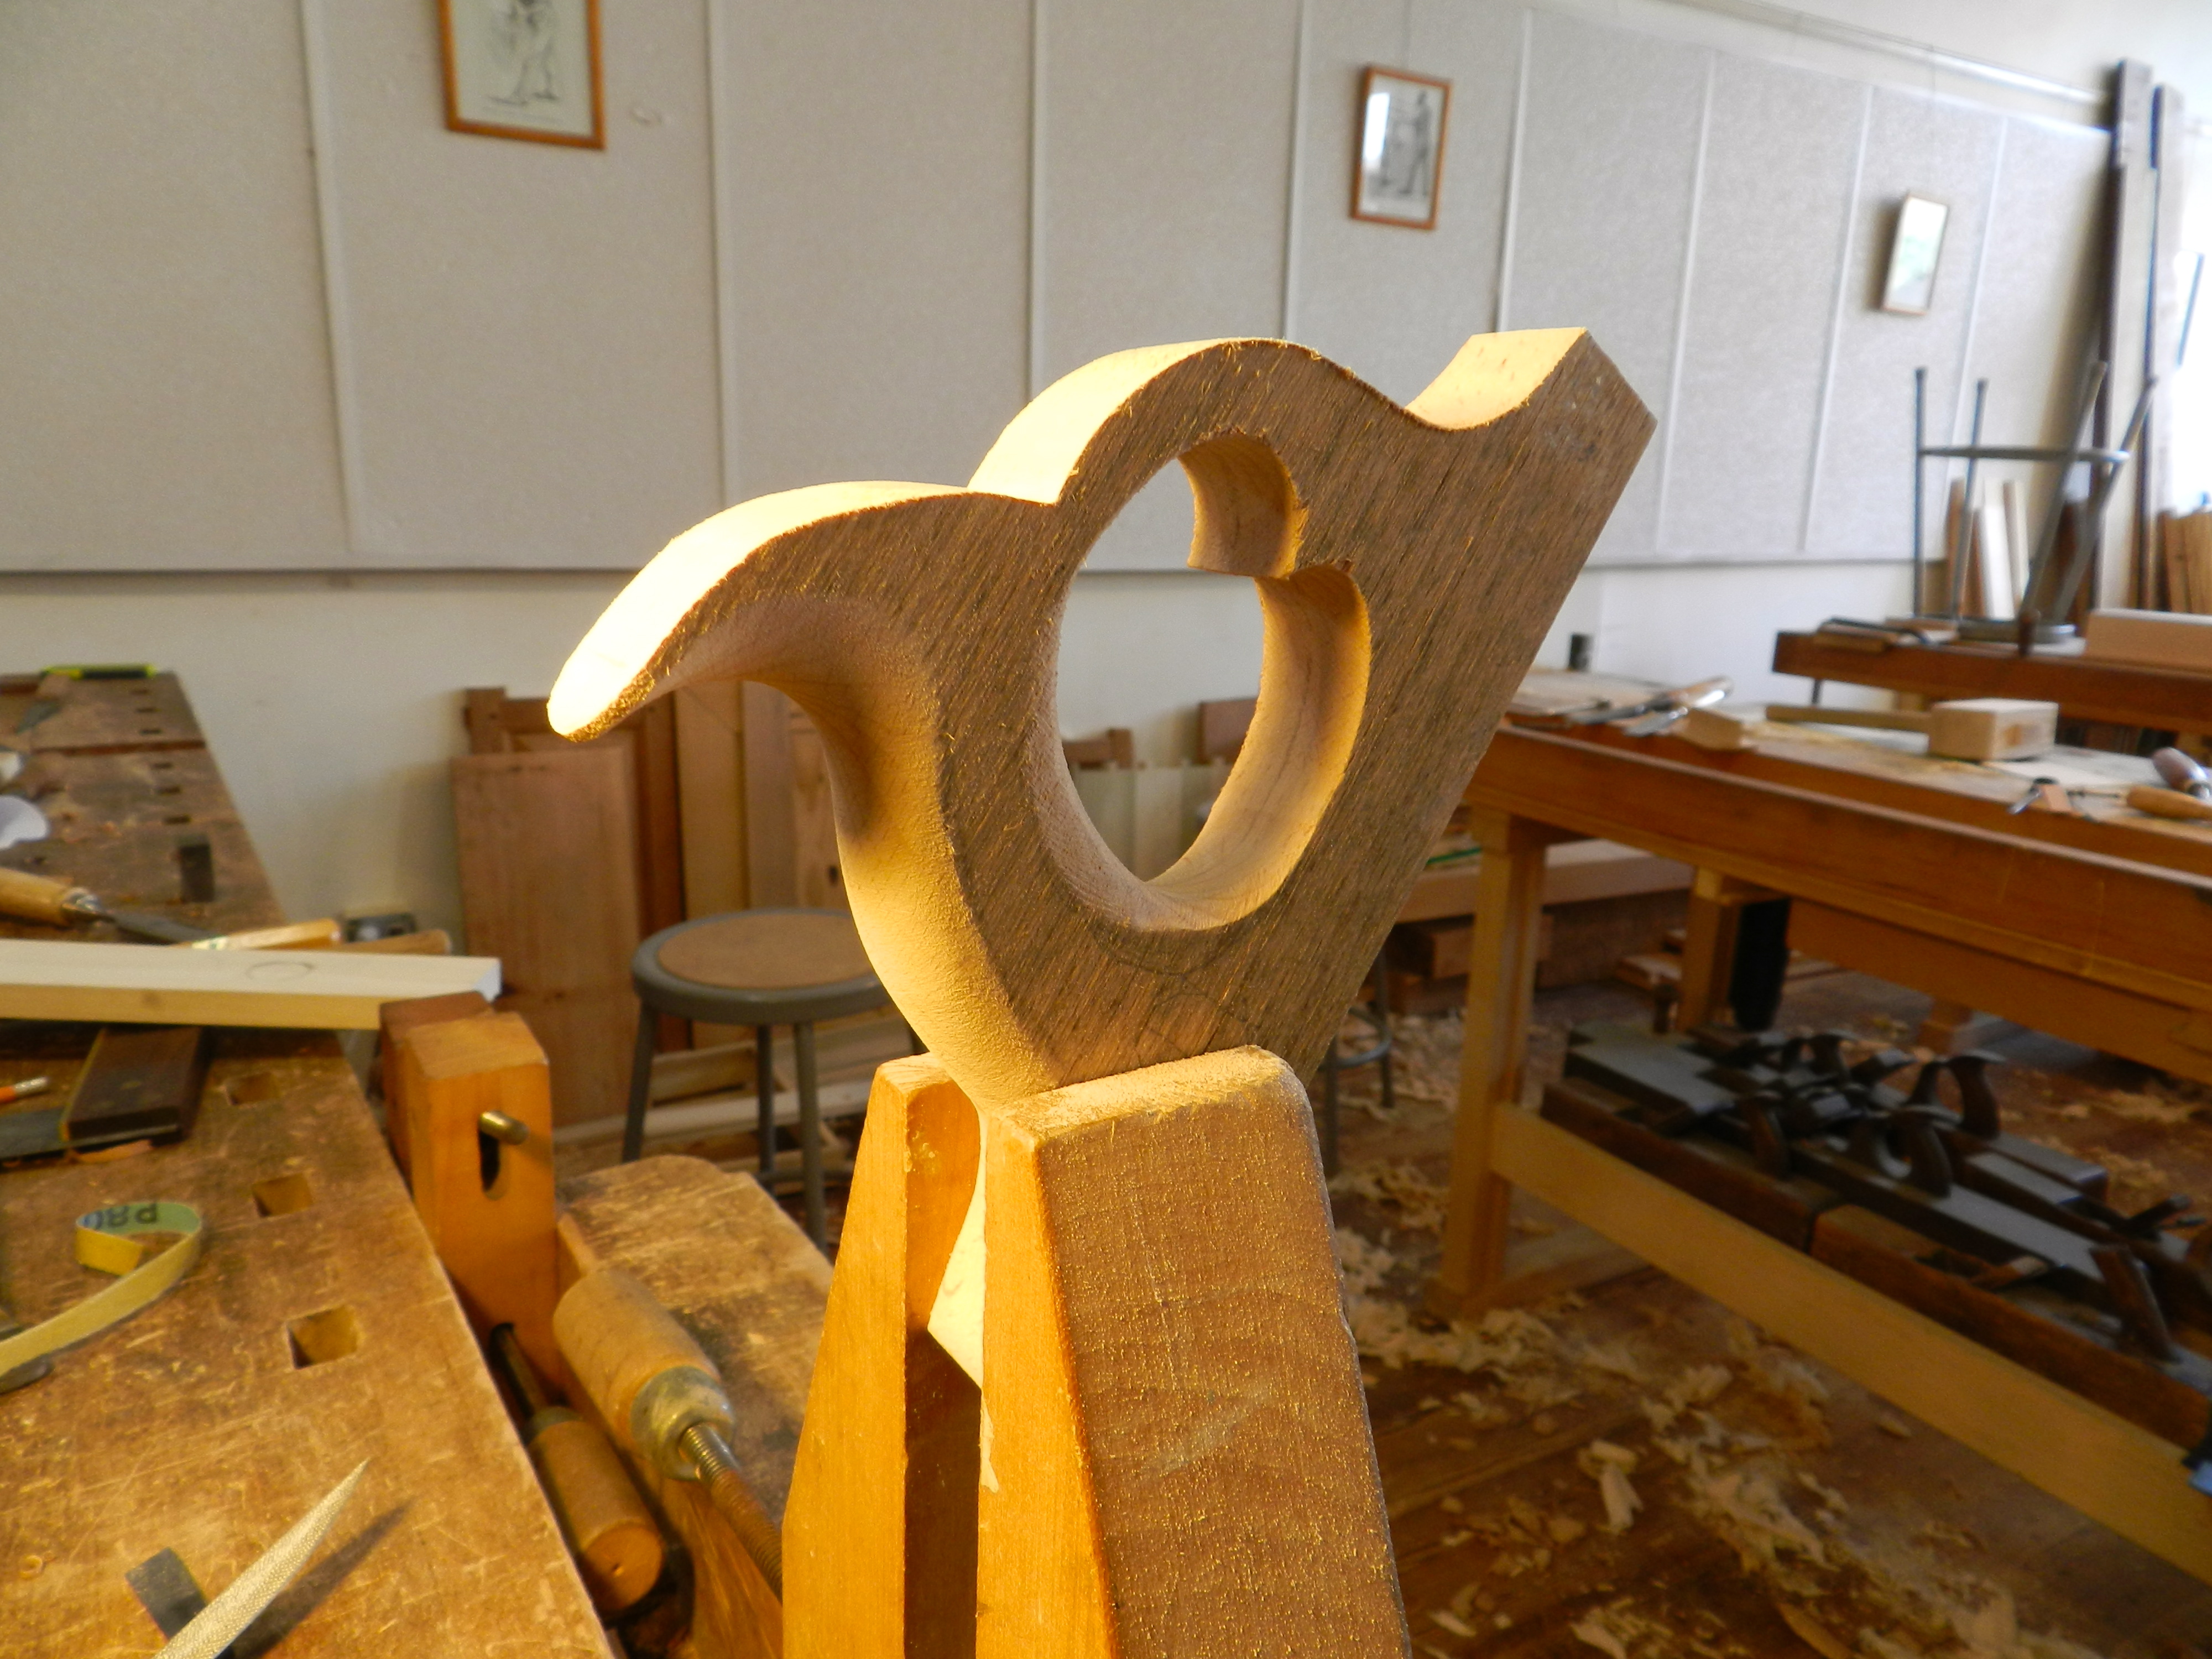
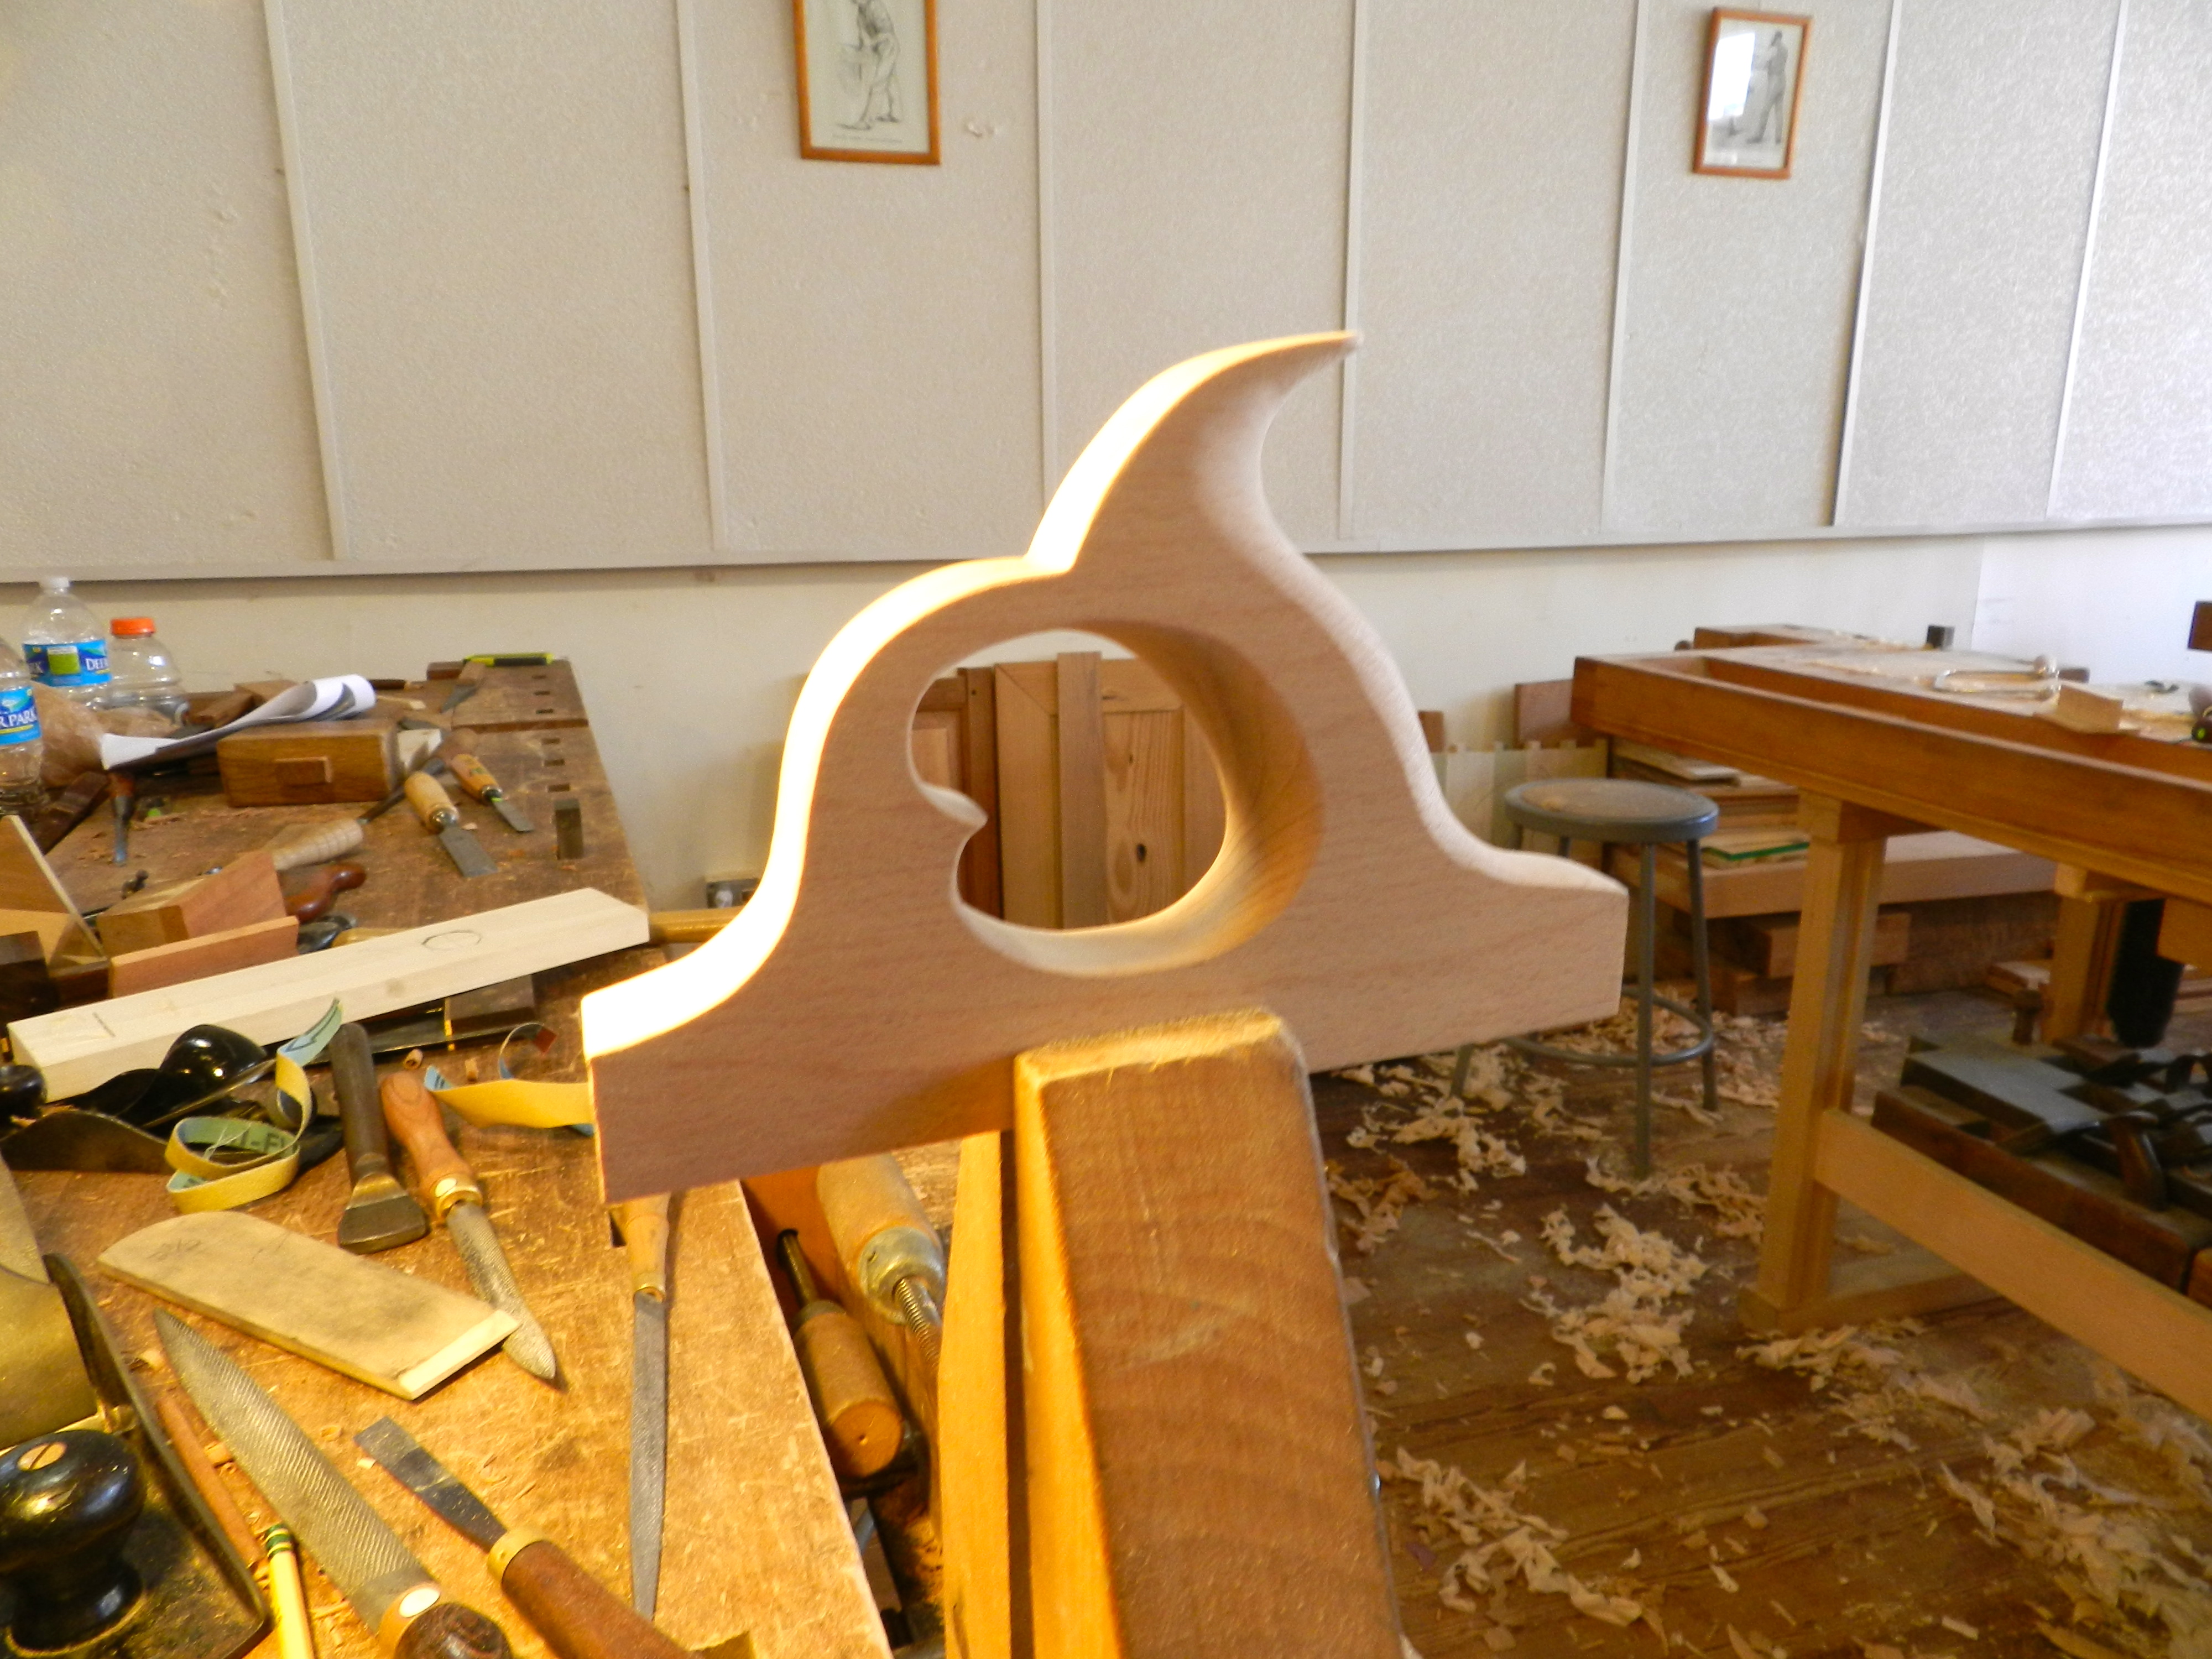
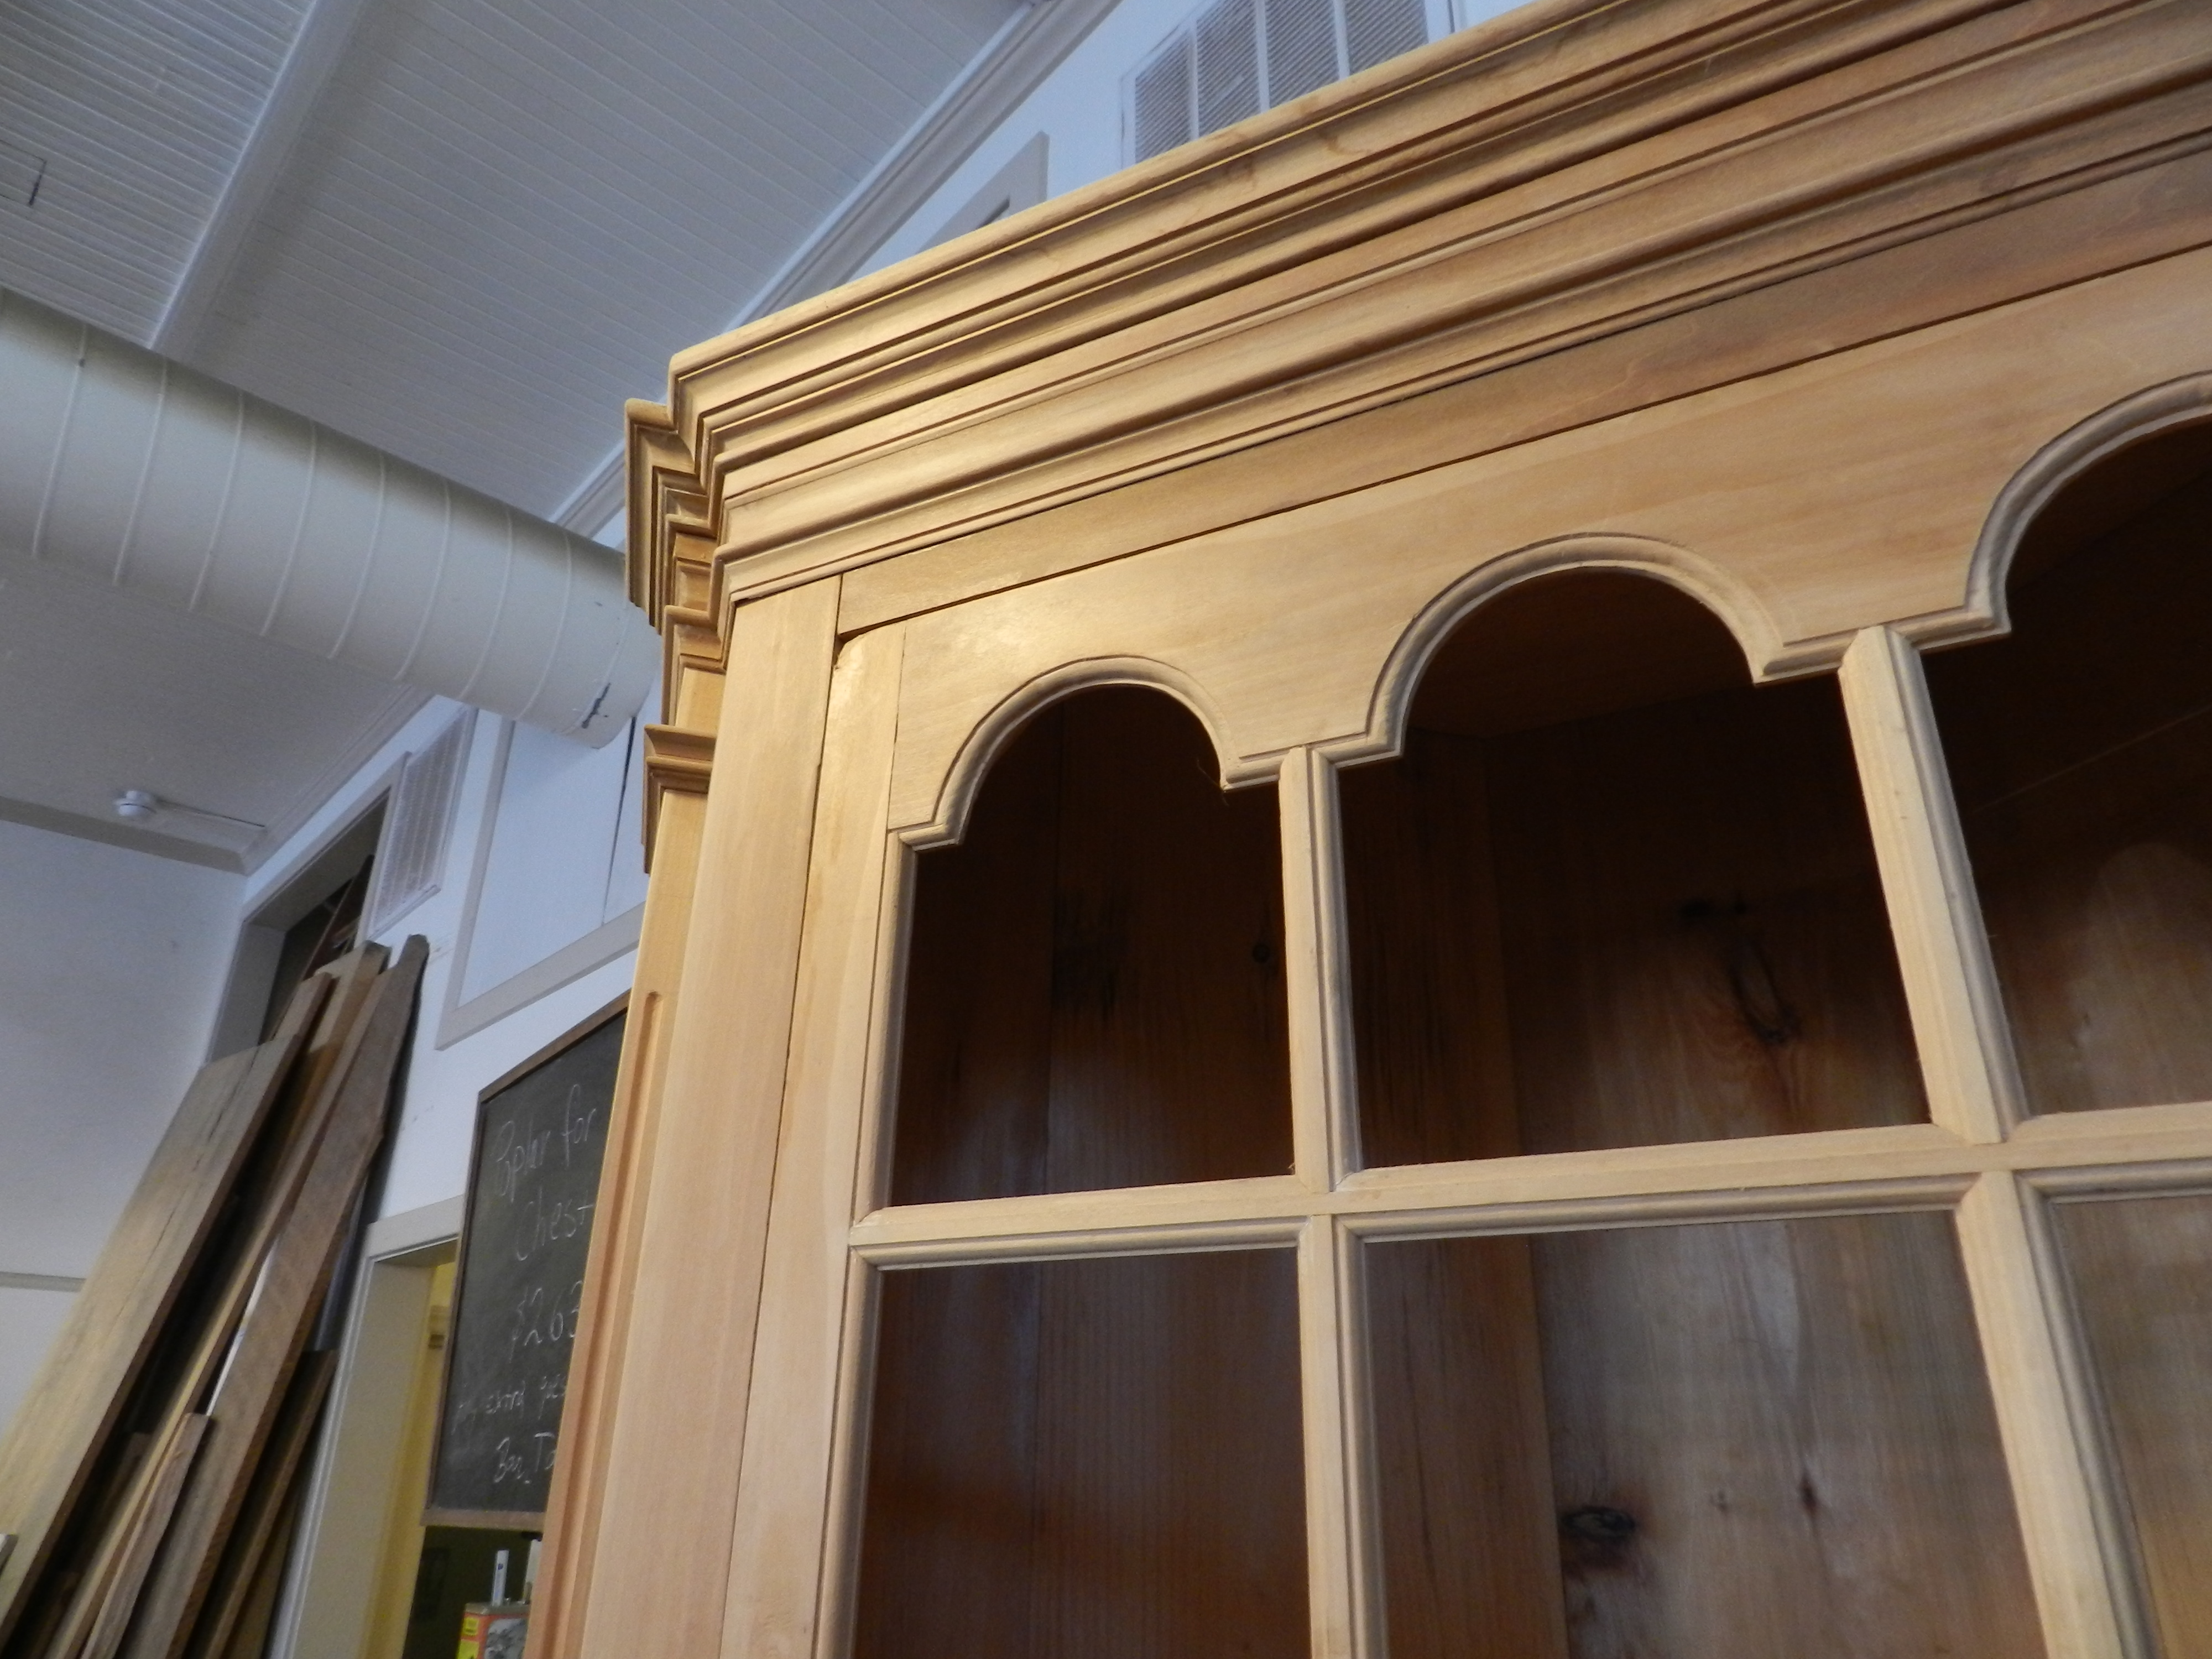
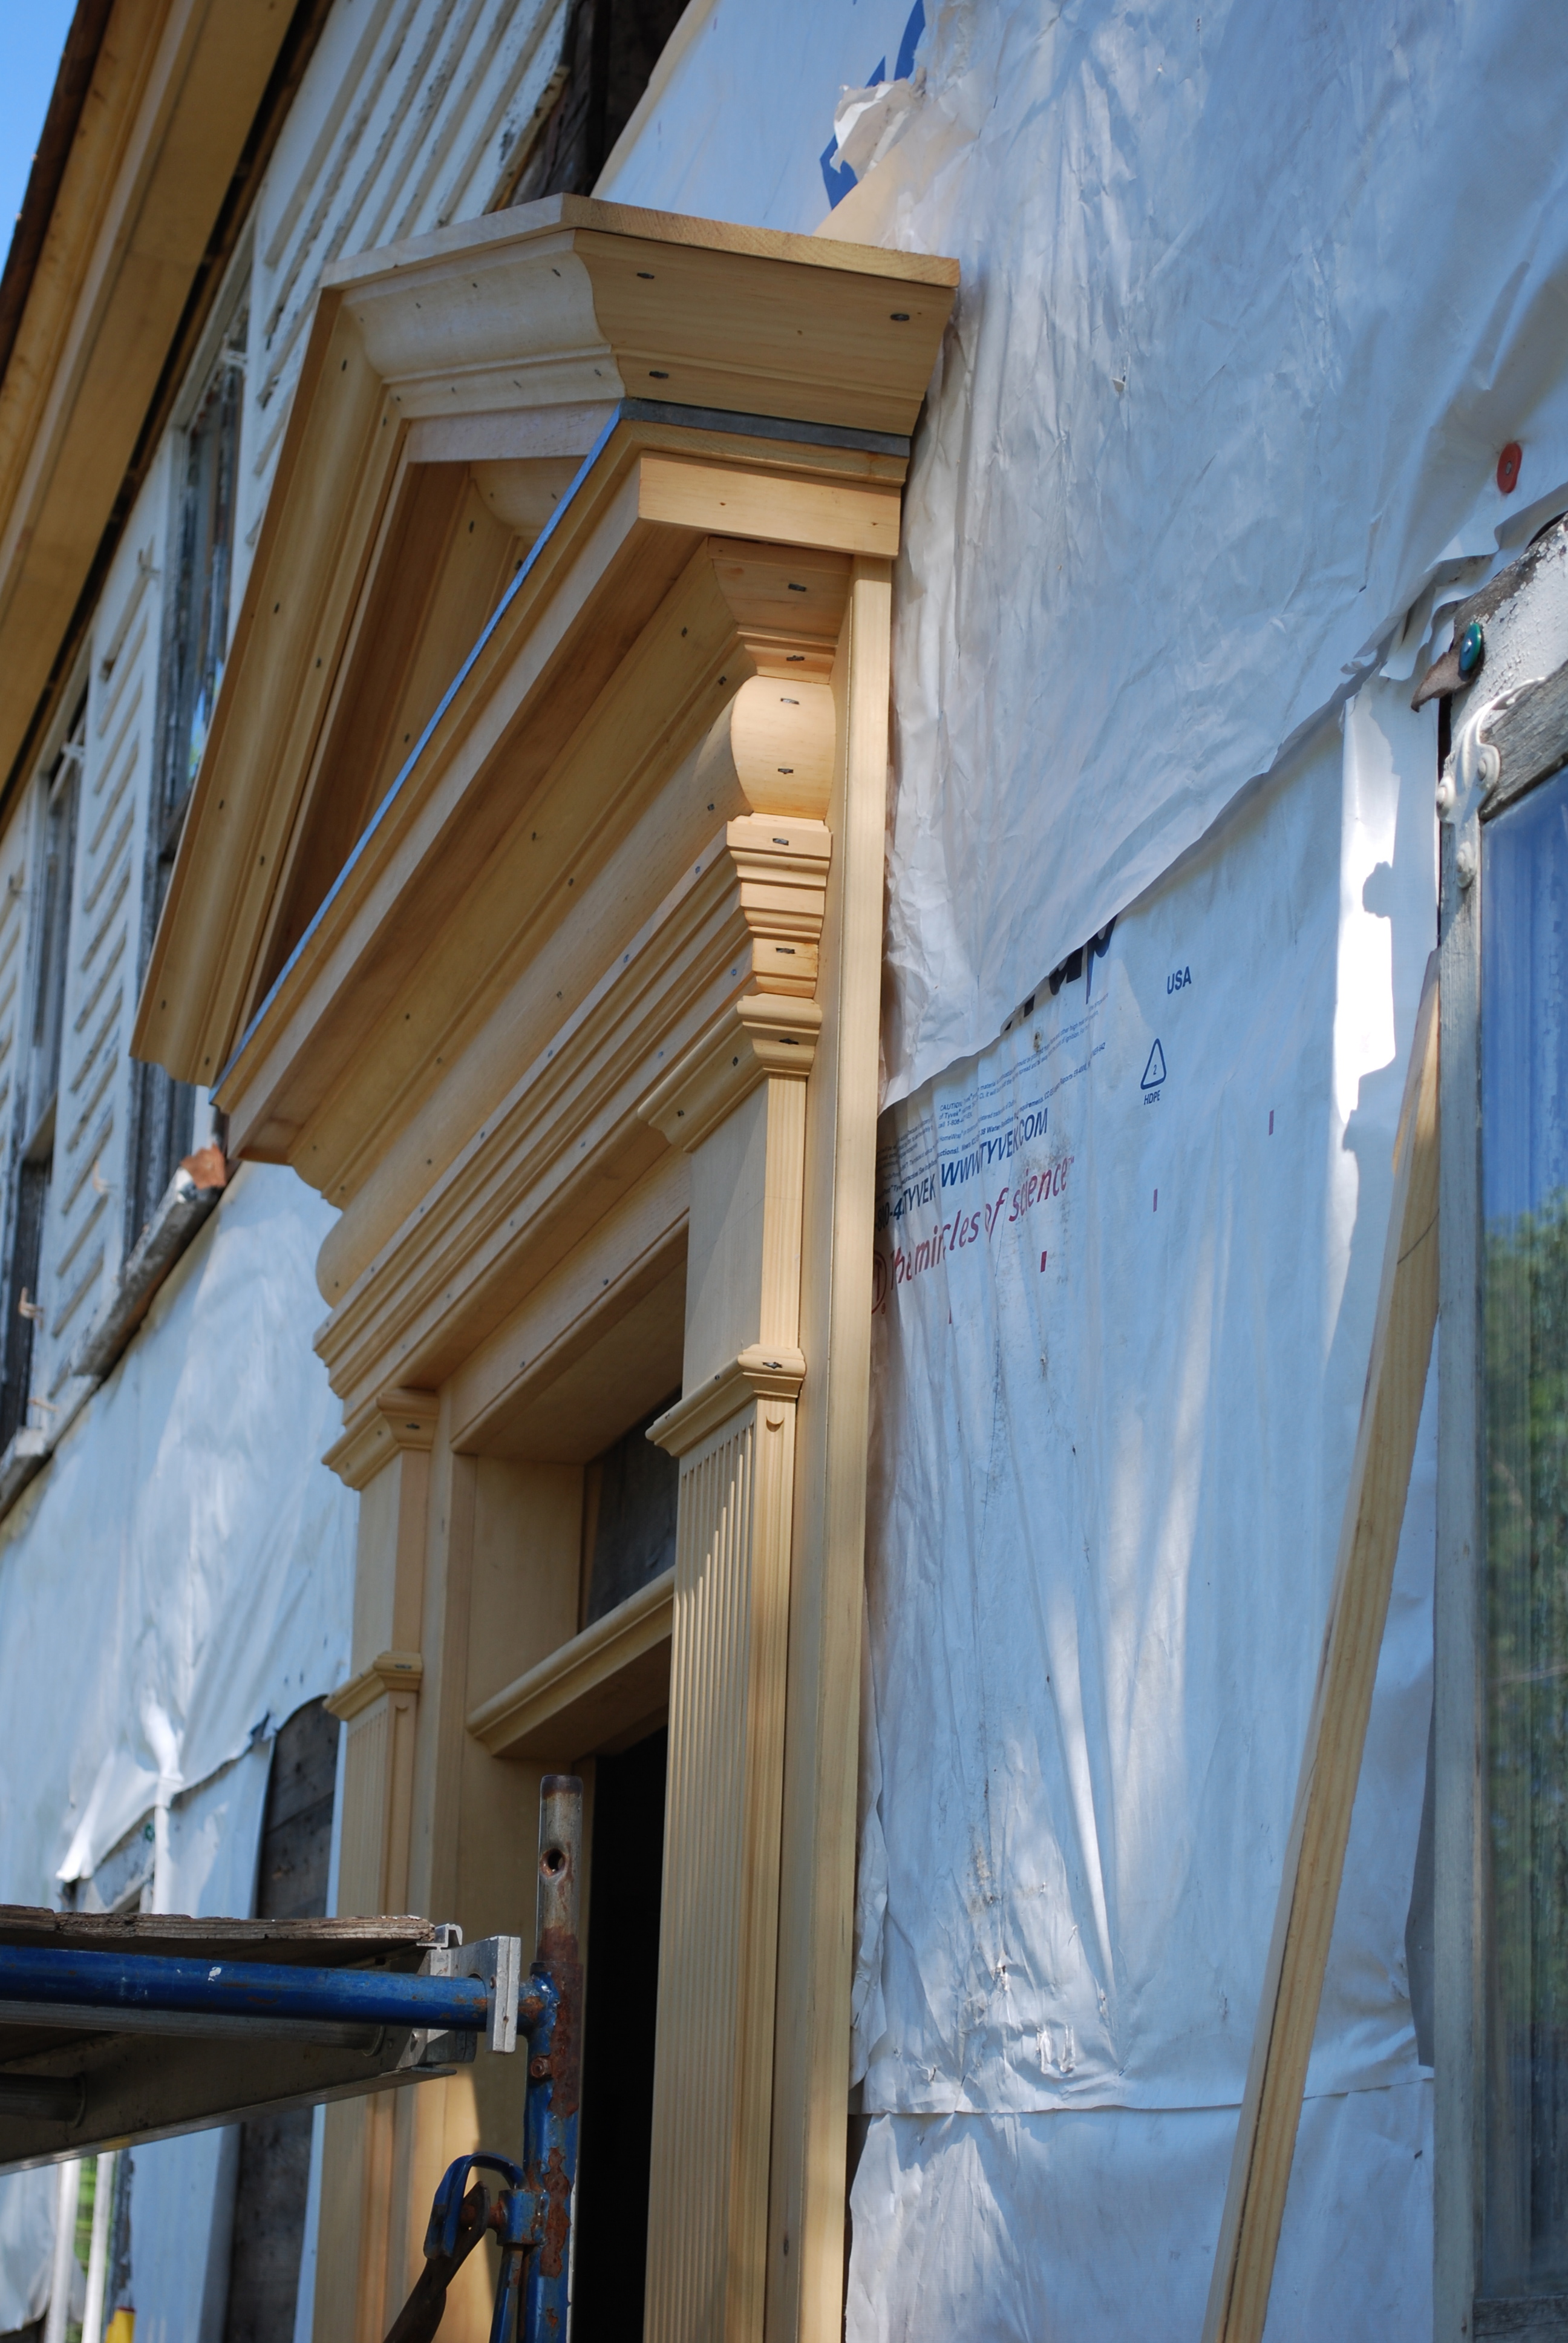
To high style door pediments and architectural details..

Cut nails in a traditional door pediment

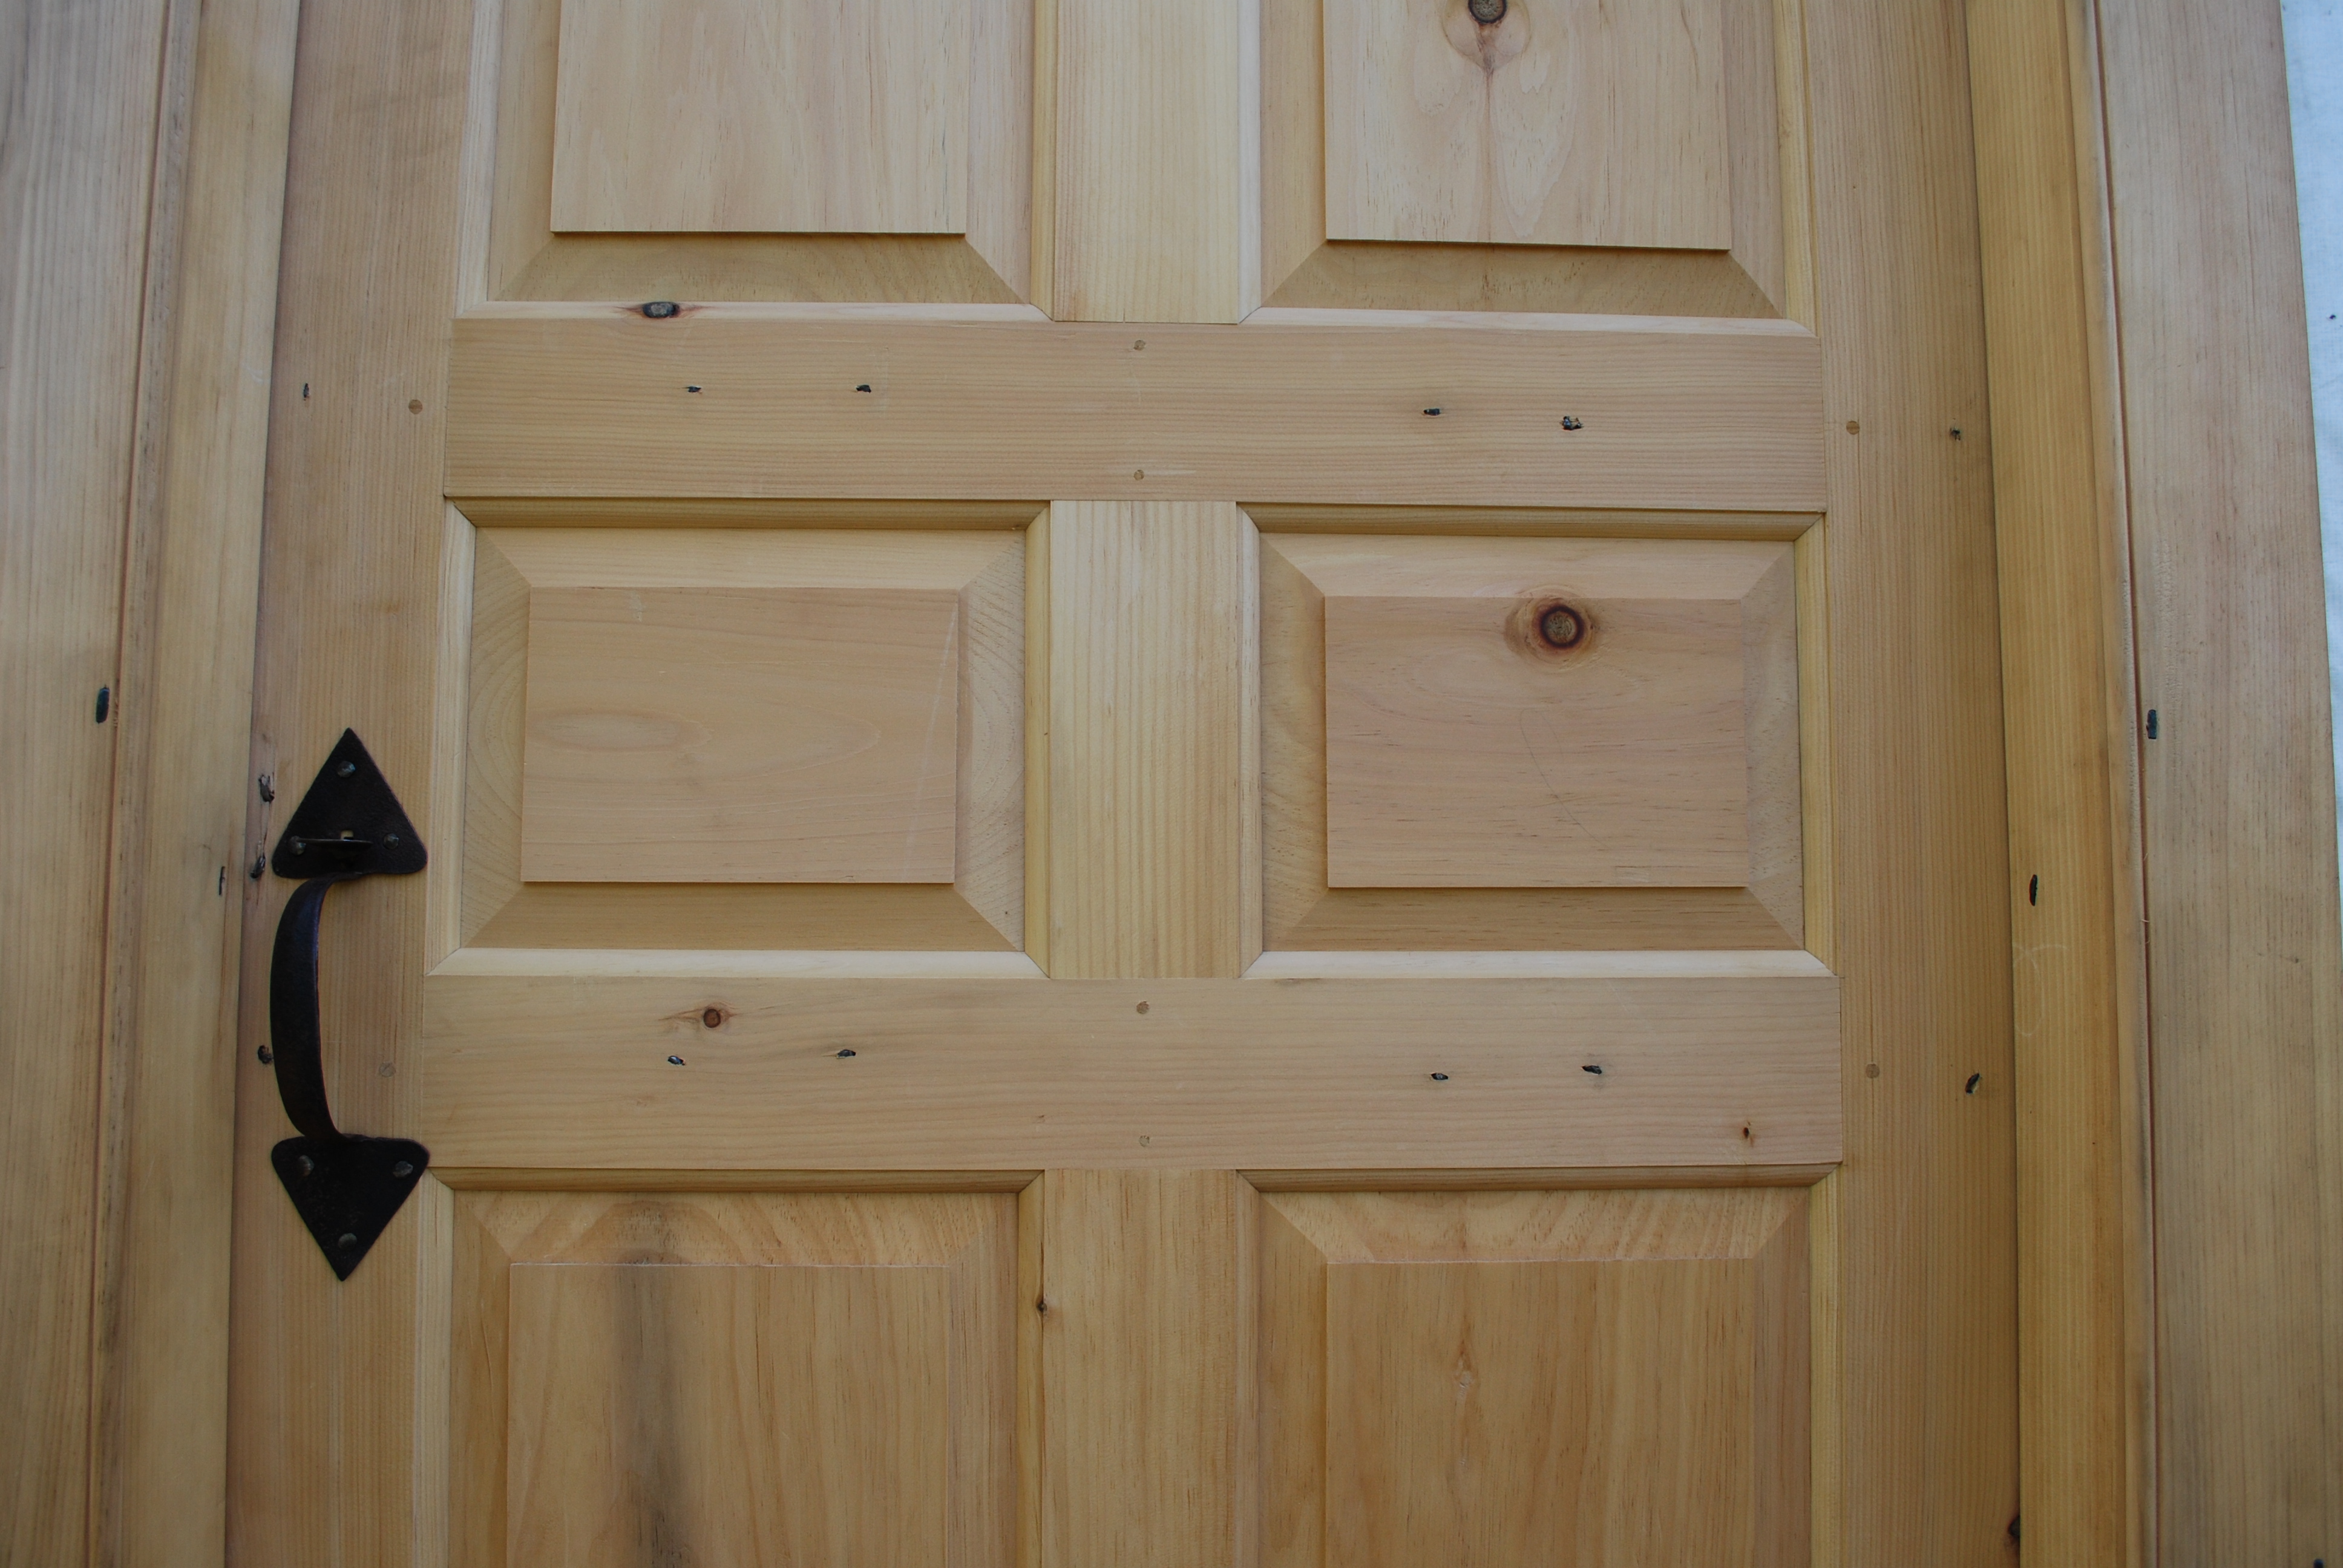
To clinched nails in a reproduction door on an historic home…

Clinched cut nails in a period door reproduction

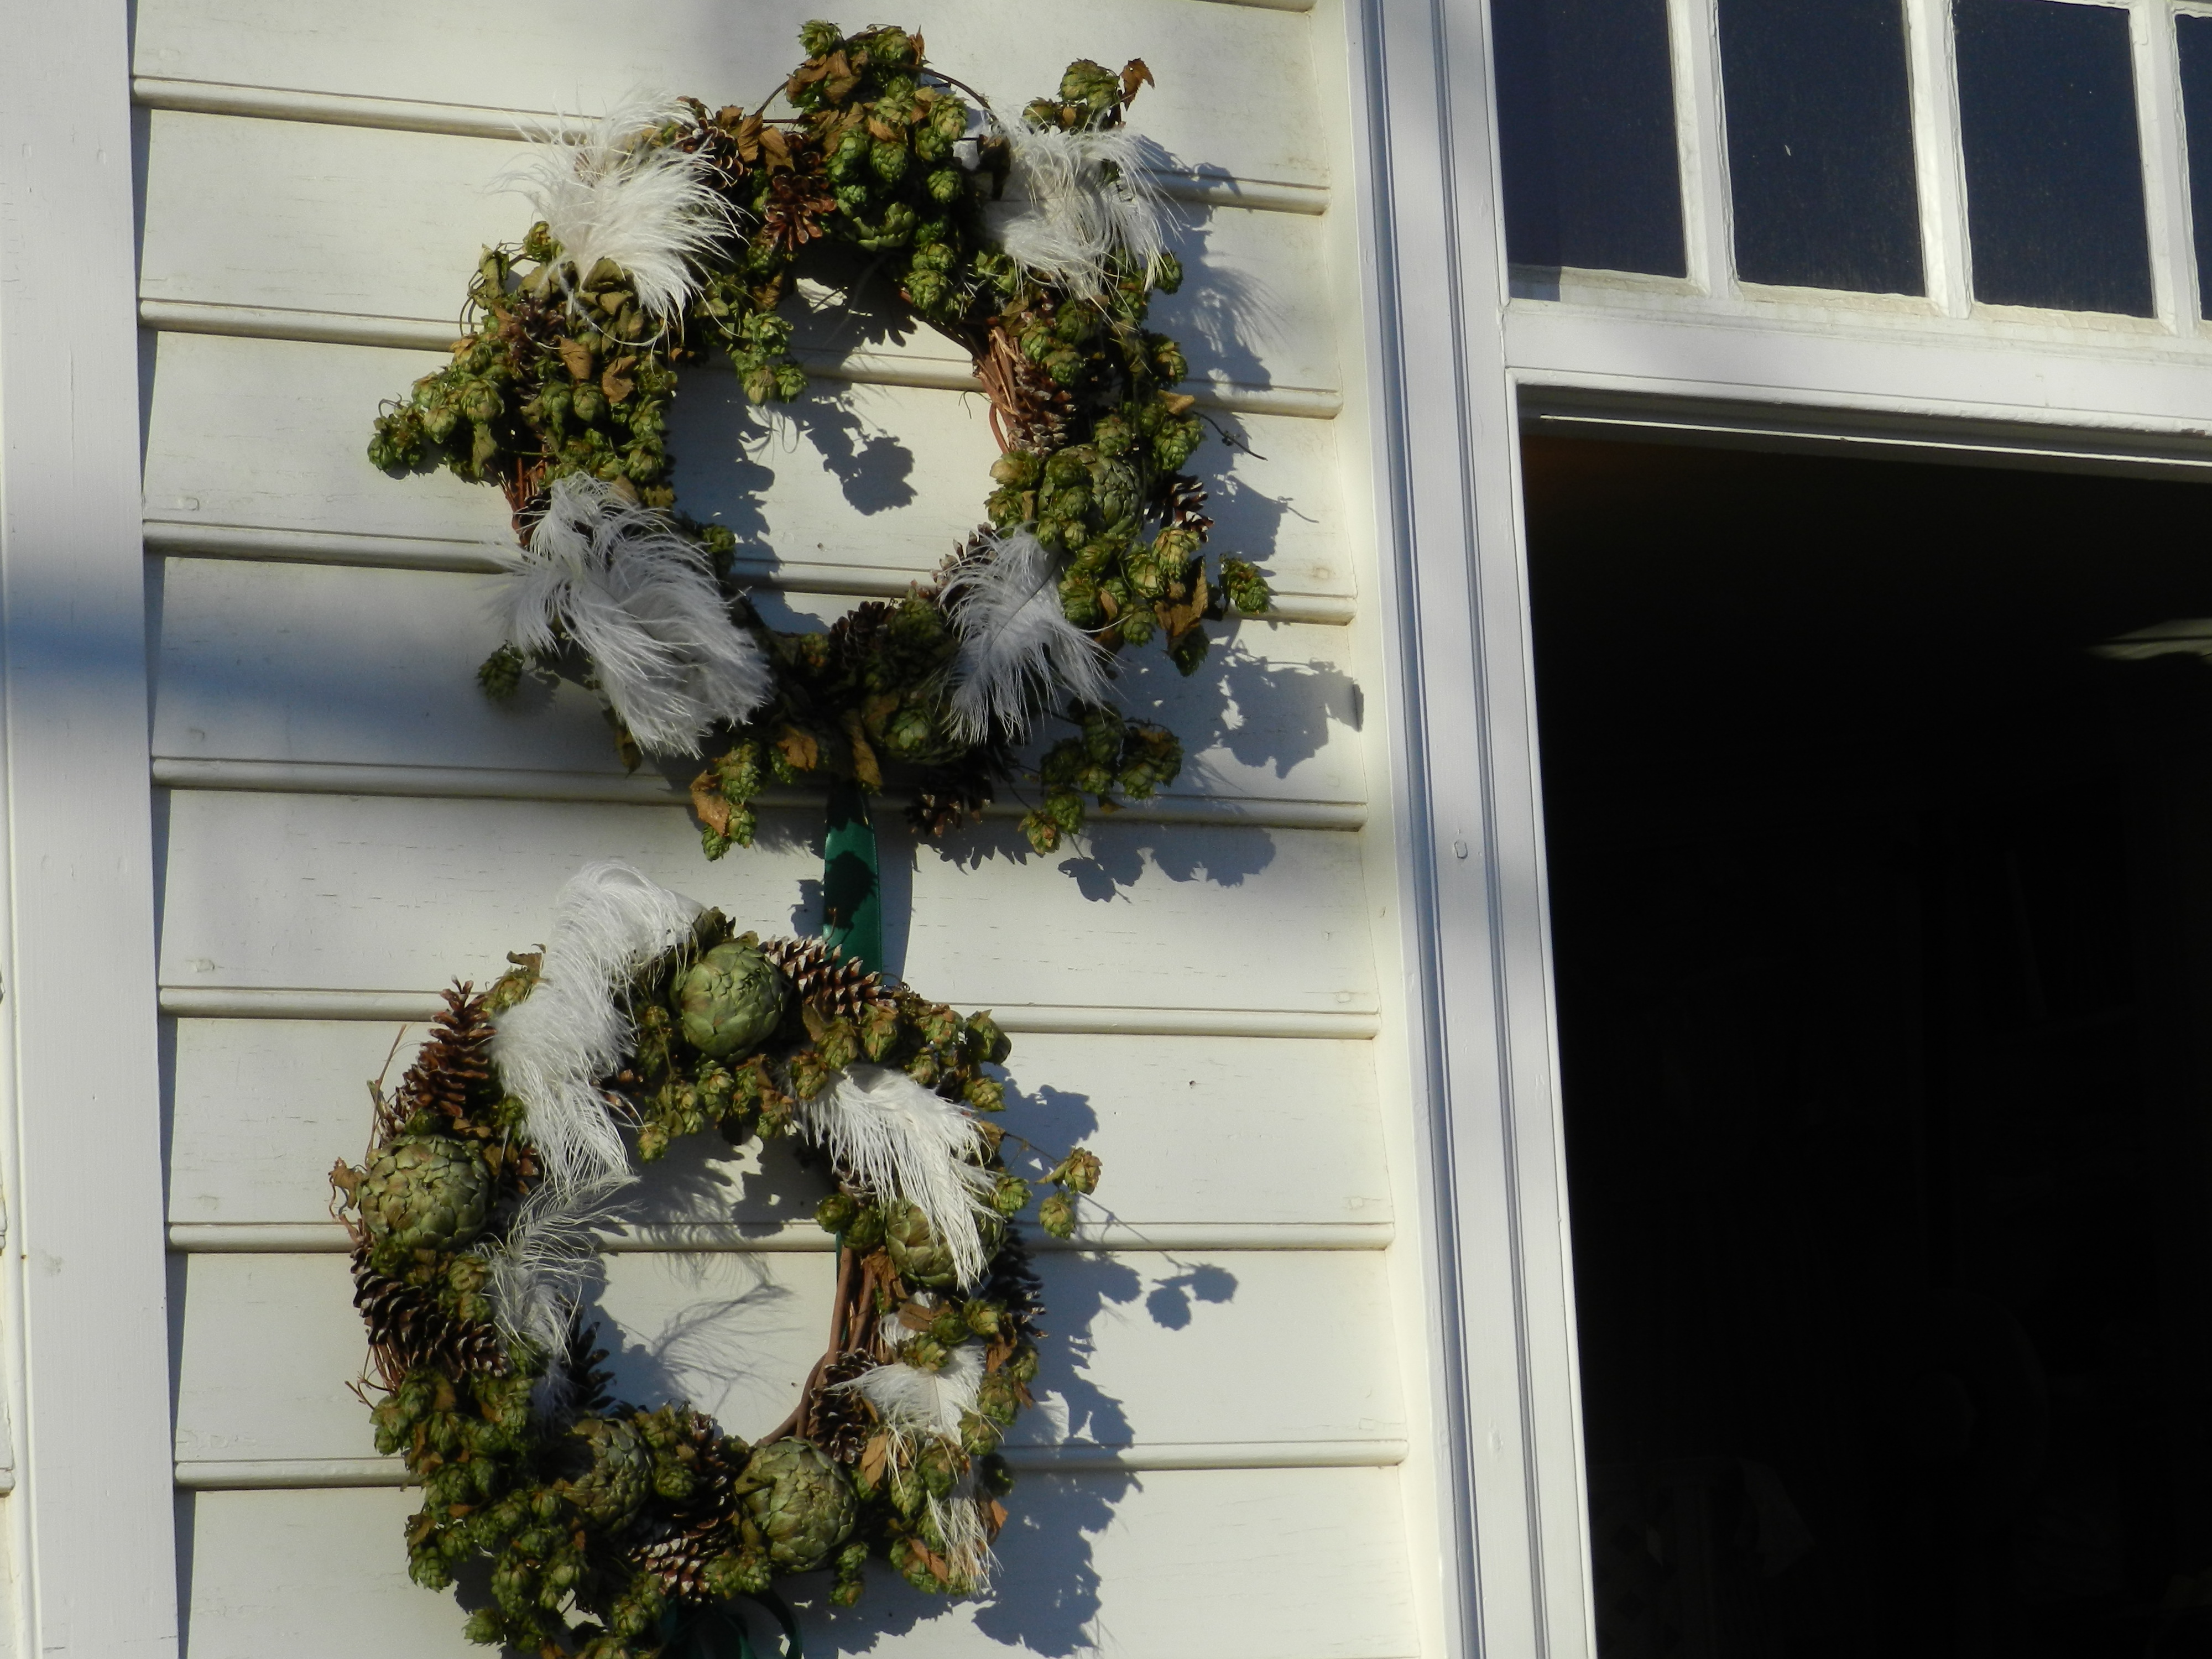
To siding and trim details…

Cut nails in exterior siding and trim

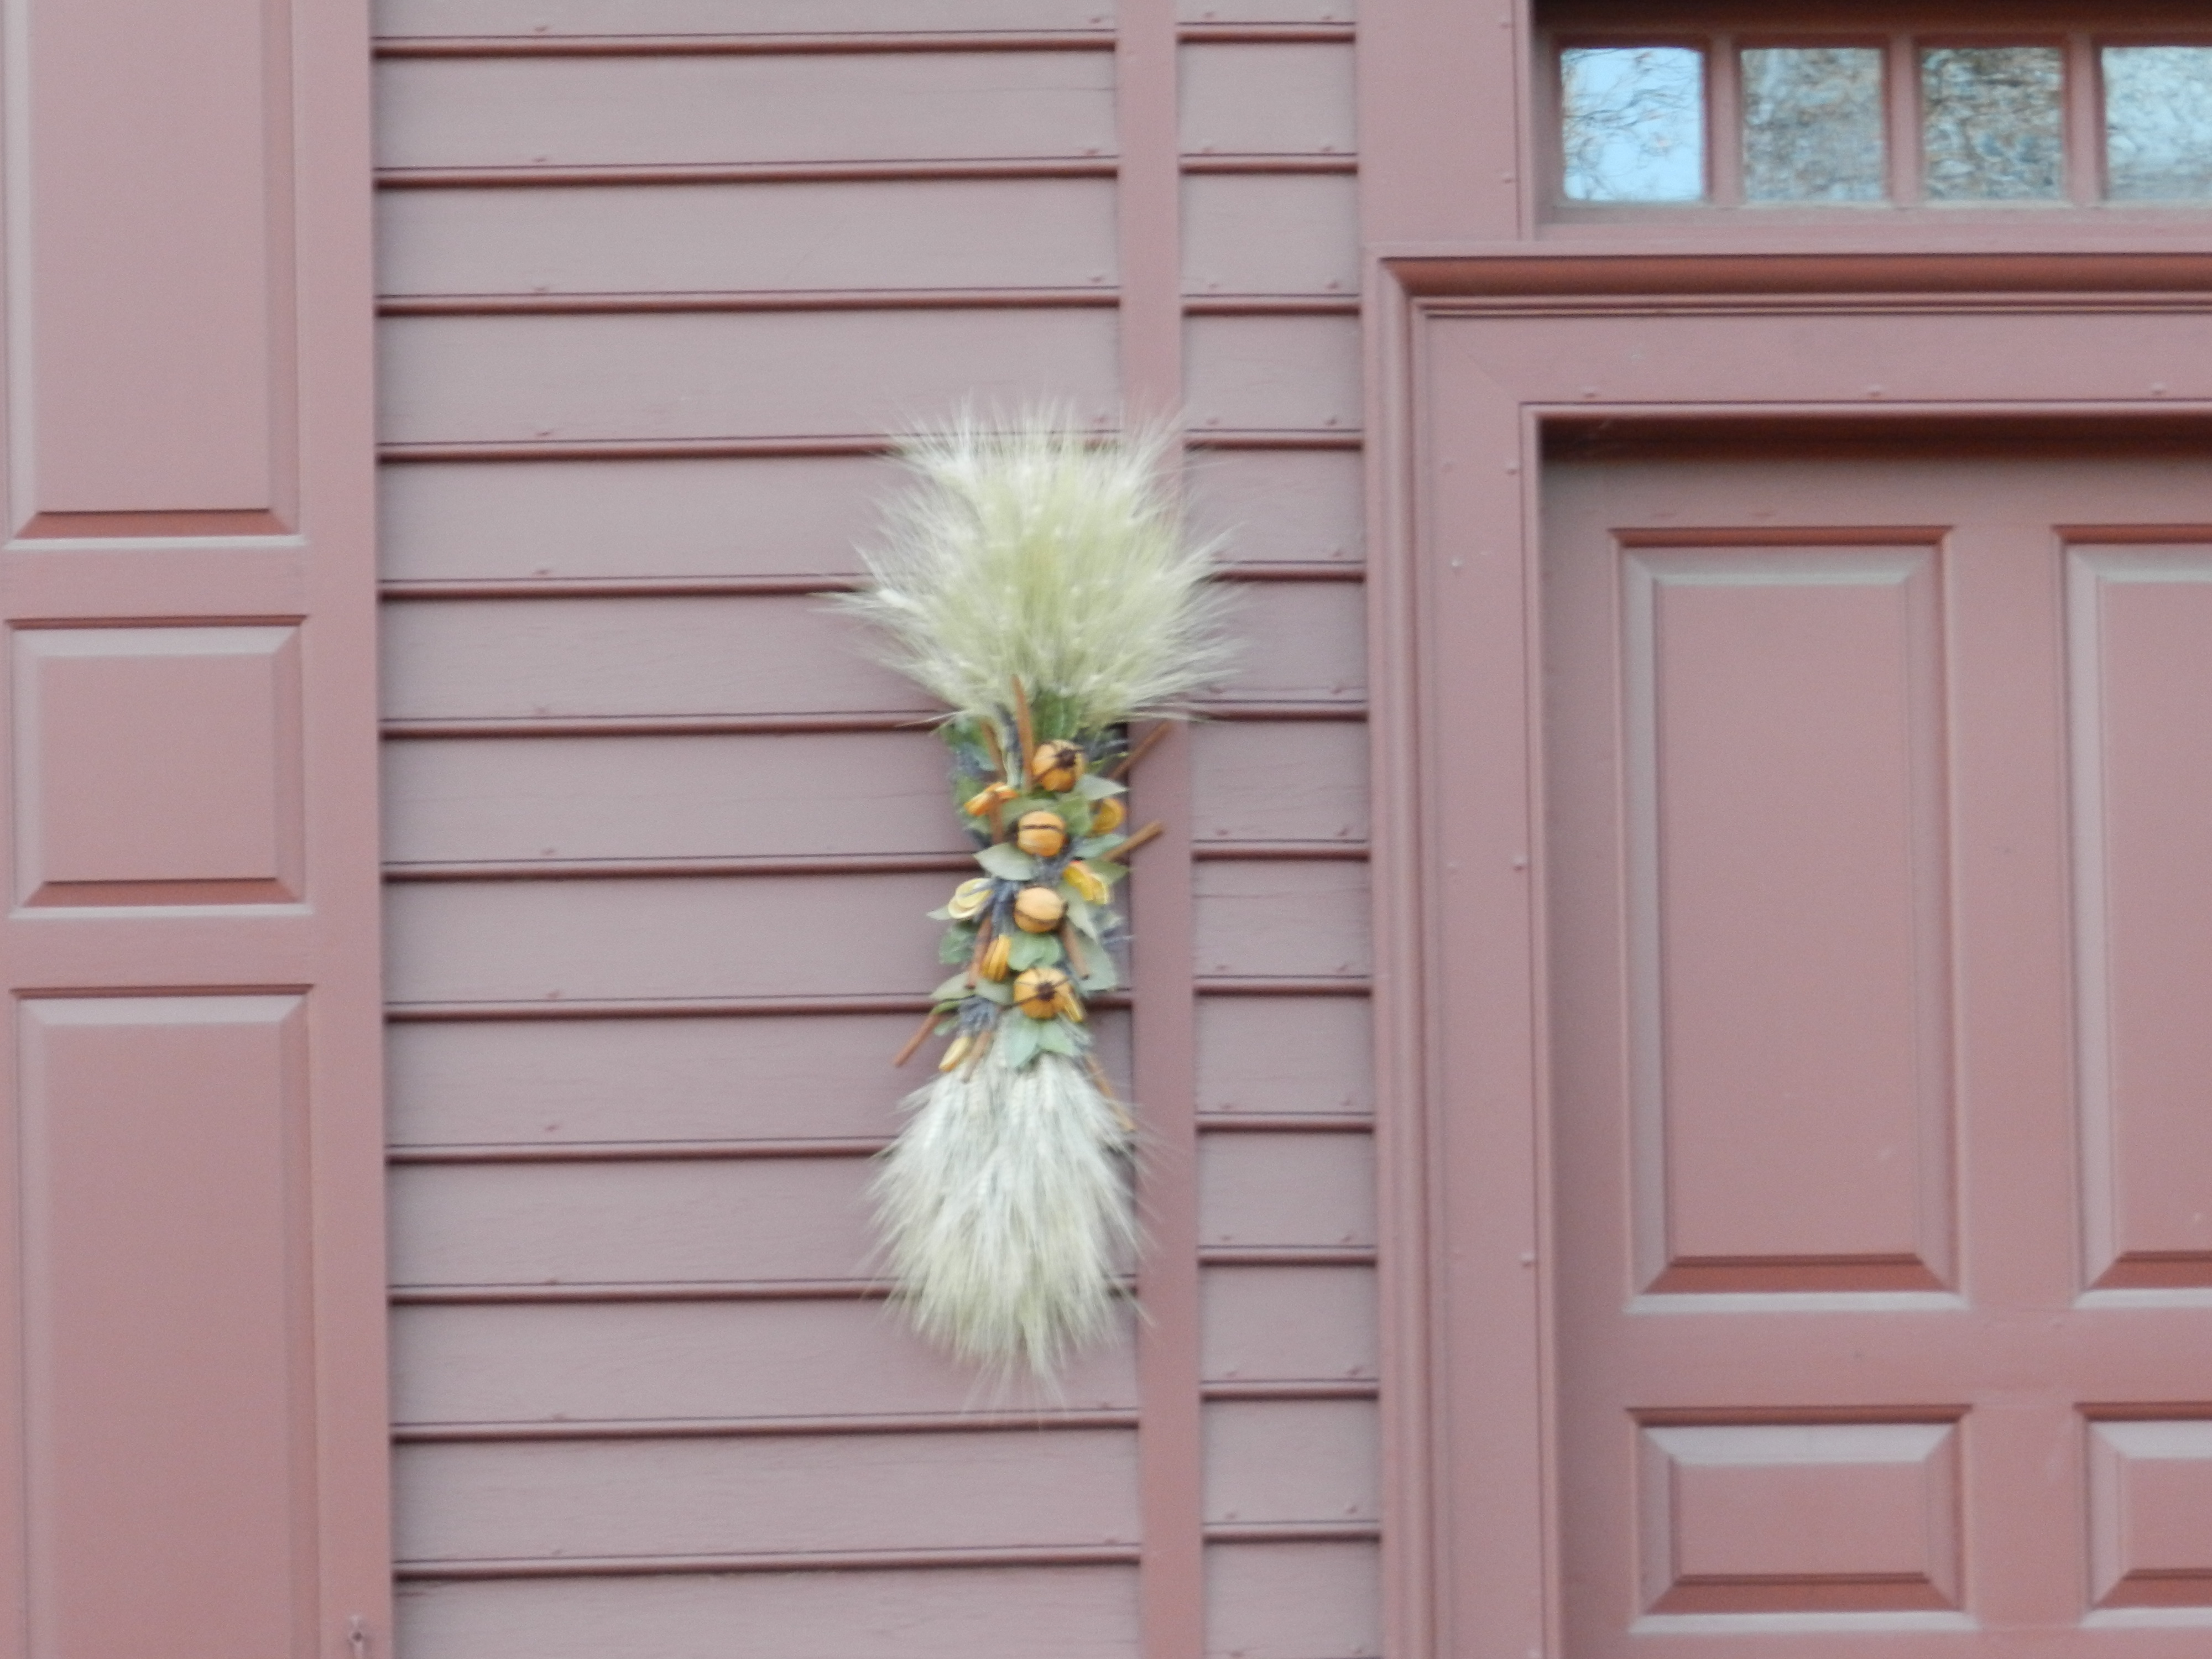
The cut nails add to the visual authenticity and given their superior holding abilities will also increase the longevity of the work.

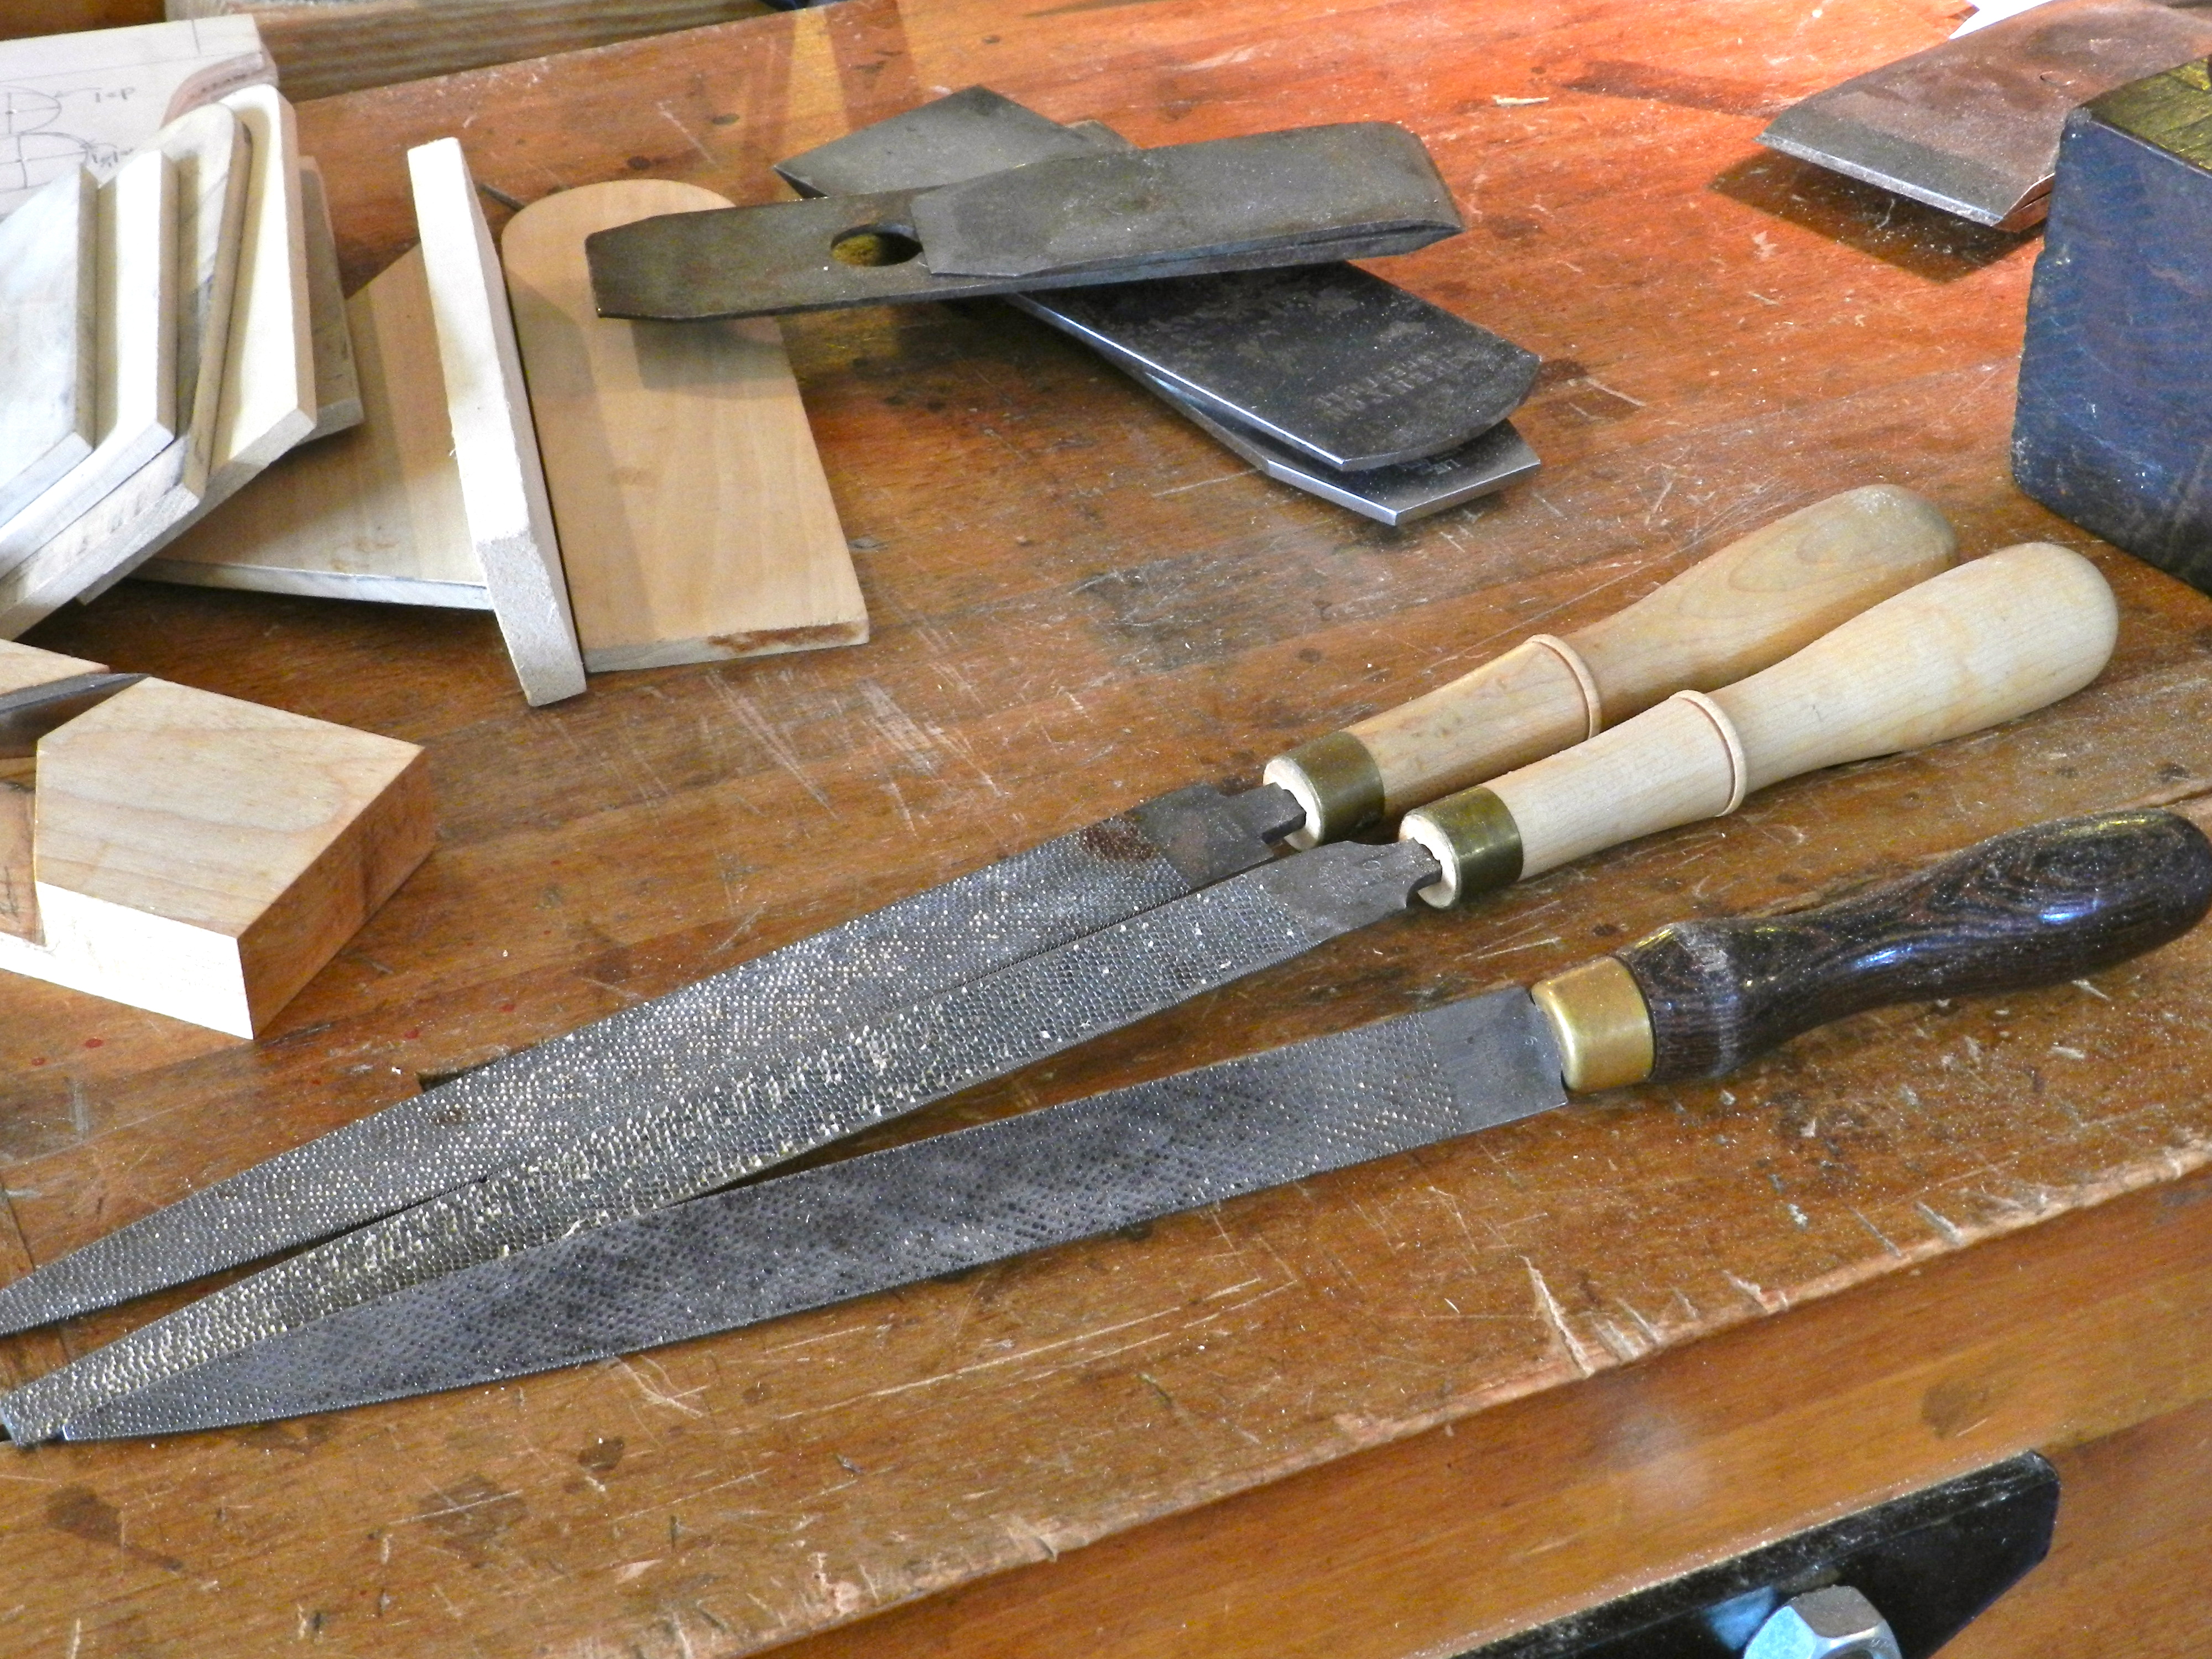
Tips on working with cut nails:

  • Make sure the chisel end of the cut nail is set in across the grain thus severing it and not acting like a wedge
  • Start off slow with a couple of light taps before driving the nail home with harder hammer blows
  • If working near the end of a floor board or using a large spike consider pre-drilling a whole that is slightly smaller than the nail to prevent splitting
  • If using the nails on an exterior application consider buying galvanized cut nails. If your local supplier does not offer that, you can send the nails out to have them hot dipped for a reasonable price. This will help the nails survive the elements and require less maintenance.
Cut nails in exterior siding and trim
More cut nails in exterior siding and trim

Gallery of the 20+ Cut Nail Types still available (If you are viewing this in email, you’ll need to click over to the blog to see this gallery properly displayed):

Where can I find these cut nails?

  • If I need a small number of cut nails I usually order from Tools For Working Wood as they sell 1/8lb bags which are secured shut with another cut nail (Labeled as Brooklyn Tool and Craft I believe they are repackaged Tremont nails)
  • If I need a large number of cut nails I usually order direct from Tremont Nail (A company in MA with over 190 years of cut nail making experience)They offer, 1lb, 5lb, 50lb and custom larger size (think nail casks) orders
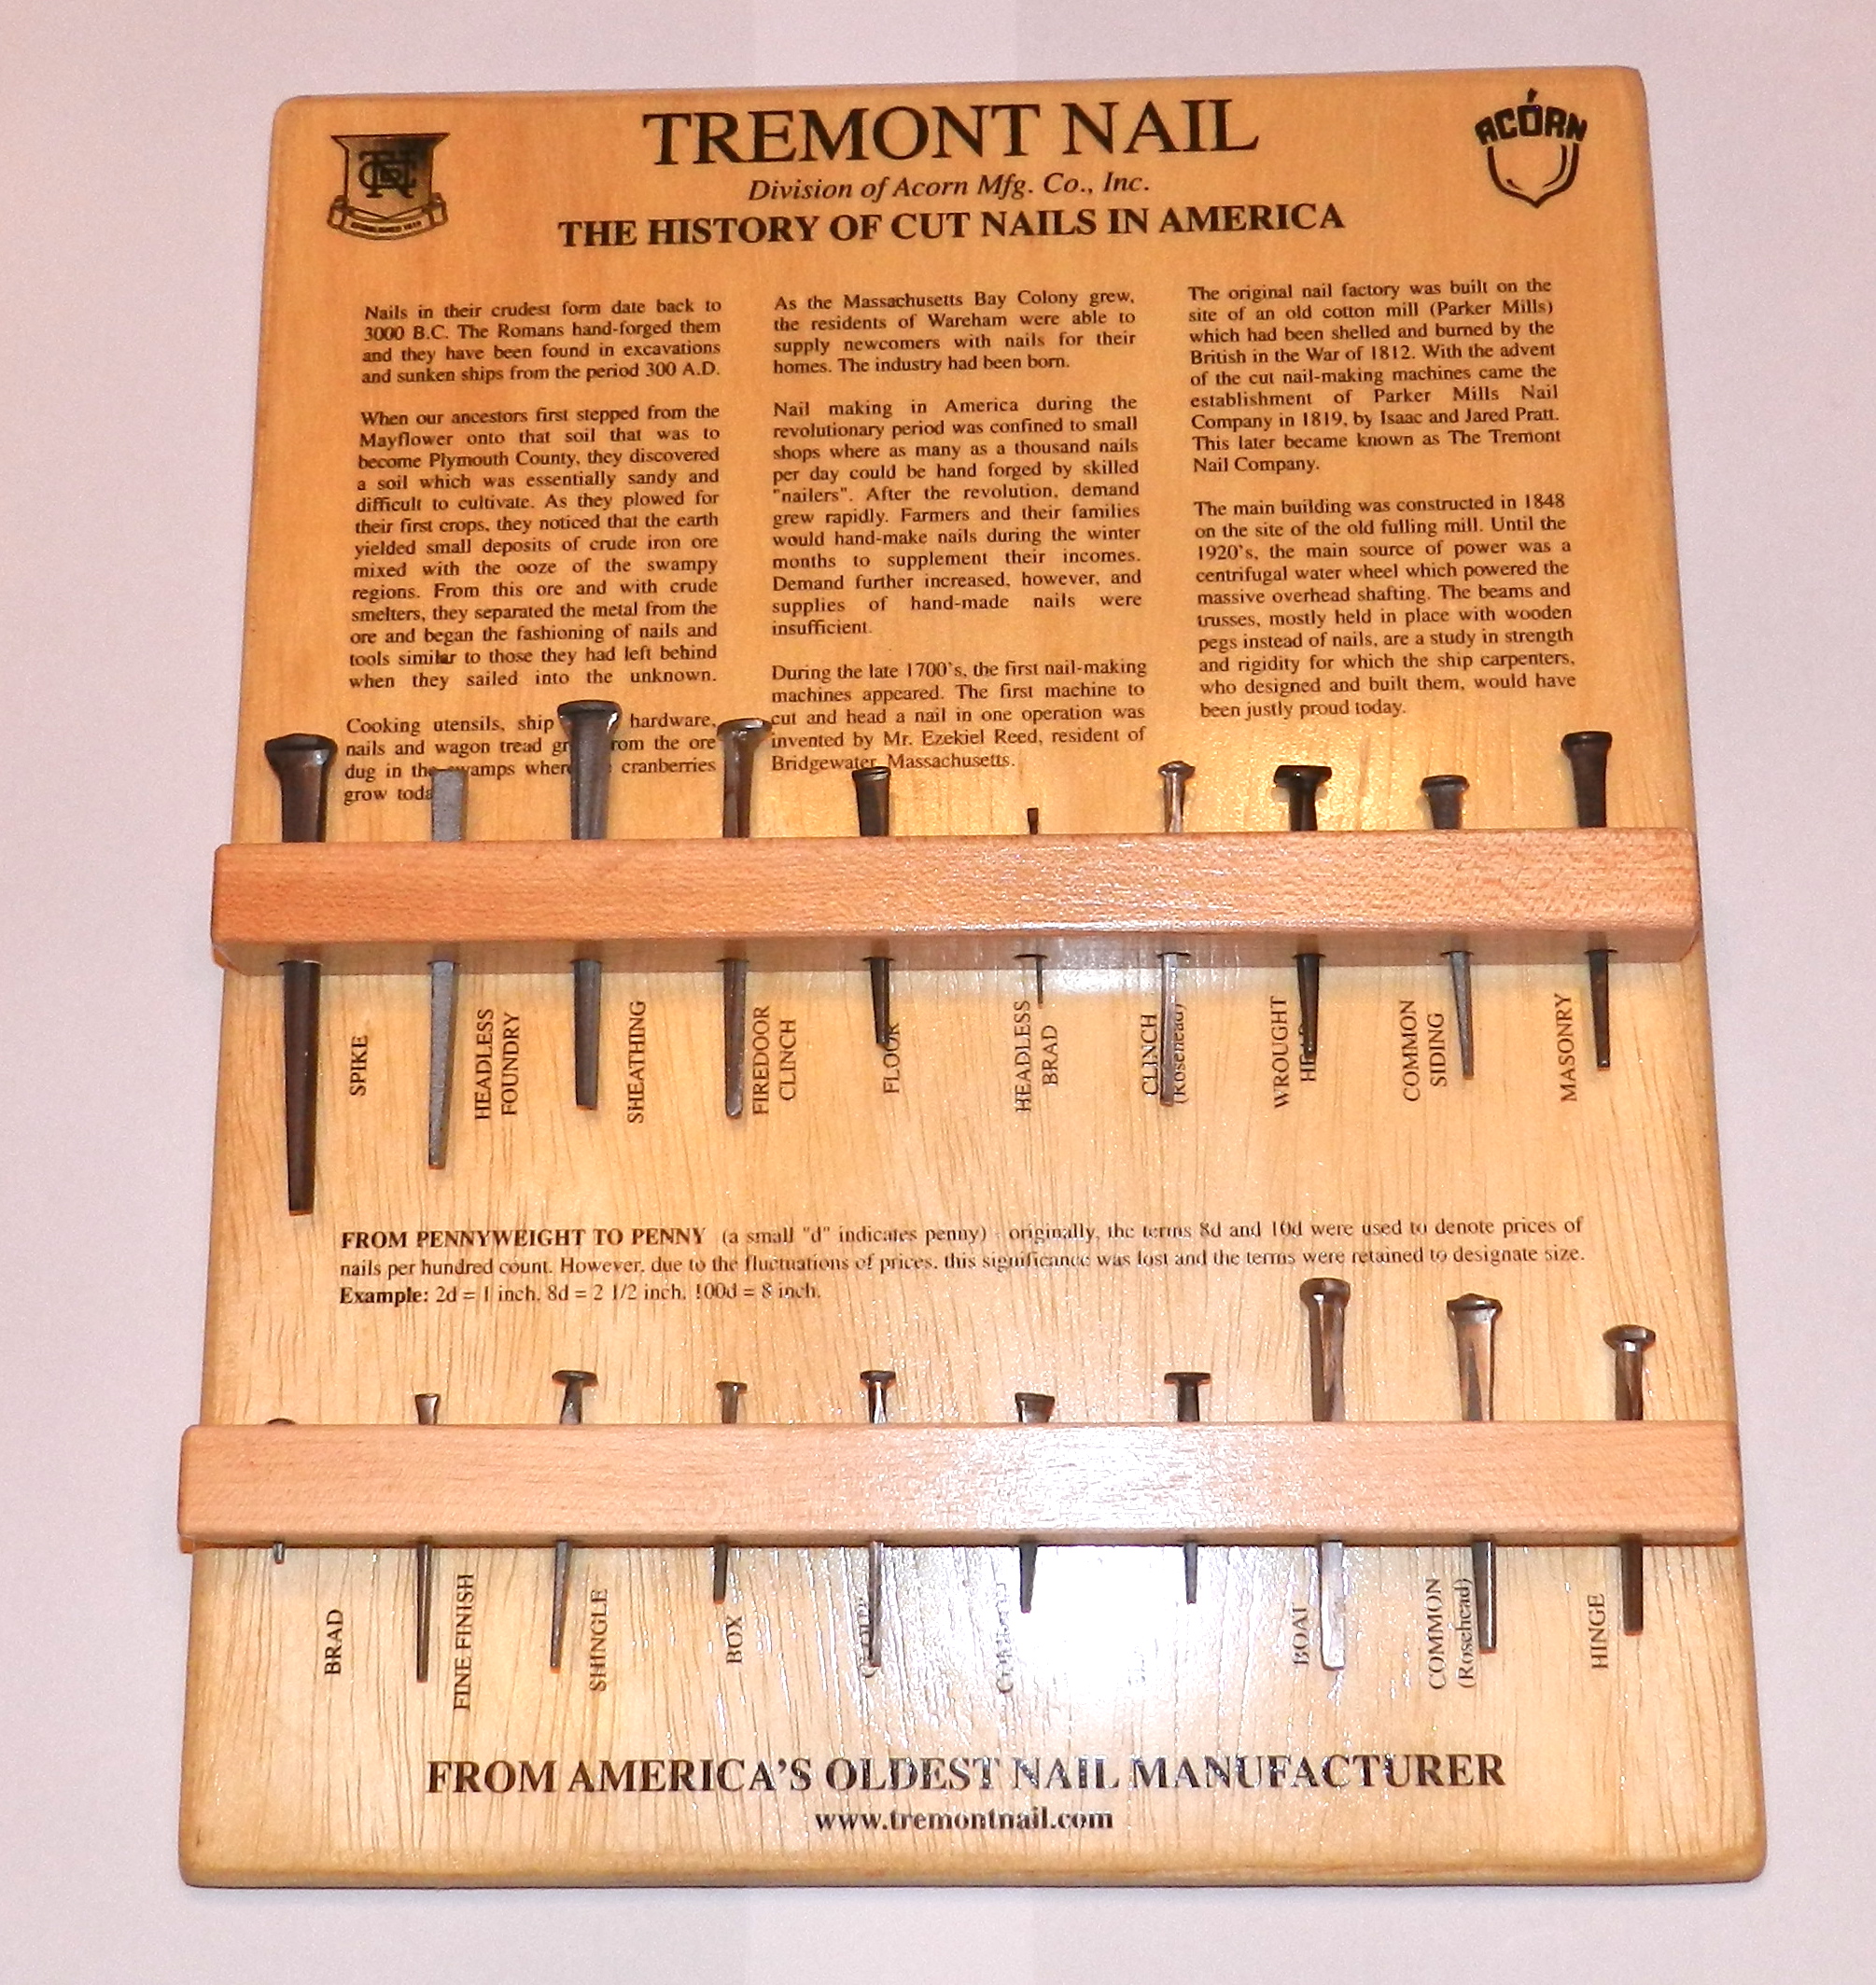
  • The Tremont Nail wood board with sample nails is available for purchase from Tremont — it’s a great addition to any shop and allow folks to examine each of the above described nail types in person. I have one in my shop and have found it to be a nice visual aid in my teaching.

I hope to see more folks using cut nails on their projects.
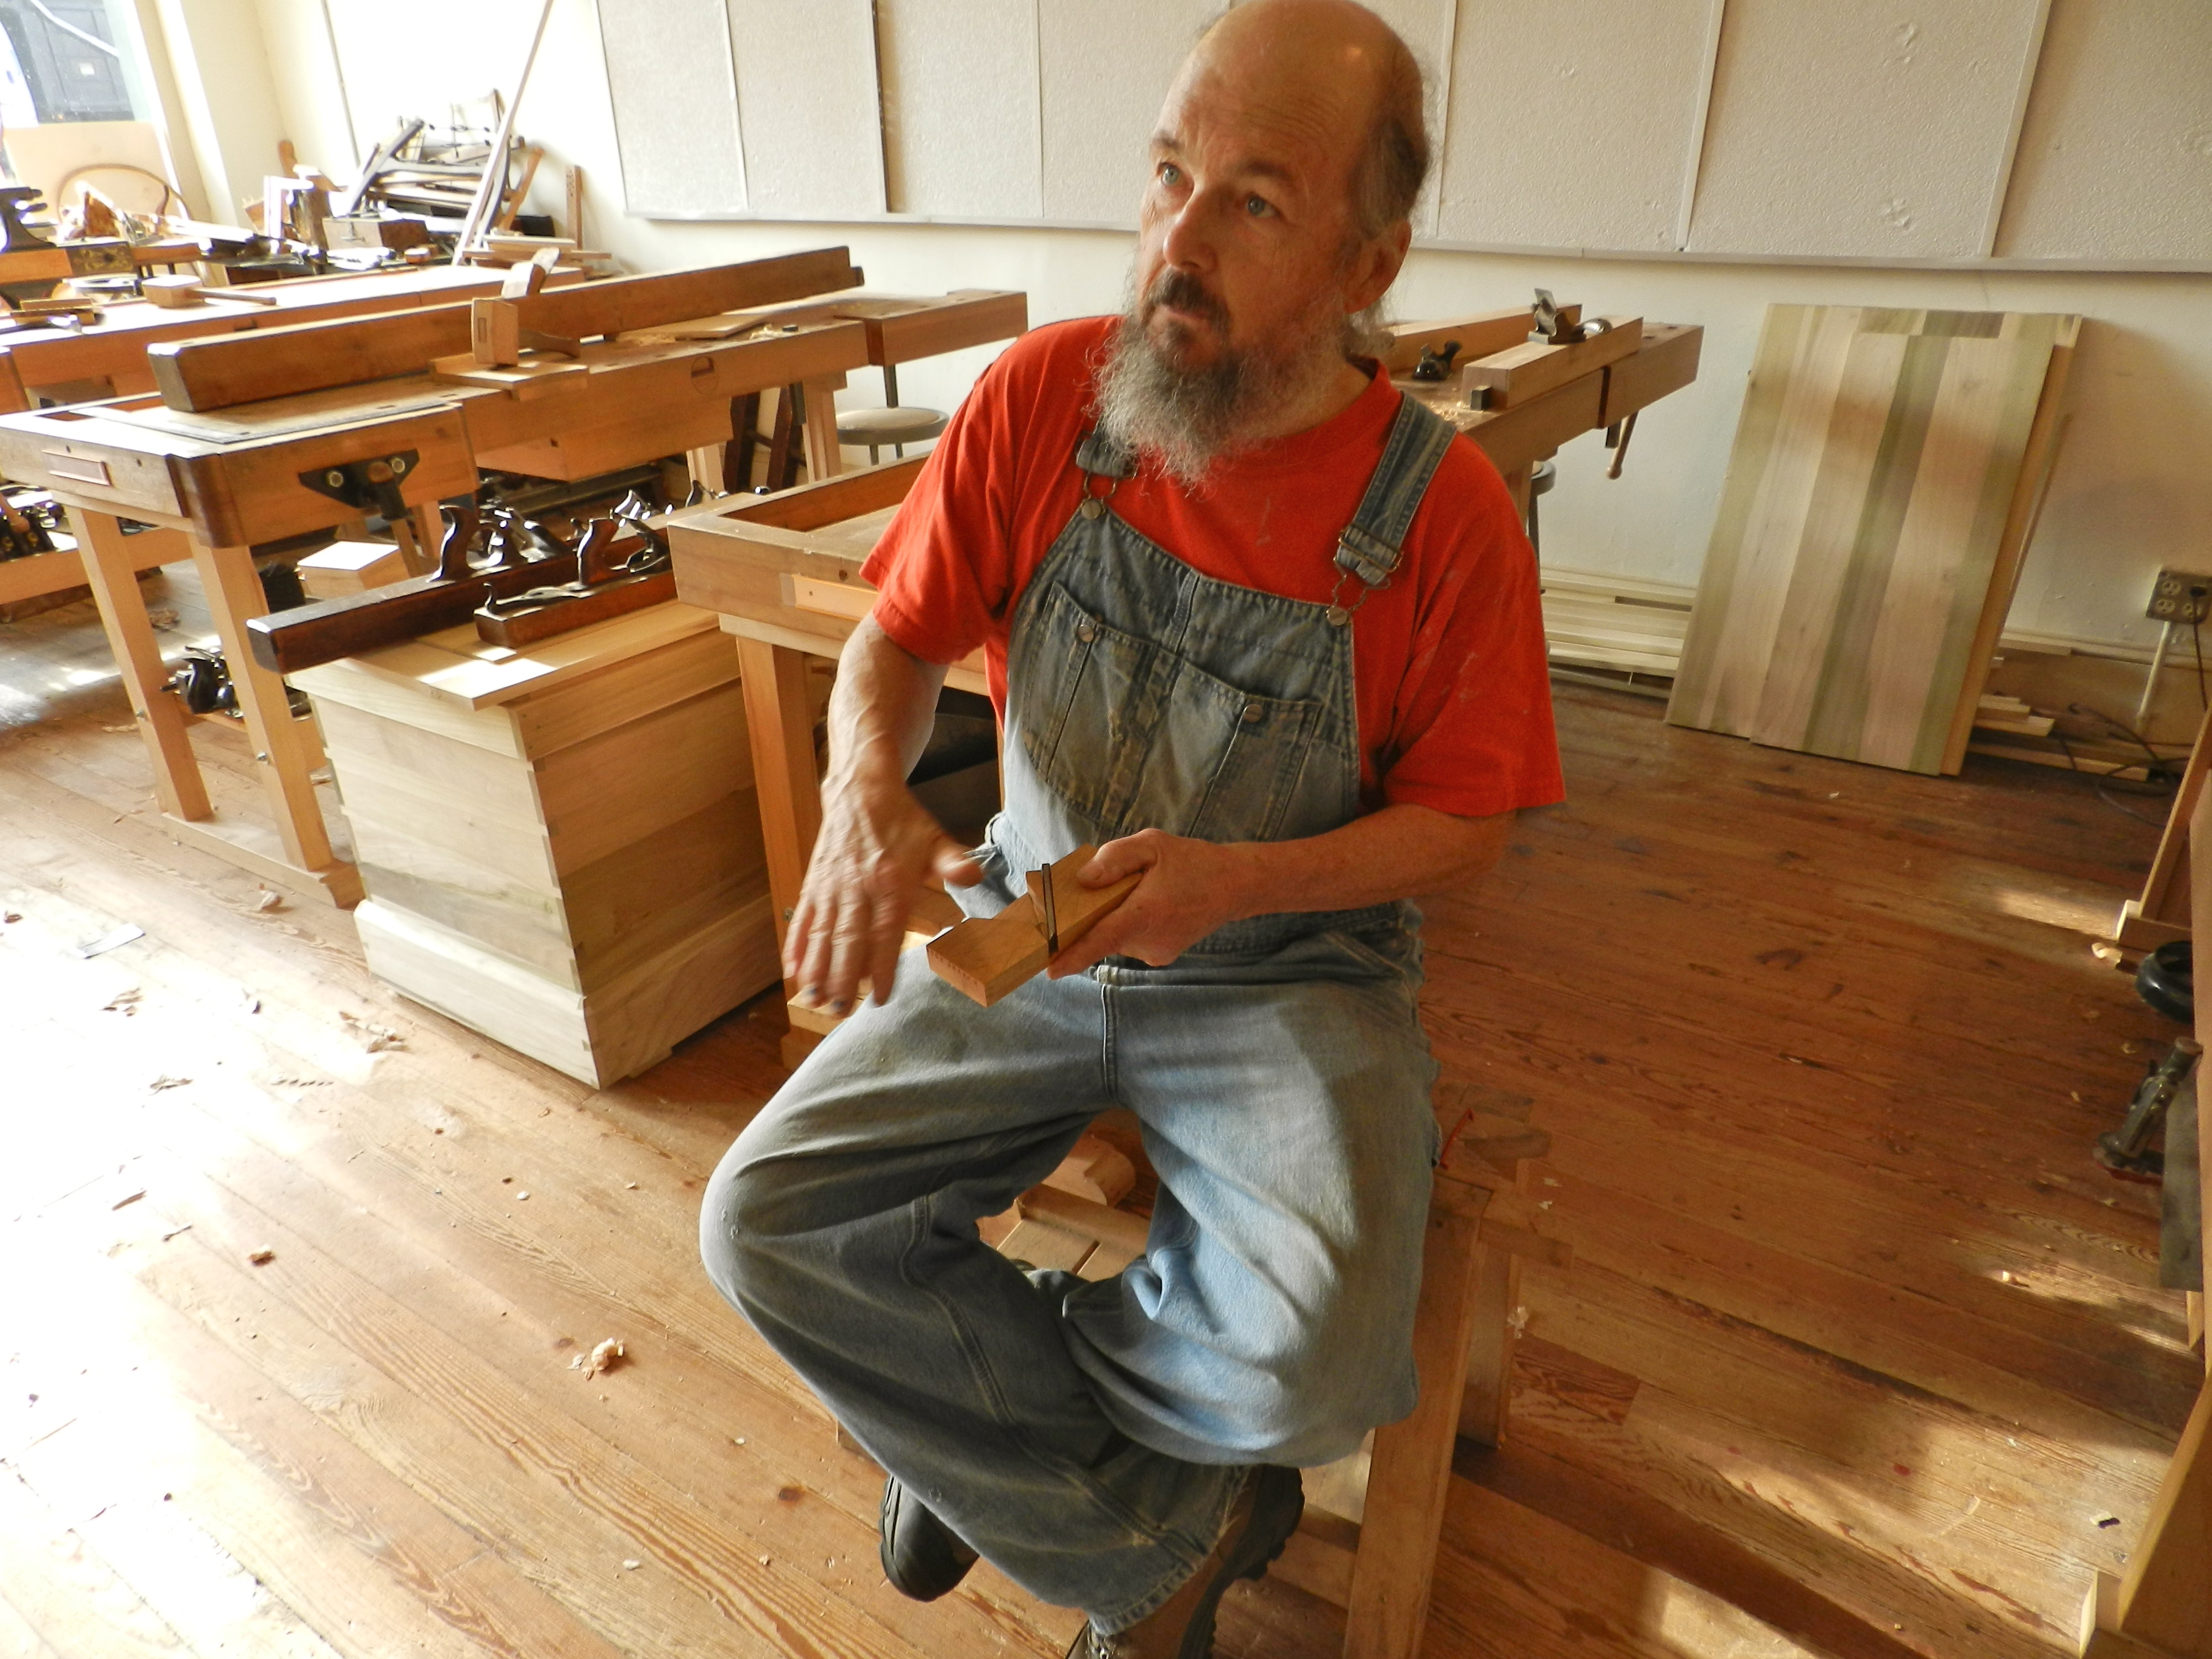
-Bill

I am a Joiner…

I’ve been keeping my local haberdasher busy as I often find myself wearing a wide variety of hats in the course of my work. I regularly have to function as a preservation carpenter, cabinet maker, turner, tailor, timber framer, historian, carver, draftsmen, author, instructor, blogger, handyman and traditional hat aficionado.

That’s a bit of a mouthful to rattle off when you meet someone new.  To simplify I usually tell people I work as a traditional joiner. Often there is a bit of a pause and some clarifying questions. Many folks realize that most of the epithets above generally revolve around a core of skilled woodworking, but they cannot articulate what makes it a true specialty.

Symbol of a Joiner -- Axe for Rough Work and Chisel for Fine Work and Joinery
Symbols of a Joiner — Carpenter’s Axe for Rough Work and Chisel for Fine Work and Joinery
What does it mean to be a joiner?
Let’s consult our trusty friend the dictionary:
join·er
noun
1. a person who constructs the wooden components of a building, such as stairs, doors, and door and window frames. *

That’s a start, but doesn’t capture the whole of what makes someone a joiner…

In a traditional sense a carpenter often works on the frame and envelope of the building. The joiner is a specialized type of carpenter who literally ‘joins wood’ often focusing on the production of windows, doors, staircases, wainscoting, built-in case goods and other items that make up a home and require a higher degree of skill compared with regular or ‘rough carpentry.’ A joiner’s work often starts in the shop and ends out in the field as it gets installed in the client’s home or business location.  In more rural locales a joiner often functioned as a part time cabinet-maker regularly delving into finer work that required a high level of skill. Many traditional ‘country’ style pieces of furniture were often made by joiners using the same tools and techniques as any other cabinetmaker. In urban areas where there was enough demand to support specialized trades and full time cabinetmakers we can still find records demonstrating how joiners were able to compete and straddle the line between fine finish carpenter and cabinetmaker.

Full size story board for a door pediment

How does this relate to modern day woodworkers? Are joiners simply modern finish carpenters?

A ‘modern day’ Carpenter generally starts with materials procured from big box stores and lumber yards that are manufactured and uses them to build homes largely by assembling those pieces, using modern fasteners and possibly customizing a few of the details. All of this lends itself well to the use of modern tools and methods.

In contrast, many of today’s ‘Preservation Carpenters’ occupy the space between a carpenter and dedicated cabinetmaker, thus effectively taking on the role of a Joiner —  equally at home in front the bench or on the construction site. A joiner often starts with raw materials (wood etc) and has to fabricate the items he or she needs to produce — doors, windows, built-ins, large case pieces etc. using traditional joinery, tools and techniques. Sure some modern and powered conveniences can simplify a few tasks, but often the most expedient way to generate the intricate joinery and intended results is to use the same tools and techniques our forefathers used. Routers and sand-paper cannot reproduce the same results you get from a sharp plane iron and a skilled hand. All the fancy tech-laden measuring devices on the market cannot beat the simple efficiency and accuracy of a story stick and a marking knife. Biscuits and dominoes are no replacement for through mortises and draw-boring.

Hand made window sash

Other hallmarks of a good joiner is an attention to detail and knowledge of classical orders (especially with respect to moldings), layout and proportion. If you get the proportions wrong on a piece of furniture you can potentially hide it in a corner, if you mess up a cornice or fenestration on a building you cannot hide it. A joiner’s work is joinery on the large scale, out in public view and it demands that you stay on top of your game from layout through execution.

What’s next?

My goal is to help preserve the ancient trade of being a Joiner for future generations. I am attempting to accomplish this via my travels and in my teaching. I hope to continue helping others learn how to be good joiners, cabinetmakers, carpenters and hobbyists.  No matter what you call yourself or what you specialize in, woodworking requires creativity and hand skills which are taught through practice and maintained through continued use and passion for the craft.

If you are interested in learning more about traditional joiners, please stay tuned to this blog. In the meantime if you have any questions, you can contact me here.

-Bill

*  The definition above was taken from here. The rest is based on my own life experiences. Your mileage may vary.

NBSS Drywall Workshop October 2013

Teaching a weekend workshop is often like a two day stage performance. I’m up at dawn to prep, drive down, unload, on my feet non-stop for the class, then cleanup, head home, quick dinner, then out like a light, and lather rinse repeat. For most people that sounds like torture, but for me it’s fun.

Light stick framing lesson, then hanging sheetrock
Light stick framing lesson, then hanging Sheetrock

I love to share my passion for woodworking with others and teaching helps to feed the tool and and supply kitty for my various projects .

Closing in the wall
Closing in the wall

Last weekend I taught a two day workshop on drywall, mud work and textures. I designed the class last January and this was the second time we ran it. I’m happy to say that it sold out both times and we covered a lot of ground given we only had 2 days to work.

Aerial view of the class

Each student had the opportunity to learn all the basics needed to tackle a new drywall installation or repair project.

Using a hawk and applying mud to the corner joint

The course covered a wide range of topics including:

  • Basics of Stick Framing
  • Hanging Drywall and Coursing
  • Taping, Inside and Outside Corners
  • Working with ‘Mud’
  • Wet and Dry Sanding
  • Texture Work
  • Repairs
Wet sanding
Wet sanding

My last workshop back in May was going to be the last workshop the NBSS Arlington Location which is a 10,000 square foot workshop which was my home when I was a student at NBSS. (It used to be the workshop and classrooms for Preservation Carpentry and Carpentry departments at the school). The school has now relocated all the programs back under a single roof on North Street in the North End of Boston a couple of blocks from where the school spent its first 134 years. This workshop requires a lot of space, ceiling height and access to a large dumpster and with all the hustle and bustle of the school setting up at the new location it made sense to run this workshop in the old and largely empty space left in Arlington. The class went great, but the the one sad part for me was at the end of the second day when I had to say goodbye to the Arlington space for the second time. But like all good-byes, it is also a new beginning…

The good news is that I have a few workshops scheduled in the spring at the new campus location. You can learn more about them here.

-Bill

Making a Jointer Plane with Willard ‘Bill’ Anderson — Part 2

When last we left our plane-making heroes they were in the process of making a traditional single iron jointer plane with my friend Bill Anderson at the Woodwright’s School.

Bill demonstrating with a great bench plan cross section model
Bill demonstrating with a great bench plane cross section model

Bill had a great cross section model of how this sort of bench plane works — made by one of his students. With the body of the plane taking shape, next up was tuning the mouth opening and the abutments. If the mouth is too wide or too large the plane may not cut cleanly so you need to carefully fit the iron to the opening. If the abutment is not carefully placed when you re-flatten the sole of the plane you’d also be opening the mouth more. You also need to take care flatten the face of the bed that supports the iron — if there are high points the iron can pivot on those and make it tough to use the plane. One of the many testing/fitting gauges Bill had was a ‘bed testing gauge’ which looks and works much like a pair of ‘pants’ we use in timber framing to test out the thickness of a tenon, except in this case you are using it to check the thickness of the cheeks and how close your bedline is getting to the line scribed on the side the plane body.

Planing the wedge
Planing the wedge

With the mouth and throat all set, next up was making the wedge to hold the iron in place. The wedge needs to be carefully planed to fit the abutments inside of your plane and tightly hold the iron in place. Again here you are using an abutment gauge (wooden wedge of a known profile in degrees) to test your work as you go.  With all the gauges and specialized tools you can quickly see why plane-making was its own dedicated craft specialty.

Shaped and fitted wedge

The wedge is further relieved so that the shavings can clearly escape the plane body.

Templates, gauge blocks and pants
Templates, bed gauges blocks and pants

Above you can see some of the many gauges used in laying out and testing parts of your plane, along with templates for the handles.

Starting to shape the handle

The handle is first cut out from a rough blank and then carefully shaped by hand to have flowing, graceful lines similar to that of a quality hand saw. The result is a handle that fits the hand so well it, the whole plane feels like an extension of your body.

Auriou rasps used to shape the handle -- they were a pleasure to use
Auriou rasps used to shape the handle — they were a pleasure to use

Various rasps, files and sandpaper are used to shape the handle. Using crisp hand stitched Auriou rasps made quick work of shaping the handles.

Finished handle
Finished handle

Above is the handle after a bit of light sanding.

A finished Jointer Plane

Shown here you can see Bill’s finished/sample plane which is based on an historical example.  I’ll post the final shots of my own plane when I finish it soon in my shop.

Rear 3/4 view of the completed sample plane

At the end of the workshop one of the most important tasks was to make sure you plane can take a nice shaving. I’m happy to report that I was able to get a nice full width shaving with my mostly completed plane. (I need to finish setting the handle, trim the edges, apply some finish and use my maker’s name stamp and it will be ready for regular use in the shop).

Making the first shaving with a new plane...
Making the first shaving with a new plane…

In an upcoming post I will complete this series with how I finished off the plane. Stay tuned…

In the meantime, if you’d like to learn more about Bill Anderson or take a class with him, and I highly encourage you to do so, please check out his website here.

-Bill

P.S. You can see the first post on making this jointer plane here.

Making a Jointer Plane with Willard ‘Bill’ Anderson — Part 1

A single iron jointer plane is one of those tools you have use yourself to truly appreciate. Over Labor Day weekend I was fortunate enough to have the opportunity to make one of these planes with Willard ‘Bill’ Anderson at the Woodwright’s School in Pittsboro, NC.

Entrance to the Woodwright's School
Entrance to the Woodwright’s School

Bill is a passionate woodworker and skilled teacher. You may recognize him from his appearances on Roy’s television show or the articles that he’s written. He’s a molding plane aficionado and has studied plane-making and general furniture-making with many masters in the field. He recently retired from being a Scientist for the EPA so I see a lot of parallels to my own life working in software.

Getting started, with Bill Anderson

The plane is made of air dried American Beech and a new old stock English iron.

Squaring up the air dried beech blank

We started out by squaring up the stock using a wooden straightedge and winding sticks.

Laying out the mouth and abutments

Next up was laying out the mouth and throat. The mortises are all chopped by hand with a chisel and refined via a series of floats and scrapers. It was my first time using that many different floats, and for what looks like it might be a fairly coarse tool, when sharpened leaves a remarkably good surface.

Chopping the mortise by hand

As we worked through the throat mortise a key was to make sure you don’t overshoot and chop through the abutment.

Scraping
Scraping

One of the last steps in refining the abutment and sides of the throat was to scrape the surface using a scraper chisel.

A very nice scraping chisel that Bill made

This beast of a chisel was made by Bill and heat treated by Peter Ross. It was based on some research Bill did into traditional plane making tools. The long bar of tool steel and handle allow you to put a lot of your weight into it as you scrape the surface flat. The cutting edge is a very steep angle similar to a scraper you’d use with a lathe (upside down compared to the lathe tool) but works well since you are only removing a little bit of material at a time.

Paring away any fuzz

Regular bench chisels are used to clean up any fuzz in the corners. Next up is cutting in for the wedge and cleaning up a cheeks. This is an operation that requires a steady hand and the ability to work to an exacting standard. You want your test wedge, and eventually your actual wedge, to fit tightly against the abutment so the iron does not move when you are working with the plane. I took my time and was very happy with the results.

Fitting with test wedges

In upcoming posts I will document more about my experience in building and finishing this plane.

In the meantime, if you’d like to learn more about Bill Anderson or take a class with him, and I highly encourage you to do so, please check out his website here.

-Bill

The Woodwright’s School

For Labor Day weekend this year I flew down to the Woodwright’s School in Pittsboro, North Carolina to take a 3 day class on making a Jointer Plane with Willard ‘Bill’ Anderson (more on that in an upcoming post).

My flight got in early on Friday and I had the chance to hang out with some friends at the school during the last day of a class on building the Anarchist’s Tool Chest with Chris Schwarz.

The Woodwright's School
The Woodwright’s School

The Woodwright’s School is located in downtown Pittsboro which is a scenic town about 20 minutes from Chapel Hill.

Roy Underhill planing a groove

Don’t let the sometimes quiet streets fool you, once inside the school you are in a lively space full of folks who as passionate about woodworking as you are. Roy was on hand to help students as they worked their way through the last day of week long class on building a traditional English tool chest based on Chris’ book ‘The Anarchist’s Toolchest’.

The class busy working on their Anarchist's Toolchest
The class busy working on their Anarchist’s Toolchest

One of the attractions to Roy’s school is its focus on only using traditional English/American hand tools — there were no whining power tools, no Dozuki saws and no plastic handles to be seen — or at least none that I saw when Roy was making his rounds. 😉

Feeding Bill's bar tab and Khrushchev's shoe
Feeding Bill’s bar tab and Khrushchev’s shoe

If you ever read Roy’s book on public speaking you’ll get why Khruschev’s shoe is an interesting trophy. Beyond the witty stories and advice on how to keep a crowd engaged and entertained, the last chapter on the morning after a presentation was the one that resonated the most with me. Applying the advice therein has improved several lectures I have to make each year.

Drilling out a mortise

Traditional woodworking can feel like a very small world at times — the gentleman in the photo above was also in the class I took earlier this summer on making a Name Stamp with Peter Ross at Roy’s school — even though I was 700+ miles from home I happy to see that I could still run into people I knew.

Roy's corner cabinet
Roy’s corner cabinet

Loitering in the back of the classroom is a corner cupboard you may recognize from Roy’s show. I heard his wife has been waiting on it for a while — which made me feel a tiny bit better about the dresser I owe my wife Alyssa — which reminds me I need to get working on that again….

Chris Schwarz teaching

It was also great to spend some time hanging out with my friends Chris Schwarz and Megan Fitzpatrick including a stroll through Ed’s tool shop above the school.

Chatting with Megan Fitzpatrick

No toolchest is ever completely filled and Ed’s shop has a huge collection of traditional tools on par with some of the best regional tool shows. I tried my best to be good and save my pennies for the Nashua tool show later this month, but I did find some new toys.

Chris' Dutch Tool Chest
Chris’ Dutch Tool Chest

I had fun chatting with everyone, examining some interesting tools and helping to sweep up before a trip to the City Tap — which is a awesome bar just behind the school with great food and drinks.

Roy helping a student

On my way out of the school I saw my old friend Otto Salomon and various other proper woodworking models from the Teacher’s Handbook of Sloyd.

Sloyd Prints
Sloyd Prints

It seems the Woodwright’s School is full of new and old friends that are literally popping out of the woodworking.

If you’d like to learn more about the school, make some new friends, meet up with old friends, or sign up for a class you can check out the school’s website here.

-Bill

The Real Cost Of A Tool

When looking at the historic prices of tools, even after converting the dollar amounts into today’s prices it often does not give a truly accurate representation of what a tool really cost the person who bought it. I remember my first job in high school working in a retail clothing store for ~$5 an hour in 1997 which was the minimum wage in NY at the time. If I went to the store to buy something, part of that decision was always based on a calculation of ‘how many hours did I have to work to buy this item?’

Hammacher Schlemmer Sloyd Knife Ad -- The School Journal July 2, 1898
Hammacher Schlemmer Sloyd Knife Ad — The School Journal July 2, 1898

I wanted to apply this same logic to some of the tools in the 1900 Sloyd tool chest list we talked about here. I did some research and found that the average carpenter in 1899 made $2.30/day**. So that would mean the Sloyd cabinet full of tools which cost $11.91 would be about a week’s worth of wages to purchase  — 5.17 days to be exact.

Hammacher Schlemmer Sloyd Training Bench from 1898 ad in the School Journal

This summer I had a chance to chat a bit with my cousin, master NYC woodworker James Cooper. (Or as he is known to the family — Jim)

Jim has been working in the craft for a long time and it was great to pick his brain a bit on this topic. I’ll recount some of my interview with him here:

“In 1971 we worked for $4/hr (although we were often wrong in estimating the time required) and the only catalog I could find from that era, 1973, is of a small German American maker of chisels and carving tools where Pattern Maker’s Chisels, 6mm – 30mm,  sold for $7.50 – $12.50 ea…….about  2 – 3hrs of labor! Today a competent mechanic in NY can earn $25/ hr and a decent 3/4″ (19mm) chisel can be had for $25 – $40 or rather less work then I exchanged 40 yrs ago. The most important point to emphasize is that whatever the cost, good to great hand tools will last a lifetime+ and, well used and cared for, will feed you for all that time, while never loosing value.

The early 20th Century Bailey 07 plane that I picked up, used but cleaned, at a flee market in 1981 for $100 (which at that time was about the cost of a new British Stanley) is worth $200+ today after my having used it for countless hours to realize 100s of projects over all that time…and it outperformed the British Stanley to boot! The $100 Bailey bought in 1981 was less then a days labor (about $125 / day at that time)!” — Jim Cooper

Taking the 3/4″ firmer gouge as an example I tried to plot it over time, and here are my findings so far:

Year Price Avg Pay Rate Time to earn it Notes
1900 $0.34 $0.23/hr 1.48 hours work $2.30/day, so assuming an 10 hour day for hourly rate at the time
1973 $10.00 $4.00/hr 2.5 Hours Assumption that during this time was potentially a low water mark for availability of quality tools in the US — all the old makers were on their way out, and new high end tools were only getting started
1981 $20.50 $12.50/hr 1.64 Hours Based on estimate of about $125/day and assuming a 10 hour day. Price of tool inflation adjusted from 1973 data point. Note also this was the time of a large global recession.
2013 $49.99 $25.00/hr 2 Hours Based on current price of a Henry Taylor 3/4″ in-cannel gouge from Traditional Woodworker which is very similar to that original gouge in the Sloyd tool chest

If any of my readers have some additional data points, I’d be happy to flesh this out more — especially before and after the world wars. So if you have an old tool catalog with prices from an earlier time (especially for a 3/4″ firmer gouge) or recall and are willing to share your pay rate at an earlier time (either hourly or daily) I would be happy to flesh this out more and see what else the data can teach us.

My conclusions based on all of this?
The availability of good quality tools, societies’ willingness to pay a craftsman a fair wage, tax codes, the macro-economic climate and the ability to find work in that field have all fluctuated over time which makes it hard to draw a lot of concrete conclusions without befriending an economist or gathering a lot more data. But having said that, I think all craftsmen and women have at one time or another done the mental calculation of current wage versus the price of that new tool and thought to themselves ‘I really need to charge a higher rate’ 😉

What to you think?  There are only so many working hours in a lifetime. Are you spending more on tools today relative to your hourly wage compared to earlier decades? Or are you coping in other ways? (Refurbishing old tools etc which still takes up a lot of time). I’m interested to hear your thoughts in the comments below.

-Bill

** I used the following source for that pay rate data —  http://www.nber.org/chapters/c2486.pdf

2013 BAC Traditional Building Intensive

Most people relax on their summer vacation. After a day on a beach I get antsy and need to keep moving, exploring and building. For the second year in a row I spent my vacation last week sharing my passion for the craft by teaching the 8 day intensive that is part of the semester long ‘Traditional Building’ class I teach at the Boston Architectural College (BAC) in association with the North Bennett Street School.

The Paul Revere House, Boston, MA

The class is part of the low residency Master’s Degree in Historic Preservation at the BAC. In this 8 week long class, 7 weeks are online with a series of interactive lectures/discussions and traditional coursework and one 8 day week is spent with the entire class in Boston participating in a hands on format. This works great for students who need to juggle work, family and other obligations while also seeking a quality degree on the way to a new or expanded career path.

Touring historic homes and buildings with Steve O'Shaughnessy
Touring historic homes and buildings with Steve O’Shaughnessy

On the first full day of class we took a walking tour of the city with Steve O’Shaughnessy (NBSS Preservation Carpentry Instructor) visiting several historic house museums and notable structures in Boston. Having worked for Historic New England, Steve is an excellent tour guide with a lot of great information to share.

Traditional Woodworking with Bill Rainford

The second day I spent the morning teaching the basics of traditional woodworking — using a smoothing plane, molding planes, drilling, chiseling and other basic bench work.

Field Work at Fenway Studios

In the afternoon I taught the class about window restoration, window reproduction and condition assessment reports. We then went out to do some field work at the historic Fenway Studios.

The Saugus Ironworks

Next up we visited the Saugus Ironworks which is a National Historic Park. Senior Park Ranger Curtis White was on hand to guide us through this landmark site and enthusiastically share with us his latest research about historic ironwork. (He’s a great resource and if you ever visit the park and run into him, tell him I sent you. )

Ranger Curtis White explaining how the ironworks produced iron

Robert Adam (Who started the Preservation Carpentry program at NBSS and is a noted preservation consultant) lectured about historic hardware and fasteners.

Robert Adam talking about historic hardware and fasteners

Robert’s brings a portion of his comprehensive collection of historic hardware and fasteners allowing students to closely examine these items up close and differentiate fine details.

Historic Hardware by Edward Guy

Sara Chase, a nationally known paint analysis expert and preservation consultant (+ advisor to the NBSS Preservation Carpentry Program) taught a session on traditional paints and their manufacture.

Making paint with Sara Chase

During this hands on session students not only learned how to identify various kinds of historic paints they also had the chance to mix their own paints in a traditional way and try their hand at applying them.

Mulling historic paint with Sara Chase

After a visit to the MFA in Boston, next up was NBSS Preservation Carpentry Instructor Rich Friberg to teach the basics of Timber Framing.

Rich Friberg Timber Framing Lesson

Rich brings with him a deep well of knowledge and a passion for teaching this craft.

Jennifer wielding the 'Beetle' mallet
Jennifer wielding the ‘Beetle’ mallet

Students had a chance to layout and cut mortise and tenon joints….

Joey with the 'Commander' mallet
Joey with the ‘Commander’ mallet

try out some joinery on the large scale with traditional timber framing tools…

Lisa mortising
Lisa mortising

and fit the joints they made.

Completed Timber Frame Sill

The completed 8′ x 10′ sill shown above would be the first major element of a modest sized barn or outbuilding.

Matt Gillard teaching some basics of Masonry

Preservation Mason Matt Gillard (owner of Colonial Brick Works) and Matt Blanchette gave a great lecture on traditional masonry tools, techniques and evolution.

Rachel cleaning off some recovered bricks

This hands on session allowed students to mix traditional mortar, clean bricks, re-point, repair, lay brick and joint mortar.

Masonry group shot
Masonry group shot

At the end of the week the students also shared their presentations and research proposals. To celebrate the end of this very intensive week the Director of the Historic Preservation (HP) program Robert Ogle presented each student with an ‘I survived the HP intensive week 2013 @ the BAC’ Tee Shirt to commemorate the occasion. This well earned reward is one of three major intensives they will need to survive in order to complete the program.

'I survived the BAC Historic Preservation Intensive 2013' Tee Shirts
‘I survived the BAC Historic Preservation Intensive 2013’ Tee Shirts

Given that we all survived this very intensive week and you survived reading this marathon blog post, I think it’s time for all of us to rest up and prep for next year. 🙂

You can learn more about this class and the program here or go direct to the video here.

-Bill

What does your tool chest say about you?

The spartan exterior of many traditional tool chests was as much a security system as it was a design element. When closed the clean lines and rugged exterior looked did not draw your attention and looked much the same as many other stoutly built traveling chests and trunks you’d see on a given day. While unassuming in travel or quietly sitting in the back of the shop, many of these chests contained a far more interesting interior.

Beautiful Tool Chest from 1849 with extensive inlay work, divided tills, half lock etc
Beautiful Tool Chest from 1849 with extensive inlay work, divided tills, half lock etc. (The maker of this chest clearly must have loved card games)

How often do you see carpenter with a bucket of rusty tools and a paint splattered truck and wondered about ‘If this is how they take care of their tools and truck, what kind of slapdash work would they do for me?’

Beyond just a safe and secure place to store your tools, the way you build and customize your chest says a lot about you and how you work. A clean and orderly chest, worksite, and truck can be a great advertisement for the quality of work you do. I’ve found folks are drawn to a nice chest like moths to a light bulb.

Large chest with inlaid lid
Large joiner’s chest with inlaid lid

What do you look for in a solid chest?

  • It should be easy to find the tools you want to use and quickly pack and unpack them
  • Invest in strong but light materials like Eastern White Pine and use denser woods only for wear parts
  • Do not get caught up with fancy inlays, hidden compartments and nest after nest of drawers
  • Don’t skimp on the hardware, screws and finish — they will see a lot of hard use over the life of the chest
  • A strong lid, well secured with a tight fitting dust seal
Front view with drawer's opened
Front view with drawer’s opened

When I built a traveling toolchest for my own work I went with a utilitarian design that functioned much like rolling luggage of today. Inside there is a tray on top,  a series of removable drawers to hold planes and small items and some open cubbies that were easily accessible and could be secured behind locking doors. The heavy chest lifts, telescoping handle and wheels make it manageable to move. The drawers can be swapped out depending on the needs of the current project and I could vary the height as needed — having a double deep drawer etc.

Rear view with luggage style handle extended

Tips for laying out the interior of your own chest:

  • Design your chest from the inside out to fit your current tools and leave room to grow or modify as your tools and interests change over the years
  • Start with your largest tool — for most it is a No. 7 or No.8 Jointer Plane or panel saws — and segment from there
  • Tools you use most often should be the easiest to find  — marking tools, squares, bench chisels, saws etc
  • Make something you are proud of — you’ll be using this chest for years to come and it will be regularly inspected by all your woodworking friends
  • Don’t be afraid to experiment — the great chests all evolved from earlier models, but temper that by remembering that simplicity and expressed construction will often serve you better than lots of glitz without substance

The above principles guide me as I build my own tool chests I and I hope they will help you as get out into the shop and build a chest that is a reflection of your woodworking skills and personality.

You can learn more about my thoughts on Tool Chests on my blog here.

-Bill Rainford

P.S. The above post is an extended version of what I wrote up for my friends over at Popular Woodworking as part of their Daily Woodworking Blog which you can find here.

Lights, Camera, Action….

I’m happy to report that the companion video series for my recent Fine Homebuilding article ‘Master Carpenter: Reproducing Traditional Moldings’ went online today.

Behind the scenes. (Photo courtesy of the Taunton Press)

I had a great time making the videos and I hope you will enjoy watching them. Several of them are free, though a few of them are reserved for FineHomebuilding.com (FHB) members only.

Bill Rainford using molding planes to reproduce traditional molding profiles. (Photo courtesy of the Taunton Press)

Details below as they were presented this morning in Fine Homebuilding’s e-newsletter and where to find the videos:

Fine Homebuilding Logo

In this Master Carpenter series, Bill Rainford shows how to get period details right with both power and hand tools.

Watch the intro video

Plus watch more free episodes from this series:
Interview with the craftsman
Bill chats about how traditional carpentry is better for his body and soul
An inside look at old-fashioned home building
Bill and senior editor Chuck Bickford visit the Alvah Kittredge House and dig into its traditional construction details

Sign in as a member or sign up for a FREE 14-day trial to see this complete series and much more.

Take care,
-Bill