A good carpenter can be hard to find. Many of us like to think that in earlier times there were was an abundance of exceptional carpenters, but this sort of lament is not a new phenomenon. Check out the interesting except below from the 1850s:
“The Author’s Experience.
These facts and reflections have been impressing themselves upon the mind of the Author of this work for twenty years past, while he has been serving the Public as a practical carpenter. During much of this time it has been his fortune to have large jobs on hand, employing many journeymen mechanics, who claimed to understand their trade, and demanded full wages. But it has been one of the most serious and oppressive of his cares, that these journeymen knew so little of their business.
Few Good Carpenters
They had, by habit, acquired the use of tools, and could perform a job of work after it had been laid out for them; but not more than one man in ten could himself lay out a frame readily and correctly.
Why Apprentices do not Learn
Now, it is not commonly because apprentices are unwilling to learn, or incapable of learning, that this is so, but it is because they have not the adequate instruction to enable them to become master-workmen.”
— William E. Bell ‘Carpentry Made Easy: The Science and Art of Framing’ (1858)
I think Bell’s comments ring as true today as they did when he wrote the above in 1858. I won’t focus on the lazy workmen uninterested in learning, but I will focus on those who want to keep learning new skills. As with many of life’s pursuits, you’ll get out of it what you put into it, and there is much to be learned if you know where to look.
Finding a good carpenter
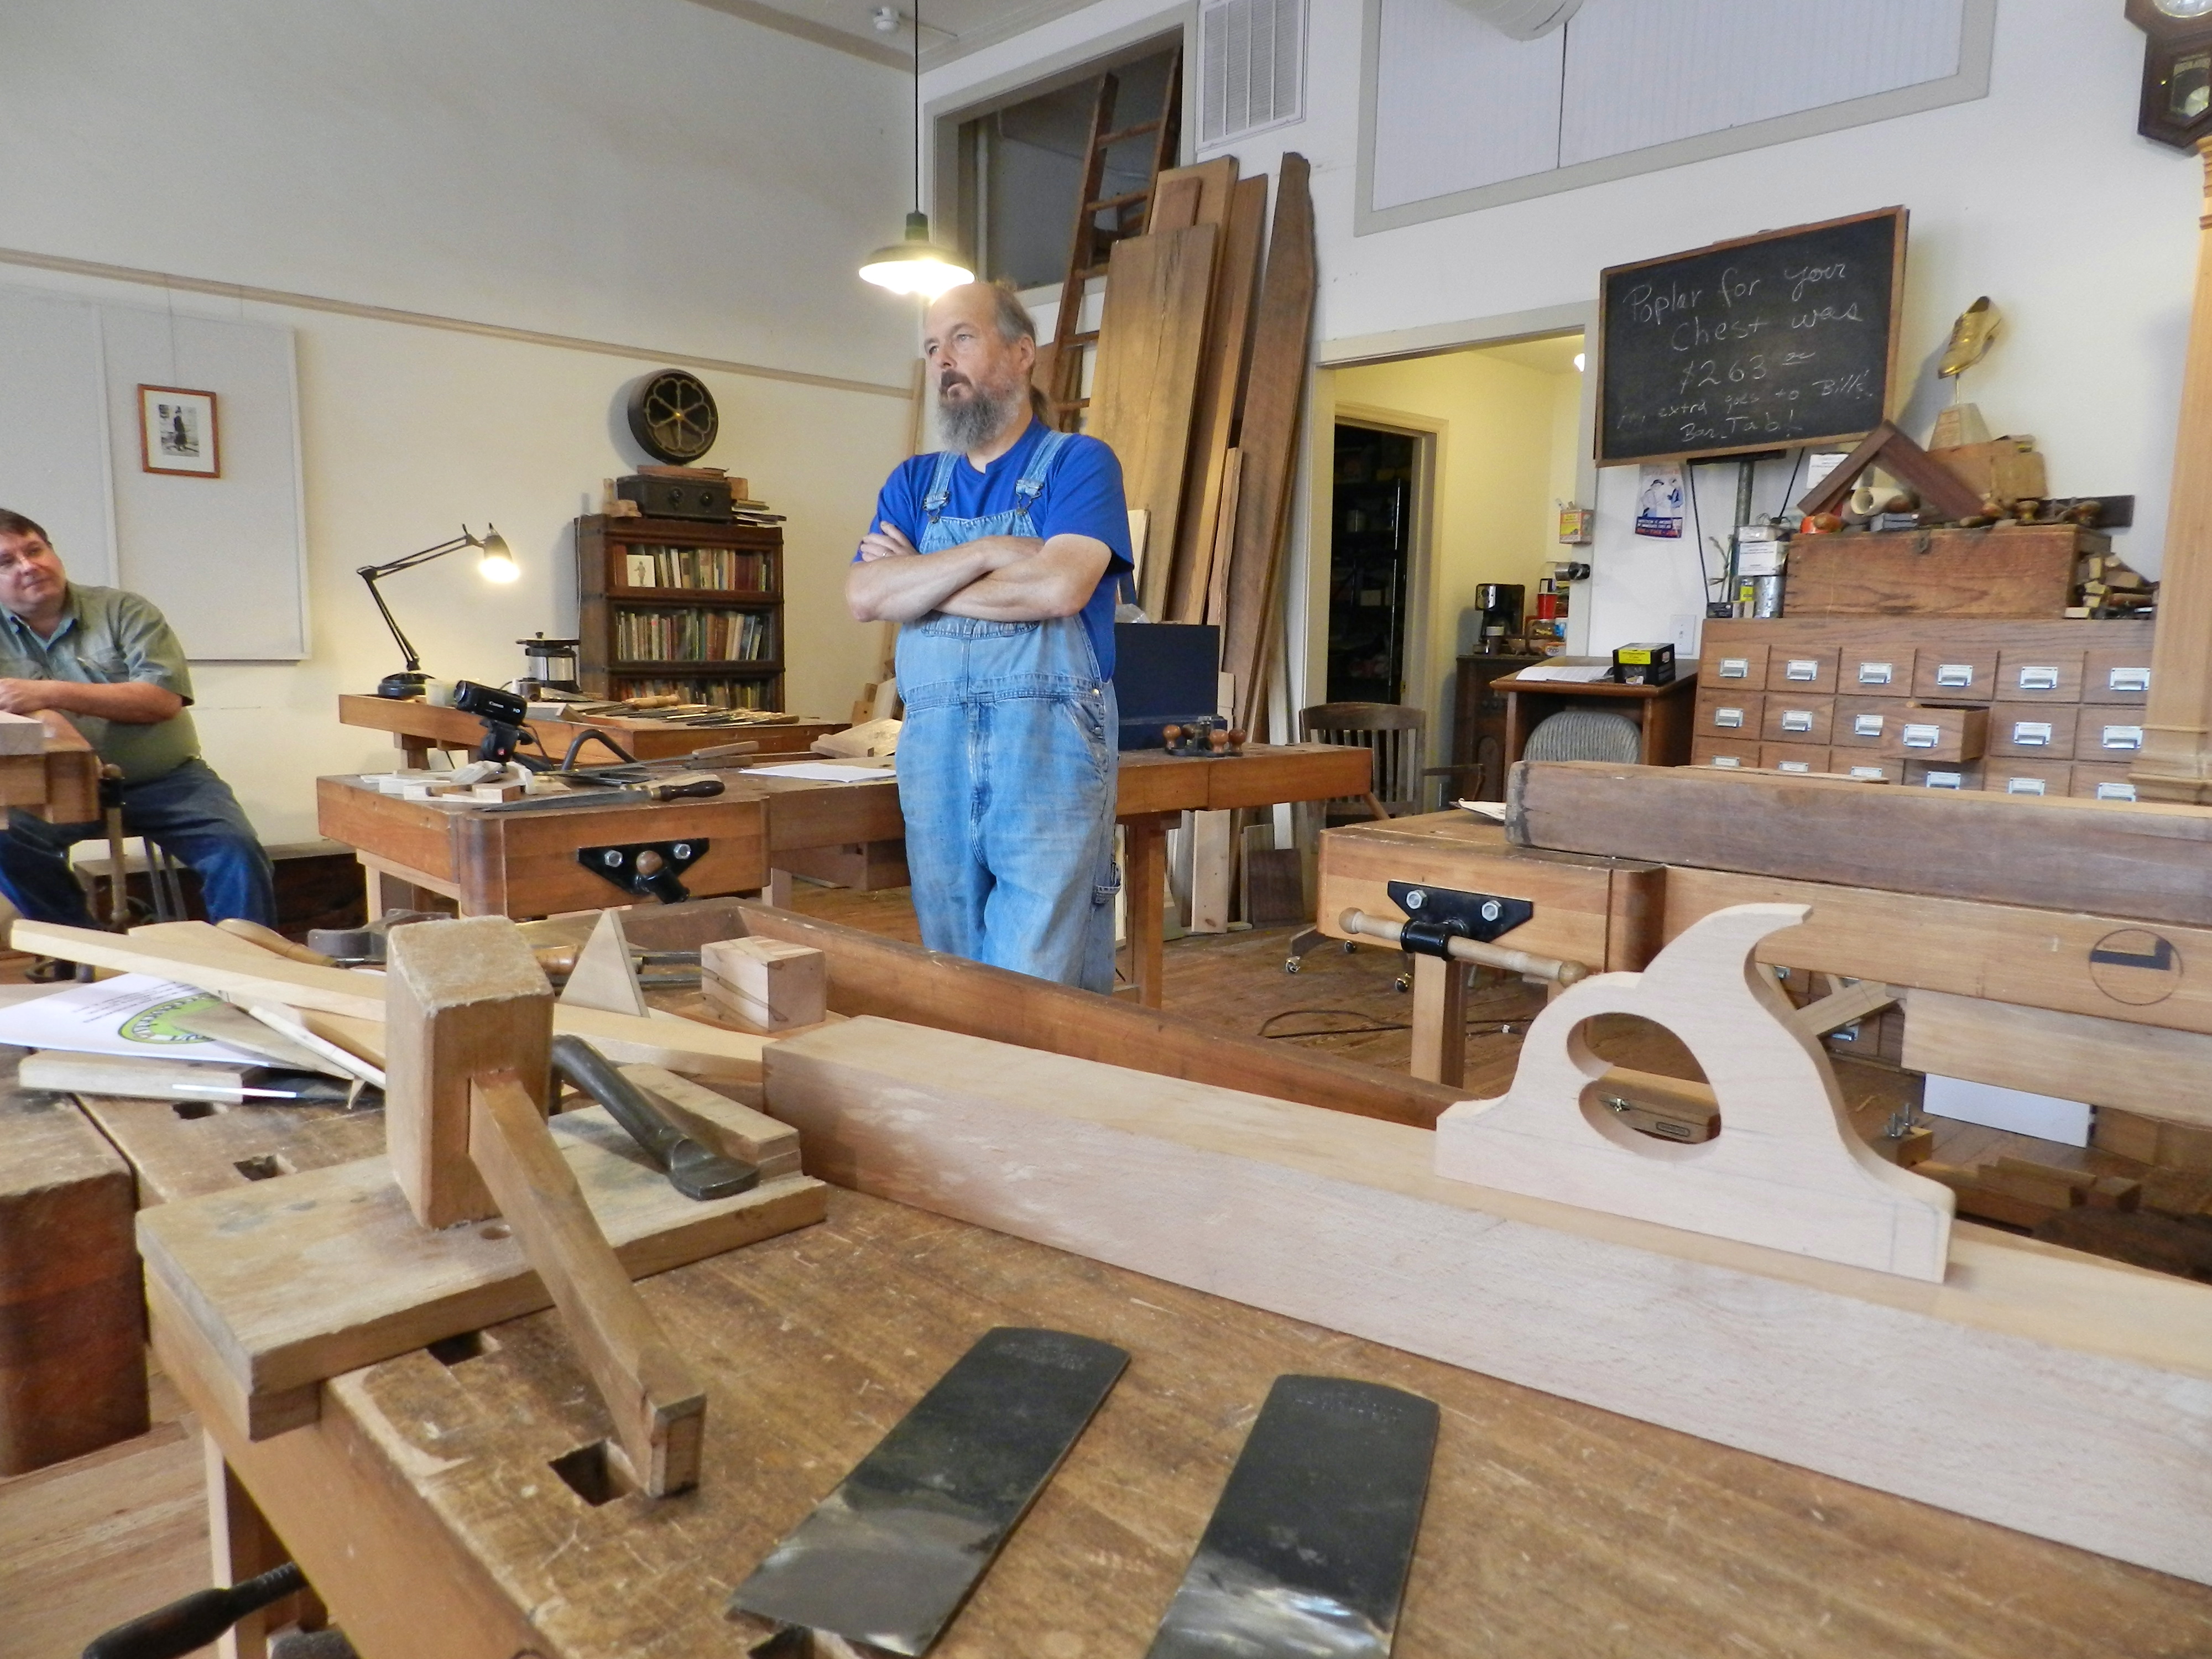
Most of the best carpenters and woodworkers I know get the majority of their work via word of mouth and are booking months out at a time and thus don’t have to invest much in marketing. If you’re looking to find one of the ‘few good carpenters’, ask around at a local woodworking school, shop, guild, club or friends and family for referrals and interview your next carpenter.
Learning More
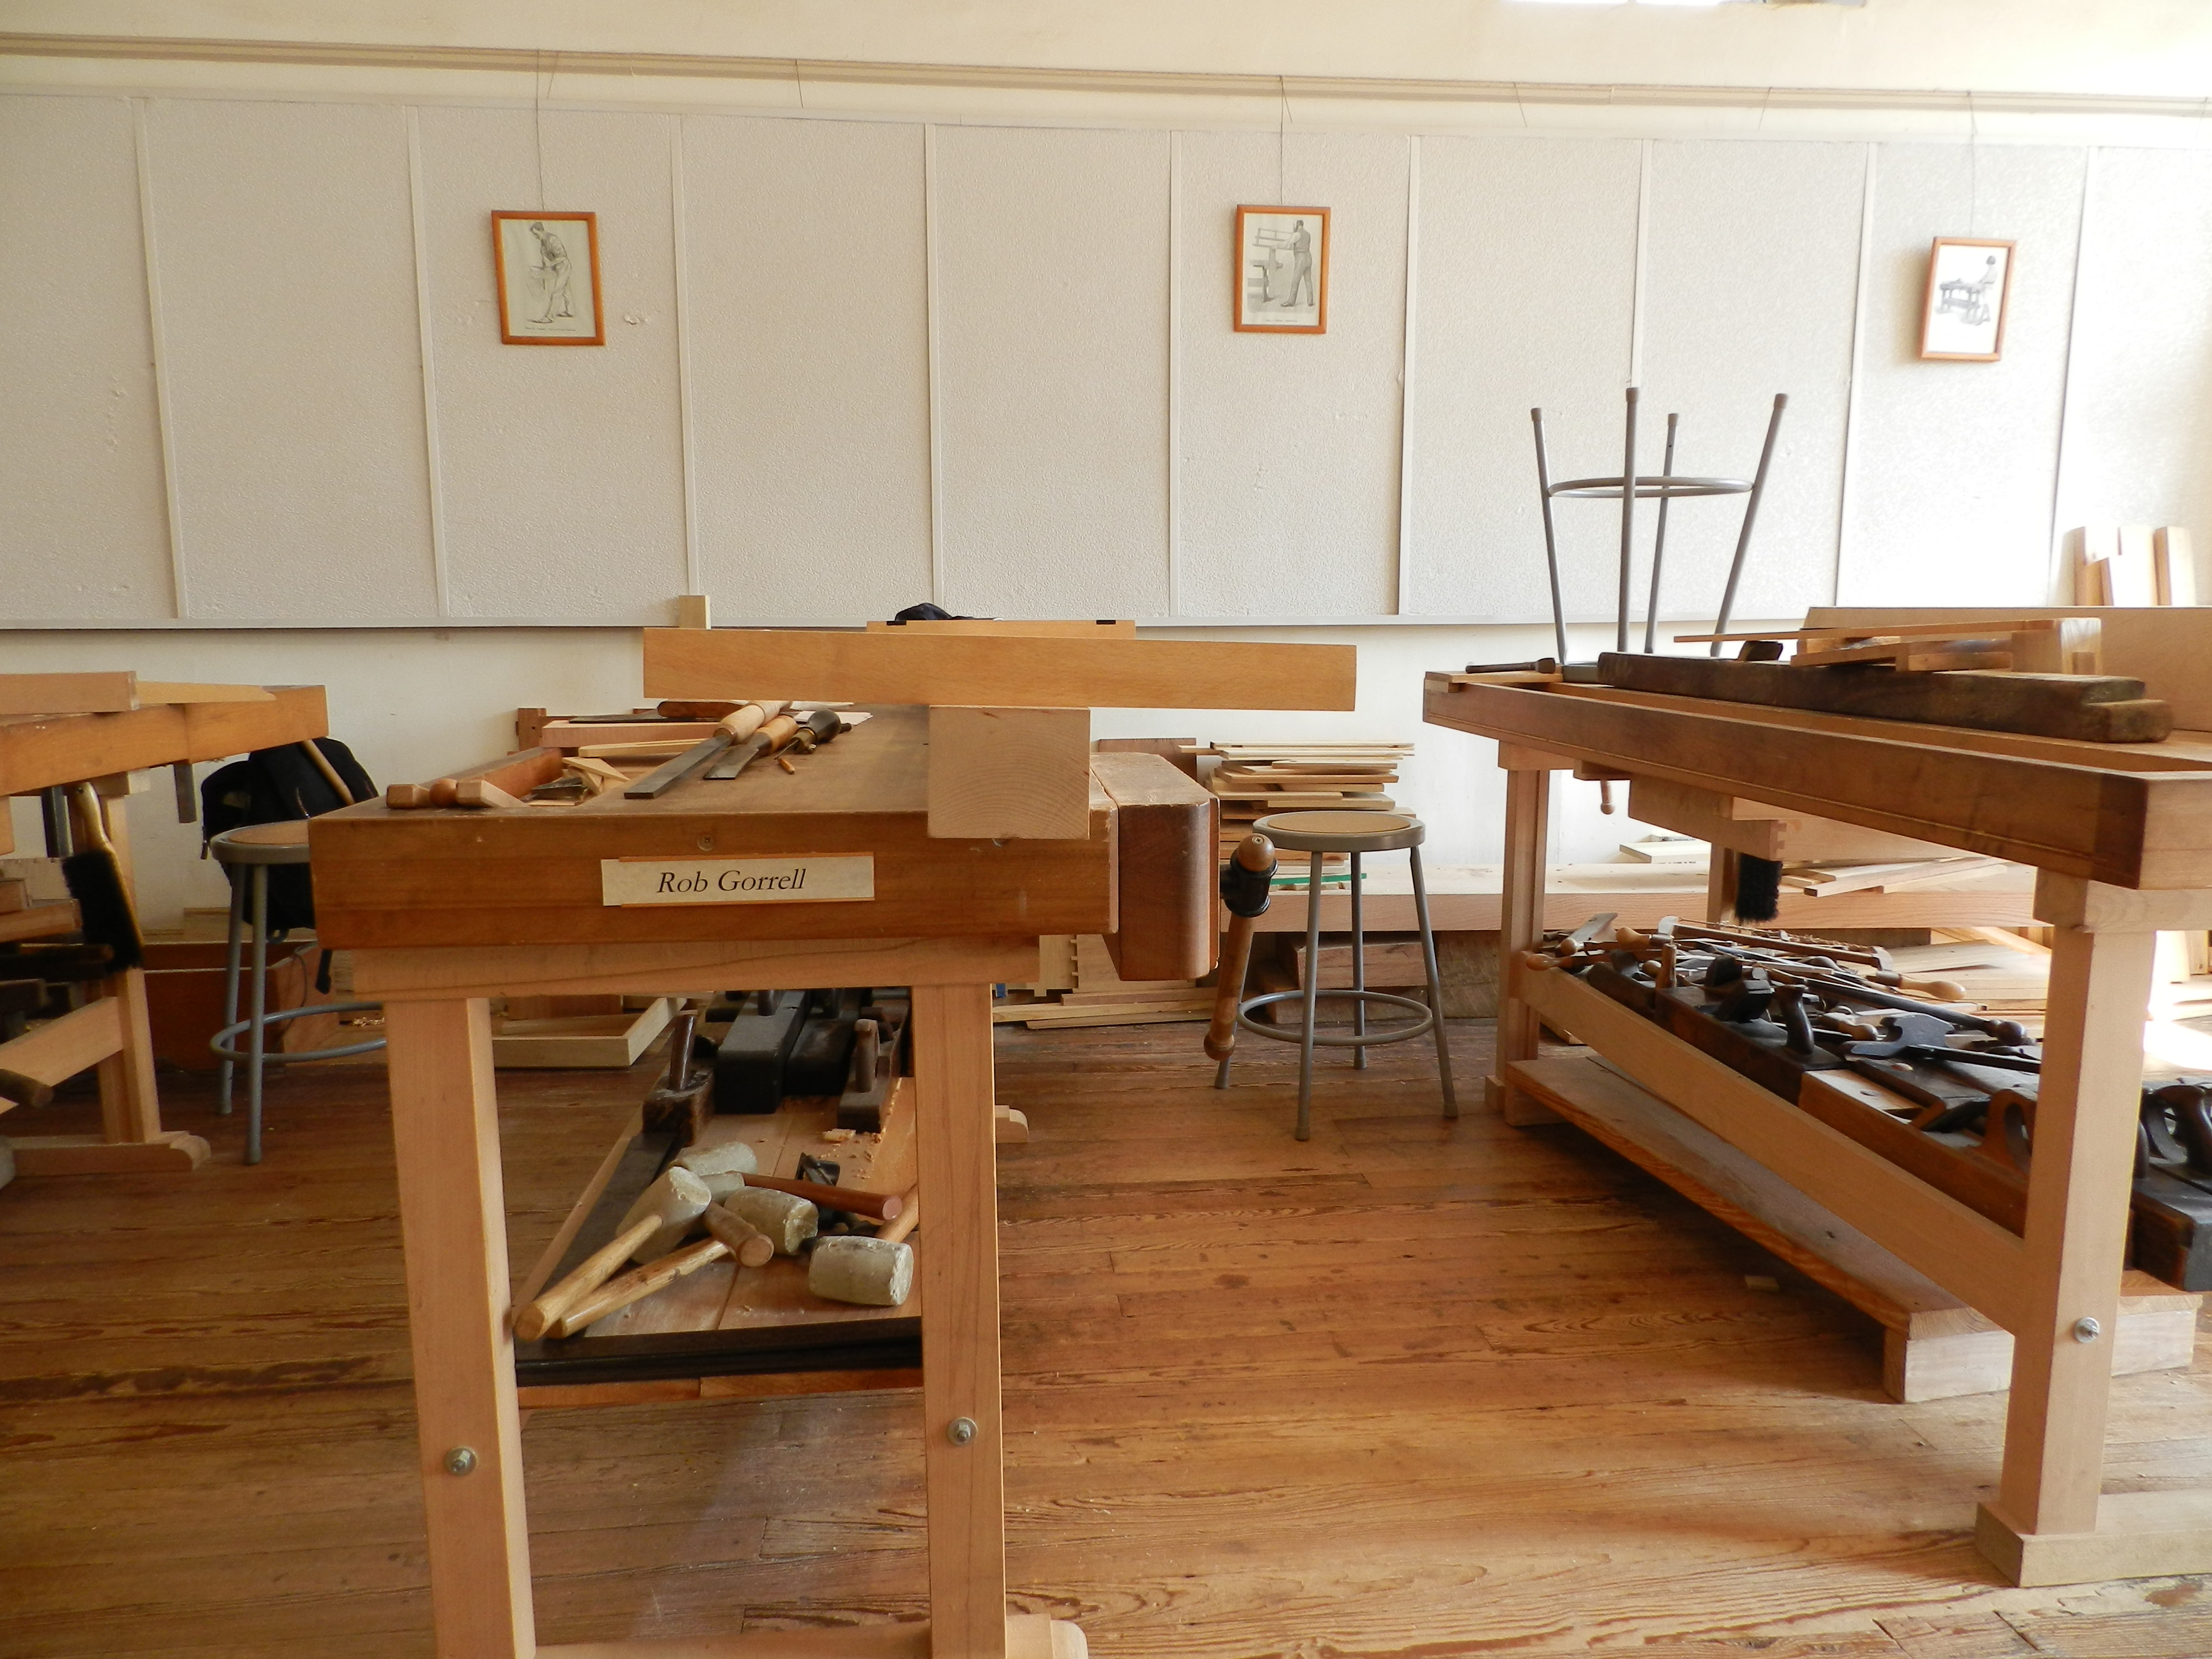
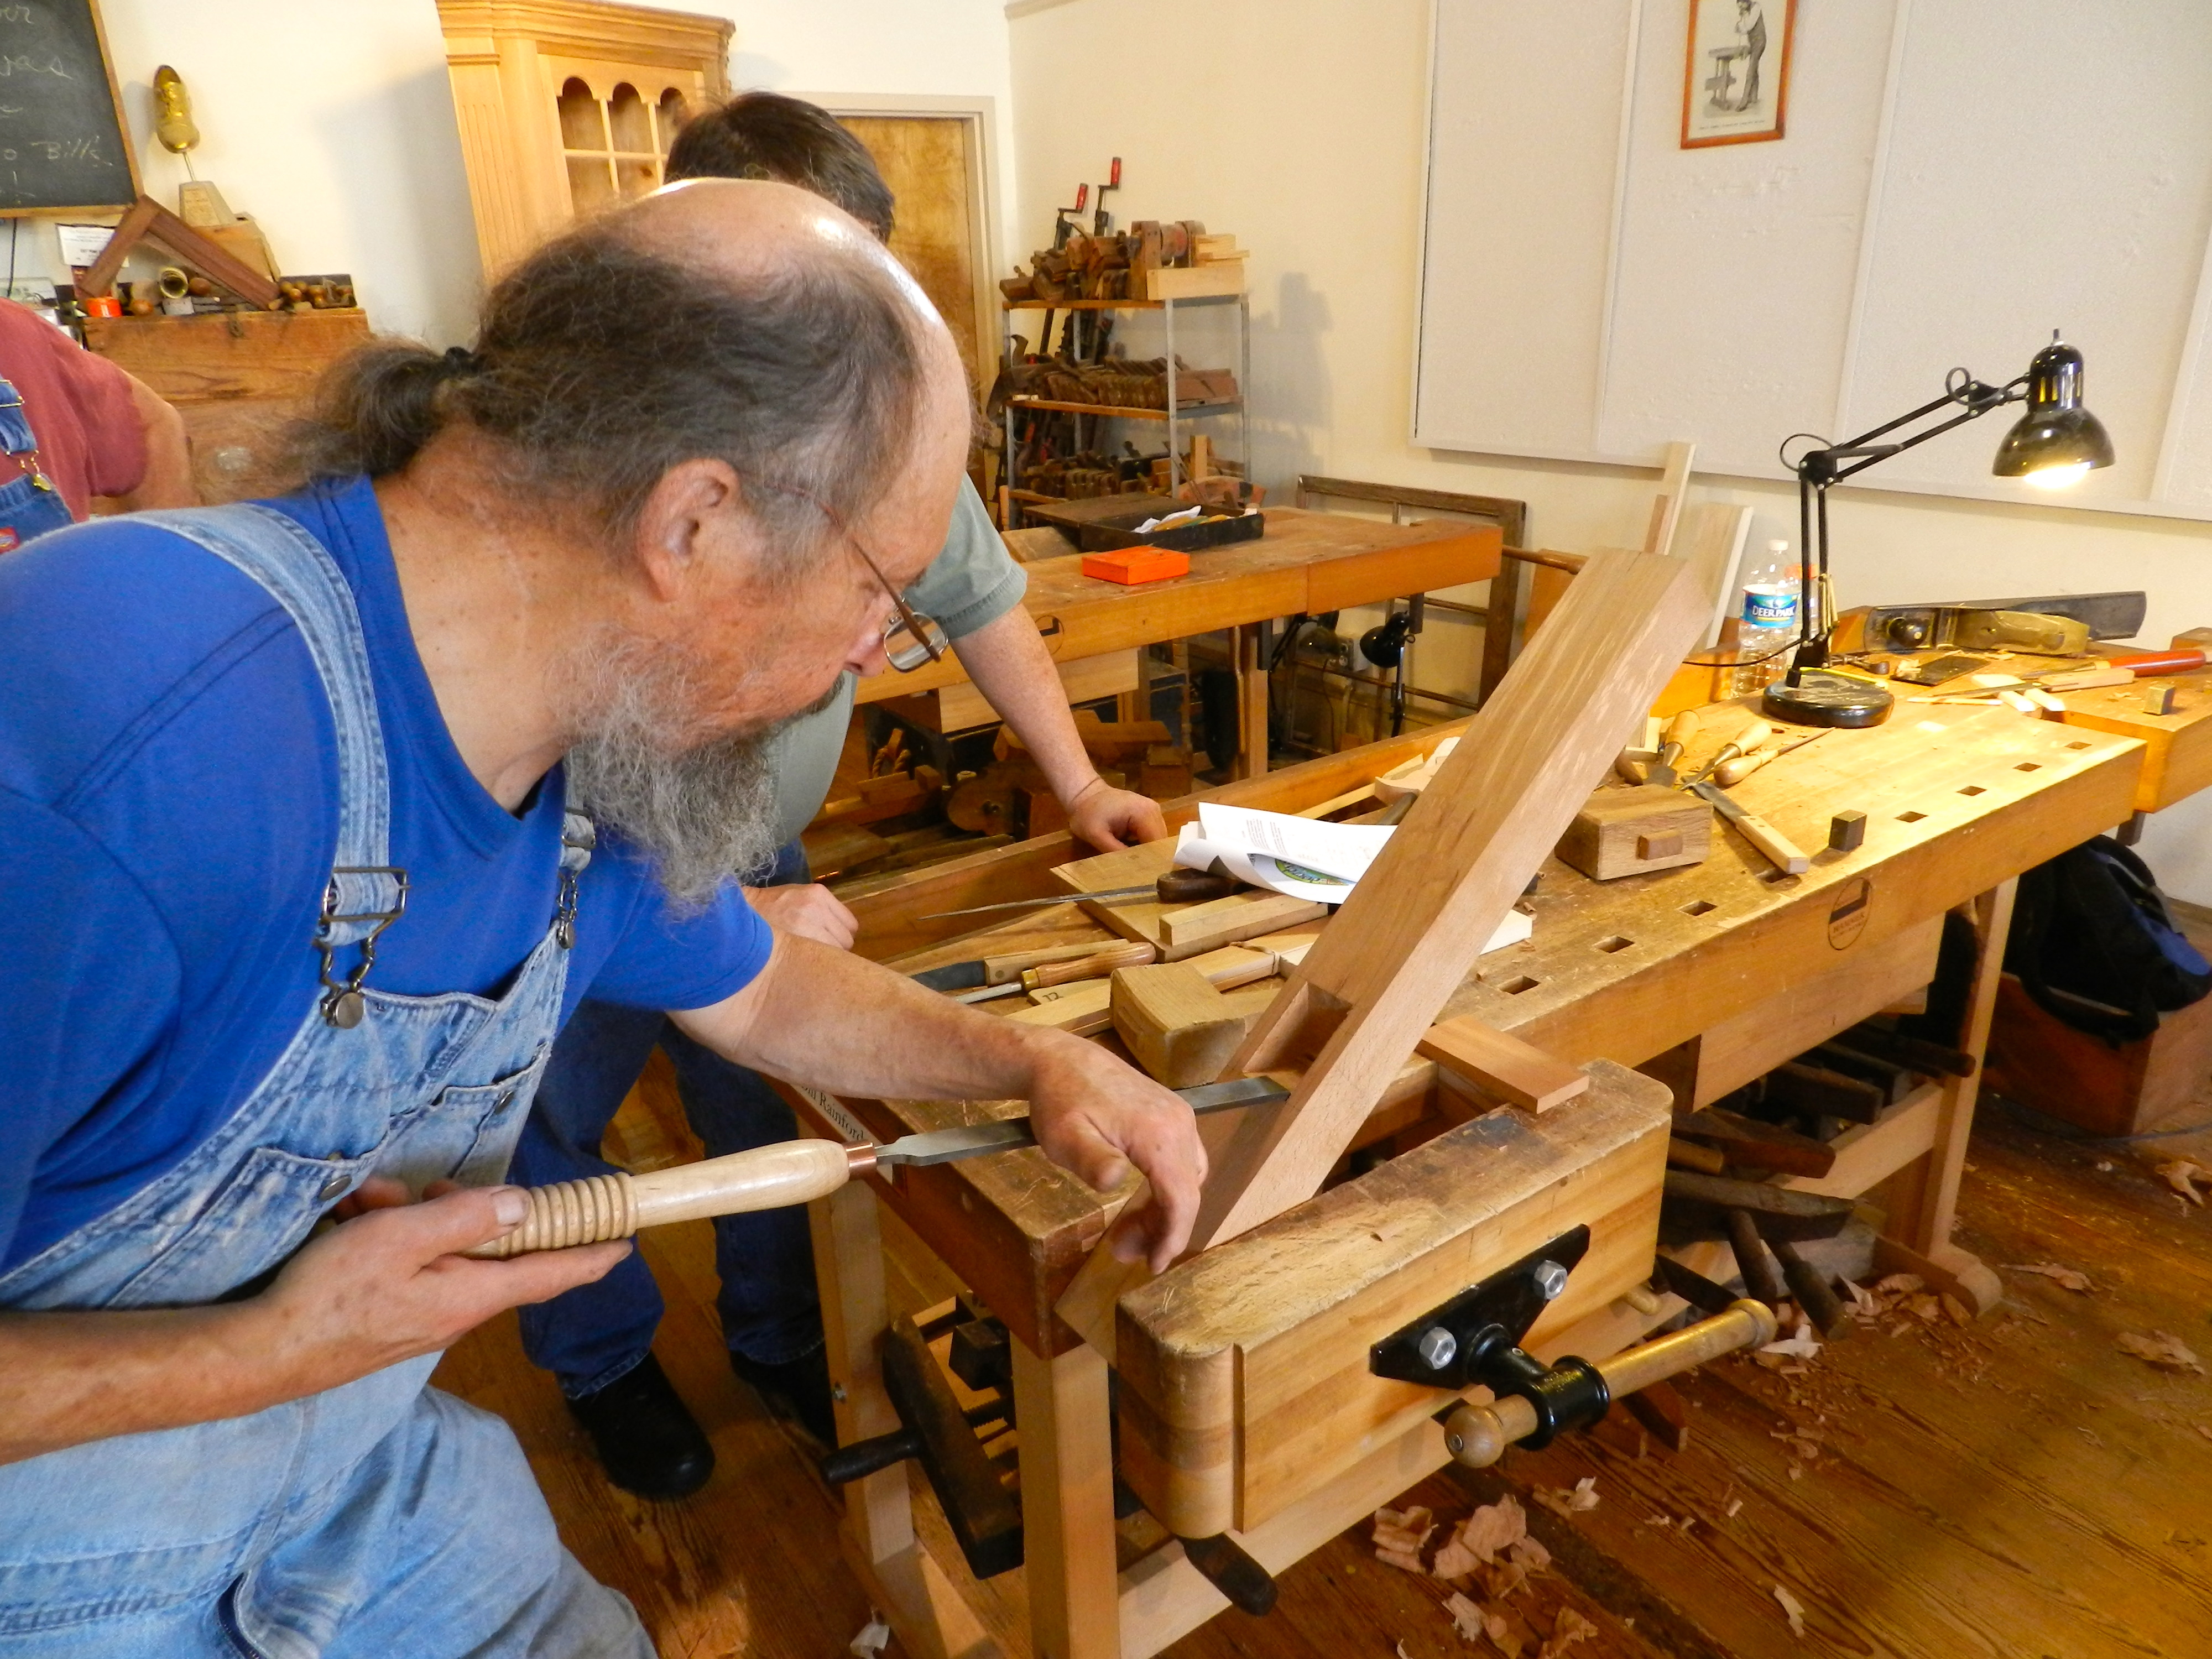
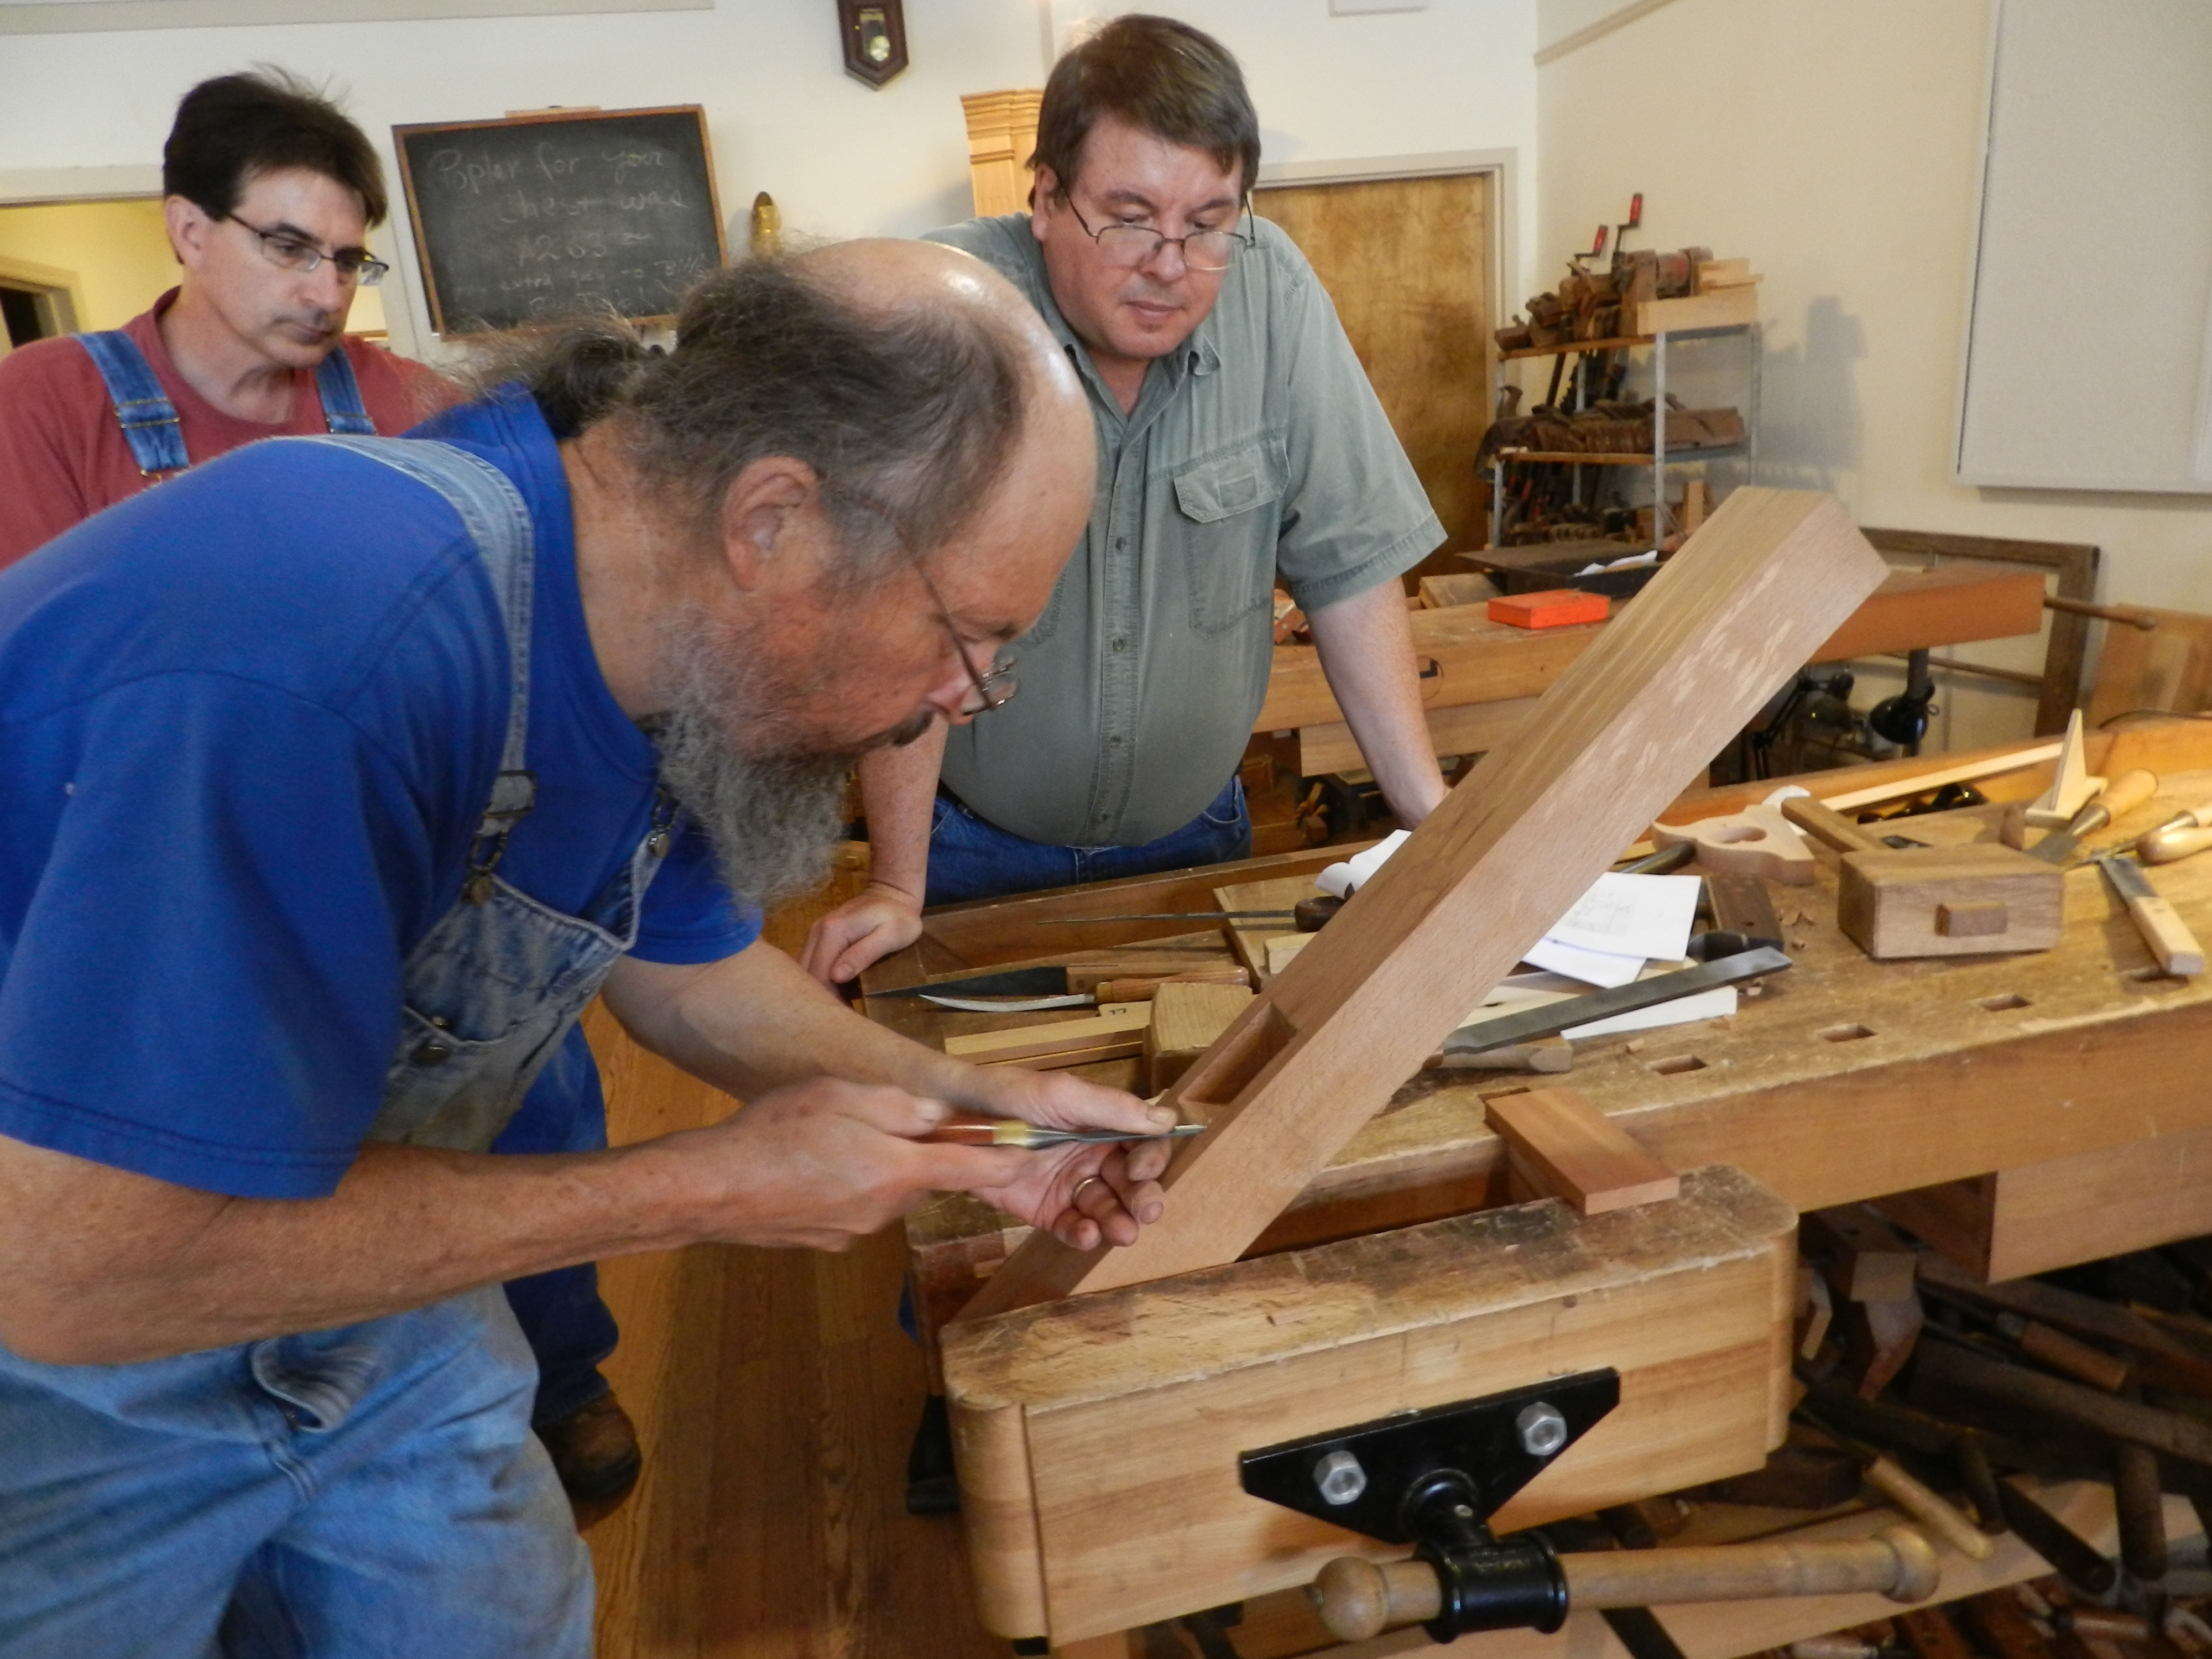
One of the best ways to learn a woodworking skill is to take a class or workshop.
I have a few upcoming workshops this spring at the North Bennet Street School (details below) and there are some seats available if you are interested in joining me.

Making Traditional Moldings Using Hand Planes @ The North Bennet Street School
Saturday, April 12 – Sunday April 13 2014
8:30 AM – 4:30 PM Register
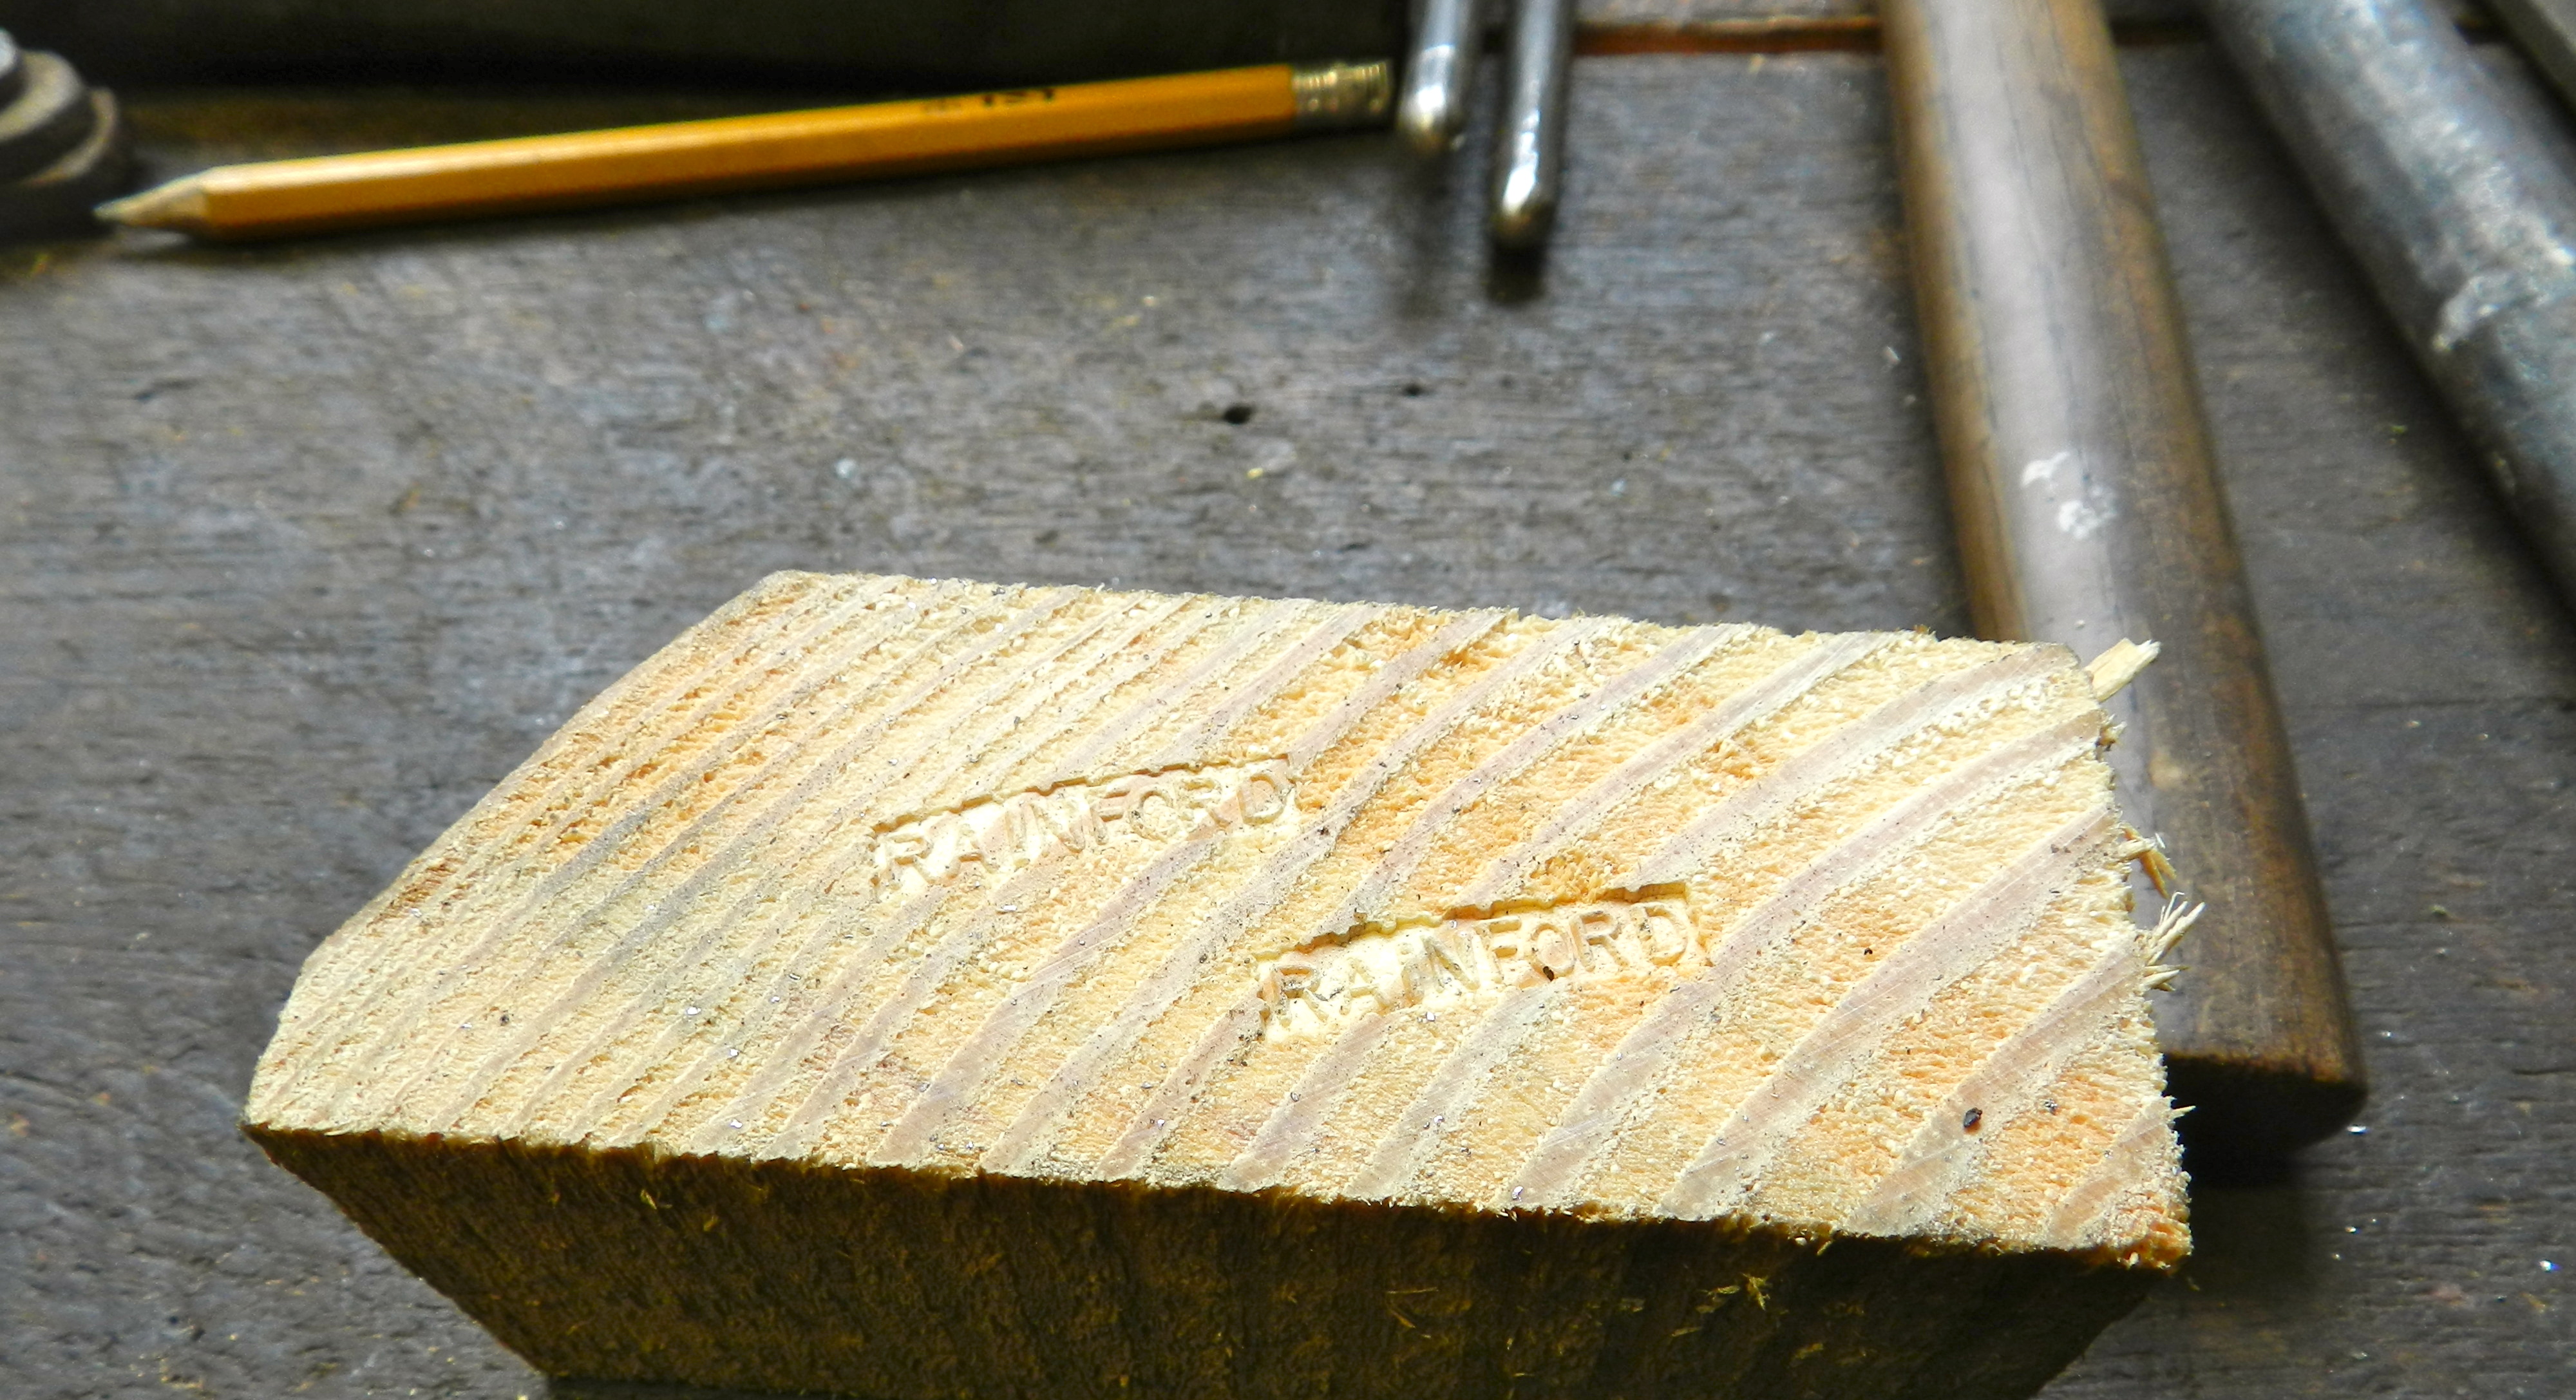
Instructor: Bill Rainford
$365
Learn to use traditional molding and joinery planes to produce beautiful traditional molding profiles. Learn the basics of tuning and using these planes. Build a basic sticking board, used to hold the moldings you are making. Layout and execute historic profiles. We discuss the history of traditional moldings, examine planes/profiles students bring (optional) and, if there is time, an introduction to carved moldings.

Introduction To Shutters @ The North Bennet Street School
Saturday, March 15 – Sunday March 16, 2014
8:30 AM – 4:30 PM Register
Instructor: Bill Rainford
$365
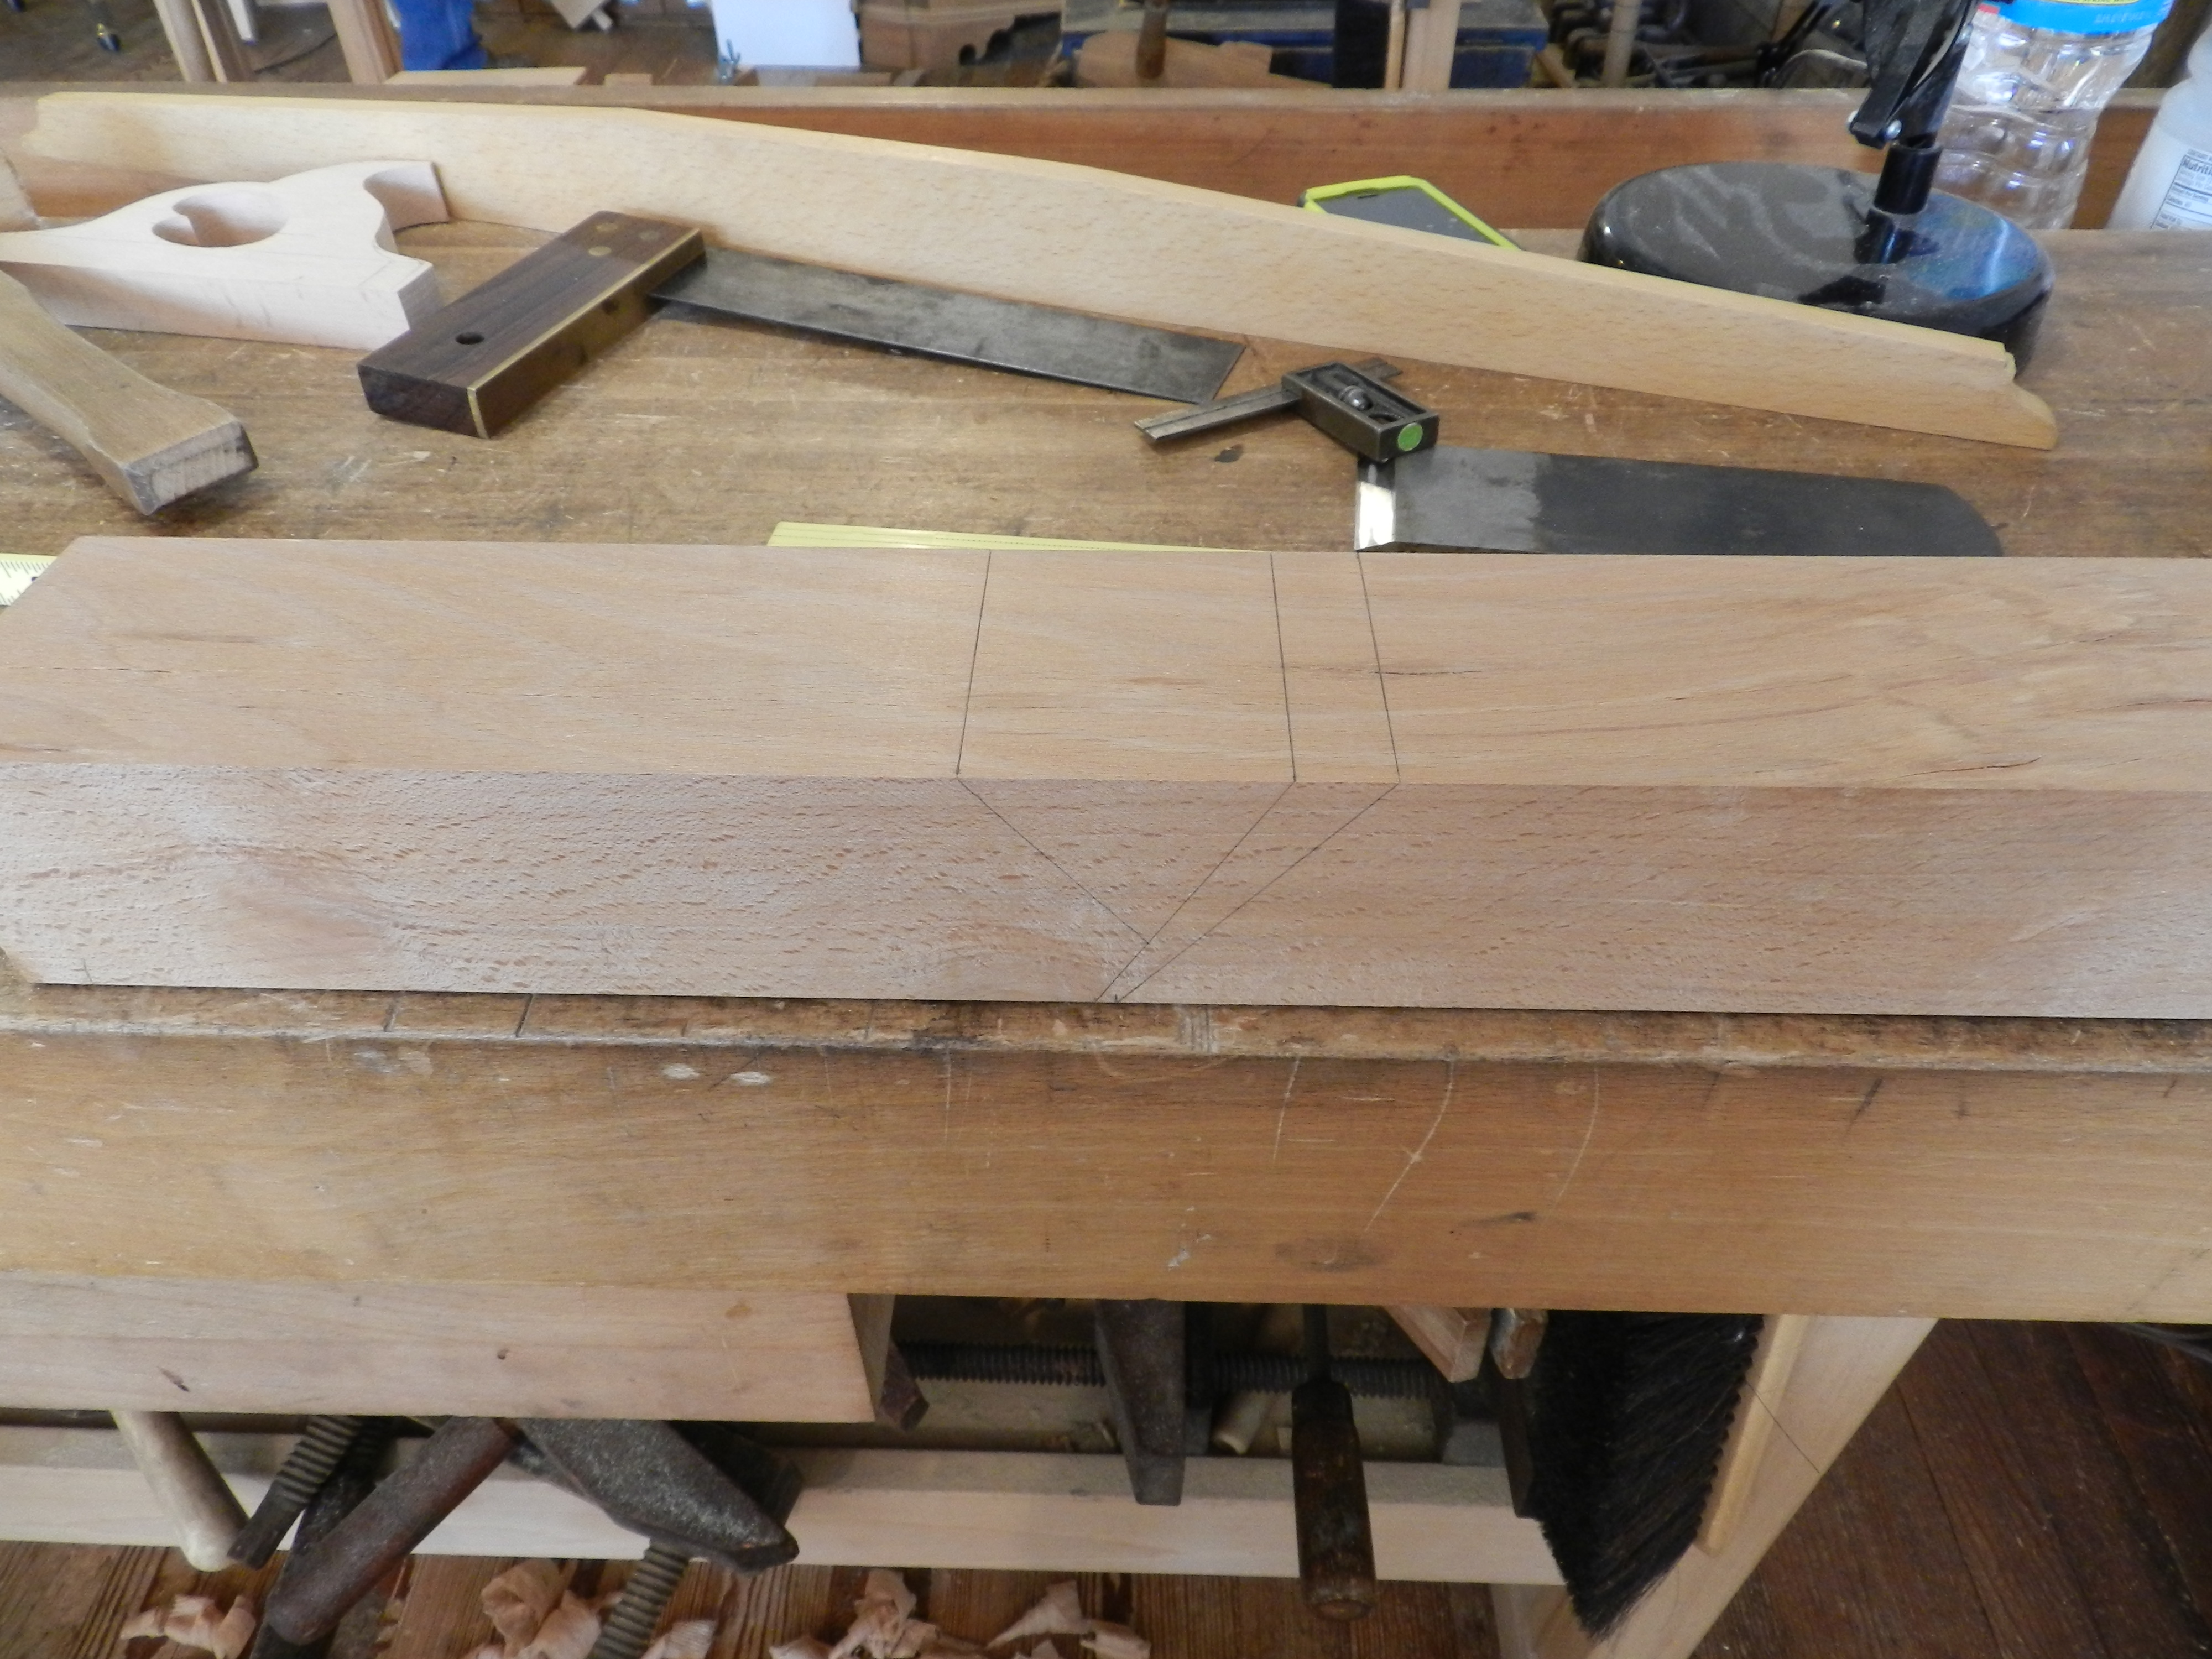
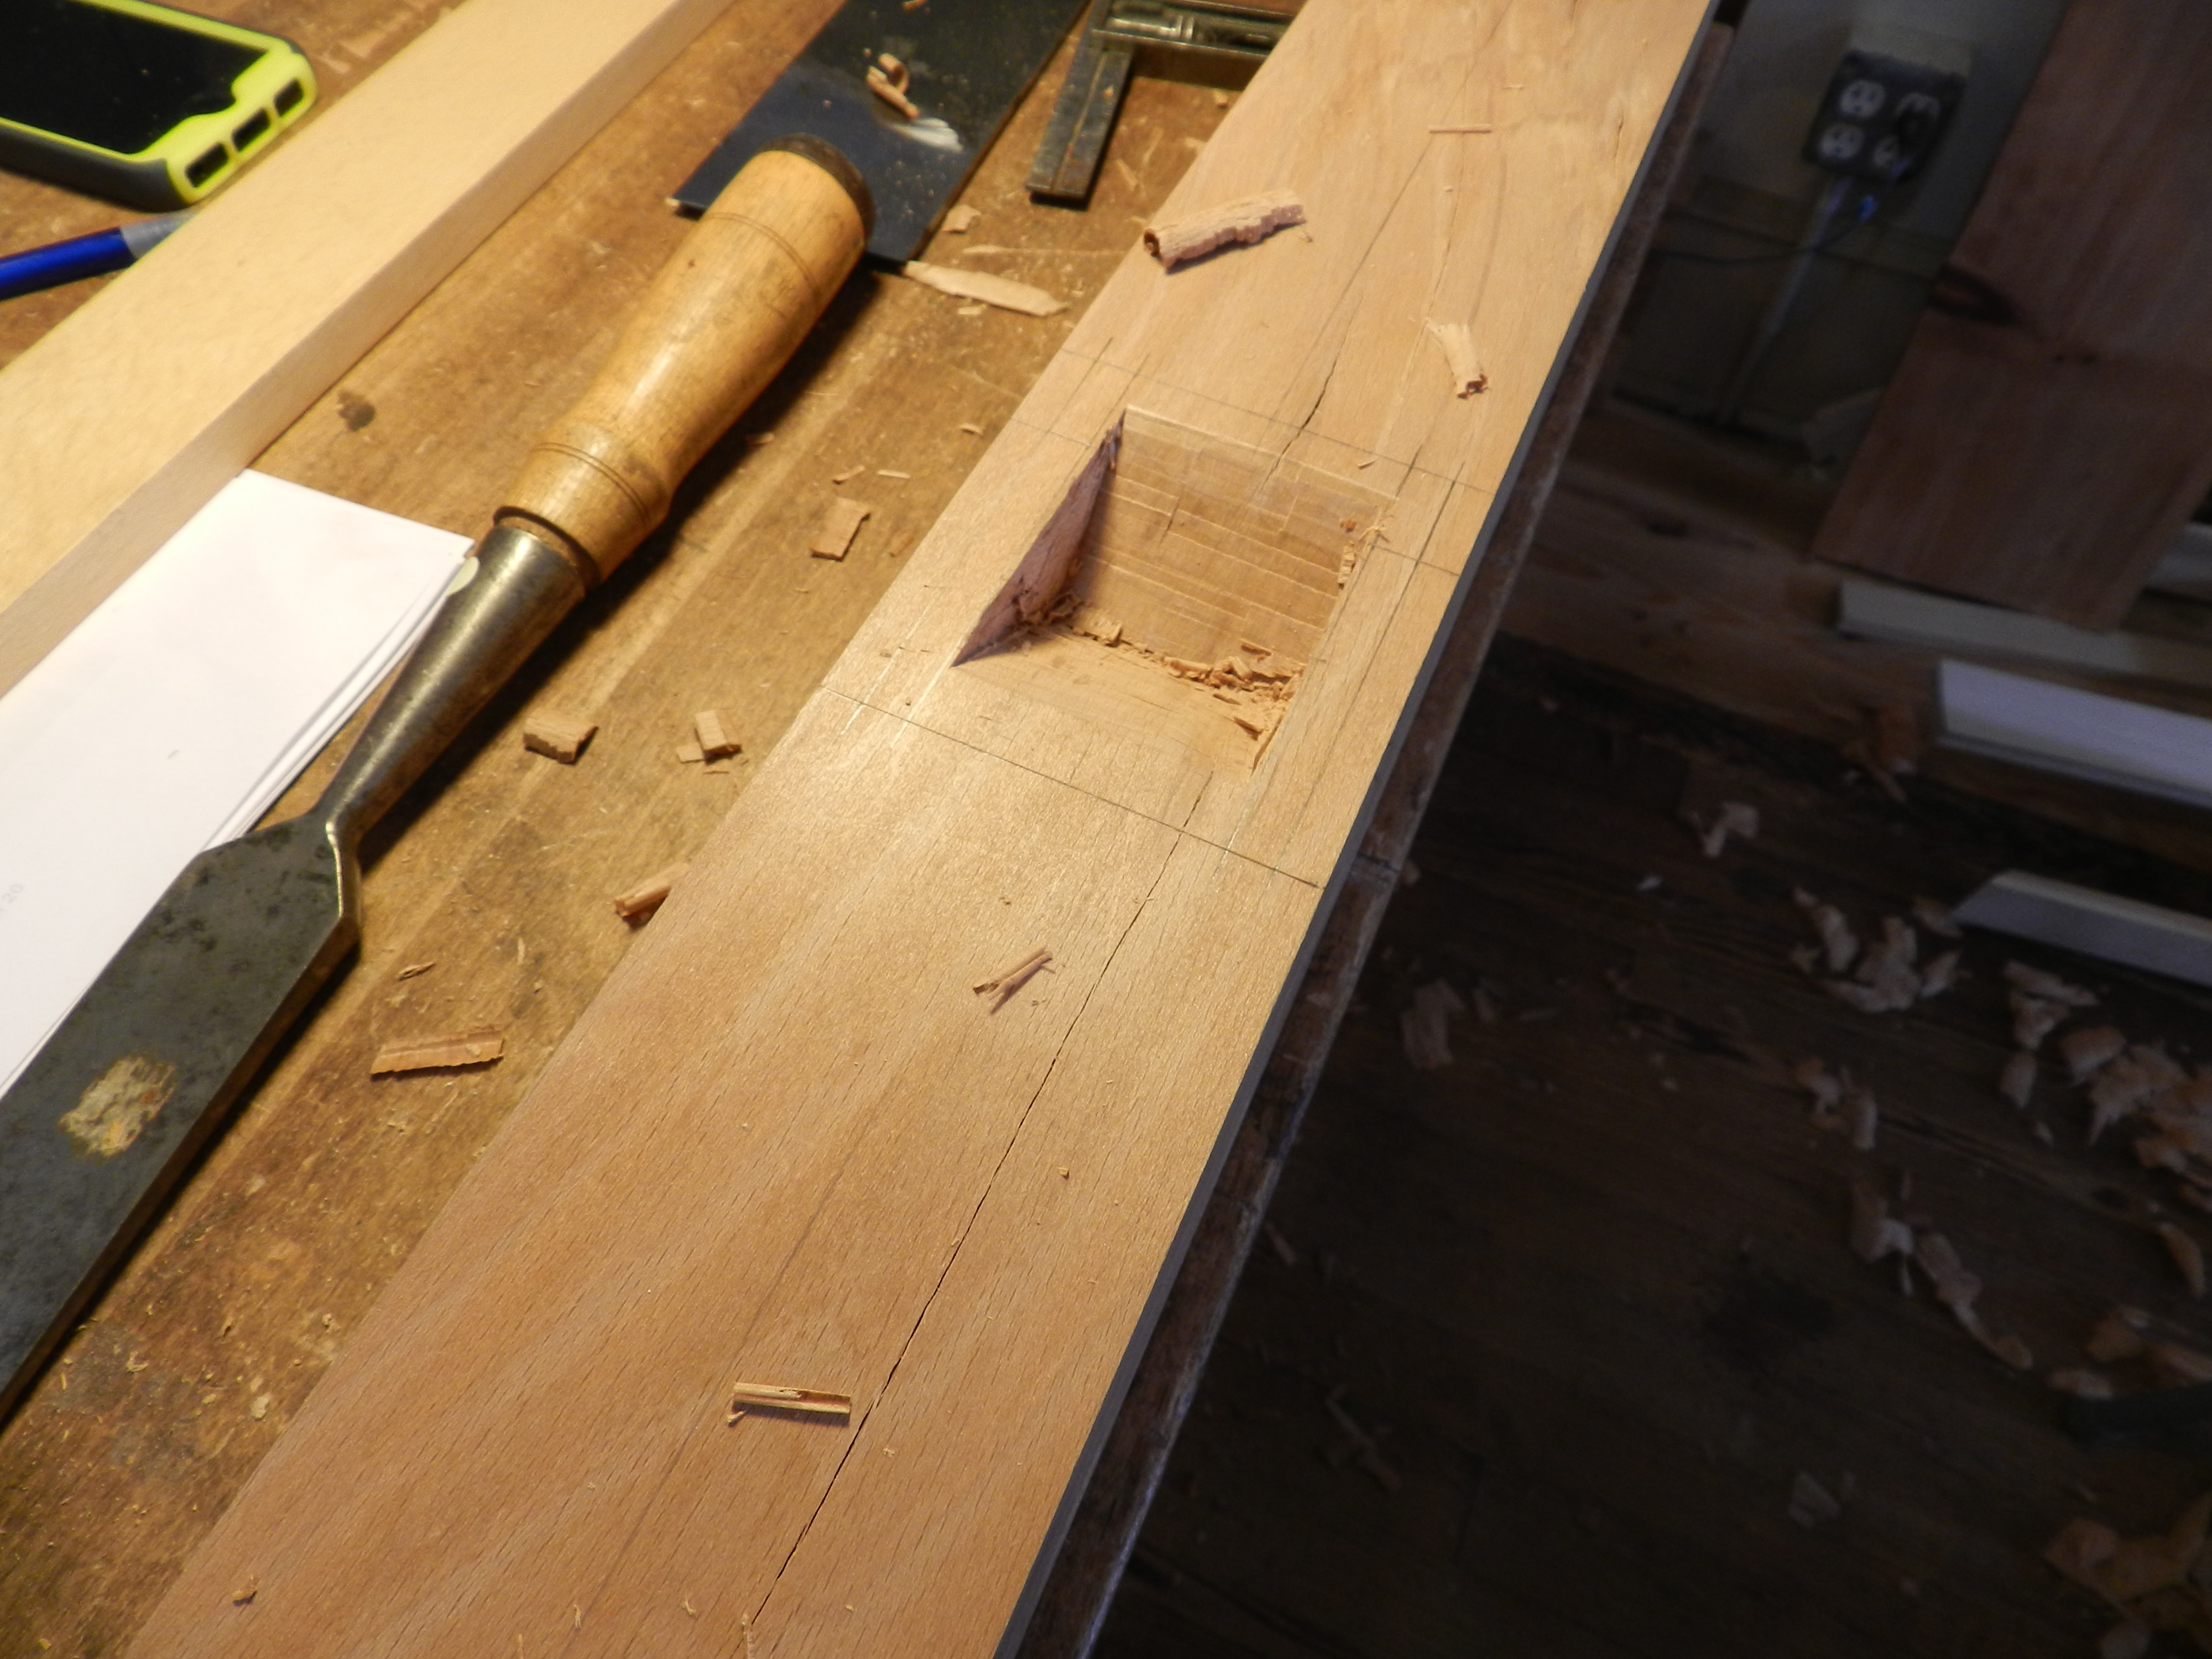
Learn about traditional wooden shutters in this two-day workshop. Using traditional joinery, students build a sample shutter and learn the skills needed to layout and build shutters for custom projects. Discussion includes interior and exterior uses, fielded panels and louvered styles. Students should be able to plane and square up a board by hand and have some experience laying out and cutting traditional mortise-and-tenon joinery by hand. Some experience with tuned hand tools and power tools is required.

If the above does not appeal to you, there are several schools around the country that teach solid woodworking and carpentry skills. I encourage your to explore classes at any of these schools: The North Bennet Street School in Boston, The College of the Redwoods in California, The Heartwood School, The Shelter Institute in Maine, Philadelphia Furniture Workshop, The Kelly Mehler School of Woodworking, Phil Lowe’s Furniture Institute of Massachusetts, Connecticut Valley School of Woodworking, and Roy Underhill’s The Woodwright’s School
If you’re not able to make it to one of the above schools there are scores of books that can help you along your woodworking journey. I think every carpenter would benefit from reading all 4 volumes of Audel’s Carpenter’s Guide, Tage Frid Teaches Woodworking Vol 1-3, Bell’s Carpentry Made Easy: The Science and Art of Framing, and Get Your House Right.
Woodworking is a life long journey and I hope that you will continue pursuing new aspects of the craft.
Take care,
-Bill